Mustard Wet Rub…for Chicken or Pork


Even though we are unofficially heading into fall, in most places it still feels like summer. I grill no matter the season and I am sure I am not alone. Here is another way to impart flavor into those lean proteins you grill. It falls somewhere between a rub and a marinade so the somewhat questionable name “Wet Rub” seems to be pretty accurate.

The ingredients are simple with mustard as the key player. As with all my recipes, you have my blessing to change it up however you like. Think of all the mustards out there… think of all the herbs…all the spices, you could make variations of this for the rest of your grilling season.

I love this on  boneless-skinless chicken thighs and have done it with breasts as shown here. I think it would be great on pork tenderloin or chops as well.

So, here is the blueprint, make it your own. Happy grilling and a merry, merry Fall to all.

Mustard Wet Rub

A savory wet rub that is great on chicken or pork. Use whatever herbs you have on hand and feel free to adjust any of the ingredients to suit your taste. This is enough rub for two servings.

Keyword: Rubs and Marinades
Servings: 2
Author: binner216@comcast.net
Ingredients
  • Cup Dijon Mustard
  • 2 Tbsp Fresh Herbs Sage, rosemary or your choice
  • ½ Tbsp Lemon Zest
  • 1-2 Tbsp Olive Oil
  • 1 Tsp Brown Sugar
  • ¼ Tsp Red Pepper flakes
  • 1/2 Tsp Salt free Lemon Herb seasoning
  • Salt & Pepper To taste
Instructions
  1. Combine the ingredients in a small bowl and mix well. Give it a taste and make any adjustments.

  2. Cover and refrigerate for at least 2 hours to allow the flavors to blend.

  3. Brush evenly on both sides of the chicken (or pork) and refrigerate for about a half hour.

  4. Grill on medium direct heat until cooked through. Time will vary based on the type of protein.


Melrose Peppers – A Most Wonderful Time of the Year

I have talked at length both here and on my Face Book page about the summer glory of Melrose Peppers. They are one of my home town’s claims to fame and a source of joy to Italian cooks in the Chicago area. I grew up eating these in the summer and I anxiously await their arrival now. The waiting was excruciating this year. I came home empty handed twice, before I finally hit the jackpot as always at Caputo’s. Finally these wonderful Italian frying peppers are here. It seems that they arrived later than usual, but looking at past posts, mid-August is about right. They are only around for a short time each summer so we lovers of the pepper must take advantage. I have… Quite a lot… Papa D may be getting close to his capacity for them…

They are wonderful fried and then scrambled with eggs  and mounded  onto crusty bread to create a totally yummy sandwich. They are also wonderful grilled with or without  Italian sausage. Always the crowning touch  to  a one (grill) pan meal in the summer.

This year I found a new ingredient that seems to go with Melrose Peppers as well as sausage or eggs. That my friends, is the potato. Now, this is not earth shaking news, but it is an idea I had never thought of before, so to me it was a minor revelation. The simple addition of potatoes gave more body and a heartiness to a light summer side dish. Somehow the starchiness of the potatoes enhanced the flavors of the peppers and onions.

This has become a frequent “sider” as it has a special affinity to grilled proteins. It is perfect with pork, chicken, beef, and sausage (tried them all) and I do not doubt that it would be quite comfortable next to fish or seafood.

The ingredients are simple. Peppers, Melrose of course, but another frying pepper like Cubanelle could be used. The thinner flesh of frying peppers cooks a little faster and takes to light caramelization well. For potatoes, Yukon Gold work well here because they hold their shape as they fry. As far as onion goes, yellow are fine and as always if you like another variety, please use what you love. Now for seasoning. Garlic just goes without saying, but I find that granulated or powder work better than fresh. The frying time is relatively long and if you don’t watch the pan carefully the garlic may burn and your side dish will wind up one step away from the garbage. I am very generous with the salt and also use a good amount of pepper. Dried Italian herbs or red pepper flakes can be added if you like. All of this comes together in a large fry pan containing a good amount of olive oil. This could easily be a Non-Recipe, Recipe, but since I’m working on getting back in the blog saddle here is a recipe that will serve 2 people generously.

Fried Peppers with Potatoes and Onions
Course: Side Dish
Servings: 2
Author: binner216@comcast.net
Ingredients
  • 2 Medium Yukon Gold Potatoes Cut in thin wedges
  • 10-12 Melrose Peppers Cut in strips
  • 1/2 Medium Onion Cut vertically in thin wedges
  • 2-3 Tbsp Olive Oil
  • 1 Tsp. Garlic Powder To taste
  • Salt & Pepper To taste
  • Red Pepper Flakes Optional, to taste
Instructions
  1. Heat a large fry pan over medium heat. When the pan is hot, add the olive oil and swirl it around to coat the bottom of the pan.

  2. Add the potato wedges to the pan and cook, stirring occasionally for 3-5 minutes. They should just be picking up some color.

  3. Add the peppers and onions to the pan and mix with the potatoes. Add some salt and the garlic powder and toss again. Cover the pan and let everything steam for a few minutes.

  4. Continue to cook uncovered until the peppers are very tender and the potatoes and onions are nicely browned.

  5. Add additional salt, pepper, garlic powder, and the red pepper flakes if you are using them to your taste Serve immediately.

As I said earlier, this is a wonderful partner for whatever you are grilling. Our last perfect pairing was with grilled Sicilian Sausage (another great Caputo’s find). A little toasted sourdough was a nice garnish.

As this delicious season slowly fades away, I hope that if you can find these little beauties that you give them a try. If not, there’s always next year.

Barese Sausage with Pasta and Green Bean Salad

It seems like it’s been years since I shared my thoughts and recipes here. I just checked and it has been just about 2 years. I haven’t stopped cooking, far from it, and I have shared a bit on Facebook, but even with all the time retirement and the pandemic gave me I never made it here. It does feel odd, and I am definitely a bit out of my comfort zone. Years ago, my Mary Kay director instilled the philosophy in me to “Feel the fear and do it anyway.” So, I am going to do just that (Thank you, Sarah Belle).

While I cook many different types of food, I am an Italian girl at heart, and as a good Italian girl I love Caputo’s,. (Check them out by clicking on the link above. )This small local chain of stores has been bringing a traditional taste of Italy to the Chicago suburbs since the 1950’s. The products and produce are marvelous with selections for every cuisine. Many have cafes that serve the best Calamari  (among other items) and reasonably priced Italian wines. You can even sip and shop while listening to Italian music from opera to the Rat Pack  They also feature imported pastas, tomato products and a variety of homemade sausages.  This little story is about how they came together to make a wonderful dinner.

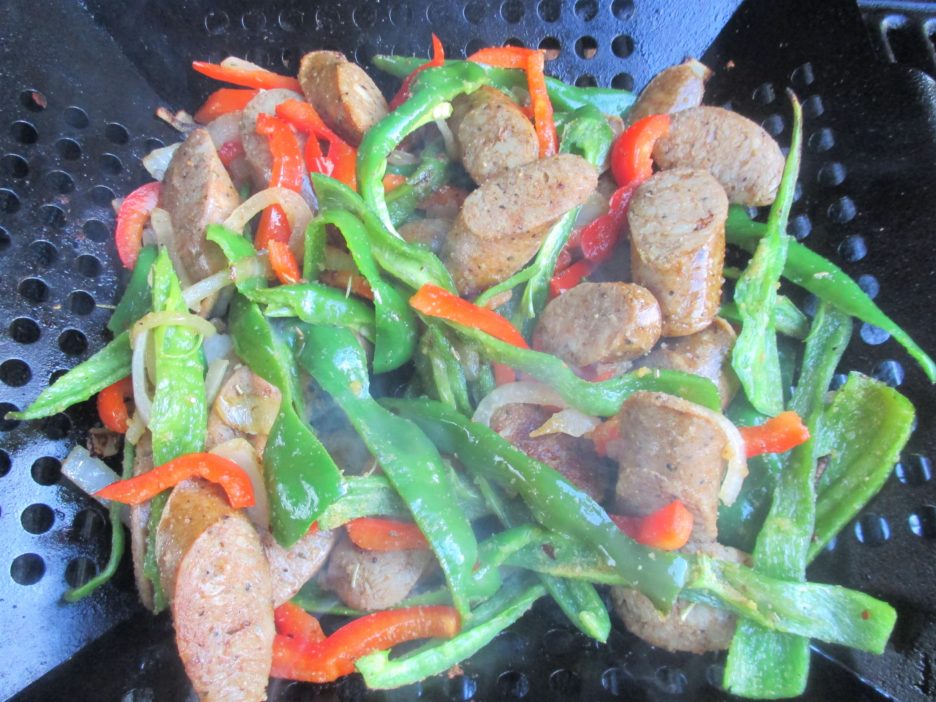
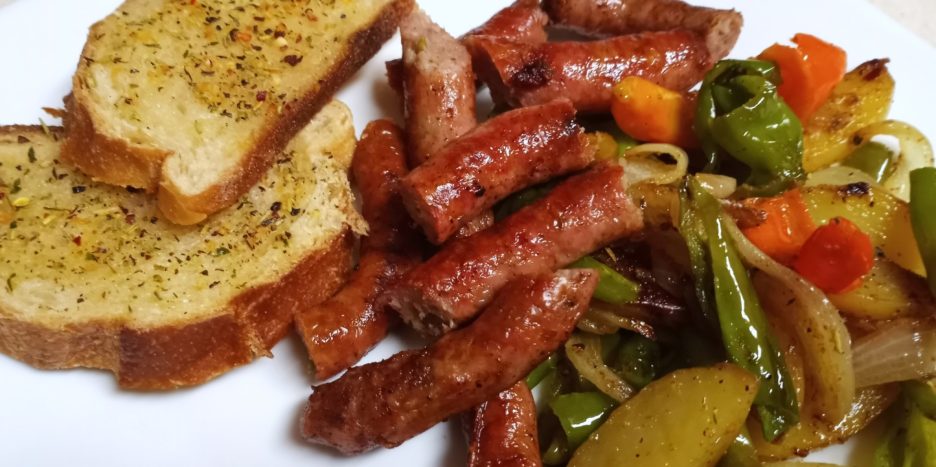
It started with Barese Sausage. These finger size sausages are made of beef, lamb, and pork, flavored with parsley, garlic, and pecorino cheese. They come linked together which makes them easier to grill, and this is my favorite way to cook them. They have a complex flavor that is not at all spicy, but still delights the palate.

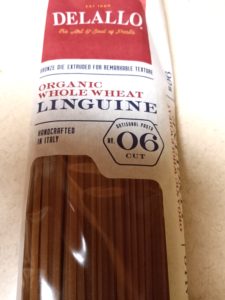
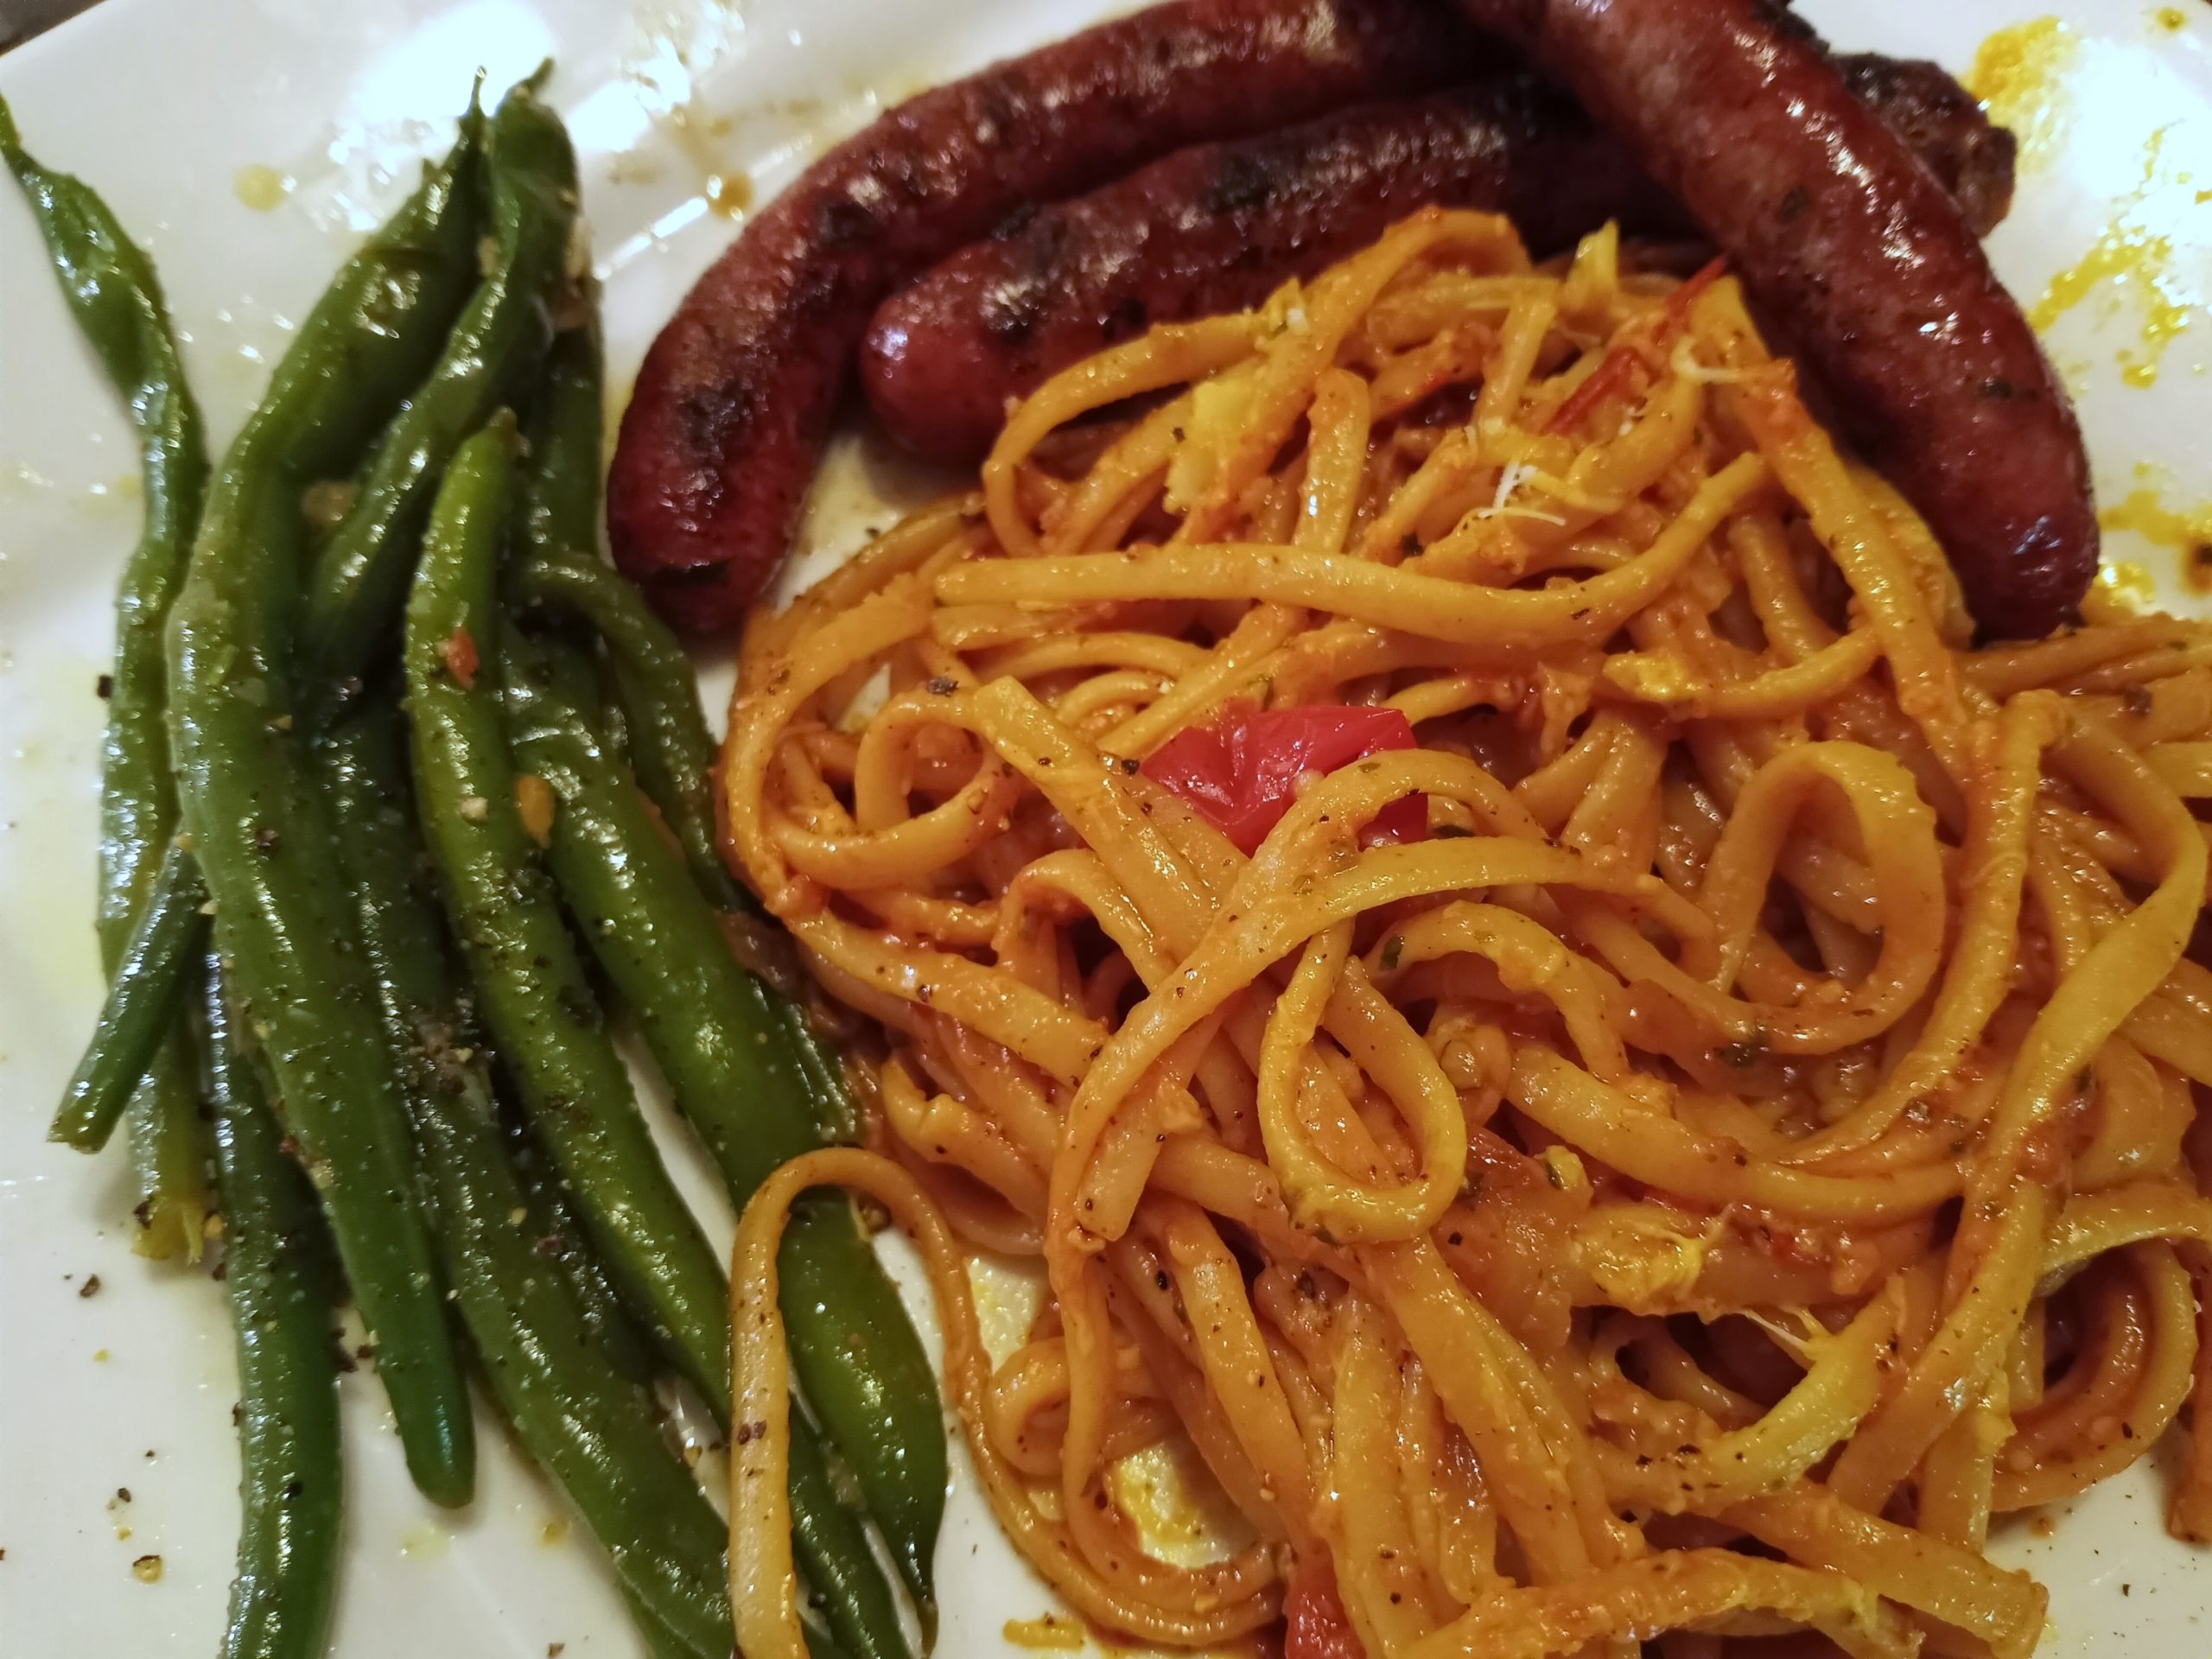
I chose imported whole wheat linguine for the pasta portion of this meal. In a very small nod to healthier options I have been using whole wheat pastas more often. The taste Is a bit heartier and stands up well to bigger flavors.

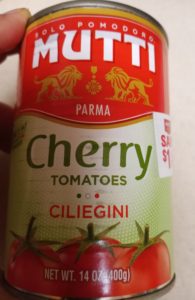
Finally, I used canned Italian Cherry tomatoes for the sauce. These sweet little nuggets are packed in tomato puree and have a convenient pop top can and the “just right for two” 14 ounce size. So, the starring players were in place and needed to meet their supporting actors. Onions and garlic of course, sauteed in olive oil laid the foundation. Once they were lightly caramelized the tomatoes went in. I gave them a gentle squish and let them simmer until they came together in a thick sauce.

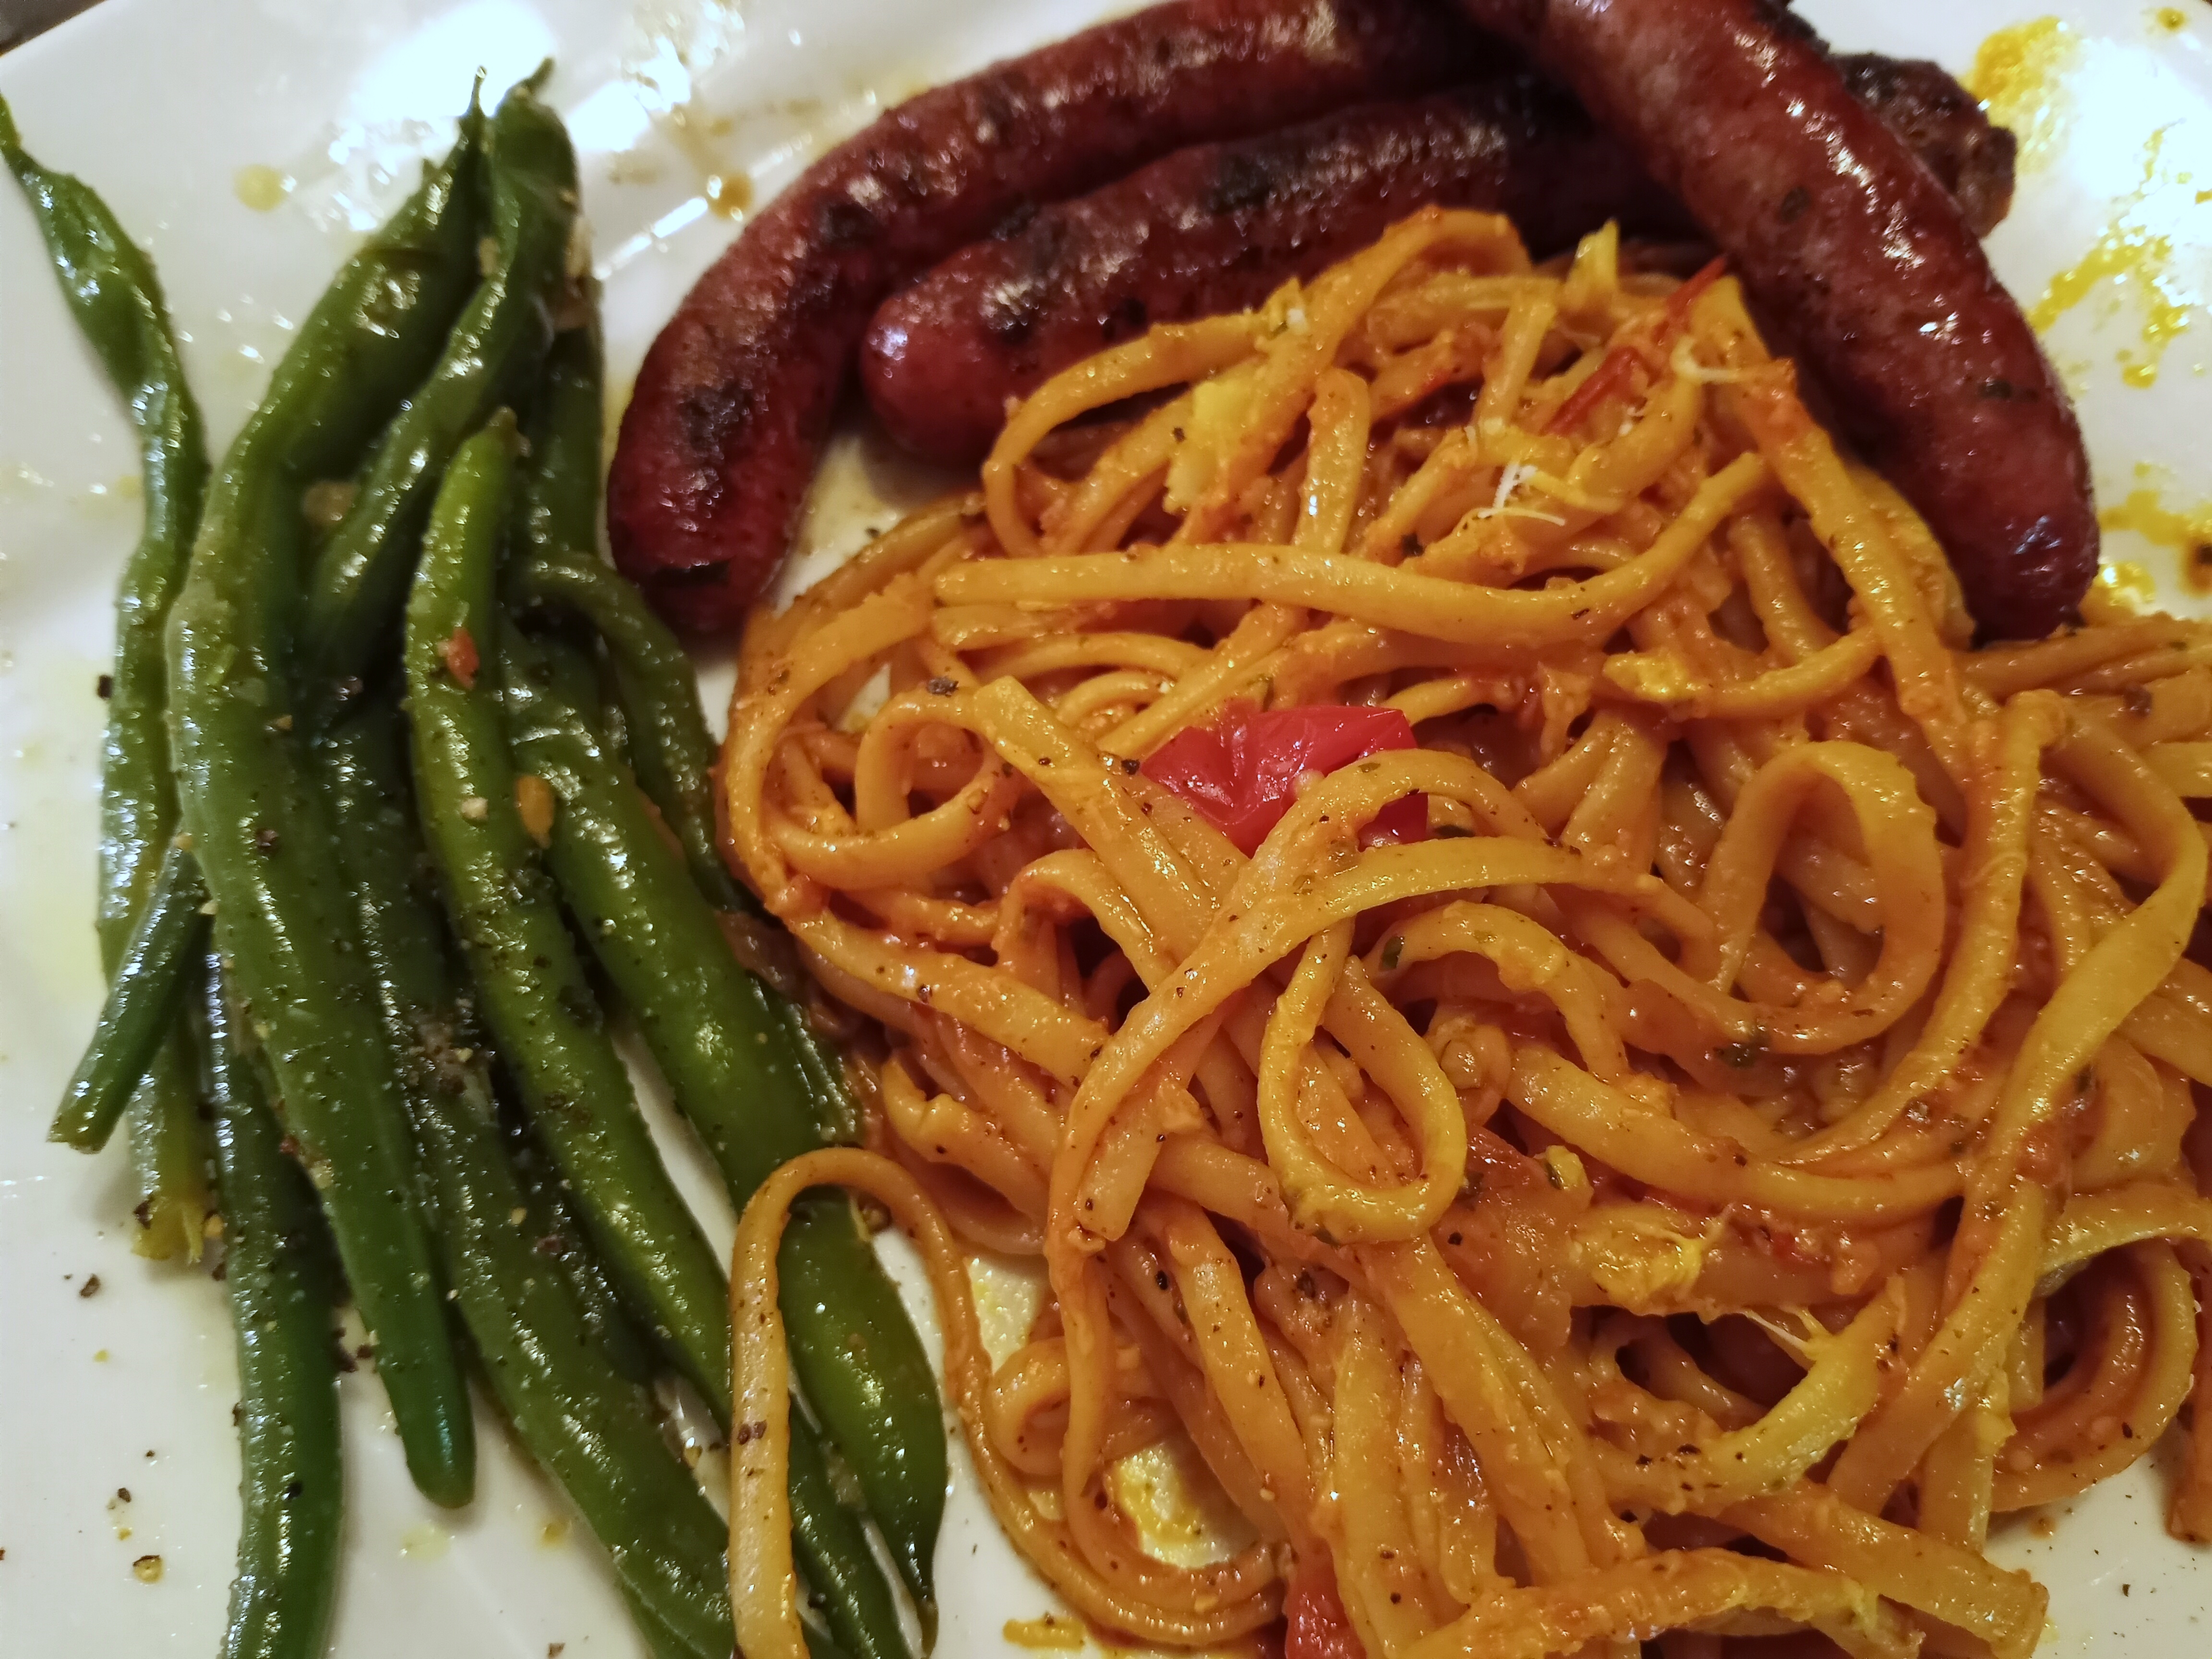
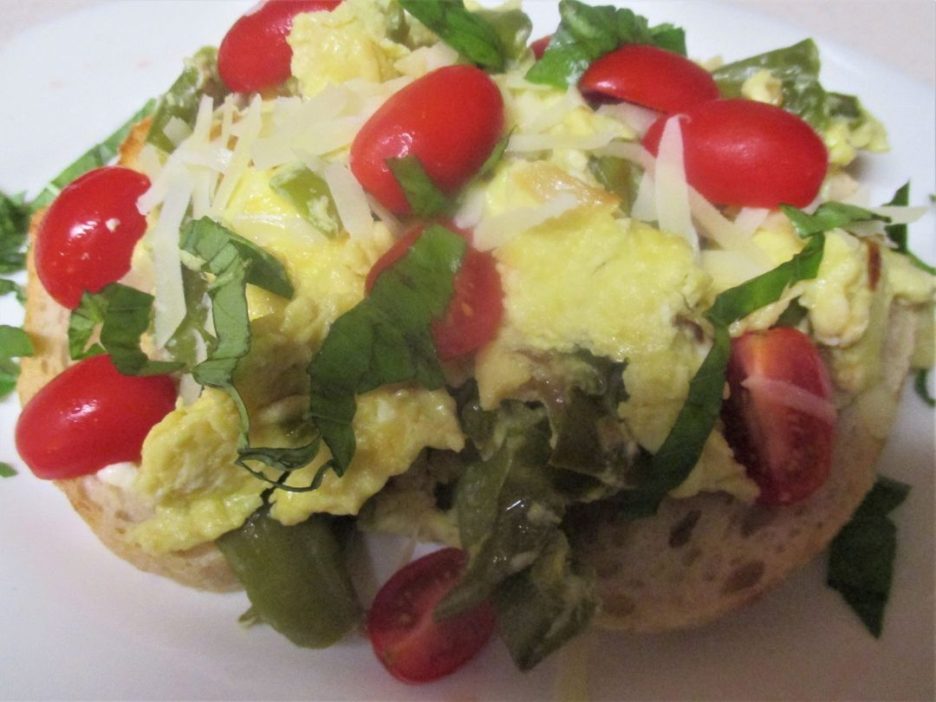
It would have been wonderful to add some fresh basil and parsley, but my balcony herbs are having a slow start, so I used some of my homemade pesto, always ready in the freezer for just such occasions. Once the pasta had cooked to al dente, I added a ladle or two of the pasta water to the sauce  and finished with freshly grated Pecorino. I chose to serve the Barese along with the pasta so that we could fully enjoy its unique flavor.

This is what I call a “No recipe, recipe.” The description above and these few notes are all you need.

I used one small onion sliced lengthwise and two cloves of finely chopped garlic.  Use as much olive oil as you like (1 Tbsp or more) and one can of tomatoes to serve 2 with a little left over.

I cooked about 4 ounces of pasta in salted water. I saved about 3/4 cup of the water for the sauce. I added 1/4 cup of pesto, but more or less would be fine. I like a lot of grated Pecorino (1/3cup), but use as much or as little as you want.

The final touch was a Green Bean Salad. I made a variation of my Mom’s salad. Since I have returned to the blog, I feel the need to share an actual recipe. While my Mom’s used basil or mint and garlic, this time I used lemon zest, rosemary, and lemon thyme. I used a bit of lemon juice and some rosemary infused vinegar. Every recipe can be tweaked to suit any cooks whim.

Mom's Green Bean Salad
Print Recipe
Nothing says summer like fresh green bean salad. This is my mother's recipe. She always made it with mint, but I also like it with fresh basil. Either way it is the perfect companion to grilled chicken.
Mom's Green Bean Salad
Print Recipe
Nothing says summer like fresh green bean salad. This is my mother's recipe. She always made it with mint, but I also like it with fresh basil. Either way it is the perfect companion to grilled chicken.
Ingredients
Servings:
Instructions
  1. Blanch the green beans in salted boiling water for 3-4 minutes (until they are the tender crisp that you love.) Plunge in ice water to stop cooking and drain well.
  2. In a salad bowl combine the vinegars and olive oil. Stir in the garlic and add the drained green beans and basil (or mint).
  3. Toss to combine and season to taste with salt and pepper. Chill for at least an hour before serving.
Share this Recipe
Powered byWP Ultimate Recipe

It feels good to be back and much like riding a bicycle, I remembered how to do it, more or less.

Panzanella-Palooza: The Summer Edition

Over the years I have sung the praises of the Panzanella Salad. Italian peasant fare, vegetables combined with dry bread cubes and a vinaigrette dressing. It is an established fact that if it is summer there will be panzanella salad in Mama D’s Kitchen of Love. This summer is no exception. In fact it has become the reigning go to supper here, appearing at least weekly in various shapes and forms.

Panzanella got its start in Tuscany long ago with onions being the star of the show. Later tomatoes took over that position and modern panzanella was born. Bread, usually stale has also been a principle player. Thrifty Tuscans didn’t want even the most stale bread to go to waste so they would soak it in water and add vegetables to make a meal. This is probably how it got its name. Pane means bread and zanella means deep bowl. If you have wet bread and vegetables you are going to need a deep bowl.

Making so many Panzanella salads this summer I have come to a few conclusions. I wanted to share some of those along with a recipe or two in case you want this to be your Panzanella-Palooza Summer, too.

  1. The bread you use is important, it is bread salad after all. The bread should be sturdy, crusty and maybe a little stale. Sourdough is my current bread of choice. I am always searching for a loaf that has the flavor and smell to take me back to San Francisco. La Brea Bread Company (available at Caputo’s) makes one and I just got another great loaf at Mariano’s bakery. Don’t worry if your bread isn’t stale. You backyard grill or even your oven can create the perfect croutons for your salad.
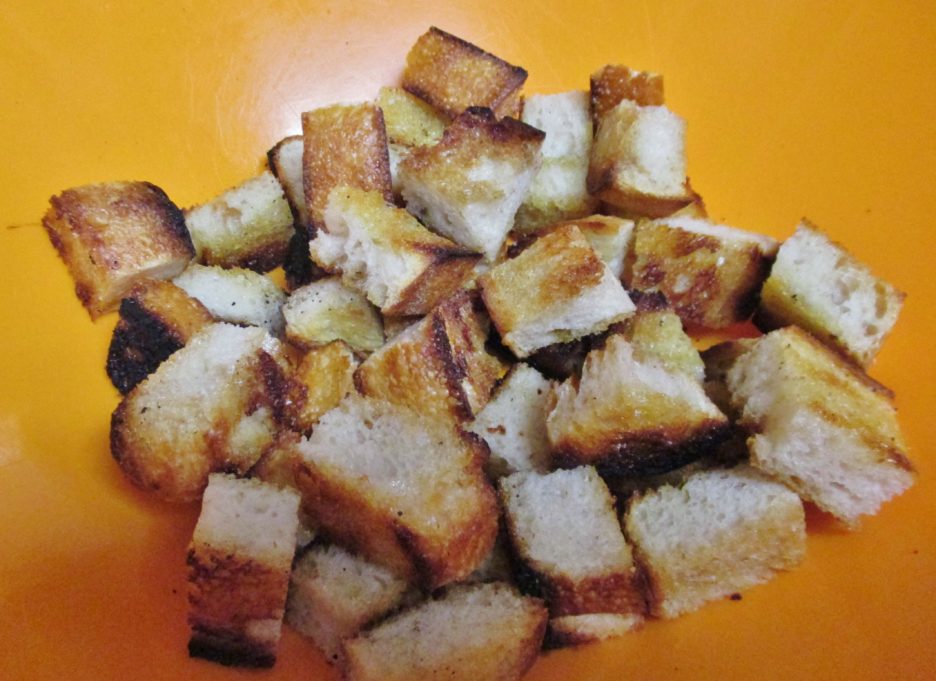
There are lots of other good choices including Ciabatta and French. I’ve made several wonderful salads with Multigrain Baguettes as well. Use what you love or have on hand.
  2. Tomatoes get lonely so give them some company. Summer vegetables are hitting their stride right now and most of them play well with tomatoes. Onions should always be invited to the party. Cucumbers, bell peppers, summer squash and zucchini are great bowl mates too. Artichoke hearts (I use frozen for convenience) are a welcome addition as well. If you love the vegetable it will love being in your salad.
  3. Having a variety of vegetables makes for great flavors. Having a variety of textures makes for a great salad. I like to mix raw and cooked vegetables to achieve that wonderfully interesting balance. This summer, I have been grilling many of the vegetables. Tomatoes, onions, and peppers have all had a turn on the grill before jumping into a salad. Tomatoes grilled just enough to release their juices combine beautifully with crunchy red onions….etc.
  4. When it comes to dressing, simple is probably better. The recipe below is not very complex, but if you are feeling a bit fancy it is a great match up to any salad.
    Mediterranean Vinaigrette

    A twist on the classic vinaigrette with plenty of lemon and more than a hint of garlic. Add any fresh herbs of your choice. This is wonderful on a Greek salad, but it would be equally delightful as a dressing for grilled vegetable or a pasta salad. It makes a great marinade as well.

    Ingredients
    • 1 Medium Lemon Juice and zest
    • 2 Cloves Garlic Grated
    • 1/4 Cup White Balsamic Vinegar
    • 1/2 Tsp. Red Pepper Flakes Optional, to taste
    • 3 Tbsp. Chopped Fresh Herbs Parsley, thyme, basil, or you choice
    • Kosher Salt and Pepper To taste
    • 1 Tsp. Dijon Mustard
    • 1/4 Cup Olive oil
    Instructions
    1. Combine all of the ingredients in a jar with a tight fitting lid. Shake until completely blended. Allow to rest in the refrigerator for at least one hour.

    As the summer has gone on, I have stripped it down. Some good olive oil warmed with a few smashed garlic cloves is a lovely base. Combined with a flavorful vinegar, salt and pepper it lets the beauty of the vegetables shine through.

  5. Add some protein and make your salad a meal. Use anything that sounds good to you. Leftover chicken, cured meats, beans, grilled sausage or steak all work well. Then there is cheese. Who doesn’t love cheese? Fresh mozzarella or cubed Asiago have found there way into my salads, but the best discovery has been Grilled Feta. 
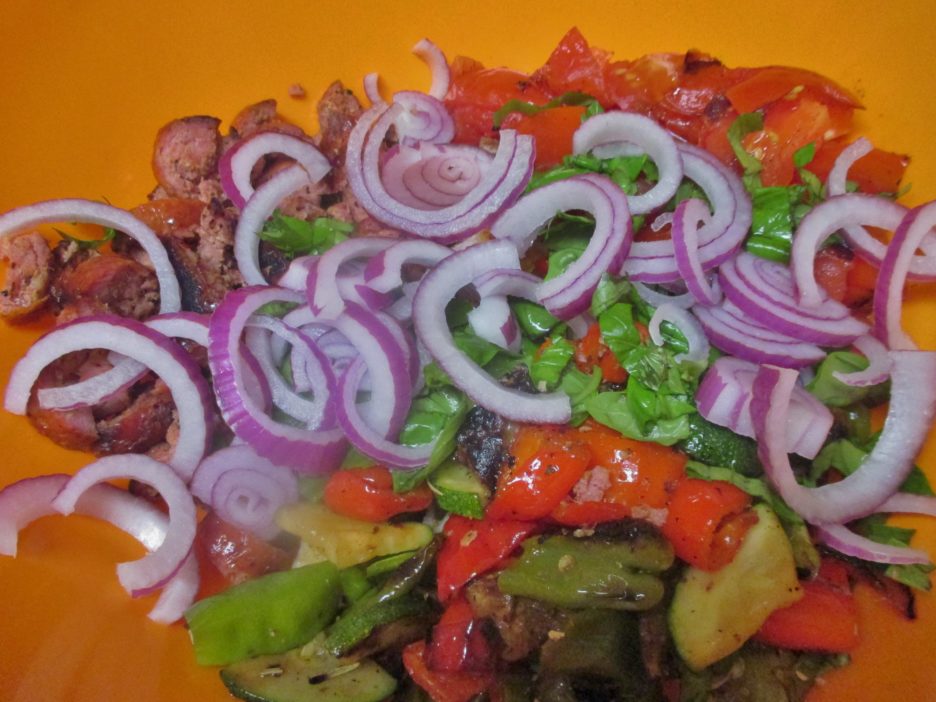
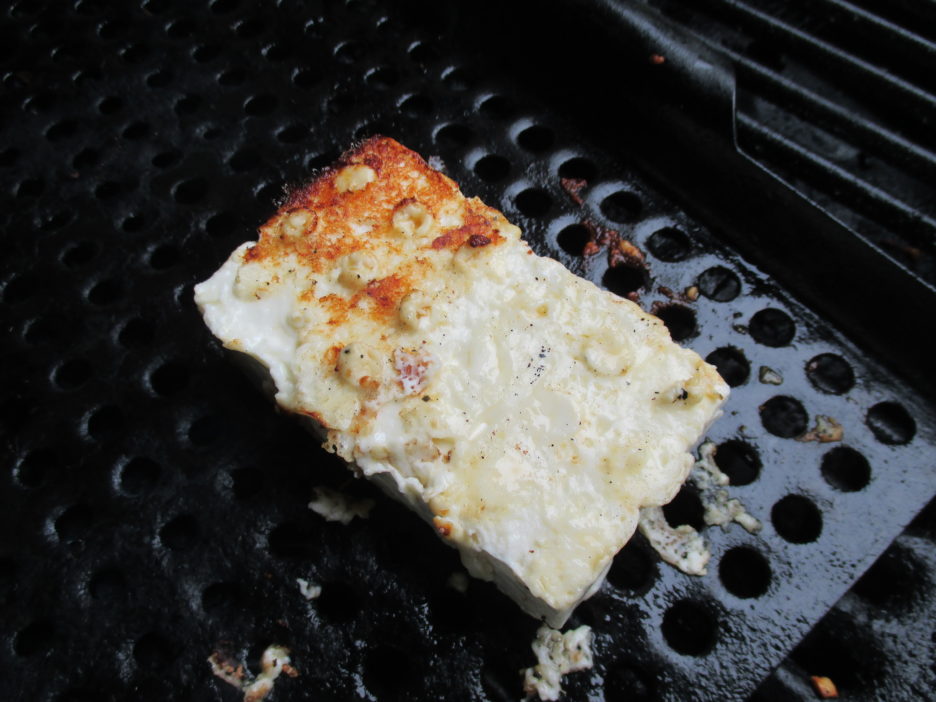
It is firm and dense enough to hold up to the grill’s heat though it does need to be watched carefully. The time and effort is worth it.
  6. Herbs make everything better. Chop up a handful of whatever you love and add them to the salad. Basil, parsley, and chives are my current go tos.
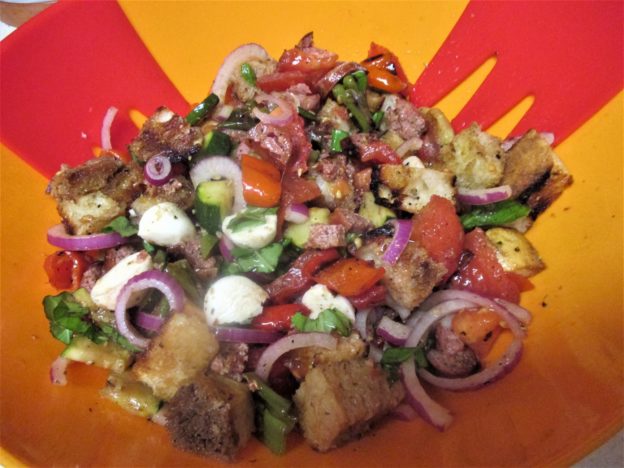
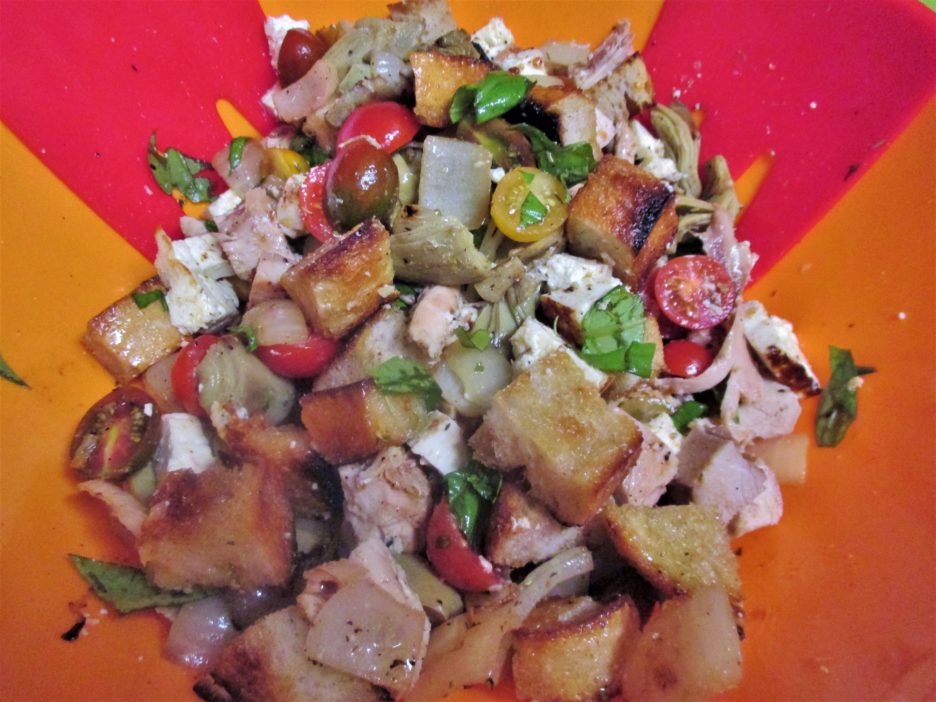
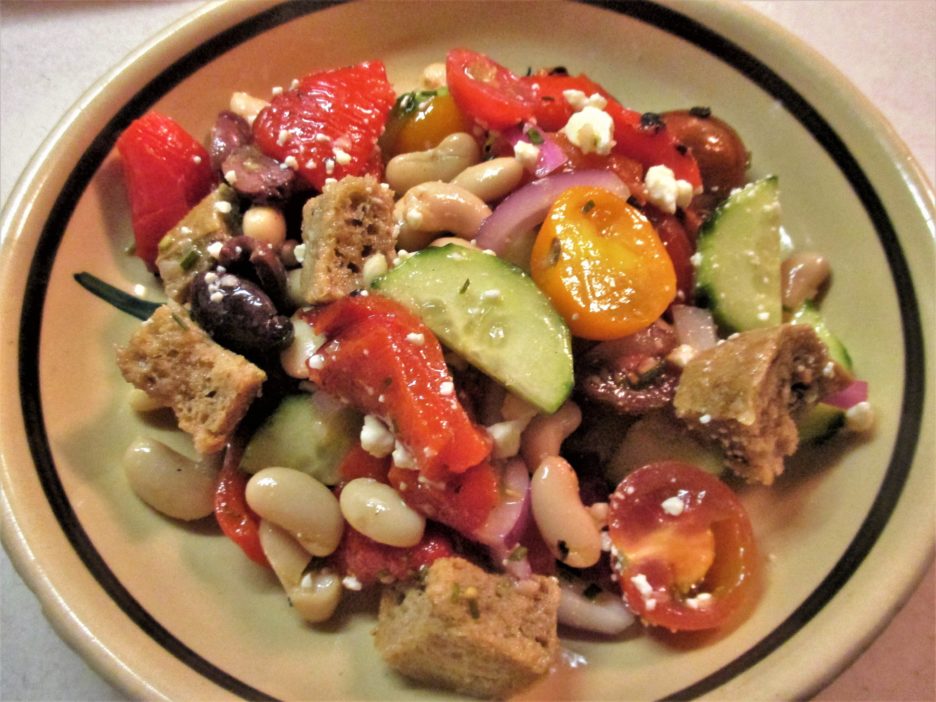
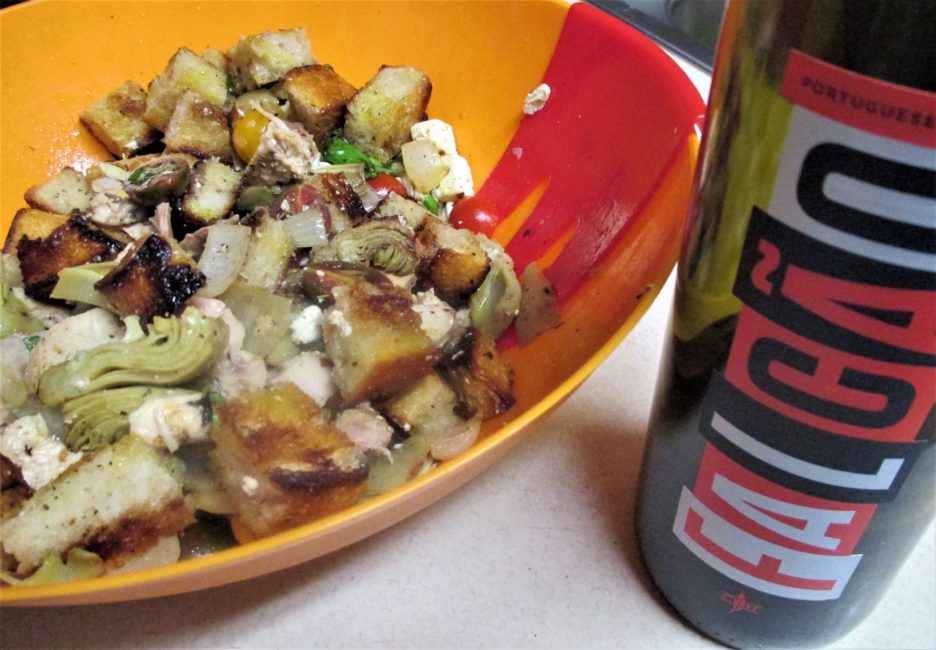
Here is a Basic Recipe for a Summer Panzanella Salad…it is very grill forward and leaves room for all kinds of interpretation.
    Summer Panzanella Salad

    A basic recipe for Panzanella salad that takes advantage of Summer's bounty.

    Servings: 2
    Ingredients
    • 3-4 Ounces Crusty Bread Stale is great!
    • 1/4 Cup Olive Oil
    • 2 Cloves Garlic Smashed
    • 1 Medium Onion Any variety
    • 2-3 Medium Tomatoes
    • 2 Cups Chopped Vegetables Whatever you love
    • 1/2 Cup Chopped Herbs Any variety to taste
    • 2 Tbsp. Vinegar Your choice
    • 1 Cup Chopped Protein Anything
    • 2 Ounces Cheese
    • Salt & Pepper To Taste
    Instructions
    1. In a small pan heat the oil and garlic gently . Once the garlic begins to sizzle take it off the heat and let it steep.

    2. Slice the bread about 1 inch thick. Brush both cut sides with a little of the olive oil and toast in the oven or on the grill. It should be dry and lightly browned. Let it cool then cut it into cubes. Place in the bottom of a deep bowl.

    3. If you are grilling vegetables, brush them lightly with some of the garlic olive oil and place on a medium grill. Tomatoes can be cut in half horizontally  and will only take a few minutes. Cherry tomatoes can be skewered. Other vegetables whether cooked whole or chopped should be tender and lightly charred. Cut any whole vegetables into bite size pieces. Put these on top of the bread cubes.

    4. Cut or chop raw vegetables into bite size pieces. Roughly chop the herbs. Cut your protein into bite size pieces as well. All of these can be put on top of the bread cubes. Toss everything together.

    5. Add the vinegar to the remaining garlic olive oil and season with salt and pepper. Mix well. Pour the dressing over the salad and toss to combine. If the salad seems a bit dry add a bit more olive oil. 

    6. Let the salad sit for 15-20 minutes to allow the flavors to blend.  Taste and adjust any seasonings. Divide between 2 plates and serve.

    As you can see, this is a very general and basic recipe that will lend itself to any direction you want to head in. There are so many vegetables that would enjoy winding up in this kind of salad. Play around..that’s part of what Summer is all about. Know too, that as Fall approaches and winter comes along, there will be lots more Panzanella Salads.

3 Nights on the Grill, 3 Marinades, a Tip, and a Hack

Memorial Day Weekend is here. While the most important part of this time is to remember those who have fought and are fighting to keep our country safe, it is the unofficial start of Summer.That means it is officially grilling season in Mama D’s Kitchen of Love.

We do grill almost year around, but it is so much nicer when you don’t have to put on a winter coat to do it. Our little grill is still performing wonderfully and the adaptations we have made to size and heat are now second nature. 
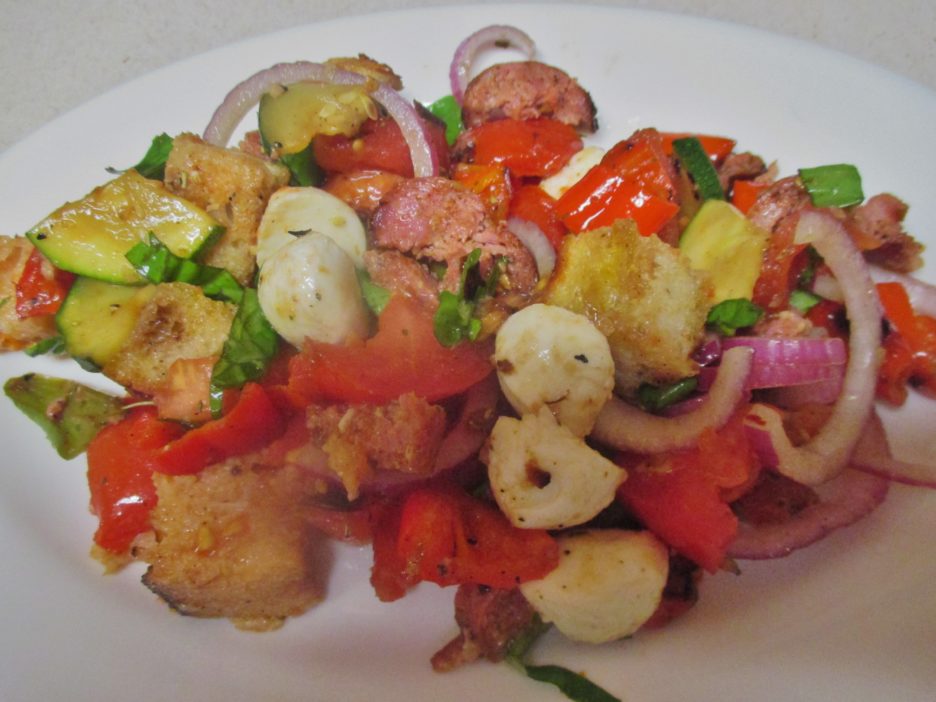
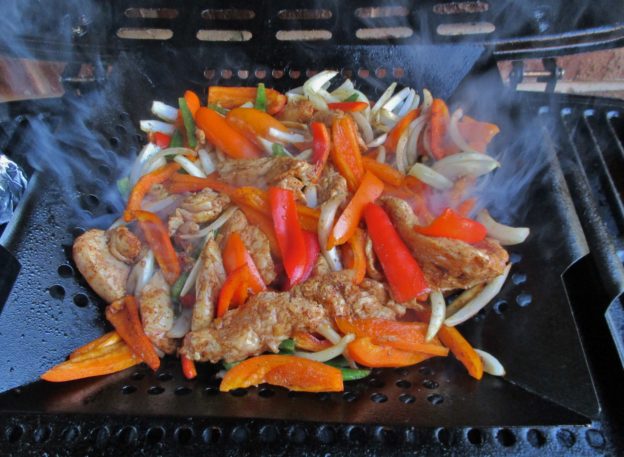
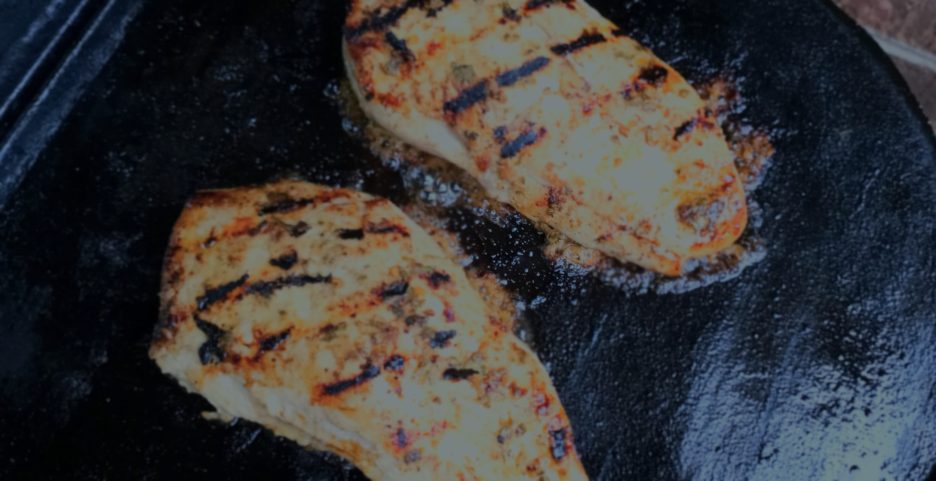
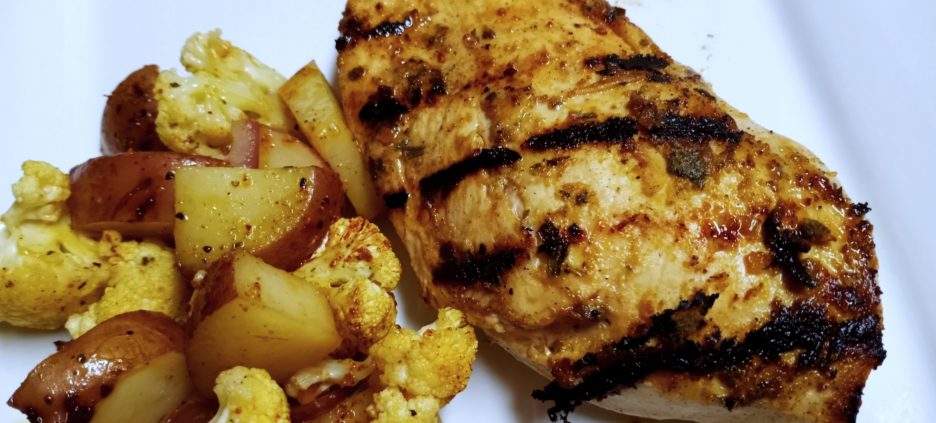
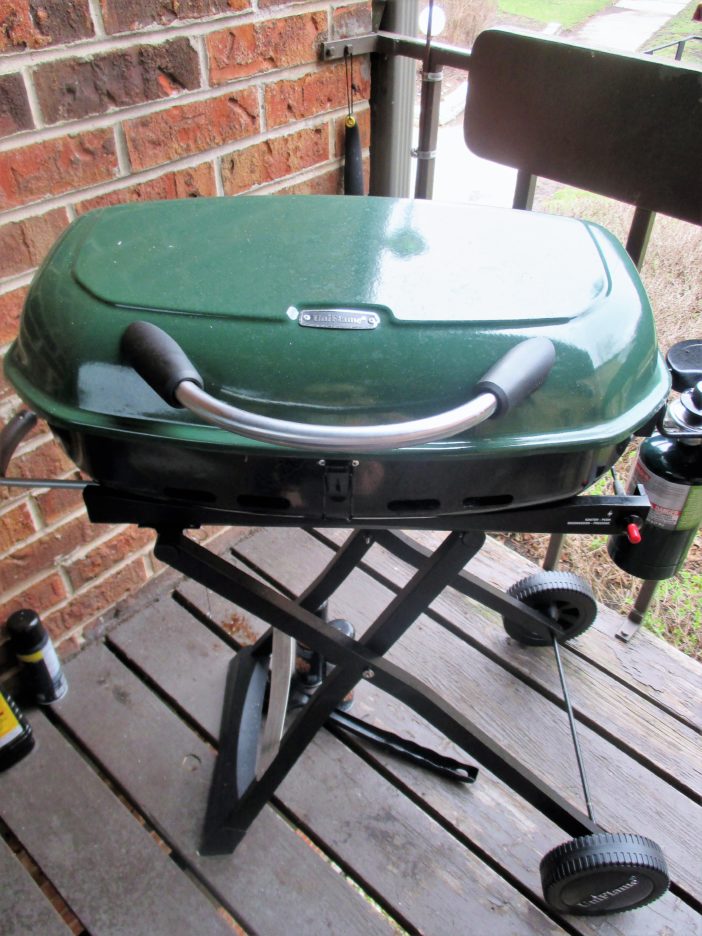
We continue to discover new things that cook beautifully on the grill, as this post will show. We’ve done a one dish meal, grilled chicken (and an array of other proteins), and even a single ingredient for a recipe. This last being easy on a small grill that can be ready in 5 minutes.

Now for that One (Grill) Basket Meal. 
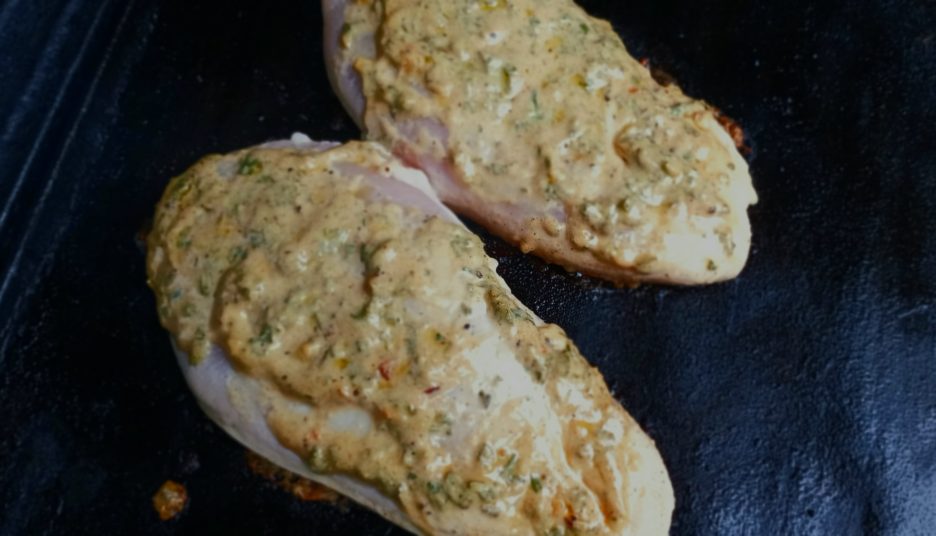
I was inspired by a plethora of Sheet Pan Fajita Recipes. So, I decided to move my ingredients from the oven to the grill. This will work with any fajita recipe with just a bit of adaptation. My protein of choice was chicken breast. A Bag-o-Bits was in the freezer and this seemed like the perfect use for it. Marinating helps flavor the meat and amends the too long in the freezer time. This marinade would work for any protein that you want to give a citrusy southwestern flavor to.

Grilled Fajita Marinade

This is a basic recipe that will work for chicken, beef, or pork. The ingredient amounts suit me, make any adjustments to suit yourself.

Author: binner216@comcast.net
Ingredients
  • 1/4 Cup Fresh Lime Juice
  • 2 Tbsp. Canola Oil
  • 2 Tsp. Dried Minced Onion
  • 2 Tsp. Dried Minced Garlic
  • 1 Tsp. Ground Cumin
  • 1/2 Tsp. Ground Coriander
  • 1 Tsp. Ancho Chili Powder
  • 1/2 Tsp. Agave Syrup
  • 1/2 Tsp. Salt
Instructions
  1. Mix all of the ingredients together. Pour over 1 pound of your protein of choice. A zip top bag works well for this. Toss to coat all the protein. Allow to marinate in the refrigerator 4-6 hours.

  2. Remove protein from marinade. Throw the marinade away. Grill your protein to your liking.

This brings me to a hint that I want to share. I used (and will continue to use) dried onions and garlic in this marinade. Time saving was my first reason to use them. Yes, it doesn’t take much time to chop up onions and garlic, but it takes even less time to toss in their dried counterparts. I think they also impart more flavor, especially in long marinating. These are not new ingredients; they have been around forever, If you have relegated them to the back of the spice cabinet, throw them away and buy new jars. As with any spice they lose flavor as they age. They are relatively inexpensive so this is not a big waste.


I had a craving for something Asian inspired. Boneless chicken thighs are my favorite poultry for the grill. They cook quickly and have enough fat to remain tender and juicy. This marinade started with orange juice and combined a host of aromatic flavors to create a marinade that would also work with pork. I opted for all fresh ingredients and gave them a quick whirl in my mini processor. Once the thighs had absorbed the flavors they were joined by Baby Bok Choy and thick Red Onion slices.

Asian Marinade for Chicken or Pork

this marinade will give your protein of choice a decidedly Asian flavor. If you like things on the spicy side add a teaspoon of Sambal.

Author: binner216@comcast.net
Ingredients
  • 1/4 Cup Fresh Orange Juice
  • 1/4 Cup Reduced Sodium Soy Sauce
  • 1 Small Finger Ginger Root
  • 2-3 Cloves Garlic
  • 1 Tsp. Sesame Oil
  • 2 Tbsp. Red Onion
  • 1/2 Tsp. Agave Syrup Optional, to taste
Instructions
  1. Place all ingredients in a mini processor. Pulse until the ingredients are coarsely chopped.

  2. Place the chicken or pork in a zip top bag. Pour the marinade in and seal. Knead the bag a few times to coat the protein. Marinate in the refrigerator     4 -6 hours. Remove the protein from the marinade and grill. Discard the remaining marinade.

While we are grilling almost every evening, there are still some things that don’t work. Number one on that list would be pasta. Preparation is best left on the stove. That being said, there are lots of grilling possibilities for what goes in and on the pasta. 
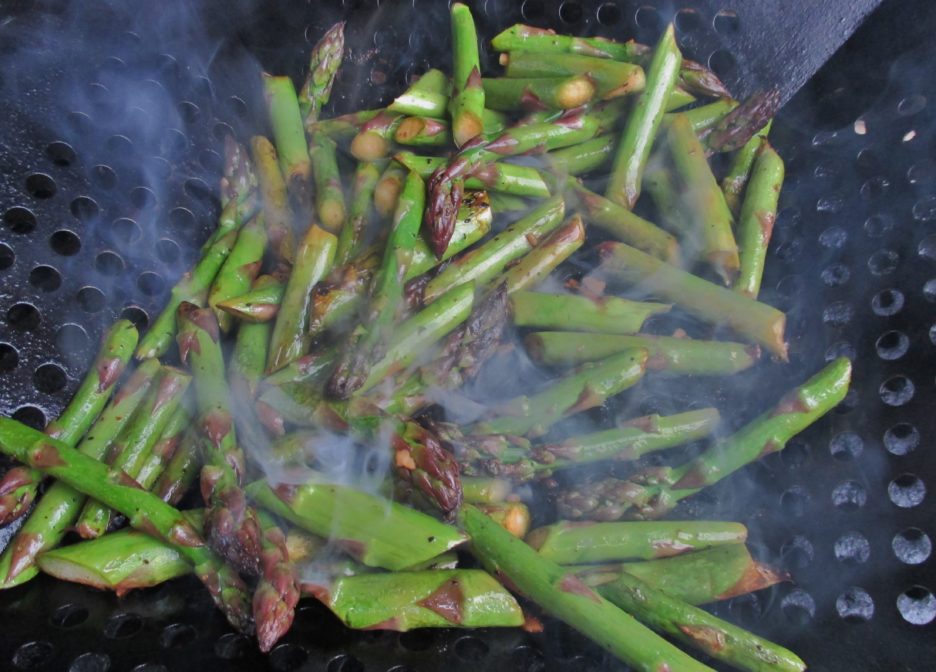
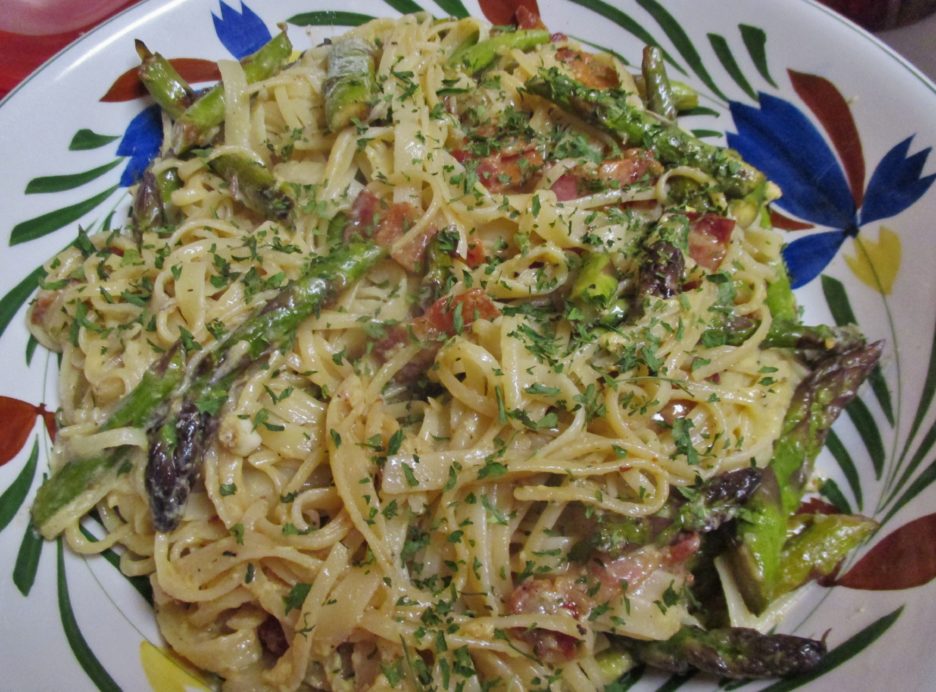
I made a not so heavy Carbonara recently that featured asparagus. Most vegetables have an affinity for the grill and asparagus is one of my favorites. I usually marinate it in olive oil, balsamic, and Italian herbs and grill the lovely spears until they have that perfect amount of char. The only difference was the spears were sliced into more pasta friendly pieces. (Pencil asparagus would work well whole in this dish.)

I have a confession to make. Sometimes I use bottled Balsamic Vinaigrette. This was one of those times.  I found one that is relatively additive free (at Aldi no less). I added a bit more olive oil and dried garlic and called it a marinade. I have another confession. I do this more often than not with most vegetables that I grill. It saves time and that is always a plus in the summer. So I am considering this to be my third marinade. I guess it could qualify as a hint or a hack depending on your interpretation. Whatever you want to consider it, find a Balsamic or other vinaigrette that you can live with and  enhance it to your liking.

While the asparagus grilled, I made the rest of the sauce. Pancetta, garlic, and red pepper flakes cooked up in a large skillet. Pasta cooked to “al dente” at the same time. I found an interesting technique for the eggs. They were beaten together with the romano cheese and tempered with a some pasta water. Amazingly, no scrambled eggs (yes, that has happened to me once or twice) and a sauce that was creamy without any cream. That little hack is a keeper.

As we enjoy the beginning of summer and the continuation of grilling season, I hope these marinades, hints, and hacks are helpful.