Italian Chicken Cordon Bleu: a New Take on an Old Recipe

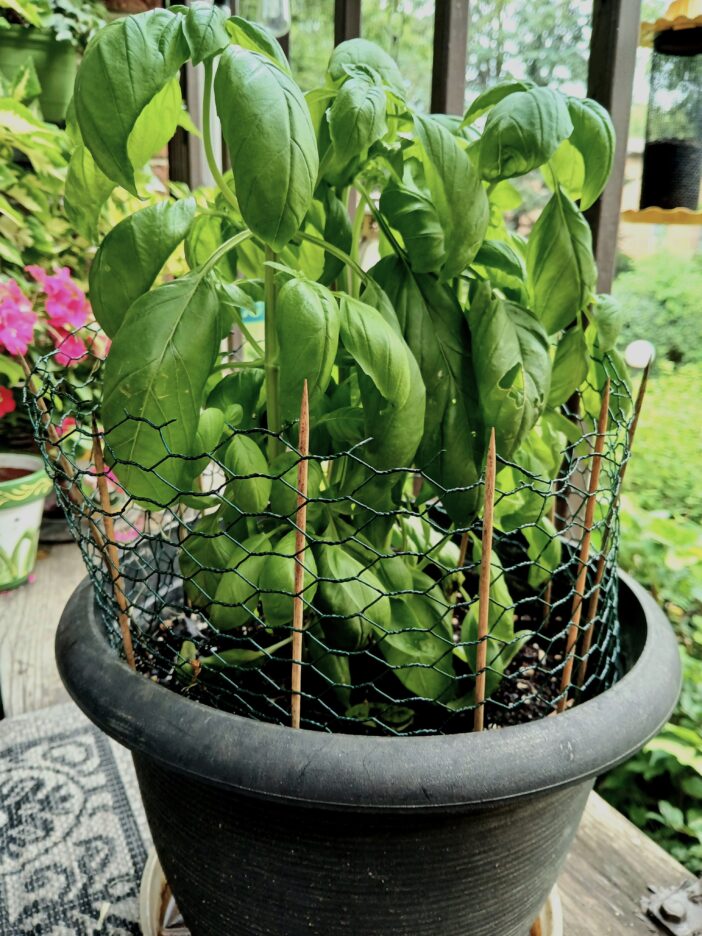
I just made the first batch of Pesto from my sun and heat loving basil plant. It has been living happily on my balcony all summer, but it didn’t have an easy time of it. In fact this is basil plant #3. The first one was heartlessly destroyed by a marauding squirrel. The second one died a quick death caused by our crazy spring weather and a watering mishap. Plant #3 has survived and thrived. Partly because unlike some other plants, it really loves hot, dry, weather, but also because I built a chicken wire blockade surrounded by bamboo sticks that the squirrels can’t invade.
This is a picture of my plant, post pesto haircut. Yes, this is Mama D’s personal war with squirrels.
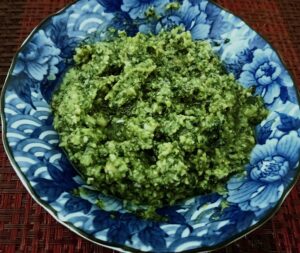
I love fresh basil. I use it in salads and pasta sauce, but my favorite use is to make pesto with it. Pesto is a simple thick and rich sauce simply made with basil, garlic, pine nuts, cheese, and olive oil. It comes together quickly and can be frozen in small portions that can be at the ready to elevate any dish simply by its presence. Here is my original recipe for pesto. I don’t always use the parsley, opting for all basil, but it is good either way. https://mamadskitchen.net/recipe/roasted-garlic-pesto/
I have written about Pesto, a lot. I searched on my web site and found six pages of recipes that feature pesto in one way or another. It can be the star of a dish or a flavorful supporting player as my recipes illustrate. There has hardly been a year that a recipe using pesto wasn’t on the blog. Just search Pesto on my site and see  for yourself.

As I was looking over the pesto recipes, I found myself thinking that some of them could use an overhaul and decided that I would revisit and possibly re-work a couple of them. I often look back at old recipes and seem to see them with new eyes. Sometimes my available equipment has changed, other times my taste and sensibilities are in a different place.

First up is Chicken Cordon Bleu, Italian Style. I originally made it as a grilled, de-constructed, version using Prosciutto, Provolone, and Sage leaves.  Pesto, in this case, was a garnish. Here is the original version:  https://mamadskitchen.net/recipe/grilled-chicken-cordon-bleu-italian-style/

This time around, I wanted to make it more in the style of Traditional Cordon Bleu. That is putting the prosciutto  and cheese (smoked provolone) on the inside and wrapping the outside with more prosciutto. This also meant baking it instead of grilling it. Since I had a fresh batch of pesto, I decided to put it in the inside as well. Then it was a simple (sort of) process of rolling it up and securing it with some toothpicks. Finally, I enrobed it with prosciutto and sent it into the oven.

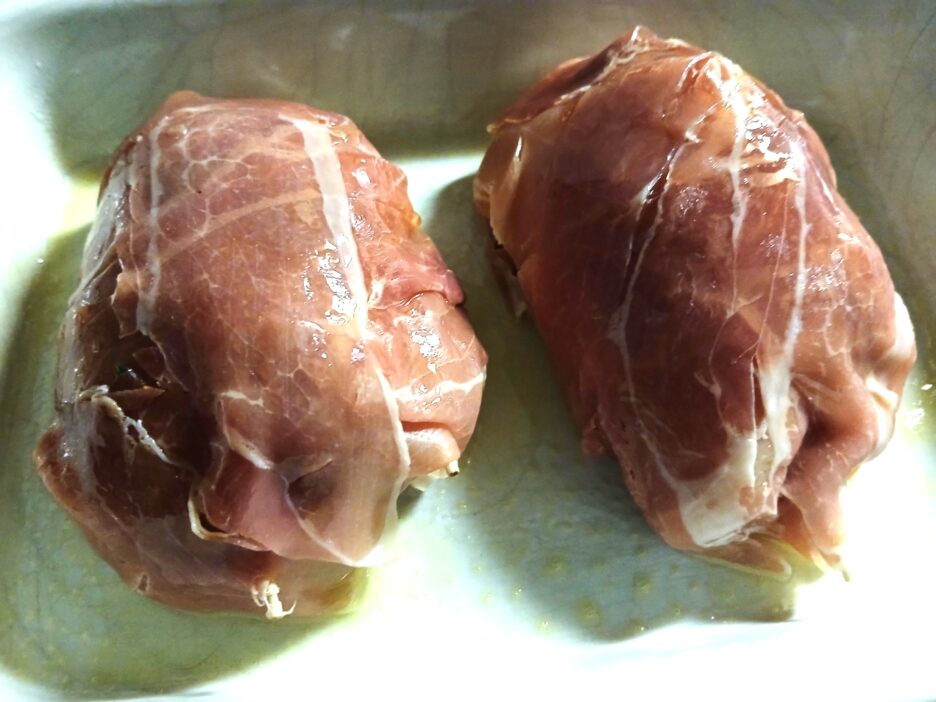
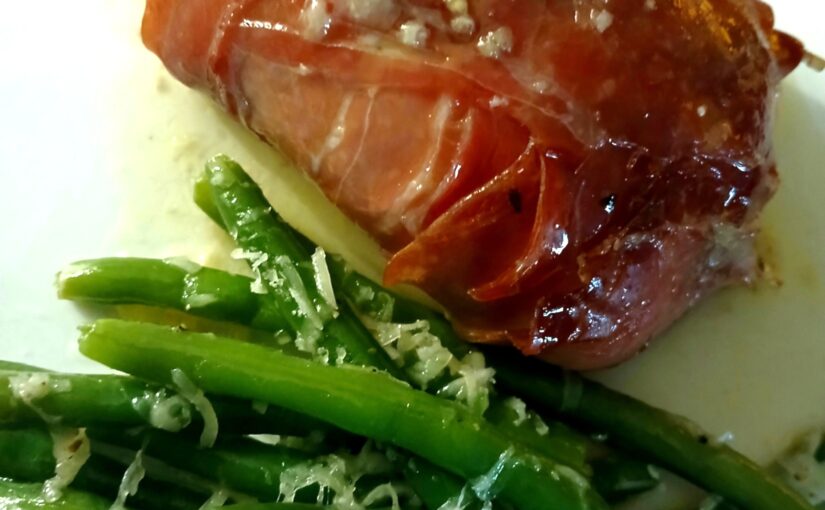
What came out smelled delicious and looked pretty good, too. Once it was plated and accessorized with some green beans it was time for the big reveal.
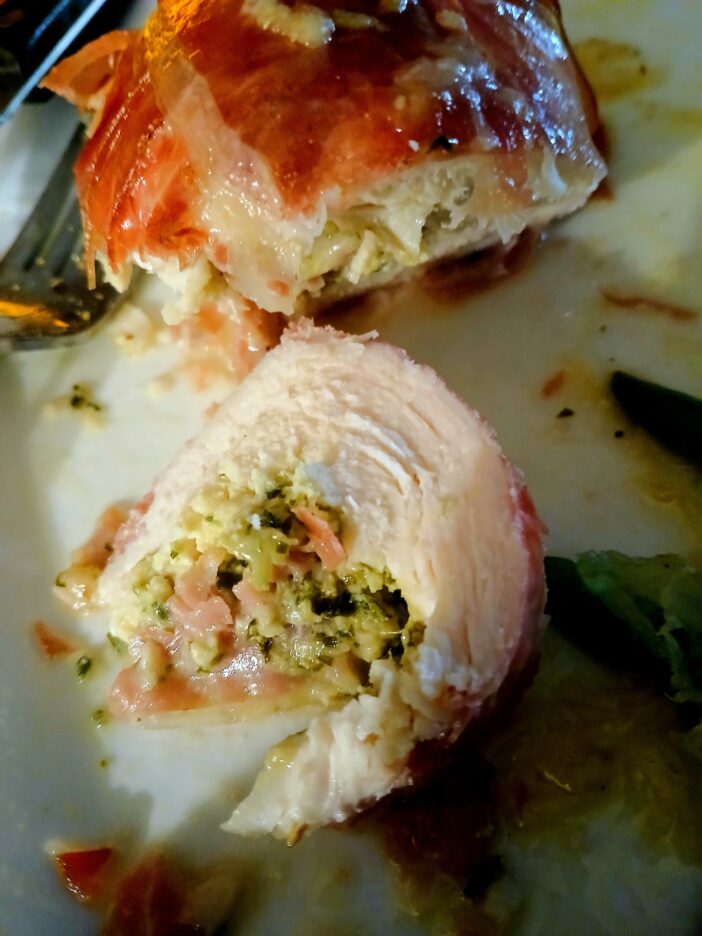
It was very tasty and showed me that every recipe can be changed into something different and sometimes, even better. So now, here with just a little fanfare, is the new version.
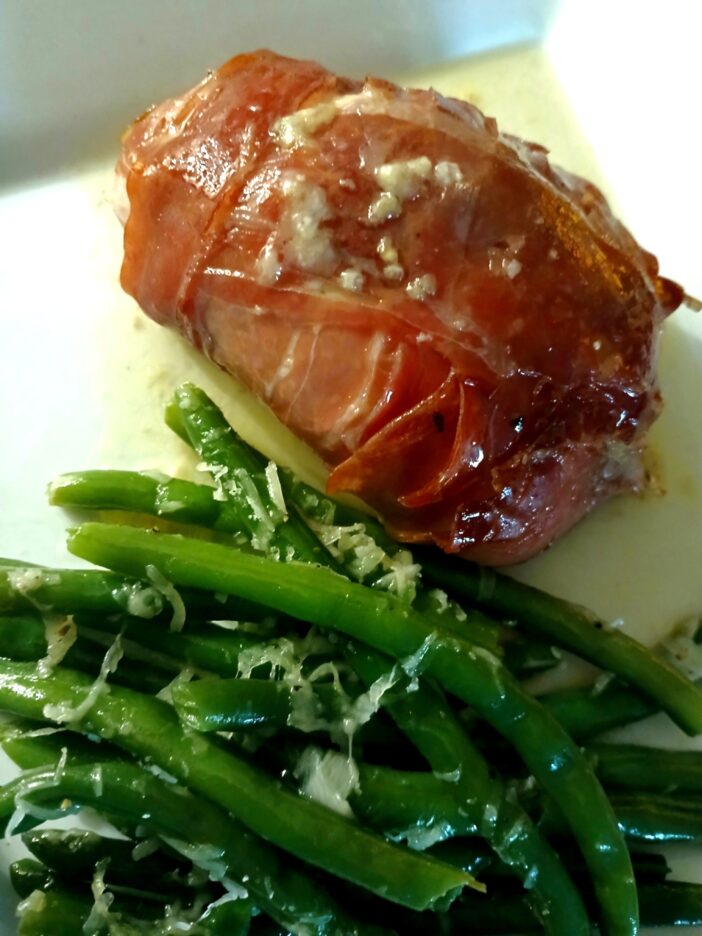

Italian Style Chicken Cordon Bleu

A new take on an old recipe.

Course: Main Course
Cuisine: Italian
Servings: 2
Author: binner216@comcast.net
Ingredients
  • 2 Large Boneless Skinless Chicken Breast Cutlets
  • 2 Oz. Provolone Cheese (smoked style if you like) Thinly sliced
  • 1/4 Cup Pesto Homemade if you have it
  • 3-4 Oz. Prosciutto Thin slices
  • Freshly ground pepper
Instructions
  1. Pound your chicken breasts to an even thickness. If your chicken breasts are on the thick side, remove the tenderloin and trim the thicker underside to match the rest of the breast..

  2. Lay the pounded breasts on a mat underside up. Season with pepper. Spread each breast with an even layer of the pesto, leaving a 1/2 inch border.

  3. Layer the cheese on top of the pesto. leave a 1/2 inch edge all around.

  4. Top each breast with 1 slice of prosciutto tear or fold to maintain the 1/2 inch border.

  5. Starting at the thinner, point end, roll the chicken breast firmly but not too tightly. Secure with toothpicks as needed. Make sure you know how many and approximately where they are, trust me.

  6. Wrap the chicken rolls with prosciutto. You can totally enrobe them or for a less salty version, wrap without overlapping..

  7. Place in a baking dish and roast in a 350 degree oven for 25 minutes or until an instant read thermometer registers 160 degrees. Allow to rest until the internal temperature is 165. Remove all of the toothpicks

  8. Serve with a drizzle of the pan juices if you like.

Mustard Wet Rub…for Chicken or Pork


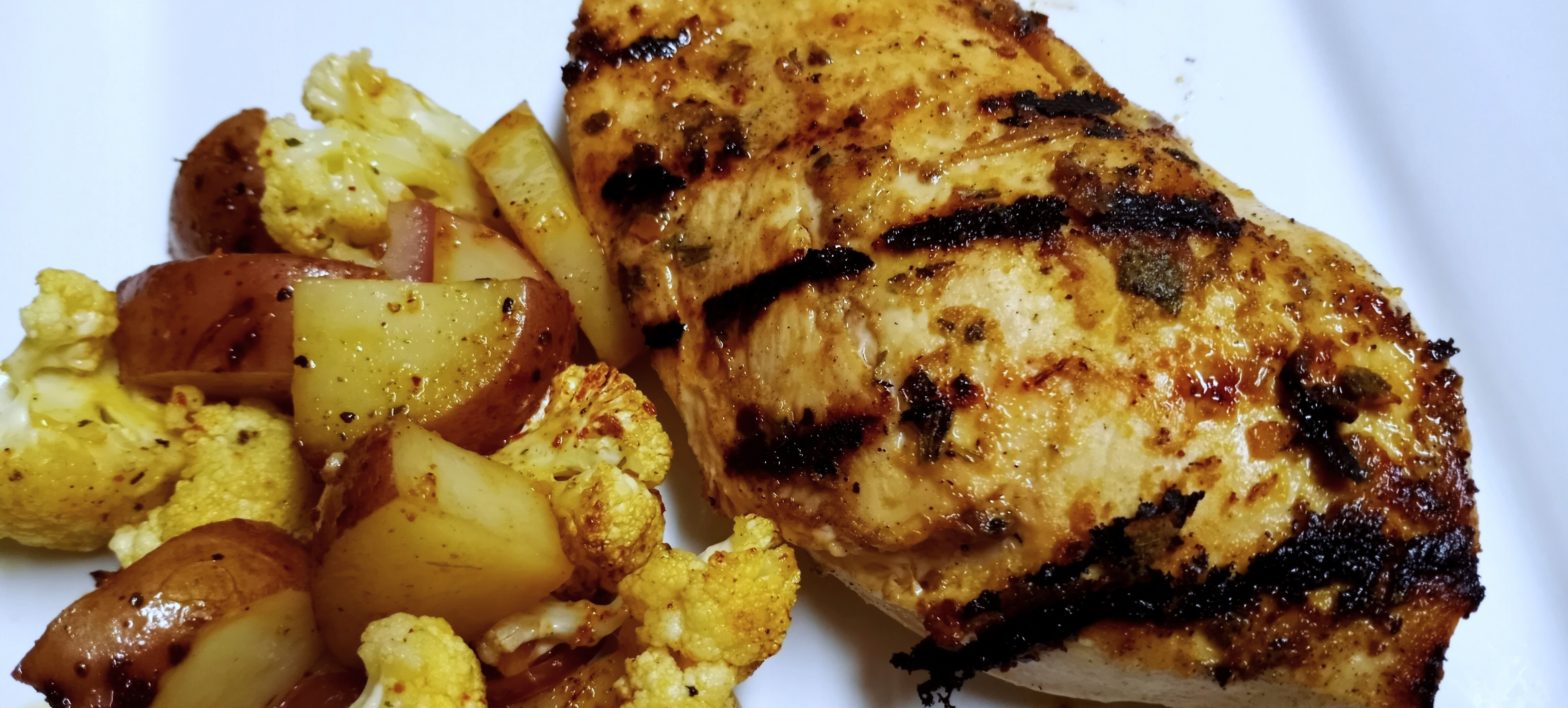
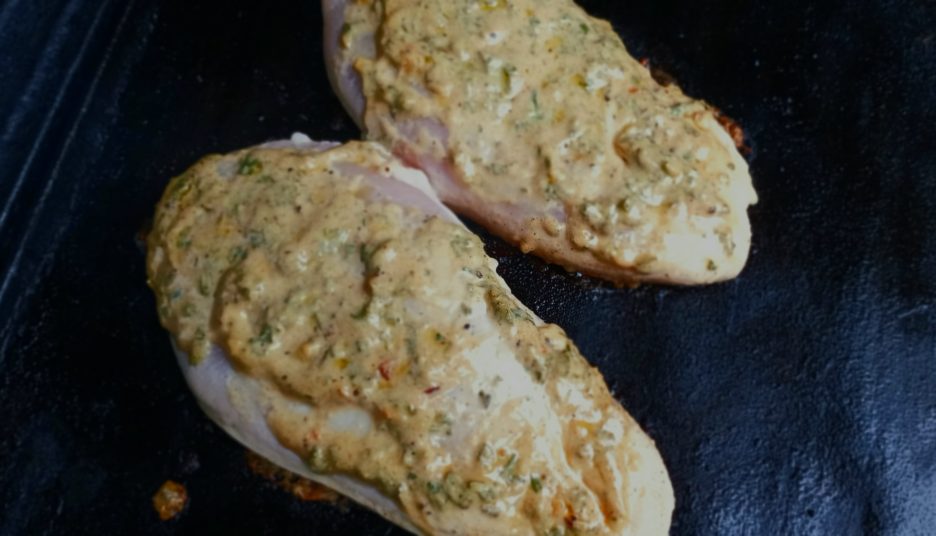
Even though we are unofficially heading into fall, in most places it still feels like summer. I grill no matter the season and I am sure I am not alone. Here is another way to impart flavor into those lean proteins you grill. It falls somewhere between a rub and a marinade so the somewhat questionable name “Wet Rub” seems to be pretty accurate.

The ingredients are simple with mustard as the key player. As with all my recipes, you have my blessing to change it up however you like. Think of all the mustards out there… think of all the herbs…all the spices, you could make variations of this for the rest of your grilling season.

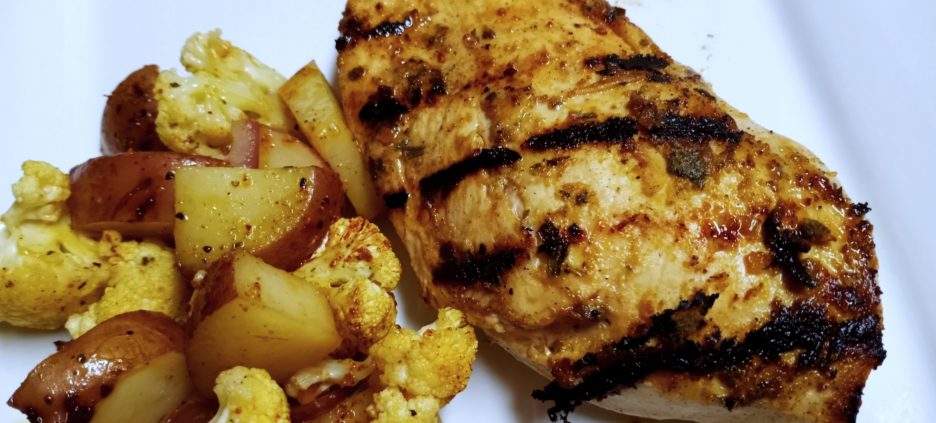
I love this on  boneless-skinless chicken thighs and have done it with breasts as shown here. I think it would be great on pork tenderloin or chops as well.

So, here is the blueprint, make it your own. Happy grilling and a merry, merry Fall to all.

Mustard Wet Rub

A savory wet rub that is great on chicken or pork. Use whatever herbs you have on hand and feel free to adjust any of the ingredients to suit your taste. This is enough rub for two servings.

Keyword: Rubs and Marinades
Servings: 2
Author: binner216@comcast.net
Ingredients
  • Cup Dijon Mustard
  • 2 Tbsp Fresh Herbs Sage, rosemary or your choice
  • ½ Tbsp Lemon Zest
  • 1-2 Tbsp Olive Oil
  • 1 Tsp Brown Sugar
  • ¼ Tsp Red Pepper flakes
  • 1/2 Tsp Salt free Lemon Herb seasoning
  • Salt & Pepper To taste
Instructions
  1. Combine the ingredients in a small bowl and mix well. Give it a taste and make any adjustments.

  2. Cover and refrigerate for at least 2 hours to allow the flavors to blend.

  3. Brush evenly on both sides of the chicken (or pork) and refrigerate for about a half hour.

  4. Grill on medium direct heat until cooked through. Time will vary based on the type of protein.


Caribbean Grilled Chicken Salad

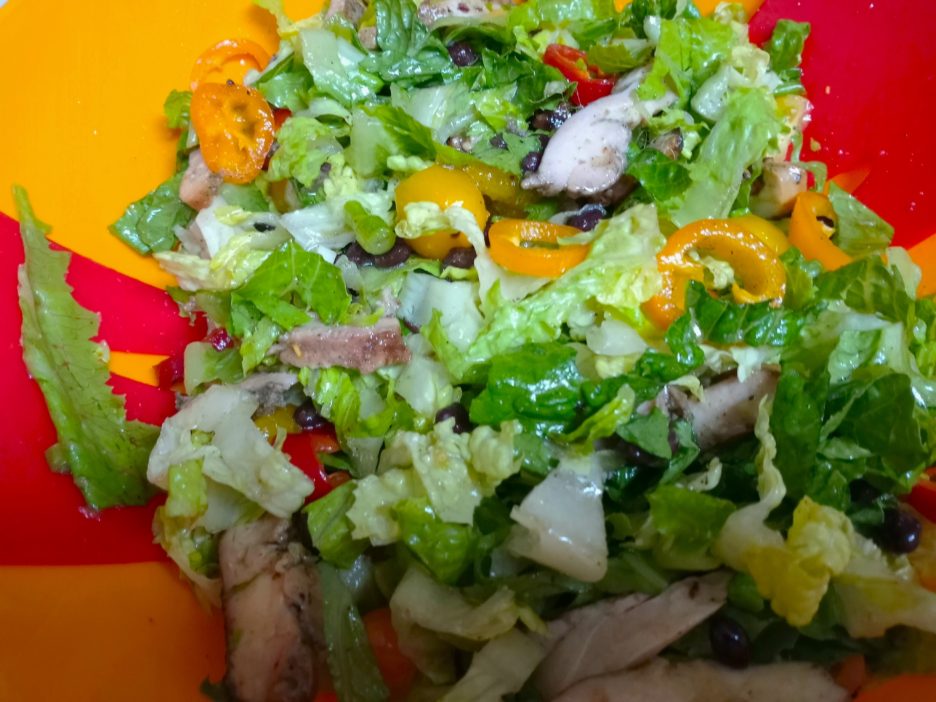
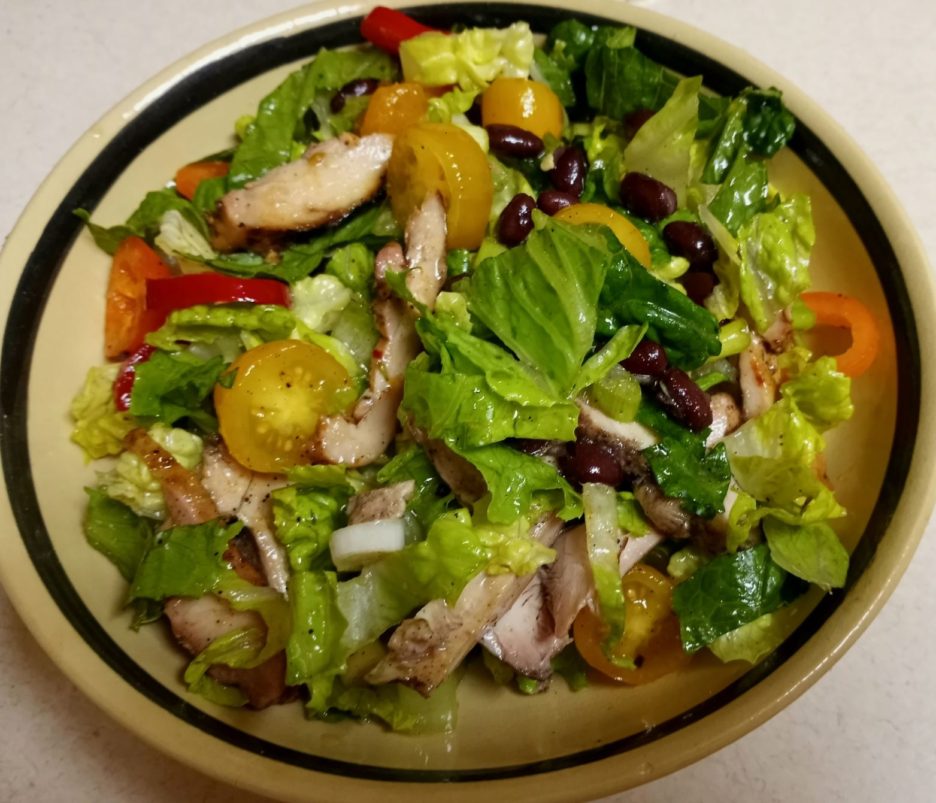
Summer is upon us, and here in Northern Illinois it has been upon us with a vengeance. Grilling and salad suppers are the order of the day. Chicken, and in particular, chicken thighs are the most popular grilling item in my kitchen and on my grill. I love the bone in, skin on variety. Neatly trimmed, the small blanket of skin imparts added moisture and a cozy cover to hold in herbs and spices. Much as I love them, I am currently besotted with their boneless, skinless brethren. They are so versatile, forgiving on the grill, moist and delicious. They stand up to a hearty marinade that they can languish in for 24 hours. So, now that I have confessed my love, let me tell you how I used them this time around.

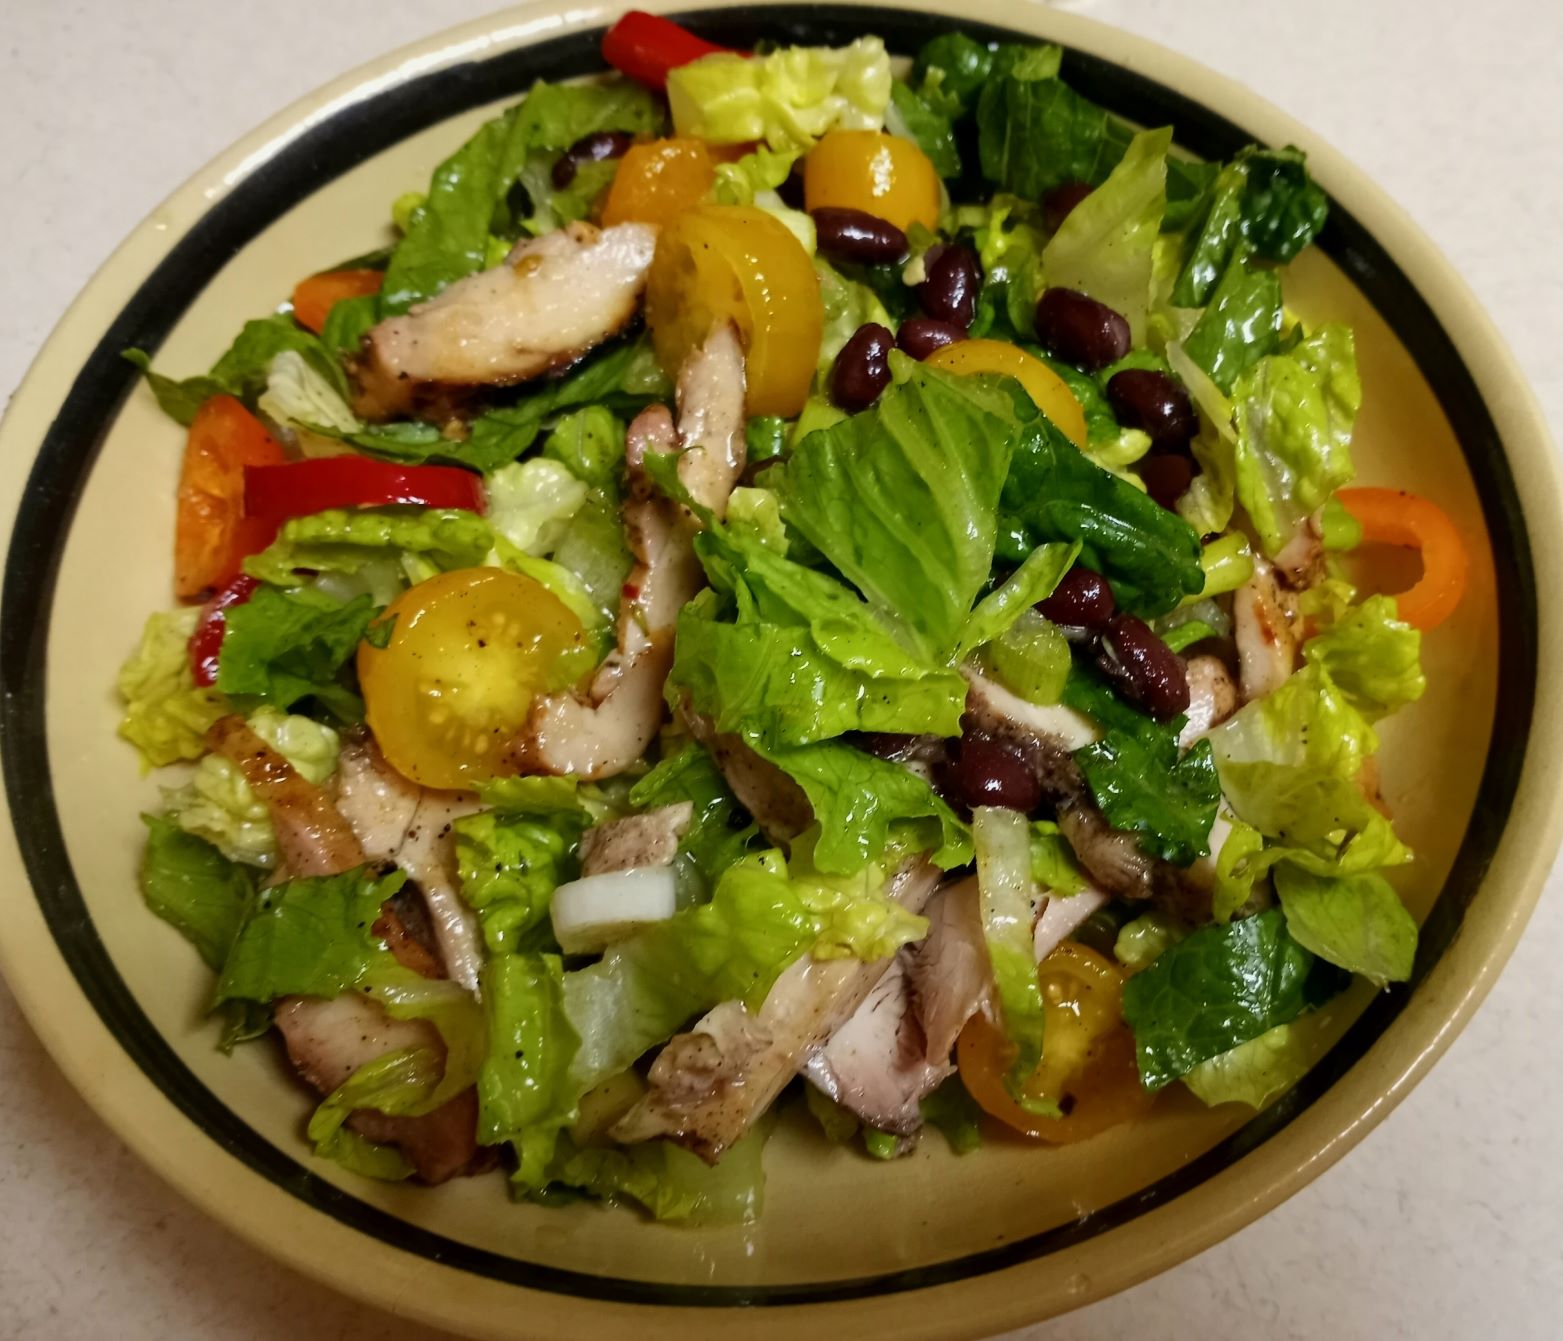
These chicken thighs were leftovers gifted to me by my son, “The Grill King.” He had made Caribbean and Jamaican marinated chicken thighs and had more leftovers than his leftover resistant family(???) could finish. I took one of each, the Caribbean being more sweet than spicy and the Jamaican being just the opposite. It was just the right amount of chicken and spice for a supper salad for two.

This is how I made mine, but as always, make it your own.

Caribbean Grilled Chicken Salad
Course: Main Course, Salad
Servings: 2
Author: binner216@comcast.net
Ingredients
  • 2 Grilled Chicken Thighs Marinated as you choose
  • 4 Cups Chopped Romaine Lettuce
  • 1 Cup Sliced Mini Bell Peppers Slice into rings
  • 1/2 Cup Sliced Green Onions White and part of the green
  • 1 Cup Black Beans Drained and rinsed
  • 1-1/2 Cups Cherry Tomatoes, halved Any color you like
  • 1 Cup Mandarin Orange segments Well drianed
Honey Lime Dressing
  • 2 Tbsp. Honey More or less to taste
  • 1-2 Tbsp. Cider Vinegar
  • Juice of one lime
  • 1 Clove Garlic Grated
  • 1/4 Cup Canola Oil
  • 1 Tsp. Jamaican Jerk Seasoning More or less to taste
Instructions
  1. Slice the chicken into thin strips.

  2. Mix all of the dressing ingredients together in a jar with tight fitting lid. Shake until well blended. Can be made ahead and refrigerated. shake well before adding to the salad.

  3. Combine the lettuece, chicken, green onions, peppers, tomatoes,, and black beans in a large salad bowl. Pour the dressing around the edge of the salad and toss to combine.

  4. Add the orange sements and gently toss again. Serve.

Here are some ways to play with this recipe:

Use whatever marinade you want for the chicken. Make it yourself or buy a ready made one.

Don’t care for Romaine? Spring Mix or a spinach blend would be great, too.

Use pineapple instead of oranges or how about mangos, even a combination of any or all would be delicious.

Add more beans, leave them out, our try a different variety.

Substitute red onions for the green onions.

As far as the dressing goes, make any adjustments that make your palate sing.

There are many more ideas that you can think of and as always you have my blessing to use them.

Have a safe and happy summer filled with family, friends and delicious food.

The Morning (or several mornings) After…Thanksgiving Leftovers

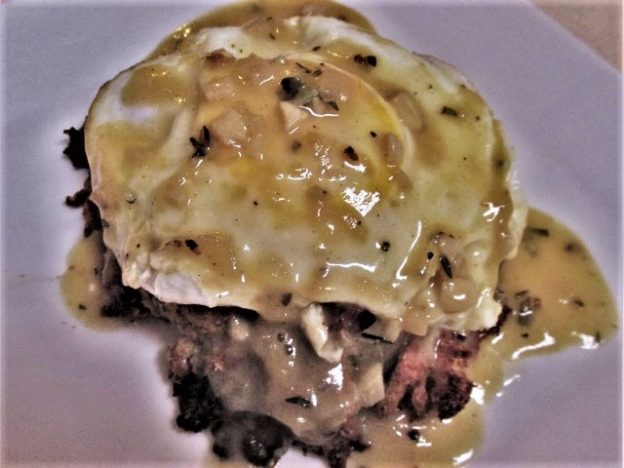
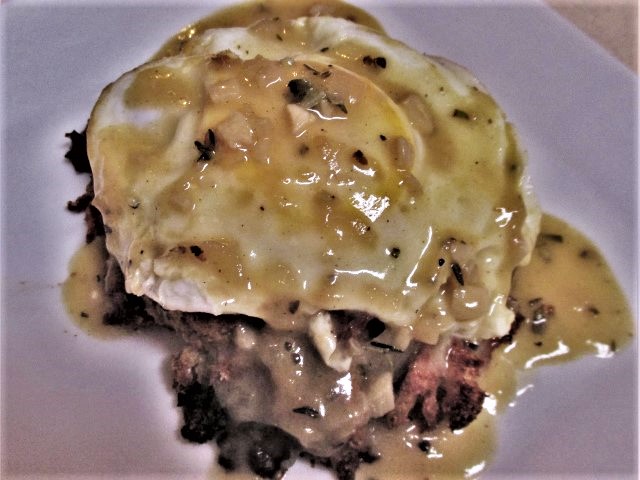
Thanksgiving 2020 is now history. For most of us, it was very different. More intimate, scaled down, and possibly quieter (unless grandchildren were involved). Leftovers haven’t changed much, there are still a lot of them because even if the gathering was smaller, the recipes were not. Several mornings ago, I used my two favorite parts of the meal for a breakfast creation. I have christened it Stuffing Benedict and it is a squint eyed reimagining of the classic Benedict.

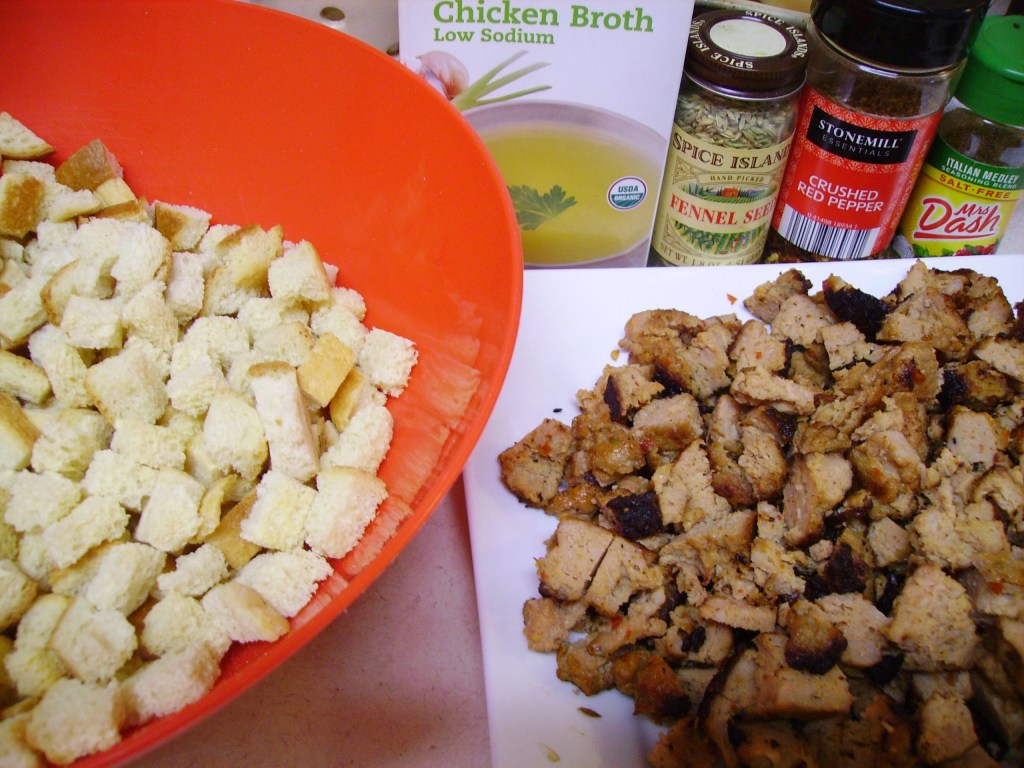
It is really simple. Baked Stuffing Patties are topped with a fried egg and drizzled with gravy. That’s it in a nutshell, if you’ve got stuffing and gravy leftover you can make this. What I would like to share are the recipes that I used. The stuffing was my Cali-Itali. Sourdough bread, Italian Sausage, and Artichoke Hearts combined with a little spinach and lots of onions and garlic.  Recipe Link Here
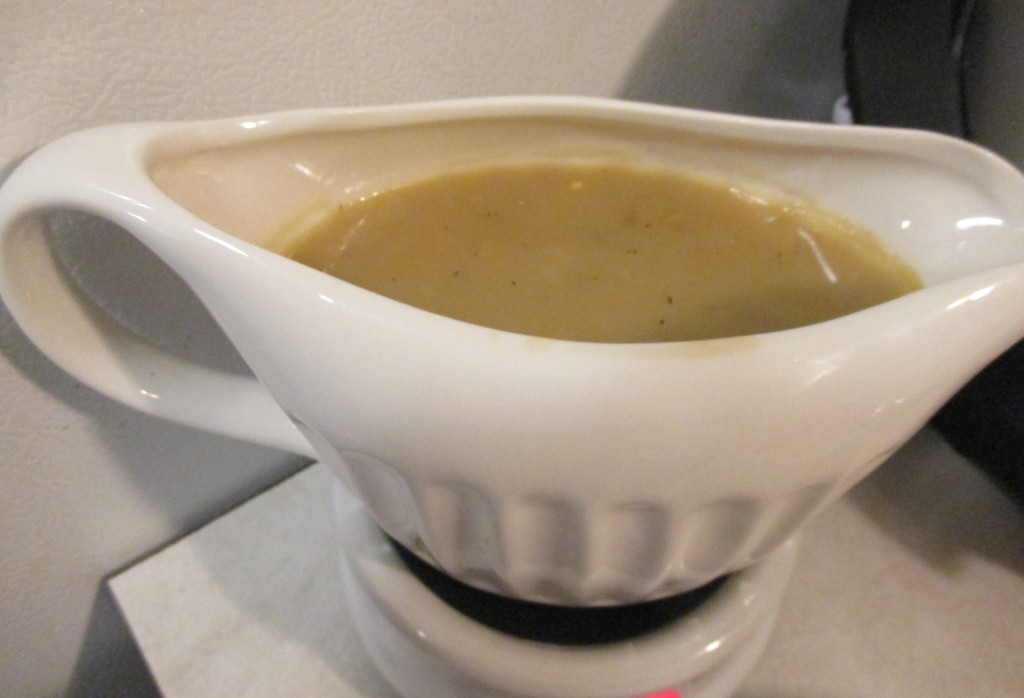
The Gravy was another nod to the Cali-Itali heritage, Garlic and Wine Gravy. Turkey stock, a nice California Chardonnay, Shallots, Herbs and of course lots of Garlic. Recipe Link Here
Hopefully, next Thanksgiving will feel a little more normal. In the meantime, stay healthy and safe, oh, and cook with love.


One Way to Stuff a Chicken Thigh

I’m always ready for a new cooking adventure, so the idea of stuffing a chicken thigh entered my mind. I love using boneless, skinless, chicken thighs because they are always tender, juicy, and flavorful. I love them grilled and they respond well to oven roasting too. In fact I have prepared them in many ways, but I’ve never tried to stuff them.

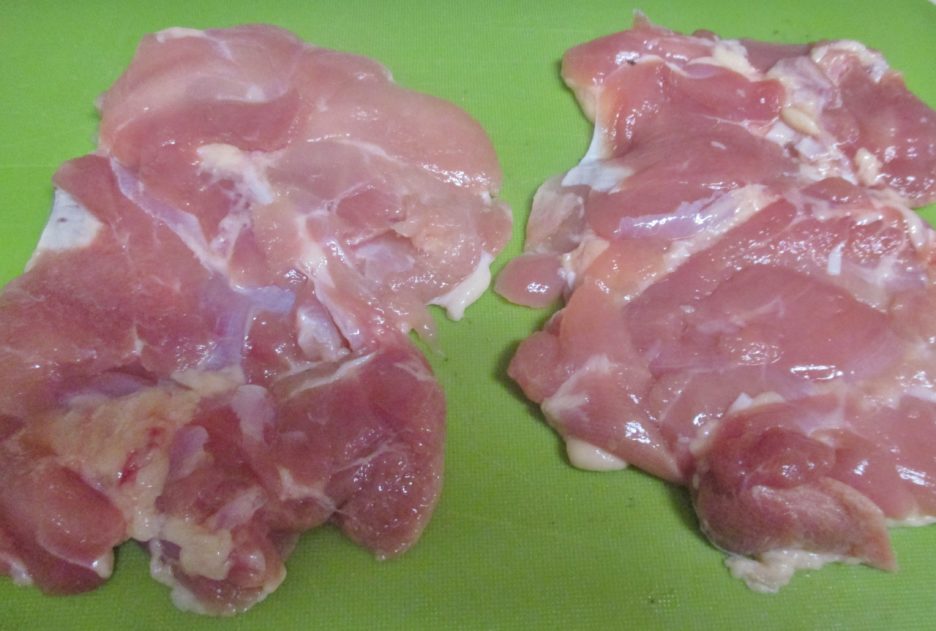
Tasty they may be, but they are not what one would call uniform in size and thickness. There are several muscles at play here  that create a flattening challenge. Patience and the tried and true meat mallet and plastic wrap finally resulted in a pretty even playing field.

A note here about fat. Thighs do have a certain amount of surface fat…juiciness does not occur in a vacuum after all. In a nod to health and fat intake I do remove most of that surface fat, but in another nod to tasting yummy, I leave a little on.

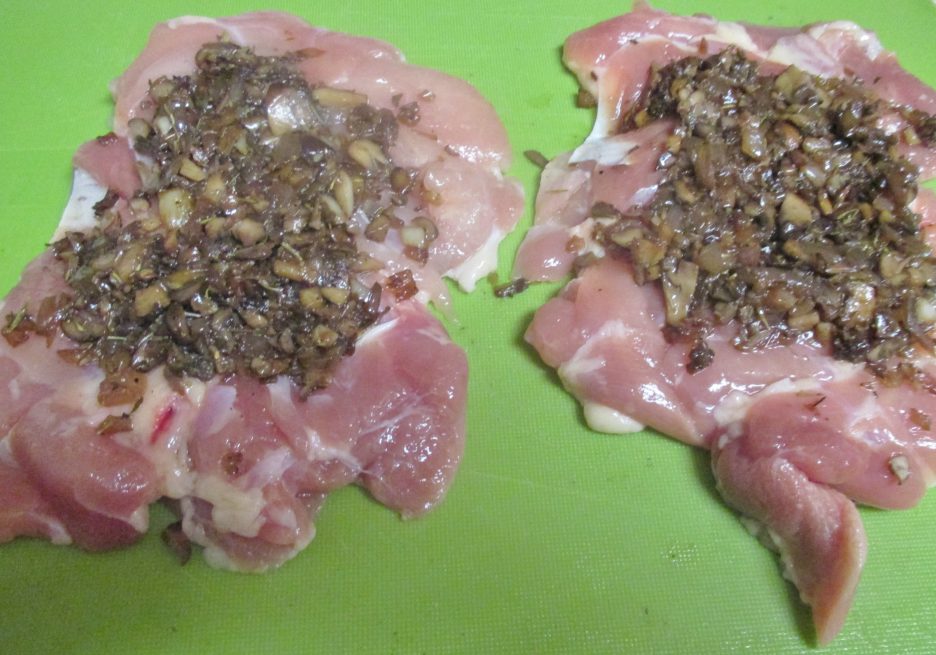
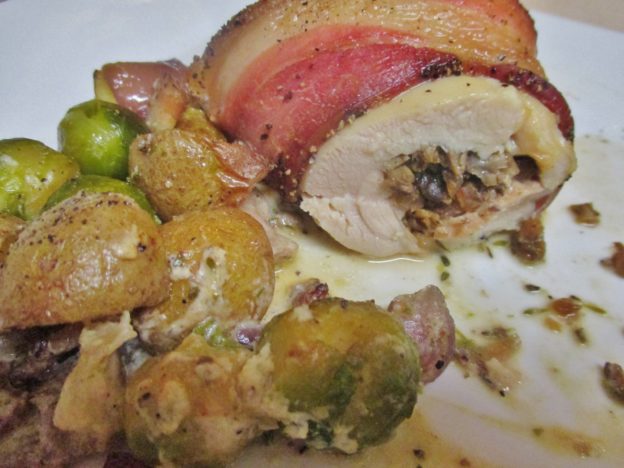
I decided that my filling would be a combination of good and evil. I started with crimini mushrooms and shallots. I sautéed them in a little olive oil until they were reduced to flavorful bits and spread them on the flattened thighs.Here is where the healthy train derailed a bit. I added a modest pat of Garlic Herb Cheese before rolling the thighs into plump torpedos. To help them stay rolled, I wrapped them in a strip of bacon.
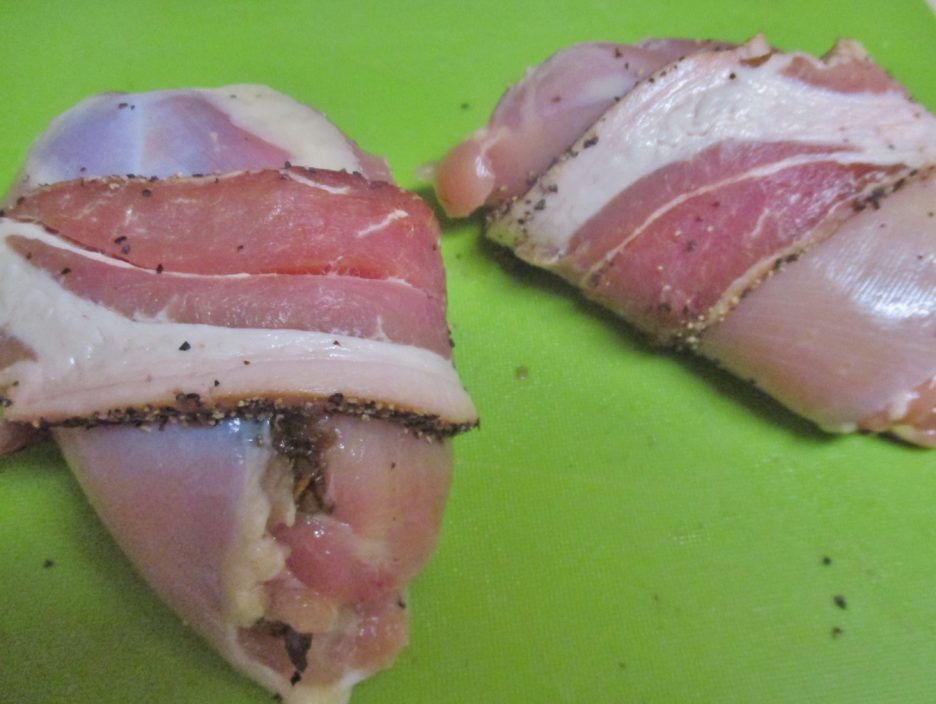
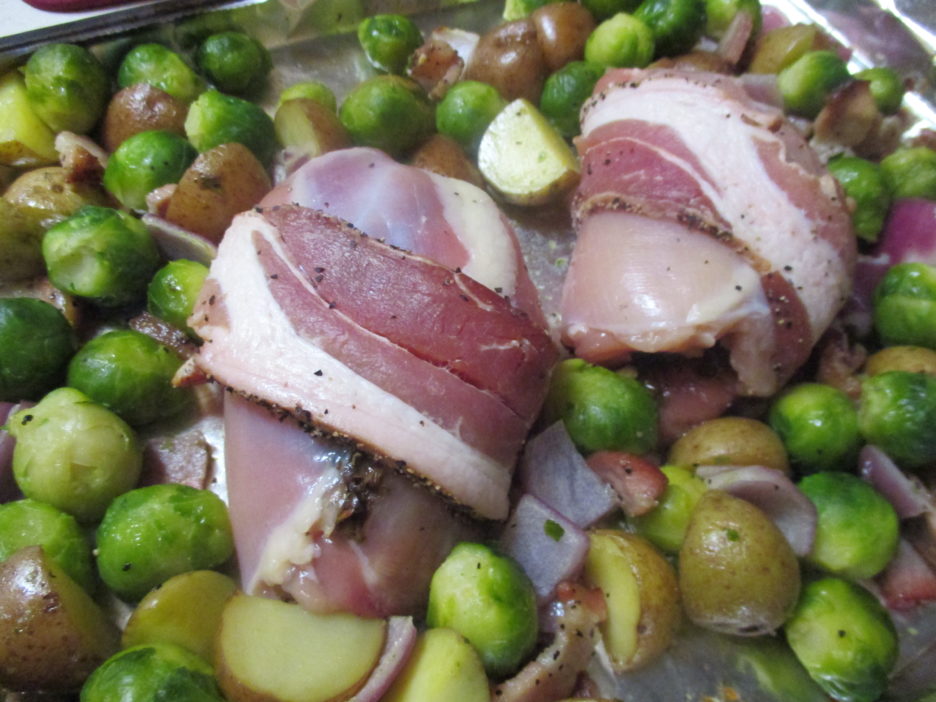
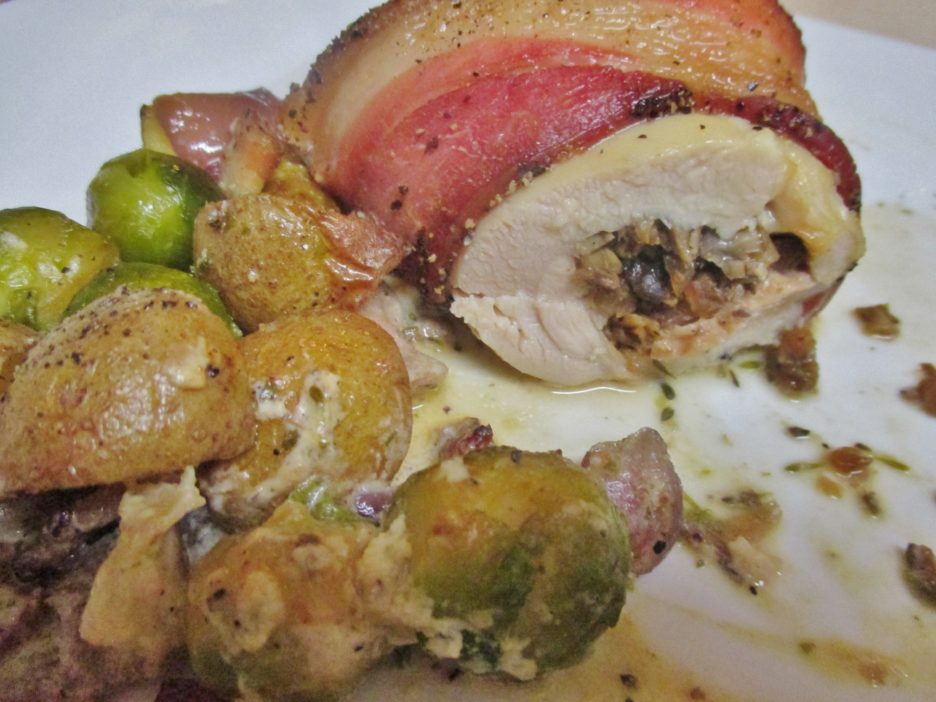
I am having an ongoing love affair with sheet pan meals. I love the ease of having everything in one place even if they don’t always cook for the same amount of time. Once my little torpedoes were ready, I centered them on a foil-lined pan (another easy step; cleanup is throwing the foil away). They were surrounded by brussels sprouts, potatoes and onions, and maybe just a little more bacon which had gotten a bit of a head start. Everything was done in about 30 minutes.

The chicken was delicious even though a bit of the cheese oozed out (happily onto the vegetables). This was an elegant meal, suitable for company, but easy enough to be a welcome weeknight supper.

Stuffed Chicken Thighs
Servings: 2
Ingredients
  • 2 Large Boneless Skinless Chicken Thighs
  • 4 Ounces Crimini Mushrooms Finely chopped
  • 1 Large Shallot Finely chopped
  • 1 Clove Garlic Finely chopped
  • 1 Tbsp. Olive Oil
  • 2 Tbsp. Garlic Herb Cheese Like Alouette
  • 2 Strips Bacon
  • Salt & Pepper
Instructions
  1. Trim the excess fat off the chicken thighs. Using plastic wrap and  something flat and heavy, pound the thighs to as even a thickness as possible. Try to make them 1/2" thick or less.

  2. Heat the olive oil in a medium skillet. Add the mushrooms and shallots and cook until golden. About 5 minutes. Add the garlic and cook 2-3 minutes more until the garlic is soft and fragrant. Set aside.

  3. While the mushroom mixture is cooking, form the Garlic Herb Cheese into small logs. Wrap loosely and put in the freezer. Chilling the cheese will keep it from oozing out too much.

  4. Lay the thighs out smoother side down. Season with salt and pepper to your taste. Divide the mushroom mixture between the the thighs. Top each with a garlic cheese log. Roll up carefully and wrap a strip of bacon around each thigh bundle. Secure with a toothpick if necessary.

  5. Bake at 375 degrees for 25- 30 minutes. Serve with sides of your choice.

To Make this a Sheet Pan Dinner
Note: To create a sheet pan dinner, toss brussels sprouts, chopped potatoes, and onions (or vegetables of your choice) with a drizzle of olive oil, salt and pepper, and maybe a chopped strip of bacon. Roast at 375 degrees for 10-15 minutes before adding the chicken to the center of the pan. Continue roasting as noted above.

As the title suggests, this is just one way to stuff a chicken thigh. Grab your meat mallet, use your imagination and create your own tasty torpedos.