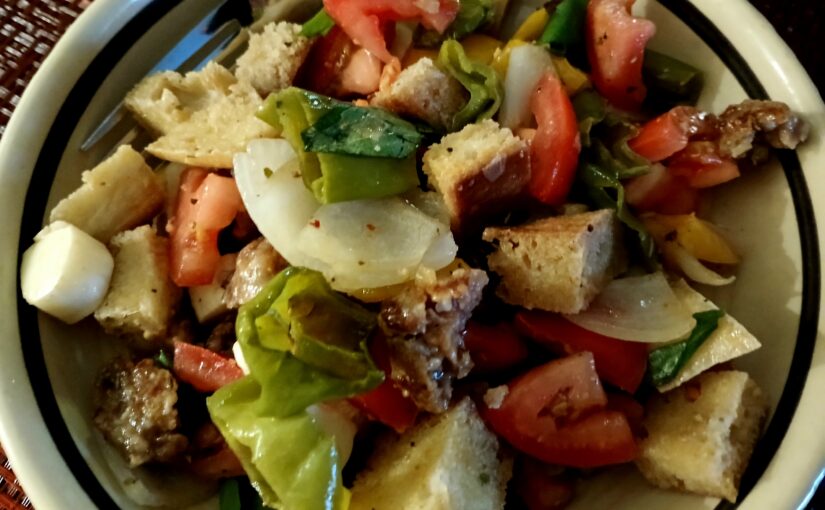
Melrose Pepper Panzanella Salad

If you have followed along with my kitchen adventures over the years, you know that some foods pop up every Summer. This is all about the combination of two of my favorite summer foods, Melrose Peppers and Panzanella Salad. I’m not sure why I haven’t thought of them together before, but it has been hot and humid enough to make my brain take strange detours and this recipe is the result.

There have many entries here that have involved Melrose Peppers:
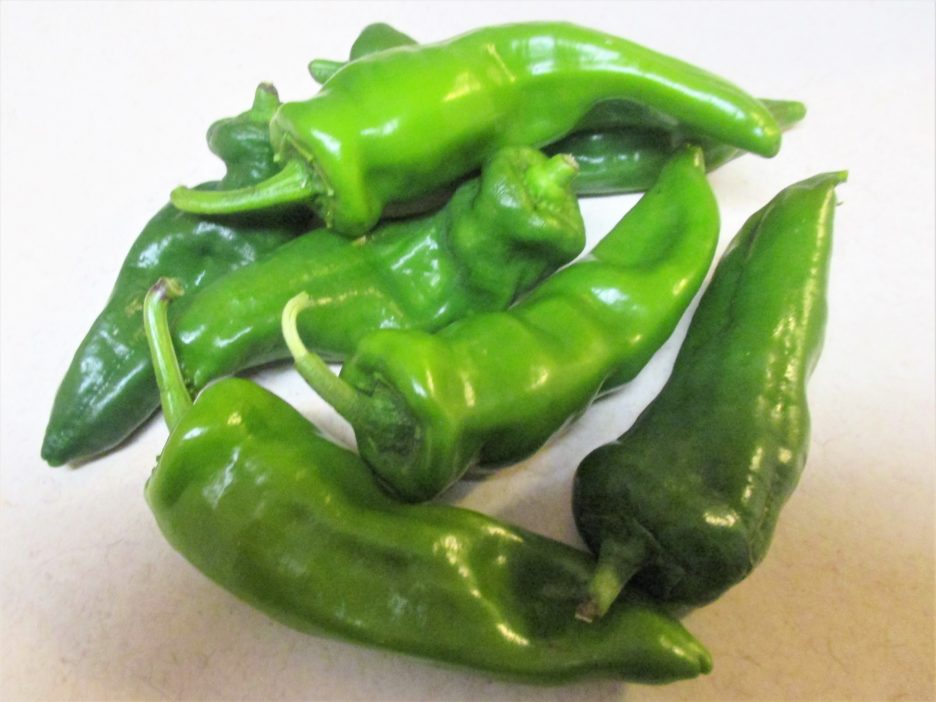
https://mamadskitchen.net/2022/08/23/melrose-peppers-a-most-wonderful-time-of-the-year/ 

There have also been a few entries about panzanella salad:
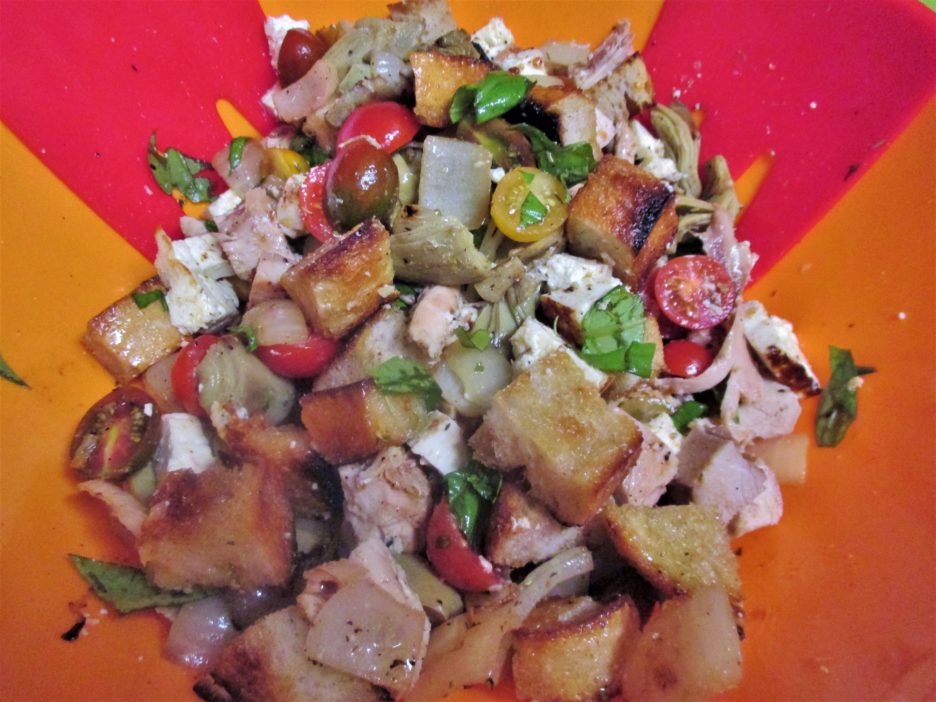
https://mamadskitchen.net/2018/07/21/panzanella-palooza-the-summer-edition/

These posts give a fairly nice overview of my love for these two summer favorites. There are more that you can peruse by searching both topics on my website, but this is something a bit new.

It all began, as it always does, with a trip to Caputo’s Fresh Market. This is the one store in our area that I can be sure to find Melrose Peppers. These thin skinned frying peppers have a close connection with my hometown of Melrose Park where they are said to have been brought from Italy by the many Italian immigrants that settled there.  Panzanella Salad originated in Tuscany and is a simple bread salad that is tossed with vegetables. So, here goes the mash up.

Usually tomatoes are the star of traditional panzanella, but they are taking a supporting roll to the Melrose peppers this time. These peppers sing sweetly when they are fried, but they are also wonderful when roasted, and I did just that.

A note about Melrose Peppers:  I know they are not available everywhere and a substitution could be Cubanelle or even the mini bell peppers that are in most every store’s produce department. Harder to find but a good swap are “Ancient Peppers,” Multi-colored, long, thin, and wavy, they are thin skinned and are great roasted.  I added a yellow “Ancient Pepper” for some contrast because I had one on hand. Since I decided that this would be a main dish I added some Italian Sausage and Mozzarella Cheese.
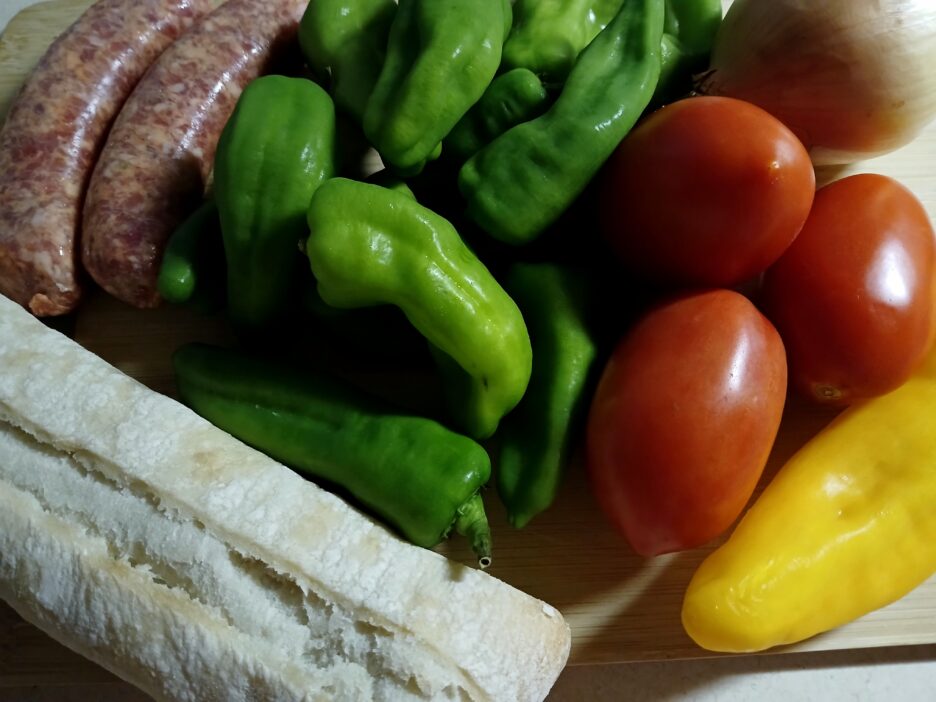
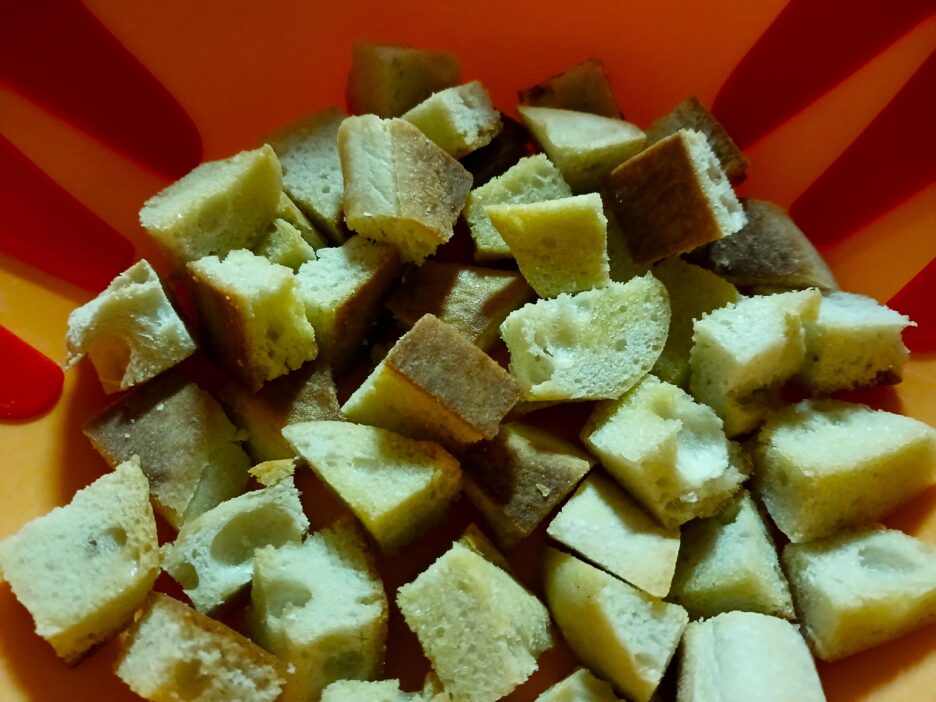
While the peppers and onions roasted, I prepped the other ingredients: The sausage was squeezed out of its casing and cooked in a fry pan over medium heat. I broke it up into bite size pieces as it cooked. The bread was cut into cubes and toasted, and the cheese was cut into cubes. The tomatoes also got sliced into bite size pieces.

Once everything was ready there was nothing left to do but put it all together. The order is important but not crucial, however the bread cubes should go in first. The bread is dry and crunchy at this point and you want it to get softer and let it absorb all the wonderful flavors that will be filling the bowl.
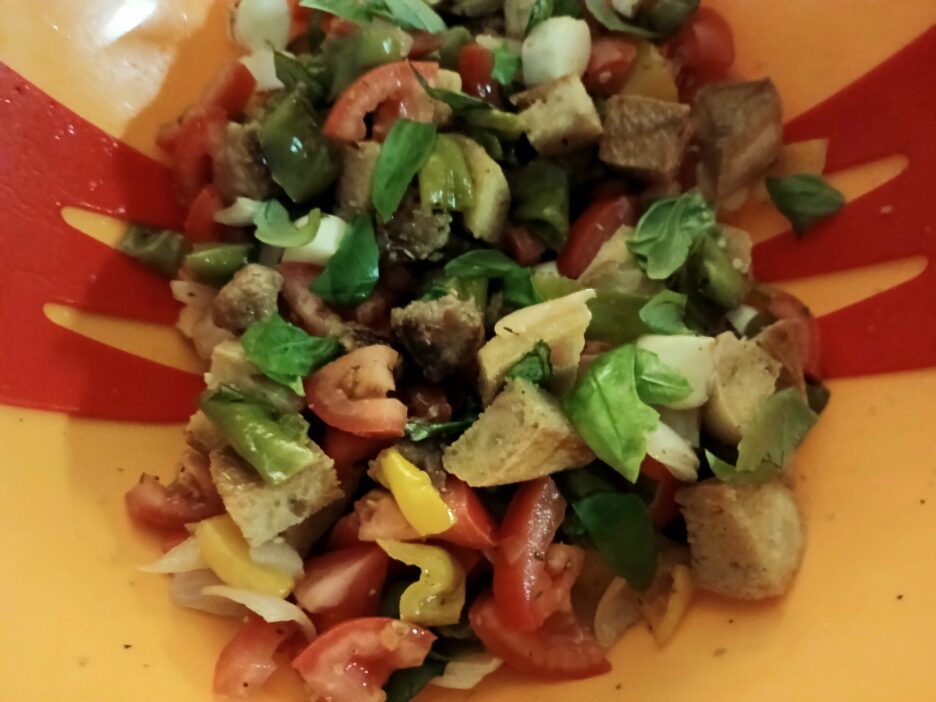
So in went the roasted peppers and onions along with their roasting juices, the cooked sausage, the tomatoes and the cheese. Now what did we need to bring it all together? A dressing of course. I used a very simple vinaigrette that works with all kinds of salads. That recipe will follow the recipe for the salad itself.

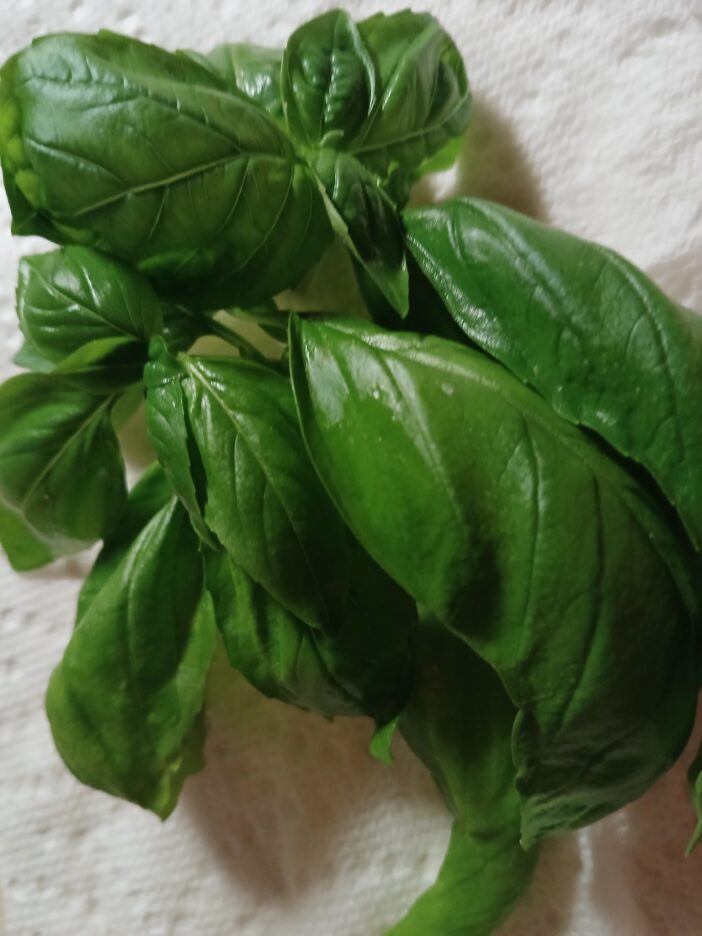
Now let’s talk about Basil. My plant on the balcony is still doing well and I snipped a few leaves to add to the salad. Roughly torn they were tossed with the salad and a few more were sprinkled on top. I love that deep herby flavor they empart.
So that is the newest entry into my Panzanella and Melrose Pepper collections. Here is the recipe for you to try.  Tweek and play with it, but make it before the summer is gone.
Melrose Pepper Panzanella Salad

This is the basic recipe. You are invited to adapt and play with it as you like.

Course: Main Course
Cuisine: Italian
Author: binner216@comcast.net
Ingredients
  • 6 Ounces Crusty Bread, slightly stale is best
  • 2 Links Italian Sausage
  • 8-10 Ounces Melrose Peppers (or another sweet frying pepper)
  • 1/2 Medium Onion
  • 3-4 Roma Tomatoes
  • 3 Ounces Mozzarella Cheese
  • Olive Oil
  • Salt & Pepper
  • 1/2 -3/4 Cup Basil, roughly torn Save a few leaves for garnish
  • 1/2 Cup Italian Vinaigrette homemade or store bought. You may need more.
Instructions
Prepare the Ingrdients
  1. Squeeze the sausage out of its casing into a fry pan. Cook the sausage over medium heat, breaking it into bite size pieces, until it is cooked through. Remove from pan and set aside.

  2. Slice the peppers into rings about an inch wide. Cut the onions vertically into 3/4 inch crescent moons . Combine them and toss with olive oil, salt and pepper. Spread them out on a cookie sheet and roast 20 minutes or so in a 375 degree oven. They should be soft but not mushy. Let them cool in the pan.

  3. Cut the bread into 1 inch cubes and lay them in a single layer on a baking sheet. You can spray them lightly with cooking spray if you want. Toast in a 375 degree oven until they just begin to turn golden. Watch them carefully!

    Cut the tomatoes and Mozzarella into bite size chunks

Assembling the Salad
  1. Place the toasted bread cube into a large deep bowl.

  2. Add the roasted onions and peppers including any roasting juices.

    Add the sausage, tomatoes and mozzarella.

  3. Add the dressing of your choice or use the recipe that follows. Start with about 1/2 cup. Toss well and add a little more dressing if you feel it needs it. Add the torn basil and gently toss again. Taste and add more salt and pepper if needed. Allow the salad to sit for 15-20 minutes to get everything well acquainted.

  4. Toss once more, check your easonings and dressing, then garnish with the reserved basil leaves. Serve.

Any vinaigrette that you love will work in this recipe. Here is one that I love. It is lemony, garlicky and bursting with herbs.
Mediterranean Vinaigrette

A twist on the classic vinaigrette with plenty of lemon and more than a hint of garlic. Add any fresh herbs of your choice. This is wonderful on a Greek salad, but it would be equally delightful as a dressing for grilled vegetable or a pasta salad. It makes a great marinade as well.

Ingredients
  • 1 Medium Lemon Juice and zest
  • 2 Cloves Garlic Grated
  • 2 Tbsp. White Balsamic Vinegar
  • 1/2 Tsp. Red Pepper Flakes Optional, to taste
  • 3 Tbsp. Chopped Fresh Herbs Parsley, thyme, basil, or you choice
  • Kosher Salt and Pepper To taste
  • 1 Tsp. Dijon Mustard
  • 1/3-1/2 Cup Olive oil
Instructions
  1. Combine all of the ingredients in a jar with a tight fitting lid. Shake until completely blended. Allow to rest in the refrigerator for at least one hour.


Here’s to the end of summer and to peppers and panzanella.

Italian Chicken Cordon Bleu: a New Take on an Old Recipe

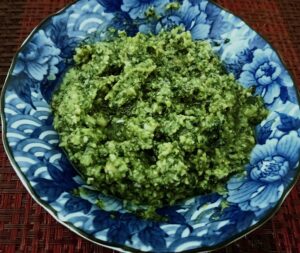
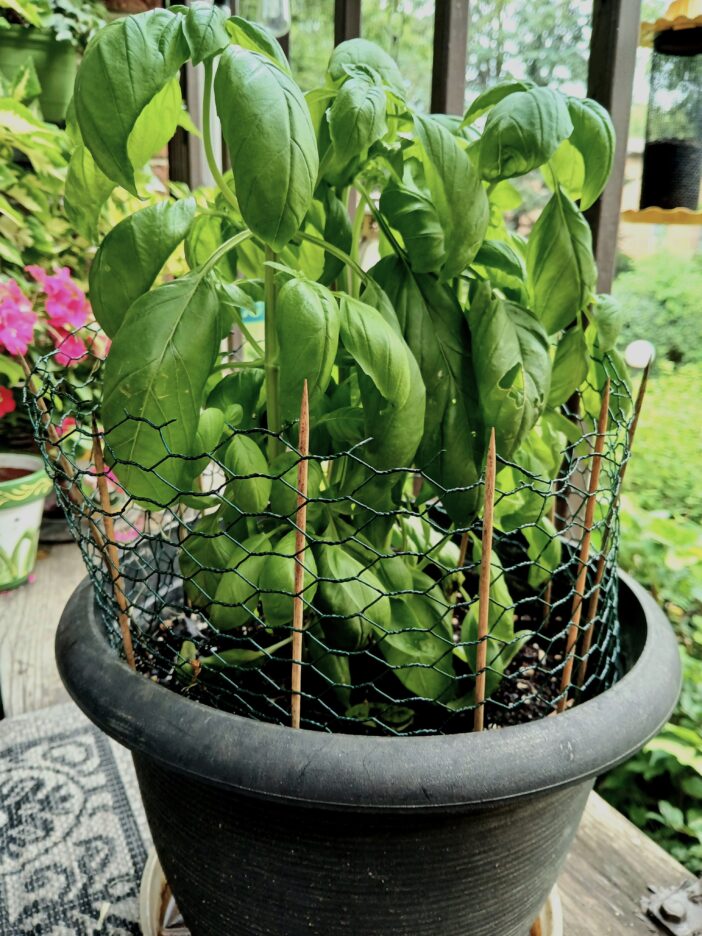
I just made the first batch of Pesto from my sun and heat loving basil plant. It has been living happily on my balcony all summer, but it didn’t have an easy time of it. In fact this is basil plant #3. The first one was heartlessly destroyed by a marauding squirrel. The second one died a quick death caused by our crazy spring weather and a watering mishap. Plant #3 has survived and thrived. Partly because unlike some other plants, it really loves hot, dry, weather, but also because I built a chicken wire blockade surrounded by bamboo sticks that the squirrels can’t invade.

This is a picture of my plant, post pesto haircut. Yes, this is Mama D’s personal war with squirrels.

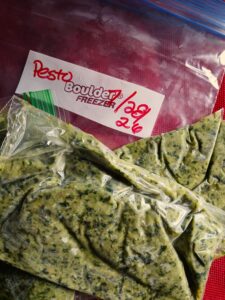
I love fresh basil. I use it in salads and pasta sauce, but my favorite use is to make pesto with it. Pesto is a simple thick and rich sauce simply made with basil, garlic, pine nuts, cheese, and olive oil. It comes together quickly and can be frozen in small portions that can be at the ready to elevate any dish simply by its presence. Here is my original recipe for pesto. I don’t always use the parsley, opting for all basil, but it is good either way. https://mamadskitchen.net/recipe/roasted-garlic-pesto/

I have written about Pesto, a lot. I searched on my web site and found six pages of recipes that feature pesto in one way or another. It can be the star of a dish or a flavorful supporting player as my recipes illustrate. There has hardly been a year that a recipe using pesto wasn’t on the blog. Just search Pesto on my site and see  for yourself.

As I was looking over the pesto recipes, I found myself thinking that some of them could use an overhaul and decided that I would revisit and possibly re-work a couple of them. I often look back at old recipes and seem to see them with new eyes. Sometimes my available equipment has changed, other times my taste and sensibilities are in a different place.

First up is Chicken Cordon Bleu, Italian Style. I originally made it as a grilled, de-constructed, version using Prosciutto, Provolone, and Sage leaves.  Pesto, in this case, was a garnish. Here is the original version:  https://mamadskitchen.net/recipe/grilled-chicken-cordon-bleu-italian-style/

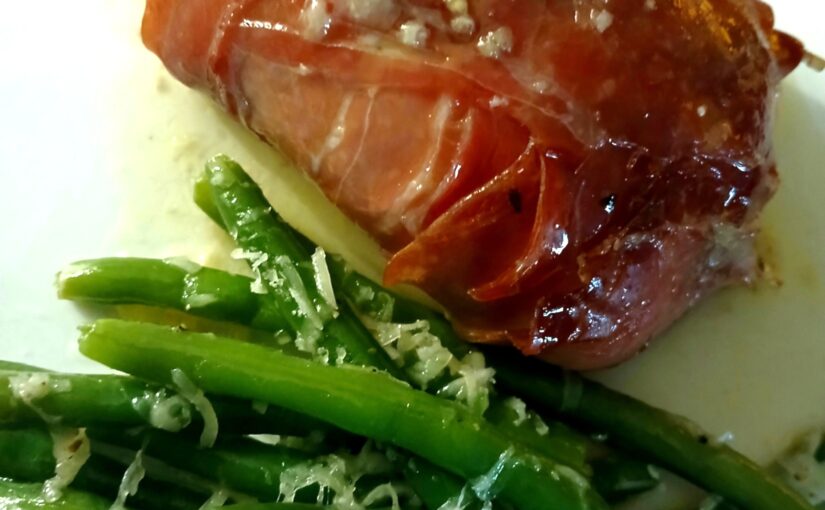
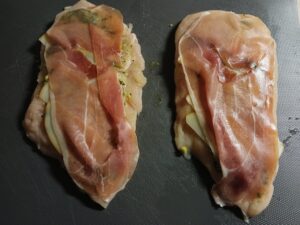
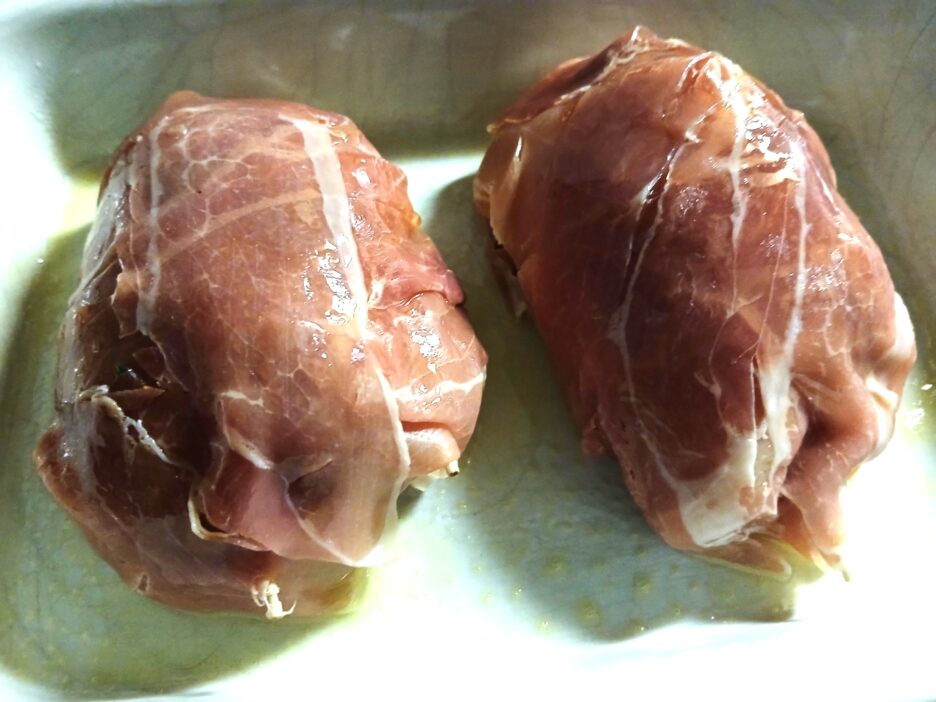
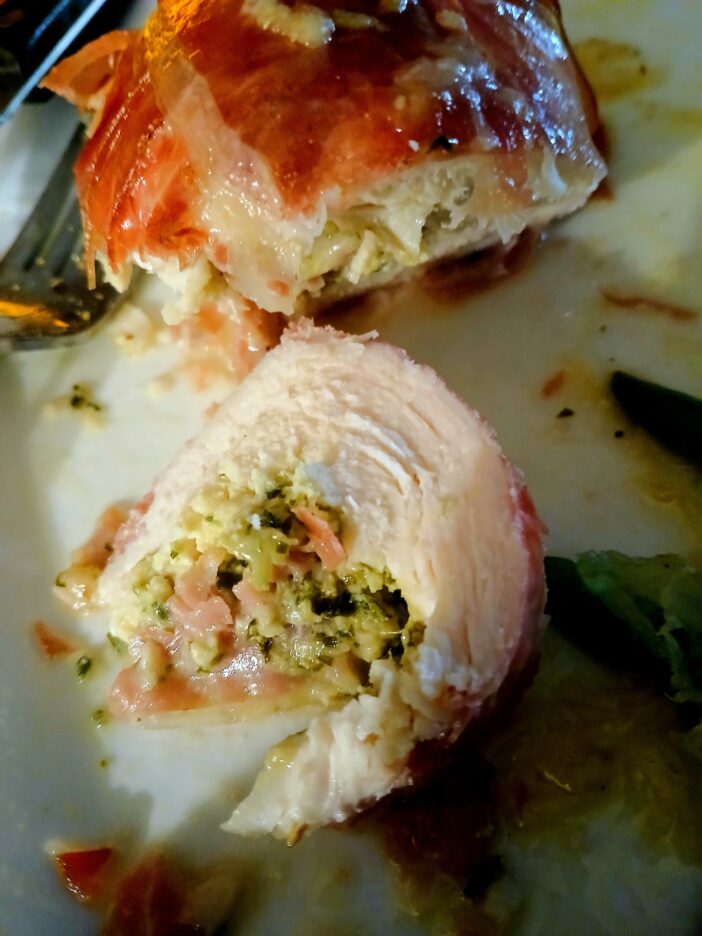
This time around, I wanted to make it more in the style of Traditional Cordon Bleu. That is putting the prosciutto  and cheese (smoked provolone) on the inside and wrapping the outside with more prosciutto. This also meant baking it instead of grilling it. Since I had a fresh batch of pesto, I decided to put it in the inside as well. Then it was a simple (sort of) process of rolling it up and securing it with some toothpicks. Finally, I enrobed it with prosciutto and sent it into the oven.

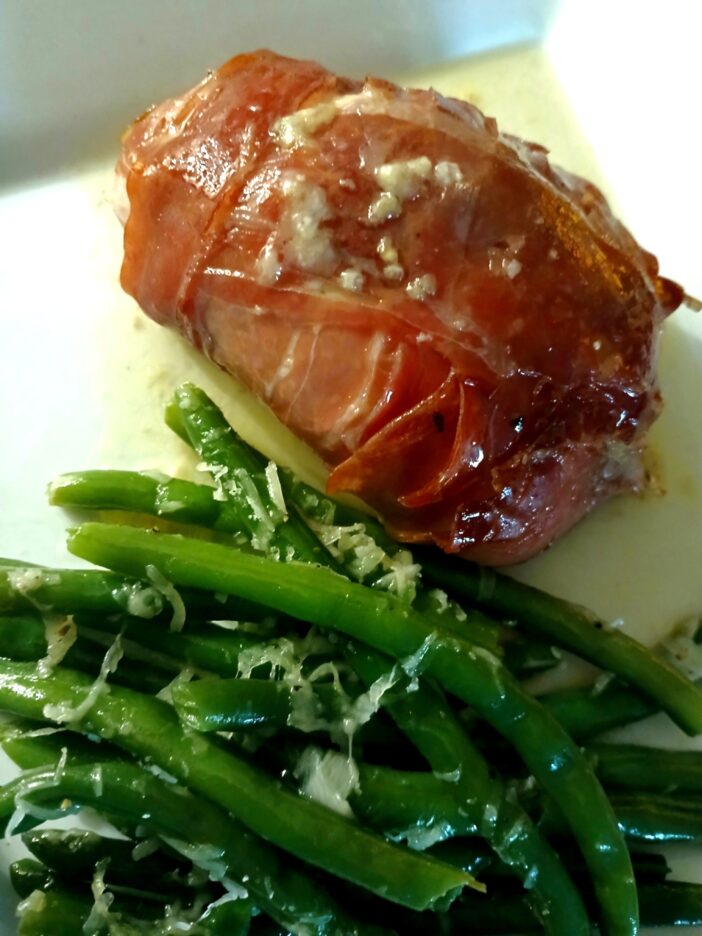
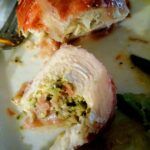
What came out smelled delicious and looked pretty good, too. Once it was plated and accessorized with some green beans it was time for the big reveal.

It was very tasty and showed me that every recipe can be changed into something different and sometimes, even better. So now, here with just a little fanfare, is the new version.

Italian Style Chicken Cordon Bleu

A new take on an old recipe.

Course: Main Course
Cuisine: Italian
Servings: 2
Author: binner216@comcast.net
Ingredients
  • 2 Large Boneless Skinless Chicken Breast Cutlets
  • 2 Oz. Provolone Cheese (smoked style if you like) Thinly sliced
  • 1/4 Cup Pesto Homemade if you have it
  • 3-4 Oz. Prosciutto Thin slices
  • Freshly ground pepper
Instructions
  1. Pound your chicken breasts to an even thickness. If your chicken breasts are on the thick side, remove the tenderloin and trim the thicker underside to match the rest of the breast..

  2. Lay the pounded breasts on a mat underside up. Season with pepper. Spread each breast with an even layer of the pesto, leaving a 1/2 inch border.

  3. Layer the cheese on top of the pesto. leave a 1/2 inch edge all around.

  4. Top each breast with 1 slice of prosciutto tear or fold to maintain the 1/2 inch border.

  5. Starting at the thinner, point end, roll the chicken breast firmly but not too tightly. Secure with toothpicks as needed. Make sure you know how many and approximately where they are, trust me.

  6. Wrap the chicken rolls with prosciutto. You can totally enrobe them or for a less salty version, wrap without overlapping..

  7. Place in a baking dish and roast in a 350 degree oven for 25 minutes or until an instant read thermometer registers 160 degrees. Allow to rest until the internal temperature is 165. Remove all of the toothpicks

  8. Serve with a drizzle of the pan juices if you like.

Lemon Pesto Pasta with Shrimp

Summer is here and lighter, brighter food is always a welcome addition to the Kitchen of Love. This dish started with a new Aldi Find. Most people know about Aldi. They offer a finite selection of staples, but they also have their Specially Selected items. These can be all kinds of items from soup to nuts, from cheese to seafood. They are usually only around for a short time and once they are gone, they may never return.

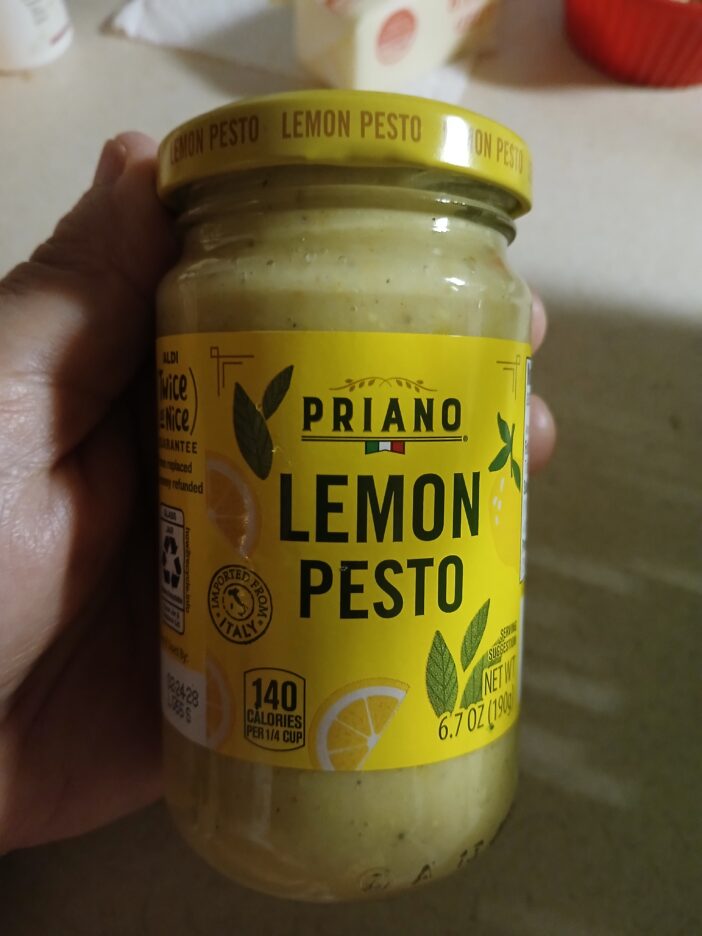
As I glanced through the pasta and sauce aisle, I came upon a new and intriguing Pesto. This one was lemon and who doesn’t love the taste of lemon?

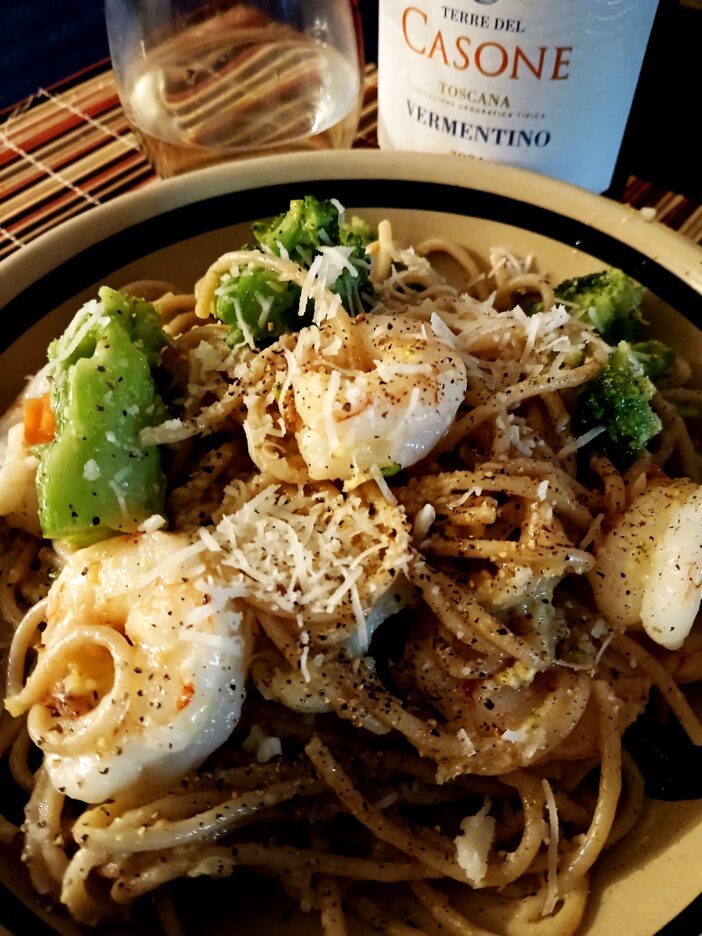
This little jar gave a hint of summer to the recipe that I am sharing. The lemon flavor was subtle, but there was a nice balance of herb and garlic and a very creamy texture that tasted of cheese and possibly ricotta. The dish I came up with used the whole jar and got some help from fresh lemon zest. So now, without further ado, let’s meet the rest of the players. Everything else in this dish came from my pantry, fridge, or freezer.

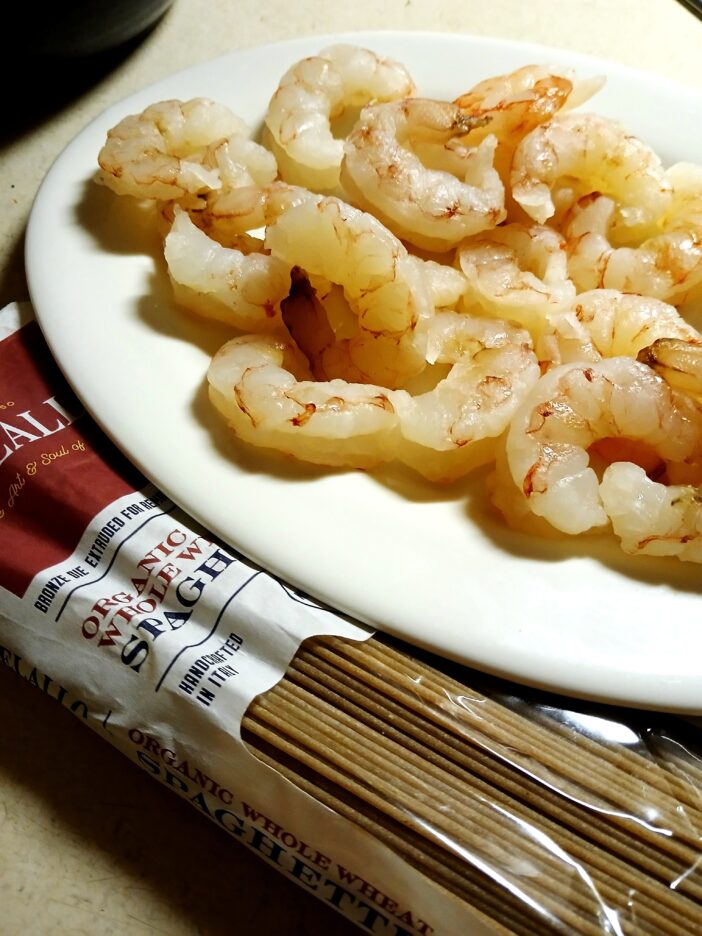
The Shrimp were Argentine Red (16-20 size). I have been liking these more and more lately. They have an almost lobster like flavor and are very tender when gently cooked.  The pasta was Whole Wheat from DeLallo probably around 8 ounces.

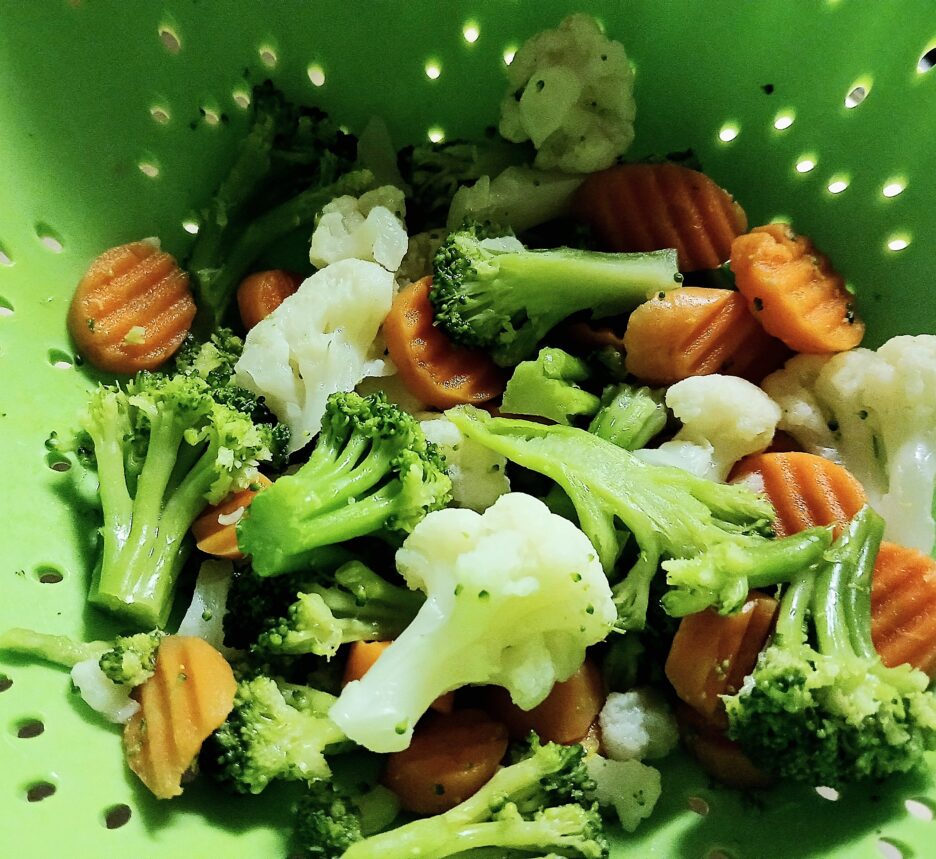
As this was a make do with what’s on hand dinner, I used a bag of frozen California Medley Vegetables. It’s a versatile blend of broccoli, carrots and cauliflower, but another vegetable blend would also work. This would also be very good with fresh vegetables of your choice.

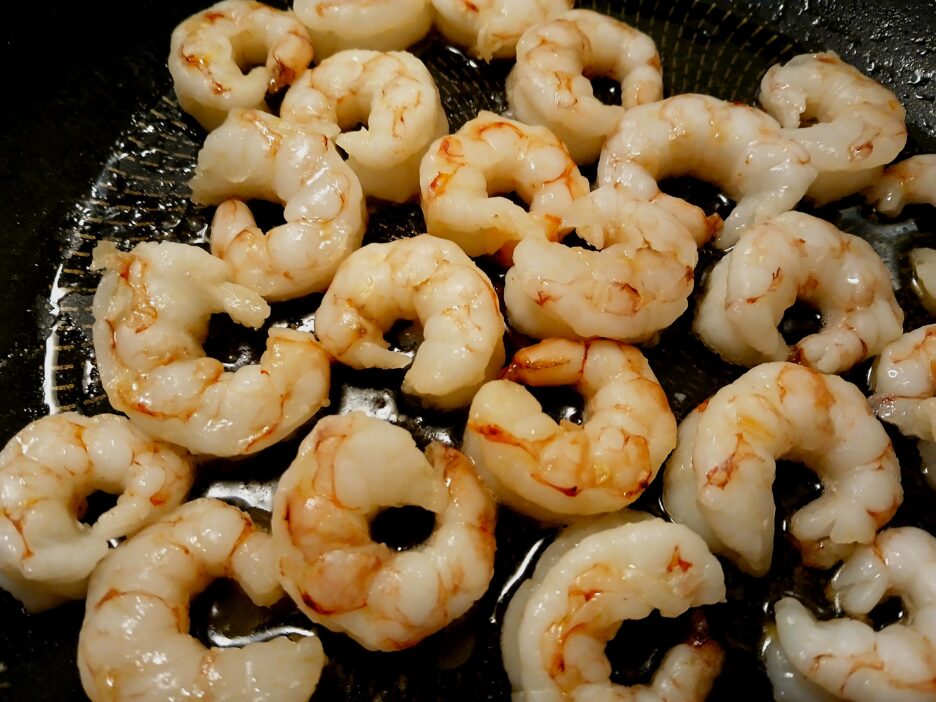
While the pasta was cooking, I prepped the Shrimp. I have been using this method of cooking shrimp lately. Thanks to Christine Pittman ‘s Cook the Story. https://cookthestory.com/garlic-butter-argentine-red-shrimp/. The shrimp  are gently cooked in garlic butter and always turn out tender and flavorful.  

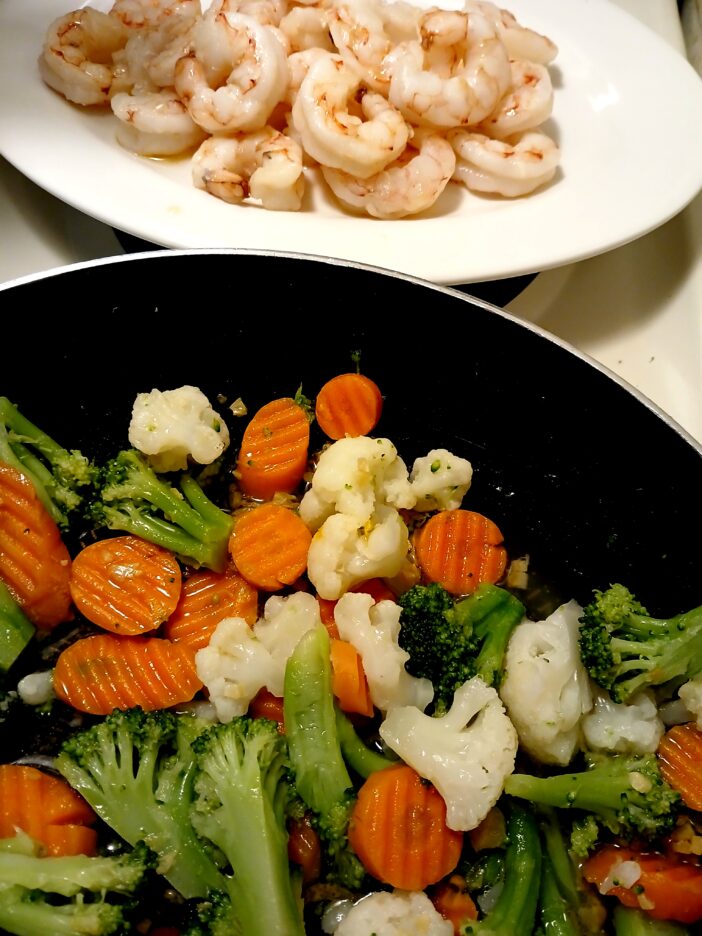
Once the shrimp were cooked, I transferred them to a plate and added the thawed and drained vegetables to the pan of garlic infused butter and let them gently cook to tender crisp. The addition of some lemon zest gave everything a little more zing.

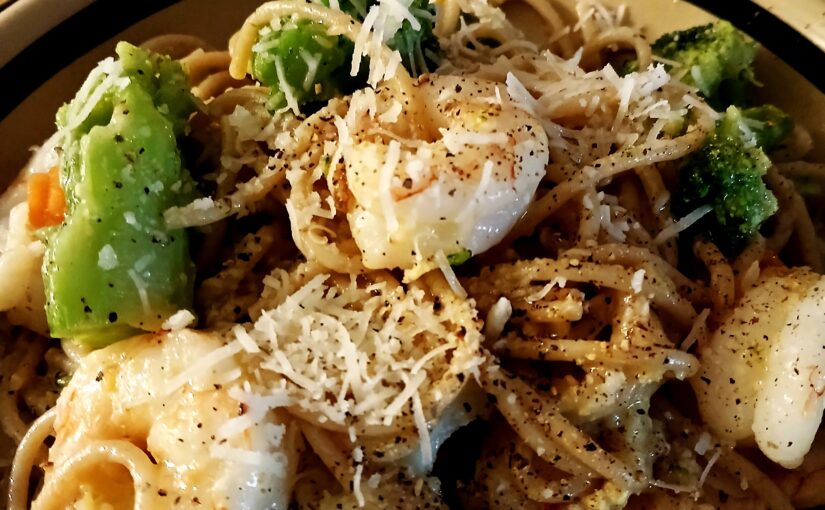
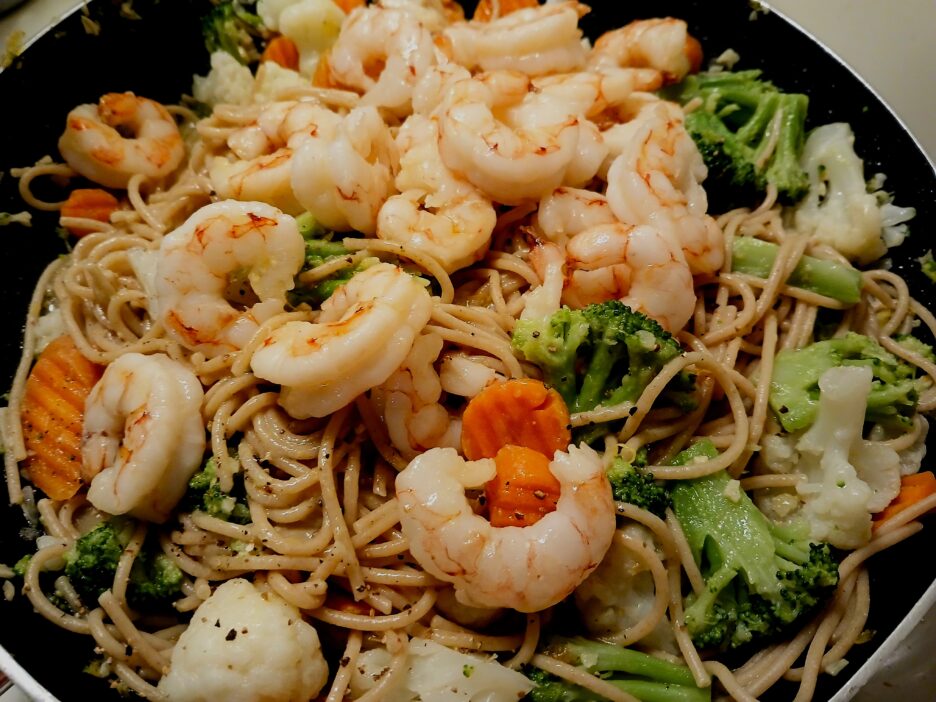
When the pasta was cooked, I drained it saving a generous half cup of pasta water. And now it was time to put the whole dish together. I added the pasta to the vegetables and then added the whole jar of lemon pesto. I tossed everything together adding enough of the reserved pasta water to create the perfect amount of sauciness. The shrimp came back into the pan and I added a good handful of Pecorino Romano. A few gentle tosses and a little heat and it was ready to eat.

This was a quick and easy almost one pot meal. Perfect for a Summer supper.

It paired perfectly with a light Italian Vermentino (this particular one came from Trader Joe’s, when I last checked it was not in stock). This varietal is available at larger wine and liquor stores.

Here is the recipe ready to be made to your liking.

Lemon Pesto Pasta with Shrimp
Course: Main Course
Author: binner216@comcast.net
Ingredients
  • 1 Pound Large Shrimp, peeled and deveined 16-20 size
  • 8 Ounces Spaghetti or Linguine
  • 4 Tbsp. Butter
  • 6 Cloves Garlic Minced
  • 1 Bag (10oz.) California Medley Vegetables Thawed and drained
  • 1-2 Tsp. Lemon Zest
  • 1 Jar Aldi Lemon Pesto
  • 1/3-1/2 Cup Pasta Water
  • 1/3 Cup Pecorino Romano Plus more for the table
  • Salt and Pepper to taste
Instructions
  1. Bring a large pot of salted water to a boil. Add the pasta and cook about 1 minute shy of done. While the pasta cooks, Cook the shrimp.

  2. Heat a large pan over medium heat. Add the butter and allow it to melt. Add the minced garlic and cook gently until it is soft and fragrant, but not browned.

  3. Add the shrimp and gently cook until they are just translucent and curling slightly. Remove the (and any clinging garlic) shrimp from the pan and set aside. Reserve the butter and some of the garlic in the pan.

  4. Add the thawed and drained vegetables to the pan. Toss with the butter and garlic and cook until they are tender crisp, about 5 minutes. Add the lemon zest and toss to combine

  5. When the pasta is cooked, reserve a half cup or so of the pasta water and drain the pasta.

  6. Return the shrimp and garlic to the vegetables in the pan. Add the pasta and the entire jar of the Lemon Pesto to the pan. Toss everything gently, adding pasta water to create a light creamy sauce..

  7. When everything is combined, add about half of the Pecorino and toss once more. Continue to cook until everything is hot and the cheese has melted. Taste and add salt and pepper if needed.

  8. Top with the remaIning cheese and serve.

Here’s to summer, lemons, and shrimp. Enjoy!

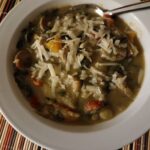
Artichoke & Spinach Soup with Chicken Sausage (The Update)

I recently posted about a Roasted Artichoke Salad and attached an earlier post that shared two other artichoke recipes. Time passes (10 years) and changes happen (downsizing) and those two recipes, while still viable as they are, have changed in how they are prepared in the Kitchen of Love. 

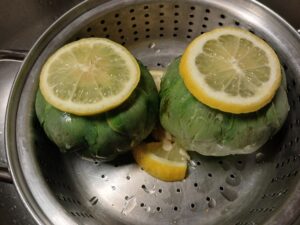
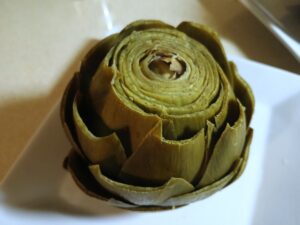
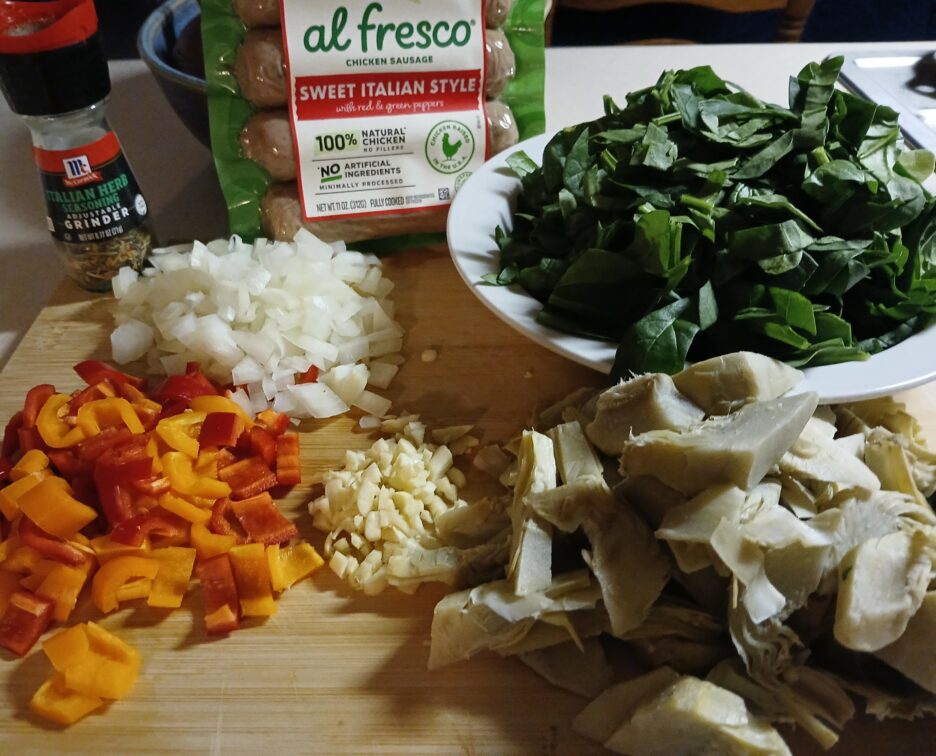
First off, I no longer have a microwave, so when I prepare whole artichokes these days I steam them on the stove.  Prep is still the same and the ingredients are also the same. The artichokes are trimmed washed and given a lemon massage. Now when it is time to cook them I place them in a steamer basket in a large pot of water laced with pieces of lemon and crushed garlic. The pot is covered and the heat is turned to medium high and the artichokes steam until tender, 20-30 minutes depending on the size. They still turn out beautifully cooked with lots of scrapable meat on the leaves and  tender and succulent hearts.

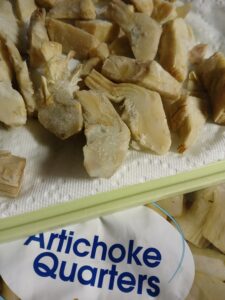
I confess that I had forgotten about the soup recipe and when I read through it, I thought it needed an update to the ingredients that I use in the Kitchen now. In particular my artichokes of choice are now the the frozen variety.

The spinach is now more often the fresh variety that is so conveniently available everywhere, clean and ready to use. 

These two changes have elevated the soup, in my opinion, to a new level. While I was experimenting, I also changed a bit of the prep. I find it easier to cook the artichokes in the pan after browning the sausage along with the onions and peppers (I used Lollipeppers). I did need to add a bit more olive oil to keep everything moving.

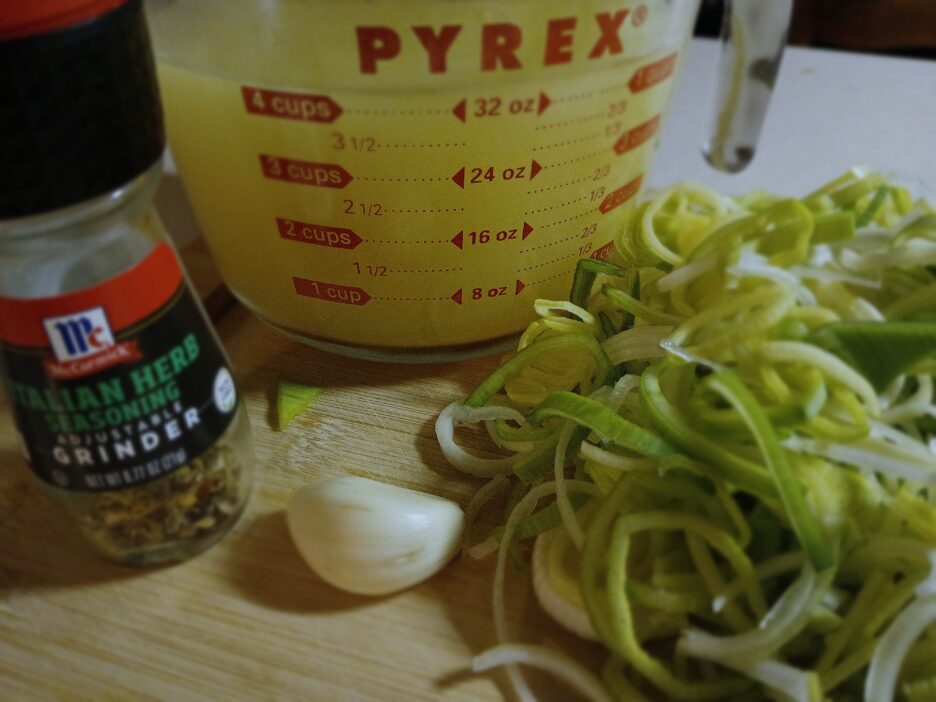
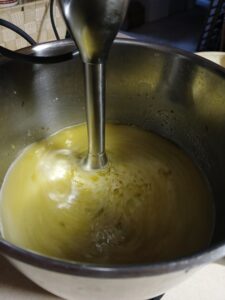
One thing I didn’t change was the preparation of the stock base. Sauteing thinly sliced leeks with garlic in some olive oil before adding the stock is a good beginning. When the stock is added and simmered for awhile, the use of an immersion blender creates a dairy free, creamy base that has a deeper flavor, especially if you are using ready made stock/broth. This technique could be a good addition to many other soup recipes that could benefit from a little more body and flavor. I have also kept the McCormick Italian Herb Grinder in the mix. It is an aromatic blend that you can grind as needed that feels a little fresher than regular dry Italian blends.

While the stock is simmering, the other ingredients go through their pre-soup prep. This involves browning the of the sausage, artichokes, onions and peppers. This deepens the flavor of the finished soup and in my opinion is worth the extra time.

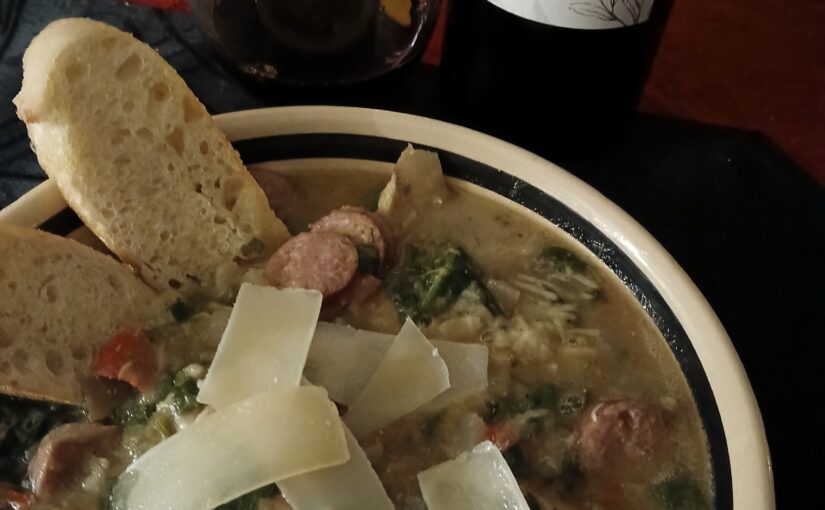
First into the pan is the sausage. Cut in chunks, they brown up quickly then leave the pan to make way for the artichokes. I lay them in an even layer to start and left them pick up some color on one side before flipping them over. Once they vacate the pan, the onions, peppers and garlic take their turn to get some extra flavor.

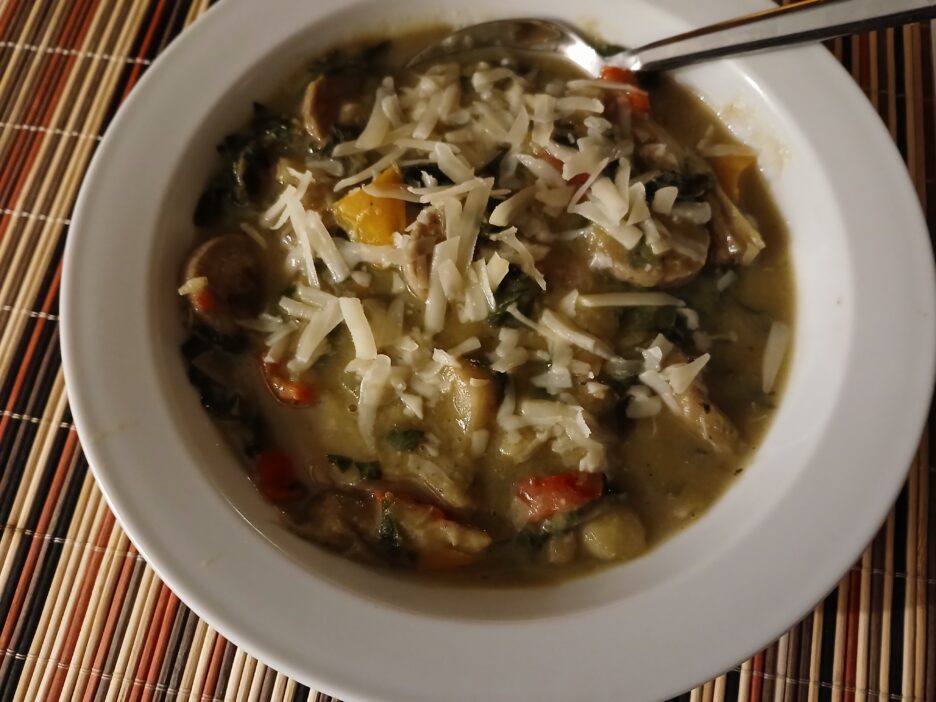
Once everything is ready, it is time to get everything acquainted. So the sausage and vegetables go into the pot with the stock and the spinach. Now, all that is left is some together time ( say 15-20 minutes) and we can call it soup.

Here is the new and, I think, improved recipe.

Artichoke and Spinach Soup with Chicken Sausage
Course: Soup
Cuisine: Mediterranean
Author: binner216@comcast.net
Ingredients
  • 2 Tbsp. Olive OIl Divided, more as needed
  • 1 Large Leek, thinly sliced
  • 5 Cloves Garlic, chopped Divided
  • 1 Quart Chicken Stock
  • McCormick Italian Herb Blend Or seasoning of your choice
  • 1 12 Oz. Pkg. Frozen Artichoke Hearts Thawed
  • 12 Ounces Chicken Italian Sausage (precooked) Sliced
  • 3/4 Cup Chopped Onion
  • 3/4 Cup Colored Baby Bell Peppers Chopped
  • 4 Cups Fresh Spinach Chopped
  • Red Pepper Flakes Optional
  • Grated Parmesan Cheese For serving
Instructions
  1. For the Stock Base: Heat 1 tablespoon of olive oil in a soup pot. Add 2/3 of the garlic and the leeks and cook, stirring frequently until the leeks are soft and fragrant. Add the stock to the pot and raise the heat to medium high and bring to a boil. Lower the heat to maintain a good simmer and cover. Cook for 15 minutes or so until the leeks are very tender. Allow it to cool for a few minutes (to reduce hot splashing). Using an immersion blender, puree until very smooth. Stir in the herb blend to you taste and set aside.

  2. While the stock is cooking brown the other ingredients. Add a tablespoon of olive oil to a large fry pan, heating over medium heat. Add the sausage in a single layer and cook for 5 minutes until lightly browned, turn and brown other side. Remove from the pan. If your stock is ready add them to the pot.

  3. If needed, add a bit more Olive Oil. Add the artichokes in a single layer and brown them on one side until they have picked up a bit of color. Flip over and brown the other side. Remove from the pan and add to the pot.

  4. Add the onions peppers and reaining garlic to the fry pan, adding a bit more olive oil if necessary. Cook until just beginning to soften. Remove from pan and add to the pot.

  5. Add the chopped spinach and as many grinds as you want of the herb seasoning to the pot and give everything a good stir. Simmer over medium heat at a simmer for 15-20 minutes to give all the flavors a chance to blend.

  6. Give it a taste and add more herb blend, salt, or pepper to your taste, and if it's how you roll, some red pepper flakes. Serve with grated parmesan cheese and some crusty bread.

I hope that you will give this recipe a try, and as always, make it your own.

Roasted Artichoke Salad (the easy way)

During our time in California, artichokes were a family favorite. We usually got them at roadside stands on Highway 1. Our favorite was an old man named Dutch who sold them out of the back of his station wagon. We’d bring them home and steam them whole with lemon and garlic. We all became expert at eating them leaf by leaf scraping the tender flesh with our teeth until we reached the heart. That best part, was relished last. Here is a link to another Artichoke post that features pictures, memories, and a tasty soup recipe.

https://mamadskitchen.net/2014/03/14/memories-of-highway-one-and-artichokes/ 

Artichokes are available here most of the year and we often get them. The problem is that they have to travel from California and sometimes arrive past their prime. Still we try to enjoy a perfectly steamed edible thistle whenever we can.

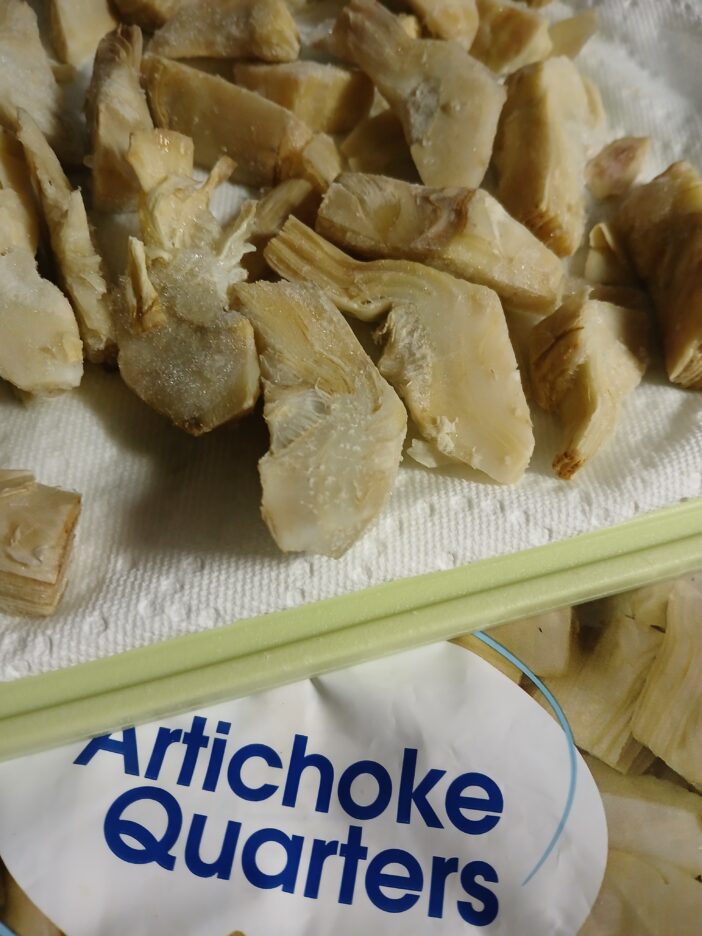
There are other ways to experience artichokes. They have come in cans and jars forever. These are convenient and versatile, but they lack the texture and frankly, some of the flavor of fresh. Then there are frozen artichoke hearts. They retain more taste and texture than their canned cousins. Unfortunately, they are not always available. For years, I relied on Trader Joe’s, but haven’t found them there recently. To my surprise, I have found them at Walmart (of all places). They are sold in 12 ounce bags for under $3.00 at certain stores. They are firm, large, and tasty, and they are the cornerstone for today’s recipe.

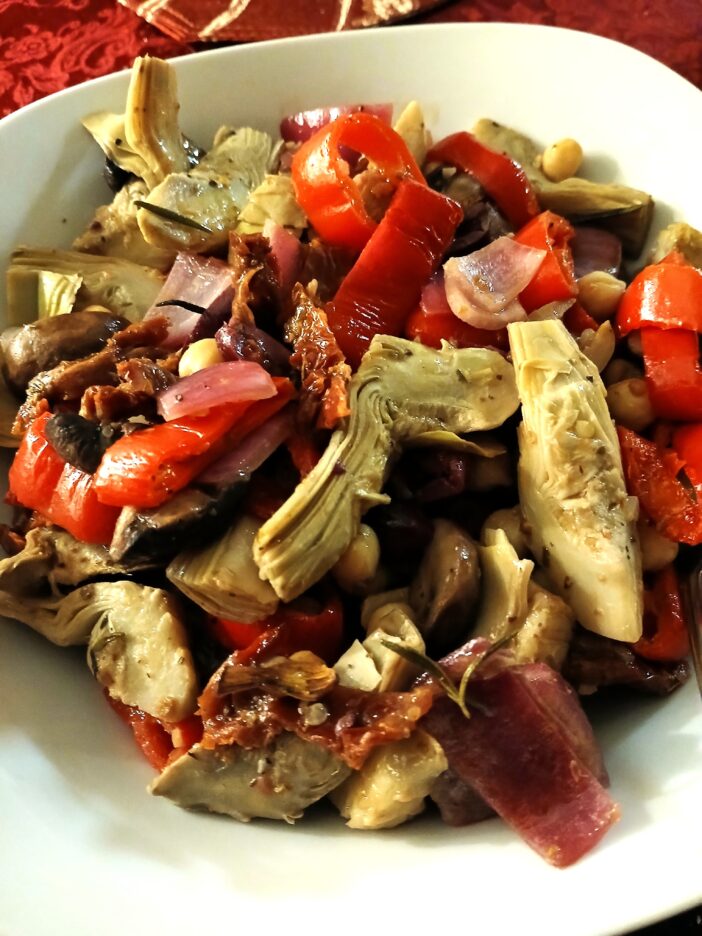
I think that this qualifies to be called a salad as it is filled with vegetables and is tossed with a dressing. While many salads are served cold, this one can be served warm or at room temperature as well as chilled, but I think that the flavors are best warm. It is a wonderful accompaniment to grilled proteins and could be a nice addition to a potluck table.  Another benefit with this salad is that it can be a meatless main dish thanks to the chickpeas (use the whole can if you are going meatless) and if you want a little more protein, add some crumbled feta cheese.

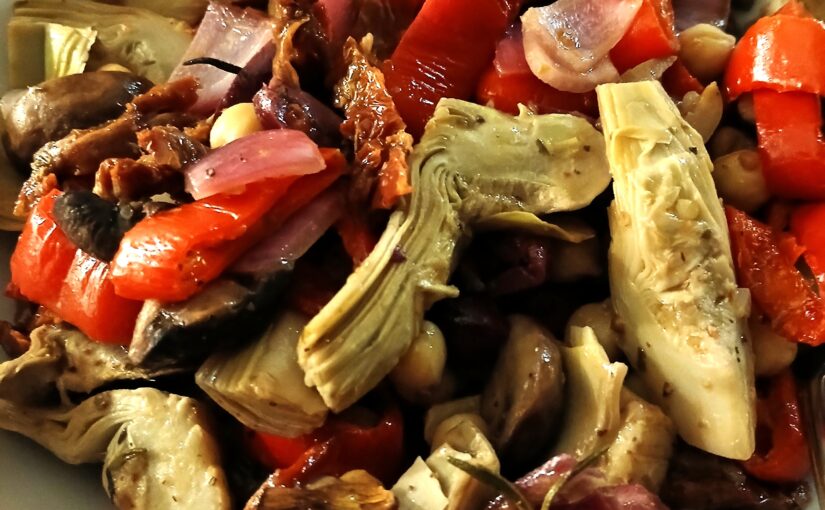
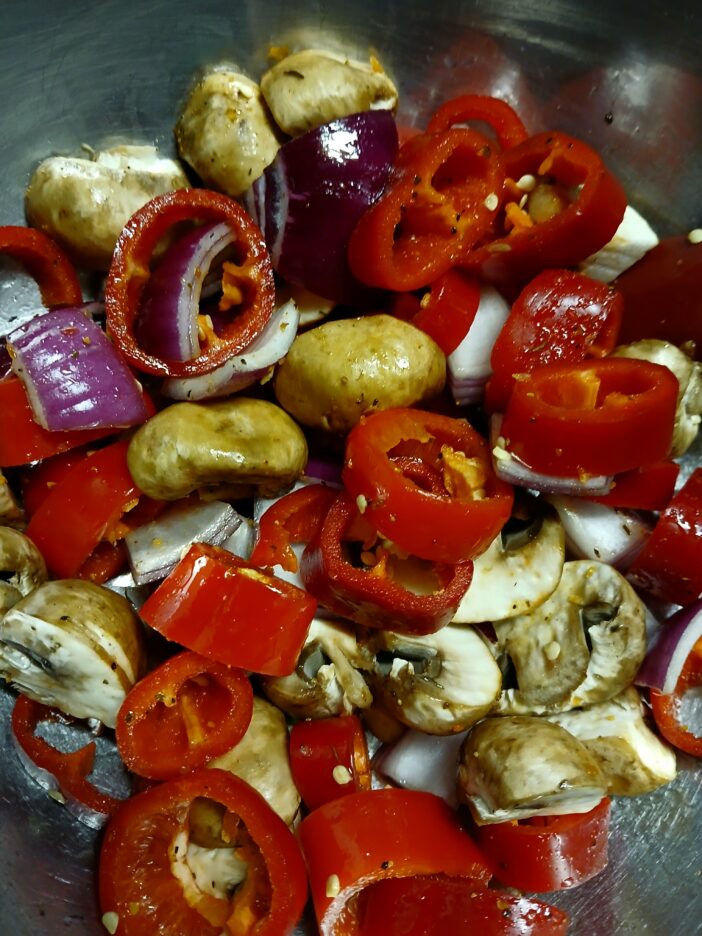
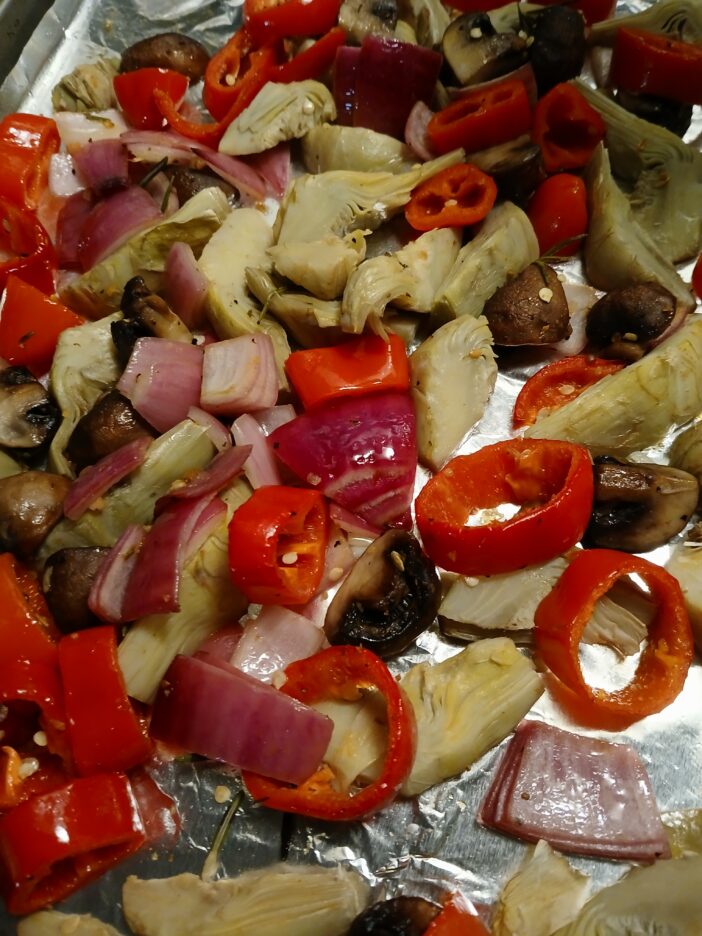
I used the little bell peppers (Lollipeppers are my current favorite) that can be found in every grocery store along with some crimini mushrooms and red onion. These along with the artichoke hearts were seasoned with salt and pepper and tossed with a little olive oil. Within 20 minutes in the oven they were lightly caramelized and tender.

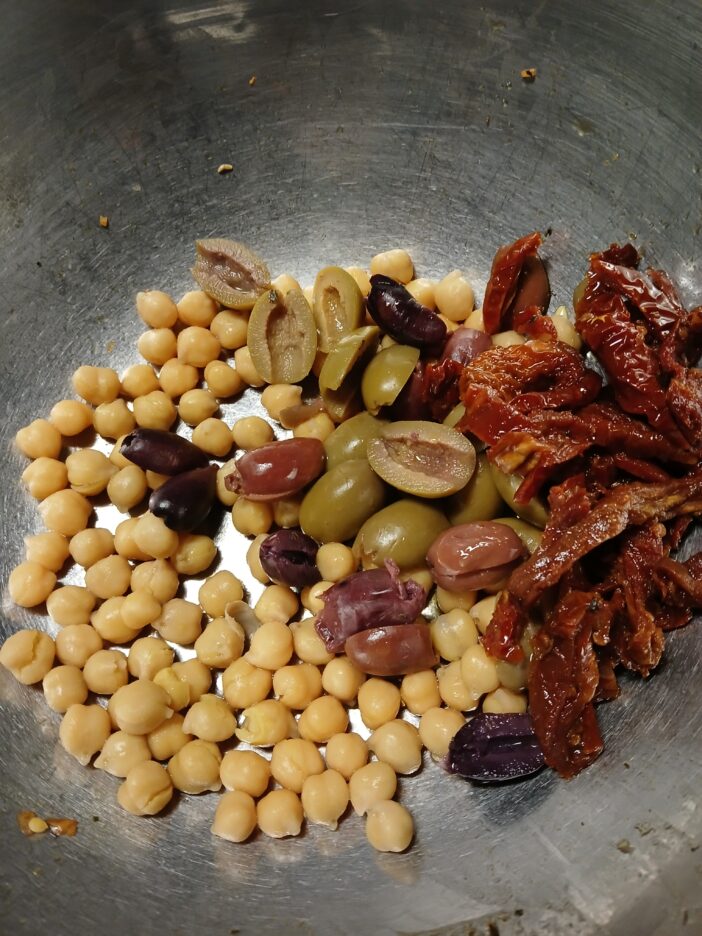
As I said, this is salad done the easy way so, canned chickpeas, sun dried tomatoes, and olives joined the mix. If you have a Mediterranean olive blend available use that, but kalamata or even green or black olives would work.

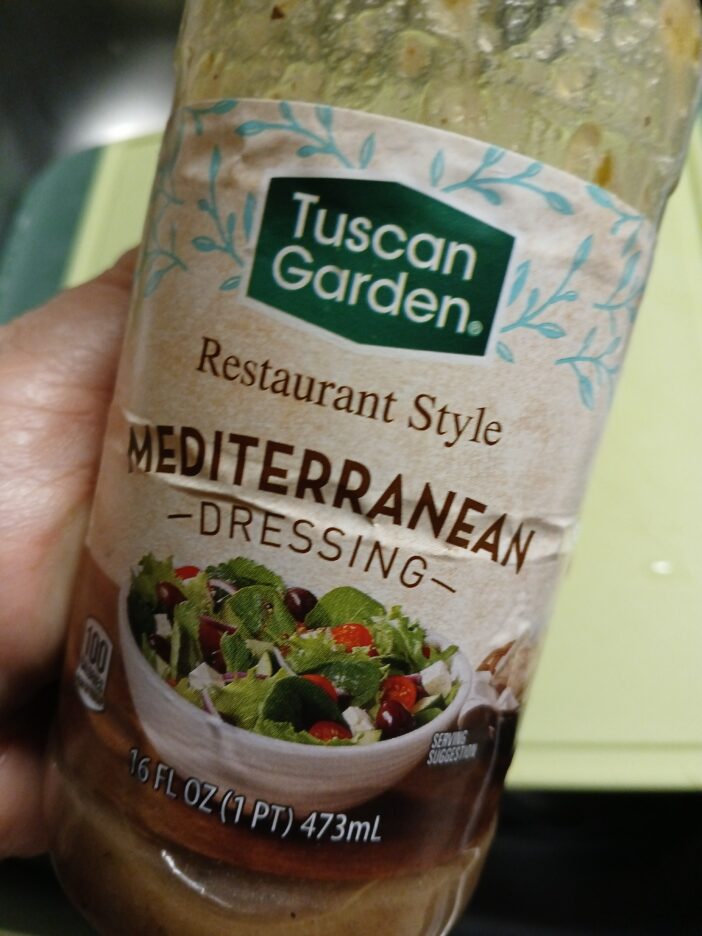
When it comes to a dressing, use your favorite vinaigrette recipe or make it easy on yourself and use a bottled dressing that you love. I used a Mediterranean Dressing and Marinade from Aldi. I think it has a nice balance of flavor and have used it as a dressing as well as a marinade in various dishes.

All that is left to do is toss the roasted vegetables with the canned/jarred additions. To assure that the vegetables really absorb the dressing, add it while the roasted vegetables are warm. Then serve it, let it stand until dinner is ready, or chill it. This does get more flavorful with time so it can be made ahead and I think it tastes even better the second day

Here is the recipe as I have been making it and as always you are welcome to play with it however you choose.

Roasted Artichoke Salad

Hearty and healthy, the perfect salad to accompany grilled proteins.

Course: Salad
Cuisine: Mediterranean
Servings: 6
Author: binner216@comcast.net
Ingredients
  • 1 Pkg. Frozen Artichoke Hearts 12 oz. package
  • 1 Cup Baby Red Bell Pepper Rings About 4-6 peppers, sliced
  • 4-6 Ounces Crimini Mushrooms Halved or quartered
  • 1 Cup Chopped Red Onion Cut in about 1 inch pieces
  • 1 Tbsp. Olive Oil
  • 1/2 Cup Sun Dried Tomatoes Oil packed, drained
  • 1/3 Cup Kalamata or Mediterranean Olives Halved
  • 1 Cup Chickpeas Drained and rinsed
  • !/2 Cup Mediterranean Salad Dressing (more as needed) Store bought or homemade
  • Salt and Pepper To taste
  • 1/2 Cup Feta Cheese, crumbled Optional for garnish.
Instructions
  1. Preheat oven to 375 degrees. Line a large baking sheet with foil for easy cleanup and lightly coat with cooking spray. Combine the artichokes (no need to thaw), peppers, mushrooms, and onion in a large bowl. Add the oil to the bowl. Season lightly with salt and pepper and toss to coat. Spread out on the prepared baking sheet. Reserve the bowl and do not wipe it out.

  2. Roast in oven for 20 minutes or until everything is slightly caramelized and tender.

  3. While the veggies roast, Combine the chickpeas, sun-dried tomatoes, and olives in the bowl.

  4. When the vegetables are roasted, add them (and any pan drippings) to the bowl and gently toss to mix. Add the dressing and toss to coat evenly. If needed add more dressing to make it the consistency and flavor that you want.

  5. Transfer to a serving bowl and add some crumbled Feta Cheese if you desire. Serve warm, chilled, or at room temperature.

Have fun making this recipe to your own liking and I hope you enjoy these edible thistles as much as I do.