I believe that we have established that summer is officially here. The calendar has caught up with the weather and we are (suntanned) shoulder deep in warm, sunny, summer. The warmer temperatures and the longer days make light suppers the thing to do. Of course, there is the required amount of grilling, but the stove can also turn out some fantastic meals often from the humblest of ingredients. Take the “incredible, edible, (& cheap), egg.” Can you say Frittata?
I’ve shared frittata recipes before, but there’s always room for one more. I call this a Pizza Frittata. Now don’t take the name too literally. This eggie wonder has the essence of pizza, that is, peppers and onions laced with garlic, seasoned with ground fennel and red pepper flakes. That’s right. Classic pizza toppings with what in my kitchen are the spices that make sausage Italian. Where’s the meat? Not here. No need. This flavor combination doesn’t miss it. So, while it is delicious any time, it can be a Marvelous Meatless Monday Meal. (Don’t you love alliteration?)
This particular pizza was going to be the “Vegetable Lover” variety so it had to start with summer bright veggies. It is Mama D’s Kitchen, so onion and garlic had to be represented, too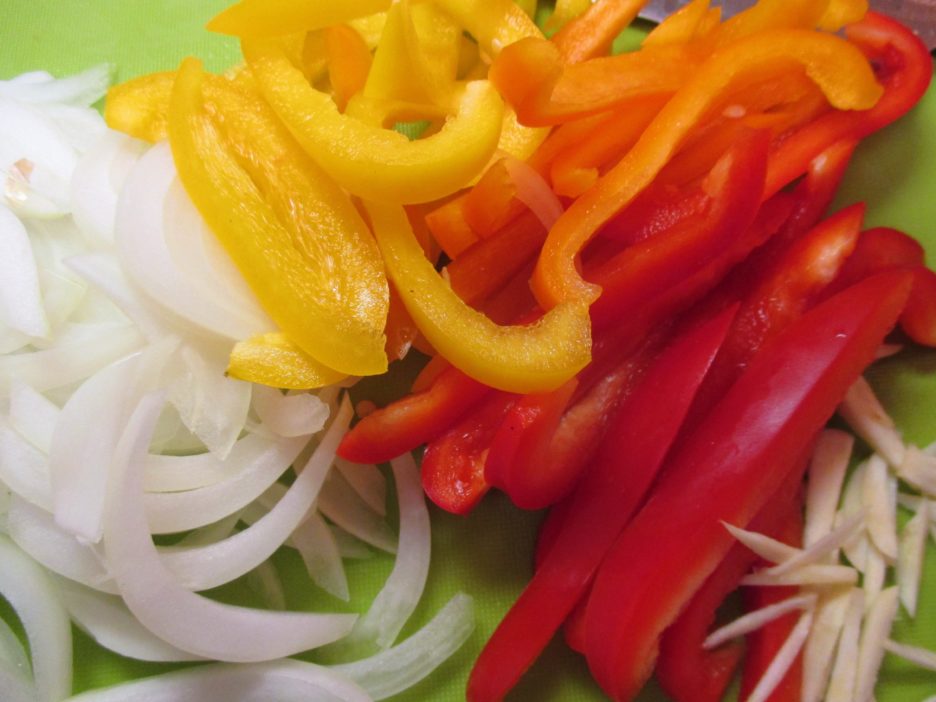
The magic took shape in my smallest of cast iron skillets which is the perfect size for a frittata for two. It is also the perfect vessel, as it can go from stove top to broiler without a worry. Olive oil coated the bottom of the skillet and in went the onions.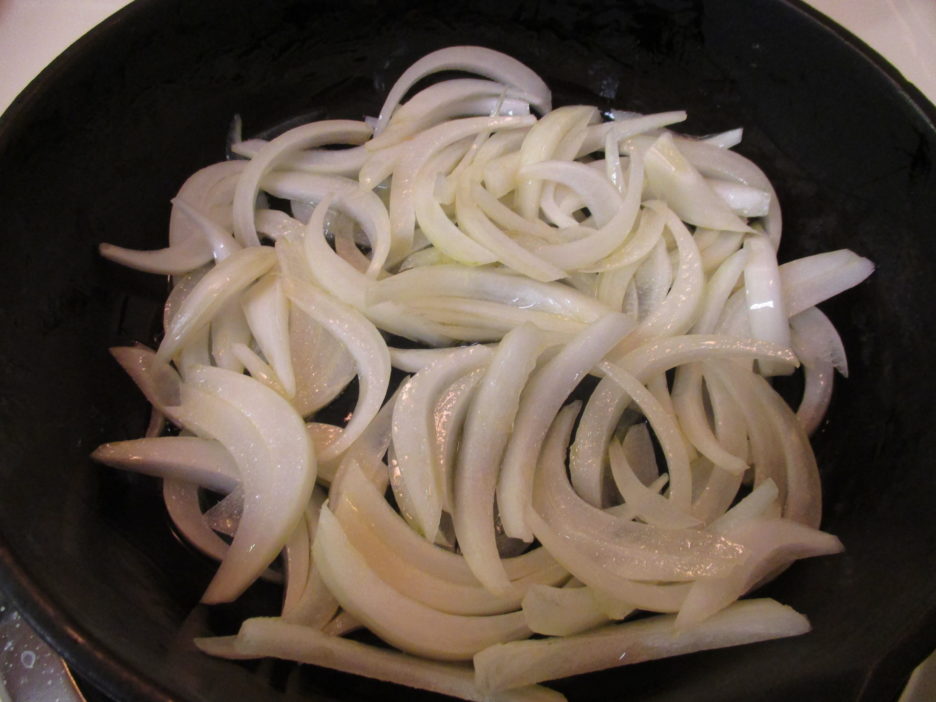 I wanted them to caramelize a bit before the peppers and garlic joined them. Once everyone was happily co-mingling, I added the red pepper flakes and ground fennel. A quick note on ground fennel; it is not necessary. Crushed fennel seeds will work. You could go even more rustic and use the seeds whole, just give them a rub between your hands to release the fragrance (and a beautiful one it is).
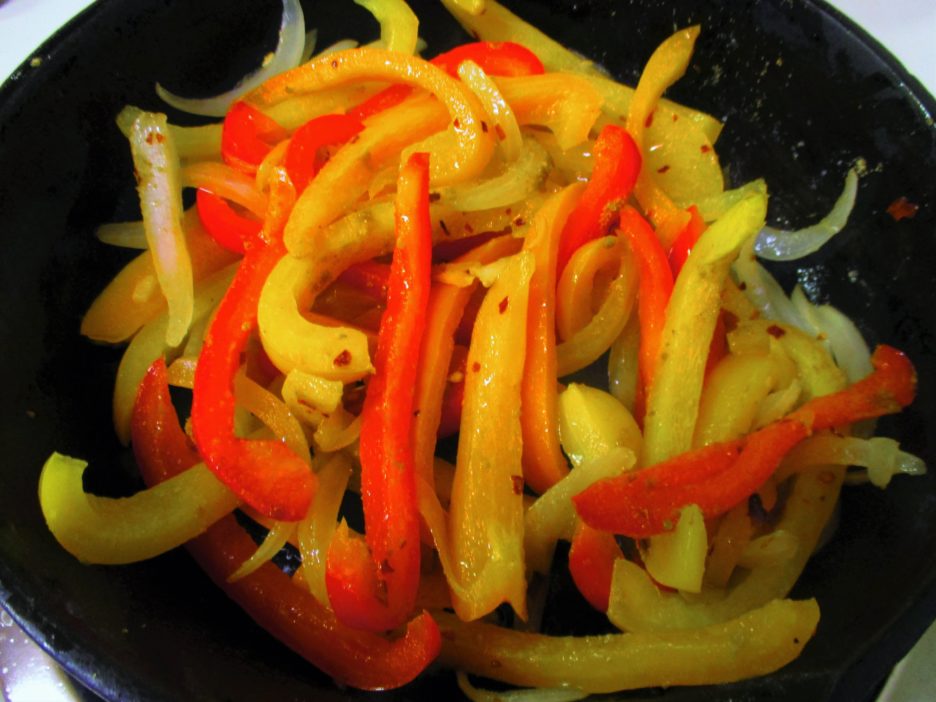 Every frittata needs eggs and I used 5. Yes, four would have worked, but I was feeling a bit generous and hungry so five it was. I beat them well and added some fat free half & half along with grated Romano cheese and Italian Herb Blend. The eggs waited stove side with some sliced tomatoes and fresh cilegine that would become the final toppings.
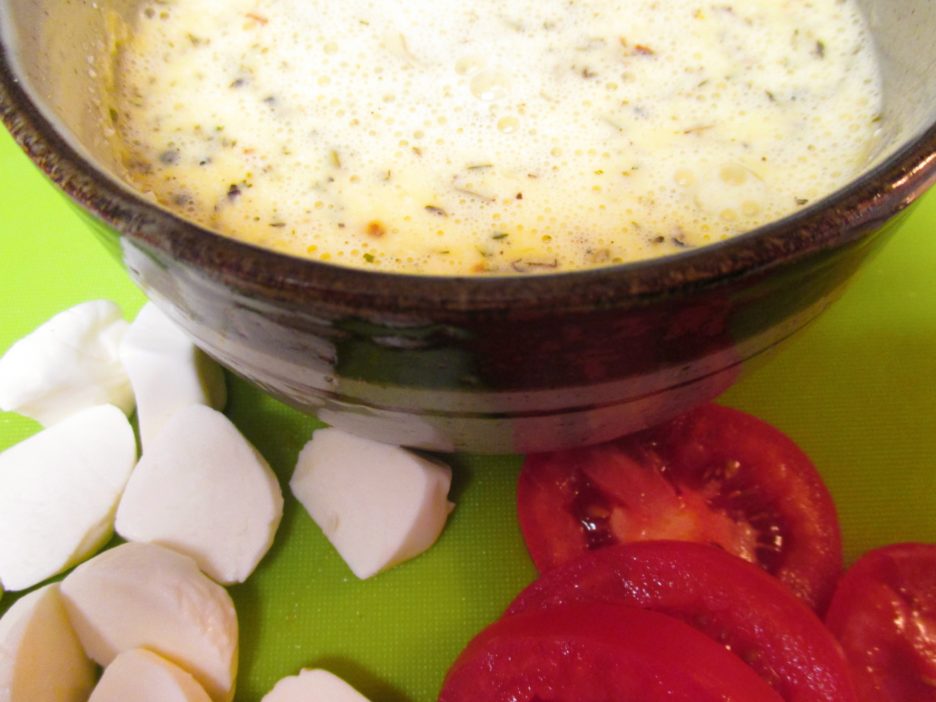
So, when the time was right, I added the eggs to the skillet and cooked them until they were almost set. As mentioned in other posts, this is a process that involves patience, and a good amount of jiggling, lifting, and otherwise manipulating the mixture. Once everything was perfect, it was time to crown it with the tomatoes and mozzarella.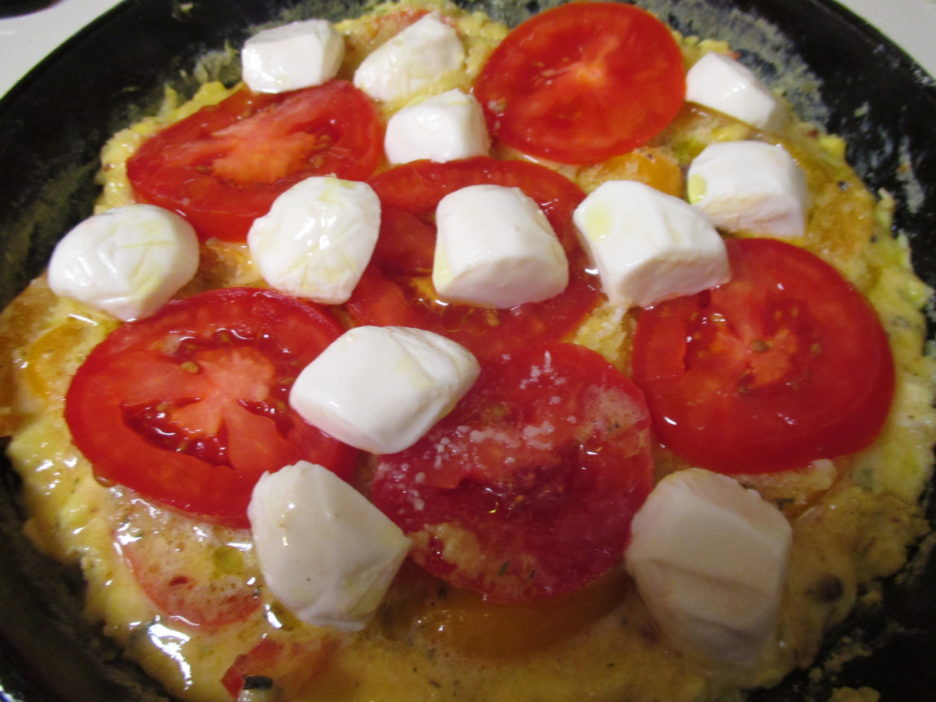 A little more Italian herb blend and a drizzle of olive oil and under the broiler it went. This step doesn’t take long and should be closely monitored as beautifully golden can become horribly charred in a matter of seconds. I was vigilant and the frittata came out perfectly browned.
 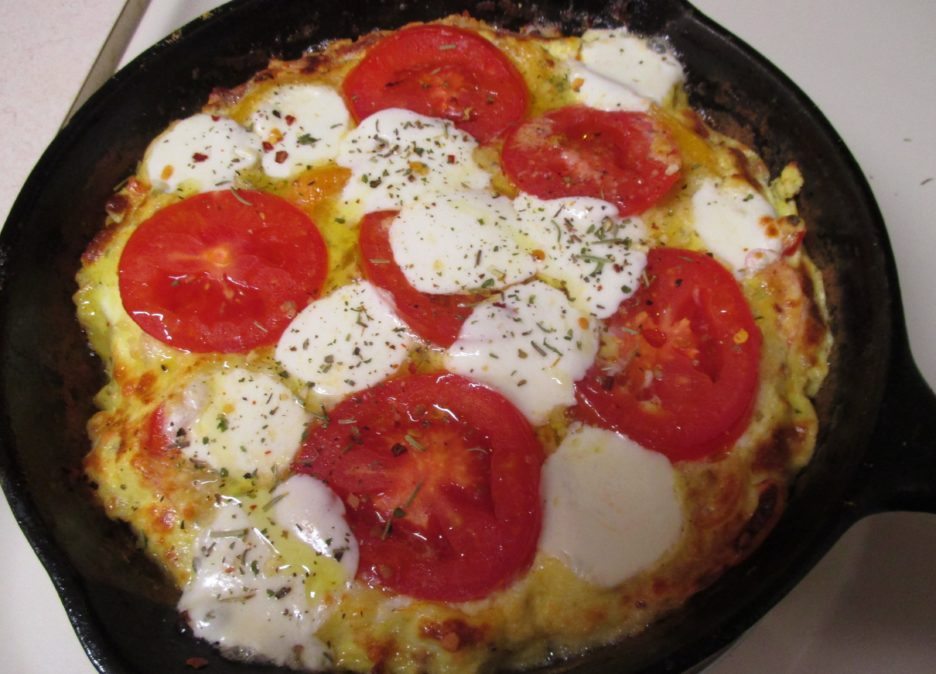 It rested for 5 minutes and could sit even longer if needed. We were hungry, so we went with the 5 minutes. This was wonderful on its own, but as with any good Italian meal, a little crusty bread and a salad would be great.
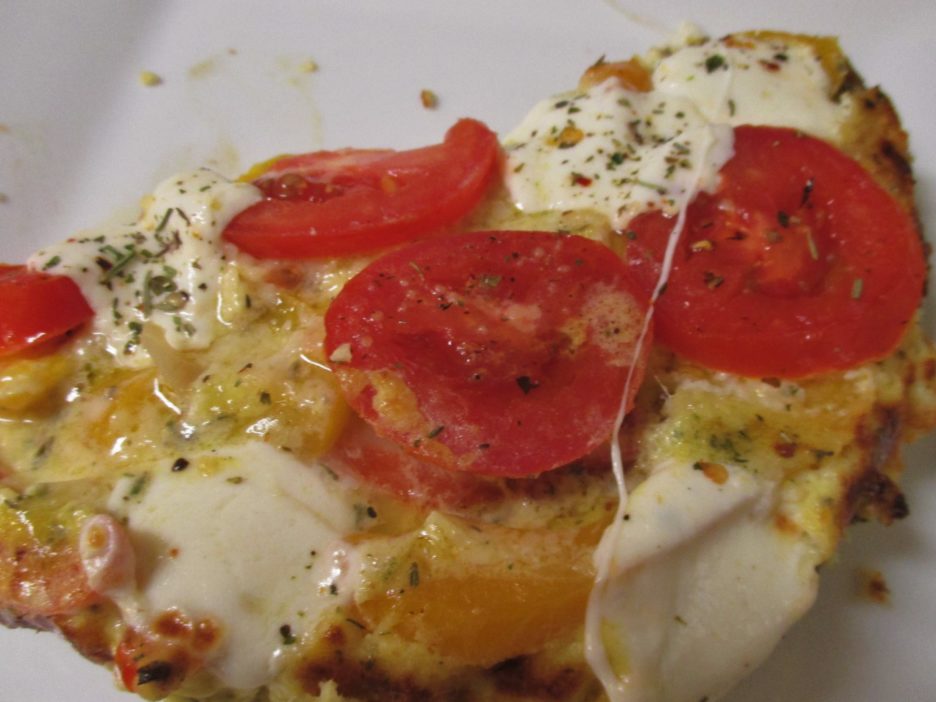

The flavors were lovely. The onions and peppers retained a bit of crunch that complimented the creamy texture of the eggs. A crisp white wine was the perfect accompaniment.
There are hundreds of ways you can take a frittata, so look at this recipe as your invitation to create your own adventure.
Share this:


 As with any good fritatta, it is at its best when layers of flavor come together. Mama D’s Trinity (Garlic-Onions-Olive Oil) was joined by the chopped jalapeno. They cooked to golden loveliness before I added the zucchini.
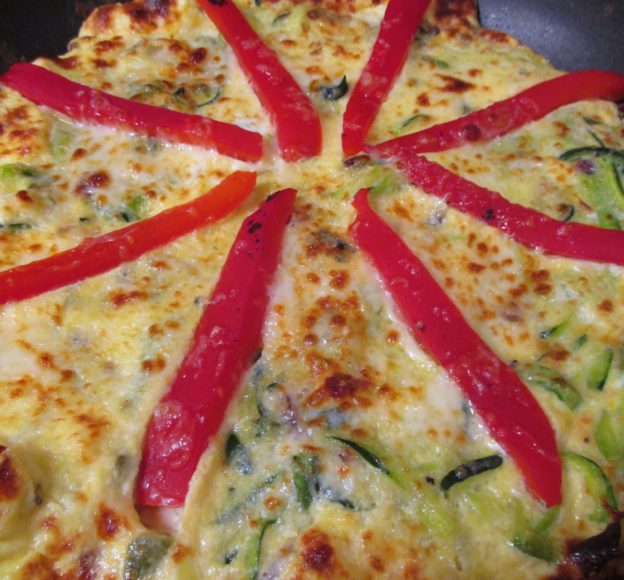
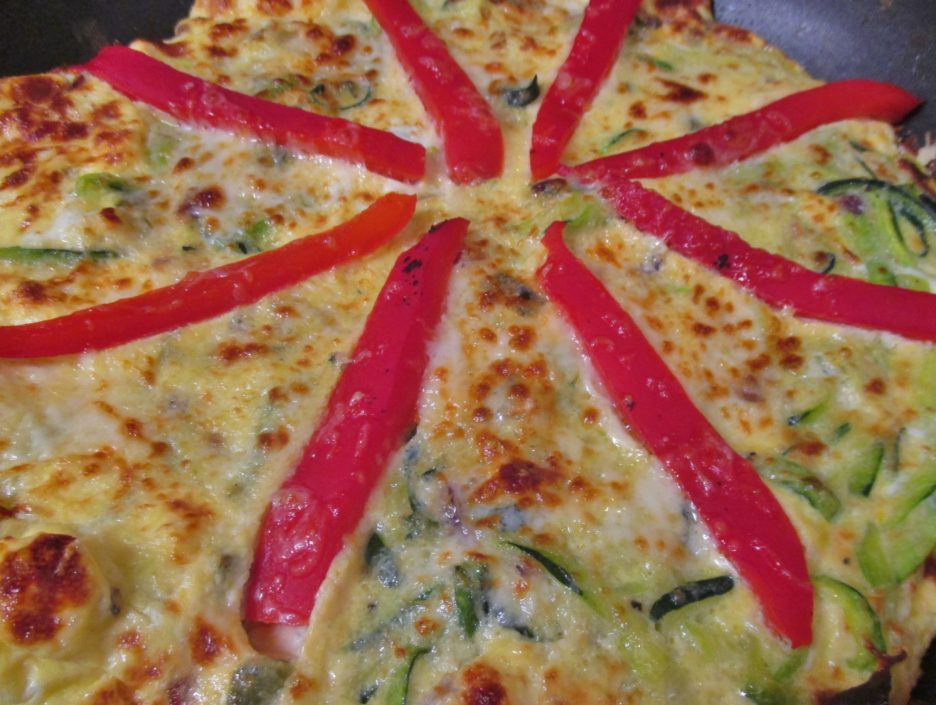
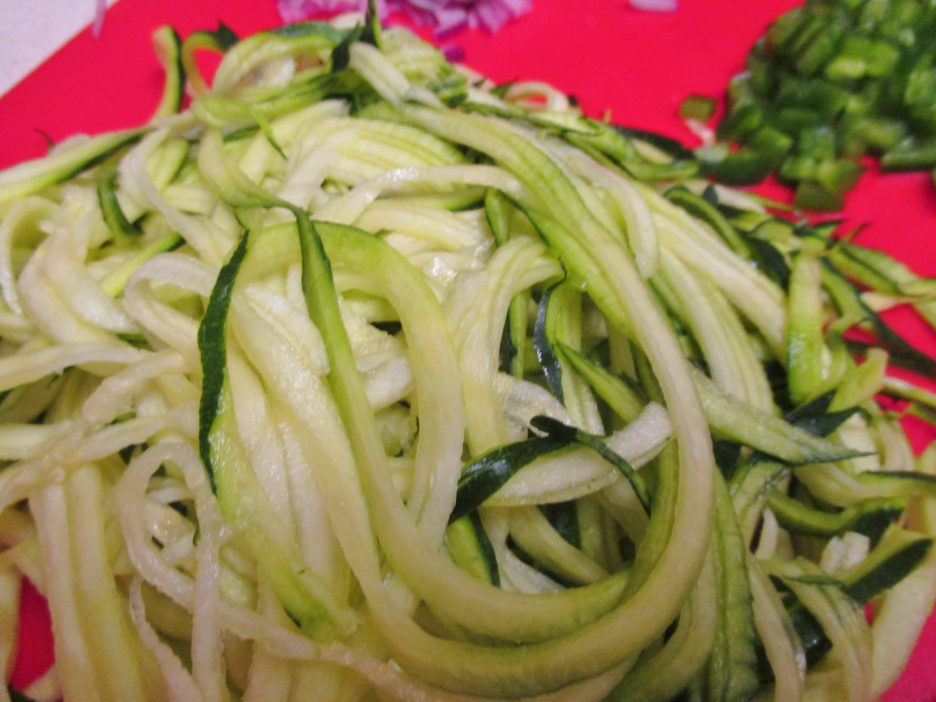
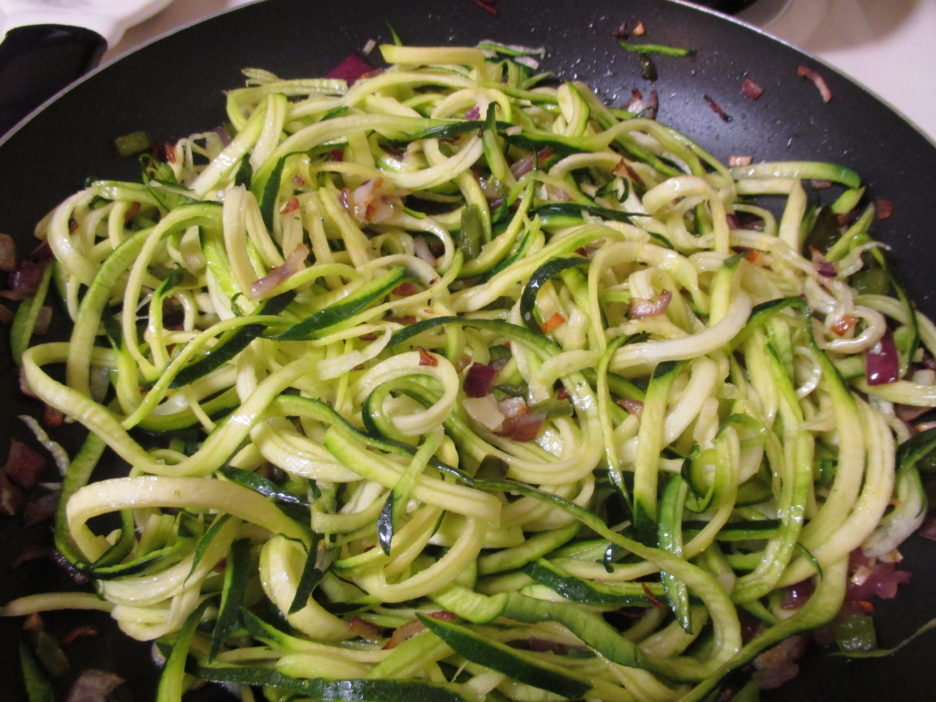 The zucchini took mere minutes to cook to “al dente” creating a bed of veggie delight ready for their egg bath. The eggs were gently cooked to the point of almost being set. everyone has their own technique for cooking a frittata. I’m of the shake, lift, and be patient school. All of this paid off, and the eggs cooked to almost set perfection. As a crowning touch, I added some shredded mozzarella and roasted red pepper strips before dispatching it to the broiler.
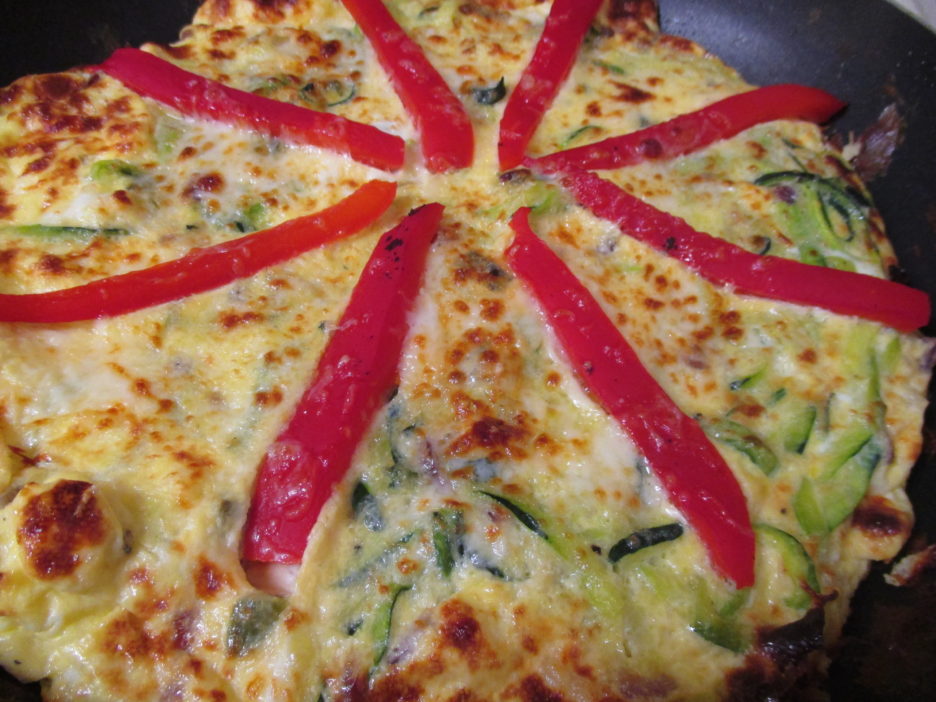 The magic happened and the frittata came out golden and bubbly. This was the perfect size for two (we’re talking Mama D size servings here), but it could easily serve three or maybe four if you added some crusty bread, a nice salad and a killer dessert.
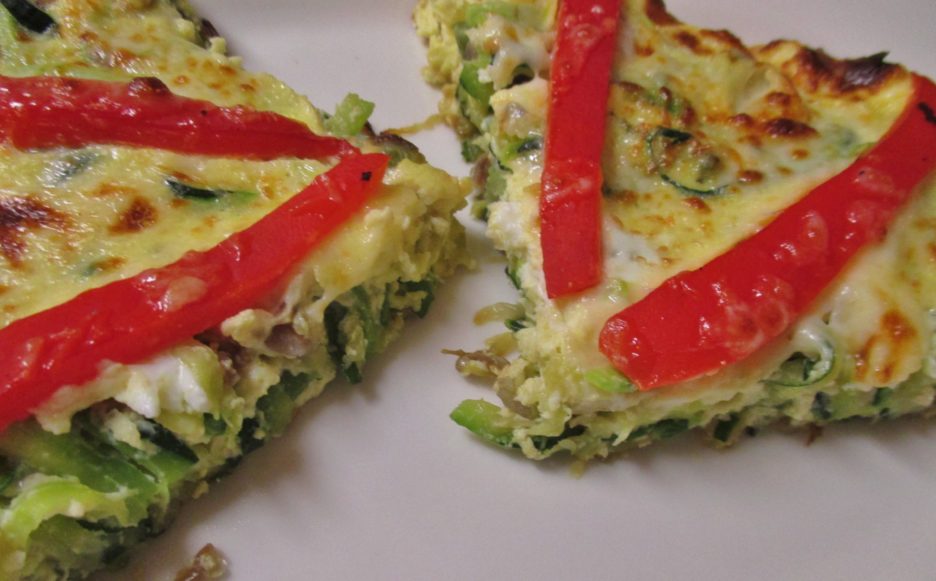


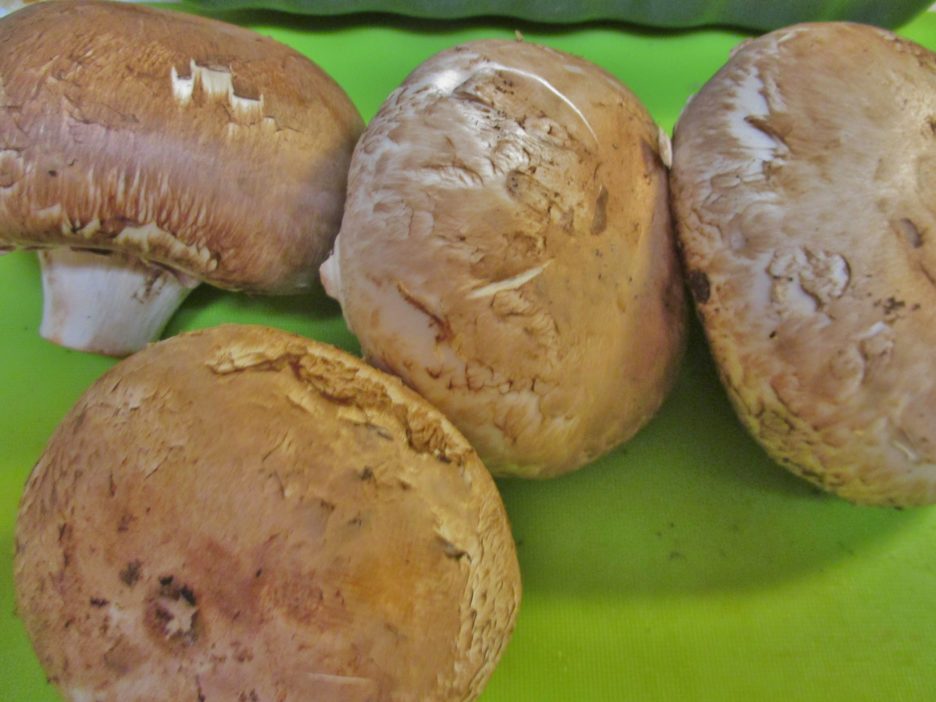 These were an interesting size, labeled “Mini” Portobello, they were more like “Giant” Crimini. Whatever the nomenclature, they were the perfect size to create a base for the veggie stacks once the were stripped of their gills and given a little wipe down. The rest of the veggies were cut in thick chunks to fit nicely in the caps. Everything got popped into zip top bags and marinated in a Balsamic Vinaigrette. Any marinade of your choosing will be perfect.
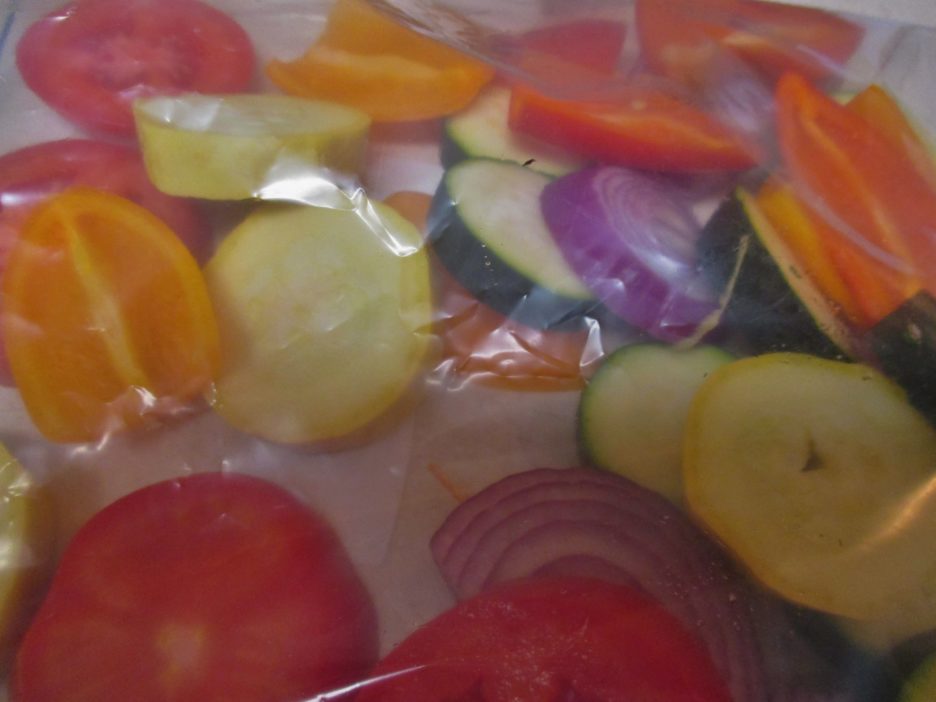
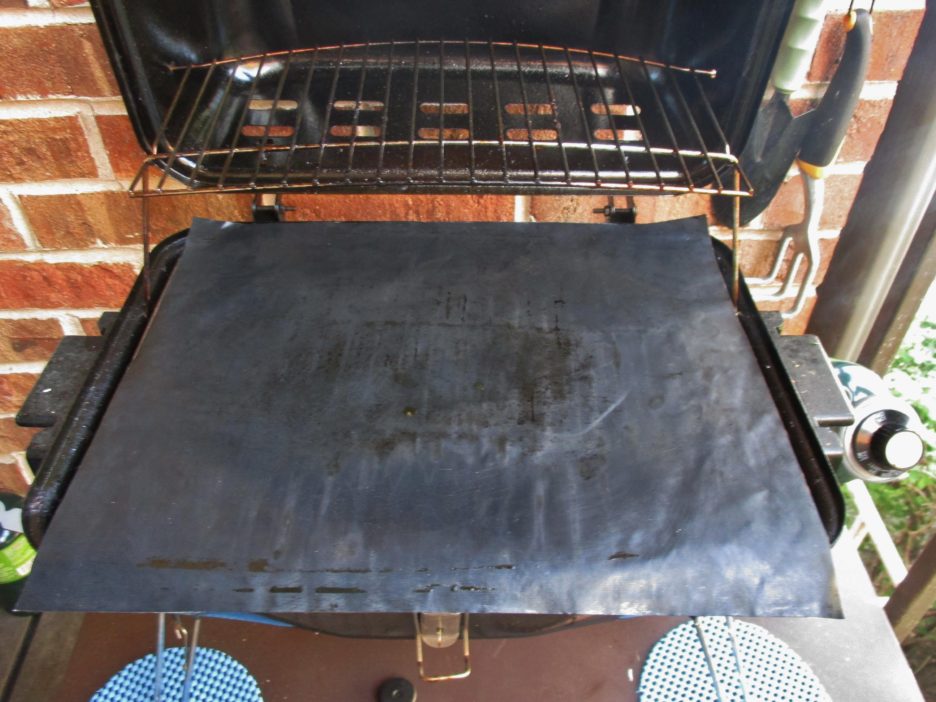 There is an infomercial that offers these, but I know that mine came from a Groupon offer (thank you Loren) that is unfortunately no longer available. If you don’t have these mats, I would strongly recommend a grill pan.
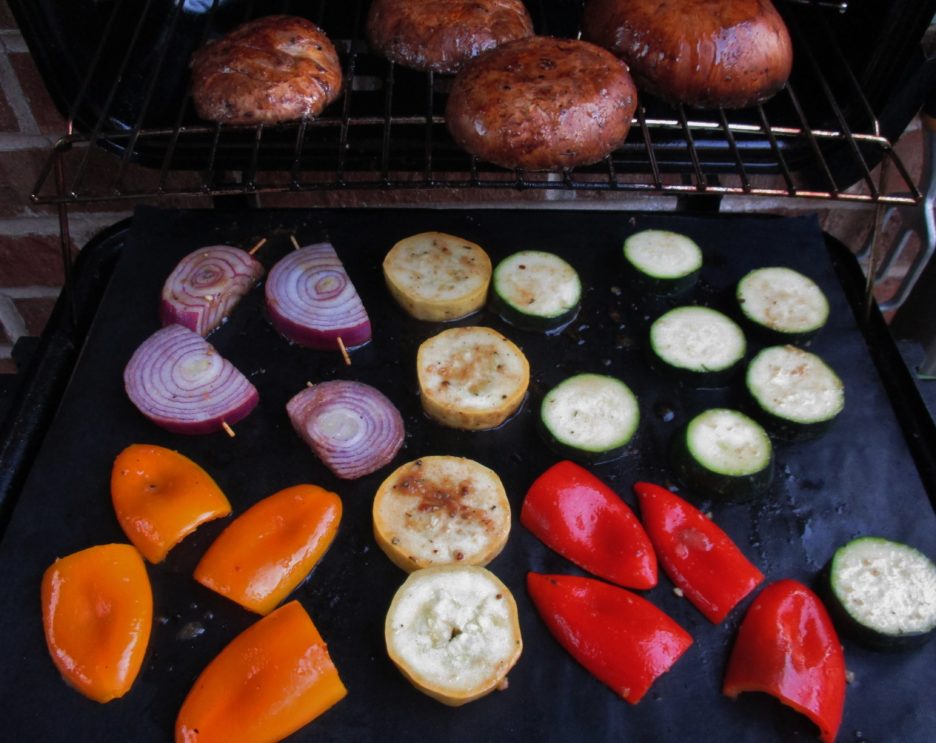 This is where the time to sip wine and tend to the grill come into the picture. The veggies seem to require almost constant moving, turning, and otherwise attending too, but on a beautiful spring evening it’s a perfect excuse to spend time outside. You may notice that the onions are sporting the latest in toothpick accessories. This isn’t just for show, the picks help keep the onions together, the better for them to be a stable layer in the stack. Just remember to take them out before assembling.
  Toothpicks again came to the rescue again. Once the stacks were assembled complete with their lovely mozzarella hats, I used the picks to give them and me an extra level of security.
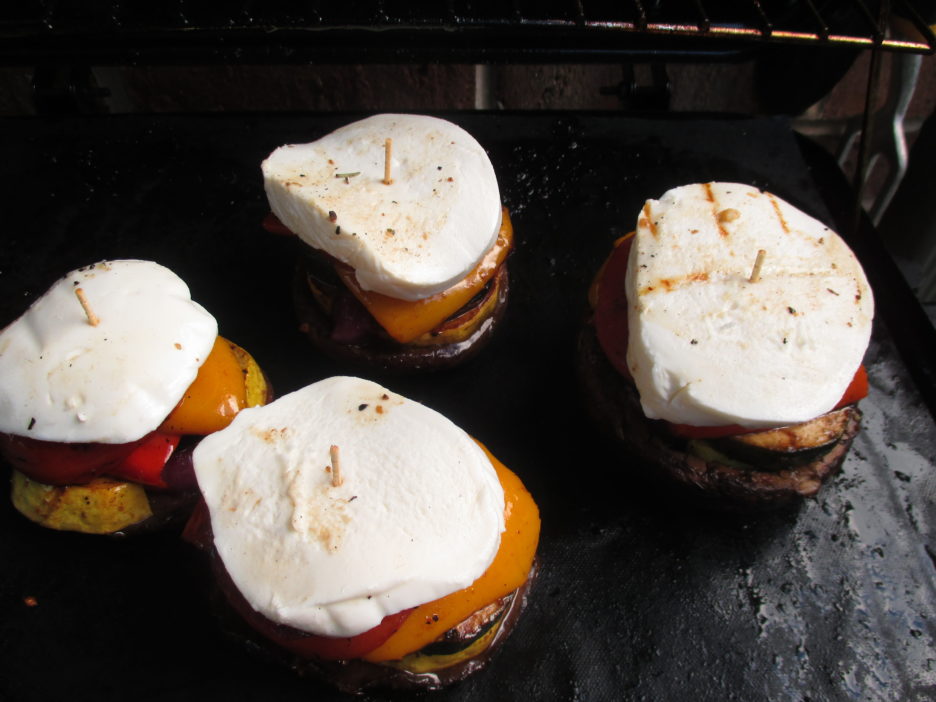 It was worth the effort and use of wood, not a single stack was lost. They were beautiful and ever so tasty.


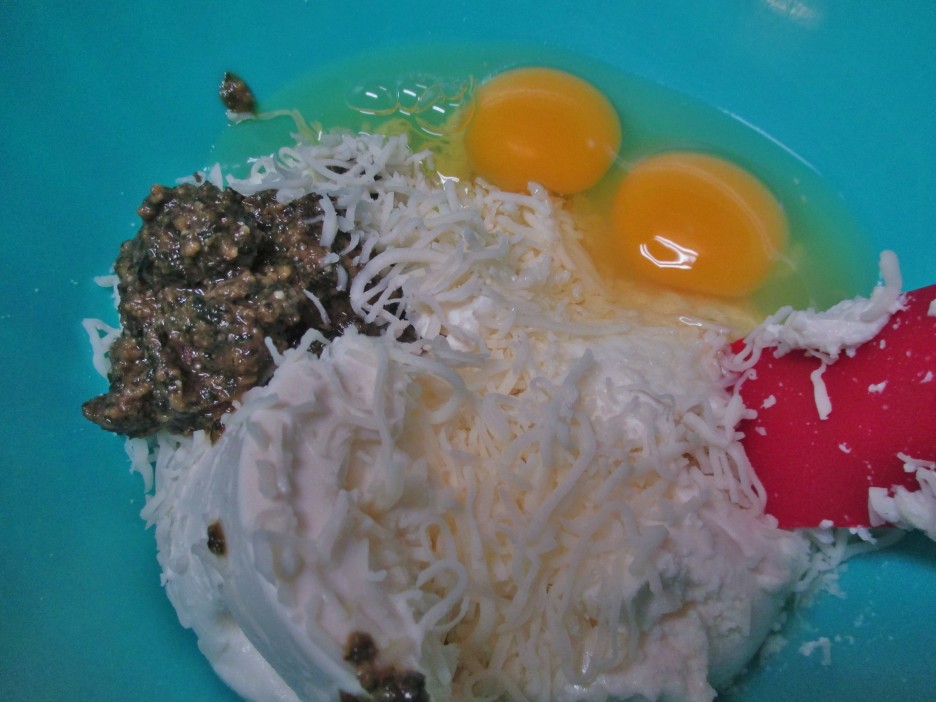 I combined the vegetables with this and the result was a creamy filling ready to hold its own in my lasagna.
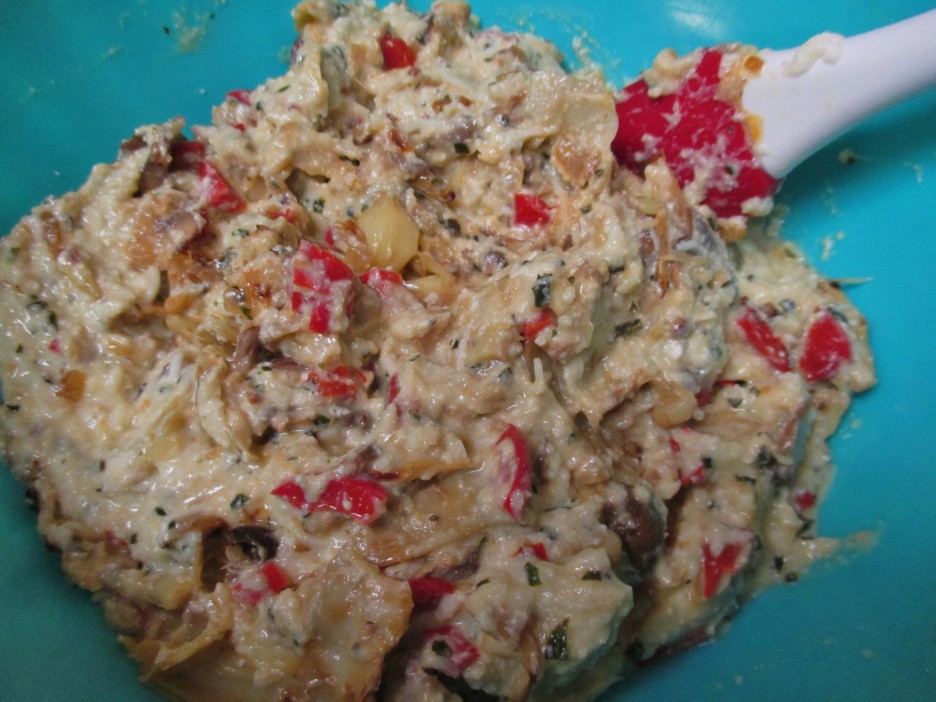 I decided to try whole grain lasagna and I can highly recommend it. The nutty flavor and sturdy texture added to the lasagna’s taste.
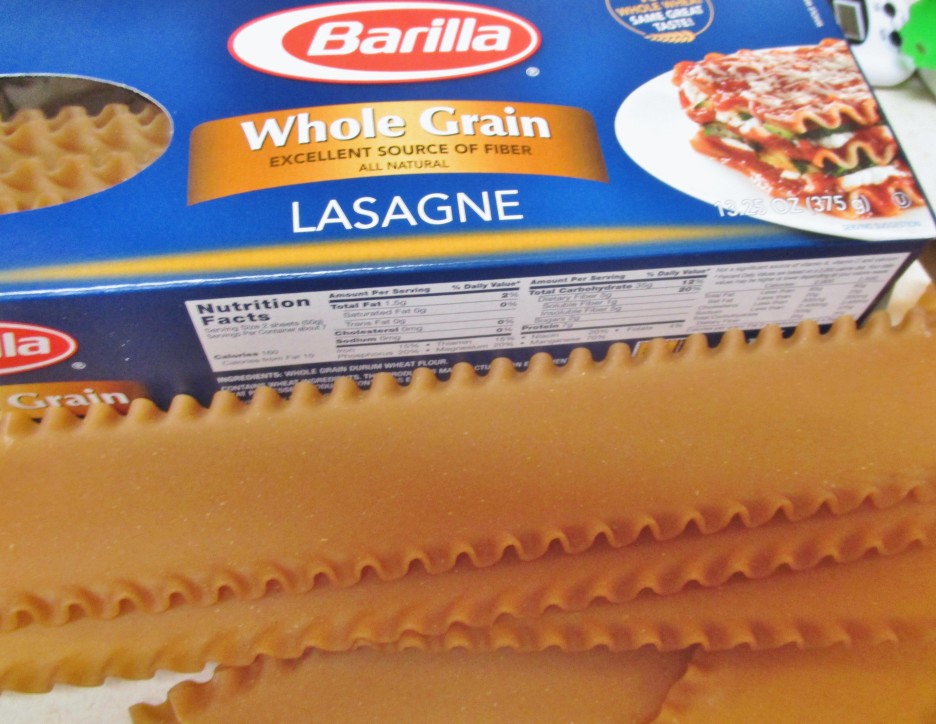 The lasagna went together in the usual way; layers of noodles, filling and cheese.
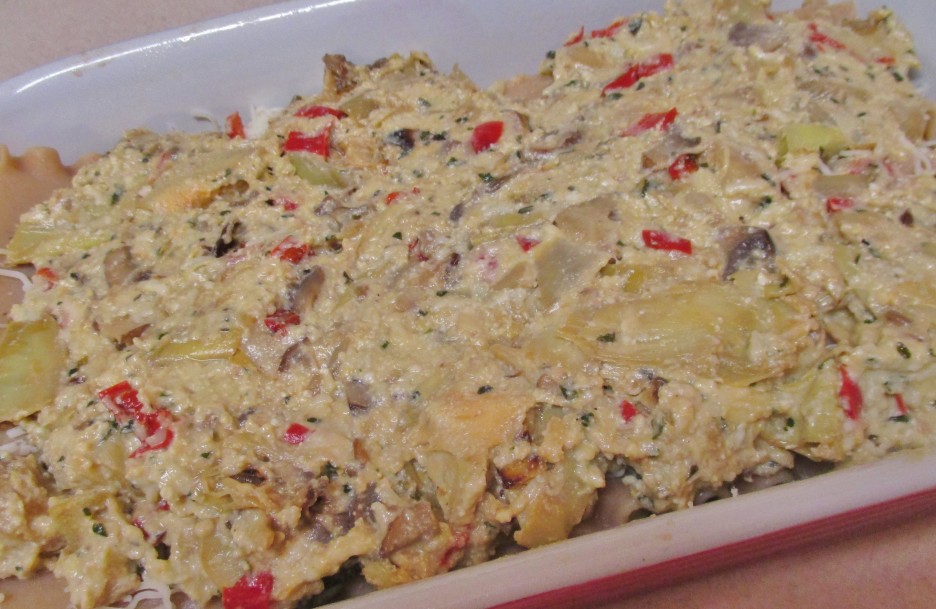 I topped it off with a Bechamel Sauce that I made with fat-free half & half and Cracked Pepper Toscano Cheese. This is one of my favorite Trader Joe’s items. It’s a creamy Parmesan type cheese that is coated in black pepper. Wonderful in cooking and a delicious addition to a cheese plate.
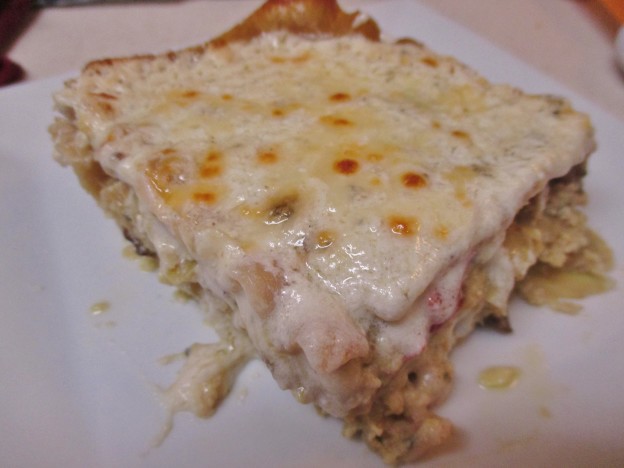
 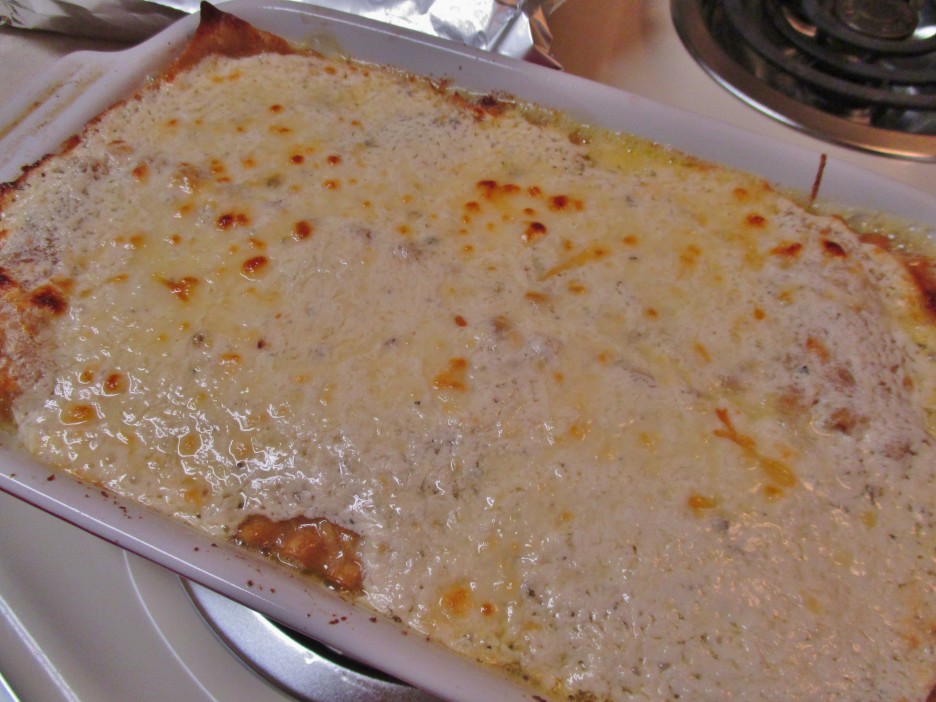 The lasagna emerged from the oven bubbly and golden as every lasagna should. After a waiting period that seemed endless, but was really about 15 minutes, it was ready to cut and serve.
 This was a win win for stolen inspiration and conscious en”light”enment. The filling was creamy and filled with veggie goodness. The six generous servings had plenty of cheesy goodness from modest amounts of ricotta and Italian Cheese Blend and of course, that killer Bechamel.


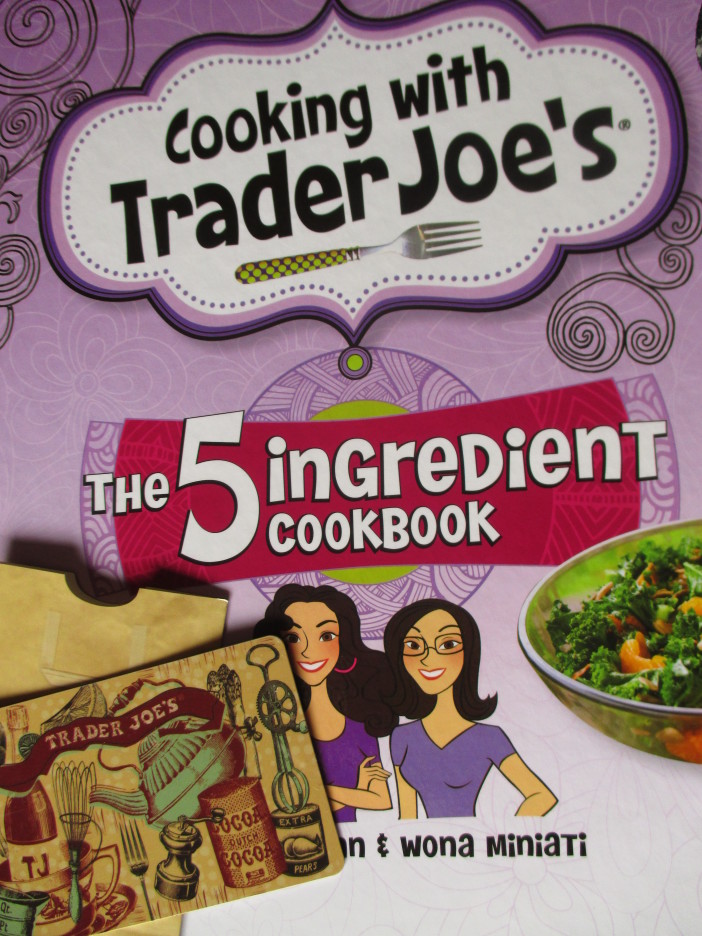 What was Mama D to do? As this site illustrates, I generally cook with more than 5 ingredients at a time. Still the book was fascinating. Lots of the recipes sounded delicious, and the limited number of ingredients made it all seem do-able, so armed with my gift card and some recipe ideas from the book, I paid a visit to my local Trader Joe’s. I came home with two bags of goodies. A few of my favorites like White Cheddar Popcorn and Frozen Artichoke Hearts had to come home with me (just because), but I also picked up some recipe specific items. Case in point; Frozen Country Potato Blend and Frozen Pie Crust both of which were new to my kitchen. These were the cornerstone of what sounded to be a great Meatless Monday supper, Country Potato Quiche
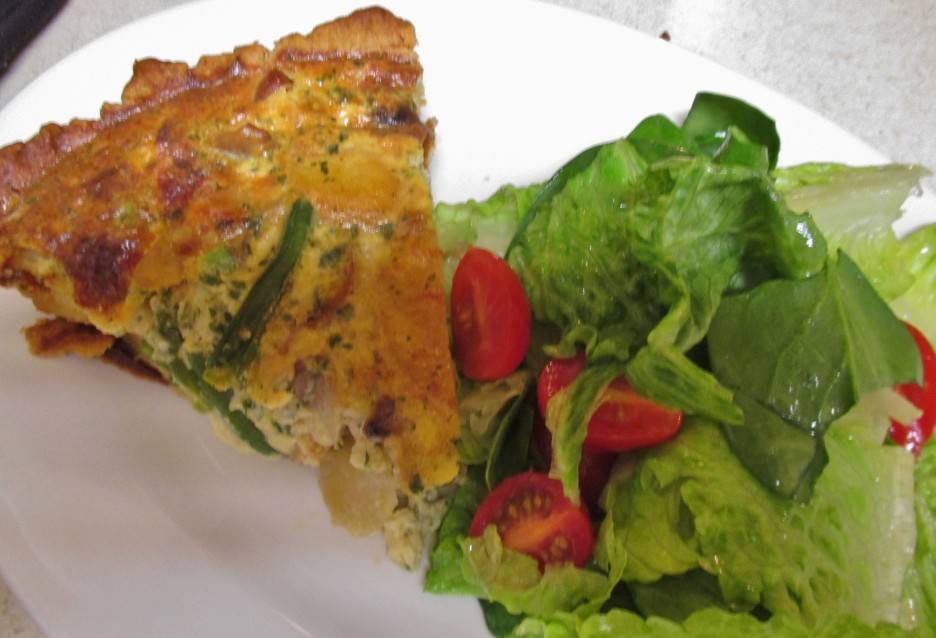
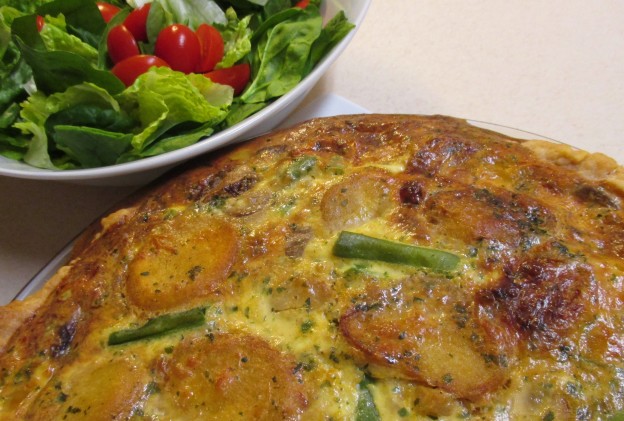
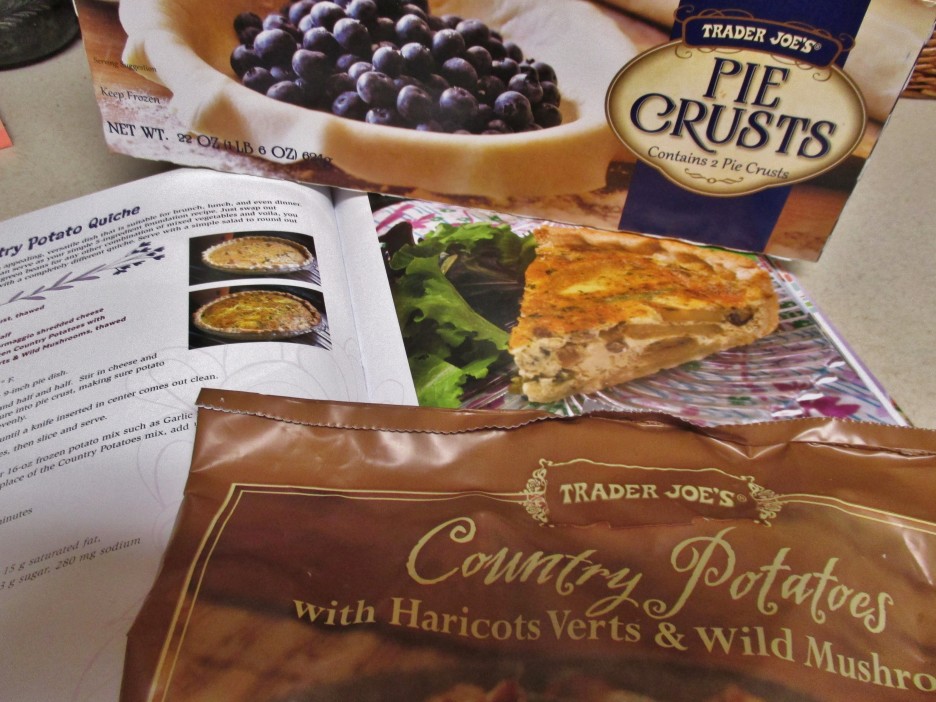 Besides these two ingredients the remaining cast was filled out with eggs, grated Italian Cheese blend, and some fat-free half and half (the last 2 being my personal substitutions). This was my first foray into frozen pie crust and I can’t say that I am a fan. The crust thawed into pieces, but once I gathered the pieces together and re-rolled the crust, I was in business. The filling was easy enough to make. All I had to do was mix the ingredients together in a bowl. The potato medley was quite unique as are many of the items at T.J.’s. Fried potatoes, green beans, and mushrooms made an intriguing and tasty base.
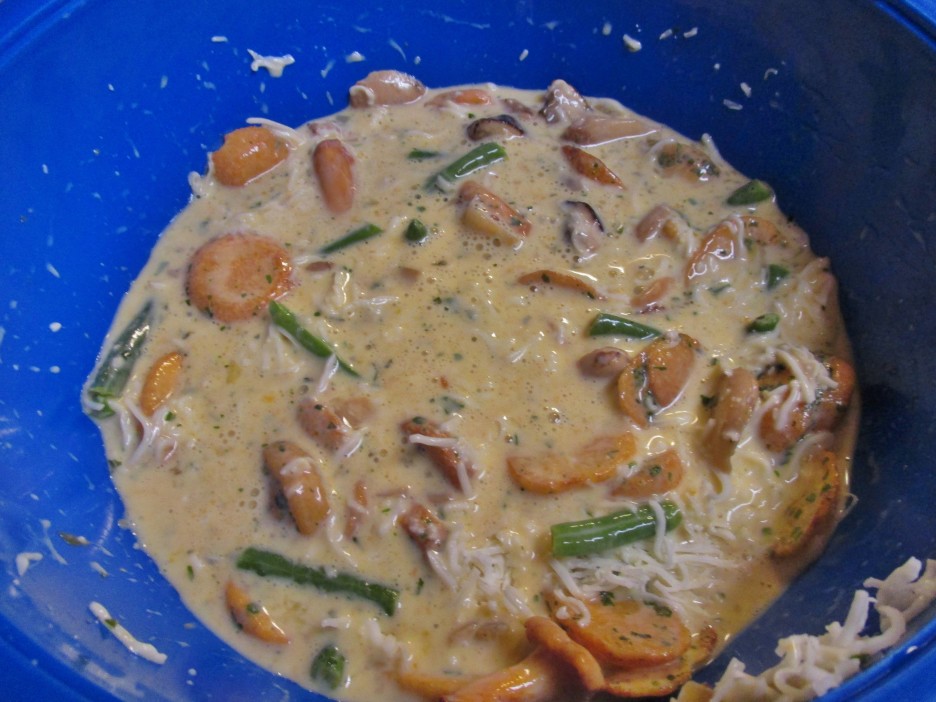 I decided to pre-bake the crust for 10 minutes to guard against a soggy bottom. Then it was a matter of pouring the generous filling into the crust (thankfully the pan was on a rimmed baking sheet which averted sure disaster). Once out of the oven it rested on its laurels for 15 minutes before making its way to the table, our plates, and ultimately our stomachs. A simple salad was the only other thing that was required (oh yeah, and a nice Pinot Noir)