Lovin’ From the Oven – Smothered Pork Chops

As you probably know, Mama D runs a pretty healthy kitchen. Fresh and light are terms often used in the posts that appear here. Every once in a while though, especially when the weather is getting chilly, she loosens her apron strings and goes for a little more gusto. Smothered Pork Chops from the oven is one such dish. It is a little richer than what I usually prepare, but it is lightened up in a few places as well. It’s the perfect weekend splurge that won’t break the calorie bank.

Pork is probably my favorite meat and pork chops are high on my list of favorite cuts. I wanted to see if I could come up with a different spin on this Southern favorite. I poked around the internet to get some background on this dish. Some called it Creole, some called it Soul Food, but everyone called it a comfort food staple. I kept some of the ingredients and a few of the techniques, but in the end it was a Mama D original.

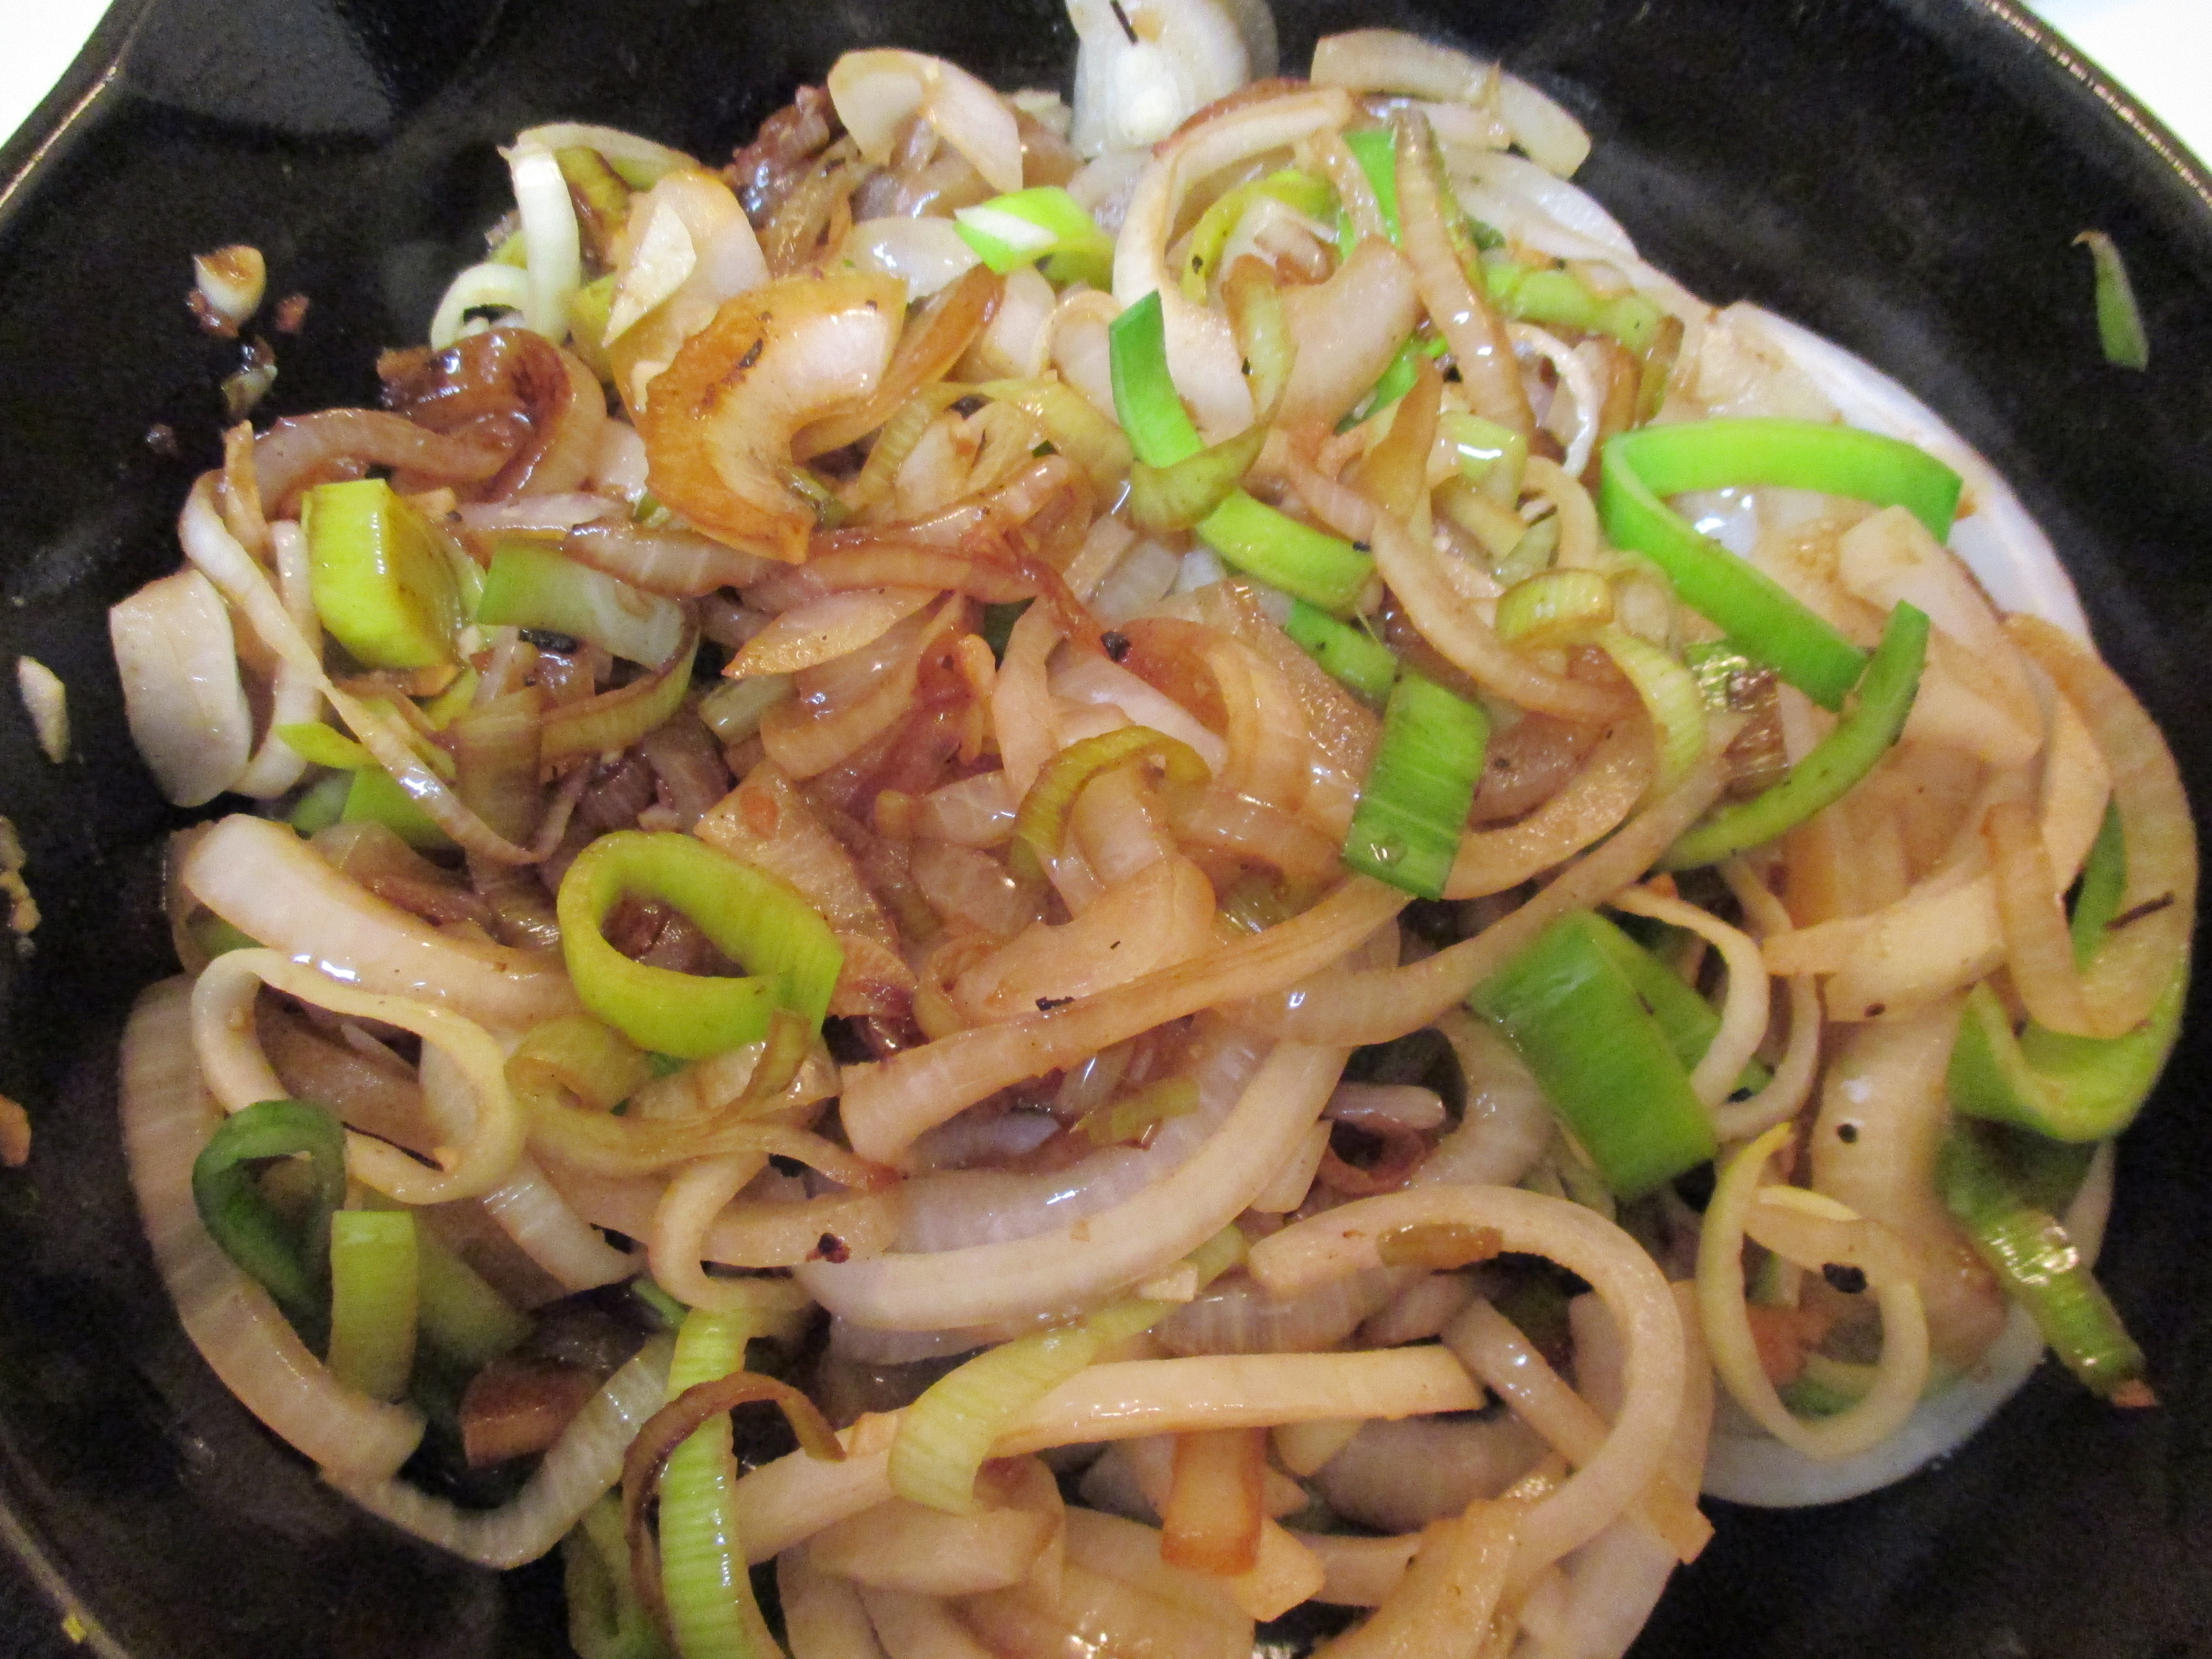
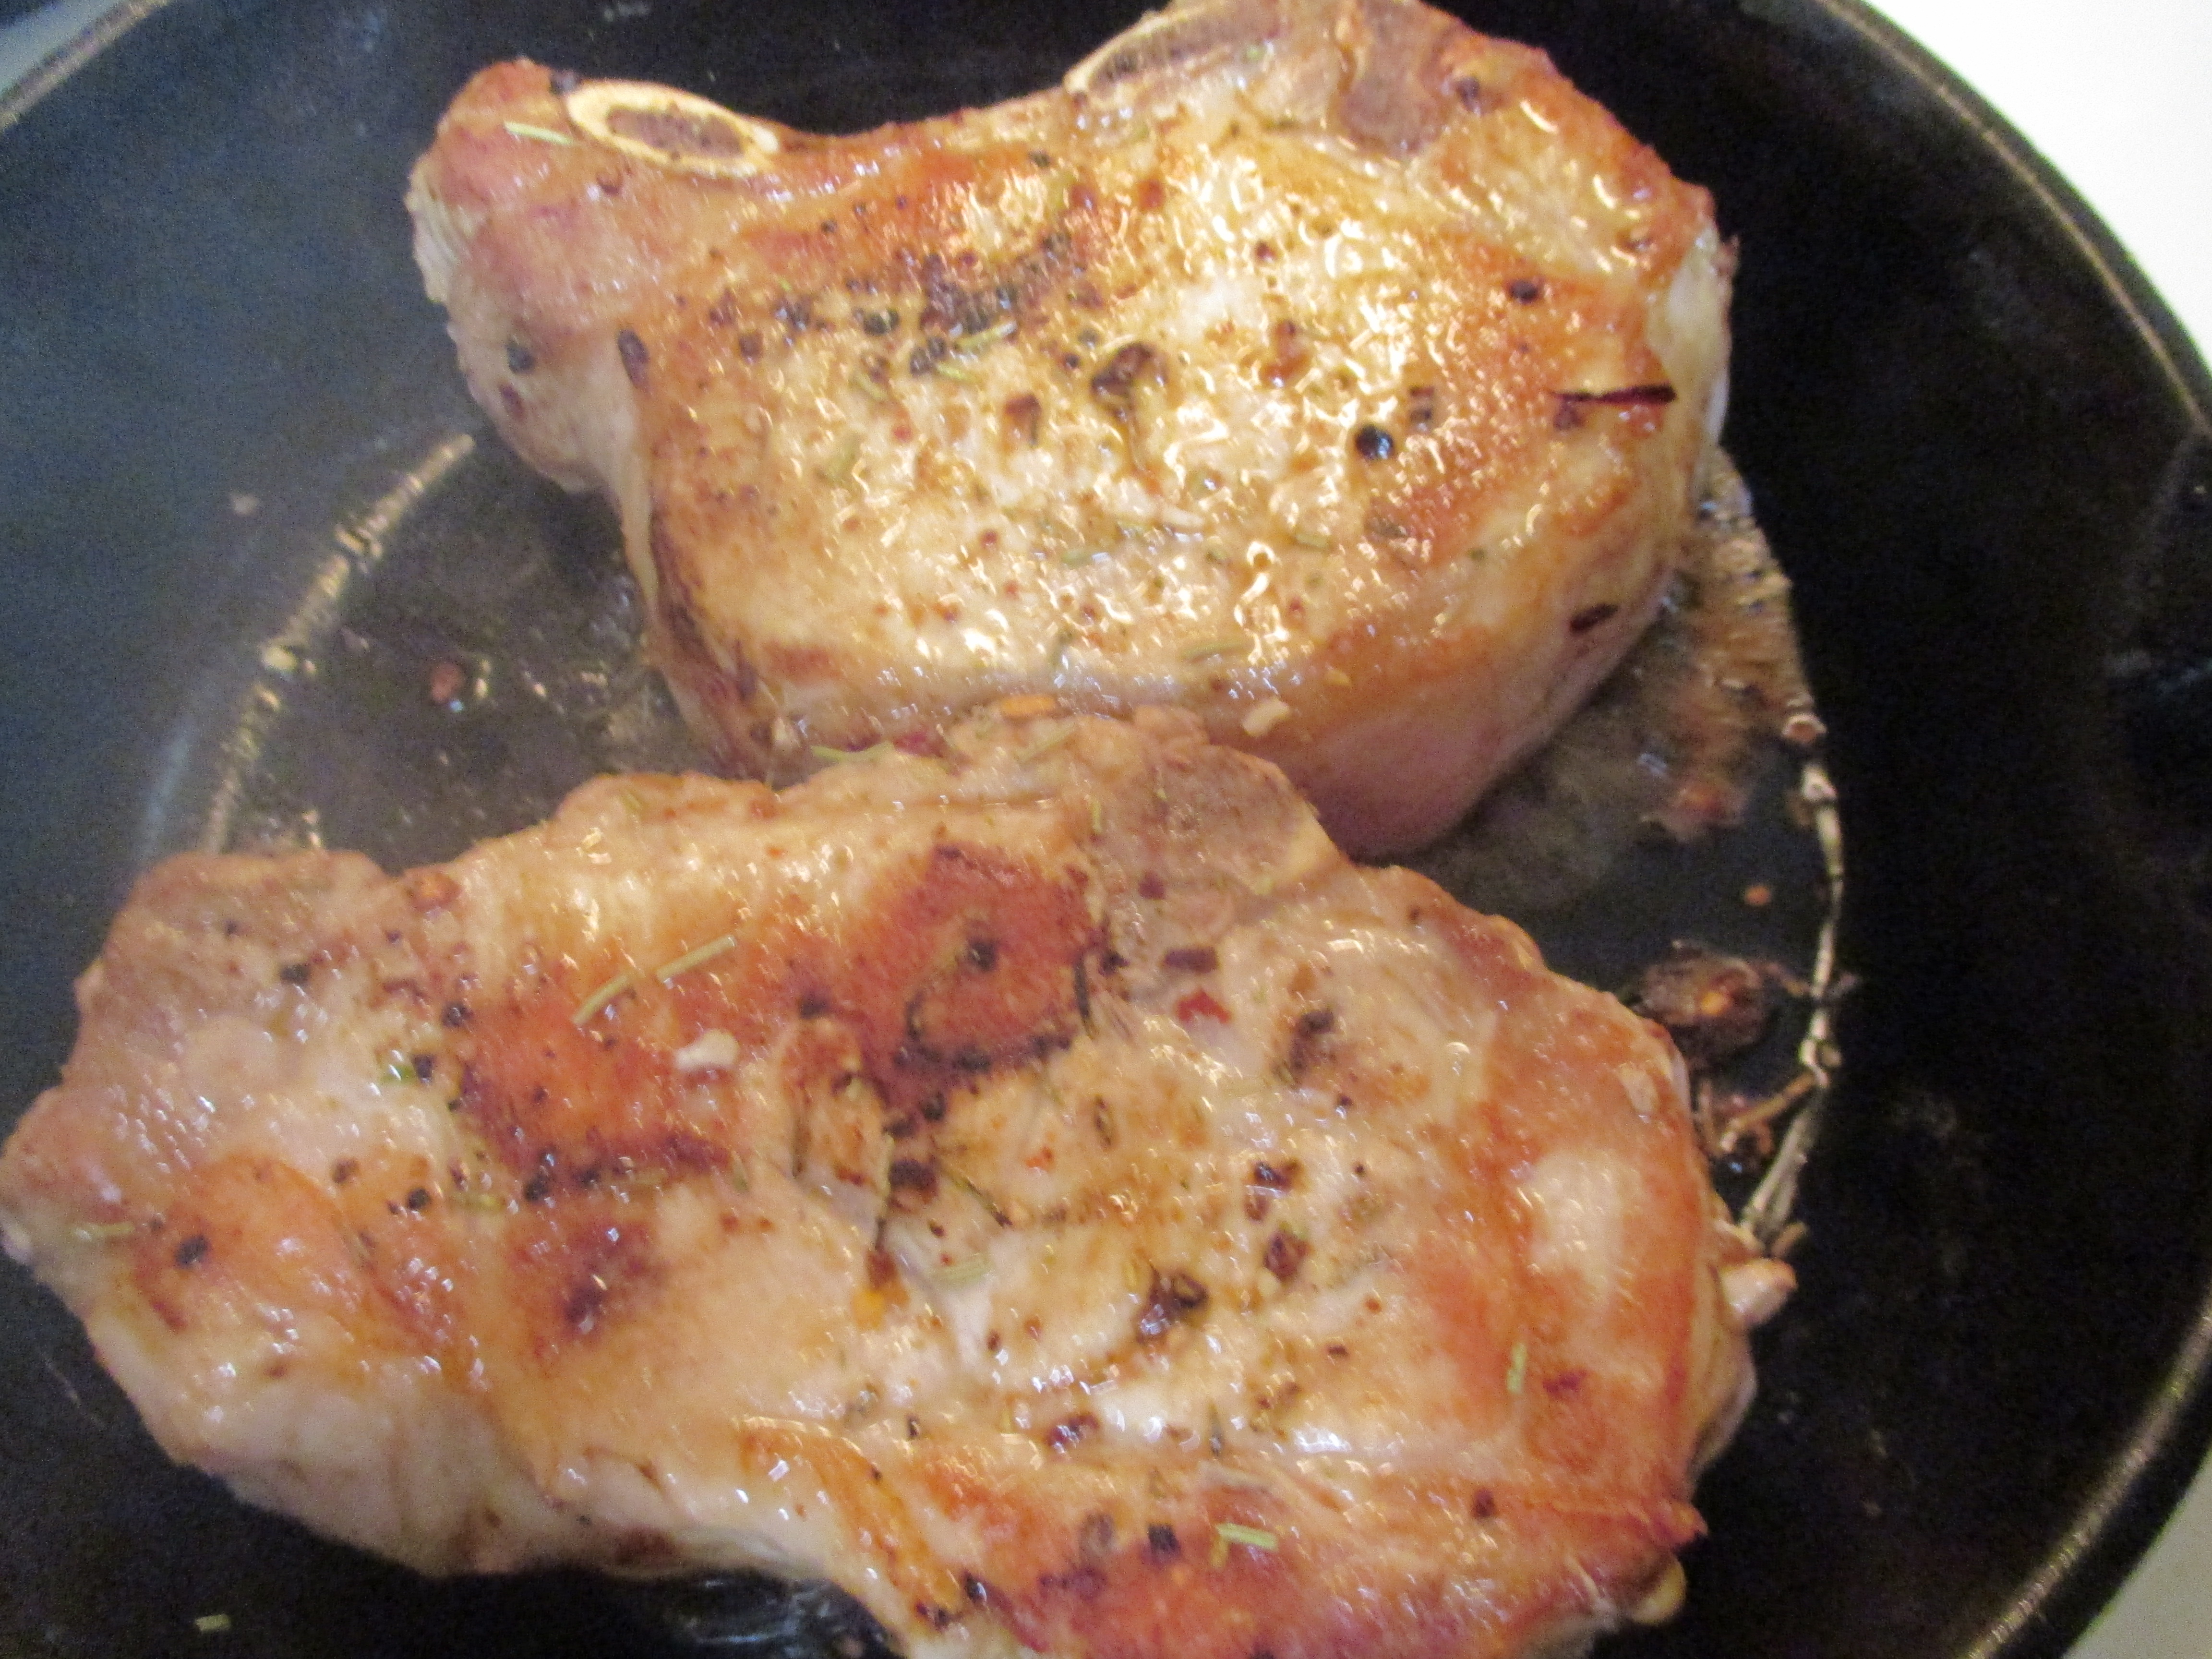
It starts with thick center cut pork chops. Keep the bone in, the flavor it imparts is amazing. I skipped the dredge and seasoned the chops with Italian Herb Seasoning. I got a small cast iron skillet screaming hot and sprayed it lightly with Olive Oil Cooking Spray.IMG_0647 The chops got a quick sear before they took a seat on a nearby plate. I left all the wonderful bits and drippings in the pan and turned the heat to low before I added a bit of olive oil.IMG_0648 I added onions, leeks, and garlic and let them cook undisturbed for 5 minutes. I added a small pinch of salt and let them cook slowly for another 20 minutes giving them a stir every now and then.
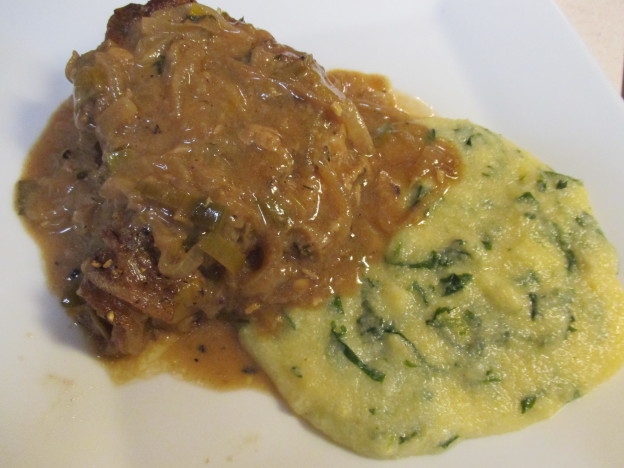
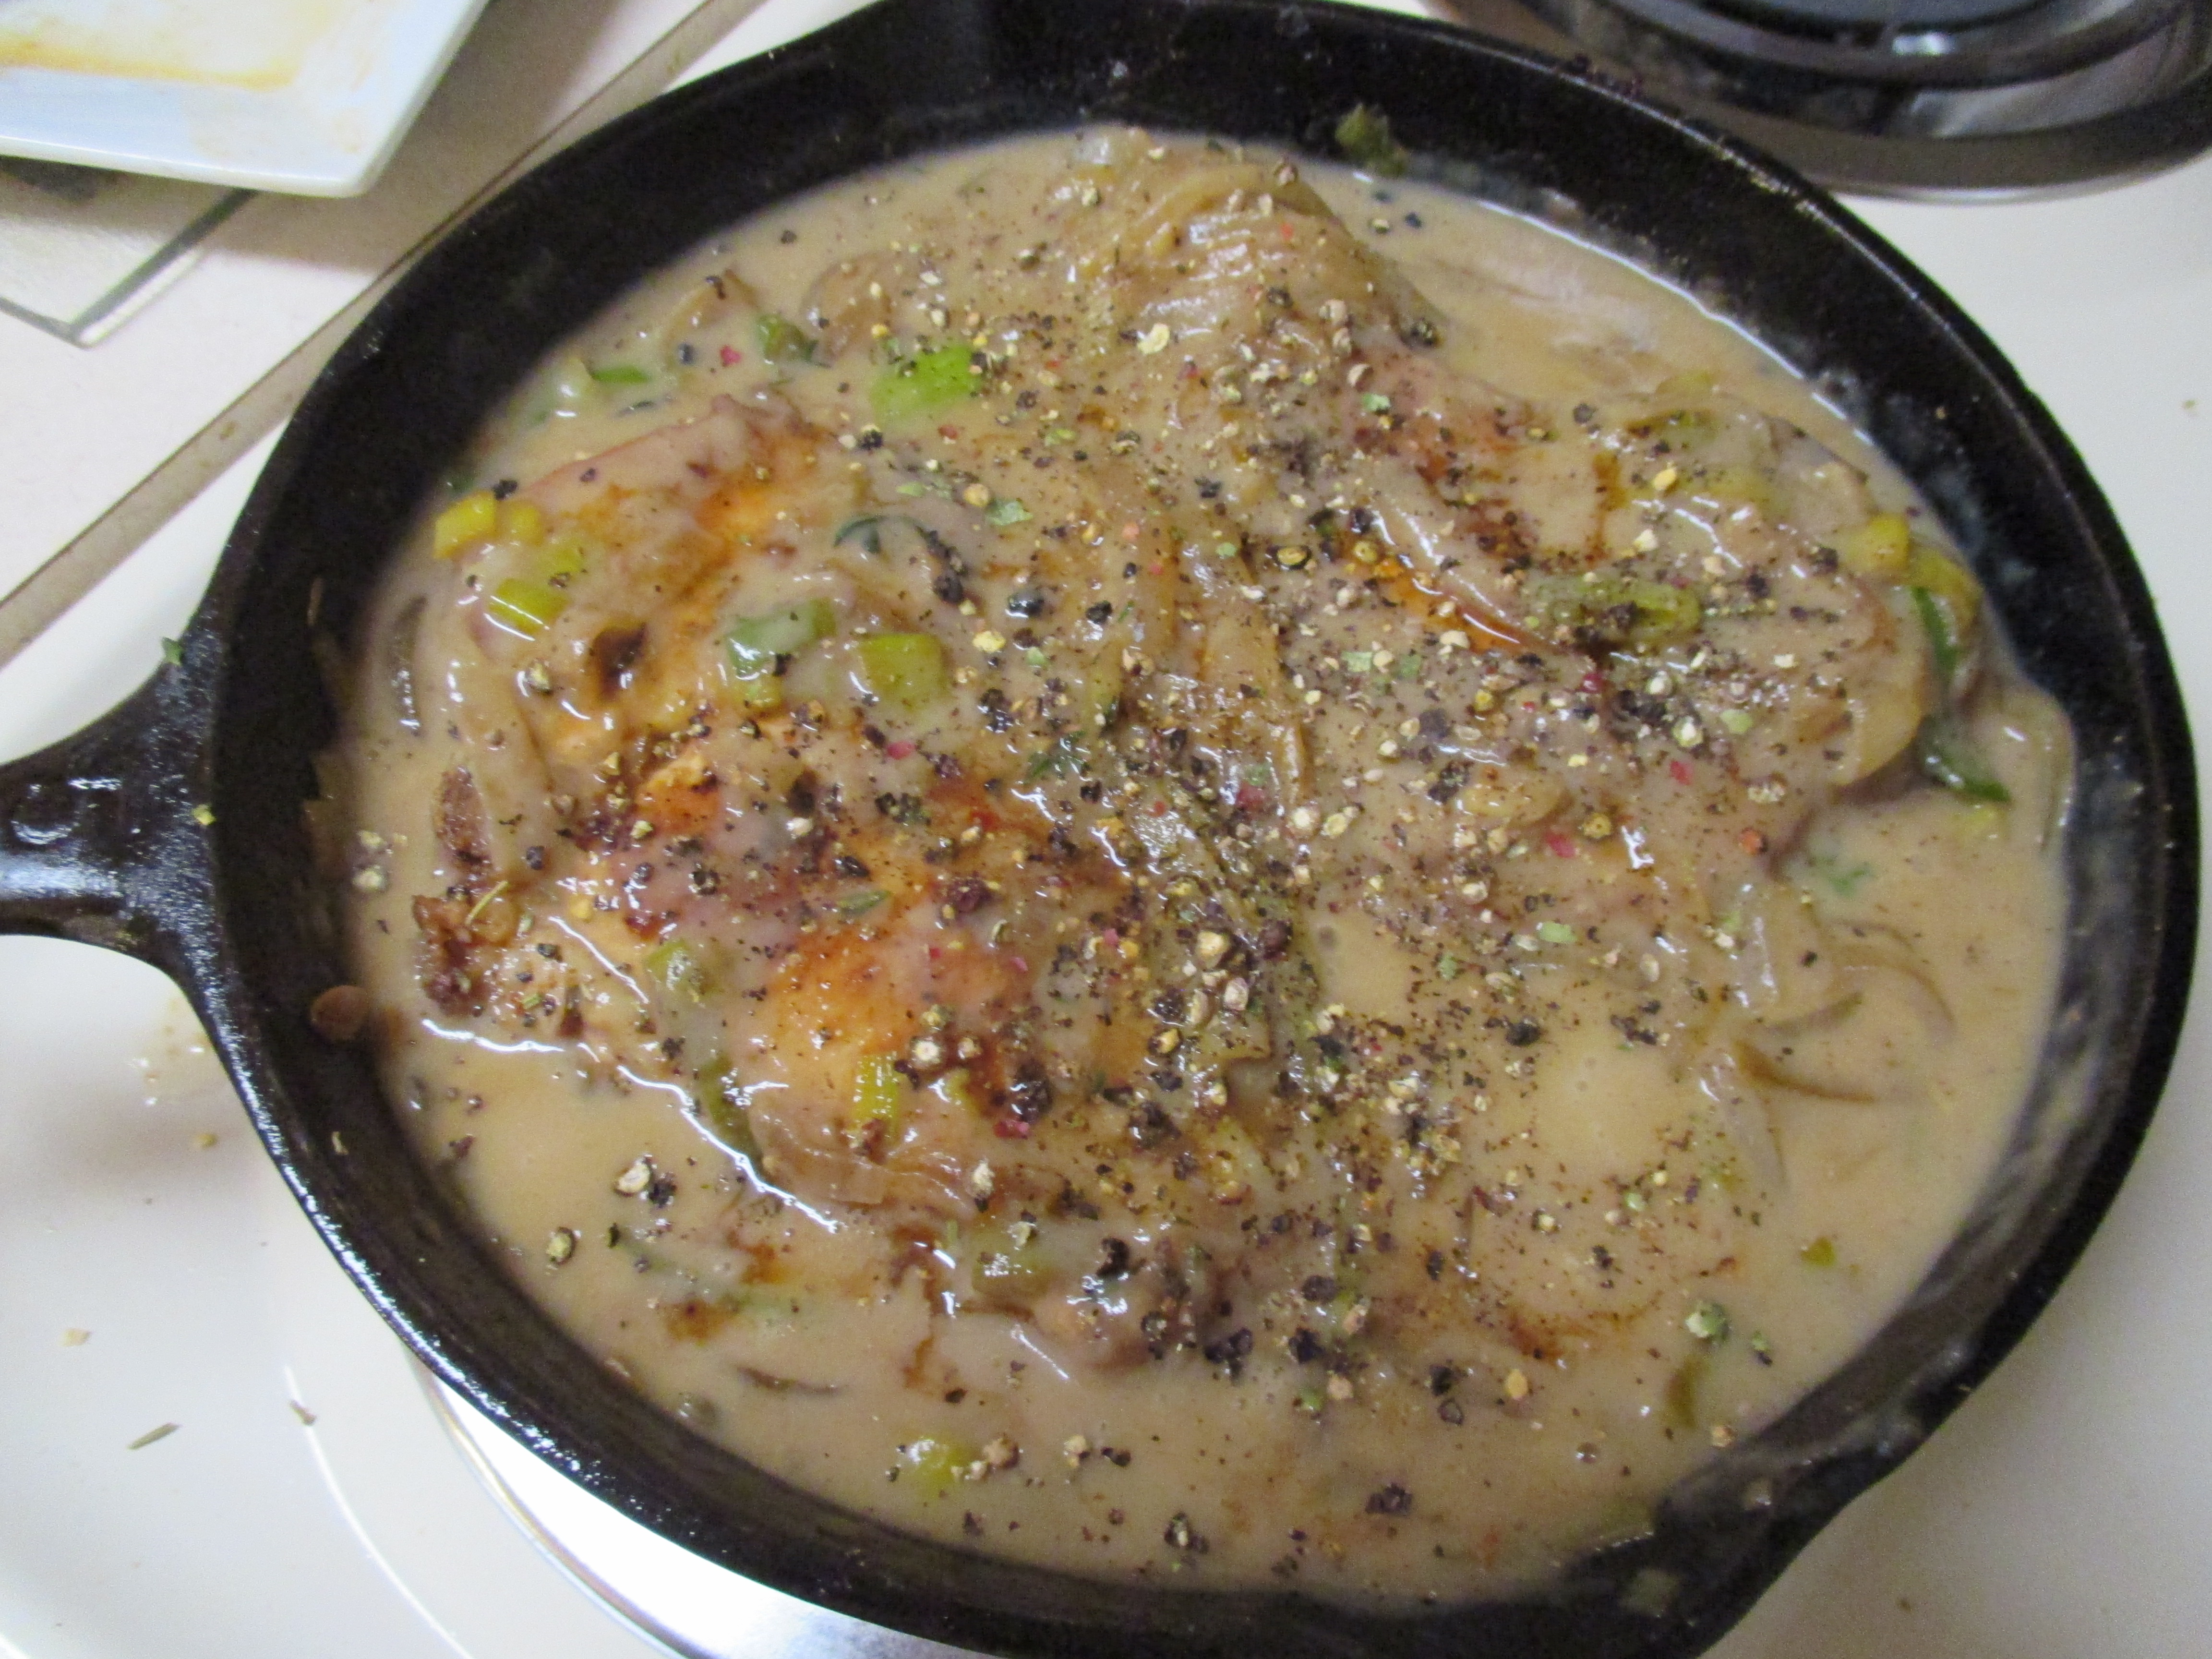
Smothered Pork Chop Gravy can be anything from decadent and creamy to rich and savory. I opted to create a lighter sauce  without short-changing the flavor. The carmelized onion and garlic mixture was the perfect flavor base. A little Wondra Flour went in and cooked for a couple of minutes. Then I gradually added chicken broth and 1% milk and let it bubble into a beautiful thick sauce. I added some thyme sprigs while it was bubbling to give a delightful woodsy scent. Rosemary would also be wonderful as would any combination of woody herbs.IMG_0655
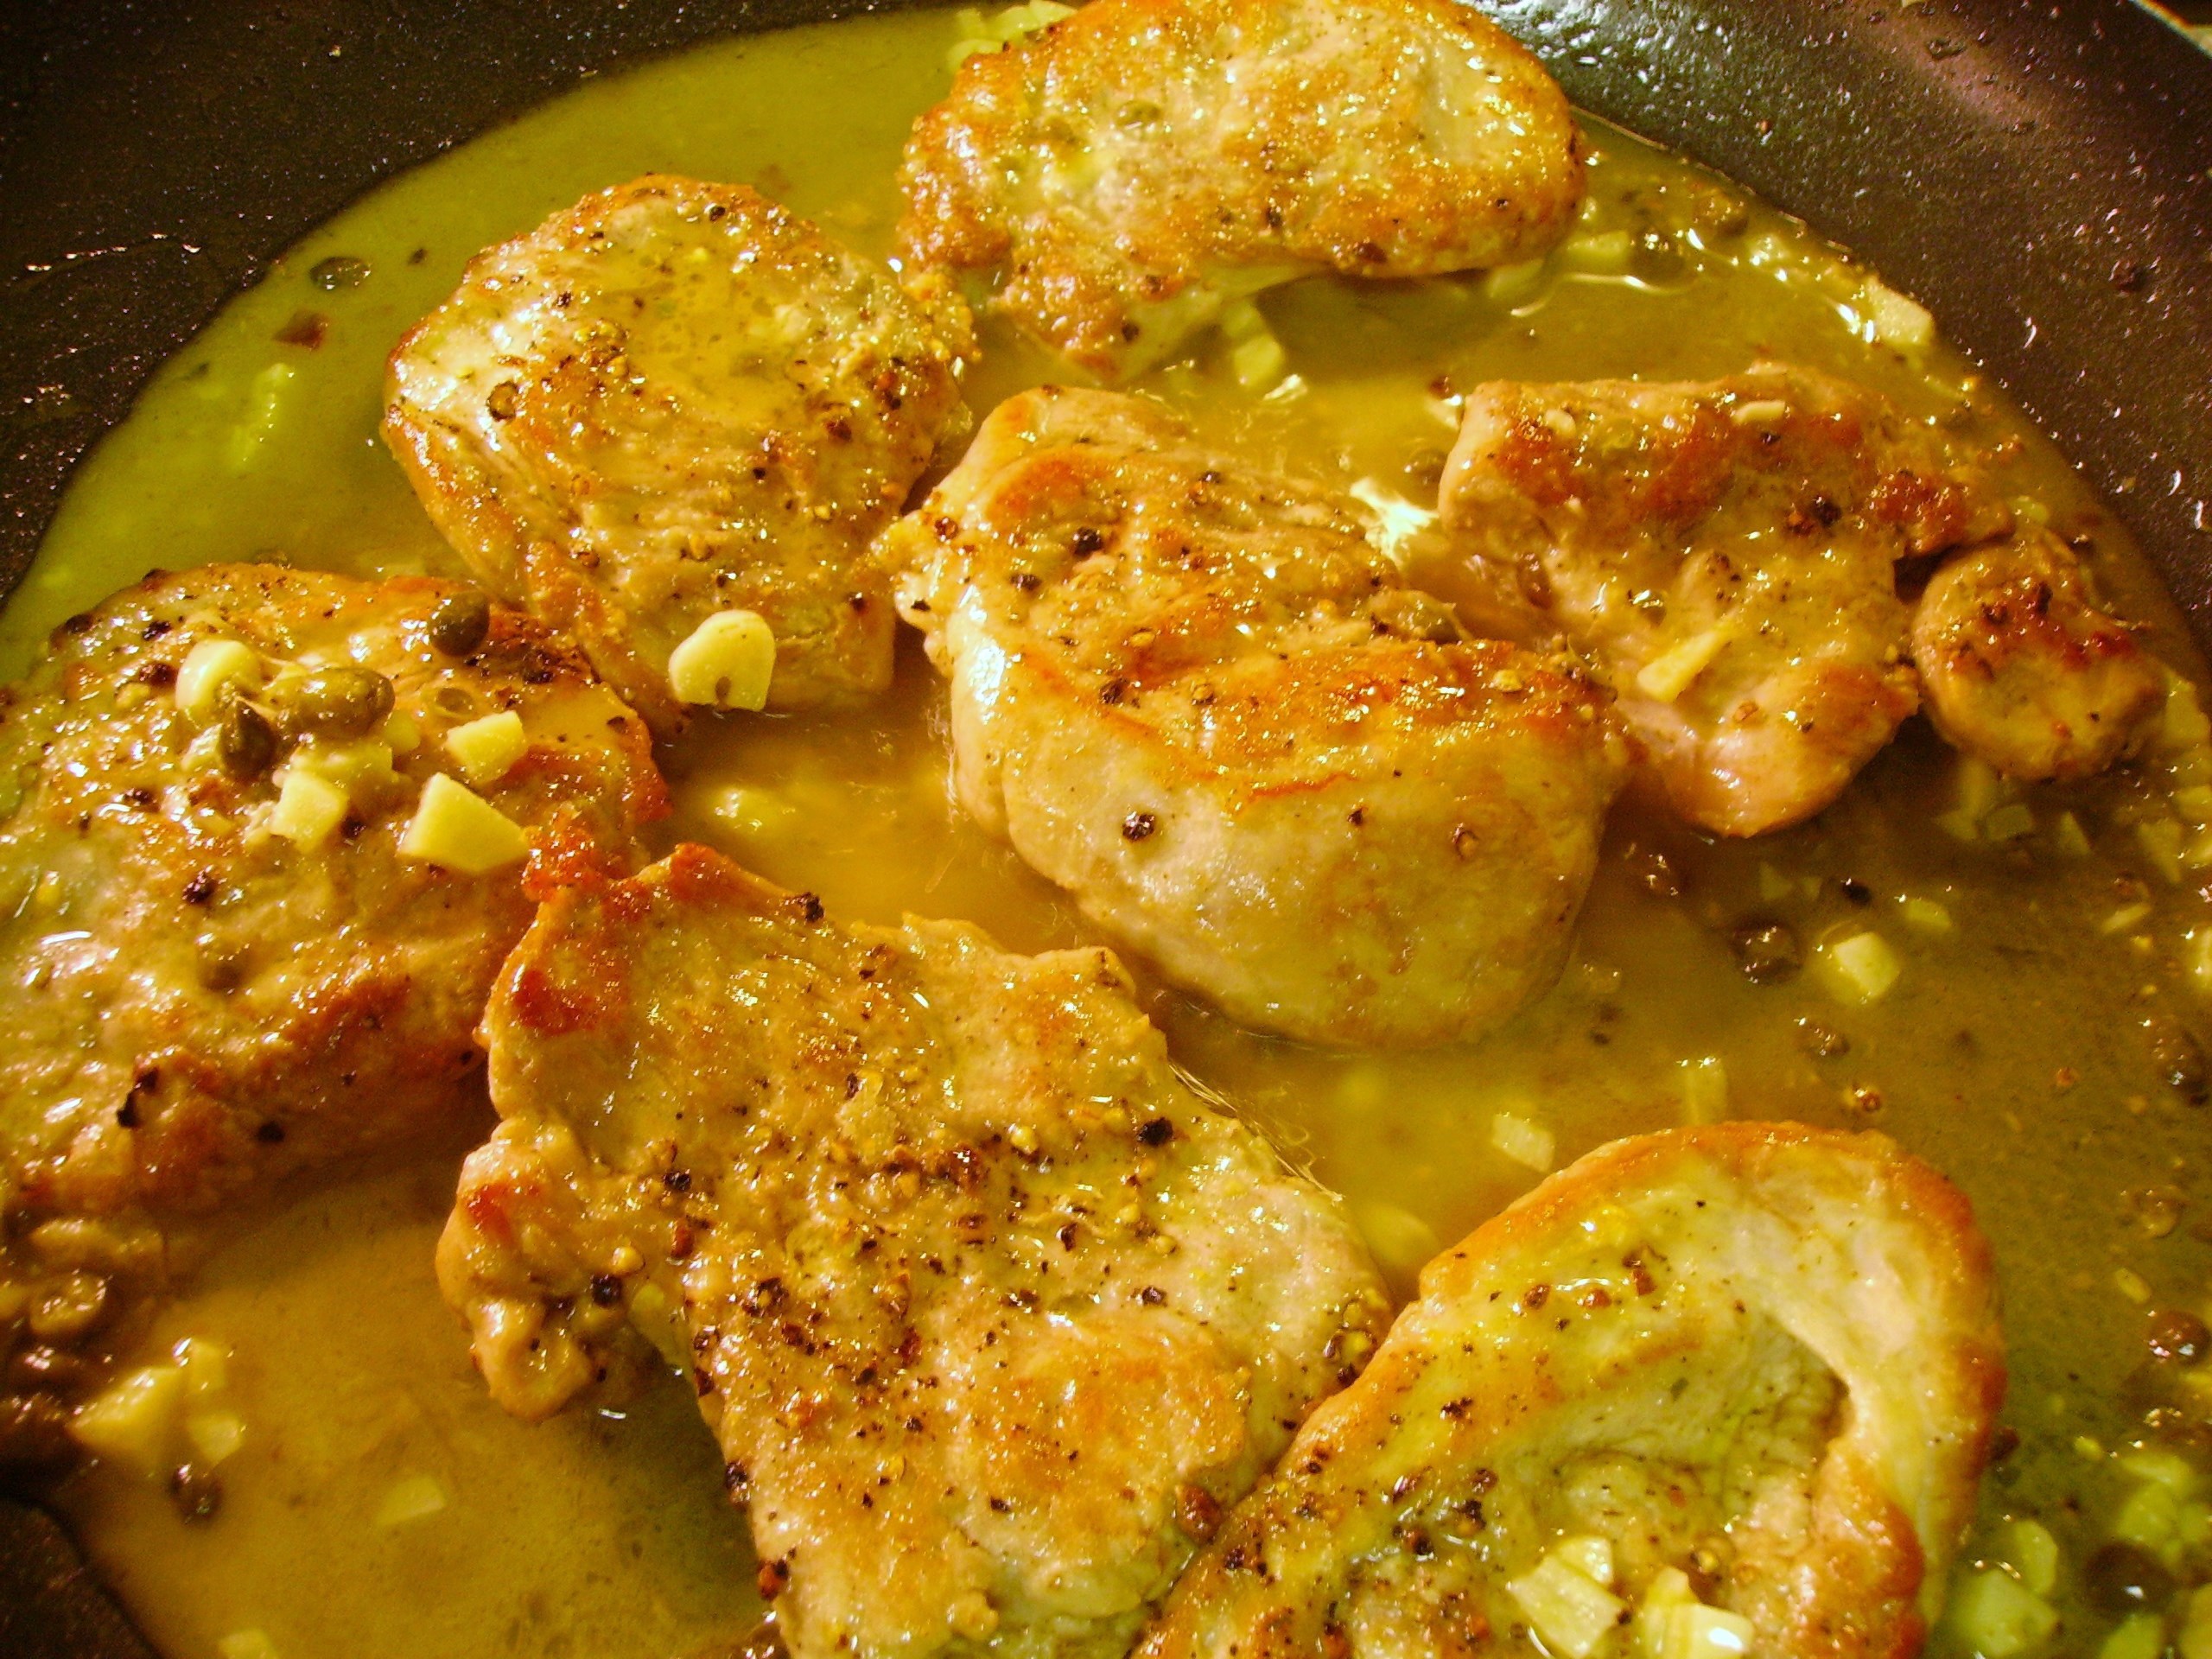
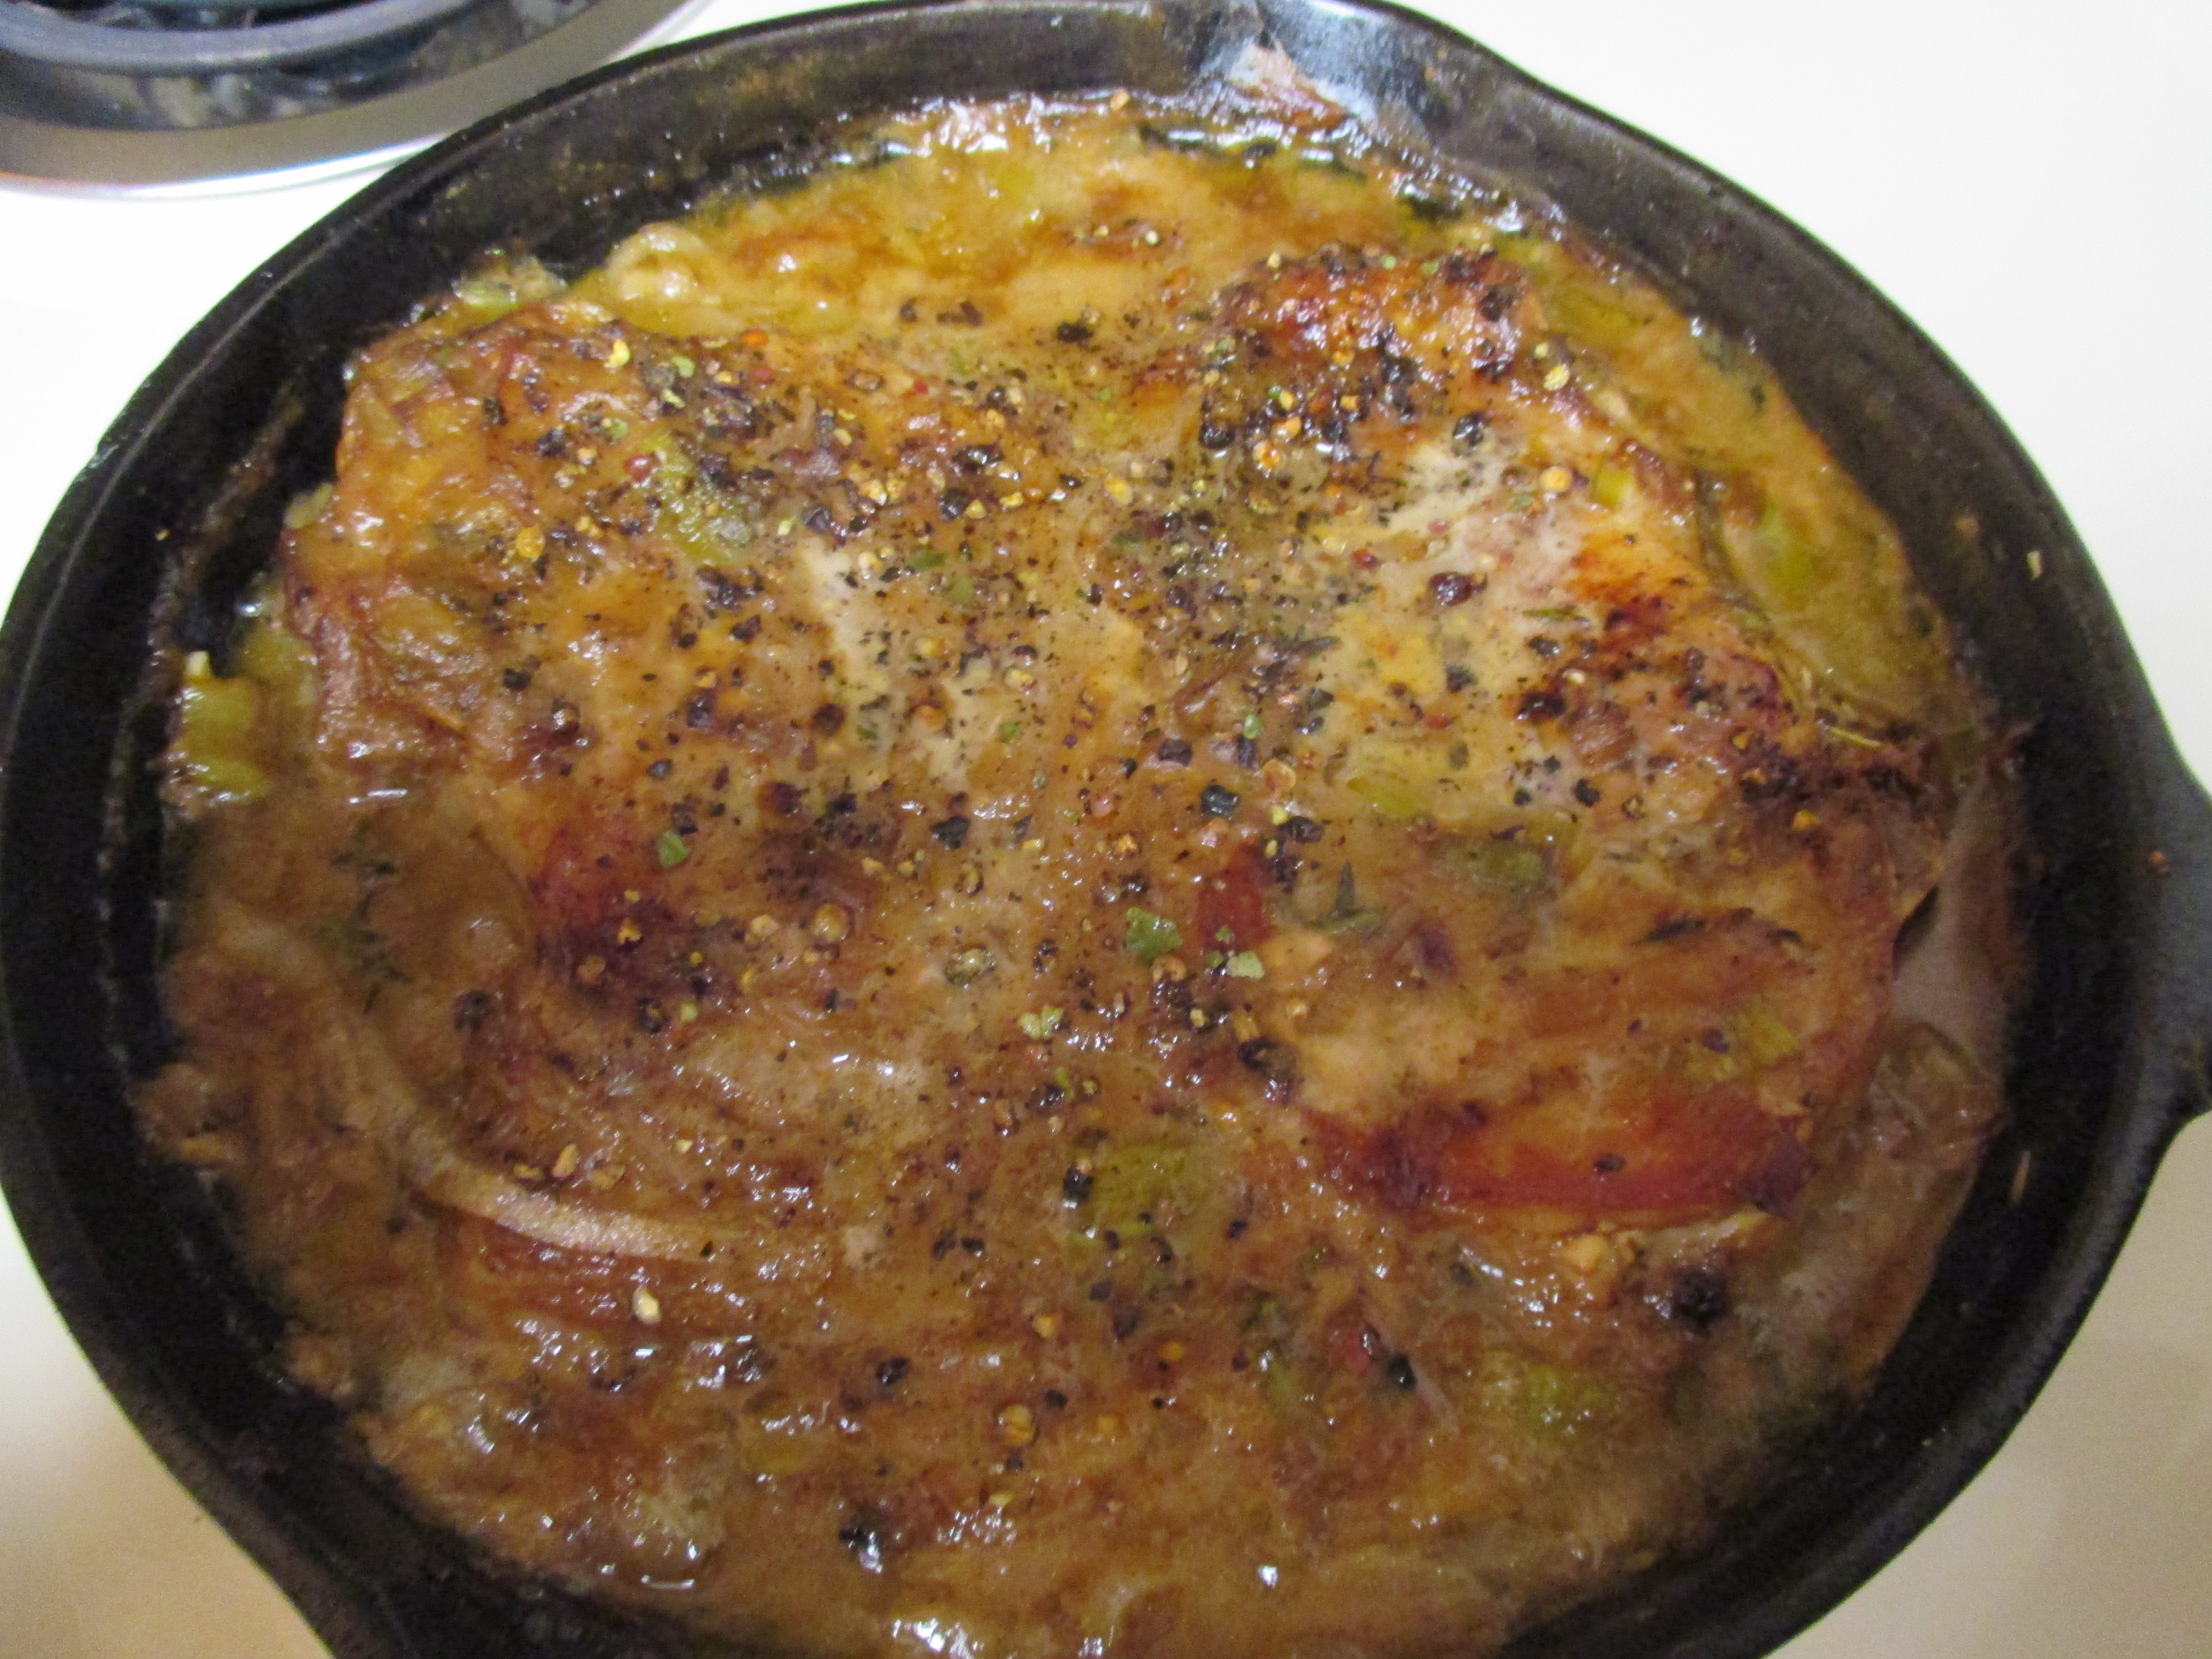
I added the chops back to the pan. The sauce almost covered the chops but I gave them a few turns to make sure every nook and cranny was coated. Some cracked black pepper went on the top before it headed into the oven to become a skillet full of golden love.IMG_0658The gravy was beyond fabulous. I even caught myself eating the leftover golden goodness out of the pan as I cleaned up. Gravy is meant to top something and the pork chops were delighted I chose them.
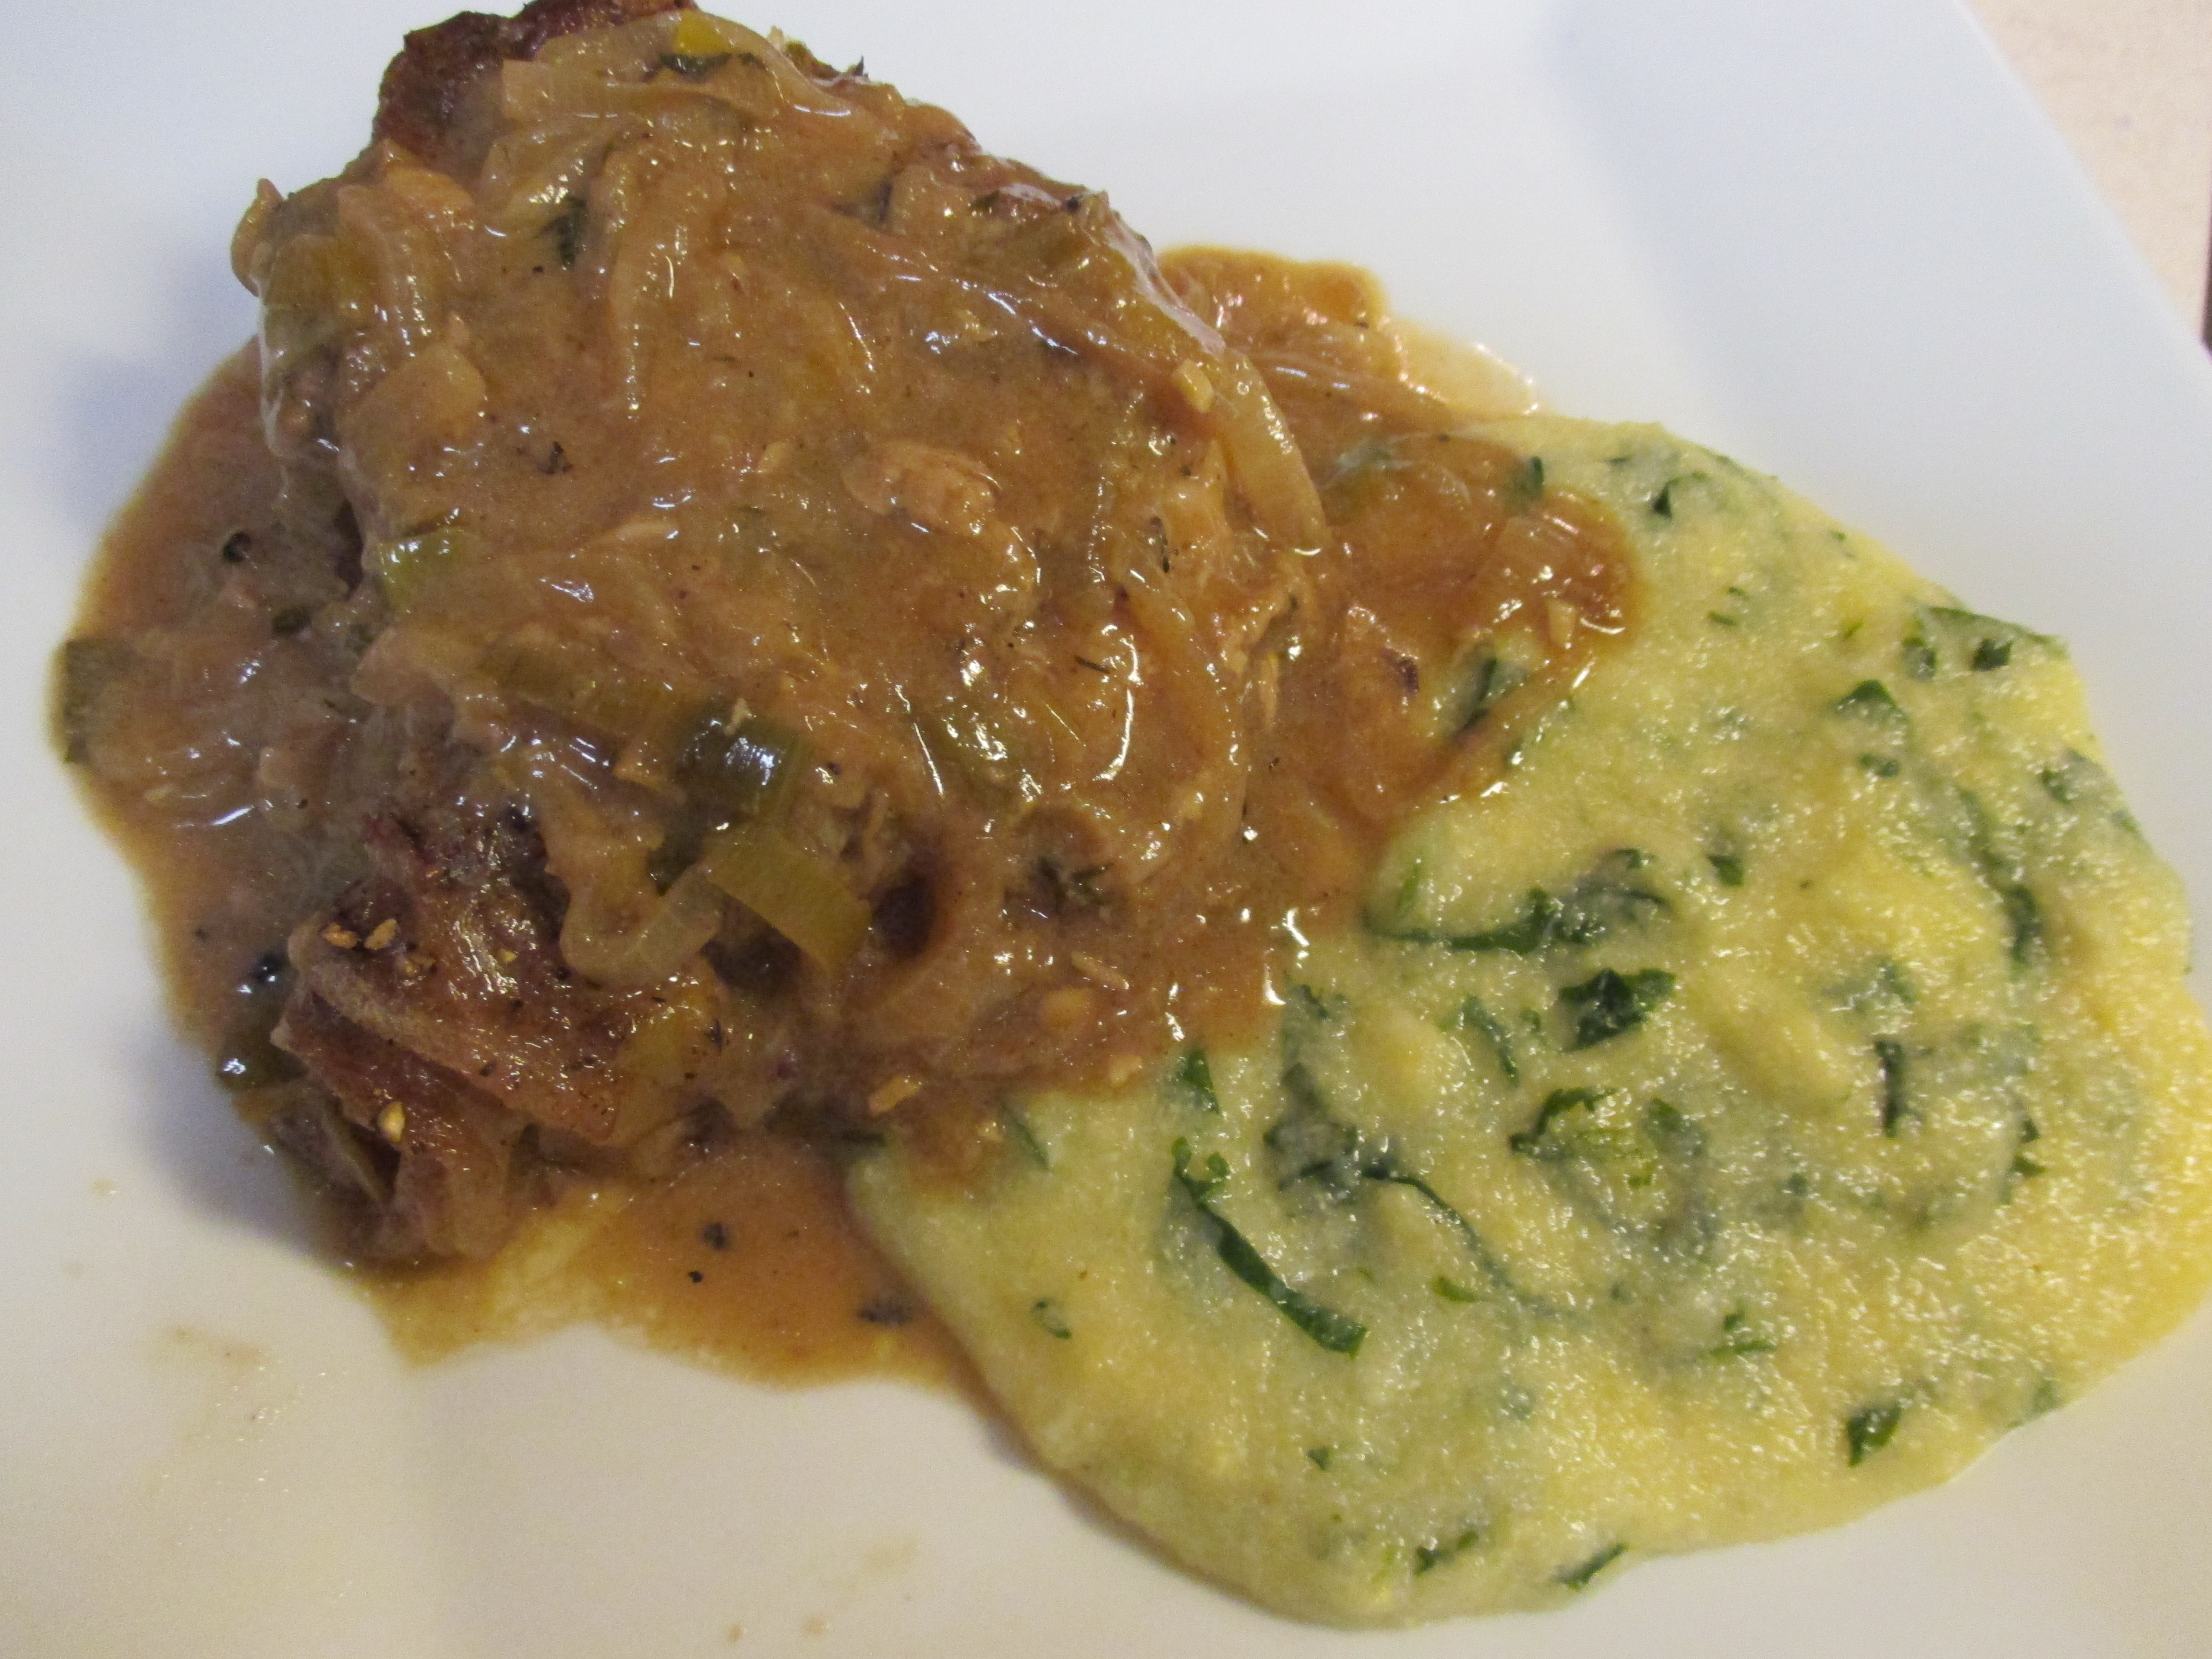
I rounded out the plate with some Polenta. I happened to have instant in the pantry so that;s what I used. I have to say I prefer the longer cooking variety as it has more texture, but this did fill in nicely. I added some sautéed spinach and garlic to the polenta as it was cooking. It made a wonderful side dish that also enjoyed a bit of gravy love.
IMG_0660

Smothered Pork Chops
Print Recipe
Servings
2
Servings
2
Smothered Pork Chops
Print Recipe
Servings
2
Servings
2
Ingredients
Servings:
Instructions
  1. Heat a small cast iron skillet over high heat. Sprinkle the Italian seasoning on both sides of the pork chops. Spray the skillet with the cooking spray. Add the pork chops and sear 3 minutes on each side. Remove the chops from the pan and set aside.
  2. Reduce the heat to medium and add the olive oil to the skillet. Add the onions, leeks, and garlic to the skillet and cook undisturbed for 5 minutes. Add a pinch of salt and continue to cook slowly for 20 minutes, stirring occasionally until they are golden brown.
  3. Add the flour to the skillet. Cook and stir for 2 minutes. Slowly add the broth and milk stirring to keep everything smooth. Add the thyme sprigs and continue to cook until the gravy begins to thicken, 5 minutes or so.
  4. Return the chops to the pan and turn several times to coat them with the gravy. Top with a generous dose of cracked black pepper. Place the skillet in a preheated 350 degree oven. Bake 20 - 30 minutes until the are cooked. Remove the thyme stems. Allow to cool slightly before plating.
Spinach Polenta
  1. Saute 2 cups of chopped spinach in a little olive oil with a clove or two of minced garlic. Set Aside
  2. Cook 1/2 cup polenta according to the package directions using equal parts of milk and chicken broth. When the polenta is the consistency you like, add the spinach mixture, 1 small pat of butter, and a small handful of Romano cheese. Serve.
Share this Recipe
Powered byWP Ultimate Recipe

Mama D’s Fall Kitchen Adventures

There  is more than just a hint of fall in the air. Cool days and cooler breezes make it abundantly clear that the season has changed here. Not that there’s anything wrong with that. I’m ready for Fall, at least I think I am. I enjoy the cooler days and the leaves changing colors. No longer having to rake them makes the whole process even more enjoyable. While I’m not anxious for Winter, I am ready for this change and the change in my cooking focus that it brings.

I want to share a few quick picks of what’s been happening in Mama D’s Kitchen. Many of these are Non-Recipe Recipes; that is they really are just musings on what’s in season and more importantly what’s in the house. So come join me as we a take a culinary walk back over the last couple of weeks.

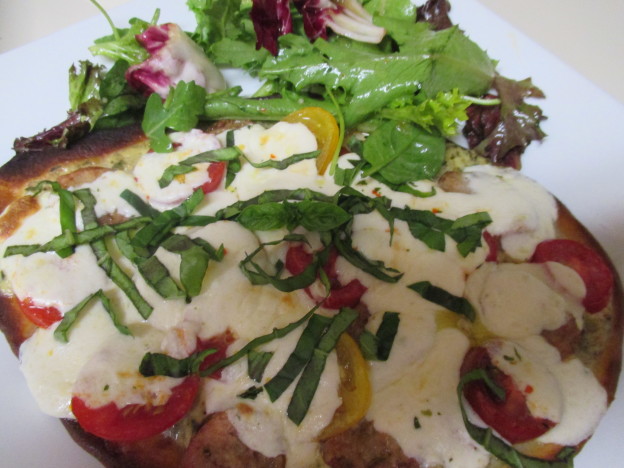
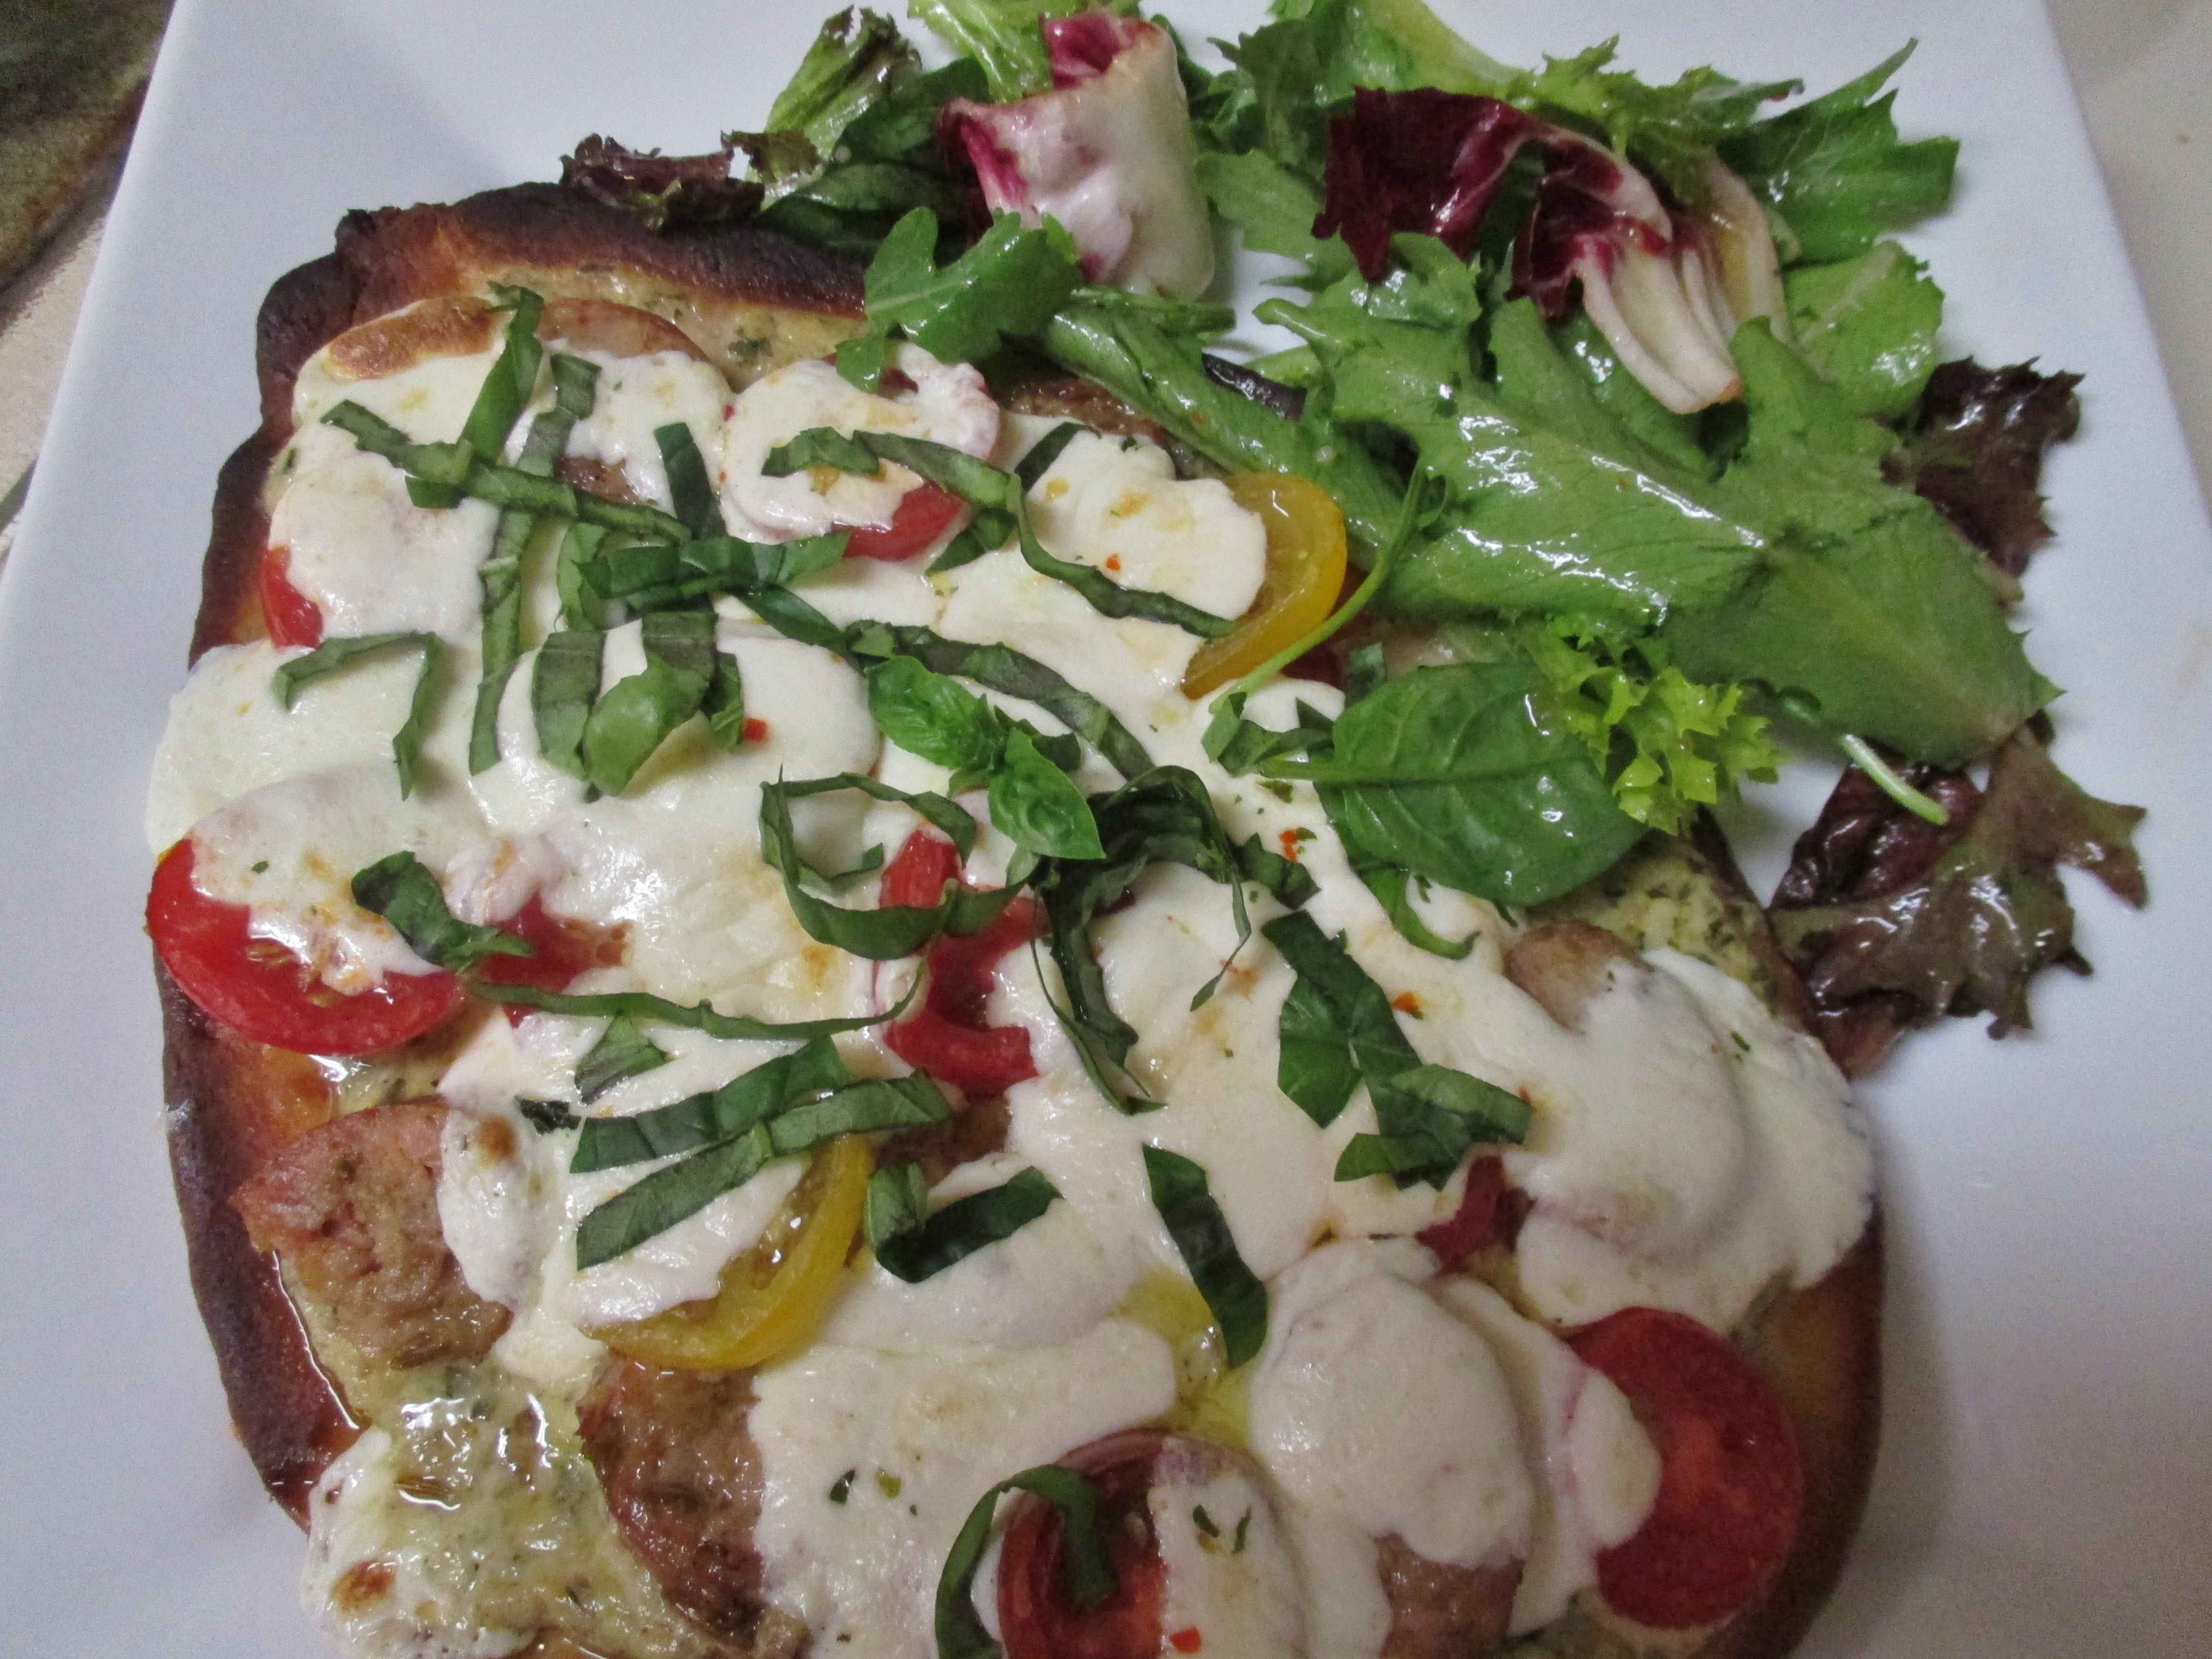
I bought some Nan bread (the garlic variety) to go with a curry dish. The curry wound up being paired with some Brown Basmati Rice and the Nan was left to fend for itself. In case you’ve never thought of it, Nan makes a great quick pizza crust. It’s the perfect shape and size for personal pizza and works in the oven or on the grill.

I opted for a version of White Pizza using some of my Homemade Ricotta (thanks, Ina Garten) and Pesto. I mixed the two together to create the “sauce” I drizzled the Nan with some olive oil and toasted it in the oven briefly before adding said sauce. The toppings were Italian Sausage and Mini Heirloom Tomatoes both of which were on hand and waiting for their moment to shine. The cheese was a marinated mozzarella that was purchased on speculation, but perfectly suited to the pizza.2015-09-29 19.07.46 Once baked it was topped with some basil, olive oil, and served with baby greens dressed lightly with lemon juice and olive oil. Now, that was a delightful and very easy supper.2015-09-29 19.17.31

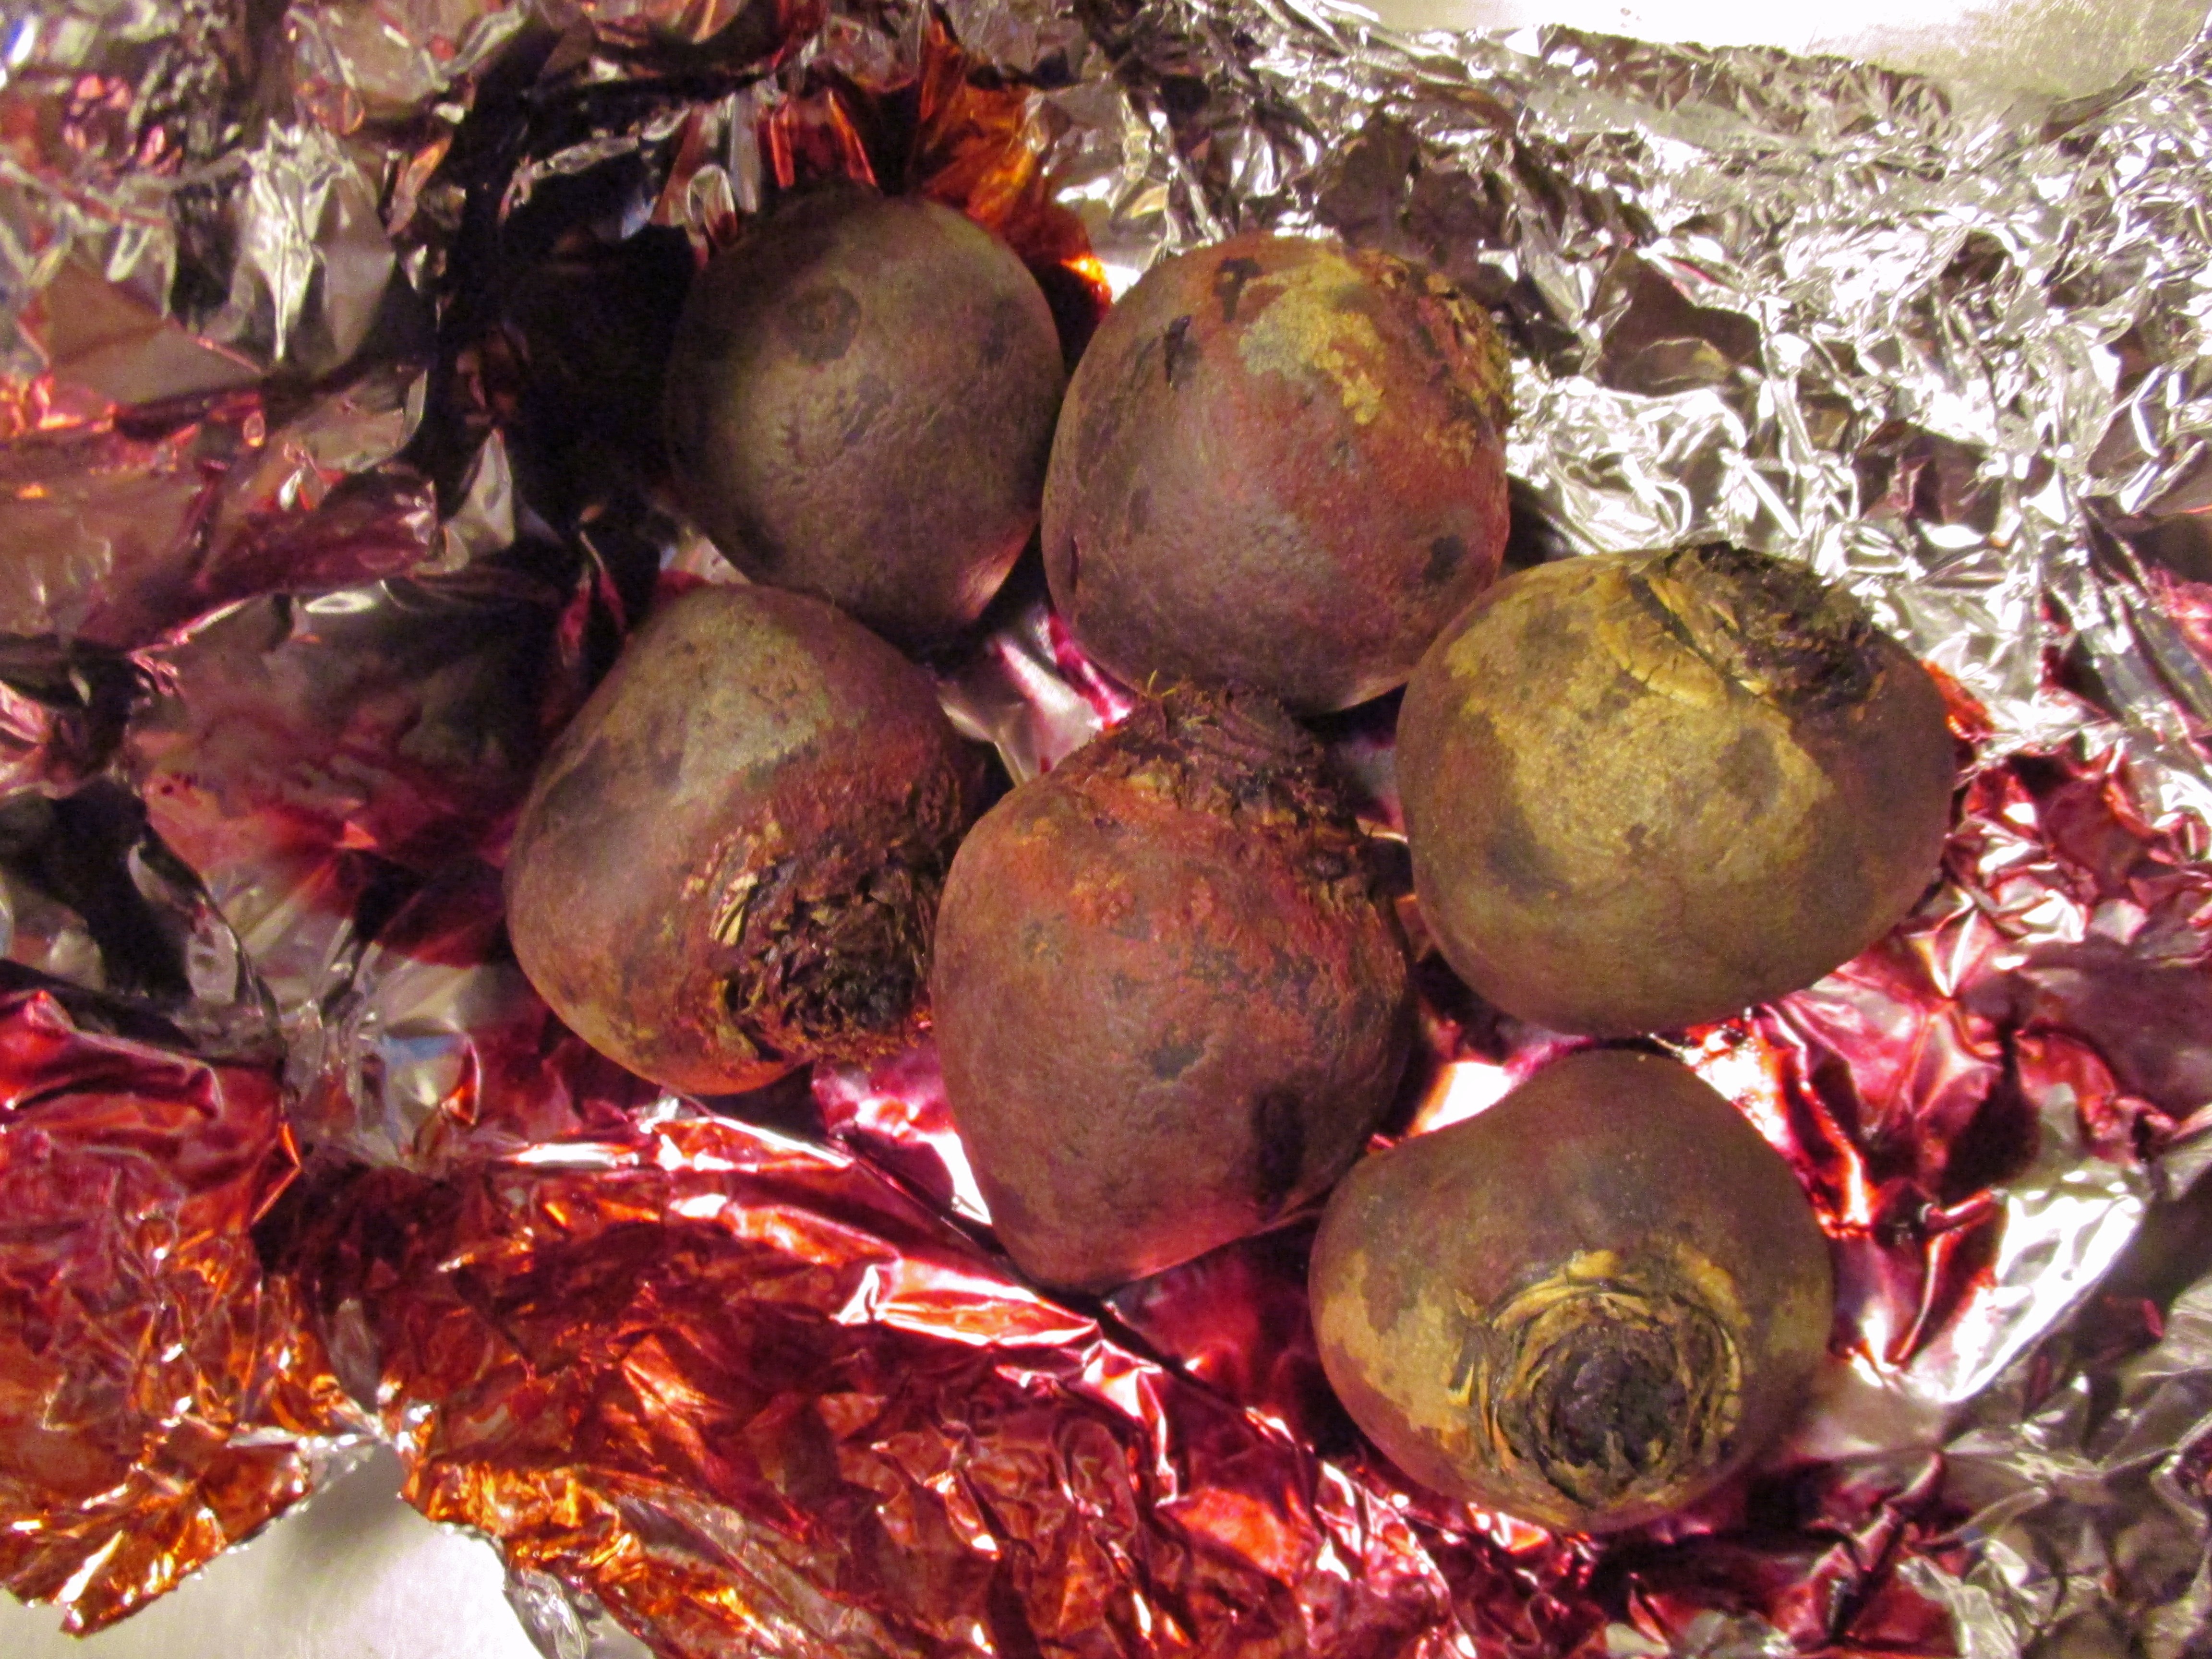
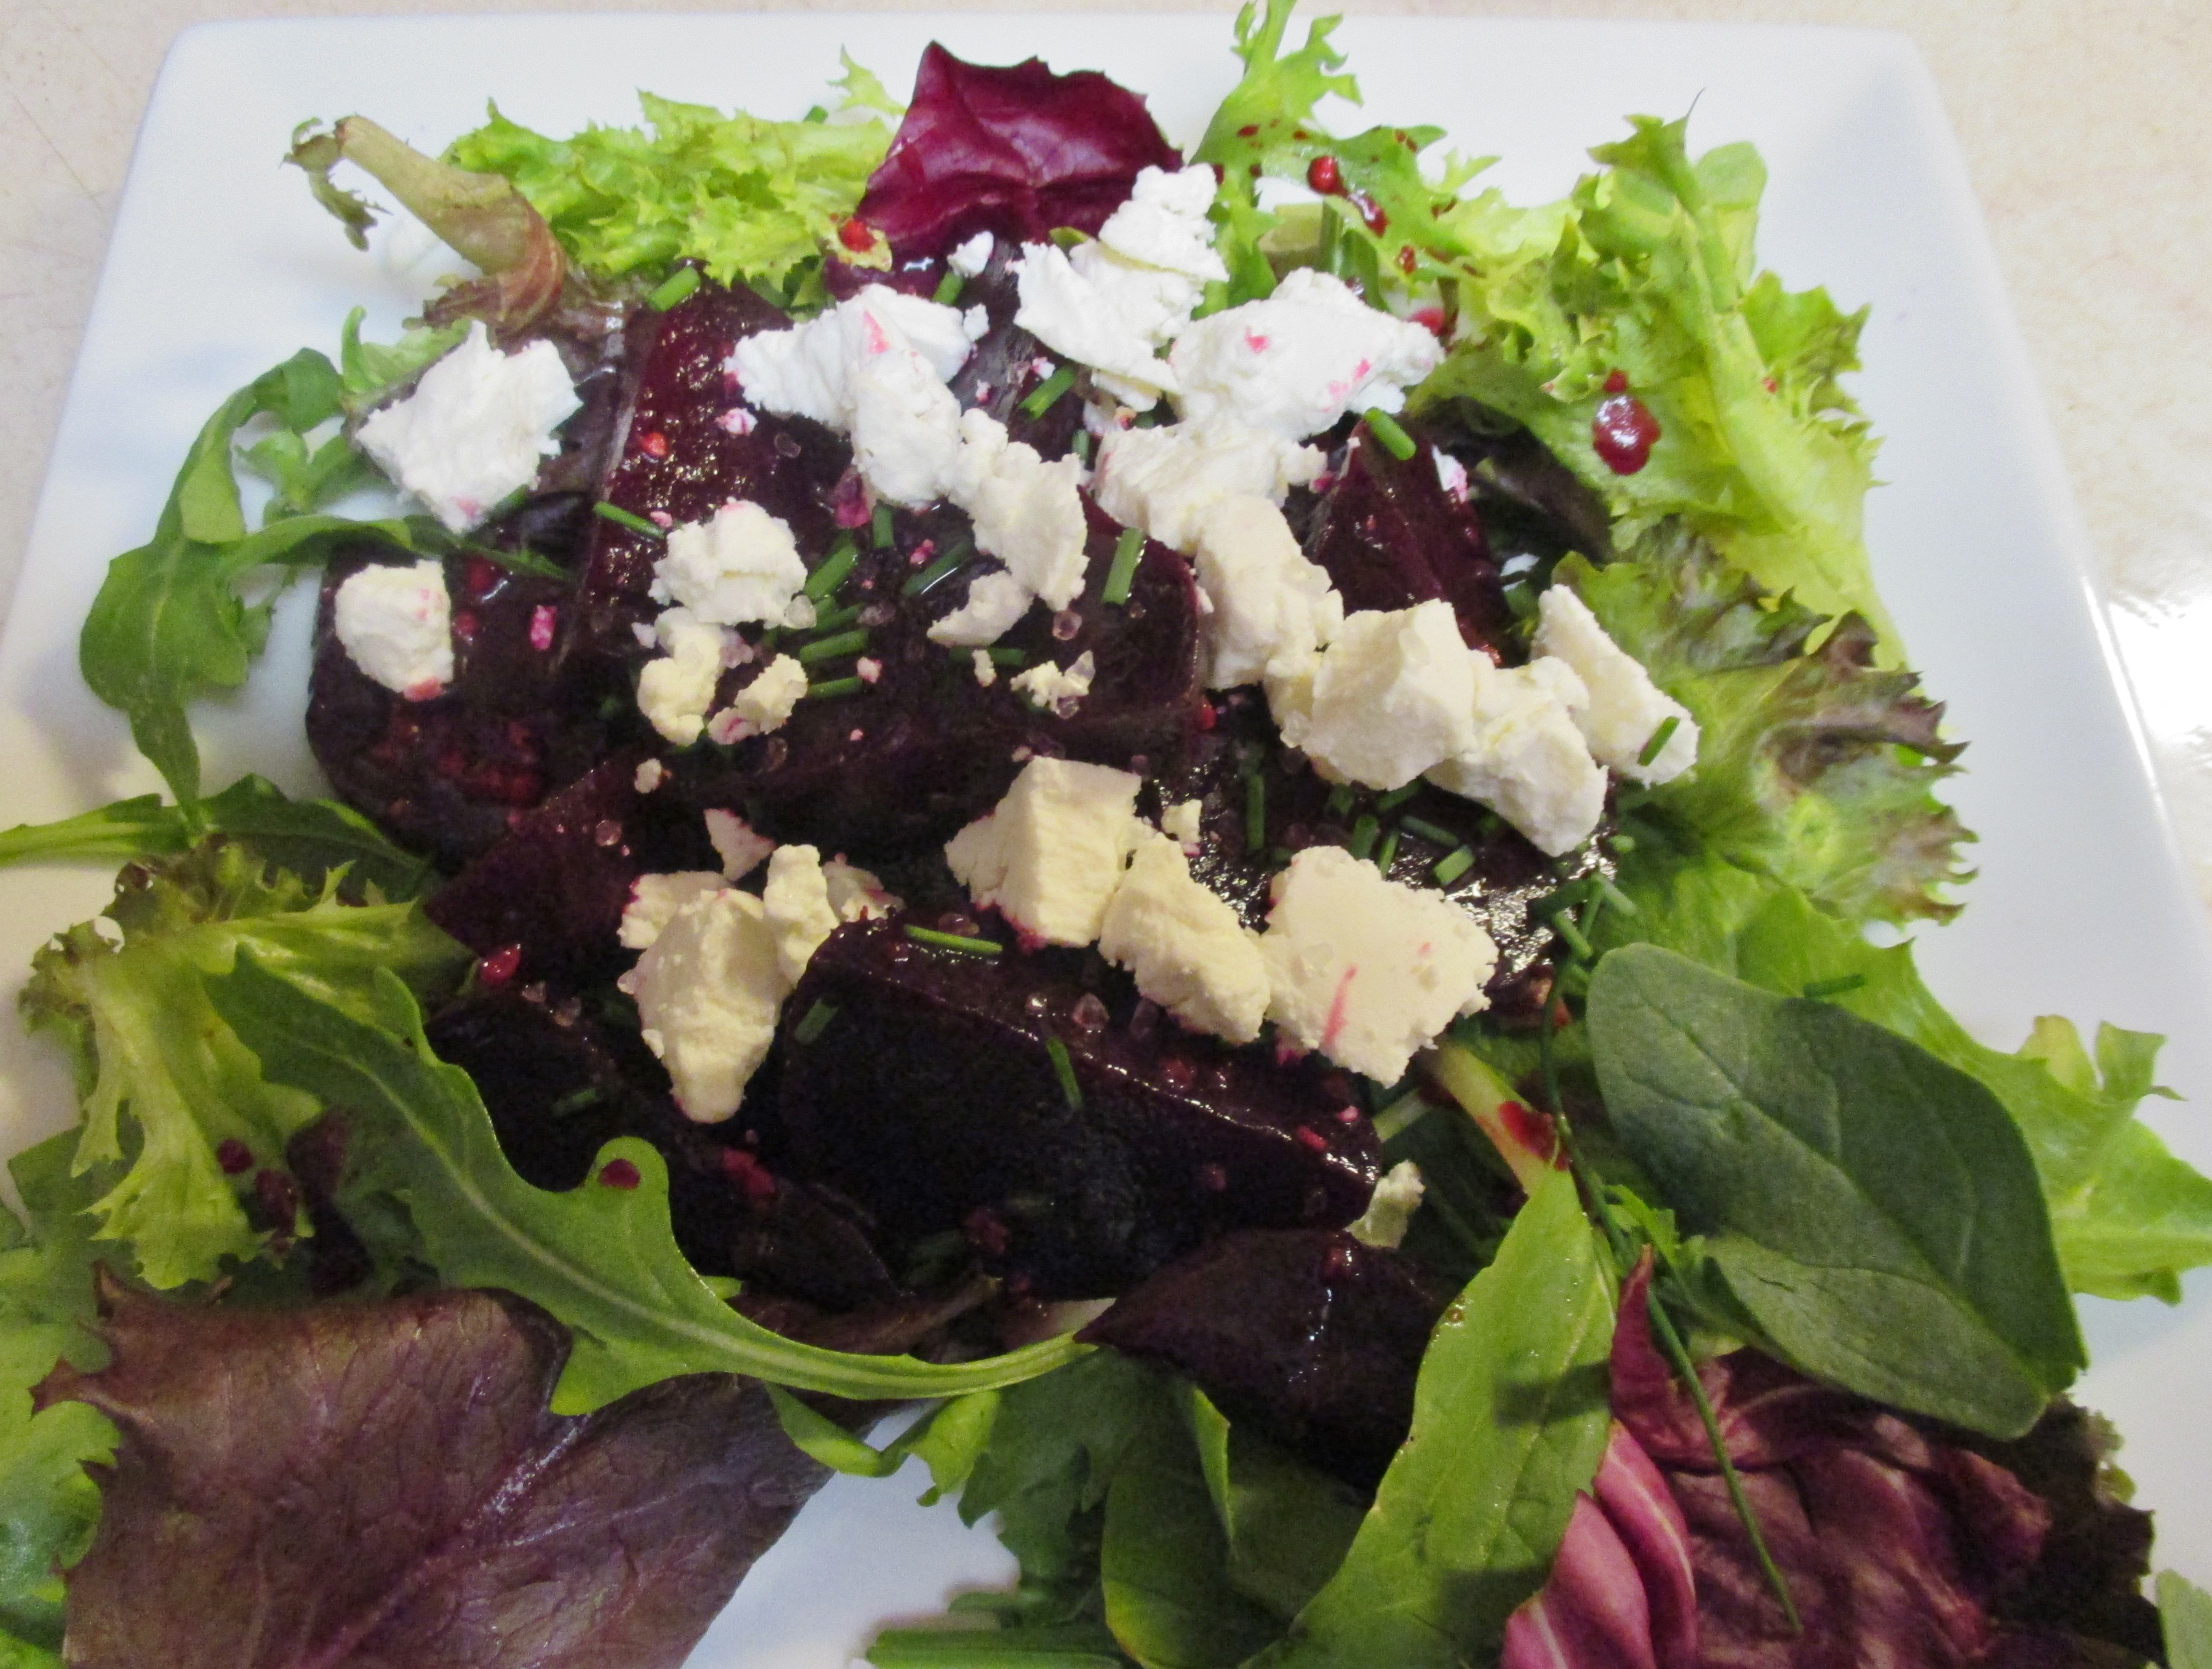
I found some lovely beets at the store and since they are one of Papa D’s favorites I had to bring some home. My preferred method of cooking is to roast them. This also is the most stain proof way, in my opinion. Wash them off and remove the greens leaving a little of the stem. Lay them on a couple of sheets of heavy foil, drizzle with a little olive oil and wrap them up tightly. Let them roast at 375 – 400 degrees until they are easily pierced with a knife and the kitchen has the earthy aroma of beets. This can take anywhere from 30 to 60 minutes depending on the beets.2015-09-27 19.45.11 Let them cool long enough to make them handle-able. I love beets, but beet red is not my color, so I opt to wear gloves to rub the skins off. If you enjoy red fingers go ahead and use bare hands and paper towels. Once peeled, I cut them into chunky chunks and dressed them lightly with a Balsamic Vinaigrette that was laced with some orange peel. Any dressing that you love would work here. I set them on top of some baby greens (left from guess what?) and garnished them with some goat cheese. Wonderful!2015-09-28 19.34.01

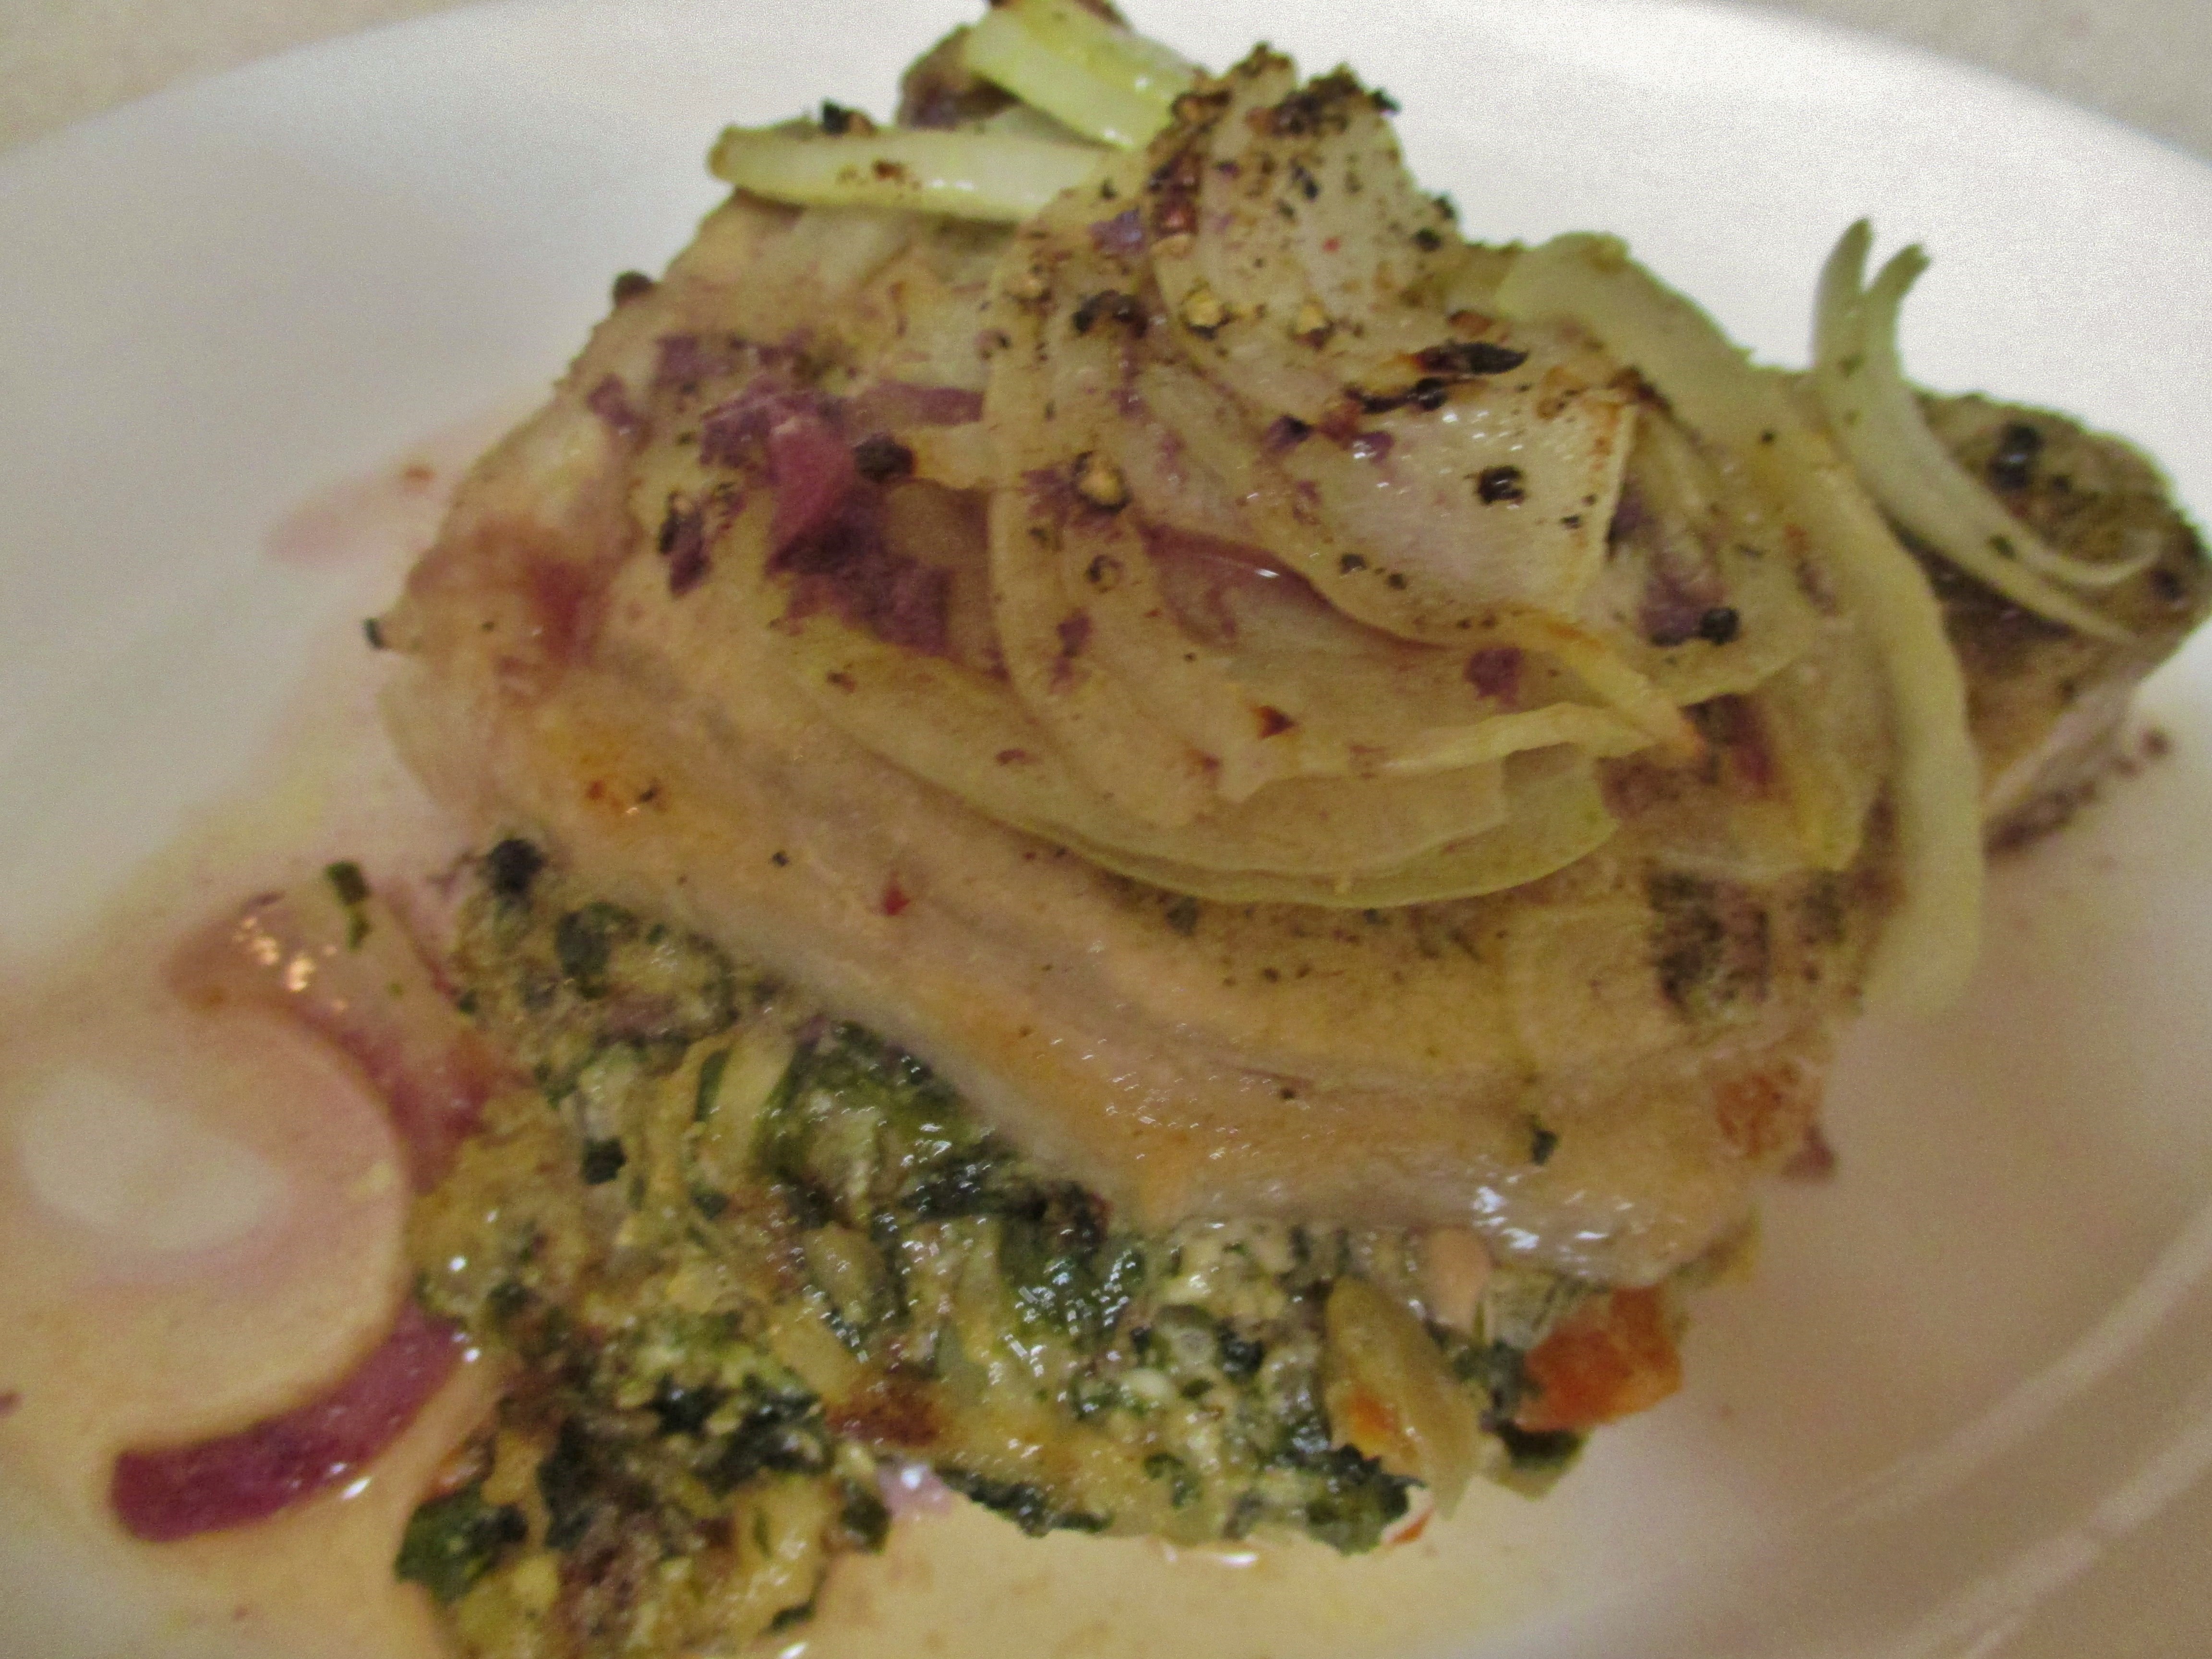
Finally I have to share another “Pork Love” dish, Stuffed Pork Chops. I have recently re-fallen in love with pork chops, particularly the thick cut, bone in, center variety. They are eating perfection. The thin ribbon of fat on the edge and the succulent bone along the side create a depth of flavor that is divine. They are wonderful simply prepared on the grill or in the oven, but I knew they were just begging to be stuffed.

This stuffing was inspired by what I had on hand and included some frozen chopped spinach, red bell peppers, and whole grain bread. Honestly anything could go into the stuffing. Leave out the bread and go all veggie, or use rice, quinoa or any other grain you have within easy reach. I started my stuffing with onion and garlic that I sautéed in a little olive oil (Is there any other way to begin?). The spinach and bell pepper jumped in and got very friendly with them. I put the bread in the toaster and then crumbled it into the veggies. I added a little chicken stock to moisten everything and packed it generously, albeit lightly, into the pockets that I had cut. I added a little wine to the pan and salt and pepper to the chops. For a crowning flavor boost I topped them with some sliced onions.2015-09-28 18.42.53

I let them bake covered for 20 minutes or so then I lifted their foil blanket and let them roast another few minutes to get lightly golden. I opted for 350 degrees because that seemed right. Baking time depends on the thickness of the chops and what’s inside…use your best guess, but do not overcook them.2015-09-28 19.38.31

The chops were scrumptious; moist and tender and positively dripping with flavor. I’ve started a mental list of what to add the next time; herbs, sausage, cheese, the ideas are endless.

So there you have it, three quick and easy kitchen adventures. Now it’s your turn to take my ideas and run with them.


Pork Tenderloin A La Boulangere…and Other Words of (Pork) Love

When I was growing up, my mother would cook Pork Tenderloin often. It was the 50’s and she would get it from the butcher at the Bonnie Bee. He did all the work of pounding it into thin cutlets. She took these lovely slices home and dredged them in flour seasoned with Lawry’s Salt. Fried in Crisco, in her electric fry pan, and usually served with mashed potatoes, it was heaven on a plate. That was then…this is now. My approach is lighter and healthier but, the result is still heaven on a plate.DIGITAL CAMERA

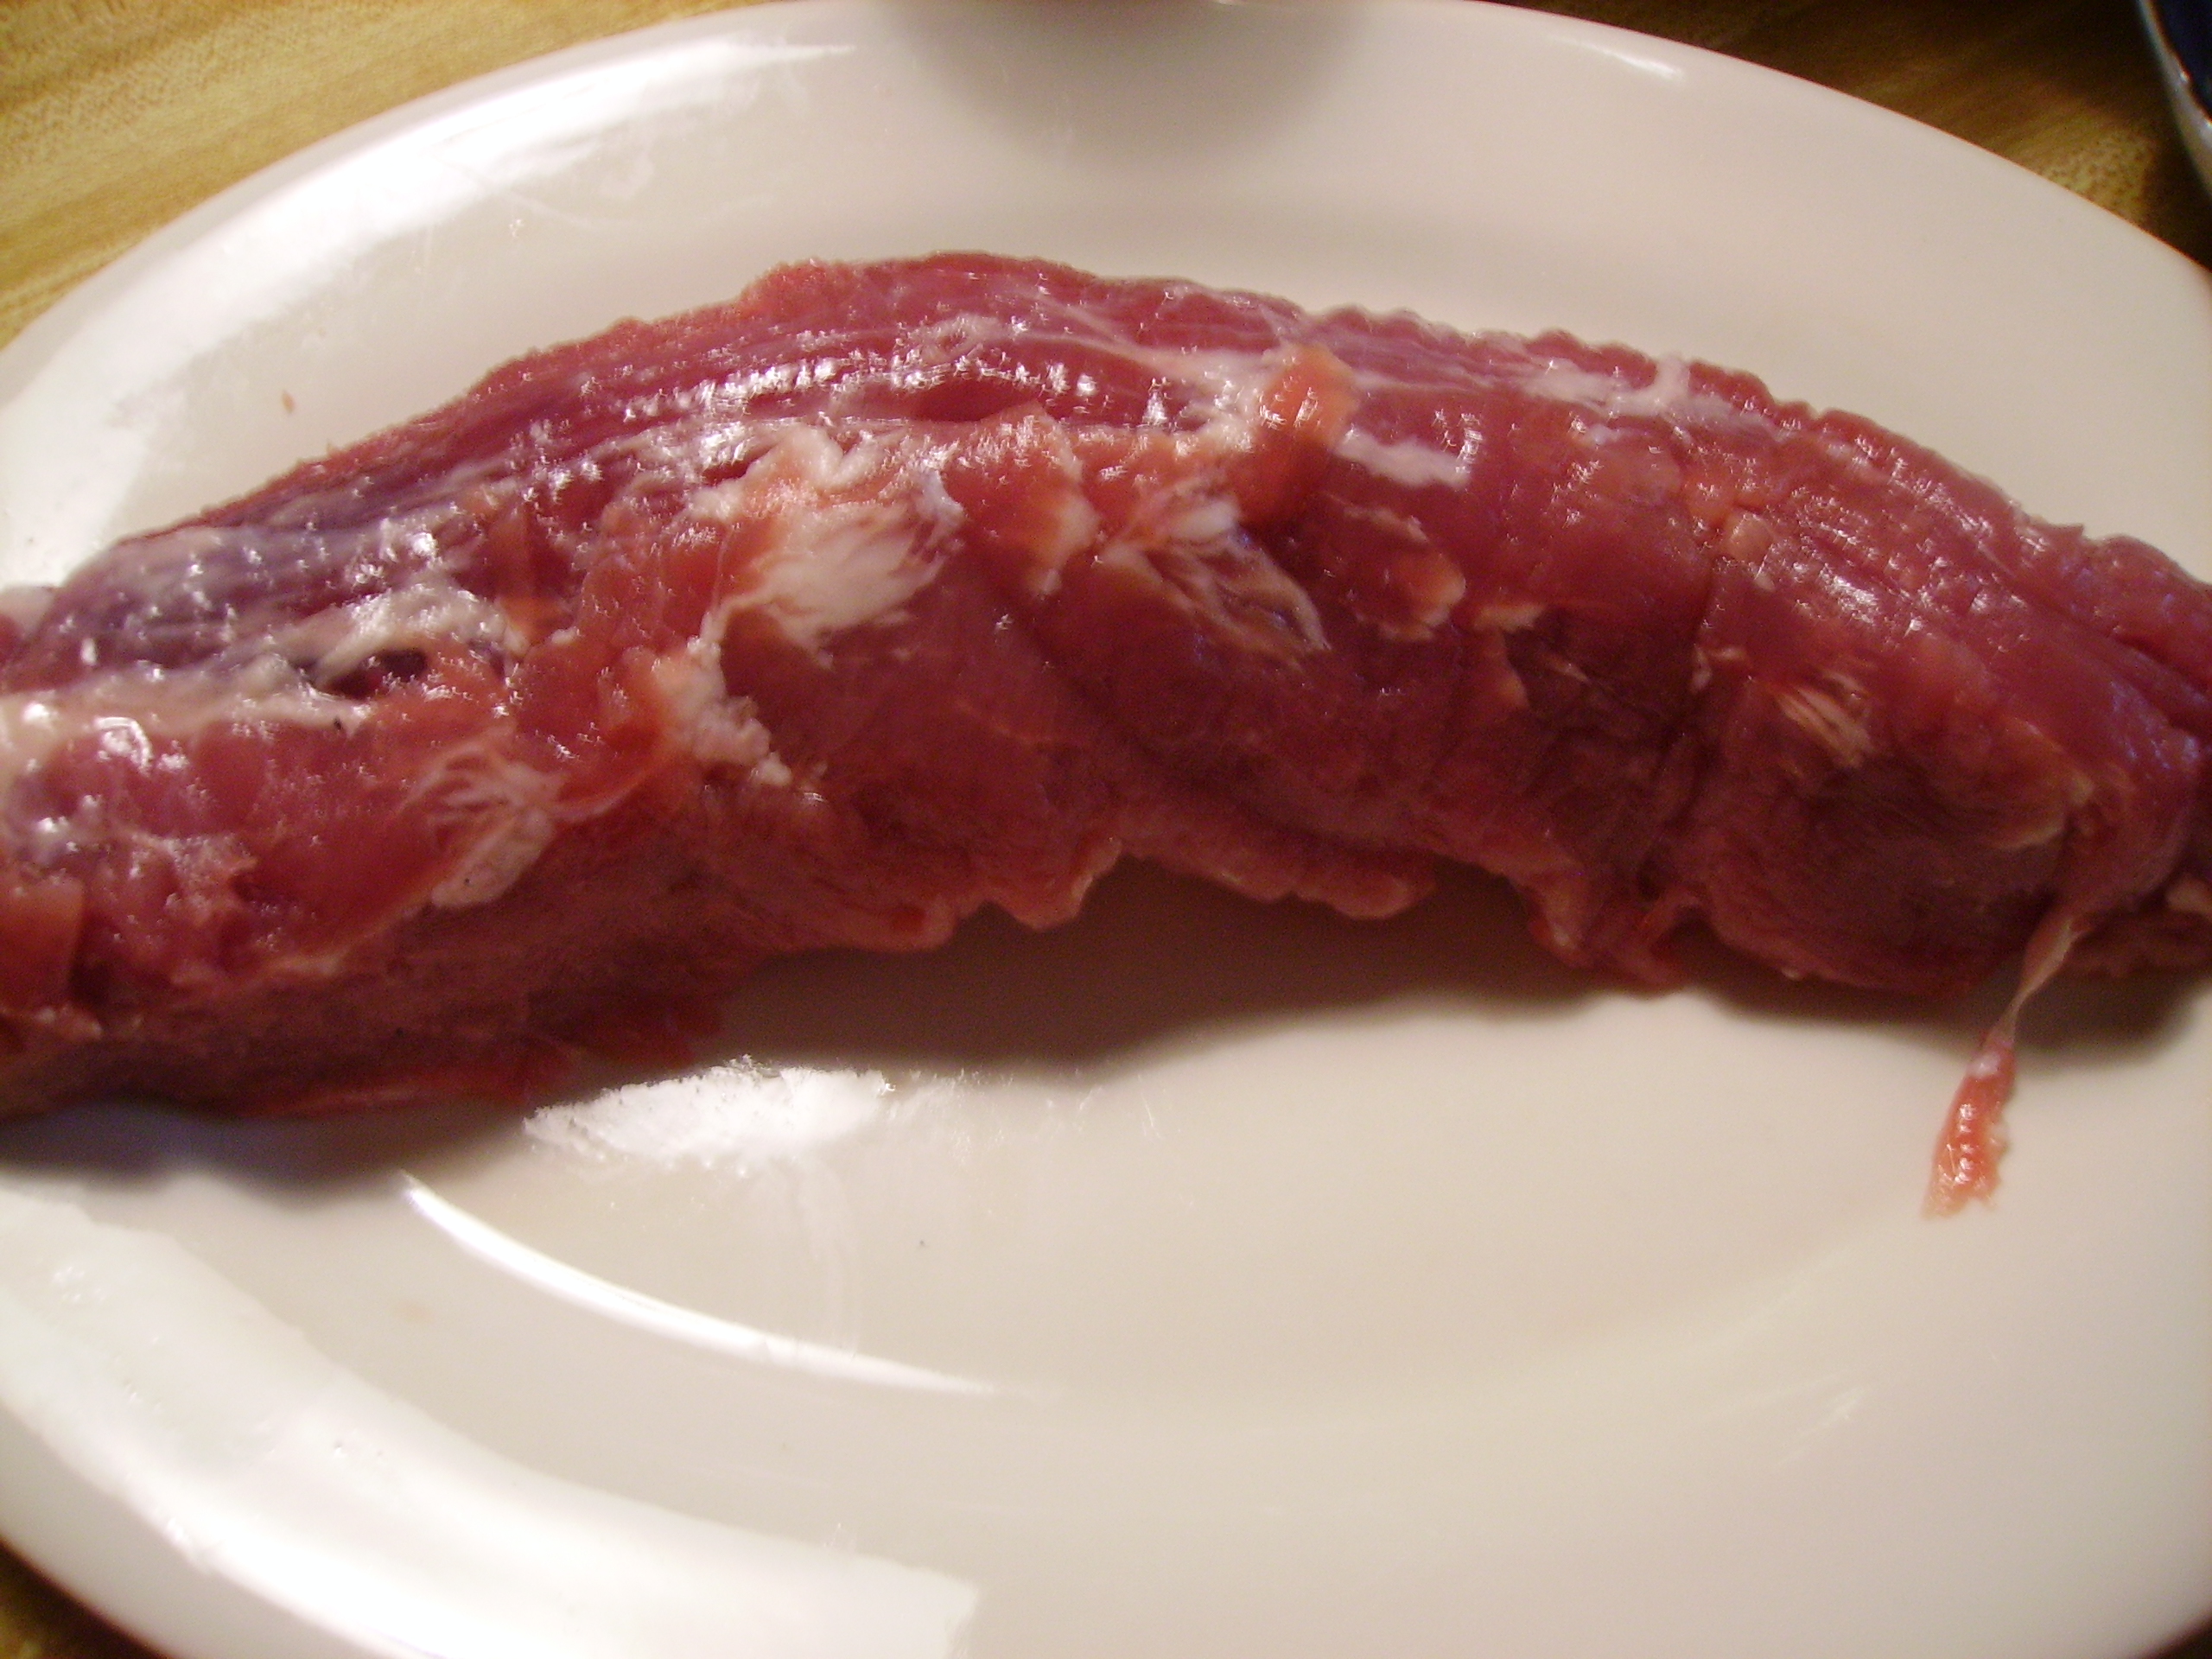
Why do I Love Pork Tenderloin?                                                                                                                     It is just the right size: Weighing in at right around one pound it is the perfect size for two people with enough leftover to make a fabulous lunch the next day.                                    It is relatively cheap: the going rate around here is somewhere around $3.00 to $4.00 per pound. That’s cheap for 2+ servings of deliciousness in my book.                                                     It is lean: cuddled deep inside the loin, it has little visible fat and is as tender as pork comes.

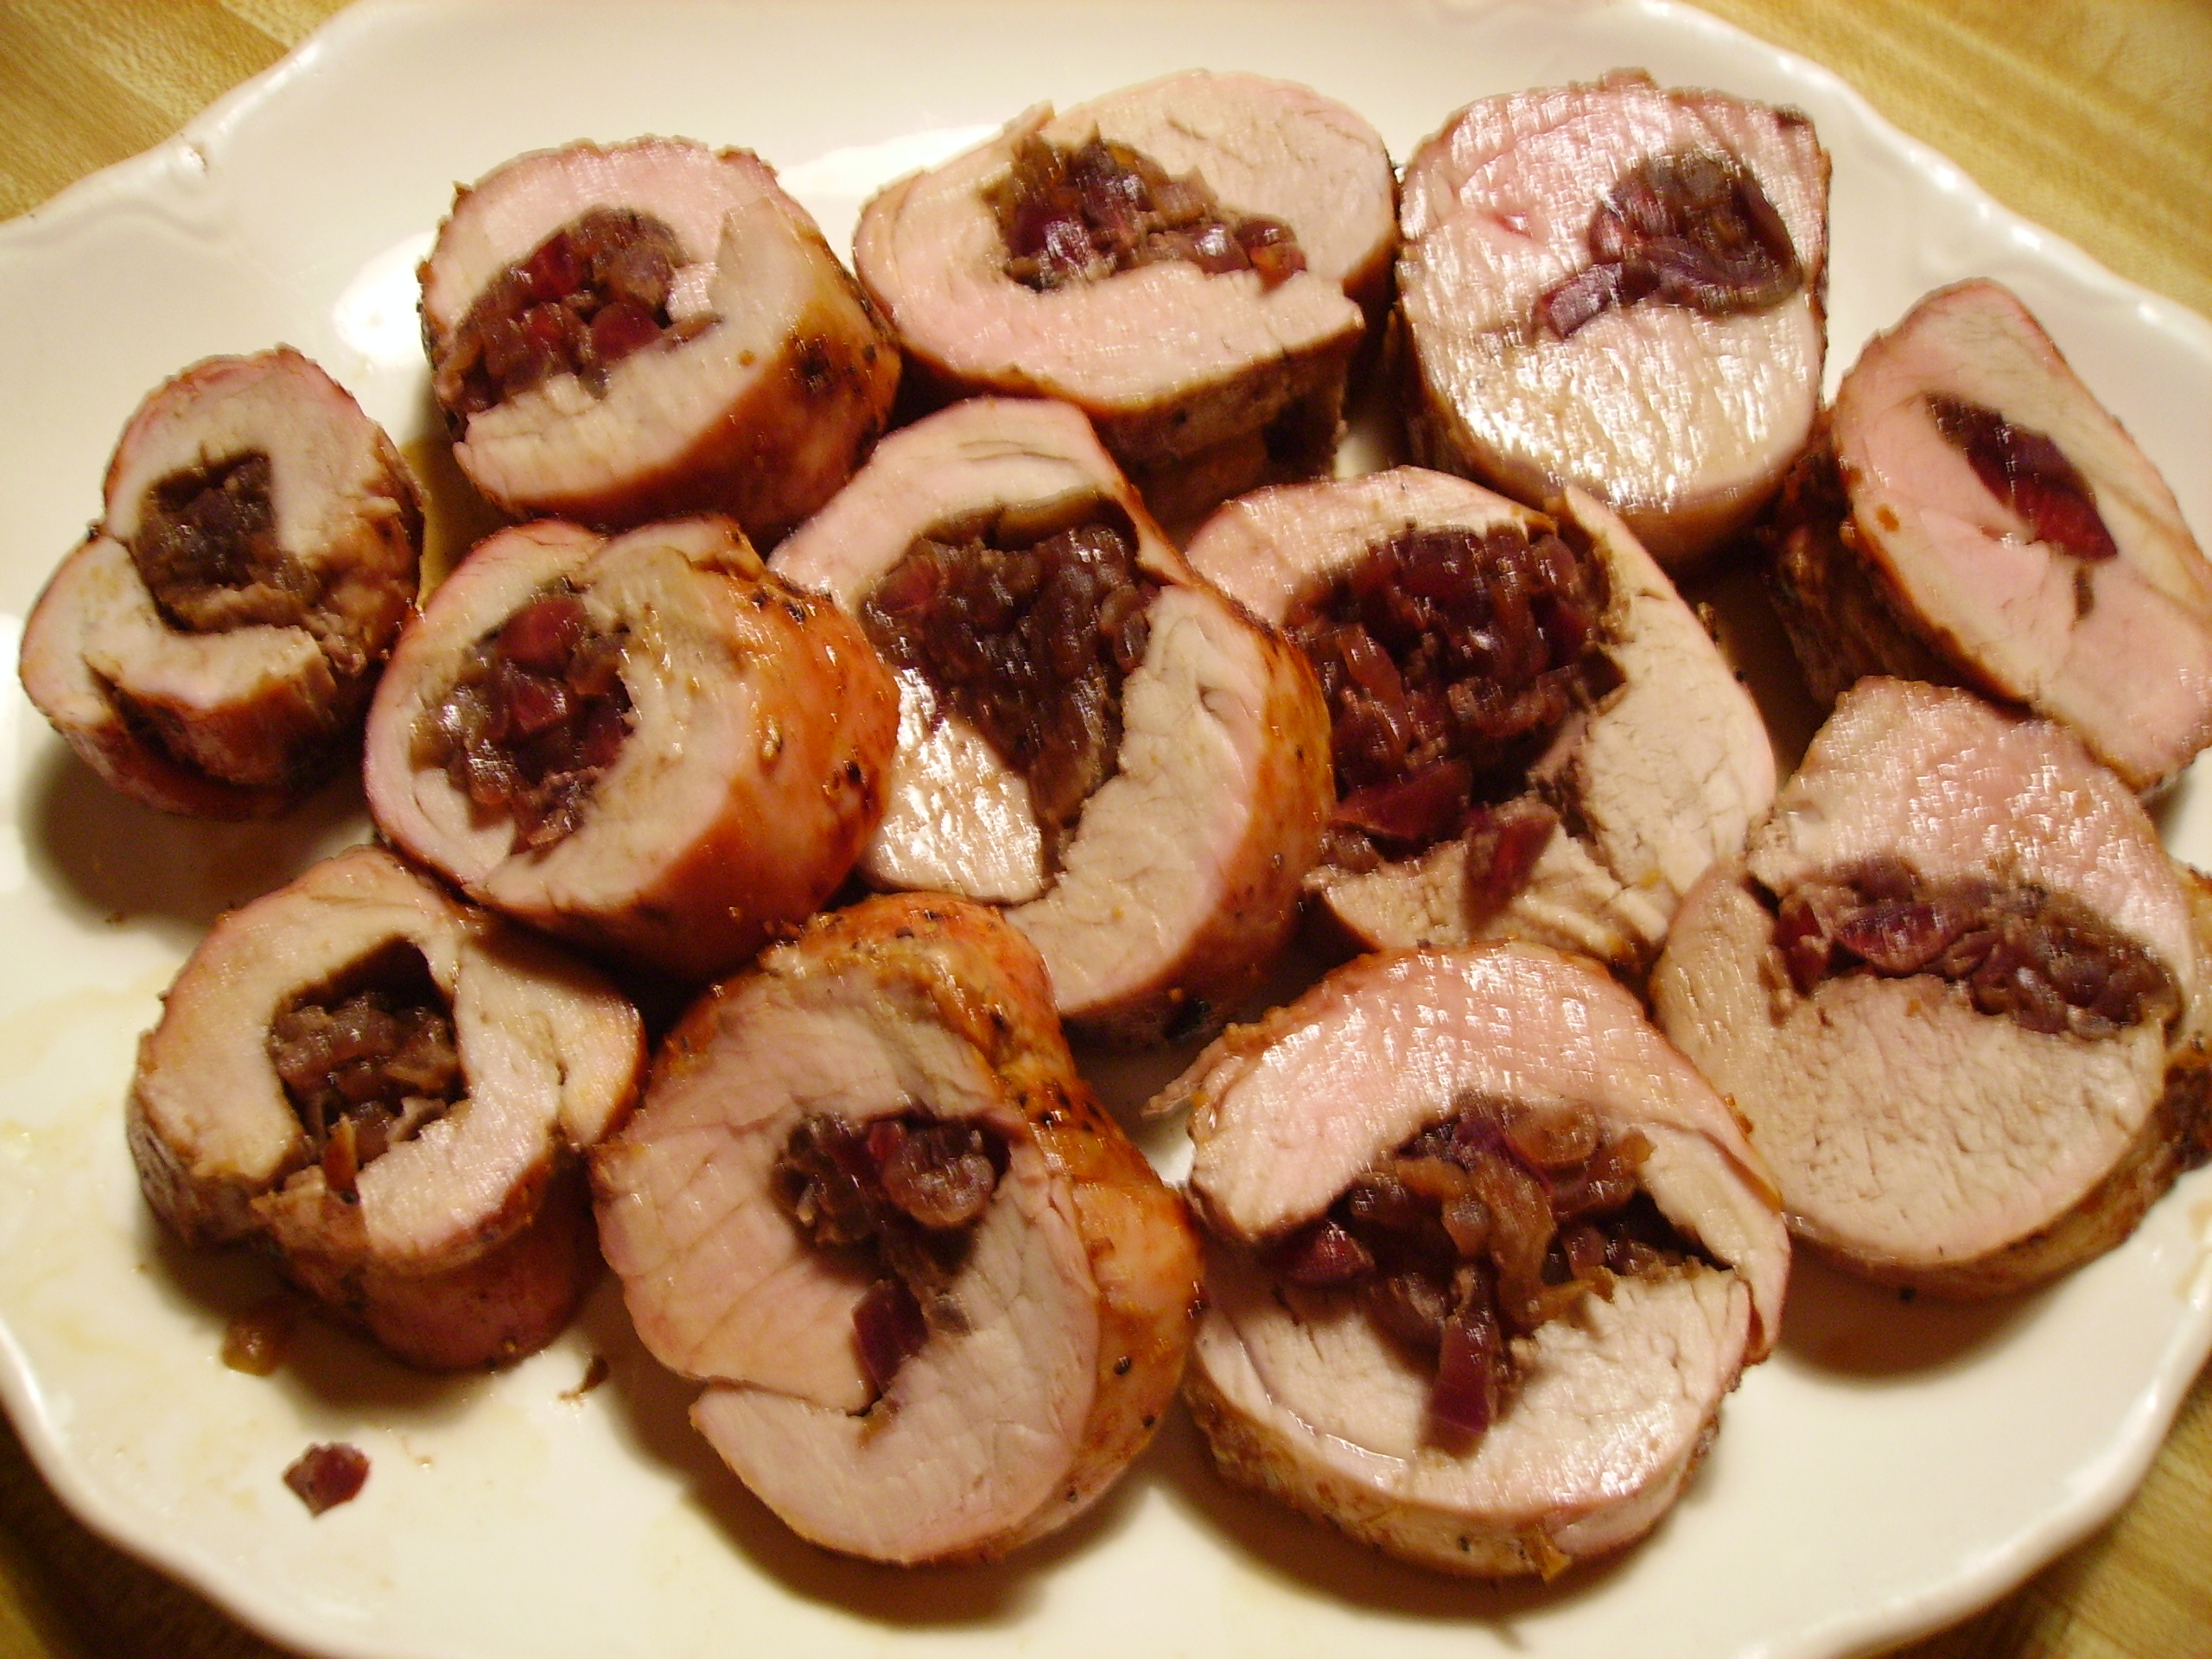
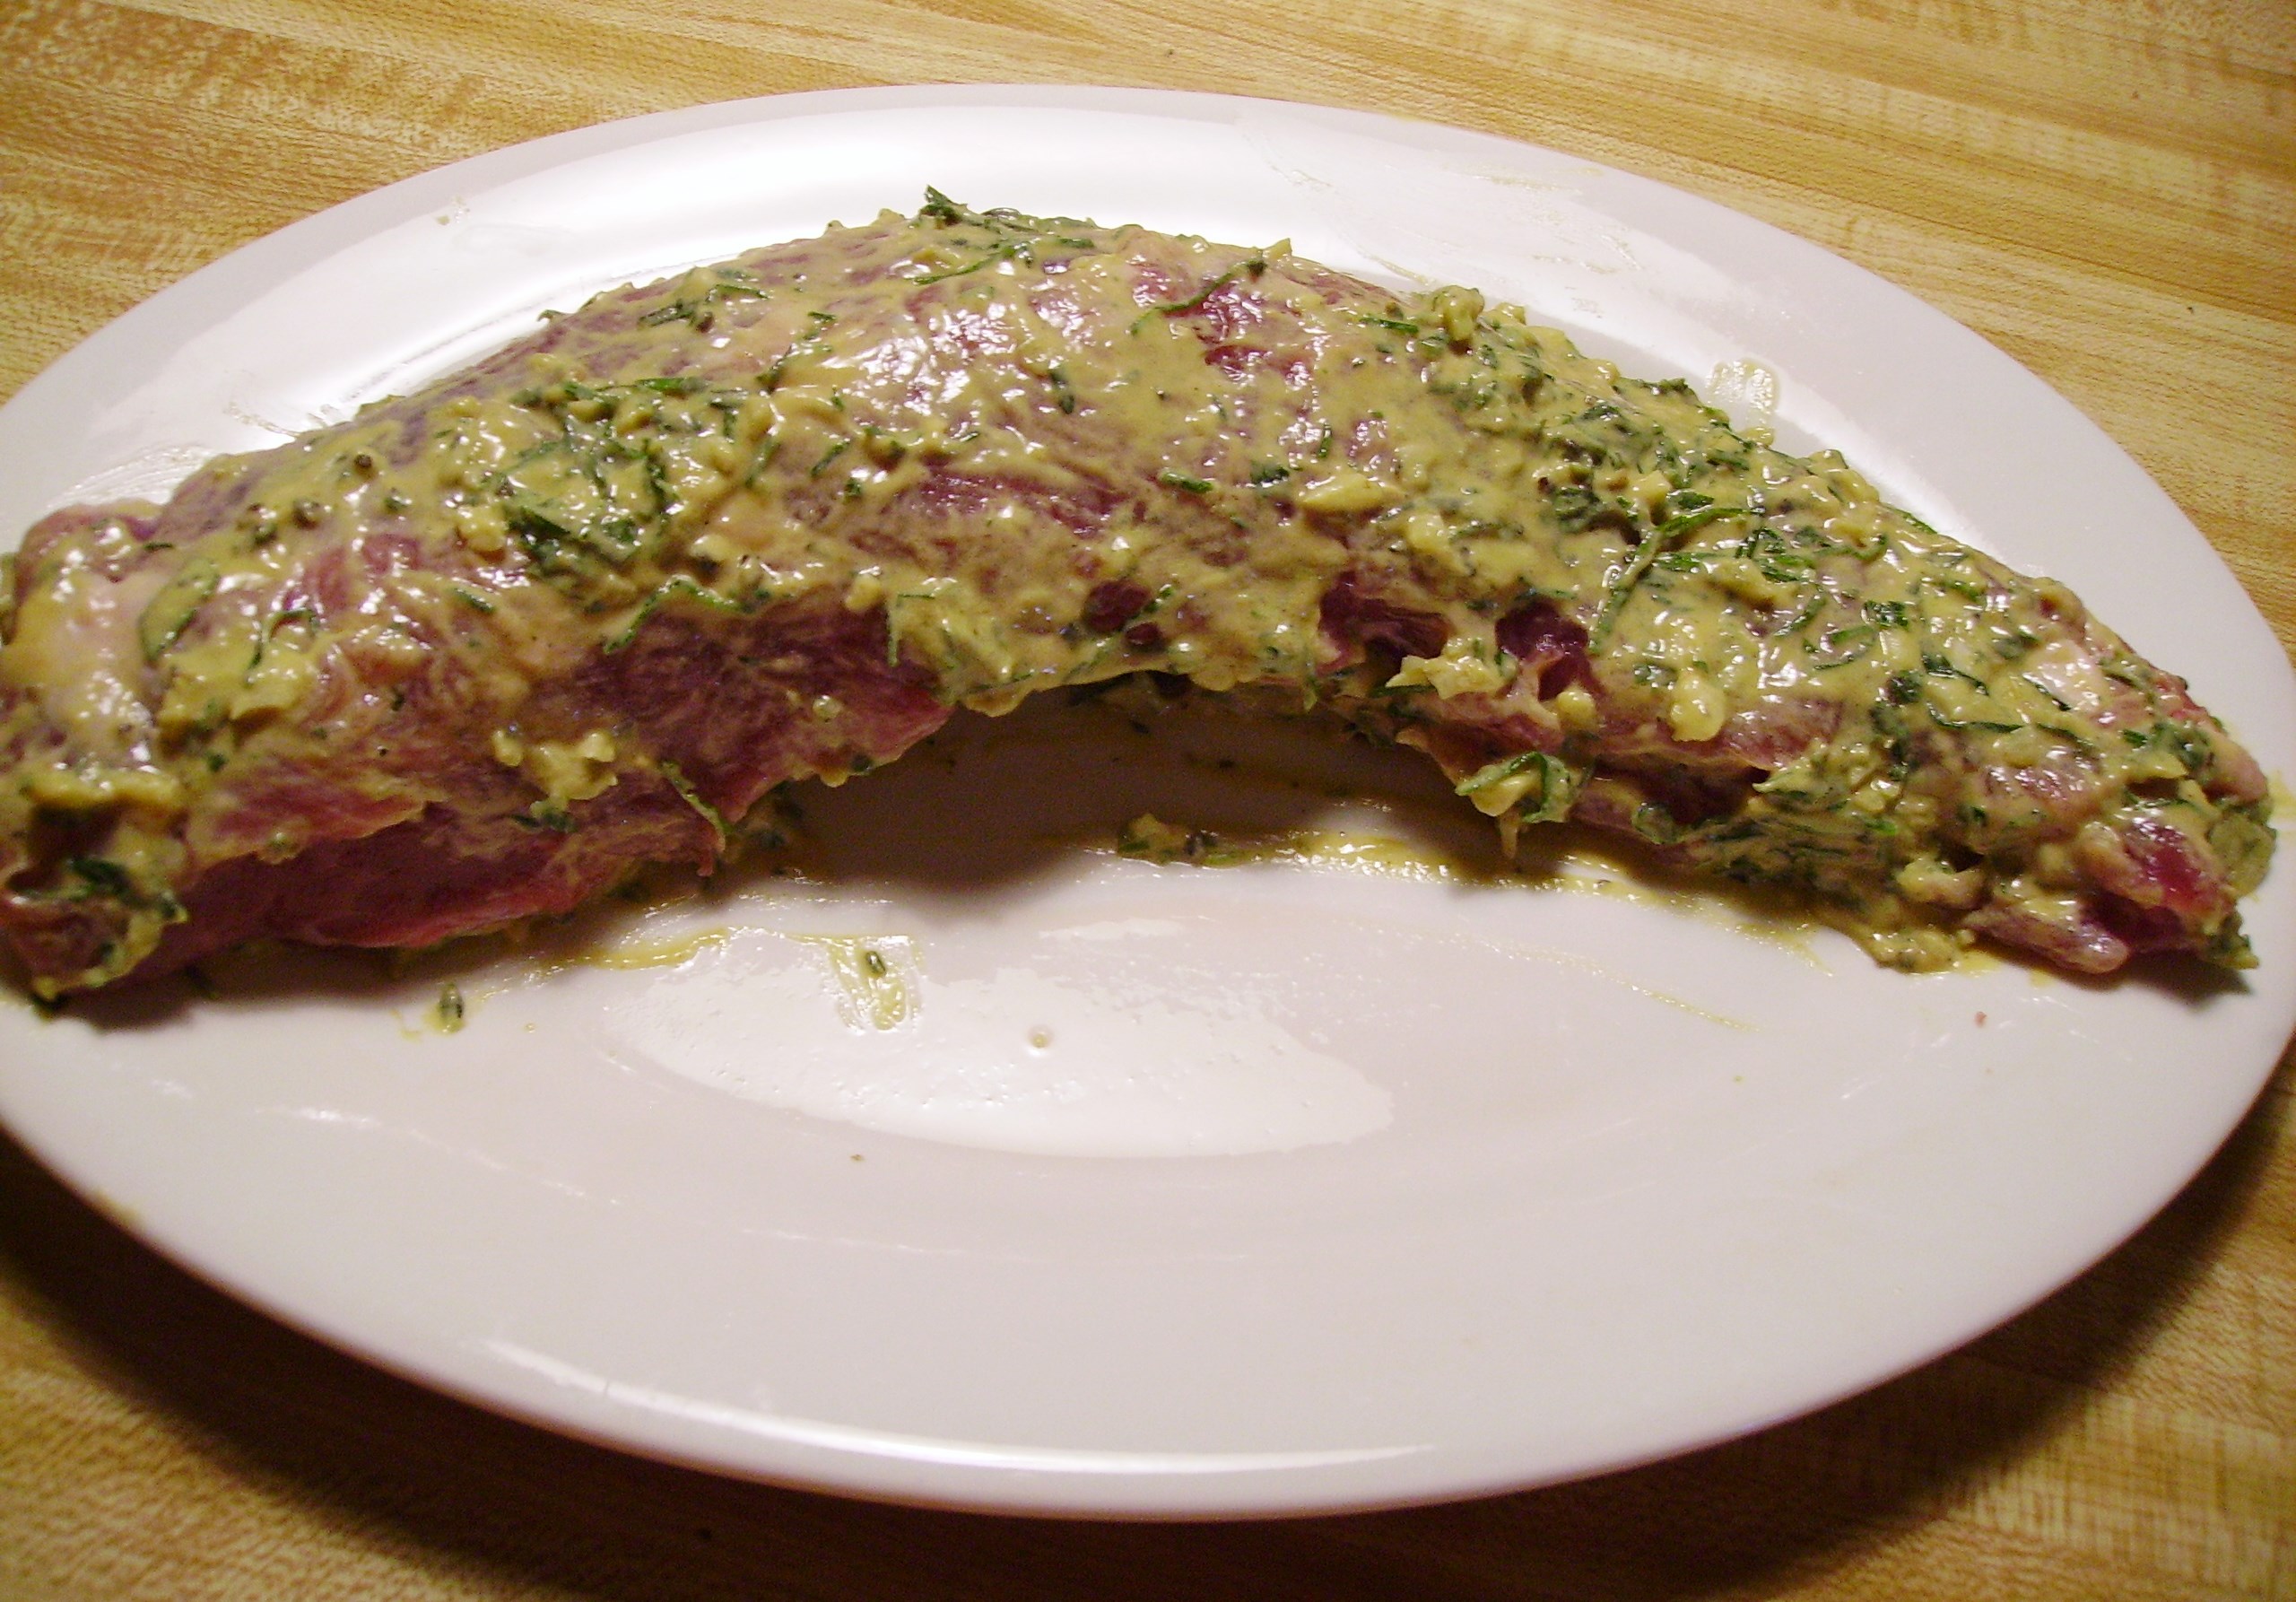
DIGITAL CAMERAIt is a perfect blank canvas: it loves rubs and marinades,DIGITAL CAMERAand it can be grilled, roasted or sautéed.DIGITAL CAMERAWith a little patience, you can even stuff it.DIGITAL CAMERA

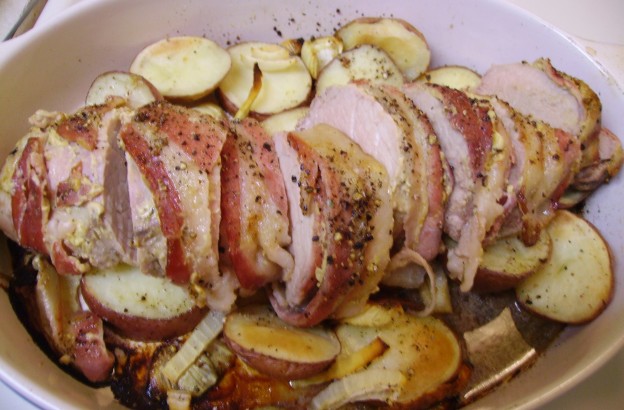
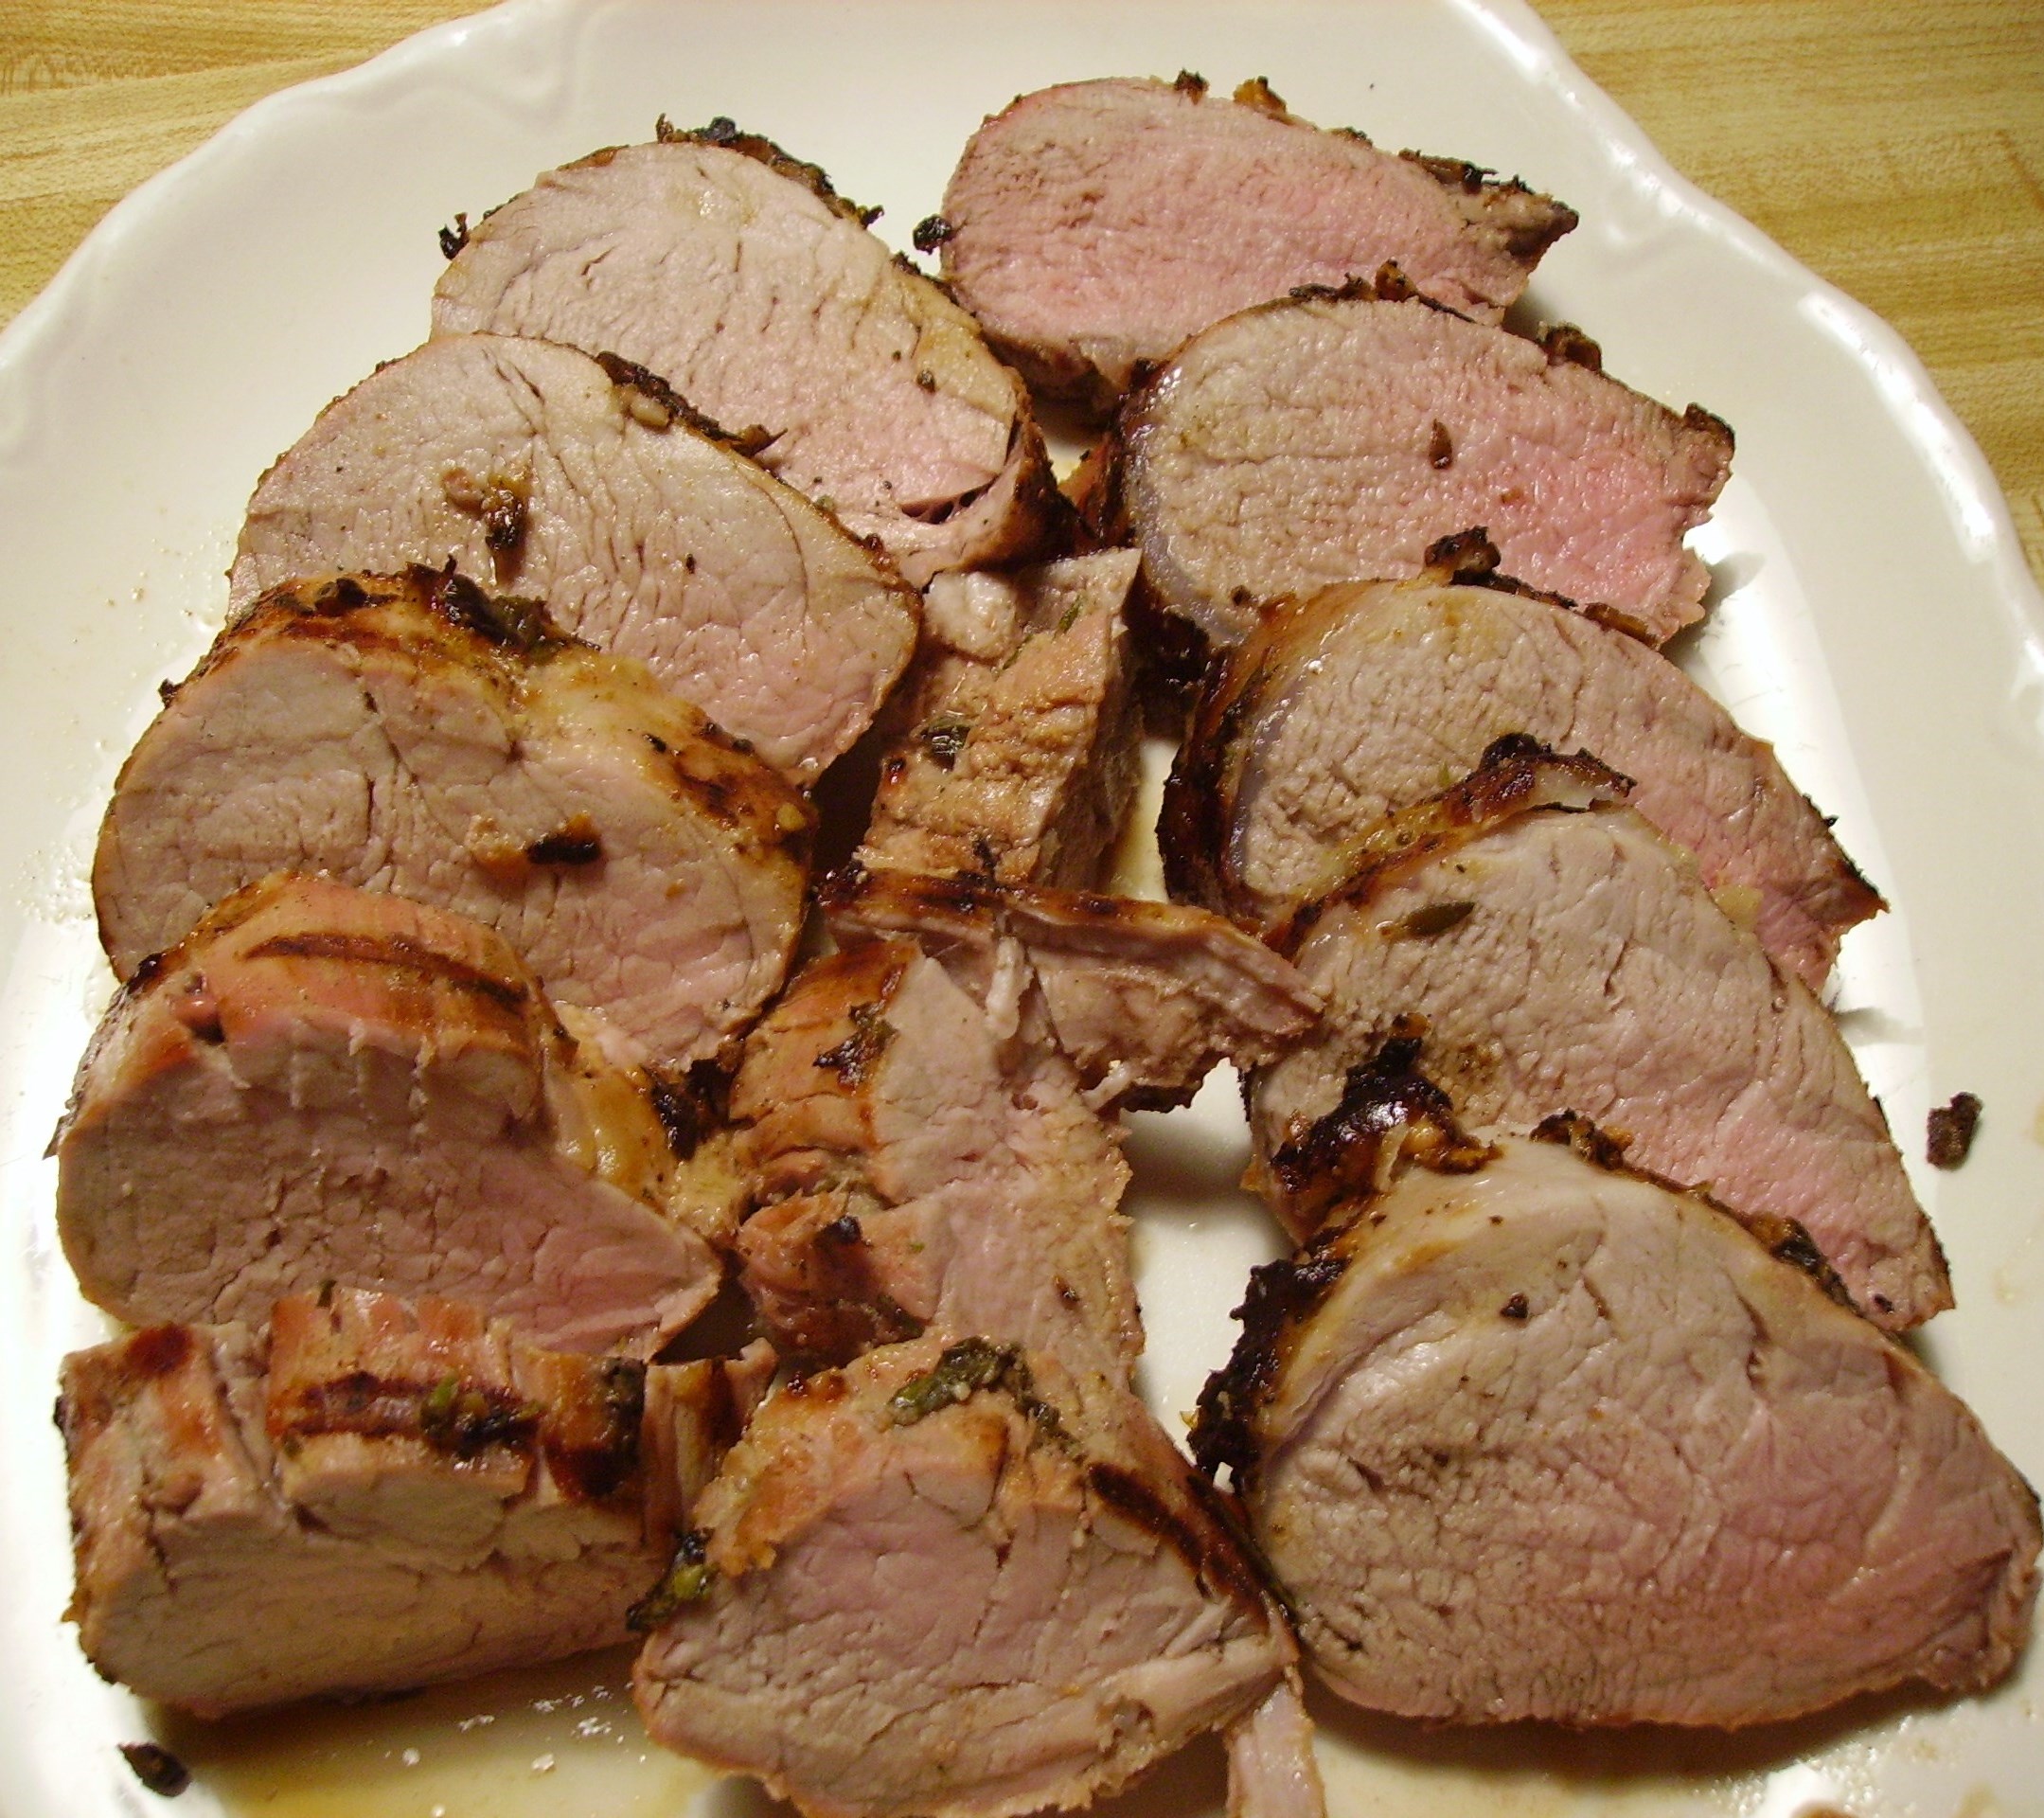
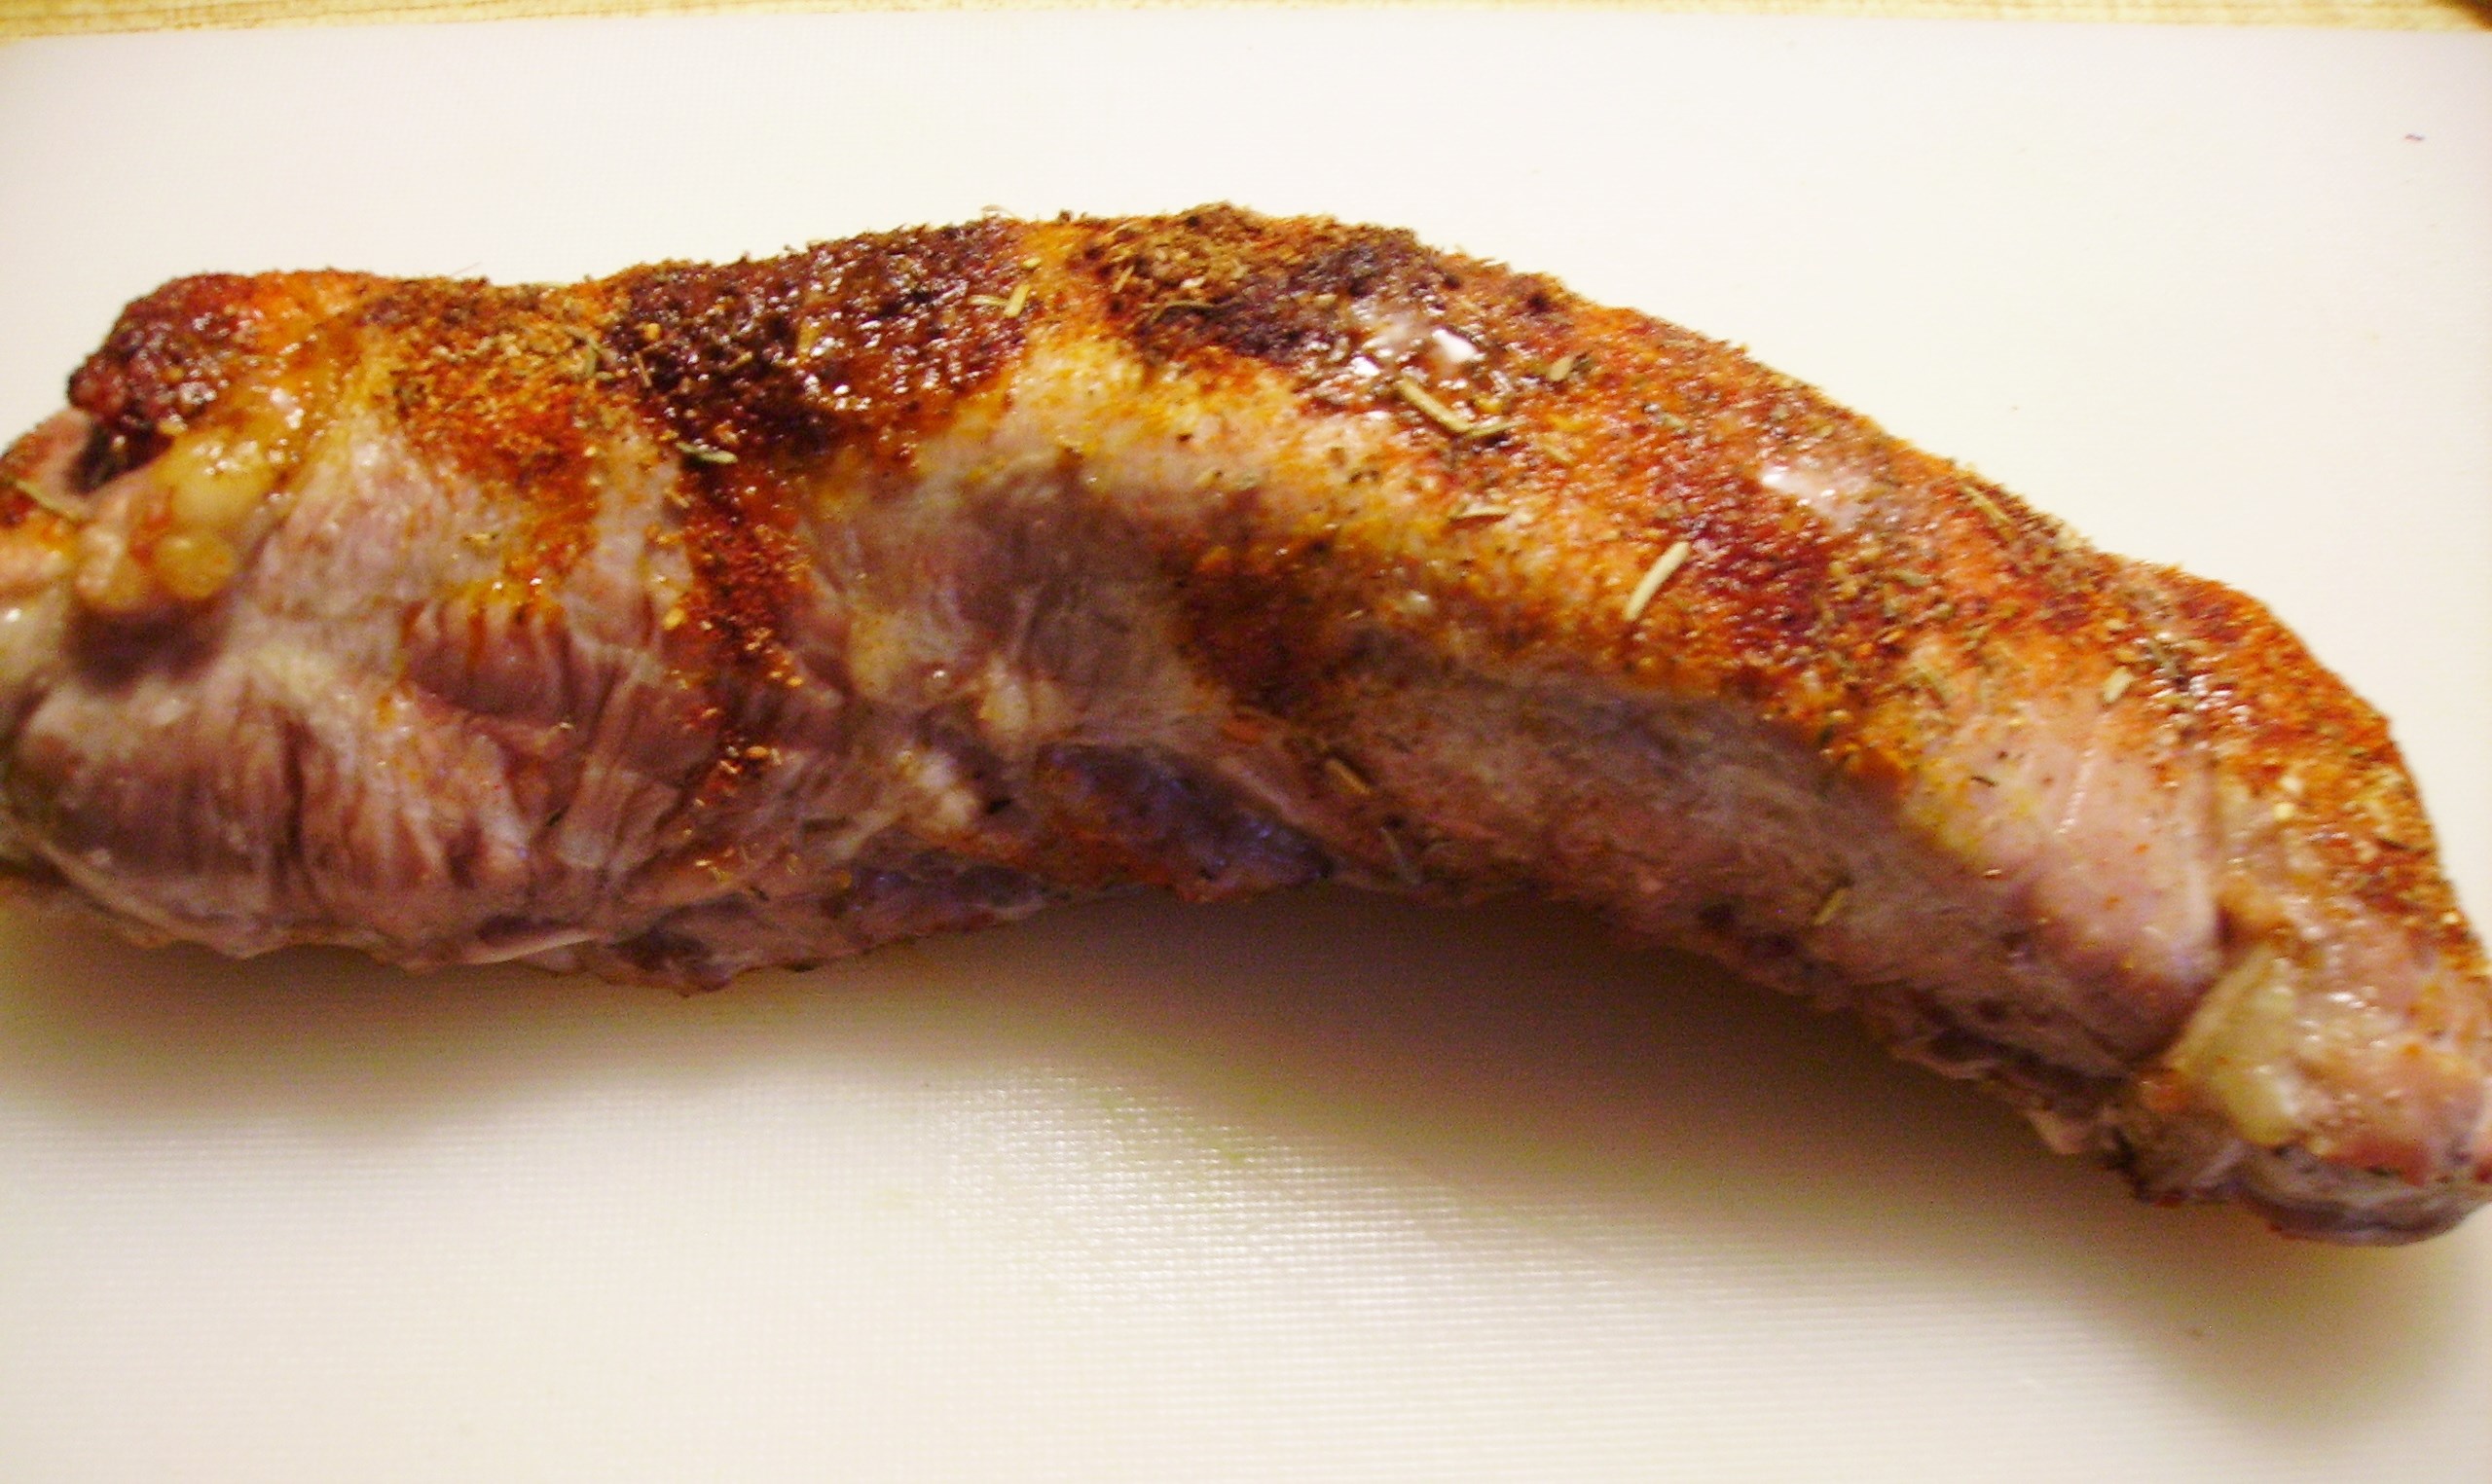
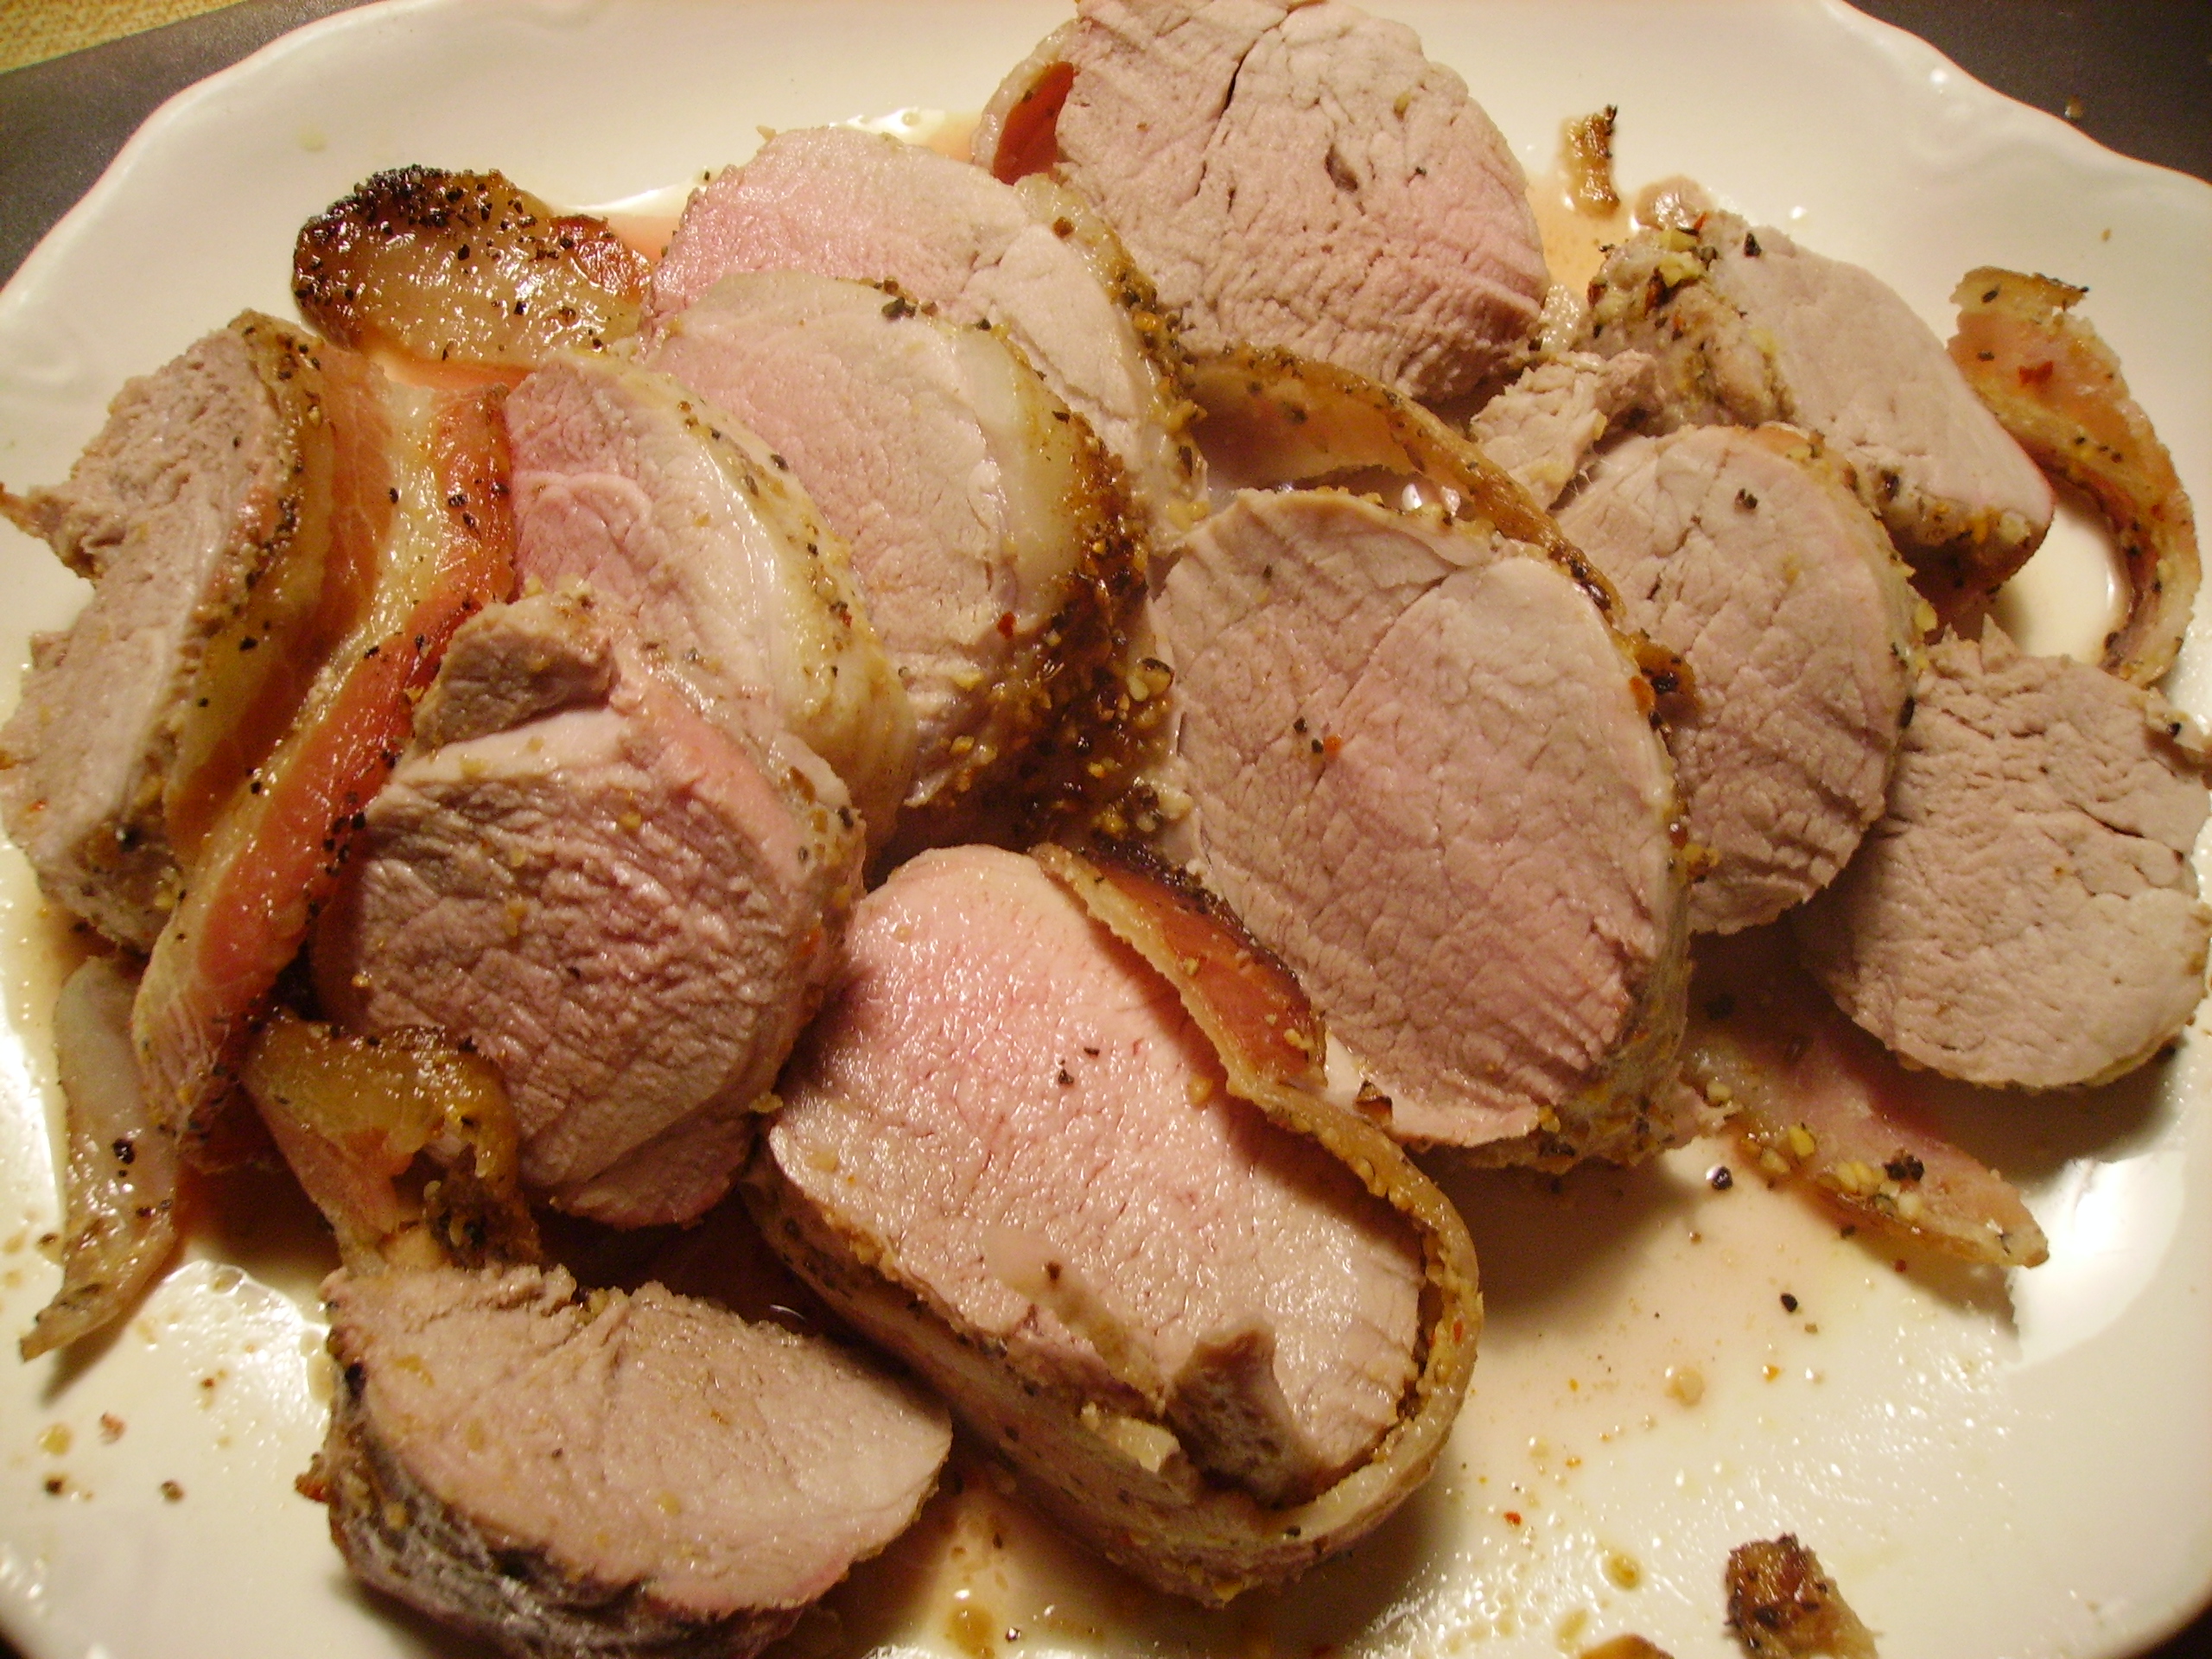
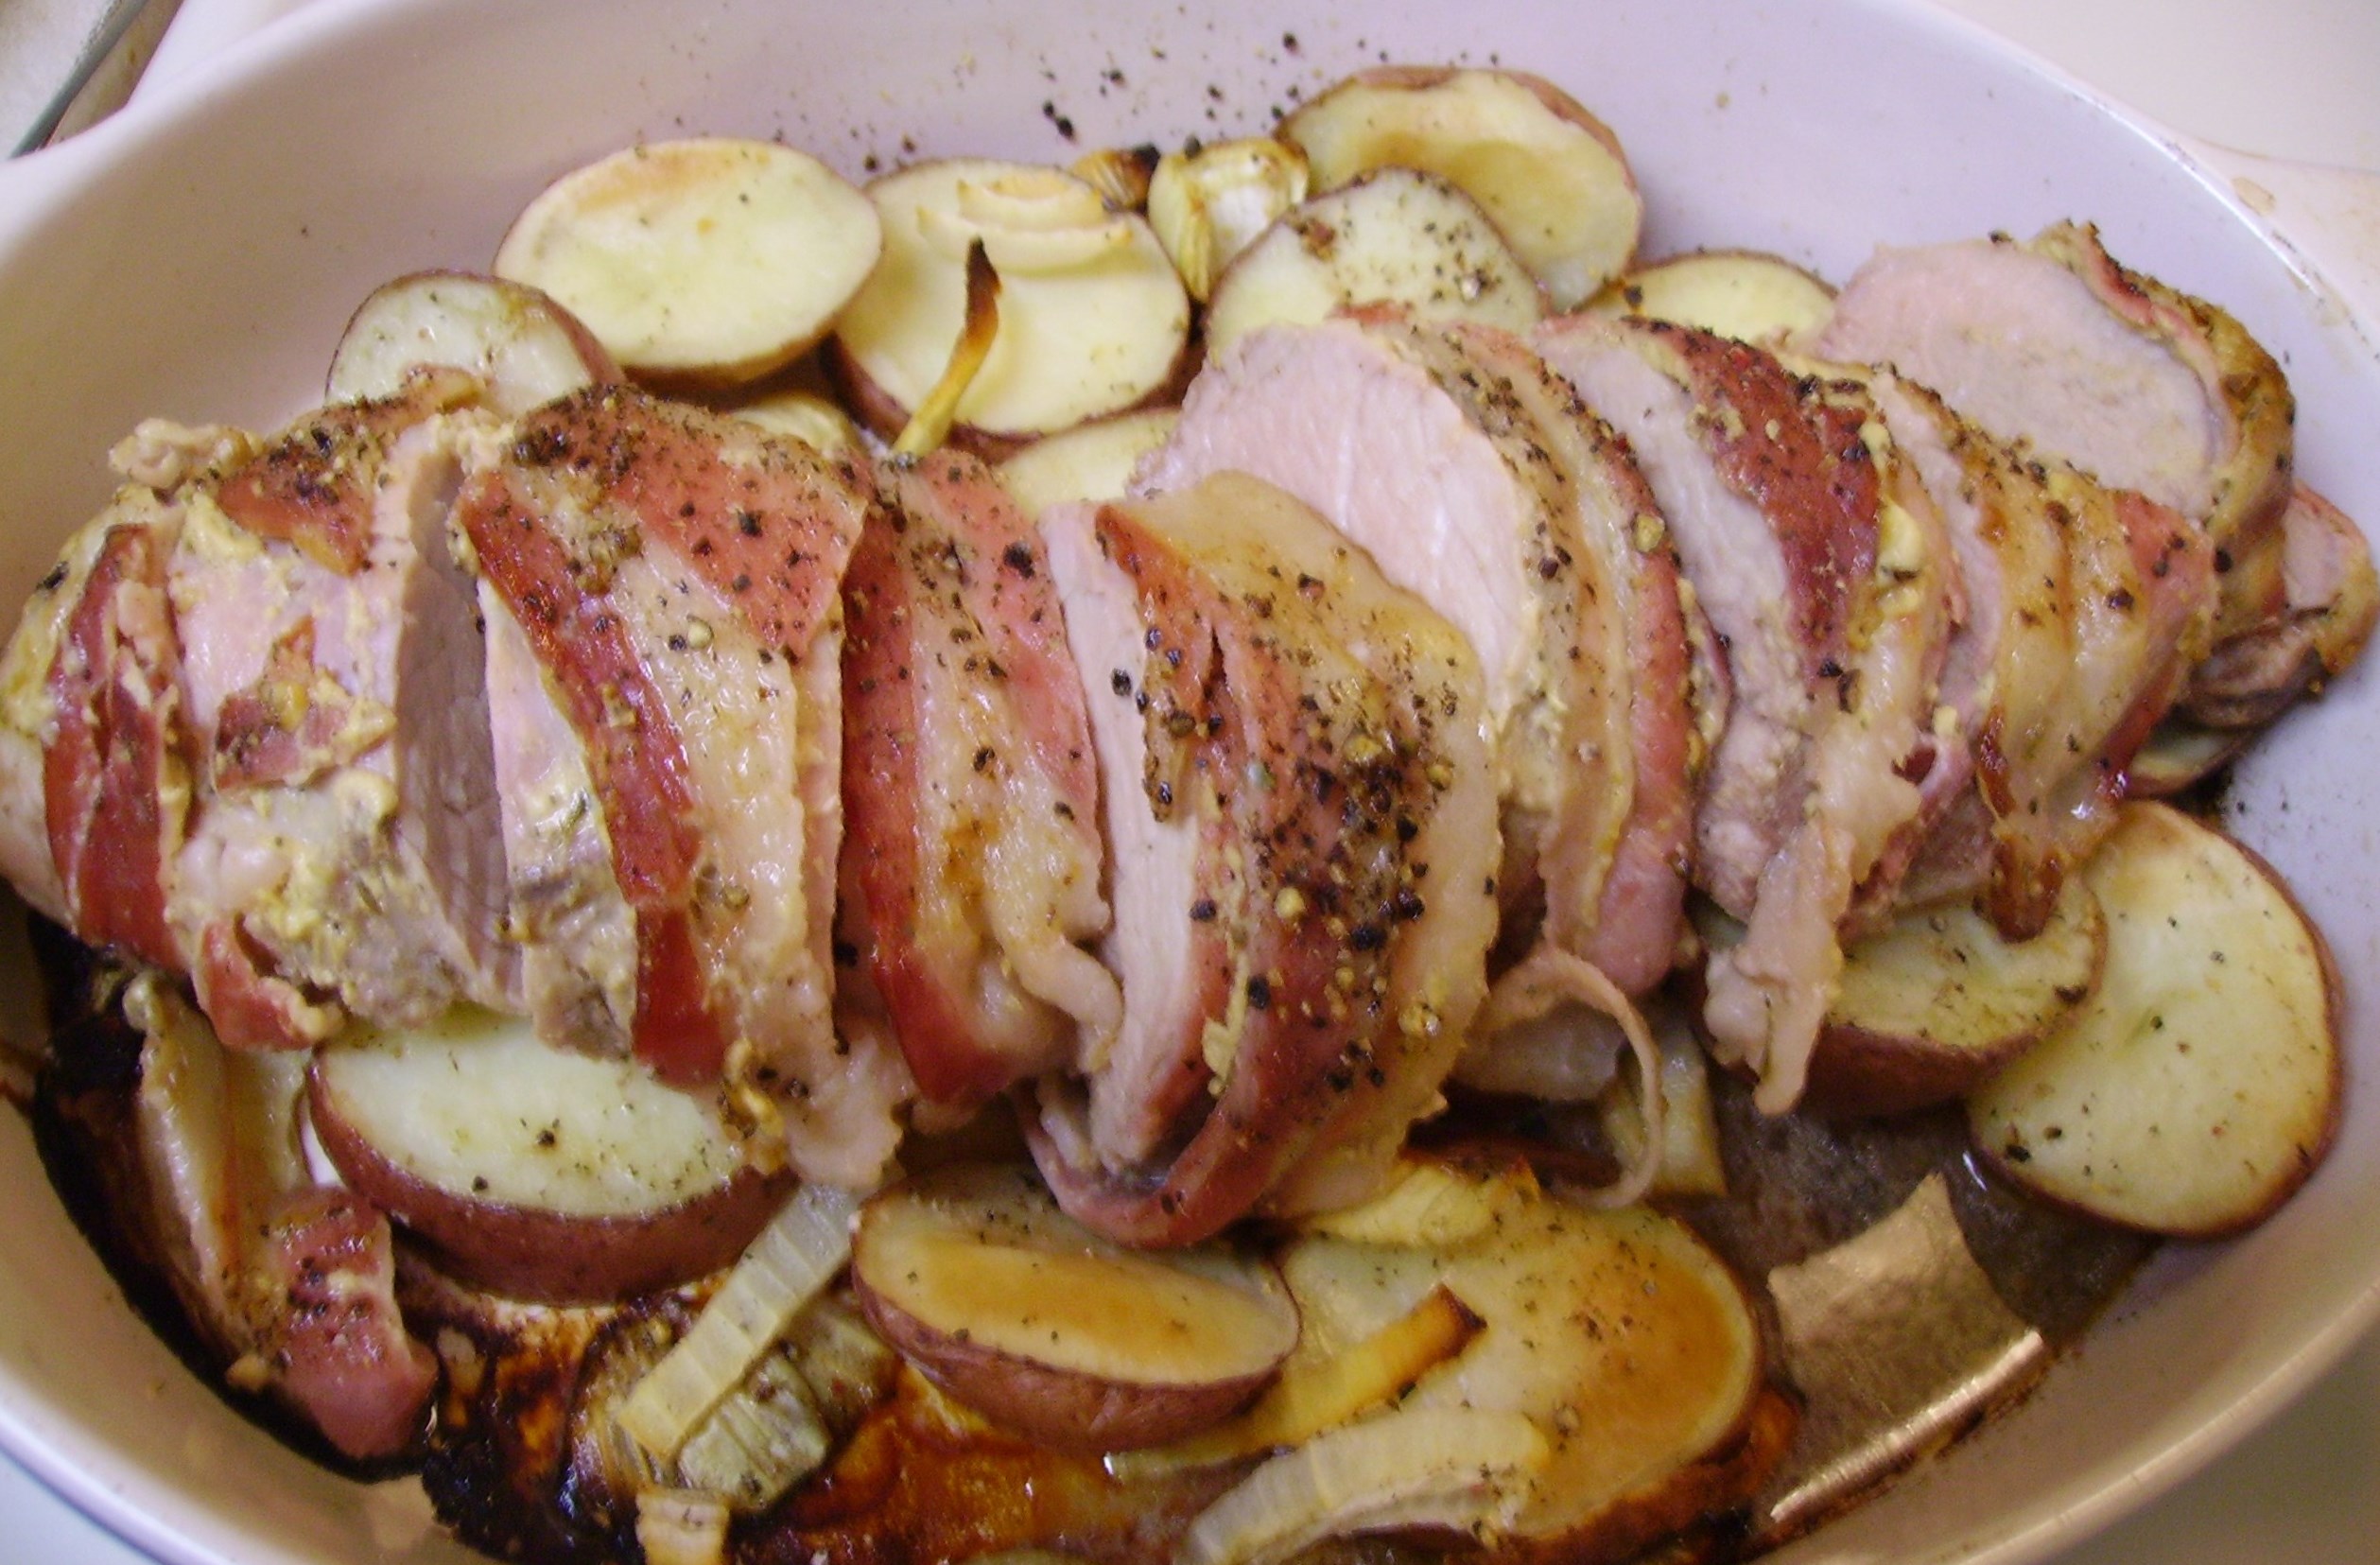
I think my favorite preparation however, is cooking this lovely little morsel whole. And I’m torn as to whether I like it better roasted or grilled. So, I’m sharing recipes for pork tenderloin both ways. The grilled version is more of a guideline than a formal recipe. The oven recipe is more specific and features smokey bacon that adds tons of flavor as well as an insulating robe of moistness.DIGITAL CAMERA The grilled version gets flavor from, well, the grill, and retains its juciness with careful supervision ( a little olive oil helps, too).DIGITAL CAMERANow, back to the roasted tenderloin. The inspiration for this recipe came from my Doubleday Cookbook. I’ve shared my long-term love affair with this two-volume gem before. It is still one of the best cookbooks I’ve ever used. The recipe is Roast Pork A La Boulangere;  potatoes, onions and pork prepared as a French baker’s wife would do it. This is usually done with a bone-in pork loin roast that results in succulent meat served with potatoes and onions that have roasted in the pork fat and juices. It is comfort food on steroids and probably not the healthiest of meals, but it is wonderful.

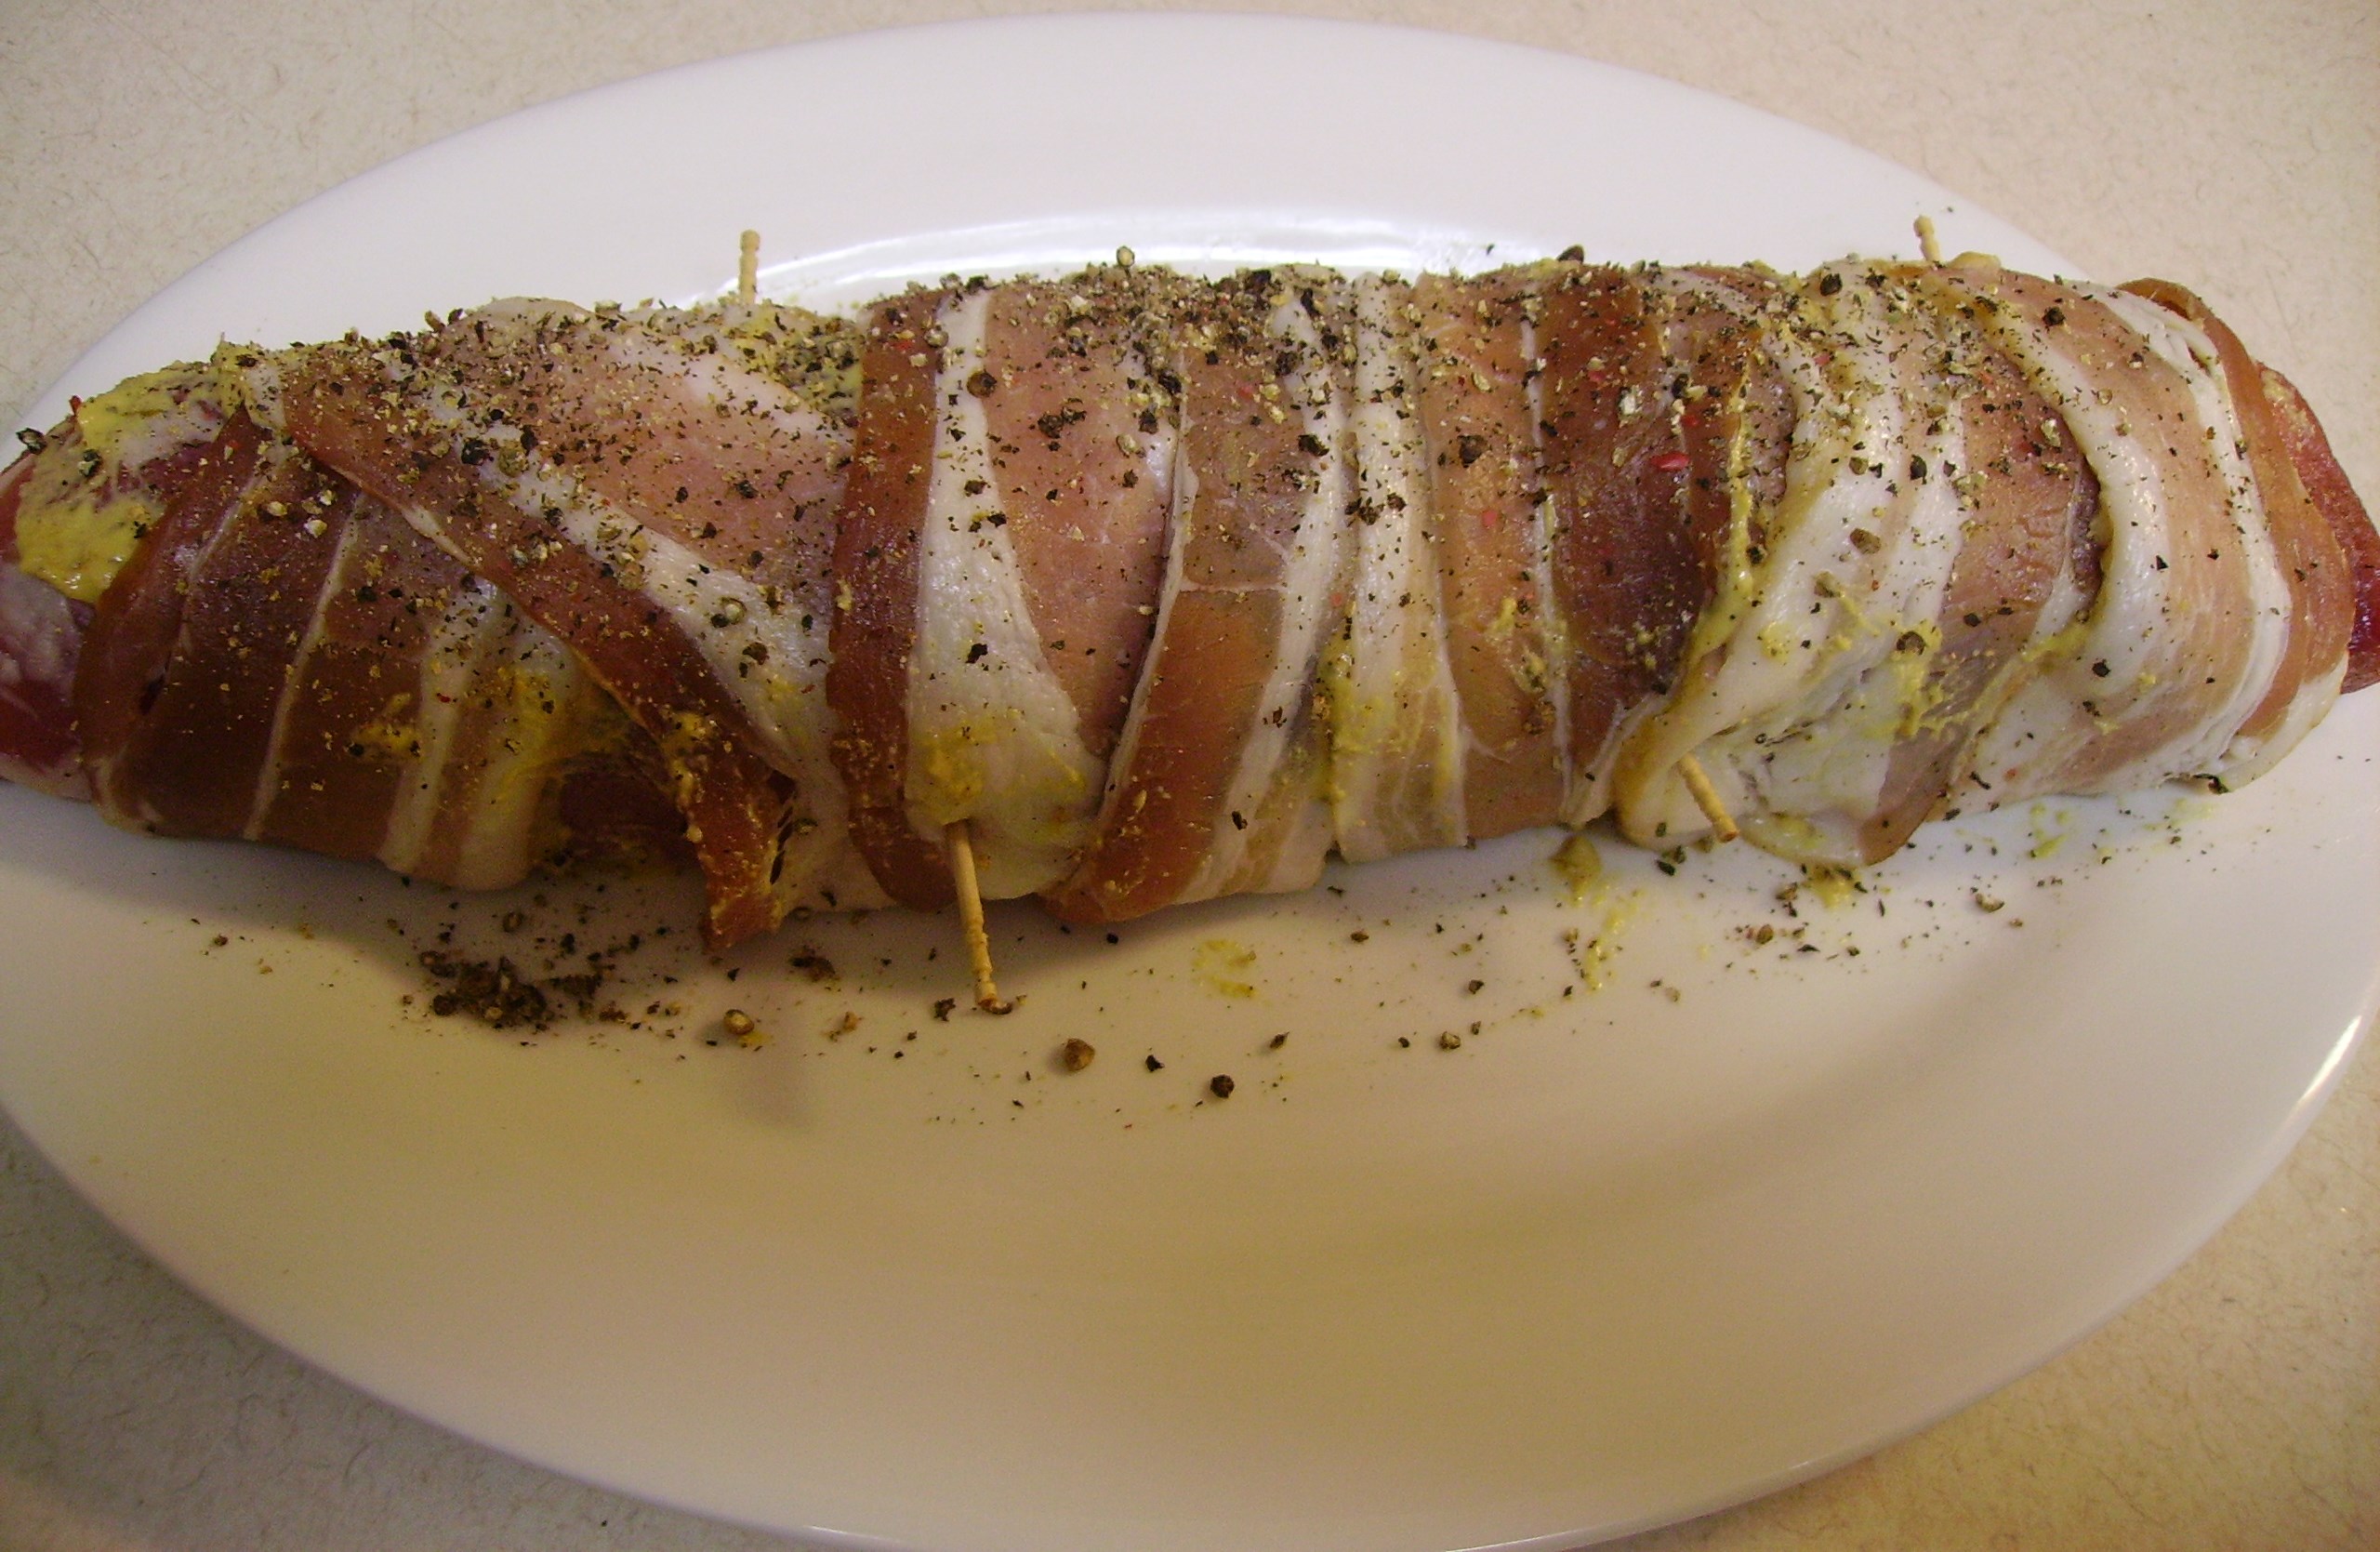
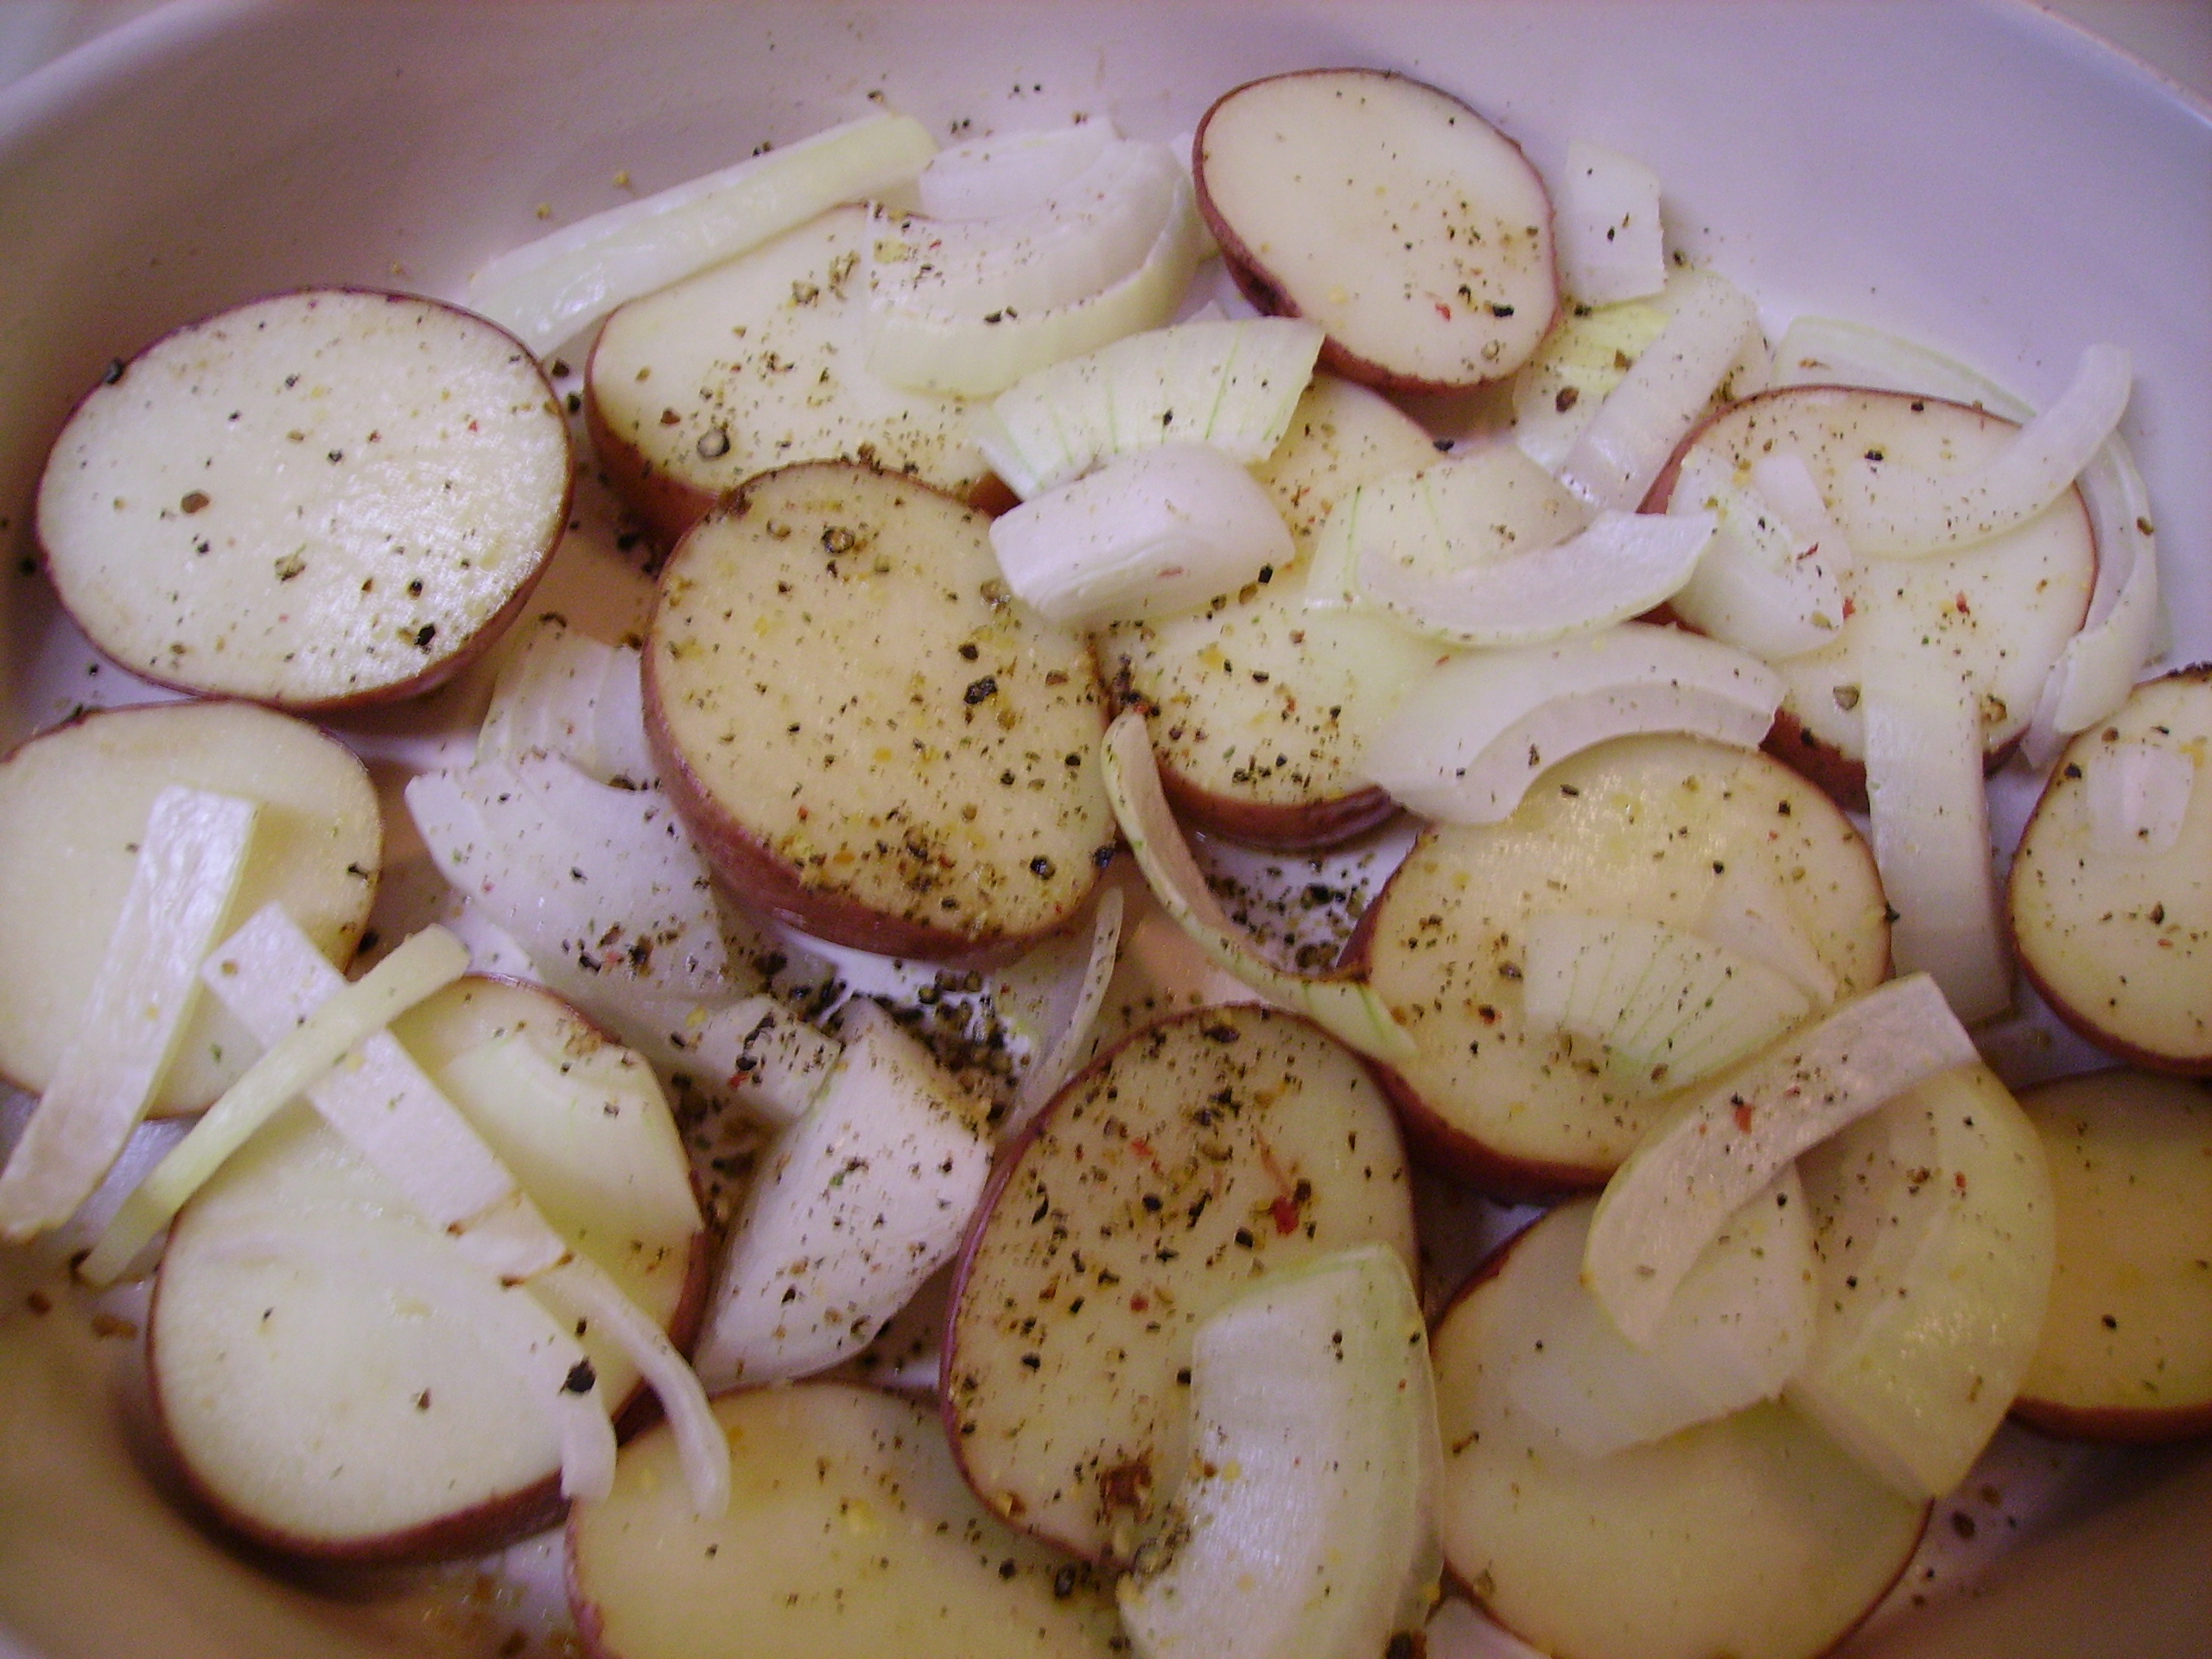
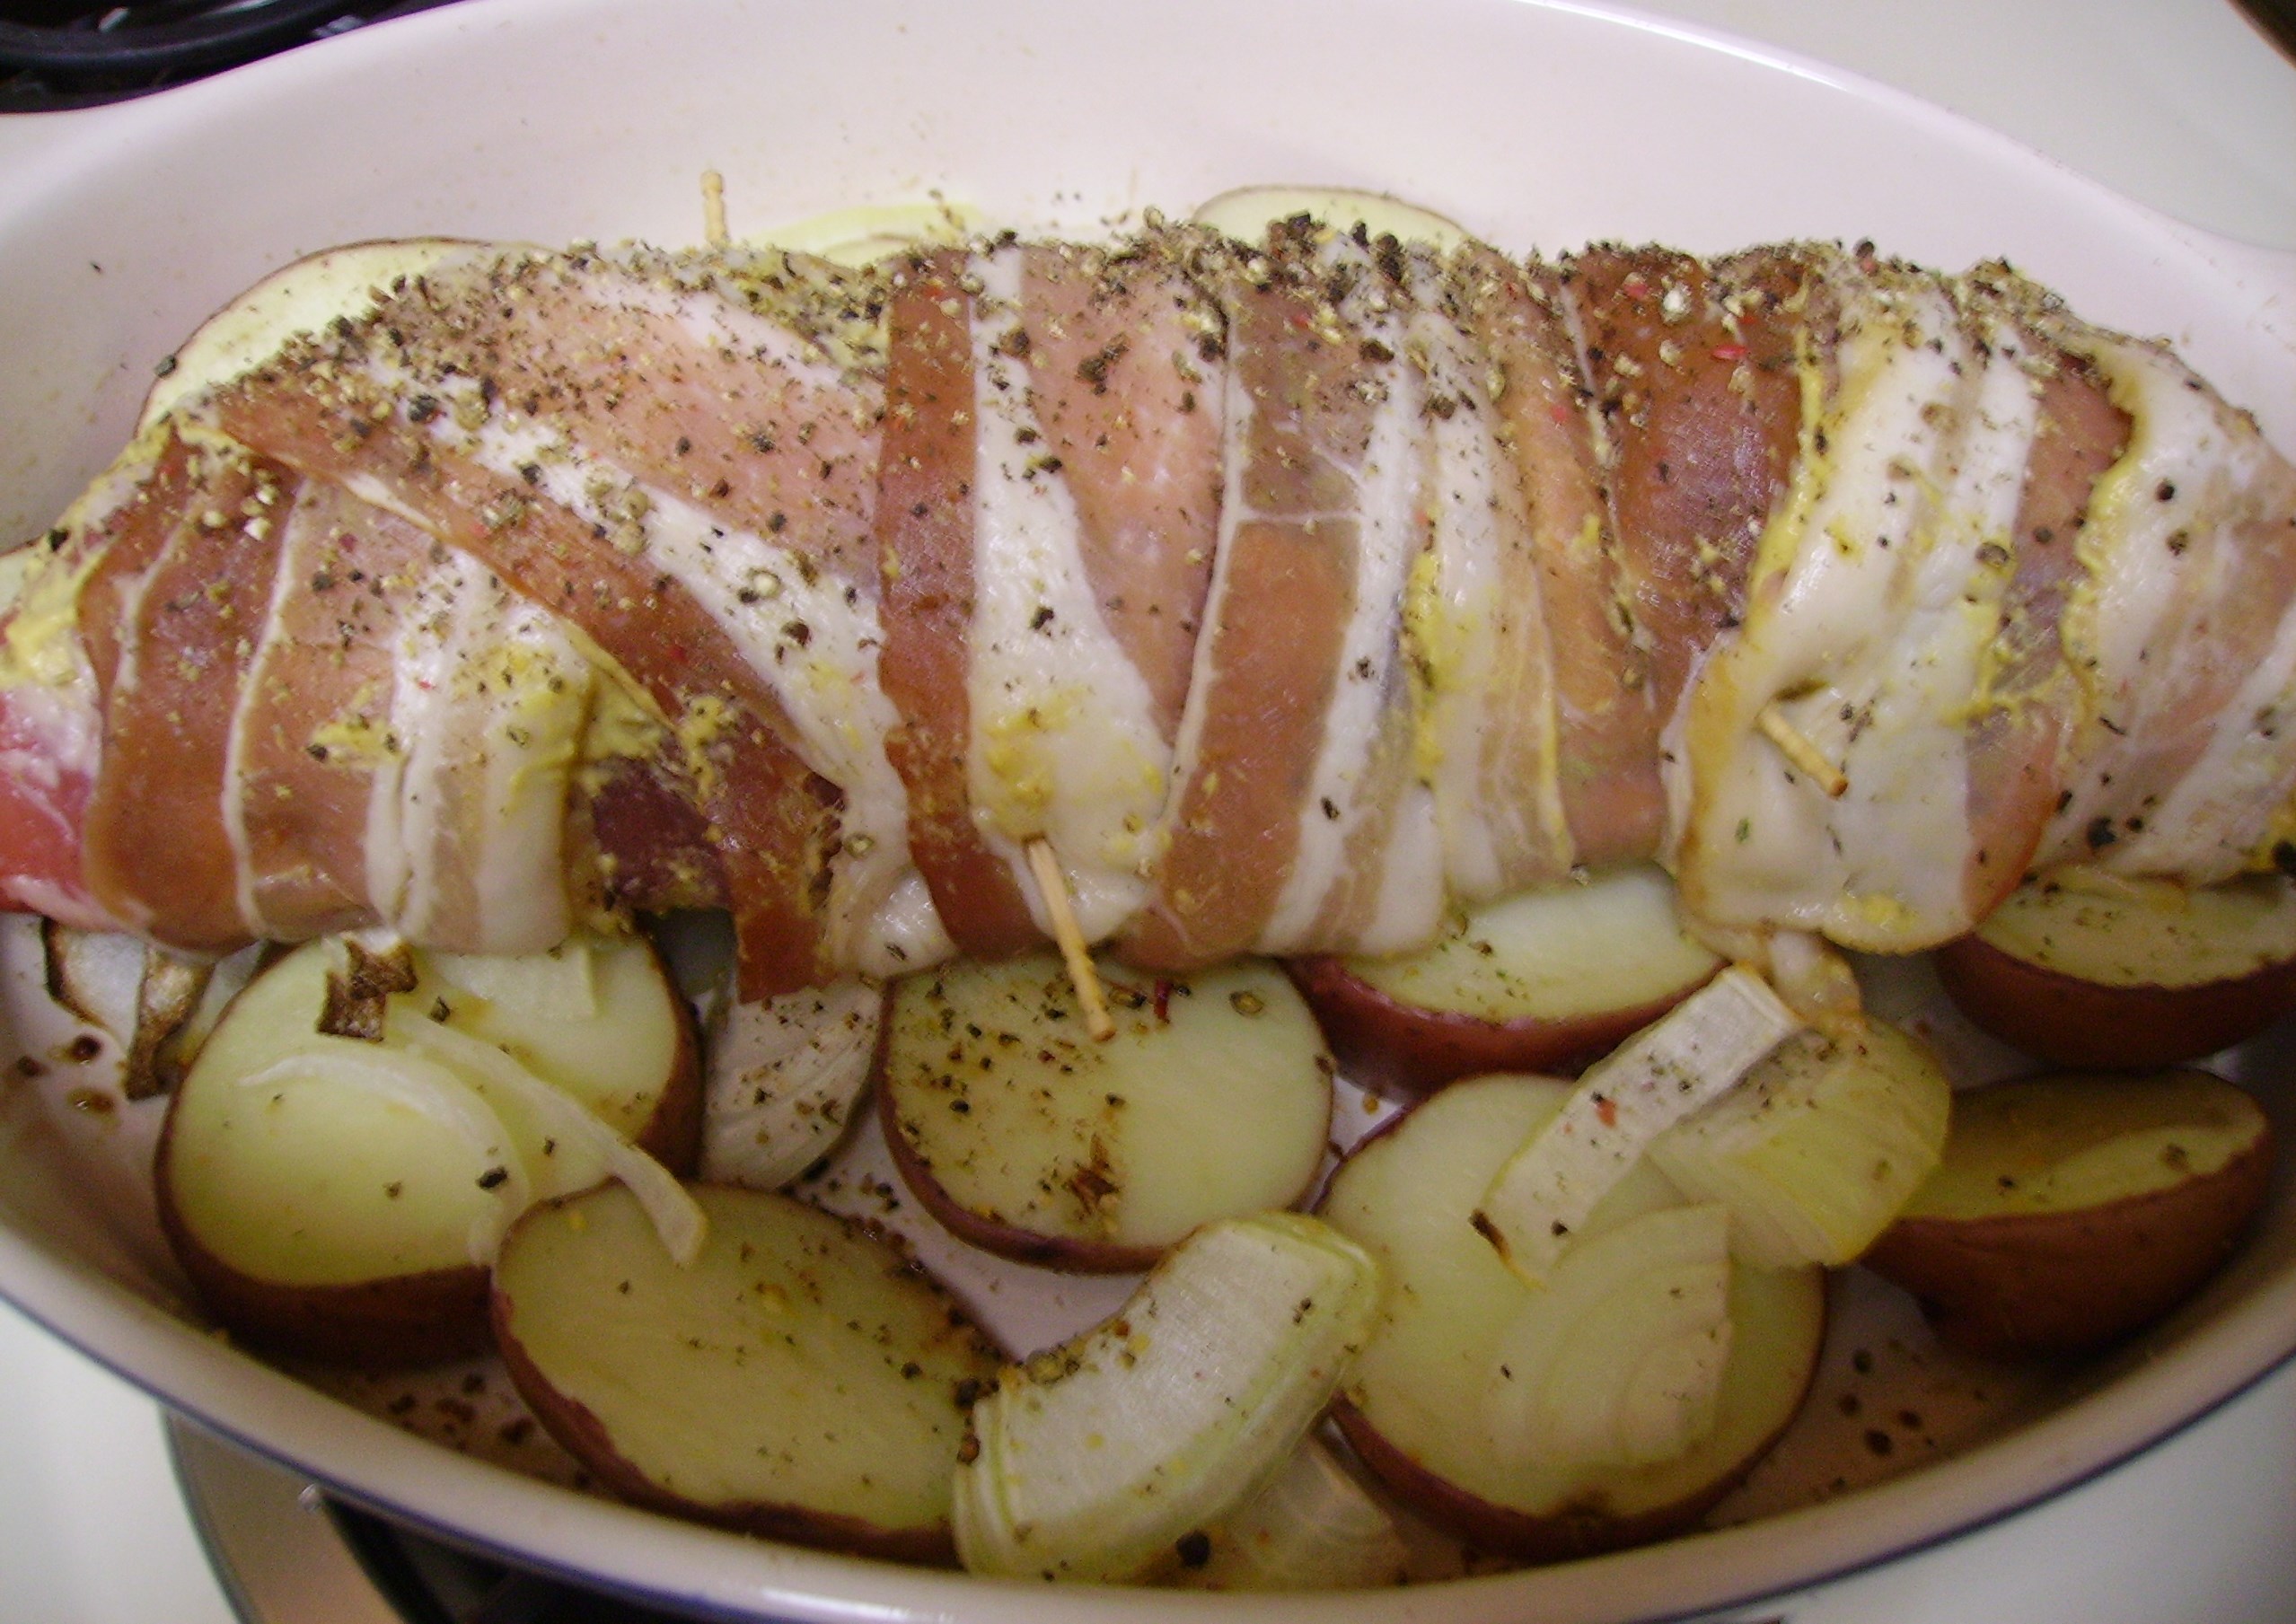
Substituting the pork tenderloin reduces the fat and cooking time tremendously. Yes, there is bacon, but it’s only two slices and the flavor they give to everything is more than worth the indulgence. Pork tenderloin cooks very quickly, 20 to 30 minutes in a hot oven is all it takes. The potatoes and onions take longer than that, so I gave them a head start. Salt, pepper and a drizzle of olive oil was all that I added. DIGITAL CAMERAI let them roast for 30 minutes at 375 degrees. While that was happening, I spread some Dijon mustard on all the sides of the pork. I wrapped the bacon around the little torpedo, securing the strips with toothpicks. Some freshly ground pepper and it was ready to sit high atop the partially cooked potatoes.DIGITAL CAMERAIt only took 25 minutes for the pork to cook. I strongly recommend using a meat thermometer. Current guidelines recommend an internal temperature of 145 degrees. This results in juicy slices with just a hint of pink.DIGITAL CAMERA

Pork Tenderloin A La Boulangere
Print Recipe
Servings
2
Servings
2
Pork Tenderloin A La Boulangere
Print Recipe
Servings
2
Servings
2
Ingredients
Servings:
Instructions
  1. Heat oven to 375 degrees. Lightly coat a baking pan with cooking spray. Combine the sliced potatoes, onions, and garlic in the pan. Add the olive oil and toss to coat. Add 1 teaspoon of coarsely ground pepper and a pinch of salt. Roast for 30 minutes.
  2. While the potatoes roast, prepare the pork. Lay the bacon strips crosswise on a cutting board. Brush a little of the mustard down the center of the bacon. Brush mustard on one side of the pork. Lay the pork in the center of the bacon mustard side down.
  3. Brush the remaining mustard on all the other sides of the pork. Wrap the bacon around the pork at a slight diagonal. Fasten with toothpicks. Sprinkle the remaining pepper on all sides of the pork/bacon bundle.
  4. Remove the pan from the oven. Place the pork on top of the potatoes and return it to the oven and roast for about 20 -25 minutes.
  5. Check for doneness with a meat thermometer after 20 minutes. The internal temperature should be 145 degrees. Continue to roast, checking often for the correct internal temperature.
  6. When the meat is cooked, remove the pan from the oven. Transfer the pork to a warm platter, cover loosely with foil and allow to rest for 10 - 15 minutes.
  7. Remove the foil and cut into thick slices. Serve with the potatoes and onions.
Share this Recipe
Powered byWP Ultimate Recipe

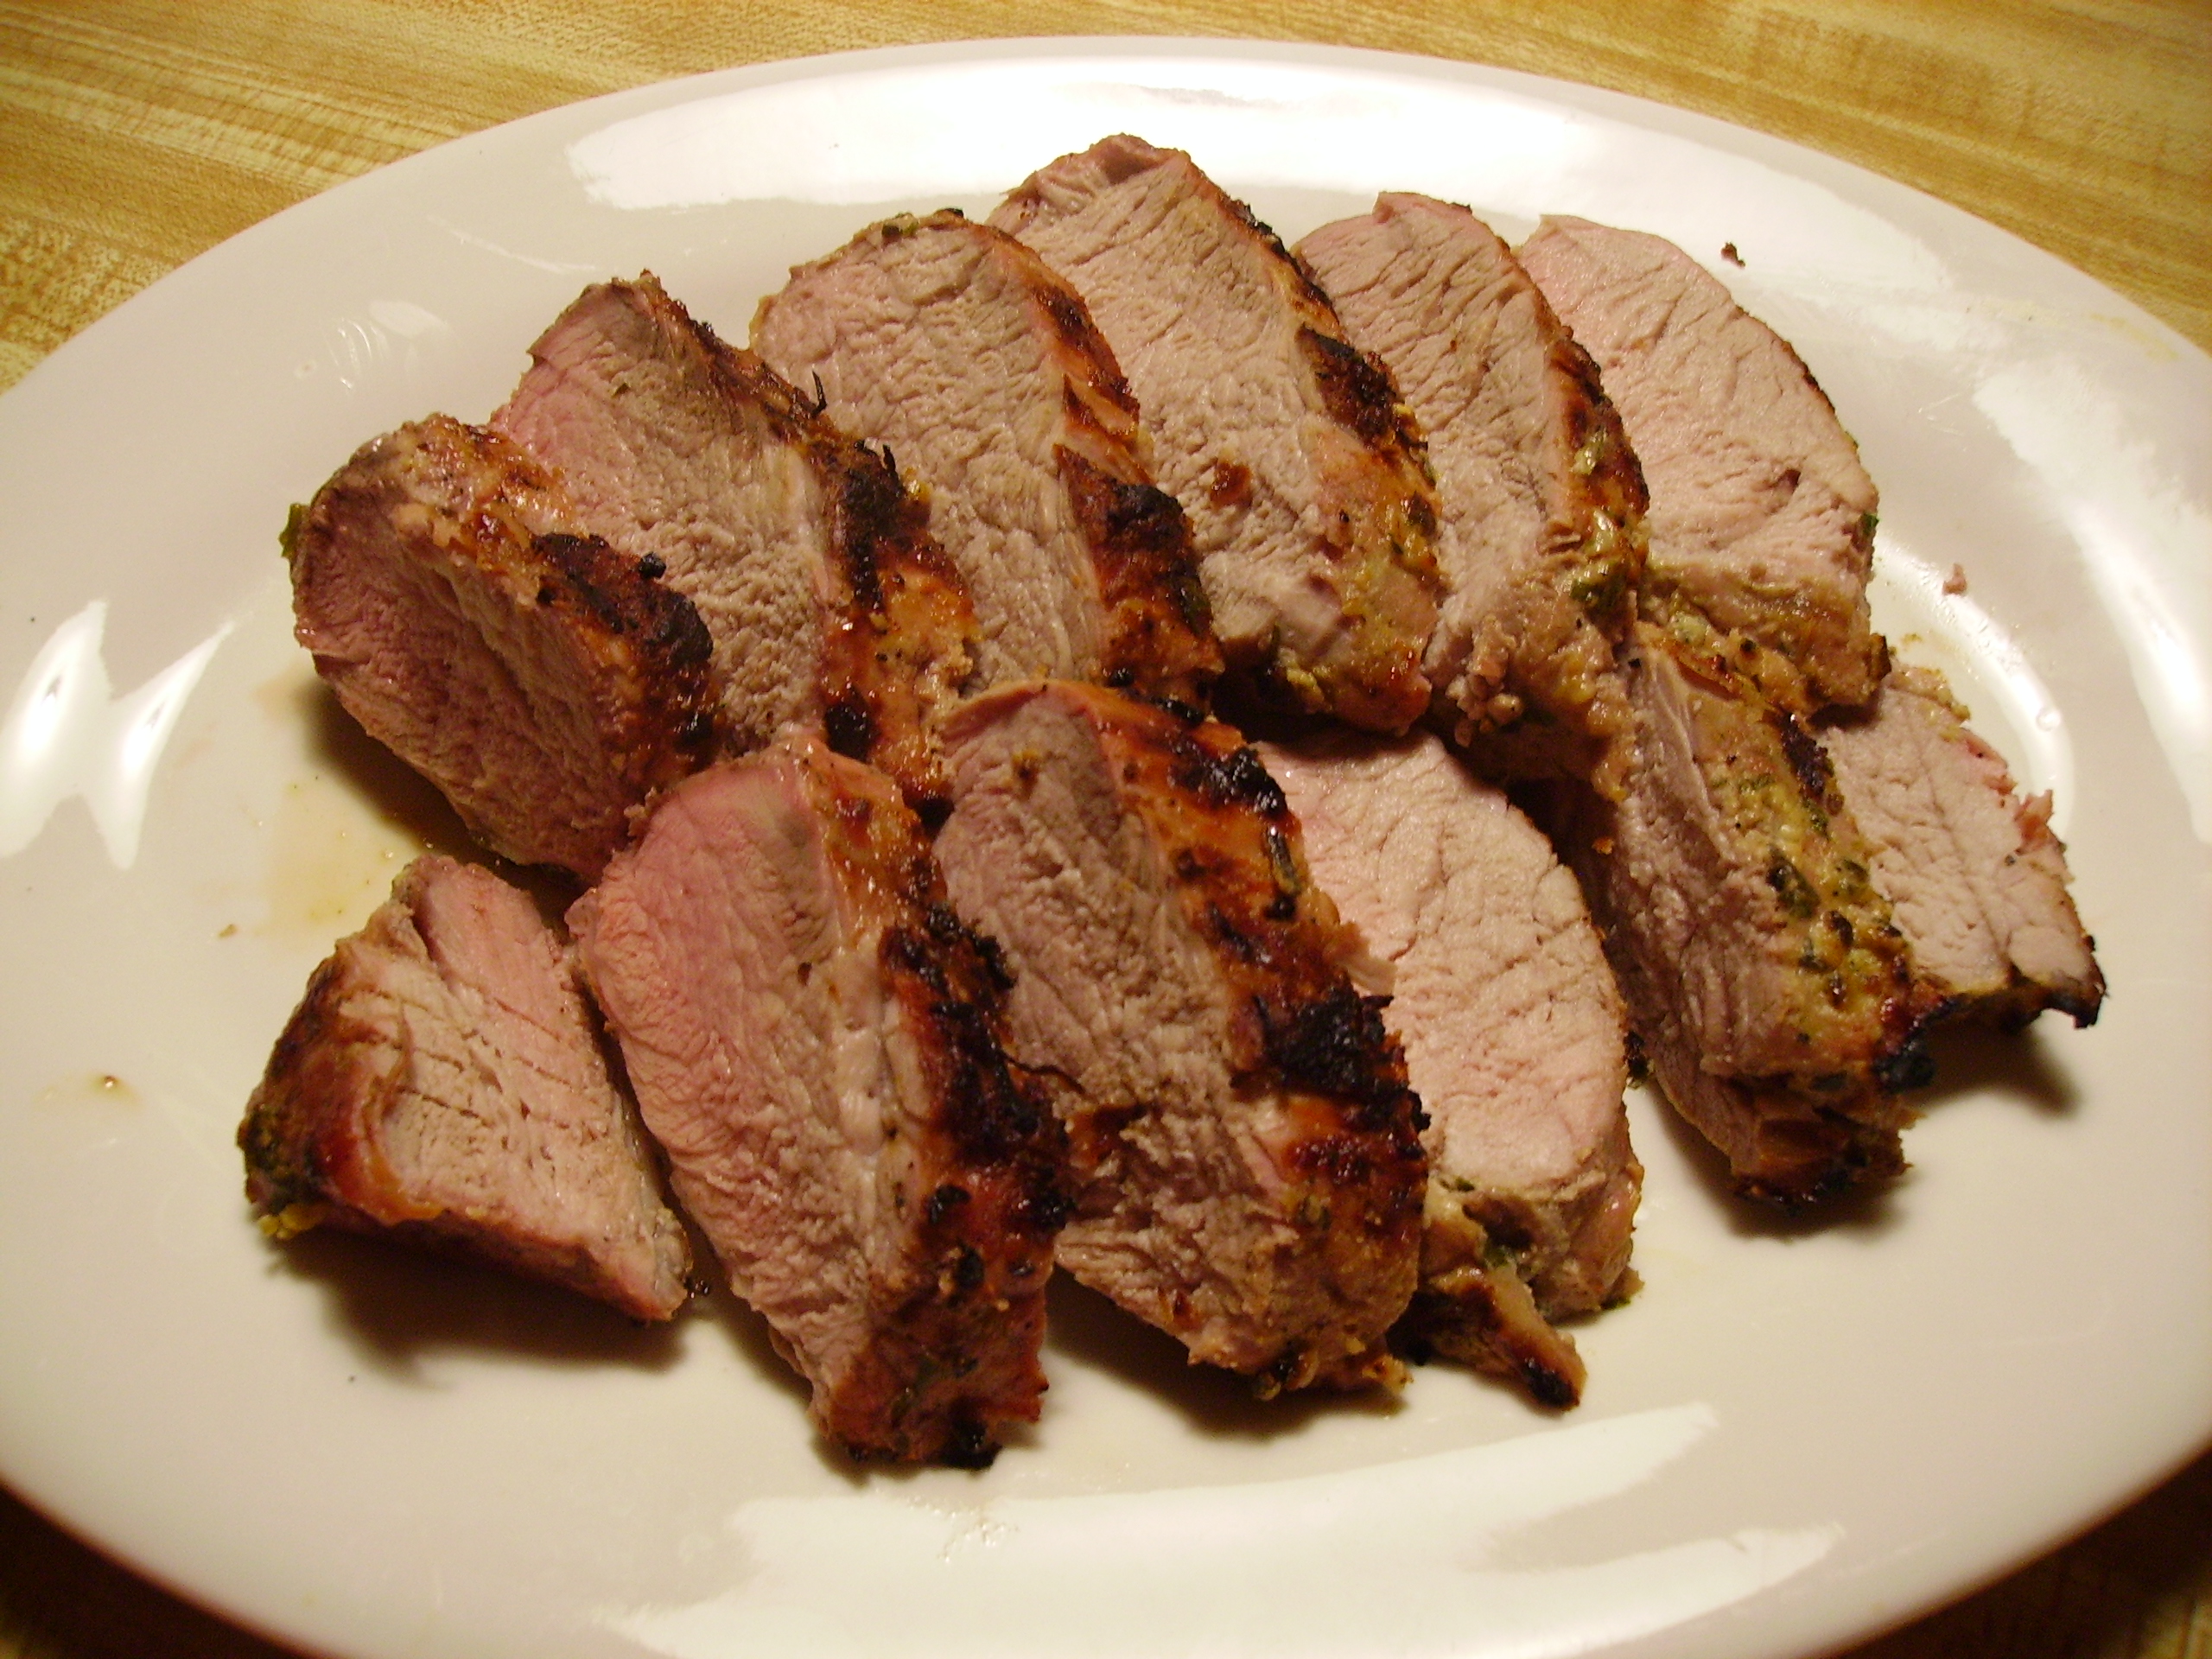
While the roasted version is richly delicious,the grilled version has just as much to offer. As I’ve said, this blank canvas takes to anything you want to put it in or coat it with. This is a non-recipe, recipe. I’ve slathered it in mustard, soaked it in teriyaki, rubbed it with spices and tied it with herbs. These are suggestions that you can use to create your own pork love. Any marinade that strikes your fancy will work. The same goes for herbs, spices, and wet rubs, too.

A word of warning here: Pork tenderloin is very lean. Read that to mean it can go from wonderful to burnt and dry in a matter of minutes. Once the meat is on the grill, designate a responsible guardian. For even cooking and browning, turn every 4 or 5 minutes and move it around as needed. Keep that meat thermometer handy and check for the magic 145 degrees at the 20 minute mark. Continue to turn and check until that temperature is reached. Bring the pork in and allow it to rest before slicing. Partner it with any sides of your choice and enjoy the love.

DIGITAL CAMERAI keep a small stash of these little bundles of joy in my freezer. Every time I cook one it is a new adventure. There are so many directions to take this delight in that I know I’ll be sharing for a long time to come. I hope that you will, too.