
Well, once again I begin a post with a weather report of sorts. As of yesterday, Fall seems to have returned to the Midwest. Heavy rain has brought the much-anticipated cold front that in turn has brought out long pants and long sleeves and even the occasional sweater. There is no such thing as a sure thing, but this time it feels different. It is also mid October and it’s more than time.
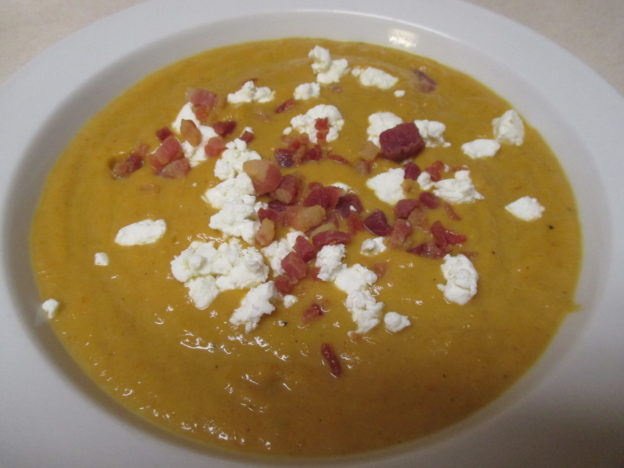
Mama D’s Kitchen has become soup central. Bubbling pots of chicken and vegetable stock have been perfuming the air with savory scents. The first soup of the season has appeared and it is a beauty. Roasted Butternut Squash Soup. It is anchored by homemade Vegetable Stock (kitchen recycling at its best) and features butternut squash, a true harbinger of Fall. It is almost meatless, the unapologetic inclusion of Pancetta was the perfect salty counterpoint to the sweet squash.
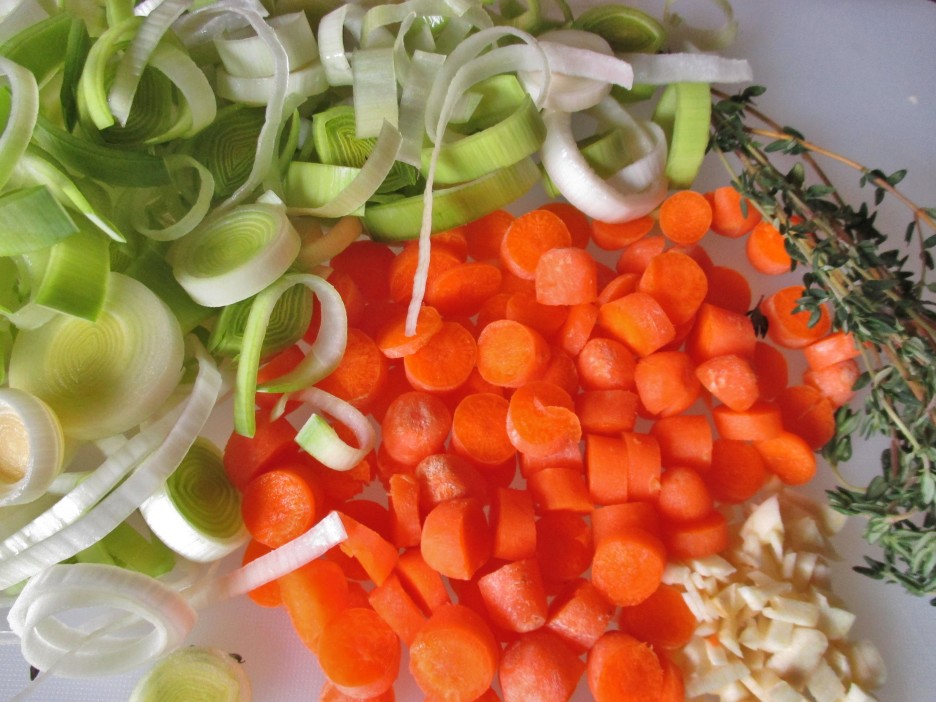
Looking for an excuse to turn on the oven, I decided to roast the squash. I love how the roasted flavor is richer and somehow more satisfying. It changes the color of the finished soup, but it still has beautiful golden tones. I let the carrots roast too, because I am currently in love with the resulting nutty sweet flavor.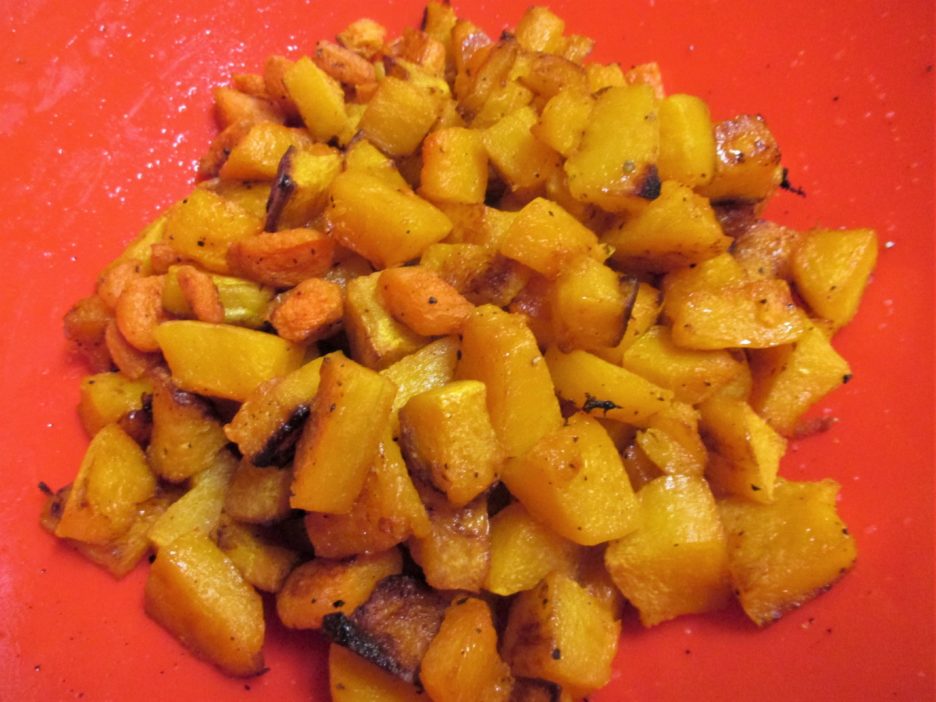 The pancetta was finely chopped and rendered delicious fat as it crisped up in the soup pot.
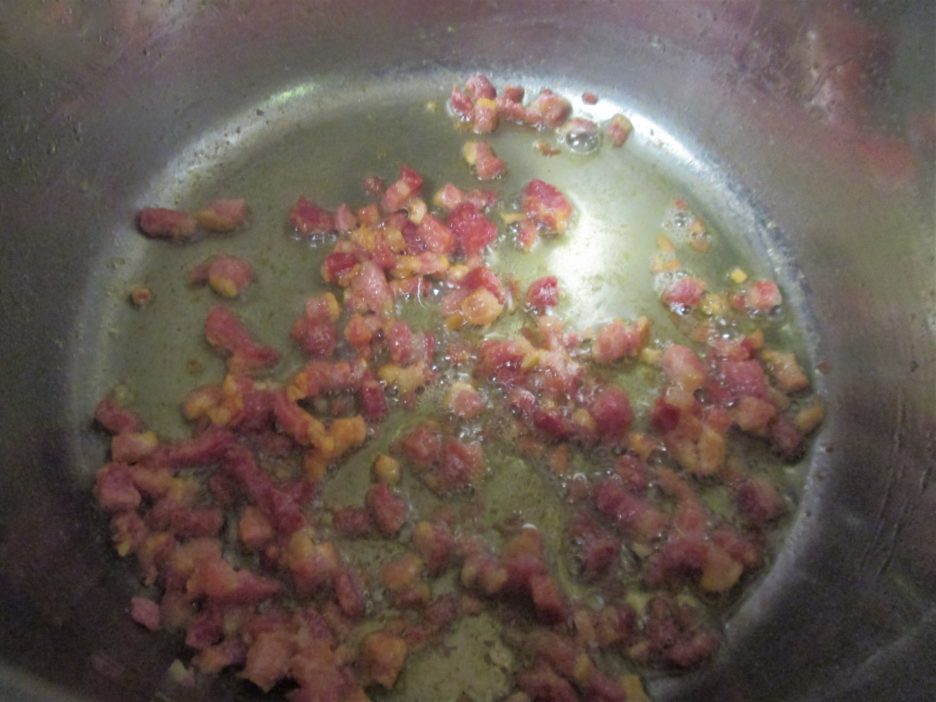 That fat, along with a little butter gave the leeks and garlic something to sweat in that made their presence well established.
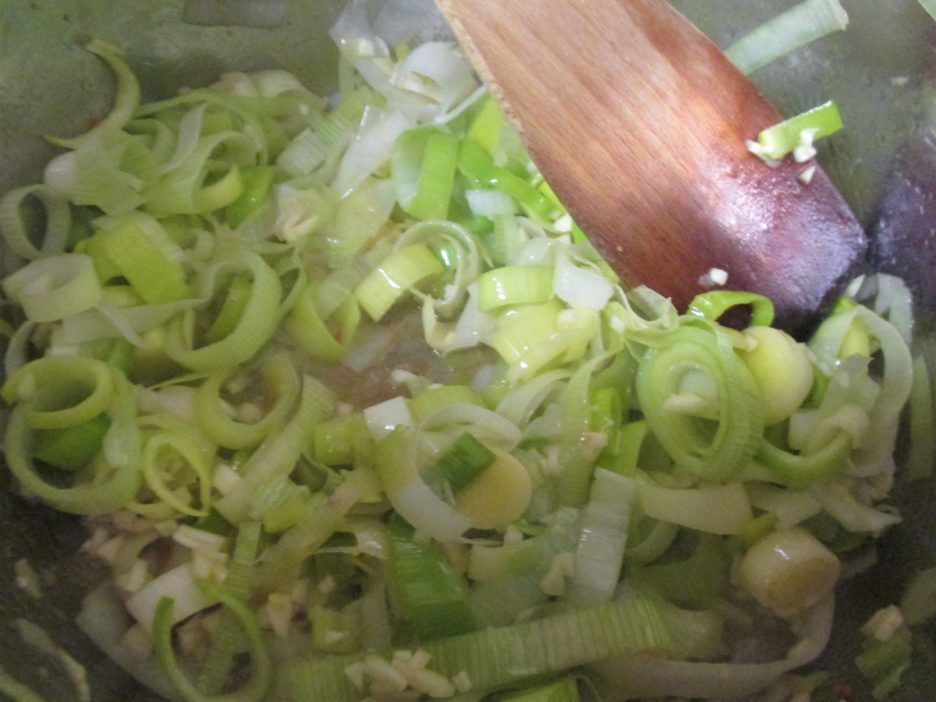 I added some ground sage and let it release its earthiness into the leek mixture. Then the stock went in, along with a bundle of thyme sprigs, and a time to simmer began. The fragrance that permeated the house was wonderful. The squash and carrots came into the party fashionably late, but in enough time to become the stars of the show. Once everything was perfectly married, it was time to bring in the immersion blender. What else would a fall soup need to thin it out a bit? Why some heavy cream, of course. This is comfort food after all and it really was a modest amount…

- 1 2Lb. Butternut Squash Peeled and chopped 1" dice
- 1 Cup Baby Carrots Chopped
- 2 Tbsp. Olive Oil Divided
- 4 Oz. Pancetta Finely chopped
- 1 Tbsp. Butter
- 2 Cups Sliced Leeks
- 4 Cloves Garlic
- 1 Tsp. Ground Sage
- 4 Cups Vegetable Stock
- 4 Sprigs Fresh Thyme
- Salt & Pepper To Taste
- 1/2 Cup Heavy Cream More or less as needed
- 2 Oz. Goat Cheese Crumbled
-
Toss the squash cubes with some of the olive oil. Spread out on a rimmed baking sheet in a single layer. Roast for 40 minutes in a 425 degree oven, stirring every 15 minutes. Set Aside.
-
Toss the carrots with a little of the olive oil and spread on a rimmed baking sheet in a single layer. Roast for 20 minutes in a 425 degree oven stirring every 10 minute or so. Set aside
-
In a large soup pot heat about 1 tablespoon of olive oil. Add the pancetta and cook until it is brown and crispy 7 - 10 minutes. Remove the pancetta and allow it to drain on paper towels. Spoon out all but 1 tablespoon of the drippings.
-
Add the butter to the pot and once it is melted, add the leeks and garlic. Toss to coat and cook for 5 minutes. Add the ground sage and cook an additional 5 minutes until the leeks are wilted and just beginning to brown.
-
Add the stock to the pan. Tie the thyme sprigs together with a long piece of kitchen twine. Drop it into the pot and tie one end of the string to the pot handle. Bring up to a simmer, cover and allow to simmer for 20 - 30 minutes.
-
Remove the thyme sprigs (they will now be stems) from the pot. Add the reserved squash and carrots. Return to a simmer and cook for 10 minutes or so to allow the flavors to blend. Remove from heat and allow to cool for 10 minutes.
-
Once the soup has cooled slightly, use an immersion blender to puree the soup. (waiting 10 minutes helps the splatters not sting as much). Once the soup is smooth, return it to the stove.
-
Stir in the cream and allow the soup to heat gently until it is nice and hot. Use as much cream as your waistline will allow. Check for flavor and add salt and pepper as needed.
-
To serve, ladle into bowls and top with the crispy pancetta and crumbled goat cheese.
Serving it up only required a sprinkle of goat cheese and those wonderful crispy pancetta bits.
This was wonderful, but it got better with the addition of Skillet Corn Bread. Remember those little boxes of Jiffy Mix that our moms always reached for. Well, I reached for one, too. I embellished the regular directions with corn, green onions, cheddar cheese, and sour cream in place of milk.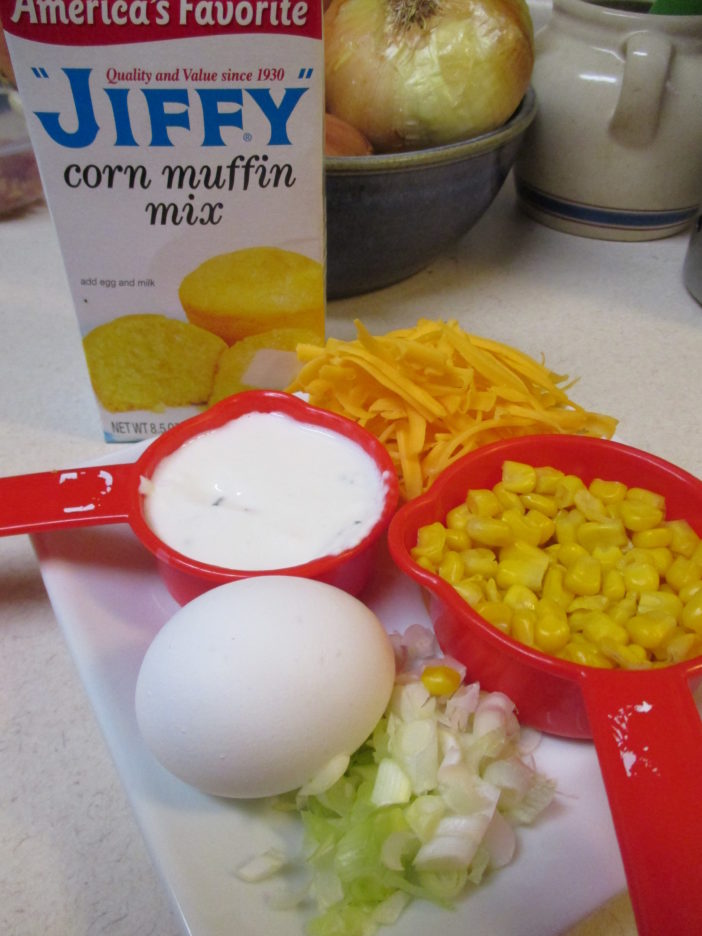
It baked up with a golden brown crust on top and crispy goodness on the bottom (the result of heating the skillet in the oven before adding the batter). 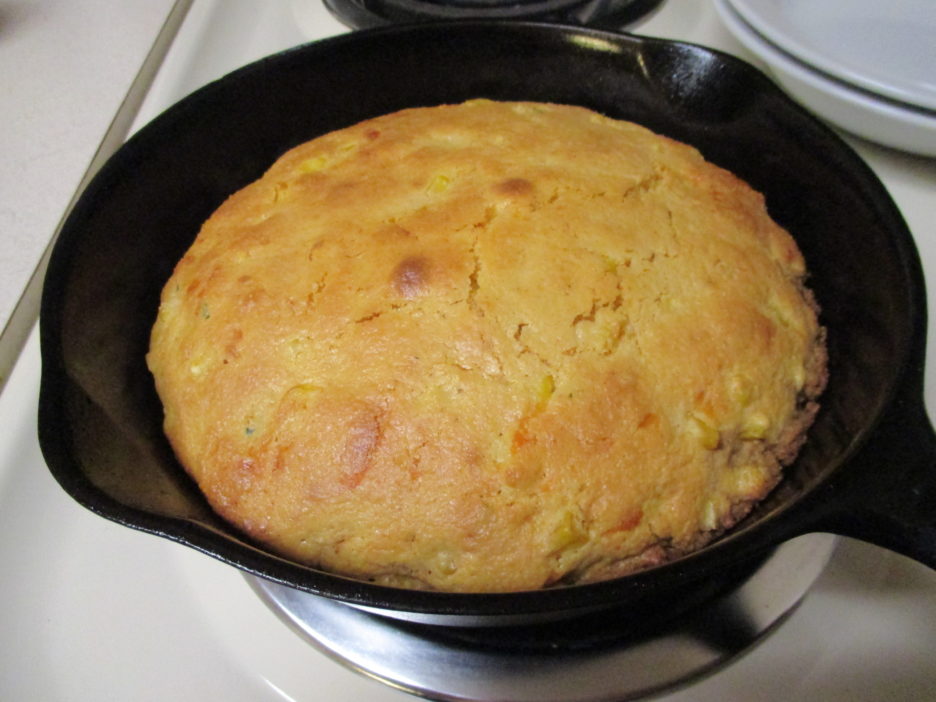
Joined by a simple salad it completed what was indeed a perfect Supper.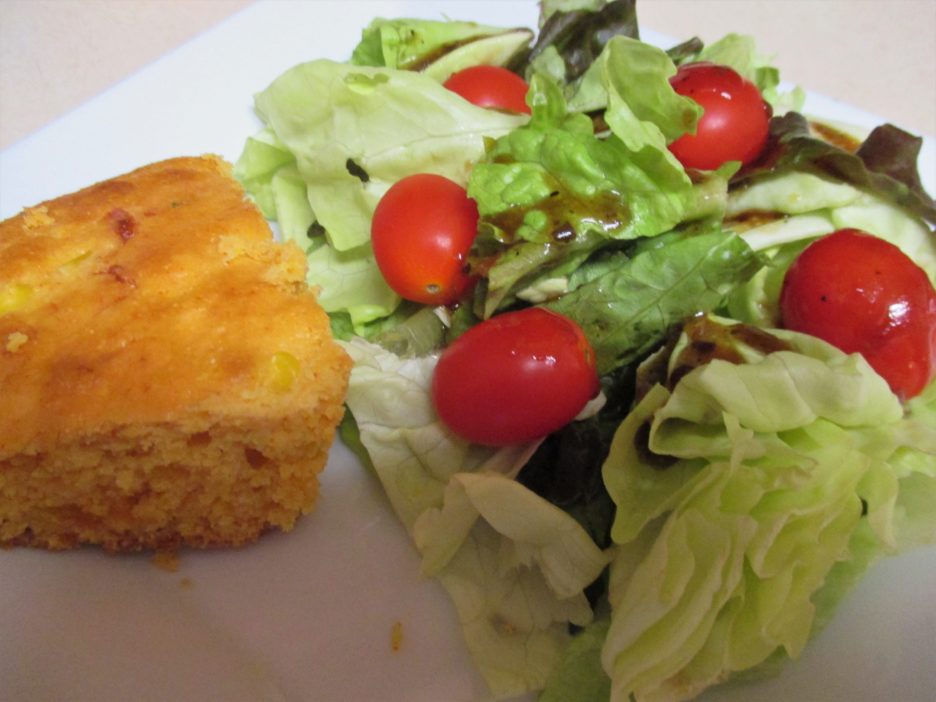
We are enjoying a week of mildly cool weather here in the Midwest. Let’s hope that this time it stays.
Share this:


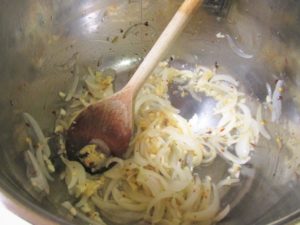 Soup. The main inspiration came from a bag of Trader Joe’s Goyza (a.k.a. Pot Stickers) that had been in the freezer for quite some time. I had seen a simple recipe for a Pot Sticker Soup and decided to take it up a few notches. Onions, garlic, ginger, and chili flakes joined forces in a bit of oil. Then I added some Red Curry Paste and a lot of homemade chicken stock. I let all of this simmer for a bit. You could leave the stock as is at this point or add some Fish Sauce for umami, Hoisin Sauce for a touch of sweetness, or some Sriracha to bring the heat. Hey. if you’re feeling randy, add them all.


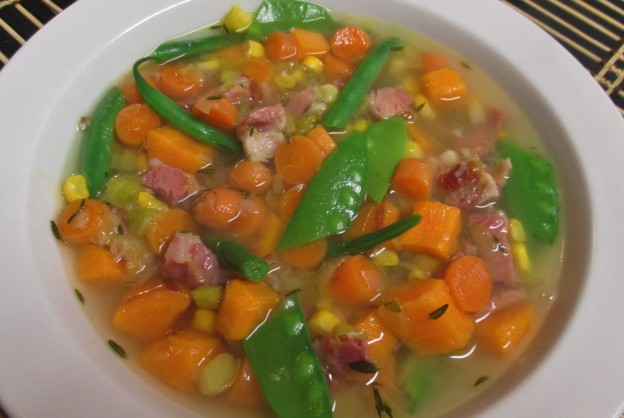

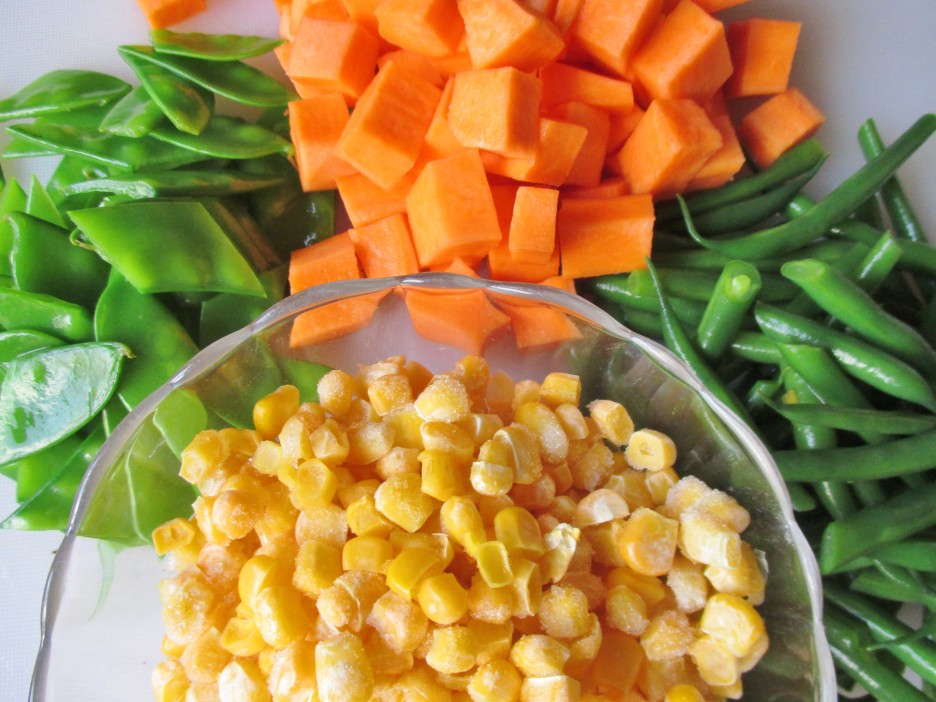
 It wouldn’t be ham soup with out ham so I added a generous cup of the ham bone trimmings. This meat is a little heartier and stands up to the long simmer that soup takes. Speaking of long simmering soup, the haricot vert and snow peas take only minutes to cook and can quickly turn dull, so I added them at the end. I actually blanched them and added them to the bowls before I ladled in the soup. The piping hot soup warmed them up and the crunch they gave to the soup was a bonus in flavor and texture. This soup was the perfect blend of light yet filling and comforting. Adding a grilled cheese sandwich to the meal would make it a perfect Supper.
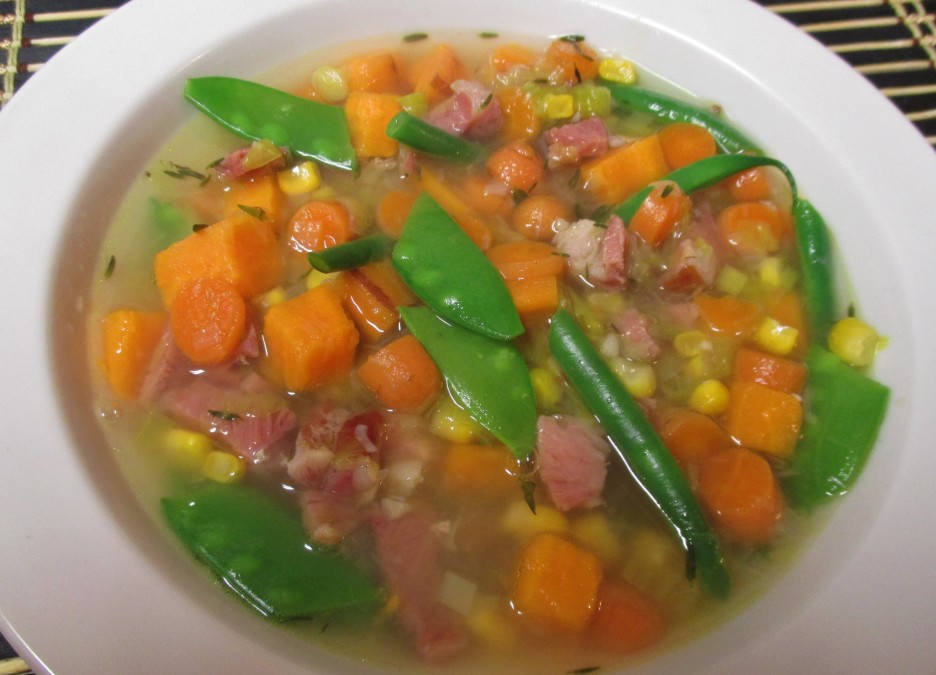


 The Spicy Shrimp Pasta that was the result was pretty tasty, too.
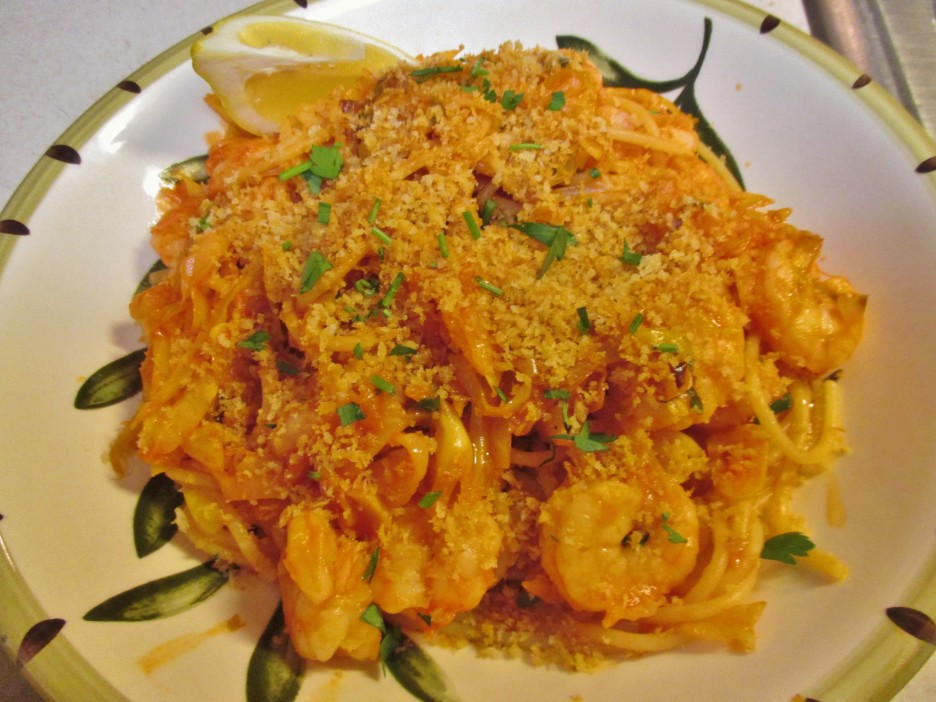
 We also enjoyed a Pub Burger on a Pretzel Roll that featured an
  awesome Cheddar Cheese Sauce and Oven Fried Sweet Potatoes. I added some Honey Mustard Cole Slaw to balance things out. The final dinner was a Trinidadian Curried Chicken with Coconut Grits and Sautéed Collard Greens. By this time, I was I was ready to take a few liberties. I left the chicken thighs whole and cooked them on the grill. I only used a little of the herb mix that was included because I didn’t care for the taste. The grits were heavenly and the collard greens were the perfect side dish. Services like this have a place in many kitchens; great for busy couples that still want to have a home cooked meal. Being Mama D, I don’t always enjoy being told what to do,but in spite of that, I’m glad I got to try out this way of cooking. In between my Blue Apron Adventures, I was creating some dishes of my own. Here’s one that was particularly enjoyable….
 We’re slowly creeping into spring, but cold snaps are still popping up, so something hearty and warm is often a welcome supper.
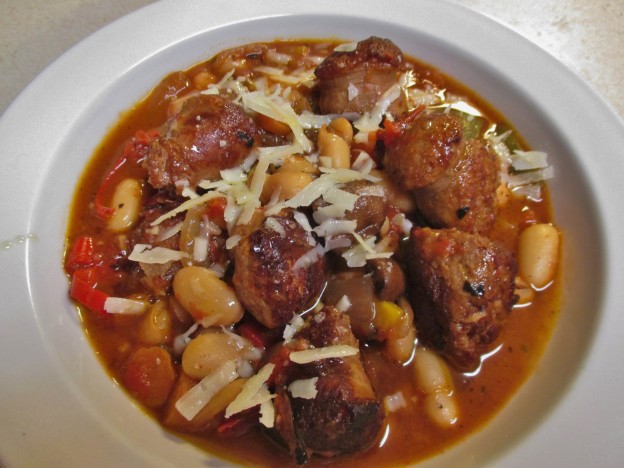
 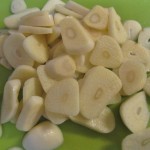 That’s how this Italian Sausage and Cannellini Stew came to the table. The cast of characters predominately came from cleaning out the refrigerator. Small amounts of veggies that couldn’t stand alone were combined with Turkey Italian
  Sausage and Cannellini Beans. I sliced what seemed to be a ridiculous amount of garlic, which turned out to be just the right amount. Chicken stock
  and fire roasted tomatoes created the liquid that was fortified with the wine left from the previous night’s dinner (yes, once in a while we don’t finish the bottle). I dubbed this a “stew” mainly because the liquid was less than what I would use in a soup. While stews usually simmer for an hour or more, this pot of goodness only took about 30 minutes Things came together quite nicely resulting in a stew that tasted like it simmered all day.
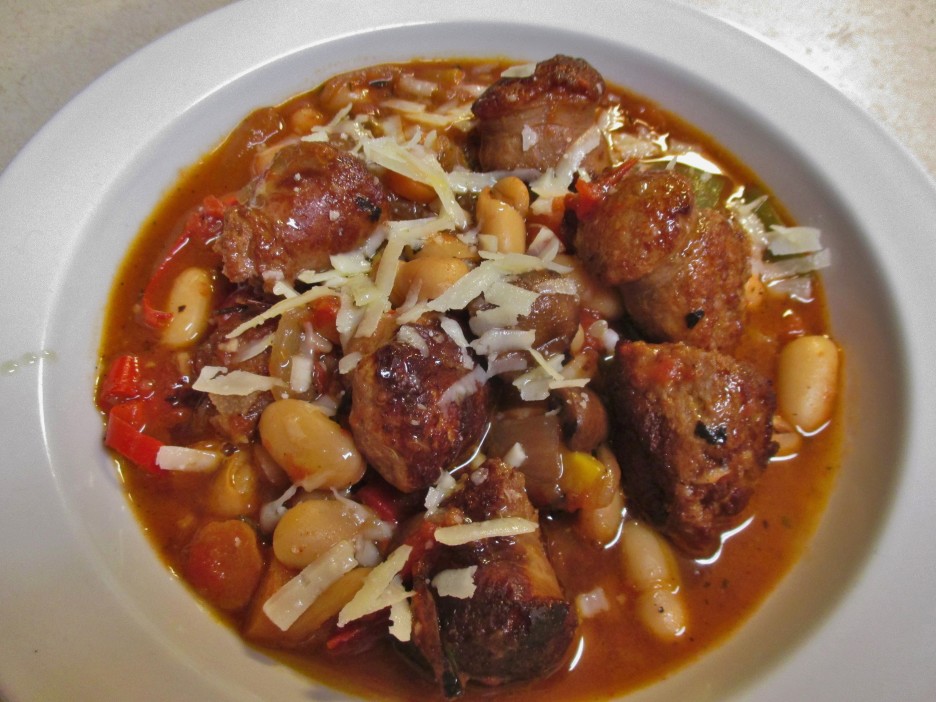 As with any of my recipes this is just a suggestion of the direction the dish can go. Use what you have on hand or love. Change the ingredients as much as you want. This is not a dish that comes in a box ready for you to prepare (not that there’s anything wrong with that). Here’s what I did…now make it your own.
