
This is a bit of a different kind of post. It isn’t really about food though we did eat and drink. It is about a travel adventure. It is, I think, an interesting story worth sharing.
We (very) recently bought a new car. Our former car had seen many travel adventures and was letting us know that she was tired by displaying a new warning light almost daily. We bit the car payment bullet and came home with a brand new Kia Forte. Besides providing safe transportation for ourselves and the grandkids, we wanted it to be the vehicle for new road trip adventures. First we had to learn about all of its “special features.” The learning curve has been a bit steep, but we are getting there. We decided to put our still limited knowledge to the test this past weekend.
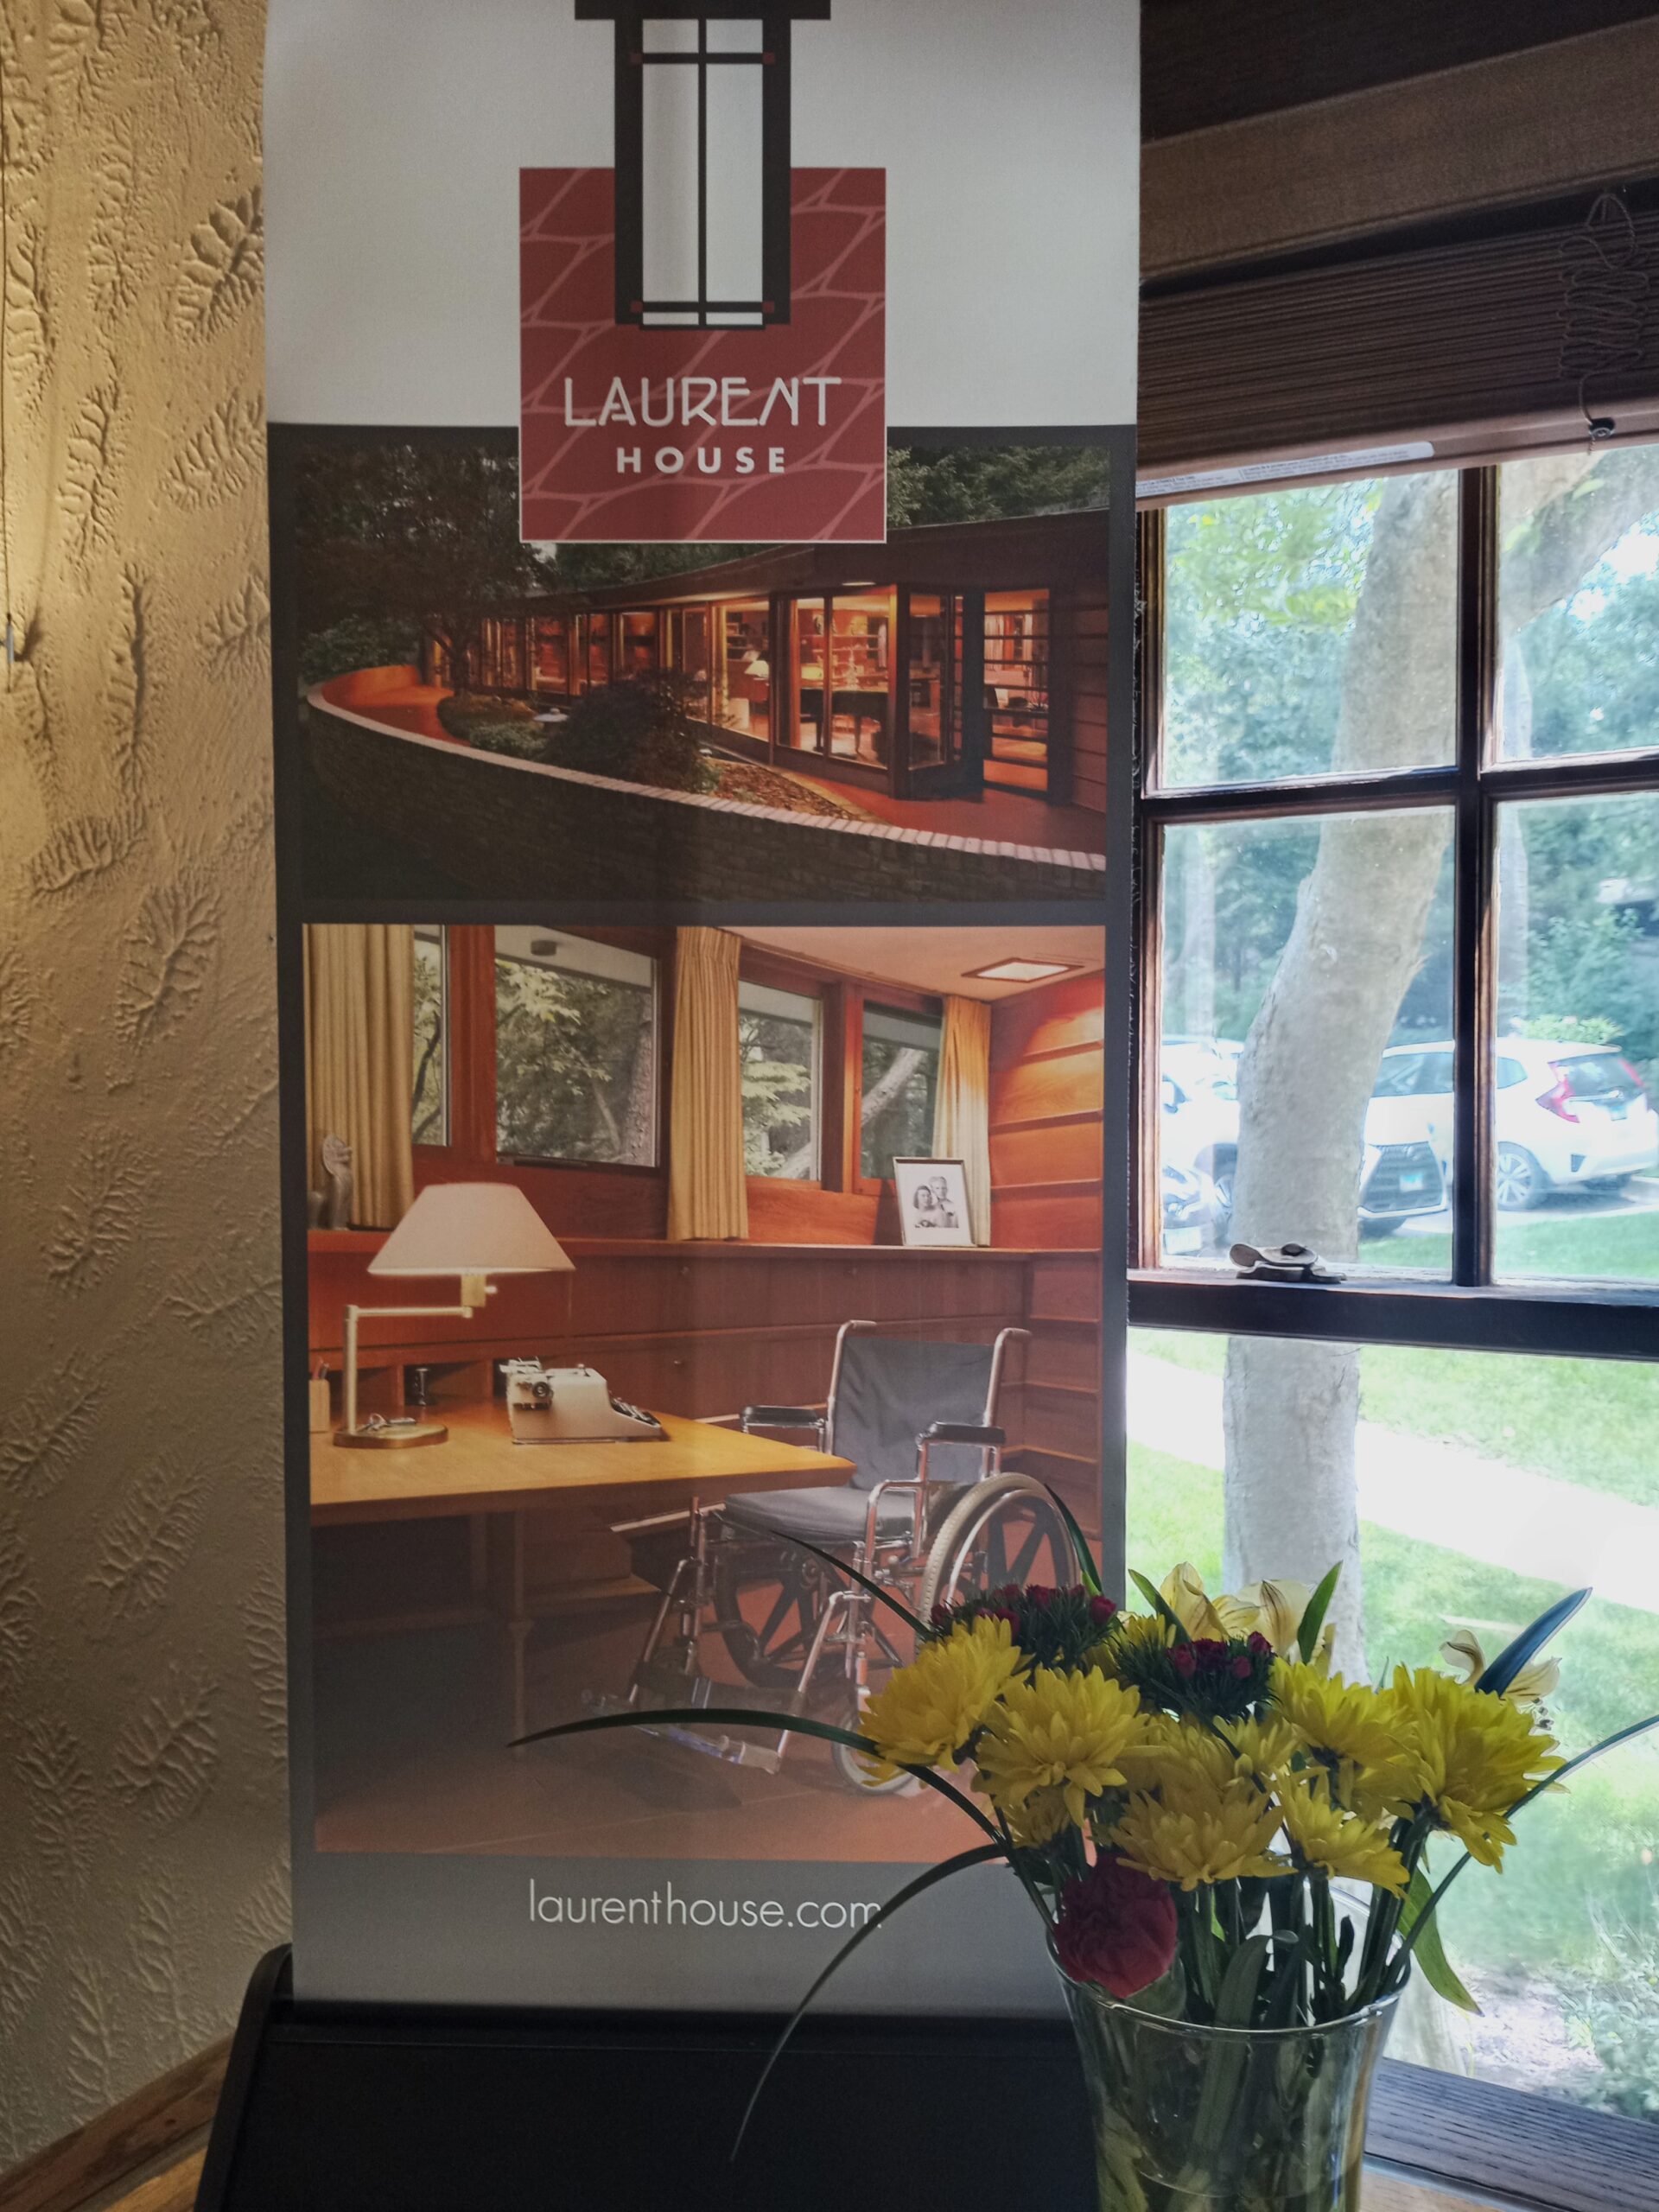
It was another oppressively hot and humid day, one of too many we have had this summer. We wanted to go somewhere far enough to feel away (and see how the car performed), but close enough to make it home before dark. Our destination also needed to be mostly indoors, because, as noted, it was hot and humid. Rockford came to mind. It’s about 70 miles away and has a few museums we have not been to. There were also some interesting dining and brewery possibilities ( see the end of this story). After scrolling through a number of museums, I came to the Laurent House. Not a museum in the literal sense, but a house designed by Frank LLoyd Wright. There were tickets available for a tour that afternoon, so off we went.
We have visited a number of FLW buildings, but this one might be our new favorite. It is a Usonian design completed in 1952. It is unique for several reasons; most importantly, it is the only home to be designed by Frank Lloyd Wright as wheelchair accessible. I also think it is unique in the fact that FLW allowed clients (Kenneth and Phyllis Laurent) to dictate their needs and wants (that was never Mr. Wright’s strong suit). The result is as FLW called it a “Little Gem.”
The home originally only 1400 square feet feels much larger. Several additions were made at the request of the Laurent Family and approved and designed by FLW. These were to create a bedroom for their adopted daughter at one end of the original house.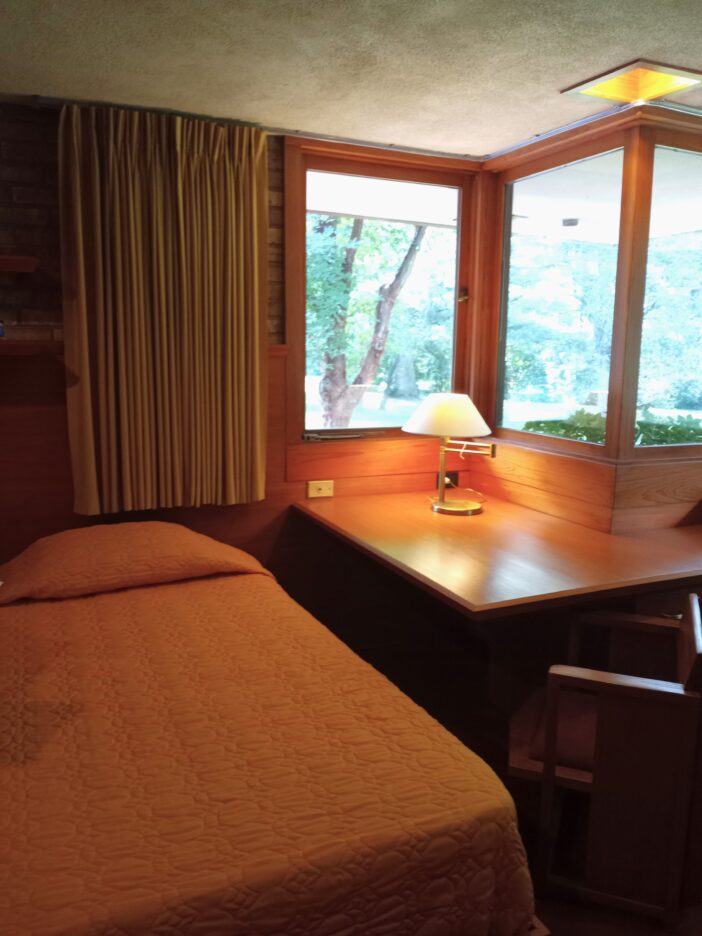 An expanded dining space for entertaining was also added. The Laurent’s welcomed visitors from all over the world to see what FLW had created for them (many invited by the architect himself).
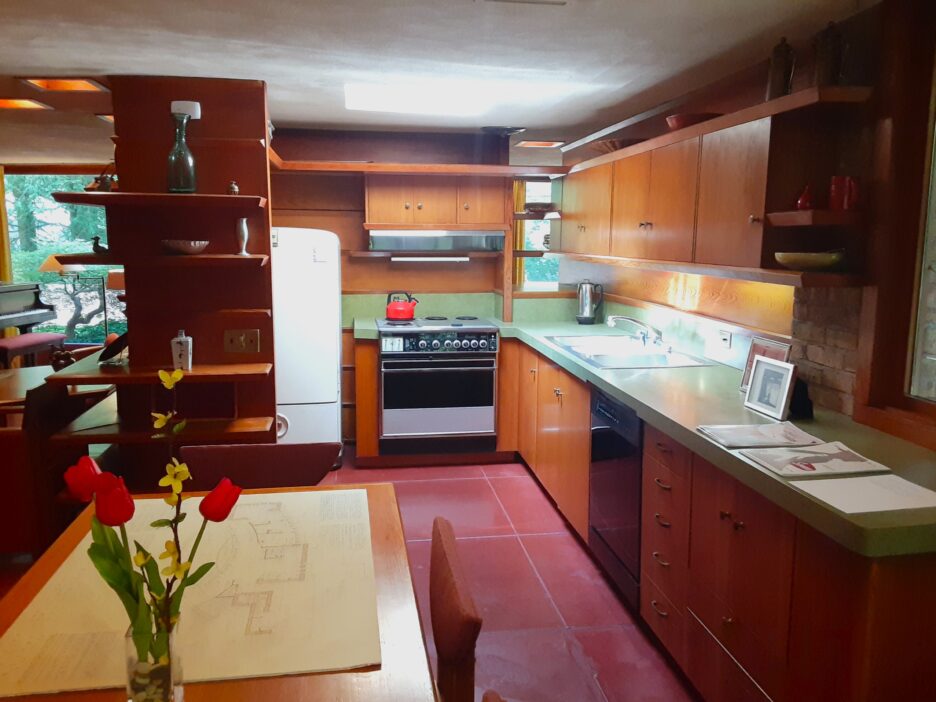 Kenneth Laurent wanted a house that focused on his capabilities not his disability. He also wanted to be the “tallest man in the room”. One of the things that I love about this house is that all of the furniture is the original built in and most of the movable pieces are original as well. Very few FLW homes I have seen, can claim this.
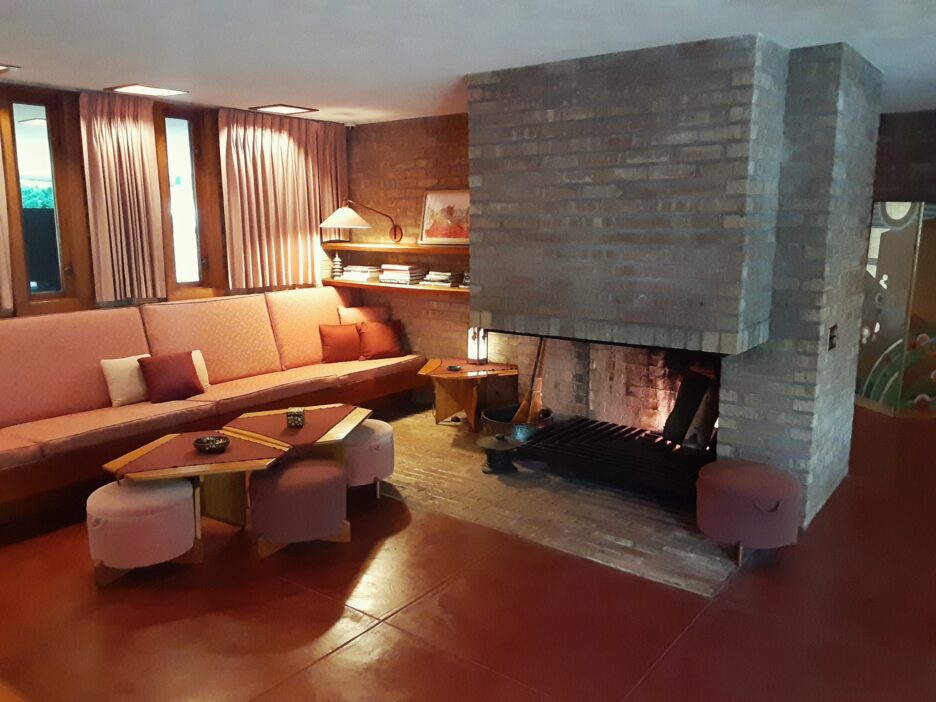
Heights of closets, tables, and chairs were adjusted to accommodate a wheel chair. Even some of the windows were placed high so that Kenneth in his wheelchair would see the trees and plants instead of the traffic. It seems that every possible limitation was addressed and adjusted (40 years before ADA). Even the grid design of the floor(a feature of all Usonian designs) was adjusted to not catch the wheels of the chair.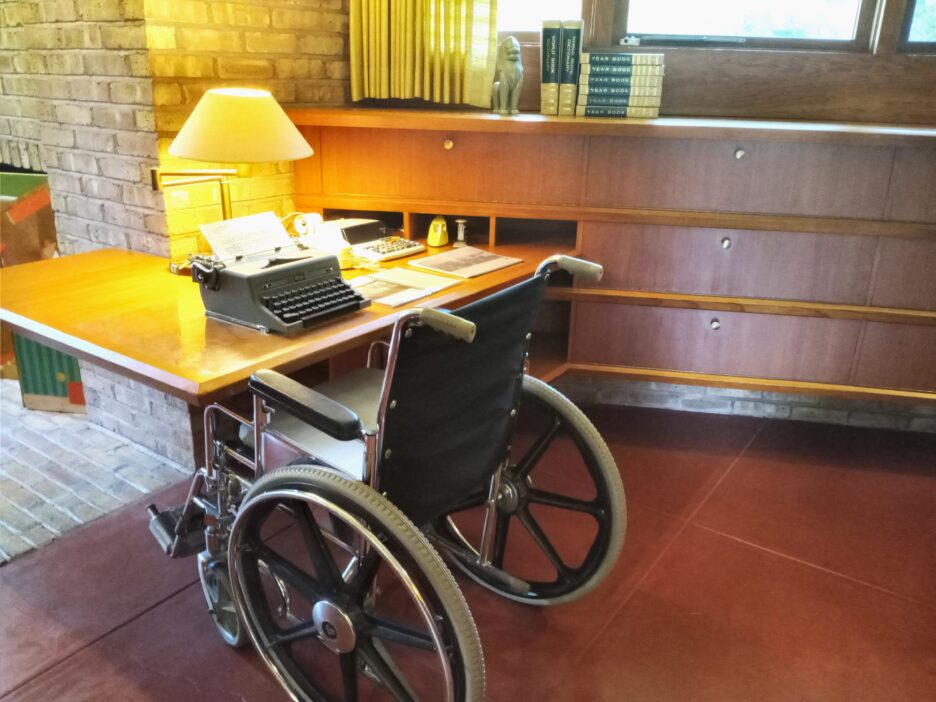
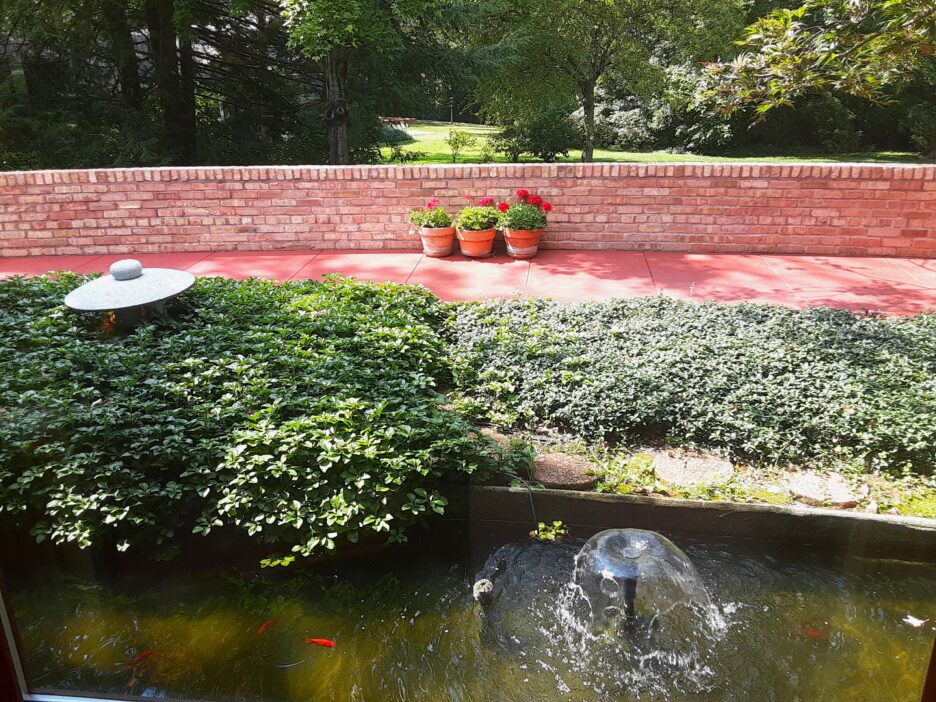
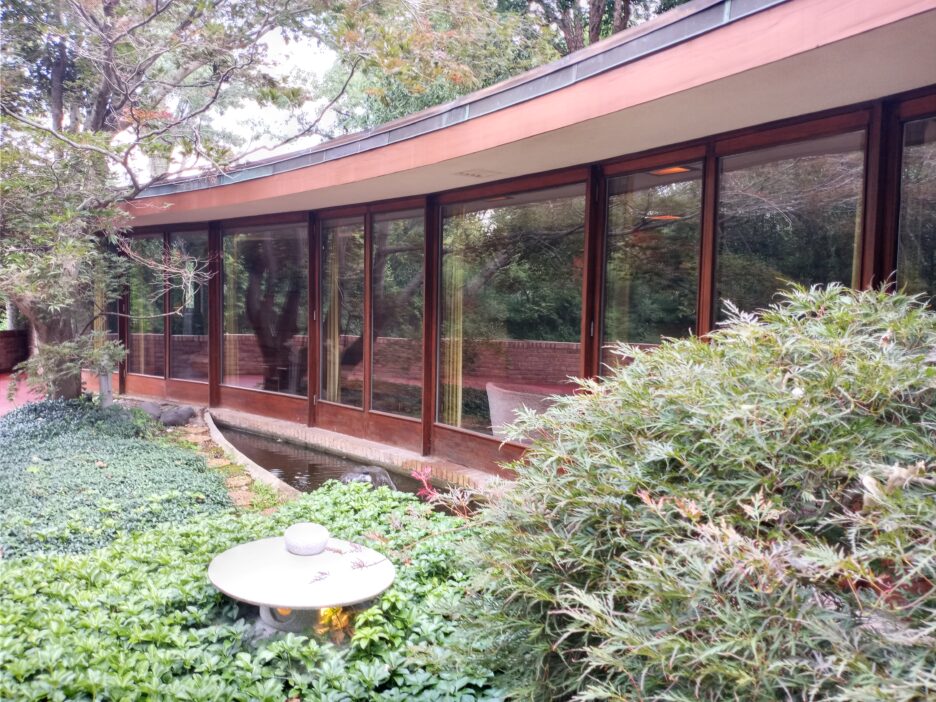
The living space featured a wall of floor to ceiling windows that let in the light and showcased the beautiful simplicity of a Japanese inspired garden and pond surrounded by the third element, stone.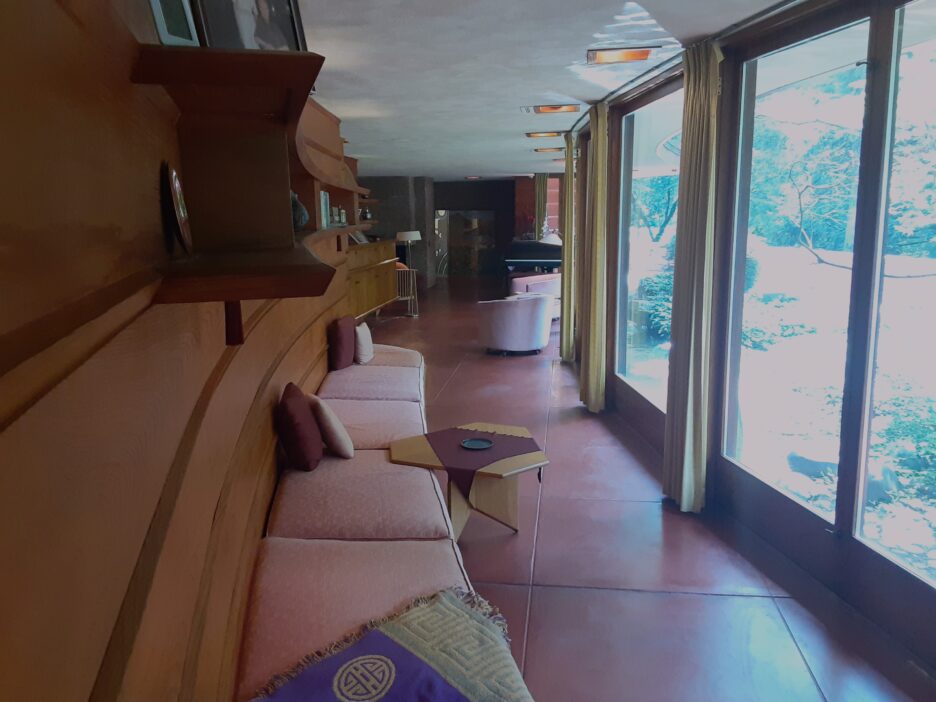
 The banquette offered a tranquil place to reflect on the beauty of nature and was used by the Laurent’s daily. Kenneth Laurent lived in the house until he died at the age of 91. Perhaps the tranquility and accessibility of this “Little Gem” prolonged his life.
If you plan on visiting Rockford (and it is not 95 degrees and humid) here are some ideas for points of interest, food, and drink.
Find places that interest you in Rockford: Rockford Visitor Information:
Unique Beers and friendly people: Urban Forest Brewery
Locally sourced food in an upscale environment: Green Fire
Share this:

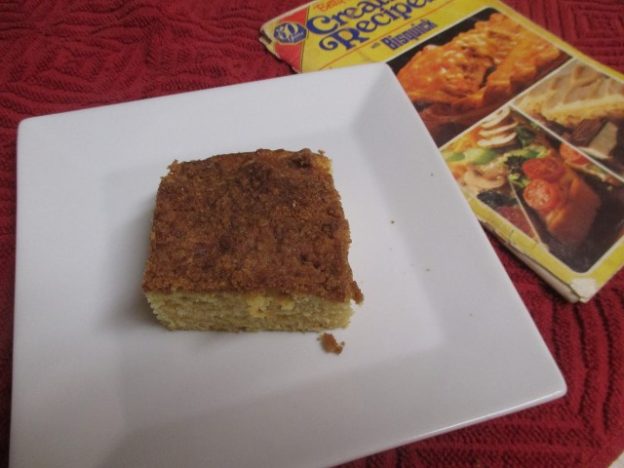

 Paging through the book I found many tasty sounding recipes. Based on ingredients I had available, the Streusel Pudding Coffee Cake looked like the best choice,though the Chocolate Swirl Coffeecake was a strong runner up. That lost out for lack of chocolate chips
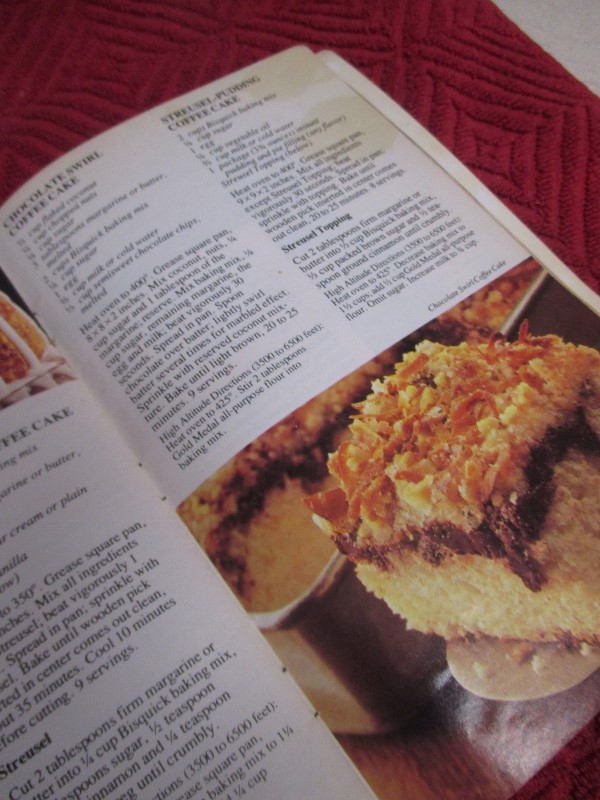 As with all Bisquick recipes it was quick and easy to make. My pudding of choice was Lemon mainly because it was the only one I had. It did add a little zest to the cake which came out of the oven with the typical bisquick color and crumb.
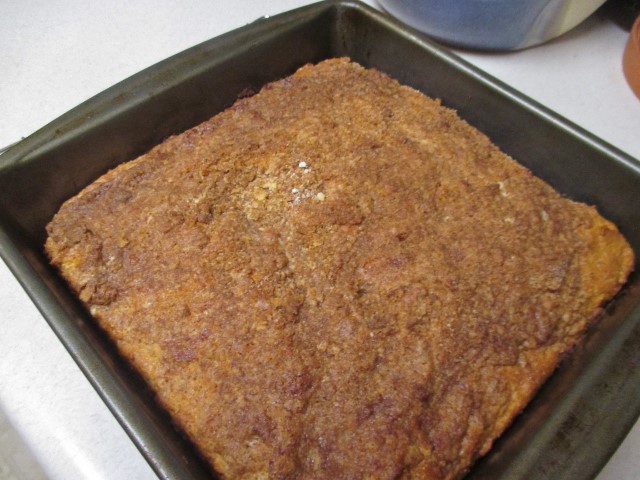 I don’t want to step on anybody’s copyright toes so I am sharing a link to the recipe, sort of. When I searched for the recipe, it didn’t come up. Not anywhere. Not even on the Betty Crocker site. The link below is for Bisquick Coffeecakes and there are lots of them. Betty has been busy. Look through the choices, I know you will find something that sounds quick, easy, and tasty.

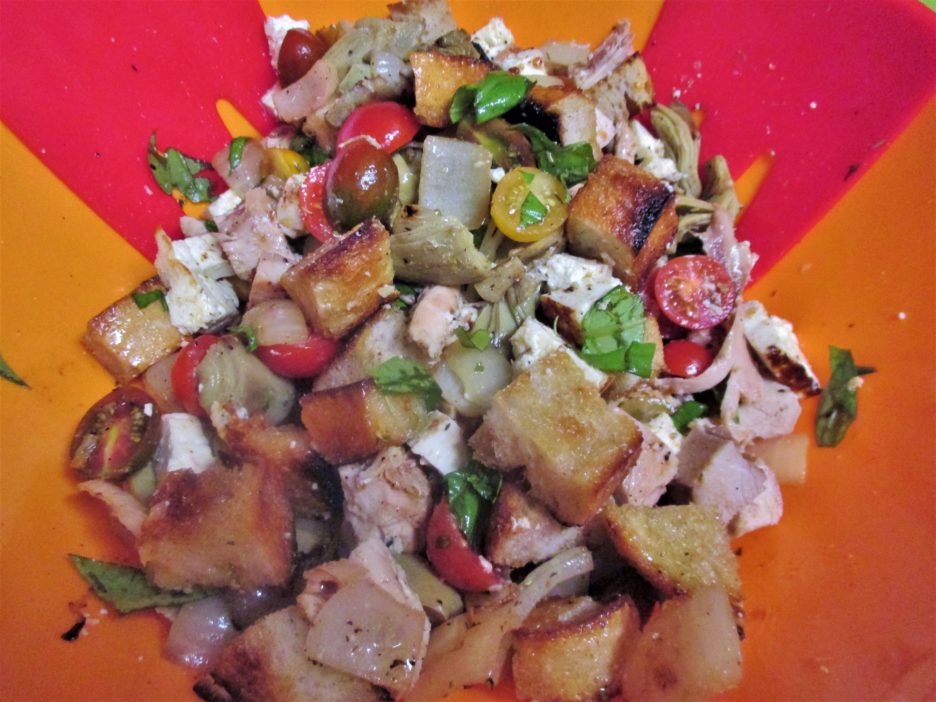
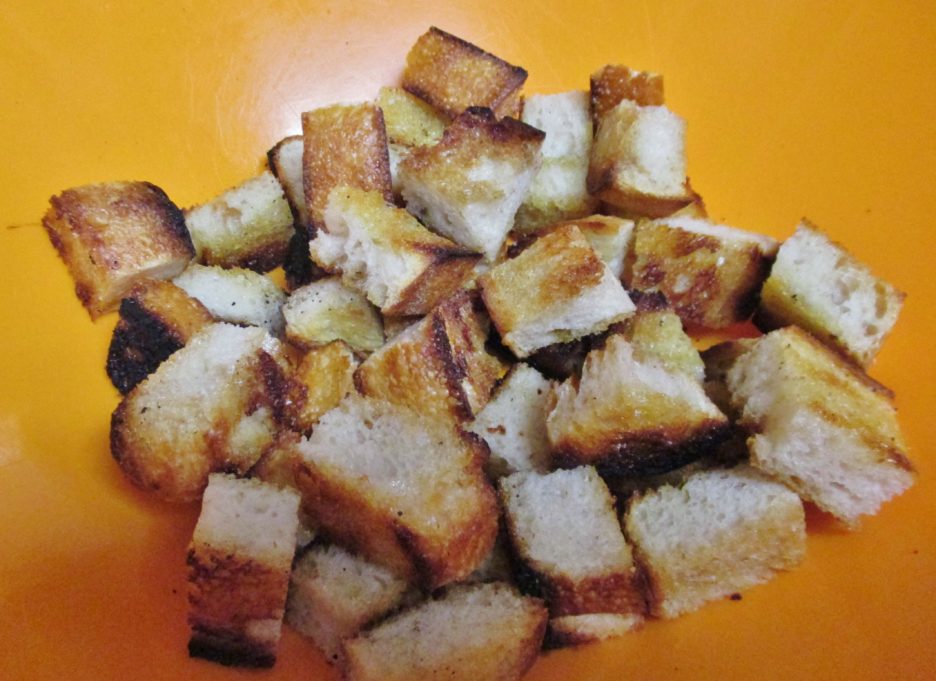 There are lots of other good choices including Ciabatta and French. I’ve made several wonderful salads with Multigrain Baguettes as well. Use what you love or have on hand.
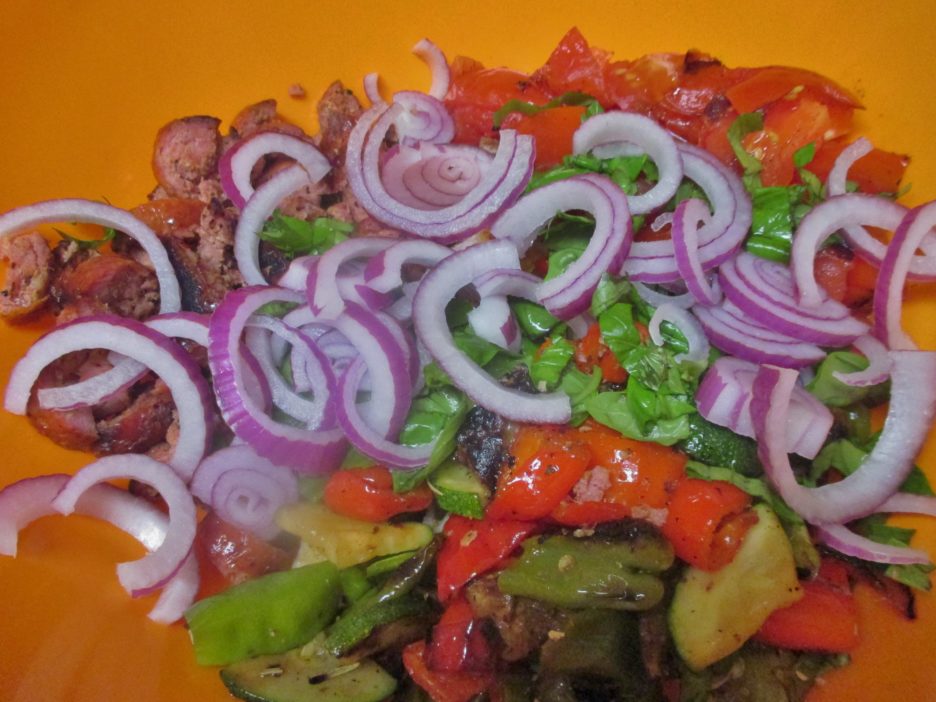
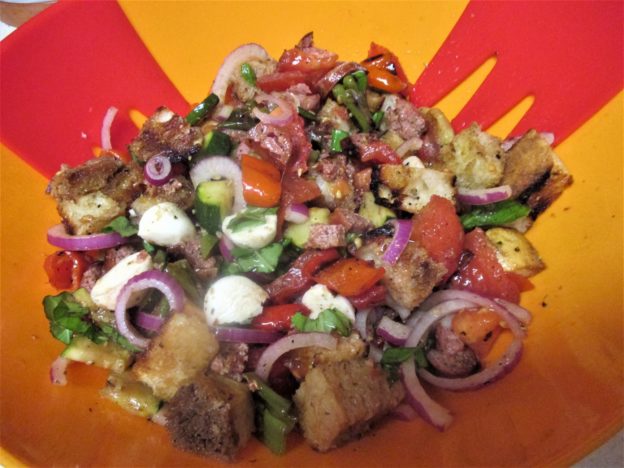
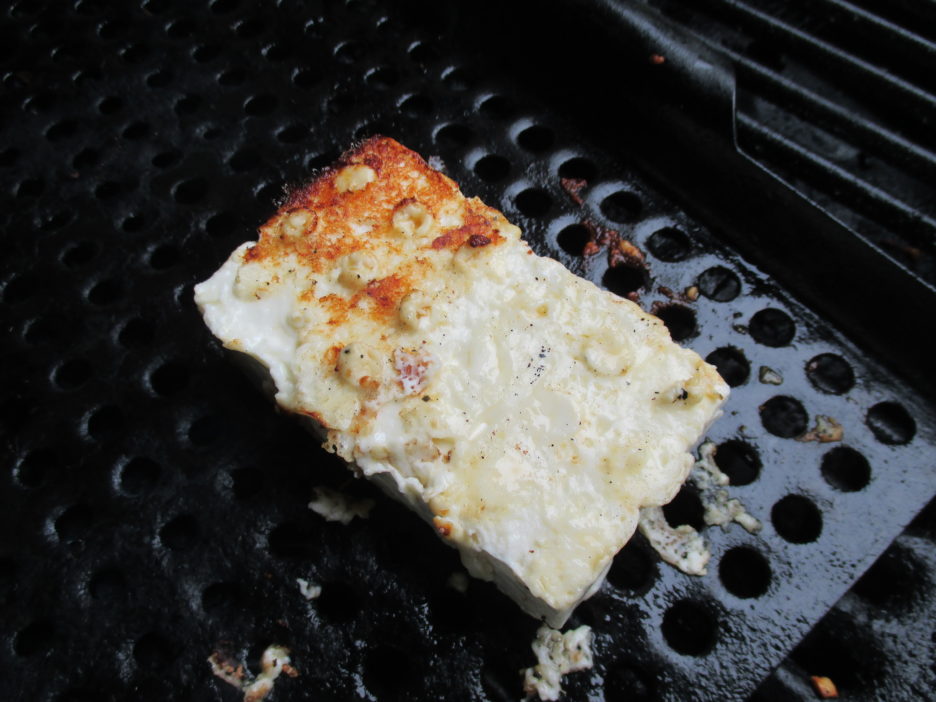 It is firm and dense enough to hold up to the grill’s heat though it does need to be watched carefully. The time and effort is worth it.
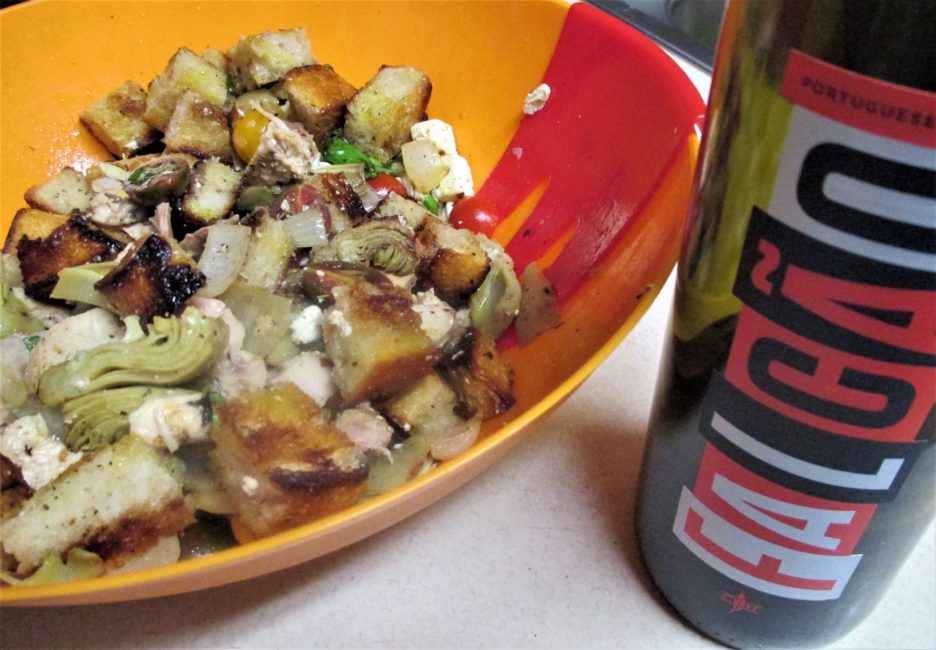 Here is a Basic Recipe for a Summer Panzanella Salad…it is very grill forward and leaves room for all kinds of interpretation.
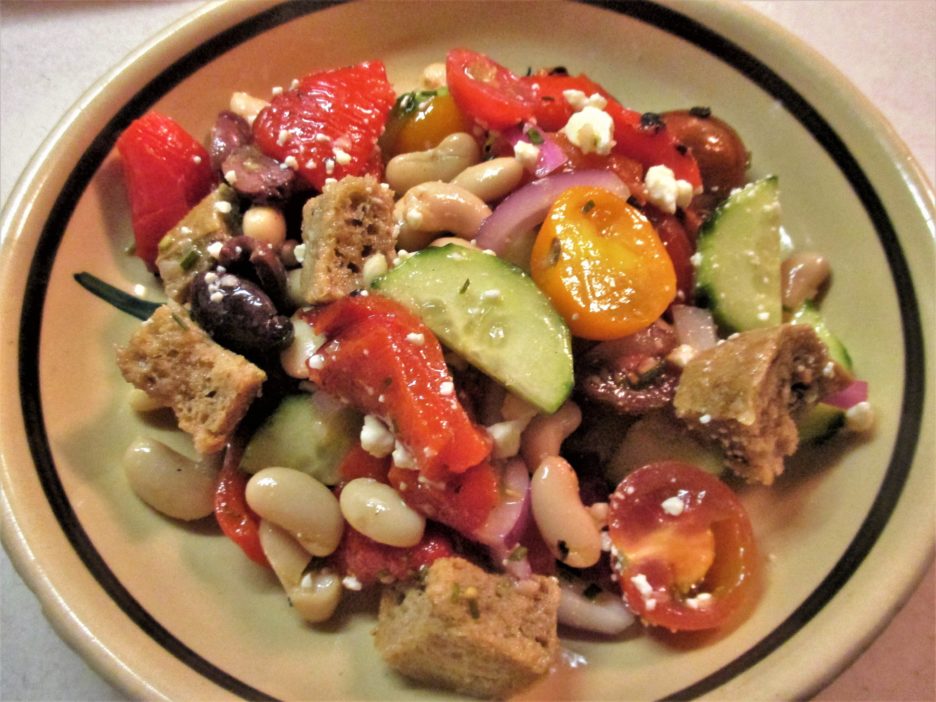
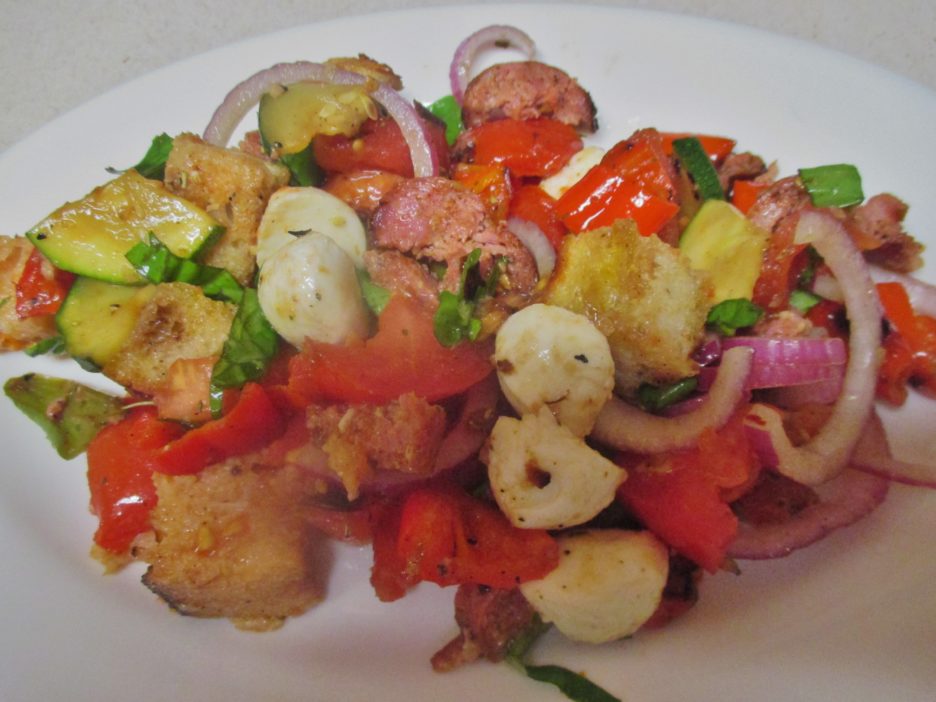


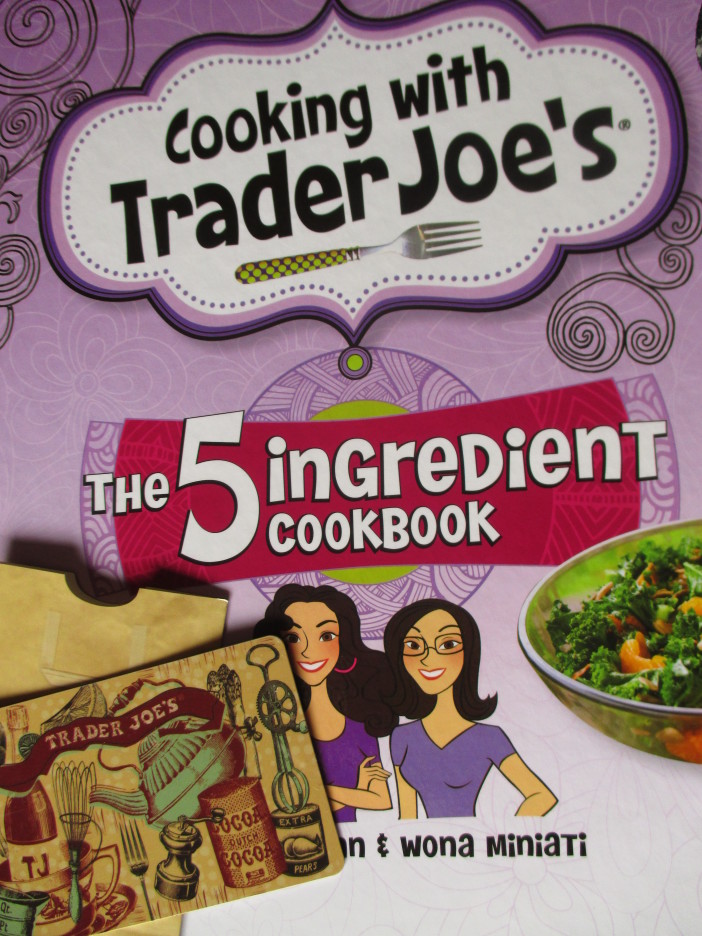 What was Mama D to do? As this site illustrates, I generally cook with more than 5 ingredients at a time. Still the book was fascinating. Lots of the recipes sounded delicious, and the limited number of ingredients made it all seem do-able, so armed with my gift card and some recipe ideas from the book, I paid a visit to my local Trader Joe’s. I came home with two bags of goodies. A few of my favorites like White Cheddar Popcorn and Frozen Artichoke Hearts had to come home with me (just because), but I also picked up some recipe specific items. Case in point; Frozen Country Potato Blend and Frozen Pie Crust both of which were new to my kitchen. These were the cornerstone of what sounded to be a great Meatless Monday supper, Country Potato Quiche
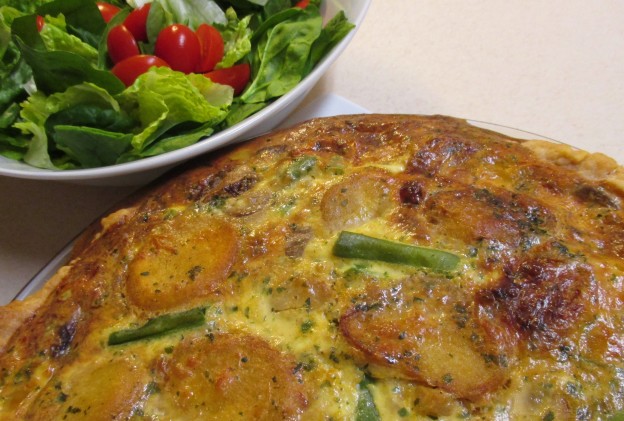
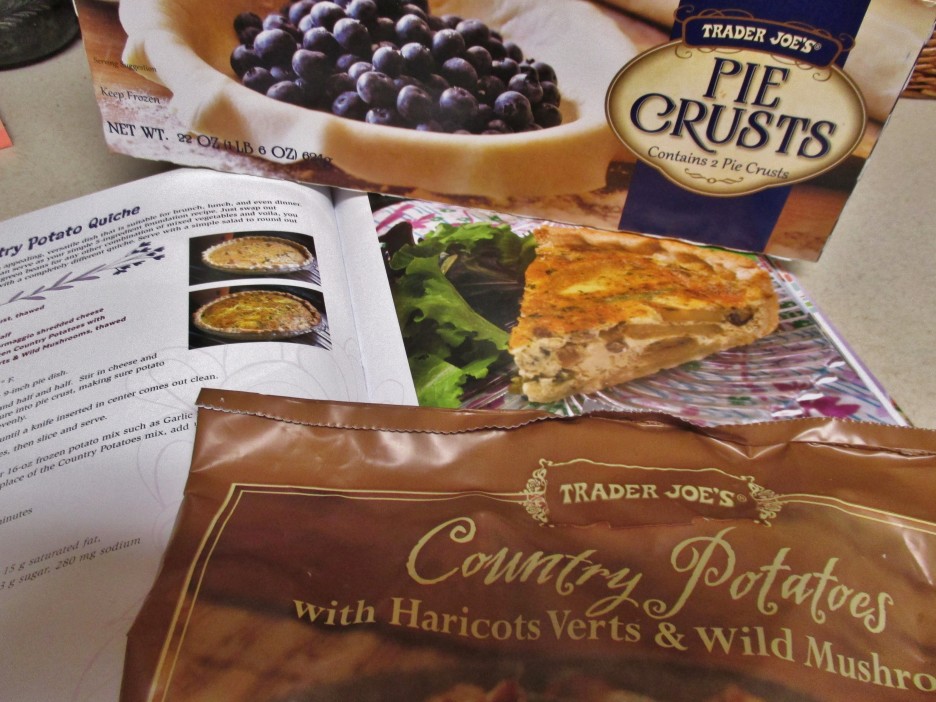 Besides these two ingredients the remaining cast was filled out with eggs, grated Italian Cheese blend, and some fat-free half and half (the last 2 being my personal substitutions). This was my first foray into frozen pie crust and I can’t say that I am a fan. The crust thawed into pieces, but once I gathered the pieces together and re-rolled the crust, I was in business. The filling was easy enough to make. All I had to do was mix the ingredients together in a bowl. The potato medley was quite unique as are many of the items at T.J.’s. Fried potatoes, green beans, and mushrooms made an intriguing and tasty base.
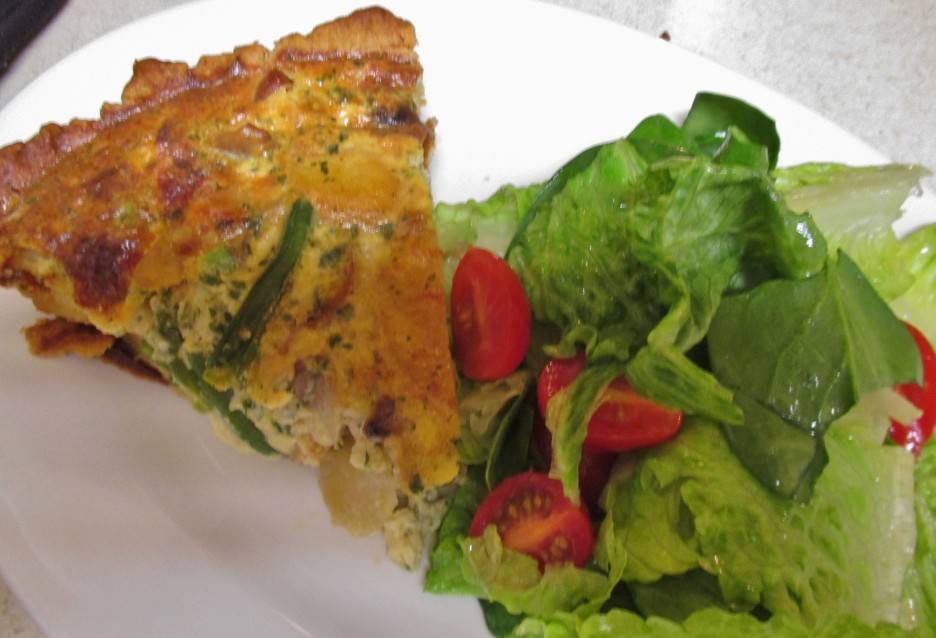
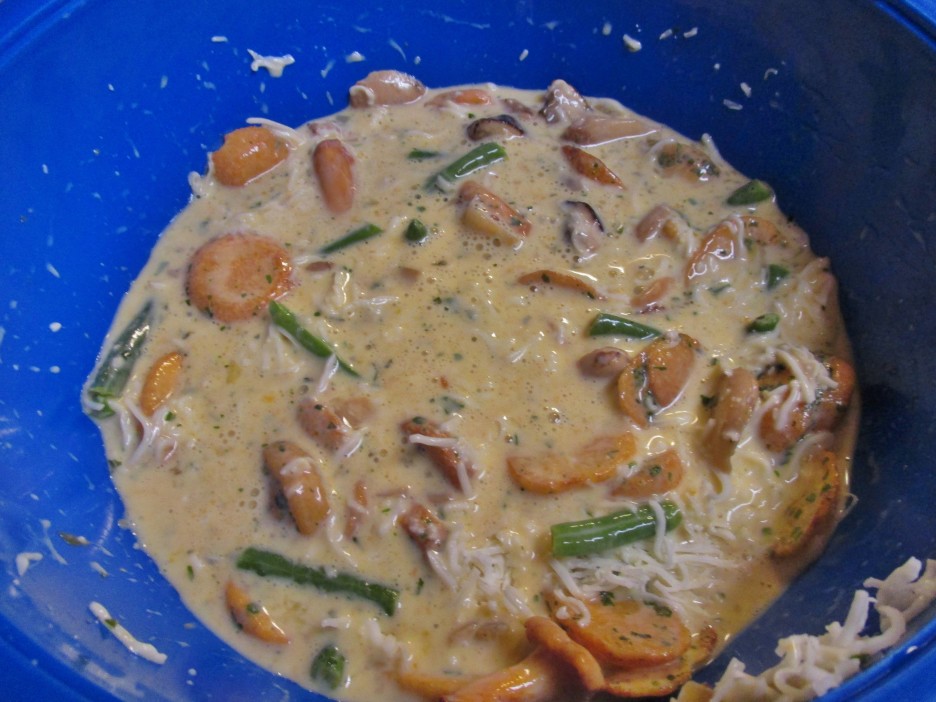 I decided to pre-bake the crust for 10 minutes to guard against a soggy bottom. Then it was a matter of pouring the generous filling into the crust (thankfully the pan was on a rimmed baking sheet which averted sure disaster). Once out of the oven it rested on its laurels for 15 minutes before making its way to the table, our plates, and ultimately our stomachs. A simple salad was the only other thing that was required (oh yeah, and a nice Pinot Noir)