Reflections on My Trip Around the Sun and Some Recipe Links

Years ago, when I was a Montessori teacher, we celebrated each child’s birthday with a symbolic trip around the sun, making one circle around a candle for each year of the child’s age. They were preschoolers so it only took a few minutes to complete every trip they’d made so far. There were a handful of accomplishments for each year; learning to walk, starting school, you get the picture.

Ceremonies aside, every year we each complete a trip around the sun. It begins and ends on our birthday. Everything we experienced in those 365(or so) days makes up what we have to celebrate. As I’ve done every year, I’m taking time to look back and reflect on how my most recent trip was. I must say that this year was really something. It was filled with more change 026and discovery than any of my other trips. That says a lot since I’ve had far more trips around the sun than I care to remember.

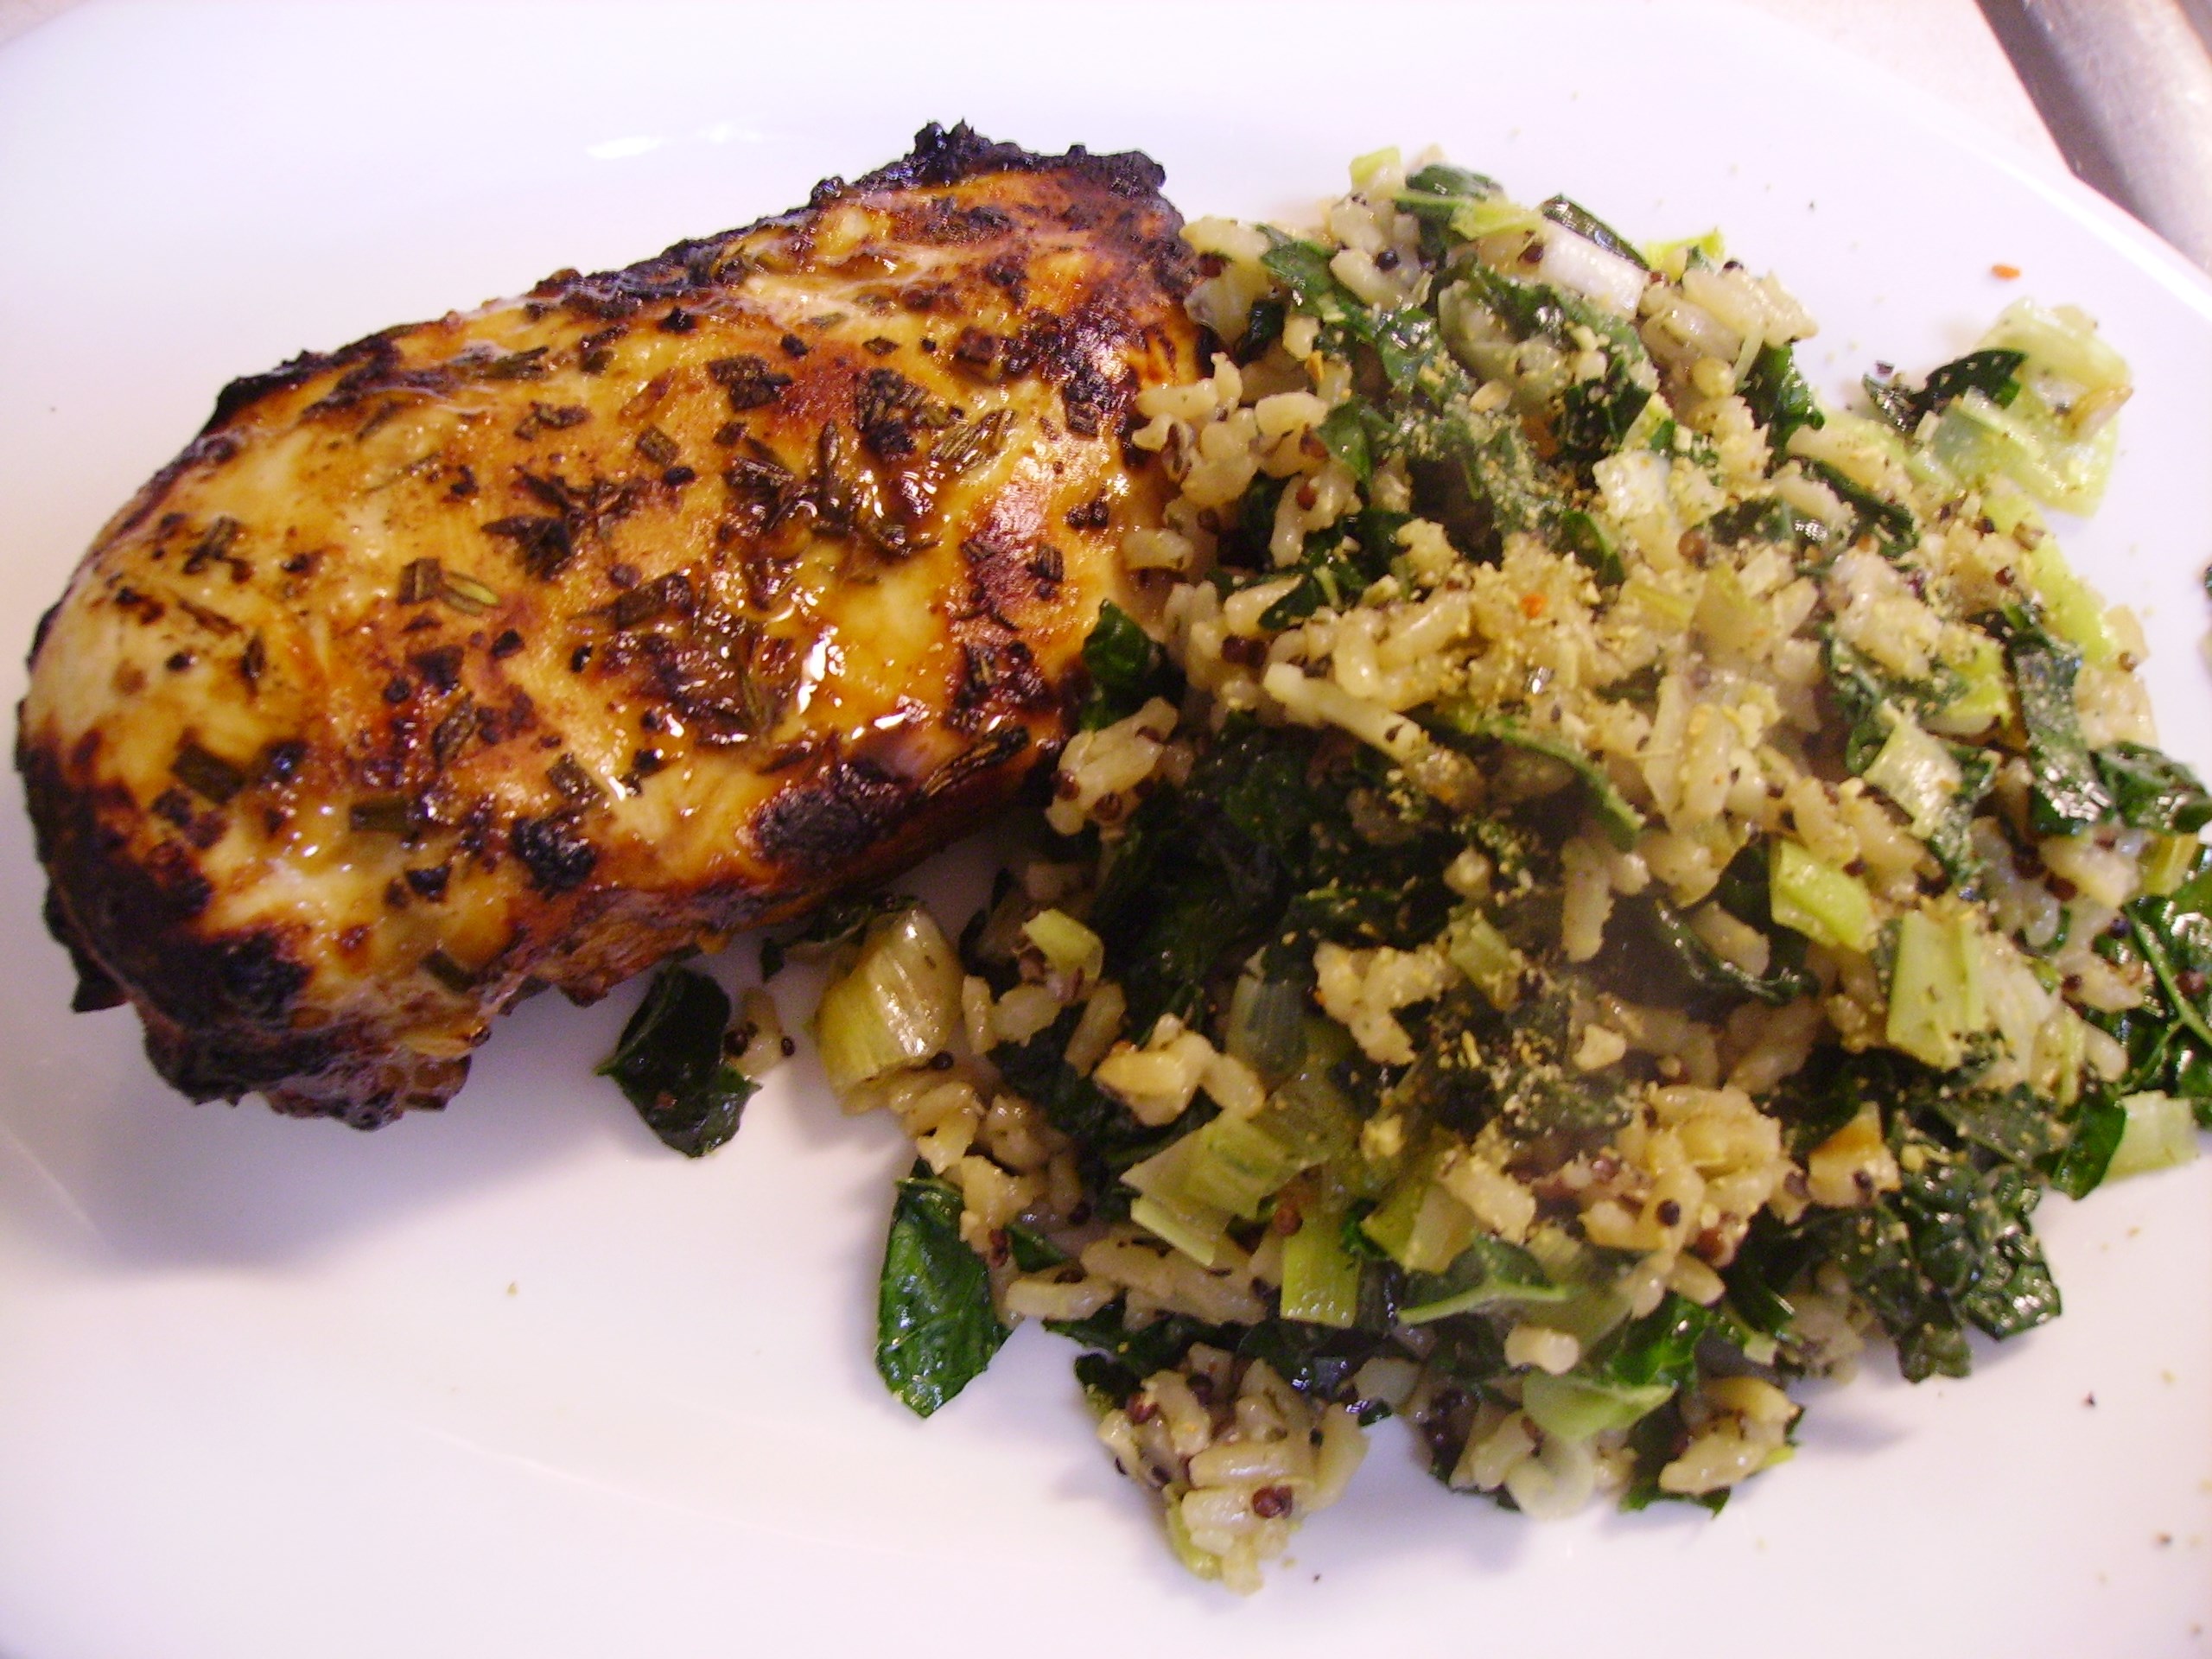
A new job, a newly retired husband, a new home, and a new grandson were the big stories last year. It was a year that saw me taking charge of my health and thus embracing healthier cooking adventures. I’ve included some of my favorite adventures here. Click on the red links to visit/ re-visit them.

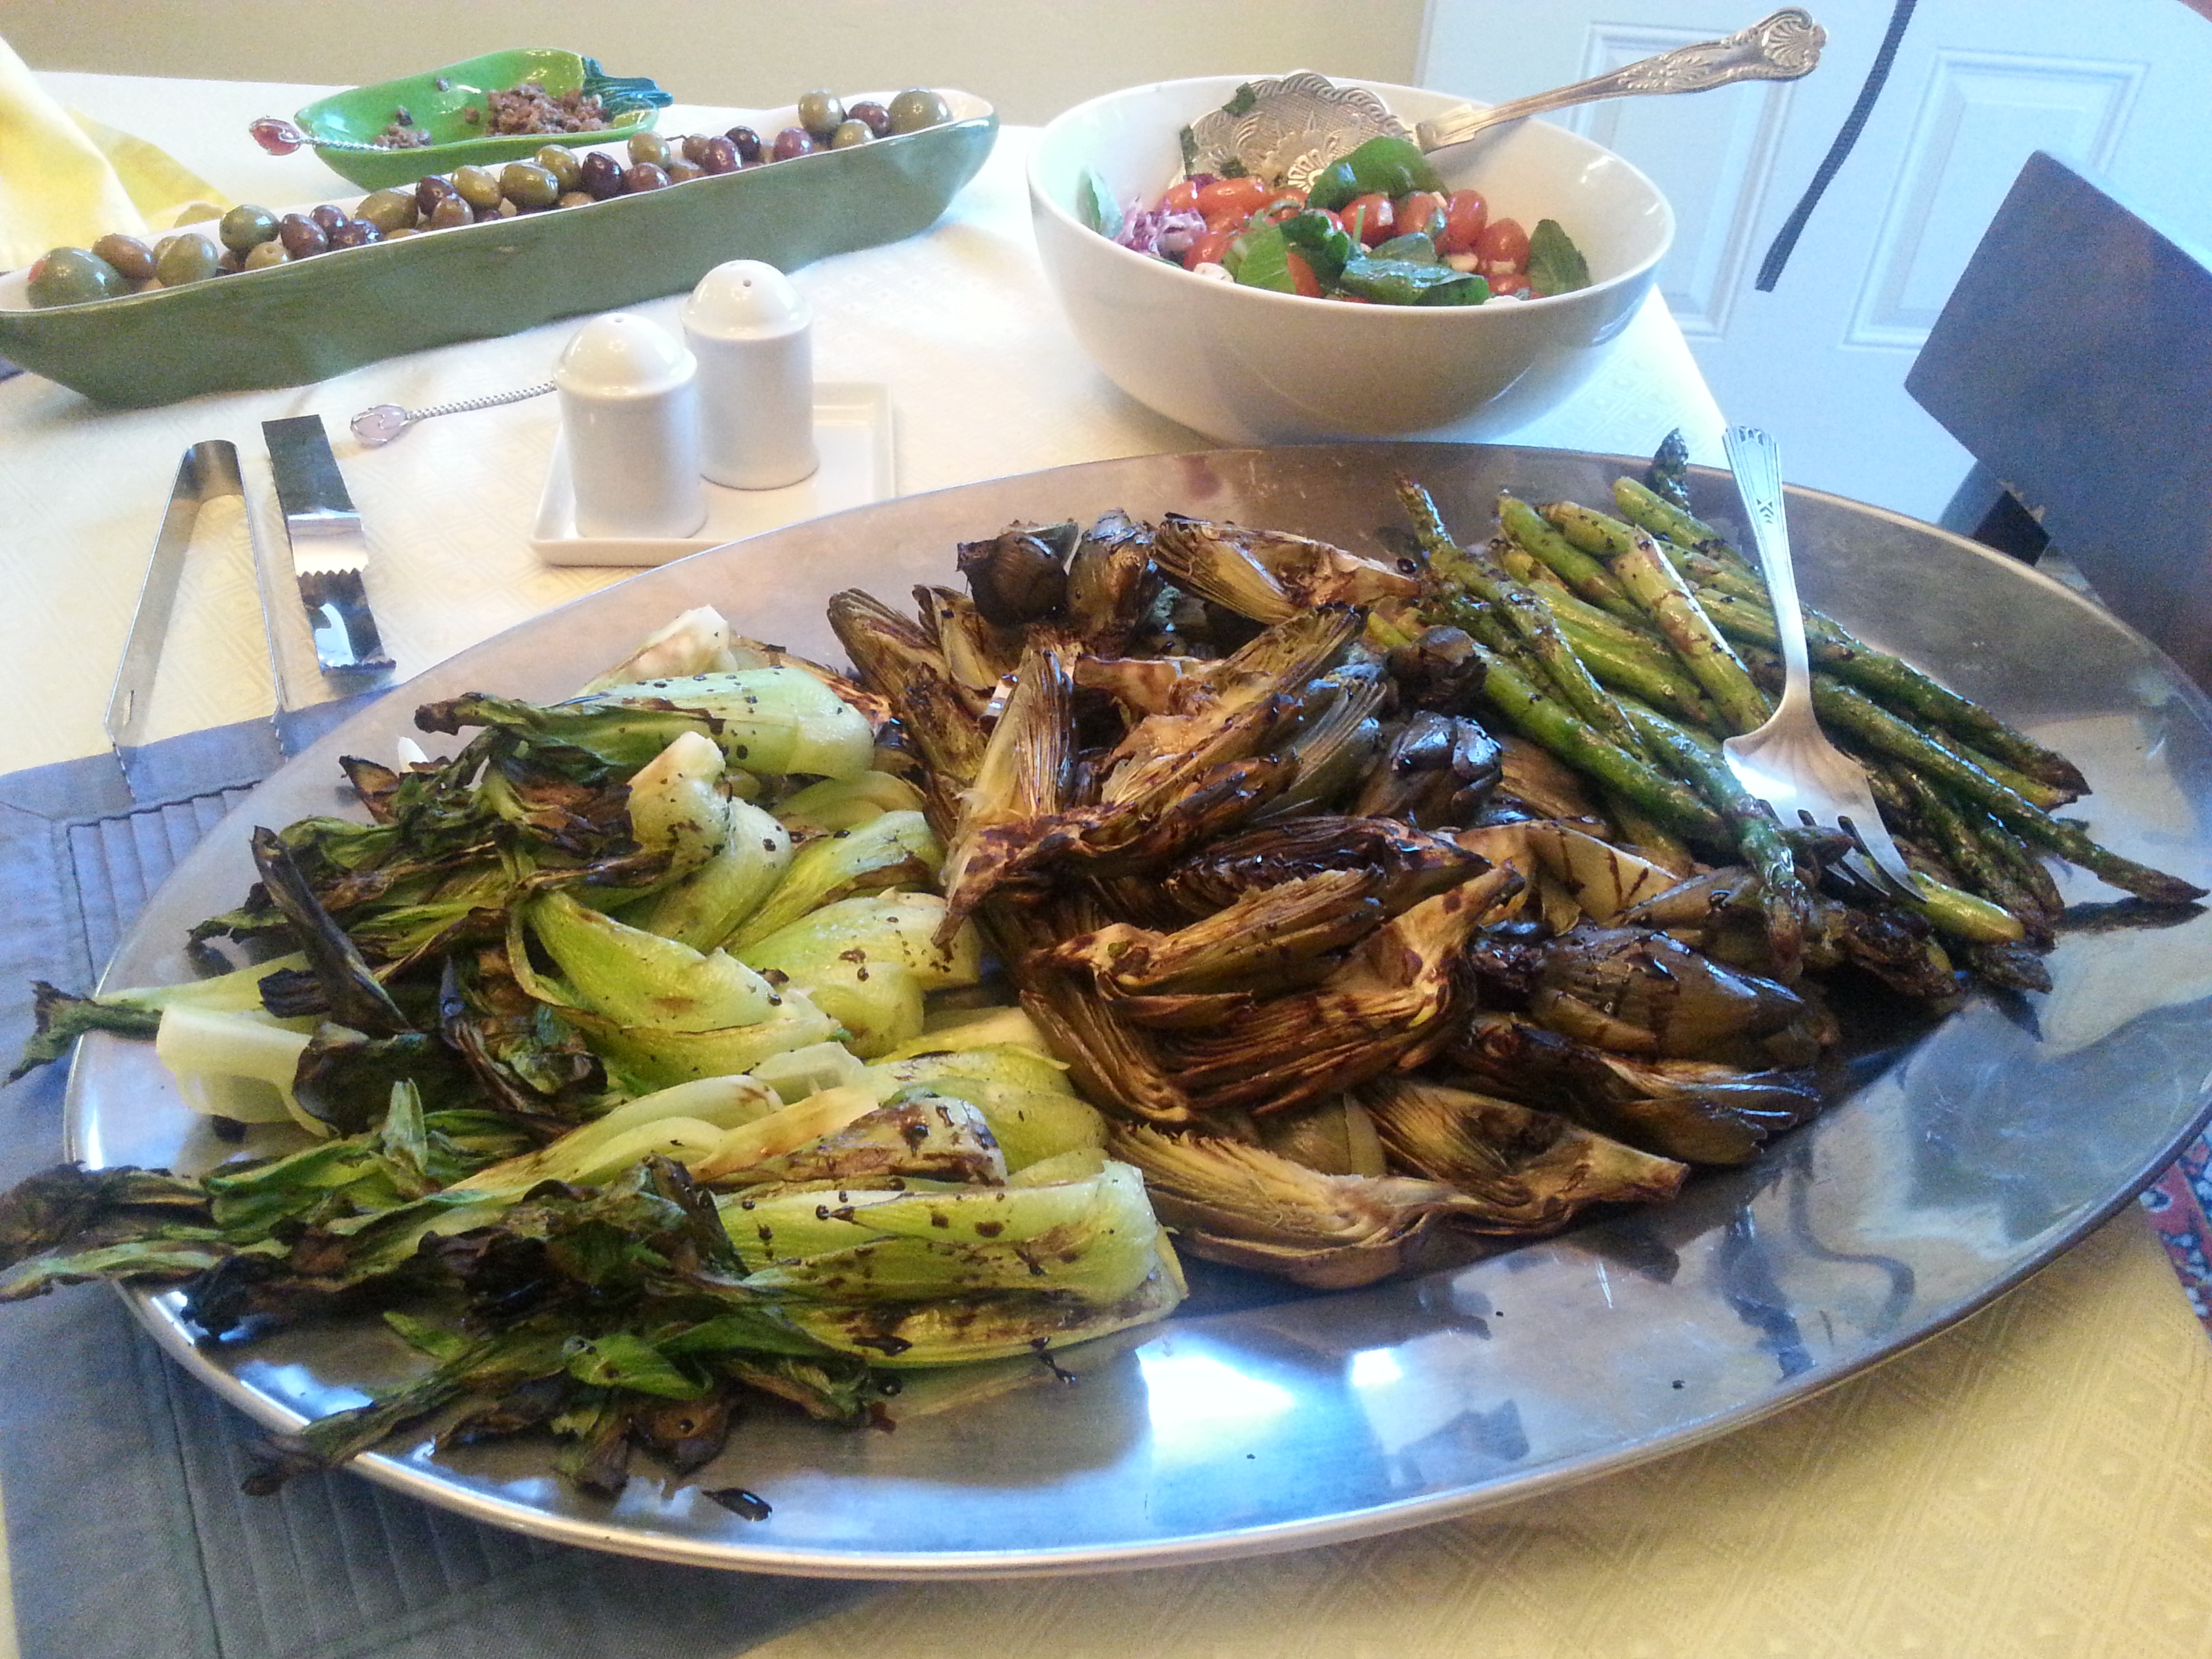
A fabulous trip to the Bay Area resulted in some great pictures and a wonderful grilled vegetable adventure.San Francisco 2014 140

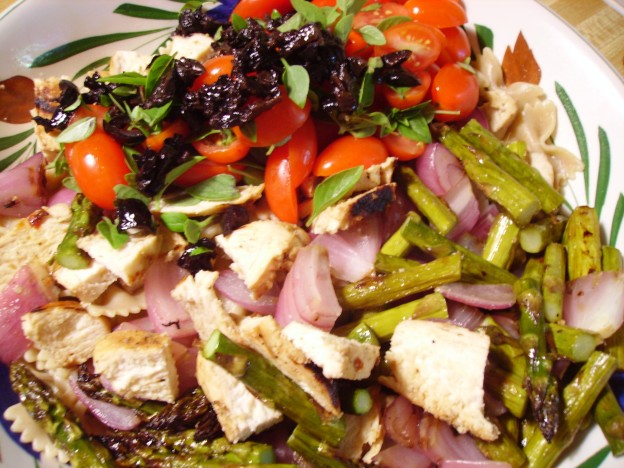
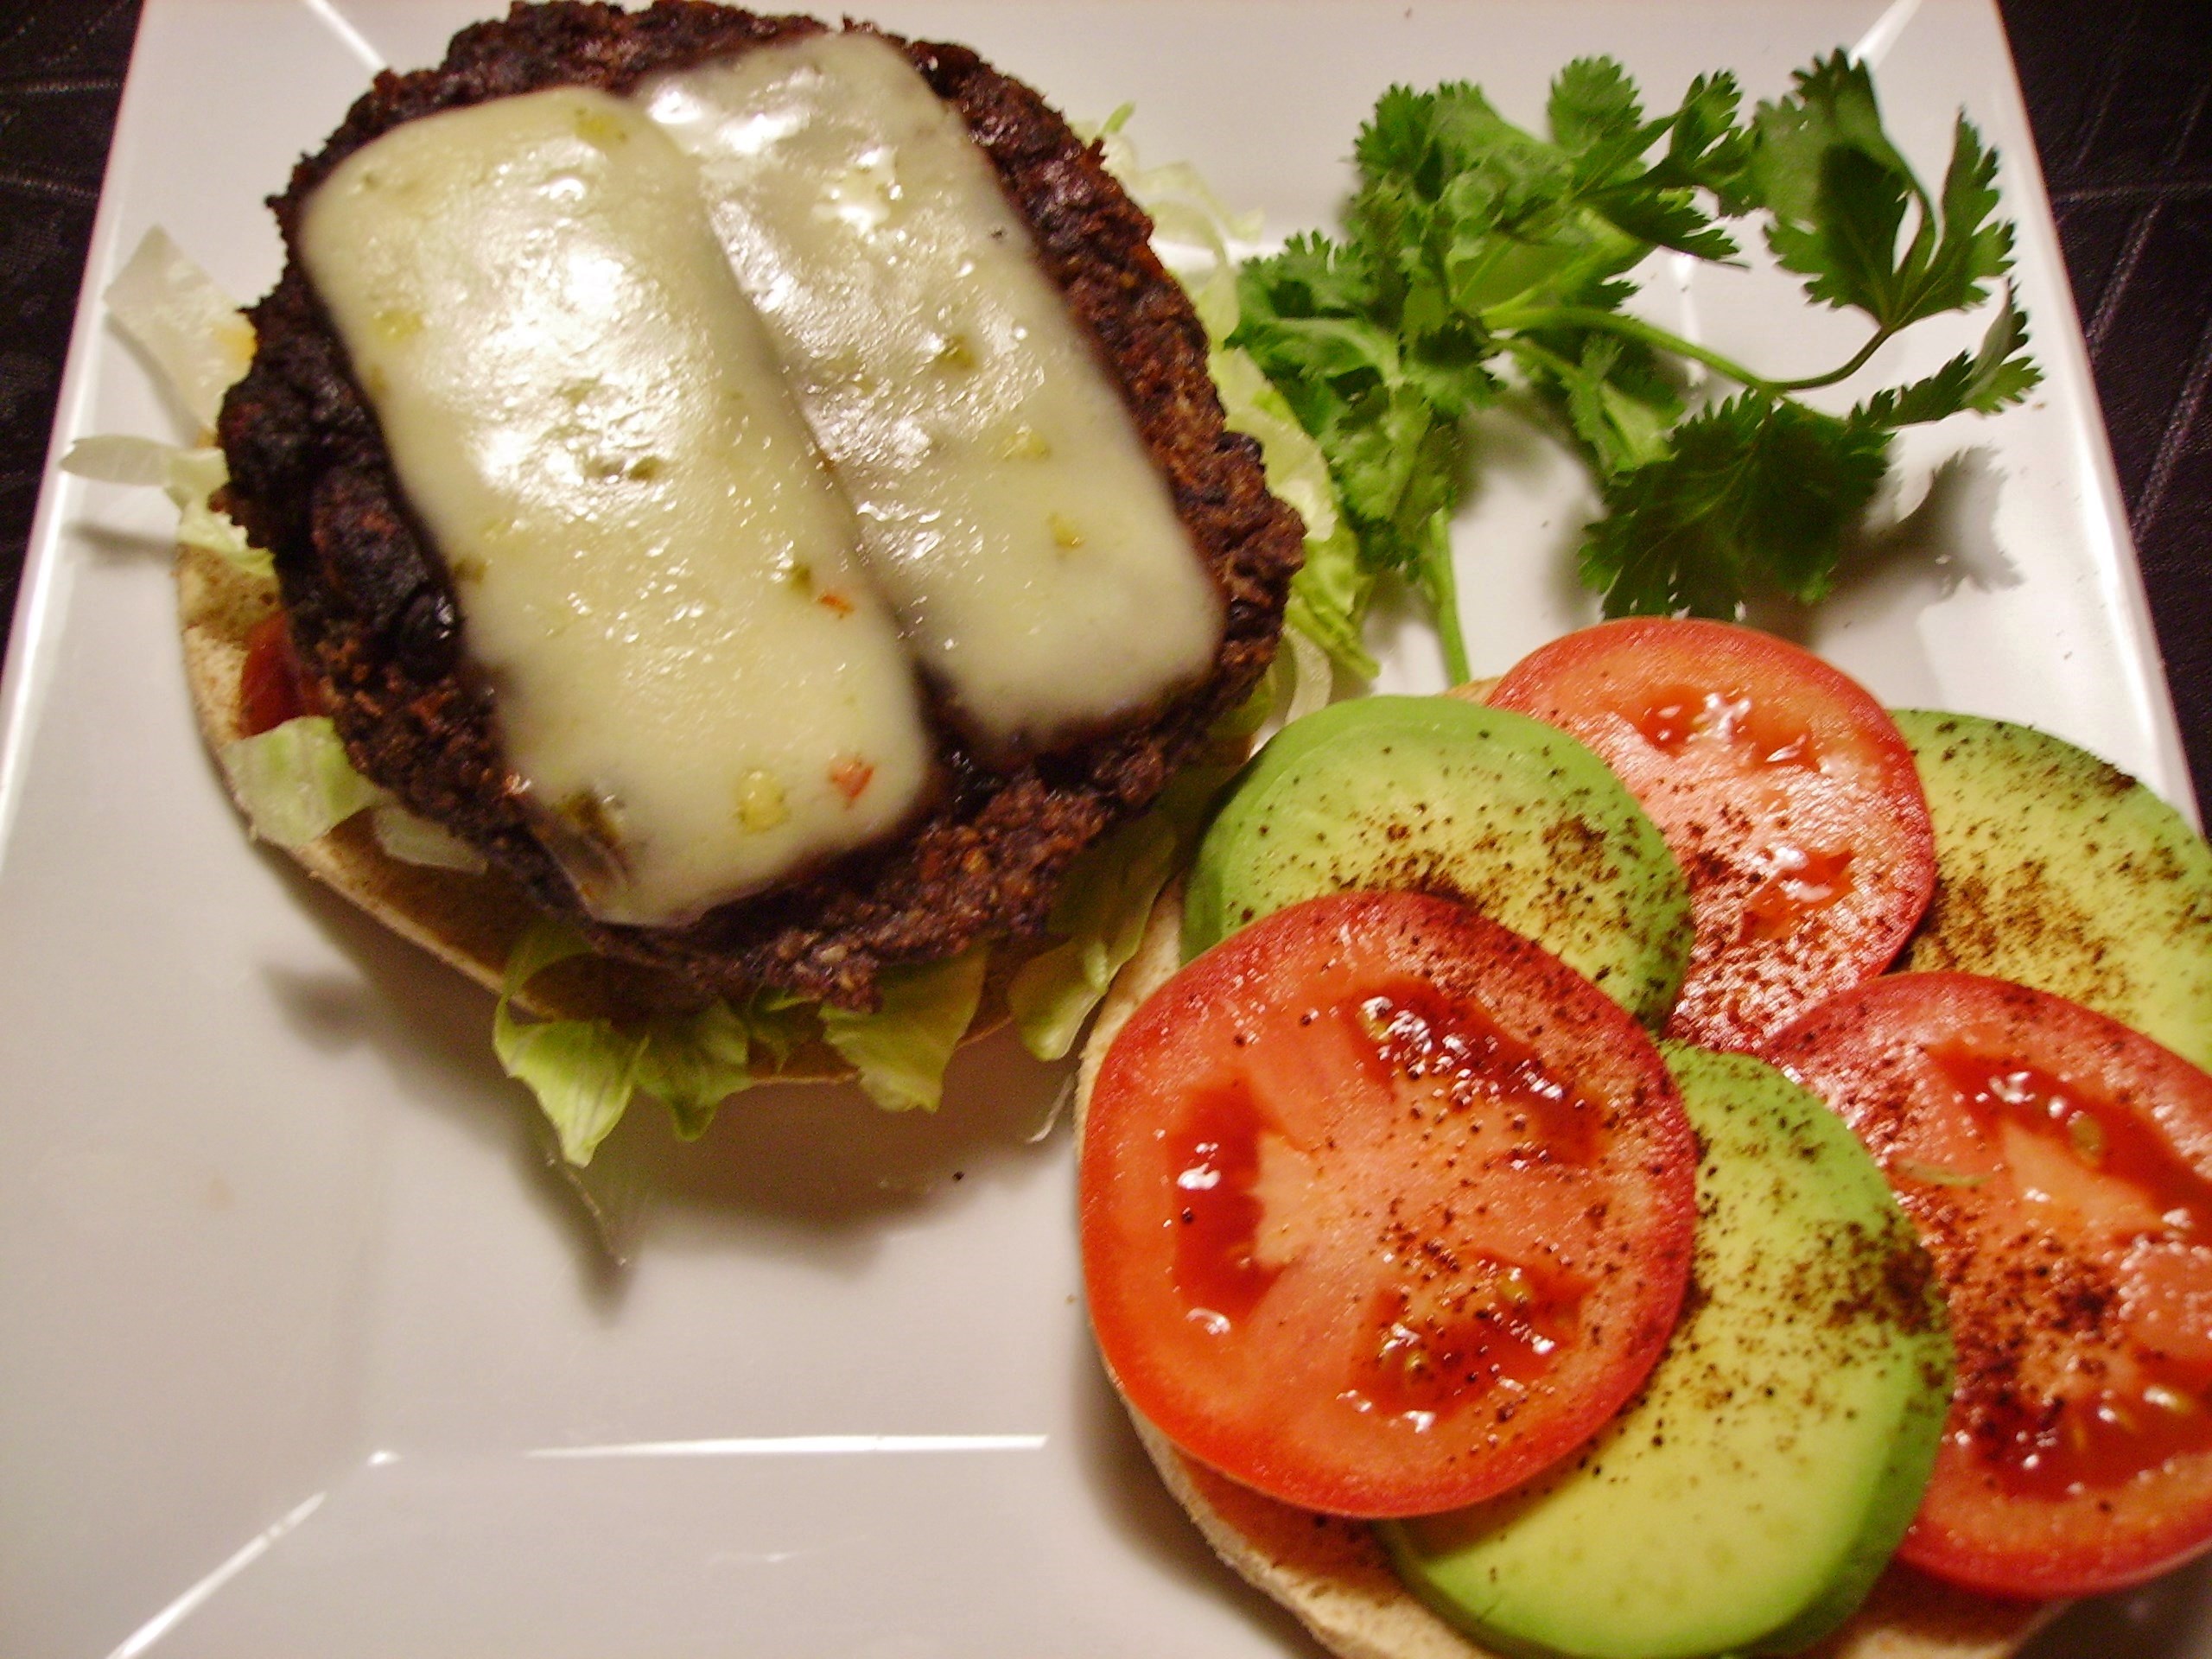
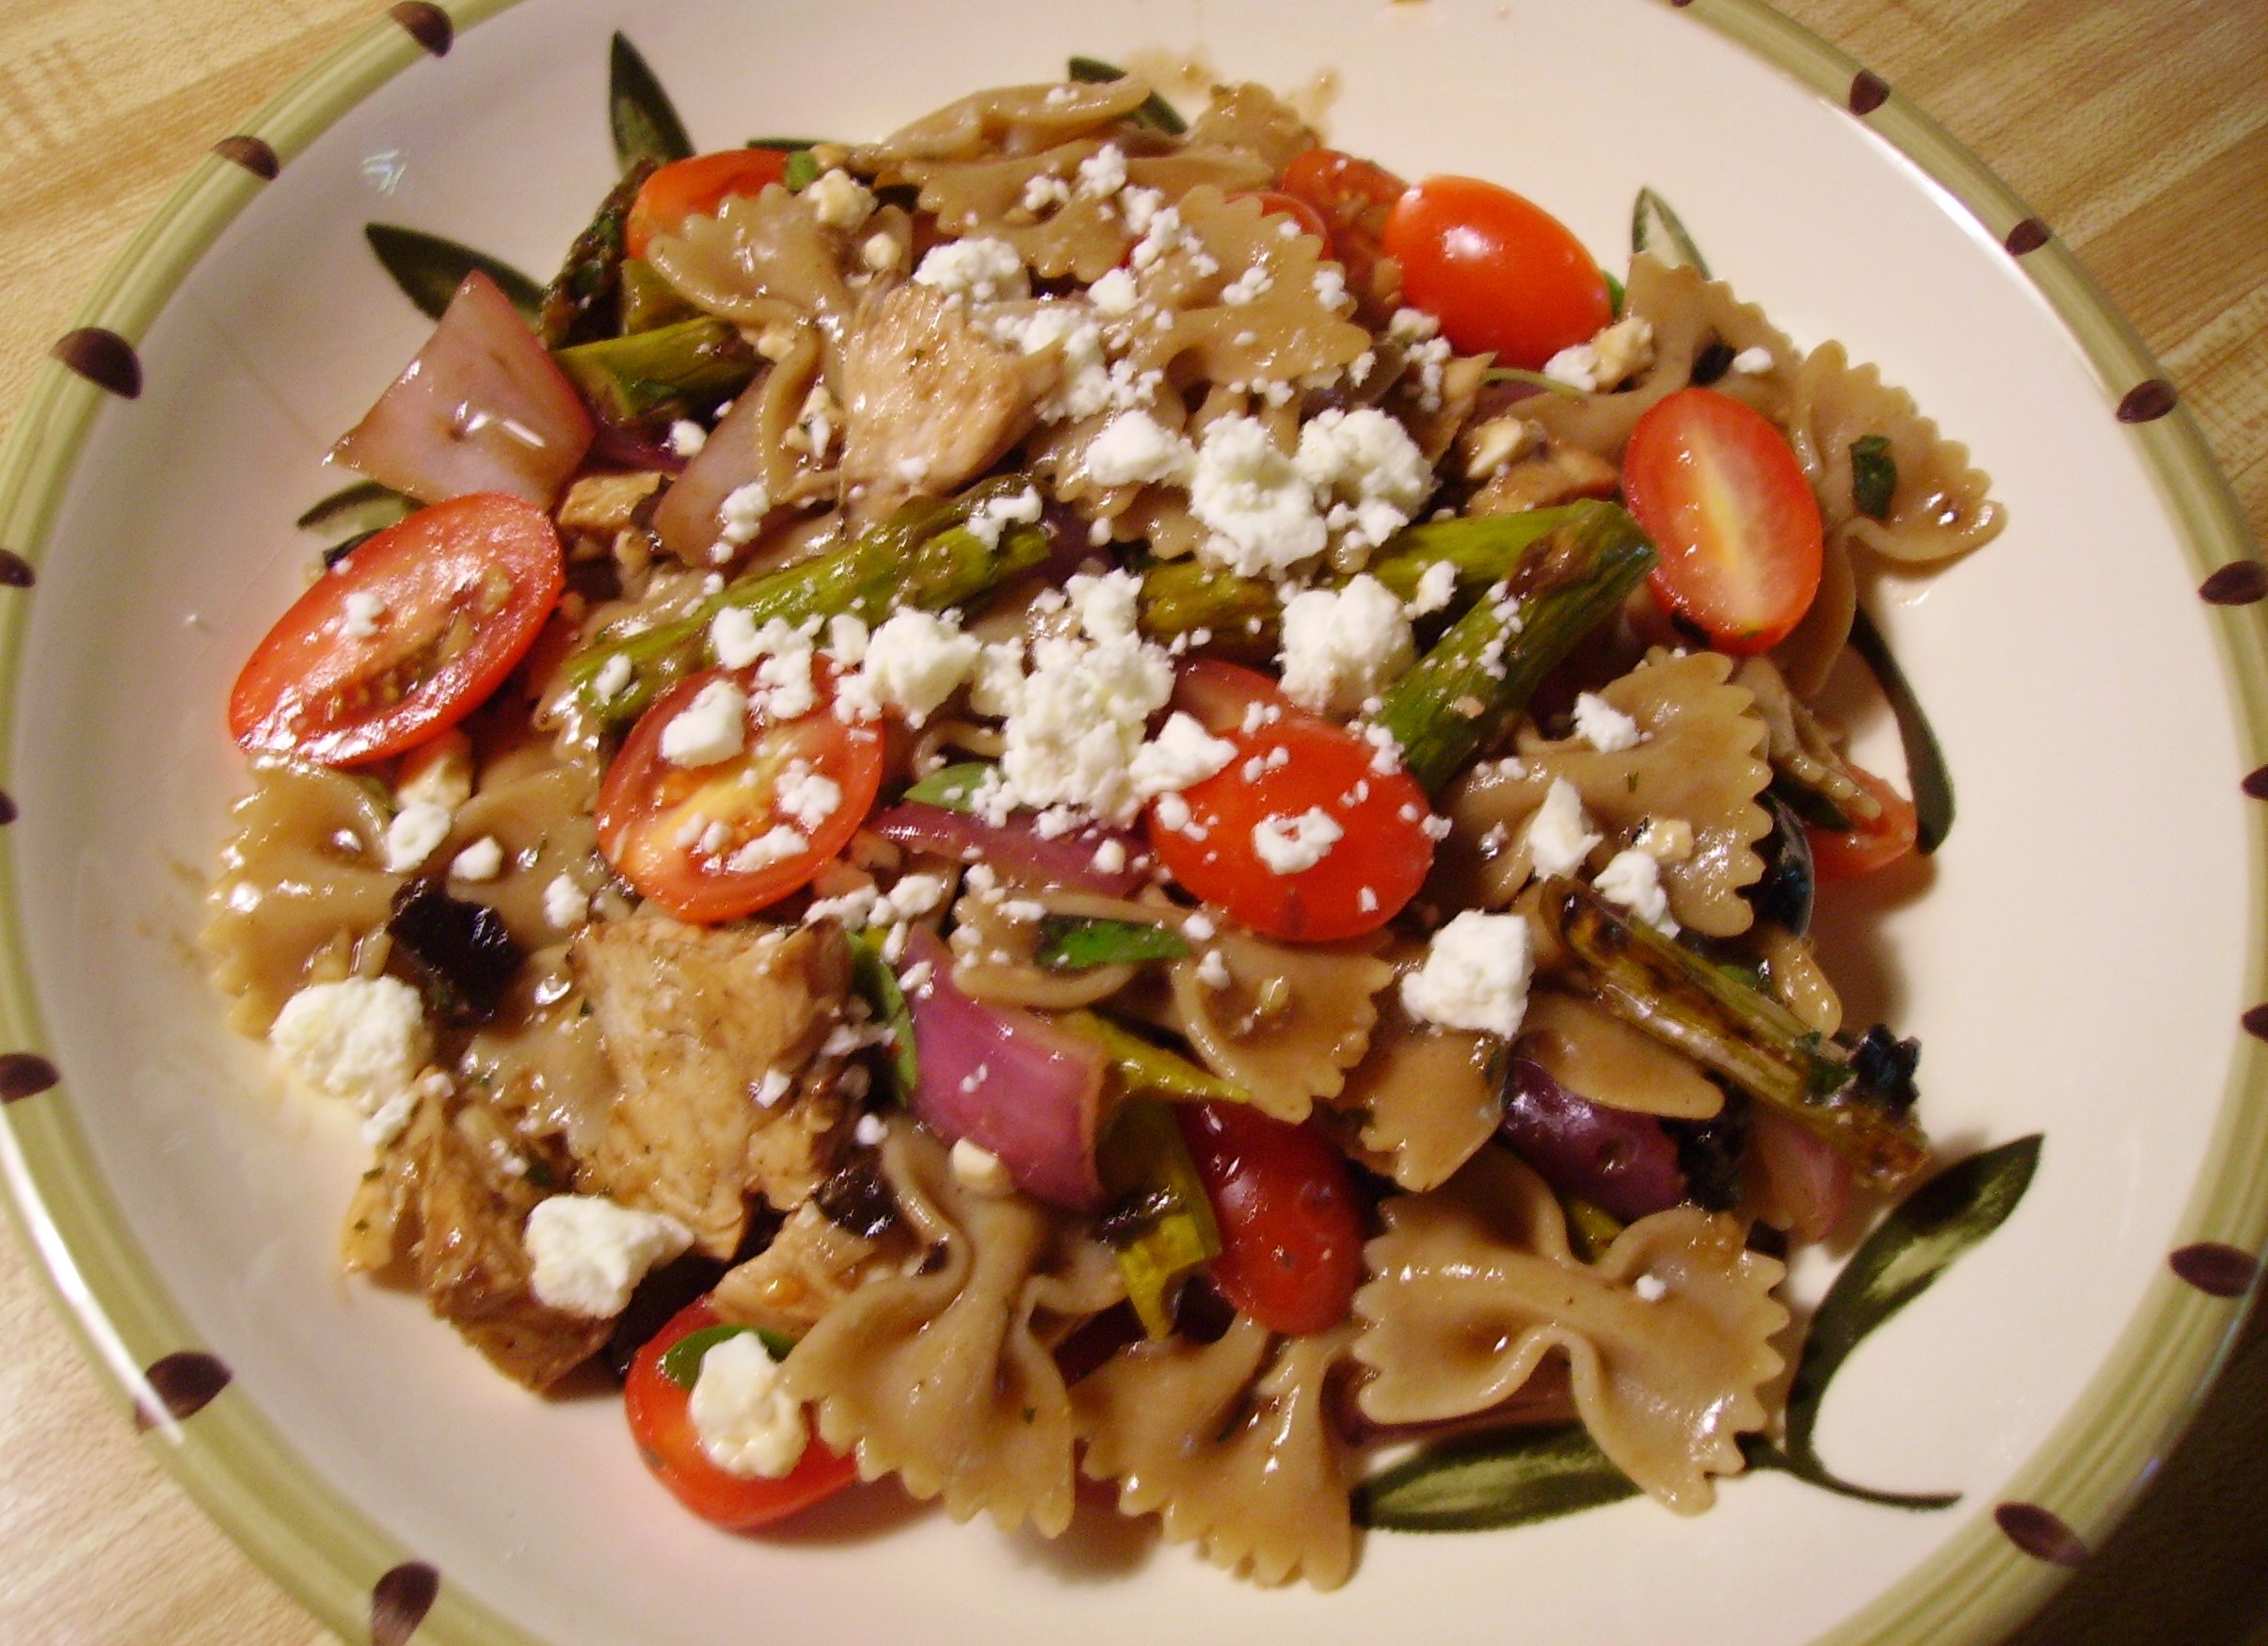
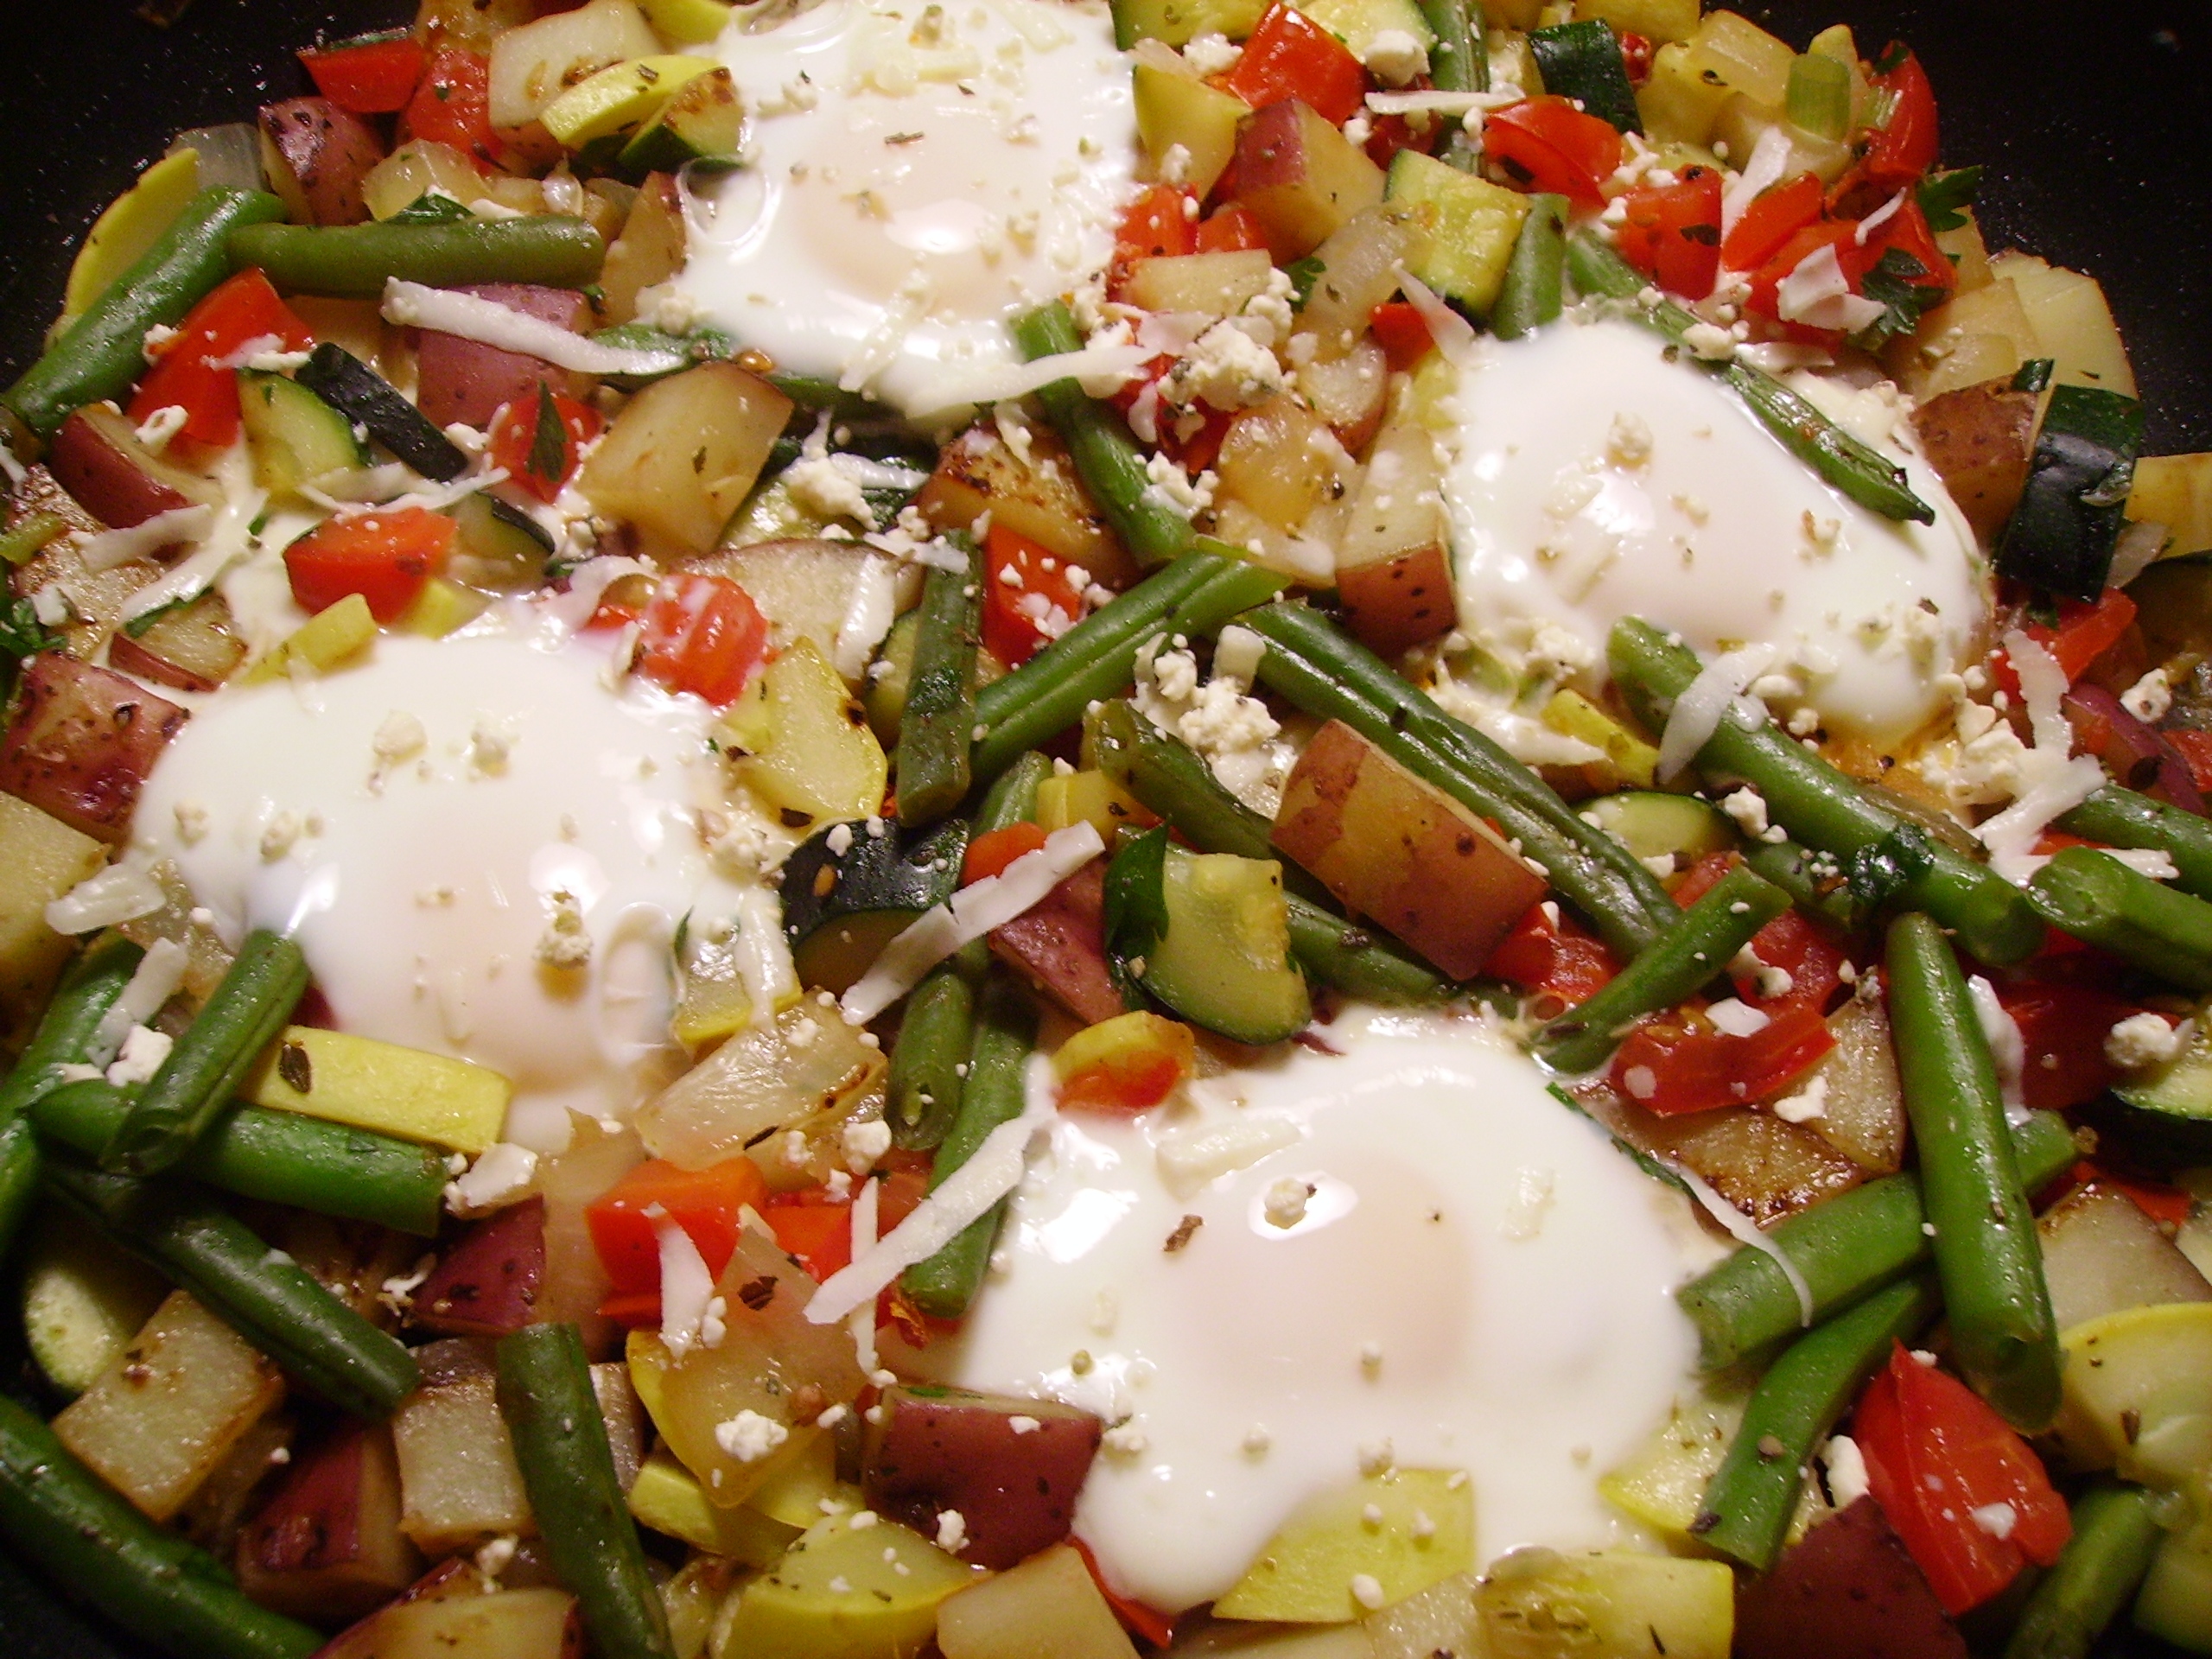
My search for healthier burger alternatives led me to experiment with turkey and beans. I loved the Black Bean Burger that was a delicious and nutritious result.DIGITAL CAMERASoups featured prominently this year. From decadent and rich to light and healthy they ran the gambit. I think my favorite was the Gazpacho. It was fresh and crunchy and tasted like summer in a glass.DIGITAL CAMERAGrilling has always been one of my favorite ways to cook. I shared lots of recipes that were partly or totally created on the grill. One of the best combined grilled chicken and asparagus with pasta. Don’t wait until summer to try Farfalle with Grilled Chicken and AsparagusDIGITAL CAMERAThere have been many Meatless Monday recipes some designated as such, some not. A new favorite that was a take off on an old camping dish was Vegetable Hash with Toads in the Hole. I love the fact that the choice of vegetables can be tailored to what is the freshest of the fresh.DIGITAL CAMERAThere were lots of other favorites that I enjoyed re-visiting myself. If you haven’t been there, check out the recipe page. It’s as easy as clicking on RECIPE at the top left of the Home Page.

I’m ready for my next trip around the sun. I learned from the last one that no matter what you encounter as my mother always said, “Everything happens for the best.” I believe that the best is yet to come.

On the Side…The Other Half of Dinner Love

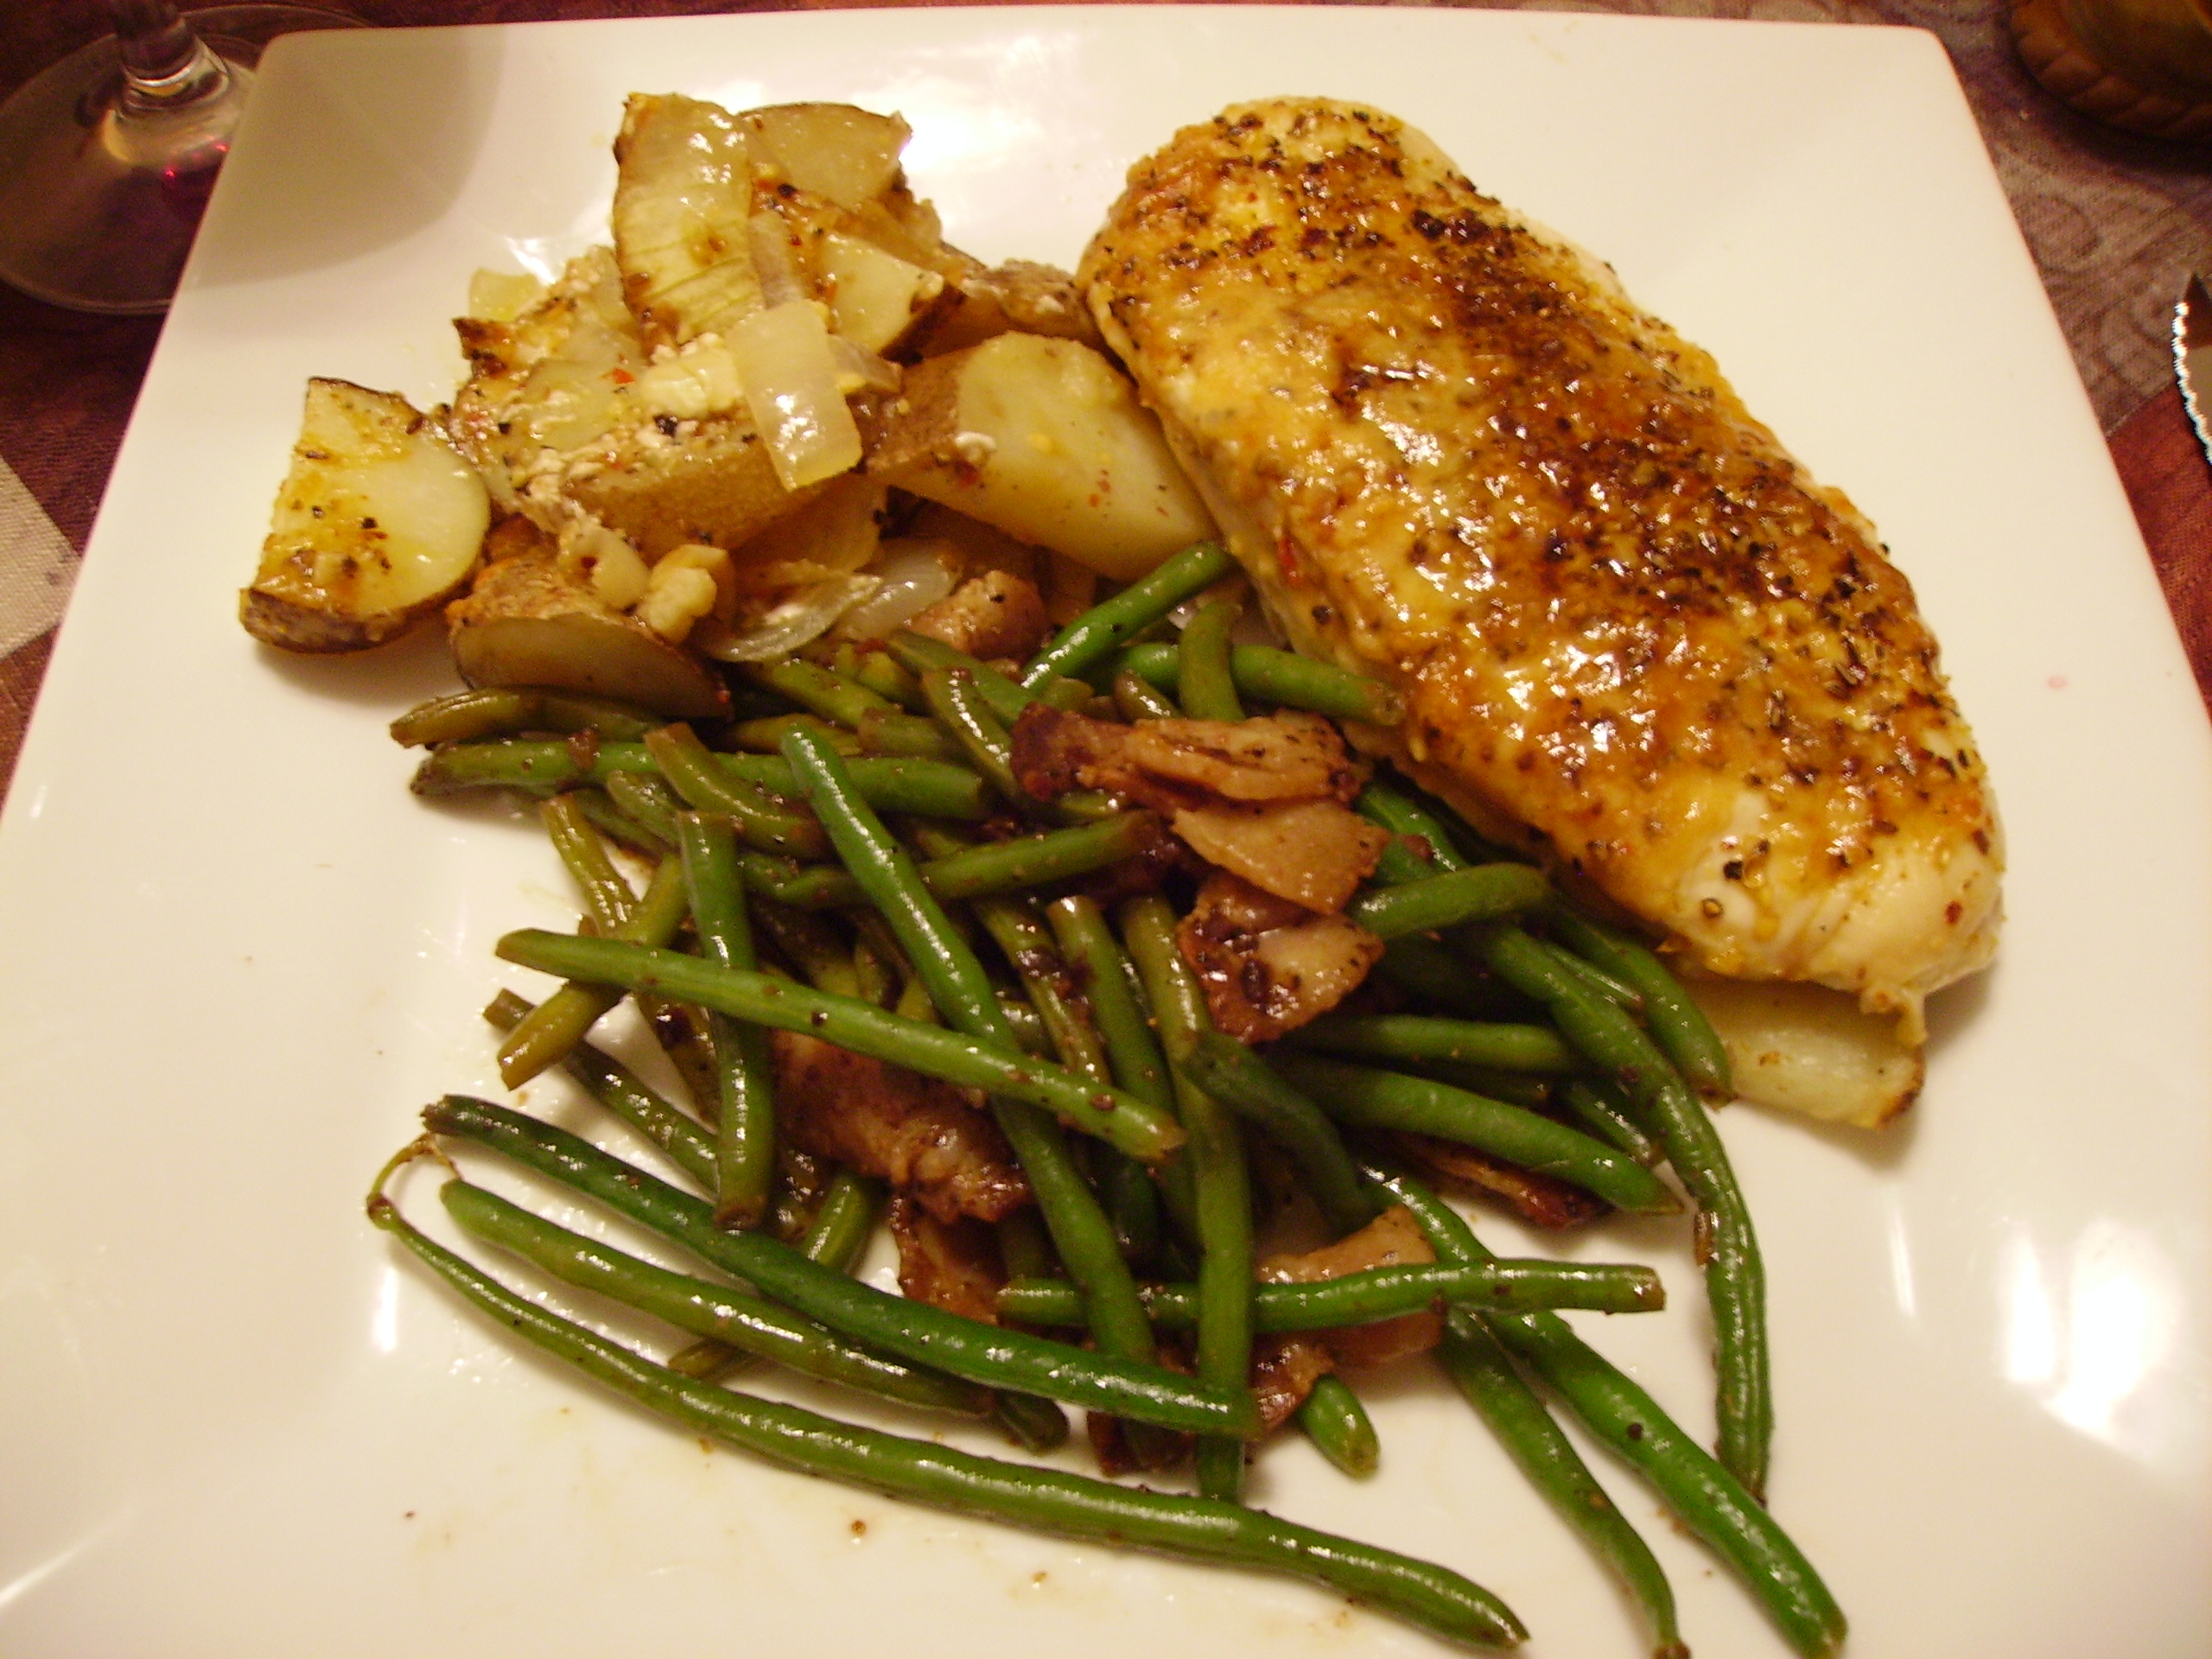
Dinner is my favorite meal of the day. I love to create a plate of love for the evening meal. As you know, Mama D is a big fan of the one dish meal, be it soup, skillet, or casserole. Sometimes, well actually, quite often she enjoys a plate of food divided; that is a protein, a starch and a vegetable each standing on their own.DIGITAL CAMERA

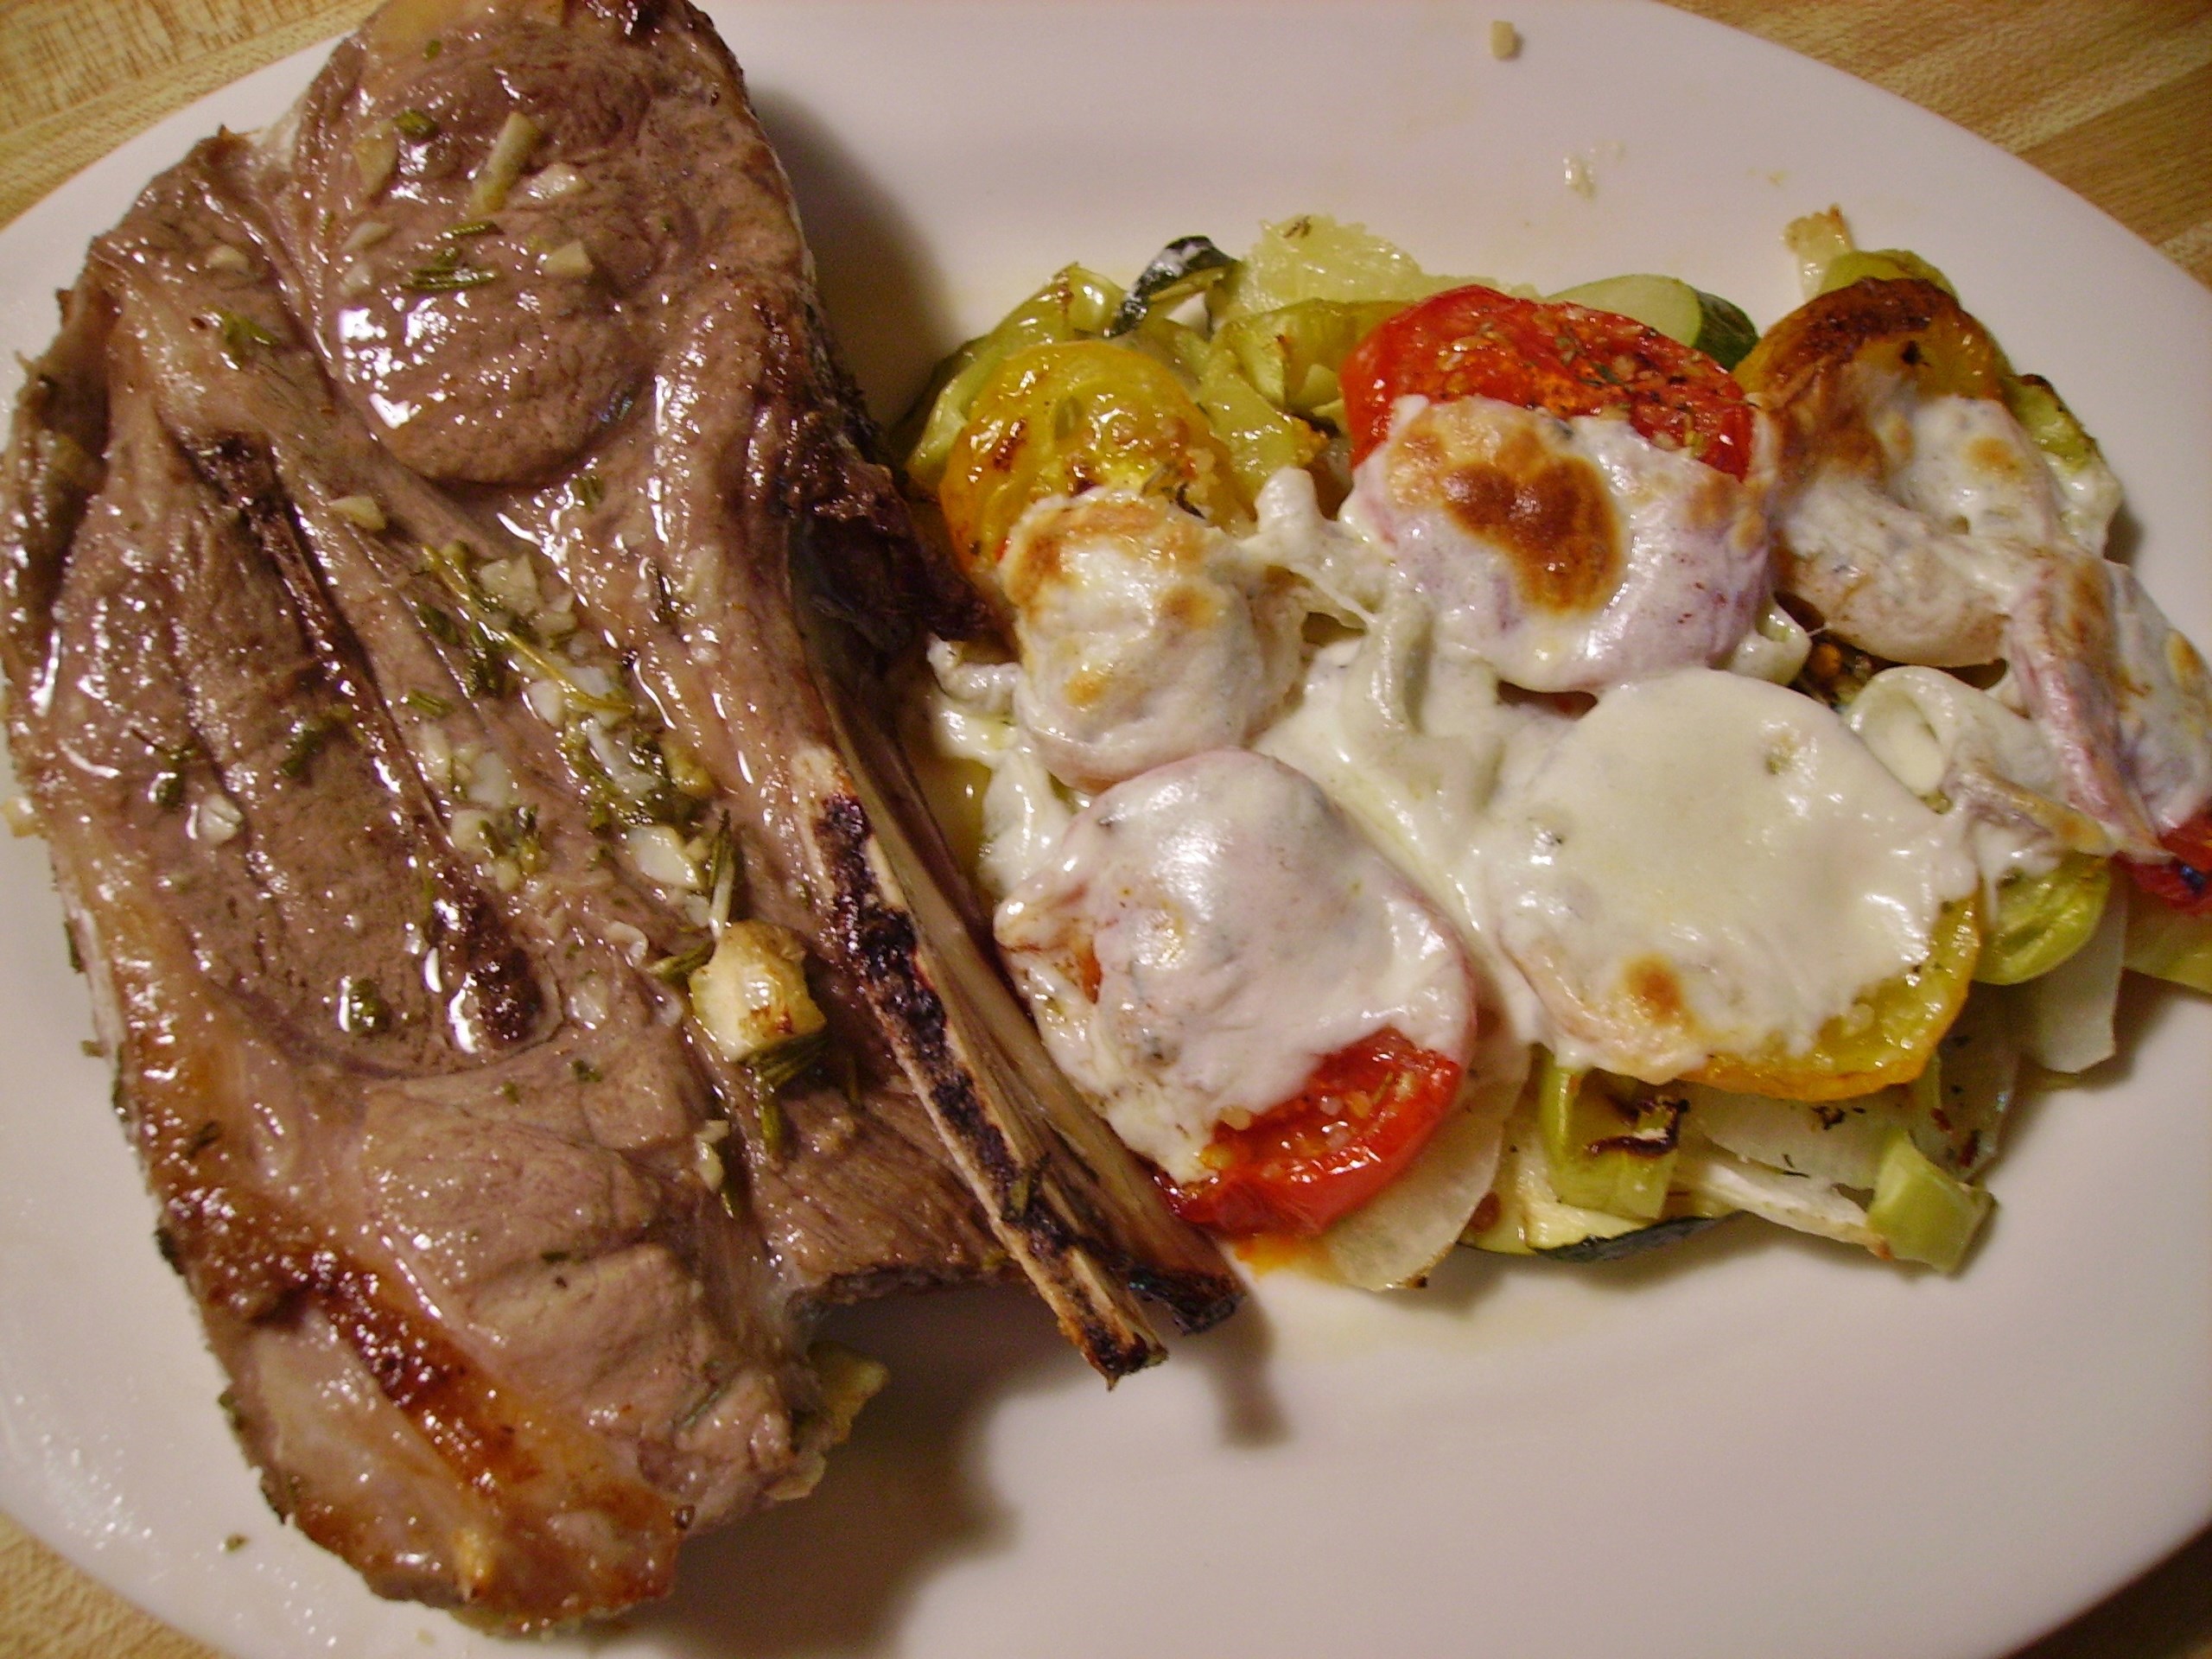
I thought it was time to share some thoughts on and recipes for side dishes. At times side Lamb chop with Tomato and Zucchini Gratindishes take a back (or is it side?) seat to the main event. A succulent steak, beautifully sauced chicken, or a juicy piece of pork bask in the spotlight, but those dishes that sit off to the side of the plate are the compliment to the protein and very often make that protein even better.

DIGITAL CAMERAFrom a health standpoint, our plate should be half filled with vegetables, the other half shared by protein and starch, particularly whole grains. While I’m still an unapologetic carnivore, I have been trying to adjust the balance of the plates I create. I’ve been working towards putting as much creativity into the sides as I do the main.

When it comes to side dishes, I can’t help myself, sometimes I just have to put the starch and veggies together. There are plenty of one pan sides coming out of Mama D’s Kitchen.

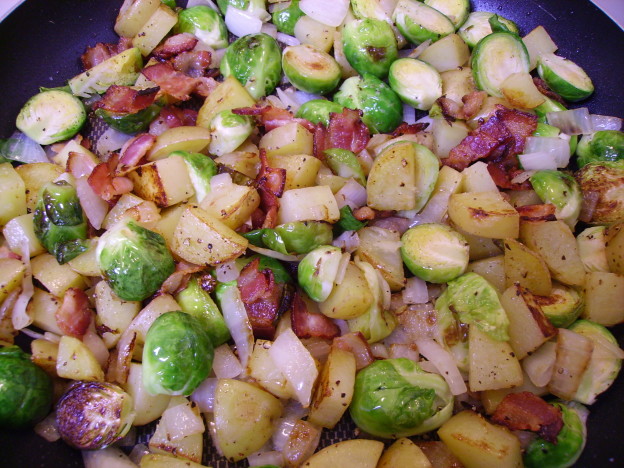
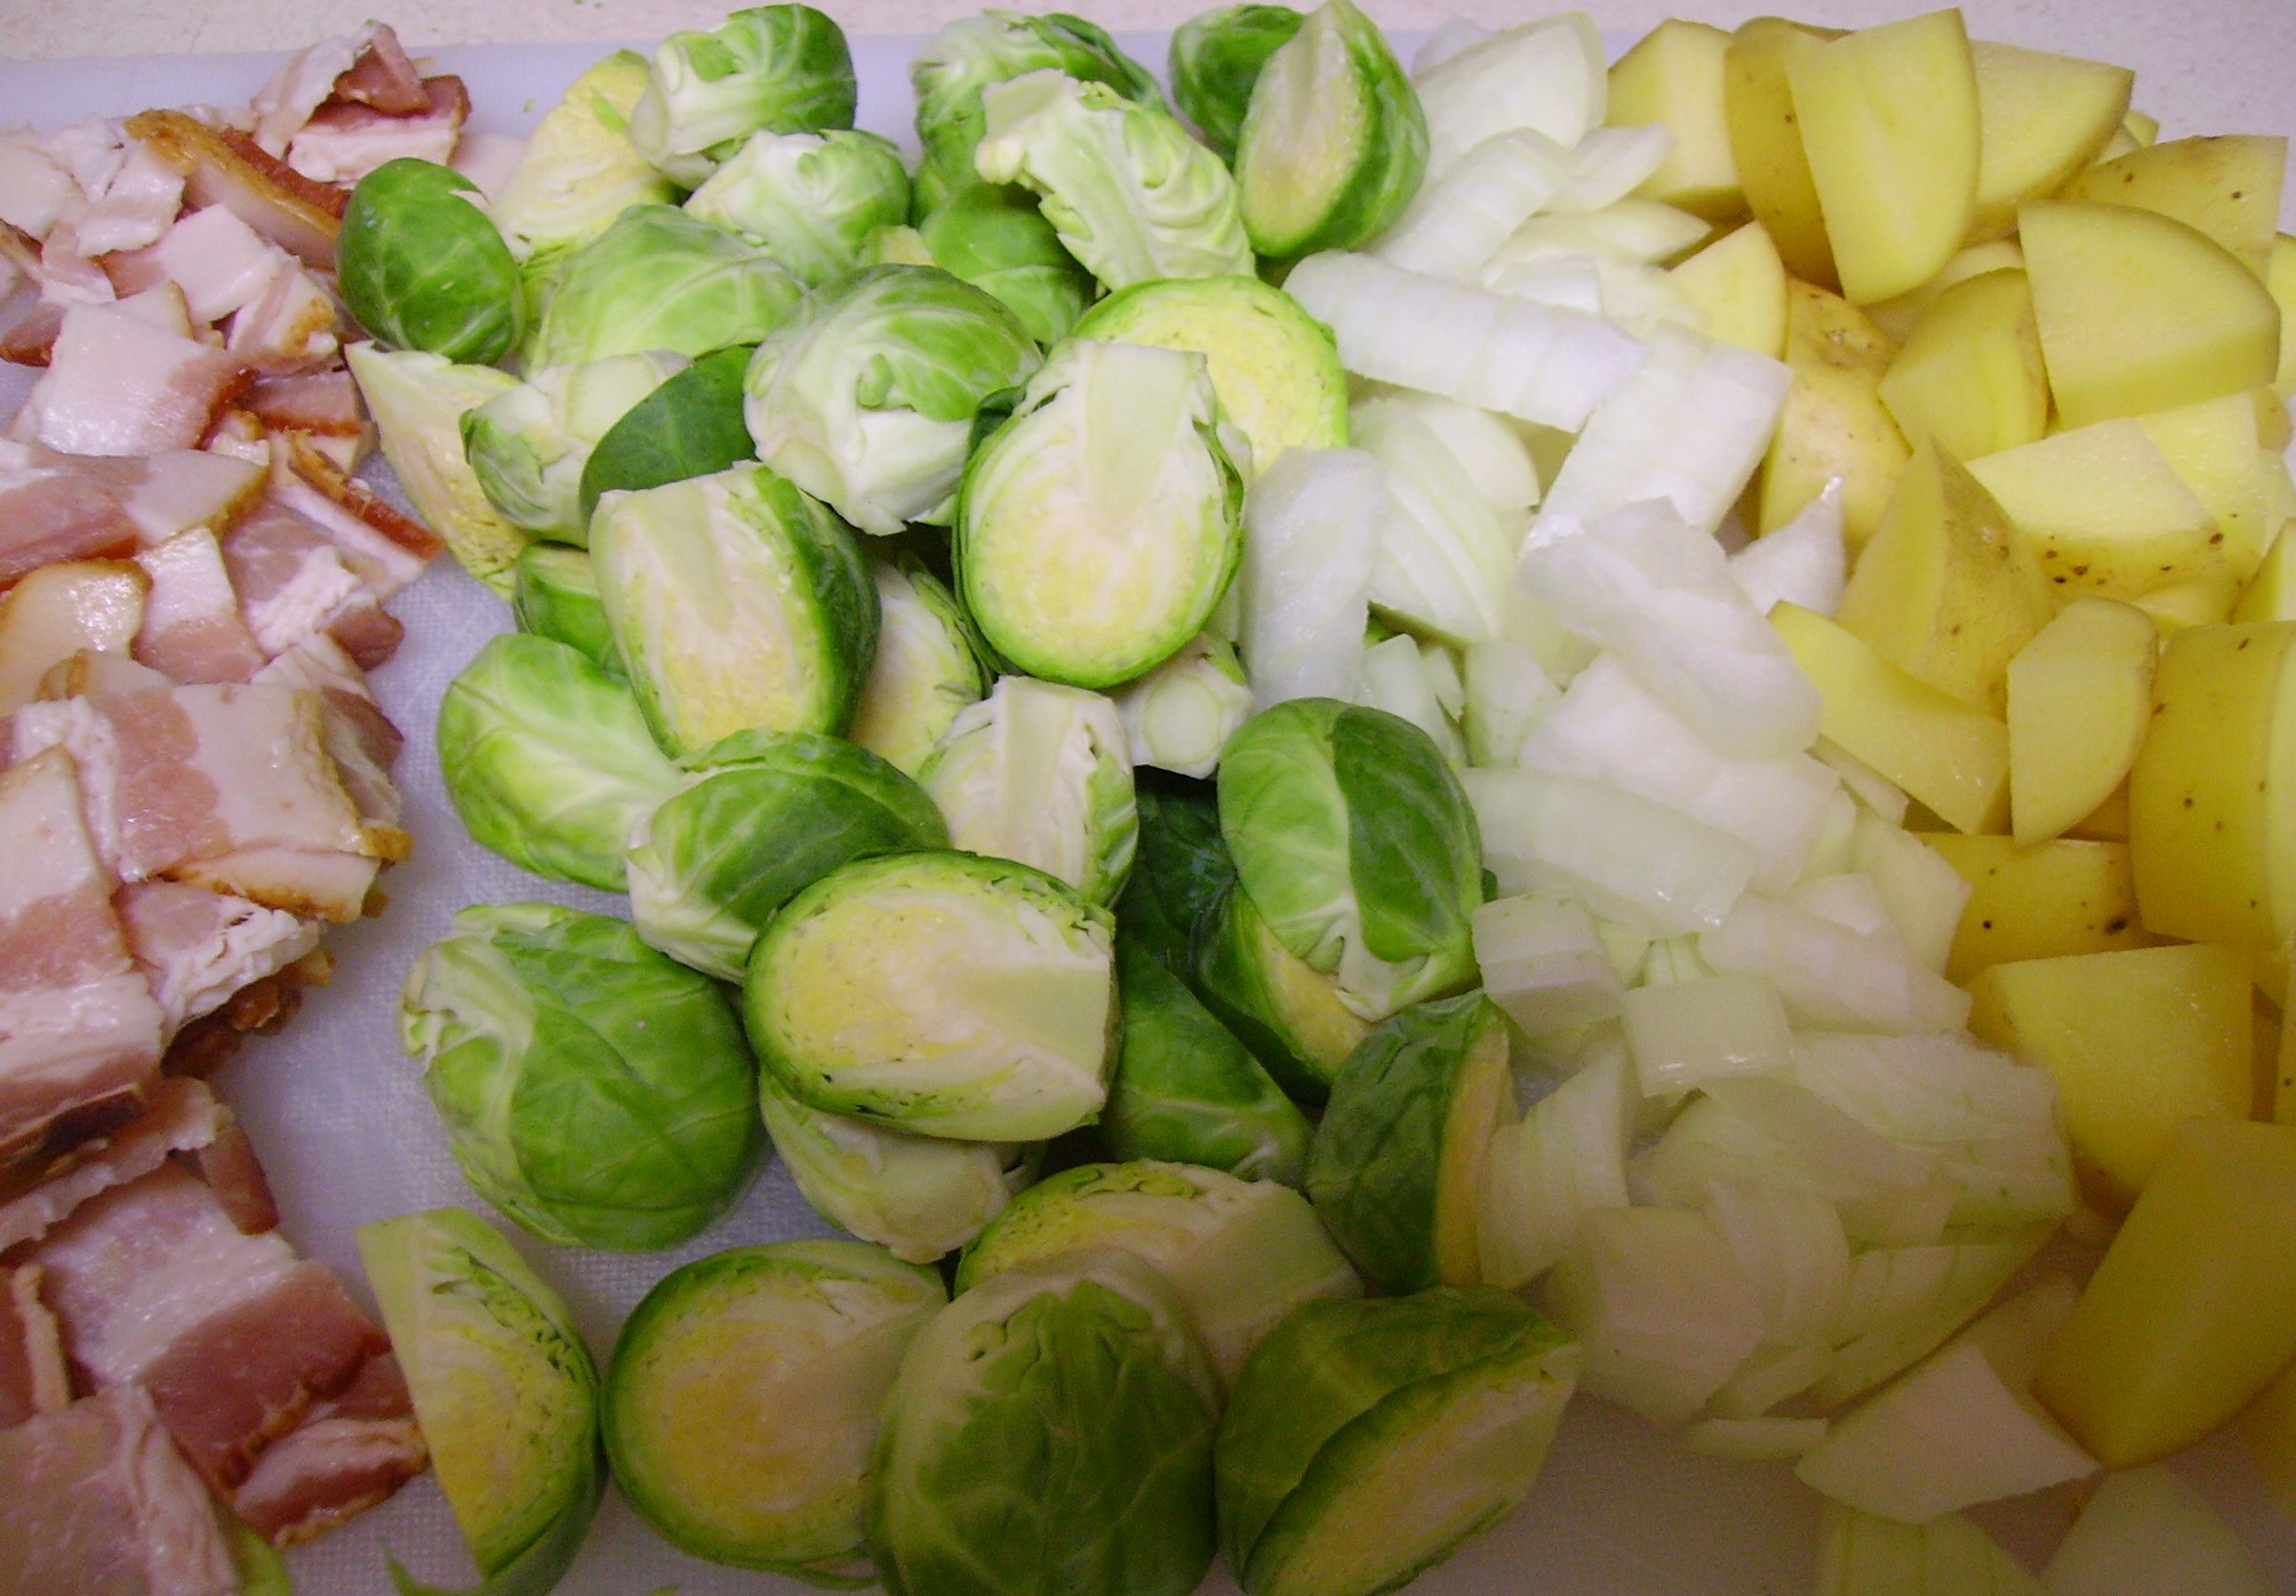
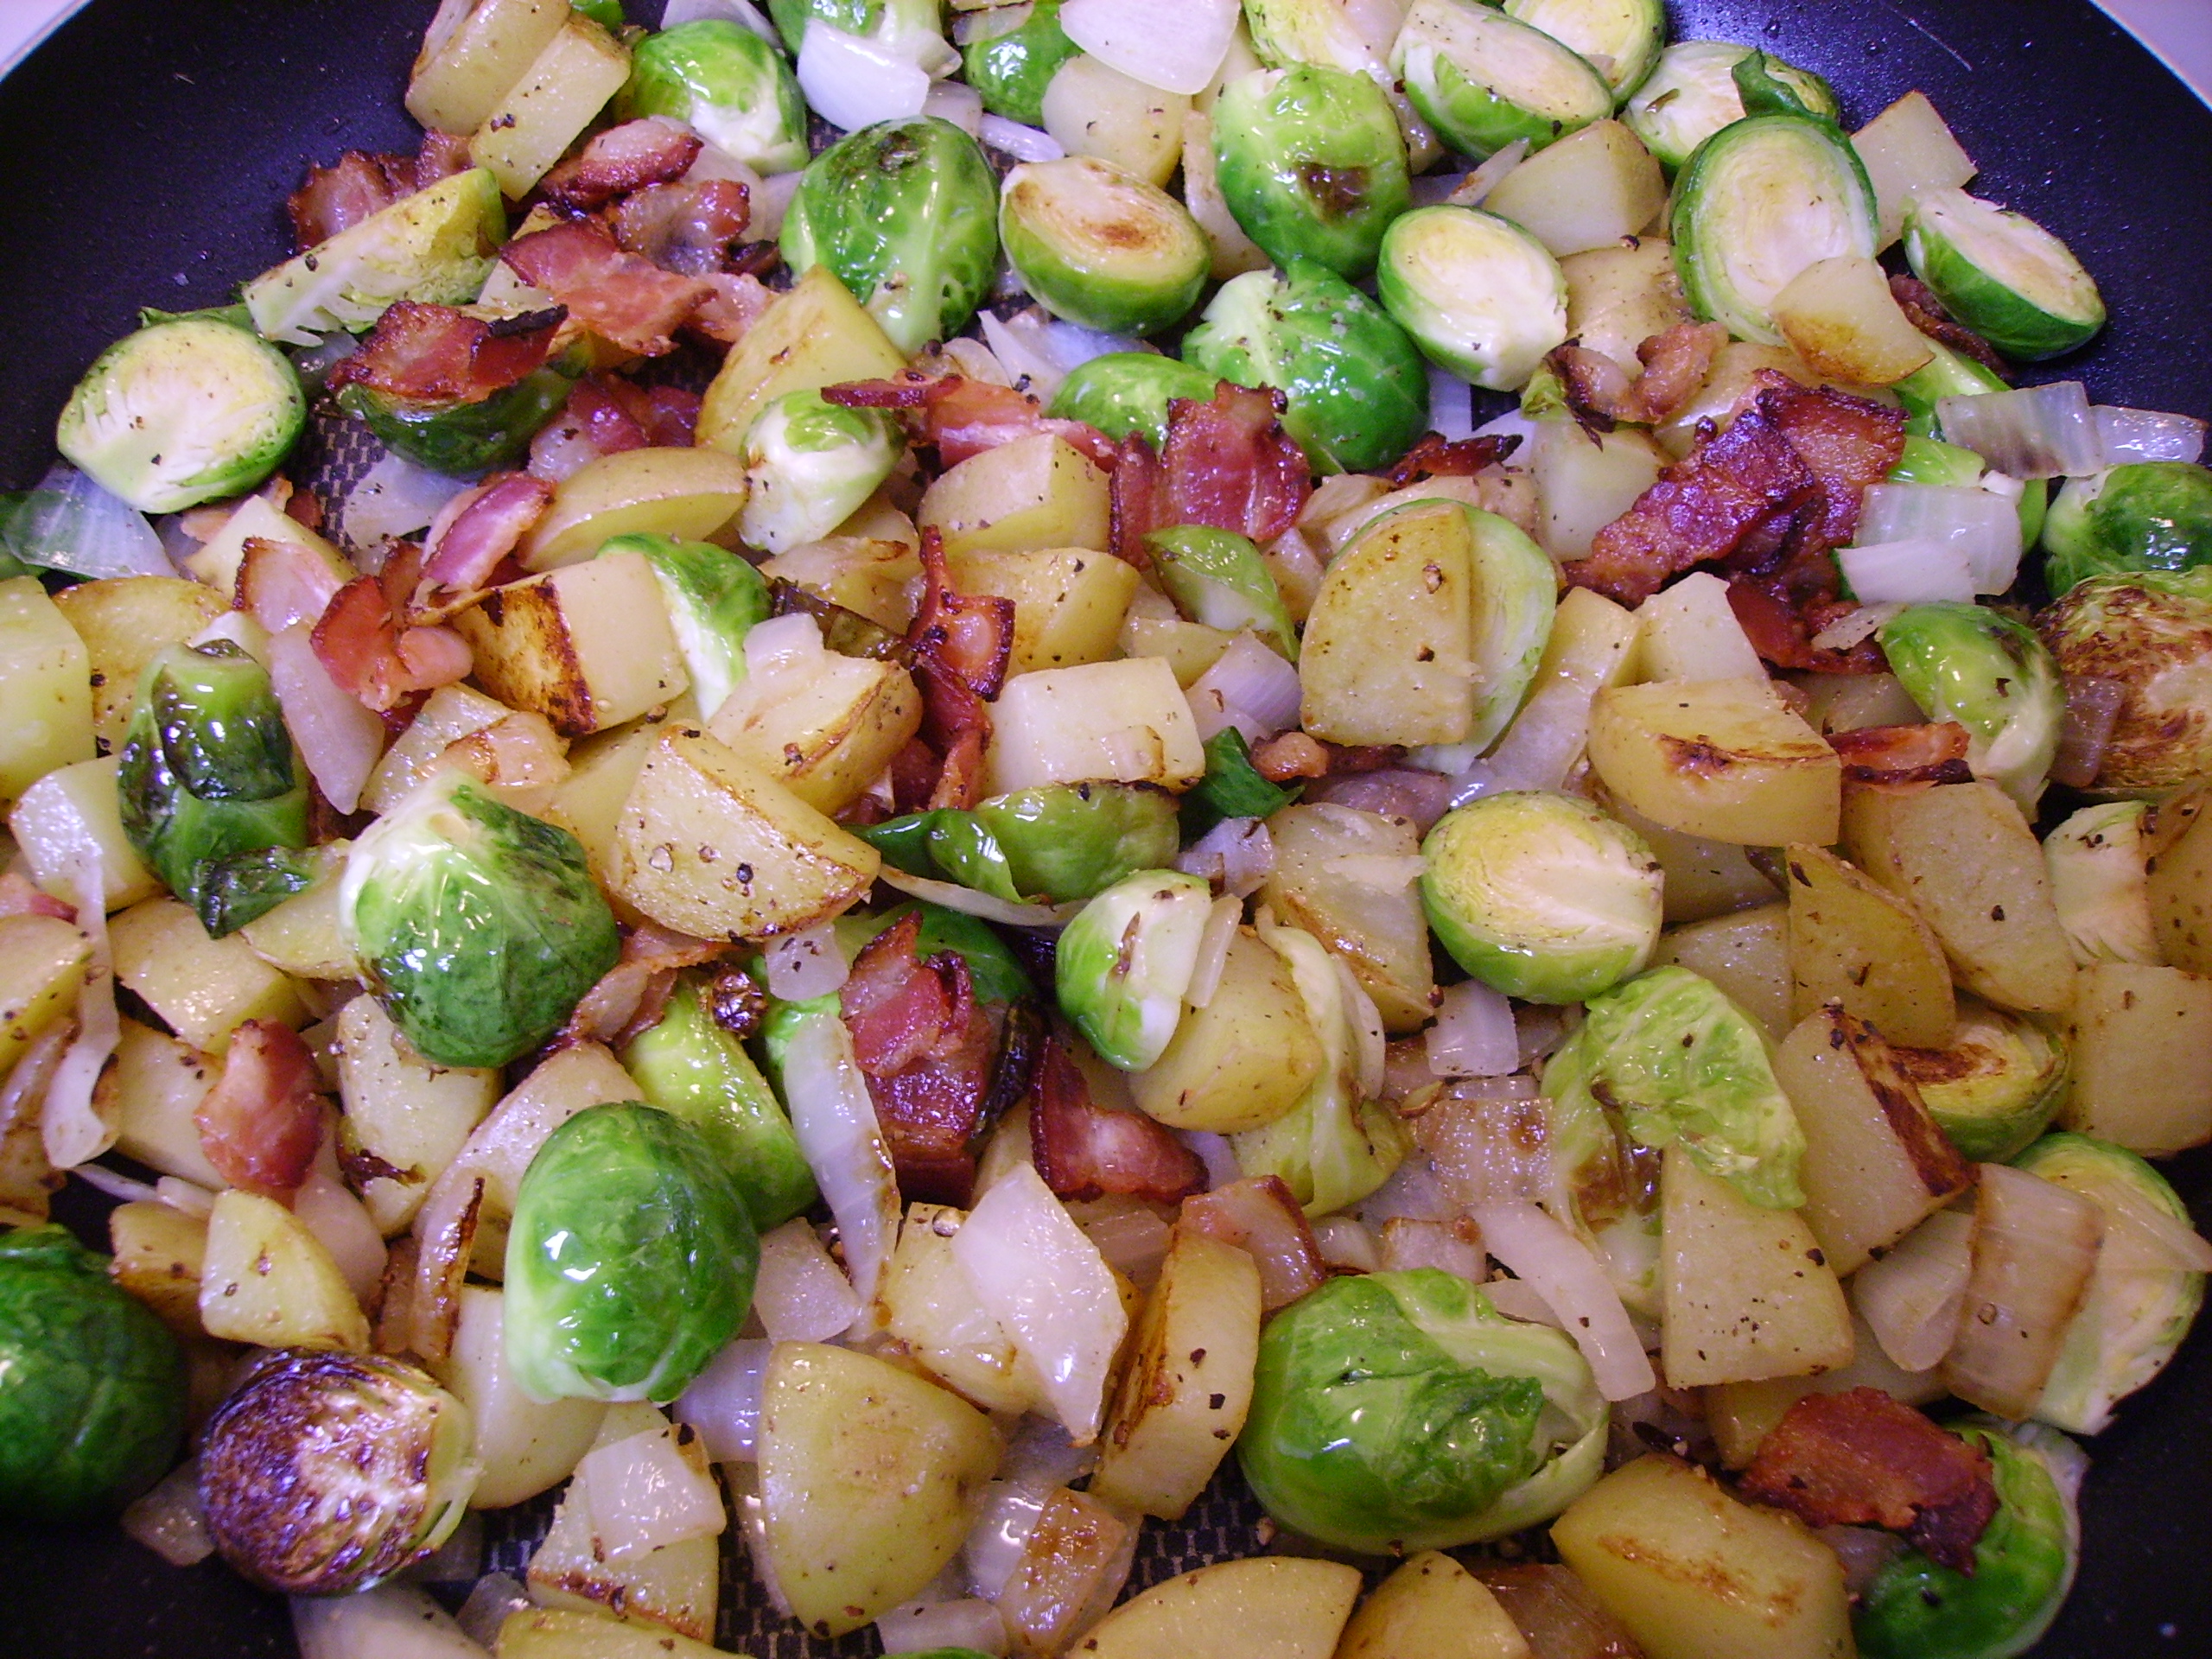
DIGITAL CAMERAOne of my current favorites unites Brussels Spouts and Yukon Gold Potatoes. Bacon and onion hold it all together and a generous dusting of freshly cracked pepper seals the deal.DIGITAL CAMERAThick sliced bacon browns up nicely in a pan. Once the bacon and most of the drippings are removed, the onions, potatoes and Brussels sprouts jump in together until everything is tender, brown, and delicious.DIGITAL CAMERAThis side goes well with anything and is super easy to prepare. A recipe is hardly needed, but here you go.

Skillet Brussels Sprouts and Potatoes
Print Recipe
This is an easy side dish that combines a vegetable and starch in one pan. The bacon and onions make this a fabulous side dish for any protein.
Servings
4
Servings
4
Skillet Brussels Sprouts and Potatoes
Print Recipe
This is an easy side dish that combines a vegetable and starch in one pan. The bacon and onions make this a fabulous side dish for any protein.
Servings
4
Servings
4
Ingredients
Servings:
Instructions
  1. Heat a large fry pan over medium high heat. Add the bacon and cook stirring occasionally until crisp. Remove the bacon from the pan and drain on paper towels. Pour all but 1 tablespoon of the drippings out of the pan.
  2. Reduce the heat to medium. Add the potatoes, sprouts and onion to the pan. Cook, stirring occasionally until everything is tender and lightly browned. This should take about 15 -20 minutes, but let your eyes and taste be the judge.
  3. Add the freshly ground pepper and serve.
Share this Recipe
Powered byWP Ultimate Recipe

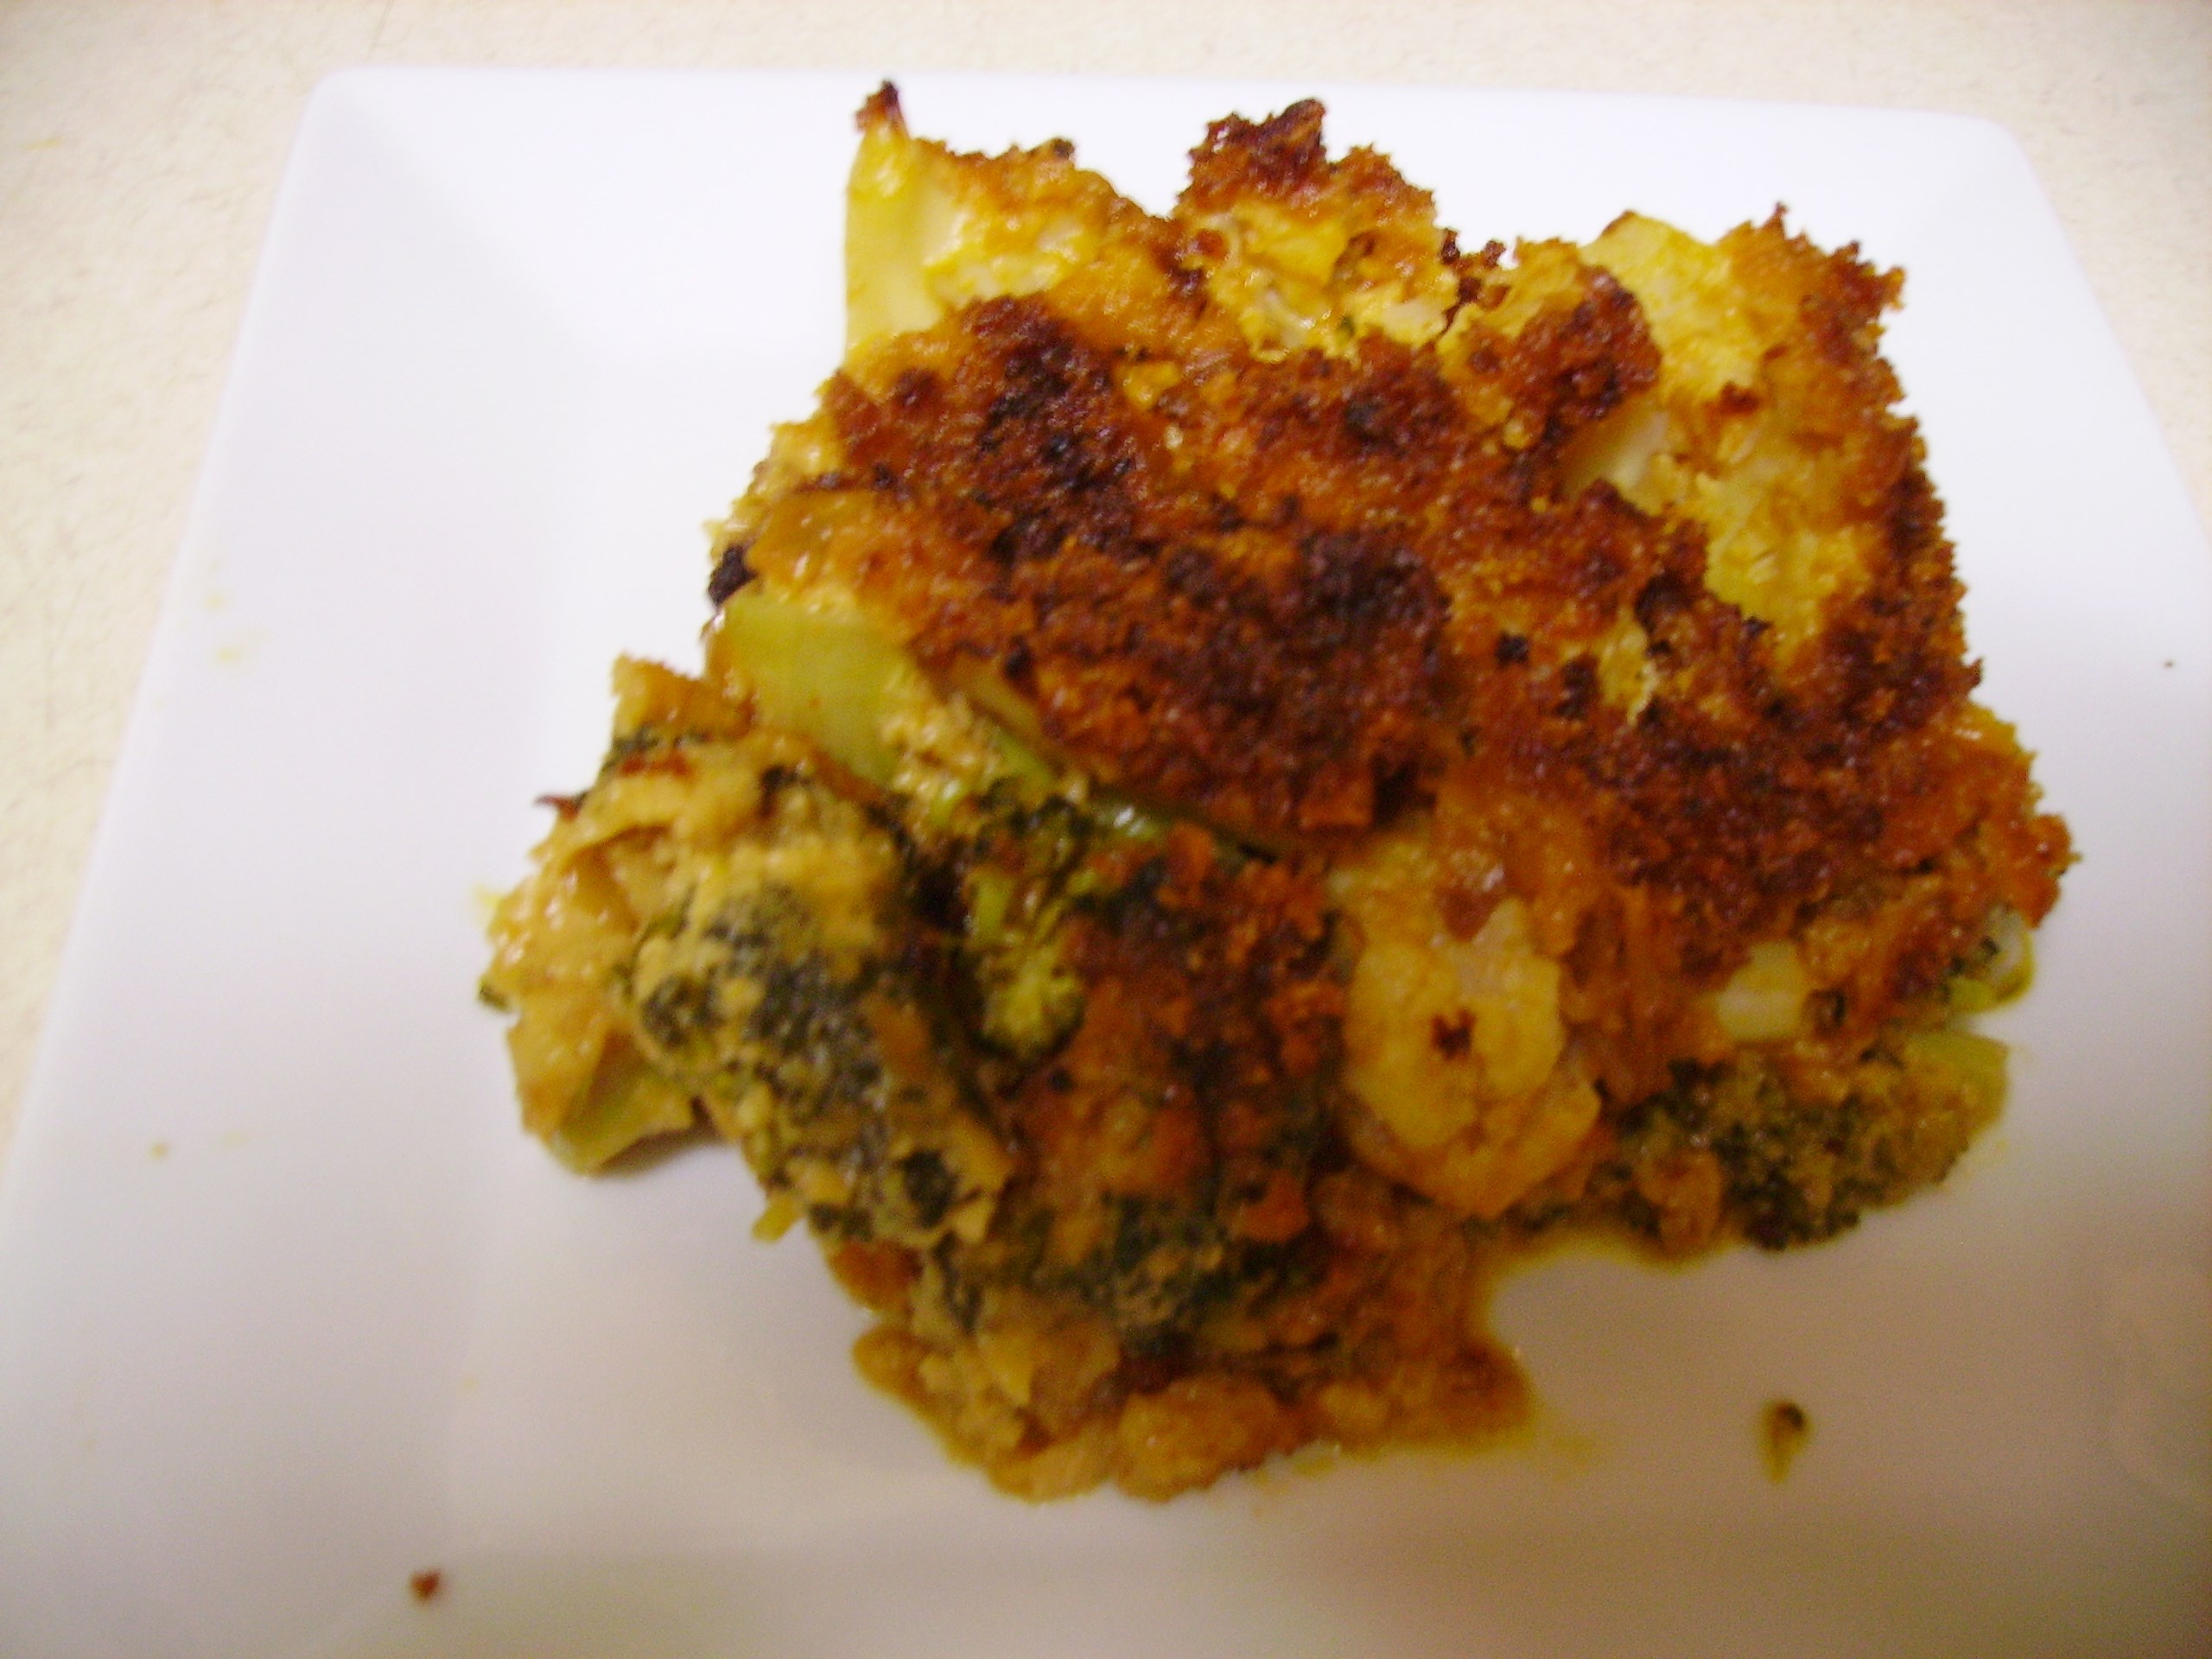
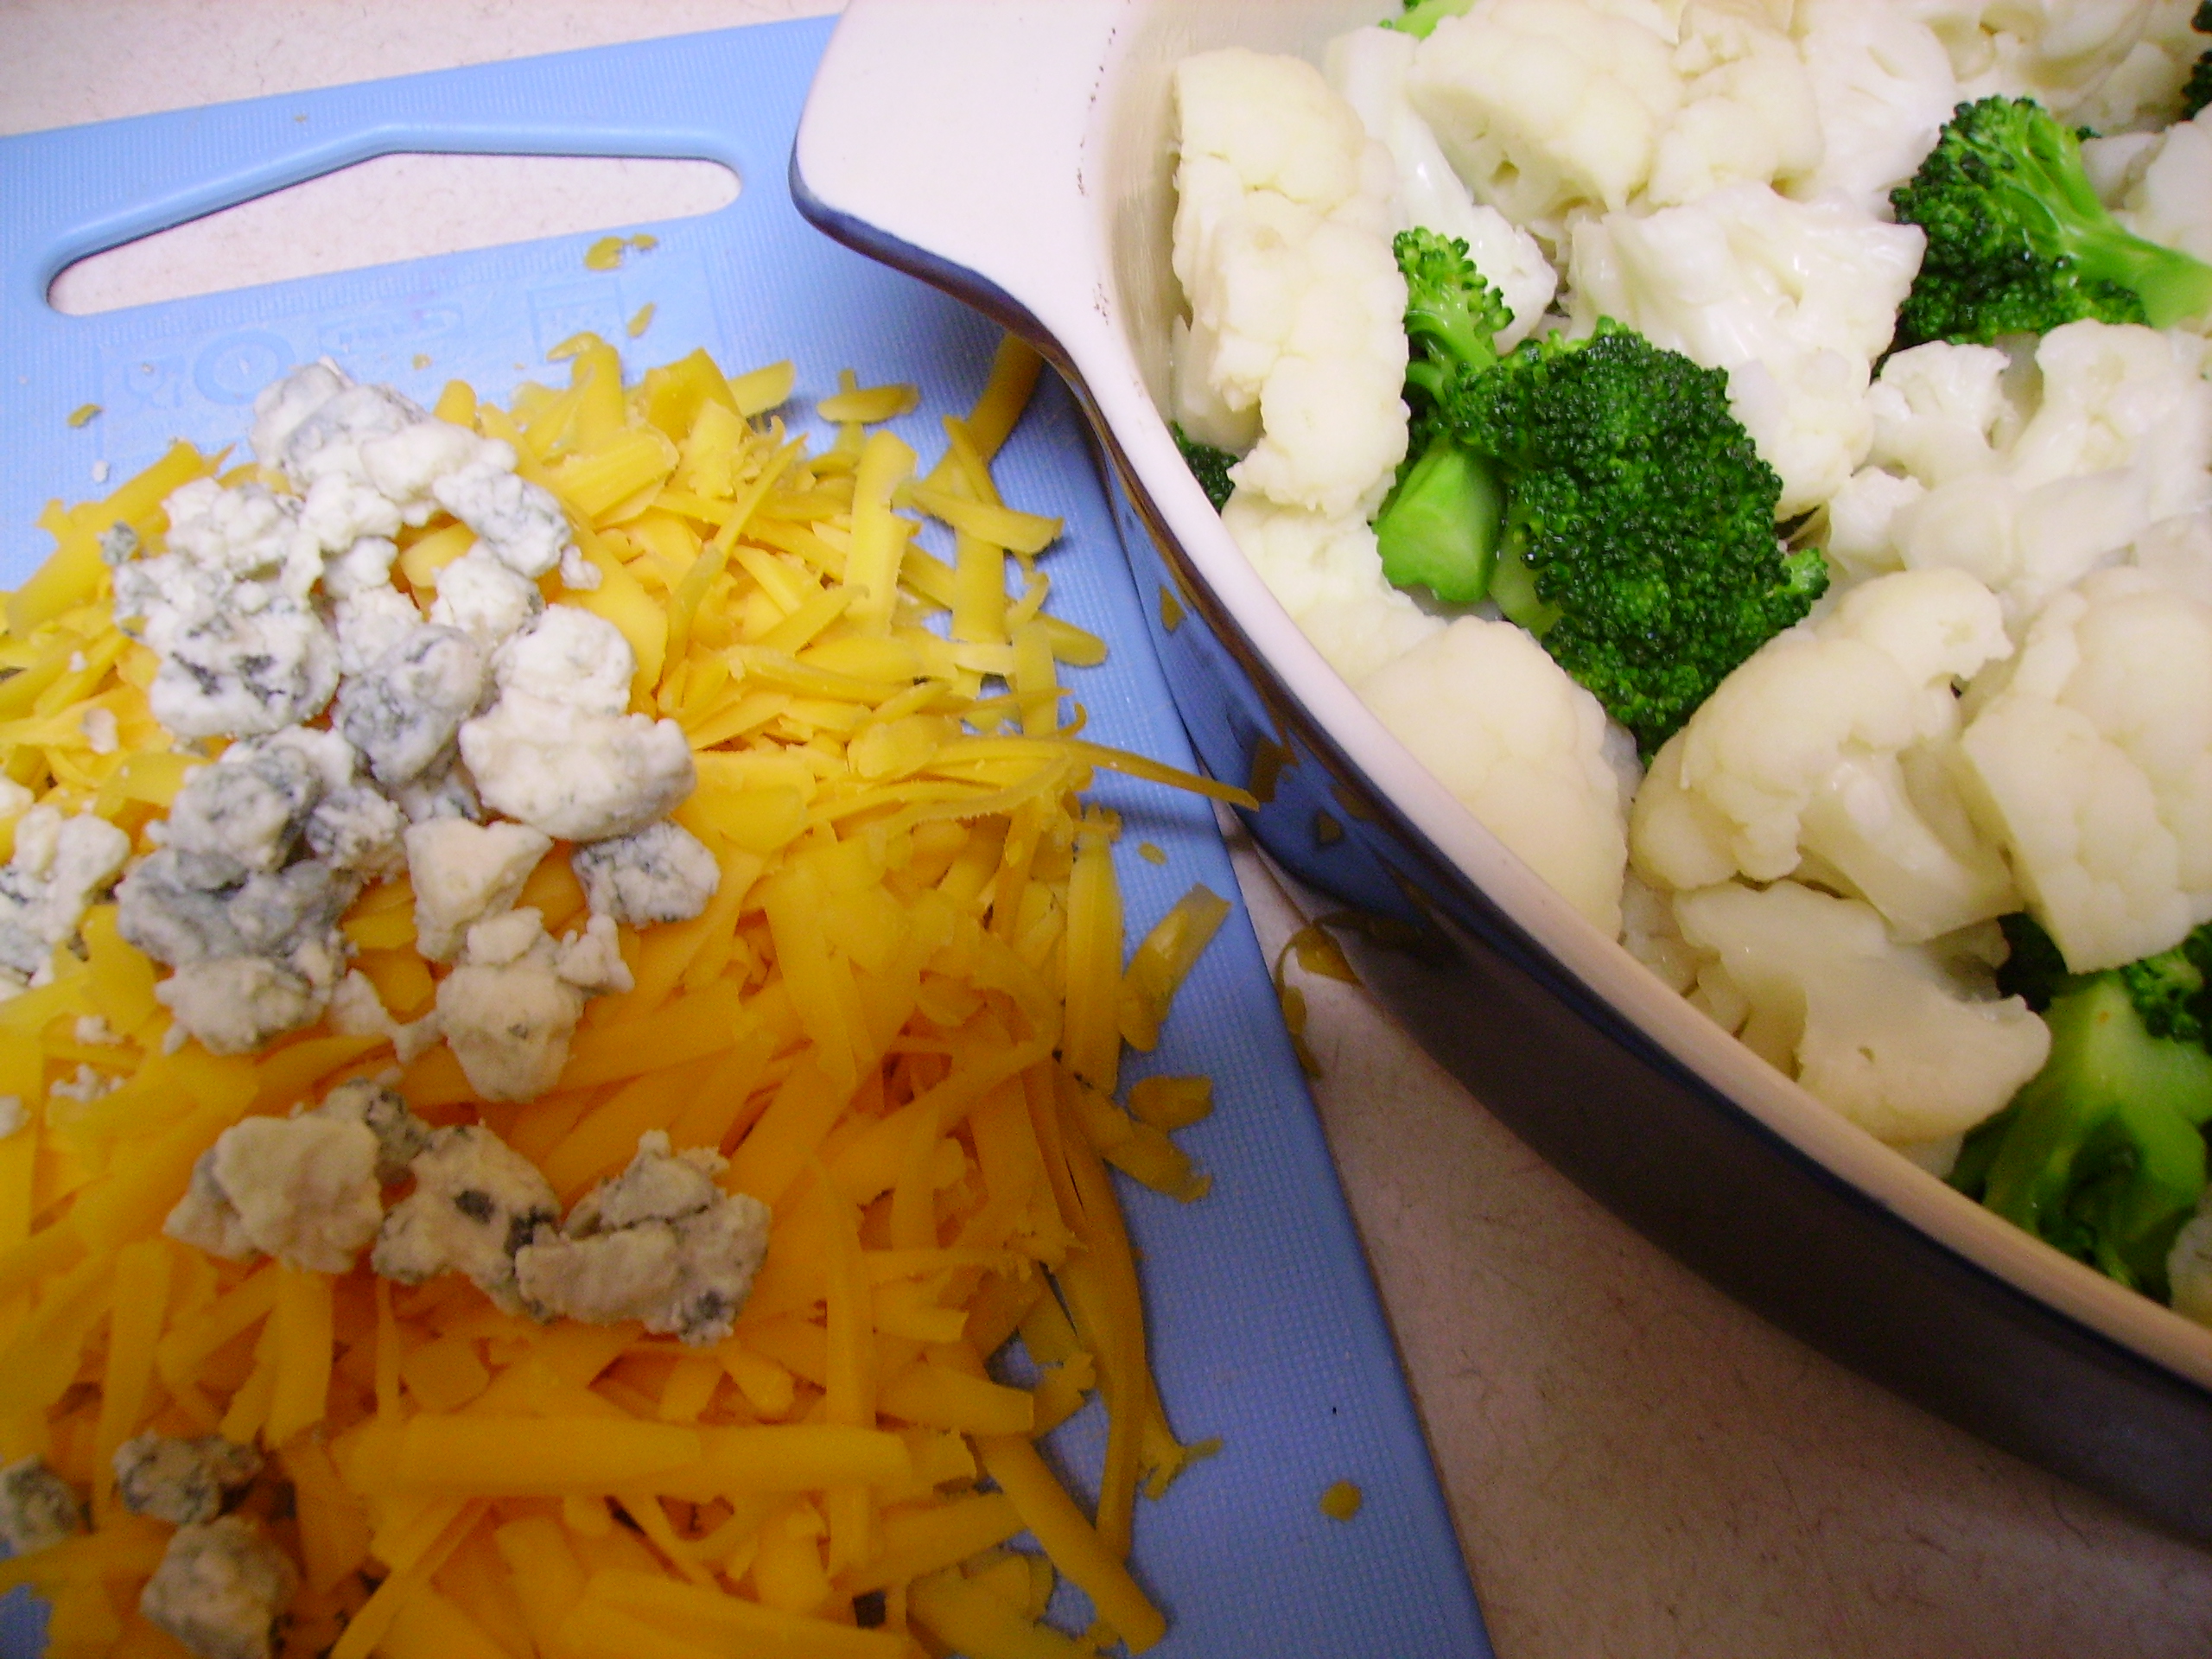
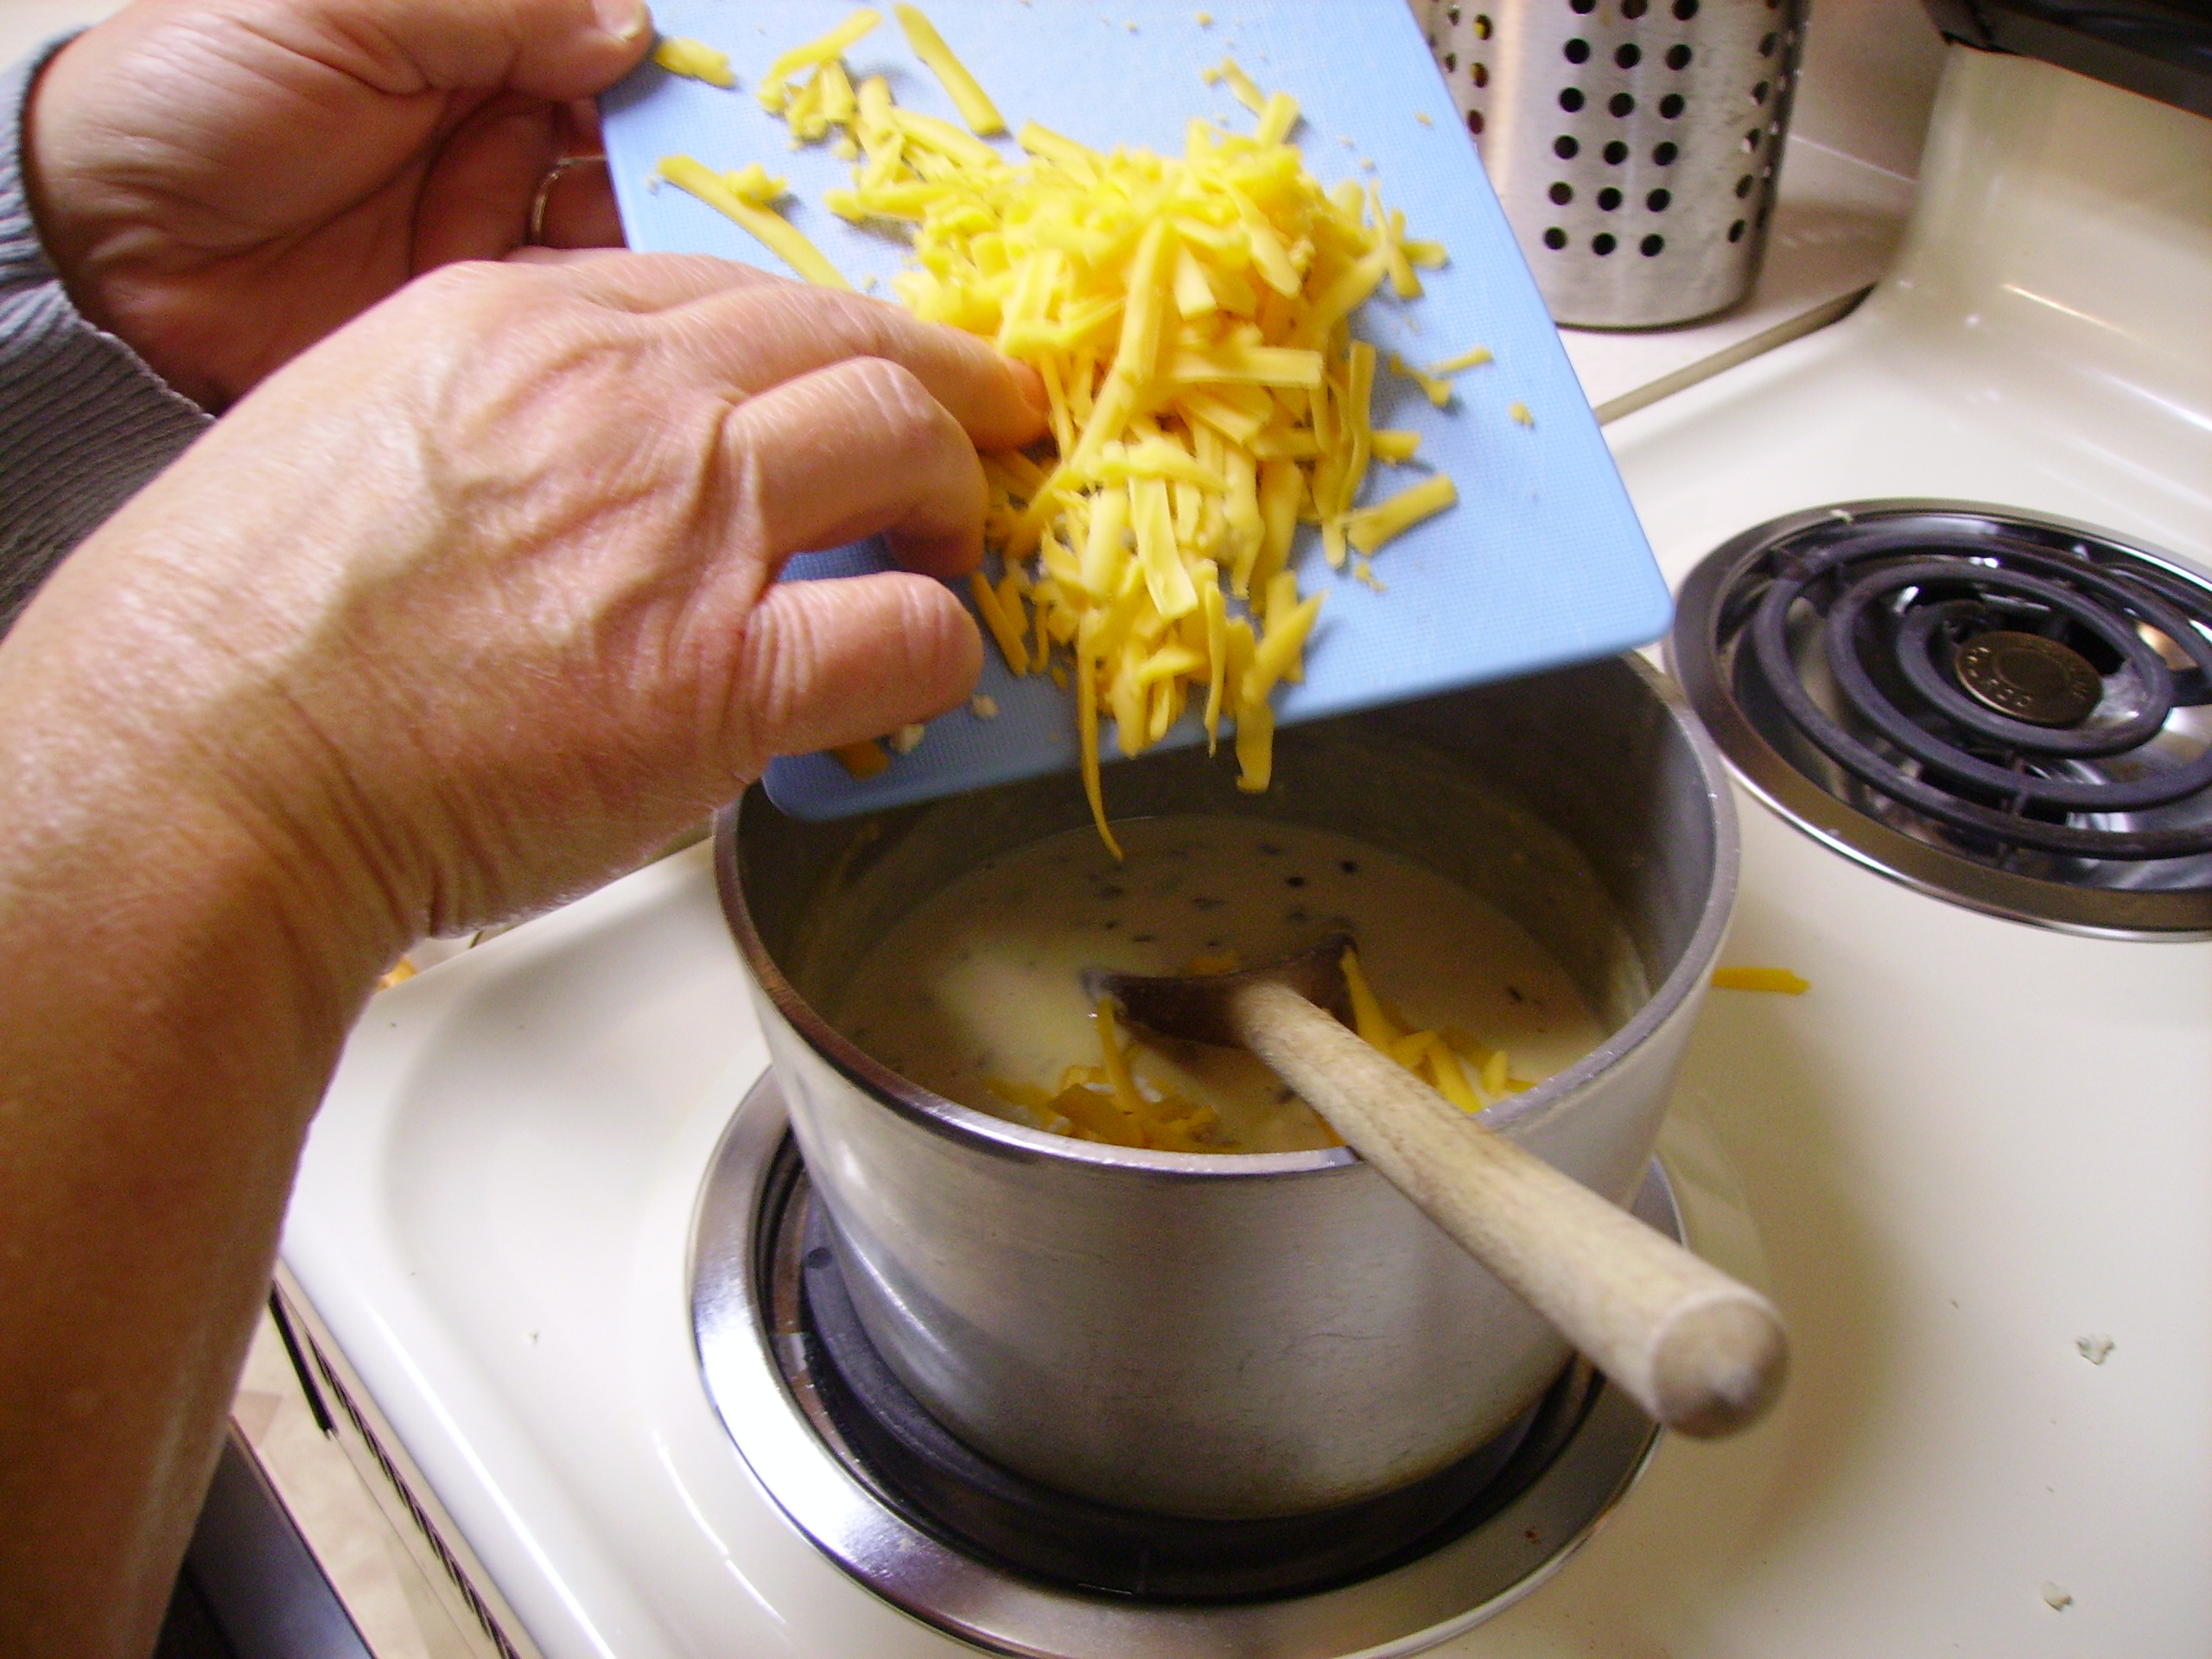
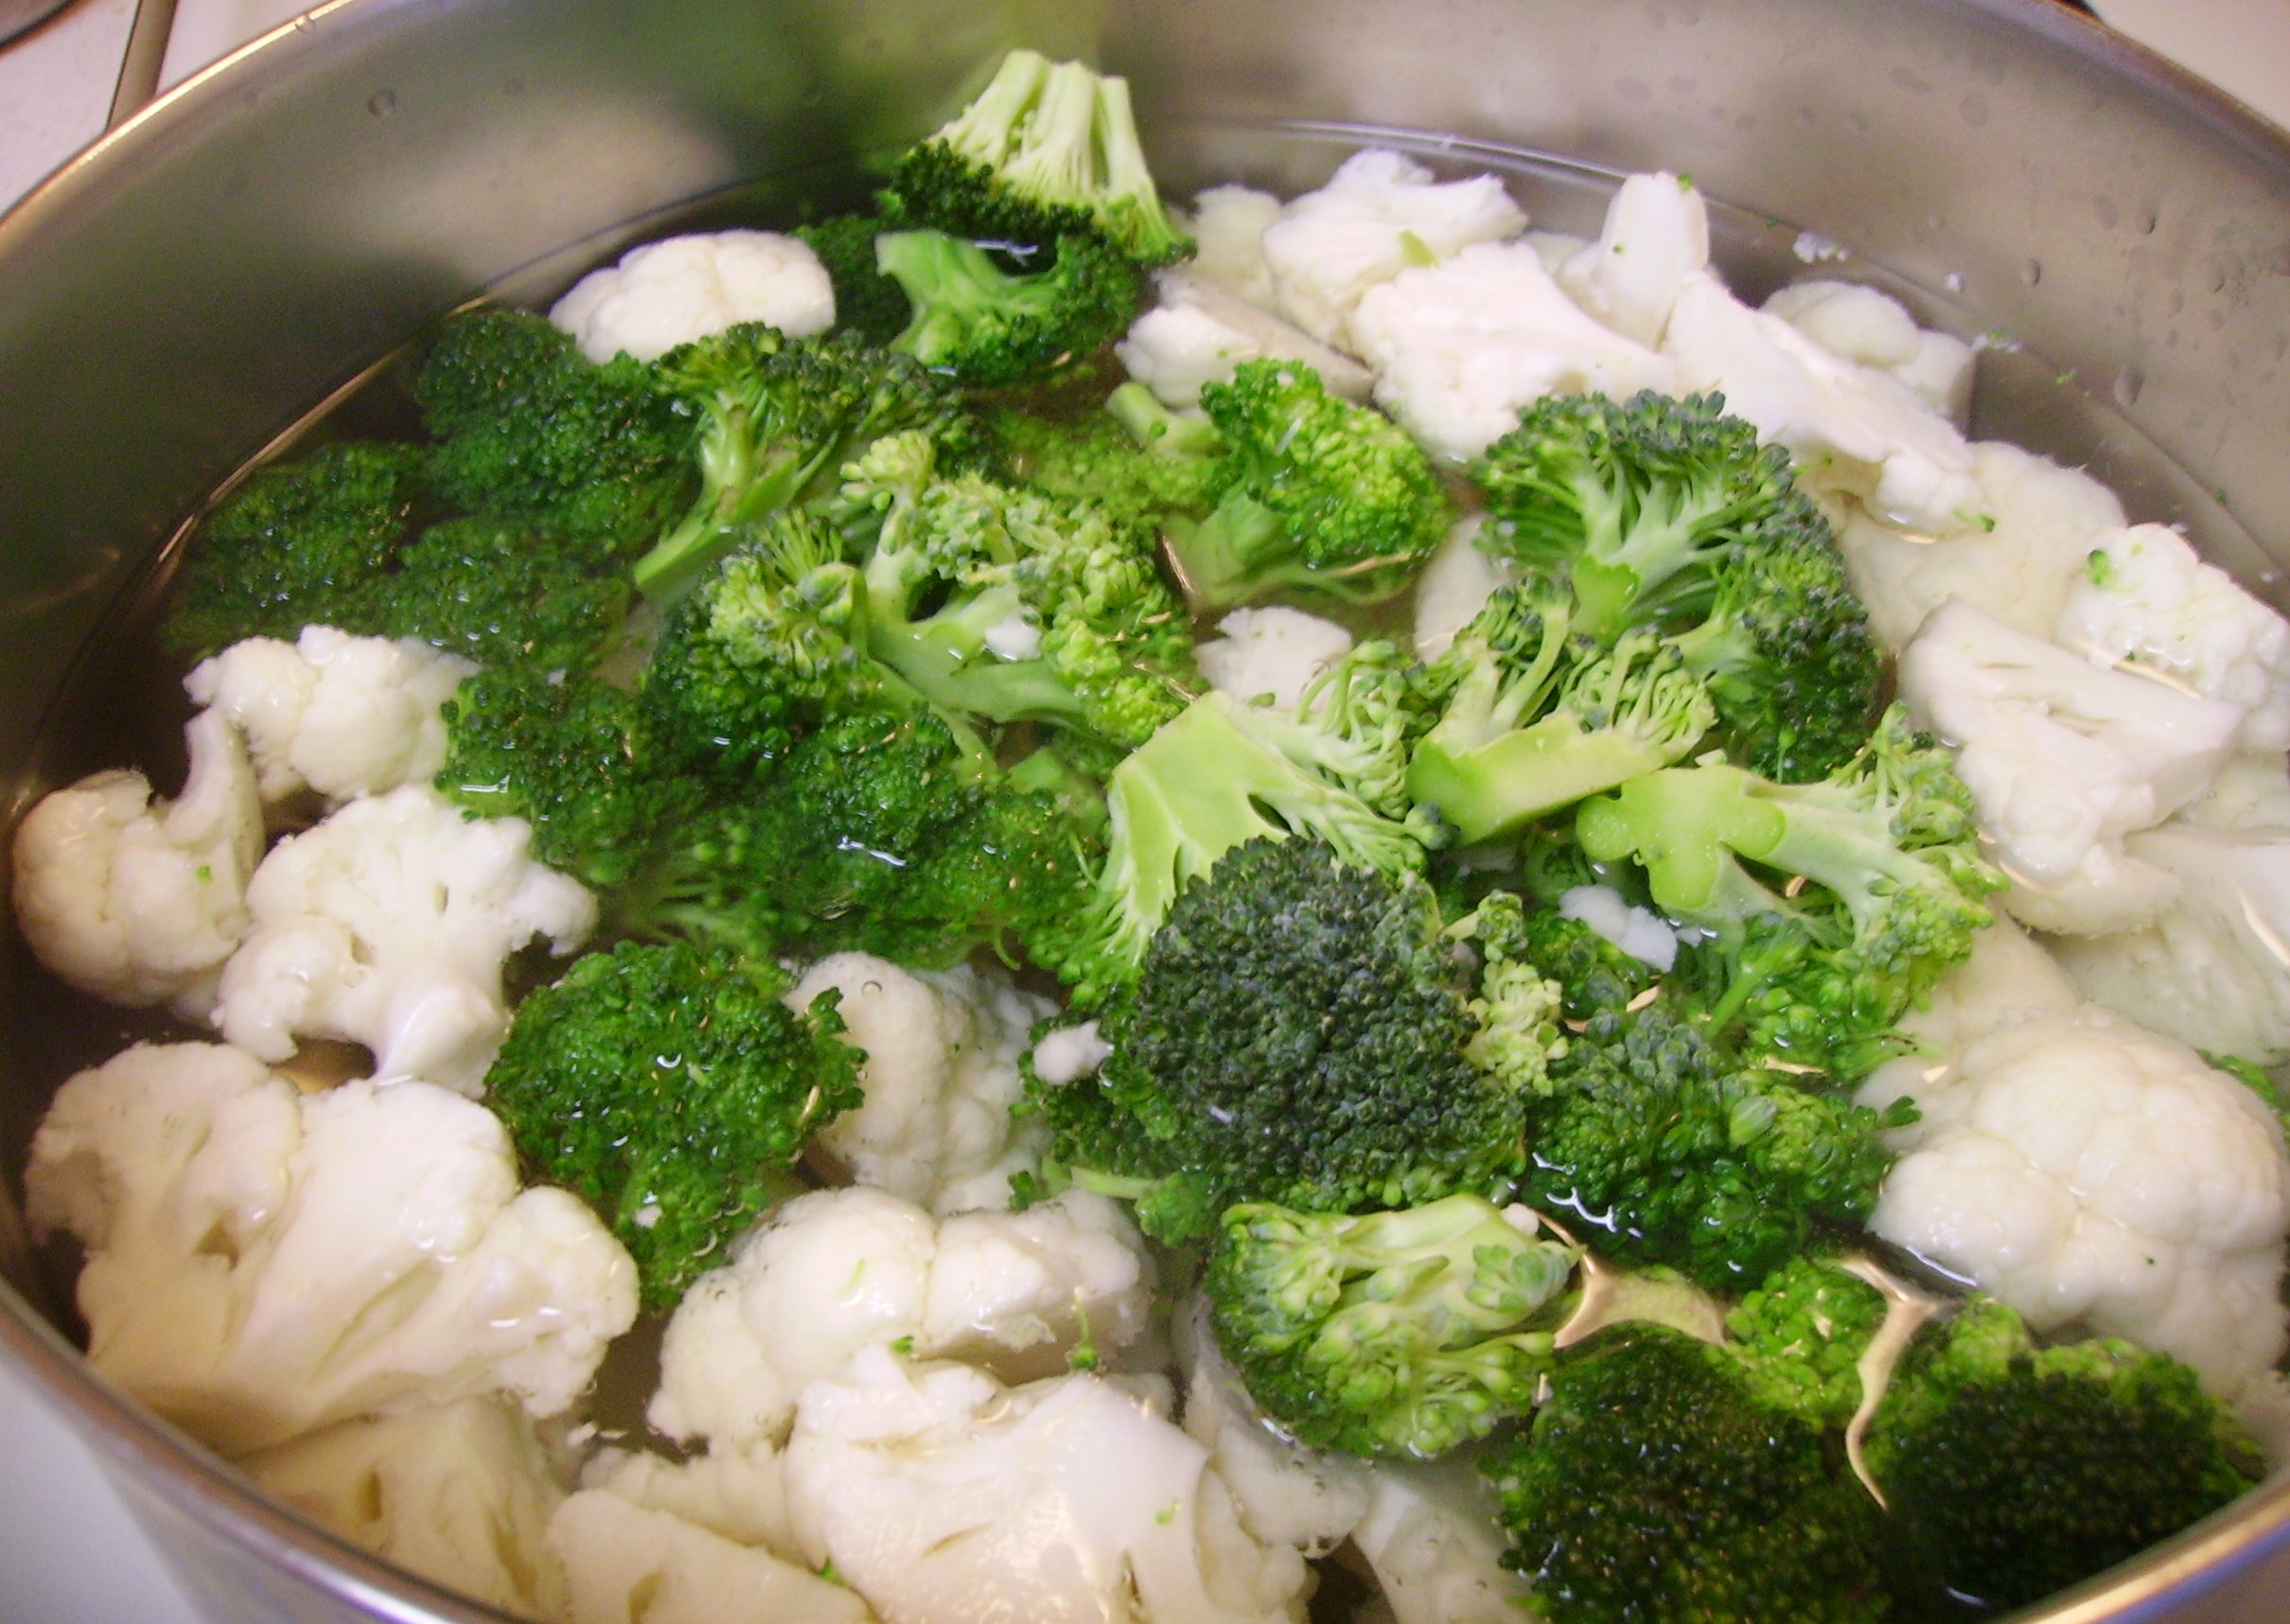
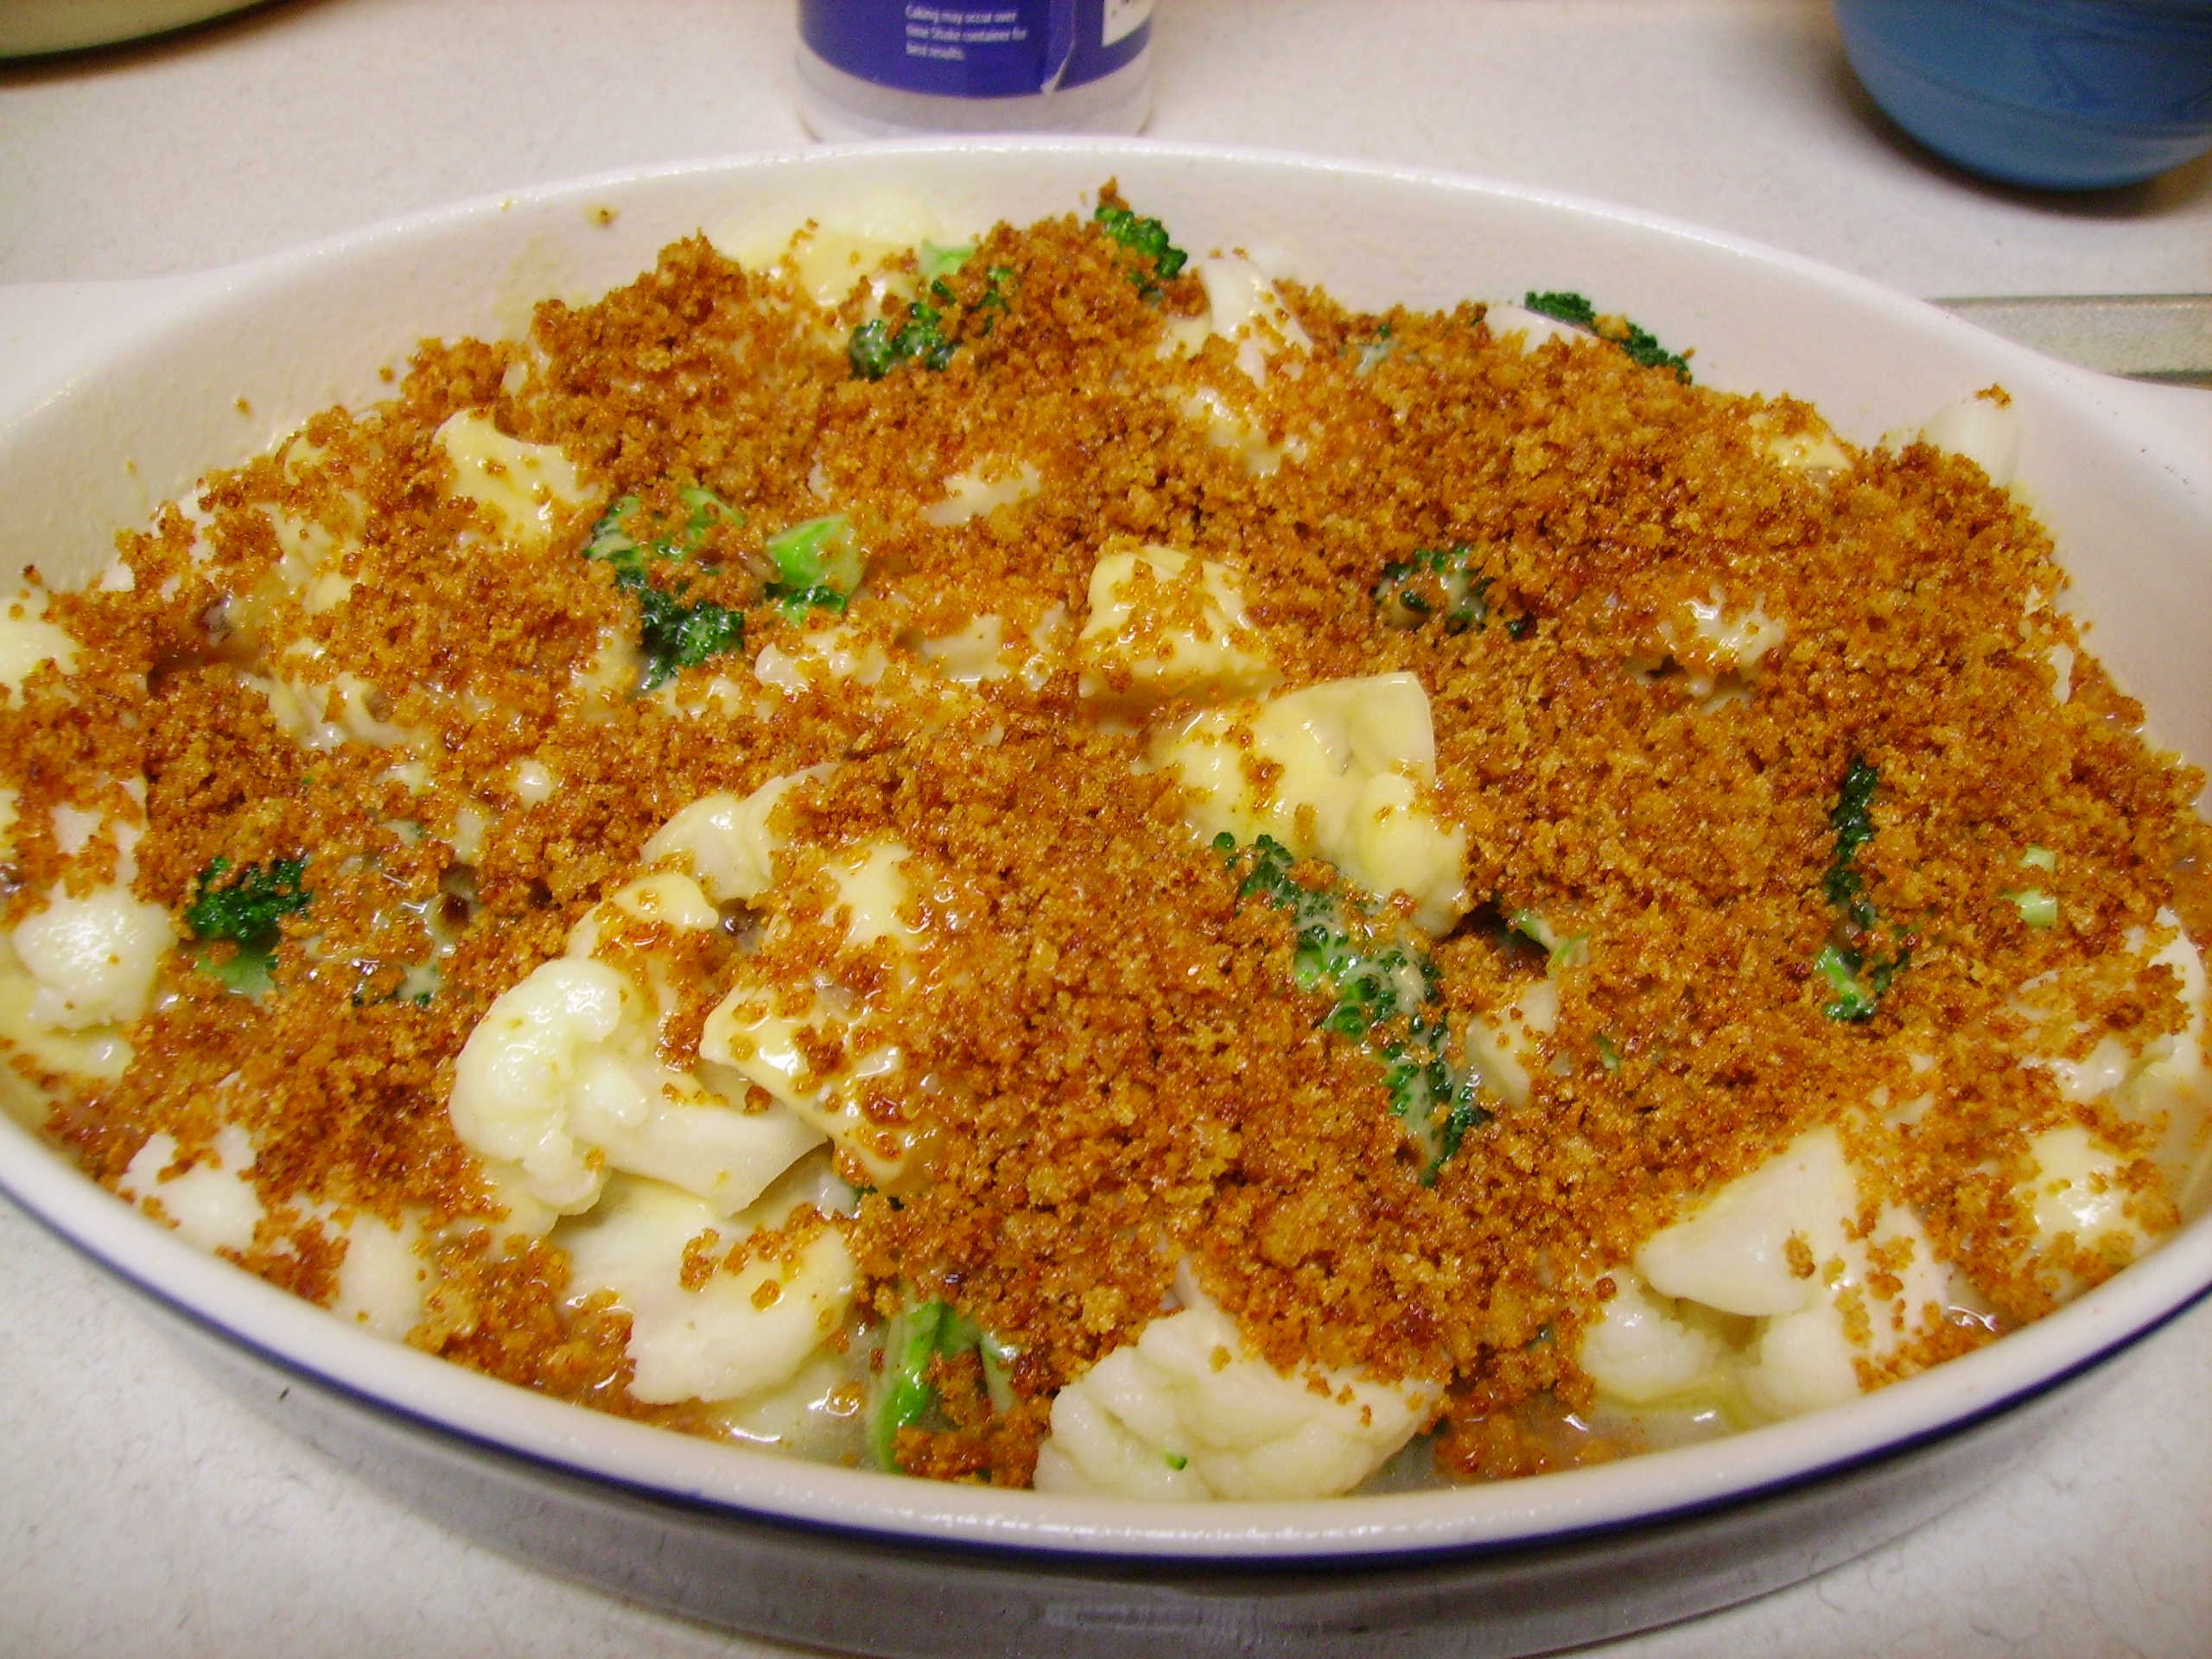
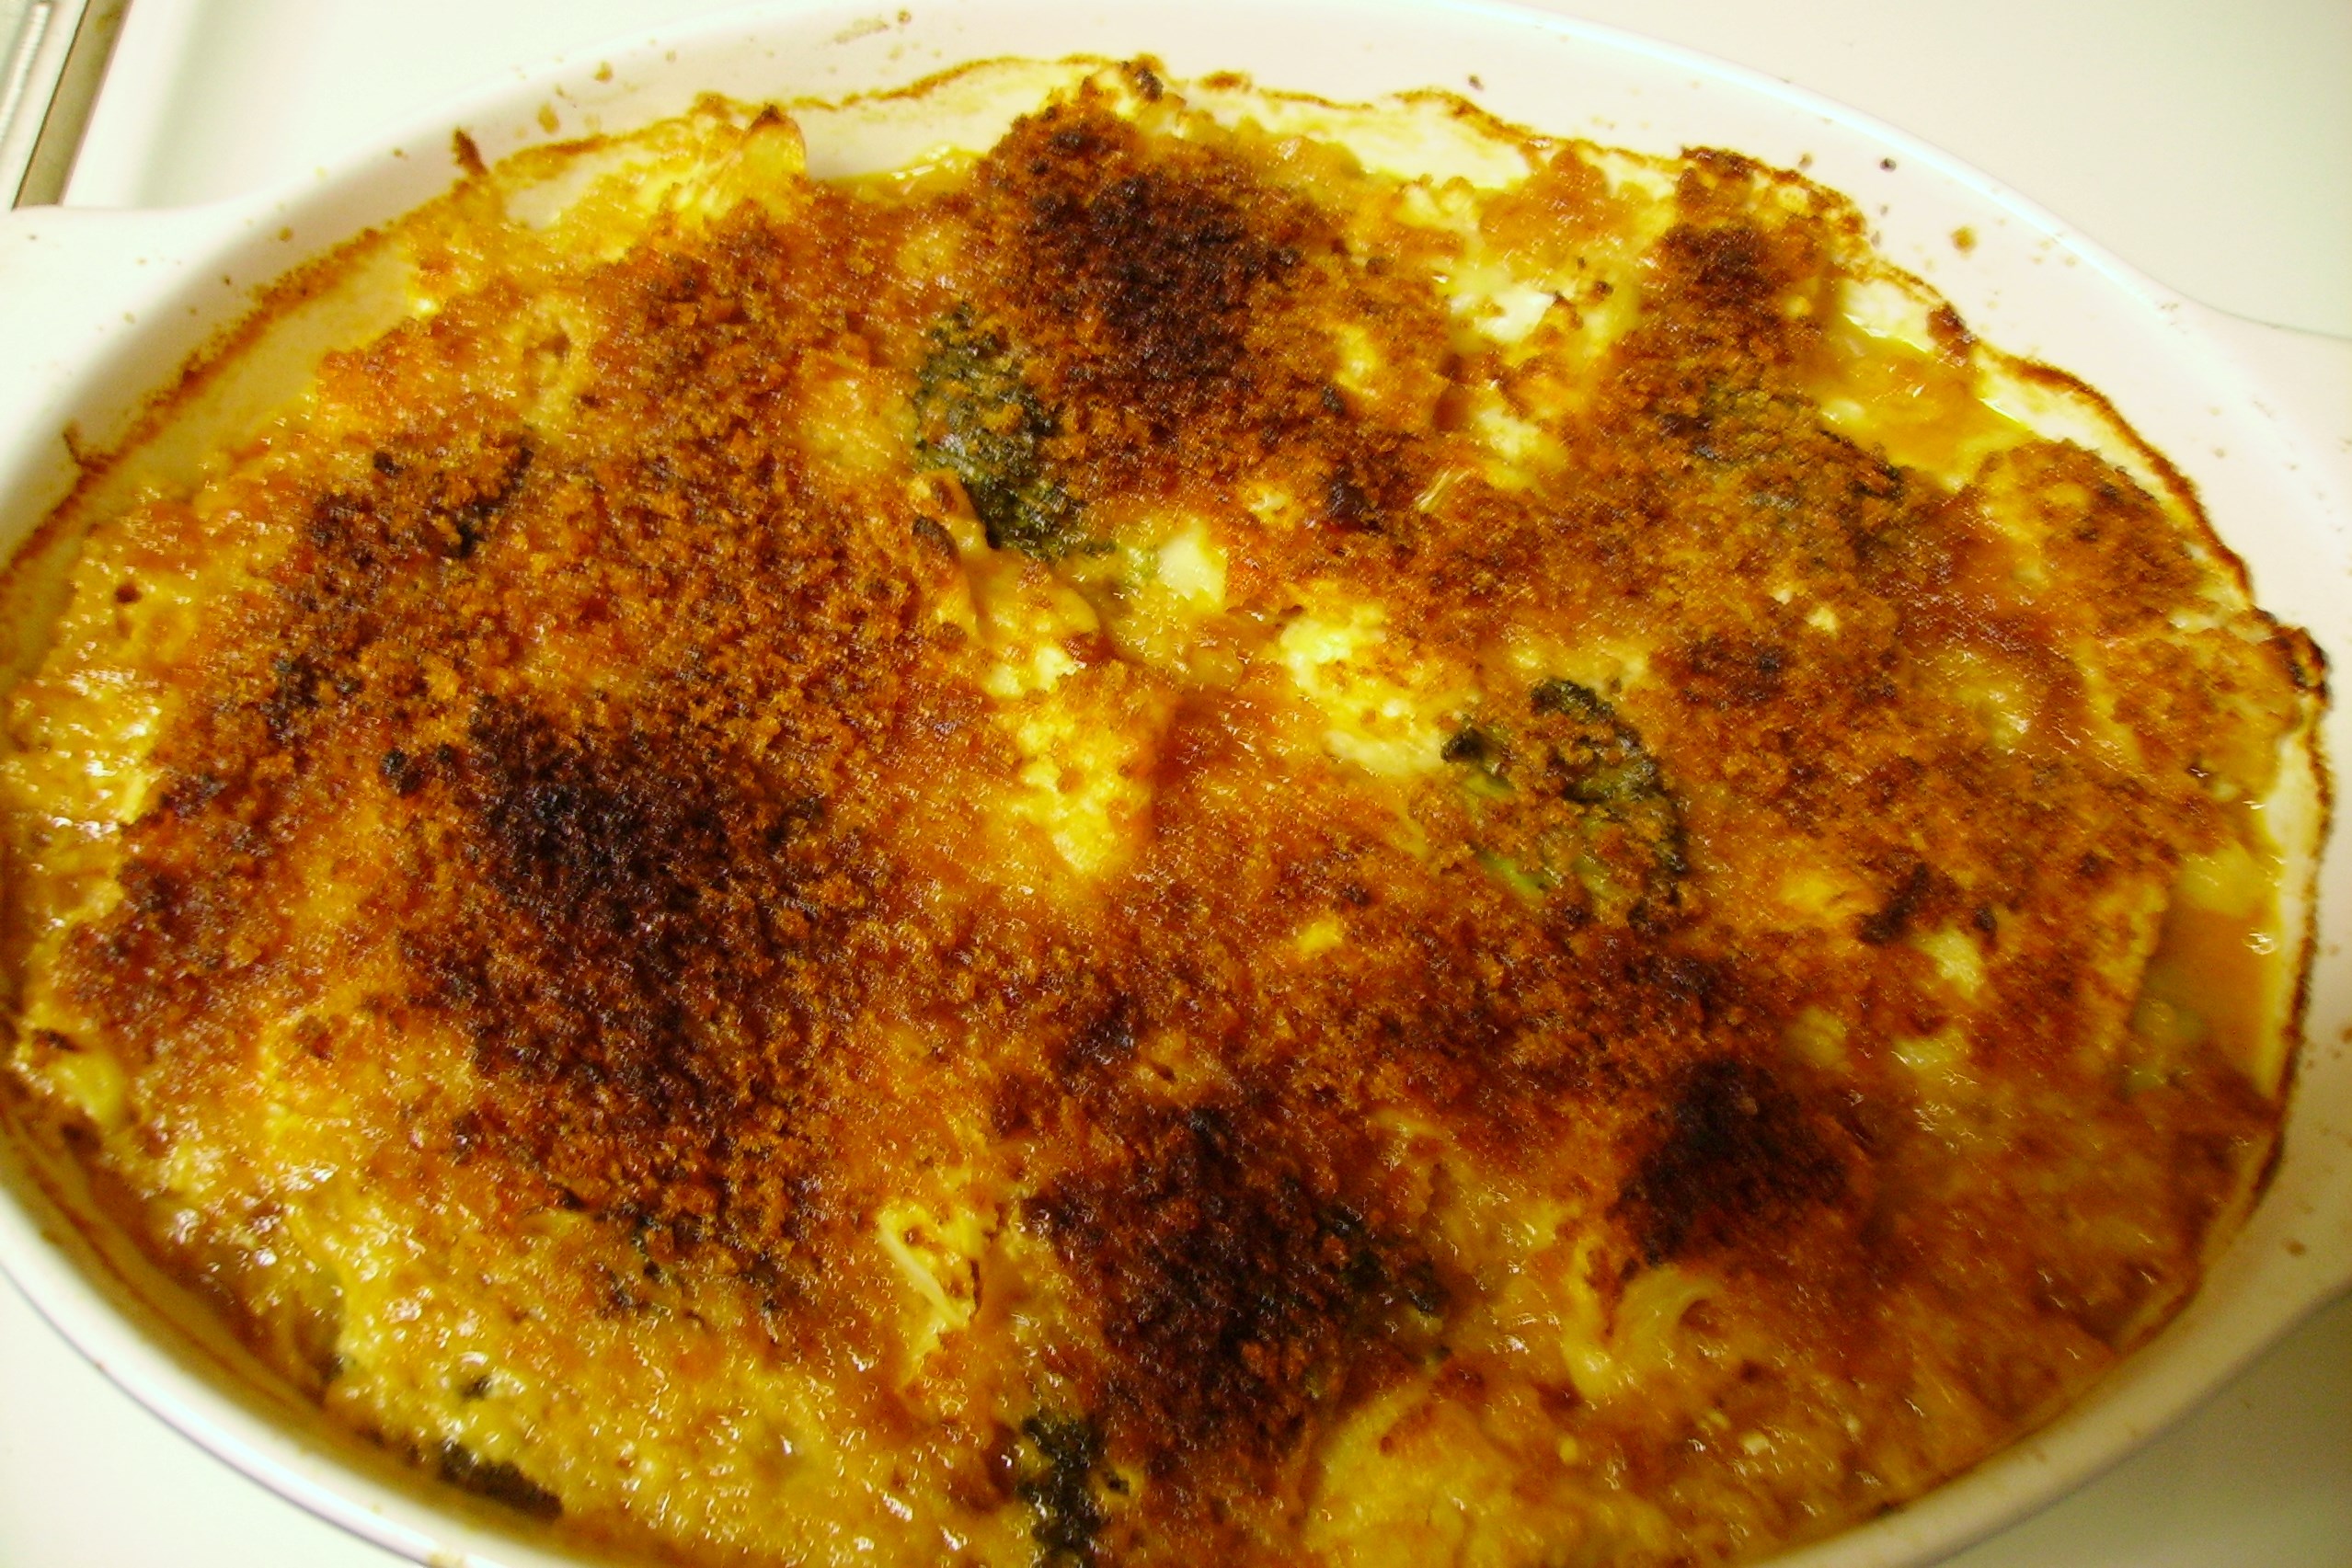
The casserole side dish is always a welcome addition to any meal. This particular one combines broccoli and cauliflower in a decadent cheese sauce.DIGITAL CAMERA How does this fit into Mama D’s healthier lifestyle? Well, as Oscar Wilde said everything in moderation including moderation. While not the lightest of dishes, I have trimmed a little fat here and there. I used an extra sharp cheddar cheese that allowed me to use only 3 ounces. A touch of blue cheese added some extra zing. DIGITAL CAMERAI did splurge on real butter, but it was only two tablespoons.  A good amount of onions caramelized in the butter before the flour was added to create a roux. I used low-fat milk in the sauce to trim a little more fat as well.DIGITAL CAMERAI blanched the cauliflower and broccoli to shorten the cooking time.

DIGITAL CAMERA I like the vegetables to be a little softer in this type of casserole, but if you want a little extra crunch skip this step.

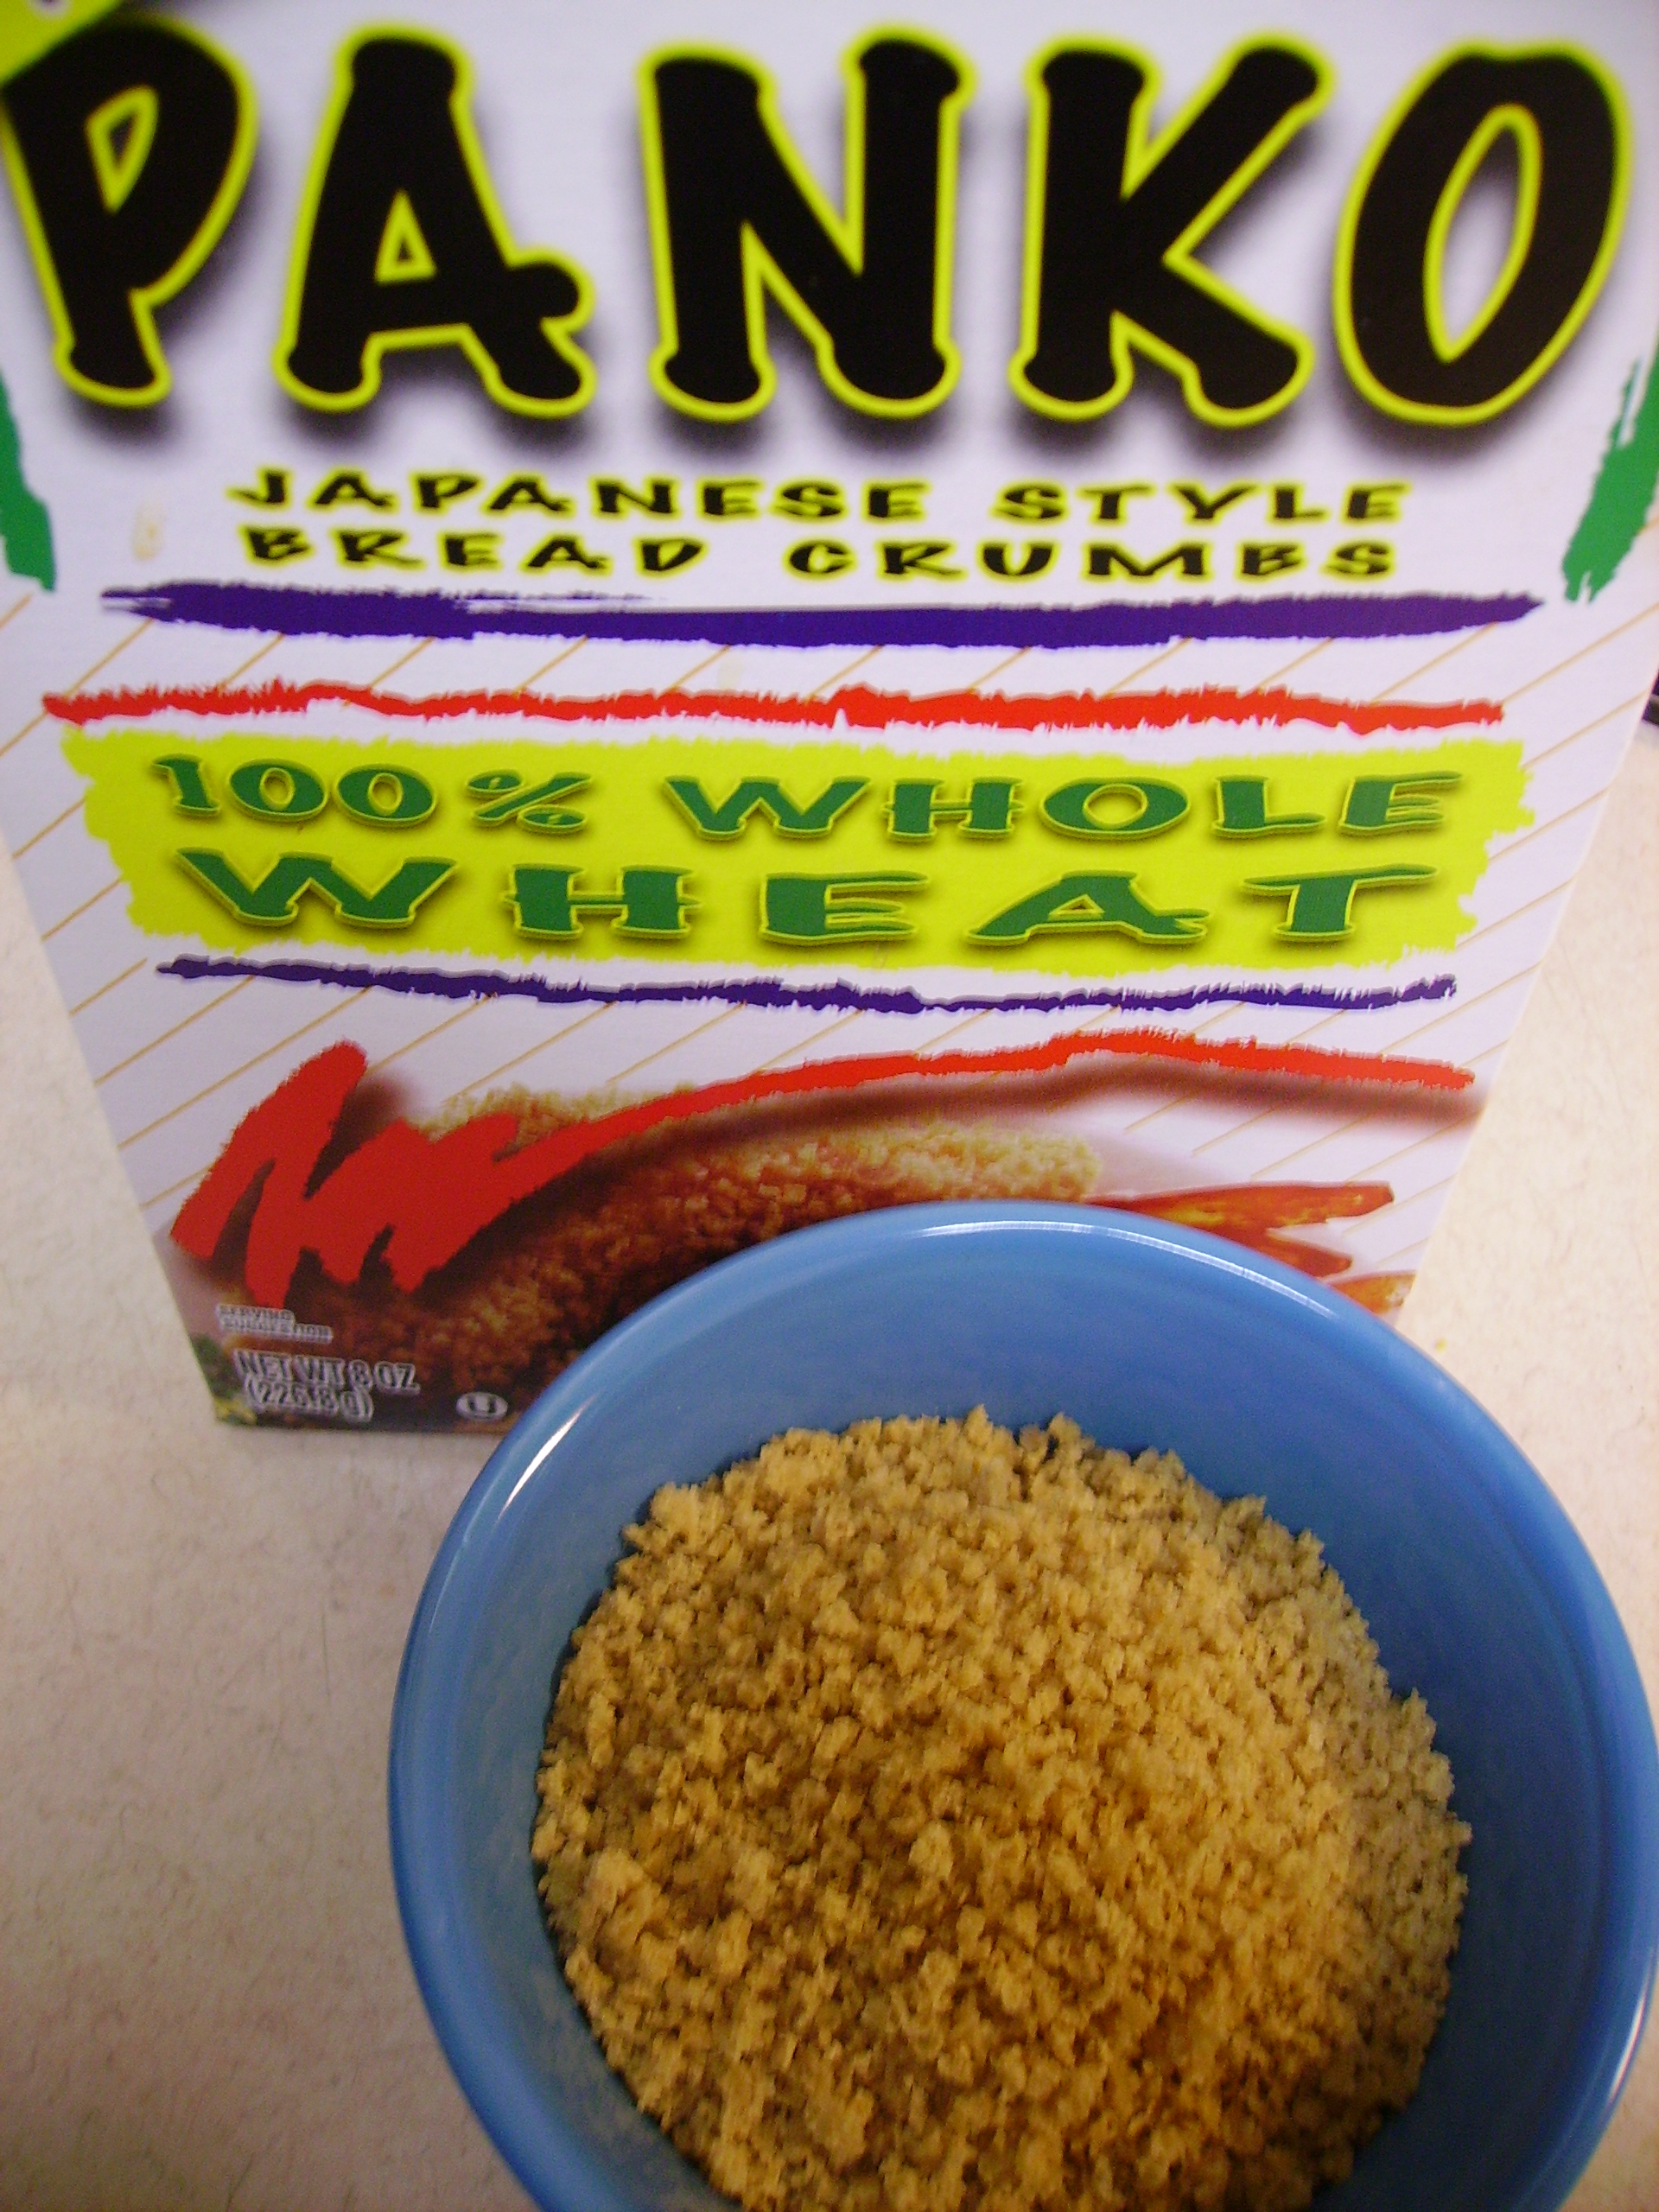
I used whole wheat Panko crumbs, a small nod to health, but throw me a bone here.

DIGITAL CAMERAPanko is very crisp already so I only added a bit of butter along with some smoked paprika. Before it went into the oven I gave it a good dose of olive oil cooking spray.DIGITAL CAMERA The crust had the crunch of something made with a lot more fat.DIGITAL CAMERA

This casserole will easily serve six people as a small serving is almost as satisfying as a large one especially when it is paired with wonderful roast meat or poultry of your choice.

Broccoli and Cauliflower Au Gratin
Print Recipe
Servings
6
Servings
6
Broccoli and Cauliflower Au Gratin
Print Recipe
Servings
6
Servings
6
Ingredients
Servings:
Instructions
  1. To blanch the vegetables: Bring a large pot of water to a vigorous boil. Add the broccoli and cauliflower. Cook for 2 minutes (for the broccoli) and 3 minutes (for the cauliflower).
  2. Remove from the pot with a slotted spoon and immediately put them in a bowl of ice water. When cool drain completely and place in a gratin dish that has been coated with olive oil cooking spray.
  3. In a medium saucepan melt 2 tablespoons of the butter over medium heat. Add the onions and cook until they are golden brown, stirring occasionally.
  4. Add the flour and cook and stir for several minutes. Slowly pour in the milk stirring constantly to prevent lumps.
  5. Slowly bring the mixture to a boil. Continue cooking and stirring until the sauce has thickened. Stir in the mustard.
  6. Remove the pan from the heat and stir in the cheddar and blue cheese. Once the cheeses have melted, pour the sauce over the vegetables. Stir gently to coat everything evenly.
  7. Melt the remaining butter in a small pan. Add the Panko crumbs and smoked paprika and toss until the crumbs are coated.
  8. Sprinkle the crumbs over the casserole. Spray the top of the casserole liberally with olive oil cooking spray. Bake in a 375 degree oven until the vegetables are tender, the top is golden, and the sauce is bubbly. This should take 30 to 40 minutes.
  9. Remove from the oven and allow to cool for 10 - 15 minutes before serving.
Share this Recipe
Powered byWP Ultimate Recipe

I believe that sides make the meal. It’s that little extra dose of love that elevates the meal to something special.


Pork Tenderloin A La Boulangere…and Other Words of (Pork) Love

When I was growing up, my mother would cook Pork Tenderloin often. It was the 50’s and she would get it from the butcher at the Bonnie Bee. He did all the work of pounding it into thin cutlets. She took these lovely slices home and dredged them in flour seasoned with Lawry’s Salt. Fried in Crisco, in her electric fry pan, and usually served with mashed potatoes, it was heaven on a plate. That was then…this is now. My approach is lighter and healthier but, the result is still heaven on a plate.DIGITAL CAMERA

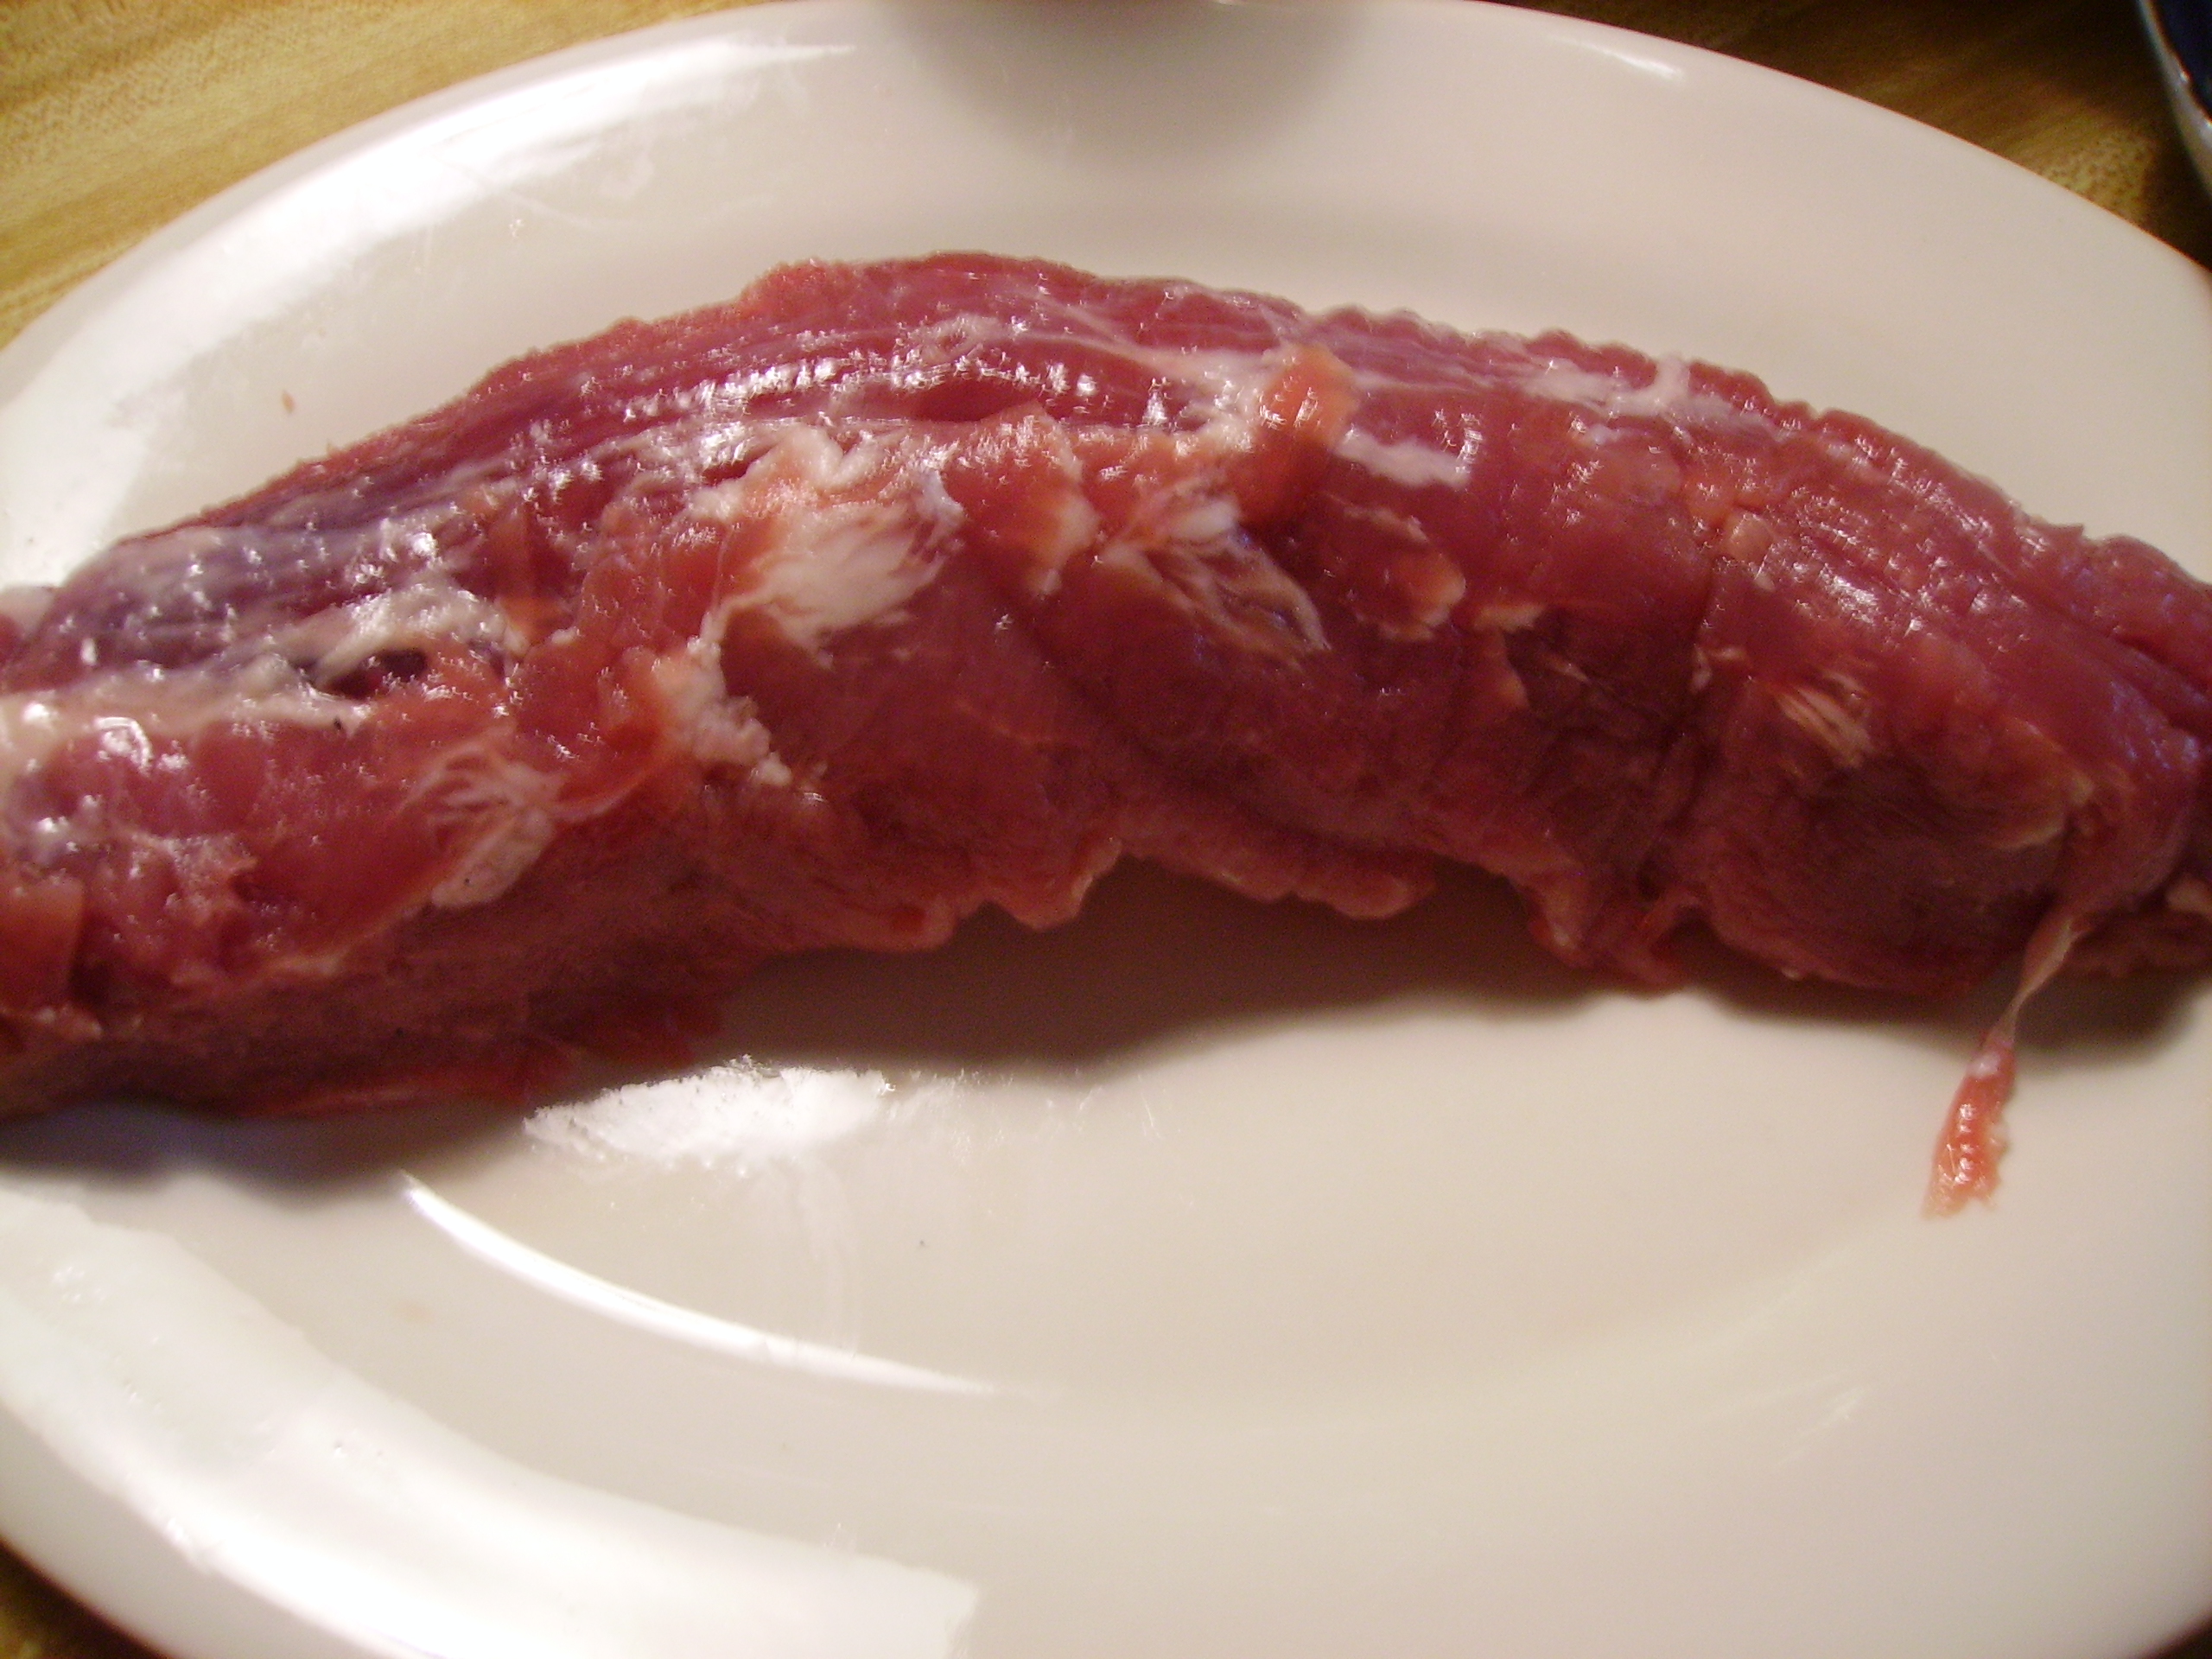
Why do I Love Pork Tenderloin?                                                                                                                     It is just the right size: Weighing in at right around one pound it is the perfect size for two people with enough leftover to make a fabulous lunch the next day.                                    It is relatively cheap: the going rate around here is somewhere around $3.00 to $4.00 per pound. That’s cheap for 2+ servings of deliciousness in my book.                                                     It is lean: cuddled deep inside the loin, it has little visible fat and is as tender as pork comes.

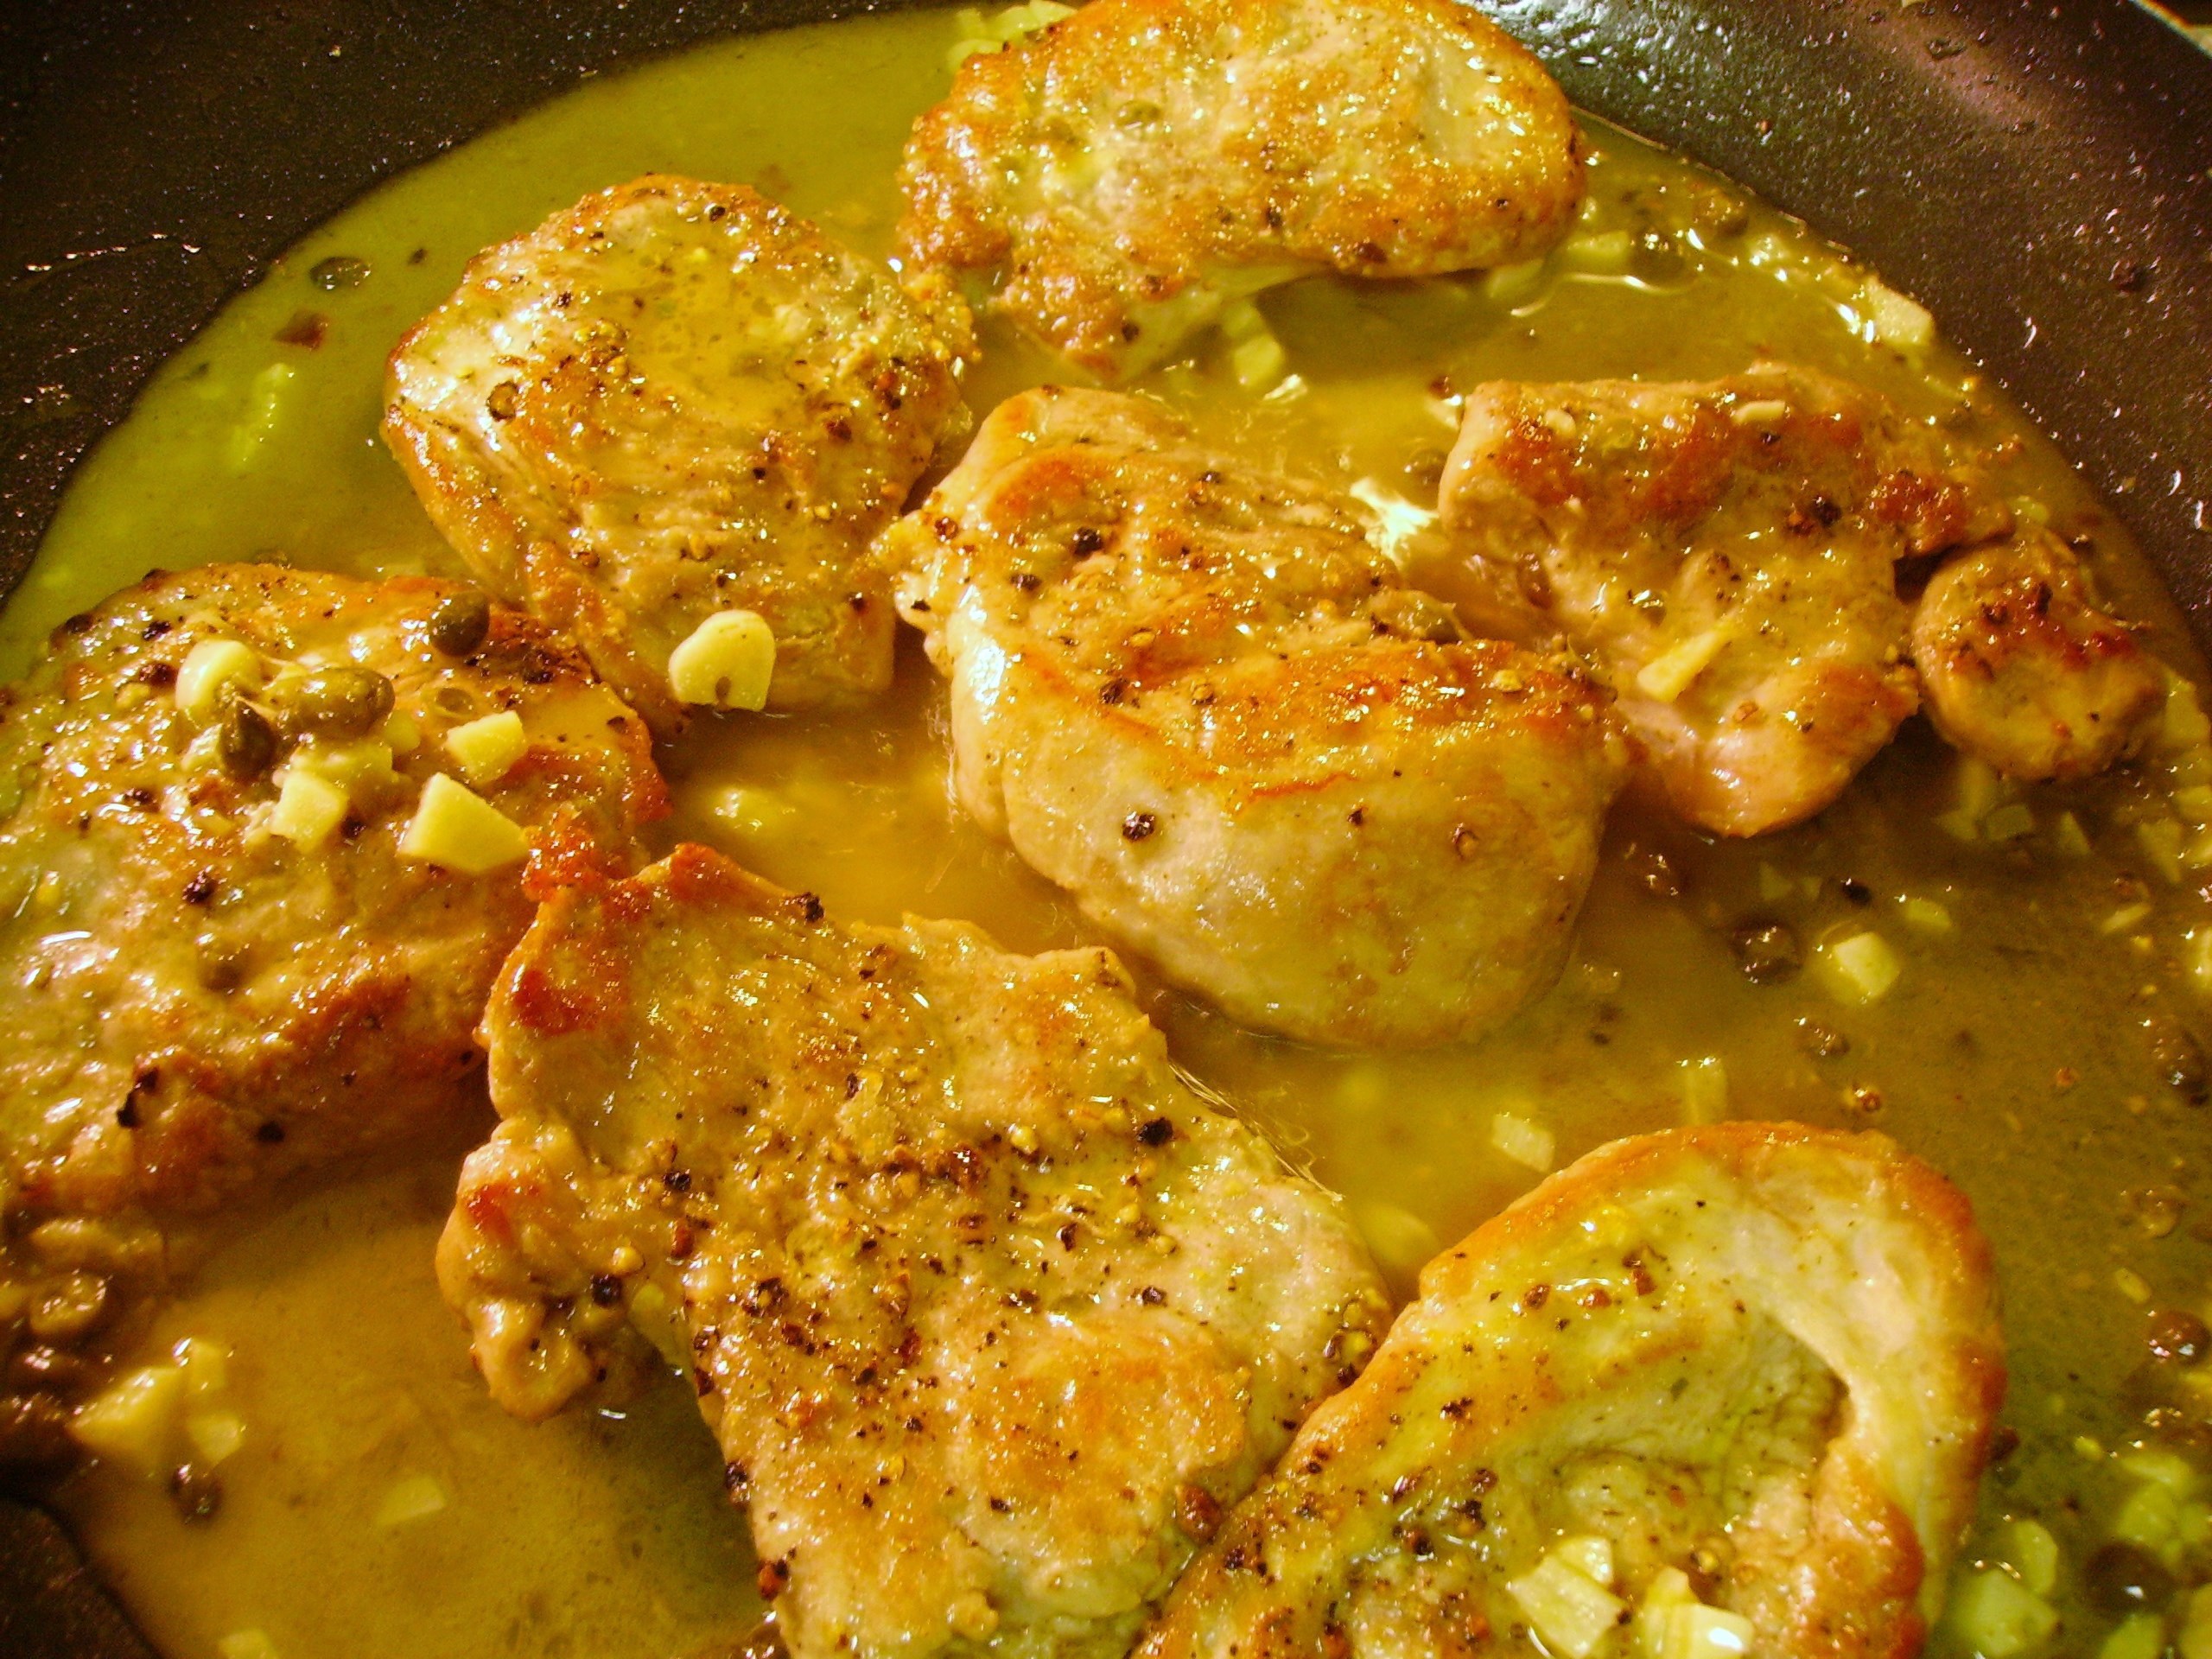
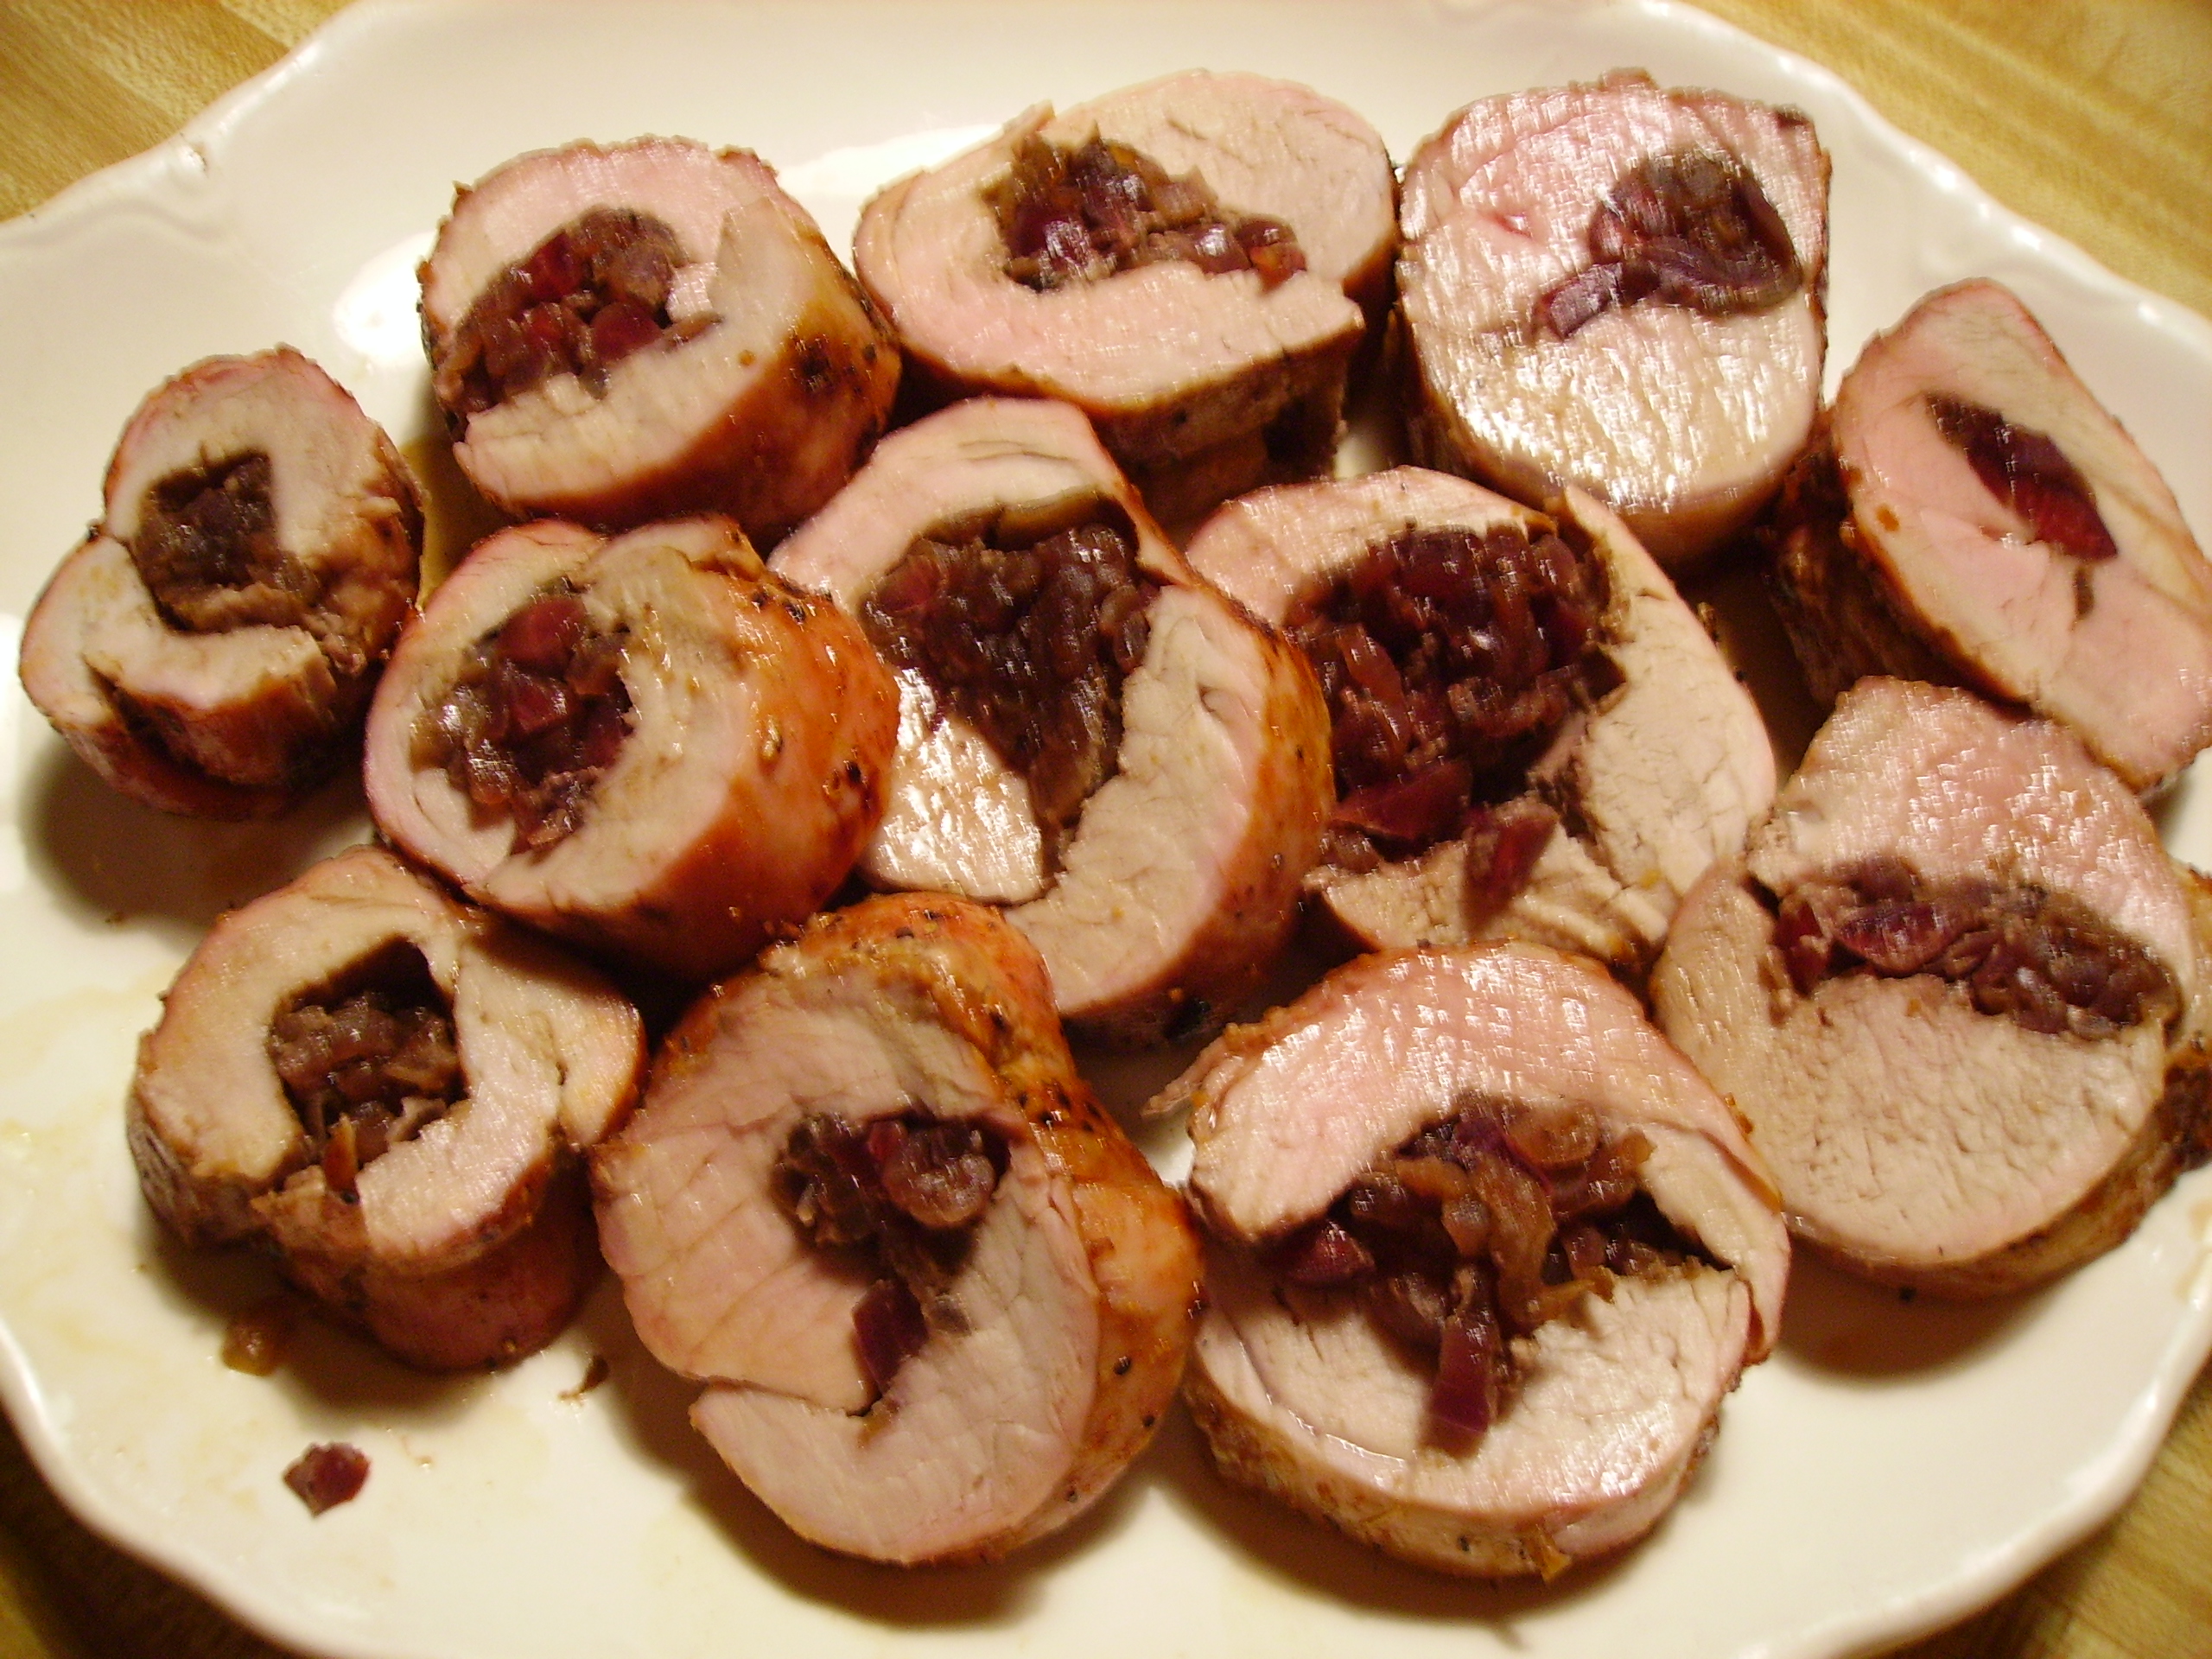
DIGITAL CAMERAIt is a perfect blank canvas: it loves rubs and marinades,DIGITAL CAMERAand it can be grilled, roasted or sautéed.DIGITAL CAMERAWith a little patience, you can even stuff it.DIGITAL CAMERA

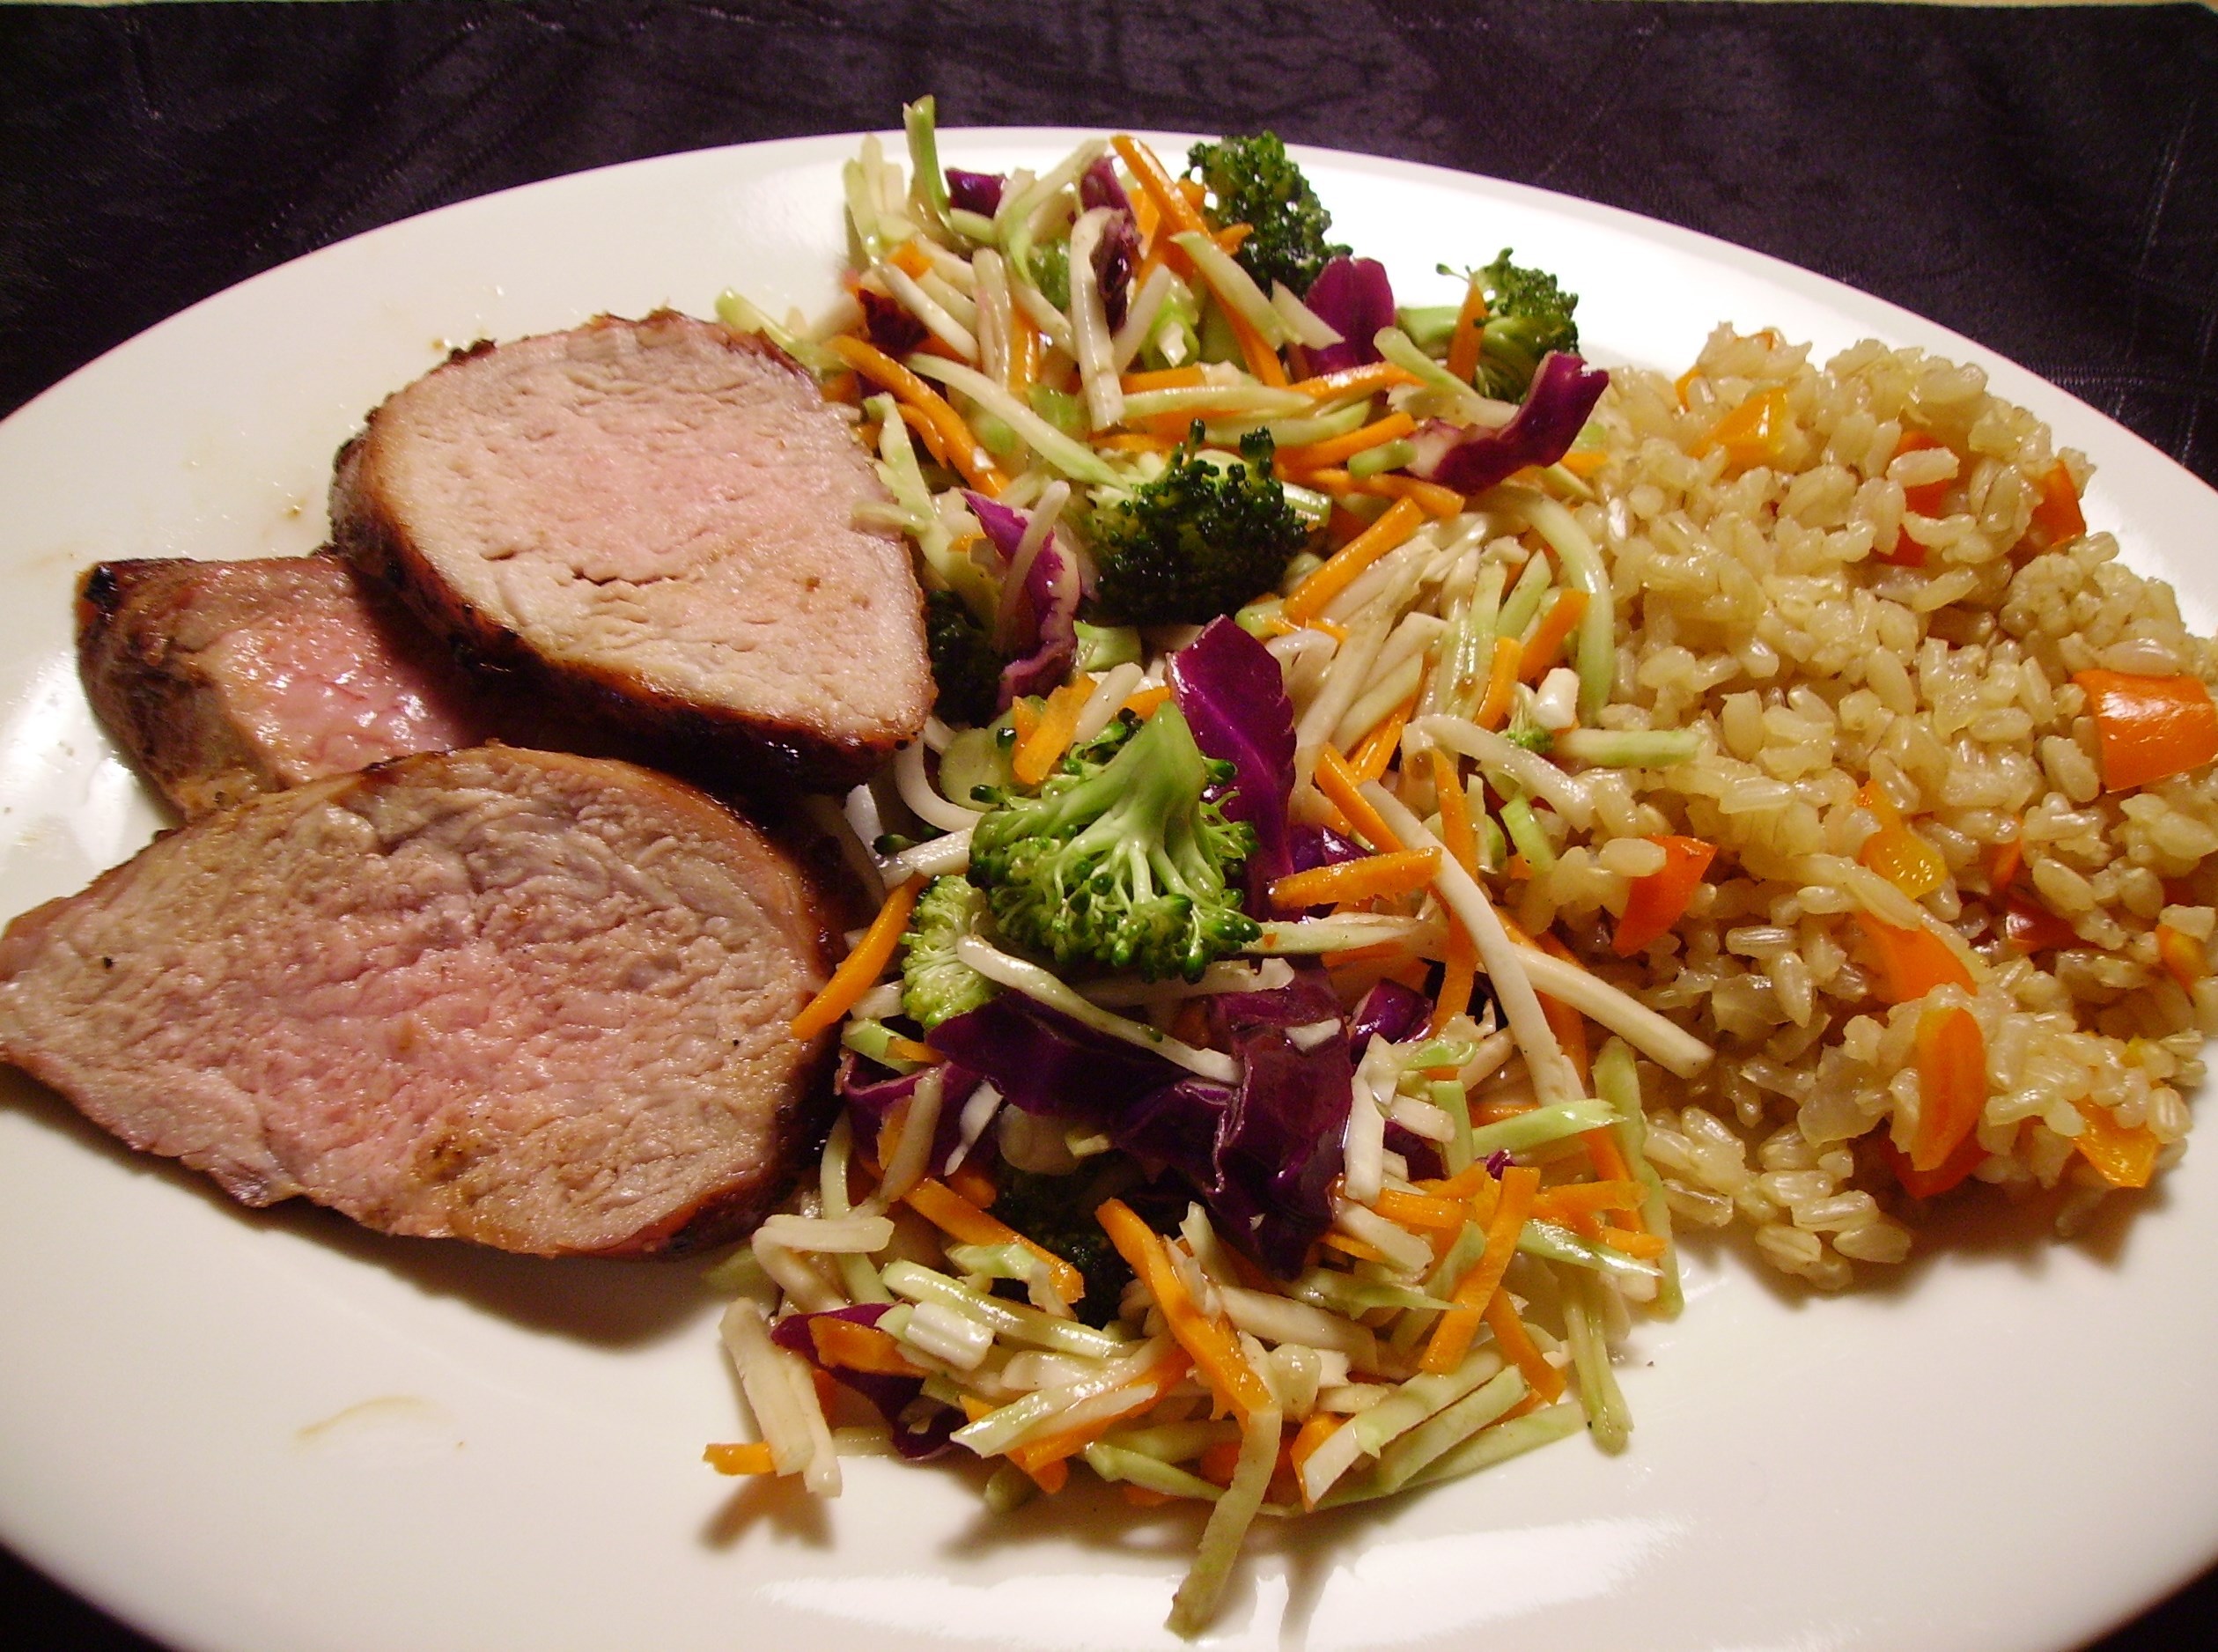
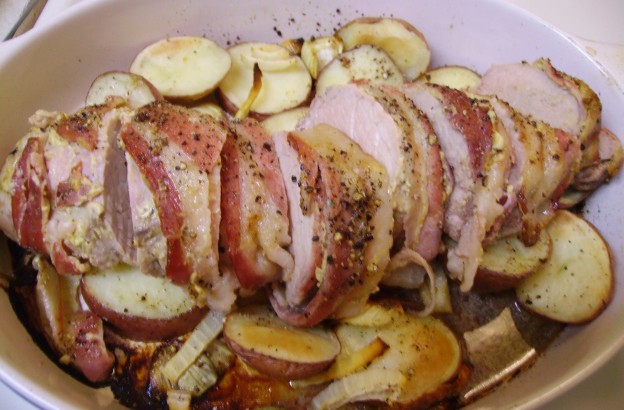
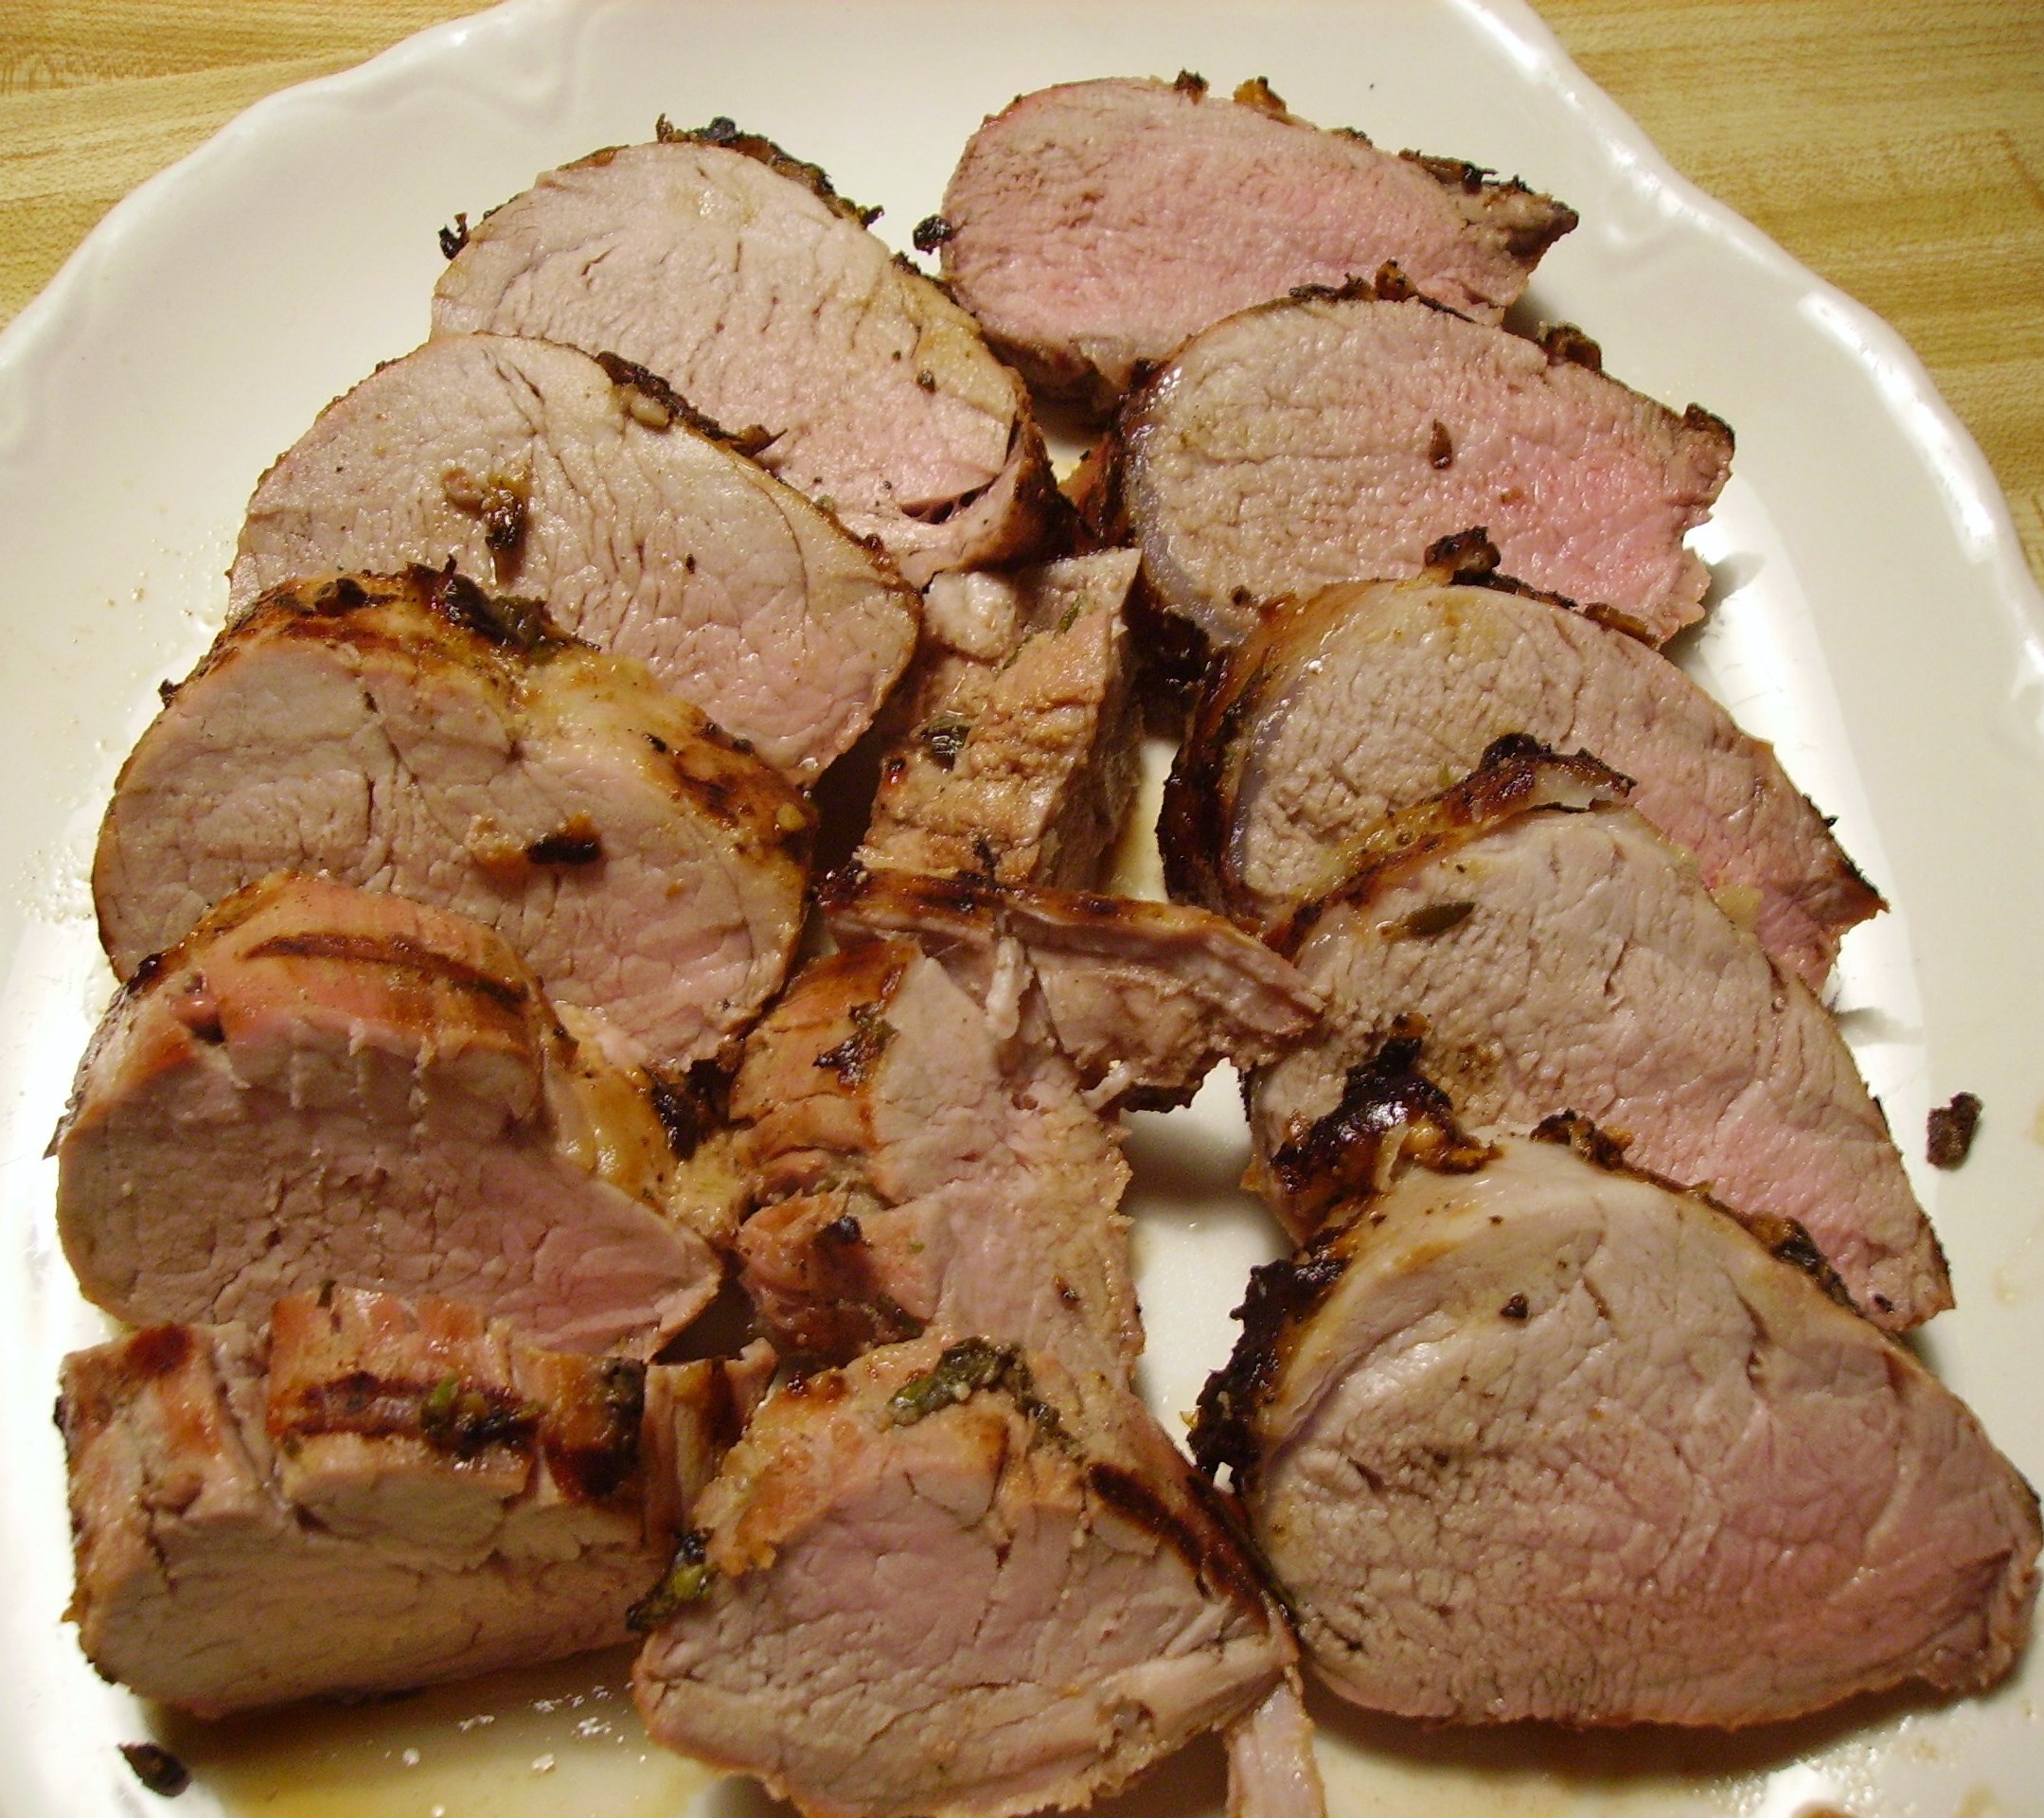
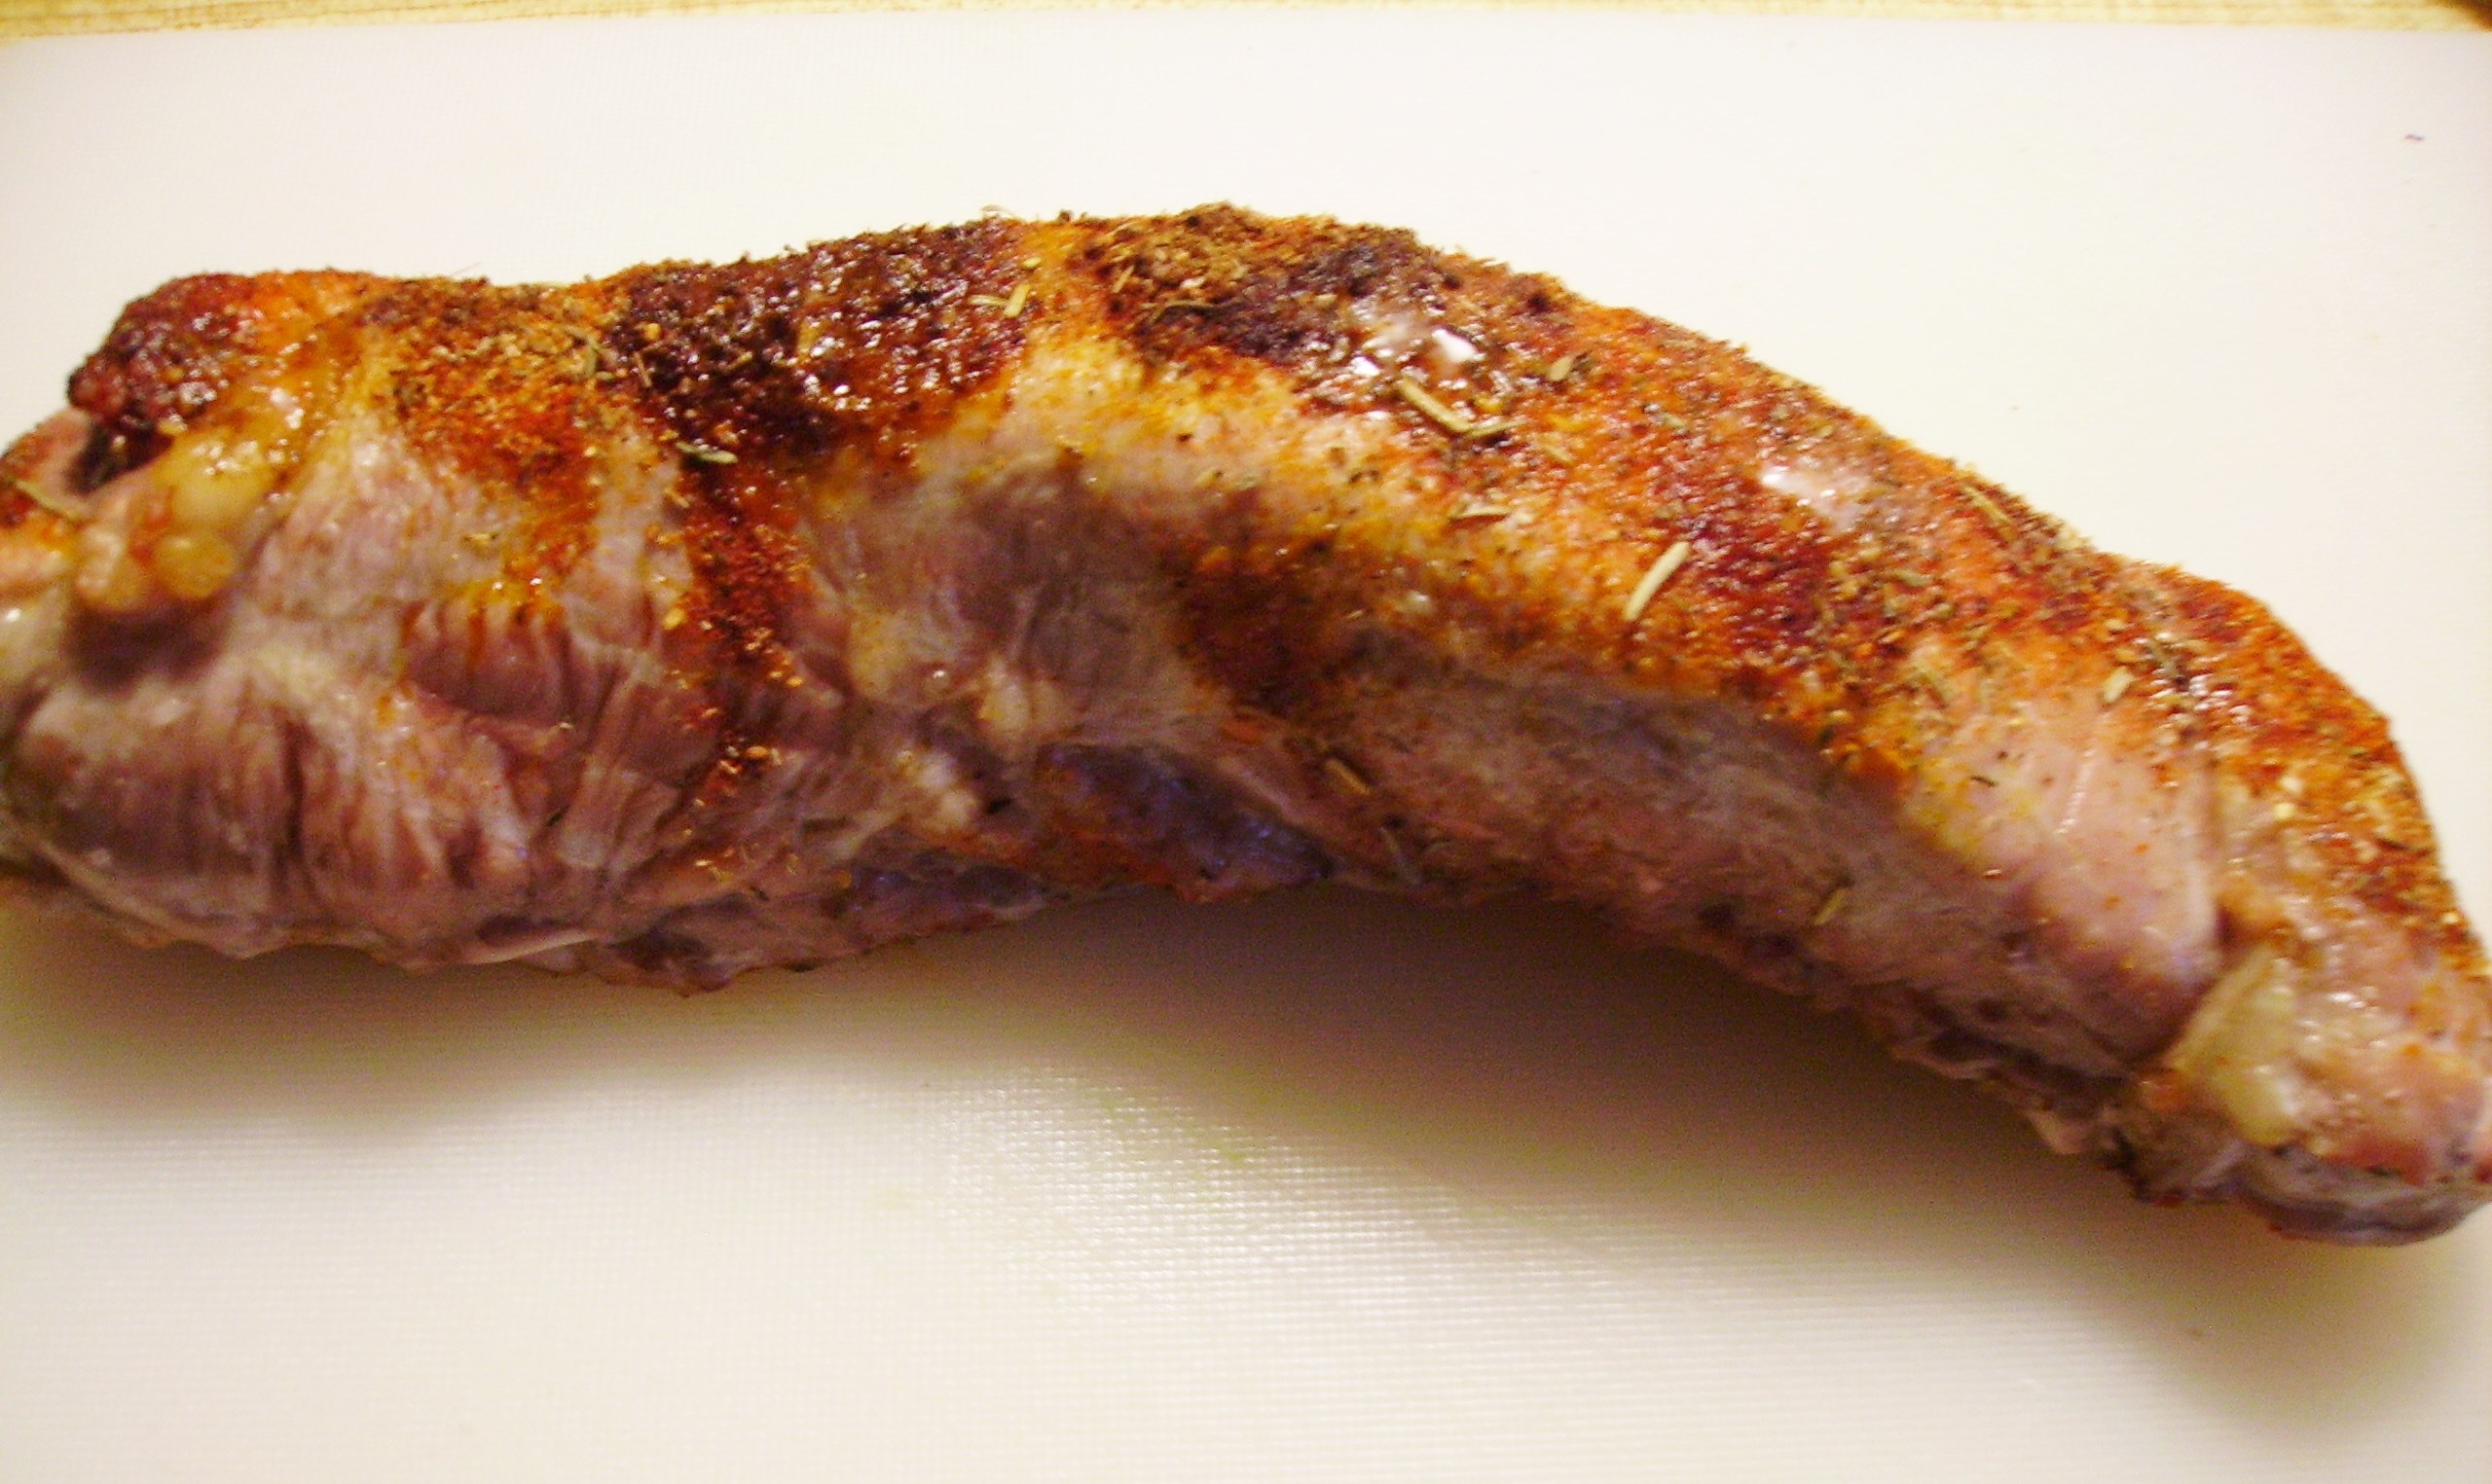
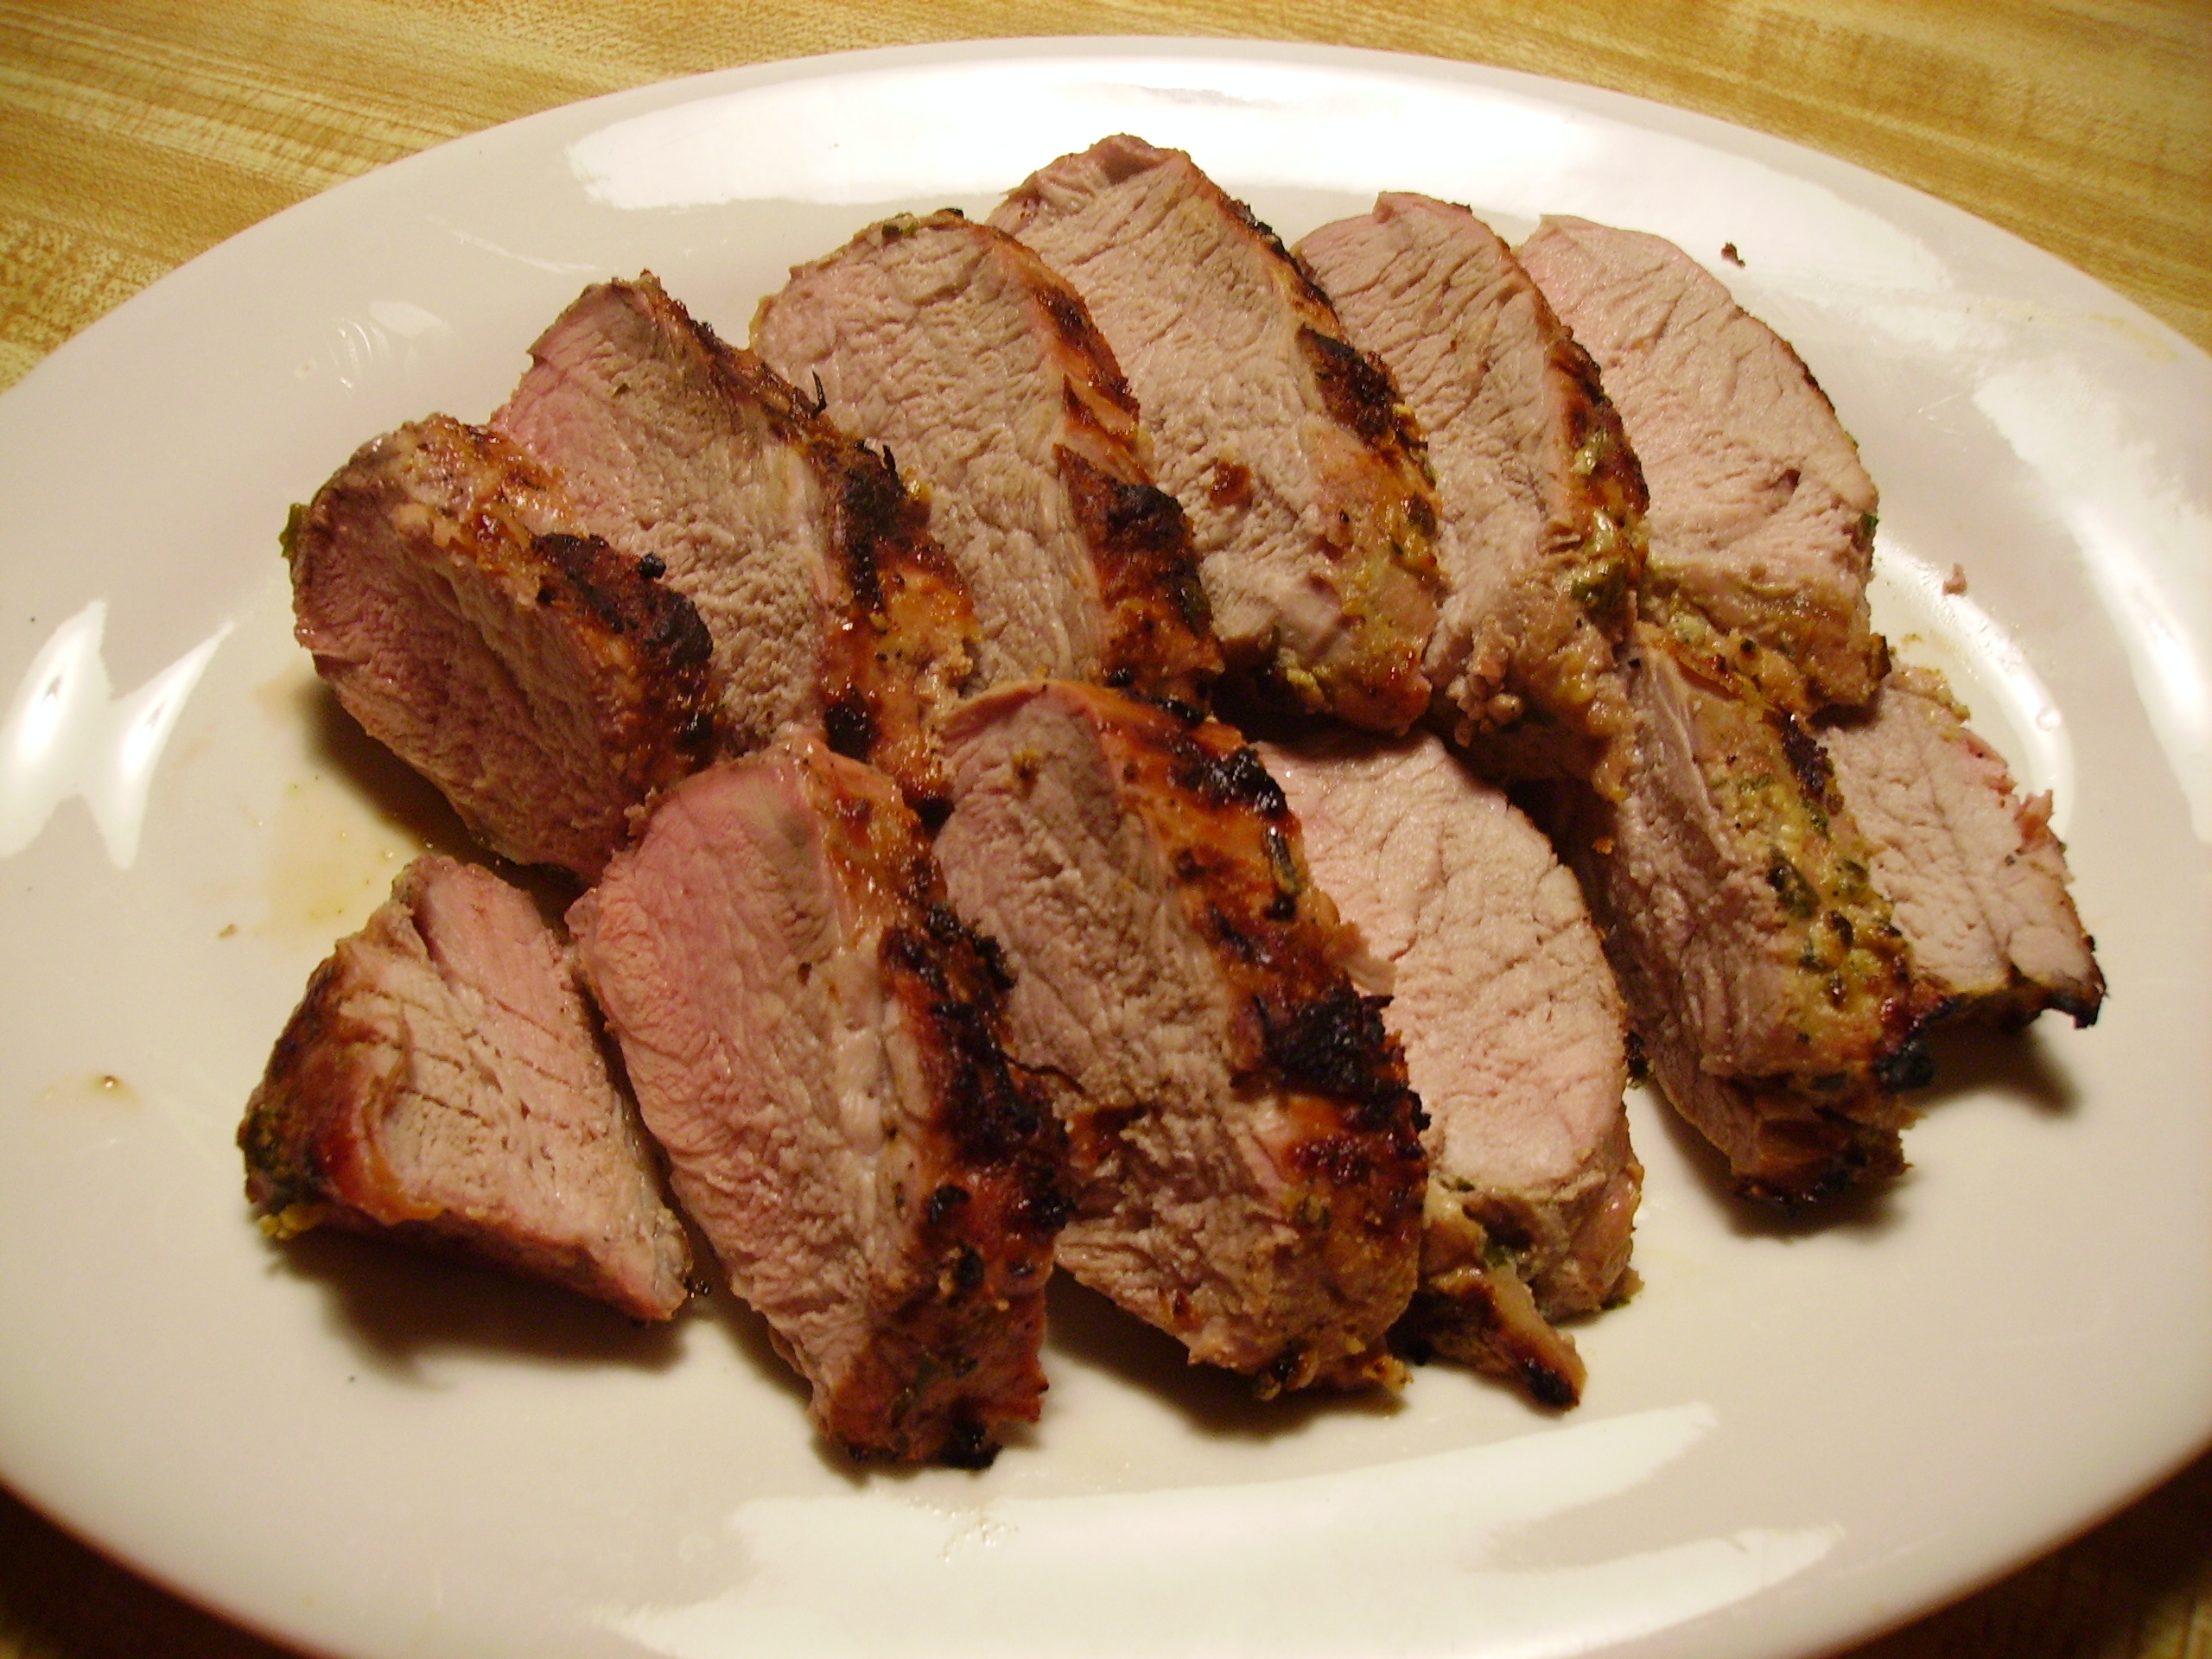
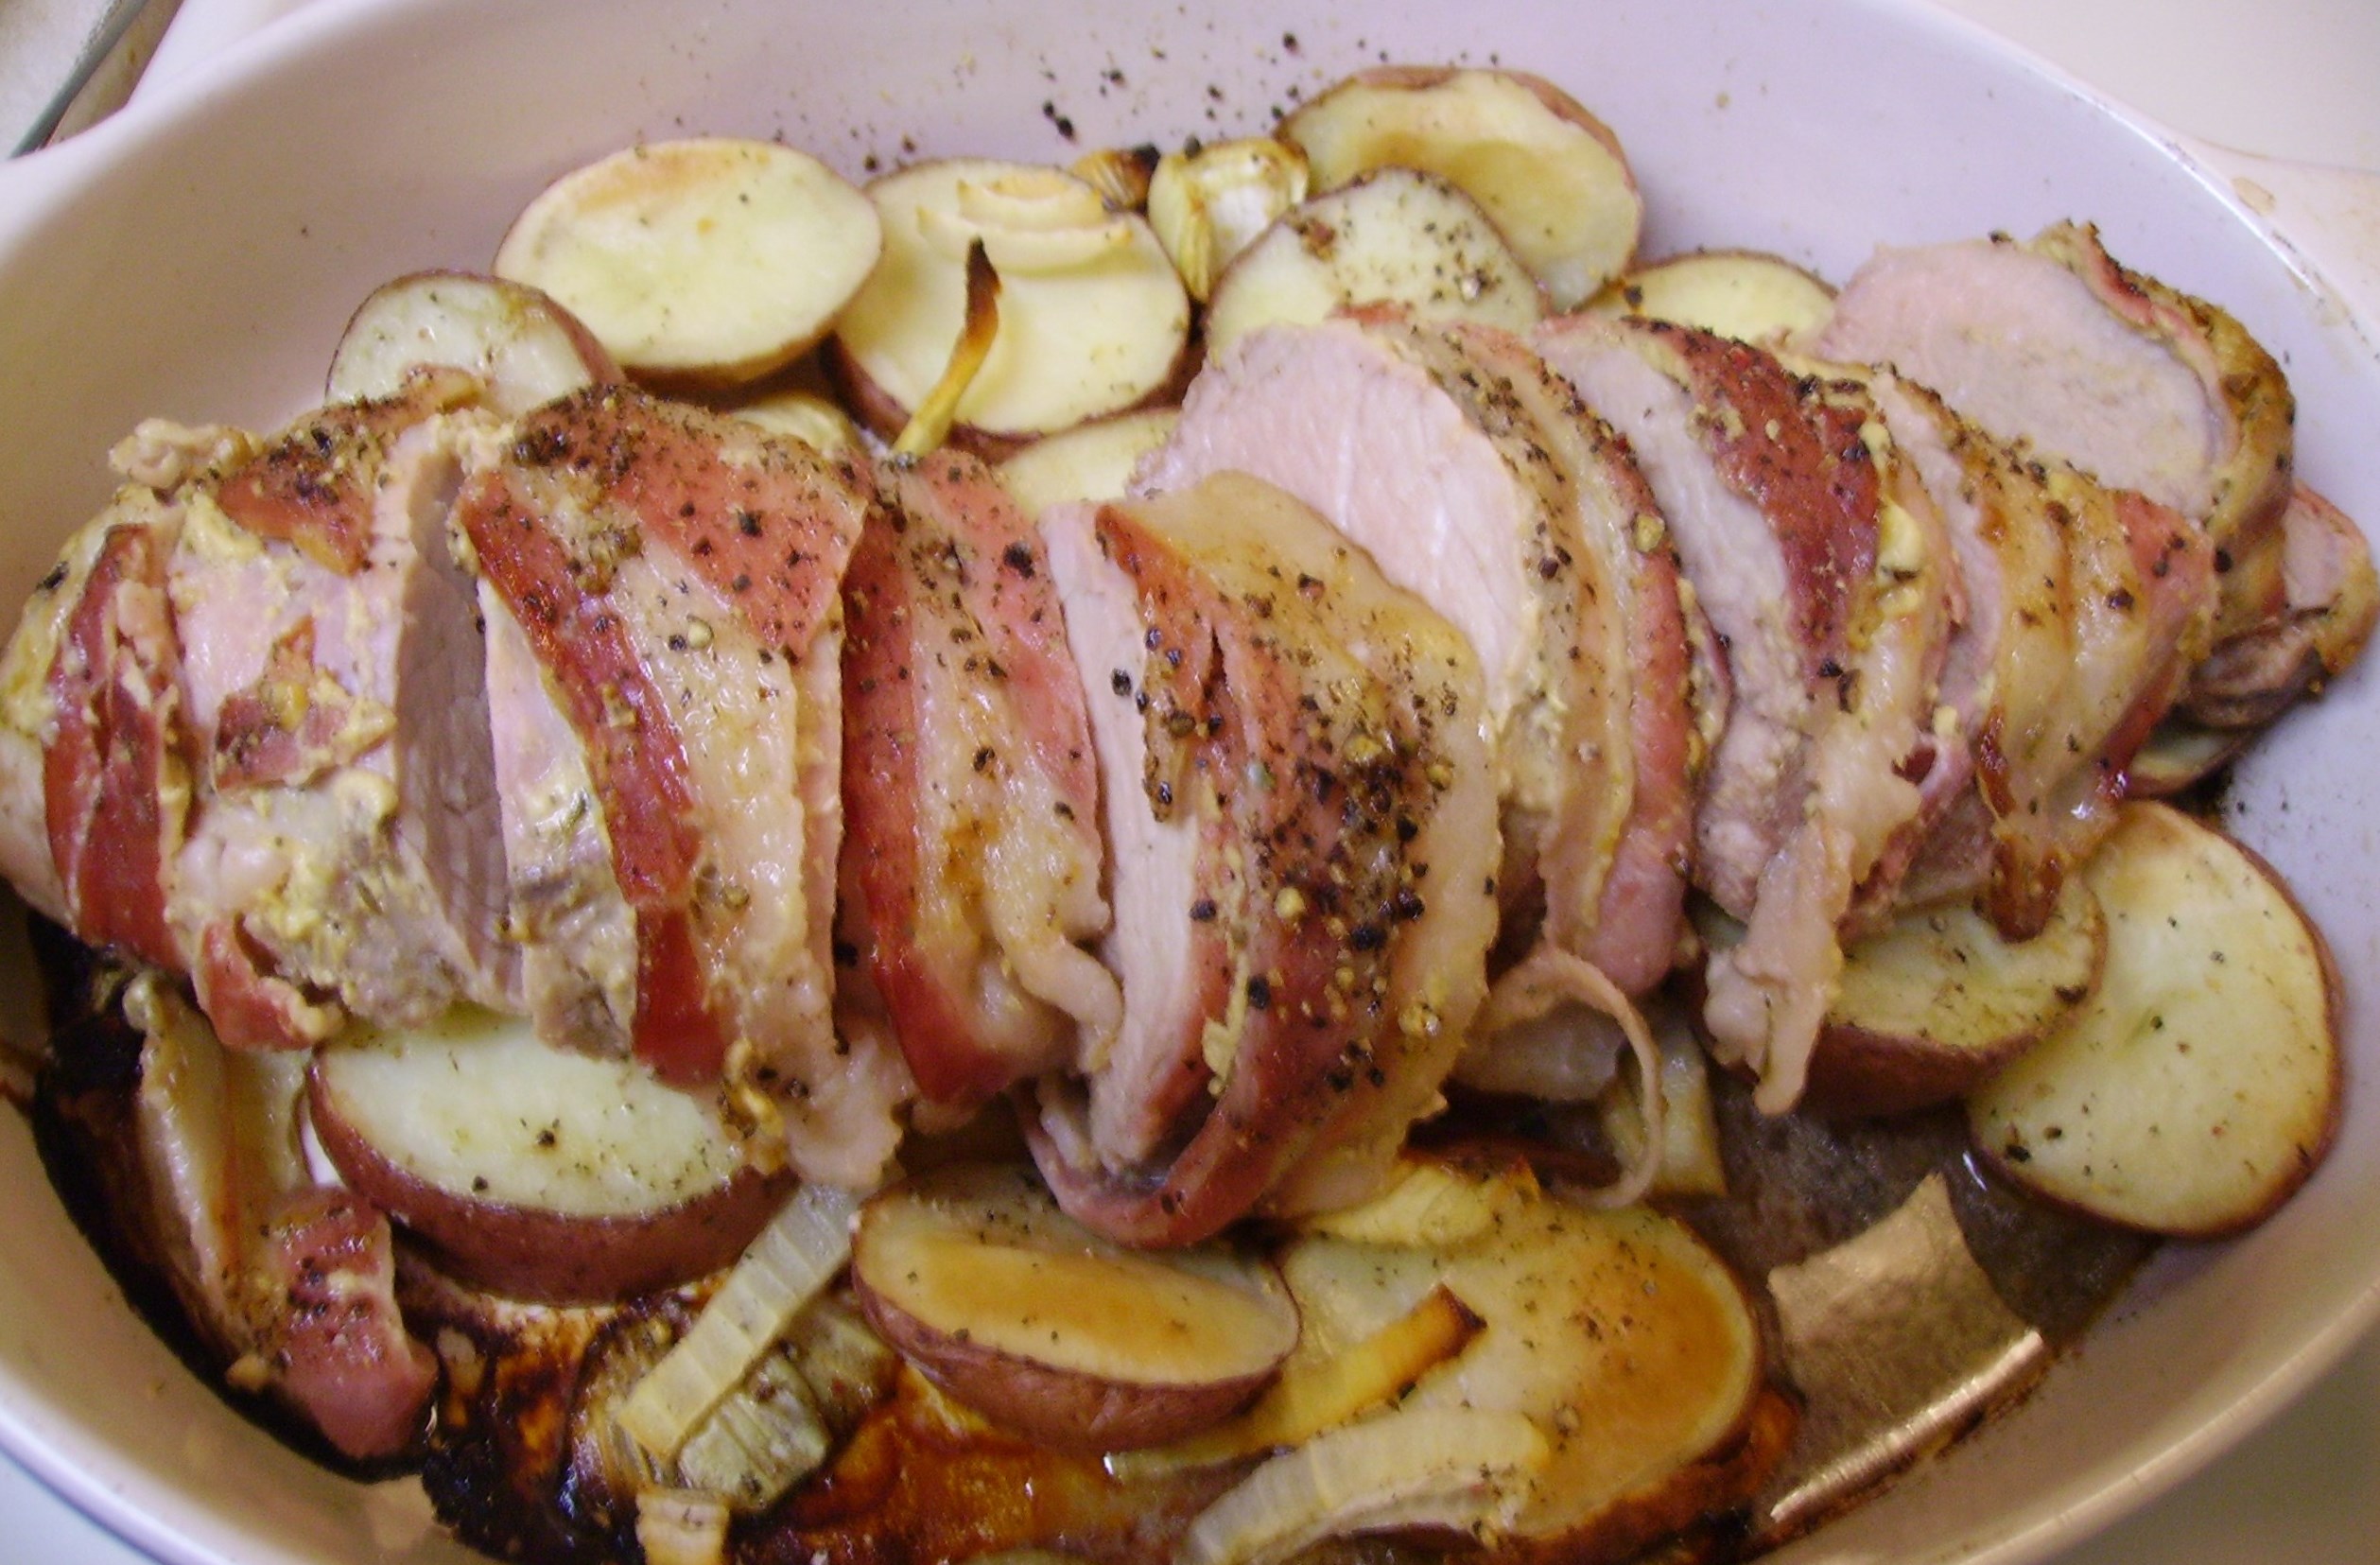
I think my favorite preparation however, is cooking this lovely little morsel whole. And I’m torn as to whether I like it better roasted or grilled. So, I’m sharing recipes for pork tenderloin both ways. The grilled version is more of a guideline than a formal recipe. The oven recipe is more specific and features smokey bacon that adds tons of flavor as well as an insulating robe of moistness.DIGITAL CAMERA The grilled version gets flavor from, well, the grill, and retains its juciness with careful supervision ( a little olive oil helps, too).DIGITAL CAMERANow, back to the roasted tenderloin. The inspiration for this recipe came from my Doubleday Cookbook. I’ve shared my long-term love affair with this two-volume gem before. It is still one of the best cookbooks I’ve ever used. The recipe is Roast Pork A La Boulangere;  potatoes, onions and pork prepared as a French baker’s wife would do it. This is usually done with a bone-in pork loin roast that results in succulent meat served with potatoes and onions that have roasted in the pork fat and juices. It is comfort food on steroids and probably not the healthiest of meals, but it is wonderful.

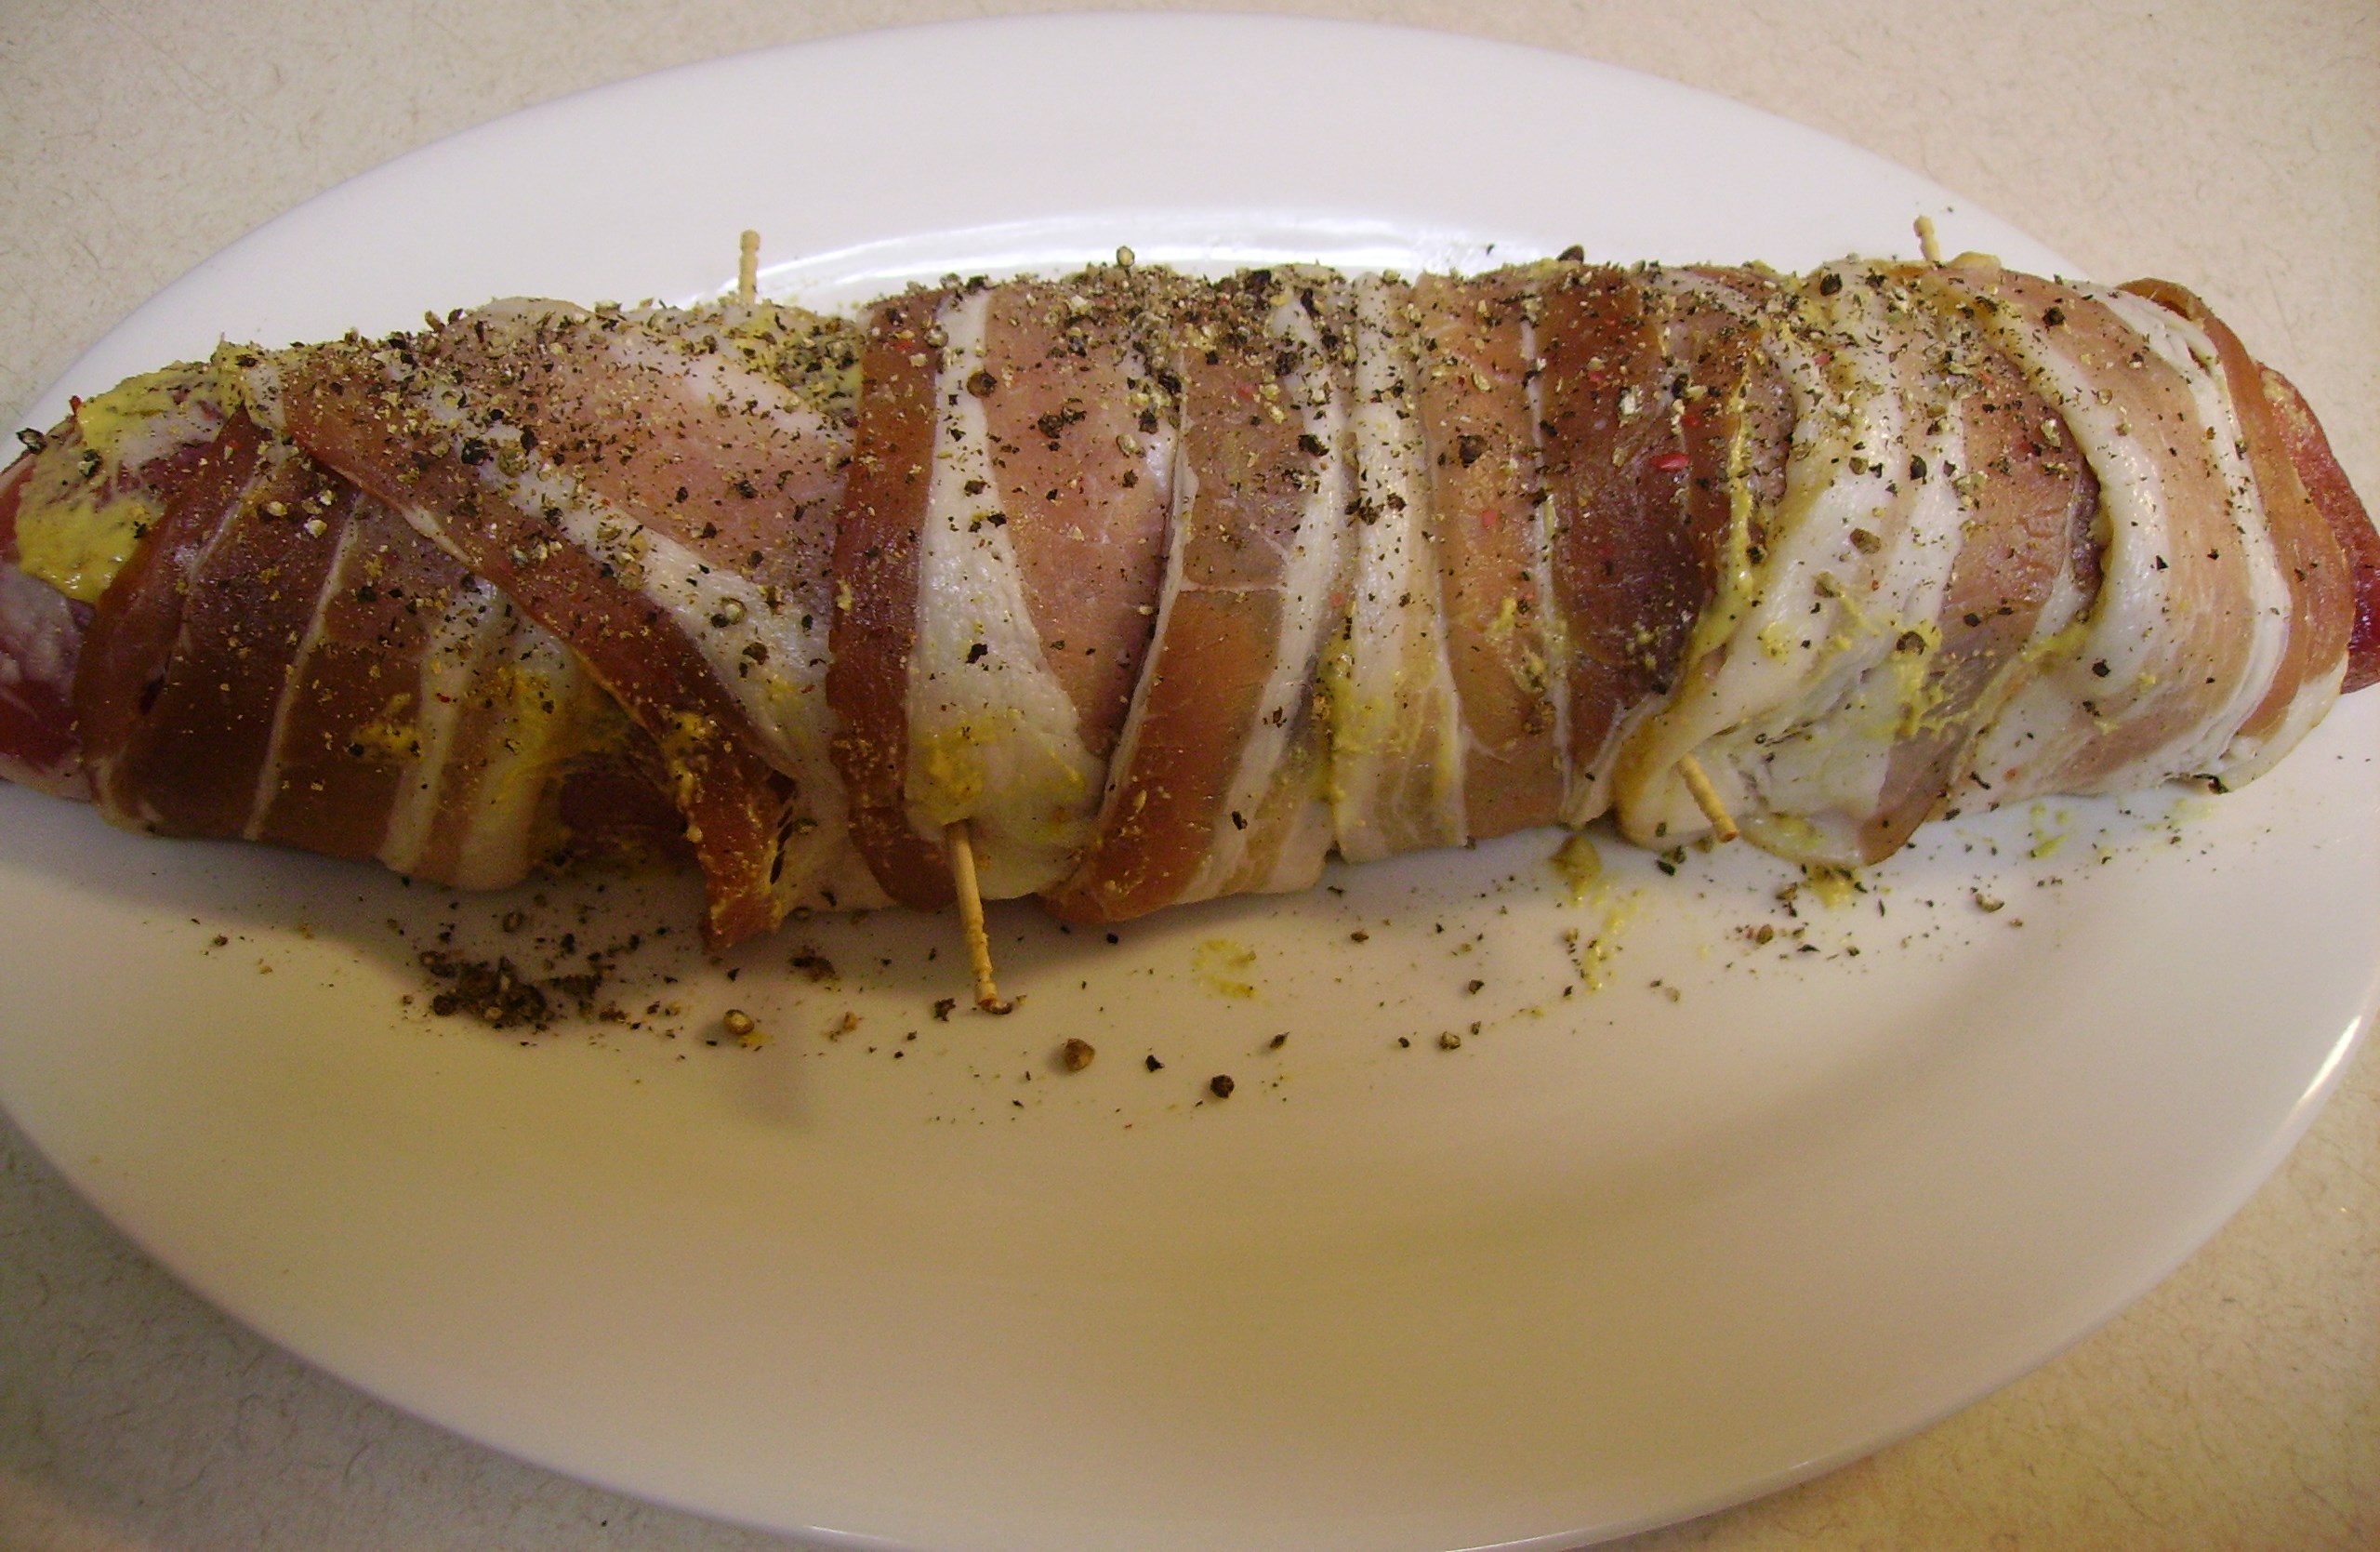
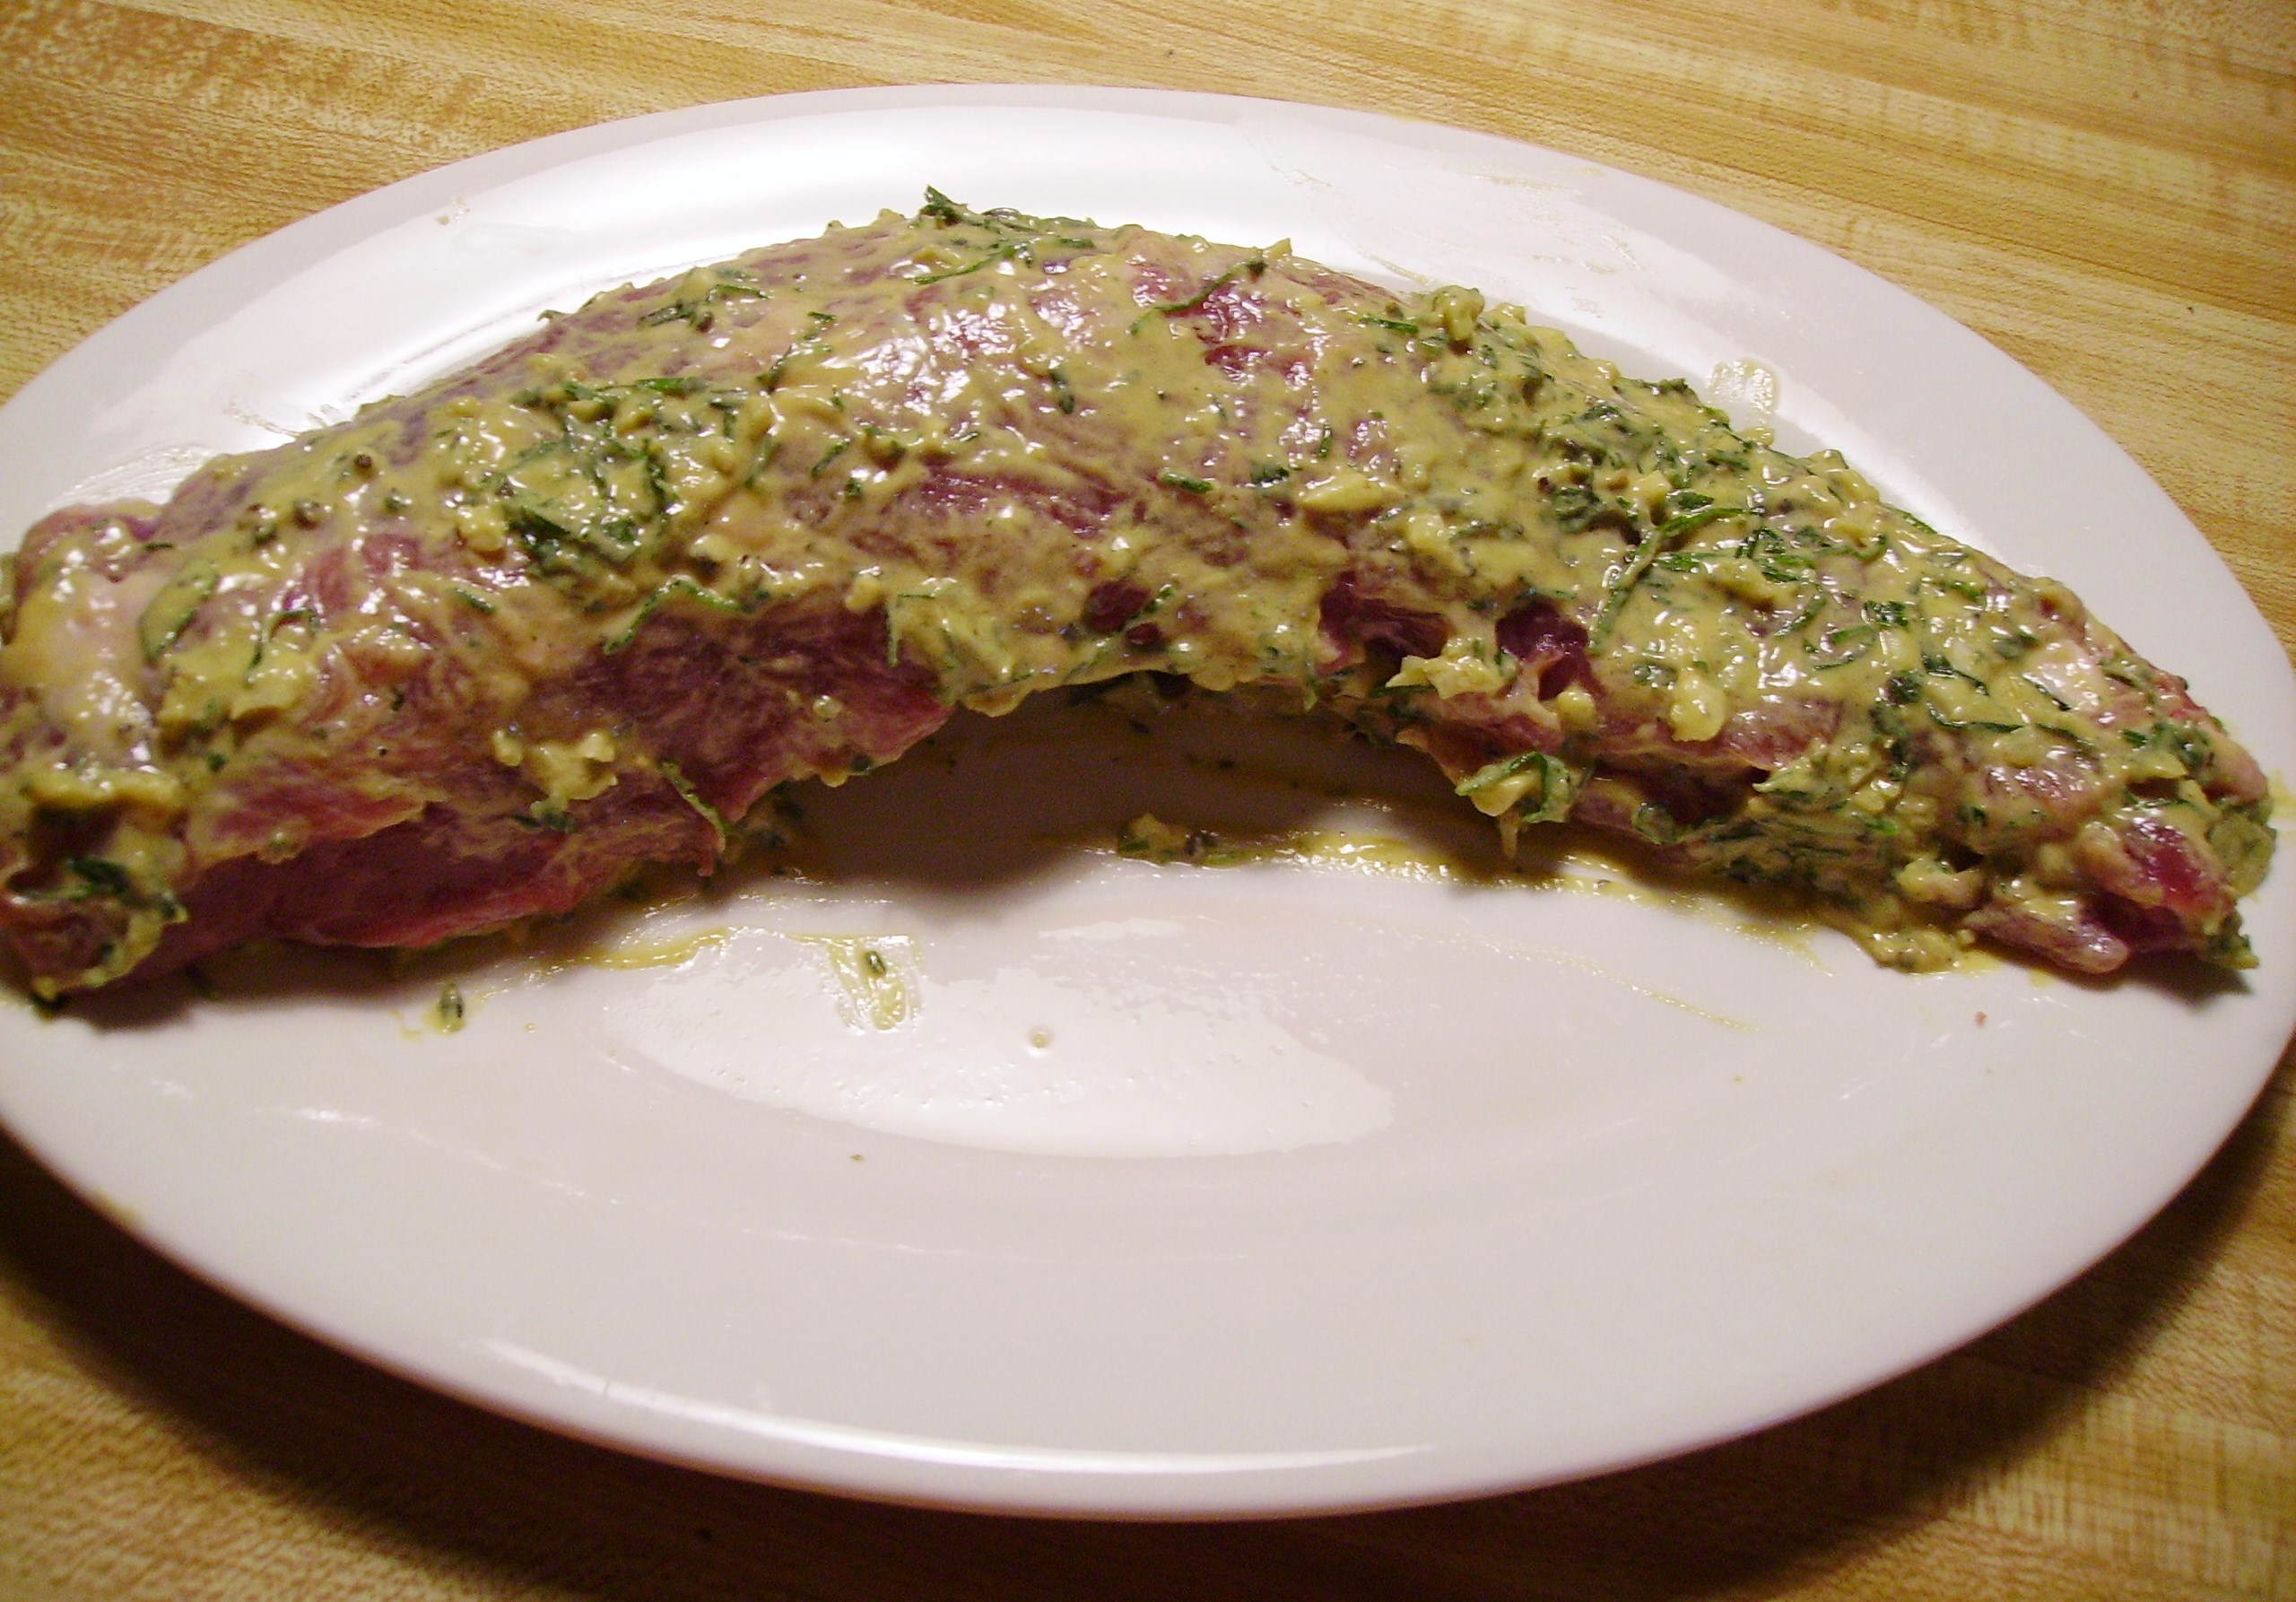
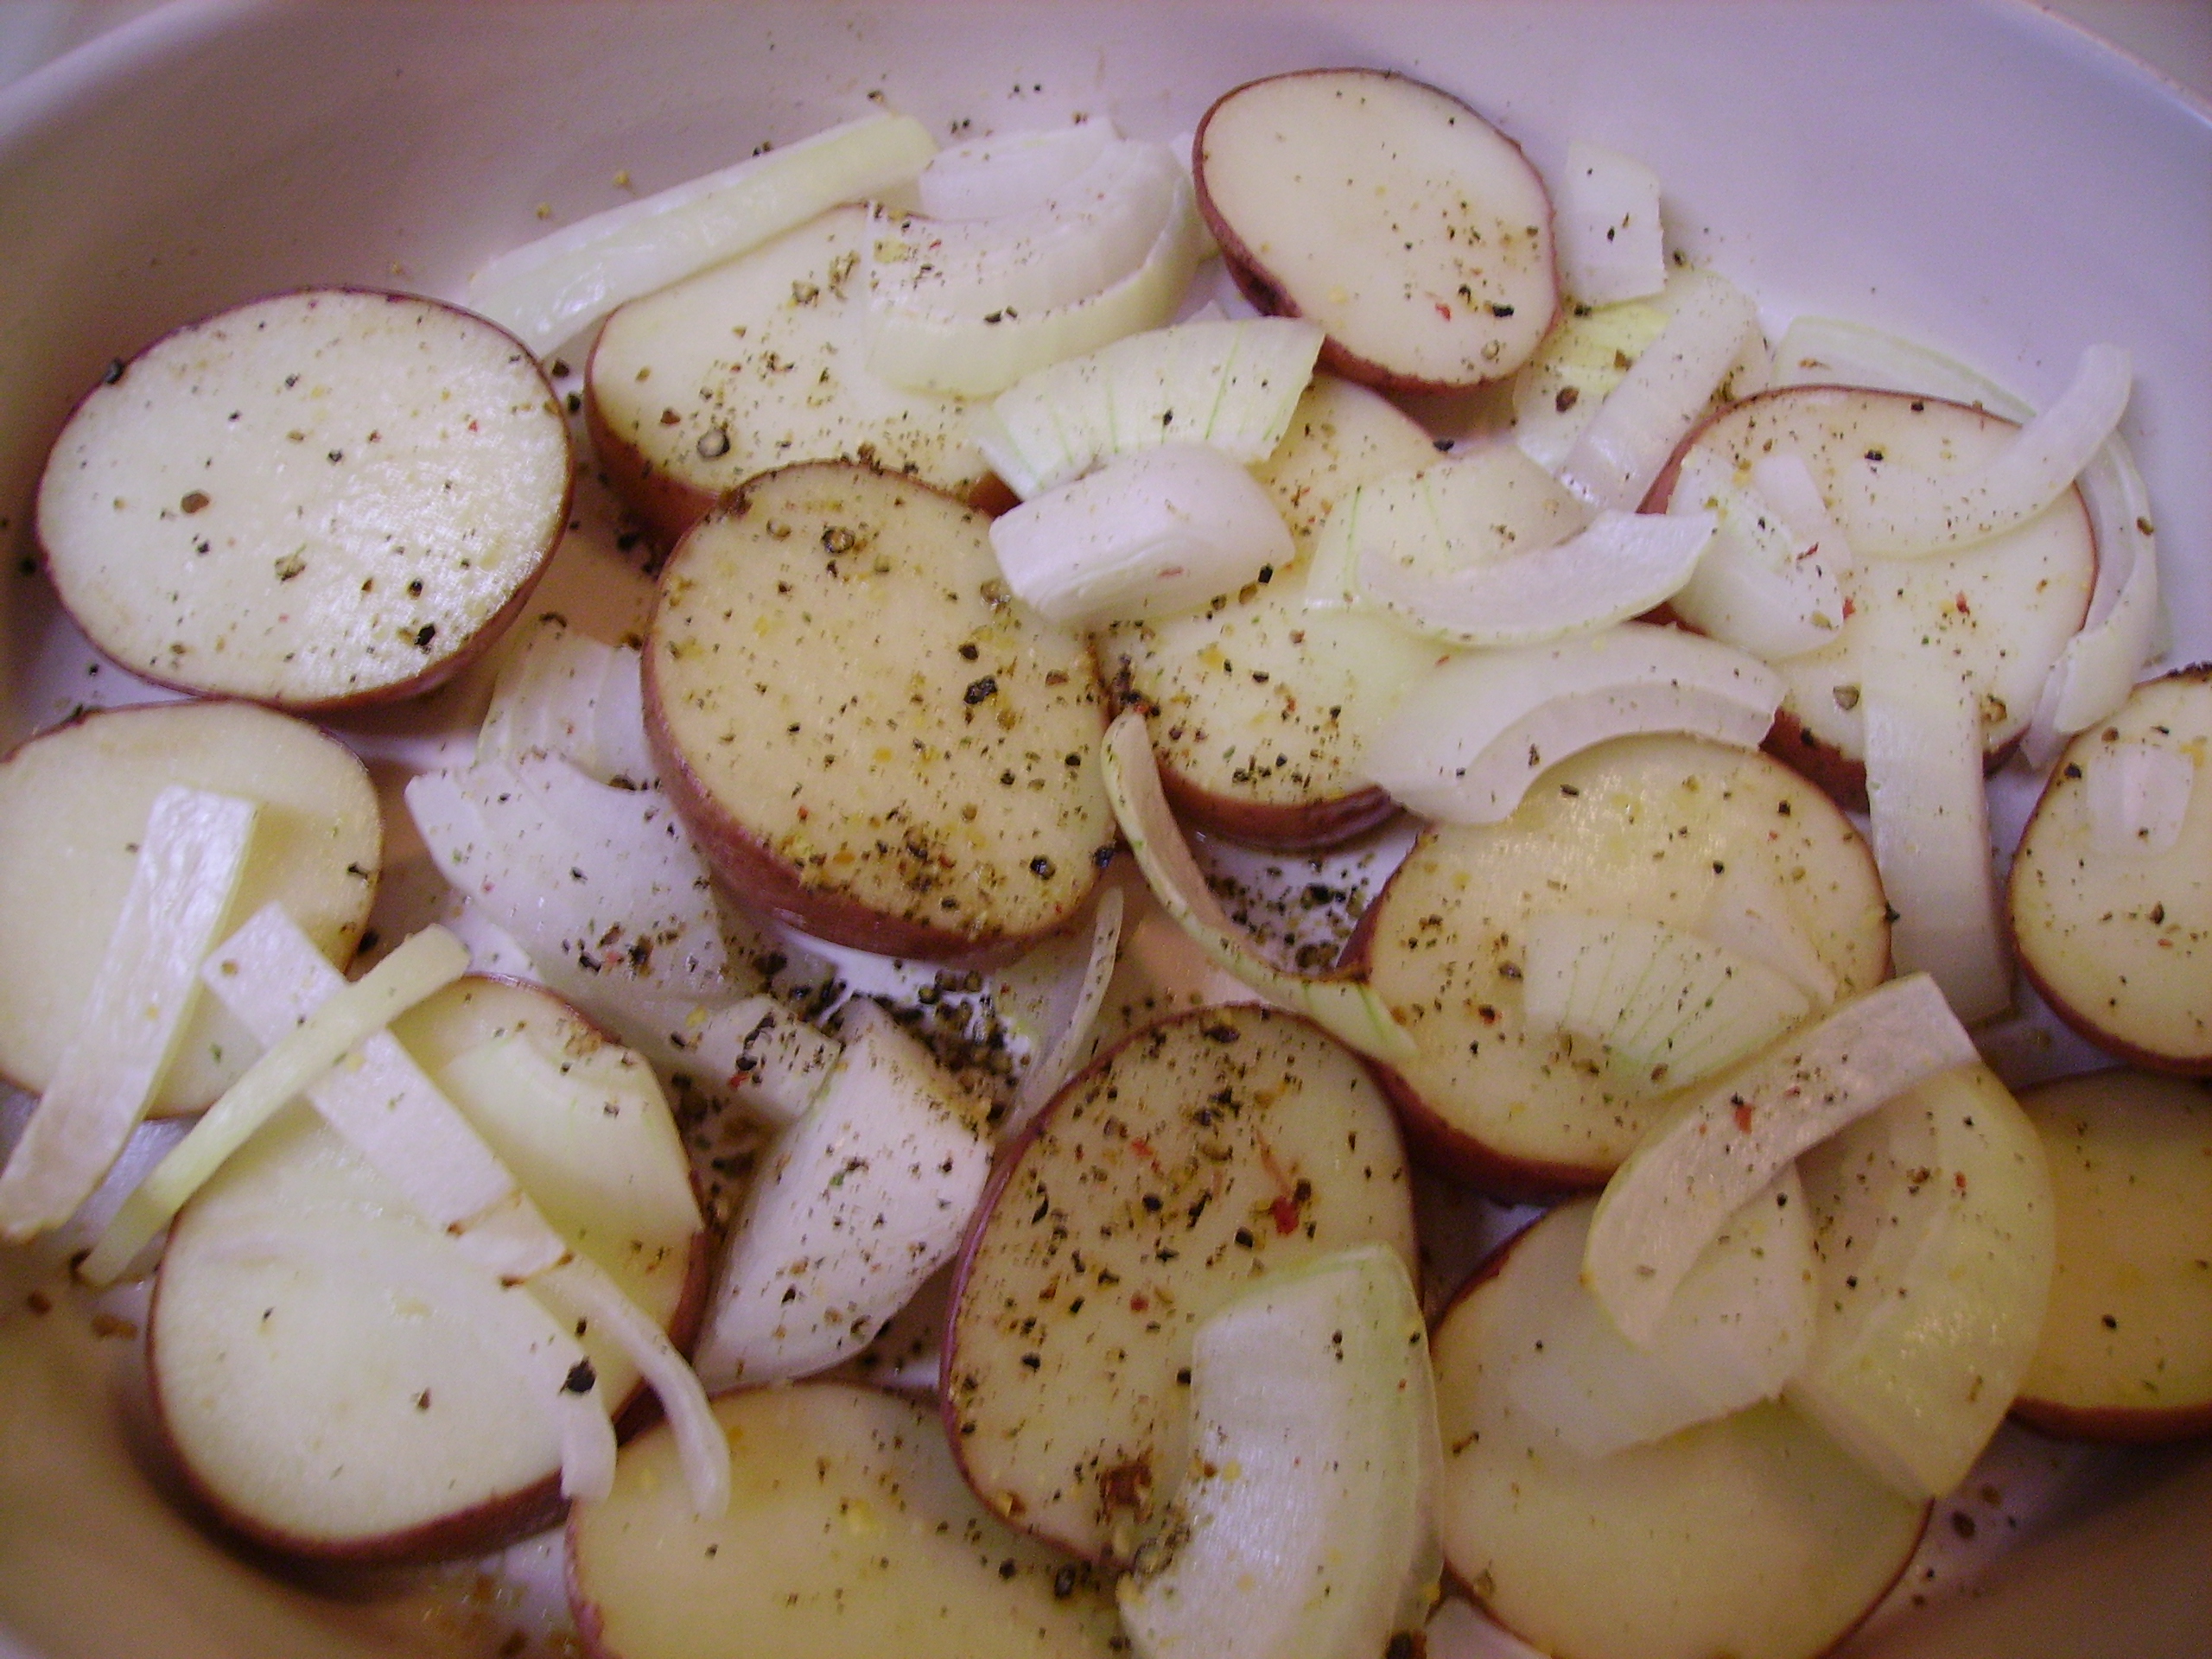
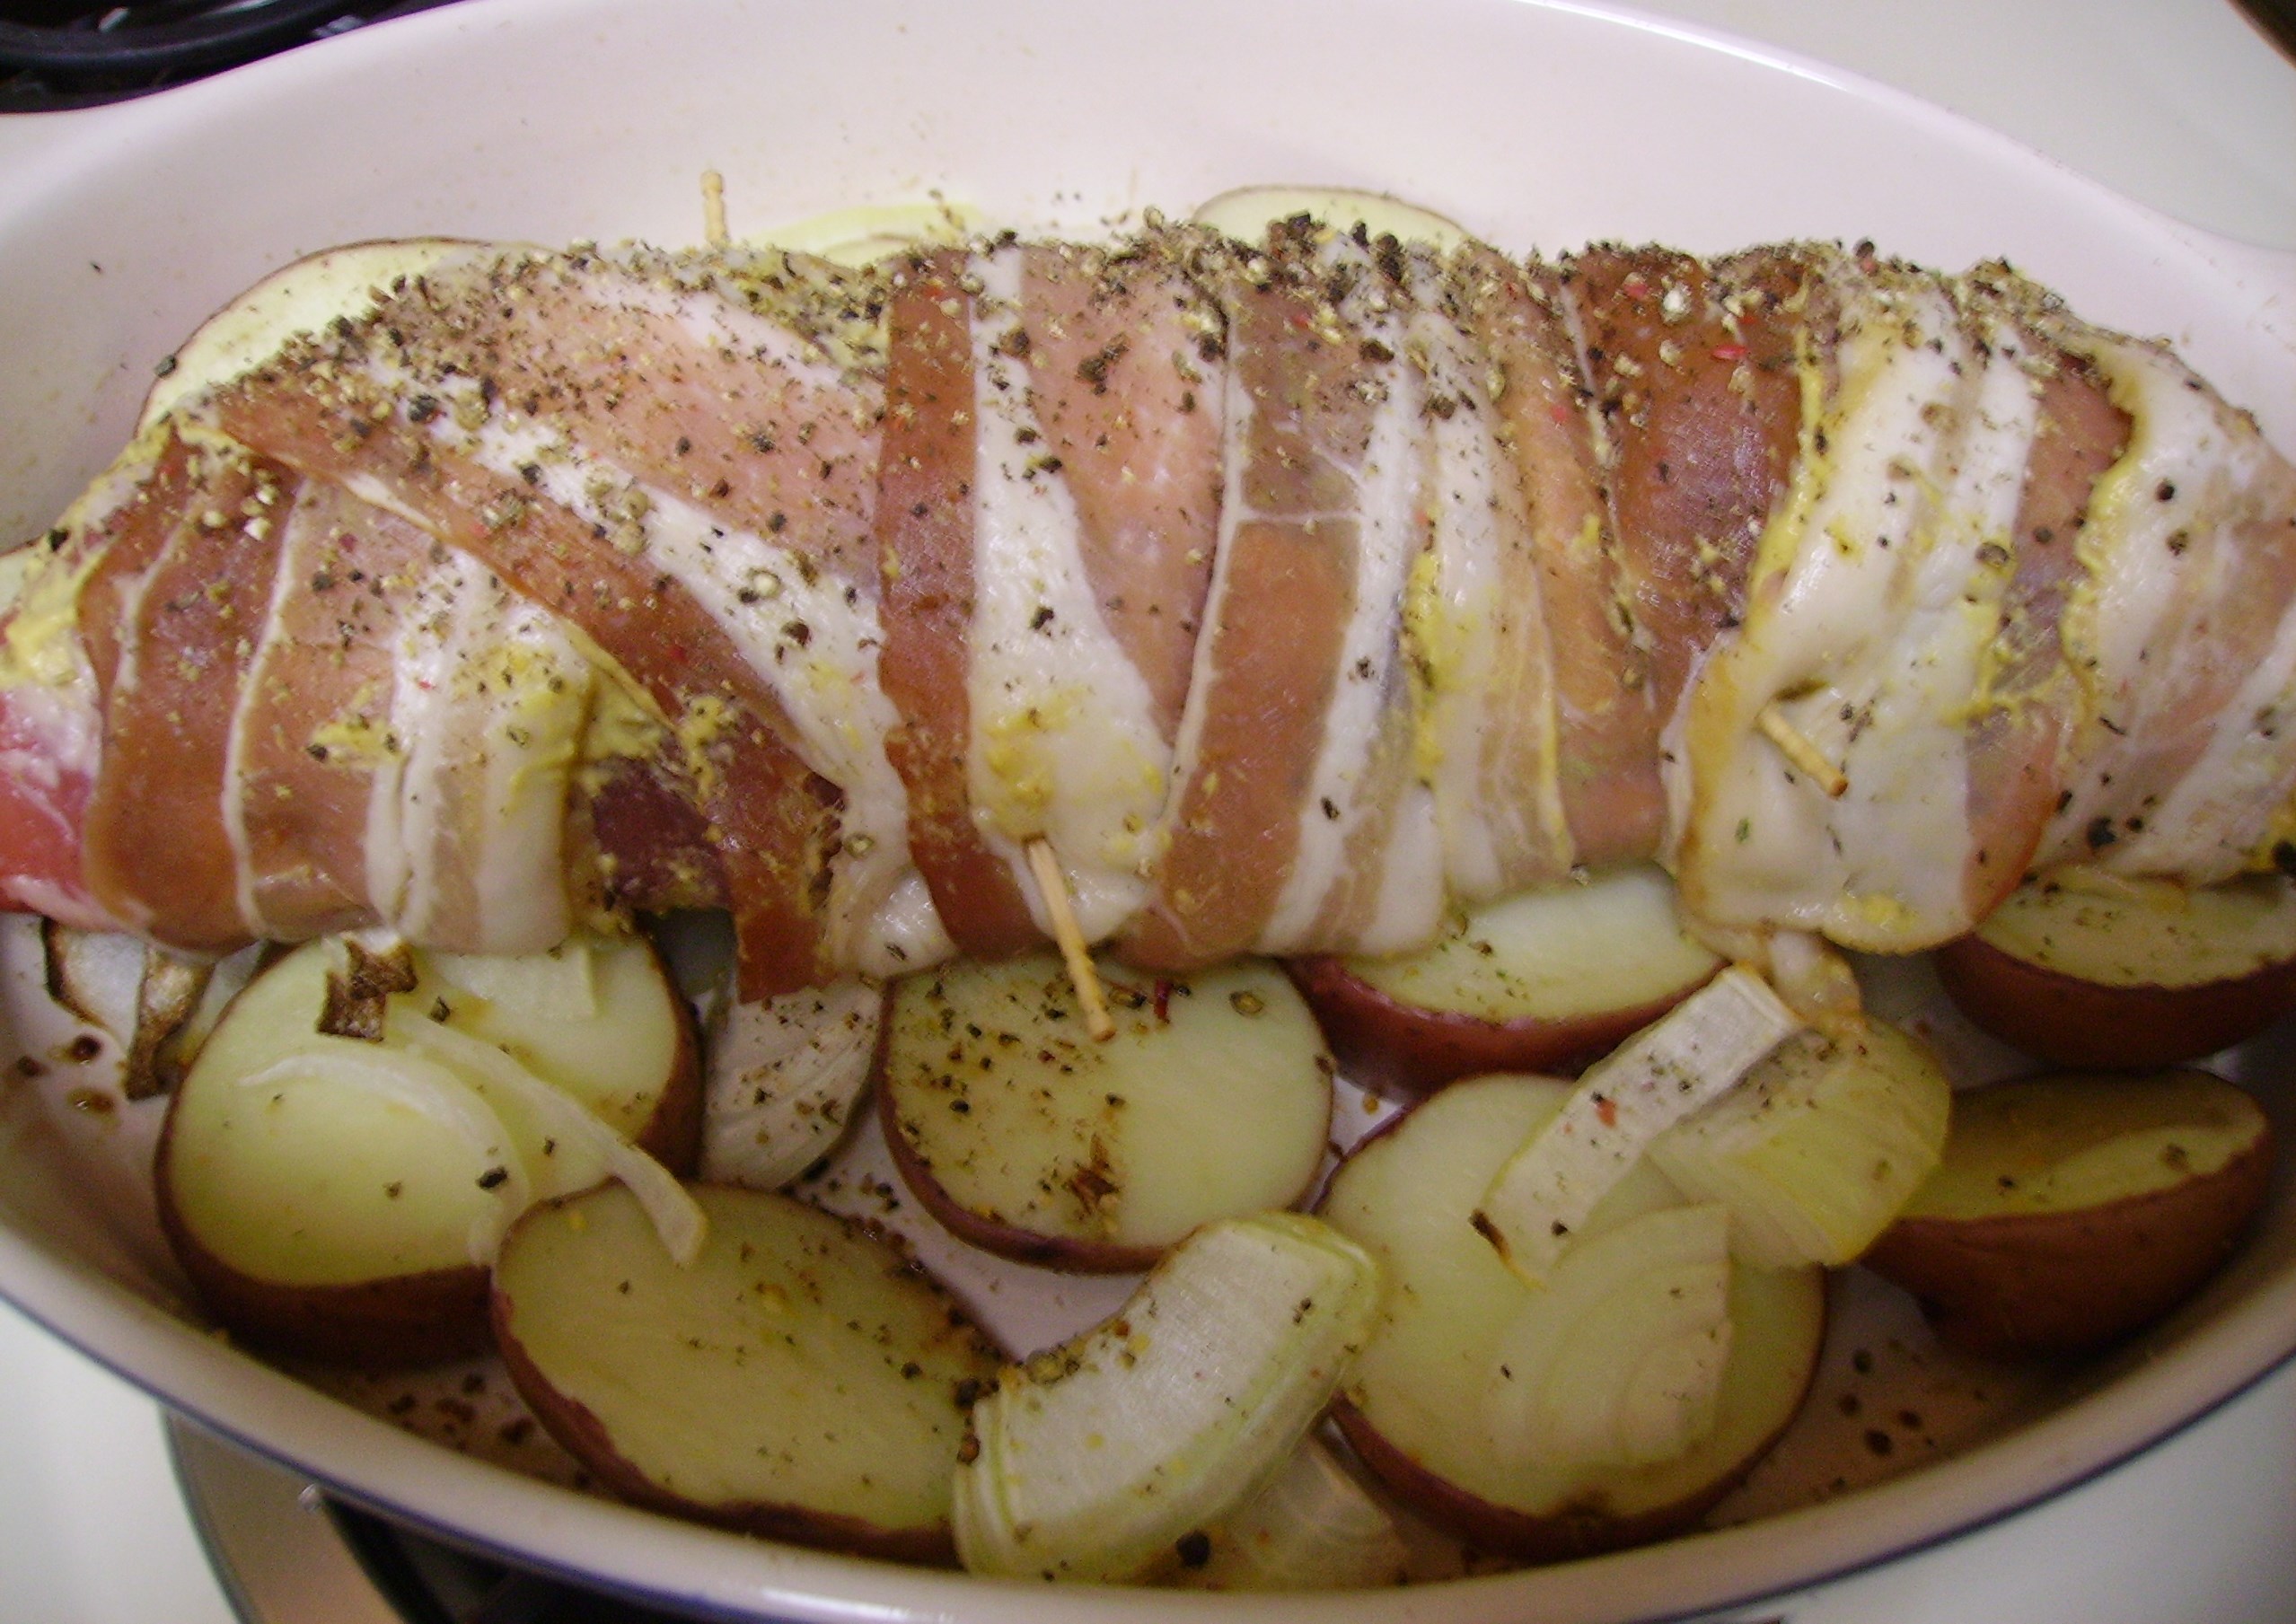
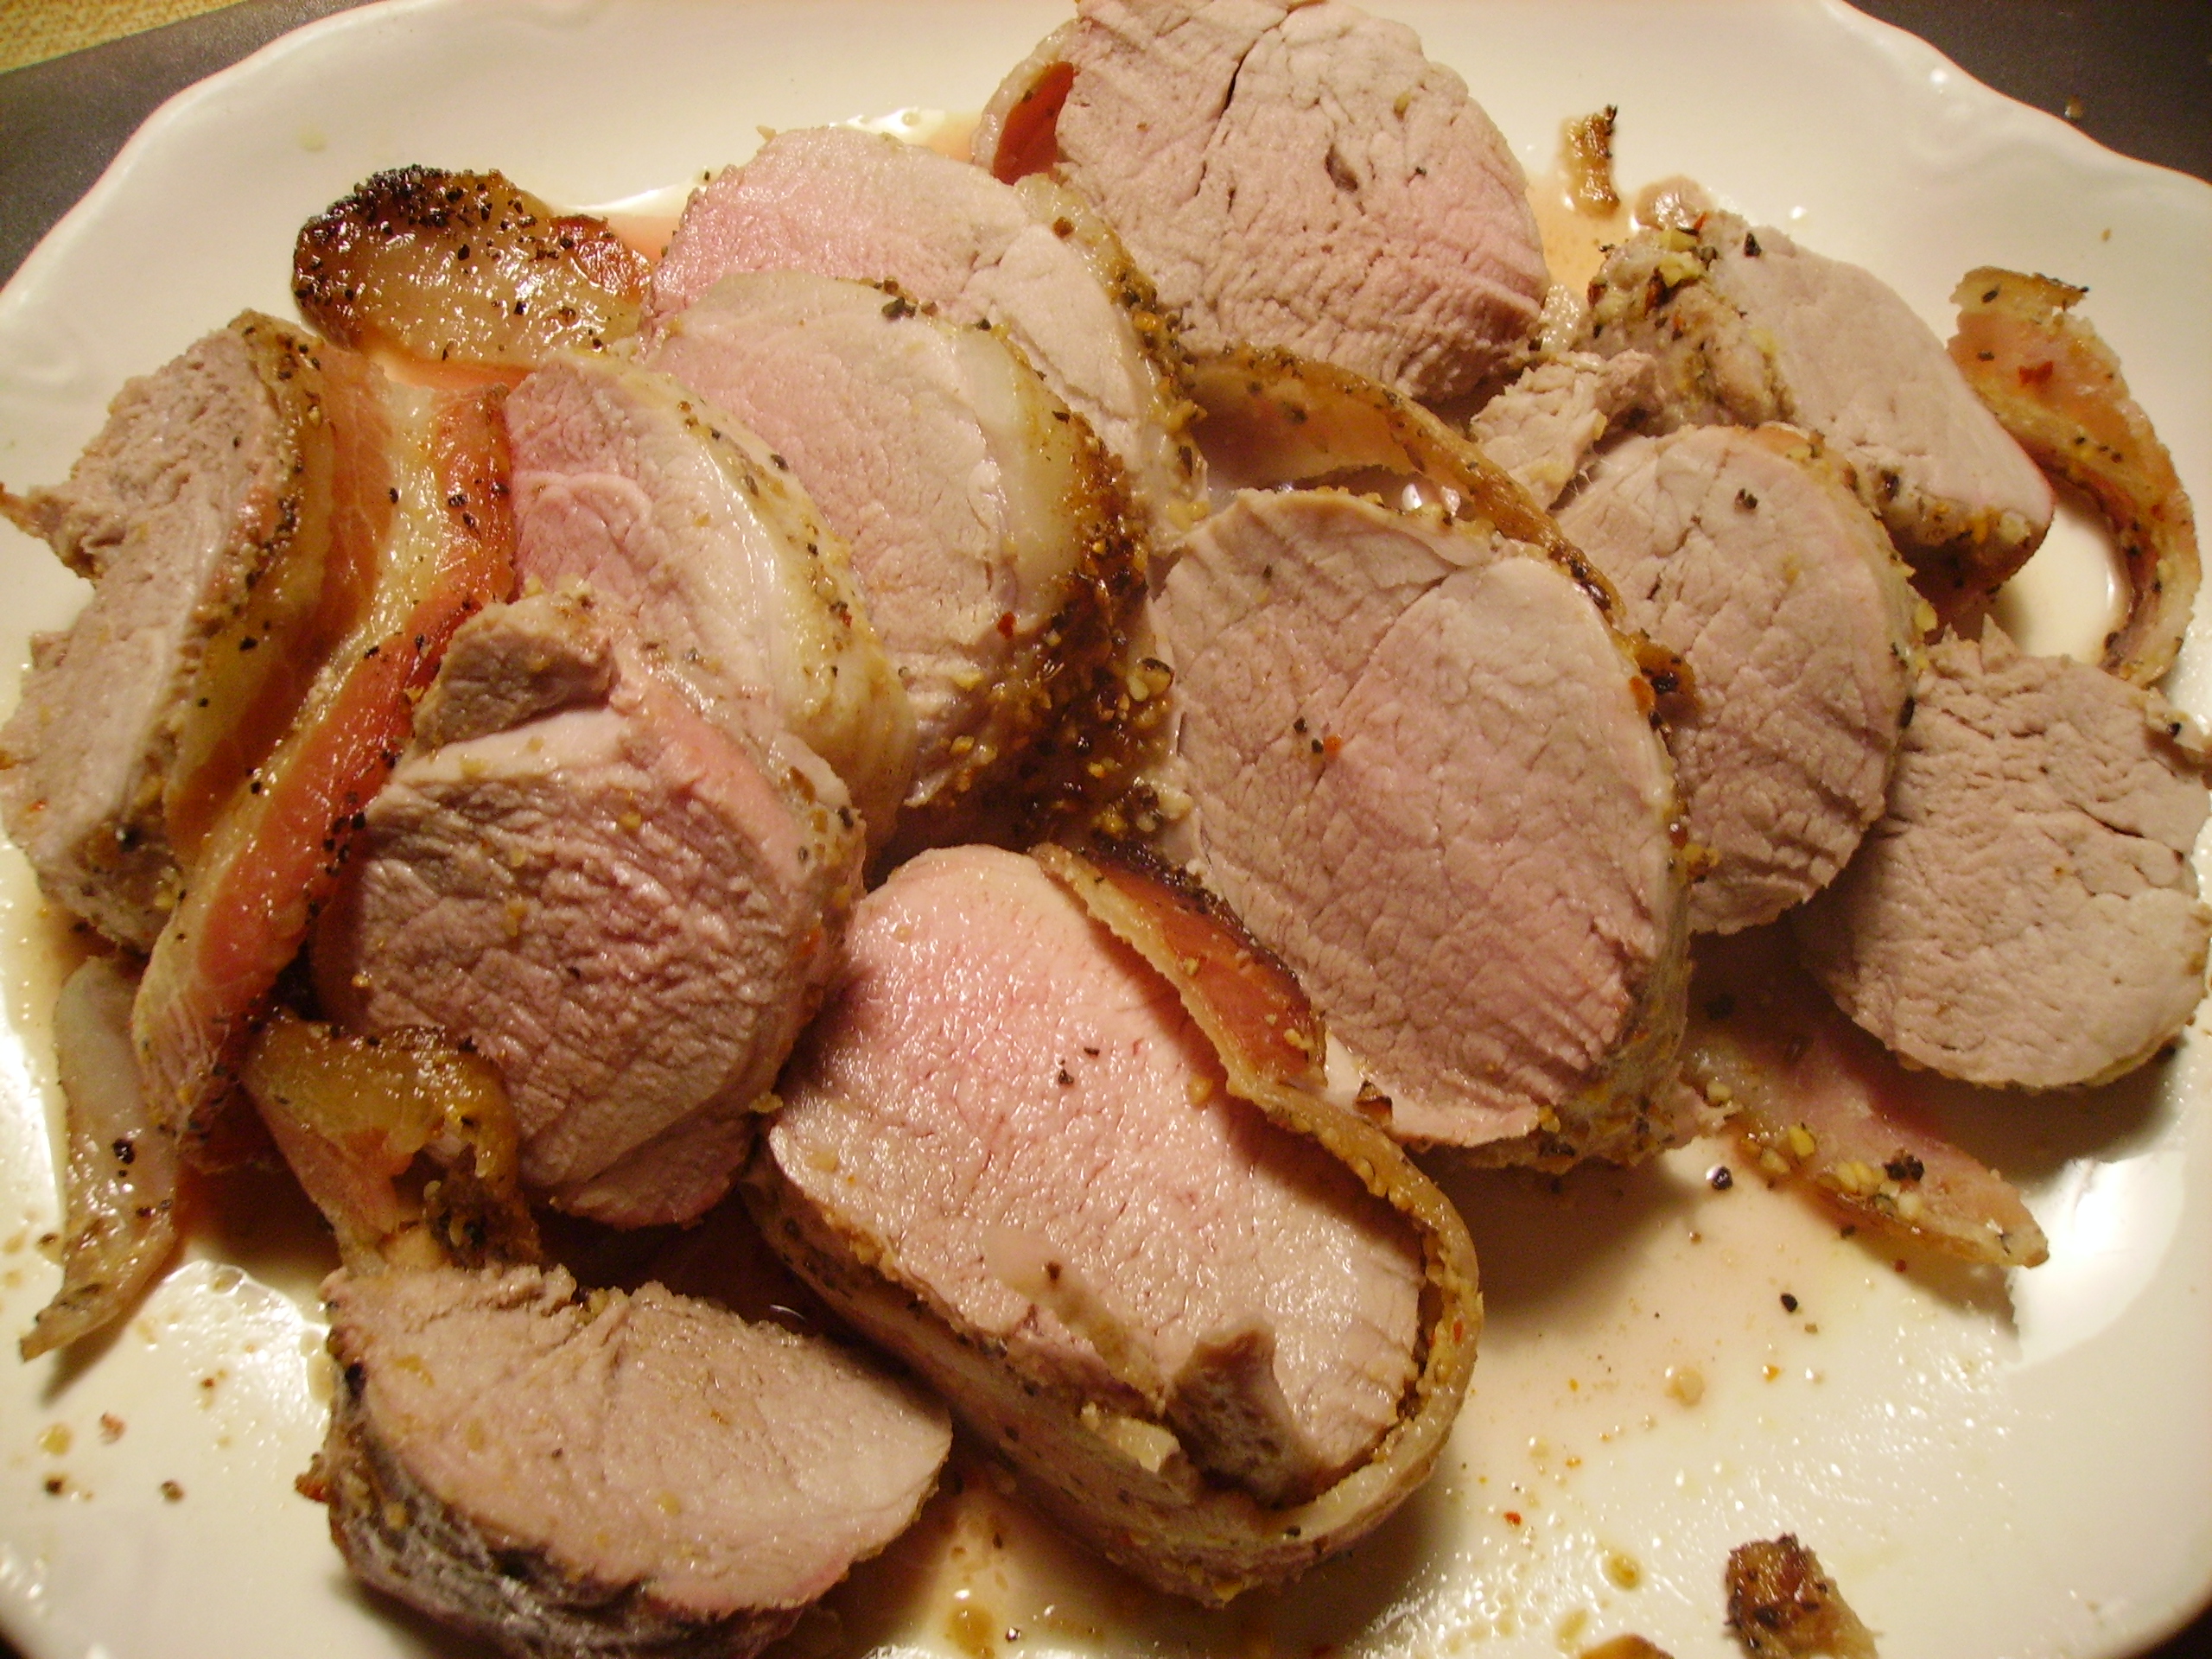
Substituting the pork tenderloin reduces the fat and cooking time tremendously. Yes, there is bacon, but it’s only two slices and the flavor they give to everything is more than worth the indulgence. Pork tenderloin cooks very quickly, 20 to 30 minutes in a hot oven is all it takes. The potatoes and onions take longer than that, so I gave them a head start. Salt, pepper and a drizzle of olive oil was all that I added. DIGITAL CAMERAI let them roast for 30 minutes at 375 degrees. While that was happening, I spread some Dijon mustard on all the sides of the pork. I wrapped the bacon around the little torpedo, securing the strips with toothpicks. Some freshly ground pepper and it was ready to sit high atop the partially cooked potatoes.DIGITAL CAMERAIt only took 25 minutes for the pork to cook. I strongly recommend using a meat thermometer. Current guidelines recommend an internal temperature of 145 degrees. This results in juicy slices with just a hint of pink.DIGITAL CAMERA

Pork Tenderloin A La Boulangere
Print Recipe
Servings
2
Servings
2
Pork Tenderloin A La Boulangere
Print Recipe
Servings
2
Servings
2
Ingredients
Servings:
Instructions
  1. Heat oven to 375 degrees. Lightly coat a baking pan with cooking spray. Combine the sliced potatoes, onions, and garlic in the pan. Add the olive oil and toss to coat. Add 1 teaspoon of coarsely ground pepper and a pinch of salt. Roast for 30 minutes.
  2. While the potatoes roast, prepare the pork. Lay the bacon strips crosswise on a cutting board. Brush a little of the mustard down the center of the bacon. Brush mustard on one side of the pork. Lay the pork in the center of the bacon mustard side down.
  3. Brush the remaining mustard on all the other sides of the pork. Wrap the bacon around the pork at a slight diagonal. Fasten with toothpicks. Sprinkle the remaining pepper on all sides of the pork/bacon bundle.
  4. Remove the pan from the oven. Place the pork on top of the potatoes and return it to the oven and roast for about 20 -25 minutes.
  5. Check for doneness with a meat thermometer after 20 minutes. The internal temperature should be 145 degrees. Continue to roast, checking often for the correct internal temperature.
  6. When the meat is cooked, remove the pan from the oven. Transfer the pork to a warm platter, cover loosely with foil and allow to rest for 10 - 15 minutes.
  7. Remove the foil and cut into thick slices. Serve with the potatoes and onions.
Share this Recipe
Powered byWP Ultimate Recipe

While the roasted version is richly delicious,the grilled version has just as much to offer. As I’ve said, this blank canvas takes to anything you want to put it in or coat it with. This is a non-recipe, recipe. I’ve slathered it in mustard, soaked it in teriyaki, rubbed it with spices and tied it with herbs. These are suggestions that you can use to create your own pork love. Any marinade that strikes your fancy will work. The same goes for herbs, spices, and wet rubs, too.

A word of warning here: Pork tenderloin is very lean. Read that to mean it can go from wonderful to burnt and dry in a matter of minutes. Once the meat is on the grill, designate a responsible guardian. For even cooking and browning, turn every 4 or 5 minutes and move it around as needed. Keep that meat thermometer handy and check for the magic 145 degrees at the 20 minute mark. Continue to turn and check until that temperature is reached. Bring the pork in and allow it to rest before slicing. Partner it with any sides of your choice and enjoy the love.

DIGITAL CAMERAI keep a small stash of these little bundles of joy in my freezer. Every time I cook one it is a new adventure. There are so many directions to take this delight in that I know I’ll be sharing for a long time to come. I hope that you will, too.


Fully Loaded Minestrone…a Soup in Three Chapters

Once upon a time Mama D stayed home and cooked everyday. She created lots of wonderful dishes and wrote about them in great detail. She’s not a stay at home Mama anymore, but she is still in the kitchen every chance she gets and the wonderful dishes and stories continue to appear right here.

These days time management is the keyword in Mama’s kitchen. Working a split shift gives me a block of time in the middle of the day. Making something wonderful in these small windows of time is developing into an art form that I really enjoy. Many times I break a recipe down into smaller parts and complete each one before putting them together to create something delicious. That’s how this soup came to be.

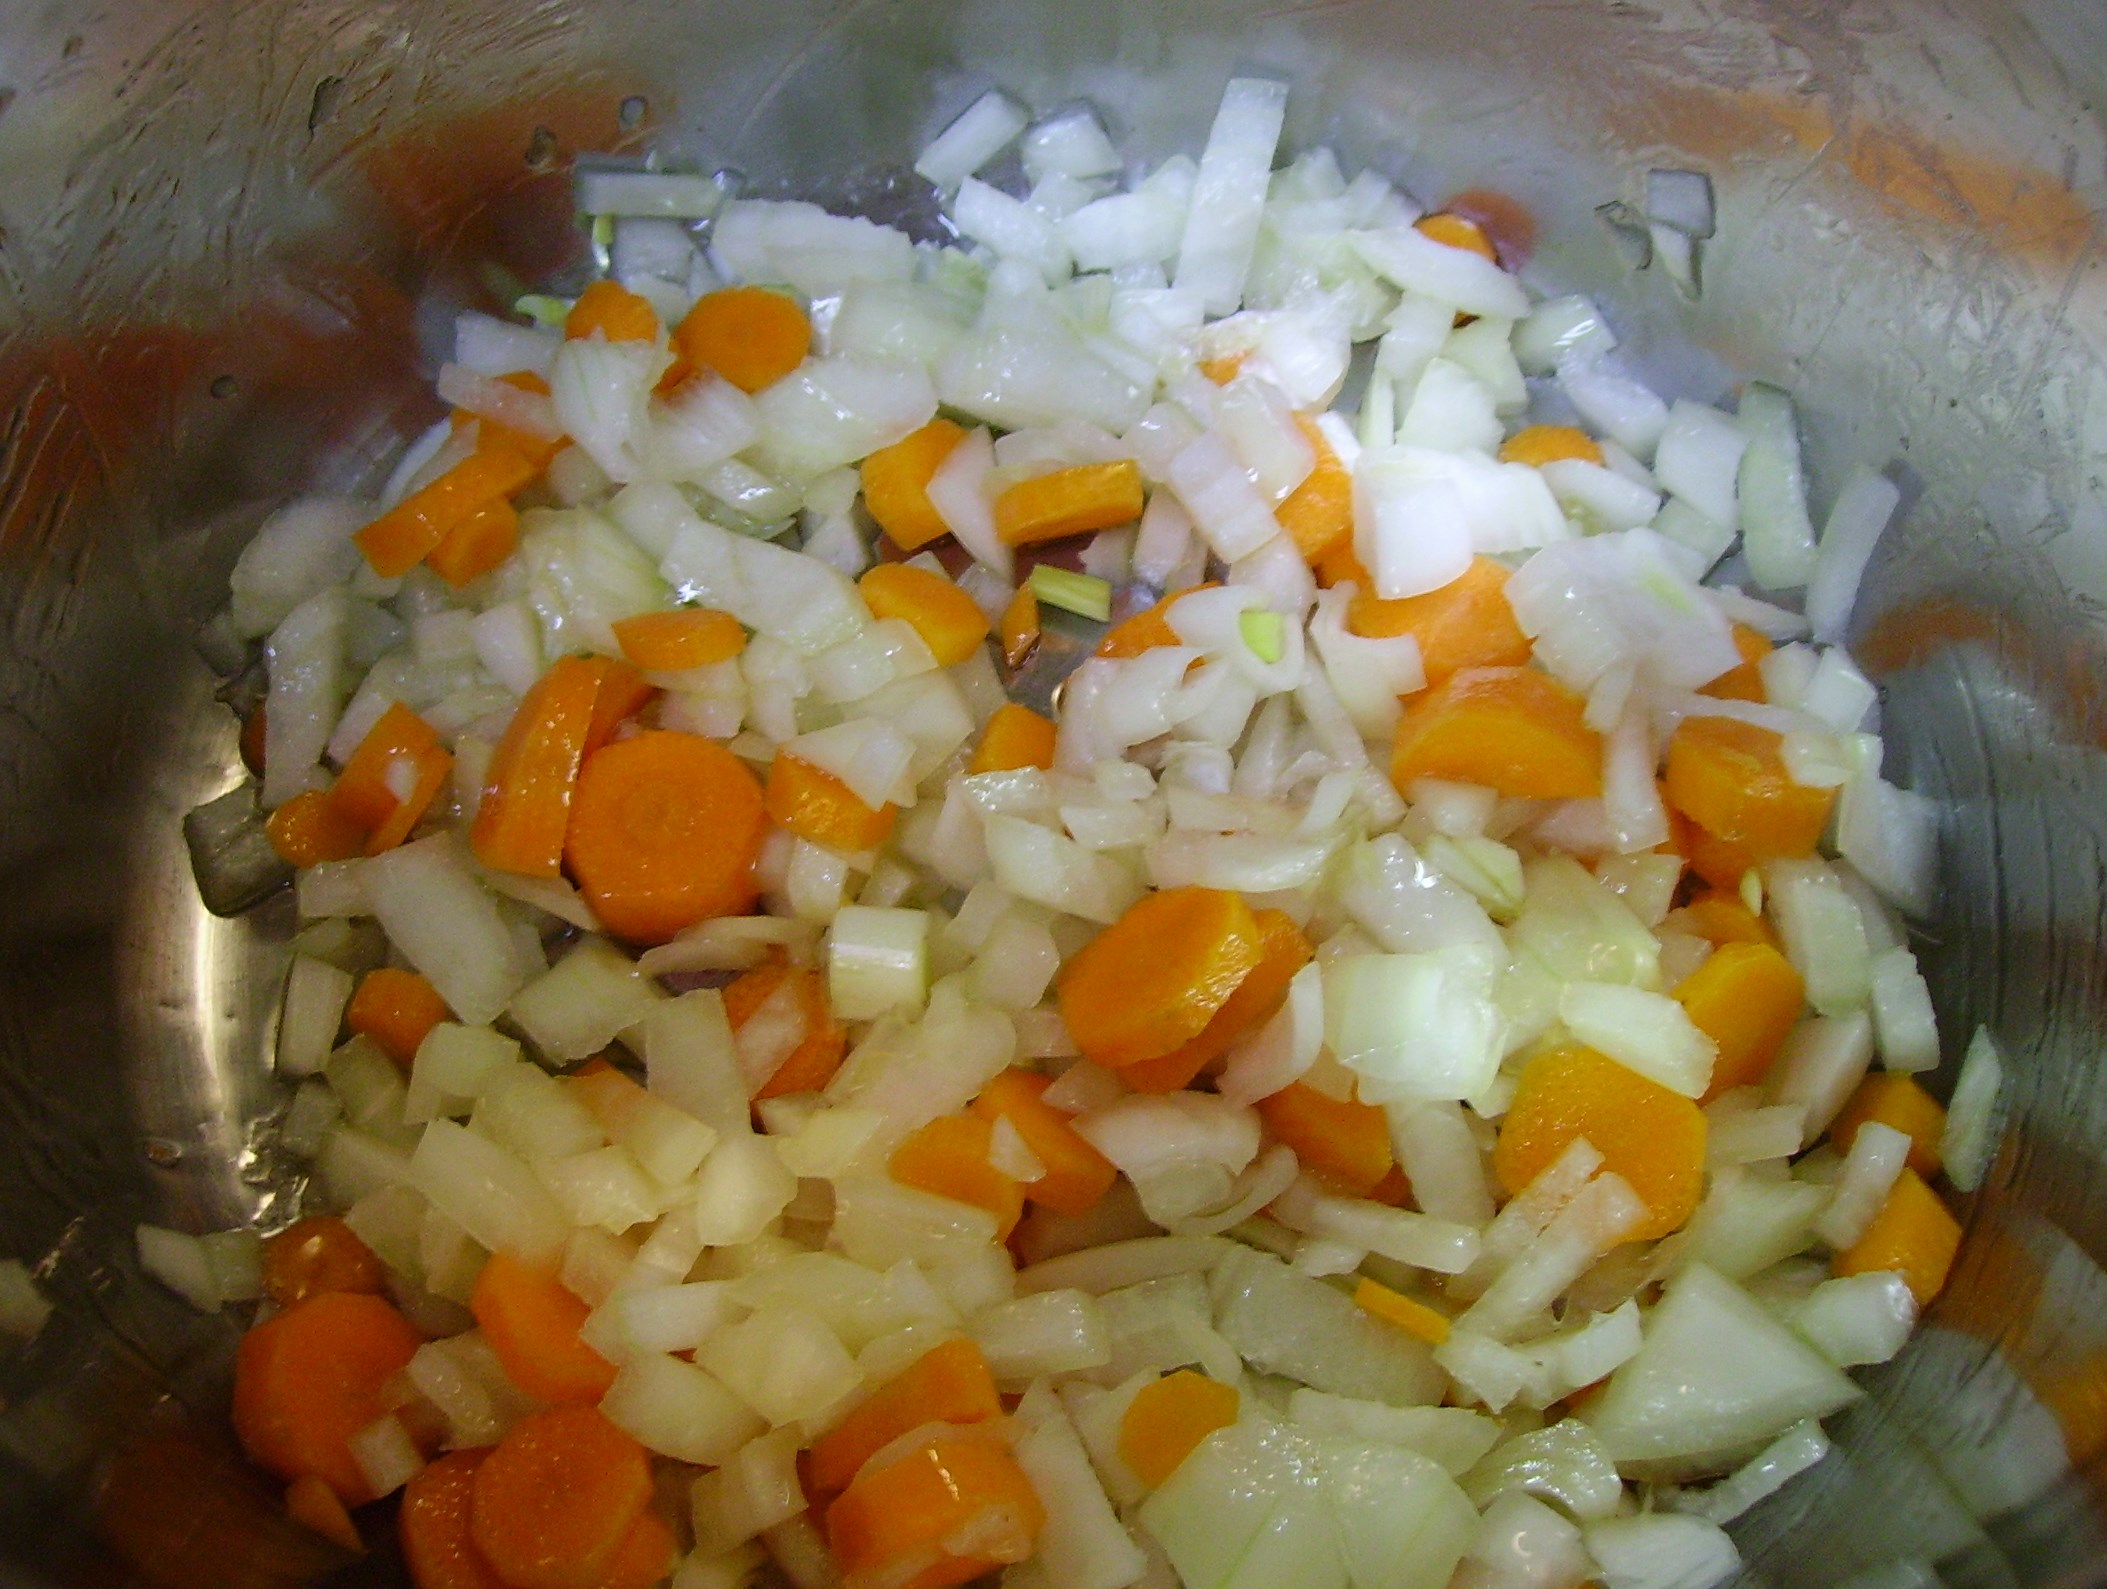
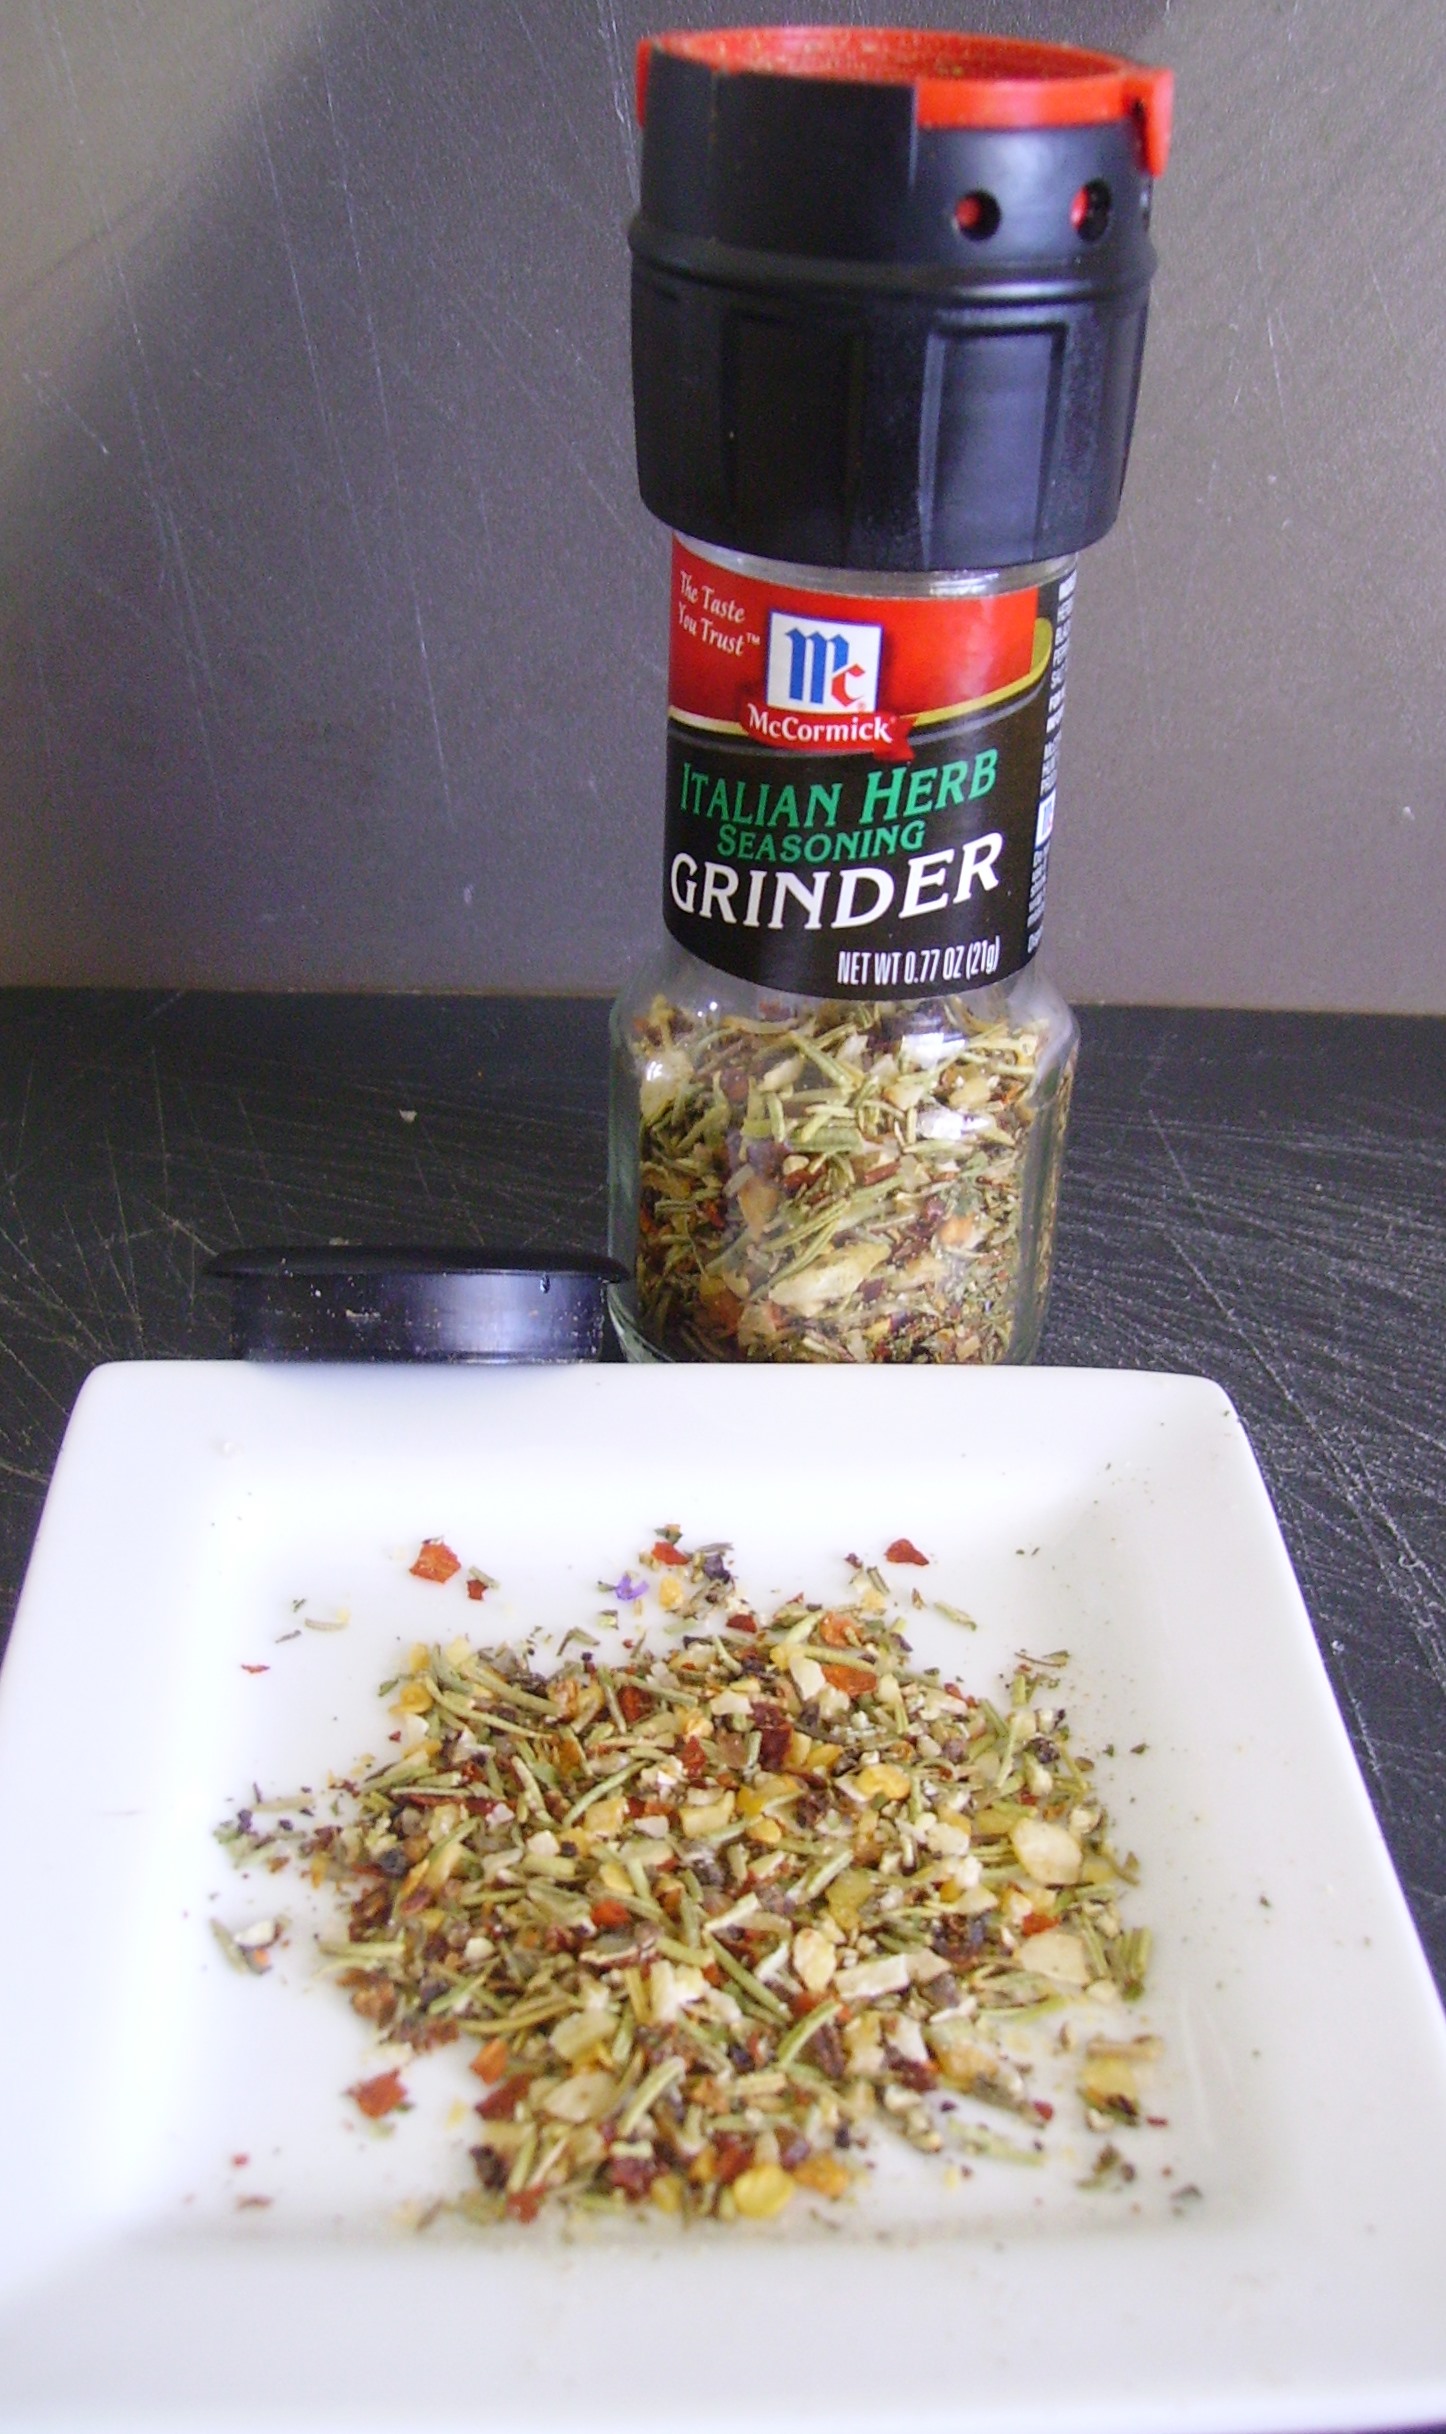
Chapter One involved preparing the stock base. I began by sweating onions, garlic, and carrots in a little olive oil. DIGITAL CAMERAMy seasonings were simple, some Crushed Red Pepper Flakes and a healthy dose of McCormick Italian Herb Blend. (Love, love this)DIGITAL CAMERAA quart of my turkey Stock (featured in a previous adventure) went in and I let everything simmer for a good 30 minutes. I added a can of drained Fire Roasted Tomatoes and let it simmer a bit more. I stored it in the refrigerator overnight.

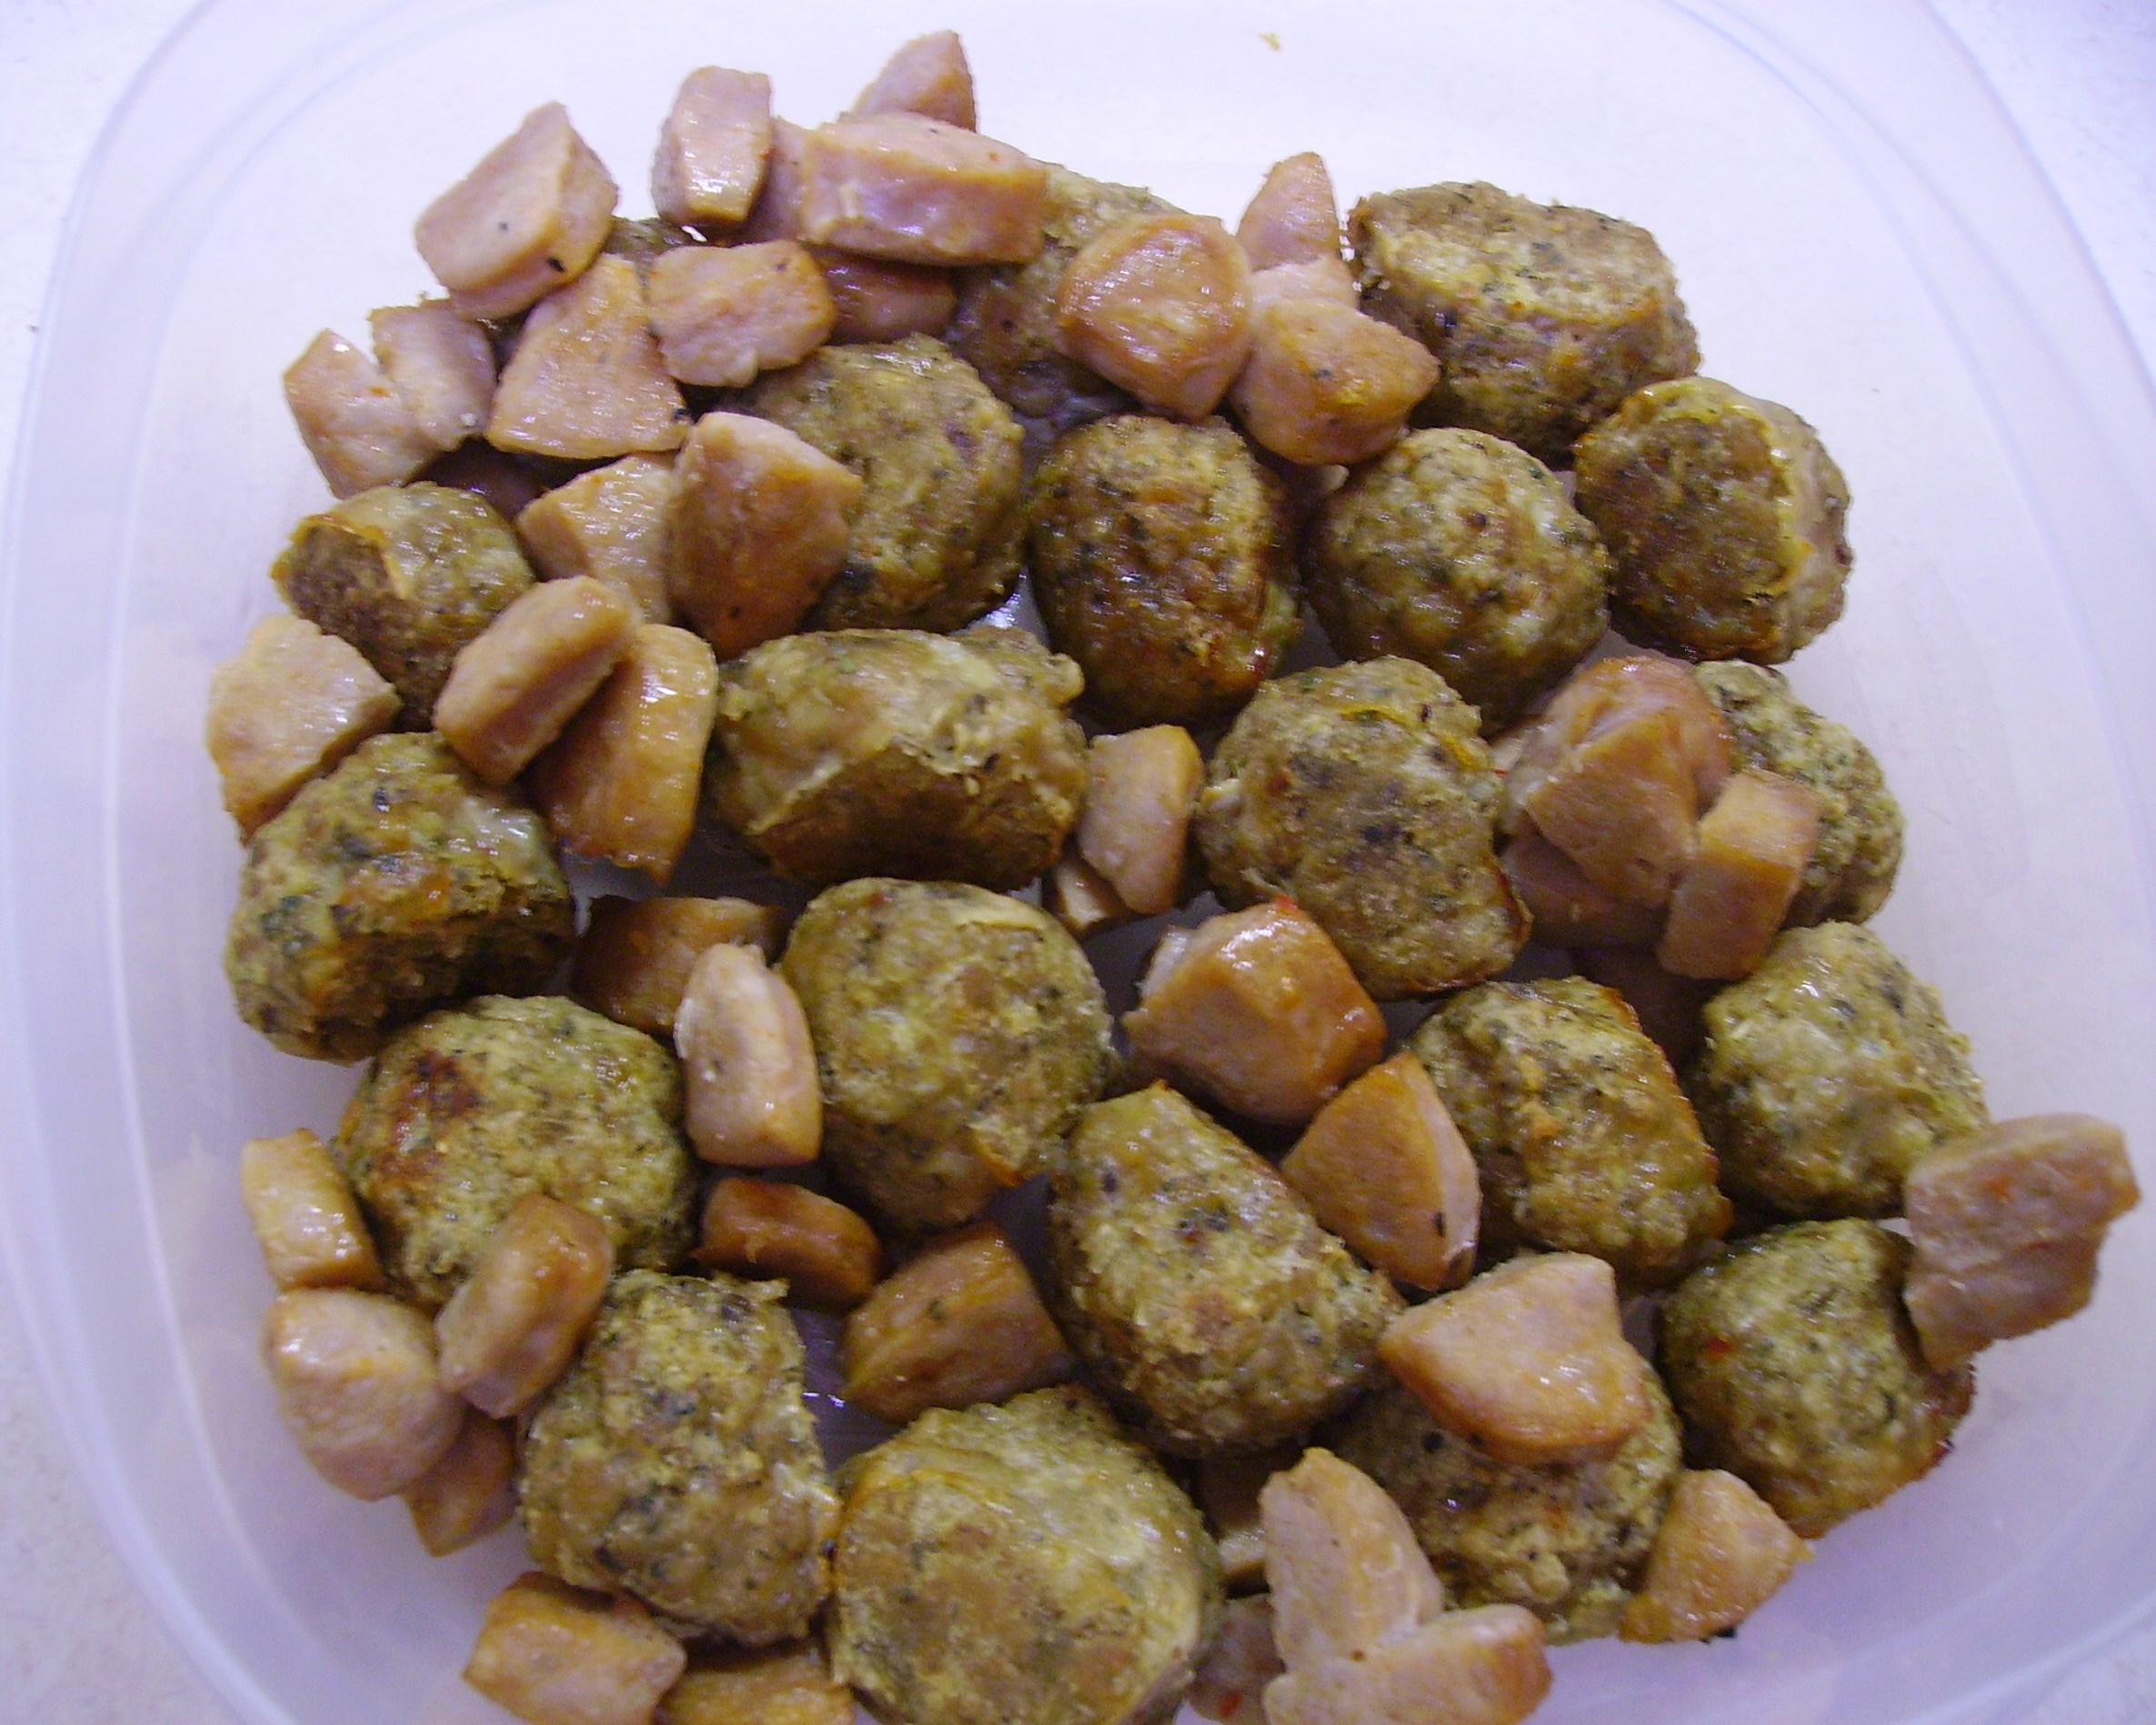
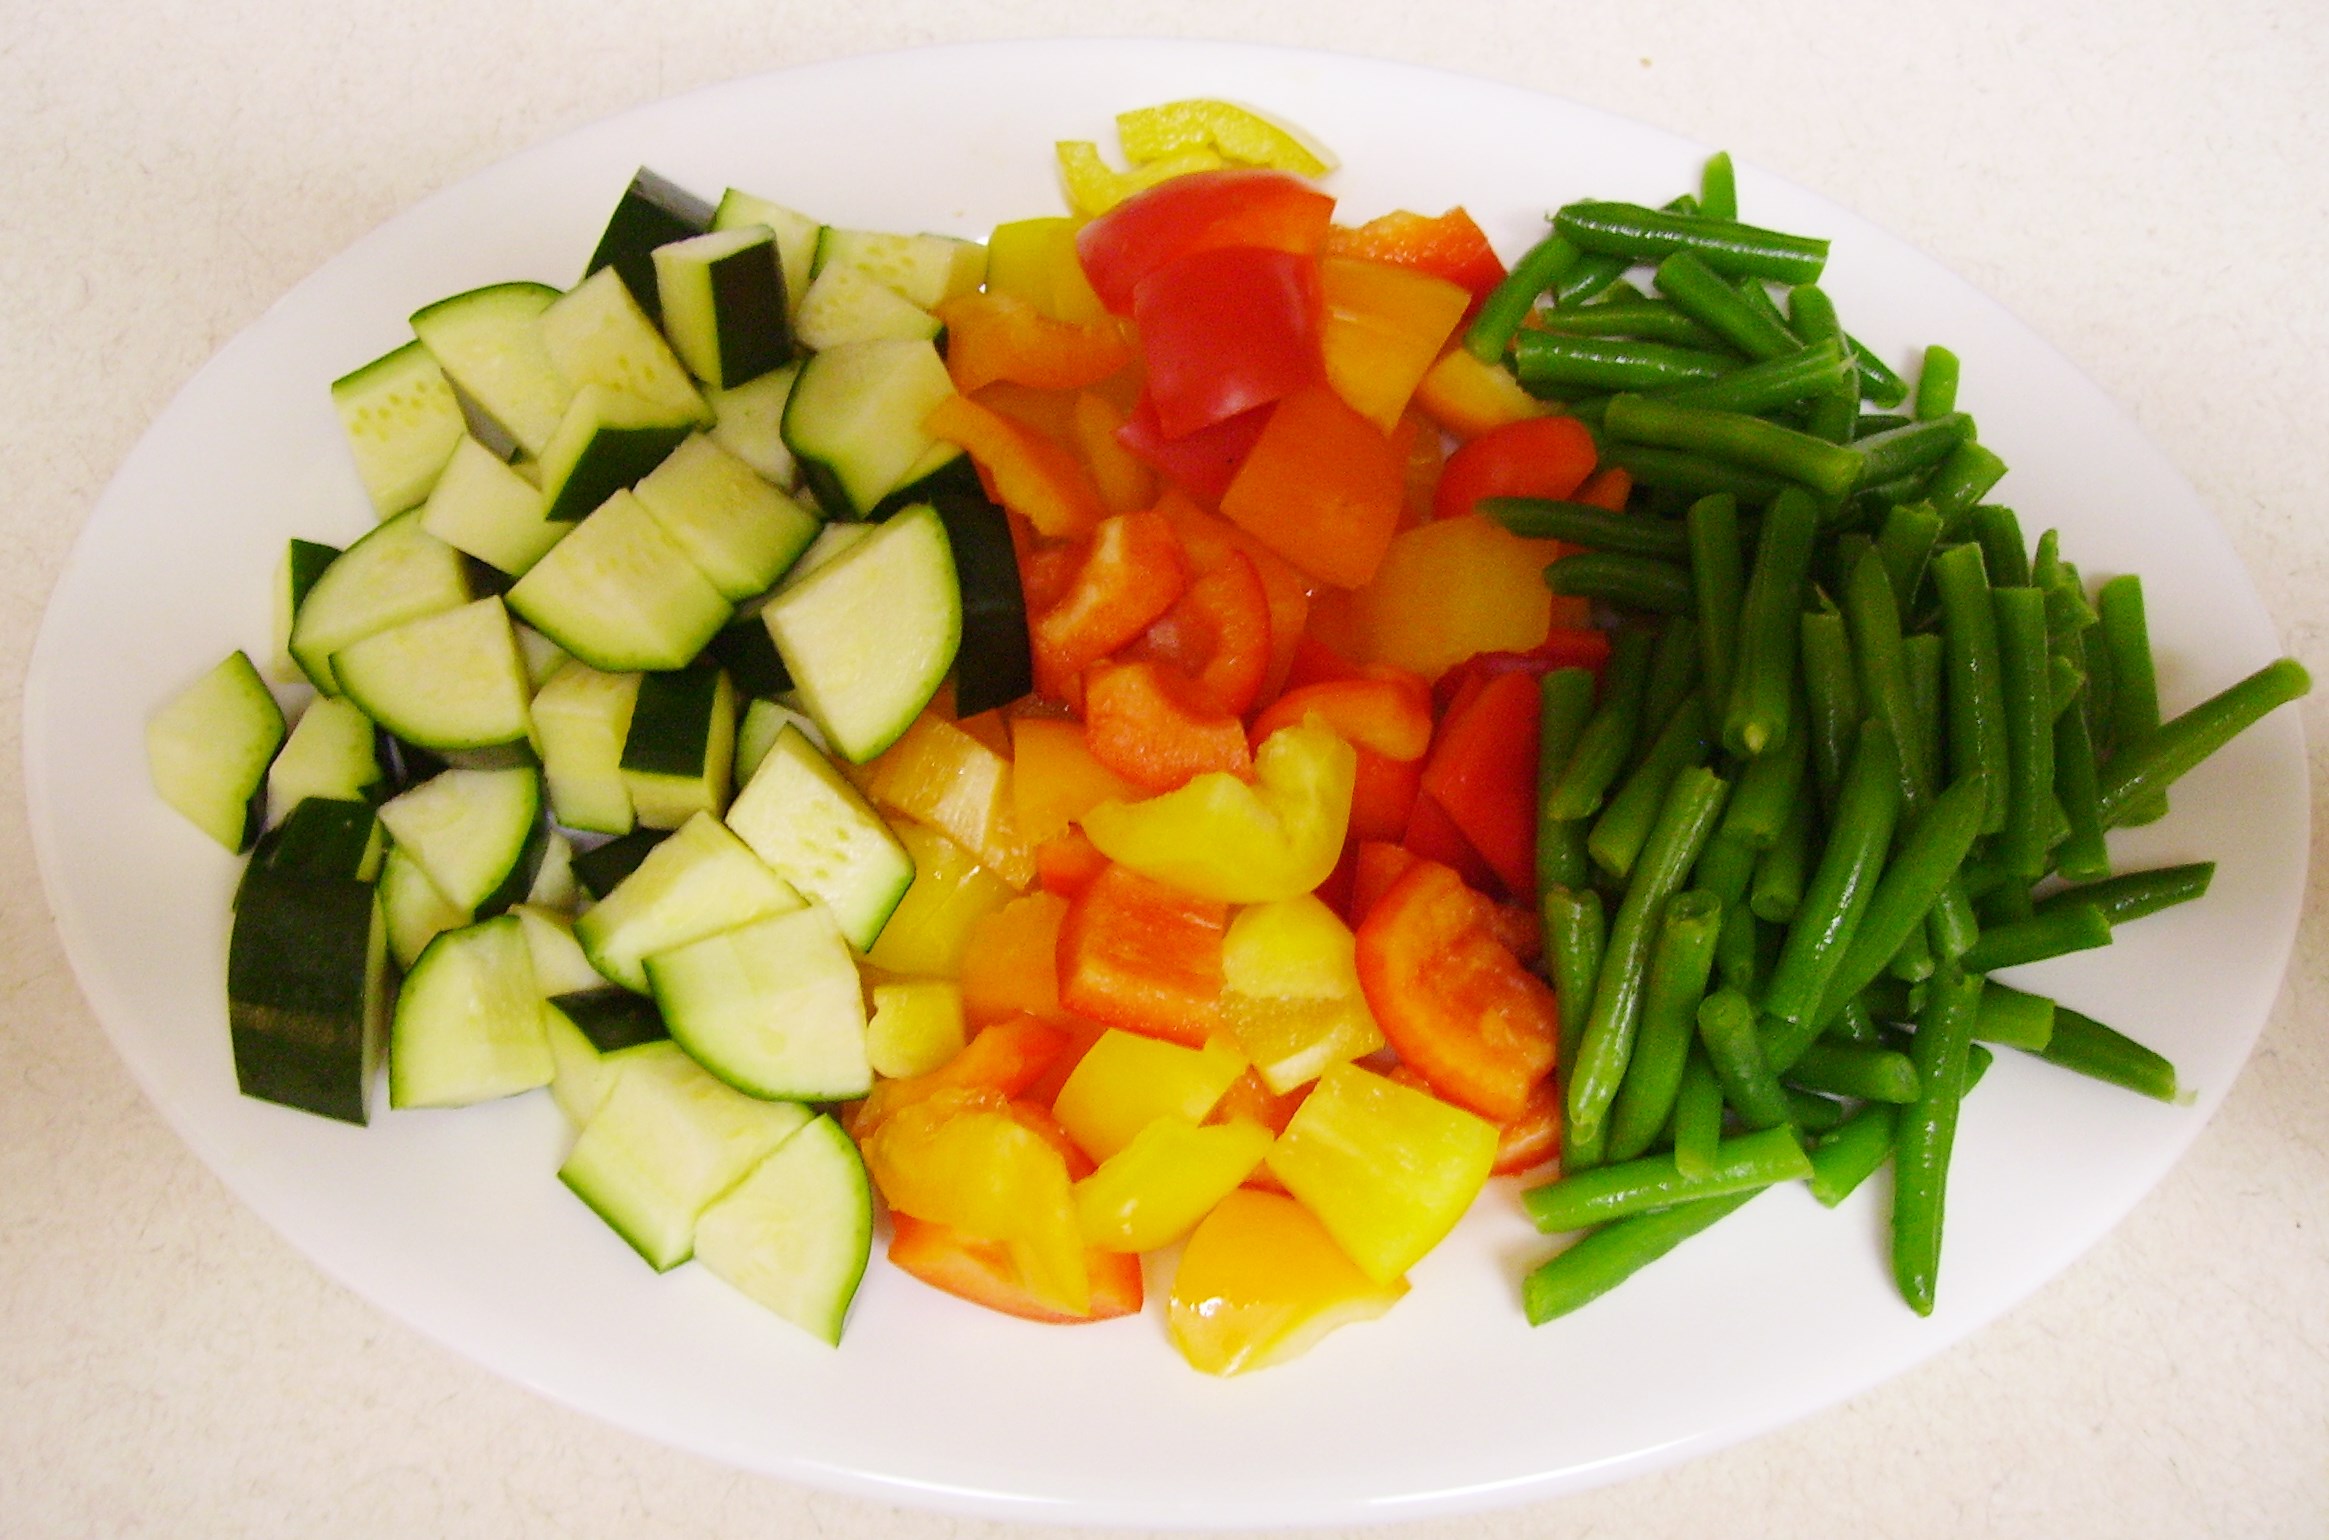
This soup story needed a little more meat. I found some bite size turkey meatballs that I had made a while back as well as one link of turkey italian sausage. I’m not sure why I only had one link, but it was the perfect little addition when I cut it in small pieces and baked it with the meatballs. They joined the stock in the refrigerator.DIGITAL CAMERAChapter two began the next day with cutting the vegetables that would happily swim in the soup. This task fit nicely into my mid-day window. I chose zucchini, colored bell peppers and frozen green beans.DIGITAL CAMERAThey created a vibrant splash of color, but they happened to be what I had on hand. They would go in near the end of the cooking. The shorter cooking time allowed them to keep their vivid color and a slightly crisp texture.

It isn’t Minestrone for me unless there is some kind of bean. Cannellini filled the bill beautifully. Drained and rinsed they would come fashionably late to the party. So, my mise en place was in place, ready for the final chapter that began when I got home from work.

The soup pot was ready on the stove and the tomato – turkey stock went back in. It heated slowly while I enjoyed a  glass of wine and some pleasant conversation with my husband.

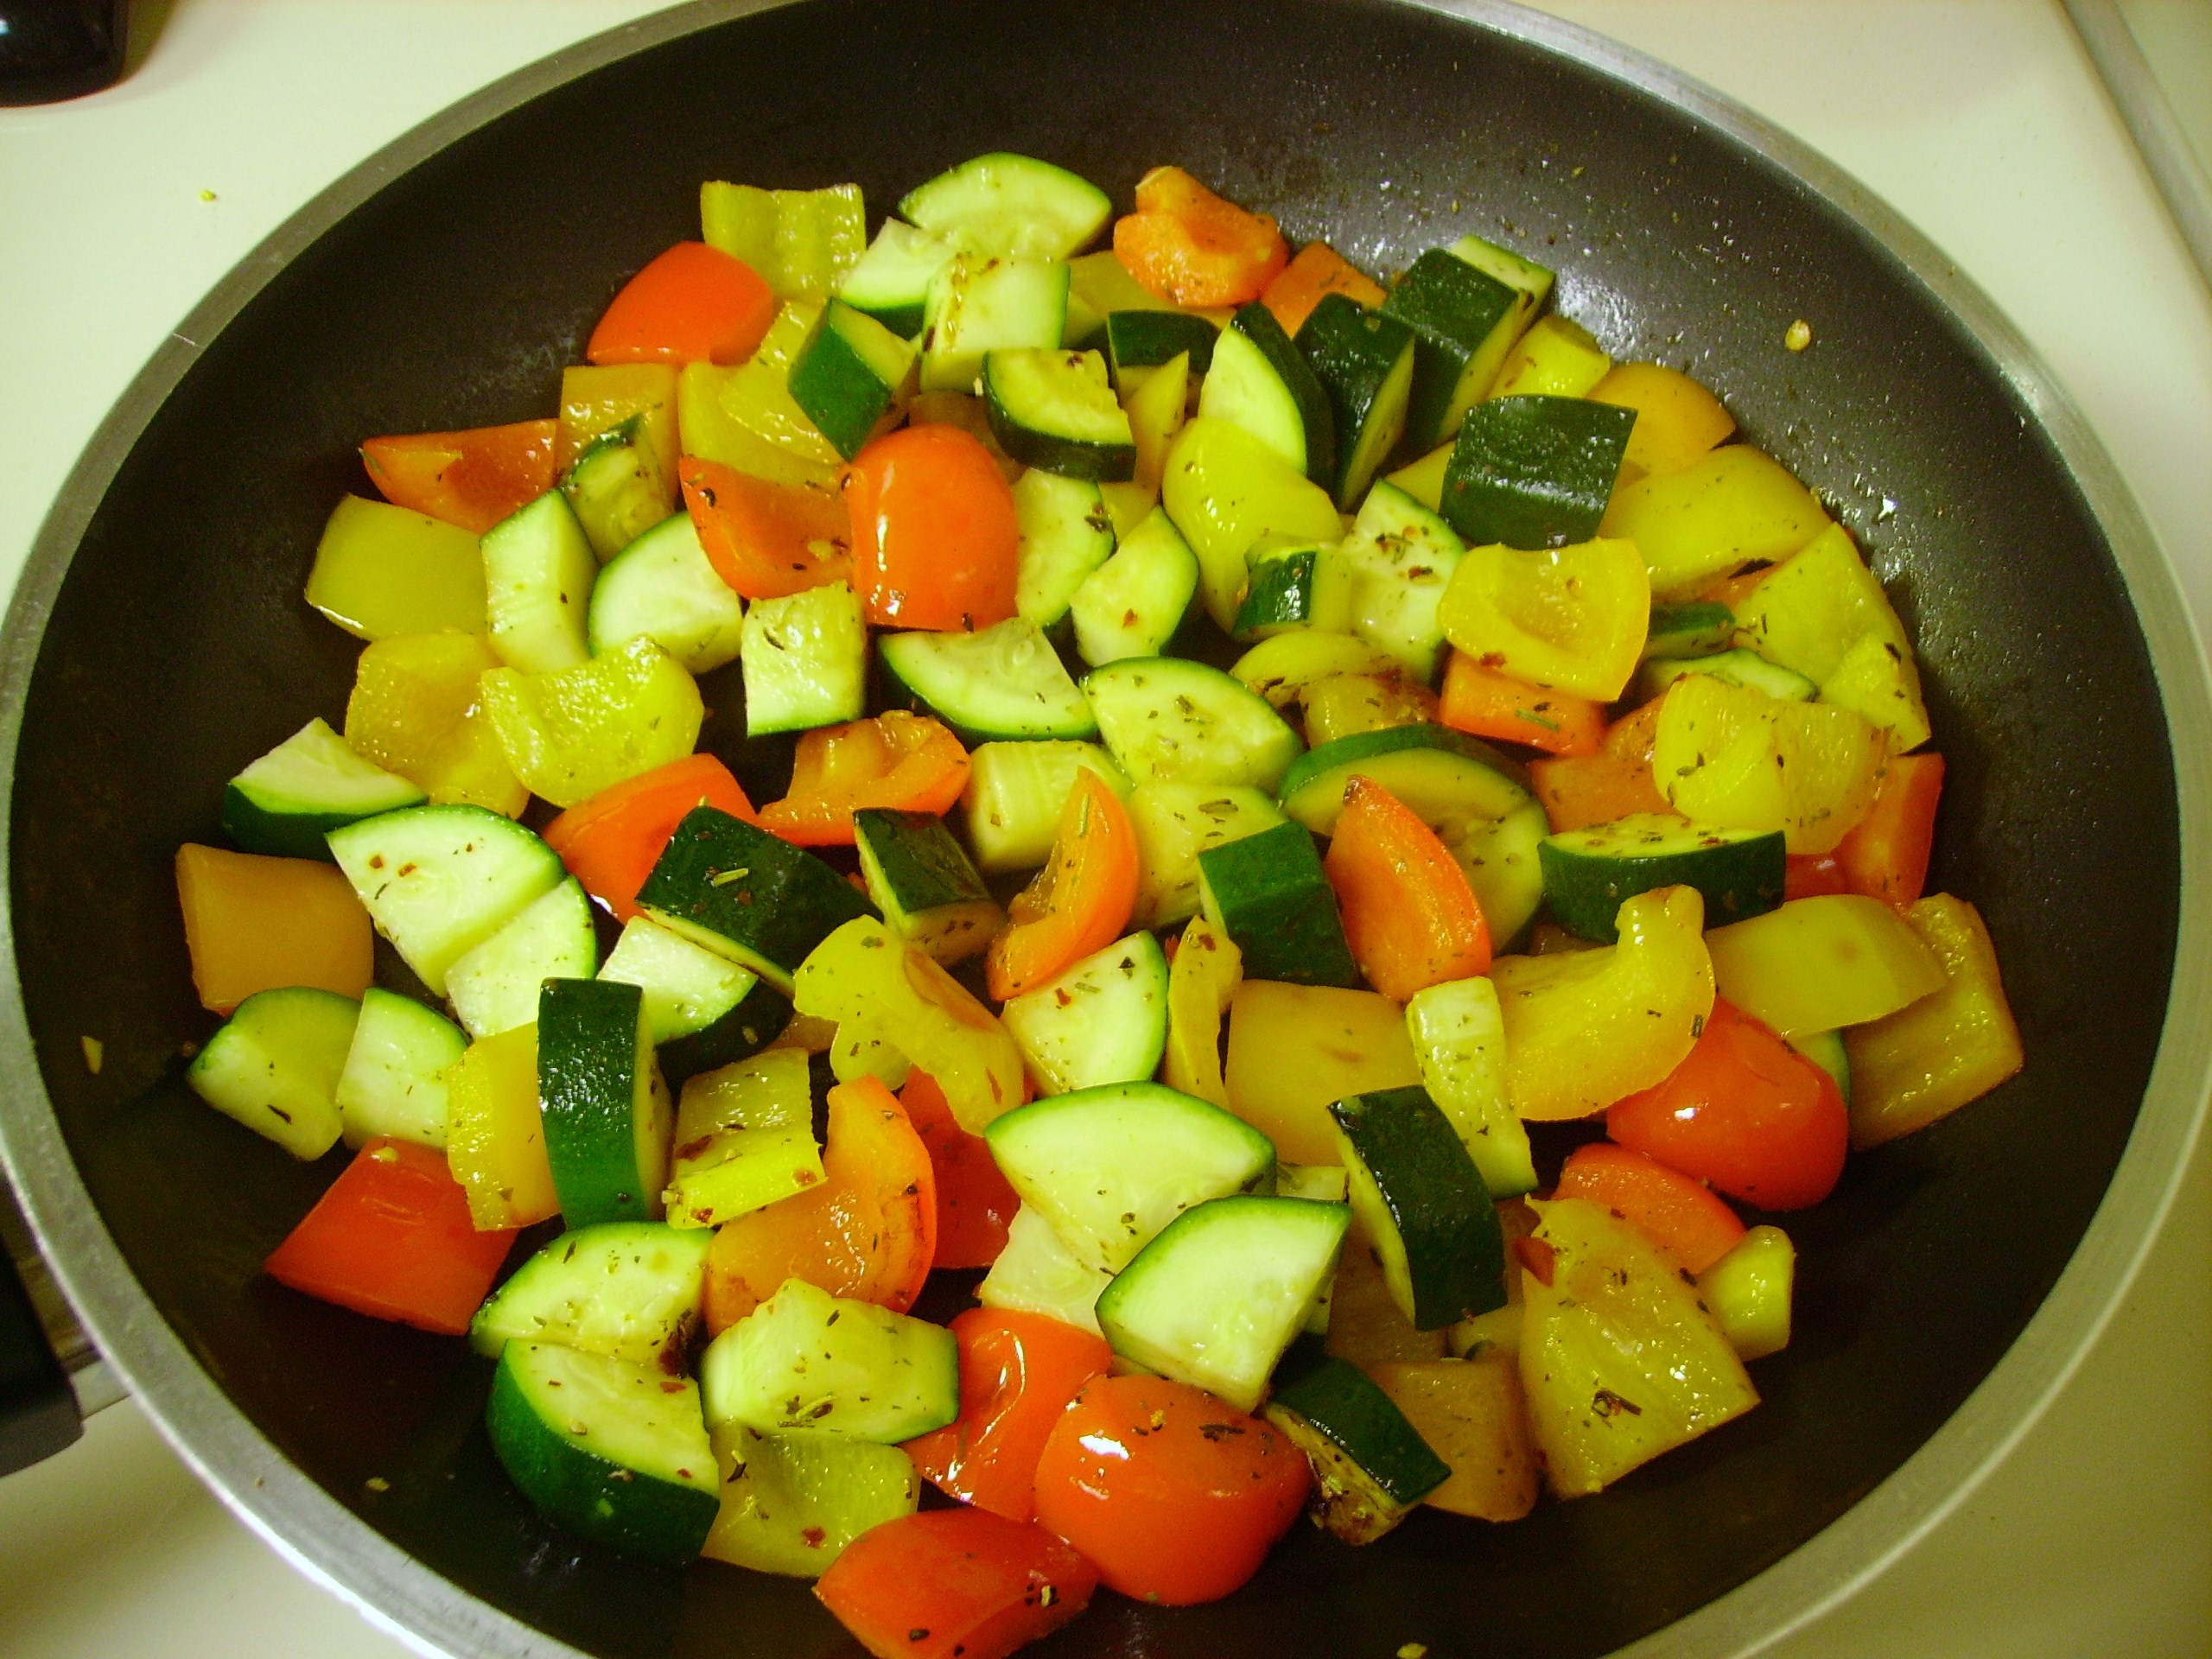
When it was time to add the veggies, I wanted to give them a little extra love, so I briefly cooked them in a little olive oil and Italian Herb blend. The green beans sat this step out because they were already blanched.DIGITAL CAMERA

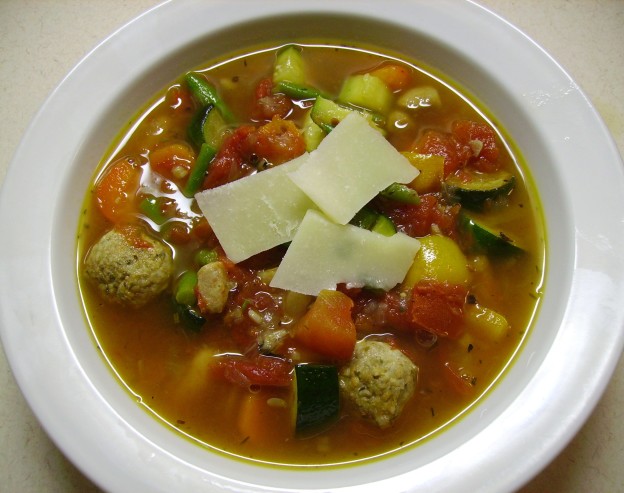
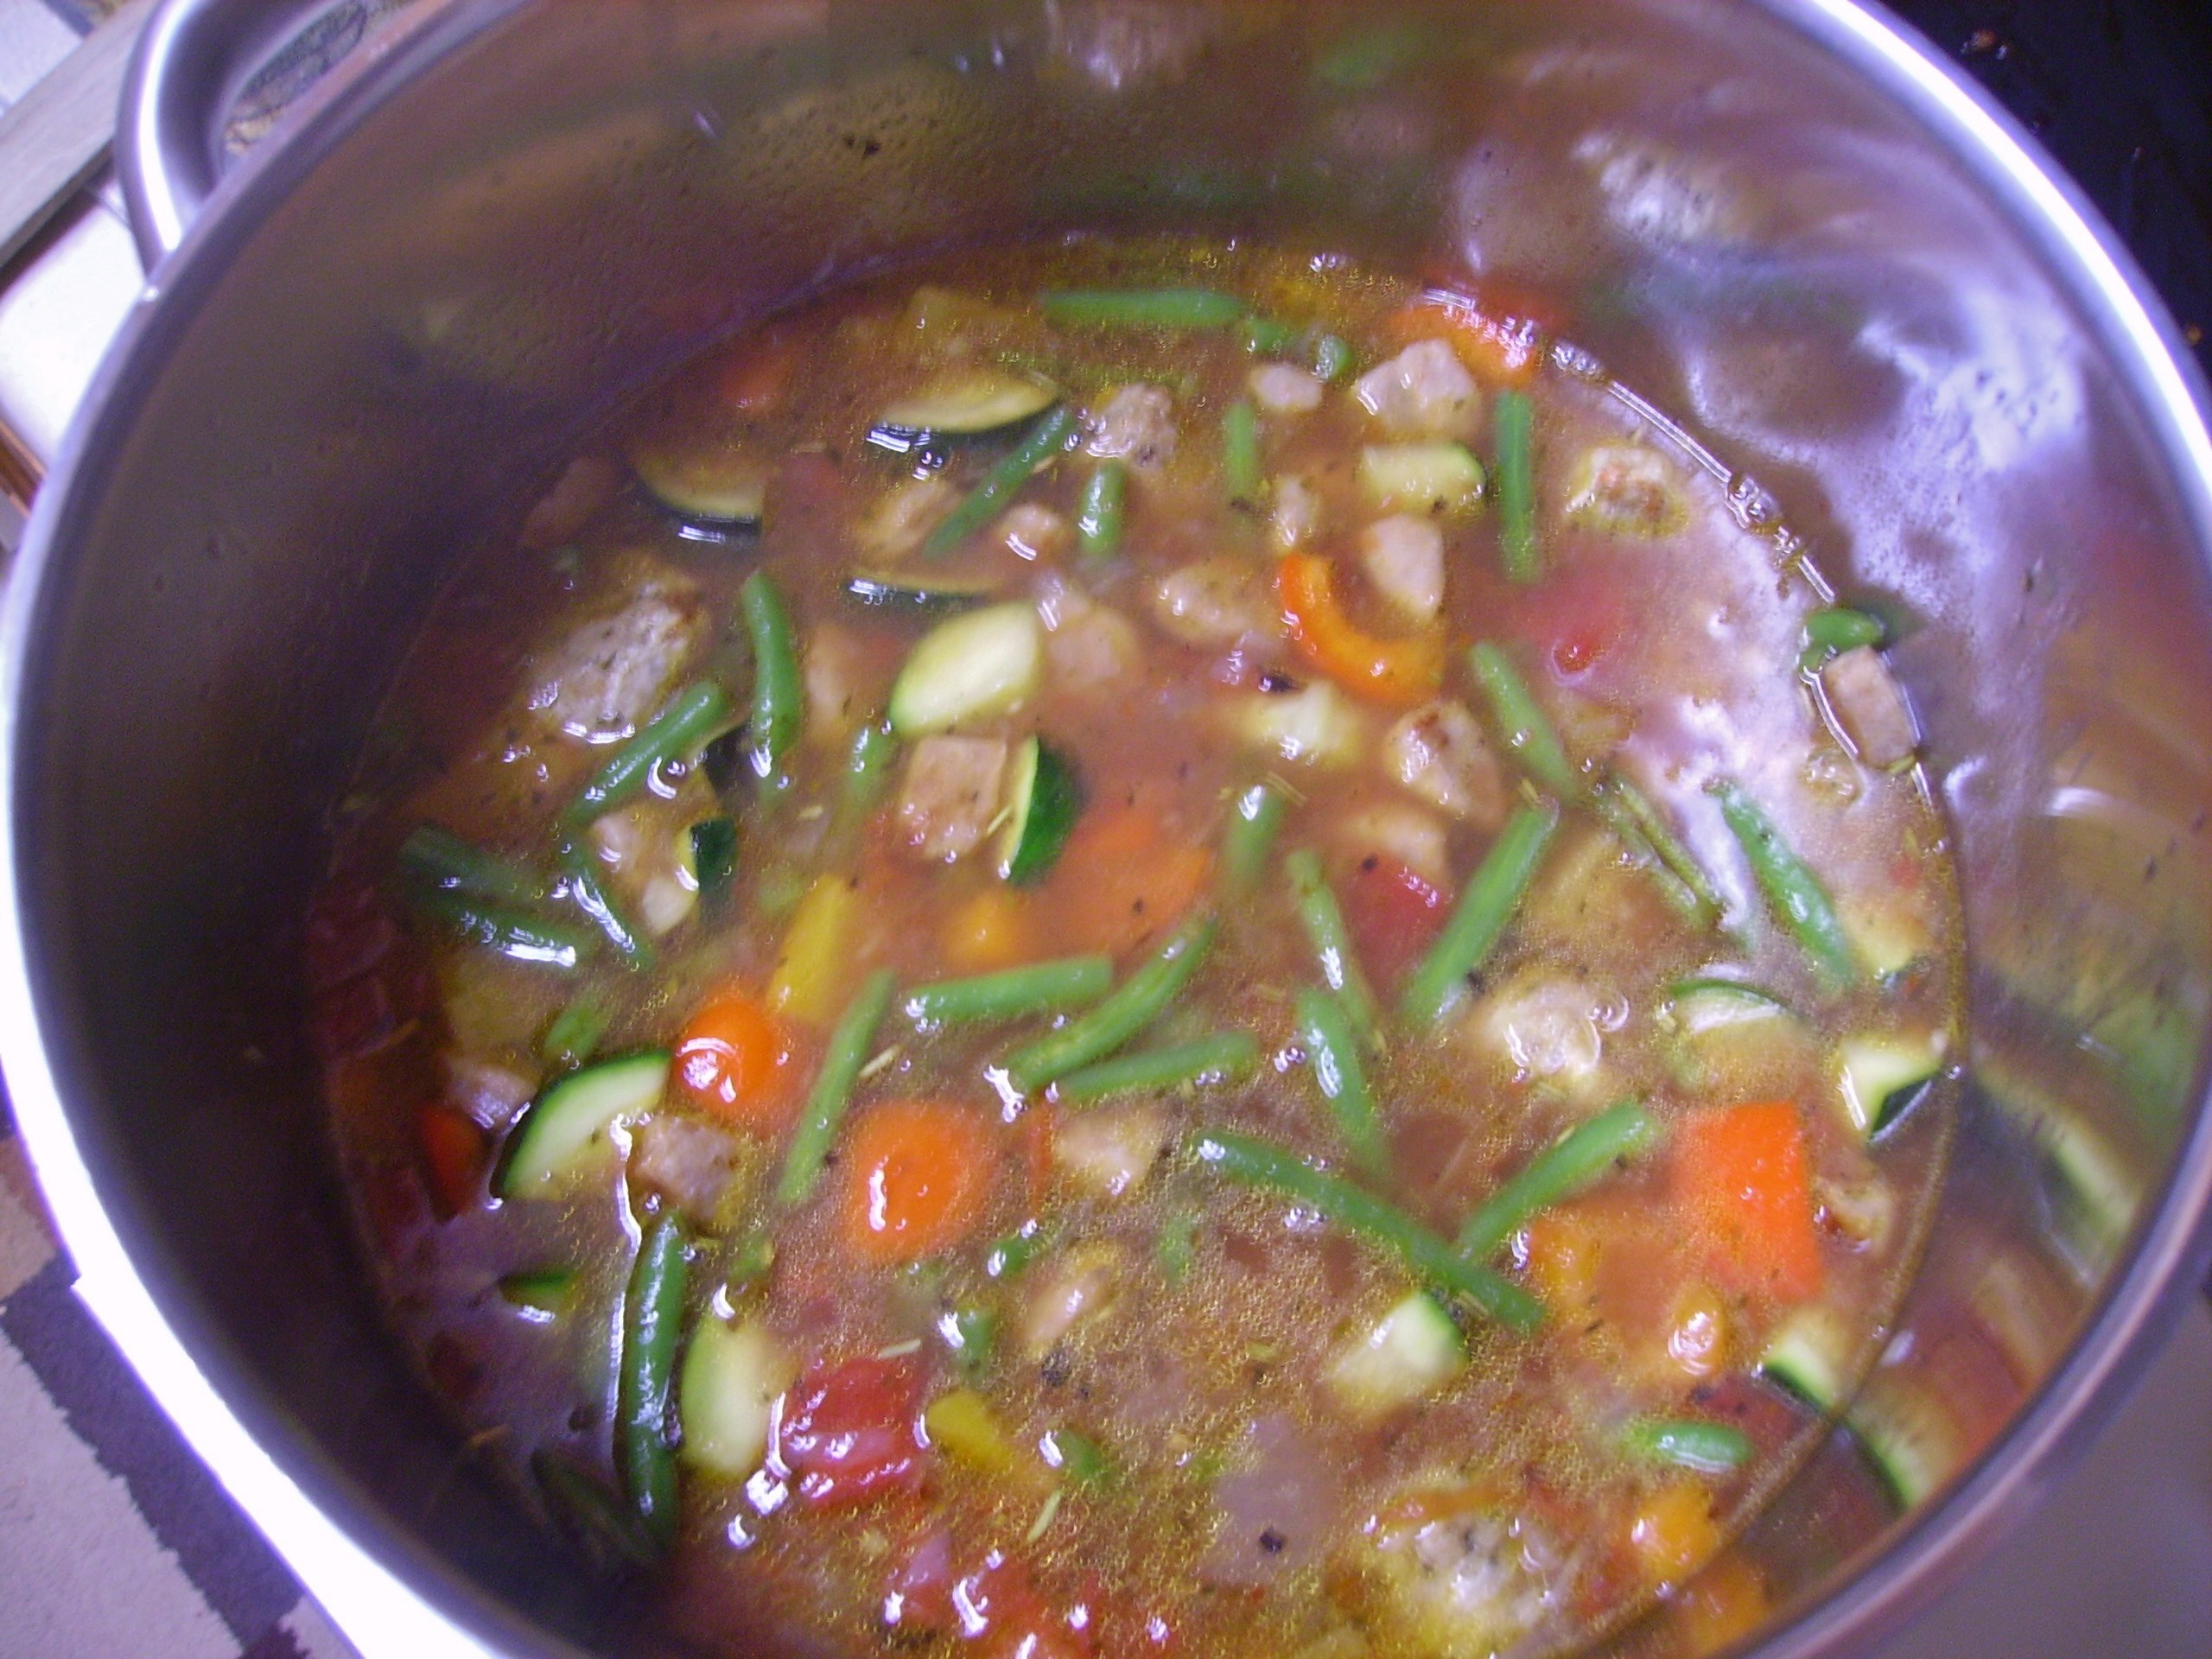
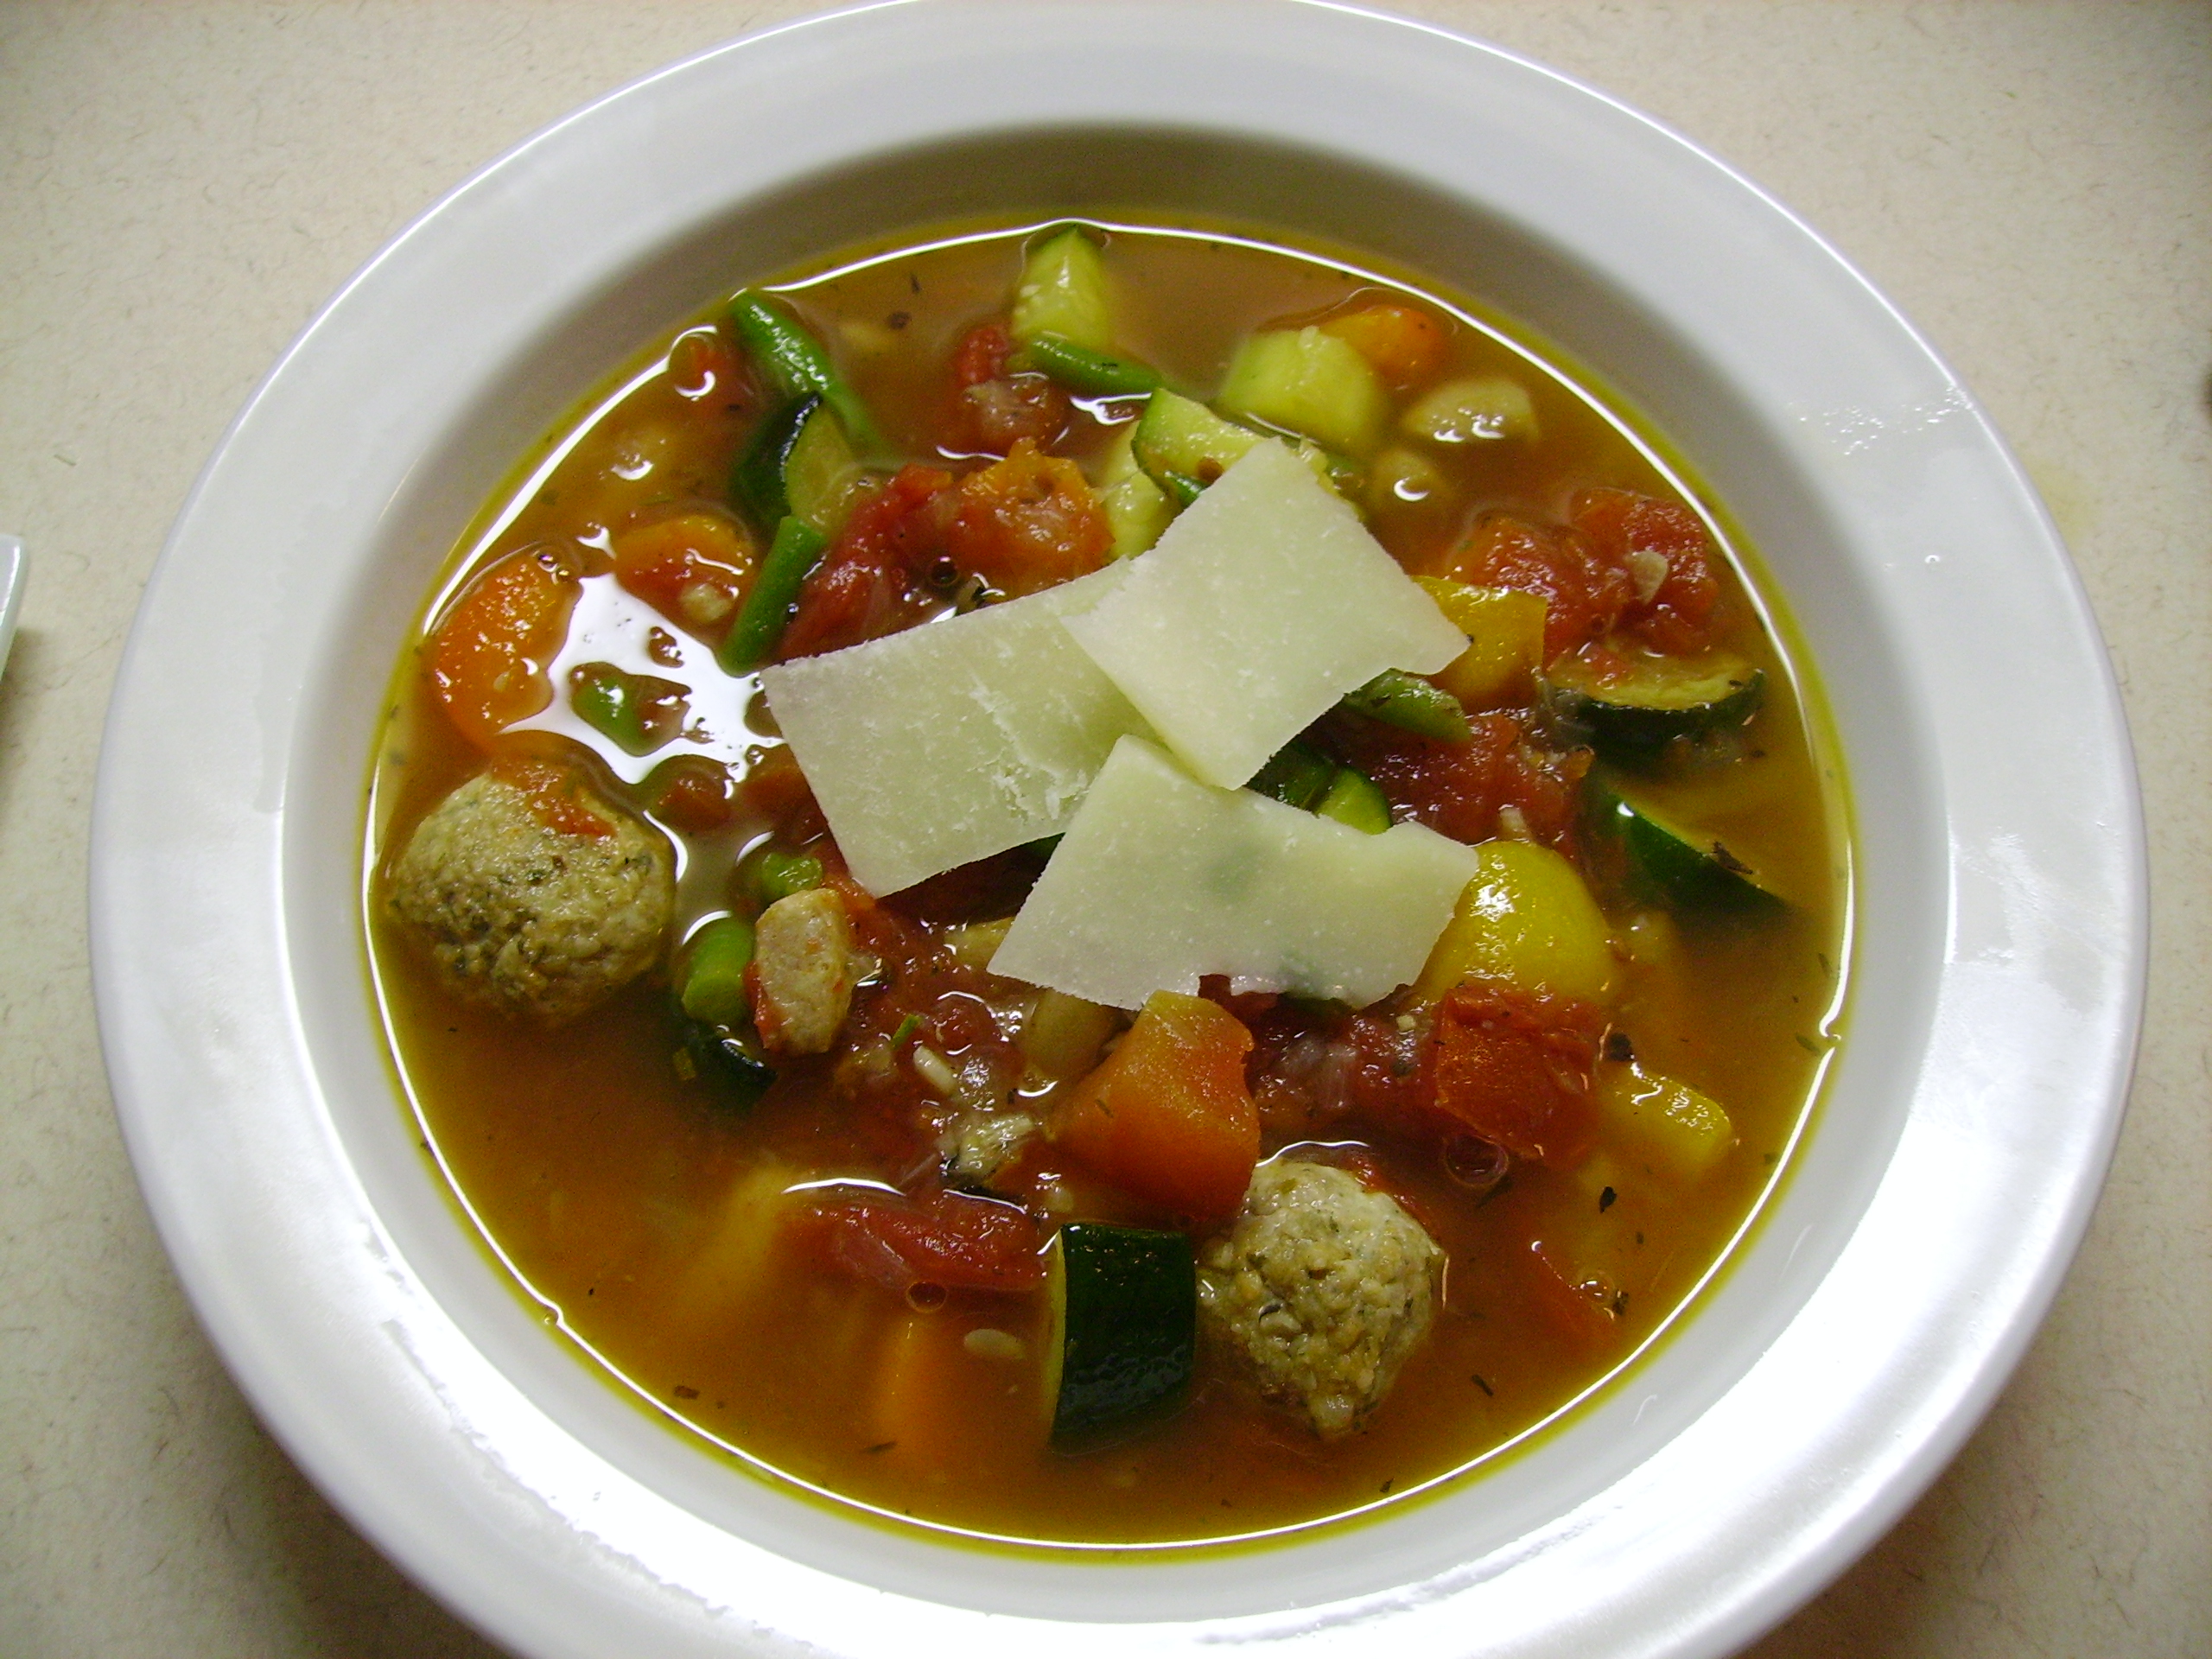
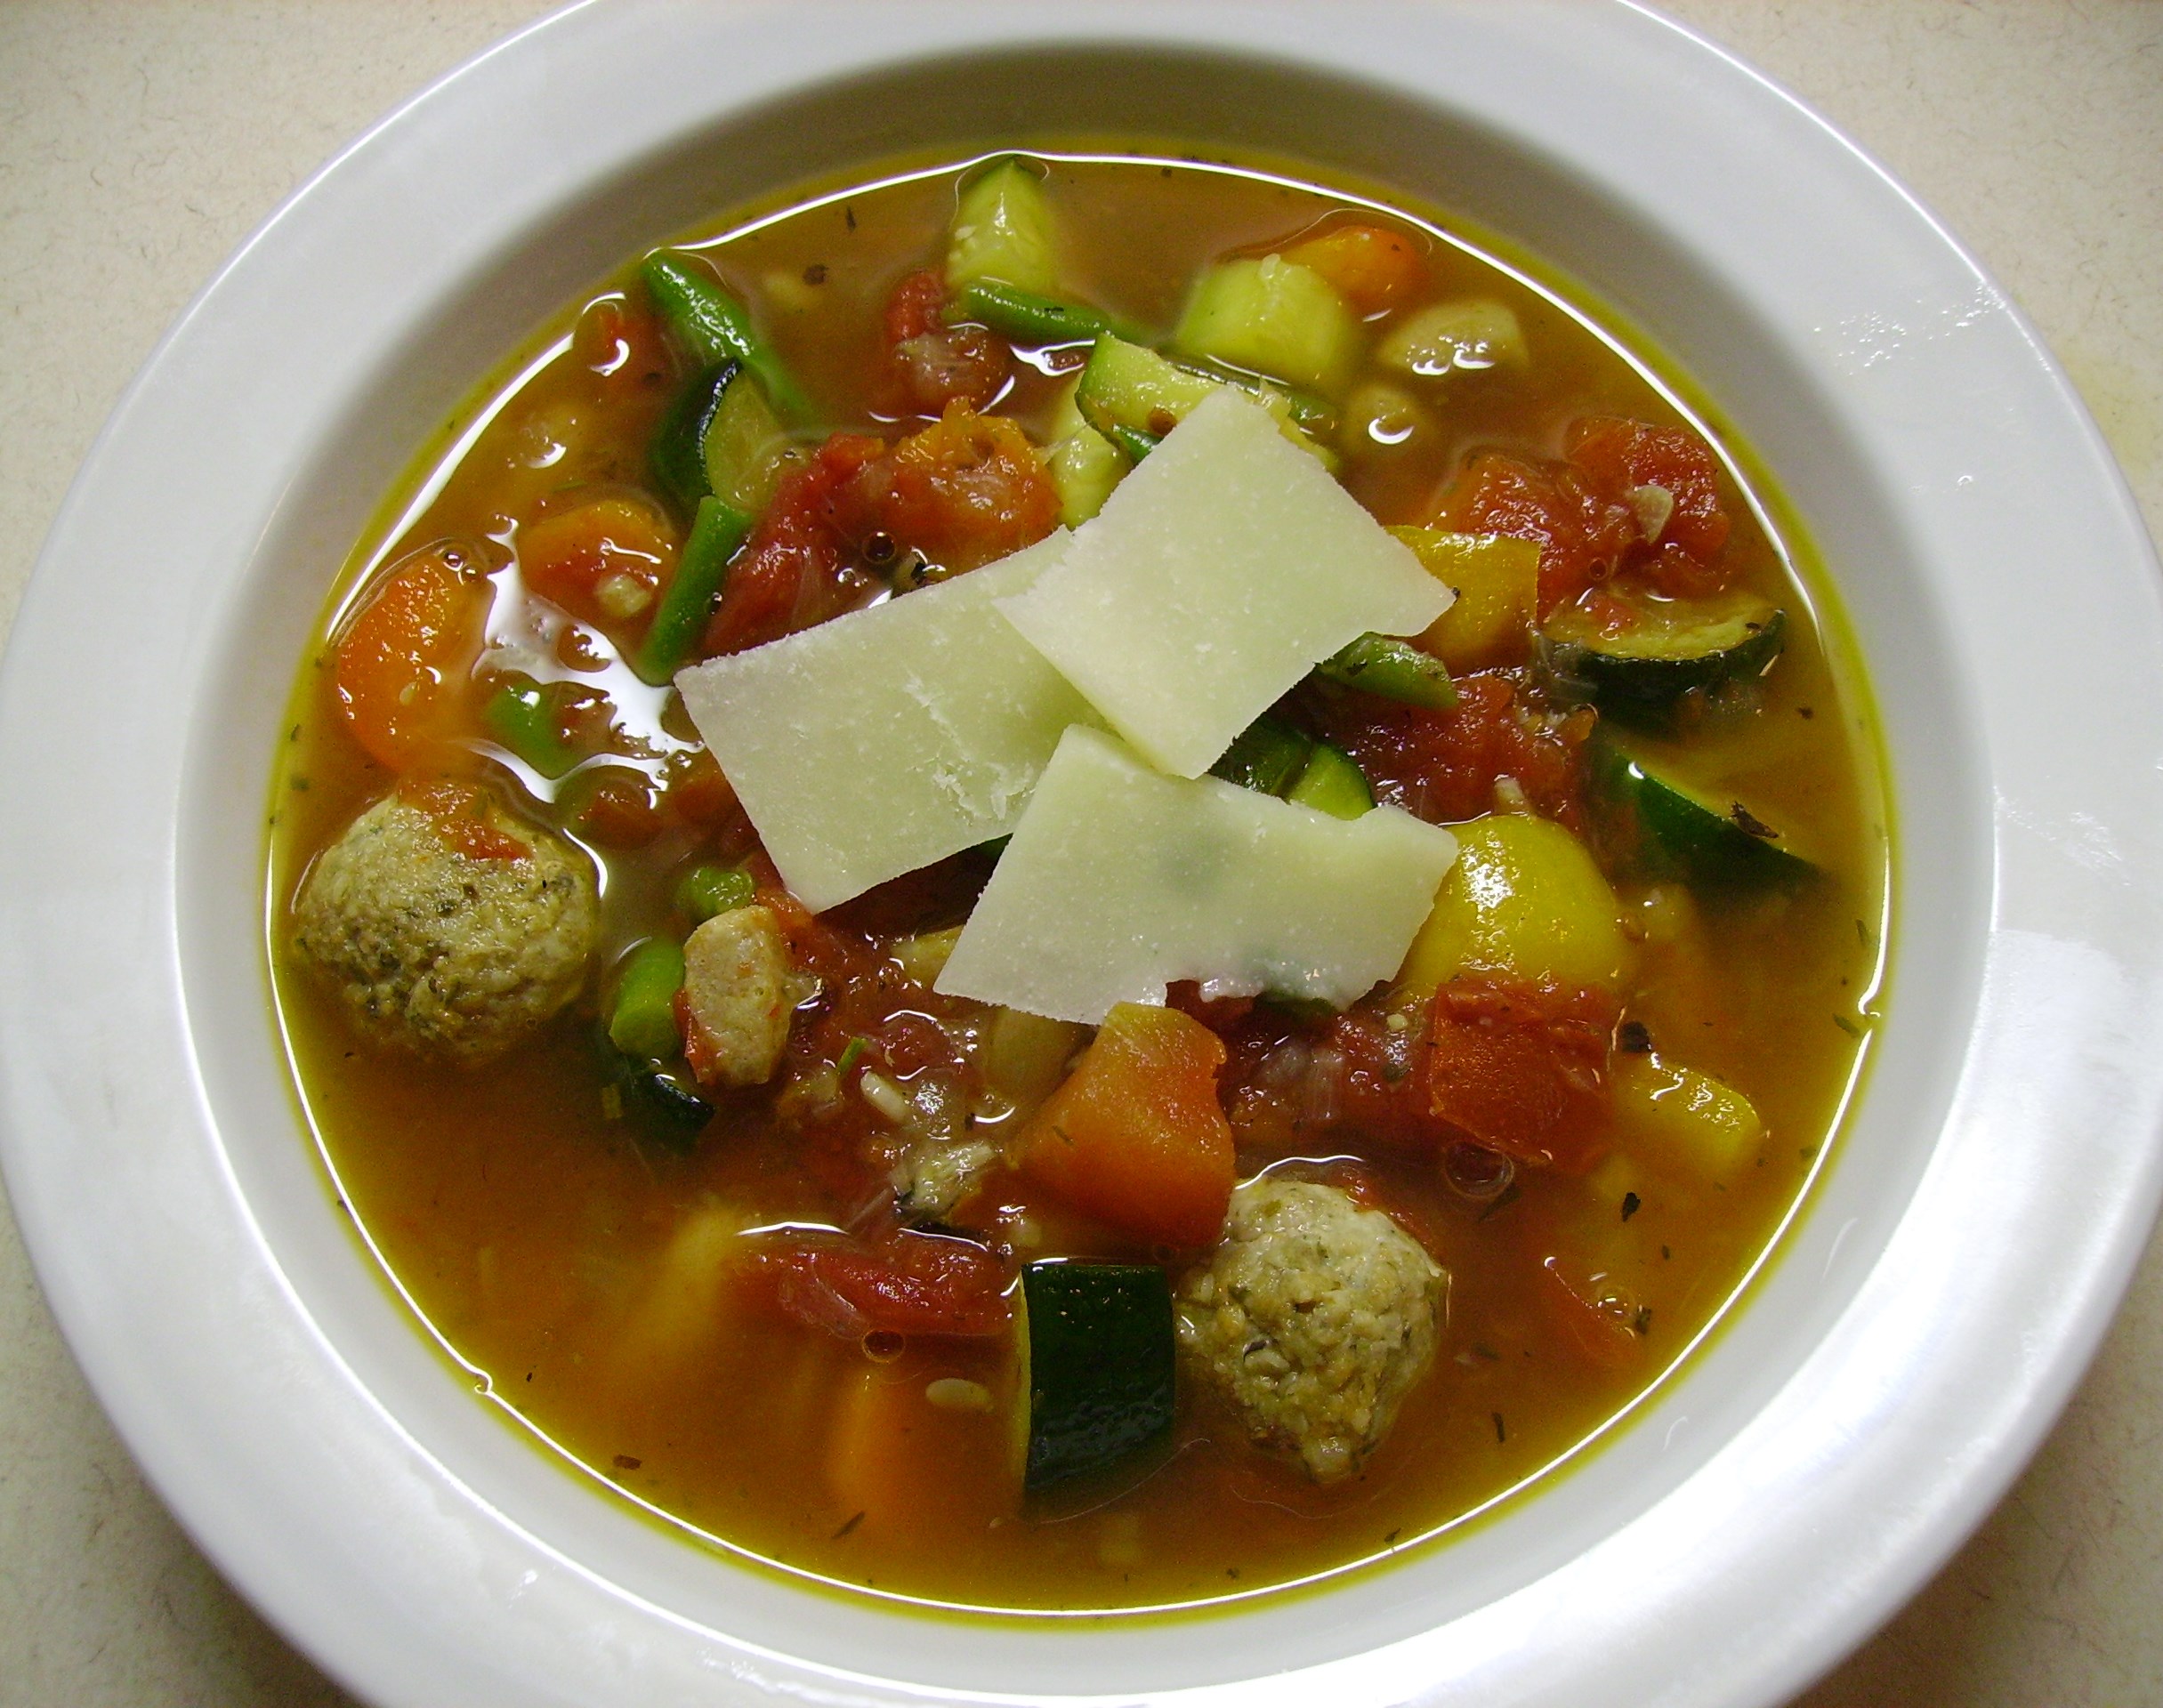
Finally the time was right to bring all the characters together for the denouement. The vegetables, beans, meatballs, and sausage joined together in the pot in perfect harmony.DIGITAL CAMERAA little more time over the heat and it was ready to eat. The only adornment was a little shaved Pecorino Romano. It was as satisfying as finishing a really  good book…DIGITAL CAMERAThis soup can easily be made all at once in the traditional way. That’s how the recipe is written. As always, make it your own…use the ingredients you love or what’s on hand. Use as many short cuts as you want or take the long way round. Here’s the basic recipe to get you started.

Fully Loaded Minestrone
Print Recipe
Servings
4
Servings
4
Fully Loaded Minestrone
Print Recipe
Servings
4
Servings
4
Ingredients
Servings:
Instructions
  1. Warm a large soup pot over medium heat. Add 1 tablespoon of the olive oil and heat for 1 minute. Add the chopped onions, carrots and garlic to the pan alond with the pepper flakes and 1 teaspoon of the Italian seasoning and cook stirring occasionally 5 minutes. The vegetables should begin to soften and become fragrant.
  2. Add the stock and bring just to a boil. Reduce the heat to low and simmer for about 30 minutes. Add the drained tomatoes and simmer for another 15 minutes.
  3. While the stock simmers cook the meatballs and sausage. This can be done in the oven at 350 degrees. It will take about 20 minutes. Set aside when cooked.
  4. In a large fry pan heat the remaining 1/2 tablespoon of olive oil. Add the peppers, zucchini and the remianing Italian Herb Blend. Cook for 5 minutes just until the vegetables are slightly soft.
  5. Add the meats and sauteed vegetables to the simmering soup pot. Cook for 5 minutes or so. Add the drained cannelinni and the green beans. Simmer 5 minutes more or until everything is heated through.
  6. Taste and make any adjustments to the seasonings. Ladle into bowls and serve with a bit of shaved Romano Cheese.
Share this Recipe
Powered byWP Ultimate Recipe

A Cozy Nest and a Pot of Something Wonderful (Chicken & Poblano Chili)

Winter is here. There is snow on the ground and ice on the streets. It’s the time of the year when those of us who live in the Midwest turn our thoughts to curling up on the couch with a good book and a loving partner. Weekends at home give us time to fall in love with our new surroundings. The small apartment that seemed almost claustrophobic is becoming a cozy nest  as we add a picture here and a shelf there. Slowly the treasures we kept are finding new places and as I look around from my place on that couch it looks like home.

Nothing makes a cozy nest smell better than a big pot of something wonderful simmering on the stove. If you’ve been following along with my adventures, you know that soups (click here for some of my favorites), stews, and chili come out of my kitchen regularly. On a recent cold and snowy weekend I made some chili that was the perfect accompaniment to quality time spent inside.

i-peppers-anchochiliI started with some dried chilies, Ancho and Guajillo to be exact.guajillo chili Anchos begin their life as Poblano chilies. These are quite mild and became the repeating theme in this dish. Guajillo start out as Mirasol peppers. These are smokey and sweet with just a touch of heat. This wrinkled and leathery duo were the base for my chili. Before they could become the deep red sauce that held the other ingredients together they had to toast and soak, then whirl in the blender to finally be strained through a sieve. The beautiful sauce only needed a touch of agave and a pinch of salt to become the perfect base.DIGITAL CAMERAPoblano peppers made several more appearances. Fresh peppers were roasted and left raw as well for a wider flavor profile. I also used Ancho Chili Powder along with the essential heavy dose of Cumin.

I used “chicken bits” for the main protein. This is what I call the trimmings from chicken thighs and breasts that I accumulate in the freezer and save for just his kind of occasion.DIGITAL CAMERAI used a bit of bacon as I do in most chili that I make. Chopped finely and cooked off in the pot, it got things rolling. I drained the grease, but left the brown bits. I added a little olive oil and added the chicken to brown slightly.DIGITAL CAMERAThere had to be plenty of yellow onion and garlic along with the poblanos and jalapenos. Ground cumin and ancho chili powder cooked along with the veggies to deepen their flavor. The browned chicken and reserved bacon went back into the pot. I added a little chicken stock and more than a little hoppy beer to kick things up just a little. I added a can of fire roasted tomatoes that I had partially drained as well.

Everything simmered for a good 45 minutes, then I added a can of pinto beans that were drained and rinsed. Another 15 – 20 minutes and it was ready to eat…but not really.DIGITAL CAMERA The flavor was good, but as with many soups it’s even better in a day or two. So it camped out in the refrigerator for two days. There’s a double bonus here. It tasted great and was as easy to get on the table as heating it up and spooning it into bowls. I topped it with a little smoked gouda cheese. DIGITAL CAMERAThe smokiness of the cheese complimented the smokey undertones of the chili. It takes a bit of time to make this. The recipe is long, but it is fairly easy. It’s the perfect way to spend a Saturday afternoon and the resulting pot of wonderful is worth the effort.

Chicken and Poblano Chili
Print Recipe
This takes time, but it is worth the effort. Use different chilies to adjust the heat. It would be great with pork and black beans or what ever ingredients you love.
Servings
4
Servings
4
Chicken and Poblano Chili
Print Recipe
This takes time, but it is worth the effort. Use different chilies to adjust the heat. It would be great with pork and black beans or what ever ingredients you love.
Servings
4
Servings
4
Ingredients
Sauce
Chili
Servings:
Instructions
To Make The Sauce
  1. Use kitchen shears to cut open the peppers. Remove the stem and the seeds. Place the peppers in a large roasting pan. Place in a 300 degree oven and roast for a few minutes. This is to warm the peppers slightly and begin to release their oils.
  2. Heat the water to a simmer. Remove the pan from the heat and add the chilies. To keep the chilies submerged in the water, place another pot into the chili pot and weight it down. Allow the chilies to soak for at least 20 minutes.
  3. Check to see if the chilies are soft. If they aren't let them soak a few more minutes. Once they are soft, remove them to a strainer and allow to cool.
  4. Working in batches, blend or process the chilies with fresh water. (1 cup chilies to 2 cups water) the mixture should be fairly smooth, but there will be bits of skin.
  5. When all of the chilies have been processed, pour the mixture through a fine sieve. Use a spoon to press as much of the liquid chili through the sieve. Discard the pulp in the sieve.
  6. Add a pinch of salt and a bit of agave syrup to taste. This makes a good 4 cups of sauce. Use in the chili recipe. Freeze the extra.
Chili
  1. Heat a large soup pot over medium high heat. Add the chopped bacon and cook until the bacon is browned. Remove the bacon and drain on a paper towel. Pour off the drippings, leaving any browned bits. Add the olive oil to the pot.
  2. Add the chicken bits to the pan and cook until lightly browned. Cook in batches if necessary. Remove the chicken with a slotted spoon and set aside. Leave the drippings in the pan. Work on roasting the poblano peppers while the chicken cooks.
  3. Use a broiler to roast 2 of the Poblano peppers. Place the peppers on the broiler rack and position the rack about 3 inches from the heat source. Broil turning frequently until the peppers are blistered and blackened all over. This may take up to 10 minutes depending on your broiler
  4. Place the roasted peppers in a bowl and cover tightly with plastic wrap. Allow to sit for 5 - 8 minutes. The skin should come off easily. Remove the stems and seeds and chop and set aside
  5. Chop the remaining poblano pepper and add it along with the onions, garlic, and jalapeno to the soup pot. Cook for about 5 minutes until the peppers and onion are softened and the garlic is fragrant.
  6. Add the cumin and chili powder to the pan and cook for 3 minutes more. Return the chicken and bacon to the pot and stir to combine. Add the beer to the pot stirring to loosen any brown bits. Cook for a minute or so.
  7. Add the chili sauce, drained tomatoes, roasted poblanos, and the chicken stock. Bring just to a boil. Reduce the heat to low and simmer for 45 minutes.
  8. Add the pinto beans and continue to cook 15 minutes more. This can be served immediately, but it is better after a day or two in the refrigerator.
Share this Recipe
Powered byWP Ultimate Recipe

I added a salad of grape tomatoes, cilantro, and avocado that was lightly dressed with a lime vinaigrette. Warm corn tortillas rounded out the meal.DIGITAL CAMERA

Winter is sure to hang around for at least another month or two. Take the time to make your own pot of wonderful.