A New Chili and a New Season

After a wait that felt far too long, I can say that it is unequivocally Fall. There is crispness in the air. Windows and doors are finally open to let the act of breathing real fresh air become a daily occurrence. Mama D’s Kitchen is ready to produce some heartier fare. So, it is time to get the Slow Cooker out of its hiding place and let it do some of the work of producing something delicious.

I feel the need to go on record that I have a love/hate relationship with the Slow Cooker. I love how whatever you cook in it envelopes the house with wonderful aromas. I like the fact  that once the ingredients have been prepped and added, there is nothing more to do. You can set it and forget it and go out and enjoy a perfect Fall afternoon, knowing that when you return home, wonderful smells and tasty comfort food will be waiting. Even though these are great pluses, I have a few issues with this “counter top time saver”. In my opinion there are some things that shouldn’t go in a crock pot. I’m not a fan of pot roast in a slow cooker. I know that borders on blasphemy, but I find the taste and texture of both the meat and its accompanying vegetables to be a bit watered down. I also take issue with the fact that in order to set it and forget it, one must do a certain amount of cutting, measuring, and even pre-cooking to have everything ready to spend the rest of the day getting happy. I’m not afraid of a little work, but at times it seems that there is a lot of active prep time to get to the passive cooking part of the equation.

That being said, I do respect this appliance enough to make space for it in my very small kitchen. The things it does well, it does very well. My favorite things to make in a slow cooker are soups and chilies, which brings us to this recipe; Chicken Chili. Once again I must give credit to a food magazine for the inspiration for this dish. The initial idea came from the October Cooking Light Magazine. It featured a Slow Cooker Chicken Chili. Reading through the recipe, I was taken by several things. The combination of Butternut Squash and Hominy blending with chicken sounded like a “million dollar trio.” There was also a step that called for pureeing a can of beans to add body and thickness to the dish. Now comes the point where I incorporate some Mama D magic.img_2593

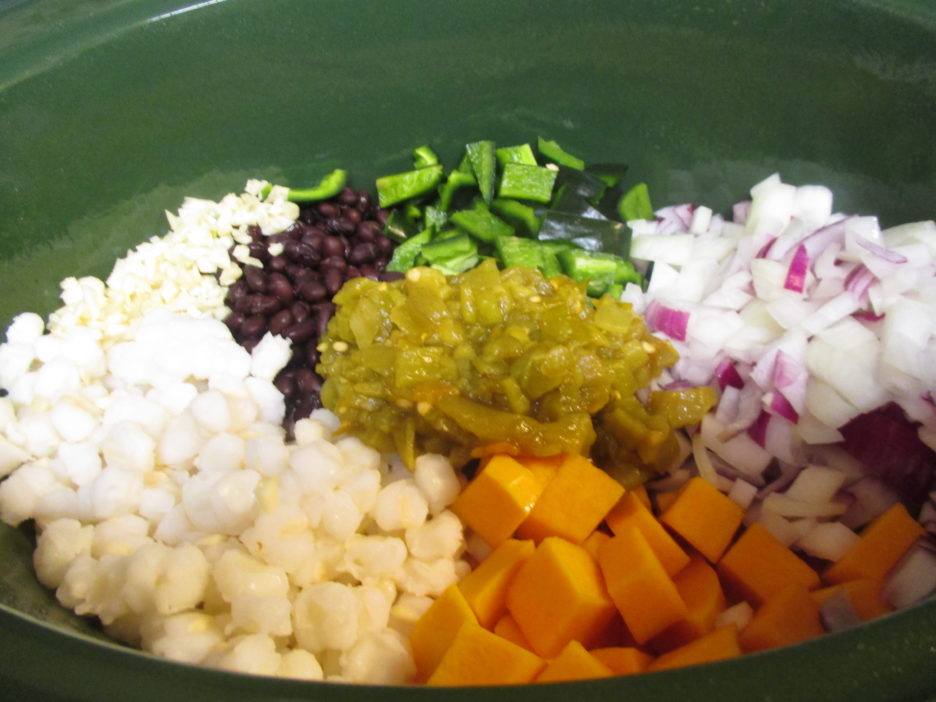
The recipe was obviously going to be a chili on the “white side,” but I had something a little different in mind. I also had a random array of ingredients that I wanted to use up. I did puree a can of beans, Pintos, to be exact. I blended this with some homemade chicken stock and a decent amount of homemade chili sauce that had been living in the freezer. Another one of my issues with a slow cooker is that the cooking process creates a lot of liquid. I was making chili not soup so I wanted a thicker sauce. I took the liberty of adding some Masa Harina to act as a thickening and add a little more earthy corn taste. Then there was the matter of vegetables. I added a lot of onion and garlic (this is Mama D’s Kitchen after all) along with some chopped Poblano Chilies. This along with canned green chilies upped the ratio of veg. to meat to about 3 to 1. A can of Black Beans jumped into the pot as well. img_2597
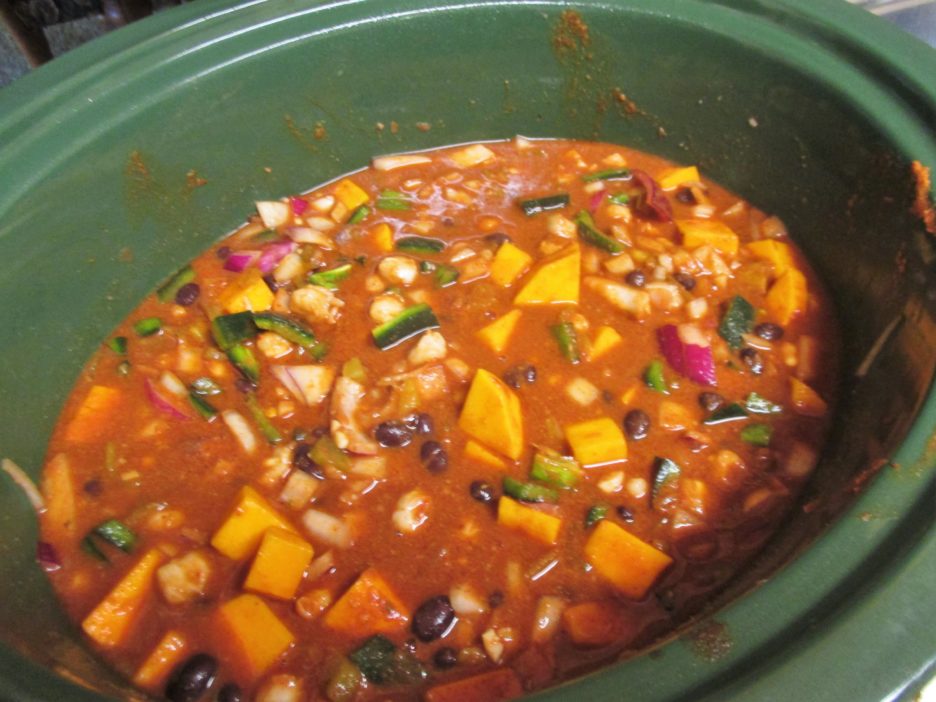
The chicken part came from a bag of scraps that was also lounging in the freezer. Any time that I buy boneless/skinless chicken parts, I save the trimmings for some future use, like chili. Waste not, want not is my motto.img_2601

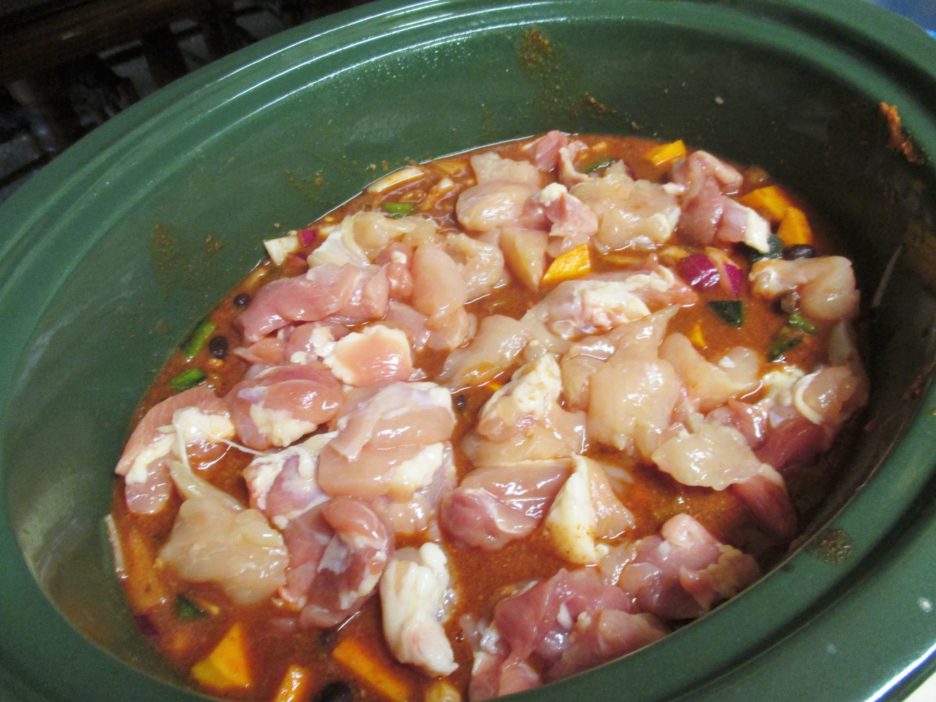
I put the ingredients into the Slow Cooker in a specific order. The veggies went in first and were mixed with the liquid ingredients. I topped this savory bed with the chicken, much like most Slow Cooker recipes suggest. Then, finally, came the set it and forget it part.

We enjoyed a walk and a cocktail and returned home to wonderful smells. A tip of the lid and a rise in temperature (to complete the thickening process) and in a brief half hour it was ready to serve. img_2607

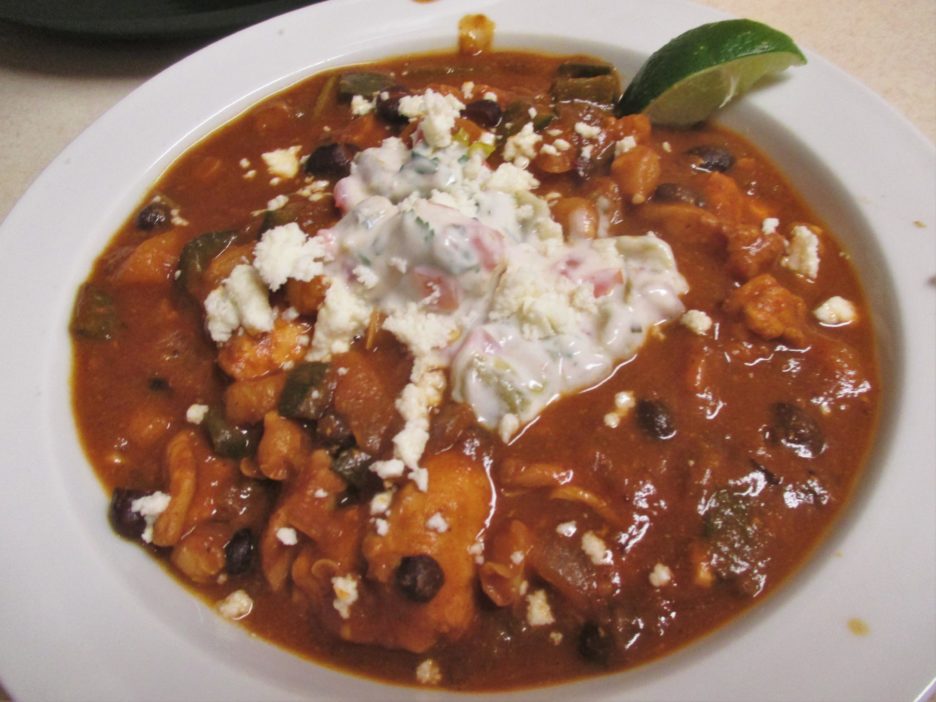
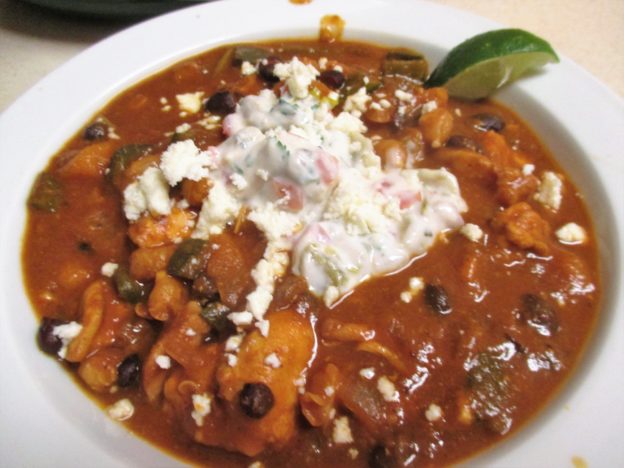
The garnish involved some Queso Fresco and Sour Cream laced with salsa and cilantro. A wedge of lime added some brightness. This is chili on the mild side. Using a hotter chili like Anaheim and Chipotle Chili Powder would definitely up the heat. You could add a different bean or add more of them and it will be great. Since I respectfully borrowed the idea from Cooking Light, any modifications are more than all right.

Chicken and Butternut Squash Chili
Print Recipe
Servings
6
Servings
6
Chicken and Butternut Squash Chili
Print Recipe
Servings
6
Servings
6
Ingredients
Servings:
Instructions
  1. Spray a 6 quart Slow Cooker lightly with non-stick spray. Add the squash, peppers, onion, garlic, hominy, chilies, and black beans to the cooker and stir to combine.
  2. Combine the pureed beans, chicken stock, and red chili sauce in a bowl. Add the masa harina and stir or whisk until the mixture is smooth.
  3. Add the chili powder, cumin, and oregano to the liquid ingredients and stir once more. Pour the liquids into the cooker and stir to combine everything well.
  4. Cut the chicken into bite size pieces. Lay the chicken pieces on top of the vegetable mixture. Cover and cook on Low for 6 - 8 hours (the heat on every slow cooker is different so adjust the time according to how yours cooks).
  5. At the 6/8 hour point, stir the chicken into the other ingredients. Give things a taste and add more of any seasoning you think it needs.
  6. Tilt the lid slightly and turn the heat setting to High. Allow the chili to cook until it is the thickness that you like.
  7. While the chili is cooking on High, mix the sour cream, salsa, and cilantro together. Set aside.
  8. When you are ready to serve, ladle into bowls. Pass the sour cream mixture, lime, and cheese at the table.
Share this Recipe
Powered byWP Ultimate Recipe

Another thing to remember with Slow Cookers is that the long cooking process pulls lots of moisture out of the ingredients. Once the dish is cooked it is a good idea to taste test for seasoning levels. That sauce with a  spicy zing at the beginning may have gotten watered down over the hours and will be in need of a booster shot of seasoning.

I am very happy that Fall is here and that there will be many more hearty and healthy dishes coming from the Kitchen of love. There may even be a few more Slow Cooker adventures, within reason, that is.

Is It Soup (time) Yet?

I don’t think of summer as the prime time to have soup. It is a comfort food that can take away the chill on a wintry evening or make a satisfying lunch in the fall. I have to admit that I haven’t made much lately even though I love to make soup.

Then last week, I decided to make soup. It started with the chicken carcasses that were left from a beer can chicken meal. Using carcasses for chicken stock isn’t how I usually roll. I’m more of a whole chicken or collected necks kind of gal. The chicken was delicious and the bones really did smell good and had a fair amount of meat on them so I thought I’d give it a whirl, or simmer to be more accurate.

I started the way I start most stock with onions celery and carrots sweated in a little olive oil. Then I added the bones and about 3 quarts of water (there were a lot of bones). I let it simmer for a couple of hours and was pleasantly surprised at the wonderful smokey aroma that permeated the house. Upon tasting it, the smokiness carried through in the flavor which was coupled with the herbs and spices I had originally used to season the chicken.

What to do with the resulting stock? Soup it is.  In my ongoing quest to use and often reuseDIGITAL CAMERA the food I have on hand I added some leftover chicken from the aforementioned dinner and some grilled artichoke hearts that had also made an appearance at the same time.  Onion and garlic were also part of the flavor profile. Topped with a few croutons it was a most satisfying supper.

Now that the soup gates were opened, I had to make another. I had a small head of cauliflower that was in dire need of being eaten. I also had several containers of vegetable stock I had made earlier in the summer.

DIGITAL CAMERAI went to an old standby and made Cauliflower & Cheddar Cheese Soup. This soup combines potatoes,  cauliflower, onions and garlic simmered together and then spun into a  puree. The addition of some extra sharp cheddar cheese created a creamy and rich bowl of goodness. Topped with bacon (the drippings were used as the base of the soup) and fresh chives, it was delicious. So soup, it’s not just for cold weather any more. In fact, there is Fresh Corn Chowder in my not so distant future….stay tuned.

There’s got to be a lot of soup fanatics out there. Please share your creativity with me…Fall is just around the corner!!

Chicken + Brine + Grill = Moist and Tender Results


Chicken seems to be everyone’s favorite protein. It comes in assorted sizes and parts that can be boneless and skin-less or not. It fits into everyone’s budget even in the most inflated of times. It is extremely versatile and is at home on the stove, in the oven, and on the grill.

I cook a lot of chicken. I have planked it, sautéed it, diced and sliced it, I’ve even stuck a beer can up it’s butt. Chicken is easy to cook, but can go south just as easily, especially on the grill.  That’s where brining comes in.DIGITAL CAMERA

A brine is a liquid that has a lot of salt in it. It may have other ingredients, but salt and liquid are in  the majority. Brine imparts moisture to chicken which can go a long way to keeping it juicy and tender when grilled. Traditionally the liquid is water, but when it comes to chicken I’ve found that other liquids can work magic when combined with salt.

file000675254120

Number one on my hit parade is buttermilk. It gives  flavor and the acidity tenderizes the chicken. Chicken breasts brined for several hours in a mixture of buttermilk, salt, onion, garlic and smoked paprika will hit the grill and come off of it juicy and flavorful.

To this basic brine you can add herbs and spices of your choice or leave anything out that doesn’t float your boat. Just keep in mind that the acidity in the buttermilk can begin to break down the chicken if it is left on for too long (keep it to 4 hours or so)

Beer can be an excellent brine base as well.  Again, the flavor of the beer will soak into theOLYMPUS DIGITAL CAMERA chicken, give it a moisture boost and result in a tender and juicy piece of poultry. Chilis, onions, garlic, sugar, even a little lime (remember limes are acidic so keep brining time within that 4 hour limit).

Last but not least there’s water. I guess you could call it the traditional brine ingredient. Anything you put into beer or buttermilk can also be added to water, but don’t stop there.  No ingredients are off-limits. Use your personal favorites  and let your imagination run wild.

Now for the how to’s:

You will need a container that will hold the chicken ( whatever pieces you use) and enough brine to cover it completely. Oh, and it should seal tightly. Brine is not fun to clean out of the nooks and crannies in your refrigerator. Zip top plastic bags work well for breasts and thighs. For whole chickens and even turkeys, trash bags can get the job done.

The amount of salt also depends on how much chicken you’re brining. One tablespoon will do the trick for 3 -4 boneless chicken breasts. You will increase the amount according to how much liquid you need to cover your chosen poultry. Use Kosher salt if you can, it is additive free.

Brining time for non-acidic mixtures can be up to 24 hours…whole chickens and turkeys can soak even longer.

When you are ready to grill, remove the chicken from it’s salt bath and pat it dry. Throw the bath water away.  Powder the chicken with your favorite seasoning and grill. One more thing…because the chicken has absorbed some of the salt in the brine go easy on any salt you add before grilling. 20130625_172131 (1)

There’s still a lot of grill time left this summer, so dive into brine and come up with delicious chicken