Weeknight Wonderland- Orange Sesame Chicken Tenders

Some weeknights feel like dinner can’t get on the table fast enough. Other nights, a little delay of reinforcement can be a good thing, as long as it doesn’t take too long. It doesn’t matter which you choose, as long as you can get some of the prep done ahead of time. That’s where marinating comes in.

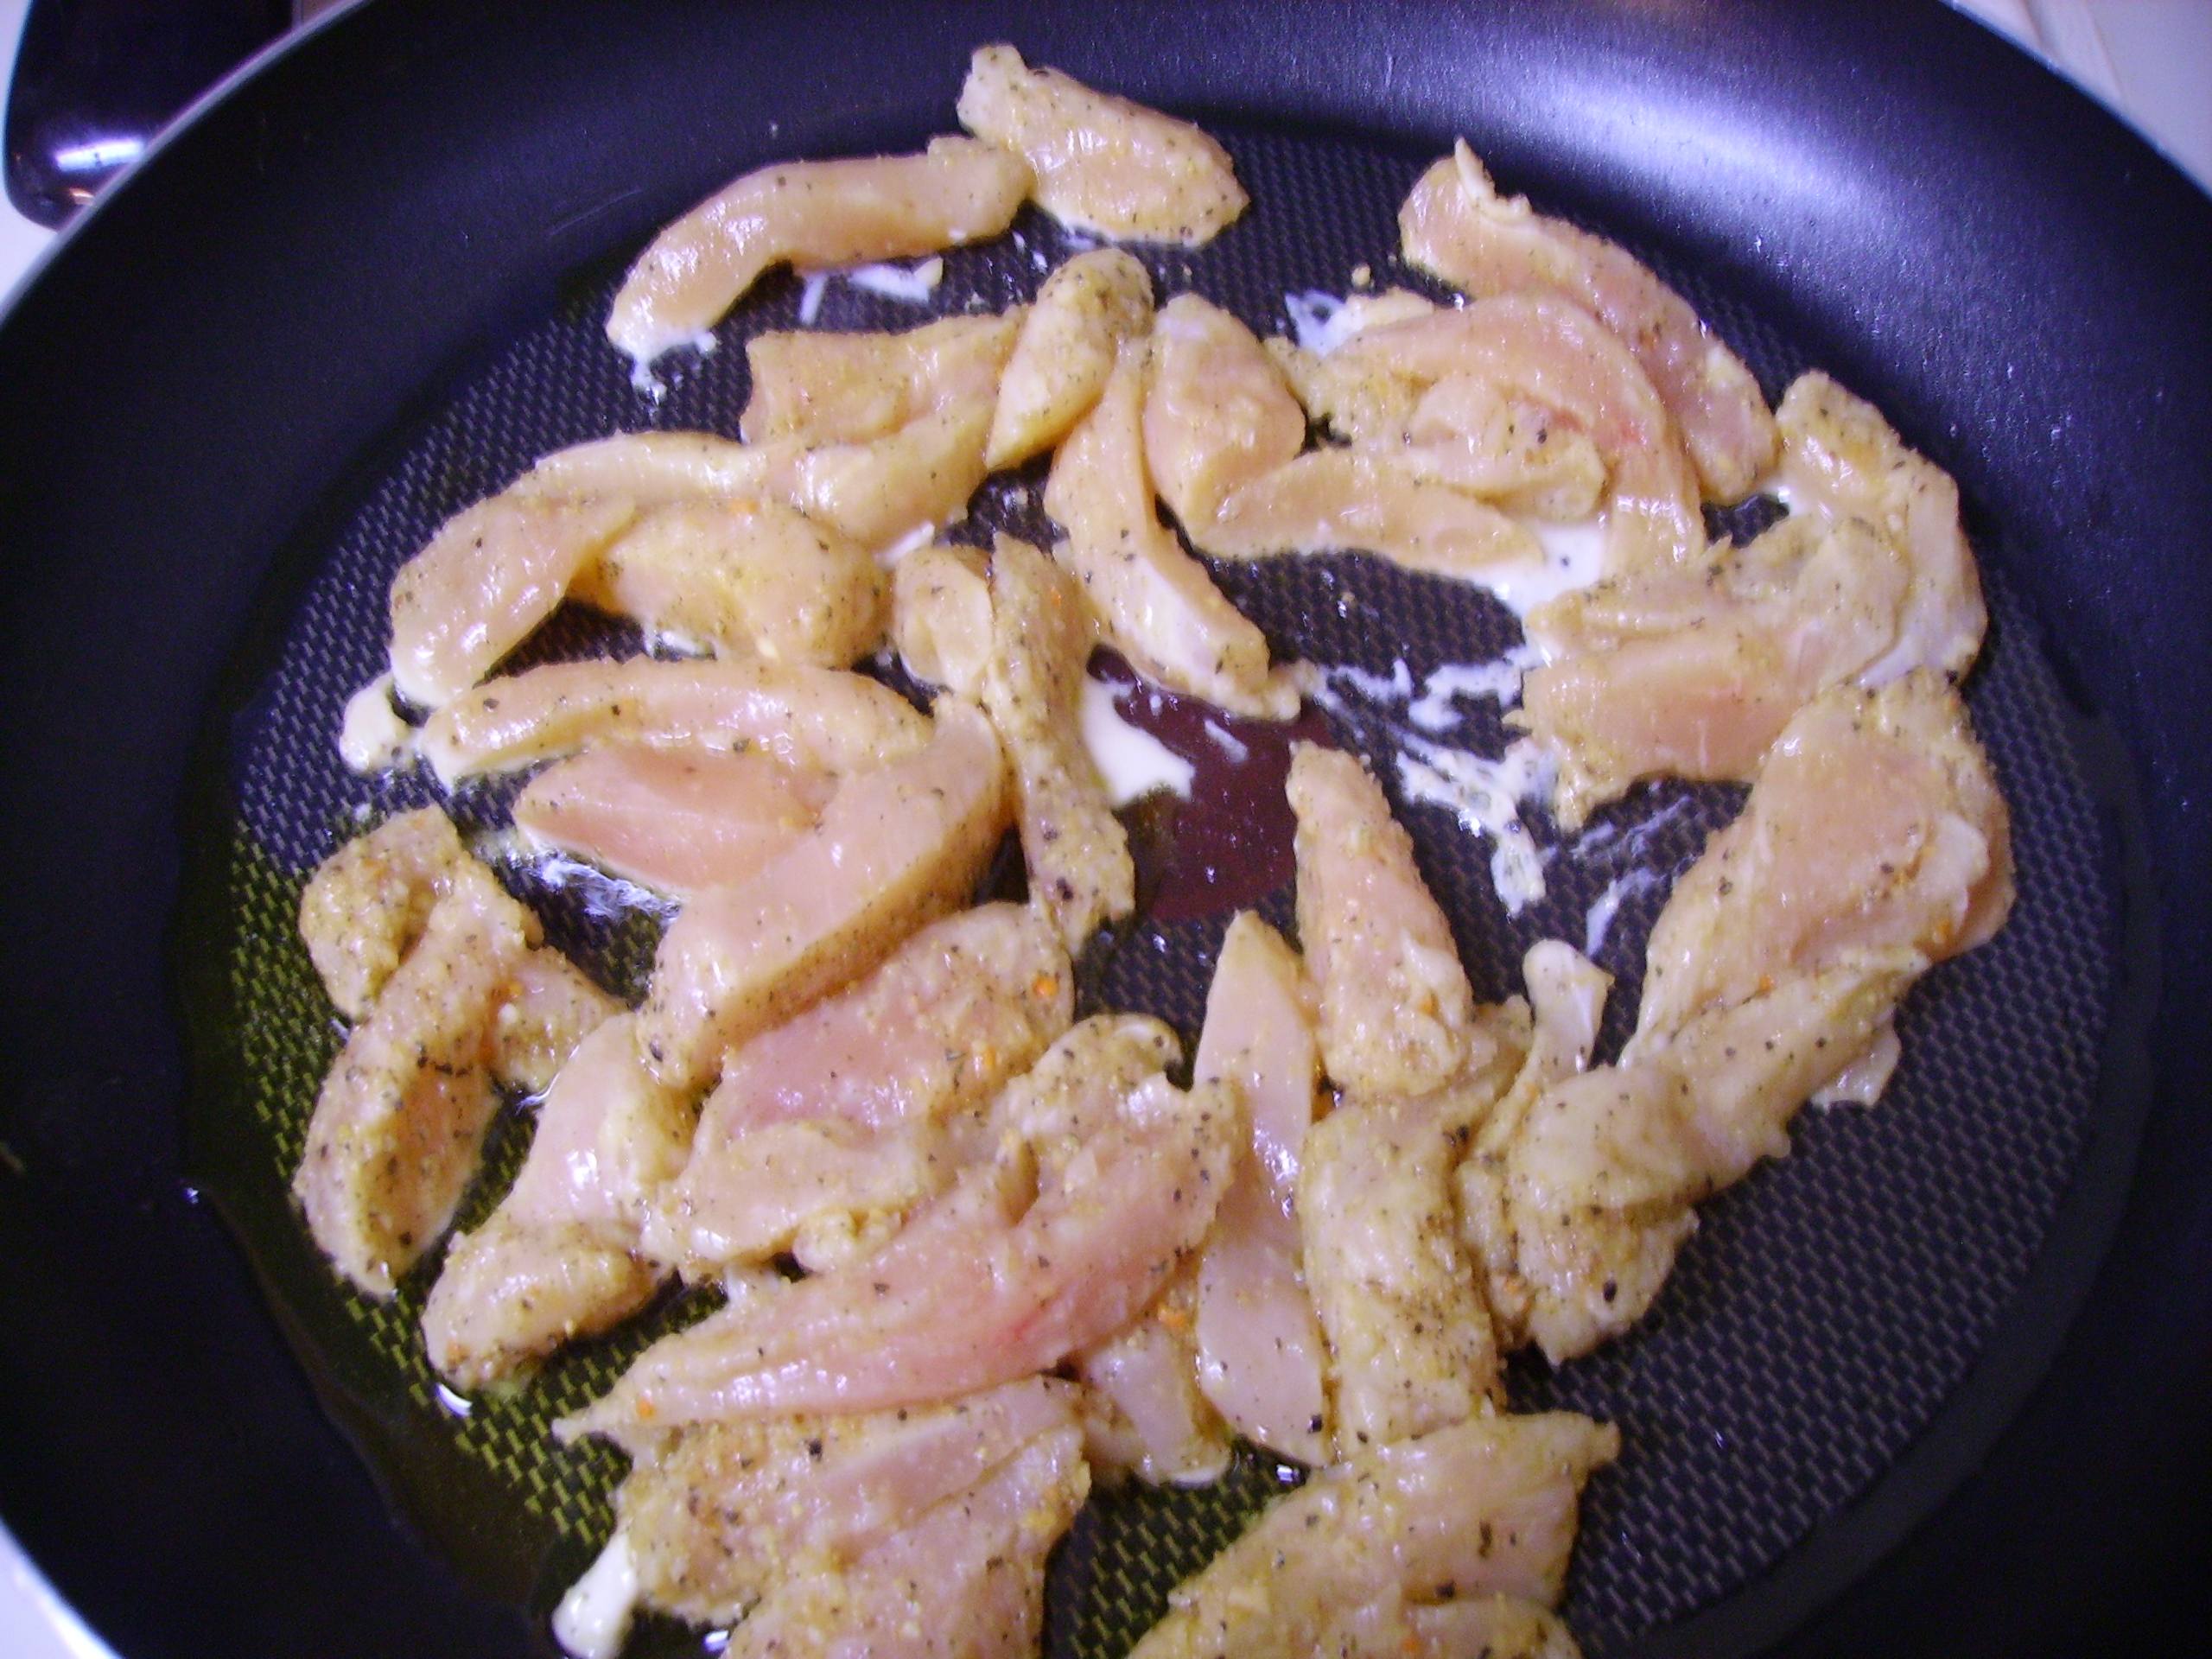
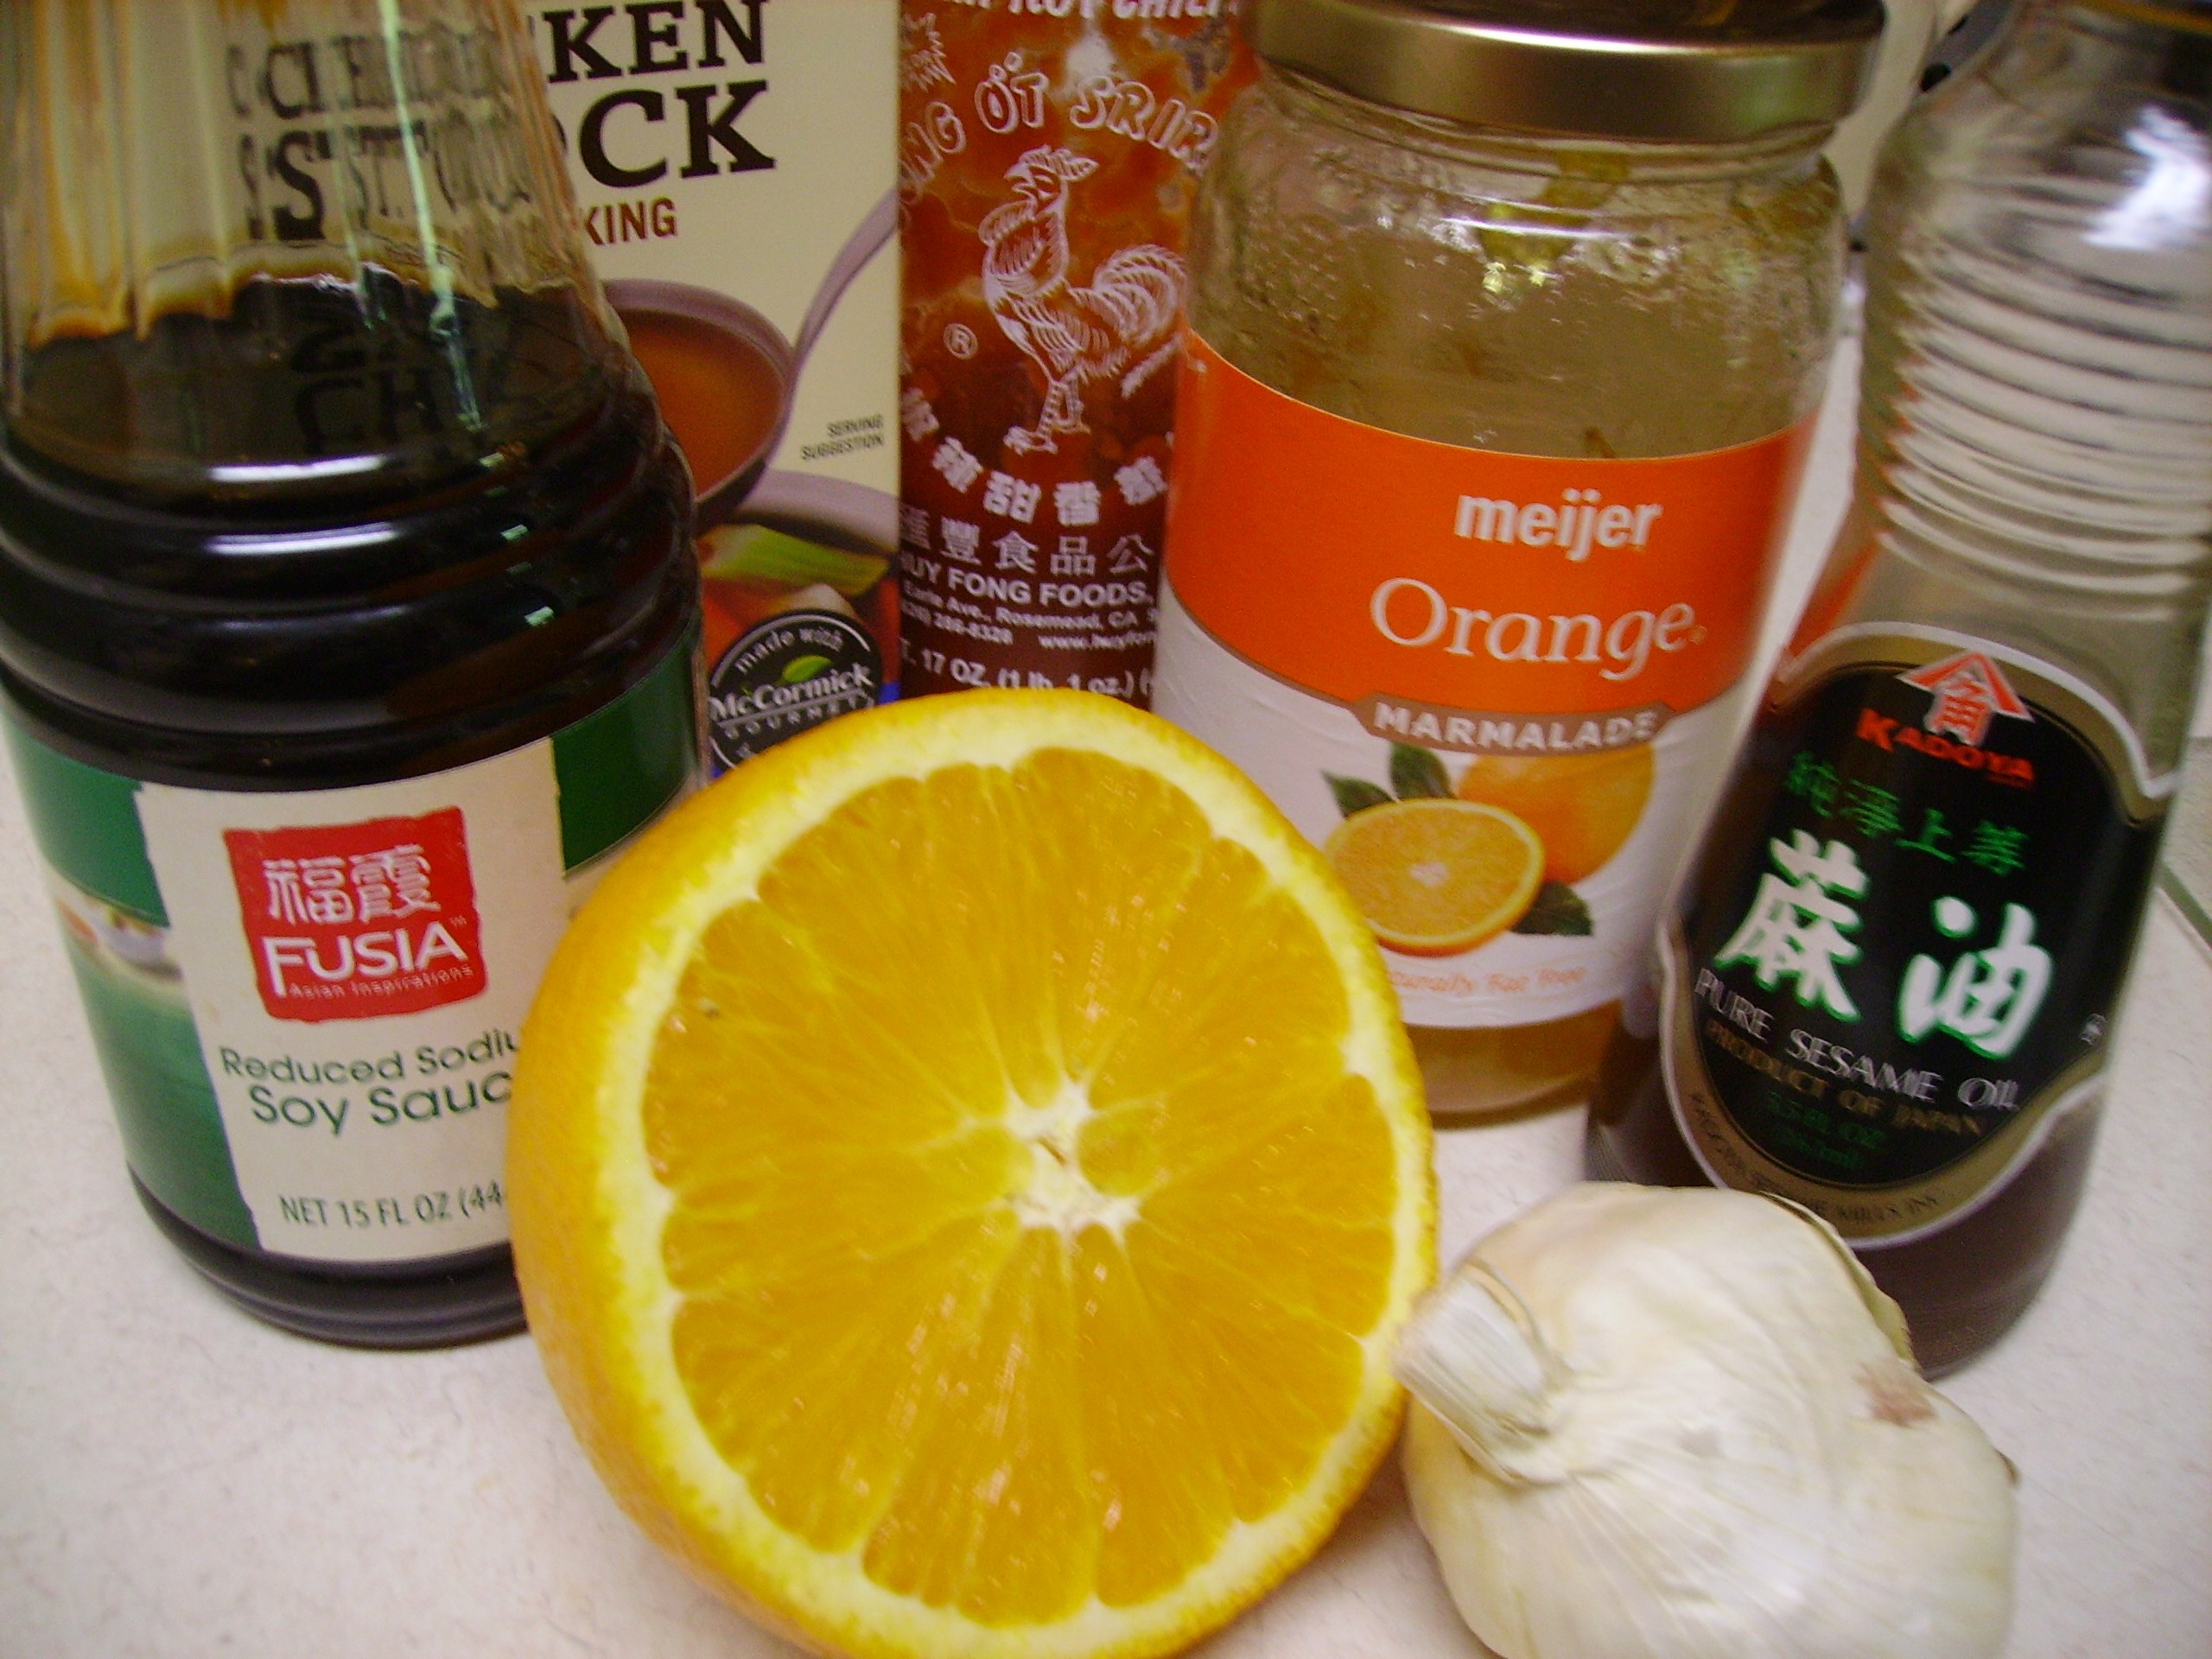
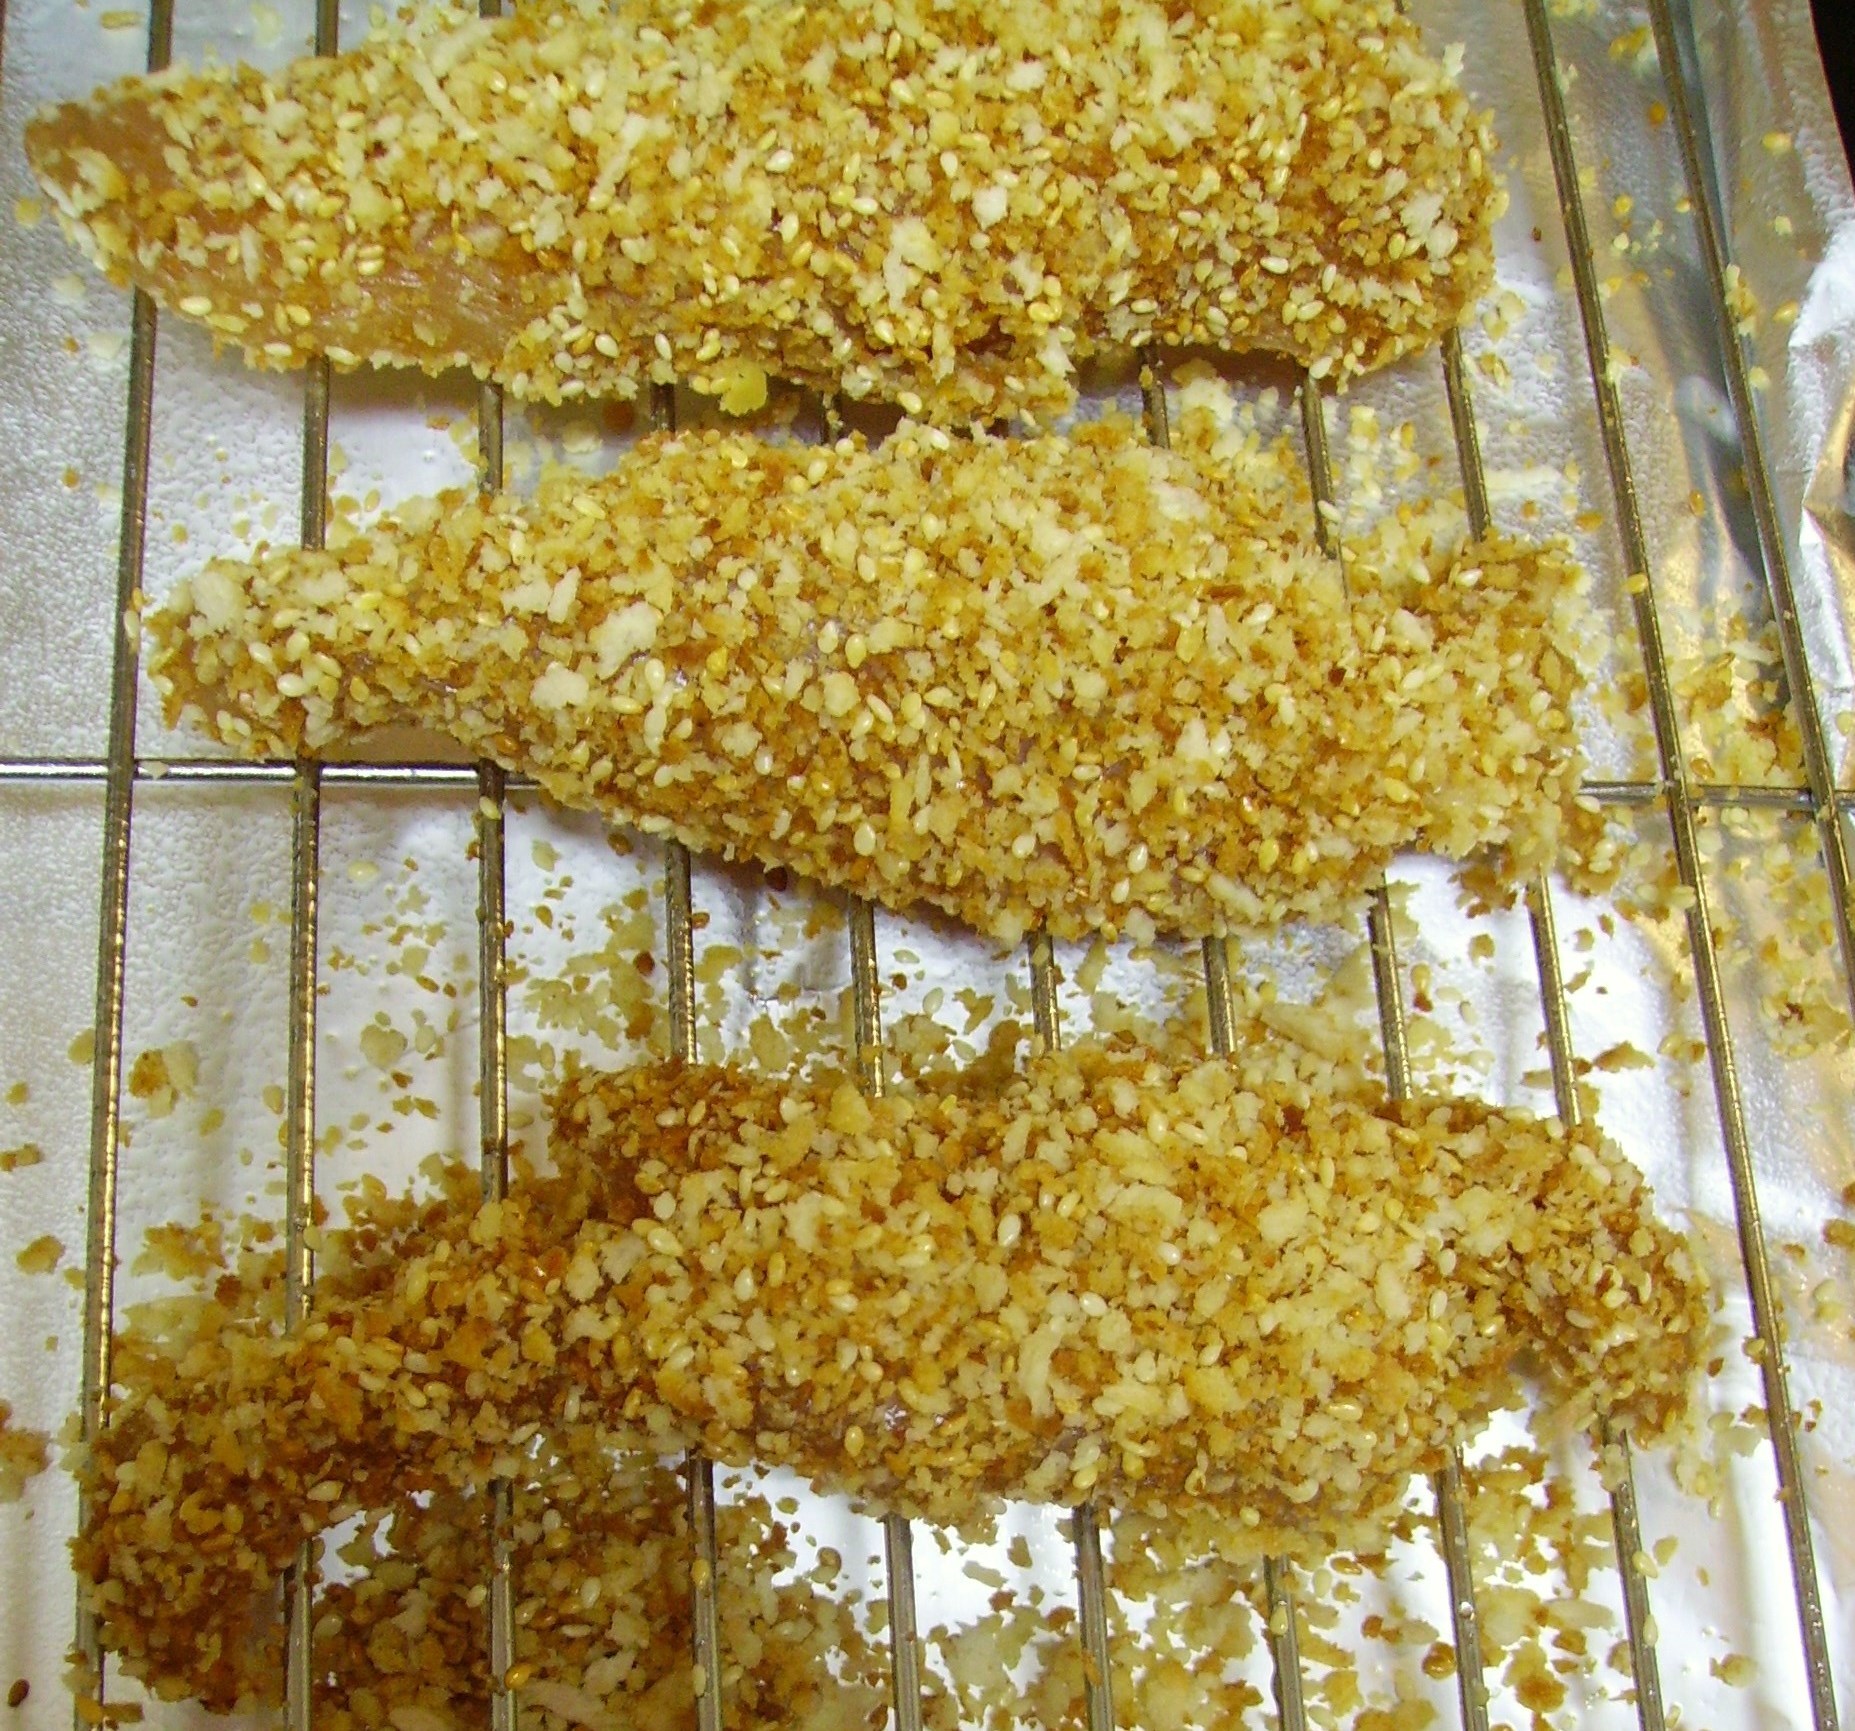
Marinades don’t always mean that something is going on the grill, in fact, this chicken bakes in the oven after an overnight soak in a citrusy and spicy marinade. It doesn’t go in the oven naked either. It is generously coated in crunchy toasted panko bread crumbs and sesame seeds. Sesame oil, sriracha, and soy sauce give this marinade a distinctly Asian flavor. Fresh orange juice and zest along with orange marmalade give it a citrus zing. Garlic makes it yummy and a little chicken stock helps you not miss the oil.

DIGITAL CAMERA

The recipe makes a lot of marinade, but it is going to do double duty, marinating the chicken and creating a wonderful glaze for the finished tenders. The do-ahead/time-saving feature here is that you can marinate the chicken for 24 hours. Make the whole batch of marinade and pour half of it over the chicken. It can relax in the fridge overnight along with the reserved marinade (in a separate covered container, of course). The longer marinating time lets the flavors really permeate the chicken.

About 30 minutes before show time, remove the tenders from their marinade and let them drain on a rack. Lightly toast the panko crumbs and sesame seeds in a dry pan then pour them in a shallow bowl. Clean and dry the rack and place it in a foil lined baking sheet. spray it lightly with cooking spray. Coat each tender with the crumb mixture and place on  the rack.

DIGITAL CAMERA

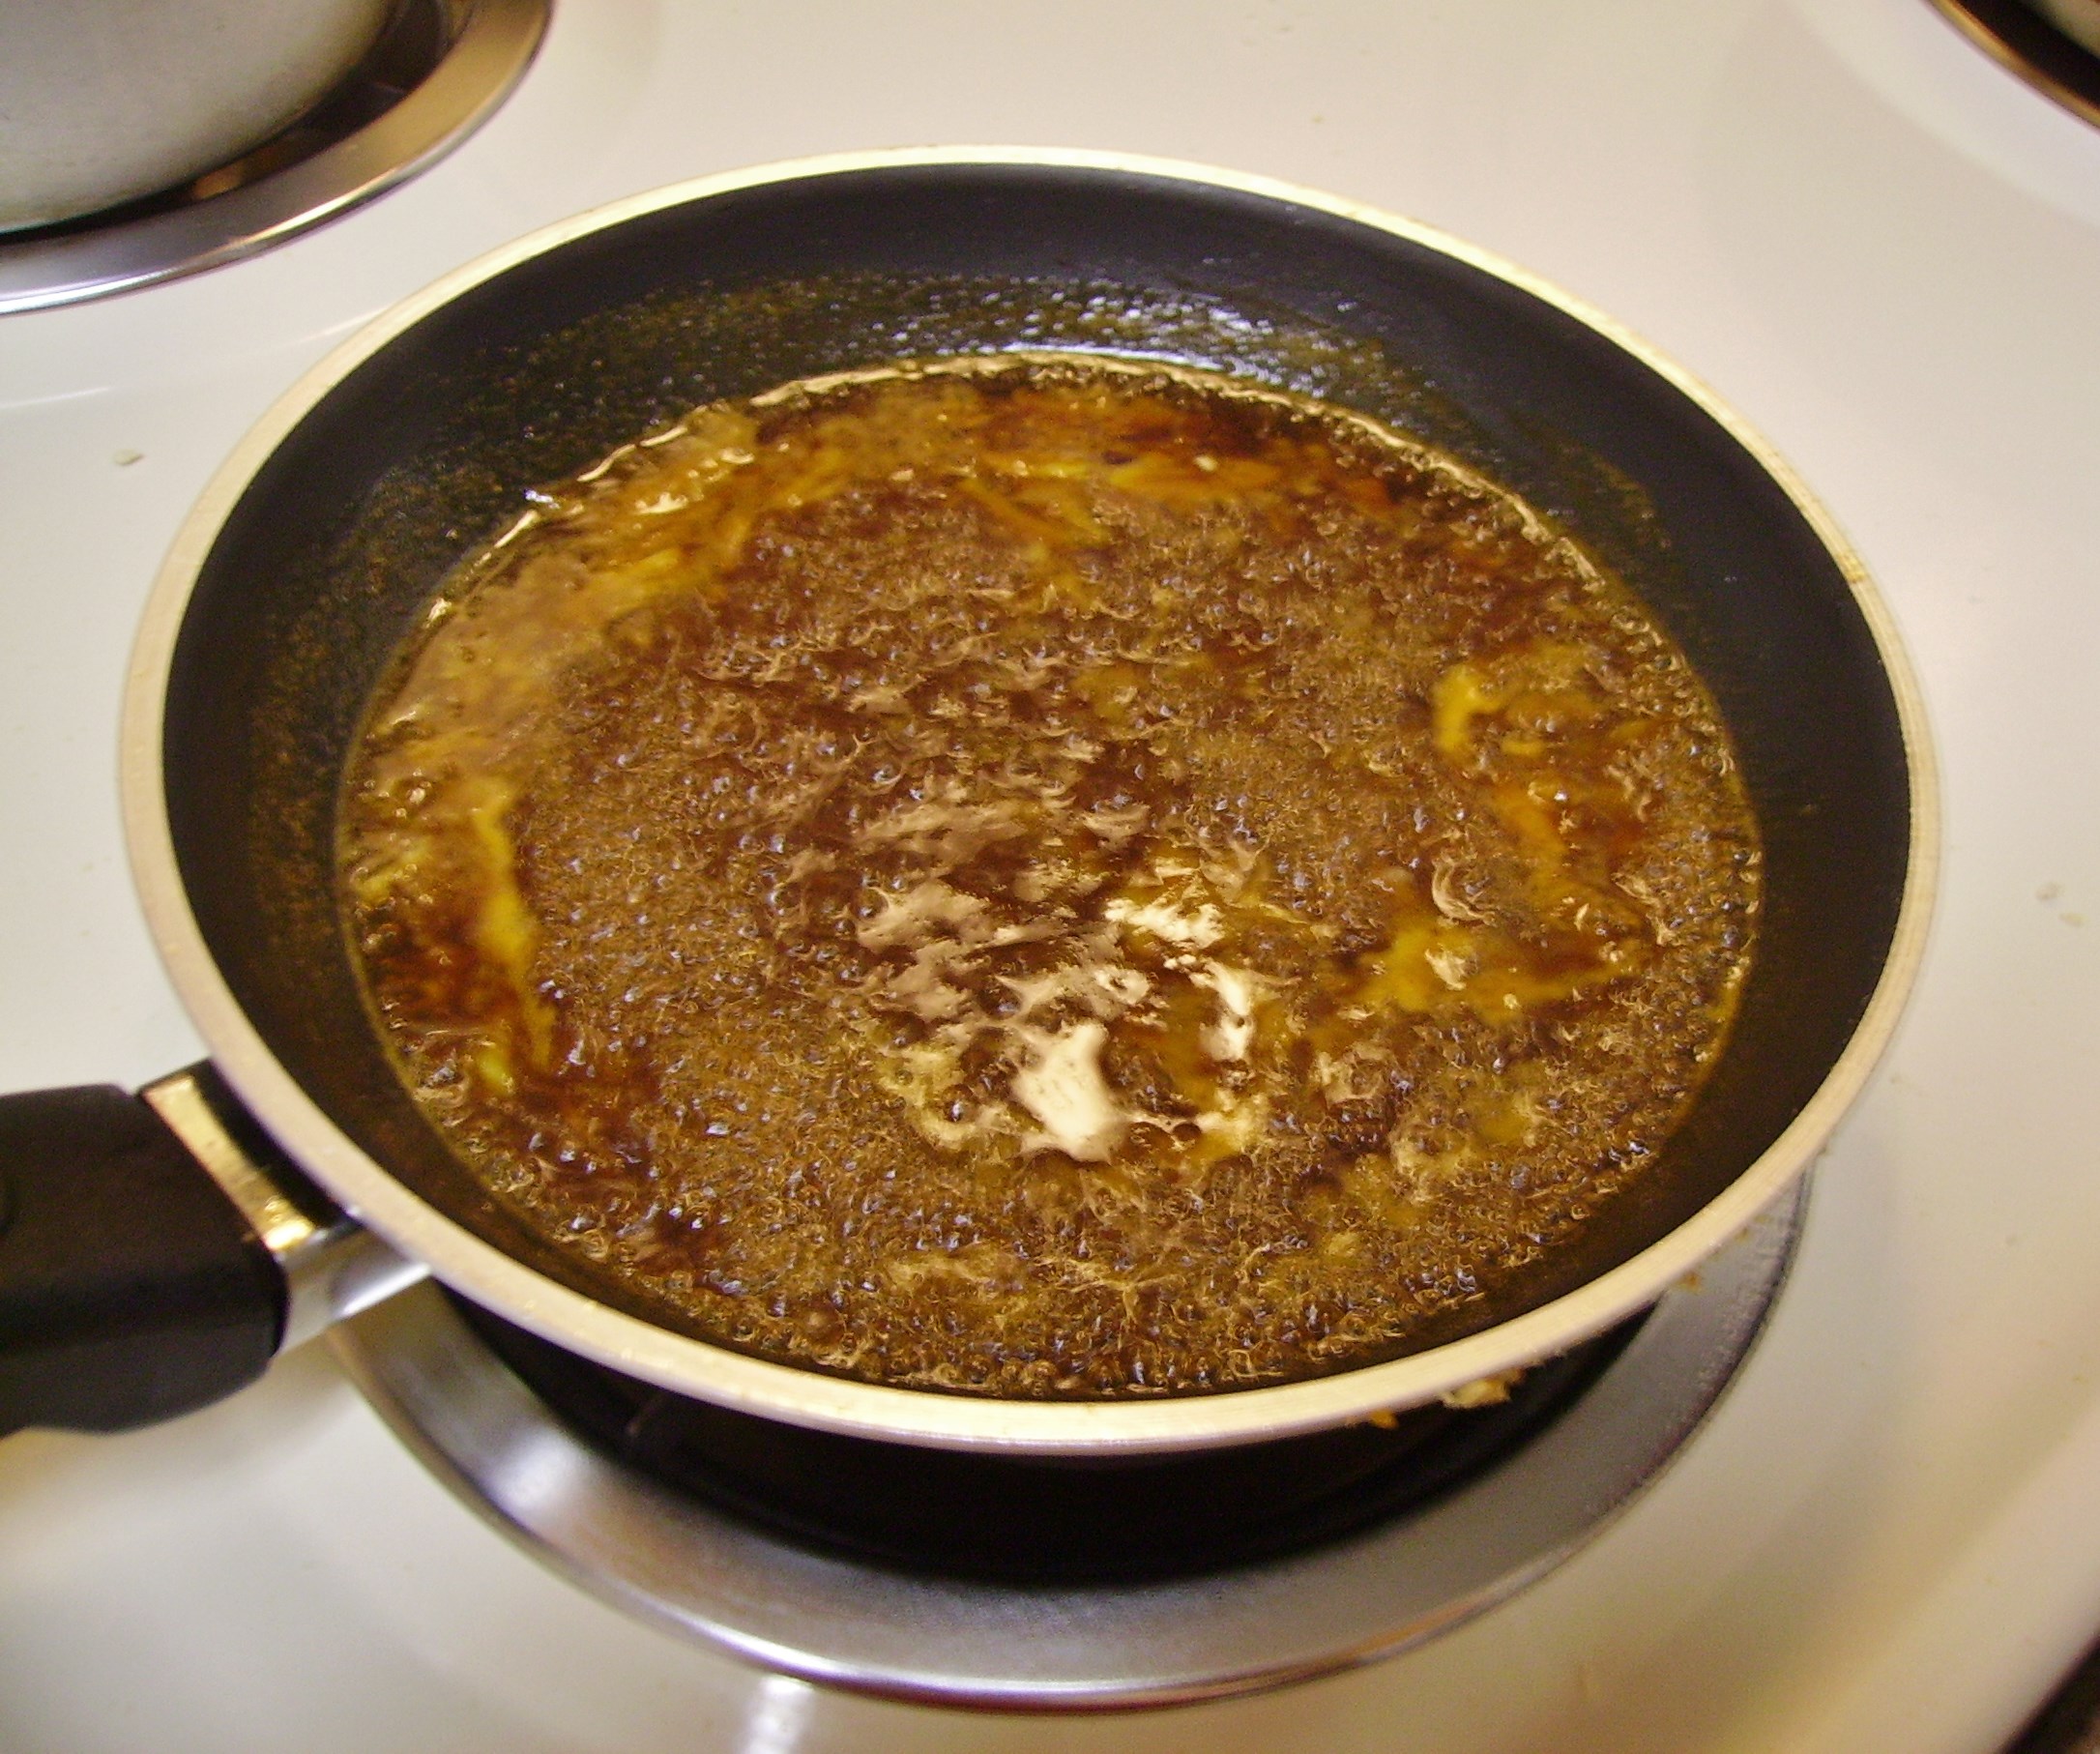
These will take about 20 minutes or less in the oven. While they bake, you can reduce the reserved marinade. This will take about the same amount of time that the tenders do. Isn’t that convenient?

DIGITAL CAMERA


Sesame Orange Chicken Tenders
Print Recipe
Servings
2
Servings
2
Sesame Orange Chicken Tenders
Print Recipe
Servings
2
Servings
2
Ingredients
Servings:
Instructions
  1. Combine the first six ingredients in a jar with a tight fitting lid. Shake well to mix things up completely.
  2. Put the chicken tenders into a zip-top bag. Add half of the marinade mixture and seal the bag. Put the chicken and the jar with the remaining marinade in the refrigerator. Allow the chicken to marinate for up to 24 hours.
  3. When you are ready to prepare the chicken, remove the tenders from the marinade and allow to drain briefly on a wire rack. Preheat the oven to 375 degrees.
  4. In a small dry fry pan over medium heat toast the panko and sesame seeds tossing often until the crumbs are light golden and the sesame seeds begin to become fragrant. Transfer the mixture to a shallow bowl and allow to cool slightly.
  5. Roll the tenders in the crumb mixture pressing the crumbs in to create a nice thick coat.
  6. Wash and dry the rack you drained the chicken on and put it on a foil lined rimmed baking sheet. Spray it all lightly with the cooking spray.
  7. Place the coated tenders on the rack leaving plenty of space in between. Bake for 15- 20 minutes. The chicken should be golden brown and feel firm. While the chicken bakes, cook the remaining marinade.
  8. In a small fry pan, heat the remaining marinade over medium high heat until it comes to a boil. Reduce the heat to medium and allow to simmer,thicken and reduce for about 15 - 20 minutes. If the glaze seems too thick add a little more stock. Continue to cook as necessary until the glaze is the consistency you like.
  9. Remove the tenders from the oven when they are ready . Transfer to serving or individual plates and drizzle with the glaze. Serve with sides of your choice.
Share this Recipe
Powered byWP Ultimate Recipe

DIGITAL CAMERA

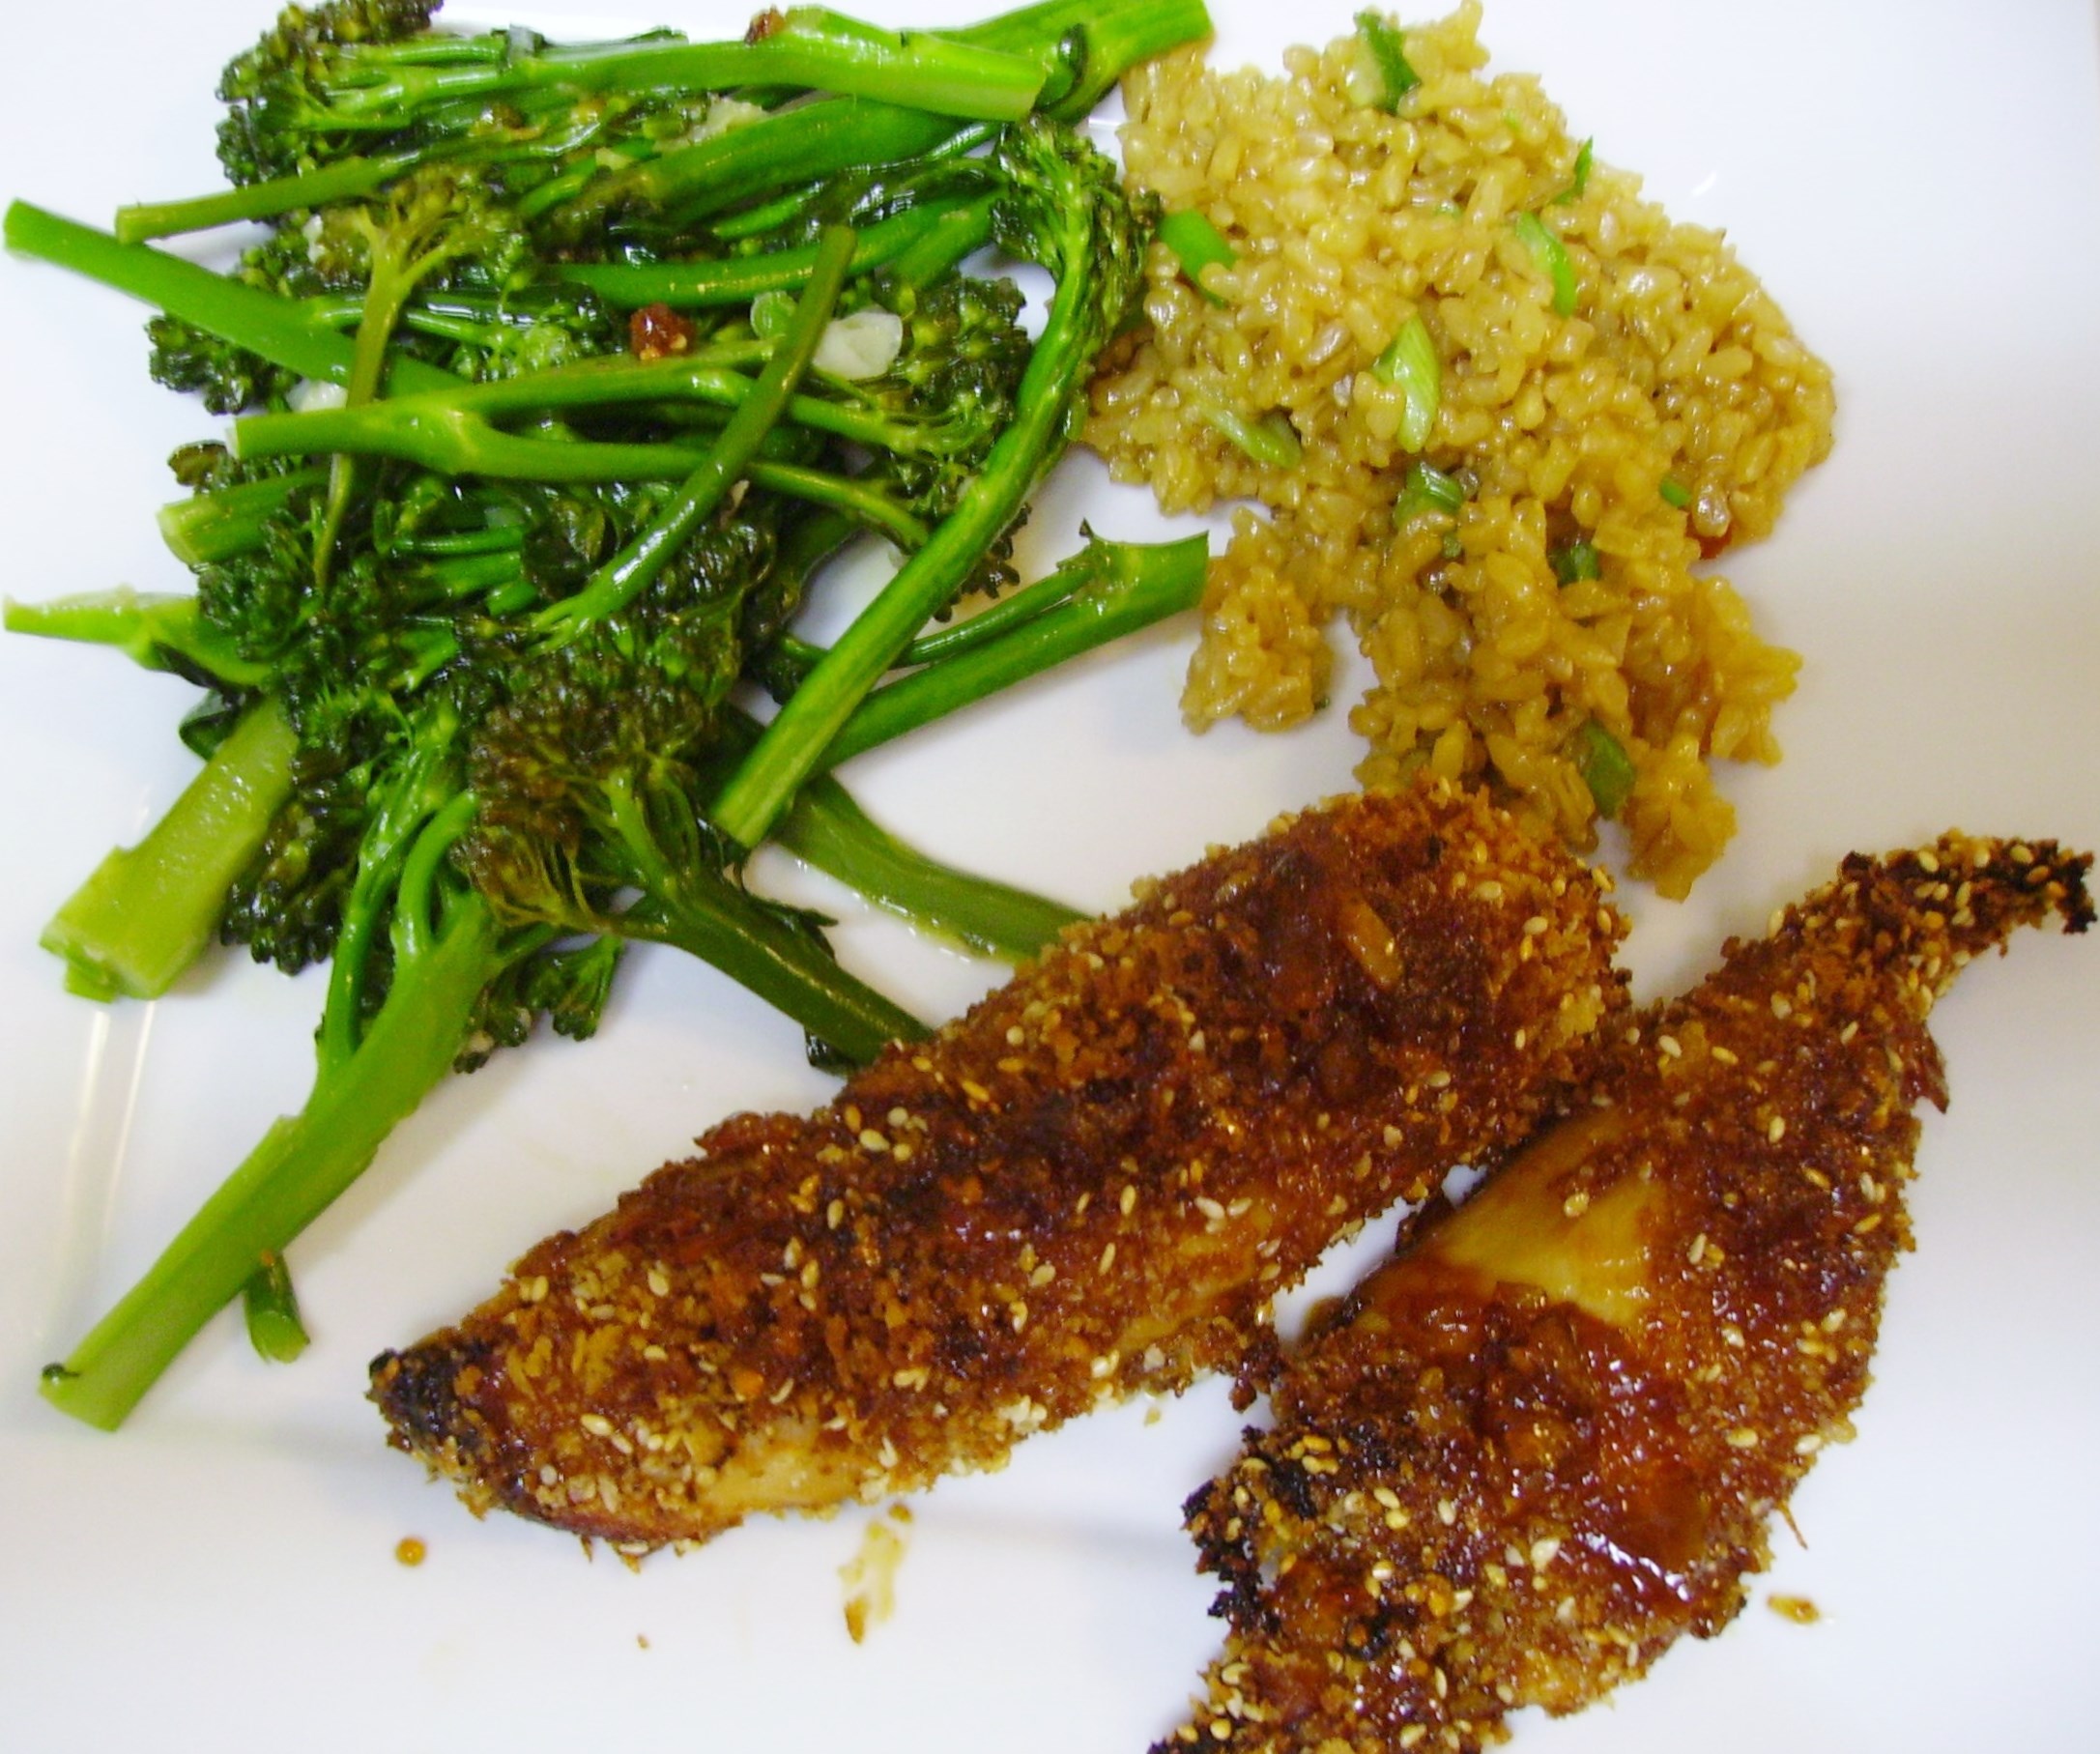
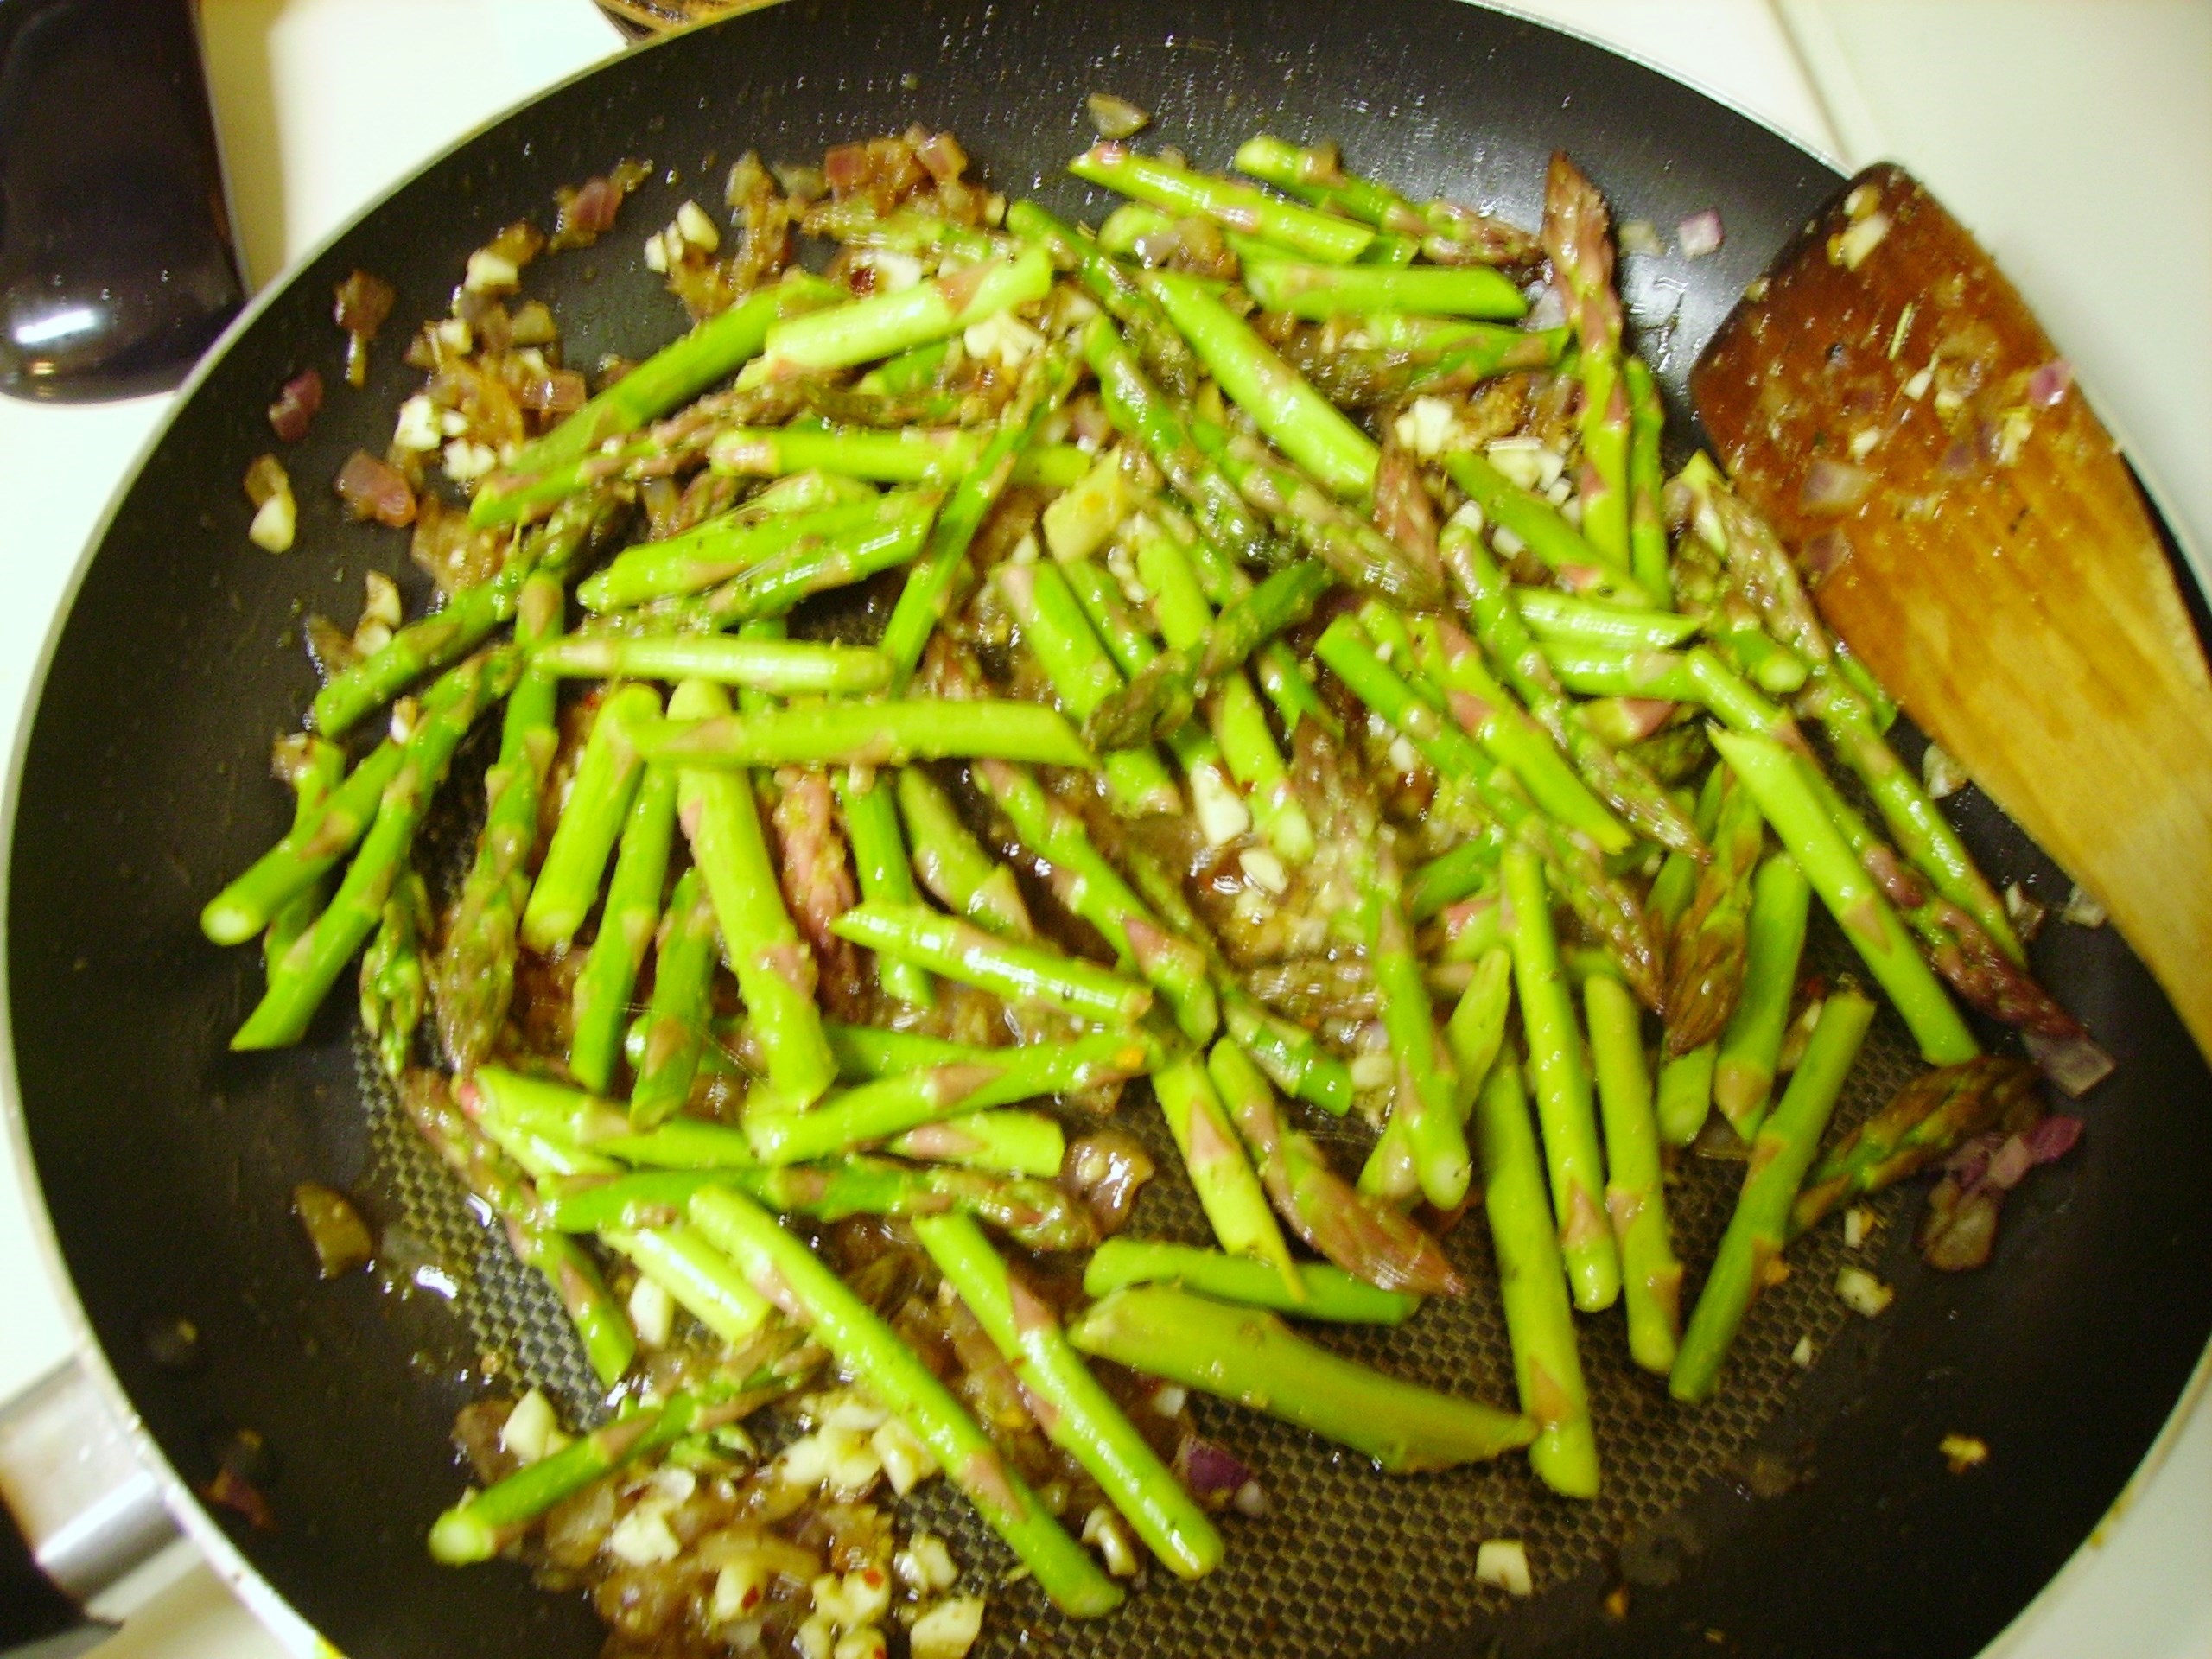
Choose sides that are quick as well. A precooked rice pouch that you can add your own special touches to and a vegetable that stir fries quickly keep time within the 30 minute range. Another time saver is to have ingredients do double ( and even triple) duty. I sliced the whole bunch of green onions; the tops went in the rice, and the bottoms joined the broccolini. The carton of stock just stayed on the counter so I could add it to the veggies and the glaze as needed. It also served as the cooking liquid for my rice.

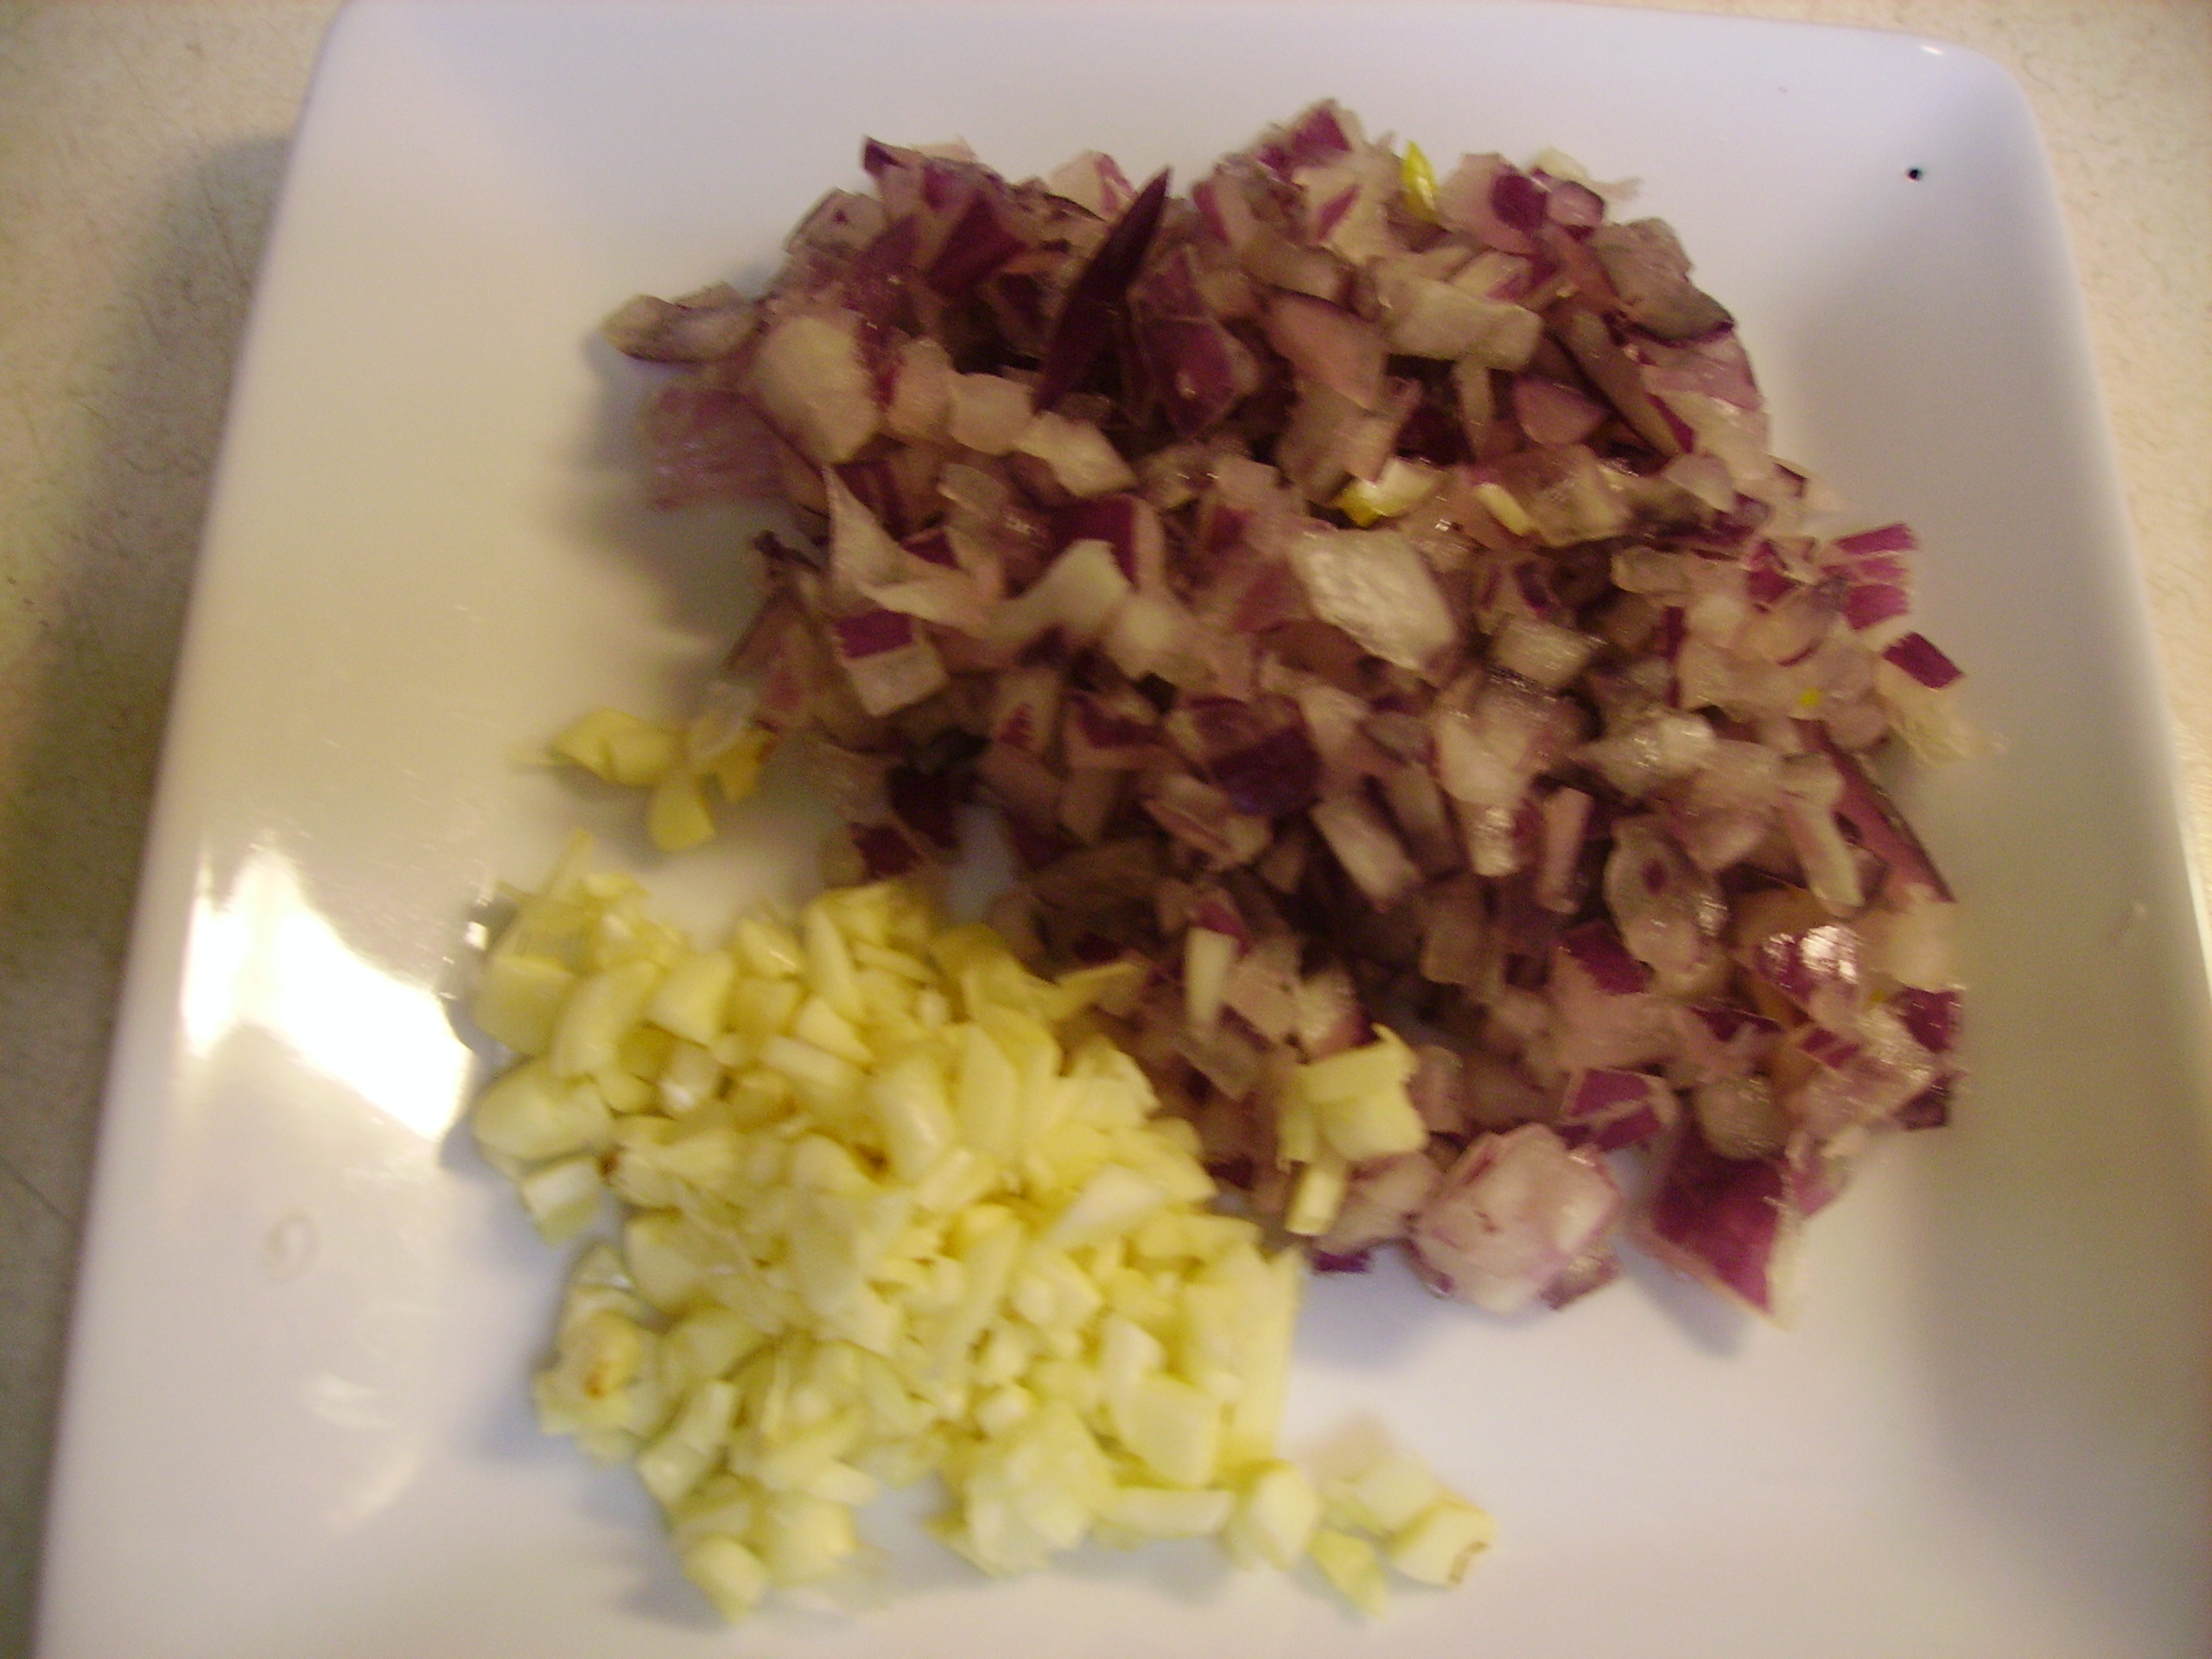
I opted for home cooked brown rice which added an extra 15 minutes or so to my prep time but it was the passive kind; the stove did the work. A little sesame oil and chicken stock perked up the flavor of the rice. I stir fried the broccolini with a little garlic and ginger that played very nicely  with the onions. Start to finish it took less than 15 minutes.

The combination of flavors and textures was amazing. The best part is that it was super easy and with a few do-ahead steps, quick to fix. It was a satisfying dinner that will appear again in Mama D’s Kitchen. Give it a try in your kitchen.


Weeknight Wonderland – a Meatless Minestrone for Mondays and Beyond

Even though our nest is now empty, sitting down at the end of a day with good food,  good wine and good company is the best. I’ve shared my crazy split shift life before and how it impacts everything, even cooking. Just as I’ve learned to create in a small kitchen, I am learning to create dinner in stages, and weekends are my favorite secret weapon. A little time spent cooking ahead on the weekend eases the time crunch Monday through Friday.

This soup was a Meatless Monday dinner, but it got its start on Sunday. That’s when I thawed out some of my homemade vegetable stock. I heated my trusty soup pot and used  it to sweat onions and carrots in a little olive oil.DIGITAL CAMERASome Italian seasoning, red pepper flakes, lots of garlic and a couple of bay leaves livened things up.DIGITAL CAMERAI added the thawed stock along with a can of fire roasted tomatoes and let everything get happy for twenty minutes or so.DIGITAL CAMERAOnce it cooled a bit, I stored it in the refrigerator until Monday night when I got home from work, An extra bonus here, the flavors had plenty of time to get well acquainted with each other at their sleepover in the fridge.

The vegetable medley that I chose included zucchini, green beans, and artichoke hearts. I decided to give the squash and hearts a little extra color so I lightly browned them. I liked the color it added and there was a richer depth of flavor that the quick saute imparted. I actually did this during my mid-day break so that they would be ready when I got home. The other late arrivals were a can of chickpeas and a little orzo pasta.DIGITAL CAMERAThe final cooking was easy peasy. Once the stock base came back to a simmer, I added the beans and pasta, followed shortly by the green beans, then the zucchini and artichokes. The whole process took about 20 minutes or so. I toasted slices of multigrain French bread and topped them with a blend of Italian cheeses. They made a lovely topping  for the soup.DIGITAL CAMERA

The short cooking time of the veggies kept them nice and crisp. I opted to cook the pasta directly in the soup. It added just the right amount of pasta to the soup. DIGITAL CAMERAIf you are going to make this farther ahead or plan on reheating it the next day, you may want to cook the pasta al dente in water, drain it and refrigerate it to add as the soup heats.  Pasta has a strong inclination to soak up as much liquid as it can hold, which is an amazingly large amount. What was soup the first time around becomes a much more pasta-centric dish after a day or two. I’m a “cook the pasta separately” kind of gal, but once in a while, I like to eat soup with a fork, but that’s me.


Meatless Minestrone for Mondays and Beyond
Print Recipe
Servings
4
Servings
4
Meatless Minestrone for Mondays and Beyond
Print Recipe
Servings
4
Servings
4
Ingredients
Servings:
Instructions
  1. Heat a large soup pot over medium high heat. Add the tablespoon of olive oil and swirl to coat the bottom of the pan. Add the onions and carrots and a pinch of salt. Cook for several minutes until the vegetables begin to soften.
  2. Add the garlic, red pepper flakes and the bay leaves to the pot and cook another minute or two, stirring frequently.
  3. Pour in the can of tomatoes, juice and all and the vegetable stock. Bring up to a boil over high heat. Reduce the heat to a simmer and cook covered for 20 minutes or so, stirring occasionally. At this point you can cool the stock and refrigerate until the next day. You can also complete the recipe at this time if you want.
  4. Coat a non-stick pan with olive oil cooking spray and heat over medium heat. Add the artichoke hearts and cook for 5 - 6 minutes or so turning once until lightly browned on both sides. Remove from pan and set aside.
  5. Repeat the above process with the zucchini slices.
  6. When you are ready to complete cooking the soup, (re)heat the stock to a simmer. Add the chickpeas ans pasta and cook for 5 minutes, stirring it once or twice.
  7. Add the green beans and cook for 4 minutes or until they are the amount of tender crisp you like.
  8. Add the browned artichokes and zucchini and simmer everything gently until it is all heated through. This should only take a couple of minutes. Taste and add salt and pepper as needed.
  9. Ladle into four soup bowls and top each with two of the toasted bead slices (recipe follows) and a drizzle of olive oil.
Cheese Toasts
  1. Heat oven to 375 degrees. Lightly coat the bread slices on both sides with olive oil cooking spray and place them on a foil lined baking sheet. Toast for 8 minutes, turning once. Top with the cheese and return to the oven set on broil and cook until the cheese is melted and slightly brown.
Share this Recipe
Powered byWP Ultimate Recipe

By now you should know that this recipe is just a guideline. Change up the beans, the pasta, and the vegetables too, for that matter. If you have the time, the whole soup can be made in one day…just continue the cooking steps once the stock is done. Monday will be here before you know it (damn it), so give this a try. Hey, live on the edge and make it on Tuesday or Thursday.


Thoughts of Spring and Lemony Asparagus, Chicken, and Penne

The Midwest has seasons. Four very distinct ones to be exact. Here changes aren’t subtle, they are sudden and intense. Humidity shows up one day unannounced and it’s summer. The leaves change color seemingly overnight and it’s fall. The first frost comes out of nowhere and winter is upon us, Then one day you wake up to puddles where piles of snow used to be and it’s spring.

The Vernal Equinox is a few days away, but here, in my part of the Midwest, spring arrived last week. A week that started with down coats and scarves, ended with light sweaters. Early in the week outdoor activities involved scraping ice off windshields and brisk walks to get out of the cold. Was that Monday? By week’s end there were bicyclists peddling their spandex covered butts down the road. People were outside walking in shirtsleeves and enjoying it. Children were playing outside joyously unbundled. That’s how spring starts here and after a tough winter we all revel in it.

Everyday on the bus, I ride by fields of corn-stalk stubs that are hosting nothing but the bold Canada Geese and brave Mallards. These optimistic fowl nibble at the few corn kernels missed at harvest or bob in puddles of melted snow for some forgotten morsel. There are tastier things Spring has to offer with its own menu of foods. Eating fresh and local is now a fine art. While nothing is actually sprouting in our still slightly frozen Illinois ground, foods like strawberries, beans, and peas are being sourced closer to home. As the saying could go, it’s always spring somewhere. This is true of that iconic harbinger of spring, asparagus. DIGITAL CAMERADIGITAL CAMERAI must confess that I do eat it in the non-spring months, but it alwaysDIGITAL CAMERA begins to taste wonderful as the air starts to warm up. It is a delicious and nutritious vegetable that lends itself to so many preparations. I’ve extolled its virtues here many times. Sharing adventures in grilling, roasting, and even pickling. I usually allow this magnificent spear to stand alone as the perfect side dish to enhance a meal, but sometimes, especially when it comes from far away, it is the perfect addition to a main dish. That’s how Lemony Asparagus with Chicken and Penne came to be.

DIGITAL CAMERALemon is a wonderful flavoring agent. It adds zing, acid and a fresh DIGITAL CAMERAfruity taste of sunshine to everything it touches. I carried this flavor into several levels of this dish. it started with some chicken breast bits that I let chill out with some lemon pepper seasoning. This was the salt free variety so there was no danger of the chicken “cooking” before its time. A quick saute in a large fry pan and it was ready to go. It sat on the sidelines while the vegetables took over. A good amount of red onion and slightly more than a little garlic joined in. A touch of olive oil kept everything moving and when things got a little tight some chicken broth loosened it up. Finally it was time to add the asparagus and I added a lot of it. This dish is about spring after all.DIGITAL CAMERA

My pasta of choice was a whole grain penne and I used just over a cup of dry to serve two.DIGITAL CAMERAI wanted to continue on that lemony sunshine theme, so the sauce included the zest and juice of a whole lemon. The complimenting sauce flavor came from dry vermouth though chicken broth could also fill the bill.  A generous grinding of Italian Herb Seasoning (McCormick Grinder once again), some grape tomatoes, and kalamata olives rounded things out.DIGITAL CAMERA

When it was time to serve, I added a sprinkling of feta cheese. The result was a dish that felt like spring in the Mediterranean.  Lots of fresh vegetables, a little lean protein and some whole grains to tie it together made this a poster child for the diet that bears the name. Give this one a try while asparagus is having its heyday.DIGITAL CAMERA


Lemony Asparagus and Chicken with Penne
Print Recipe
Servings
2
Servings
2
Lemony Asparagus and Chicken with Penne
Print Recipe
Servings
2
Servings
2
Ingredients
Servings:
Instructions
  1. Toss the chicken with the lemon pepper seasoning. Cover and let marinate for at least 30 minutes or up to 4 hours in the refrigerator.
  2. Heat a large skillet over medium high heat. Add the olive oil and swirl to coat the bottom of the pan. Add the chicken and cook for 4 minutes or so. The chicken should be light golden. Remove the chicken from the pan and reserve. Leave the drippings in the pan.
  3. Add the onions to the pan and saute for 3 minutes or until the onions begin to become translucent. Add the garlic and cook for another minute or so.
  4. While you prepare the vegetables, cook the pasta in boiling salted water for 2 minutes less than the package directs. Drain and set aside.
  5. Add the asparagus to the pan and cook for 3 - 4 minutes. Toss frequently to insure even cooking. Add a little chicken broth if things seem dry.
  6. Add the vermouth (or broth) and the juice of the lemon to the pan. Lower the heat slightly and allow to cook for 3 minutes or so.
  7. Add the Italian seasoning and the lemon zest, stirring to combine. Return the chicken to the pan. Toss to mix evenly.
  8. Add the olives, tomatoes, and pasta to the pan and continue to cook 3 minutes or so until everything is heated through. Taste for seasoning and add salt and pepper if needed.
  9. Spoon the mixture into a serving bowl and sprinkle with the feta cheese and serve.
Share this Recipe
Powered byWP Ultimate Recipe

The weather is back in the 40’s this week. Nights are cool and mornings are chilly but, I believe we’ve made the leap and spring is not just around the corner but right next door.


Frittata For Two and Other Thoughts

This is a story about making a frittata for dinner, but there’s more to it than that. Let me start by saying we have been feeling a little under the weather. Call it a cold…call it the flu…whatever, we have been struggling to stay upright for several days. I wanted to fix something for dinner, but I wanted it to be light and easy. Eggs are always a good choice when it comes to filling that particular bill, and a frittata is a simple way to prepare them. It also is a good way to clean out the refrigerator.

Frittata starts on the stove and is finished in the oven. This requires an oven proof cooking DIGITAL CAMERAvessel. Enter the cast iron skillet. I discovered my mother’s old skillet when we moved and it was the perfect size for a two person frittata. There was just one problem. My mother was a dish washing fanatic and the skillet was no exception to that rule. While it had seen its fair share of eggs, it had also seen a lot of dish soap. I gave it a quick seasoning in the oven that helped the sticking factor a bit. It is getting a formal seasoning as I write this and it should be ready for its next close-up soon; that is to say, now.DIGITAL CAMERA

I decided to go for an Italian flavor profile with a nod to healthy choices. The key ingredients would be chicken sausage and baby spinach. Things couldn’t be Italian without  a fair amount of onion and garlic.DIGITAL CAMERAI’m a big fan of the Chicken Sausage that Meijer sells. They have several varieties. The Garlic and Asiago is my favorite, but they have a spinach and mozzarella as well as a chipotle pepper version. They are lower in fat but big on flavor. They are also pre-cooked so prep time shrinks while the sausage doesn’t.

I added a roasted red pepper for a little color. A week or so ago I scored a huge bag of red bell peppers for 99 cents. I sliced and froze some and roasted a few more. I created little roasted pepper packets each holding a whole roasted pepper (peeled, skinned and quartered, of course).DIGITAL CAMERA It was just the amount I needed for color and flavor in my frittata. So, I chopped everything and threw the skillet on the stove with a good dose of olive oil.DIGITAL CAMERAI started with the onion since it needs a little more love.DIGITAL CAMERAThen I added the sausage, garlic, roasted pepper, and eventually, the spinach. Since a little olive oil is a good thing, I opted to add a bit of chicken broth to keep things moving and the fat content in check.DIGITAL CAMERAWhile all this deliciousness was going on, I cracked some eggs and beat them with some low-fat half & half and a shredded Italian cheese blend.DIGITAL CAMERAWhen the time was right I added the eggs to the pan and began the shimmy shake and lift process that is the basis for any omelet, Italian or not.DIGITAL CAMERAOnce everything was beginning to set up, I topped it with a bit more of the cheese blend along with some sliced tomatoes.DIGITAL CAMERAIt spent some time in the oven and a brief interlude under the broiler. The result was golden goodness that received a sprinkle of fresh basil before coming to the table.DIGITAL CAMERAI served it with some toasted  Rosemary Soda Bread that I made earlier in the week. A quick drizzle of olive oil and it was ready to eat.DIGITAL CAMERA

I chose a Barbera wine from Cooper’s Hawk that complimented the dinner beautifully. It had just the right body and flavor to bring out the best in the food.DIGITAL CAMERA

So here’s how Mama D does Frittata. It more or less follows the traditional process. I opted to let it bake in the oven before turning on the broiler. You know the drill by now…use this as a starting point and make it your own with the ingredients you love.

Frittata with Spinach and Chicken Sausage
Print Recipe
Servings
2
Servings
2
Frittata with Spinach and Chicken Sausage
Print Recipe
Servings
2
Servings
2
Ingredients
Servings:
Instructions
  1. Pre-heat oven to 350 degrees. Heat the olive oil in a small oven proof skillet. Add the chopped onion and cook, stirring occasionally 5 minutes or until the onion begins to soften.
  2. Slice the sausage links in half lengthwise then slice into thin half moons. Add these to the onions in the pan and cook for another minute or two.
  3. Add the garlic and roasted red peppers and cook for several minutes until the garlic becomes fragrant.
  4. If things seem dry, add the chicken broth and toss to coat. You could add a little more olive oil instead of the broth if you like.
  5. Add the chopped spinach and cook until the spinach is wilted.
  6. While the vegetables cook, crack the eggs into a bowl. Beat well. Add the milk and beat to combine. Add half of the cheese and stir to blend.
  7. Pour the egg mixture into the pan and reduce the heat to medium low. Give it a good shake to begin the setting and minimize the sticking.
  8. Continue to cook the eggs gently lifting and shaking to maintain even cooking.
  9. When the eggs are almost set, sprinkle a little of the remaining cheese on the top. Cover the top with the sliced tomatoes and the rest of the cheese.
  10. Place in oven and bake for 10 minutes or so. Turn on the broiler and cook for another 2 minutes until the cheese is lightly browned. Remove the pan from the oven and let it to rest for 5 minutes.
  11. Sprinkle with the basil and drizzle with a little olive oil. Divide between two plates and serve.
Share this Recipe
Powered byWP Ultimate Recipe

The frittata was wonderful, the bread and wine were a perfect compliment and we really did feel much better after we ate. Healing is another wonderful result of cooking with love.

Mama D’s New Toy and Zucchini Pasta

When is zucchini not zucchini?Zucchini1

I don’t know, when is zucchini not zucchini?…. Why when it is turned into pasta.

ZucchiniNoodles2Vegetable pasta has become all the rage. It answers a need on many levels. Looking for gluten-free pasta that doesn’t stick to the roof of your mouth? Veggie pasta. Watching your carbs vegetti3especially those “evil” ones found in real pasta? Yup, veggie pasta fills the bill again. Want to do something different with vegetables? You guessed it, veggie pasta. Looking for a new kitchen toy? One that can help you create this new culinary sensation? There’s a tool for that. The Veggetti. Actually there are several tools that can create this new darling of the food world. There are “spiralizers” that can turn virtually anything into pasta simply by impaling your food of choice on the machine and turning the crank.They range in price from $20.00 to upwards of $50.00. The Veggetti comes in at $15.00 ( but I got mine for $10 at Ross). That is quite a price difference. To be honest, there are some foods that this little gem has a hard time with. My first attempt at sweet potato pasta was less than successful, but as I continue to play with it, I’m learning that size and shape do matter. Still for the price and the size (which actually fits in a drawer since shelf space in my kitchen is at a premium), it’s darned brilliant.DIGITAL CAMERA

DIGITAL CAMERAI decided to put it to use in recreating a pasta dish that is near and dear to my heart. Linguine with Salami and Zucchini. Laden with cream and salami along with a generous amount of pasta, it is a tight fit (think skinny jeans) for my healthier cooking style. While I didn’t give up everything; there’s still some salami, a little pasta and I just had to include some cream, it is a lighter version of the dish.DIGITAL CAMERA

Two good size zucchini yielded a generous 4 cups of pasta. I added about 3 ounces each of pasta and salami. I used a mixture of heavy cream and fat-free half & half. There was plenty of garlic and a bit of olive oil. This recipe feeds two or three quite nicely.DIGITAL CAMERAThe salami, zucchini and garlic sizzled together in a large fry pan that was lightly coated with olive oil.DIGITAL CAMERAThe pasta was cooked just shy of al dente.

DIGITAL CAMERAThe cream/half & half mixture was added along with the pasta.

DIGITAL CAMERAEverything bubbled together for a few minutes until it was perfect. A generous dose of fresh ground pepper and a hint of grated Parmesan and it was ready to eat.DIGITAL CAMERA

Zucchini Pasta with Salami and Pasta
Print Recipe
Servings
3
Servings
3
Zucchini Pasta with Salami and Pasta
Print Recipe
Servings
3
Servings
3
Ingredients
Servings:
Instructions
  1. Cook the pasta in salted boiling water until just a minute shy of al dente. Drain and set aside. While the pasta is cooking prepare the other ingredients.
  2. Using a Veggetti or spiralizer, turn the zucchini into thin ribbons.
  3. Stack the salami slices and cut into very thin strips.
  4. Heat a large fry pan. Add the olive oil and swirl to coat the bottom of the pan. Combine the zucchini, salami and garlic in the pan and cook stirring occasionally 5 - 7 minutes. The zucchini should be tender, the salami should be a little frizzled, and the garlic should smell wonderful.
  5. Add the cream and half & half to the pan and continue to cook another 5 minutes or so. The sauce should thicken slightly.
  6. Add the cooked pasta and cook until the pasta is heated through and the mixture is bubbly and fragrant.
  7. Add the freshly ground pepper to taste and spoon into individual pasta bowls. Sprinkle with Parmesan cheese if desired, and serve.
Share this Recipe
Powered byWP Ultimate Recipe

I’m sure I’ll be creating more “pastas” with my Veggetti. The lighter dishes that result are fun to make and eat. They are also healthier and definitely not light on the love.