Summer Vacation, Scarborough Farro, and Artichoke & Tomato Salad

Summer has arrived in Mama D’s Kitchen. I’m officially on Summer vacation for 3 whole weeks! Instead of rising before 5 every morning to get on a school bus, I can get up early (if I want) and do what I want. Morning walks, afternoon swims, puttering in the garden, and more than a little time with my grandsons. It also means that I have more time to spend in the kitchen and with the bounty of fresh produce around, inspiration is always arriving.

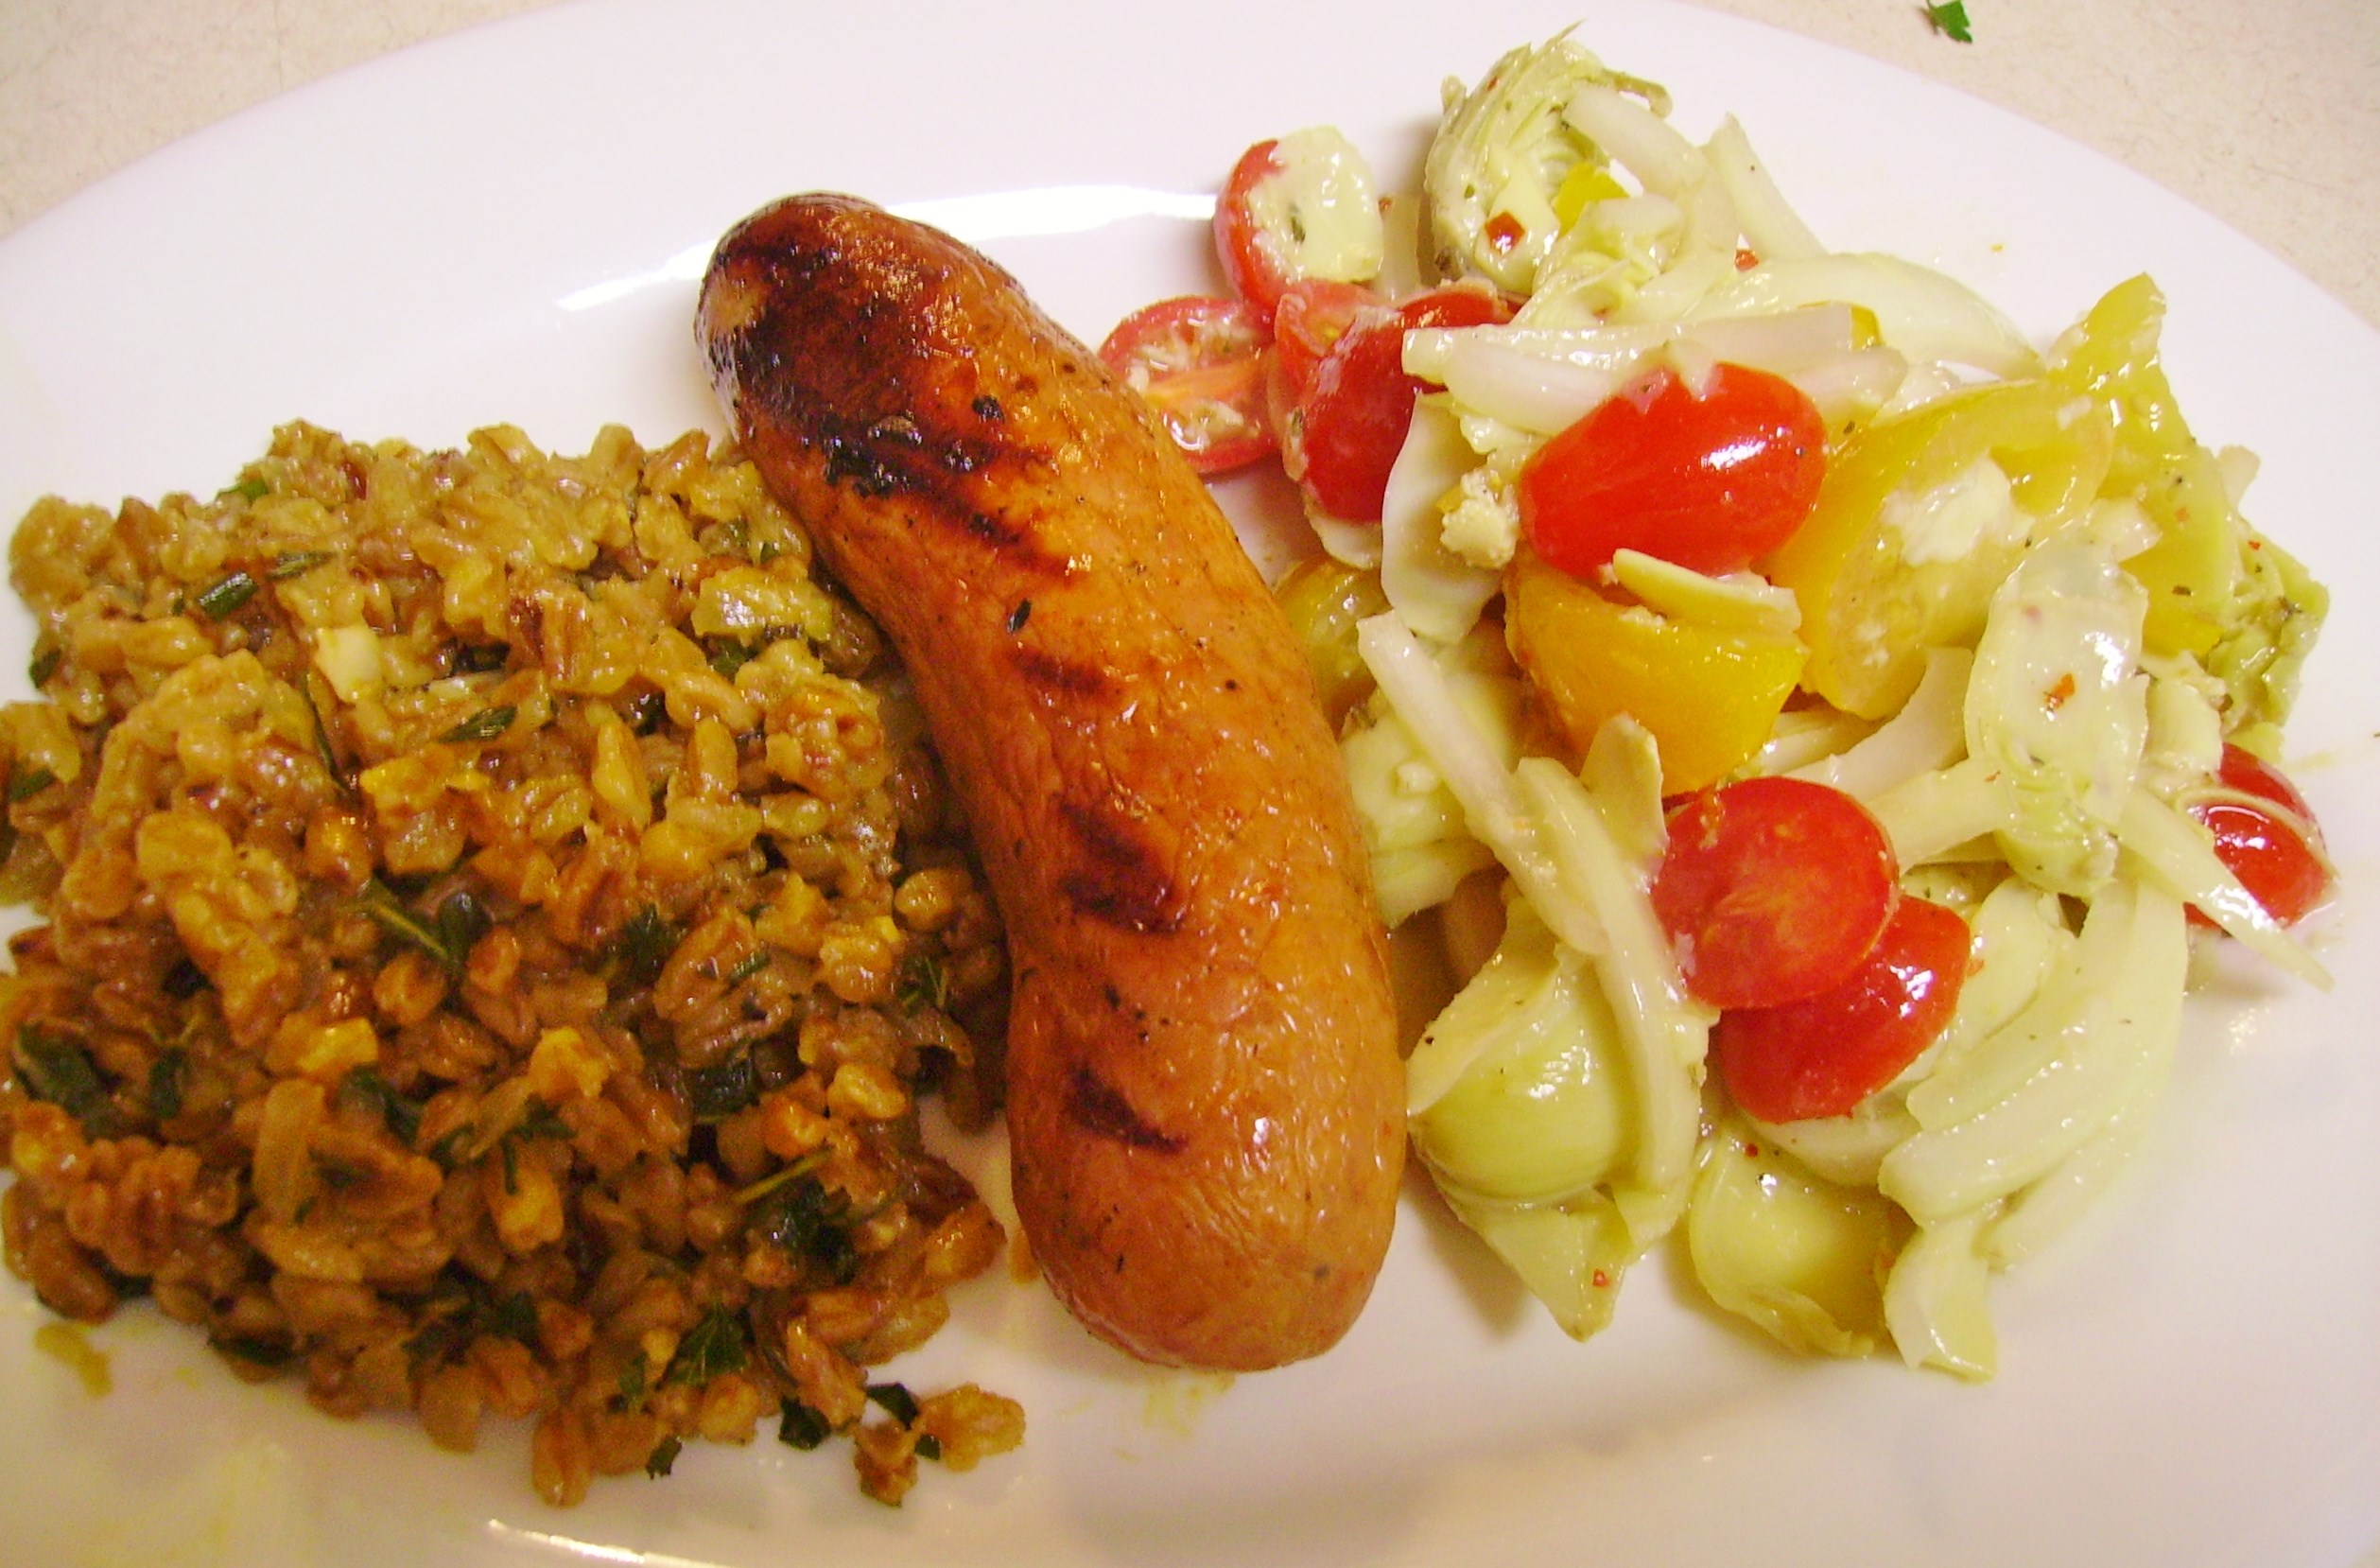
Once summer is firmly entrenched meals just naturally get lighter. Recently we feasted on Grilled Turkey Italian Sausage that was accompanied by a simple Artichoke and Tomato Salad and a riff on my Farro Risotto that I affectionately call Scarborough Farro.

DIGITAL CAMERA

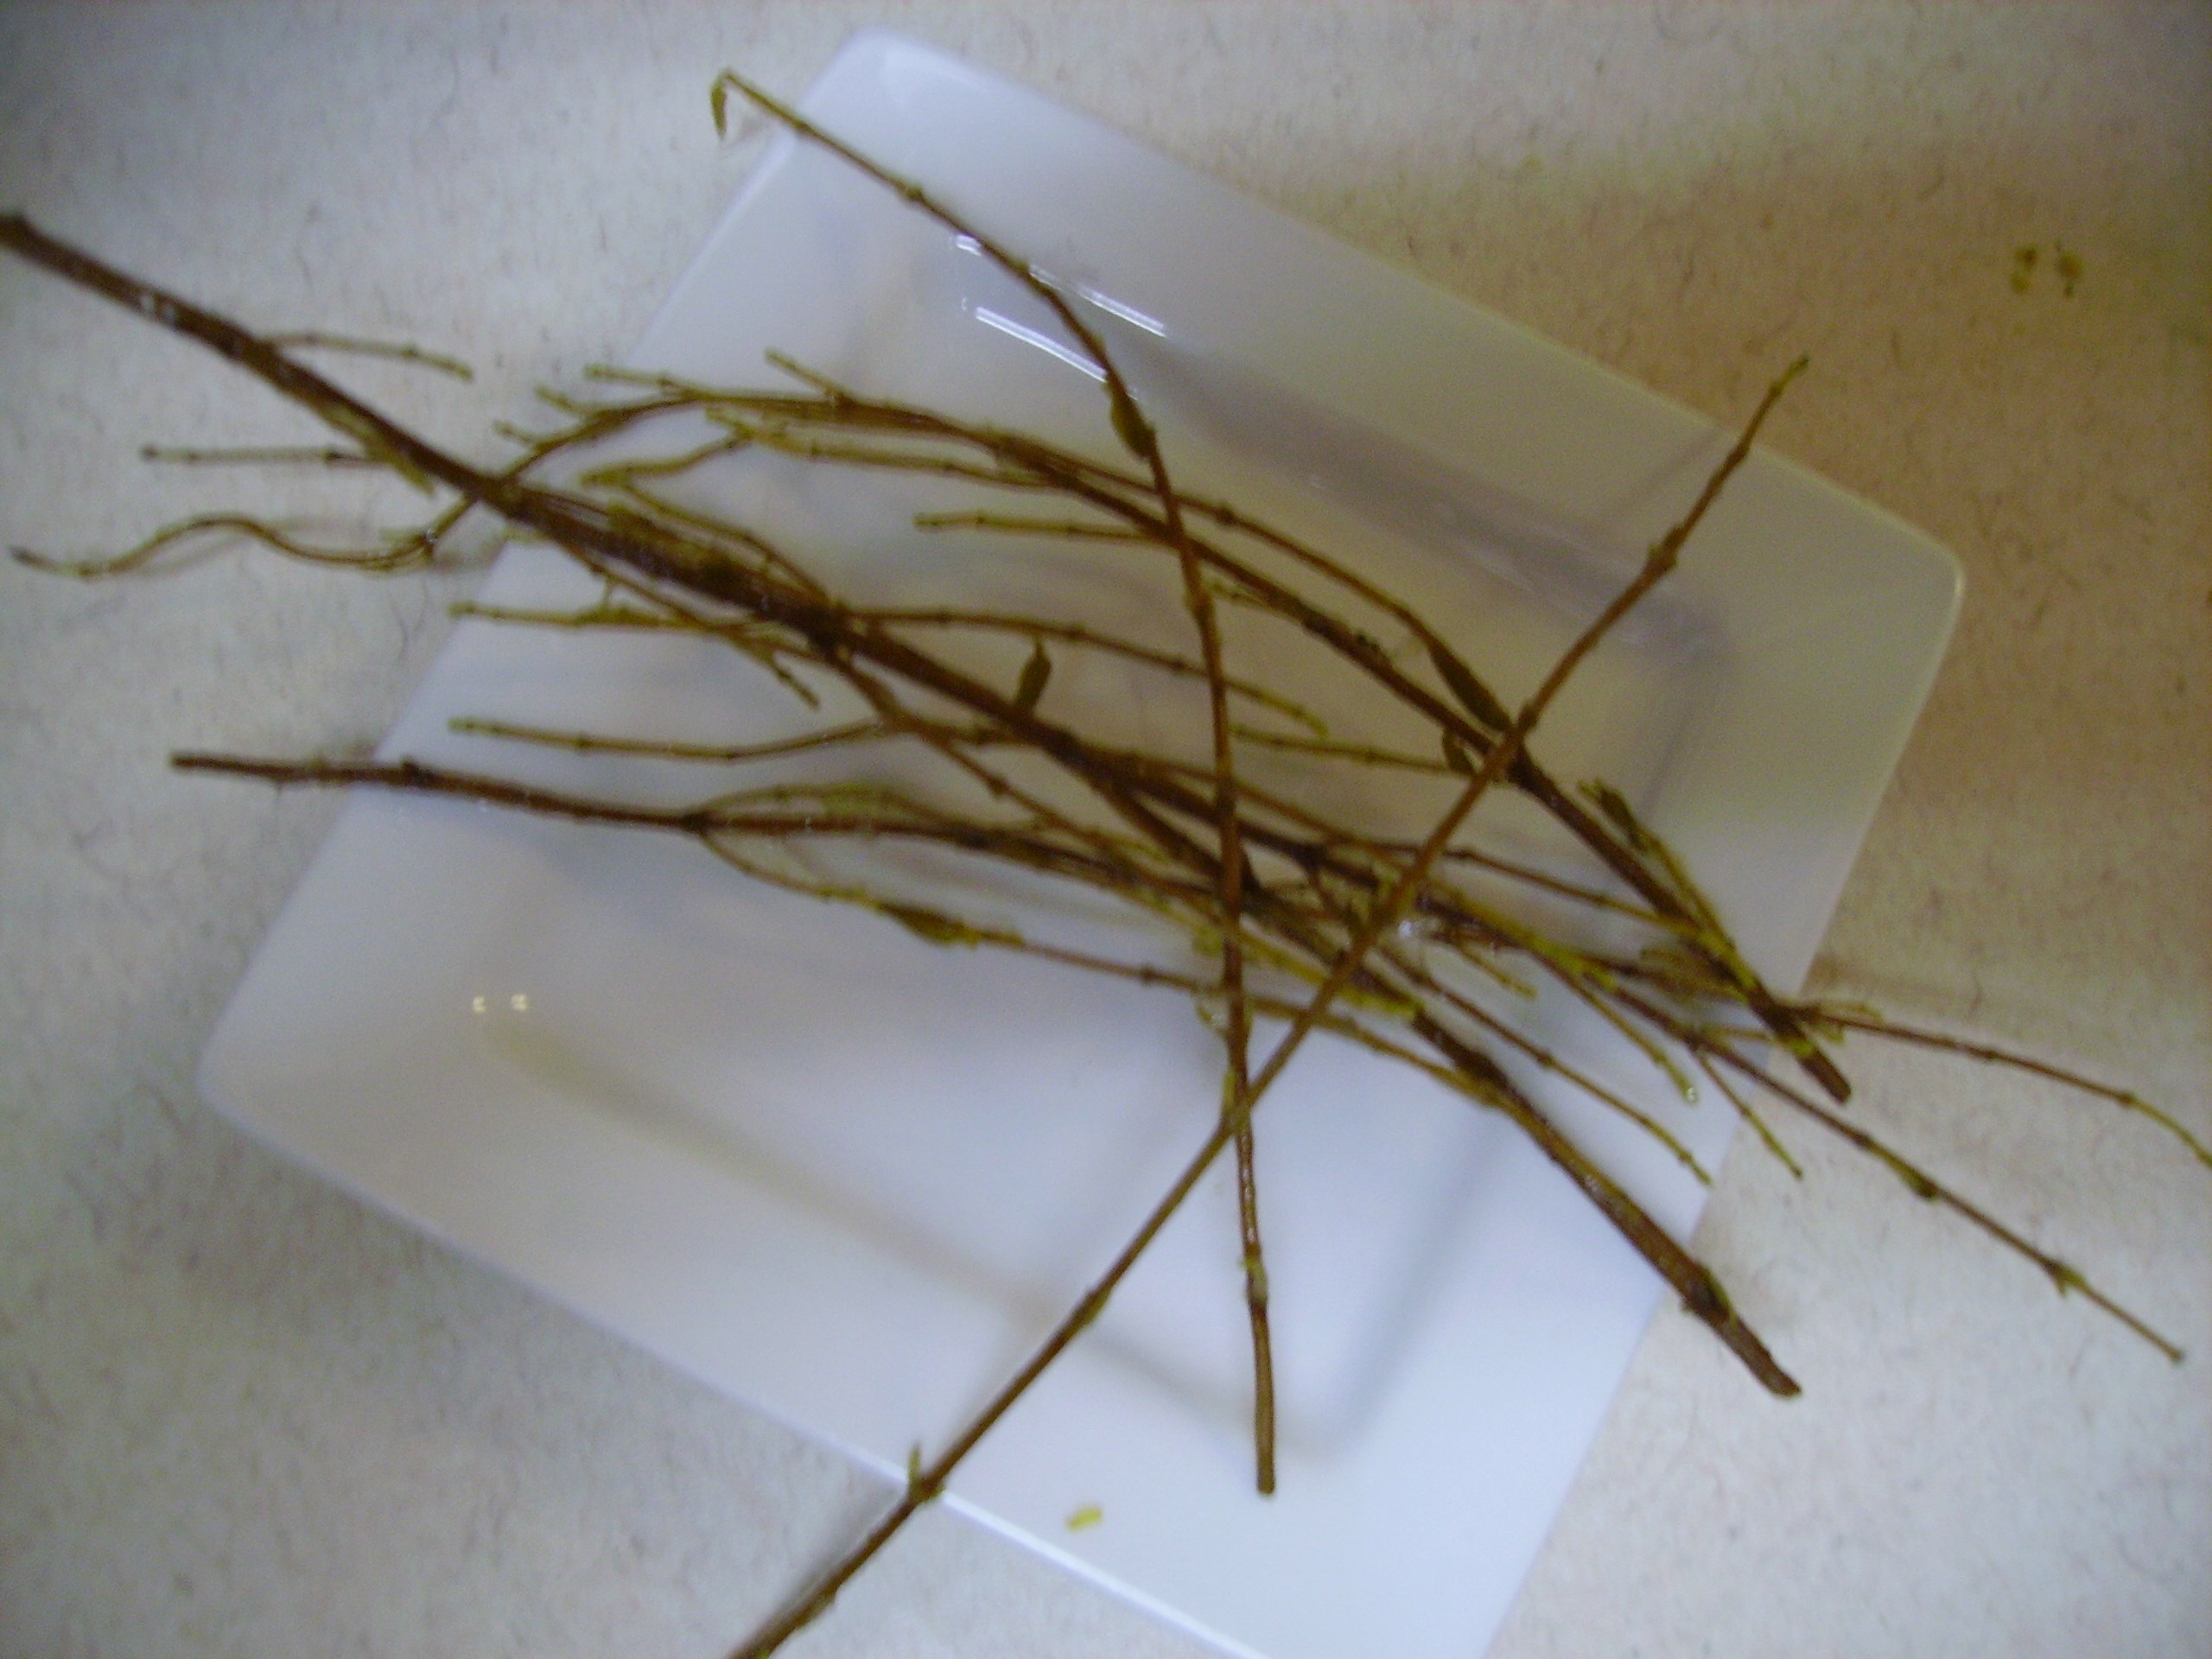
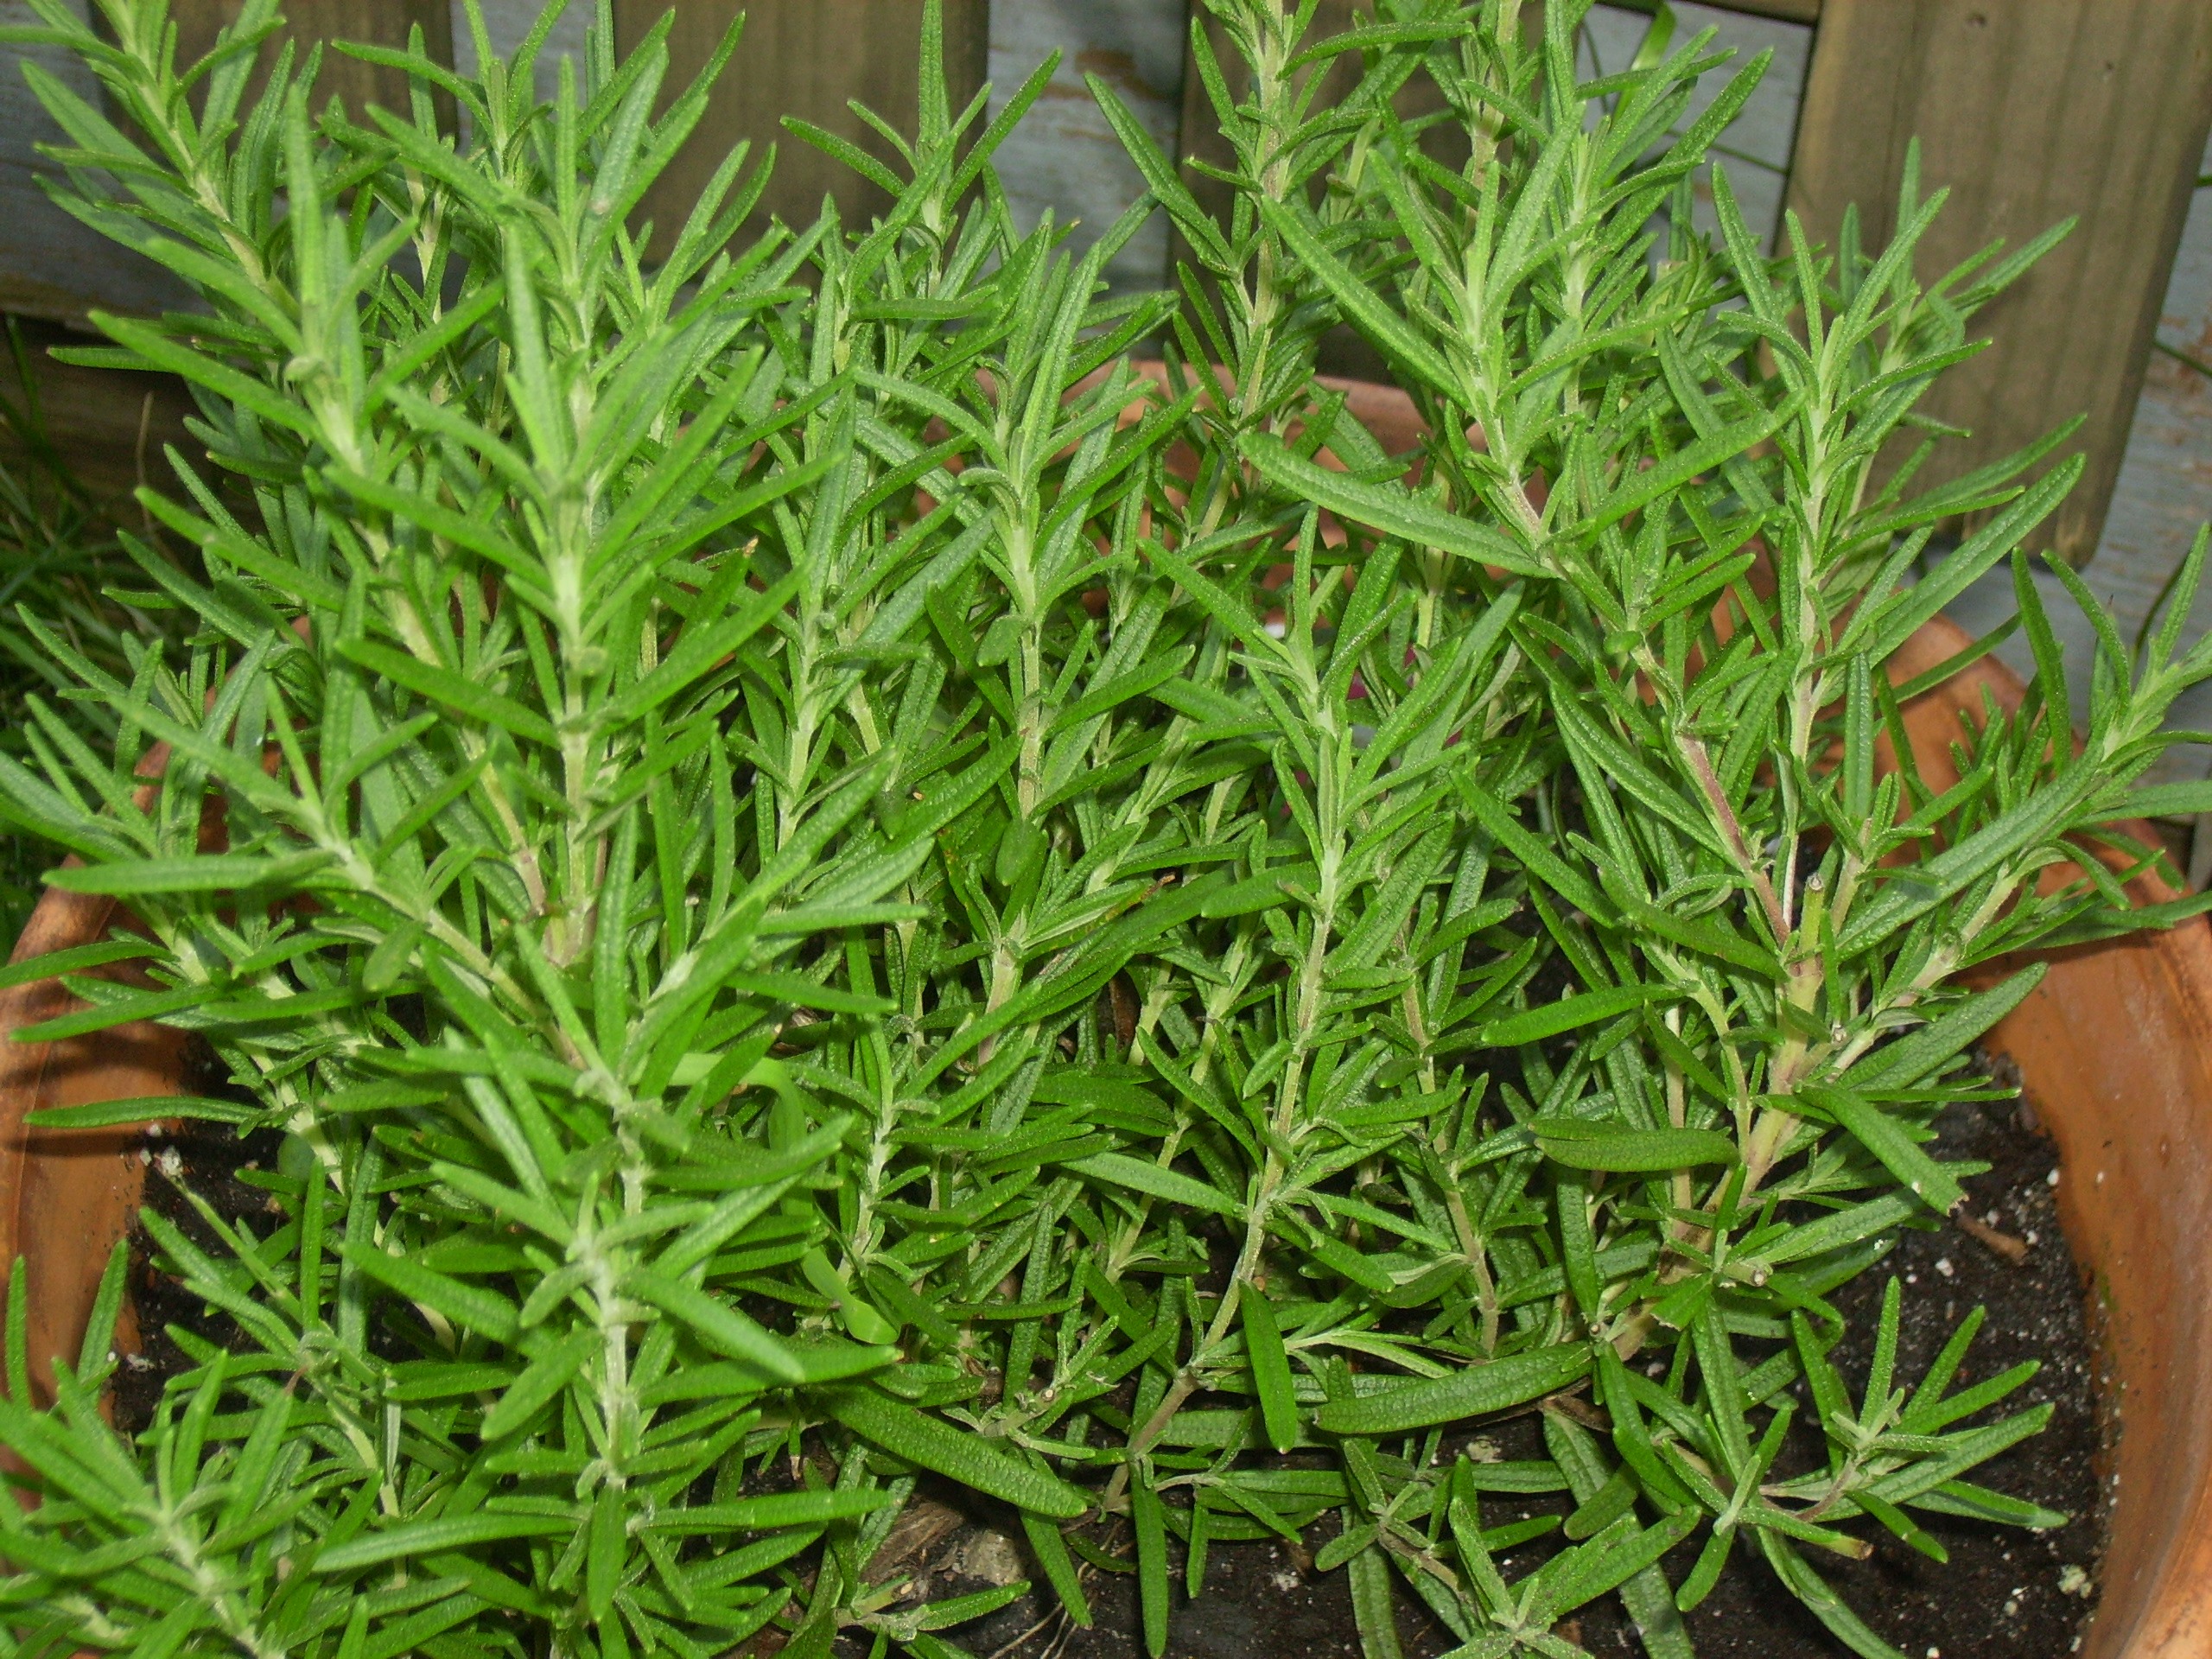
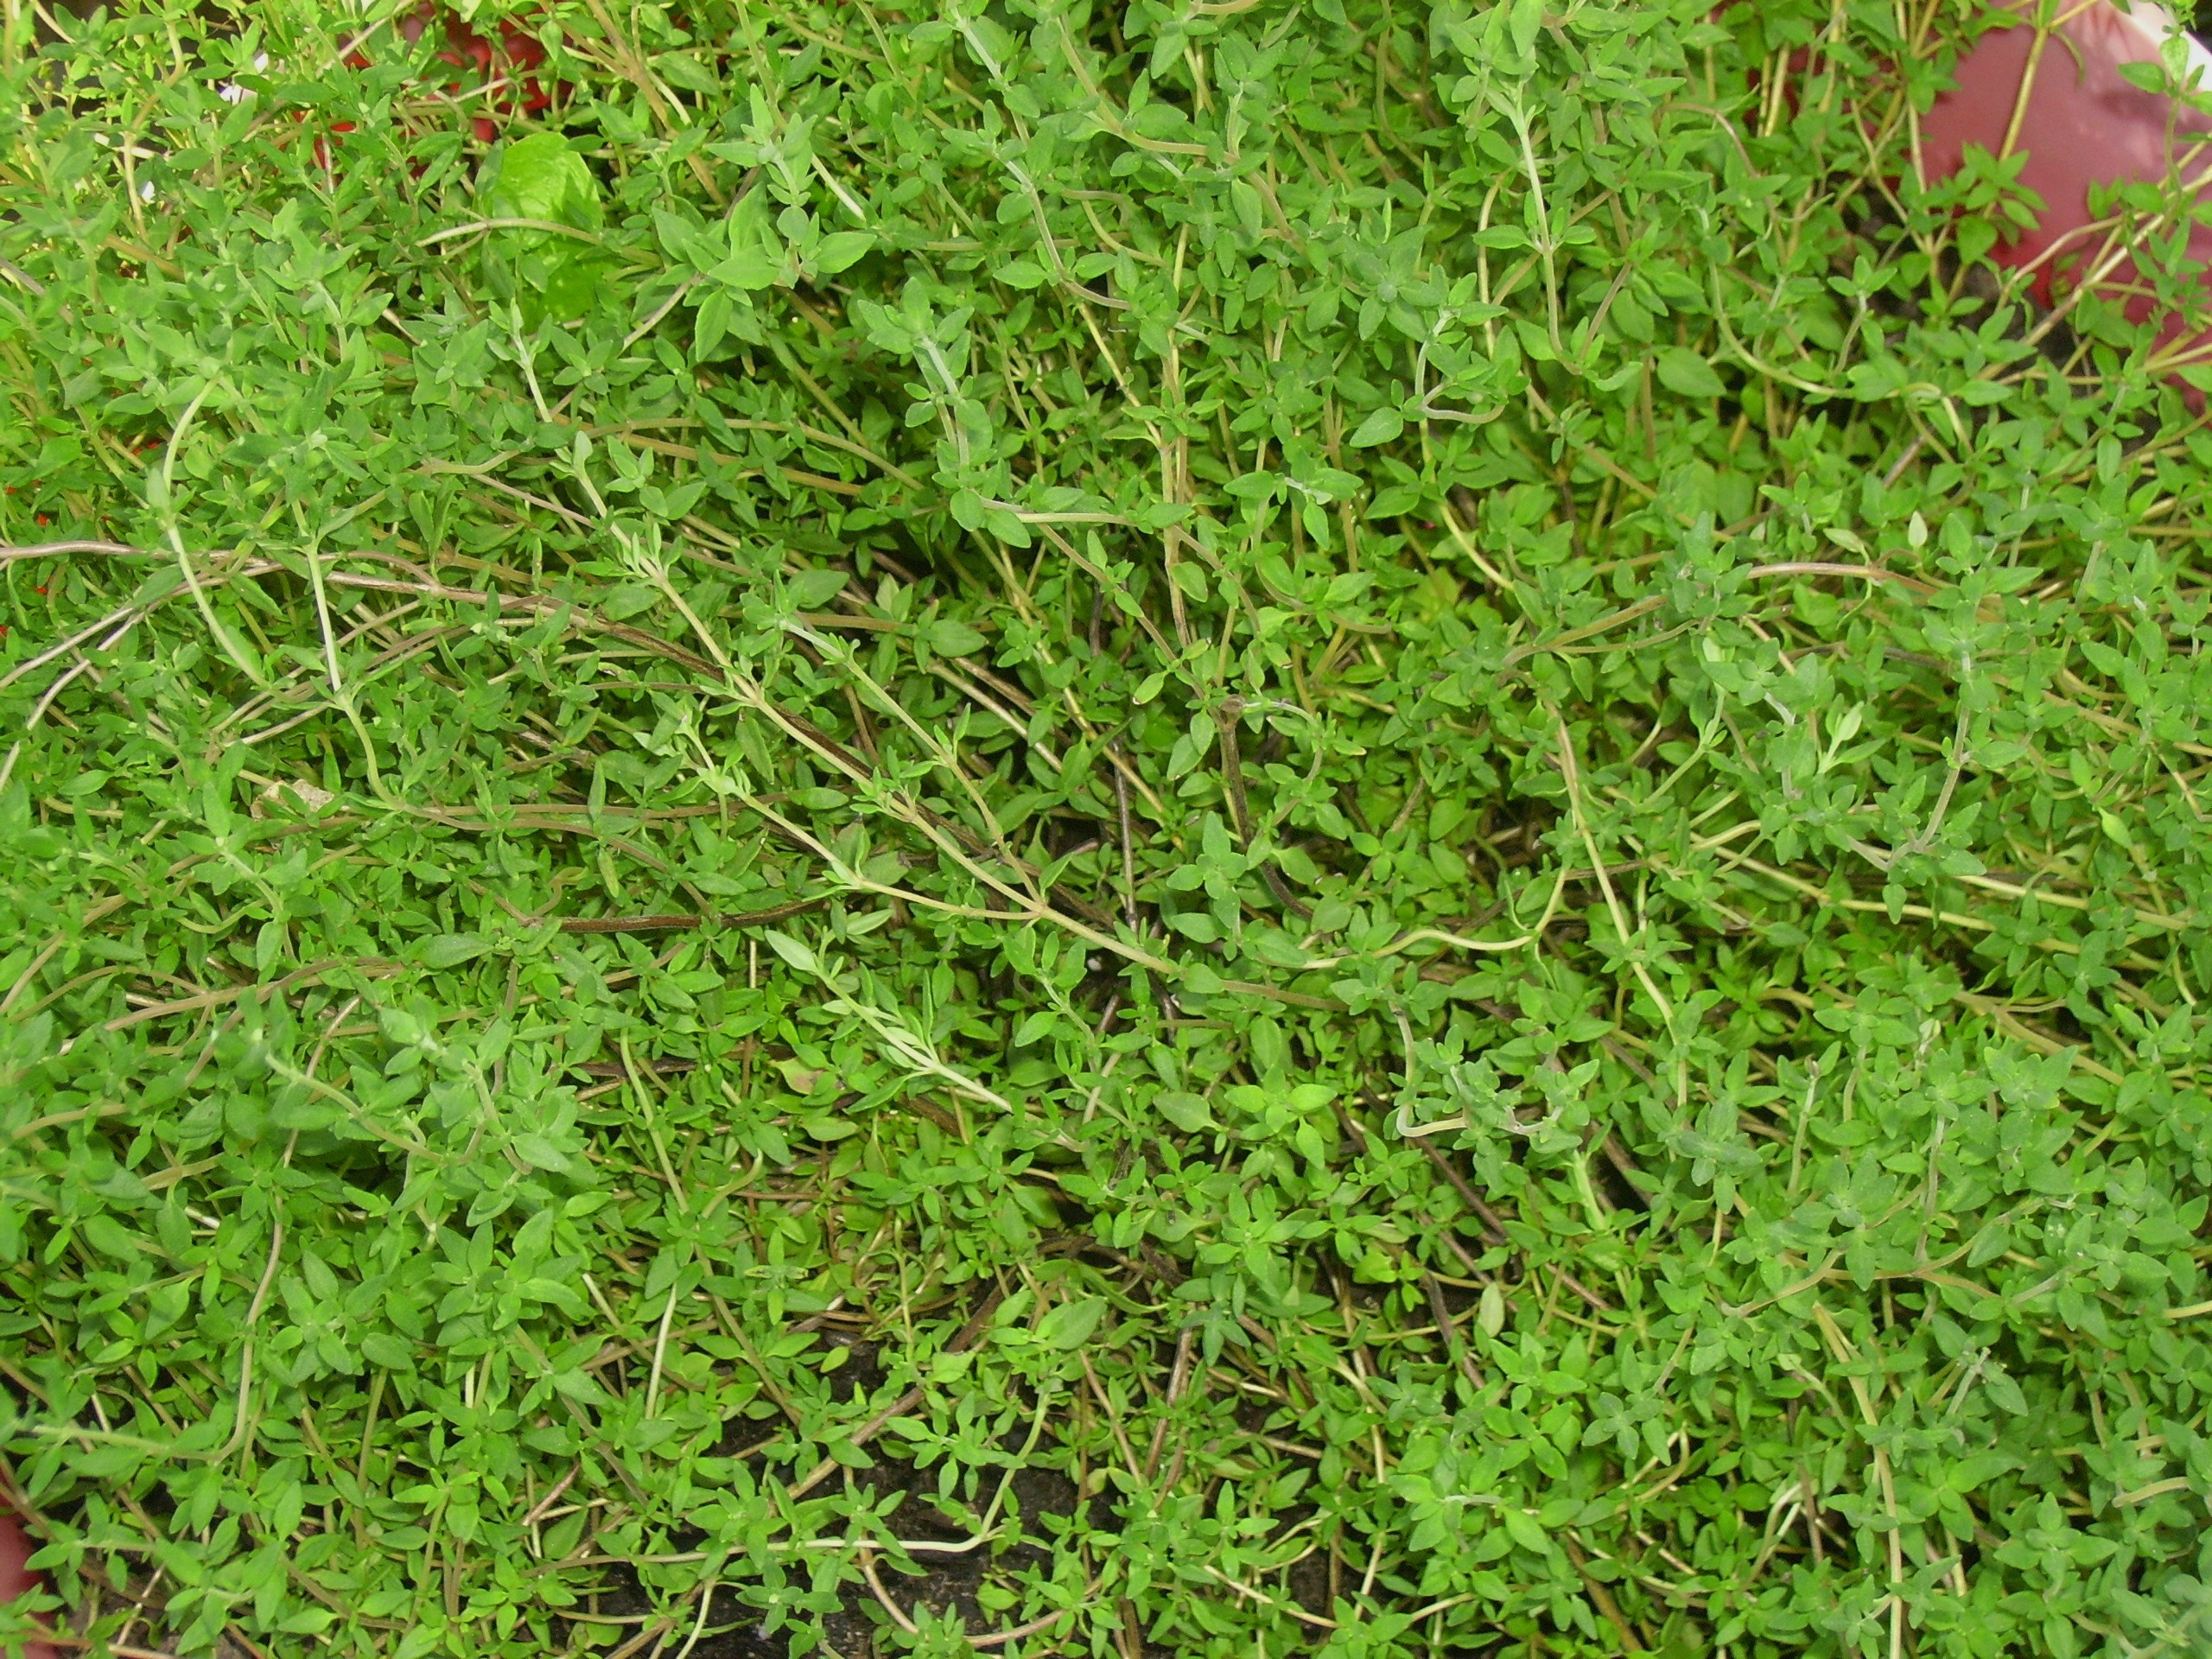
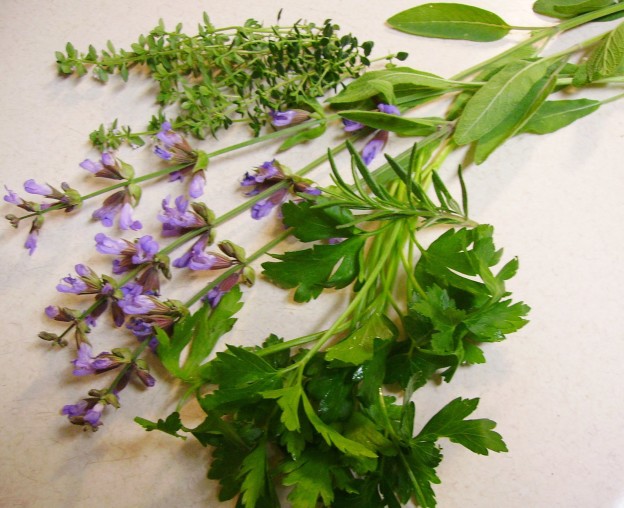
Parsley, Sage, Rosemary, and Thyme, of course, feature prominently in this dish. If you haven’t listened to  Scarborough Fair lately, take a few minutes to go back to a time that was simpler, yet very complex. Superficially a peaceful song based on an old English ballad, it intertwines with an anti-war song not so subtly protesting the Vietnam War.

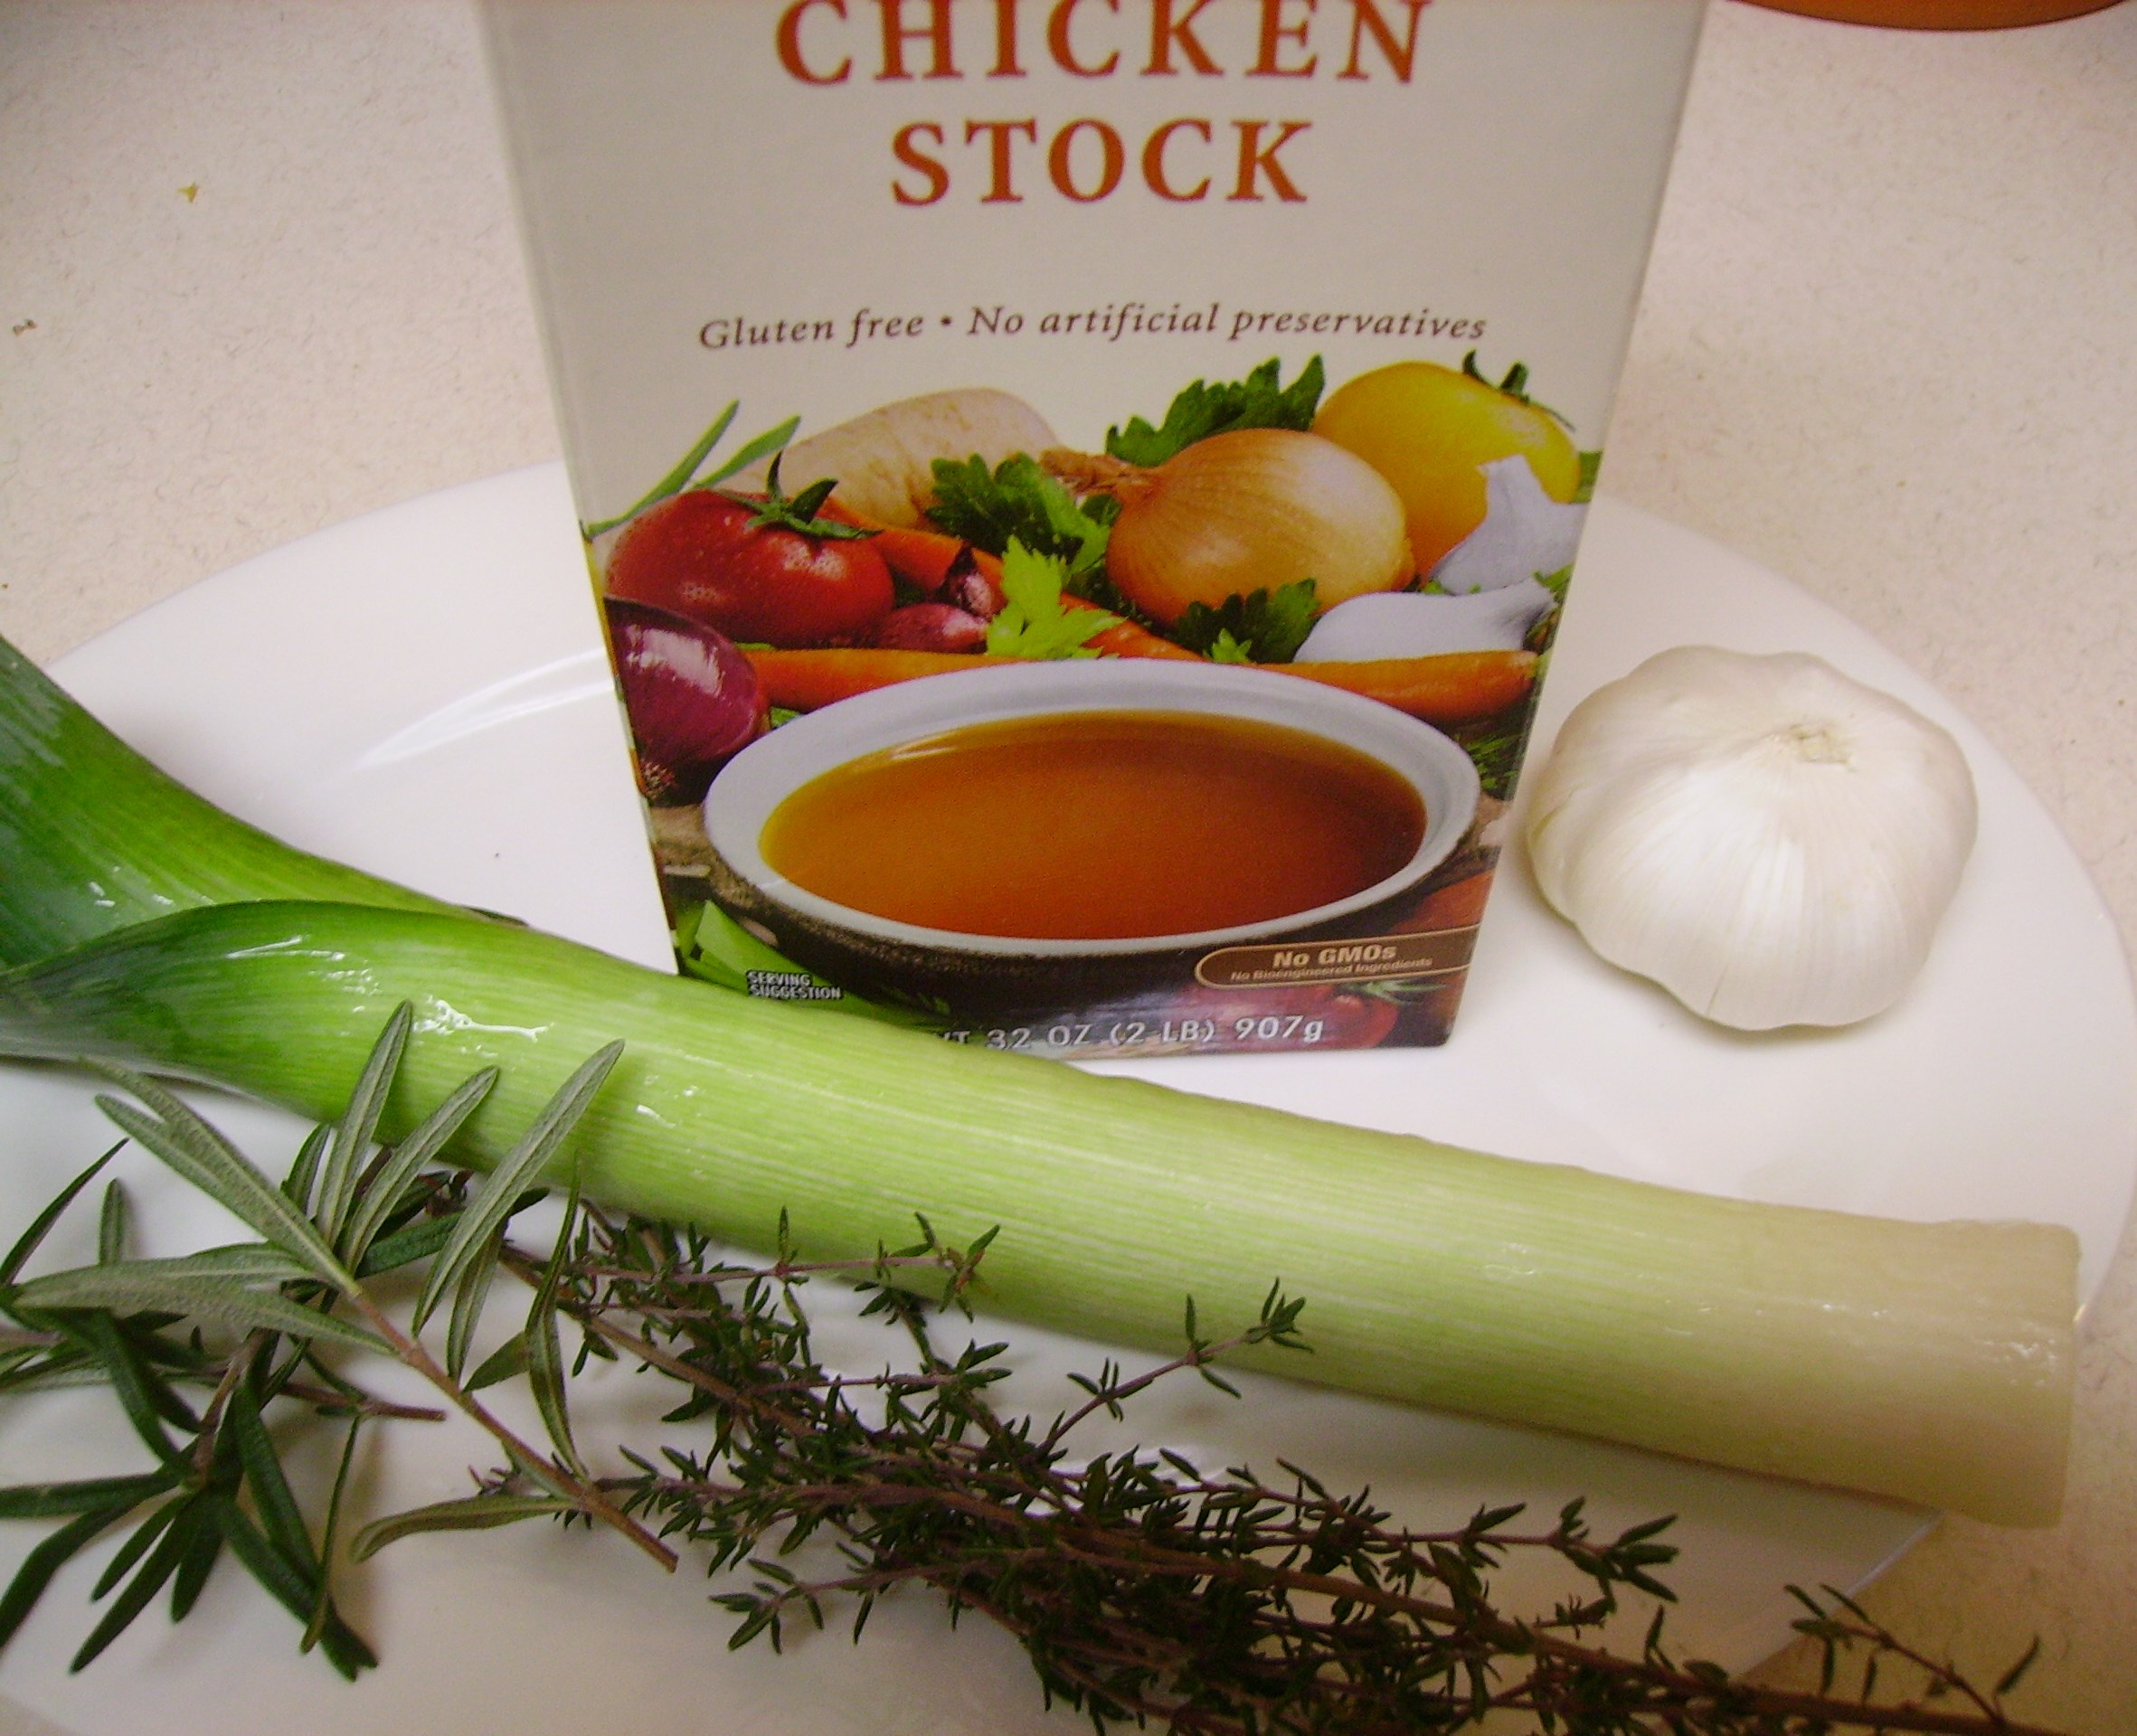
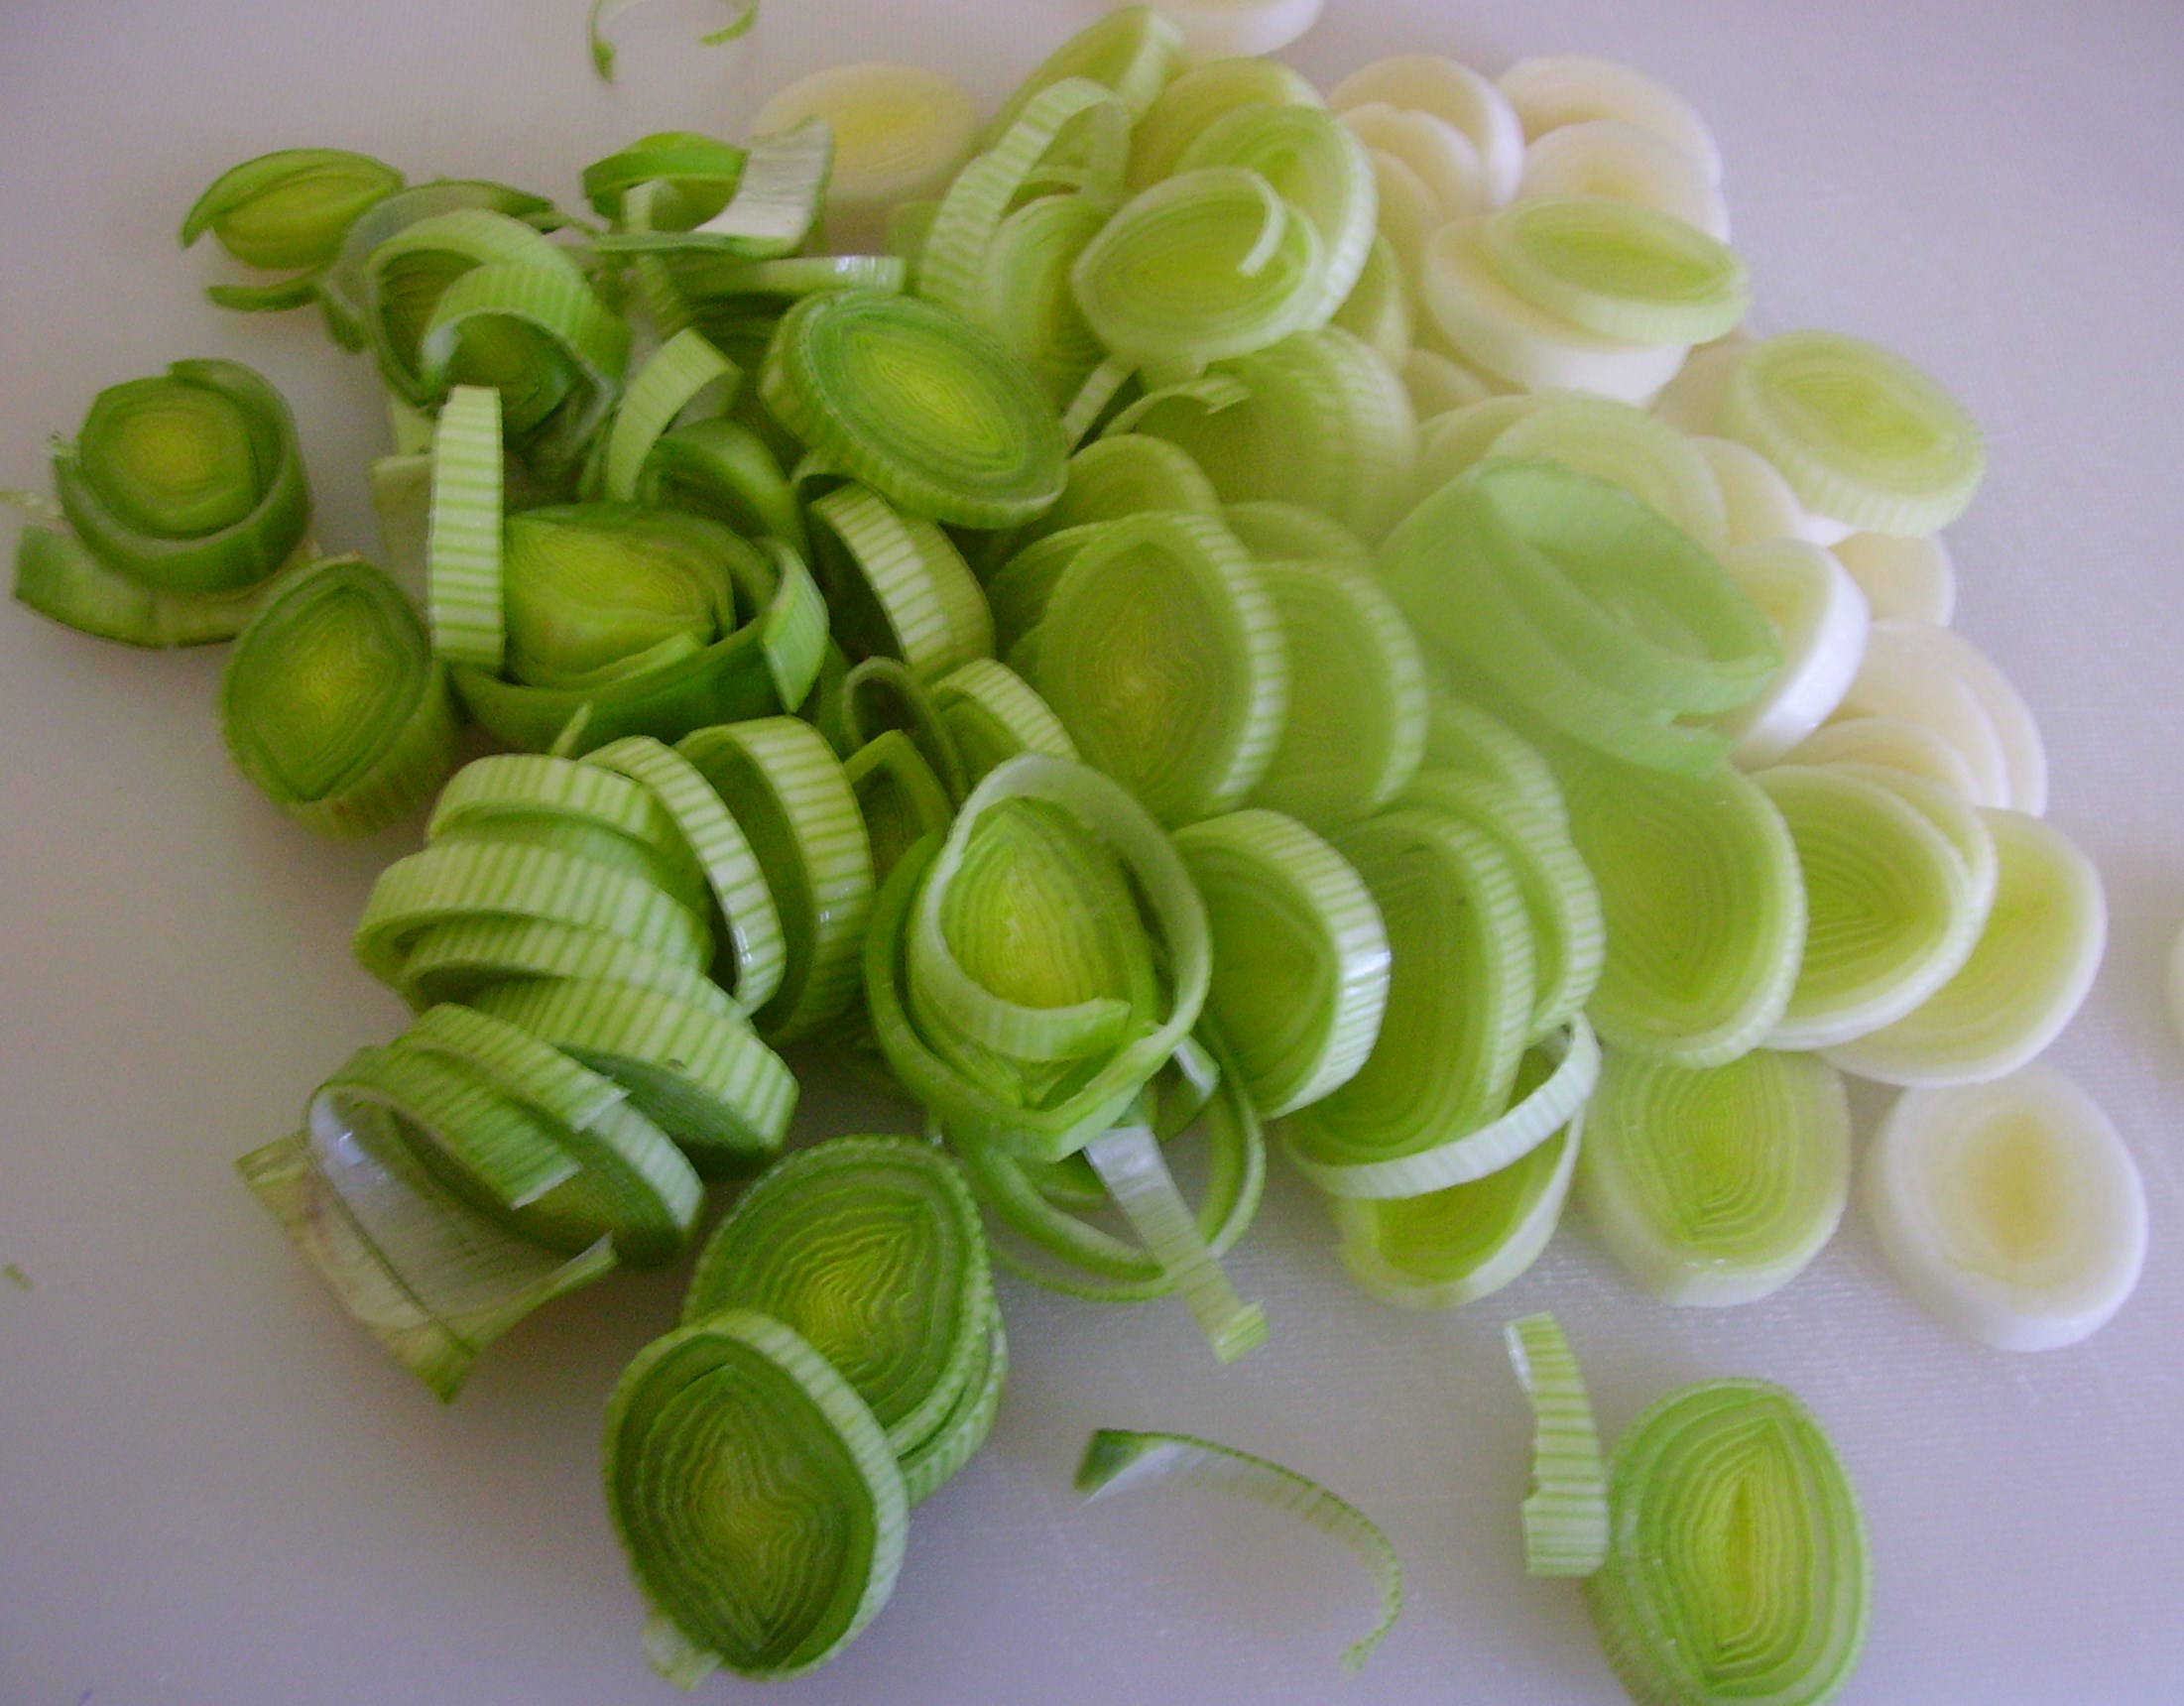
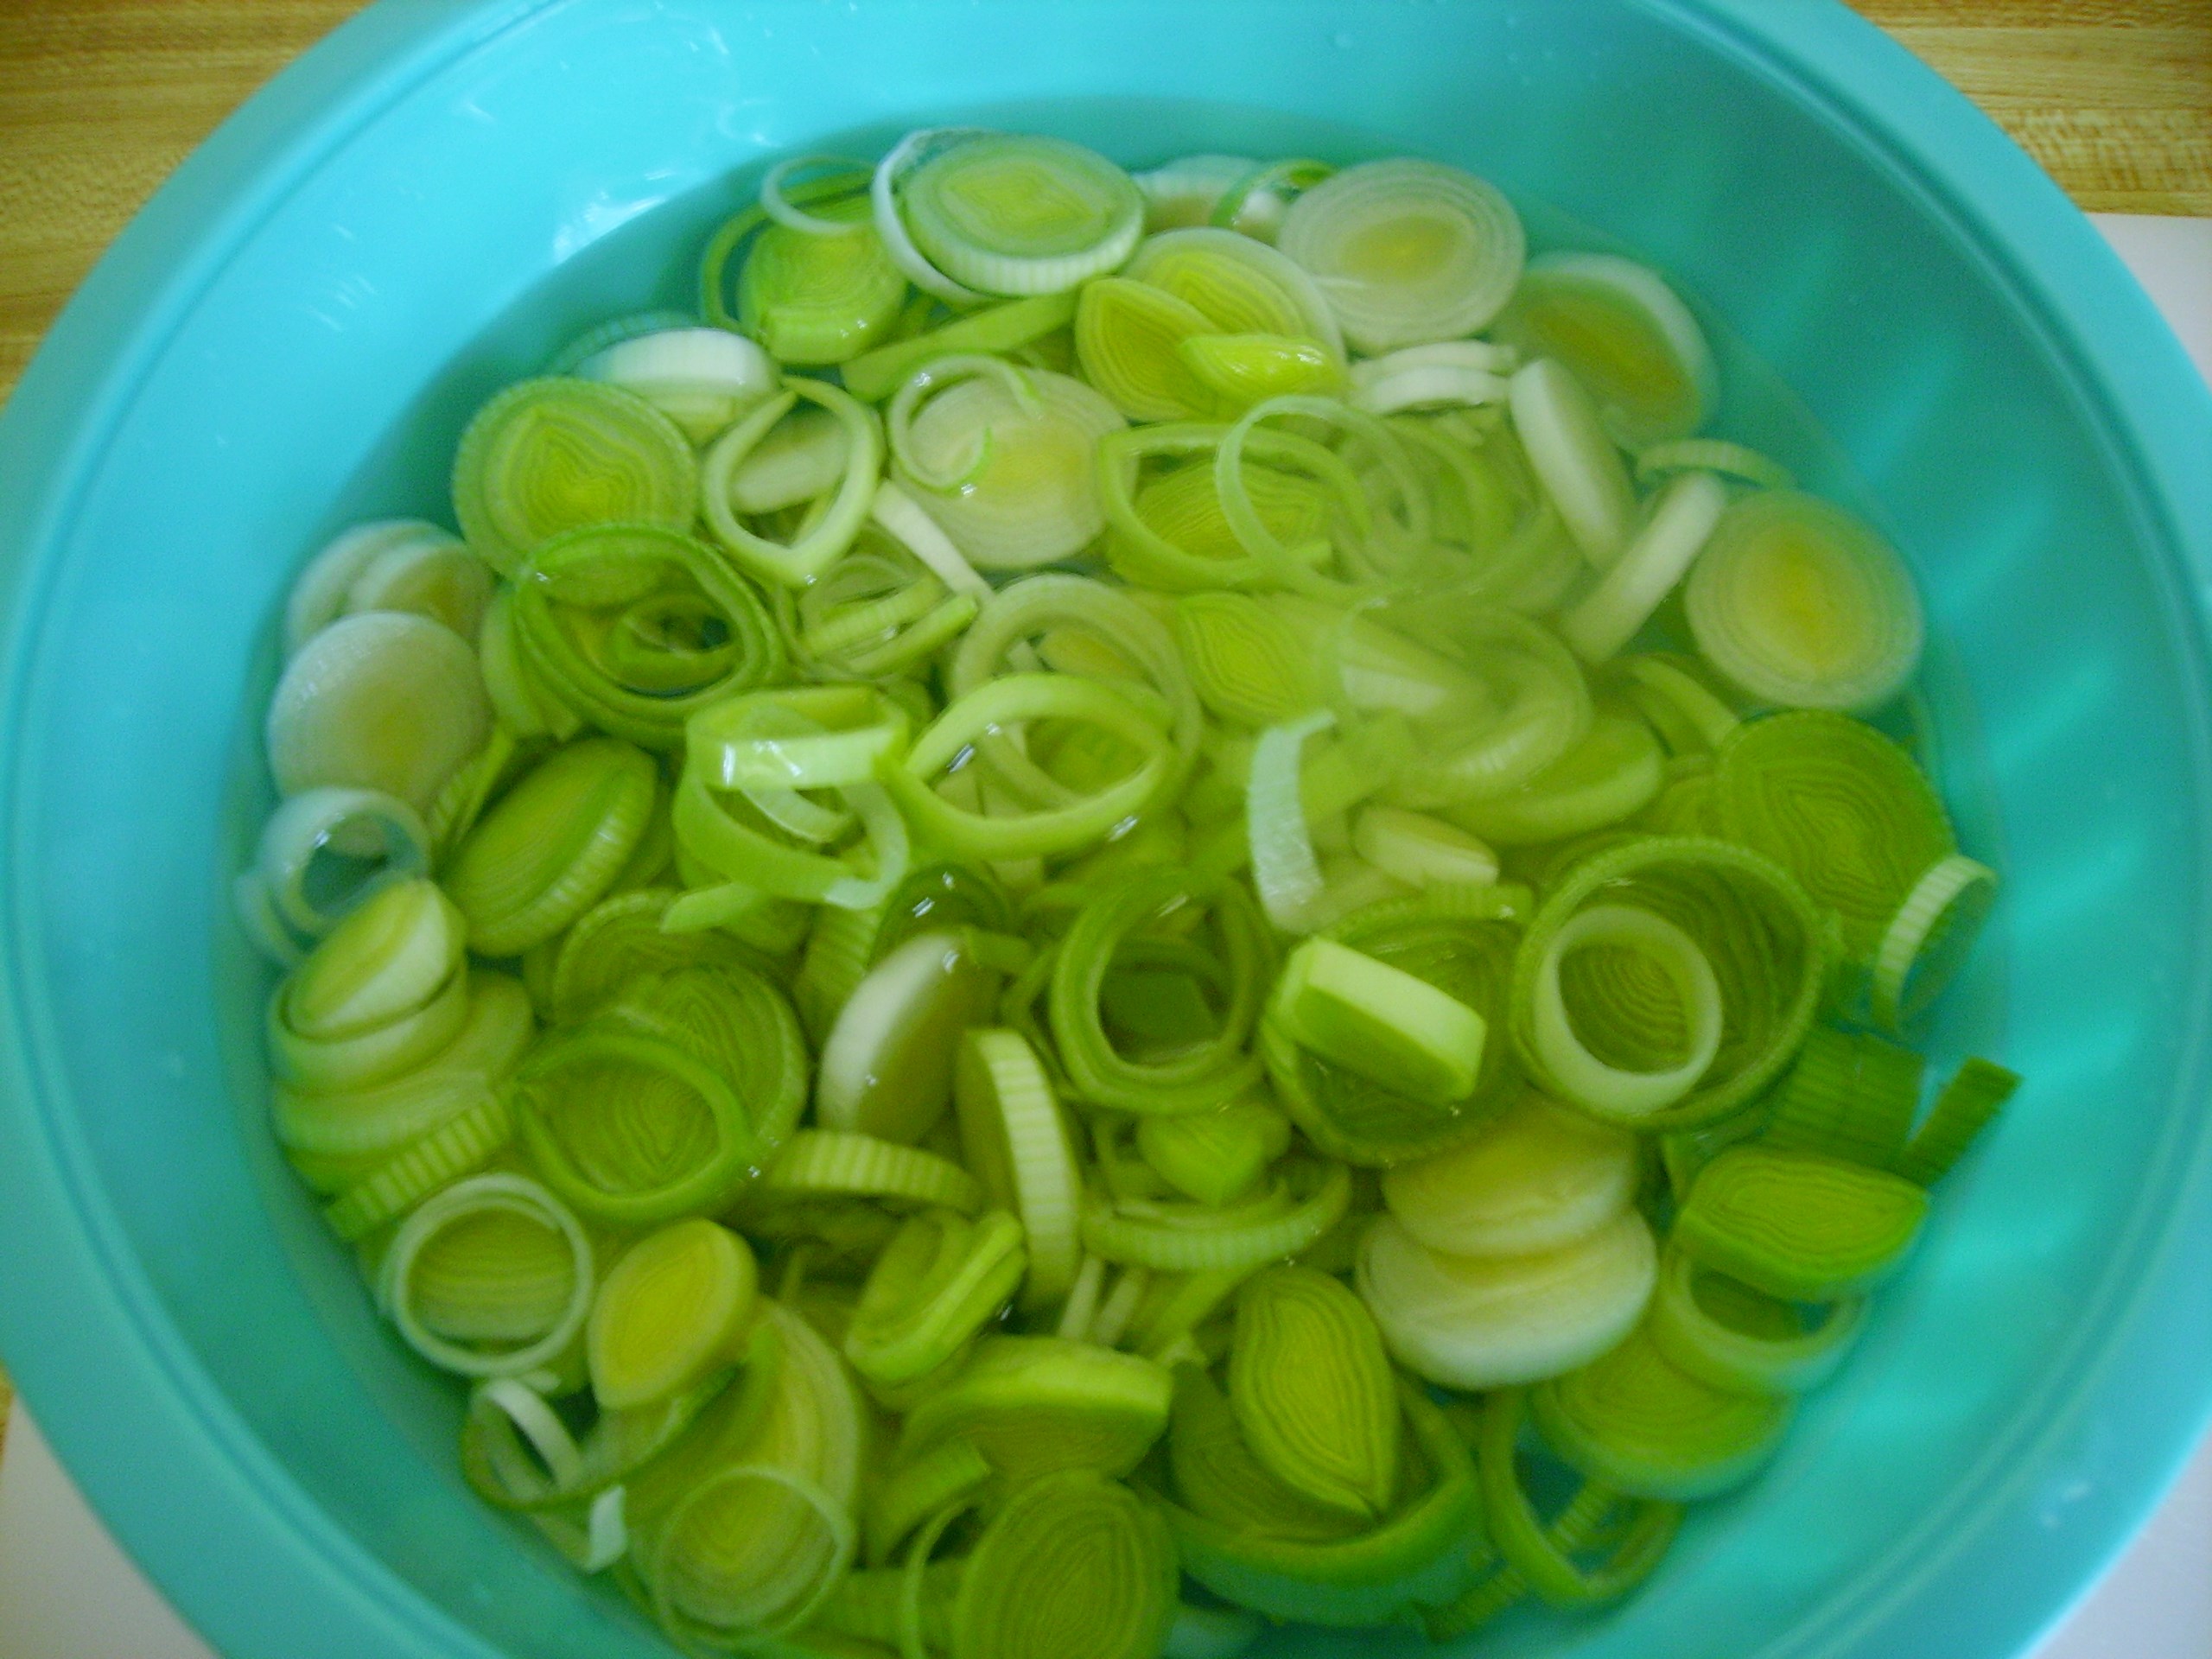
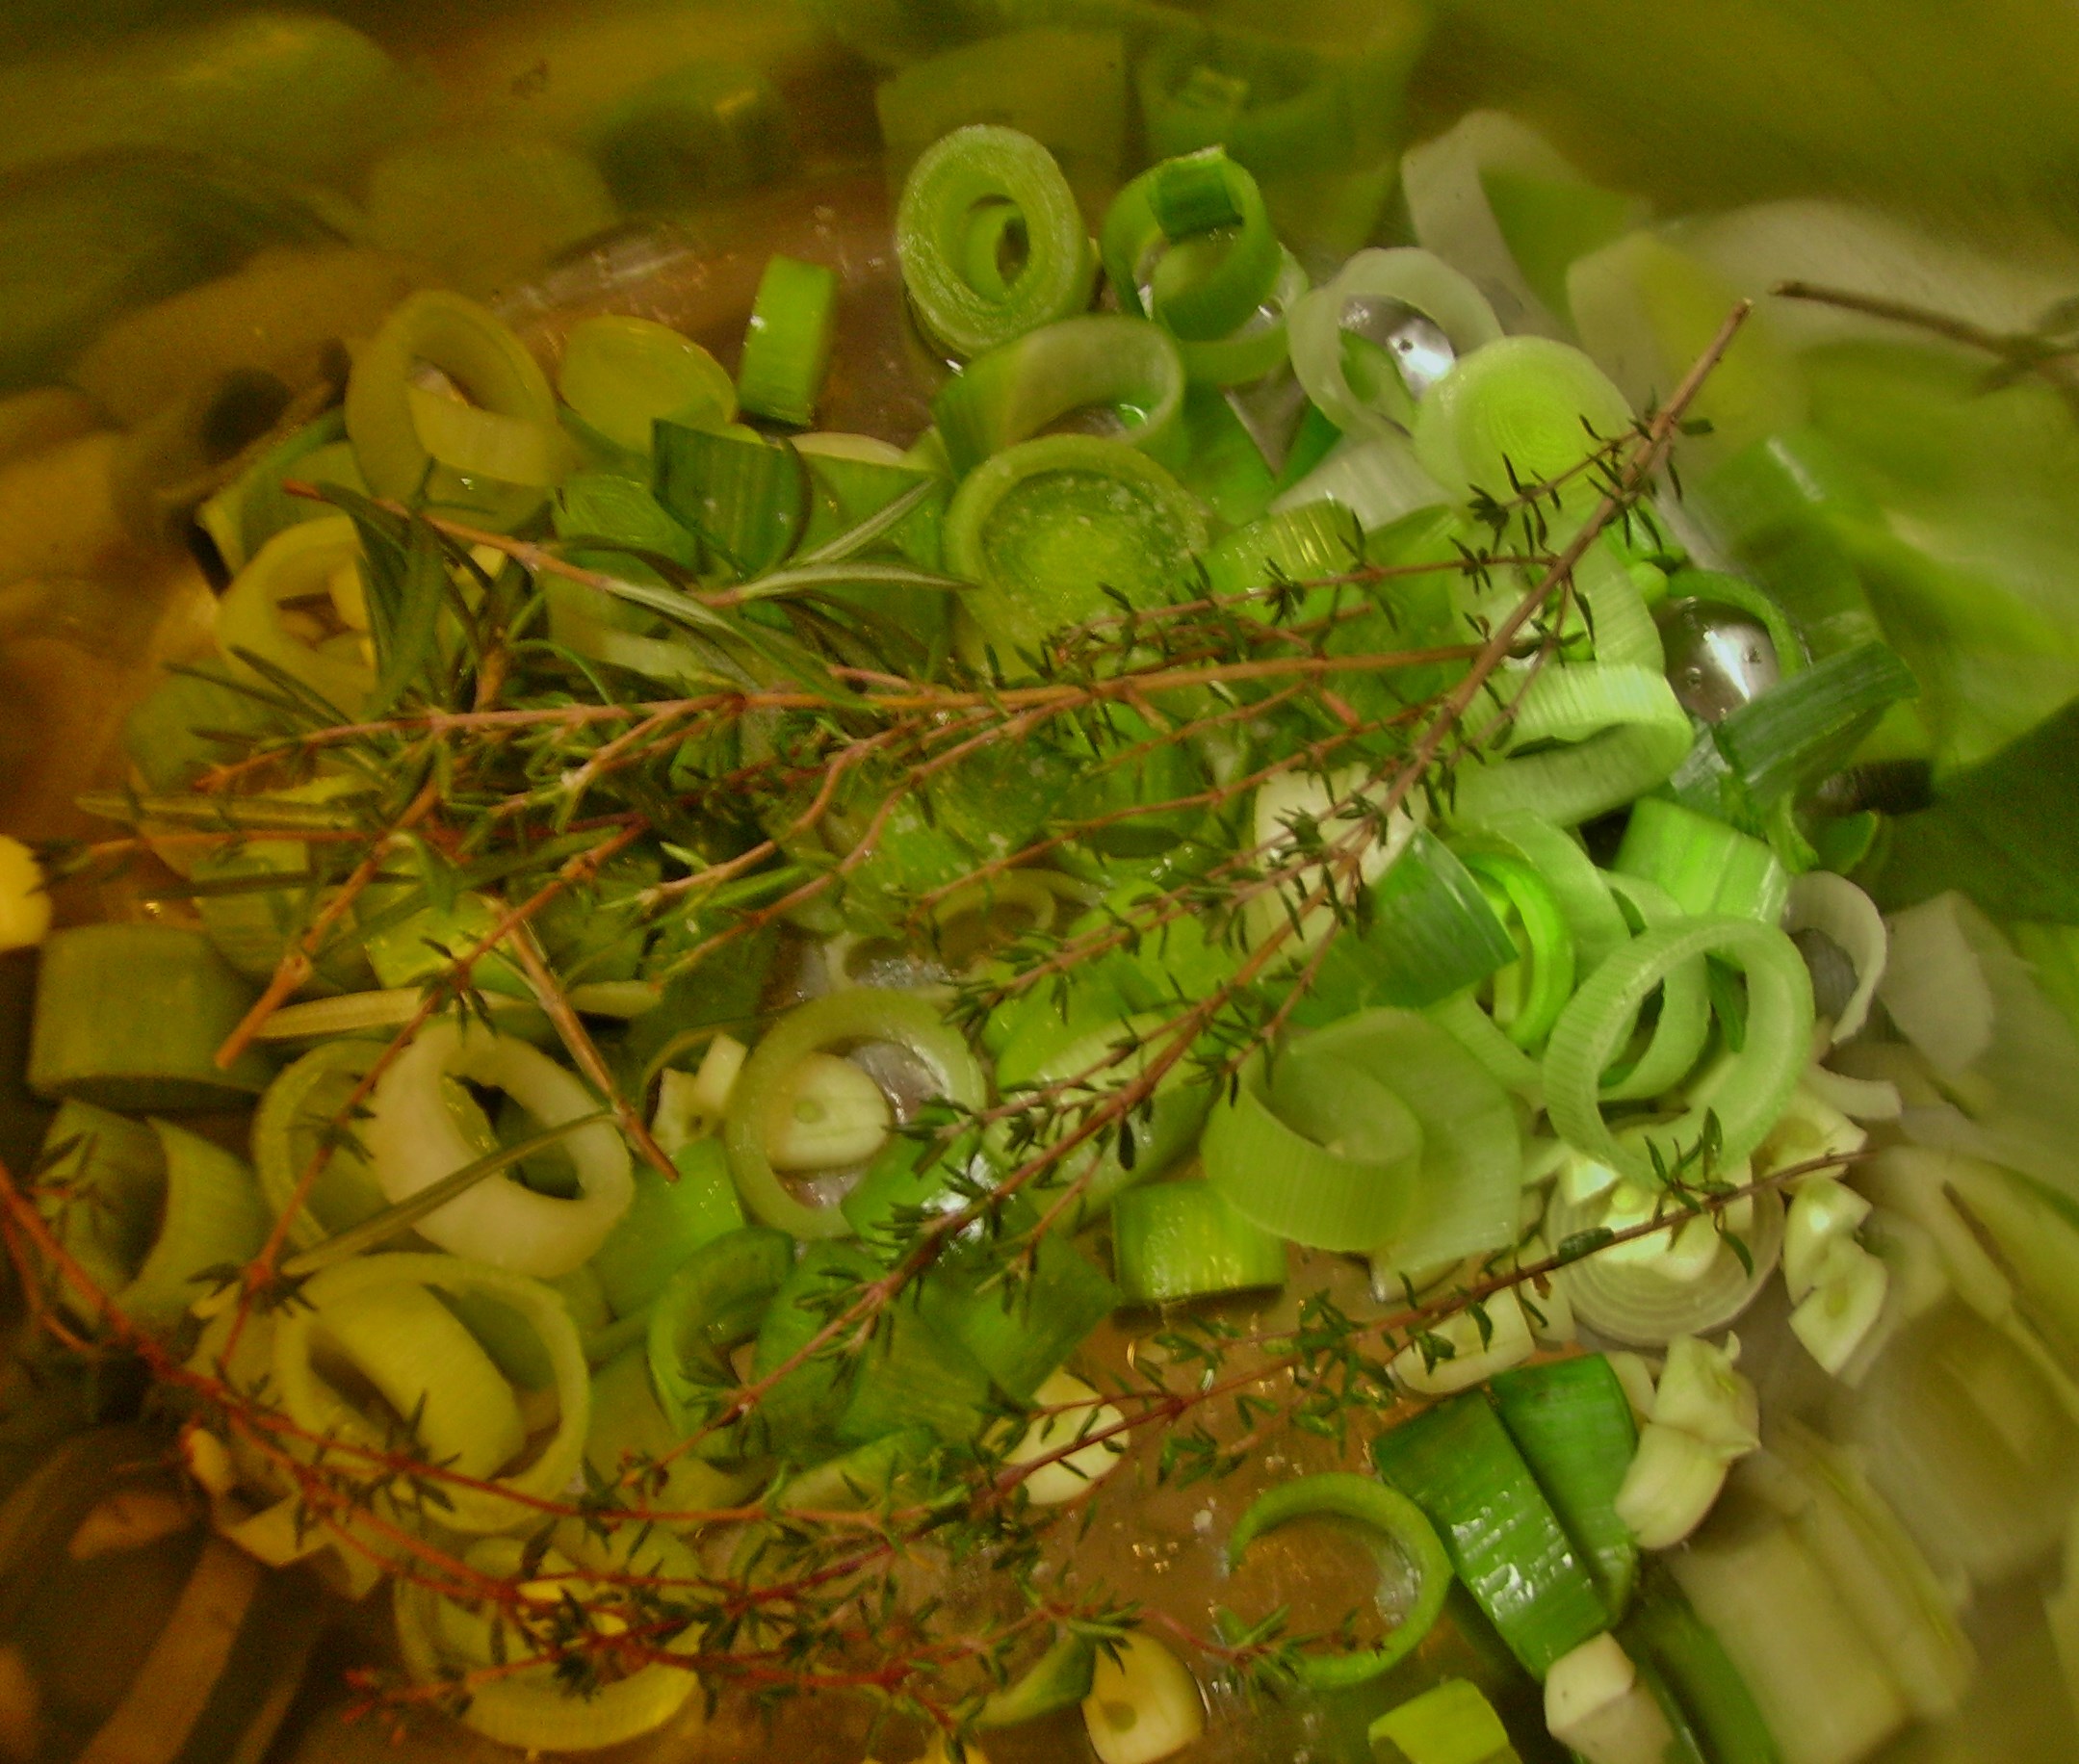
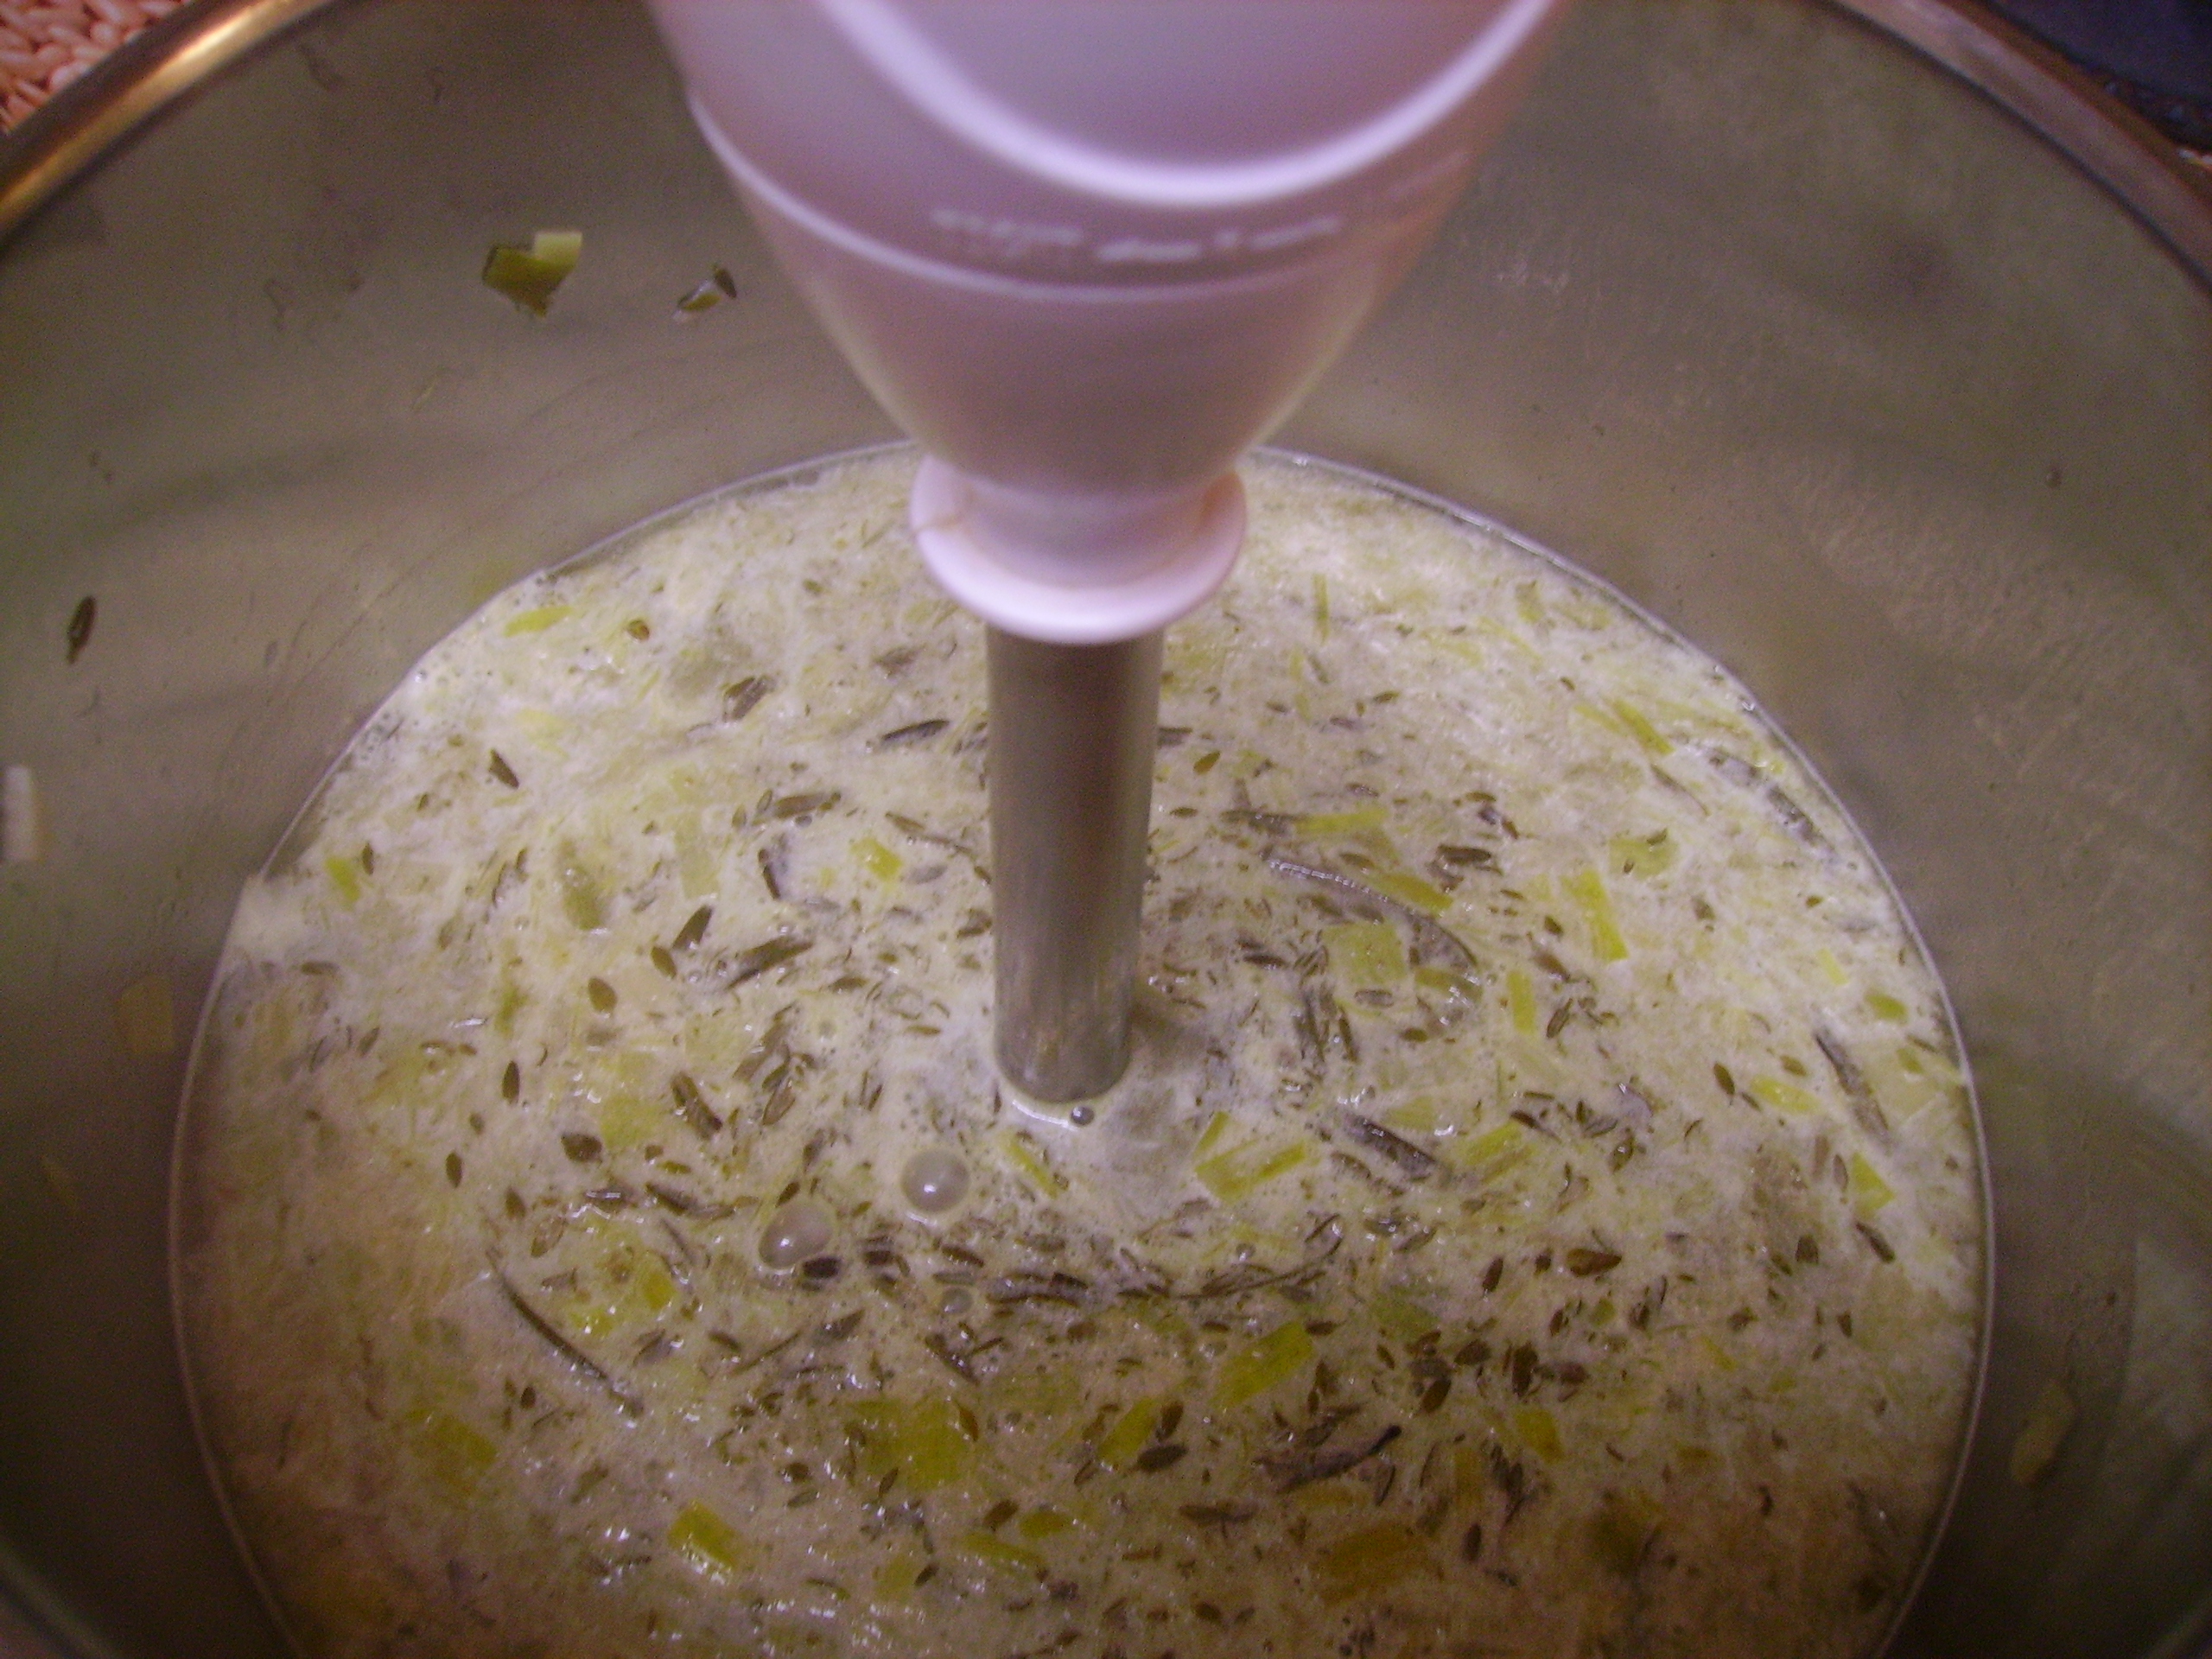
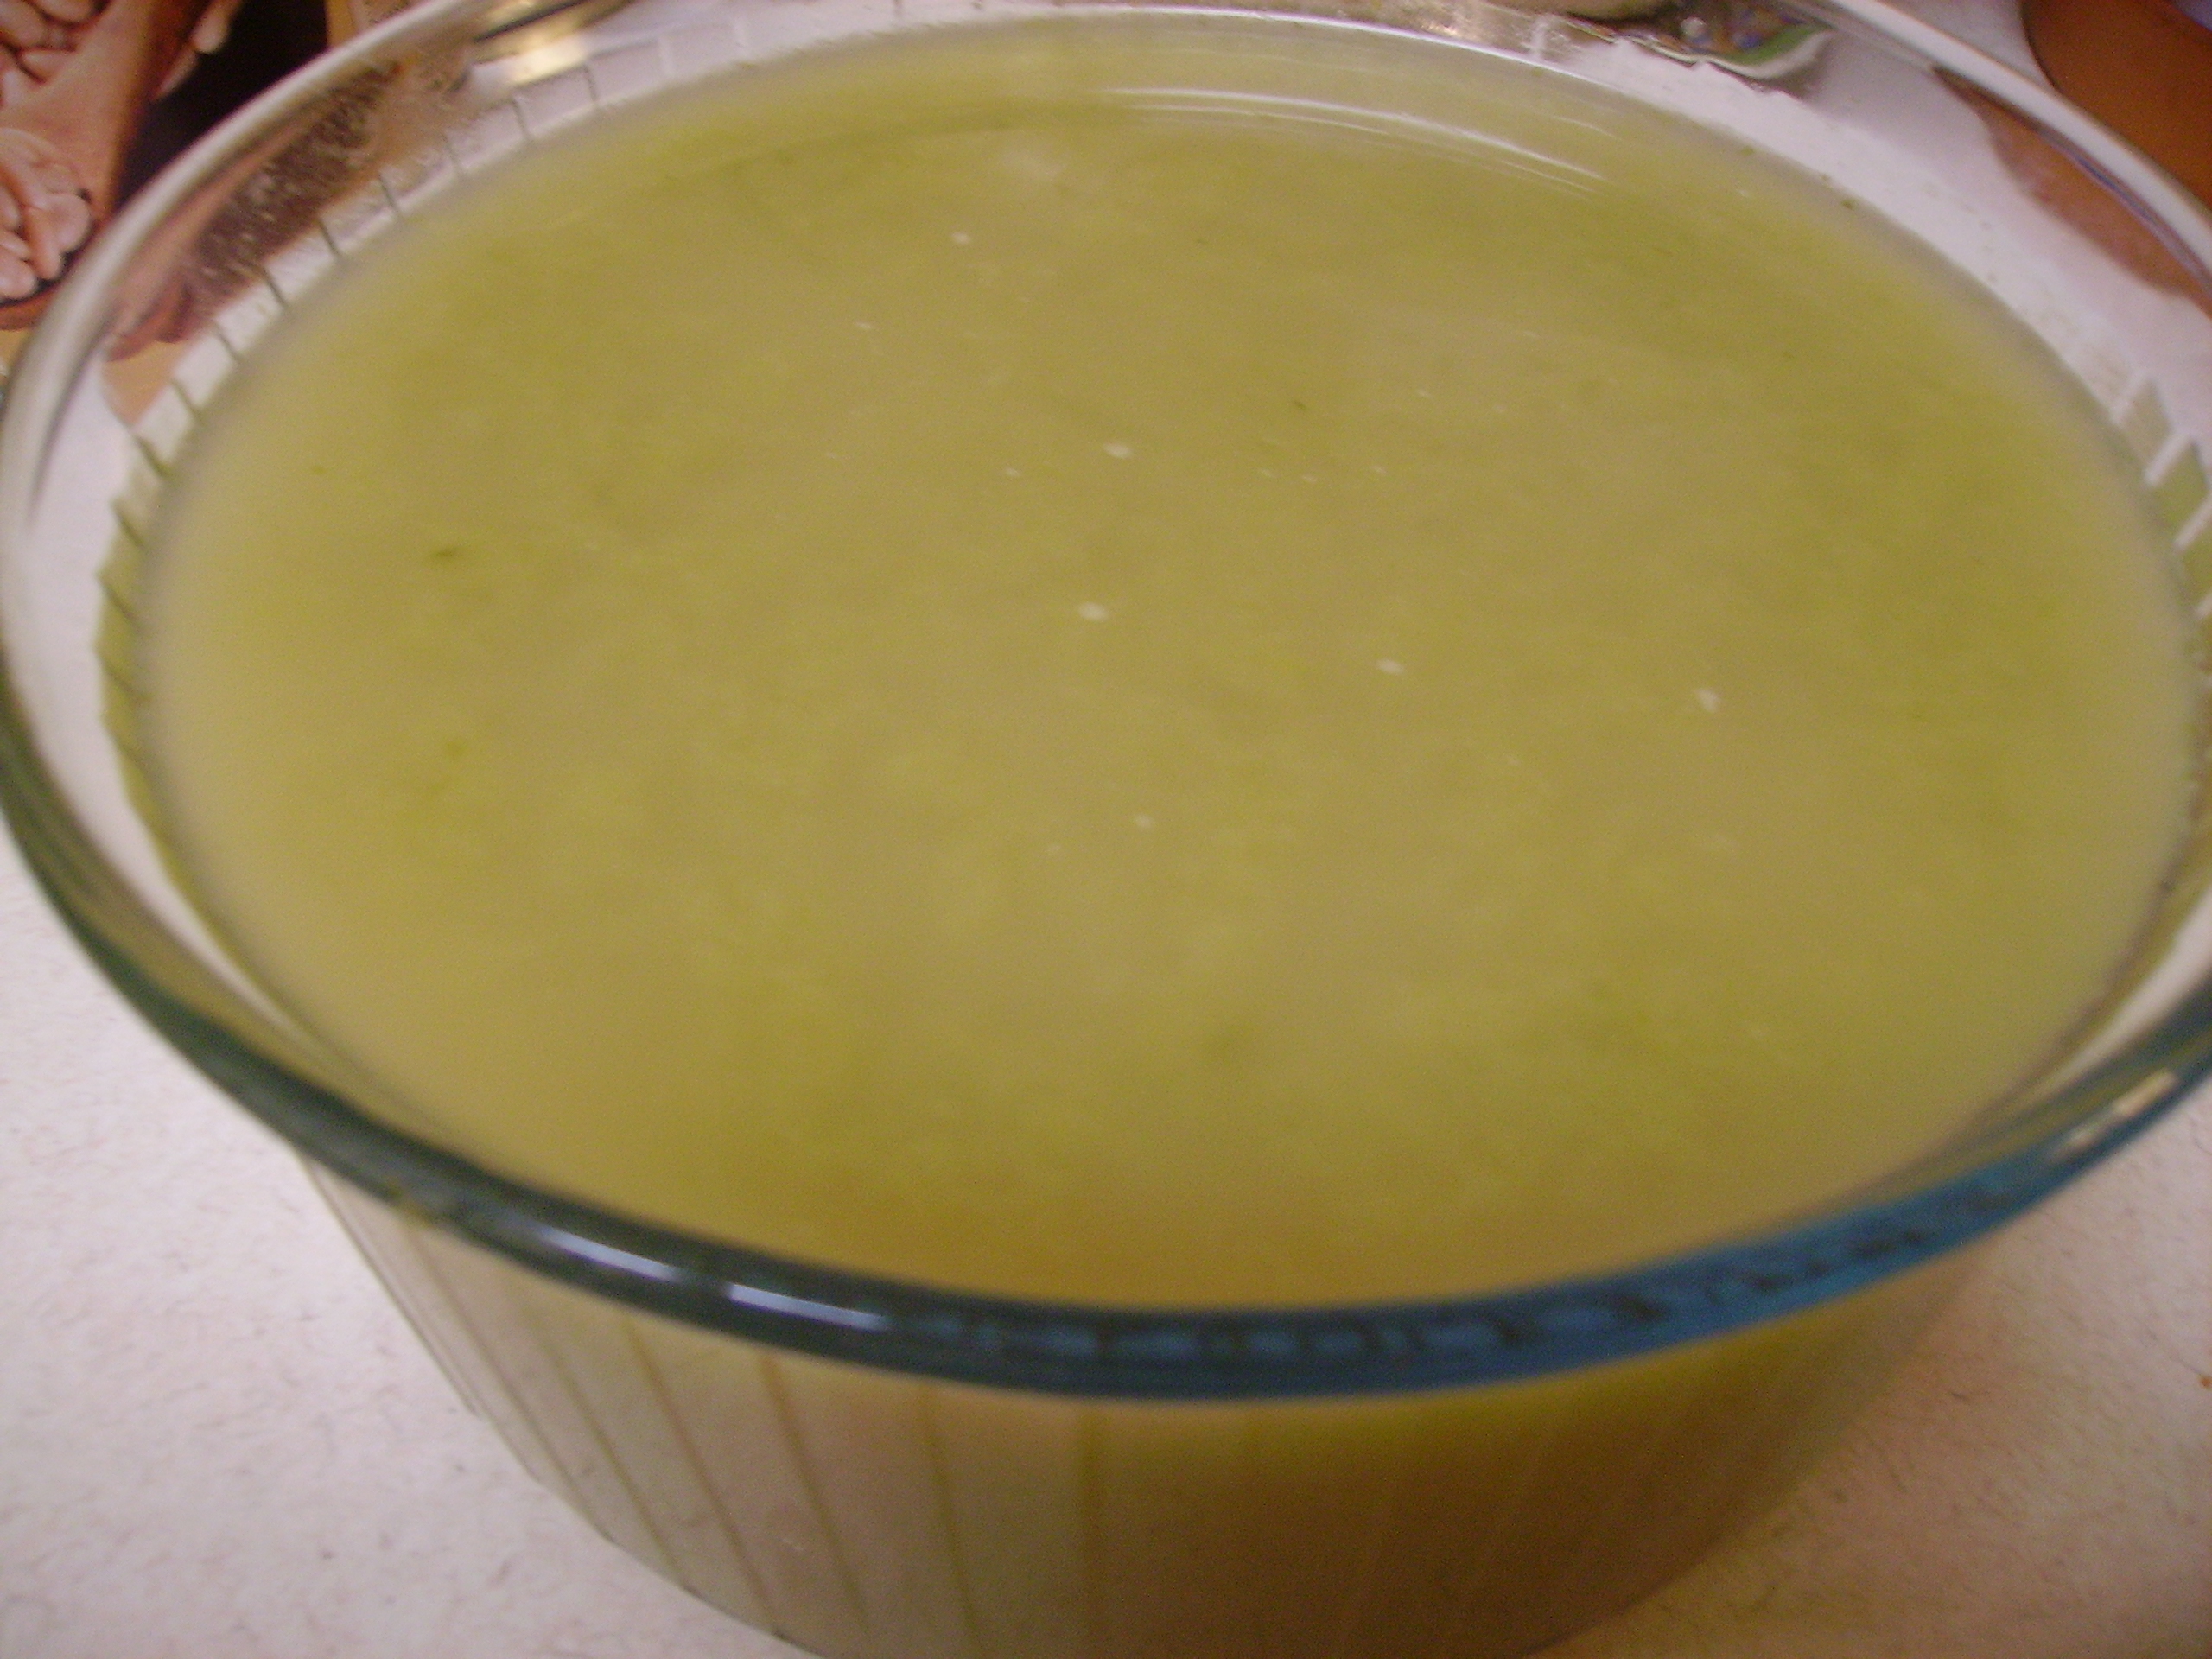
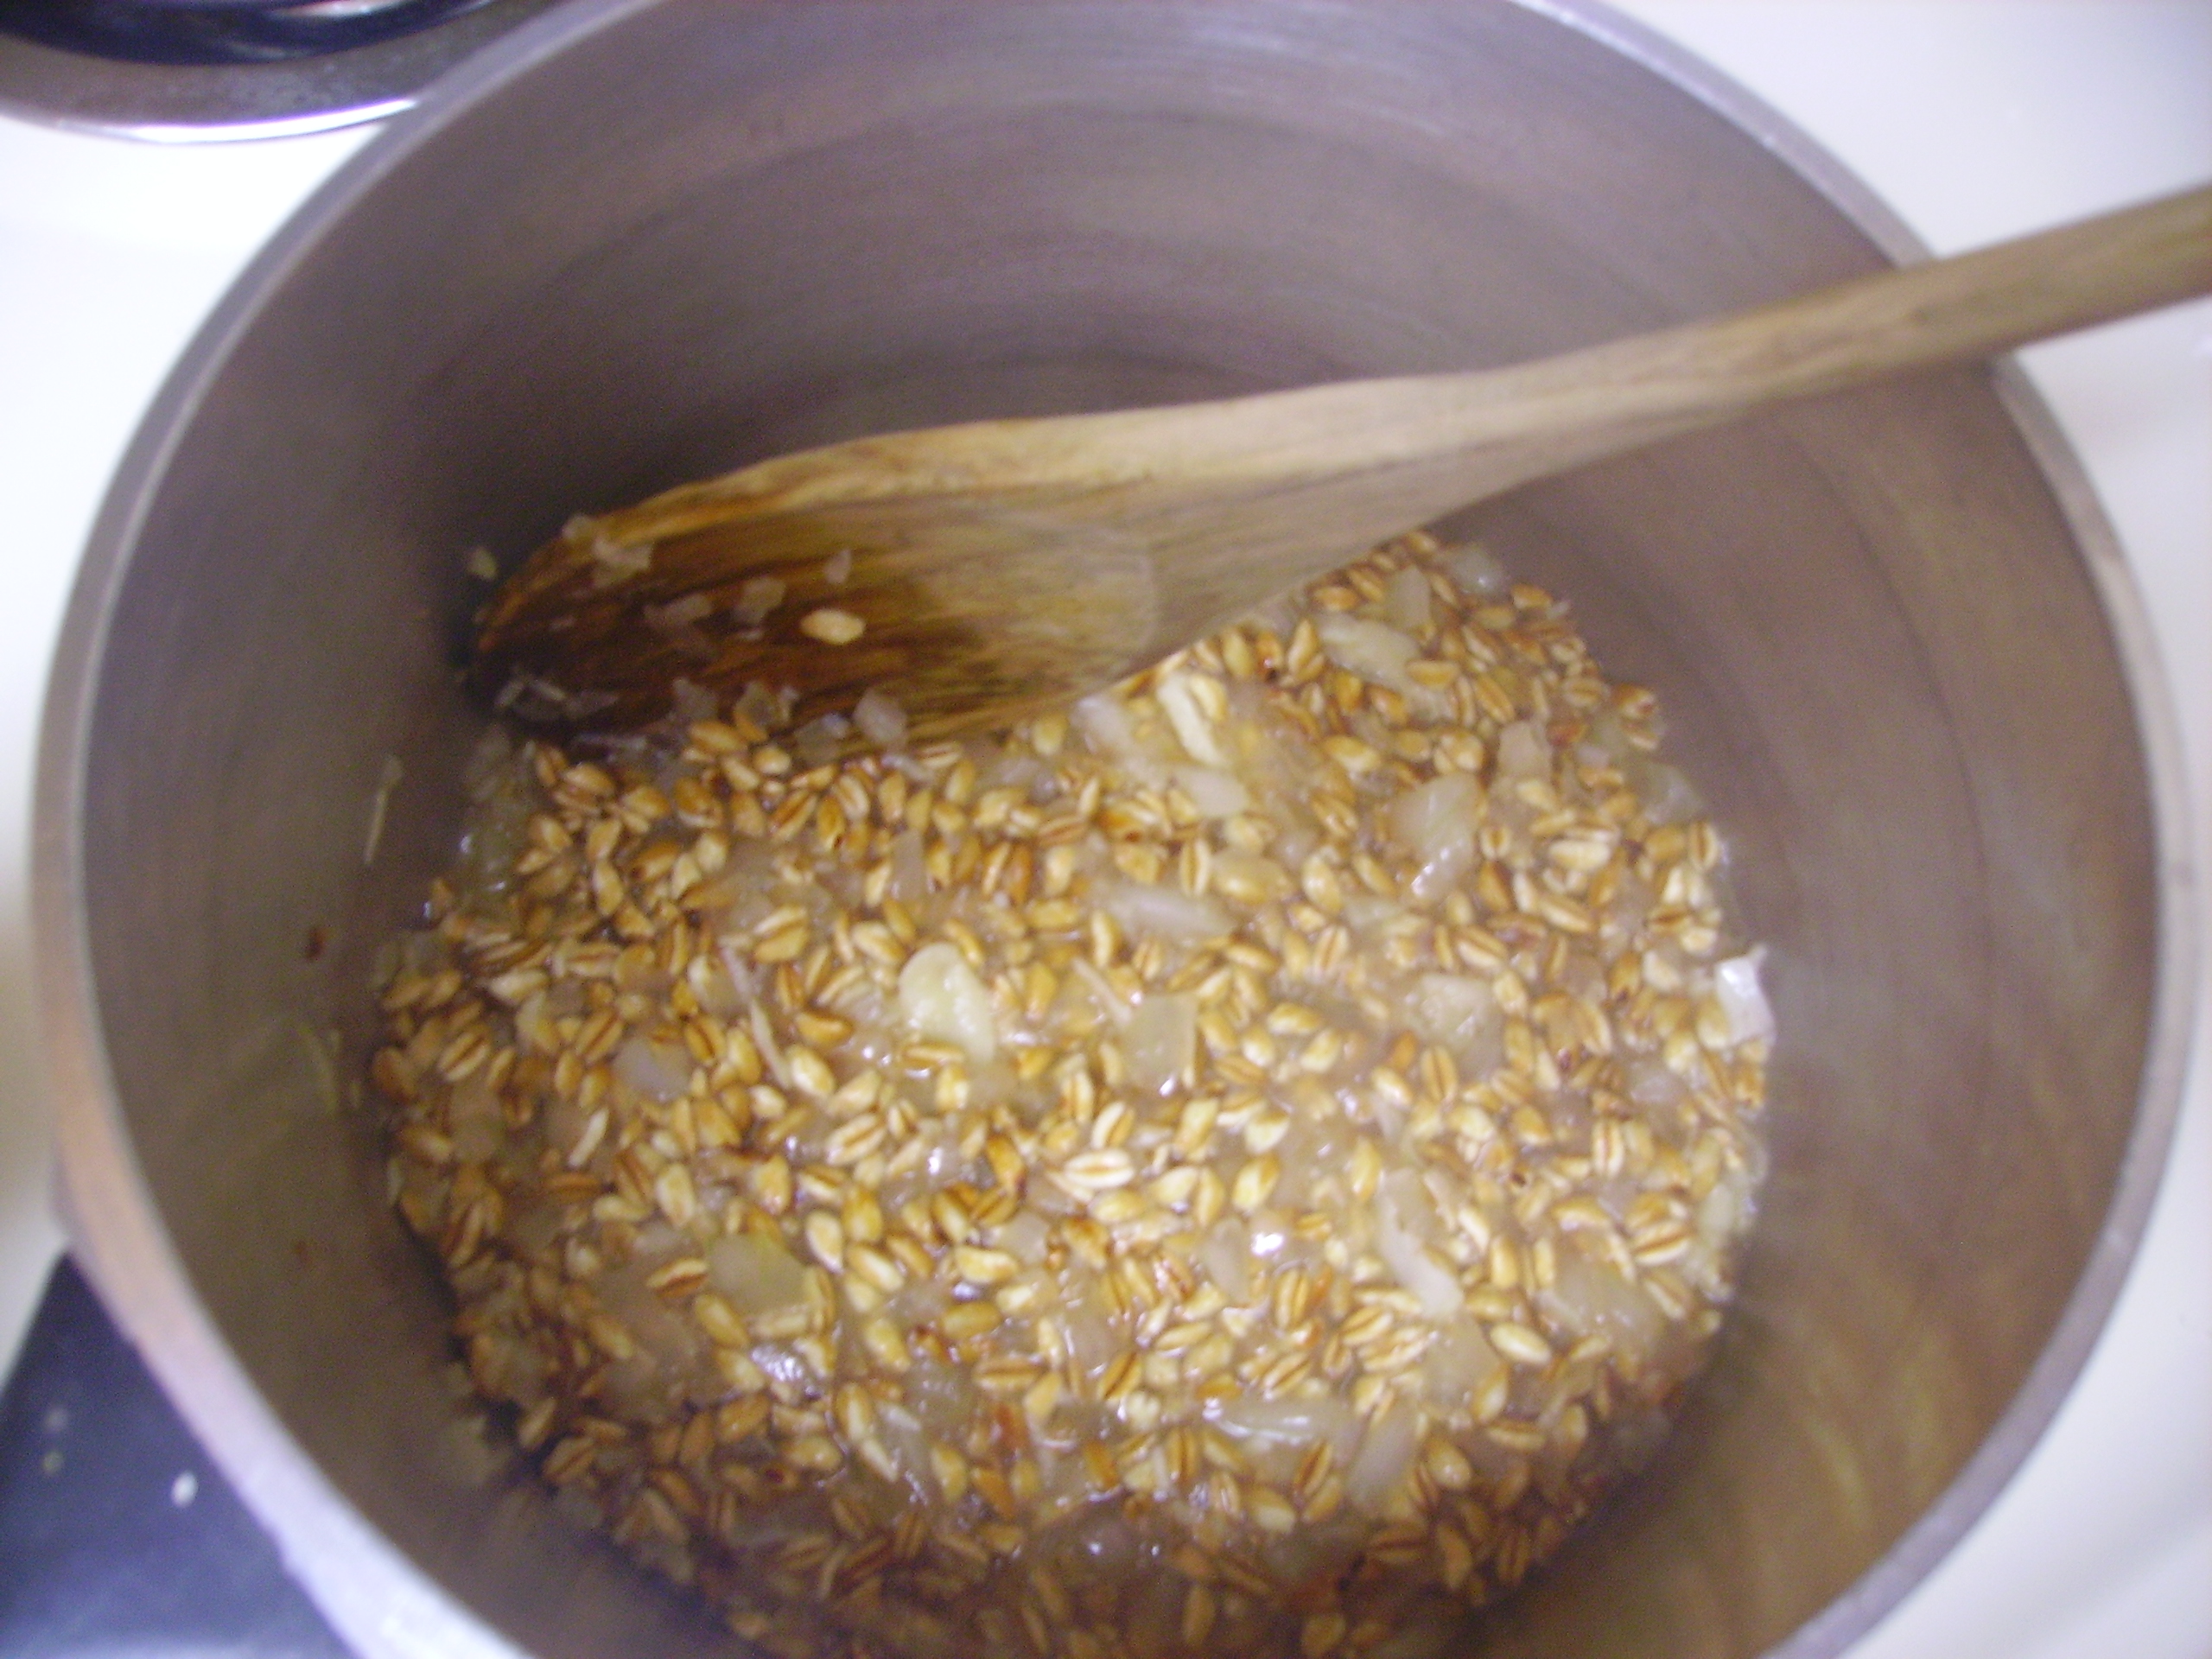
Farro has been cooking up in my kitchen a lot lately. I followed the same steps that I did for the Farro Risotto, cooking onion as well as garlic along with the uncooked  farro in some olive oil. I added some chicken stock and let it cook for a good 20 minutes.Towards the end I added my herbaceous quartet. These four herbs get along really well together with a sweet harmony much like Simon & Grafunkel. The best part was they all came from our garden.

Click on the link to the farro risotto recipe above. Once you’re there, do a few substitutions. Leave out the spinach and roasted peppers (though I think they could stay in if you like) and add a good 1/3 – 1/2 cup of chopped fresh herbs near the end of the cooking. My personal preference was to let the thyme and parsley take the lead vocal while the rosemary and sage provided the harmony. Make a blend that will sing your own song. 

Now to that Artichoke  and Tomato Salad:

DIGITAL CAMERA

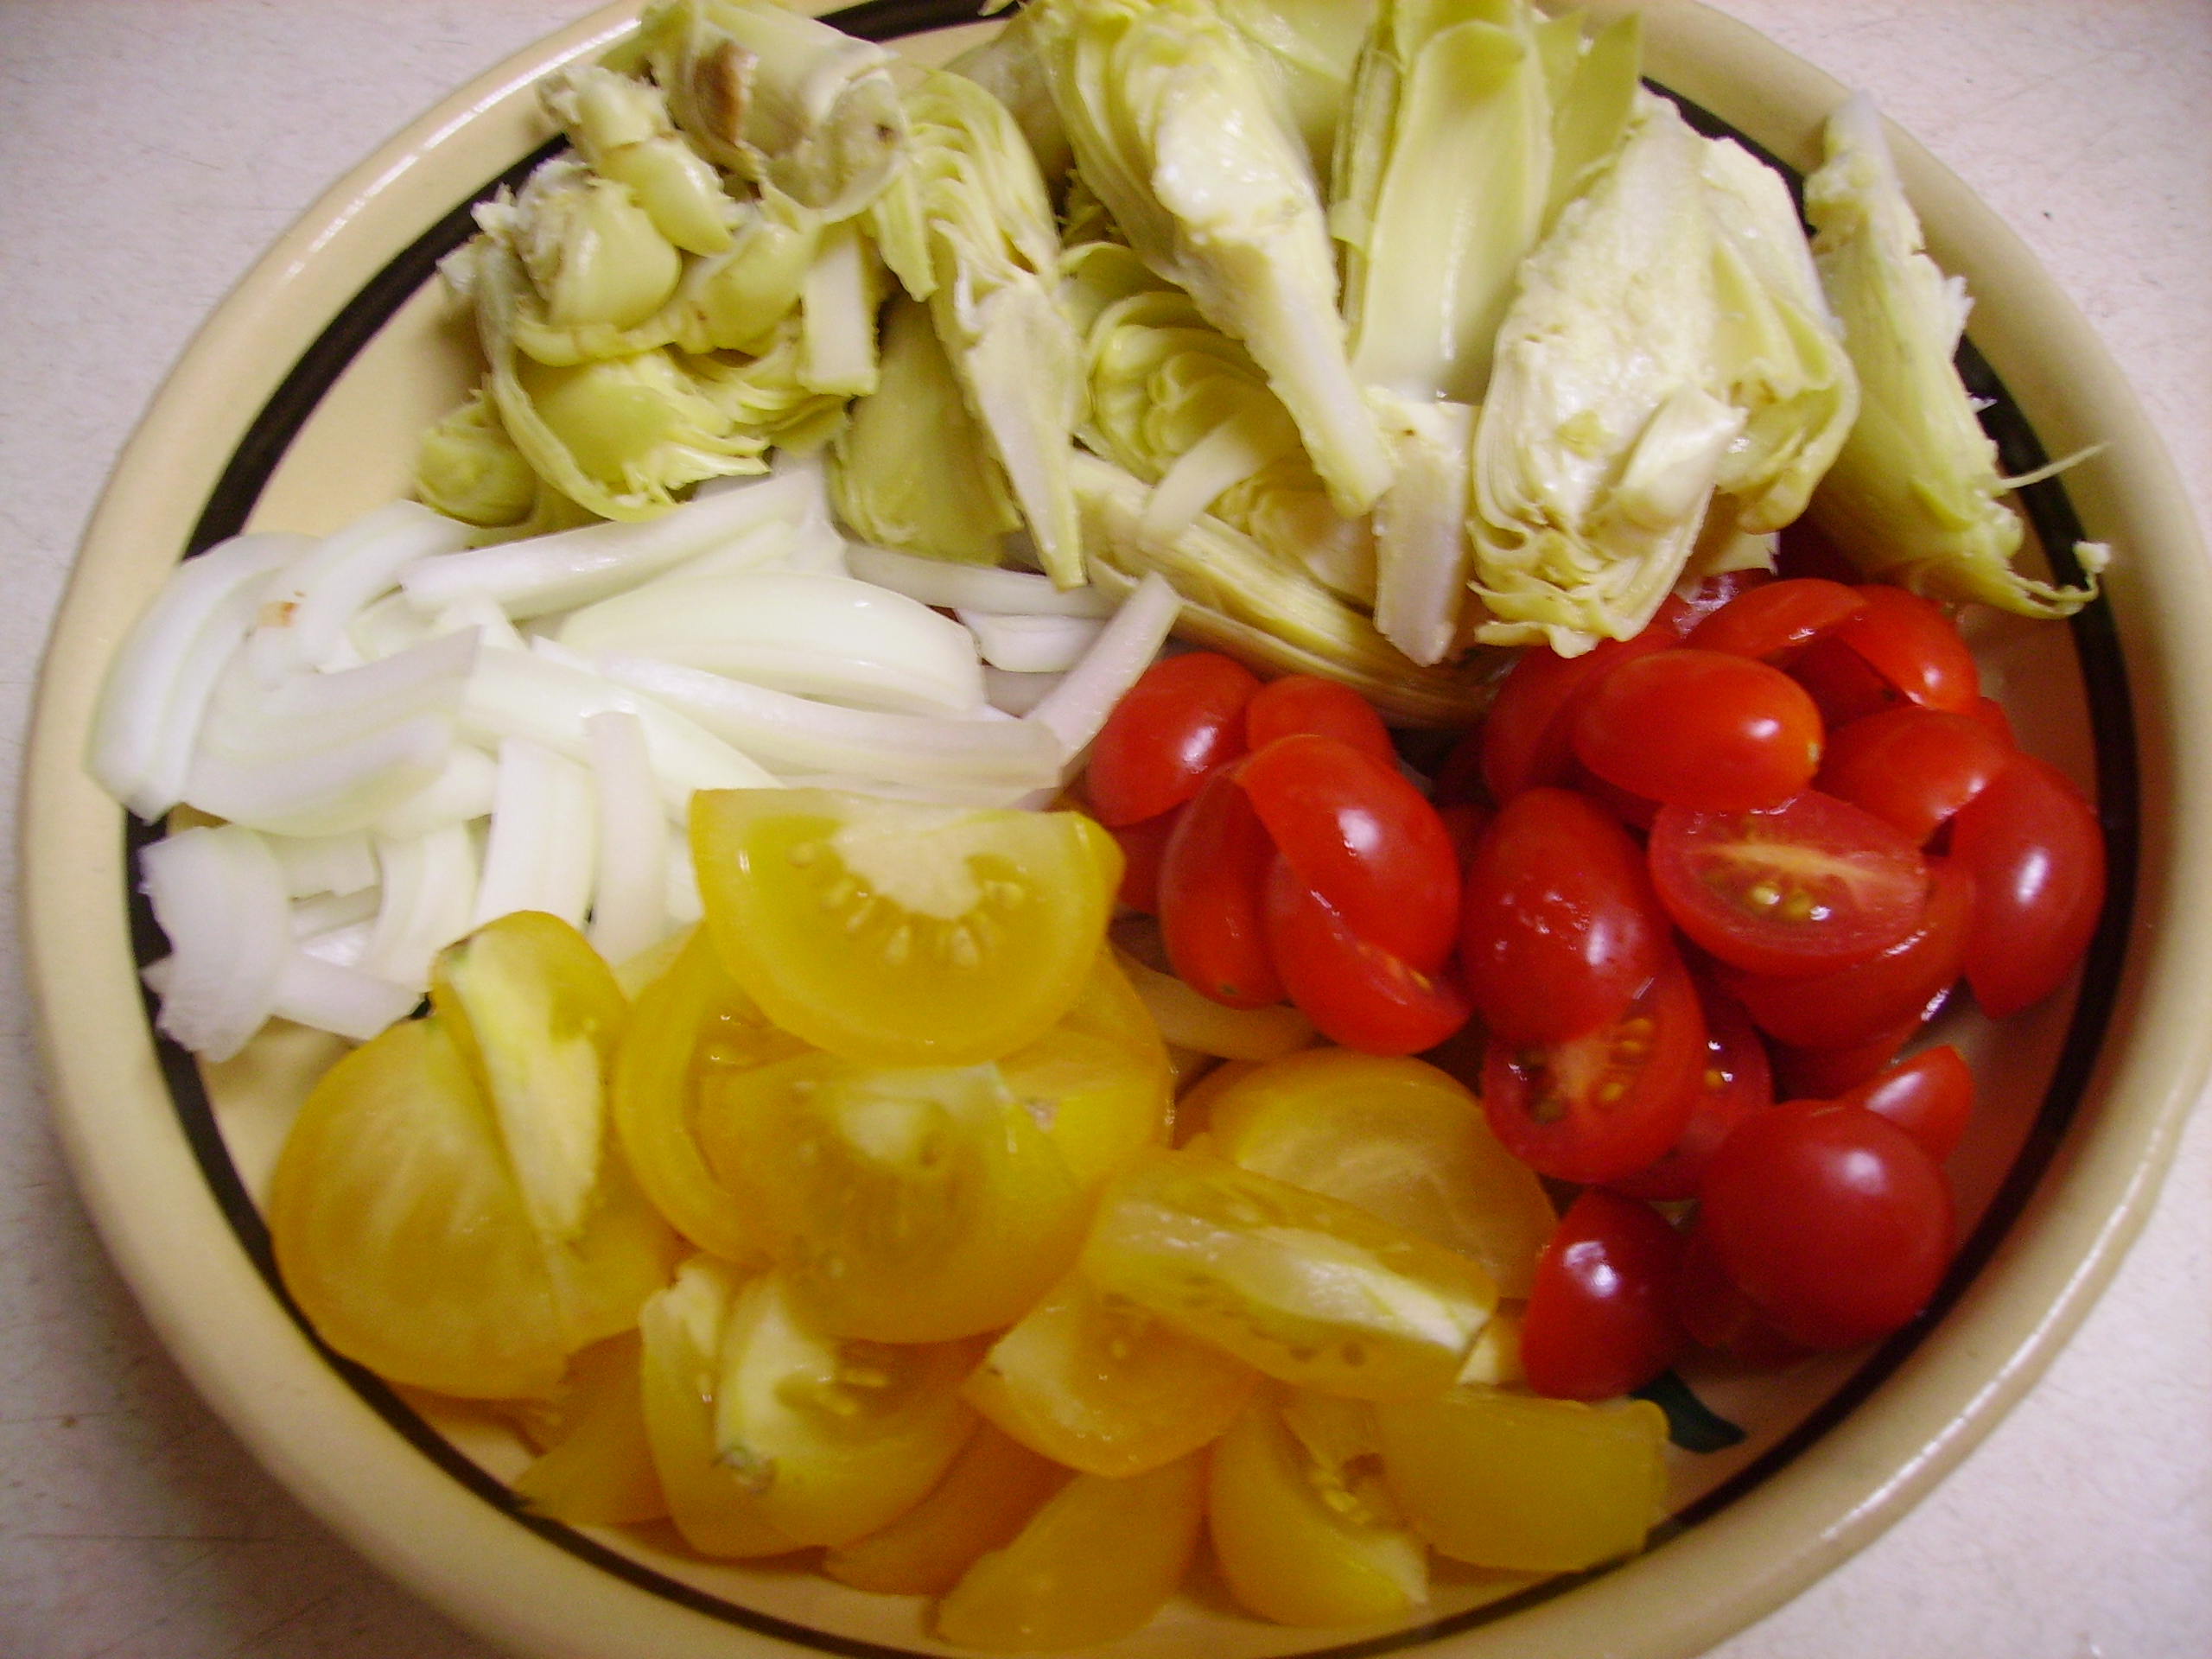
I used a can of whole artichoke hearts, I find that I get better pieces when I cut them myself. If you can find fresh baby artichokes, by all means go for it. They are hard to find in this part of the country, but if you do find them it will make this salad even more amazing. I used a combination of red grape and yellow cherry tomatoes, mainly because it’s what I had on hand. Sweet onion was the final component.

DIGITAL CAMERA

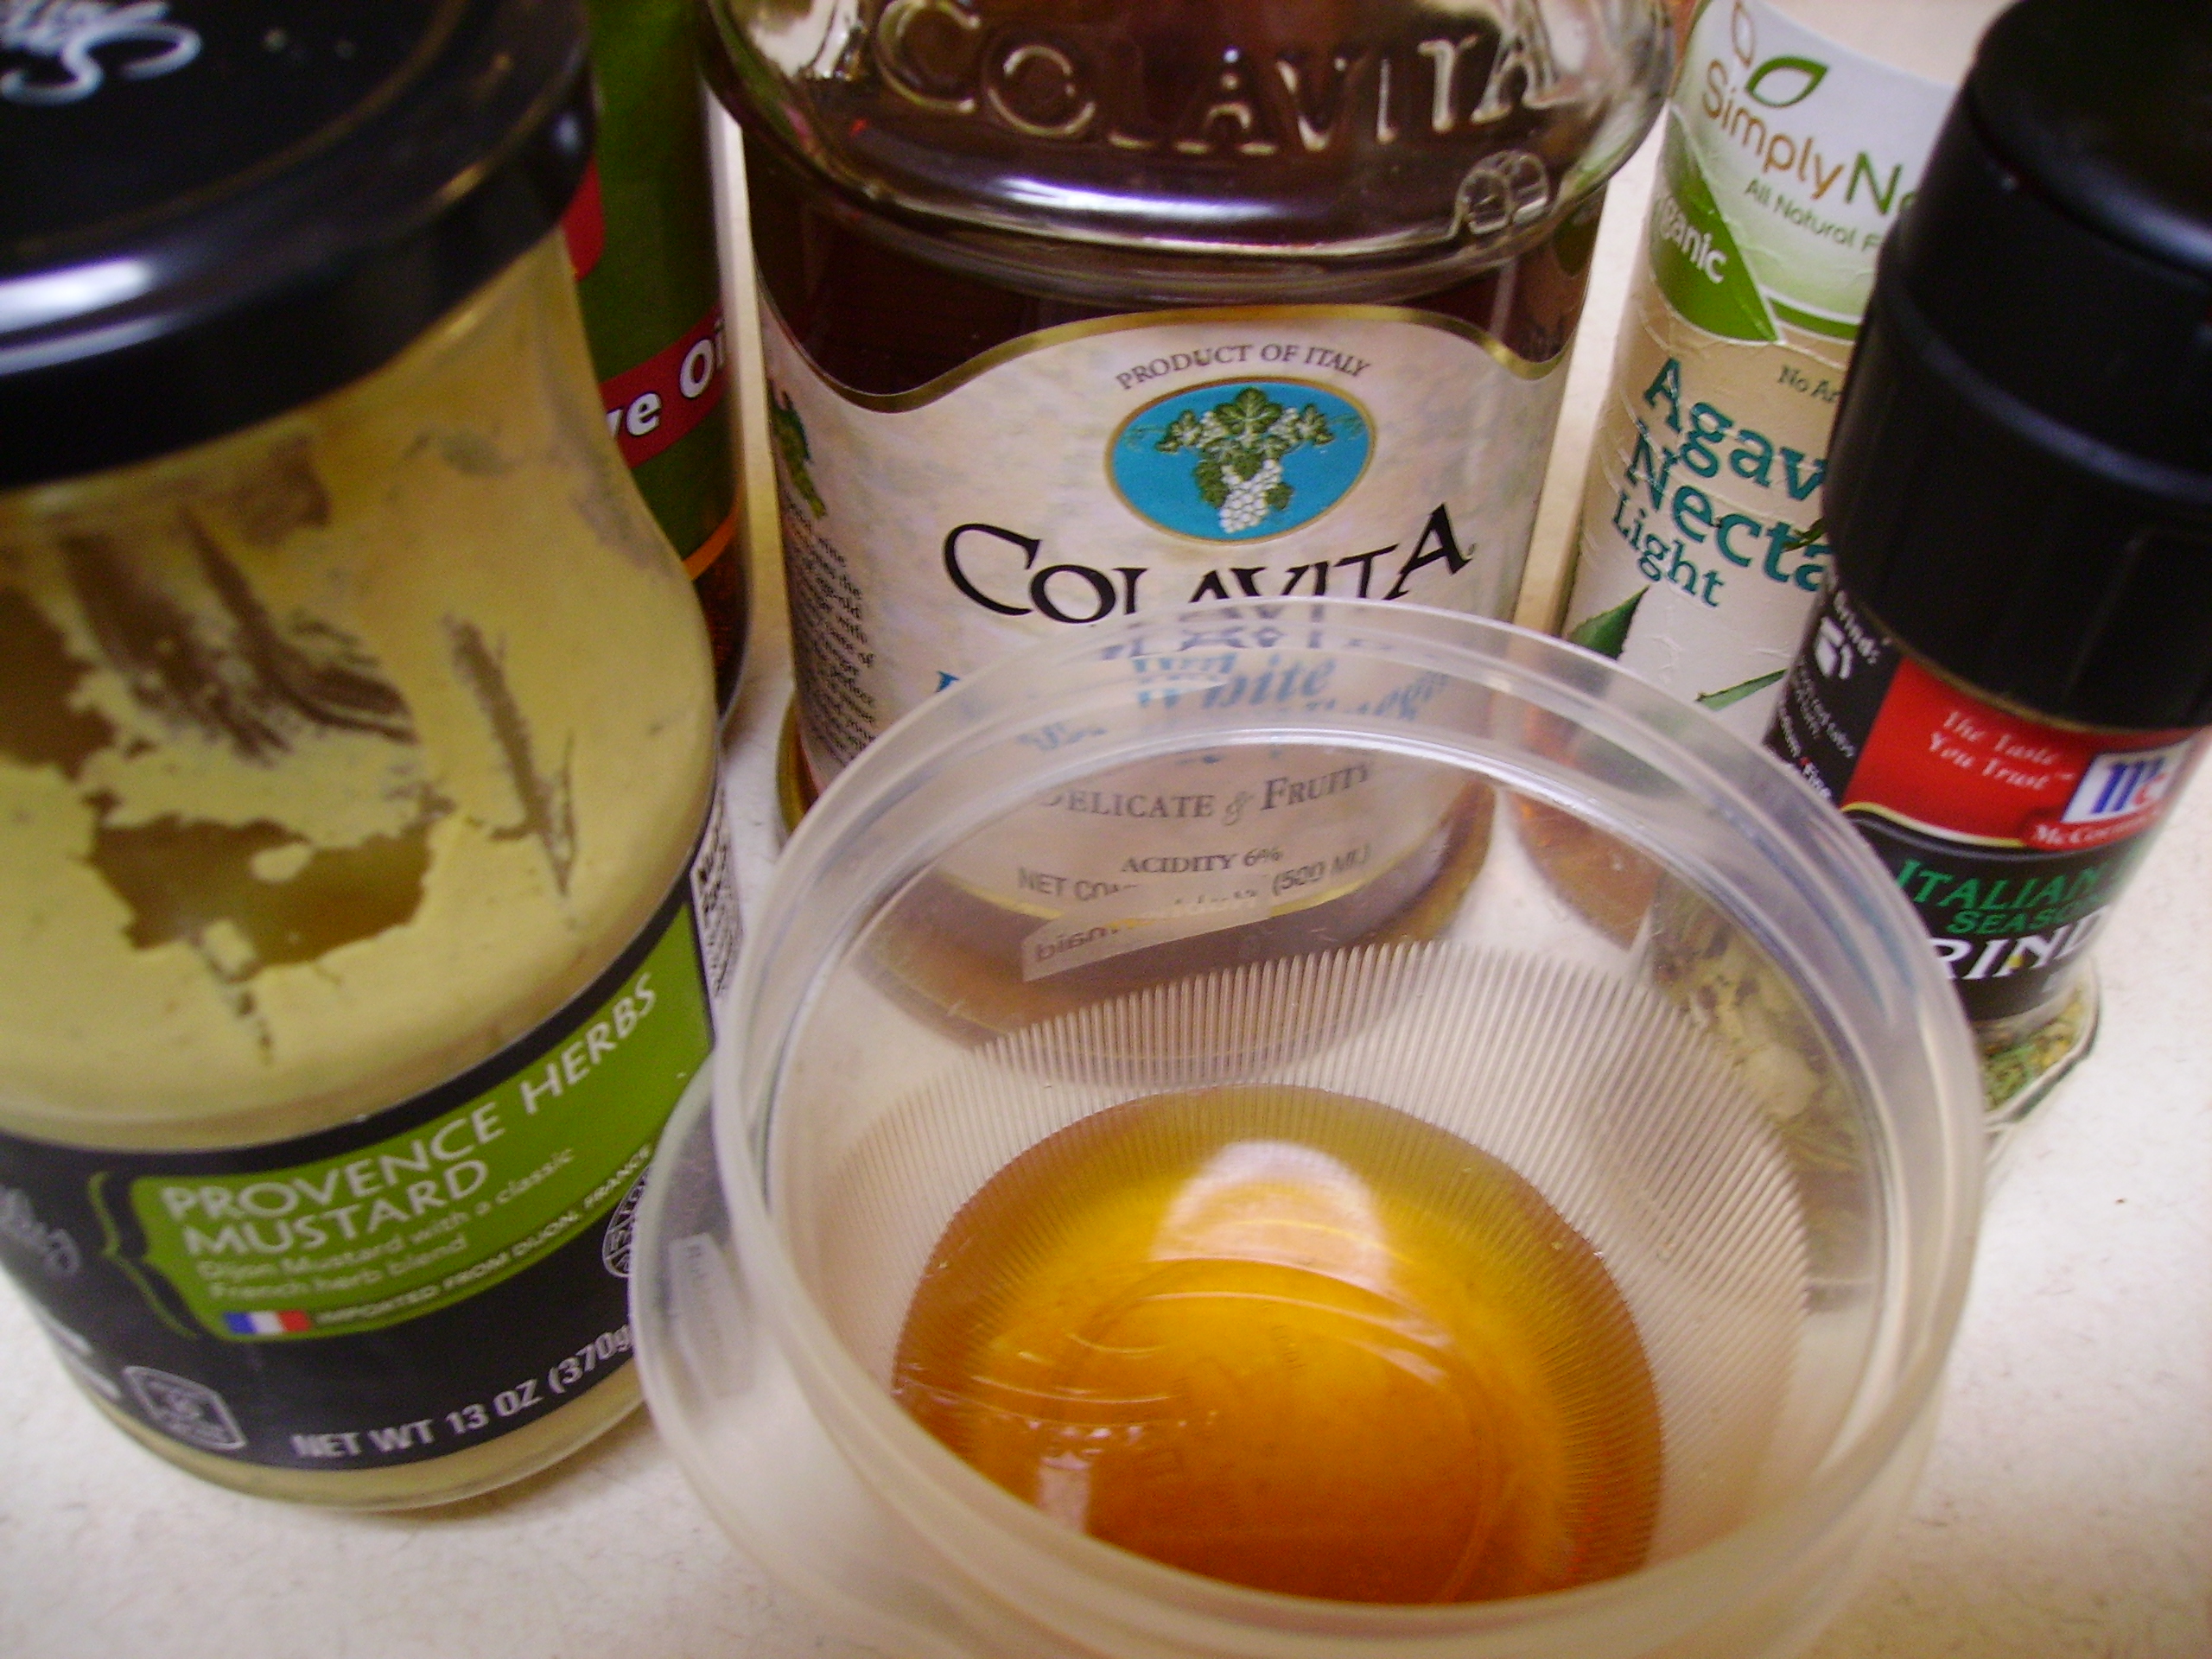
I made a straight forward vinaigrette. I added just a touch of Agave Syrup. Since my dressings tend to be light on the oil, this bit of sweetness balances the acidity and creates a better texture. Everything went together early in the day so that when it was time for dinner everyone was well acquainted.

Artichoke and Tomato Salad
Print Recipe
Servings
3
Servings
3
Artichoke and Tomato Salad
Print Recipe
Servings
3
Servings
3
Ingredients
Servings:
Instructions
  1. Combine the artichokes, tomatoes, and onion in a bowl. Toss gently to mix.
  2. Combine the remaining ingredients in a jar with a tight fitting lid. Close tightly and shake until all of the ingredients are thoroughly blended.
  3. Pour the dressing over the vegetable and toss to coat. Cover and refrigerate for at least 2 hours (more is better).
  4. Serve with your favorite grilled meat, fish, or poultry.
Share this Recipe
Powered byWP Ultimate Recipe

Summer is here and the Kitchen of Love is bursting with inspiration. I have lots of adventures to share with you and a memory or two as well, so keep tuning in.             Love, Mama D


Cleaning Out the Fridge Quiche

The refrigerator is a wonderful invention. It allows us to keep a supply of fresh food at the ready. It provides a safe haven for the treasures we find at the store, keeping them safe until we are ready to turn them into something wonderful. I confess that sometimes I buy a little more than I can chew and open the refrigerator to find an array of food that has begun to lose its luster.

What’s Mama D to do? I don’t have the heart or the budget to throw it all away, and it is still quite usable. The time has come to combine things into a delicious meal and quiche is a perfect solution. Flaky pie crust and creamy custard are the blank canvas that will hold the vegetables and meats that the fridge has to offer.

This adventure included some crimini mushrooms and asparagus along with some thyme and onion. They were a bit past their prime, but perfect for this quiche.

DIGITAL CAMERAMy protein of choice was peppered bacon.  I found three lonely slices that I chopped up and browned on the stove.

The veggies were chopped and cooked in the same pan (minus the drippings, but with the yummy brown bits) to give them a little extra love before they jumped into my “not home-made” crust. Yes, the crust came out of the fridge, too. Would homemade pastry make this dish better? Maybe, but I had a box of the pre-made variety and it needed to be used,too.

Whatever pastry crust you use always “blind bake” it before you add the fillings. Once the dough has been fit into your vessel of choice, line it with some parchment paper and fill it with dried beans. Bake it in the oven until it is nice and golden. A clear glass pan allows you to check the bottom as well. Remove the beans and paper and add your fillings. No soggy bottom crust here.I topped the sautéed goodies with some grated Swiss cheese. Any cheese will work here. Use what you love or what you have on hand. Only use about a cup. The custard is rich enough and you want the veggies to be the star here.

DIGITAL CAMERAEggs, cream, and milk create a luscious custard that only requires a little salt and coarse ground pepper. I’m not a fan of nutmeg, a traditional ingredient here, but add some if it floats your boat. In fact you can add any herb, spice, etc. It’s your quiche after all.

When you are ready to add the custard to the quiche, put it on a rimmed baking sheet. This too, is a required step. The pie will be very full and eggs being eggs, it will grow before it sets. A baking sheet is much easier to clean than an oven. I speak from experience.

DIGITAL CAMERAThe quiche needs to bake for 30 – 40 minutes then it needs to set for at least 20 minutes more. Add the blind baking step and you are approaching the 2 hour mark on prep time. If you like a late supper (and this is the perfect dish for that) make it part of your weeknight wonderland. I think it’s a delightful Sunday night supper that puts a delicious topper on the weekend.

DIGITAL CAMERA

Cleaning Out the Fridge Quiche
Print Recipe
This is my version of quiche. Feel free to use whatever fillings you want.
Servings
6
Servings
6
Cleaning Out the Fridge Quiche
Print Recipe
This is my version of quiche. Feel free to use whatever fillings you want.
Servings
6
Servings
6
Ingredients
Servings:
Instructions
Blind Bake the Crust
  1. Fit the pie crust into a pie or quiche pan. Use a fork to poke small holes all over the crust. Place a sheet of parchment paper into the crust (crumple it a bit to allow it to fit better). Pour dried beans onto the parchment paper. A pound of dried beans will fill a 9 inch pie plate nicely.
  1. Bake the crust in a preheated 350 degree oven for 20 - 30 minutes. The crust should be light golden all over. Do not rush this step; the non-sogginess of the crust depends on it. Remove the crust from the oven. Carefully remove the parchment paper and beans (these will become your official "blind baking" beans). Set the crust aside.
Filling
  1. Chop the bacon into thin pieces and cook in a medium fry pan over medium high heat. The bacon should be crisp. Transfer the bacon to paper towels to drain. Remove the drippings from the pan but leave the brown bits of deliciousness.
  2. Add the onions to the fry pan and cook for 4 minutes or so until they begin to soften.
  3. Add the mushrooms and continue to cook another 5 minutes until the mushrooms begin to brown. Add the asparagus and cook for a few more minutes until the asparagus is tender crisp.
  4. Add the reserved bacon bits back to the pan along with the thyme leaves and cook for 2 - 3 minutes more.
  5. Pour the vegetable/bacon filling into the pie crust. Sprinkle the grated cheese on top.
  6. Beat the eggs until the are very thick. Add the cream and milk and beat with a whisk until the mixture is light and fluffy. Add salt and pepper and any other spices or herbs you like.
  7. Place the filled pie crust on a rimmed baking sheet. Carefully pour the custard into the crust stopping when it is filled to the top. You may have a little custard left, but not much.
  8. Place in a 350 degree oven and bake for 30 - 40 minutes. The filling should be puffed and golden and a knife should come out clean when poked in the center.
  9. Remove the quiche from the oven and allow to cool for at least 20 minutes before cutting.
Share this Recipe
Powered byWP Ultimate Recipe

This is far from the traditional preparation for a quiche. It doesn’t however, make it any less delicious. This is a versatile recipe that can be adapted any number of ways. Have some fun with it and come up with your own fridge cleaning masterpiece.


Stock in a Box on Steroids

Let me start by saying that homemade stock is the best. It is easy to make and freezes beautifully. I will also say that nothing compares with the flavor of homemade stock. You are in complete control of salt and all the other flavors that you choose to add.

That being said, I admit that I use “Stock in a Box” from time to time. It is convenient and once you find a brand that you like and that doesn’t offend your healthy sensibilities too much, it is great for quick soups and sauces. I’ve even been known to saute in it.

I was getting ready to make some soup the other day and was out of my homemade stock. The soup, which was going to be dinner couldn’t wait for me to make scratch stock, so I went to the pantry and found a box of chicken stock. Feeling somewhat adventurous, I decided to play with it a bit.

I decided it needed to be bulked up some so I added a leek, some garlic, and fresh herbs.DIGITAL CAMERAI used my fool-proof method for cleaning leeks. Leeks are notoriously sandy and the sand loves to settle in the layers of the leek where it can create an unpleasant taste and texture experience.

DIGITAL CAMERA You can diligently rinse them under running water while prying the layers apart, but it’s been my experience that a few errant grains will remain.

This technique eliminates that. Once you have cut off the root end and the tougher dark green ends you can slice the leeks to suit the recipe you are creating.DIGITAL CAMERADrop the slices into a bowl of cold water and let them float there for 5 minutes or so.DIGITAL CAMERACarefully scoop out the leeks with a slotted spoon and drain them on paper towels. Dump out the water and marvel at the grit and sand in the bottom of the bowl that now will not ruin your creation.

Once the leeks were clean, I added them to a soup pot along with some garlic and herb sprigs. I let them all “sweat it out” for a bit in some olive oil before I added the stock.DIGITAL CAMERAI let everything simmer for 45 minutes or so until the stock smelled incredible. The sprigs of rosemary and thyme that I used came out clean as the proverbial whistle. I diligently fished them out until I had the same number of stems that I started out with.DIGITAL CAMERA This isn’t me being anal, it is saving my immersion blender from “choking” on the woody stems. Experience is a wonderful teacher…DIGITAL CAMERAThe stock that resulted was a bulked up and richer version of what came out of the box. It was a perfect addition to my soup. In fact, this may become a new Mama D standard when using stock in a box. I used chicken stock, but it would work equally as well with vegetable stock. You could even use this technique with homemade stock to give it a little more muscle. With Thanksgiving only days away, this could be a wonderful base for your gravy.

Stock in a Box on Steroids
Print Recipe
Stock in a Box on Steroids
Print Recipe
Ingredients
Servings:
Instructions
  1. Chop off the root and and the dark green top of the leek. Cut it in half lengthwise then slice thinly into half moons. Place the pieces in a bowl of cold water and let them sit for 5 - 10 minutes without disturbing them. Carefully scoop the pieces out with a slotted spoon and drain on paper towels.
  2. Heat the olive oil in a large soup pot over medium low heat. Add the leeks, garlic and herb sprigs (count them). Sweat until the leeks are very soft and the garlic is fragrant.
  3. Pour in the box of stock and stir to combine everything. Bring to a boil. reduce the heat to low, cover and simmer for 45 minutes or so. The stock should smell wonderful and the herb stems should be bare of their leaves.
  4. Remove the pot from the heat and fish out the herb stems. Make sure you have the same number of stems you put in (your immersion blender will thank you).
  5. Using an immersion blender process the stock until it is smooth (how smooth is up to you and there will be some herb flecks)
  6. Your "bulked up" stock is ready to use in your recipe.
Share this Recipe
Powered byWP Ultimate Recipe

DIGITAL CAMERA

Whatever techniques and ingredients you use in your cooking, the most important thing to add is love. There’s a place for short cuts and convenience, even in Mama D’s Kitchen. 


Summer Memories in Winter’s Chill and Balsamic Marinated Chicken

DIGITAL CAMERAWinter…Mother Nature’s sick joke. As most Midwesterners and from what ! hear on the news, 75 – 80 percent of the rest of the country know, Mother Nature has some kind of crazy bug up her bustle. Insane low temperatures, more snow than anyone knows what to do with, and winds that blow that snow around like a demonic snow globe, creating wind chill factors in the negative 30 degree range (Is that a real number?)

Do you remember Summer? You know that time of year when it took 20 seconds to get ready to go outside; basically shorts, a tee-shirt and flip-flops. Once outside you were treated to flowers in brilliant Technicolor bloom, green grass soft and fragrant and sunshine that actually meant something. Summer is more than 125  days away. Winter seems to have hunkered down and shows no signs of going anywhere.DIGITAL CAMERA

I for one am settling in with warm weather memories, especially the Herbs of Summer. I remember those days when I would stroll out on the deck and snip glorious handfuls of basil, chives, rosemary and thyme. Their heady aroma released as they were plucked from a plants that seemed to have an endless supply.DIGITAL CAMERA

The basil and chives are gone now. They never make it past Indian Summer. The thyme and the rosemary are made of hardier stuff. Last year they held on to a bit of green all winter long and showed up in lots of dishes. This year winter hasn’t been as kind to these plants (or anything else for that matter). but I’ve kept them in their pots because they often come back in the Spring. Today I wanted to use some of these herbs in the Balsamic Marinade for my Baked Chicken.

I pulled on my boots, put on my coat, grabbed some gloves and a hat (it took 5 minutes at least) and ventured out to the deck. My rosemary and thyme were dry and brown, but when I gently brushed them there was still the essence of their glorious aroma as the leaves fell off. So I snipped some sprigs, gathered up the fallen leaves and brought them in the house. Washed and dried they gave off a subtle memory of their Summer glory that was still more intense than their dried brothers. They became a part of the marinade.DIGITAL CAMERA

I used a Fig and Orange Balsamic in this recipe but I think that any fruit balsamic would work well. The other main ingredients beside my thyme and rosemary were garlic, olive oil, and McCormick Italian Herb Grinder.DIGITAL CAMERA A few words about this product. It is a blend of many traditional Italian herbs including rosemary, red pepper flakes, peppercorns, garlic, onion, parsley, and sea salt. The salt by the way is subtle. The grinder can be adjusted for fine, coarse or in between dispensing. It packs more punch than regular Italian Seasoning, adding a nice touch to everything from eggs to pasta sauce.DIGITAL CAMERA

This is a Baked Chicken recipe, but when Summer is here or when you feel like braving the elements and firing up the grill, it would be delicious cooked outside.  The chicken can marinate for a few hours or even overnight. I divided the marinade in half. One part for the chicken and the other half for the glaze that would enhance the finished product. DIGITAL CAMERA

It baked at 375 degrees for about 25 minutes. The glaze was the reserved marinade, carmelized shallots, some chicken stock, and a touch of honey. Served with Roasted Fingerling Potatoes and Green Beans with Bacon and Onion, it was a wonderful dinner that I got to share with my husband for a change (gotta love a snow day).

Balsamic Baked Chicken
Print Recipe
Quick and easy recipe for chicken that can be cooked in the oven or on the grill
Servings
2
Servings
2
Balsamic Baked Chicken
Print Recipe
Quick and easy recipe for chicken that can be cooked in the oven or on the grill
Servings
2
Servings
2
Ingredients
Servings:
Instructions
  1. Mix the vinegar, one tablespoon of olive oil, garlic, Italian herb blend, and dried herbs in a small bowl. Put the chicken breasts in a zip top bag and add half of the marinade. Seal the bag and refrigerate for 4 hours or overnight. Reserve the rest of the marinade for the glaze.
  2. When you are ready to cook the chicken. Heat the oven to 375 degrees. Place the breasts in a cooking sprayed shallow pan. Bake until cooked through 25 - 30 miutes.
  3. If you are grilling the chicken. Heat the grill and spray lightly with cooking spray. Add the chicken and grill over medium heat turning once until cooked through 20- 25 minutes.
  4. While the chicken is cooking, prepare the glaze. Heat the remaining olive oil in a small pan. Add the shallots and cook until golden brown, 10 minutes or so. Add the reserved marinade, chicken stock and honey. Heat to boiling. Reduce heat to medium and simmer until mixture is thick and reduced by about 1/3.
  5. Transfer the cooked chicken to the plates and drizzle with some of the glaze. Extra glaze can go in a bowl to be passed at the table.
Share this Recipe
Powered byWP Ultimate Recipe