Nonna’s Cookbook : Entry #2 – Anise and Almond Biscotti

DIGITAL CAMERA

The holidays are becoming a distant memory. The decorations have been put away, the gifts have been used and are no longer the newest thing in the house, and we Midwesterners are dreaming about Spring.

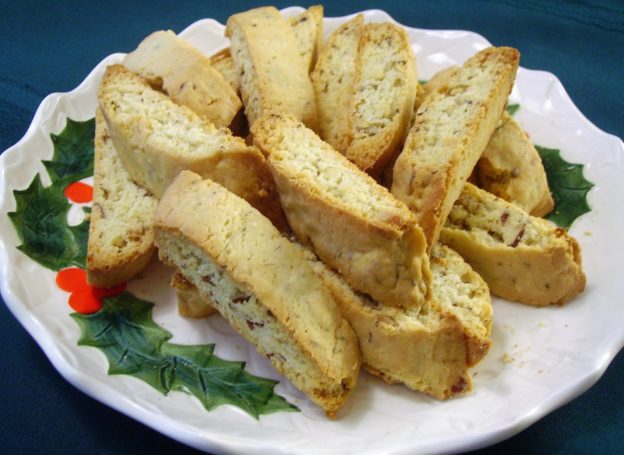
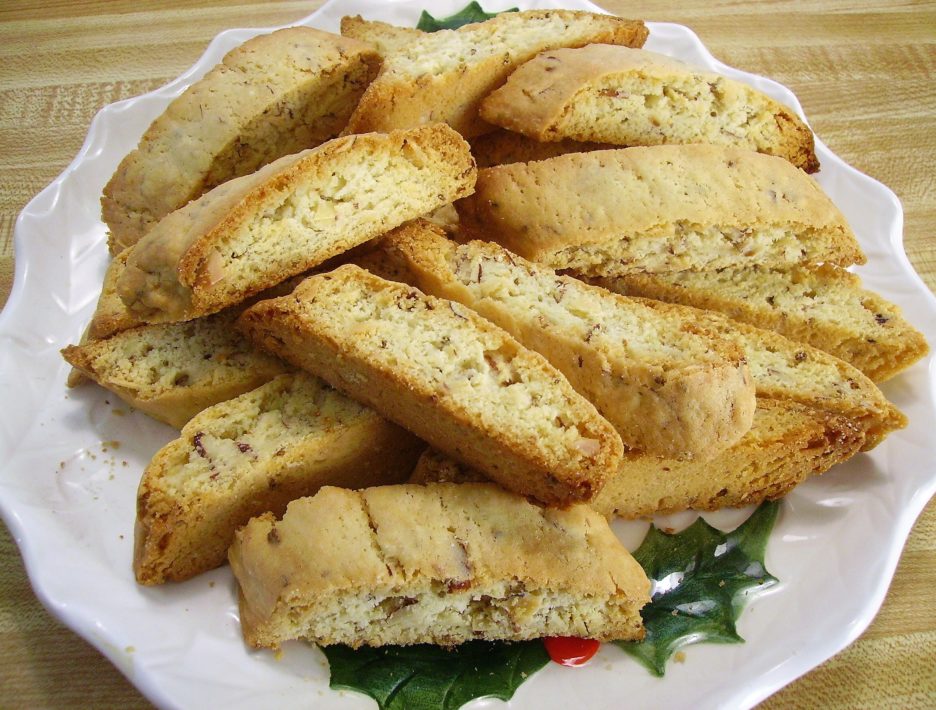
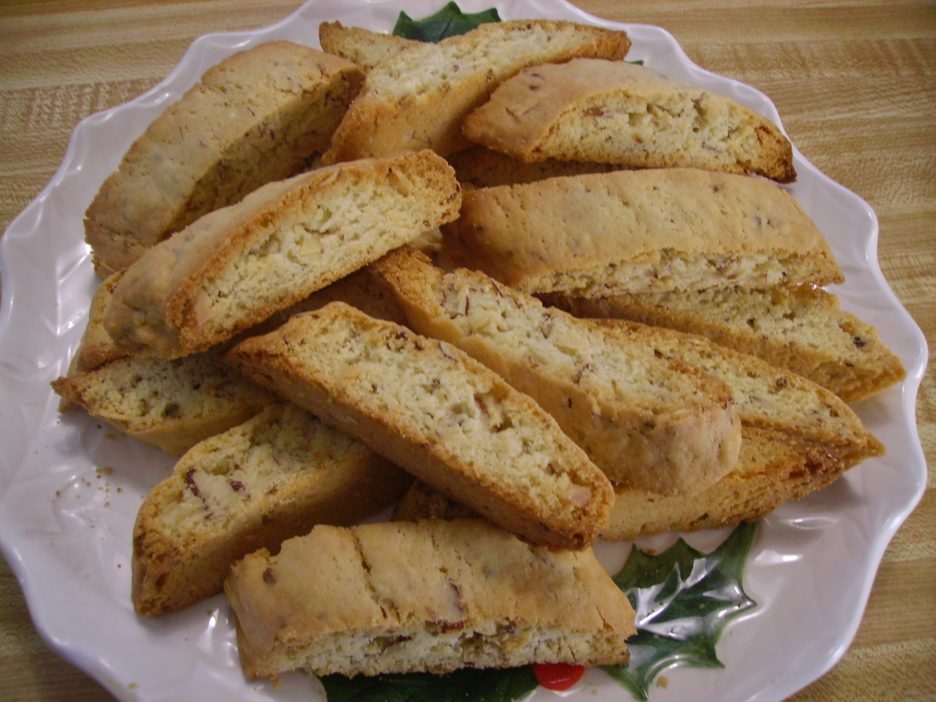
Every year at Christmas I make at least one batch of Biscotti. When I say  “Biscotti” it is the Anise and Almond variety that I am referring to. I’ve made lots of other varieties over the years, but this is my favorite. I can make them in my sleep at this point, but I enjoy the process so much, I stay wide awake.

I shared “Nonna’s Cookbook” that I got for Christmas in my last post. To stay true to my resolution to preserve my favorite recipes, I felt the need to share another entry.

I love this recipe! The cookies are tender yet crisp. The flavor is a subtle blend of anise and almond with delightful notes of vanilla in the background. To me they are everything biscotti should be. It makes lots of cookies so there is always plenty to go around. It’s a recipe that can be made in an afternoon or done in steps throughout a week. Most of all, it is the recipe I love the most. Give it a try and don’t wait until next Christmas.

Anise Almond Biscotti
Print Recipe
My favorite biscotti recipe! Hope you'll love it, too.
Servings
8 dozen
Servings
8 dozen
Anise Almond Biscotti
Print Recipe
My favorite biscotti recipe! Hope you'll love it, too.
Servings
8 dozen
Servings
8 dozen
Ingredients
Servings: dozen
Instructions
  1. Beat butter and sugar until well incorporated using an electric mixer. Add the eggs and beat until light and fluffy. Add the flavorings and the anise seeds and mix until well combined. Add the almonds and mix until combined. This is easier than adding the almonds after the flour.
  2. Whisk flour baking powder and salt together to aerate and blend. Slowly mix flour mixture into the wet mixture. You will have to add the last flour and mix by hand. Gather dough together and turn onto a lightly floured board, pat into a flat round.
  3. Divide the dough into six equal pieces. Pat and roll each piece into a log 12 - 14 inches long. Flatten the log to 1/2 inch thick and 2 inches wide. At this point they are ready to bake. If you want you to bake them later, wrap each log in plastic wrap and store in the refrigerator for up to 5 days. Let logs come to room temperature before you bake them.
  4. When you are ready to bake, heat the oven to 350 degrees. Place no more than 2 logs on each greased or parchment lined baking sheet. Bake one sheet at a time for 15 - 20 minutes.Remove from oven let cool several minutes until easily handled. Carefully move each log to a cutting board. Using a serrated knife, cut logs crosswise into 3/4 inch slices.
  5. Lay cut side down back on the baking sheet. Return to oven and bake 15 - 20 minutes more, turning the cookies after after 8 - 10 minutes to toast other side.
  6. Place the cookies on a rack to cool. Store airtight. These will keep for about a week. They can be frozen for a month or so.
Share this Recipe
Powered byWP Ultimate Recipe