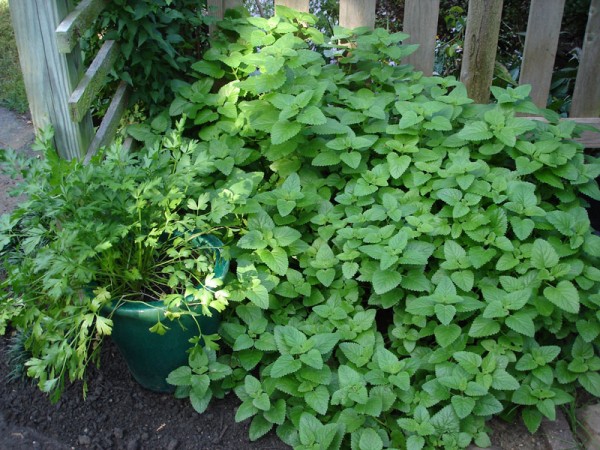

It’s harvest time in our community garden. This year won’t be remembered as stellar, but it was an adventure and ongoing learning experience. This isn’t farewell to the garden. I know there will be several more weeks of happy discoveries on each visit, but some of the splendor is gone. Plants that were once lush and full are now a little wispy, putting their strength into bearing fruit instead of leafing profusely. Recent harvests haven’t yielded bushels, but there were enough things to make for some interesting kitchen adventures.
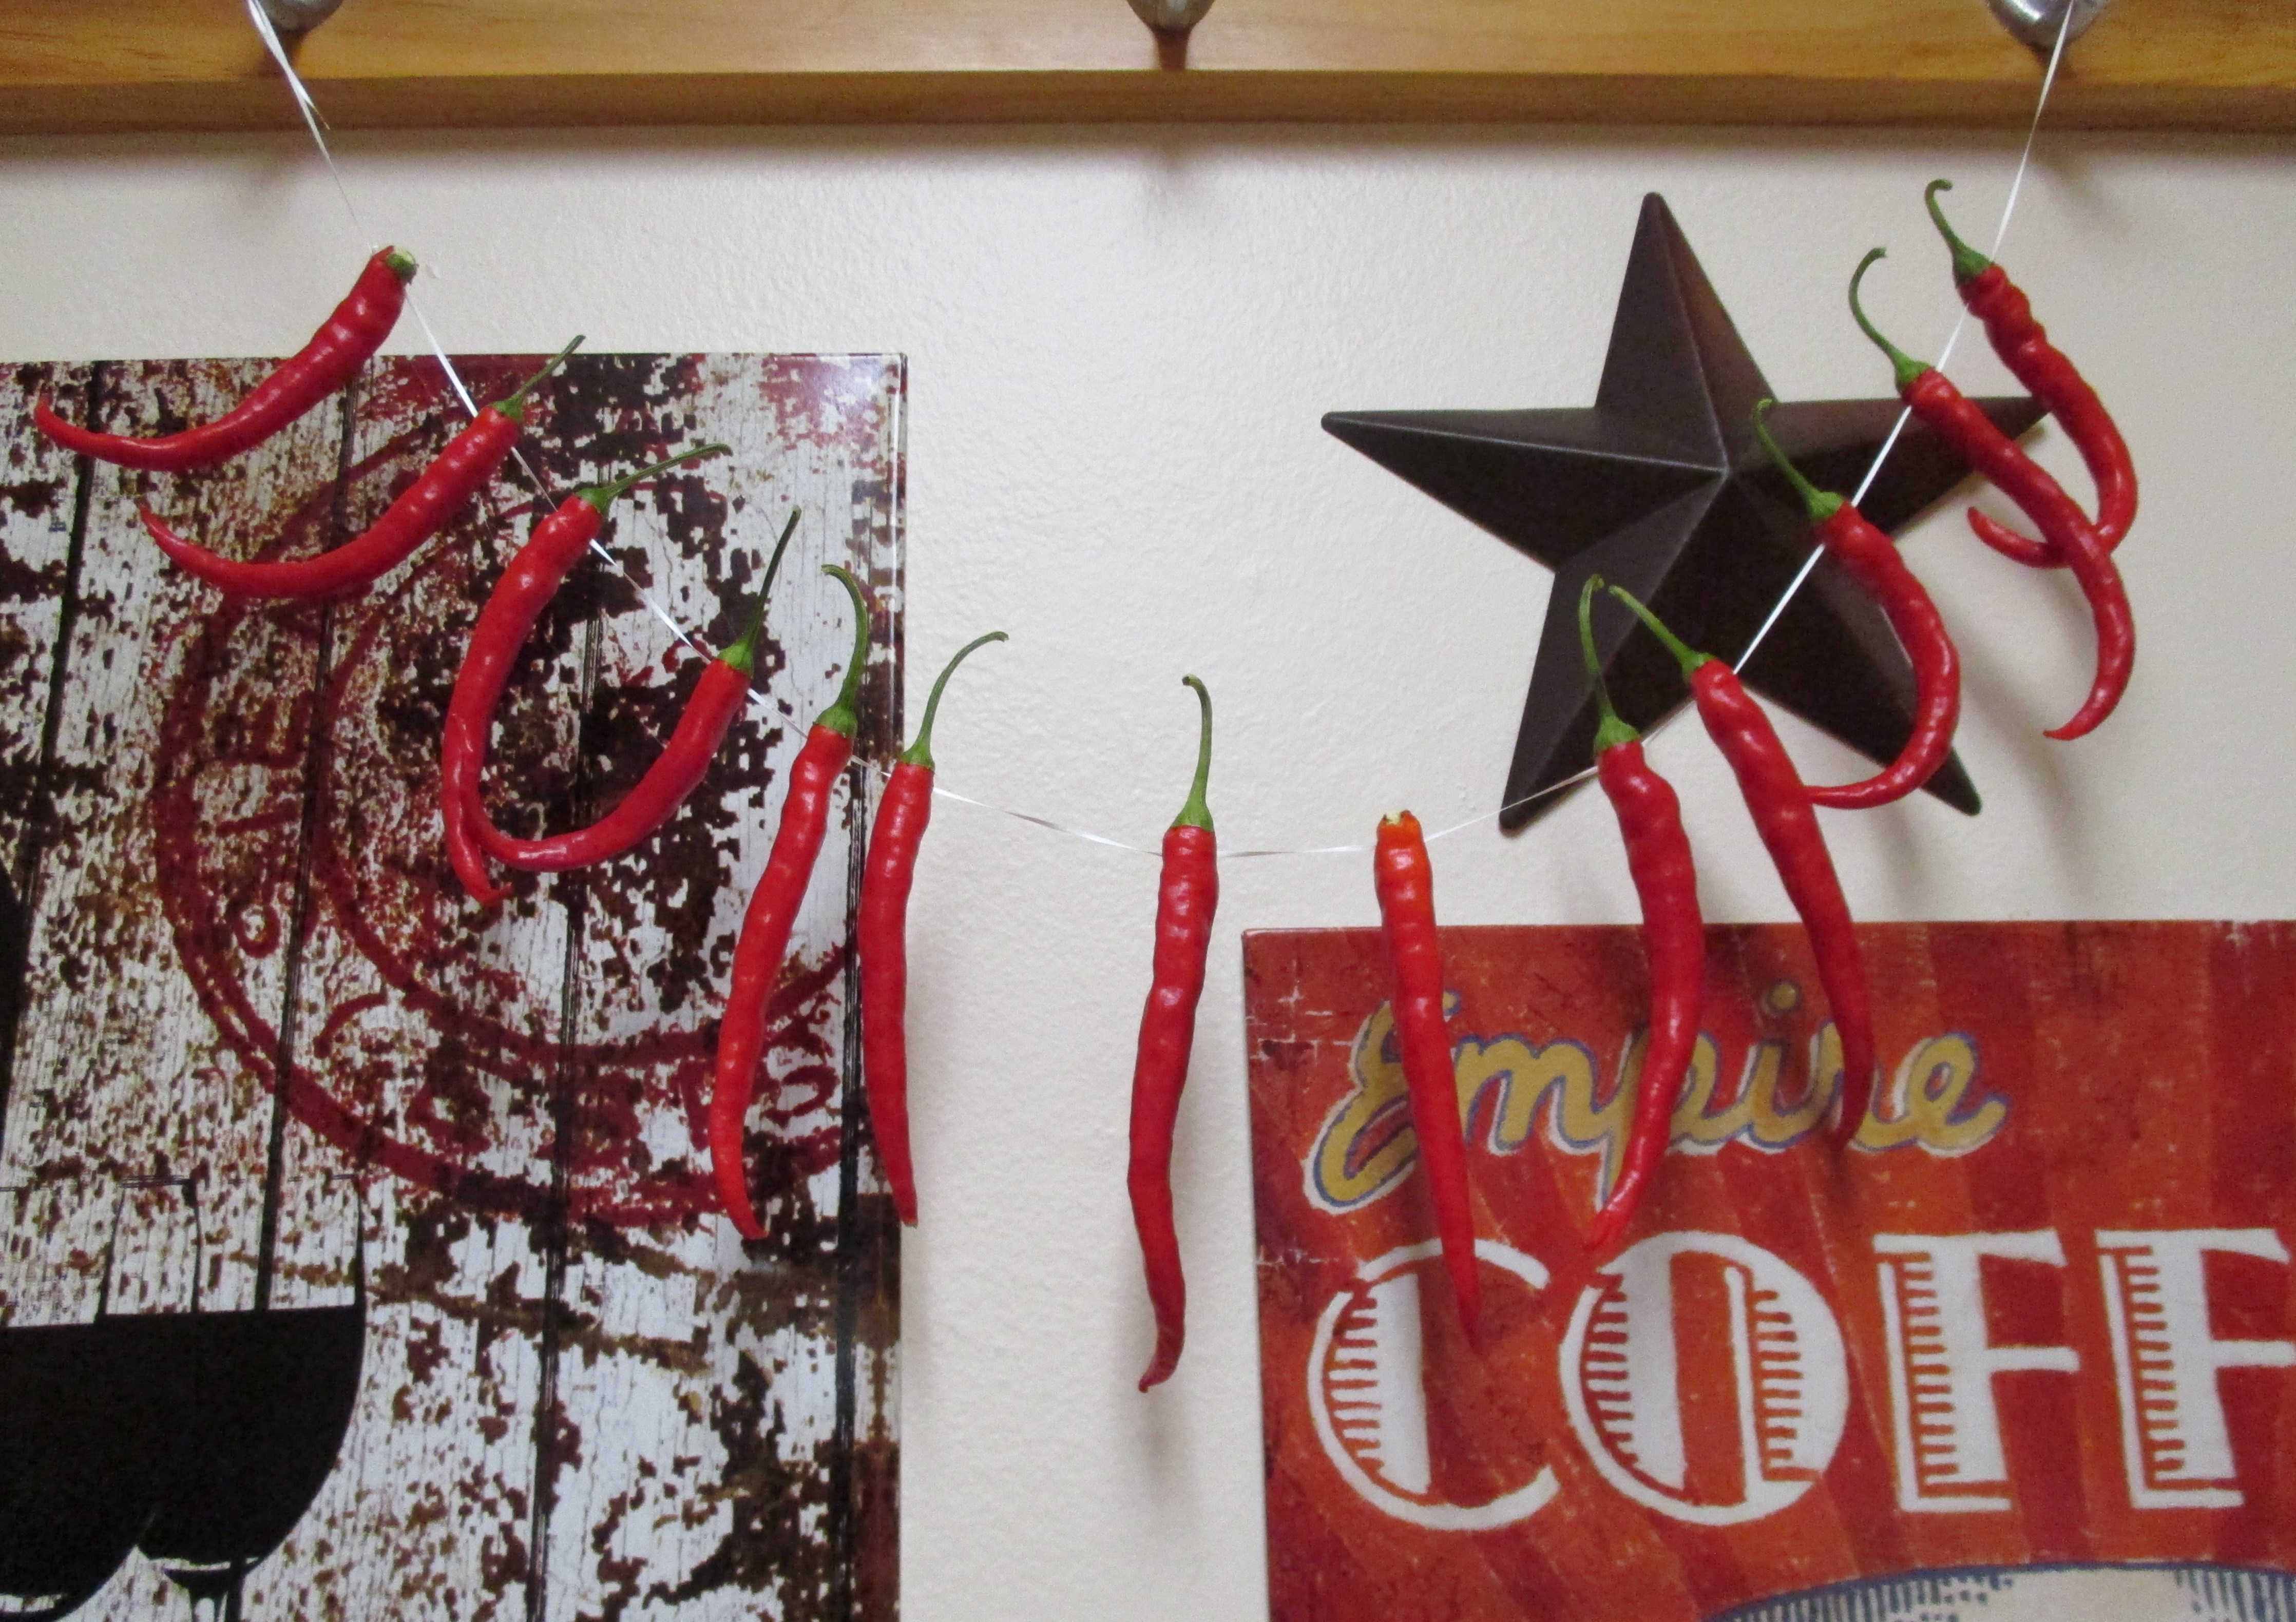
As a tip of the hat to my son, I planted a Cayenne Pepper plant. While there aren’t enough to make vats of hot sauce or even a couple of bottles, there are plenty to liven up a dish with enough left over to dry. Yes, that is dental floss…gotta love the internet. I’m well into my second string now and the plant seems to be producing more peppers every day. Maybe there will be hot sauce in the future.
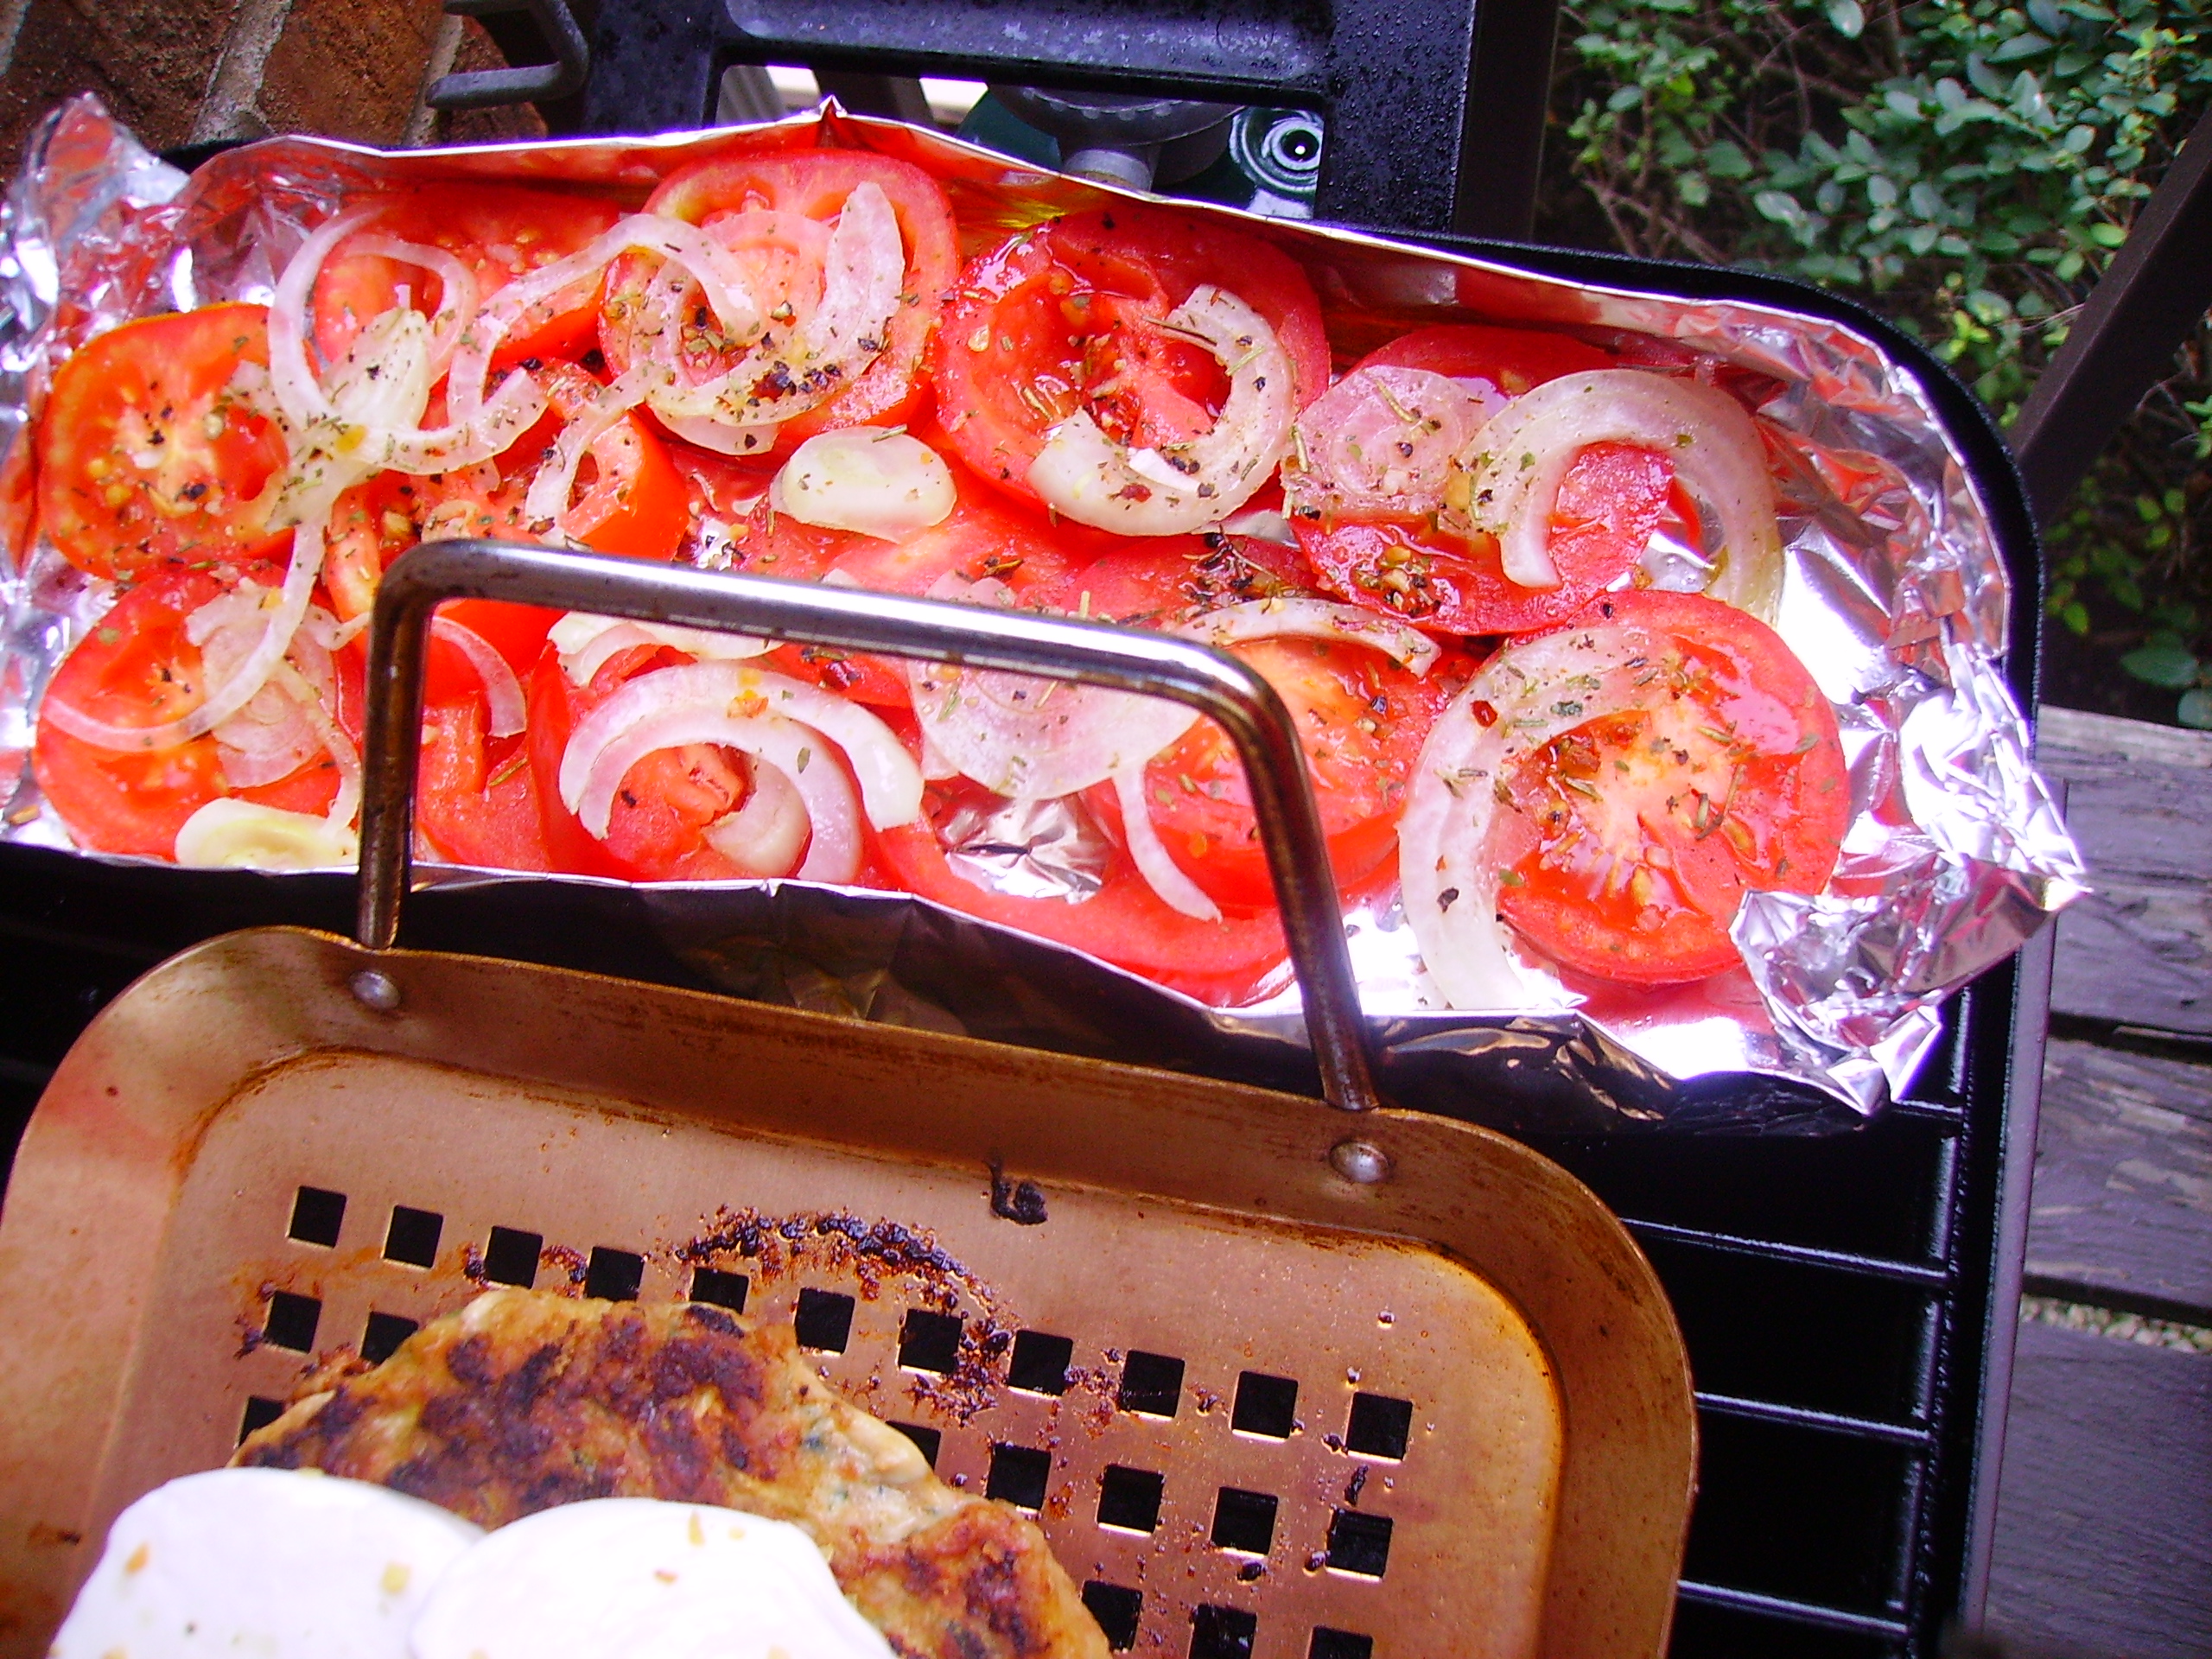
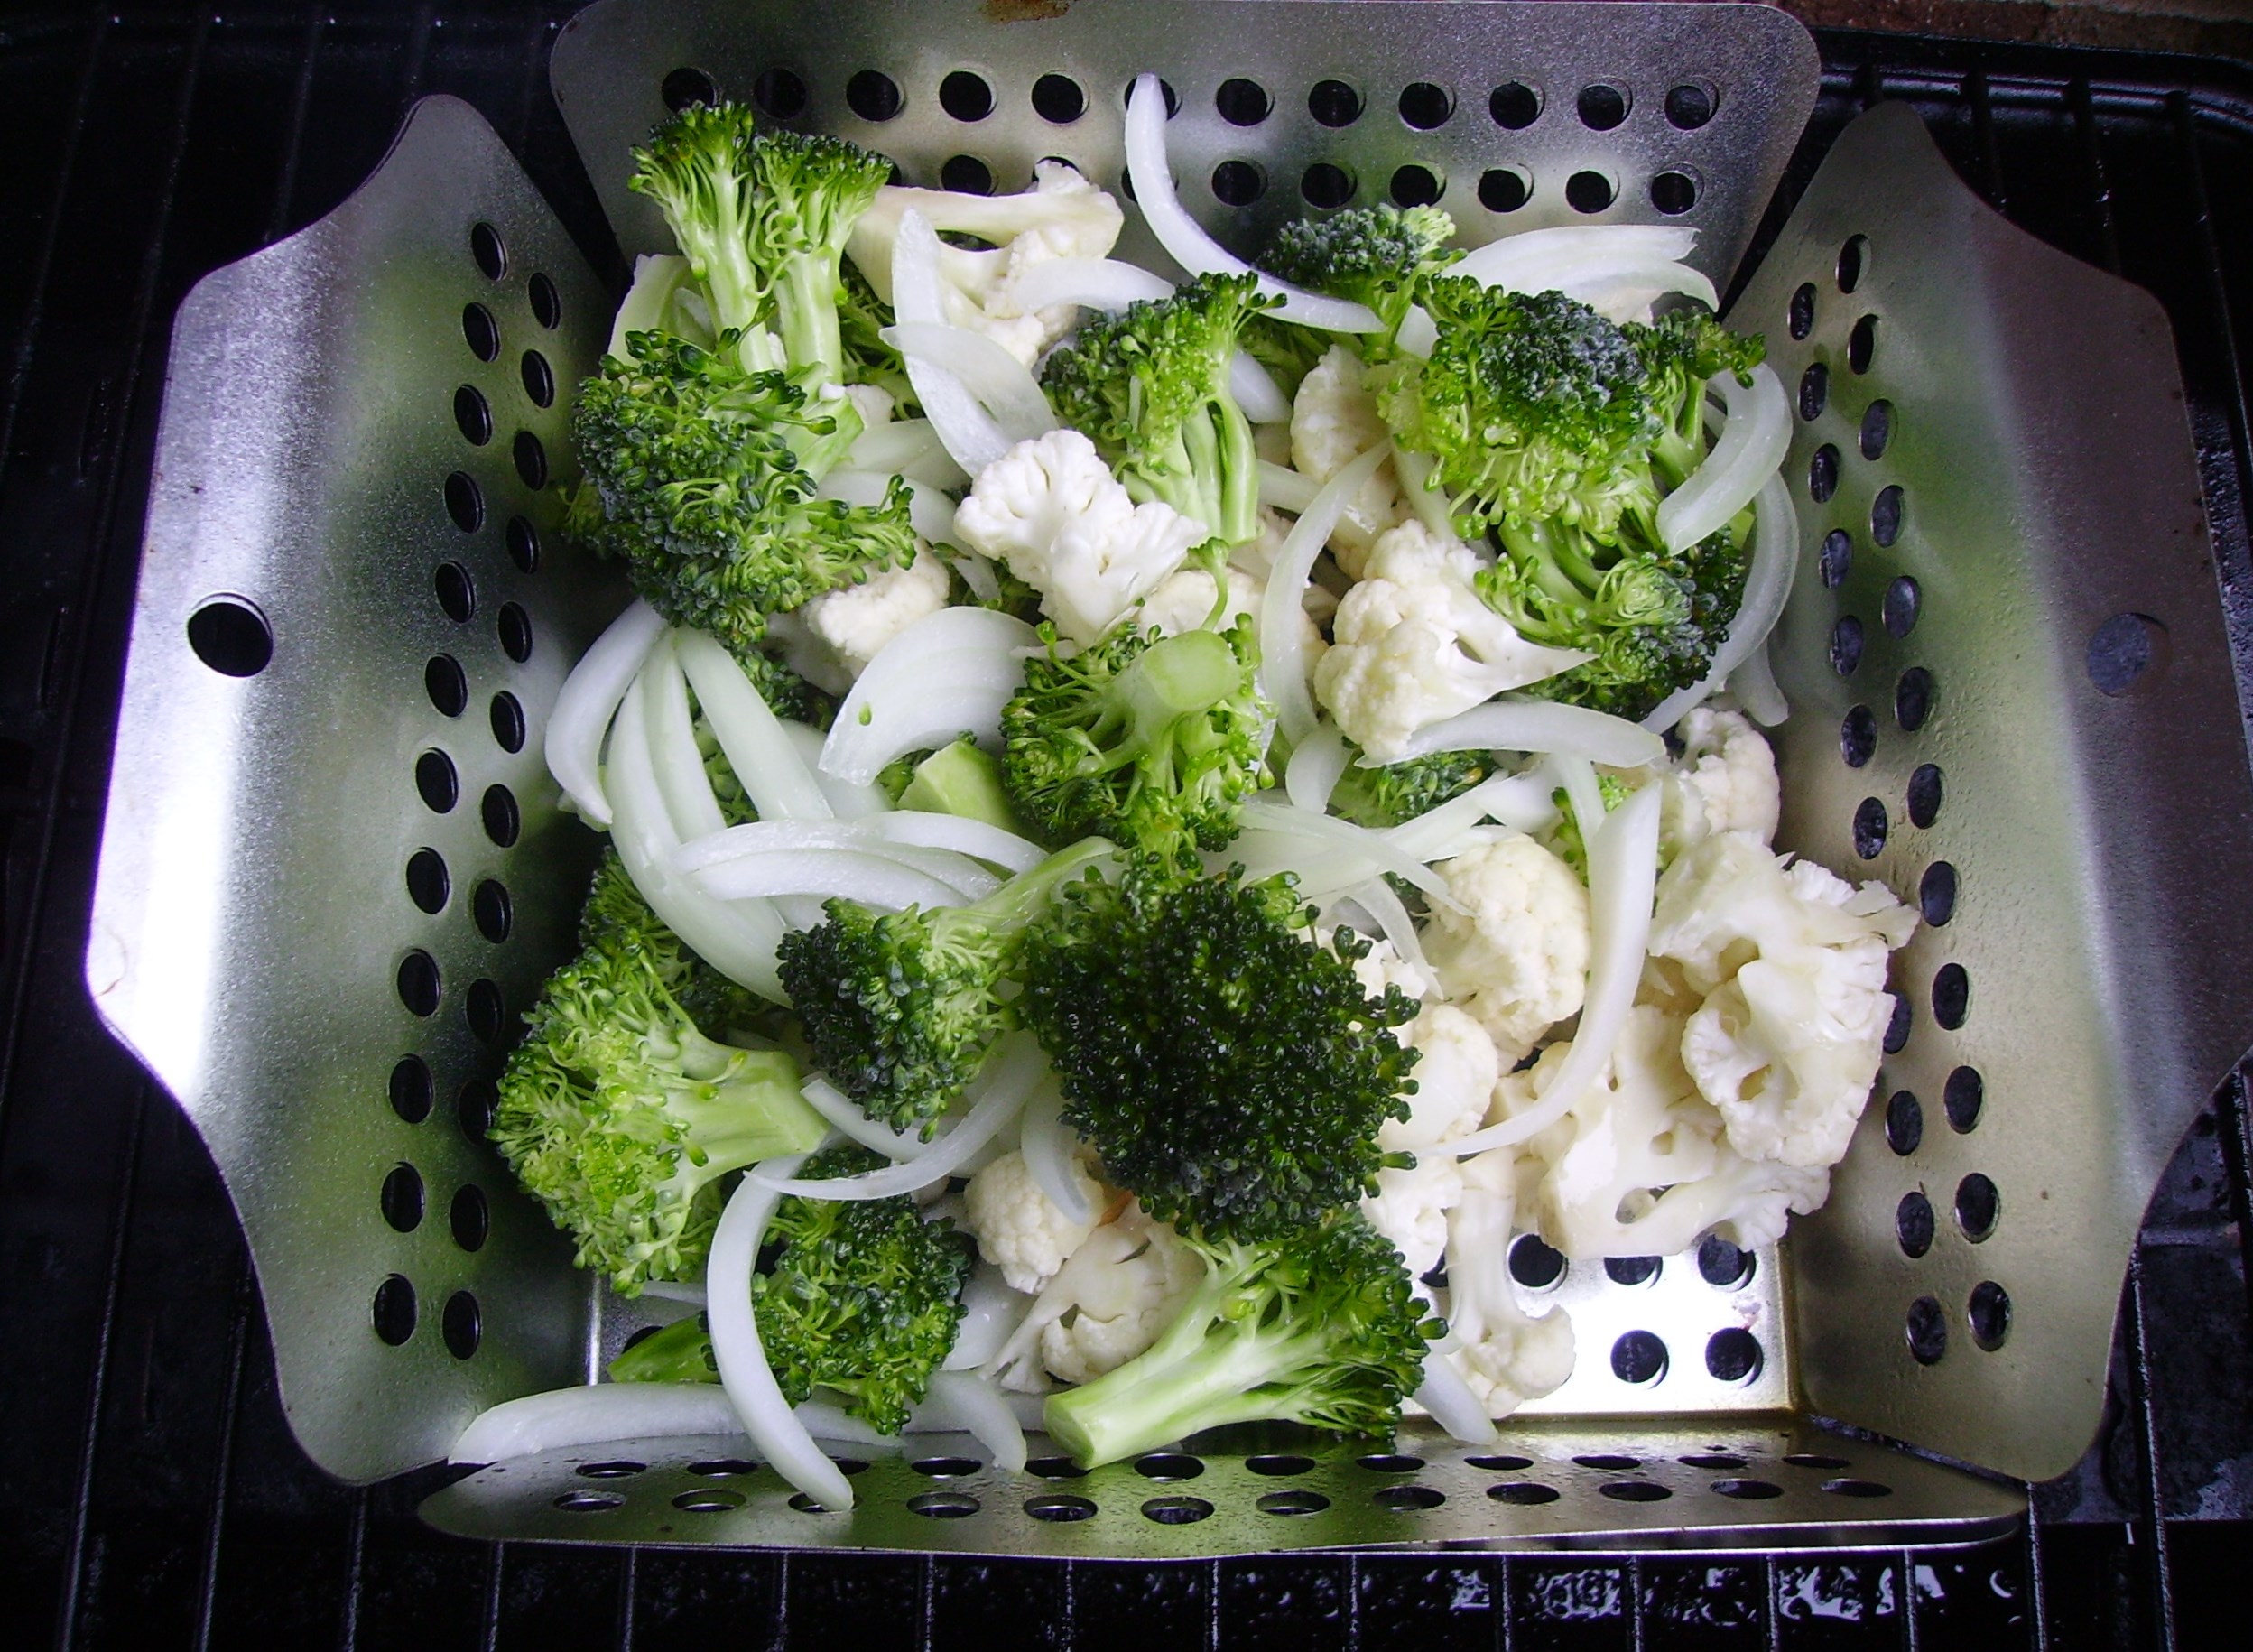
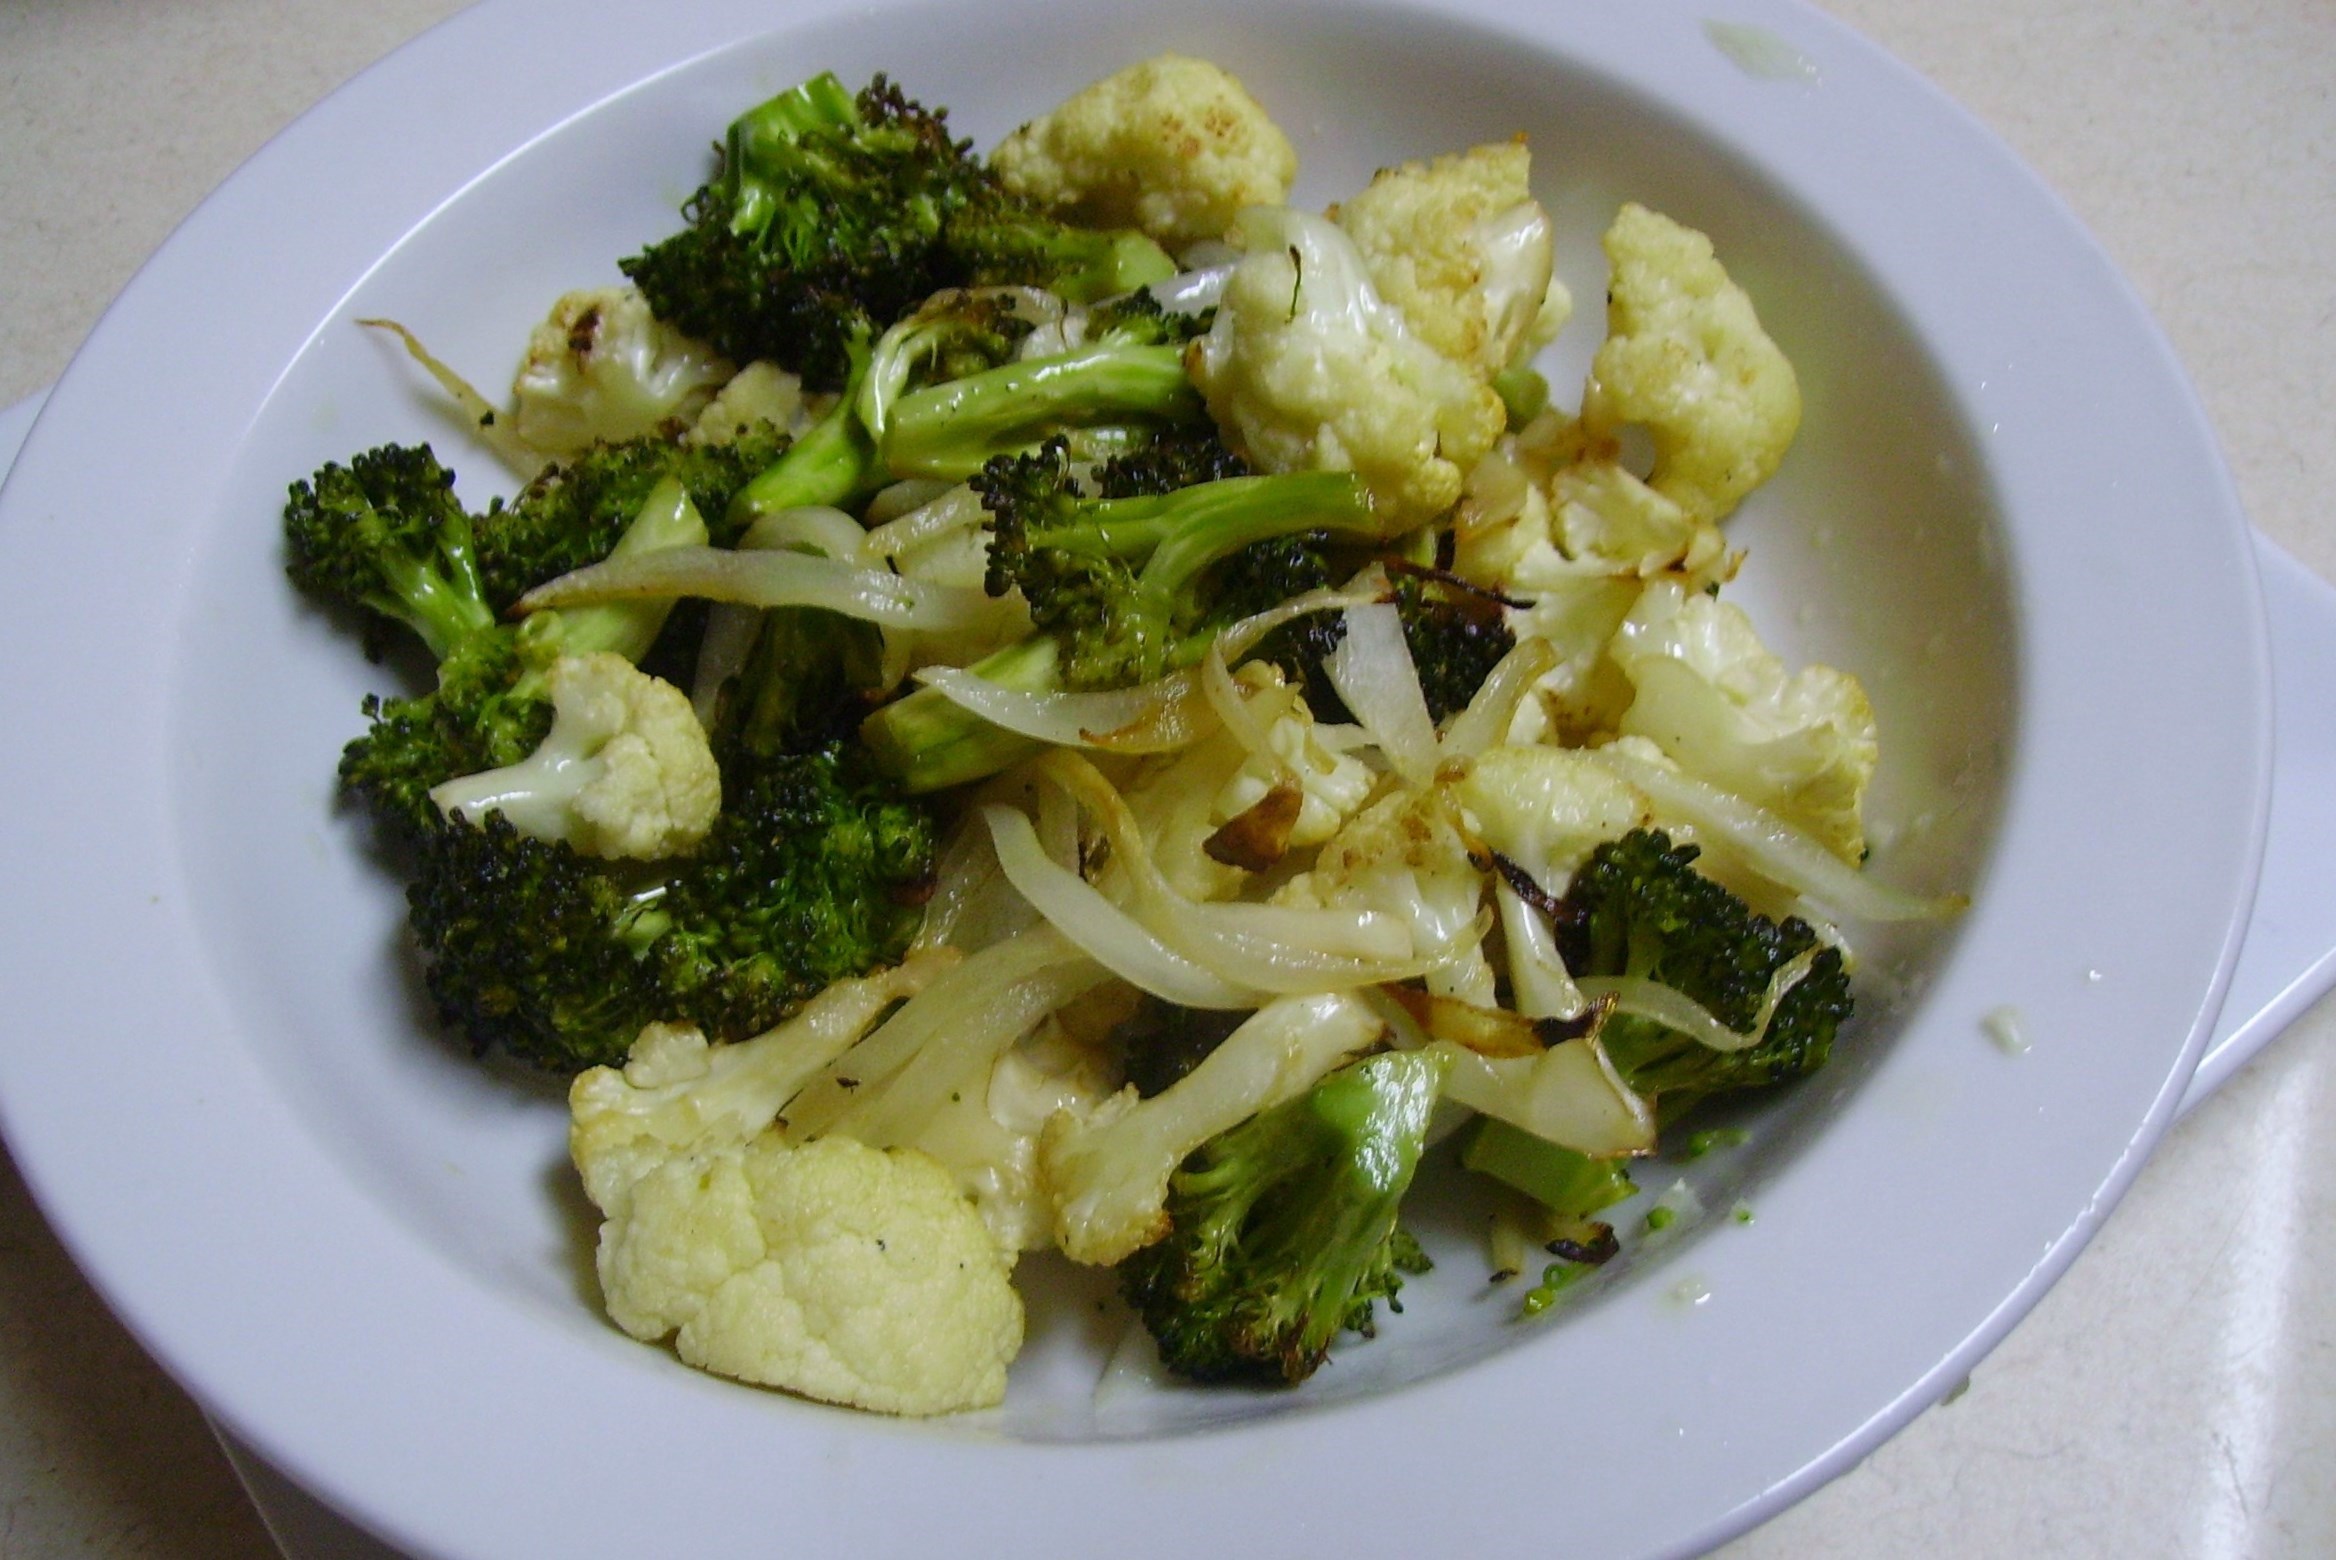
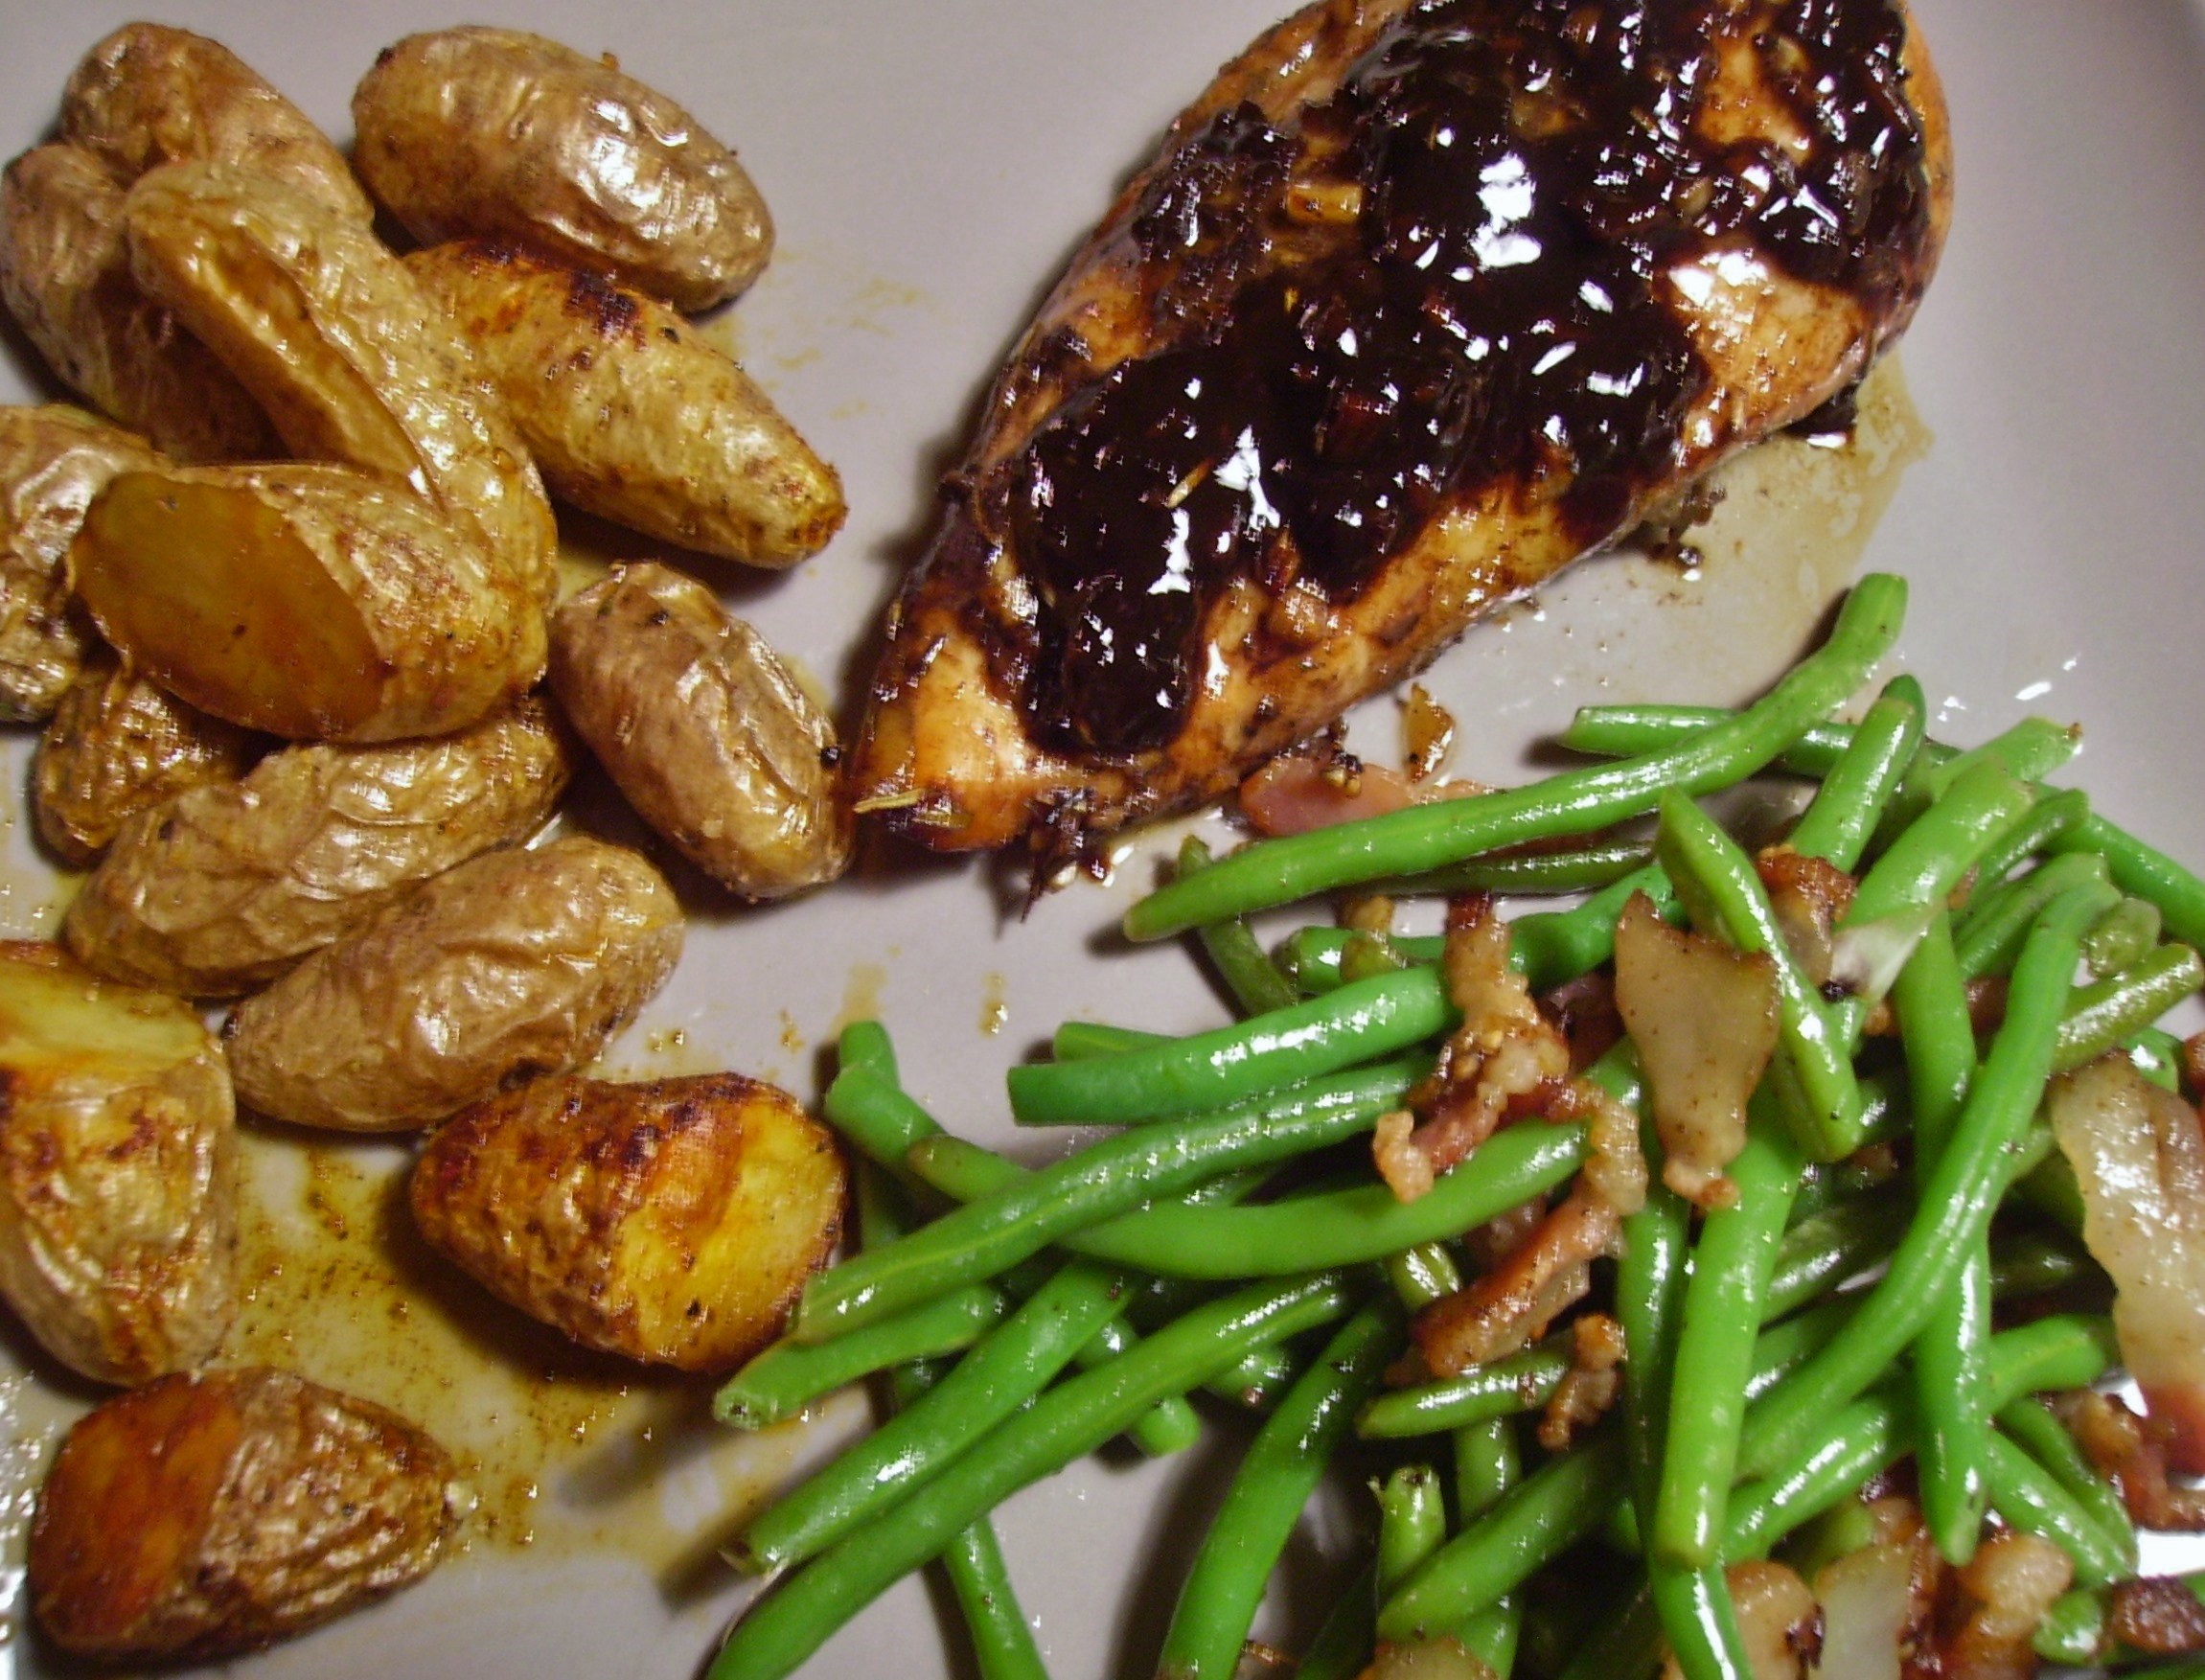
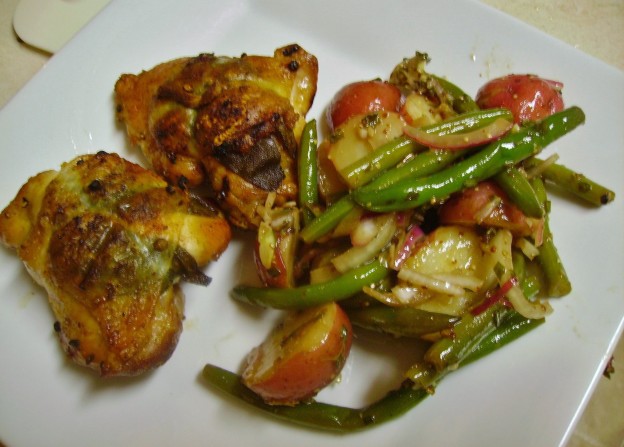
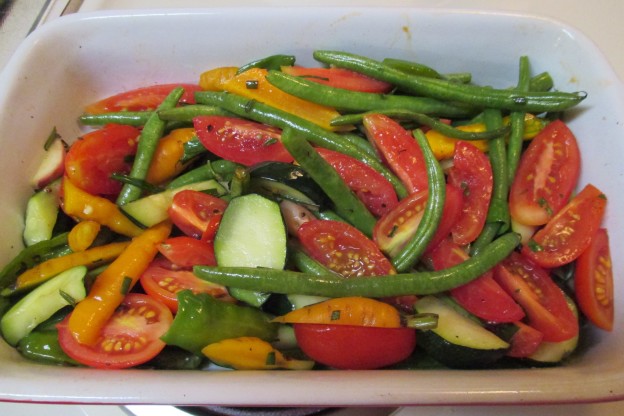
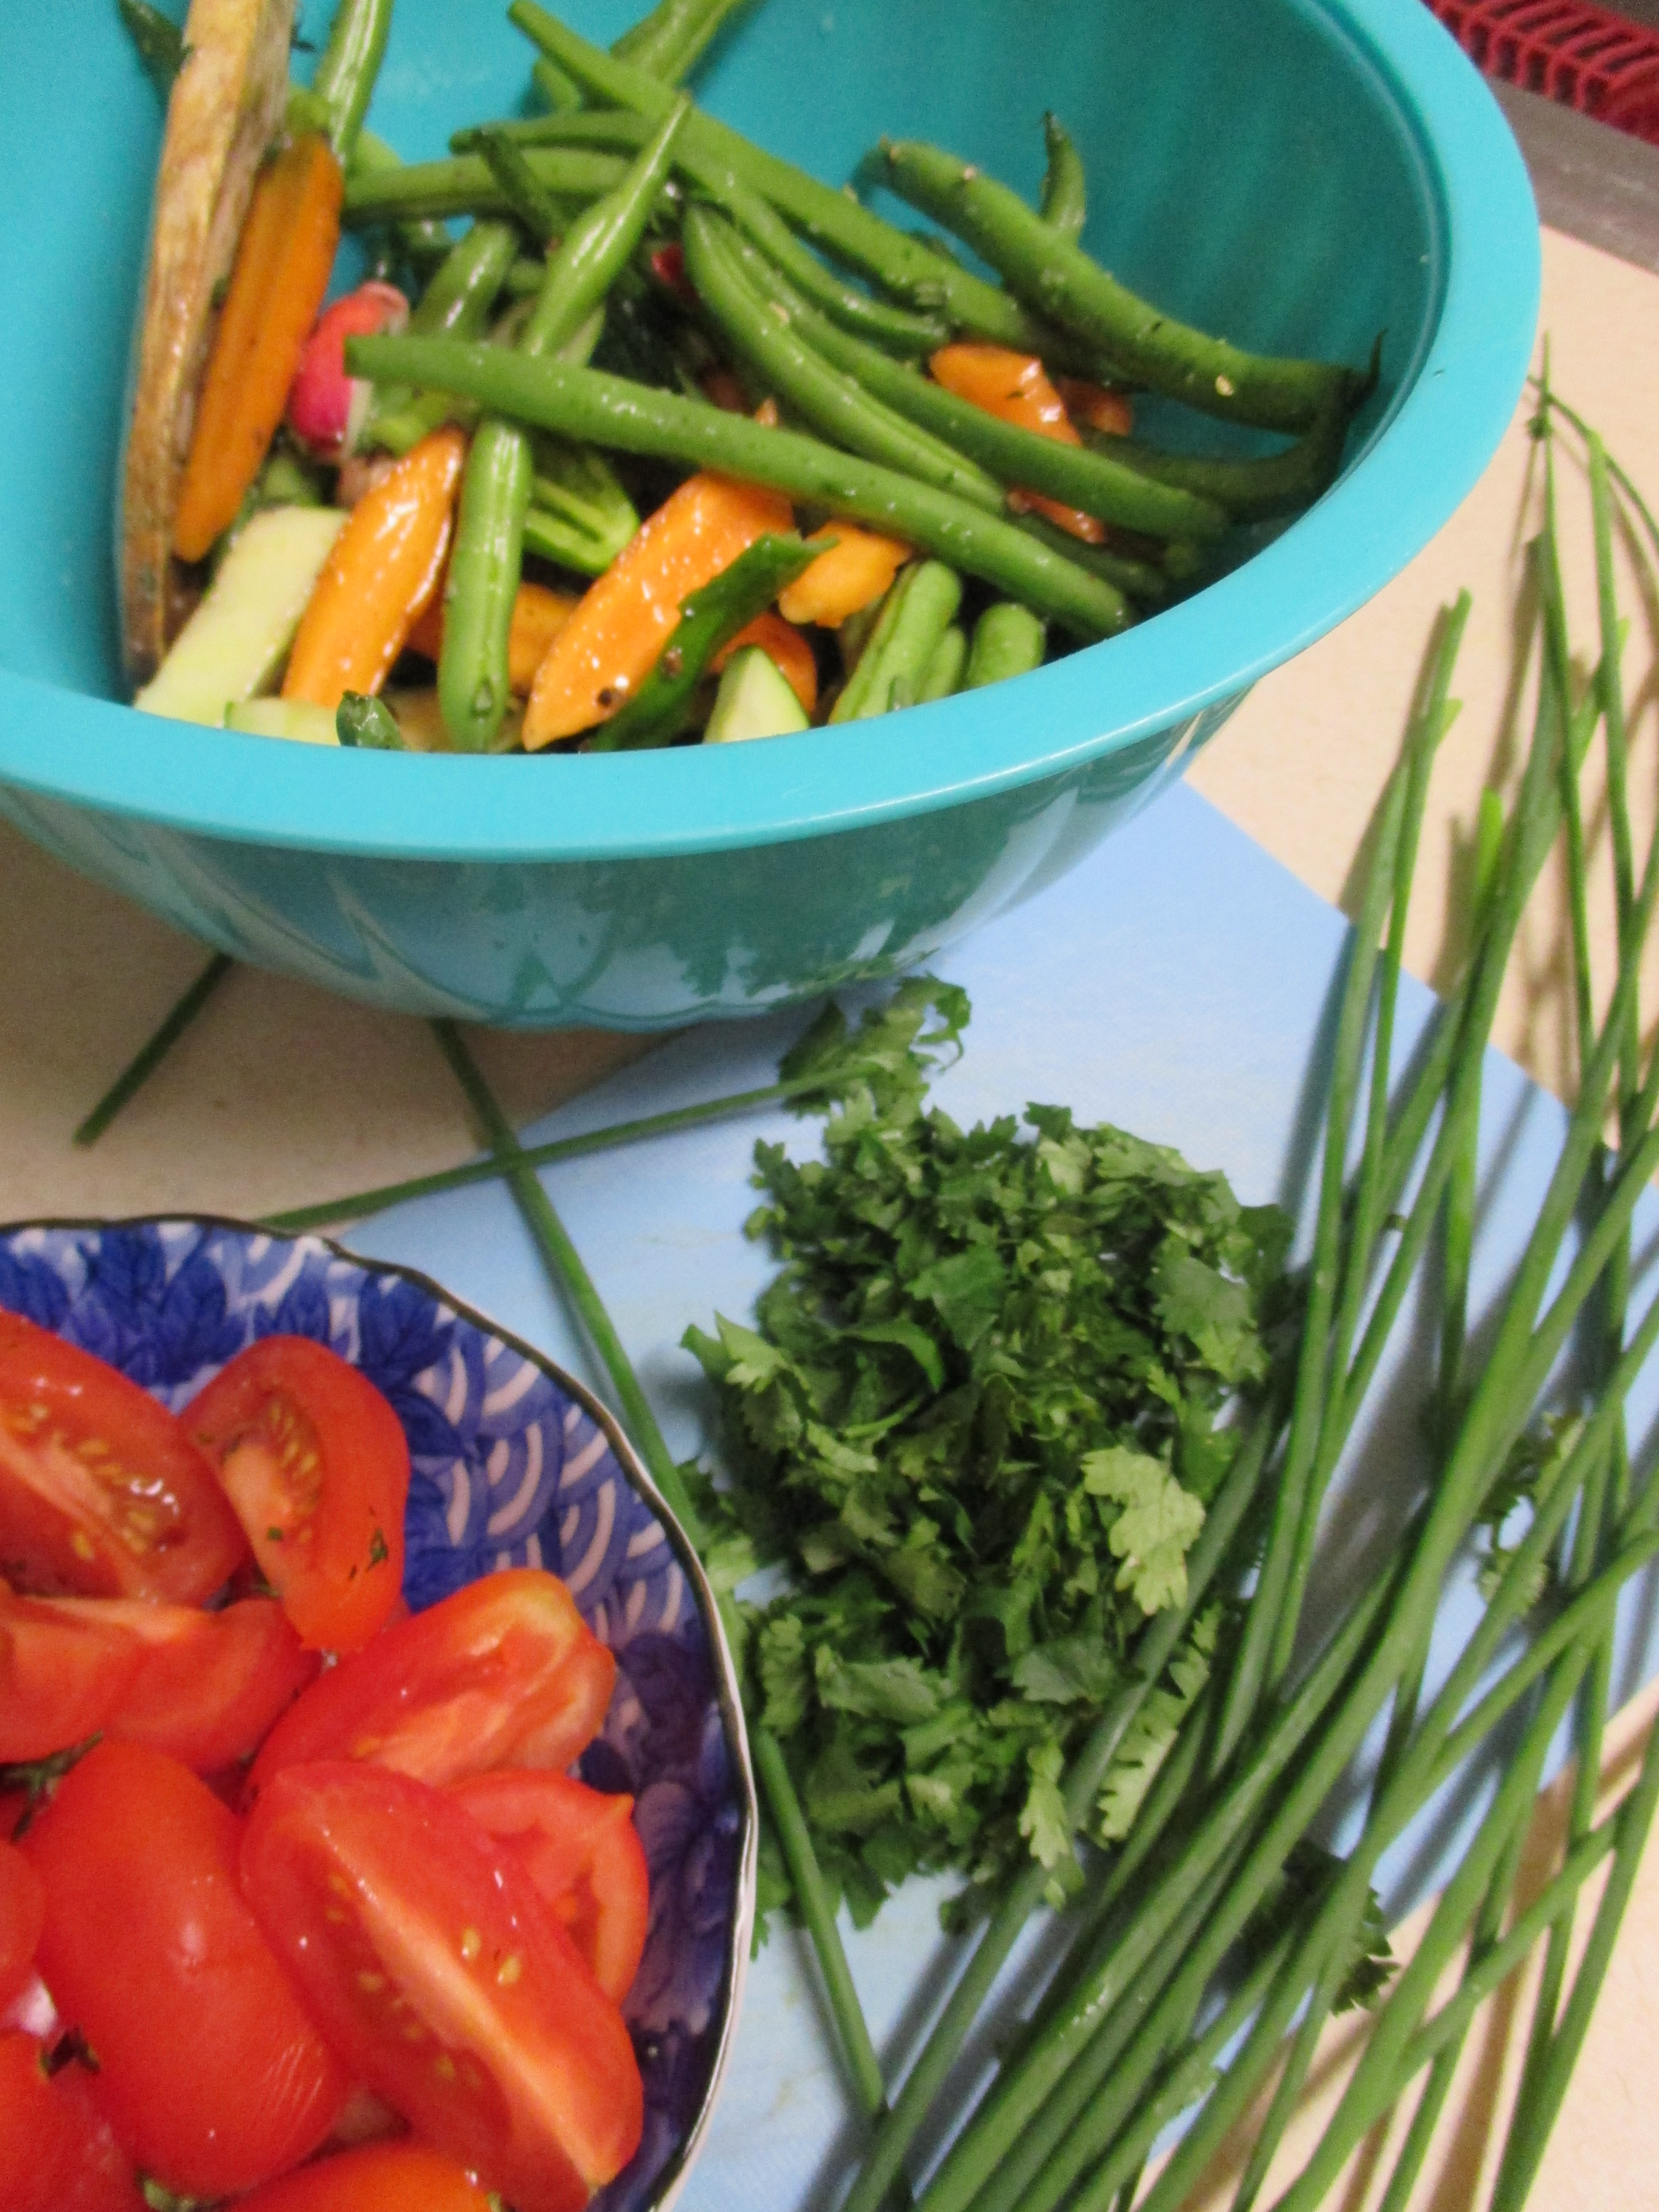
On one recent trip to the garden I gathered a lovely cast of characters that would become a roasted vegetable side dish. Generous handfuls of grape tomatoes and green beans were joined by a few carrots, radishes, zucchini, and herbs. The result was a tasty medley that was really homegrown.
 A RECIPE FOR ROASTED GARDEN VEGETABLES: Gather the freshest vegetables and herbs you can find. Clean and trim them. Toss them in olive oil, using one tablespoon of oil for every two cups of vegetables.Sprinkle with salt and pepper. Put them in a baking dish starting with those that will take the longest to cook. Place the dish in a three hundred seventy-five degree oven and roast, stirring occasionally and adding the veggies that take the least time. Check often to avoid burning. When everything is tender crisp and the tomatoes (if you use them) are just beginning to break down, bring it to the table and let it bear testament to your green thumb.
I planted Spaghetti Squash and while the bees and other insects didn’t see fit to pollinate much of the zucchini, they did work their magic on the squash. They also were responsible for what I think is a cross-breed. Along with the lovely pale yellow spaghetti squash there are several green striped varieties on the same vine. I’m not a botanist and I don’t play one on TV, but I think that I grew the love child of a zucchini and a spaghetti squash. Was it good to eat? There was only one way to find out.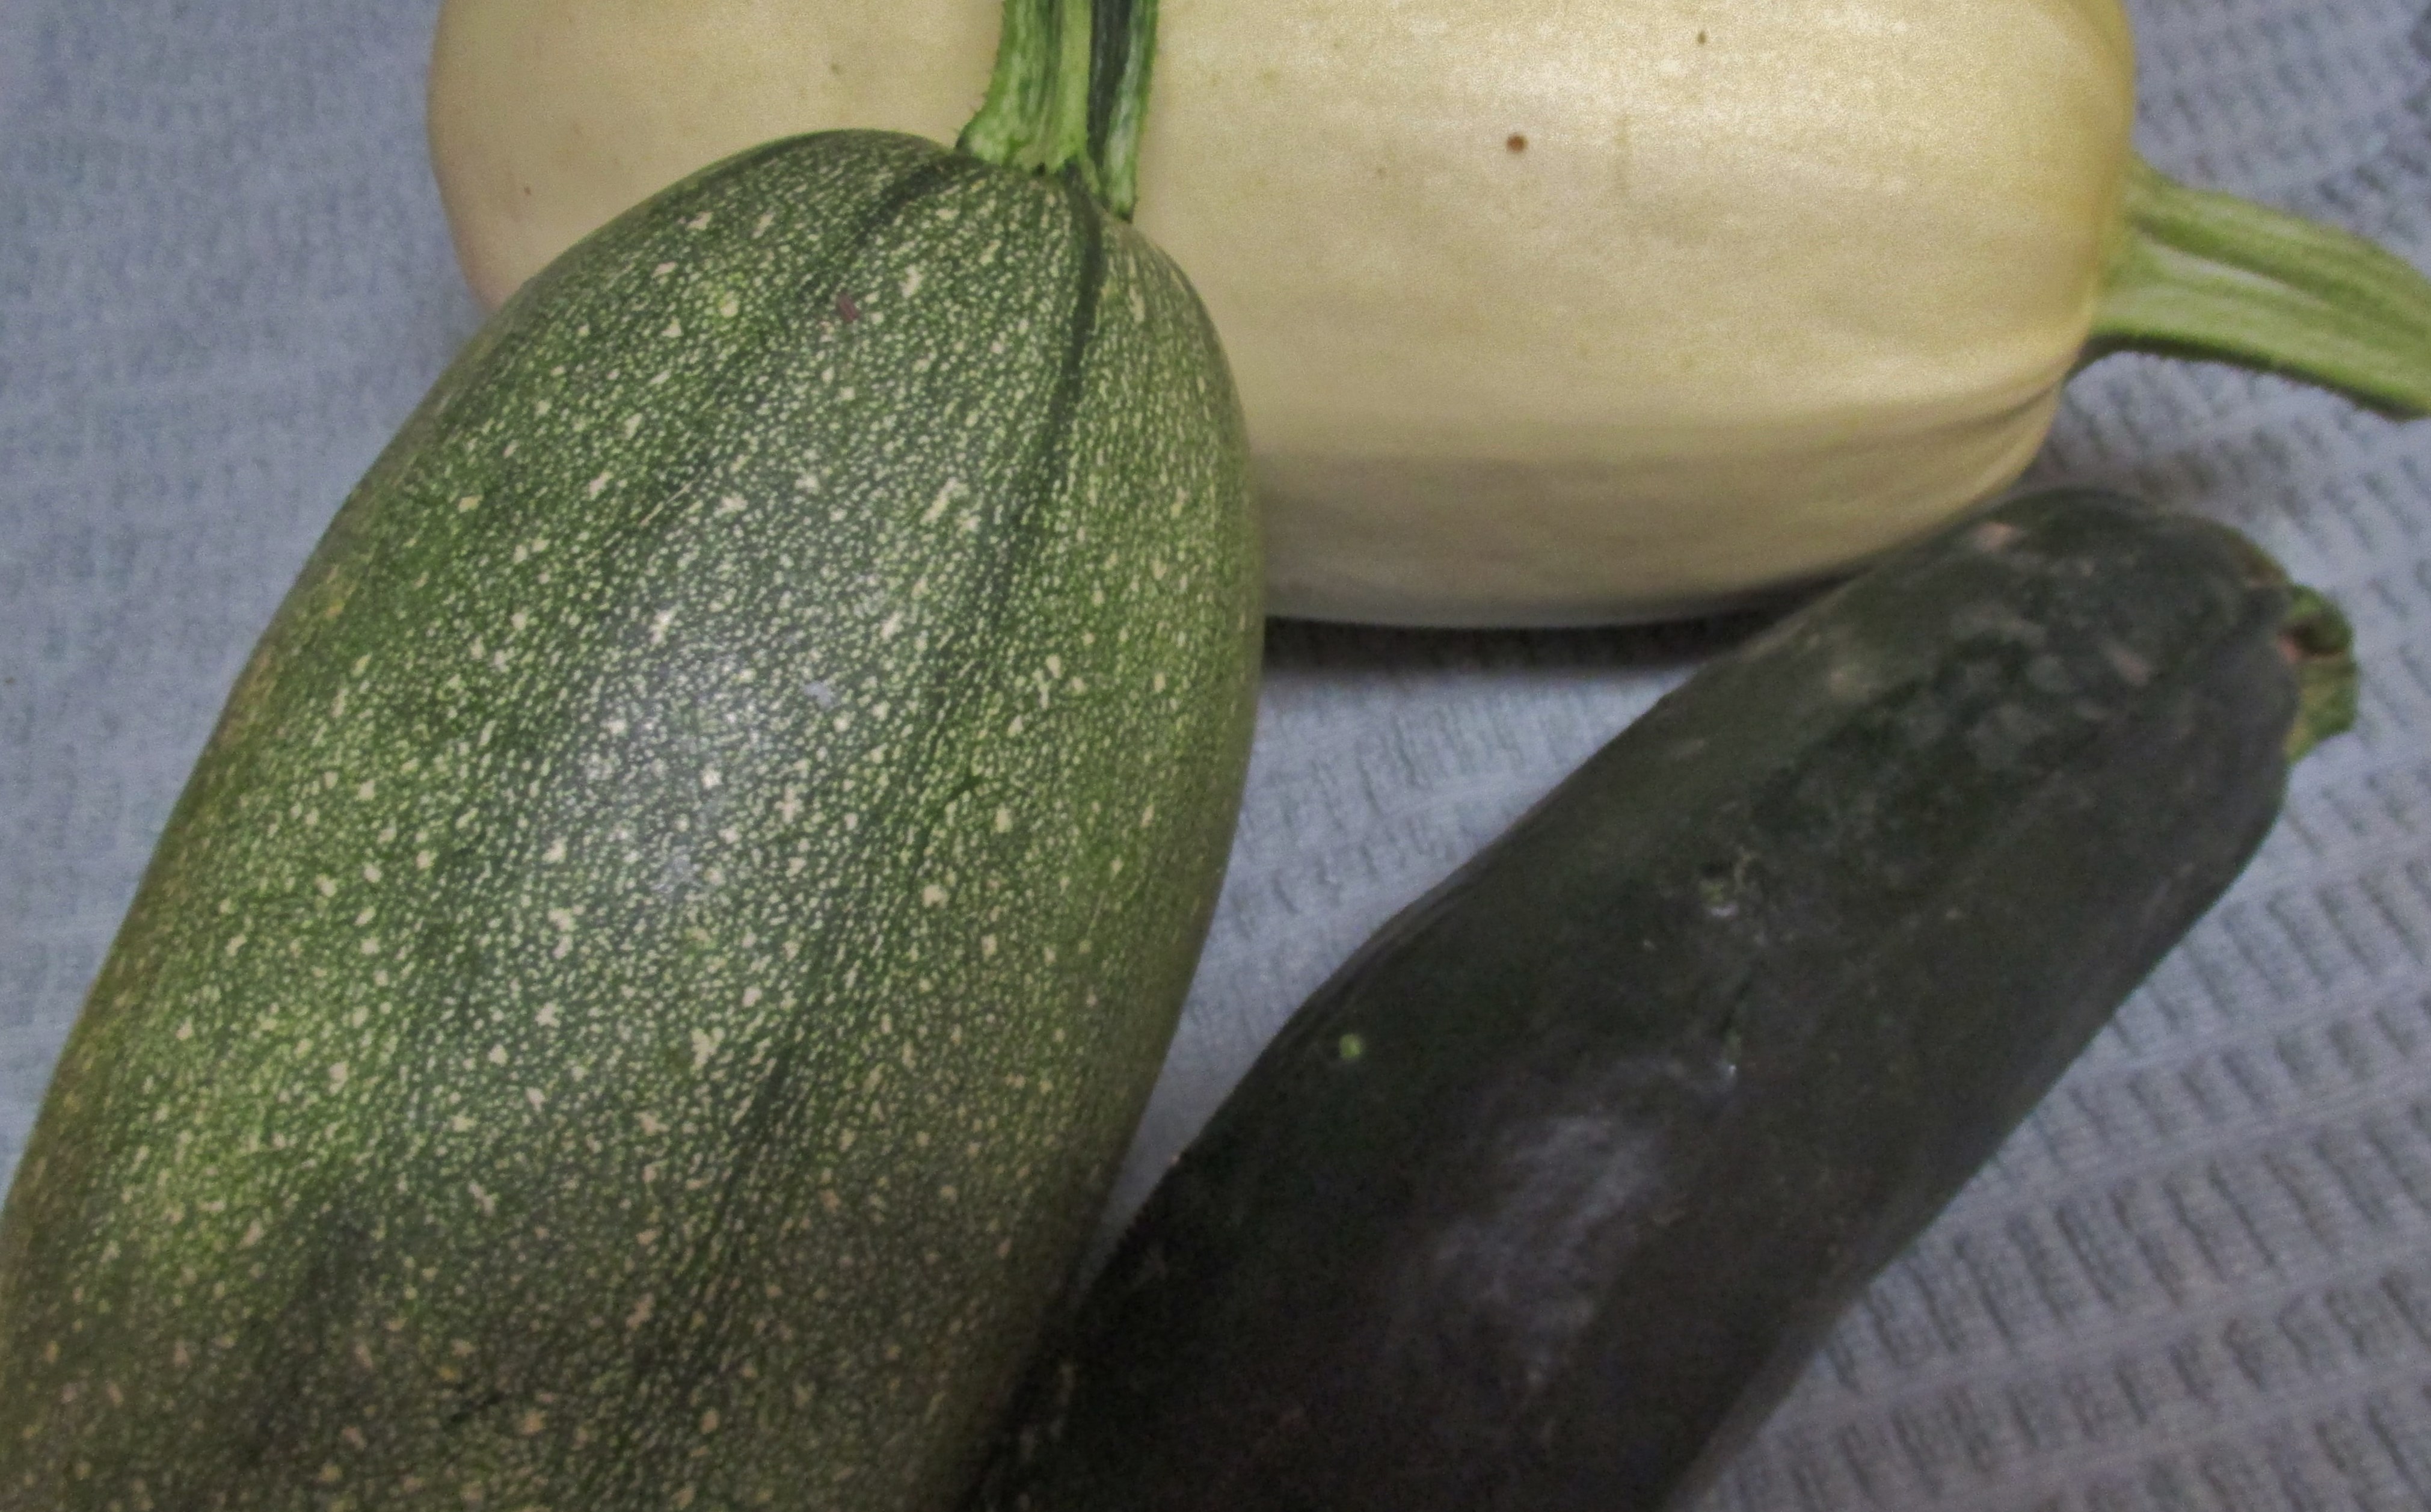
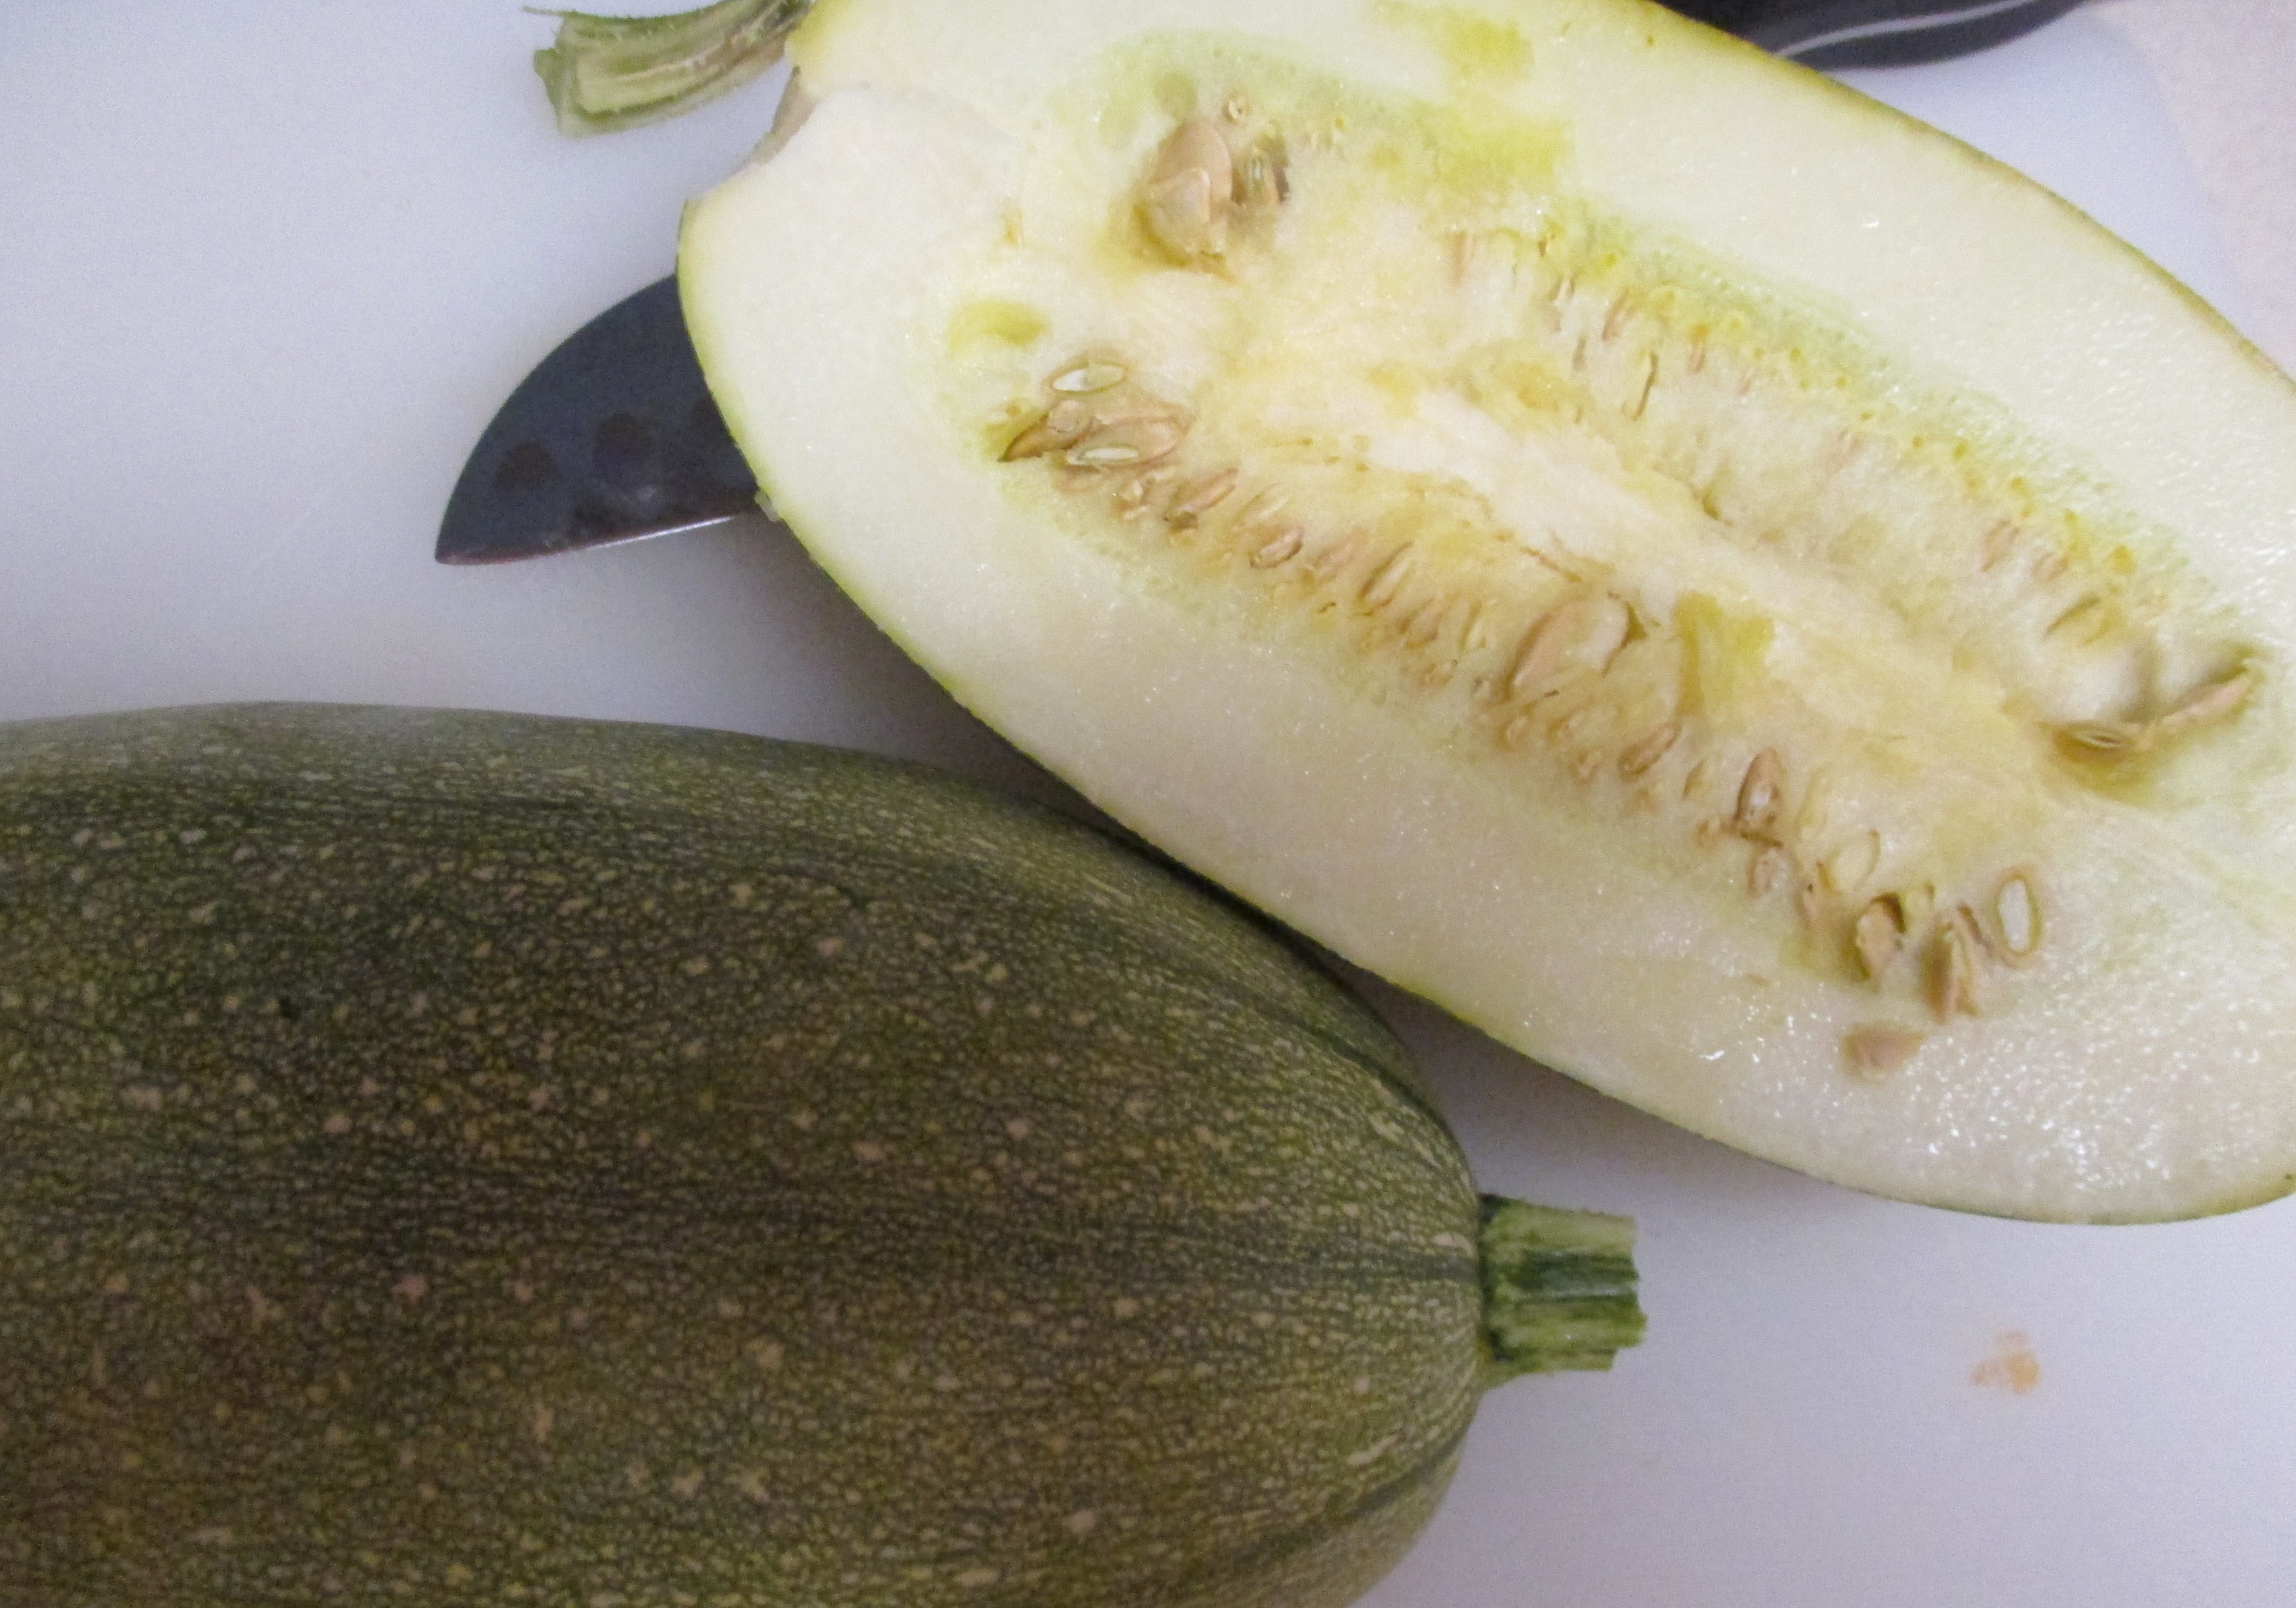 I conducted a non-professional experiment. I cut open the striped squash and compared it to its brother. The inside was more zucchini like while the seeds reminded me of other winter squash. It smelled like zucchini, it looked like zucchini, but it had a thicker skin. I decided I had to taste it to resolve the conundrum, but how to cook it? I cut it in half and roasted one side while I sliced and grilled the other. The roasted half tasted a little like zucchini and it didn’t become thread like when I raked across it with a fork. The grilled side tasted zucchini like as well, but the skin was now hard like winter squash and the seeds fit more of the winter profile as well.
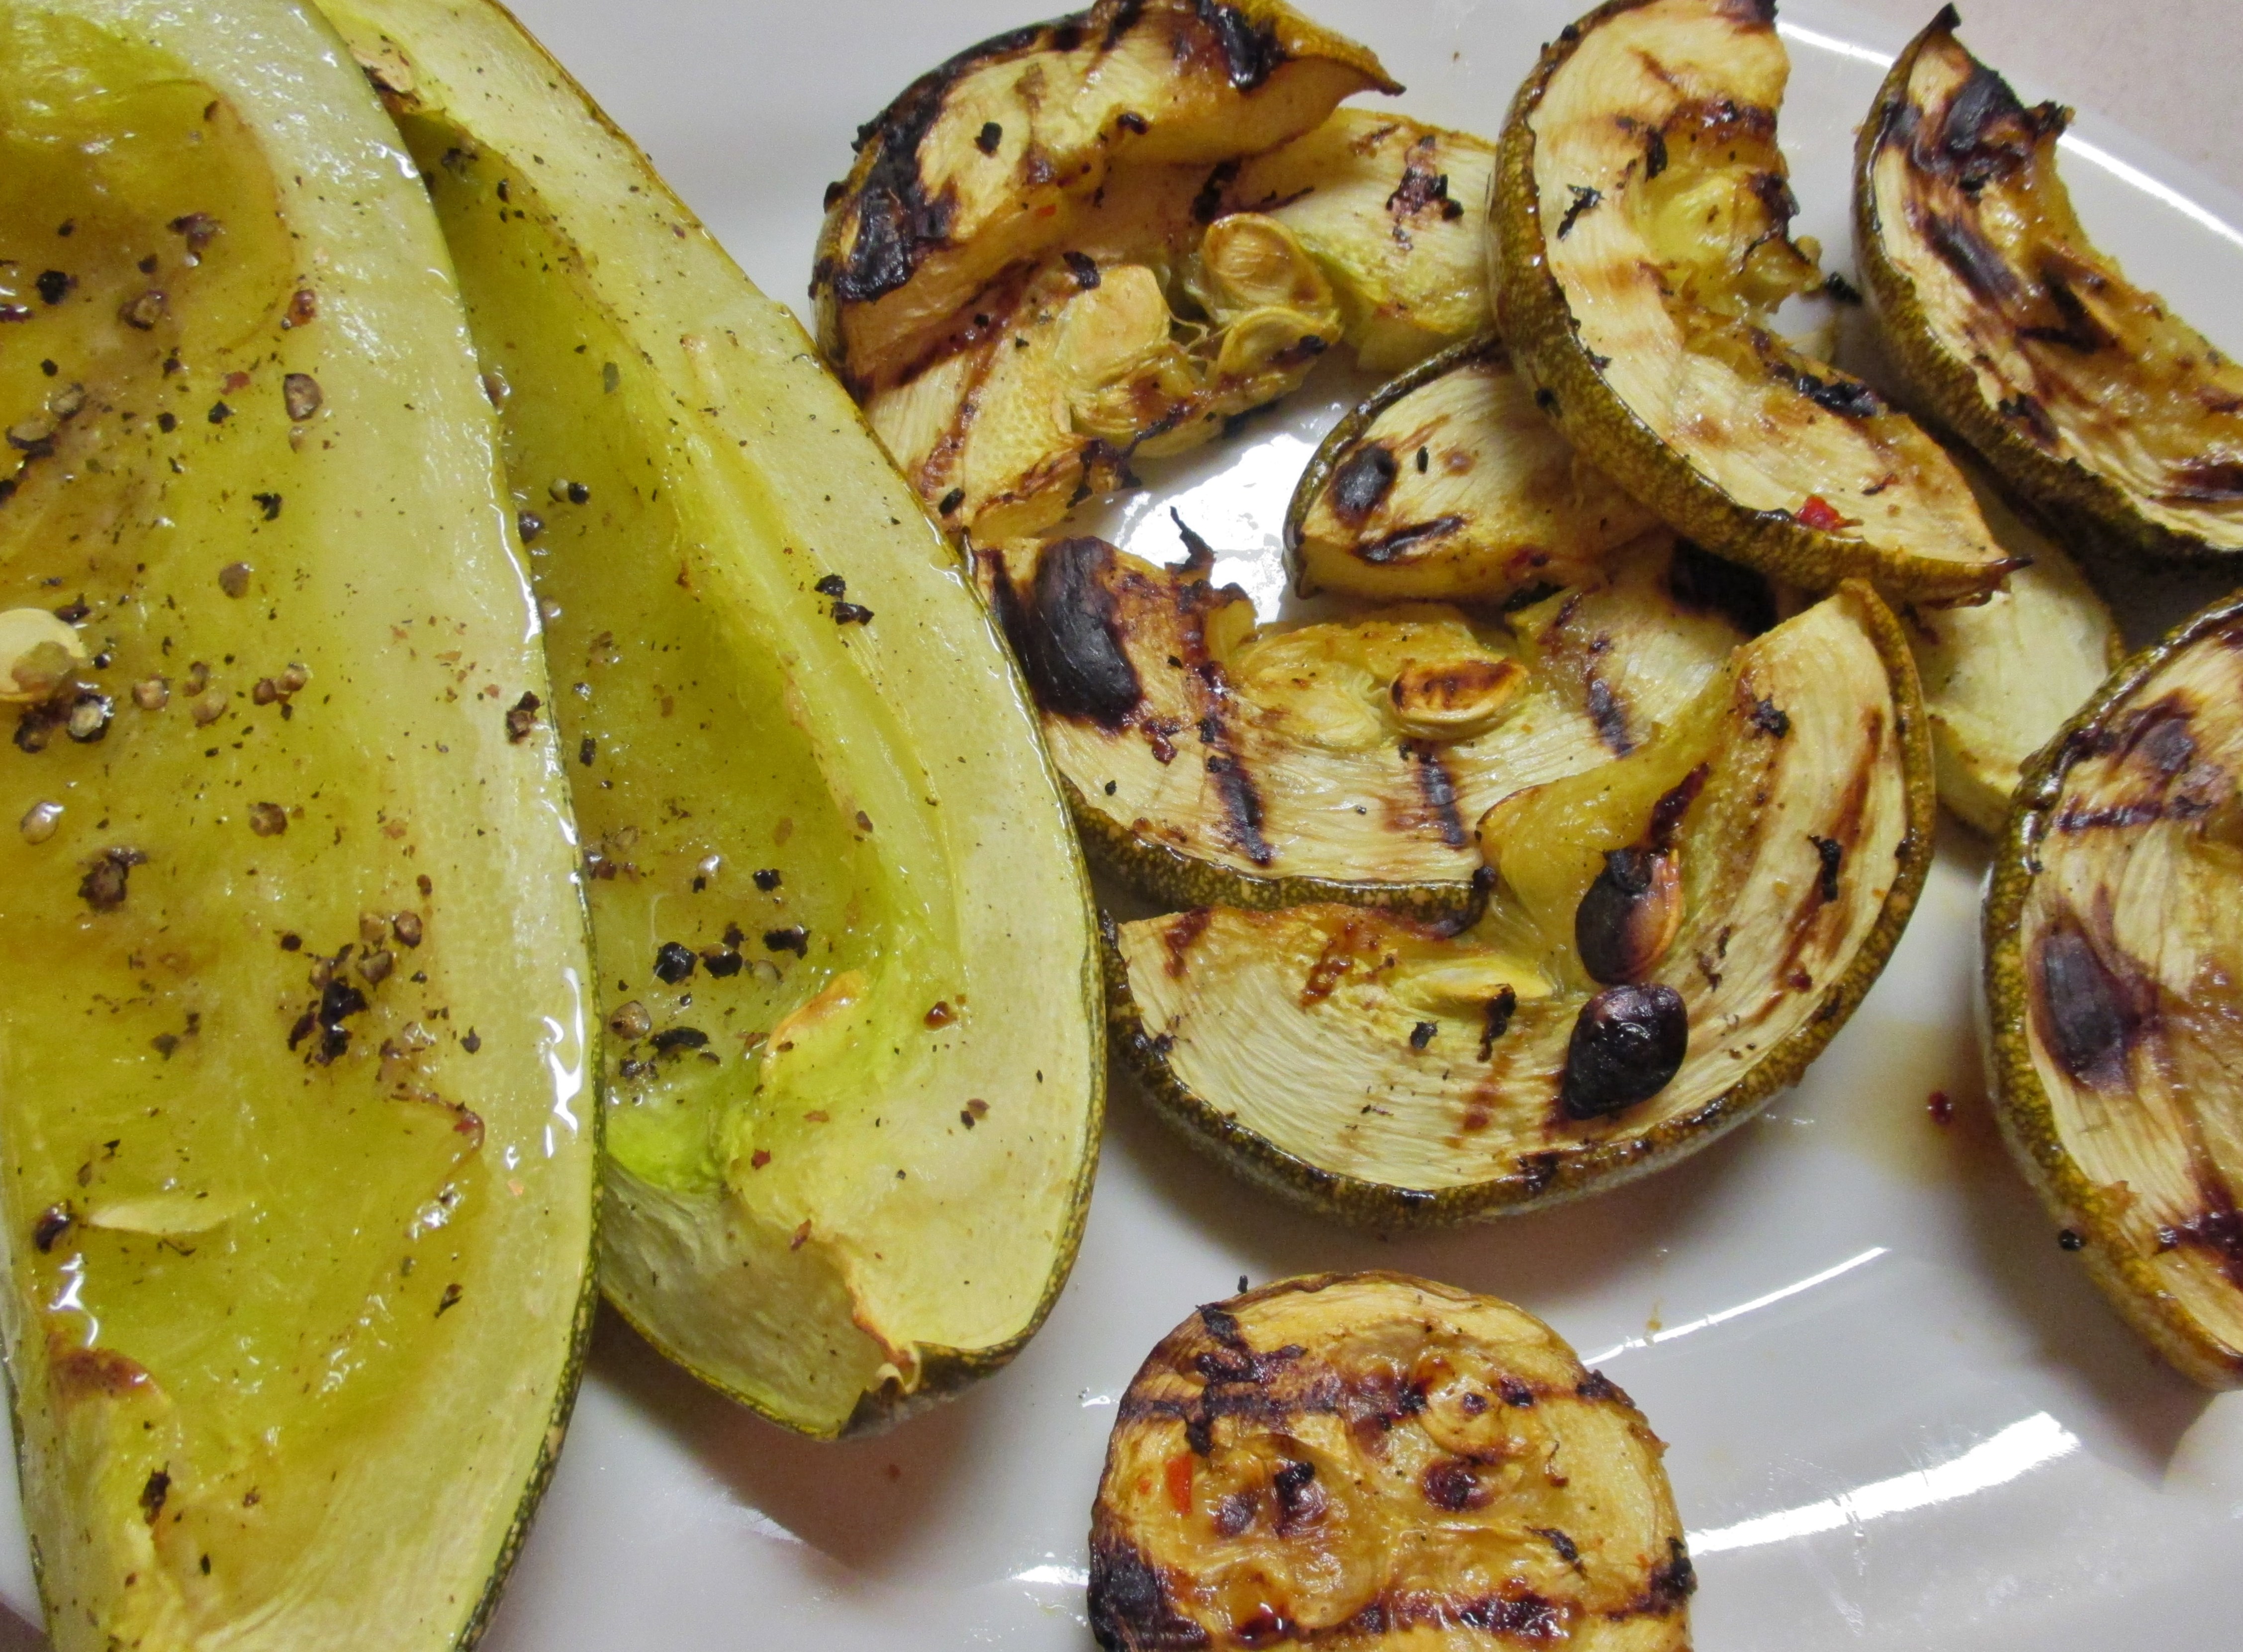 Let’s just say it was interesting. There is one more of these mutants still on the vine so I may give it one more try.
The true spaghetti squash, however, was wonderful.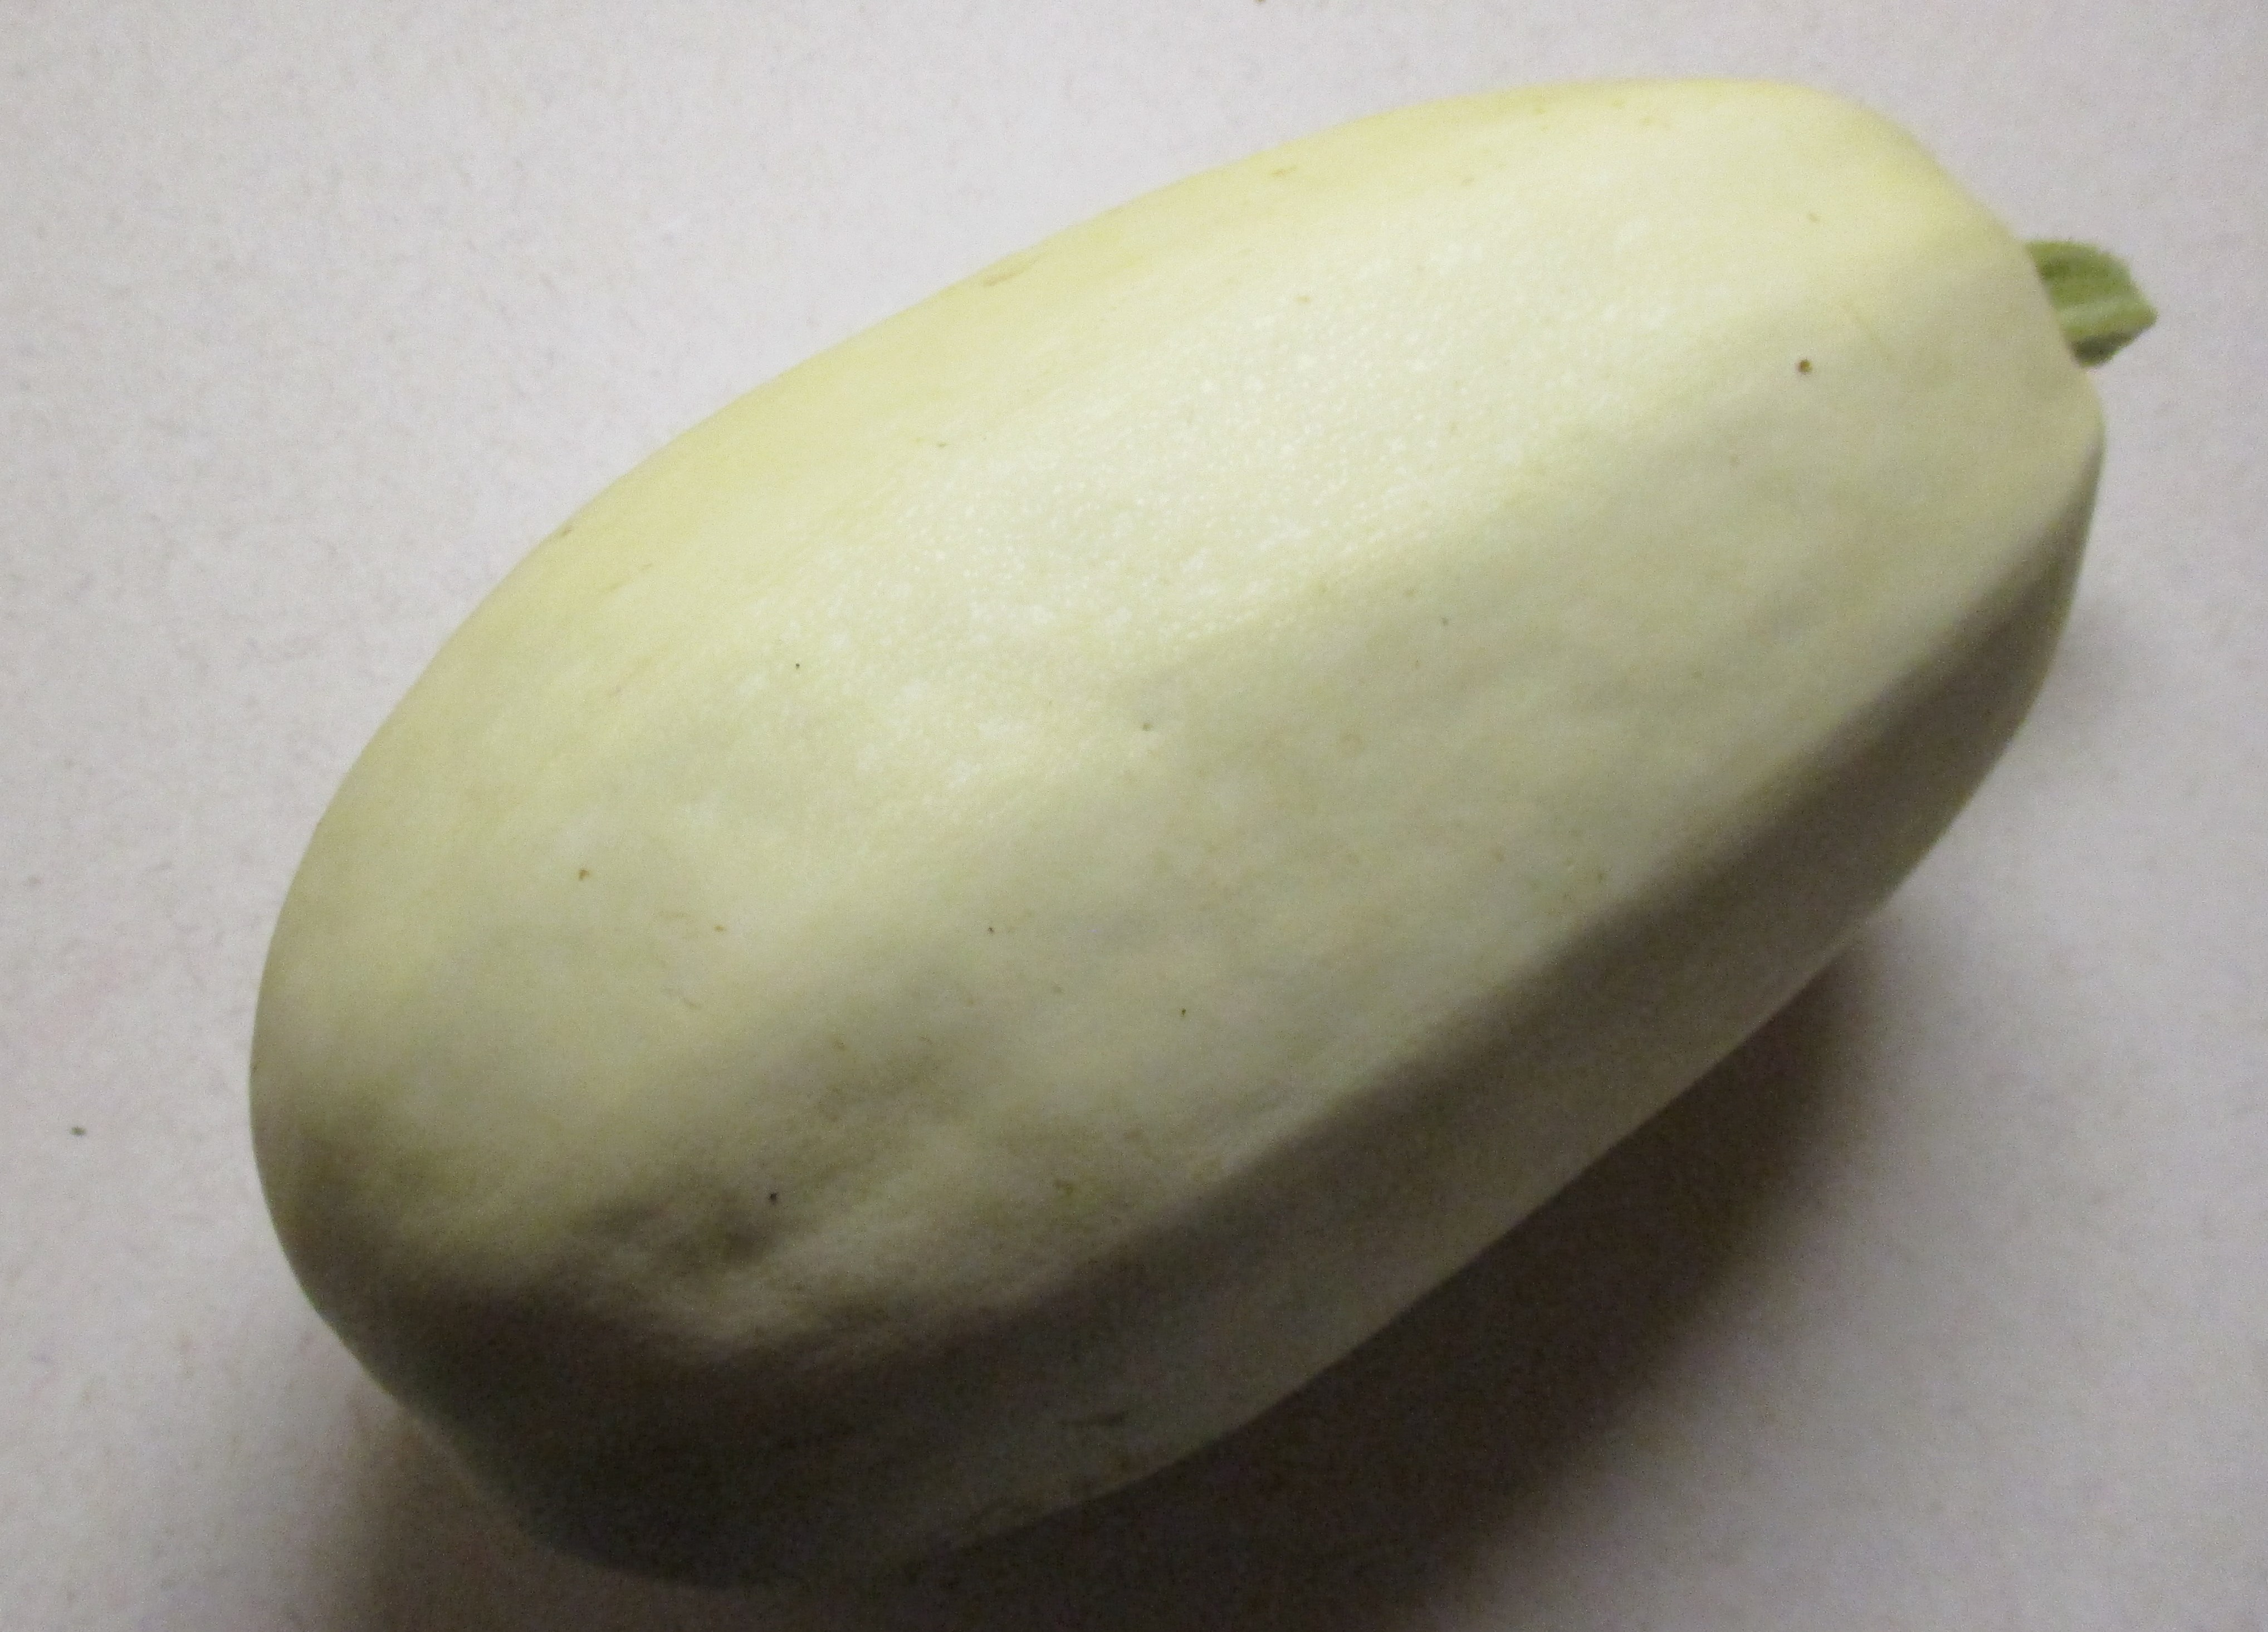 The flesh was the palest of yellows and once it was roasted and raked it gave forth a mountain of “spaghetti” that was the sweetest I’ve ever tasted. I’ve shared other recipes for this squash that can’t seem to decide what it is. Hard shelled and slow growing like its winter cousins but with flesh that flakes into tender strings tasting a bit like summer squash. What ever it is, it’s fun to play with in the kitchen. Who can ever forget the fabulous Spaghetti Squash Lasagna adventure.
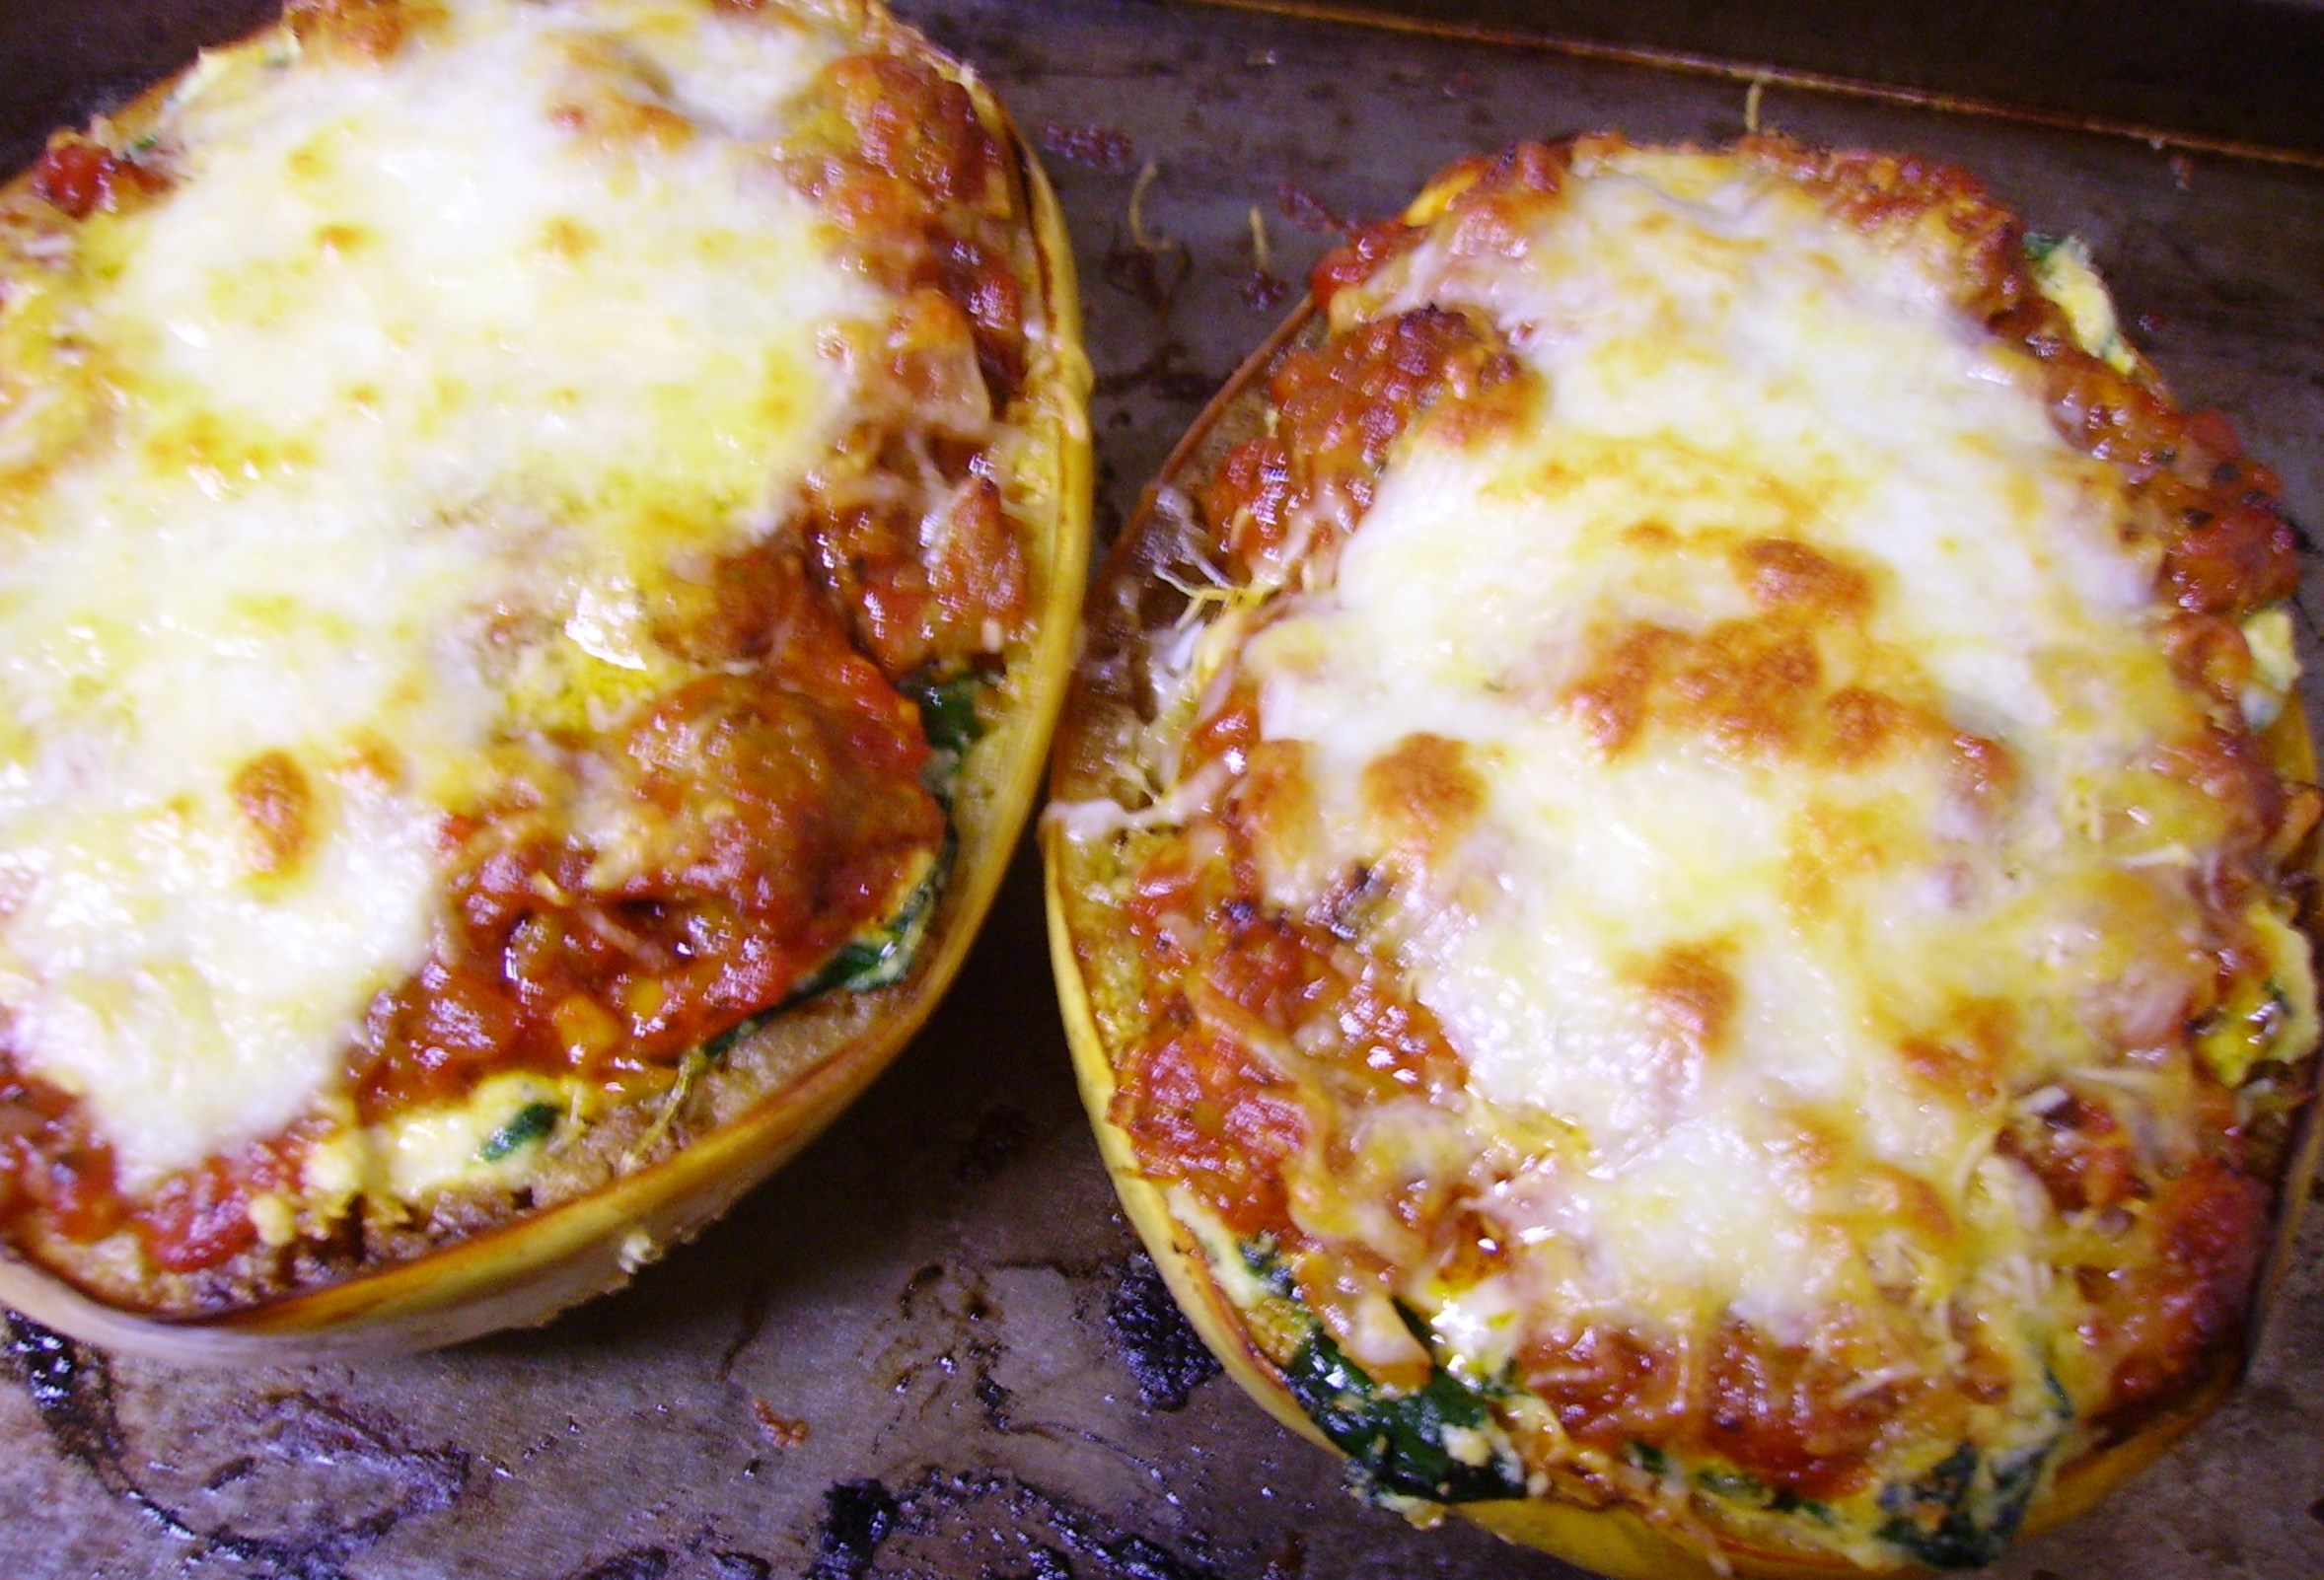 Looking back, it is obvious that I tend to treat this squash like pasta though it has no resemblance in taste or texture to pasta. It is, however a gluten-free choice that packs a bit more fiber in its carbs than the real thing. These are facts that only make me love it more, not to mention that it is quite tasty with an interesting texture.
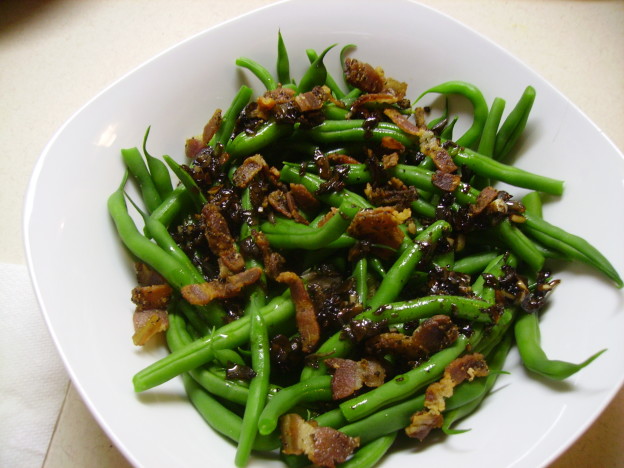
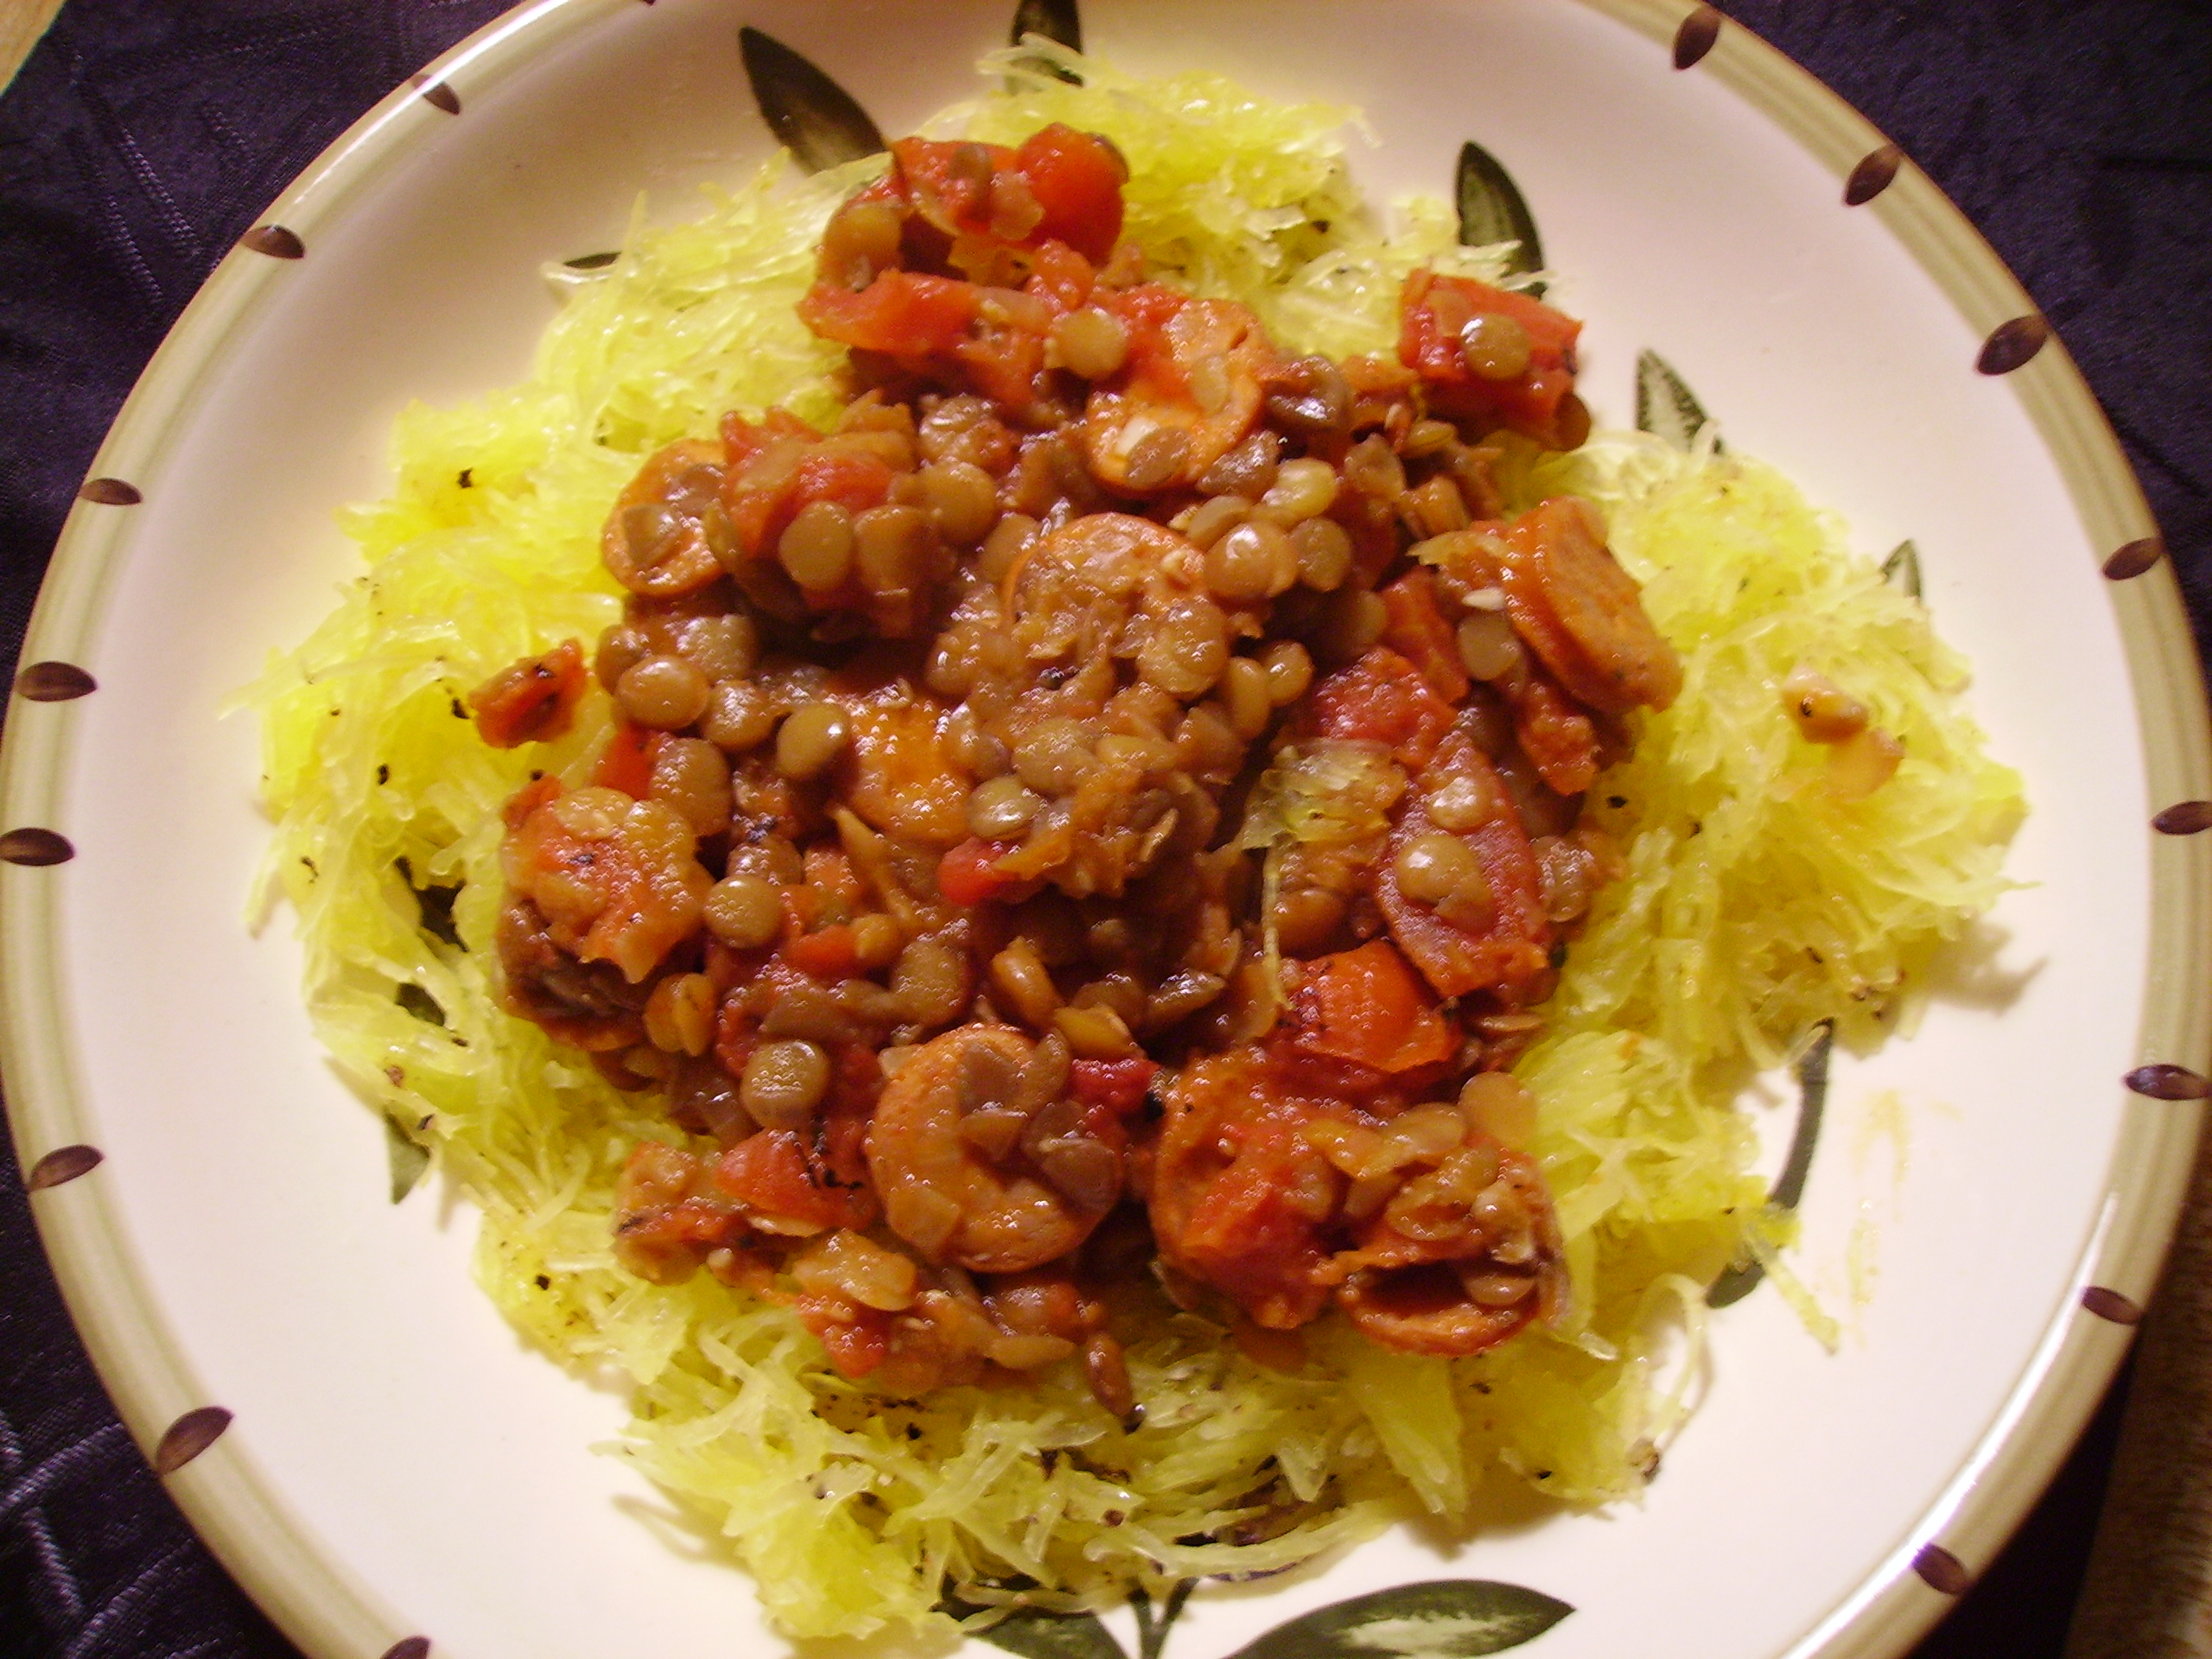 I’ve topped it with lentils and tossed it with spinach and bacon. It also
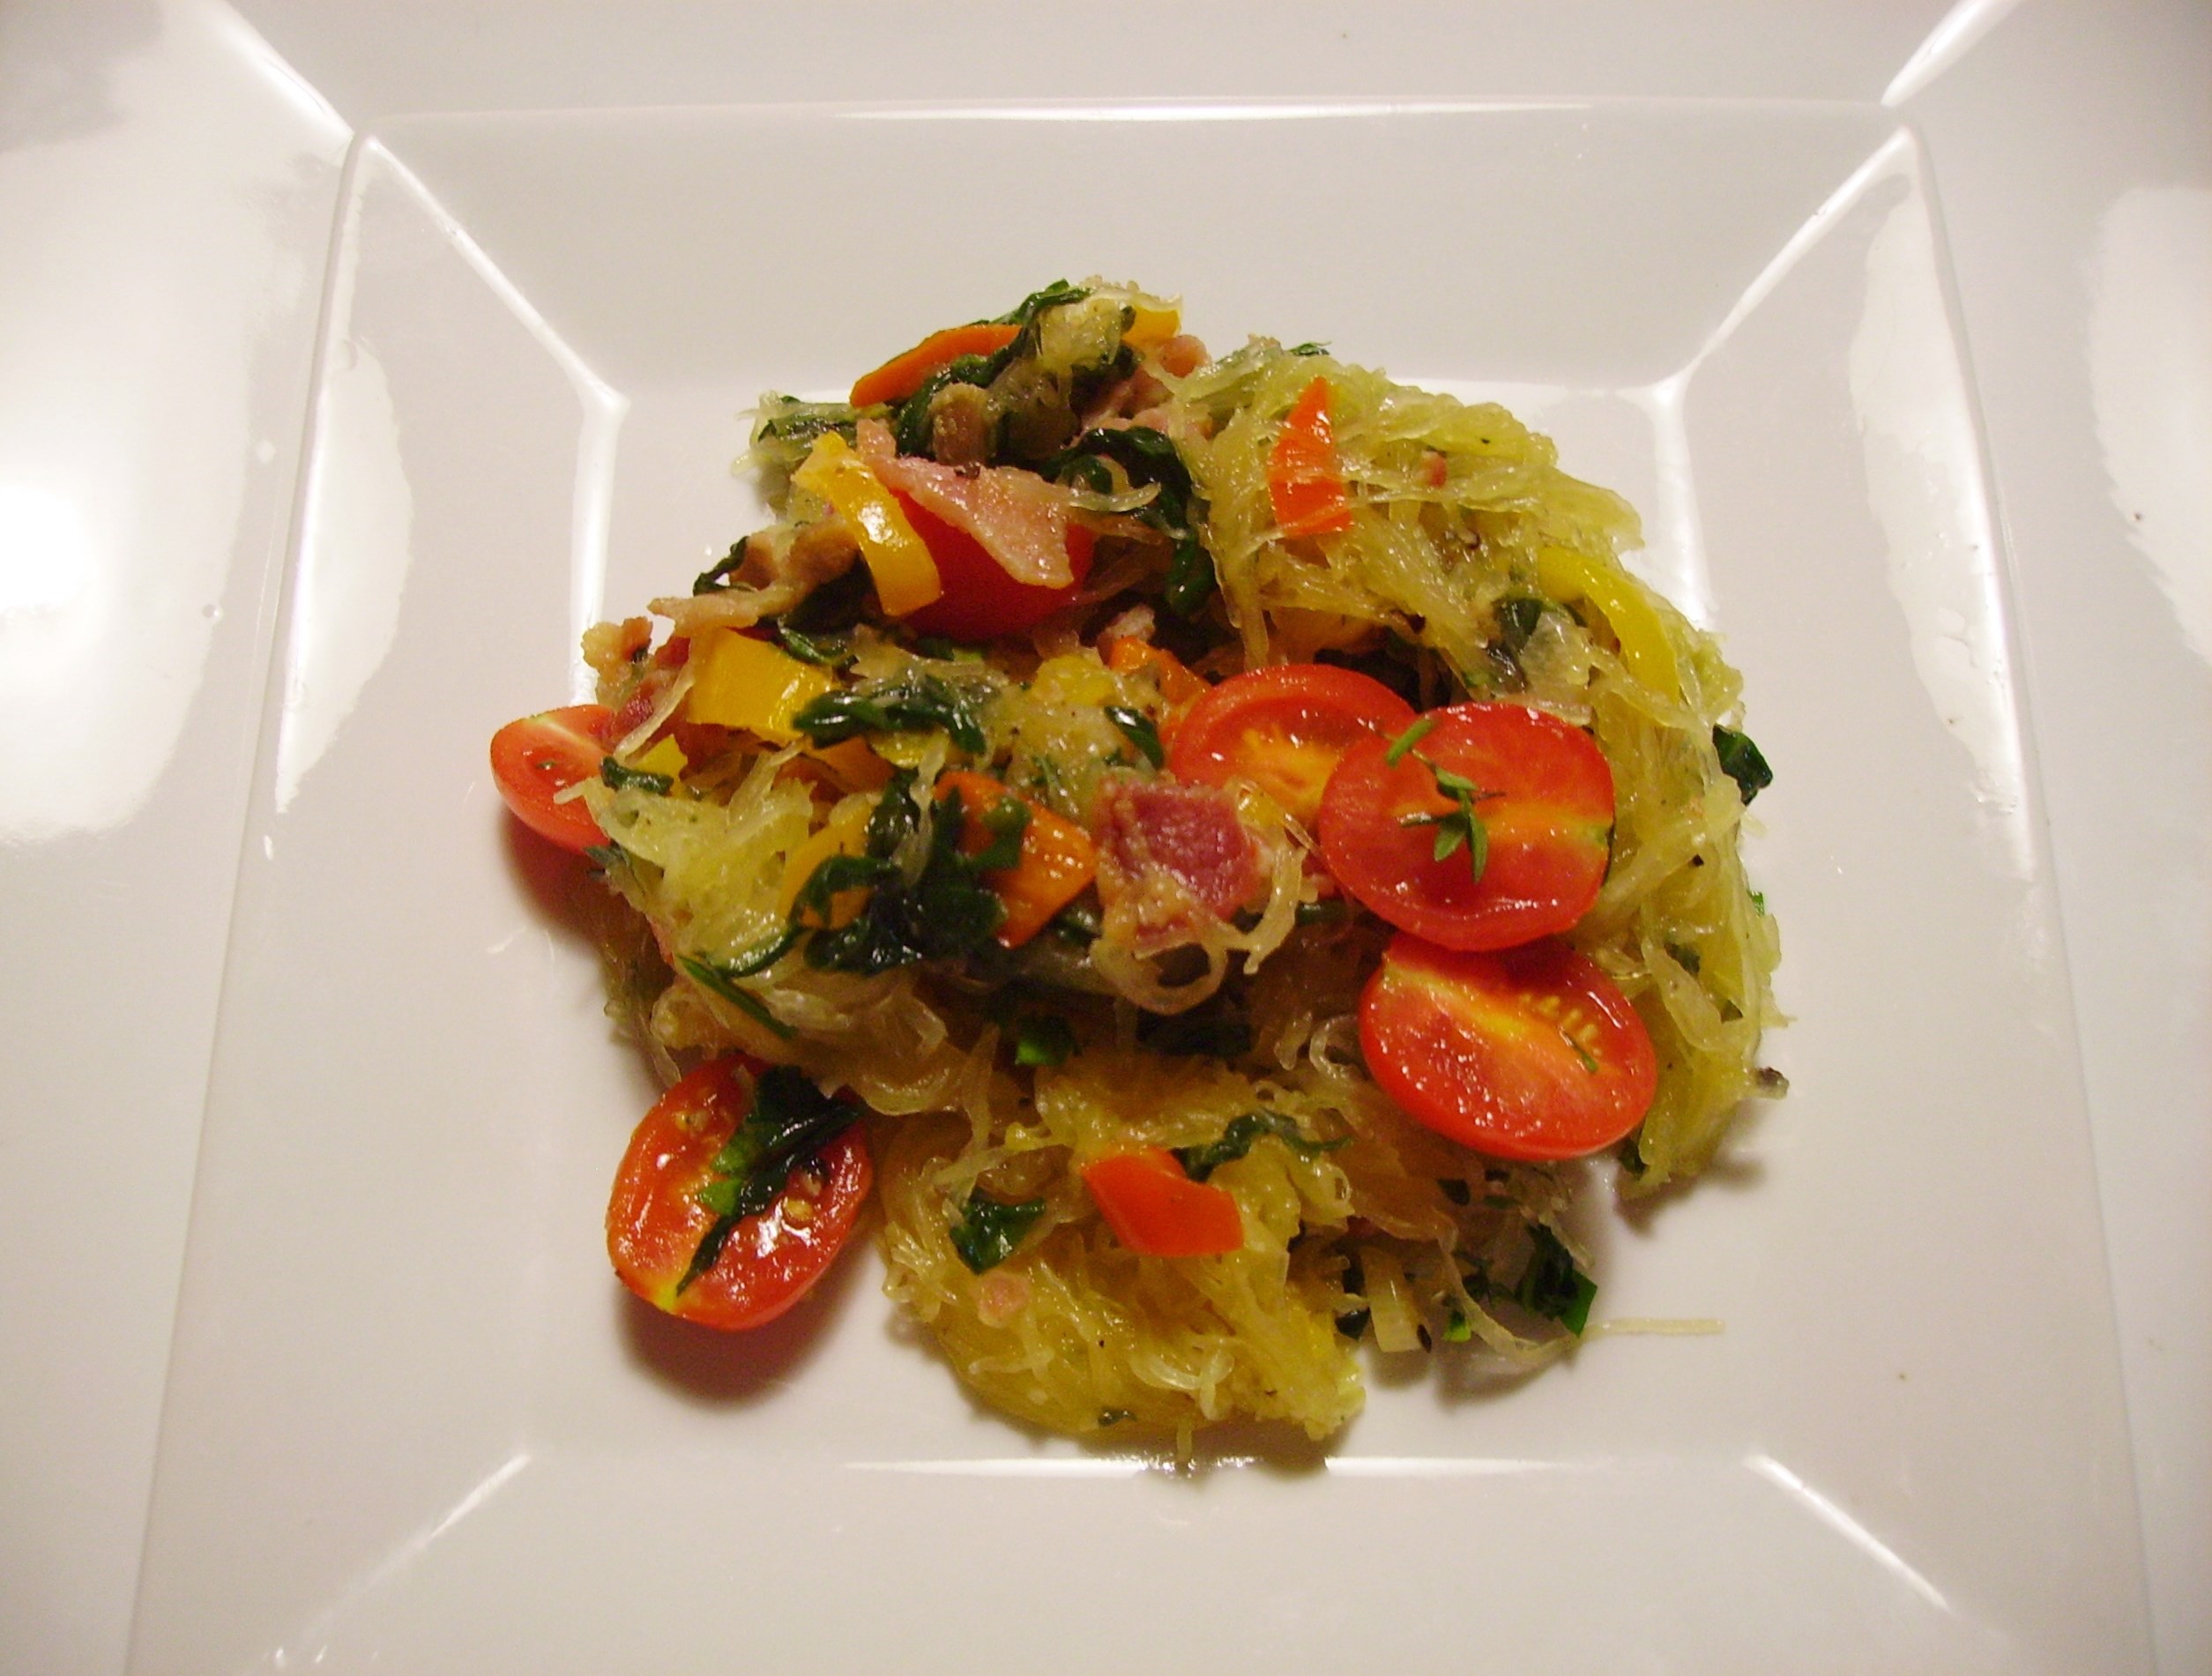 makes a stunning side dish when combined with other vegetables. For all of these quick cooking dishes, the spaghetti squash must be pre-cooked. My favorite way to prepare it is to roast it in the oven. Okay, it’s also because I don’t have a microwave, which is a slightly quicker technique though I’ve found that squash explosions can be nasty to clean up. Experience has also taught me that boiling a large heavy squash in scalding hot water can cause some pretty serious burns. Kitchen mishaps not withstanding, it looks so pretty after it is roasted.
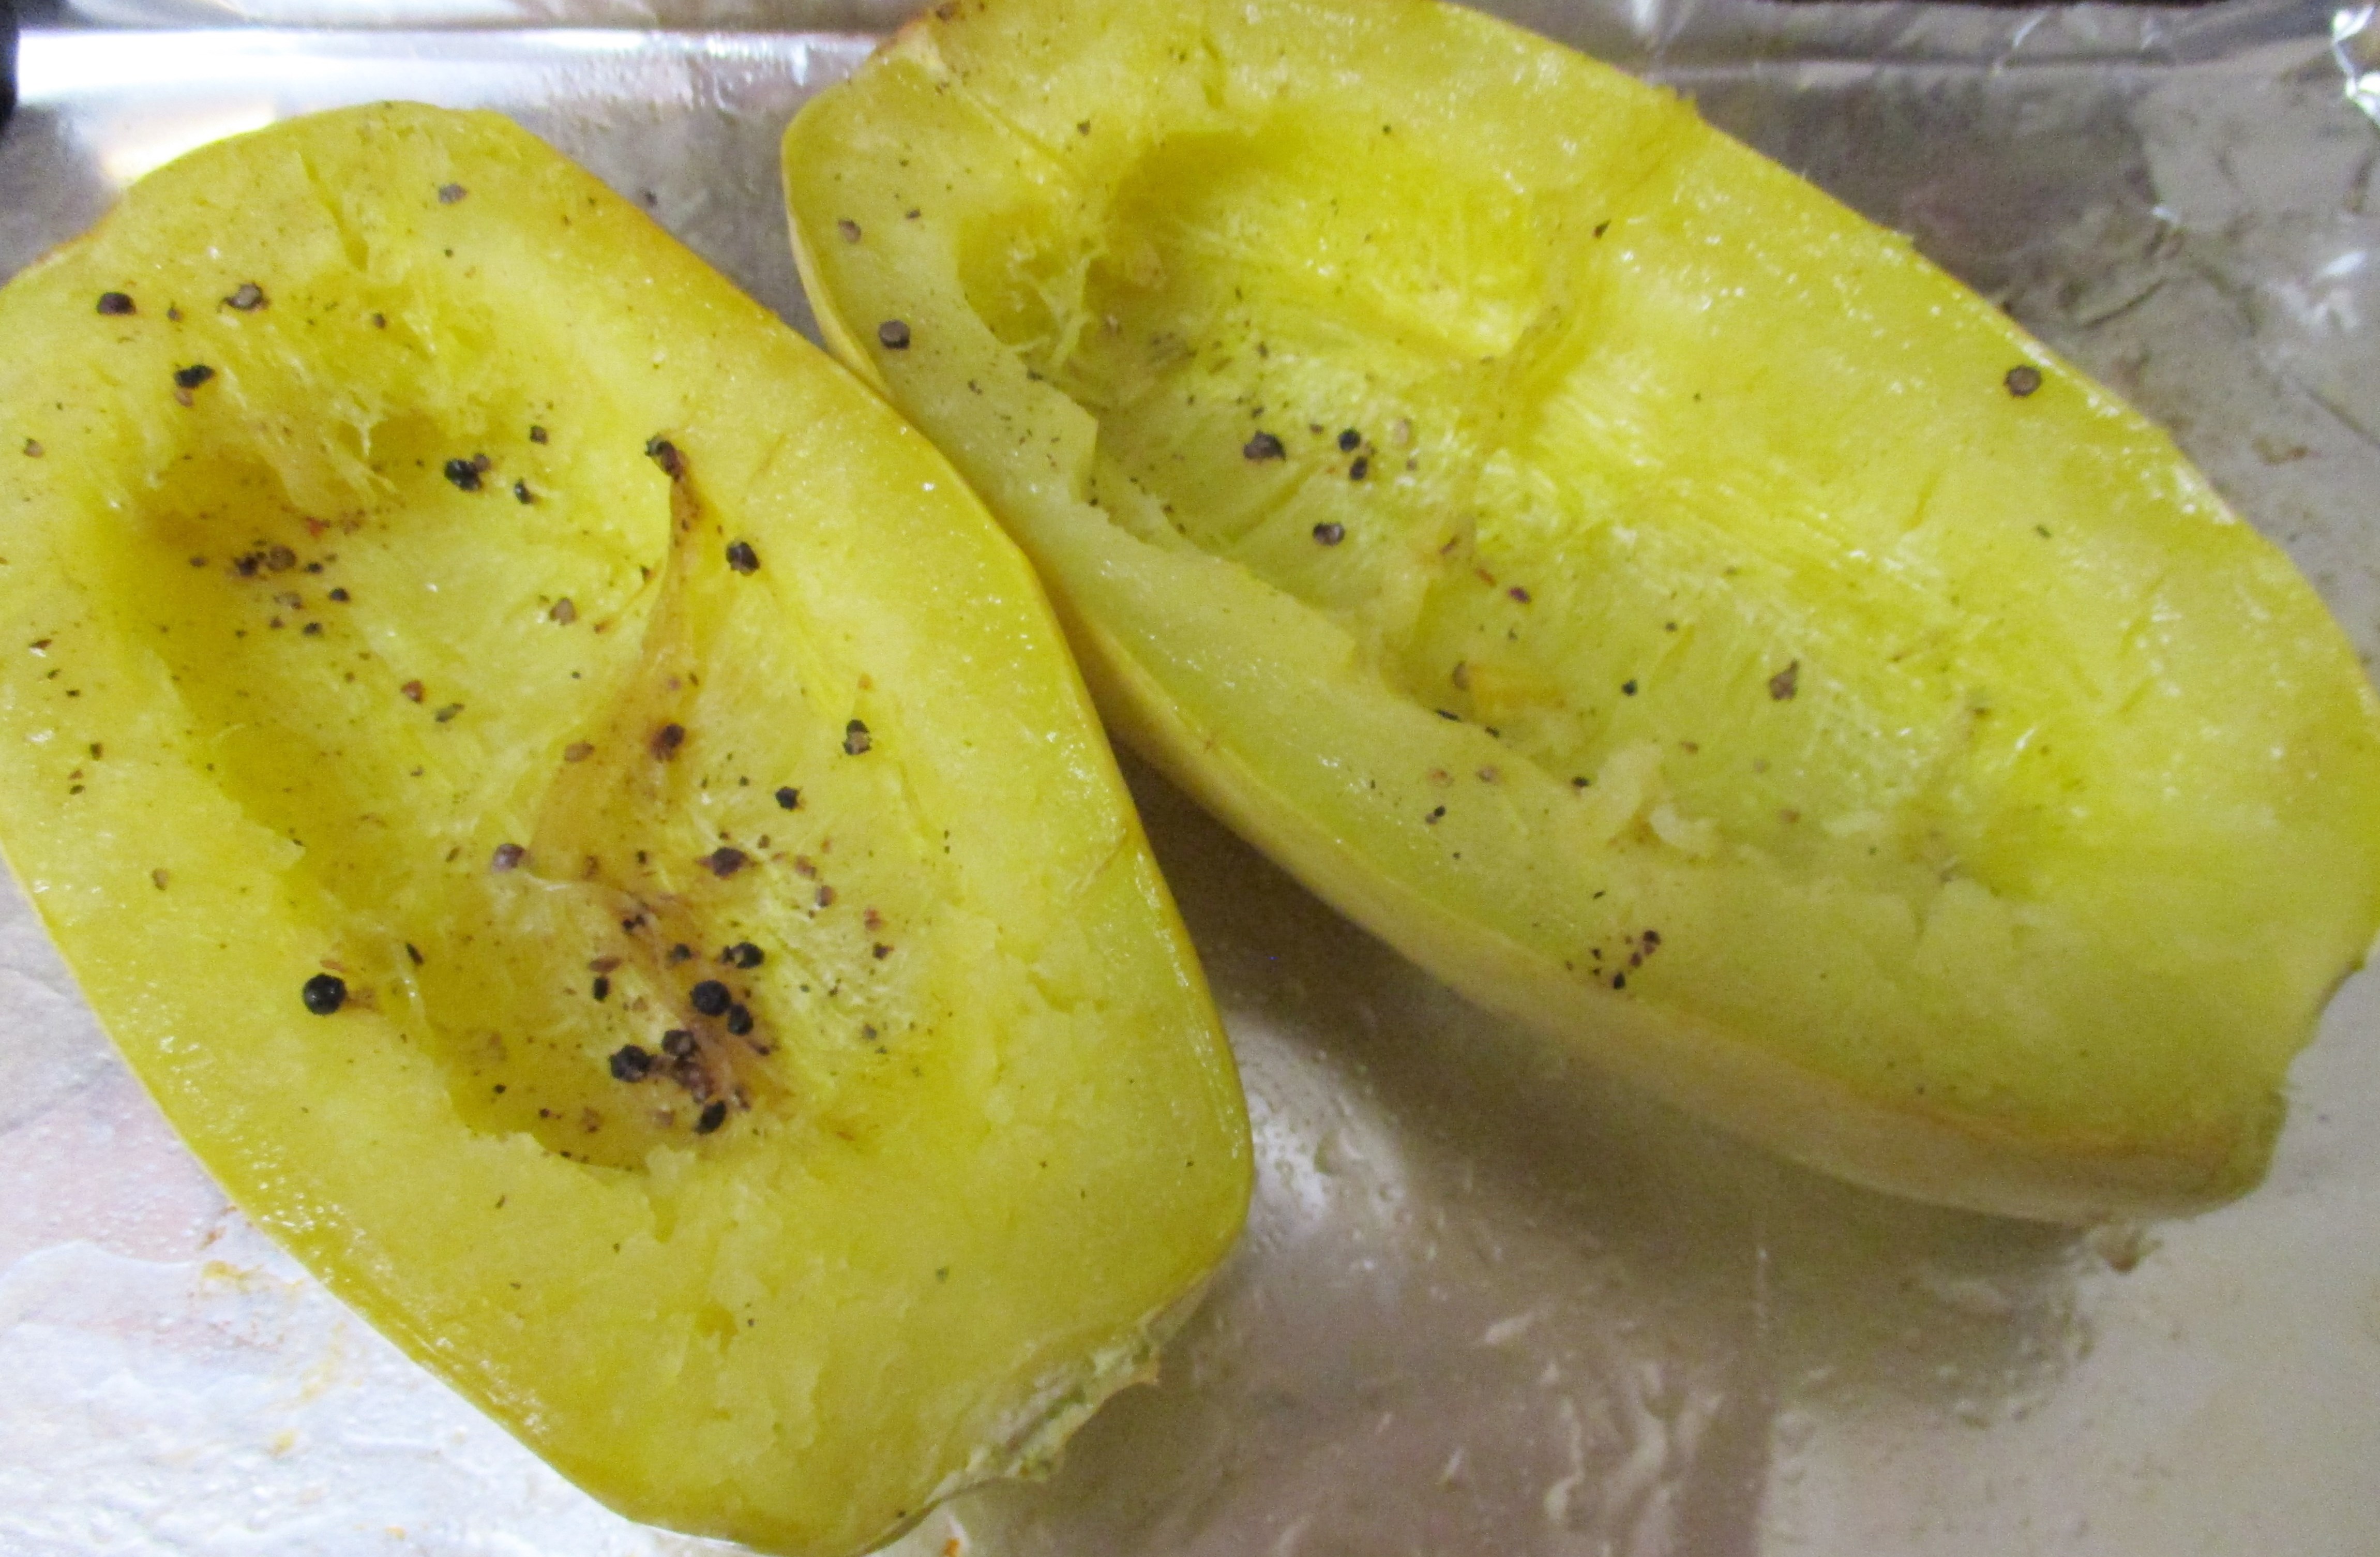
ROASTED SPAGHETTI SQUASH: Cut the squash in half lengthwise and scrape out the seeds. Drizzle each half with olive oil and season with salt and cracked black pepper. Place cut side down on a rimmed baking sheet that has been lined with foil and lightly coated with cooking spray. Bake in a 375 degree oven for 30 – 40 minutes. The squash should give slightly when pressed. Allow to cool slightly. Using a fork, rake the flesh. It should turn into thread-like ribbons. Use this golden wonder as a pasta alternative or let it be part of a vegetable stir fry. The possibilities are endless.
Now that I have shared my garden adventures and two non-recipe, recipes, I’ll leave you to check out my earlier squash adventures. Just click on the red links to see where spaghetti squash has taken me. Oh, and do make every effort to enjoy these last few weeks of summer…you know what is just around the corner.
Share this: