
My goodness but time flies…we are into the double digits of March! There’s been a good amount of stuff going on in the kitchen, but there’s been a lot going on in life so time to sit right down and write has been limited. so here I am to share the highlights of the last few weeks.
Another generous birthday gift from my kids was a three dinner box from Blue Apron. This is one of the increasing number of sites that will send you all the ingredients needed to create home cooked meals. This is totally outside my wheelhouse, but it was a lot of fun to give it a whirl. It was fun to have a virtual mise en place, in place. The Spicy Shrimp Pasta that was the result was pretty tasty, too.
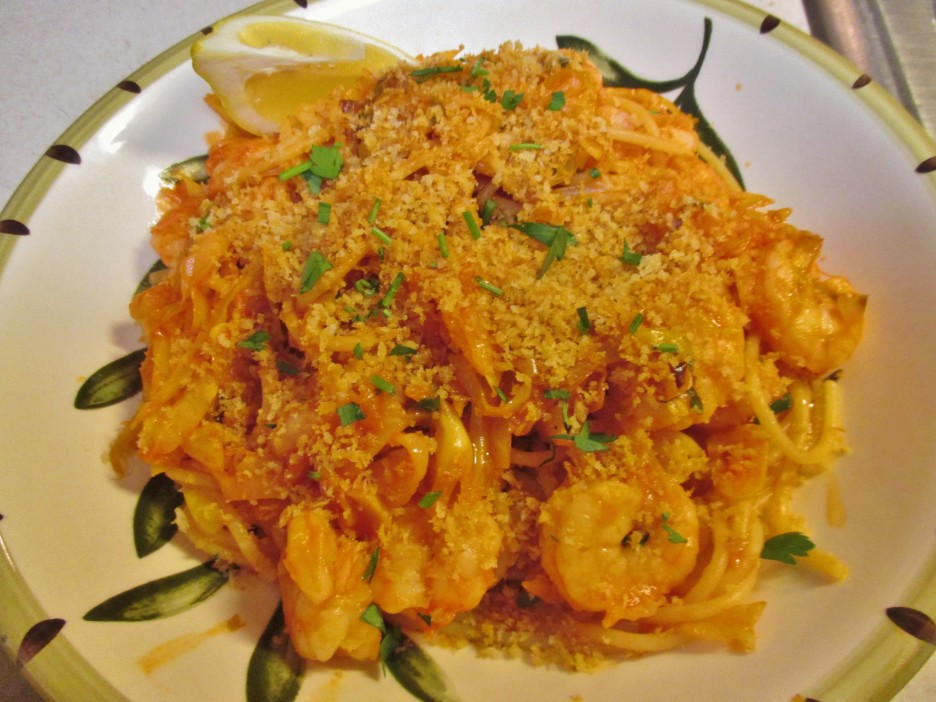
 We also enjoyed a Pub Burger on a Pretzel Roll that featured an
 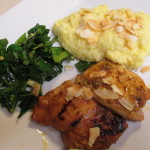 awesome Cheddar Cheese Sauce and Oven Fried Sweet Potatoes. I added some Honey Mustard Cole Slaw to balance things out. The final dinner was a Trinidadian Curried Chicken with Coconut Grits and Sautéed Collard Greens. By this time, I was I was ready to take a few liberties. I left the chicken thighs whole and cooked them on the grill. I only used a little of the herb mix that was included because I didn’t care for the taste. The grits were heavenly and the collard greens were the perfect side dish. Services like this have a place in many kitchens; great for busy couples that still want to have a home cooked meal. Being Mama D, I don’t always enjoy being told what to do,but in spite of that, I’m glad I got to try out this way of cooking. In between my Blue Apron Adventures, I was creating some dishes of my own. Here’s one that was particularly enjoyable….
 We’re slowly creeping into spring, but cold snaps are still popping up, so something hearty and warm is often a welcome supper.
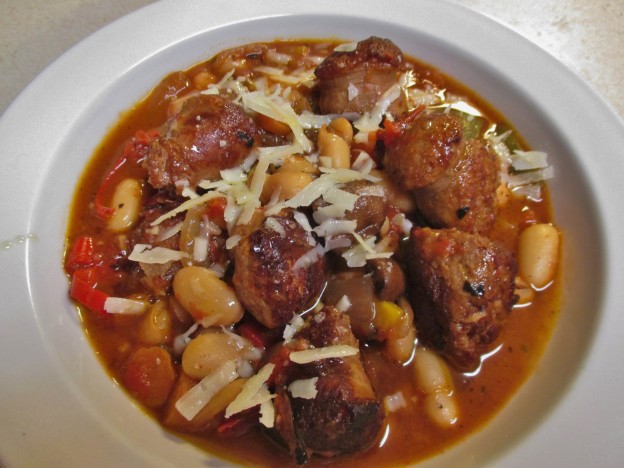
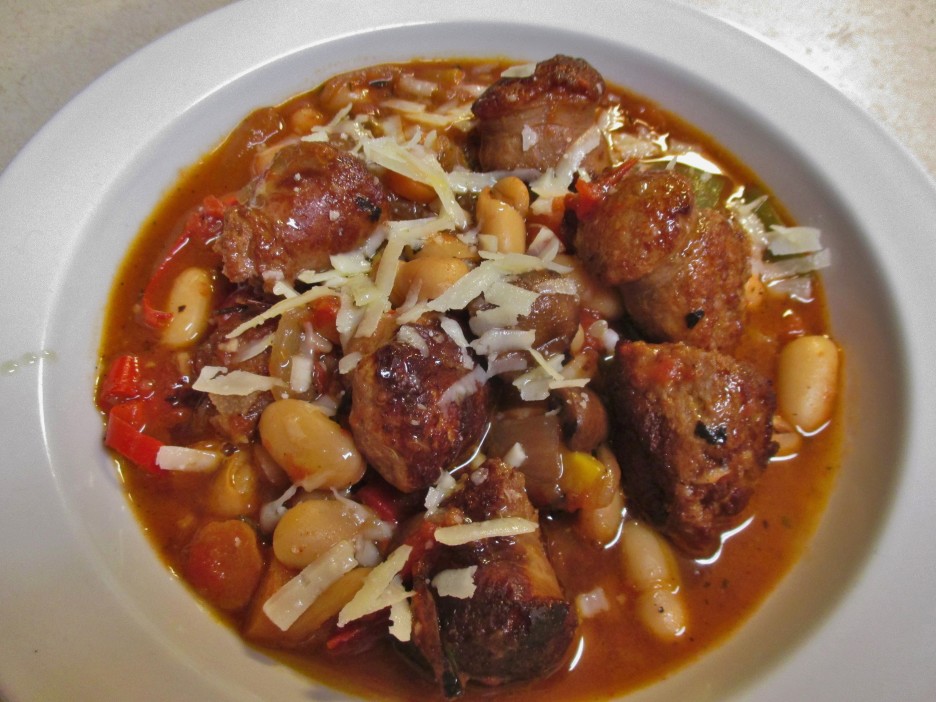
 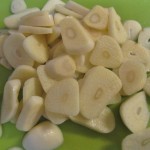 That’s how this Italian Sausage and Cannellini Stew came to the table. The cast of characters predominately came from cleaning out the refrigerator. Small amounts of veggies that couldn’t stand alone were combined with Turkey Italian
  Sausage and Cannellini Beans. I sliced what seemed to be a ridiculous amount of garlic, which turned out to be just the right amount. Chicken stock
  and fire roasted tomatoes created the liquid that was fortified with the wine left from the previous night’s dinner (yes, once in a while we don’t finish the bottle). I dubbed this a “stew” mainly because the liquid was less than what I would use in a soup. While stews usually simmer for an hour or more, this pot of goodness only took about 30 minutes Things came together quite nicely resulting in a stew that tasted like it simmered all day.
 As with any of my recipes this is just a suggestion of the direction the dish can go. Use what you have on hand or love. Change the ingredients as much as you want. This is not a dish that comes in a box ready for you to prepare (not that there’s anything wrong with that). Here’s what I did…now make it your own.

Share this:


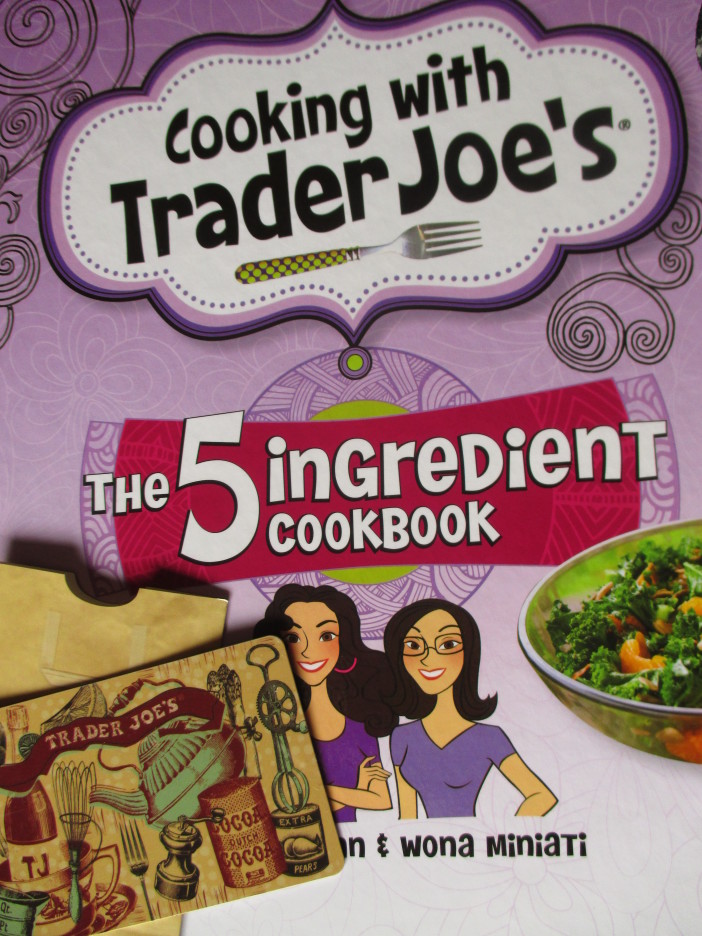 What was Mama D to do? As this site illustrates, I generally cook with more than 5 ingredients at a time. Still the book was fascinating. Lots of the recipes sounded delicious, and the limited number of ingredients made it all seem do-able, so armed with my gift card and some recipe ideas from the book, I paid a visit to my local Trader Joe’s. I came home with two bags of goodies. A few of my favorites like White Cheddar Popcorn and Frozen Artichoke Hearts had to come home with me (just because), but I also picked up some recipe specific items. Case in point; Frozen Country Potato Blend and Frozen Pie Crust both of which were new to my kitchen. These were the cornerstone of what sounded to be a great Meatless Monday supper, Country Potato Quiche
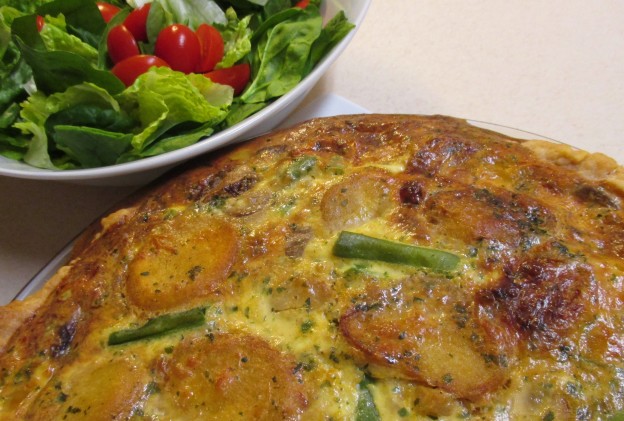
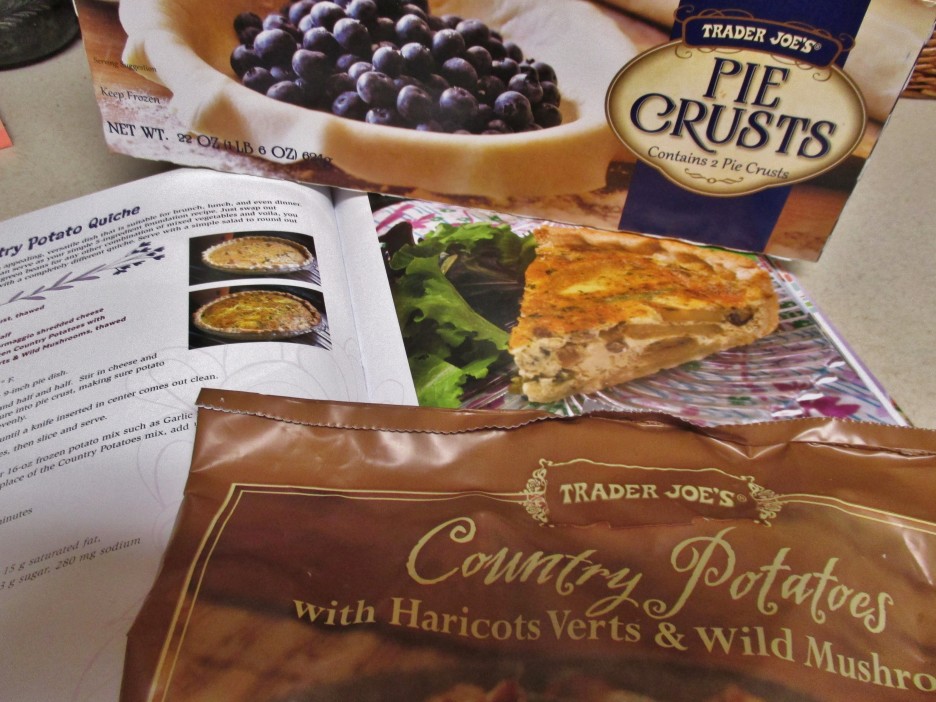 Besides these two ingredients the remaining cast was filled out with eggs, grated Italian Cheese blend, and some fat-free half and half (the last 2 being my personal substitutions). This was my first foray into frozen pie crust and I can’t say that I am a fan. The crust thawed into pieces, but once I gathered the pieces together and re-rolled the crust, I was in business. The filling was easy enough to make. All I had to do was mix the ingredients together in a bowl. The potato medley was quite unique as are many of the items at T.J.’s. Fried potatoes, green beans, and mushrooms made an intriguing and tasty base.
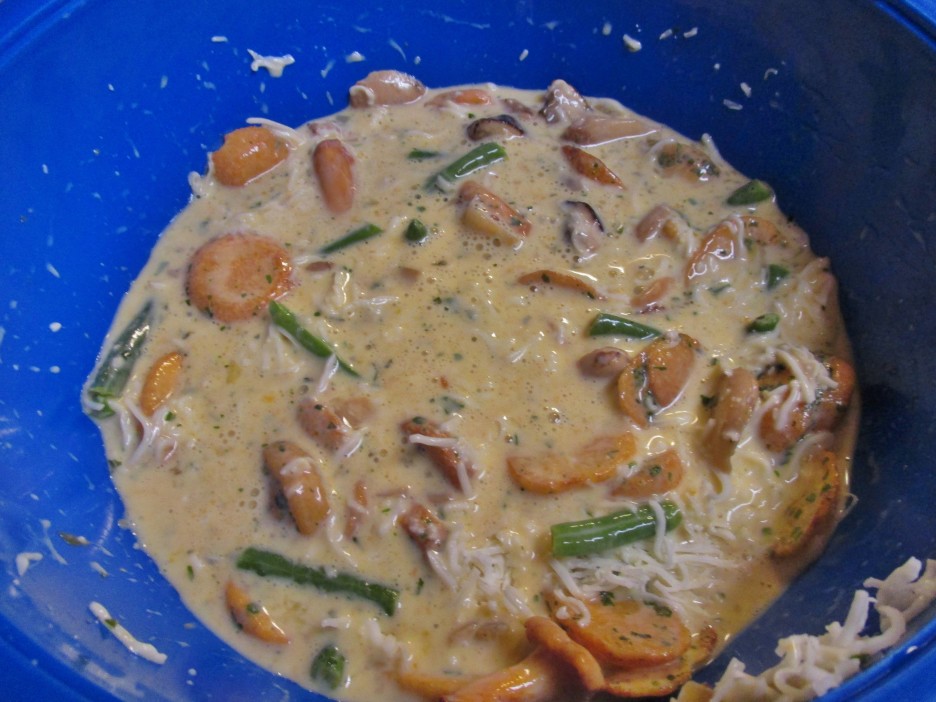 I decided to pre-bake the crust for 10 minutes to guard against a soggy bottom. Then it was a matter of pouring the generous filling into the crust (thankfully the pan was on a rimmed baking sheet which averted sure disaster). Once out of the oven it rested on its laurels for 15 minutes before making its way to the table, our plates, and ultimately our stomachs. A simple salad was the only other thing that was required (oh yeah, and a nice Pinot Noir)
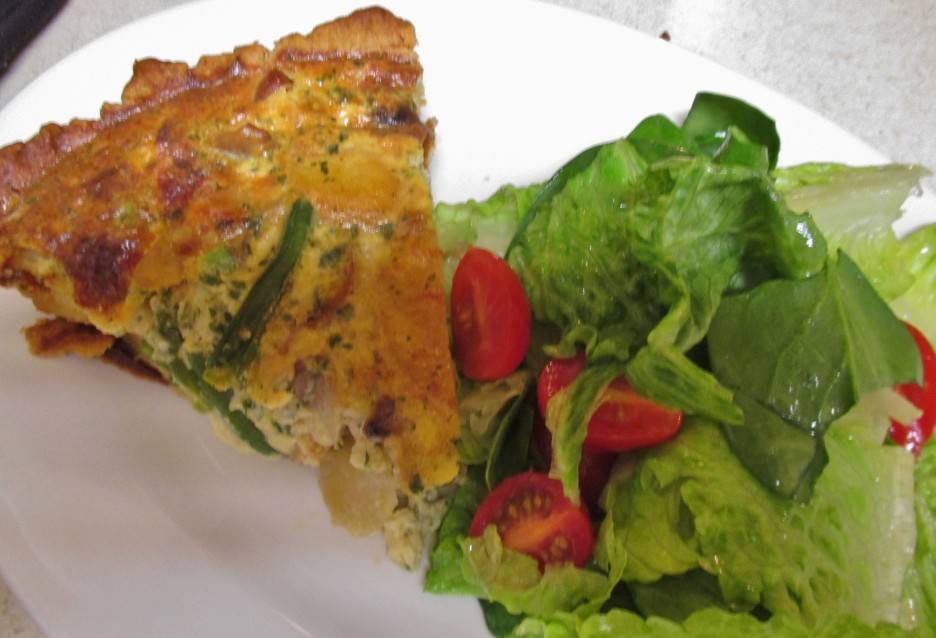


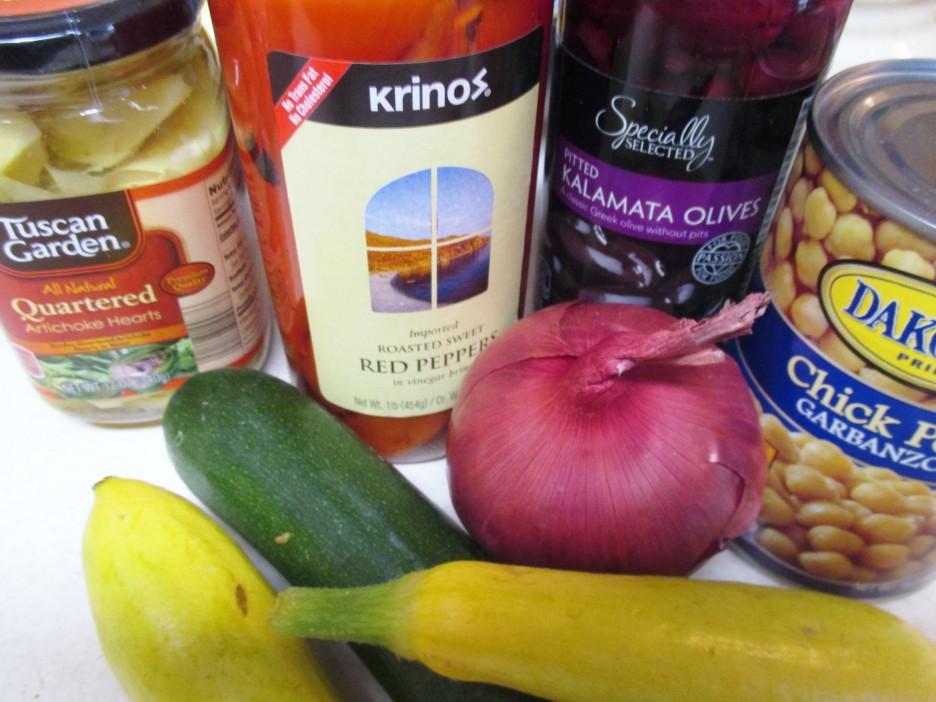
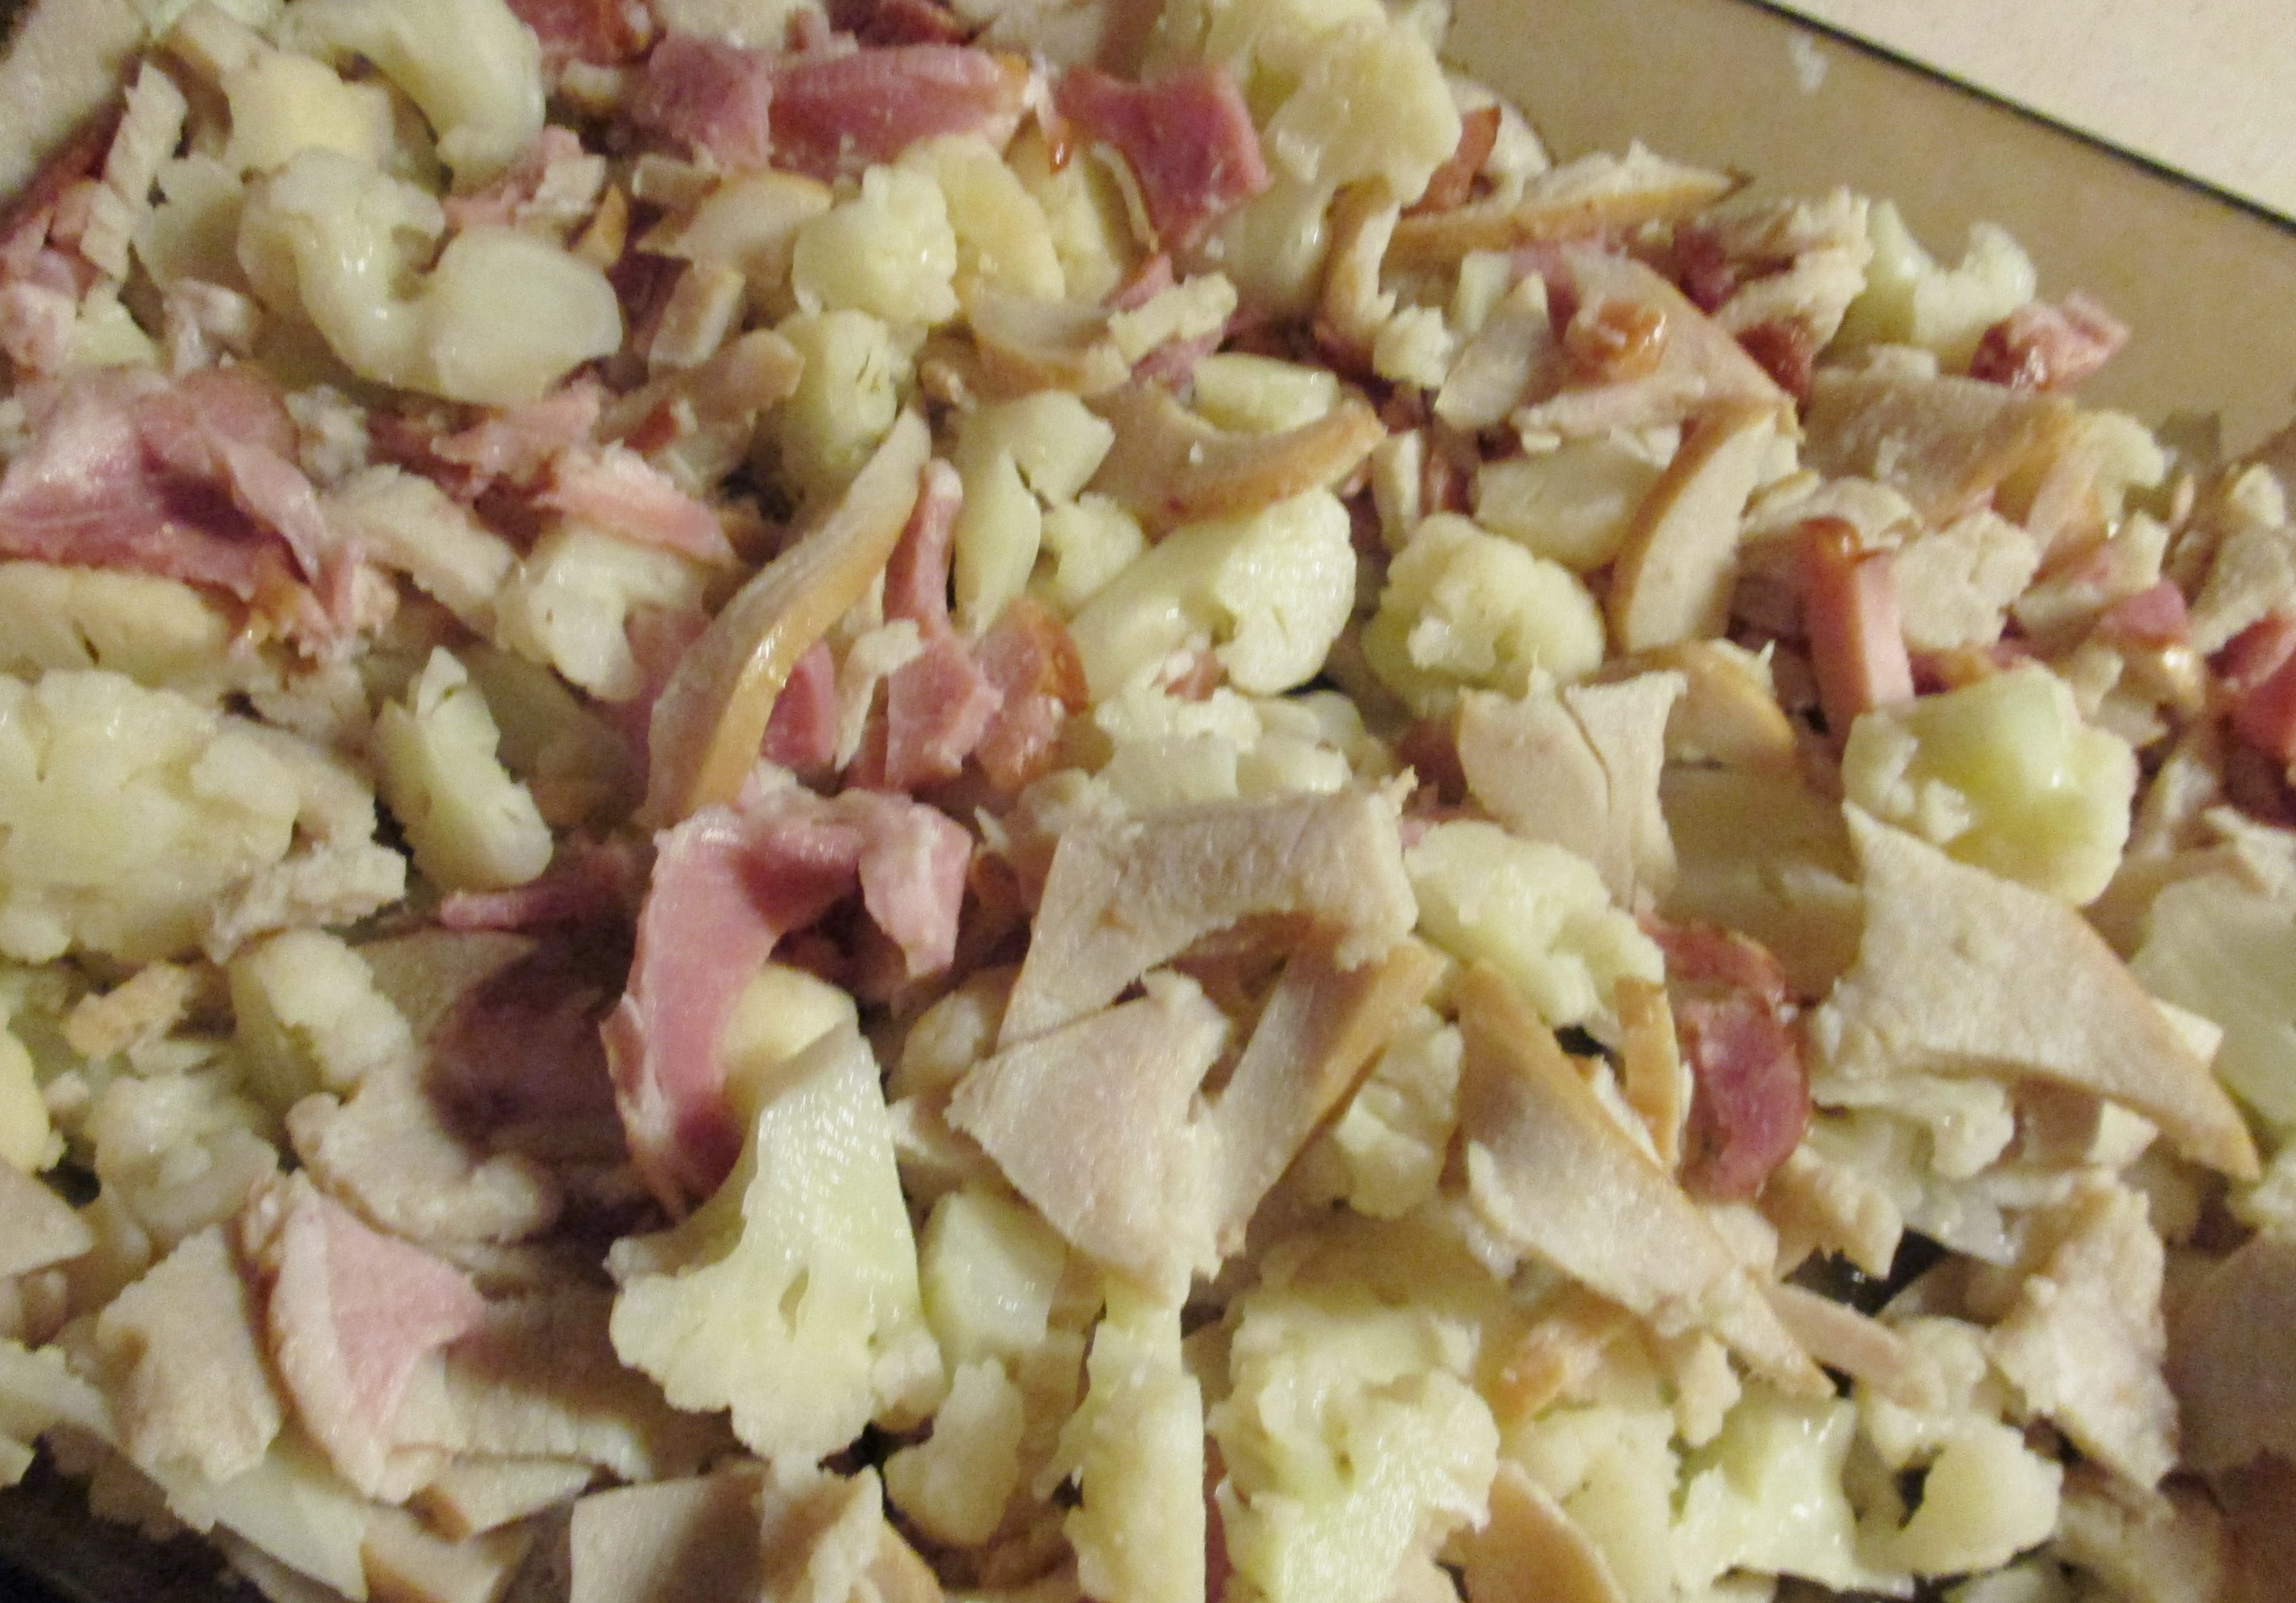
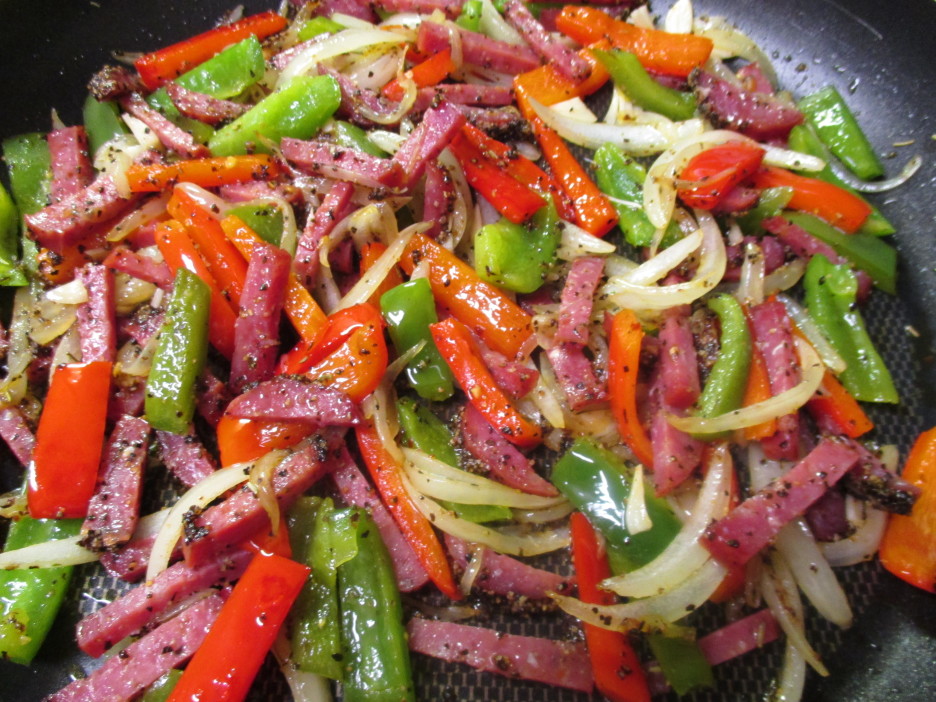
 As the picture indicates, a good many ingredients came out of jars…not that there’s anything wrong with that. Coarsely chopped, they waited on the sidelines until the time was right.
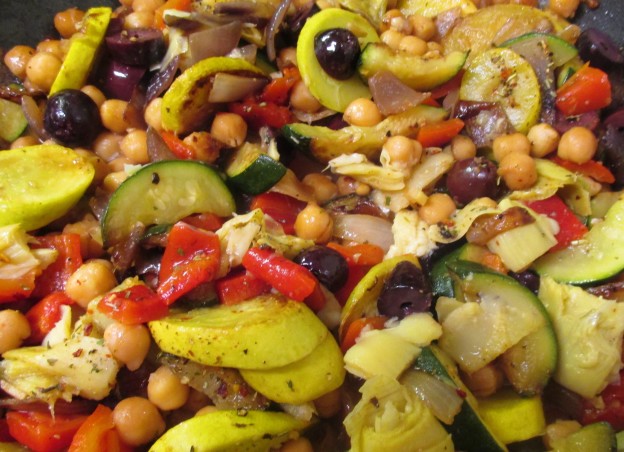
 Once the garbanzos and squash were what I considered the perfect color, the rest of the veggies went into the pan.
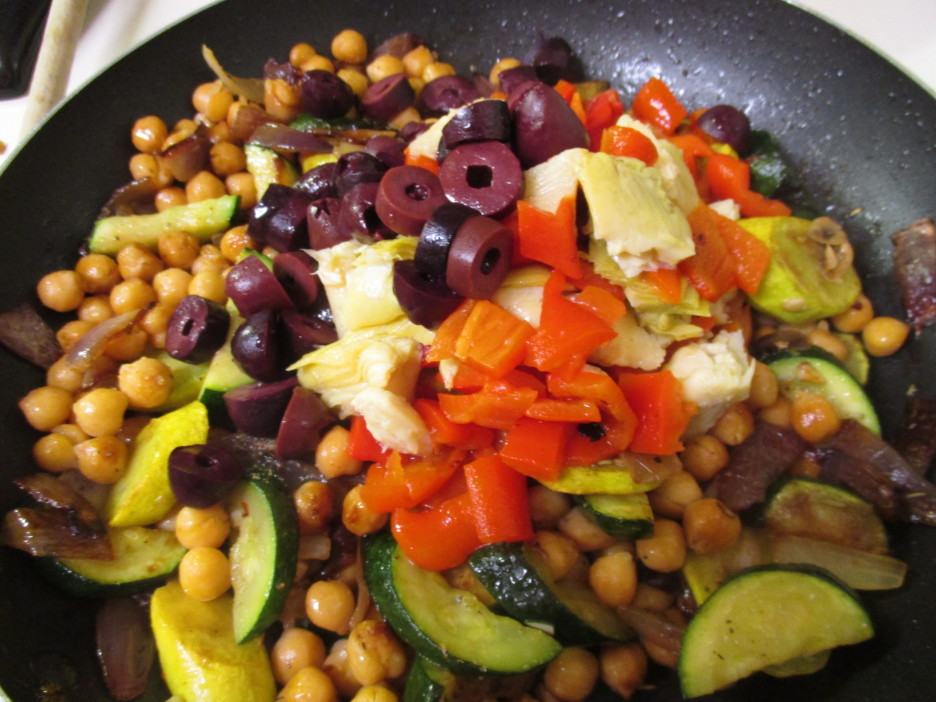 All that was needed now was a little lemon juice, a bit more olive oil, some Italian herb blend and fresh rosemary. The farro created a rich brown bed of grainy goodness (absolutely love this stuff) that cradled the vegetables nobly. Some crumbled feta sat on top in blinding white splendor. This was truly a meal for the gods…Greek or otherwise.
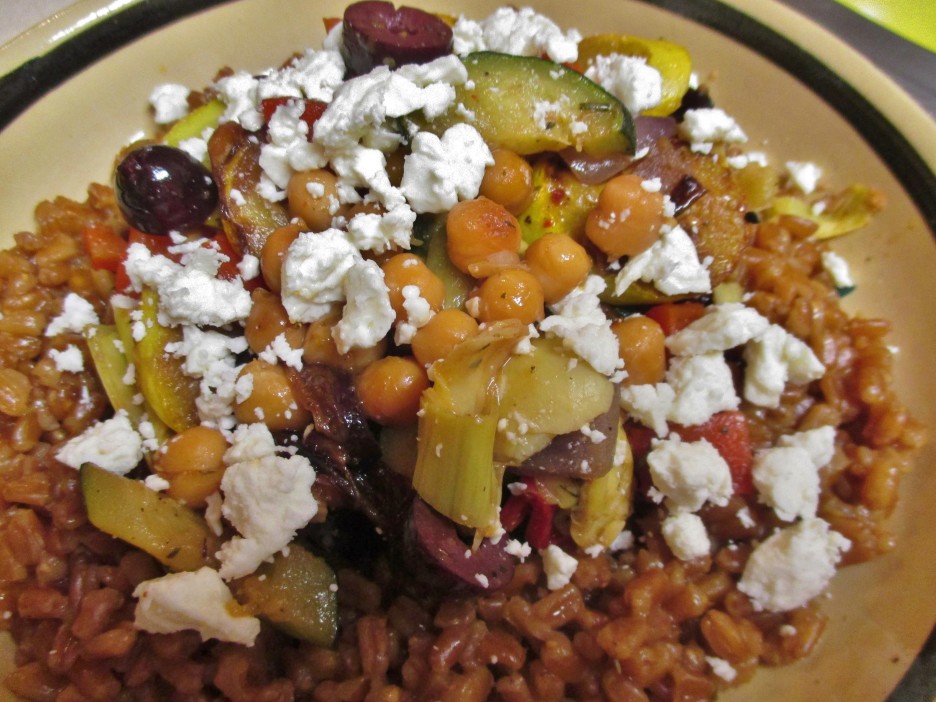 The beauty of this recipe is that is the entry-level to so many other creations. Try it with your favorite veggies and grains; go for a different ethnic flavor; or just give my recipe your own personal spin.

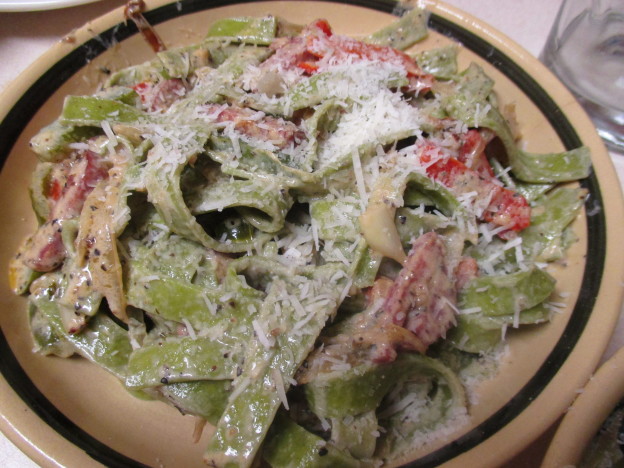

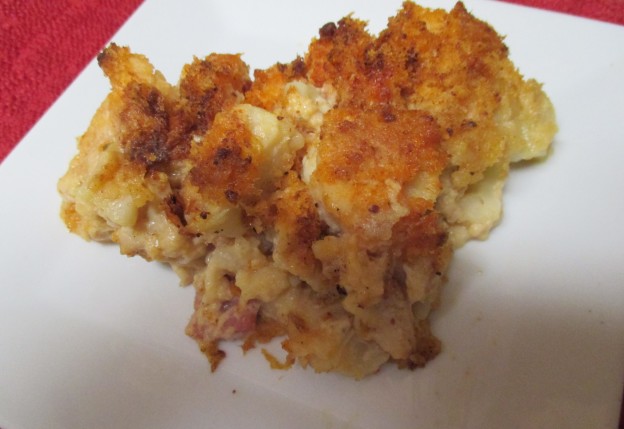
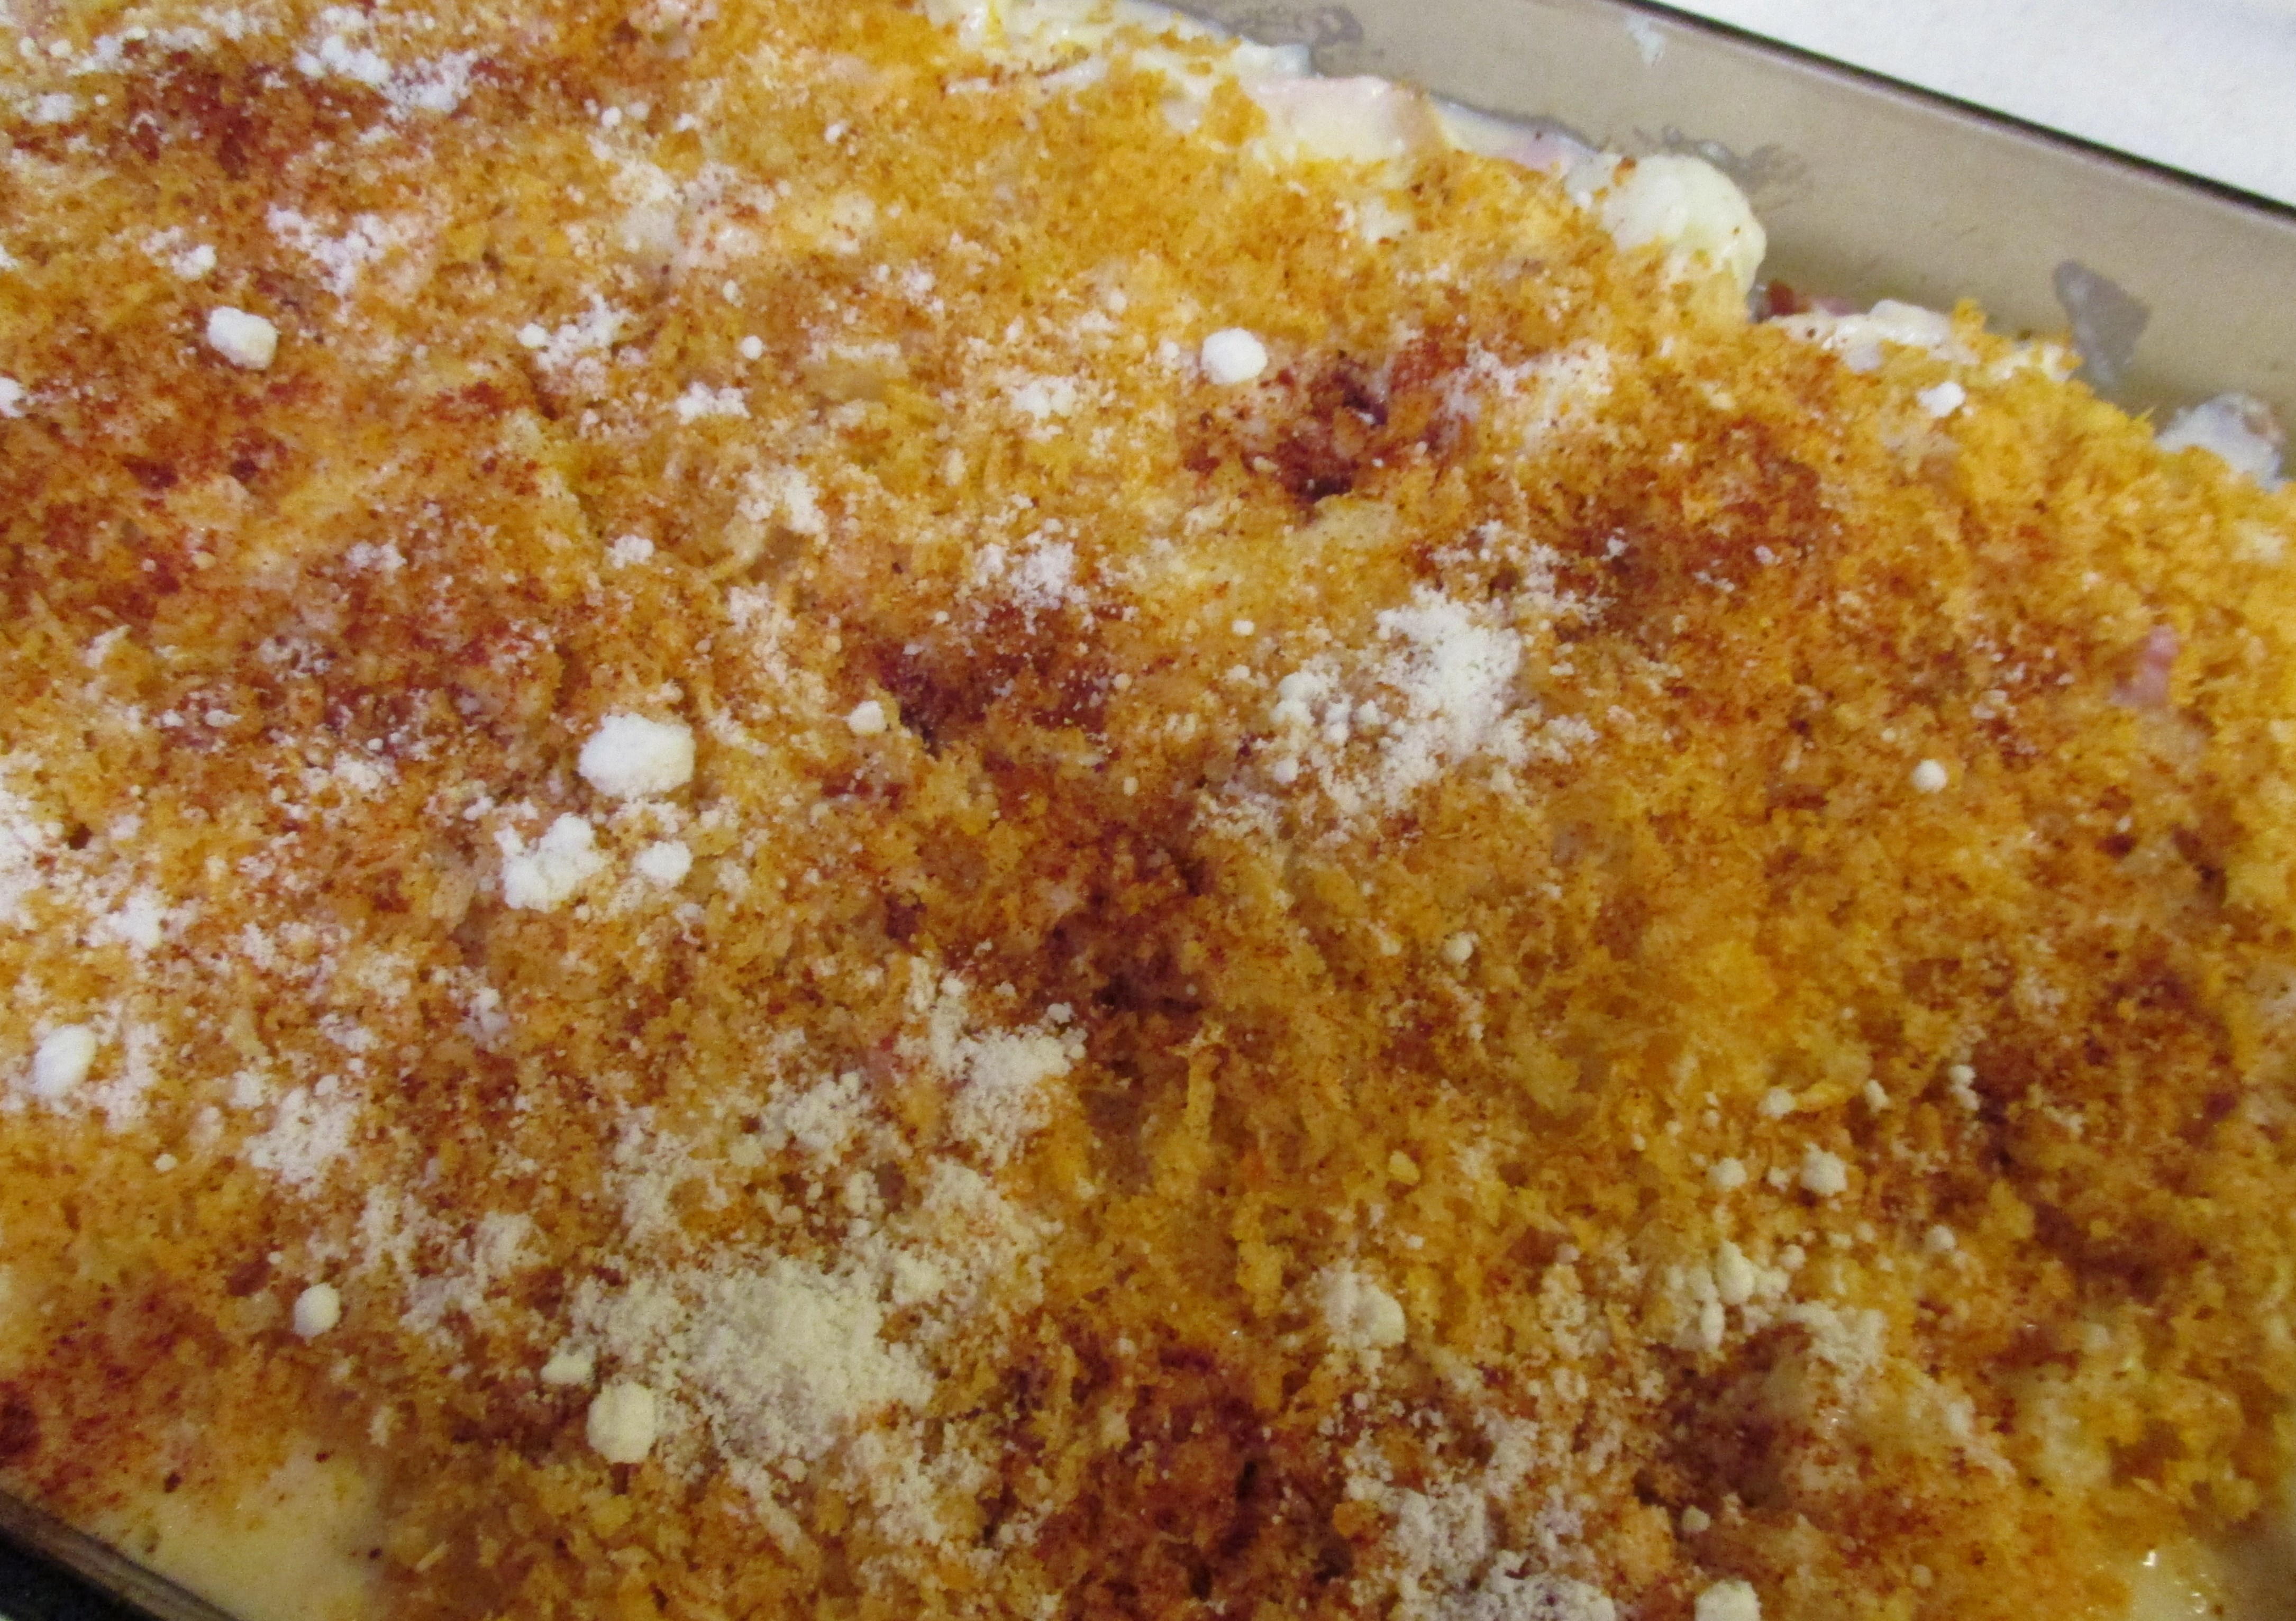
 A touch of heavy cream and some milk created a sauce that enveloped the dish luxuriously.
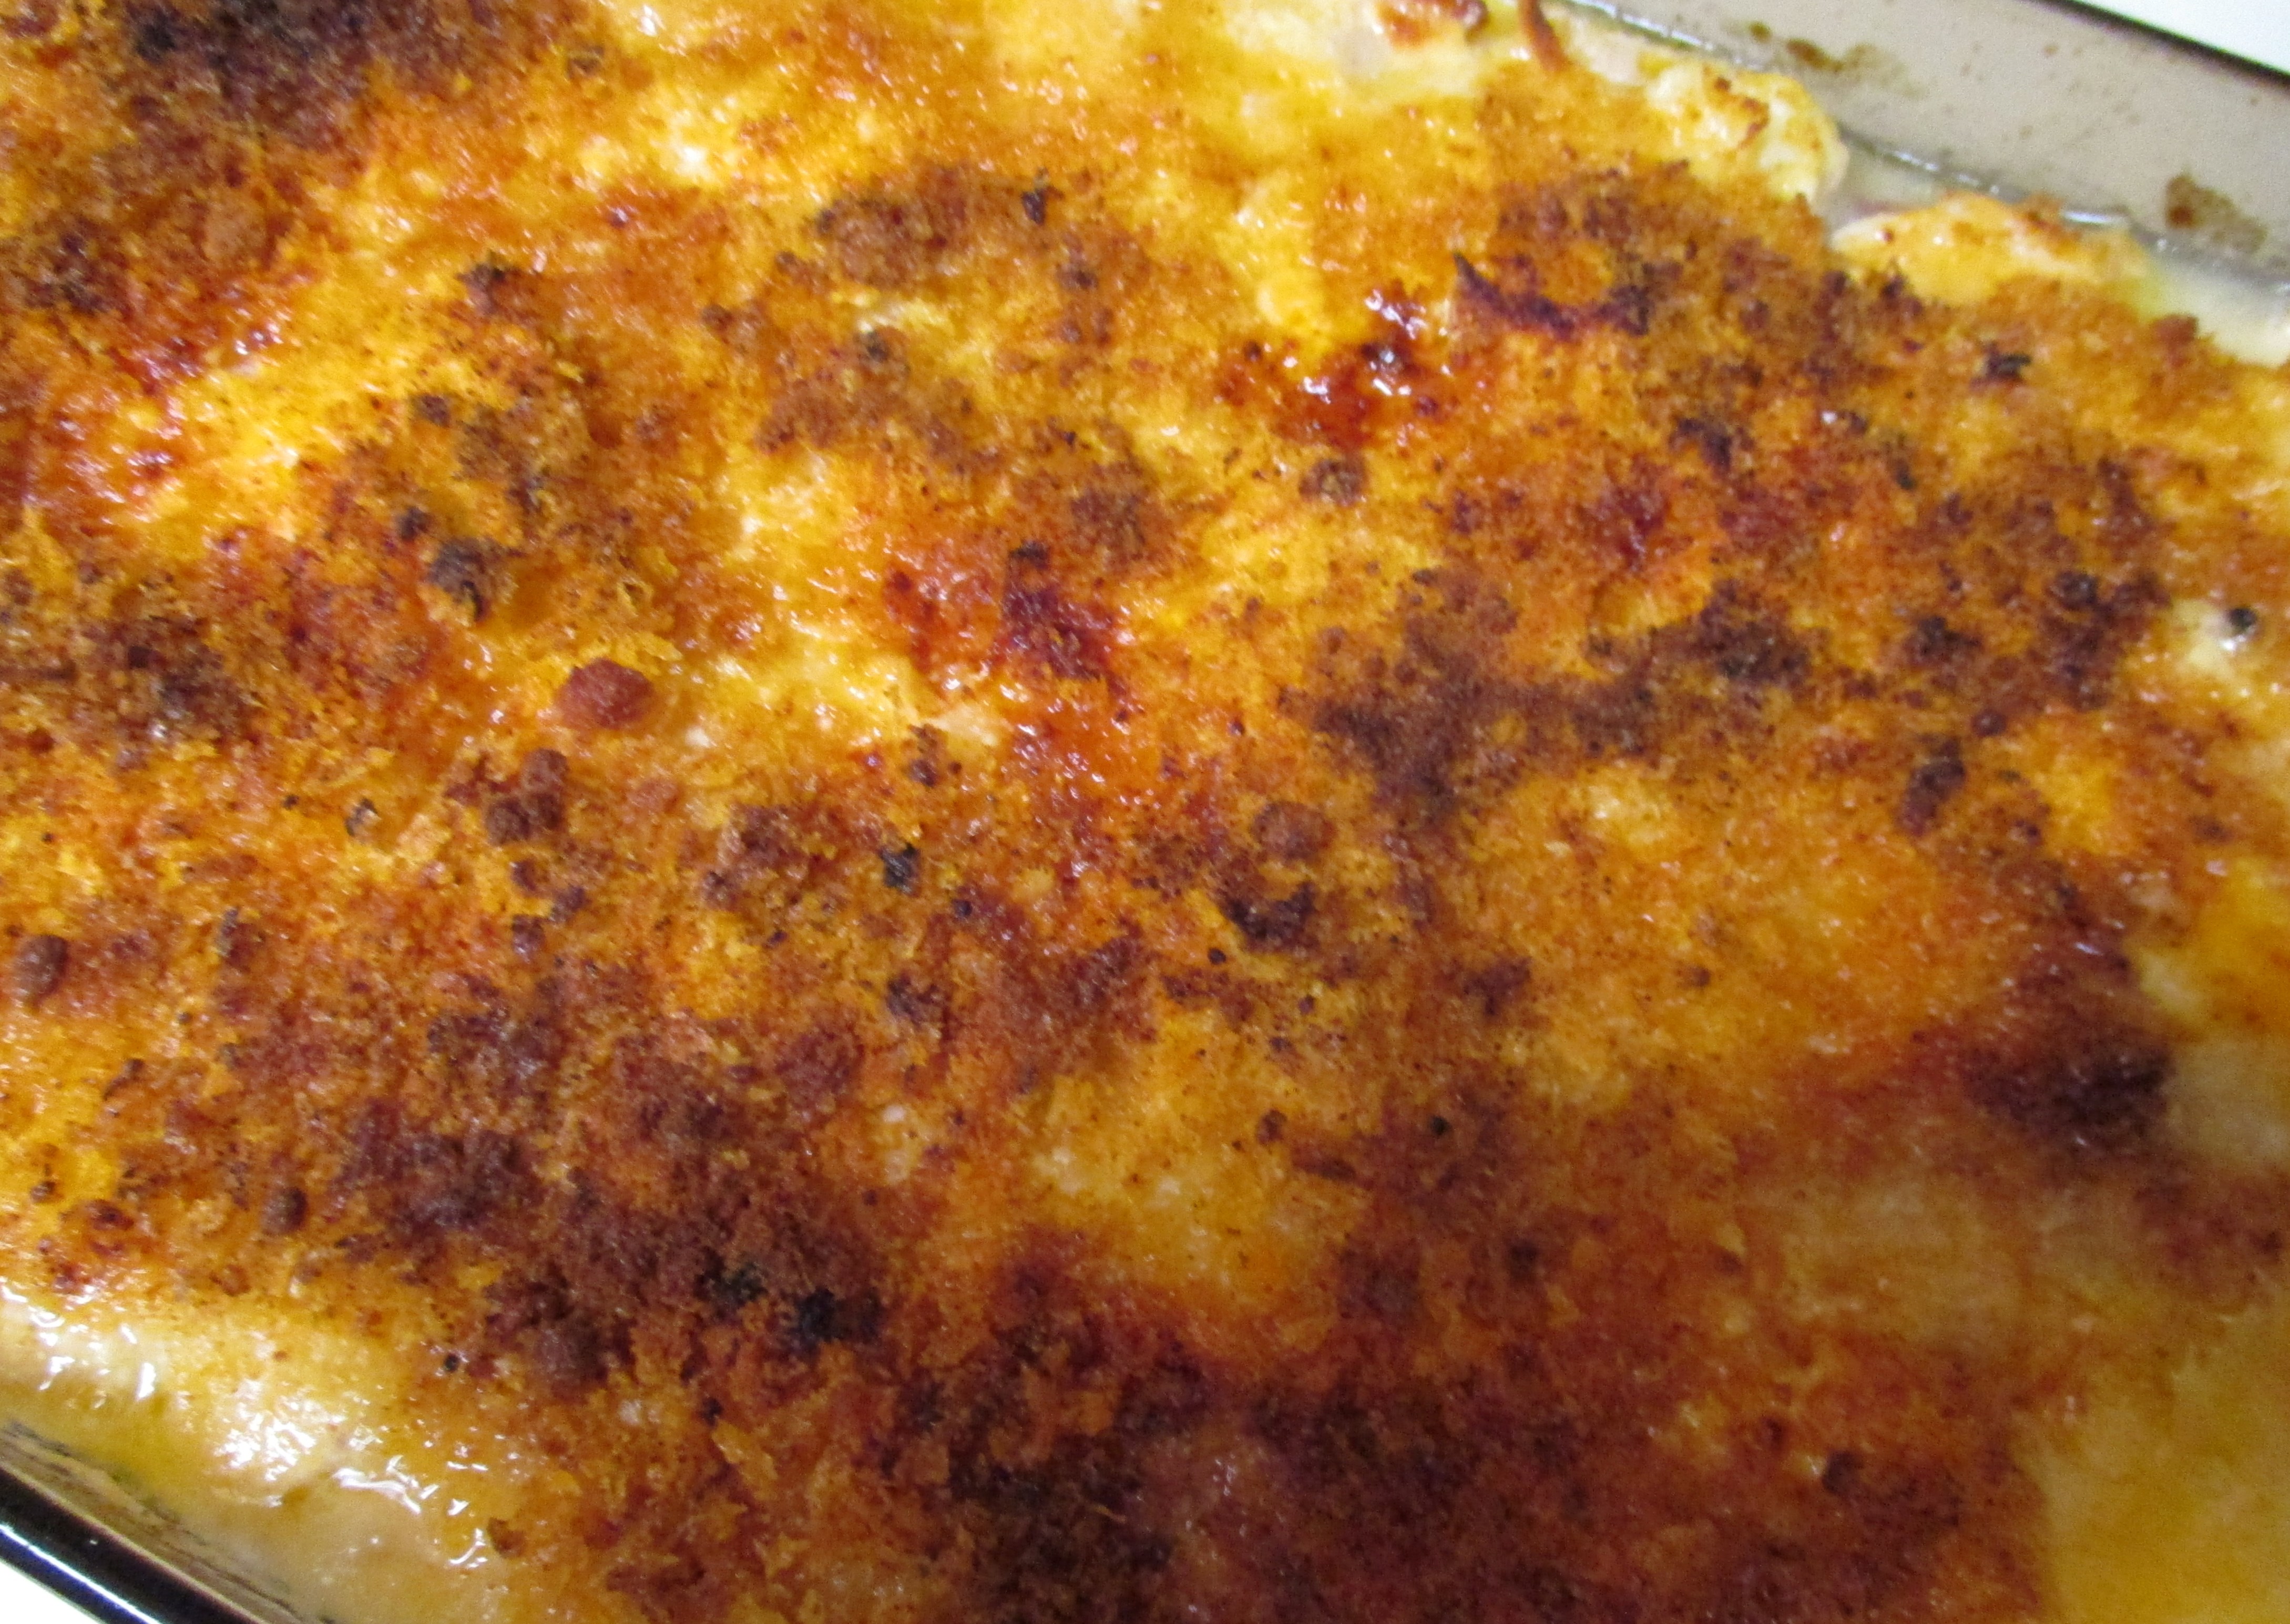
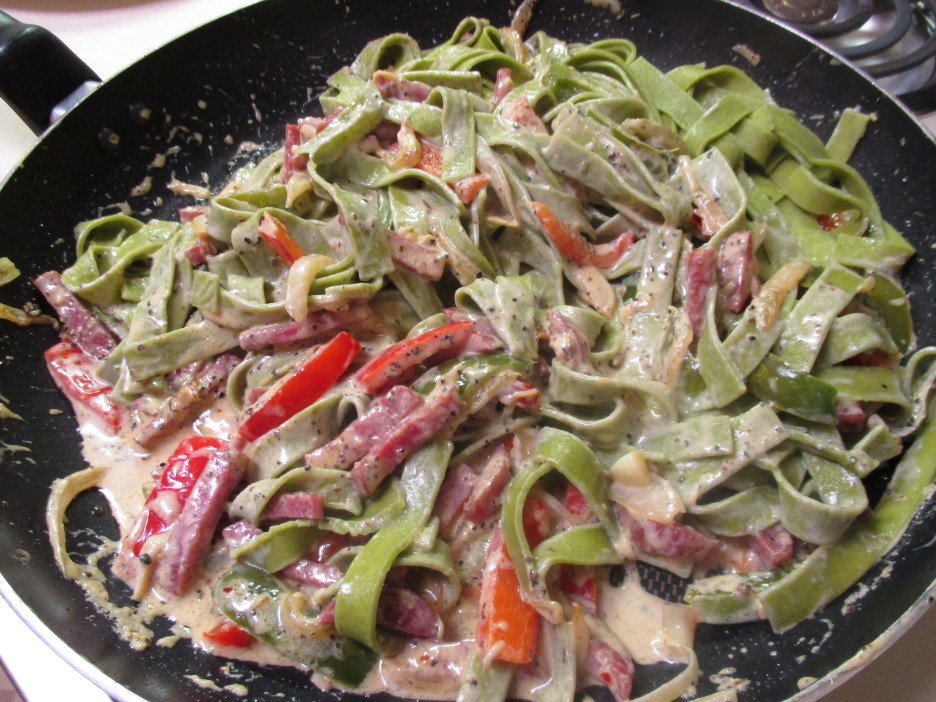 A generous sprinkle of Pecorino Romano and it was ready to eat.
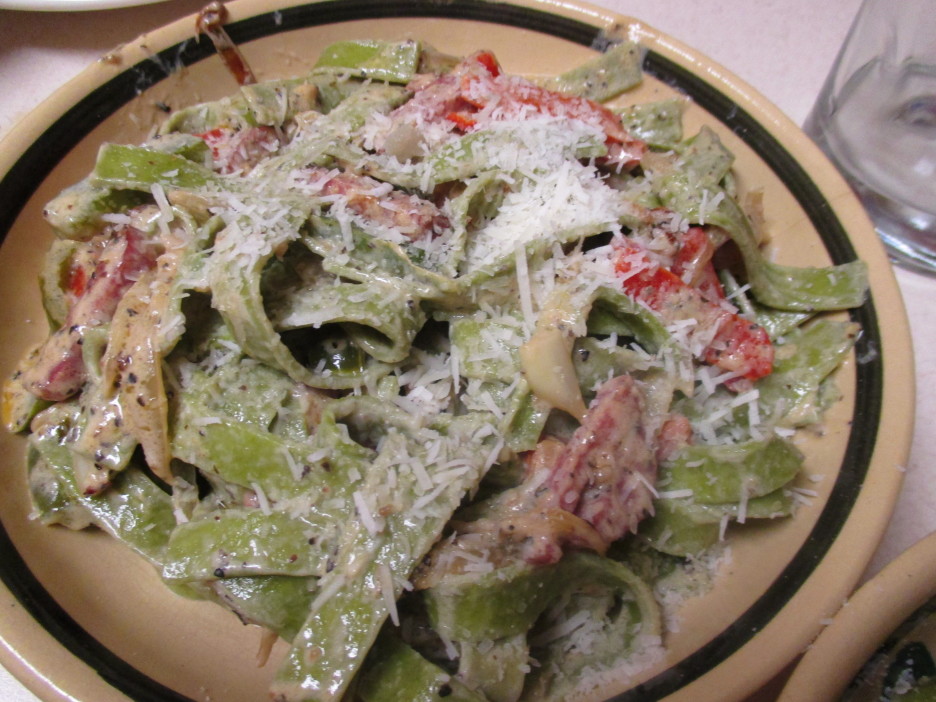 And eat it we did, Papa D and I. We ate it all…the New Year will be here soon and we’ll focus on the healthier side of the kitchen again. Right now, this was the perfect dish to warm a Winter’s Night that finally felt like a Winter’s Night.