As you probably know, Mama D runs a pretty healthy kitchen. Fresh and light are terms often used in the posts that appear here. Every once in a while though, especially when the weather is getting chilly, she loosens her apron strings and goes for a little more gusto. Smothered Pork Chops from the oven is one such dish. It is a little richer than what I usually prepare, but it is lightened up in a few places as well. It’s the perfect weekend splurge that won’t break the calorie bank.
Pork is probably my favorite meat and pork chops are high on my list of favorite cuts. I wanted to see if I could come up with a different spin on this Southern favorite. I poked around the internet to get some background on this dish. Some called it Creole, some called it Soul Food, but everyone called it a comfort food staple. I kept some of the ingredients and a few of the techniques, but in the end it was a Mama D original.
It starts with thick center cut pork chops. Keep the bone in, the flavor it imparts is amazing. I skipped the dredge and seasoned the chops with Italian Herb Seasoning. I got a small cast iron skillet screaming hot and sprayed it lightly with Olive Oil Cooking Spray.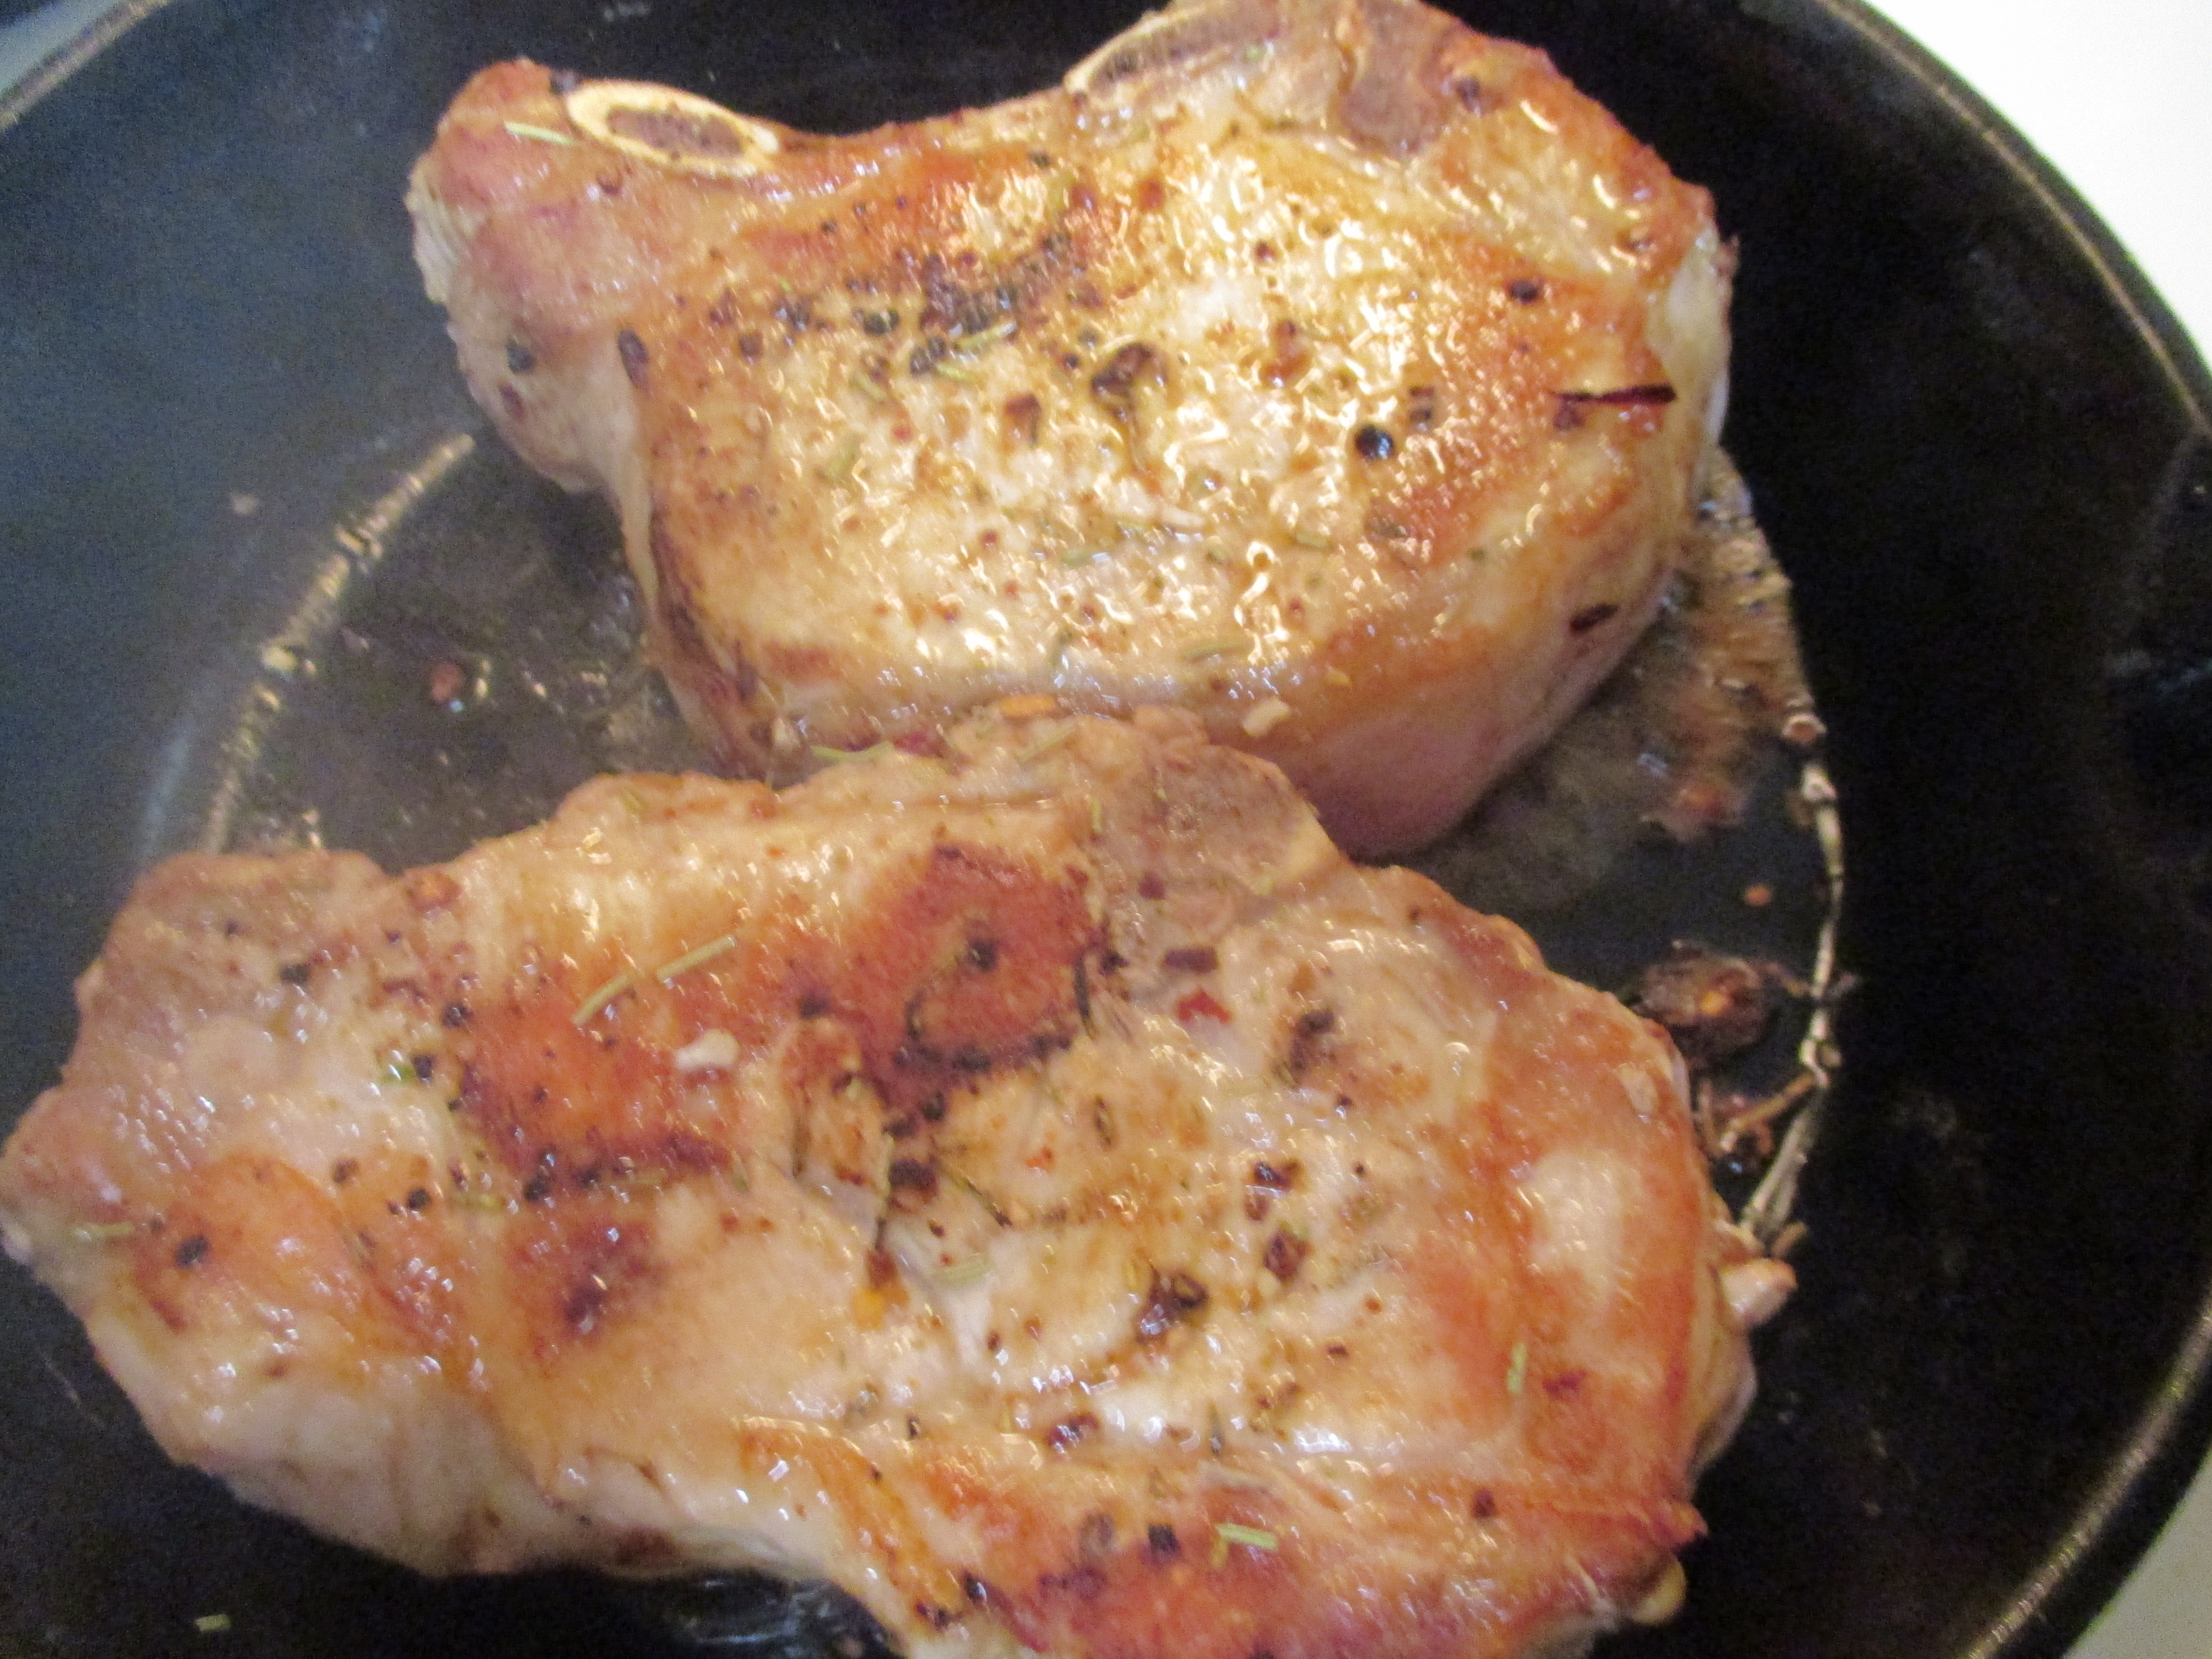 The chops got a quick sear before they took a seat on a nearby plate. I left all the wonderful bits and drippings in the pan and turned the heat to low before I added a bit of olive oil.
 I added onions, leeks, and garlic and let them cook undisturbed for 5 minutes. I added a small pinch of salt and let them cook slowly for another 20 minutes giving them a stir every now and then.
Smothered Pork Chop Gravy can be anything from decadent and creamy to rich and savory. I opted to create a lighter sauce without short-changing the flavor. The carmelized onion and garlic mixture was the perfect flavor base. A little Wondra Flour went in and cooked for a couple of minutes. Then I gradually added chicken broth and 1% milk and let it bubble into a beautiful thick sauce. I added some thyme sprigs while it was bubbling to give a delightful woodsy scent. Rosemary would also be wonderful as would any combination of woody herbs.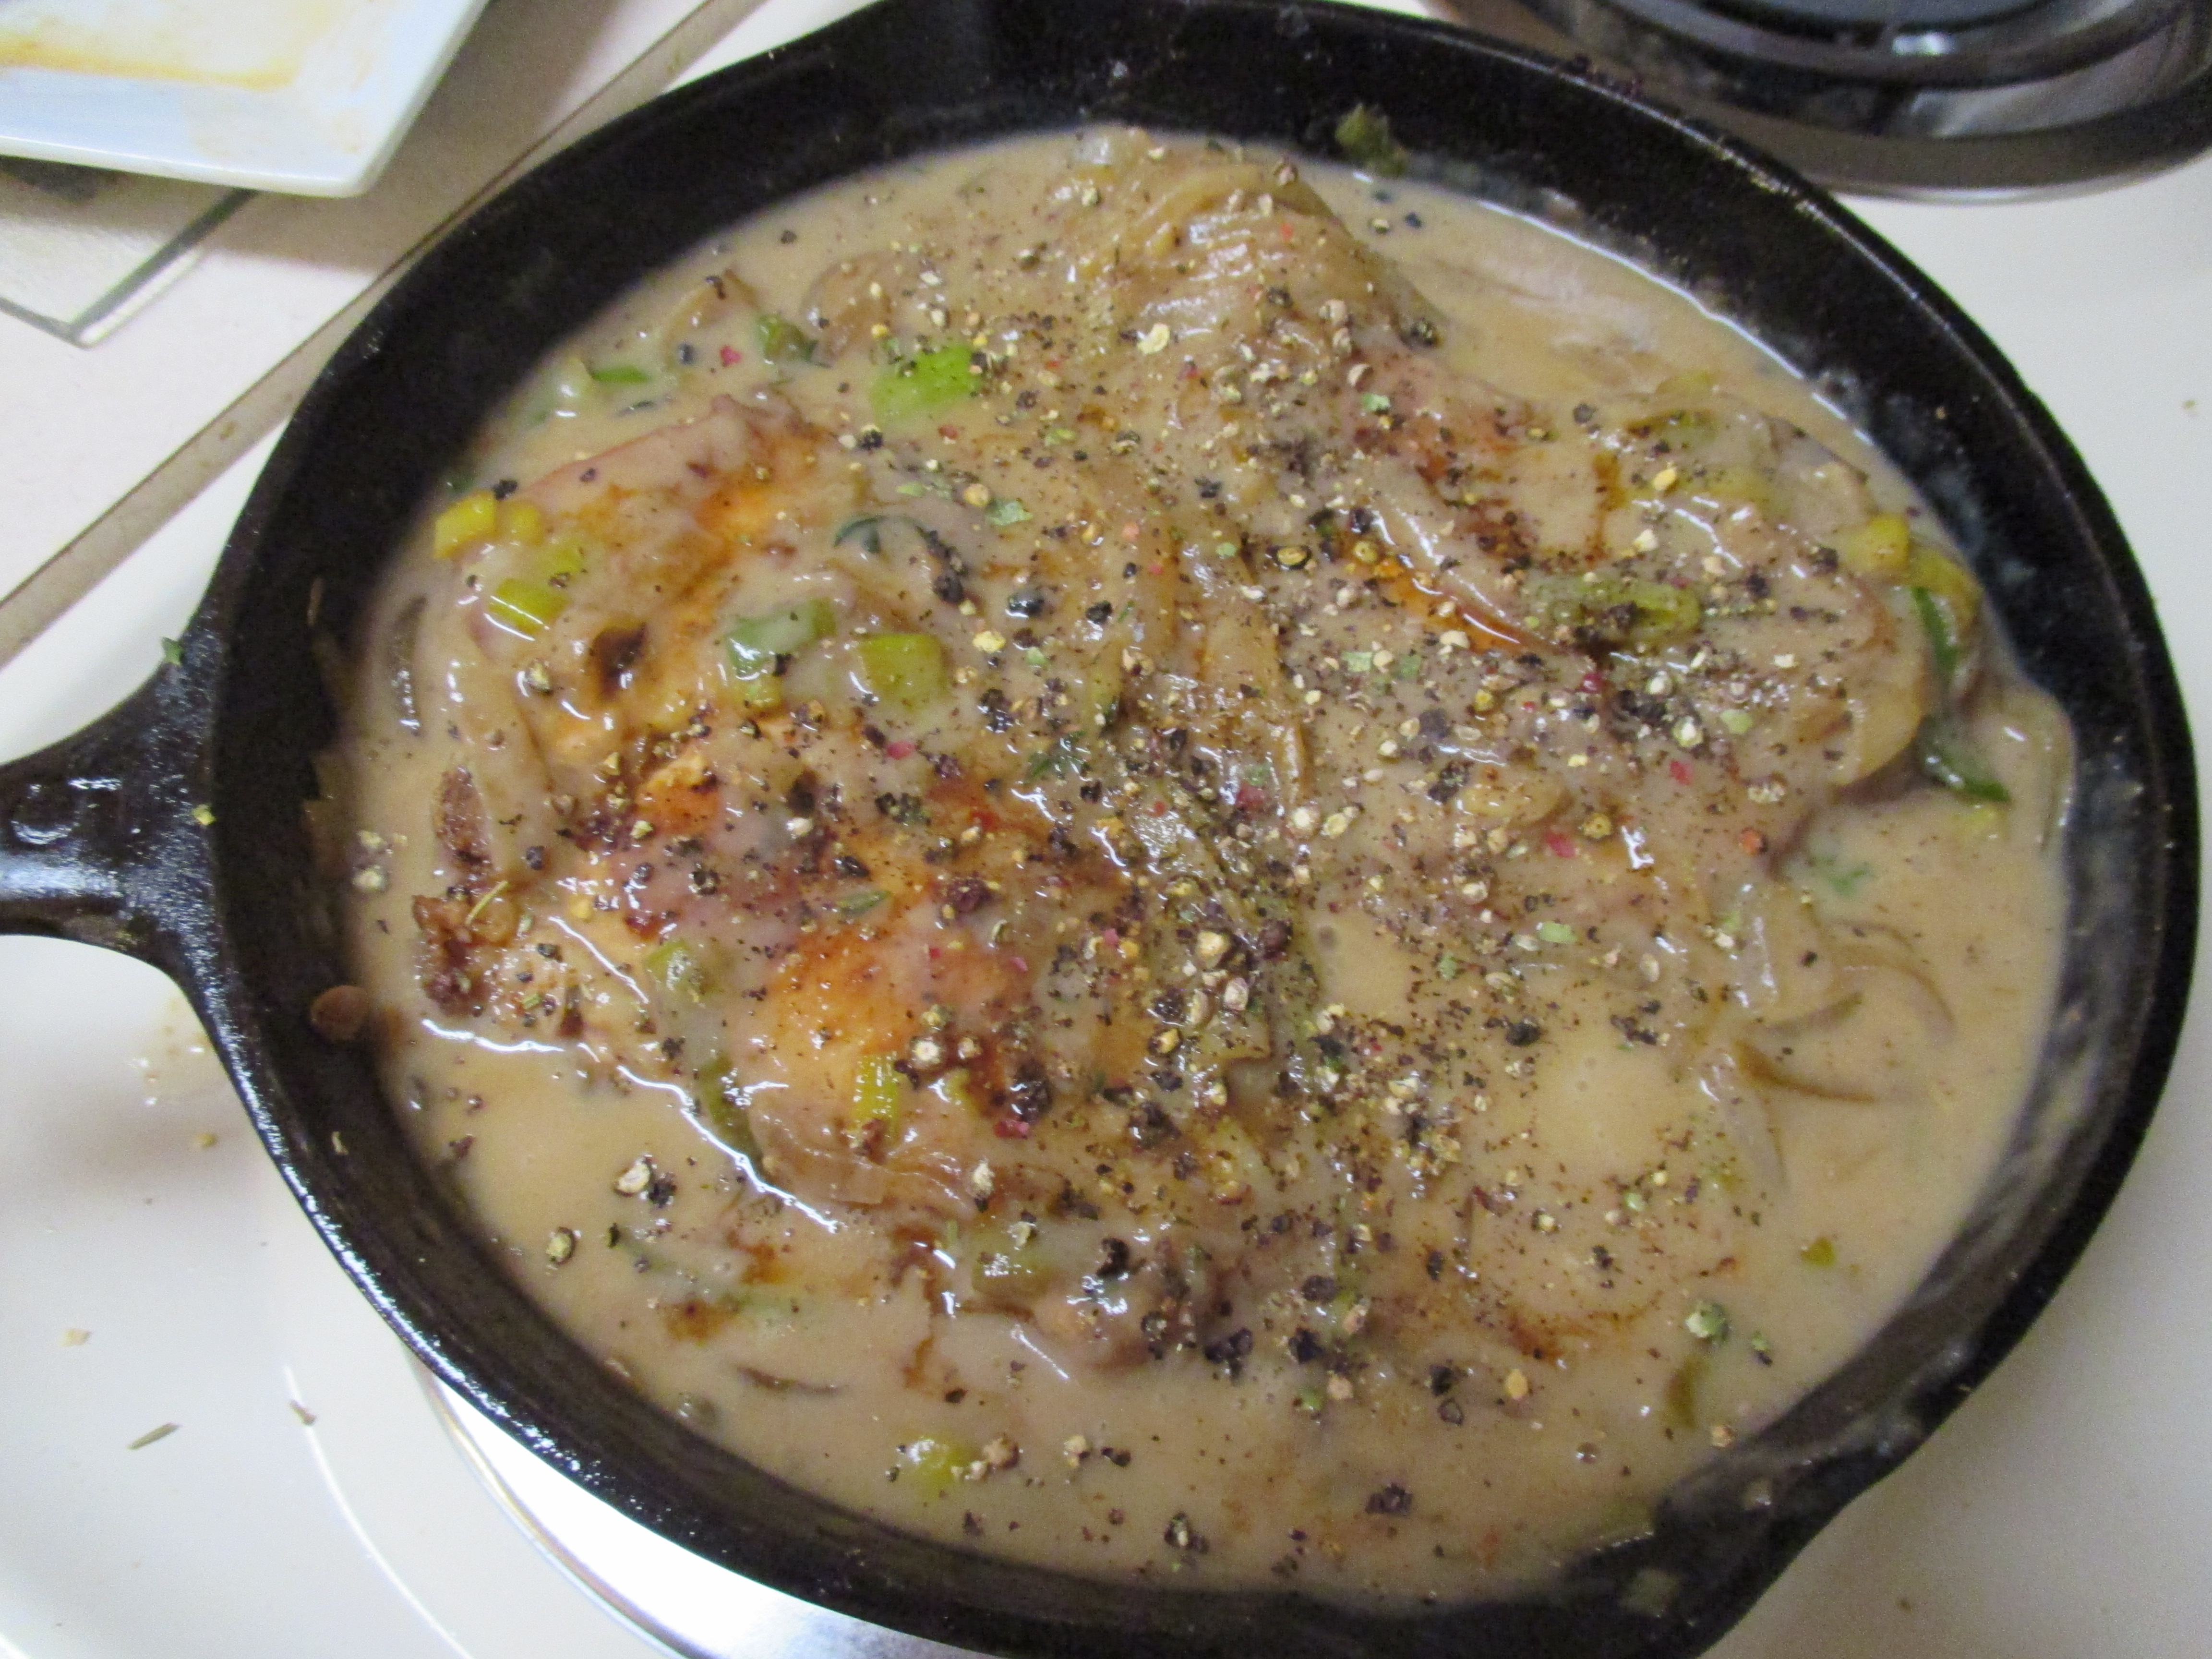
I added the chops back to the pan. The sauce almost covered the chops but I gave them a few turns to make sure every nook and cranny was coated. Some cracked black pepper went on the top before it headed into the oven to become a skillet full of golden love.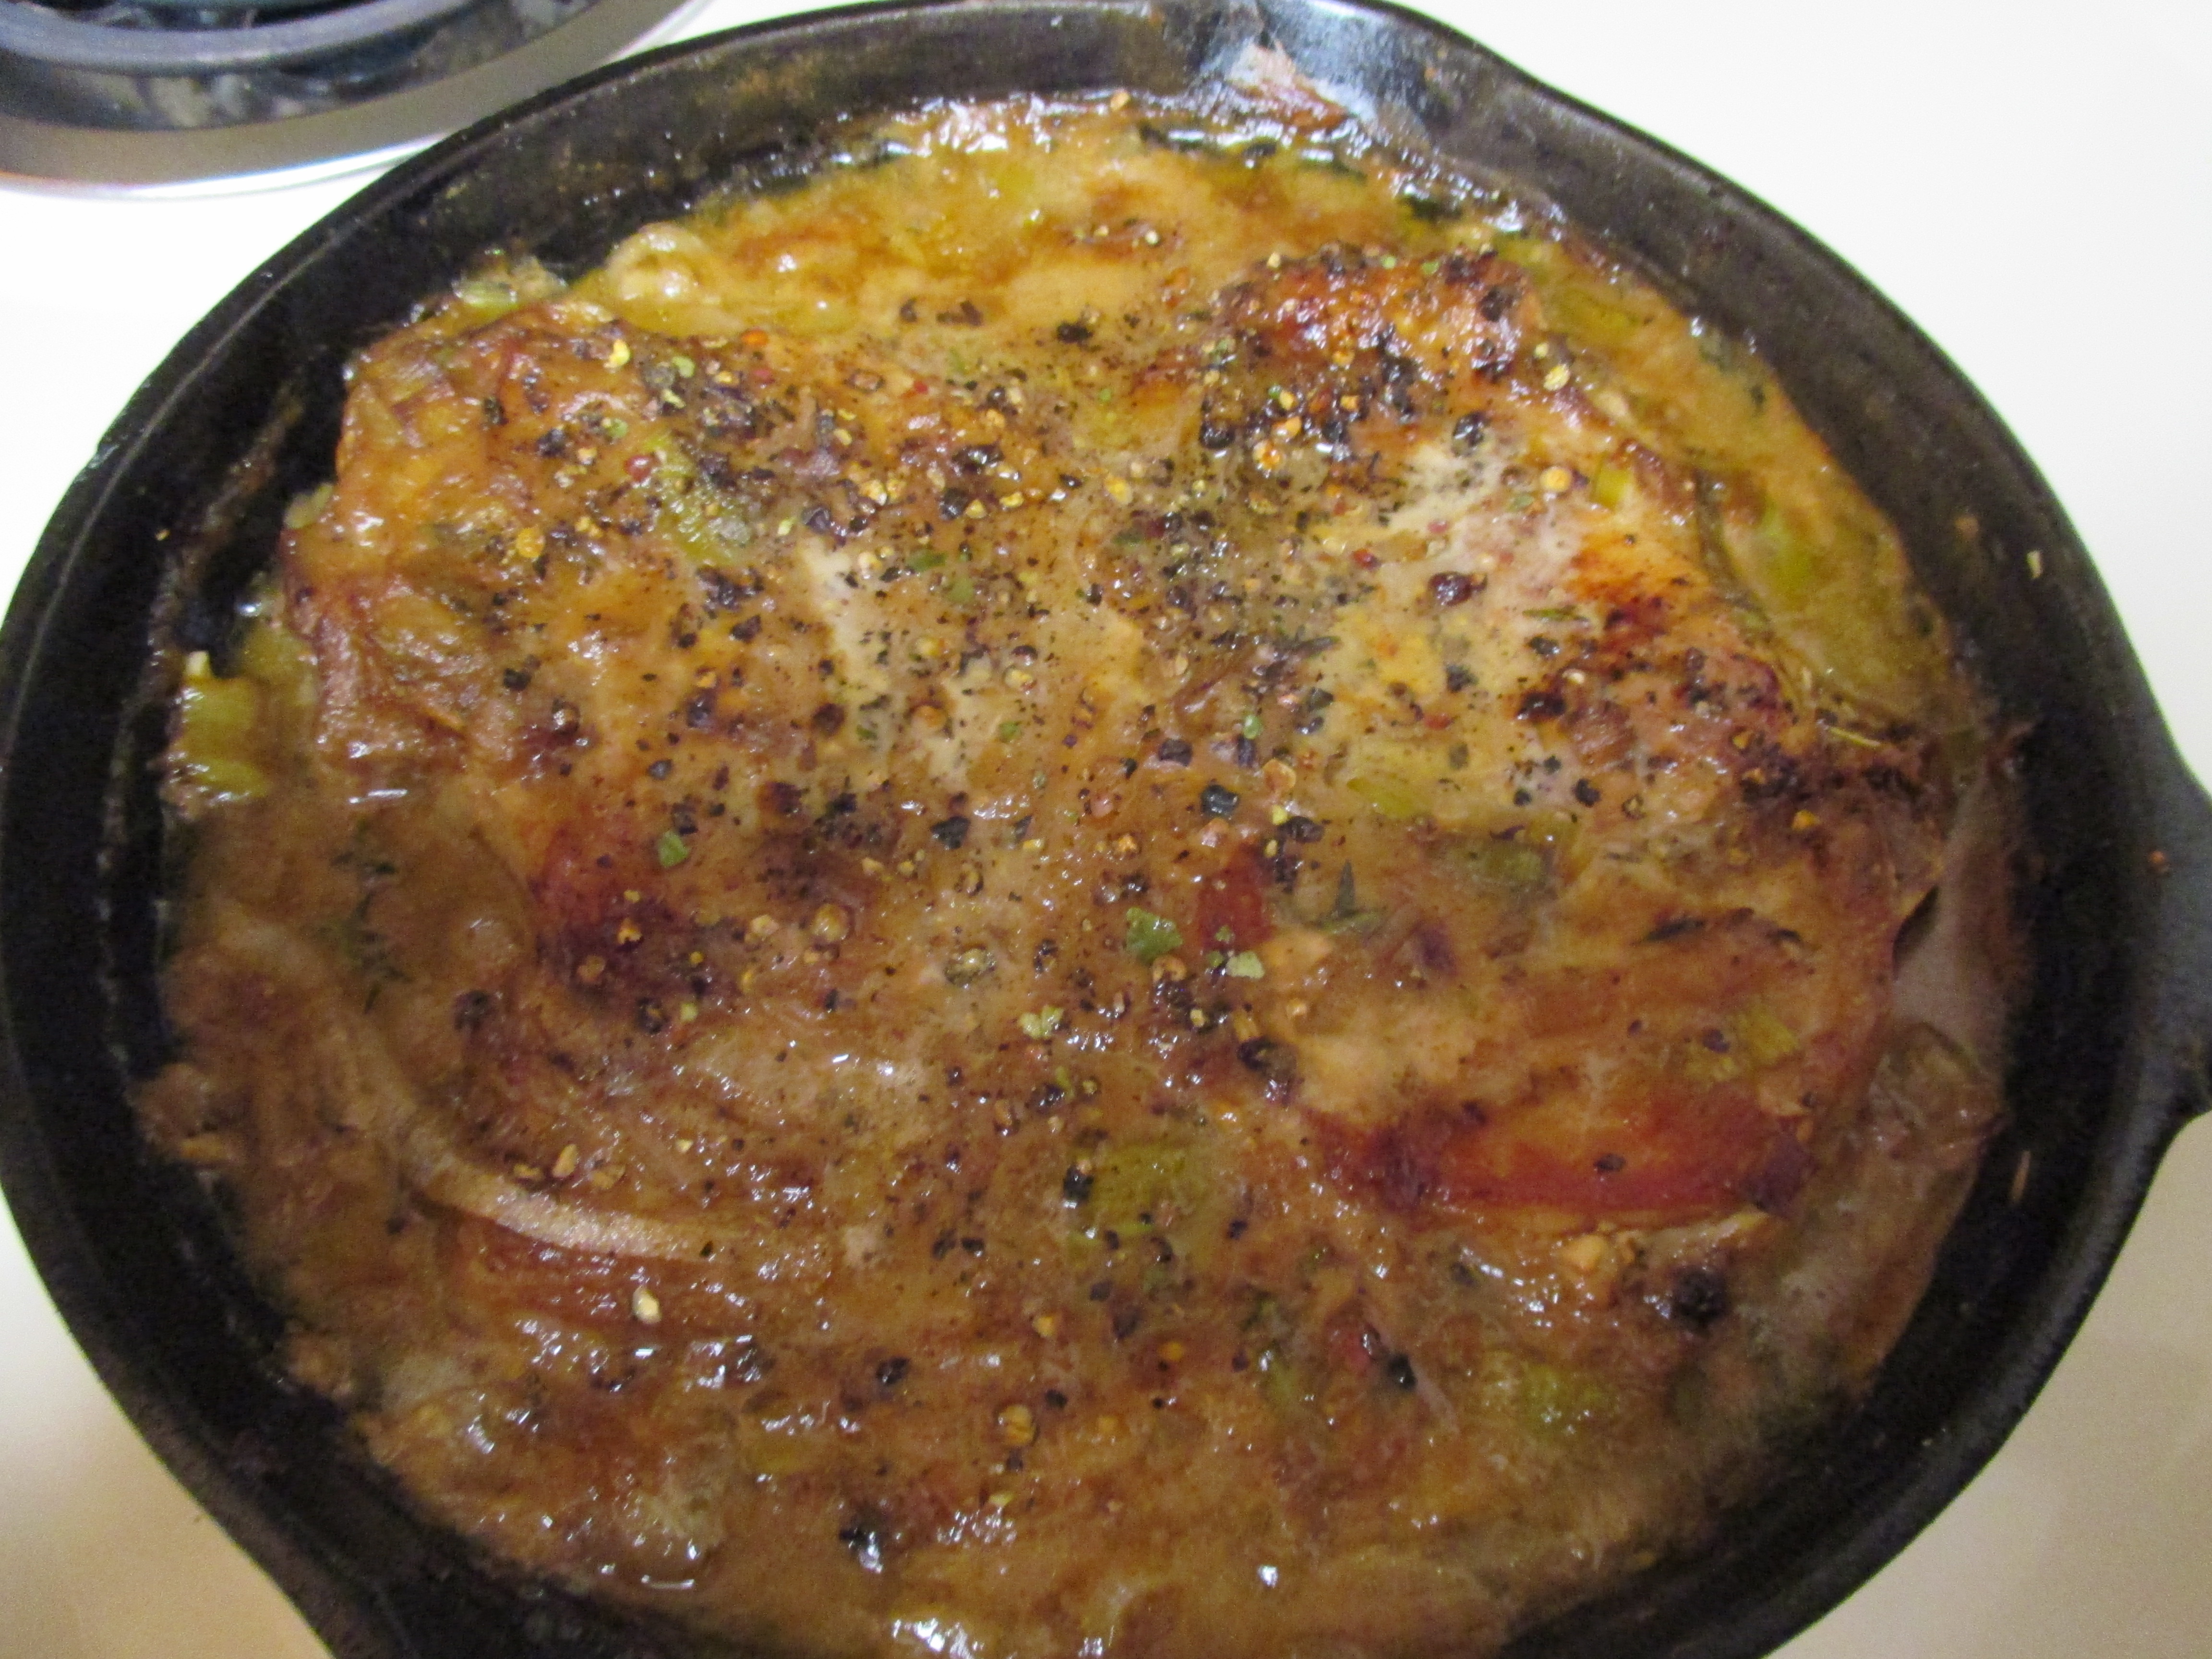 The gravy was beyond fabulous. I even caught myself eating the leftover golden goodness out of the pan as I cleaned up. Gravy is meant to top something and the pork chops were delighted I chose them.
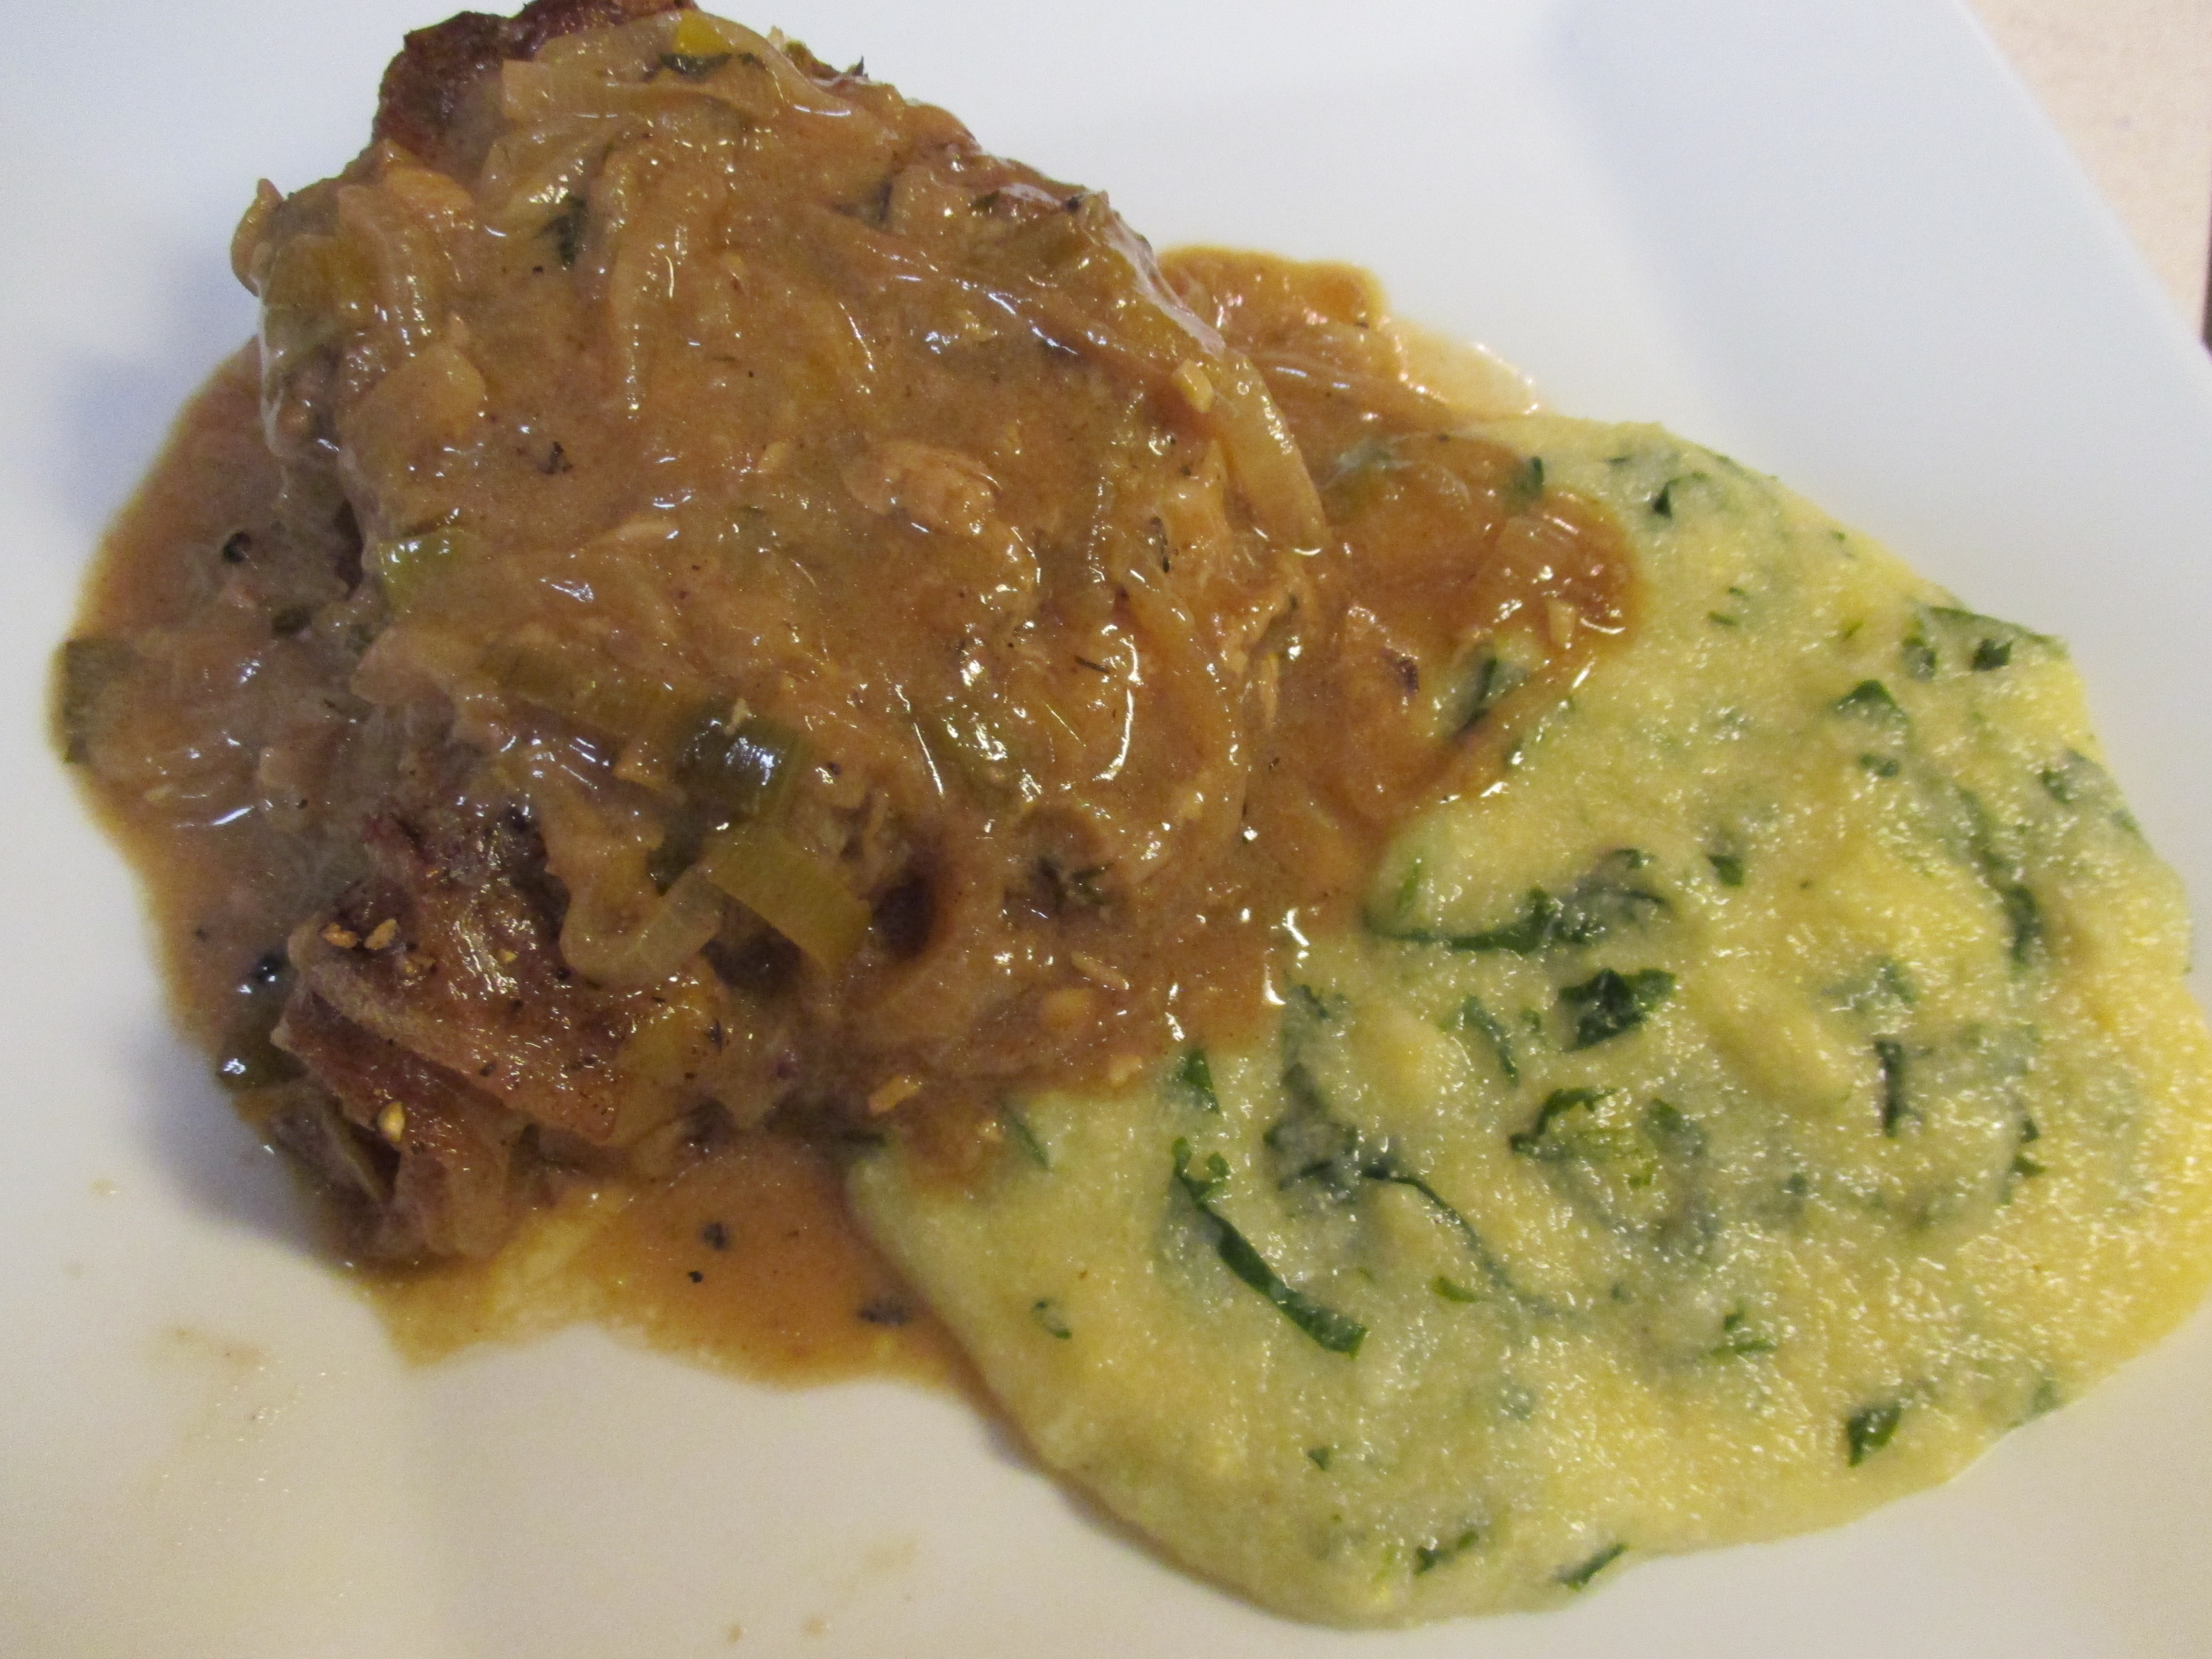
I rounded out the plate with some Polenta. I happened to have instant in the pantry so that;s what I used. I have to say I prefer the longer cooking variety as it has more texture, but this did fill in nicely. I added some sautéed spinach and garlic to the polenta as it was cooking. It made a wonderful side dish that also enjoyed a bit of gravy love.
Share this: