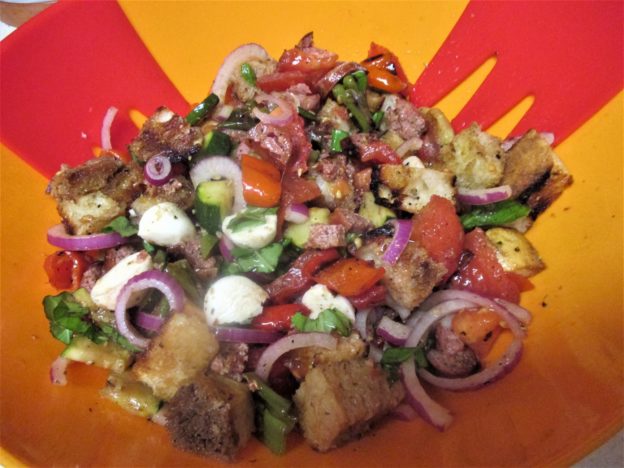

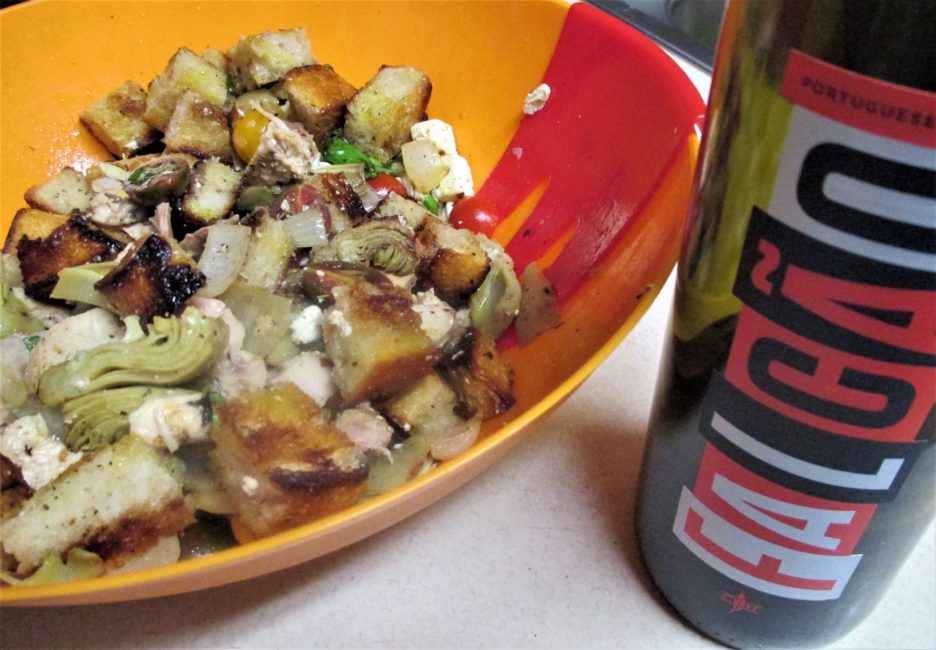
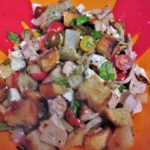
Over the years I have sung the praises of the Panzanella Salad. Italian peasant fare, vegetables combined with dry bread cubes and a vinaigrette dressing. It is an established fact that if it is summer there will be panzanella salad in Mama D’s Kitchen of Love. This summer is no exception. In fact it has become the reigning go to supper here, appearing at least weekly in various shapes and forms.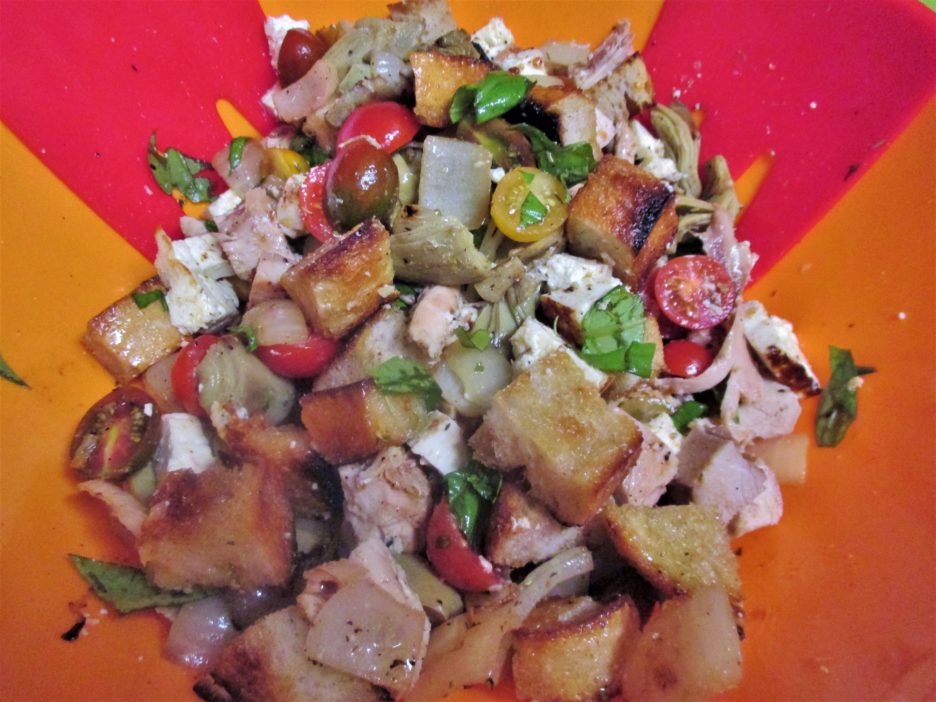
Panzanella got its start in Tuscany long ago with onions being the star of the show. Later tomatoes took over that position and modern panzanella was born. Bread, usually stale has also been a principle player. Thrifty Tuscans didn’t want even the most stale bread to go to waste so they would soak it in water and add vegetables to make a meal. This is probably how it got its name. Pane means bread and zanella means deep bowl. If you have wet bread and vegetables you are going to need a deep bowl.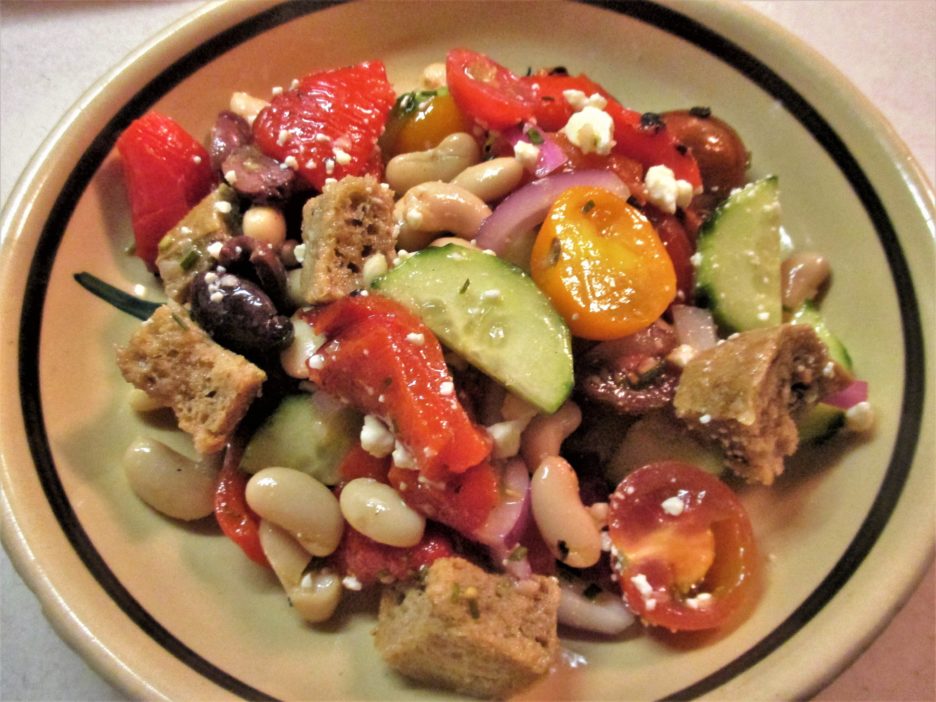
Making so many Panzanella salads this summer I have come to a few conclusions. I wanted to share some of those along with a recipe or two in case you want this to be your Panzanella-Palooza Summer, too.
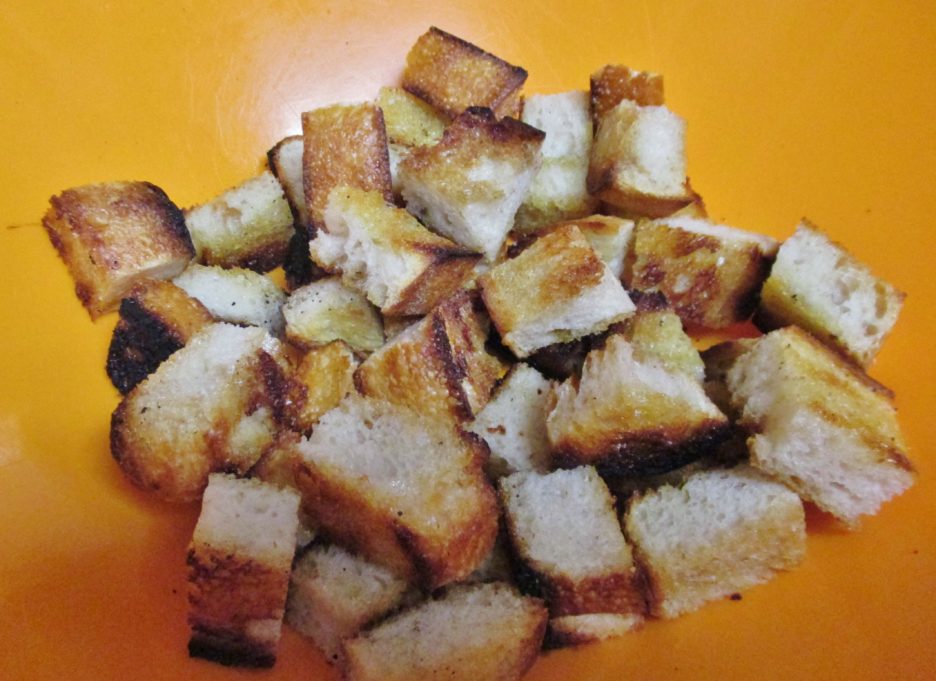
- The bread you use is important, it is bread salad after all. The bread should be sturdy, crusty and maybe a little stale. Sourdough is my current bread of choice. I am always searching for a loaf that has the flavor and smell to take me back to San Francisco. La Brea Bread Company (available at Caputo’s) makes one and I just got another great loaf at Mariano’s bakery. Don’t worry if your bread isn’t stale. You backyard grill or even your oven can create the perfect croutons for your salad.
 There are lots of other good choices including Ciabatta and French. I’ve made several wonderful salads with Multigrain Baguettes as well. Use what you love or have on hand.
 - Tomatoes get lonely so give them some company. Summer vegetables are hitting their stride right now and most of them play well with tomatoes. Onions should always be invited to the party. Cucumbers, bell peppers, summer squash and zucchini are great bowl mates too. Artichoke hearts (I use frozen for convenience) are a welcome addition as well. If you love the vegetable it will love being in your salad.
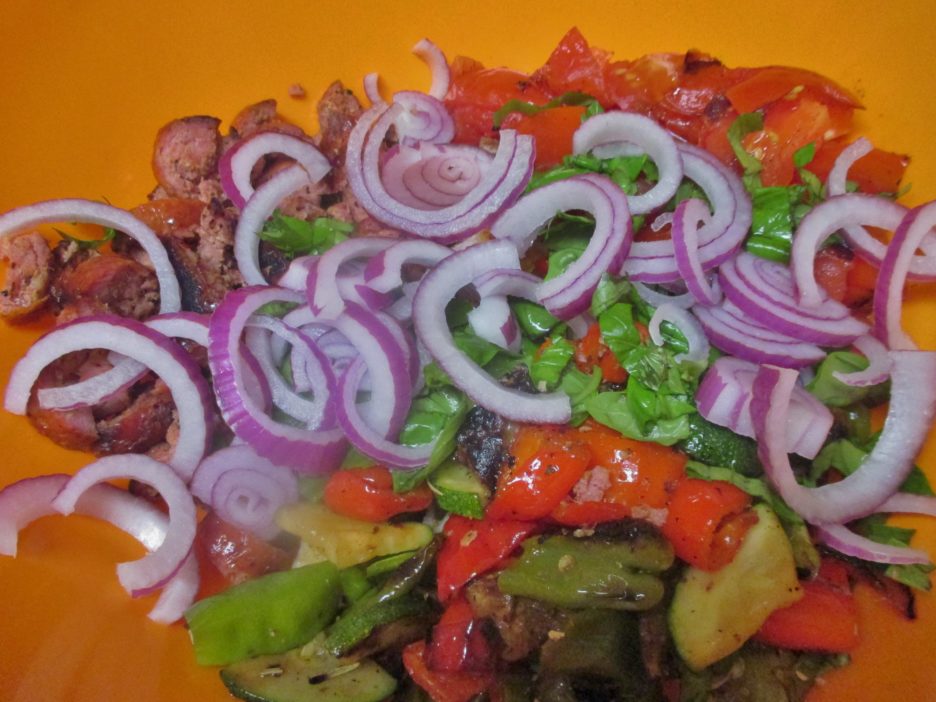
- Having a variety of vegetables makes for great flavors. Having a variety of textures makes for a great salad. I like to mix raw and cooked vegetables to achieve that wonderfully interesting balance. This summer, I have been grilling many of the vegetables. Tomatoes, onions, and peppers have all had a turn on the grill before jumping into a salad. Tomatoes grilled just enough to release their juices combine beautifully with crunchy red onions….etc.
- When it comes to dressing, simple is probably better. The recipe below is not very complex, but if you are feeling a bit fancy it is a great match up to any salad.
 Mediterranean Vinaigrette
A twist on the classic vinaigrette with plenty of lemon and more than a hint of garlic. Add any fresh herbs of your choice. This is wonderful on a Greek salad, but it would be equally delightful as a dressing for grilled vegetable or a pasta salad. It makes a great marinade as well.
Ingredients- 1 Medium Lemon Juice and zest
- 2 Cloves Garlic Grated
- 1/4 Cup White Balsamic Vinegar
- 1/2 Tsp. Red Pepper Flakes Optional, to taste
- 3 Tbsp. Chopped Fresh Herbs Parsley, thyme, basil, or you choice
- Kosher Salt and Pepper To taste
- 1 Tsp. Dijon Mustard
- 1/4 Cup Olive oil
Instructions-
Combine all of the ingredients in a jar with a tight fitting lid. Shake until completely blended. Allow to rest in the refrigerator for at least one hour.
As the summer has gone on, I have stripped it down. Some good olive oil warmed with a few smashed garlic cloves is a lovely base. Combined with a flavorful vinegar, salt and pepper it lets the beauty of the vegetables shine through.
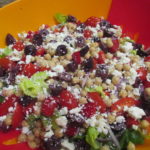
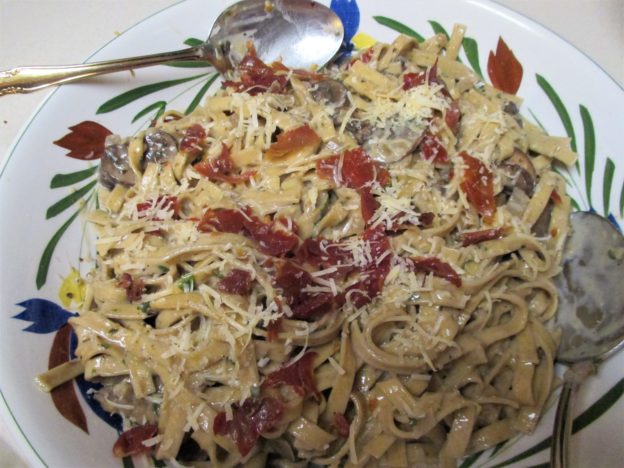
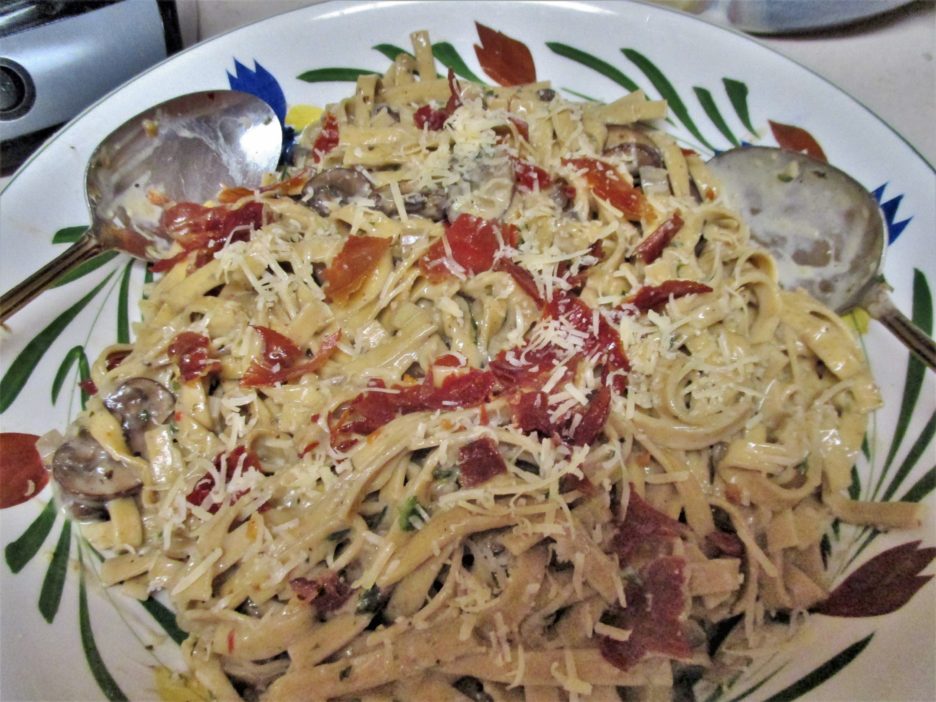
- Add some protein and make your salad a meal. Use anything that sounds good to you. Leftover chicken, cured meats, beans, grilled sausage or steak all work well. Then there is cheese. Who doesn’t love cheese? Fresh mozzarella or cubed Asiago have found there way into my salads, but the best discovery has been Grilled Feta.
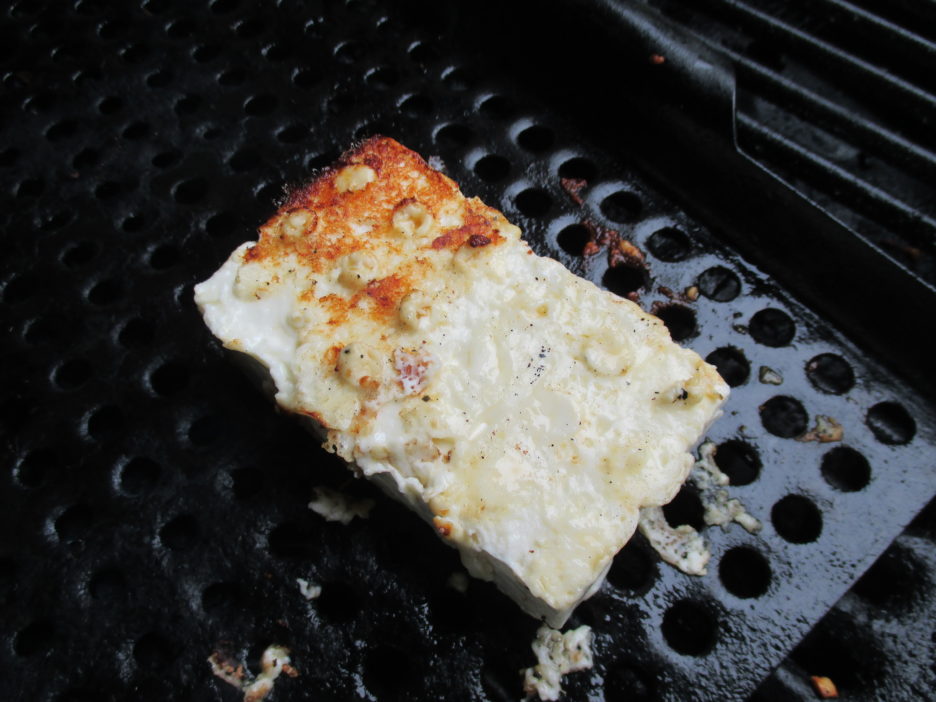 It is firm and dense enough to hold up to the grill’s heat though it does need to be watched carefully. The time and effort is worth it.
 - Herbs make everything better. Chop up a handful of whatever you love and add them to the salad. Basil, parsley, and chives are my current go tos.
 Here is a Basic Recipe for a Summer Panzanella Salad…it is very grill forward and leaves room for all kinds of interpretation.
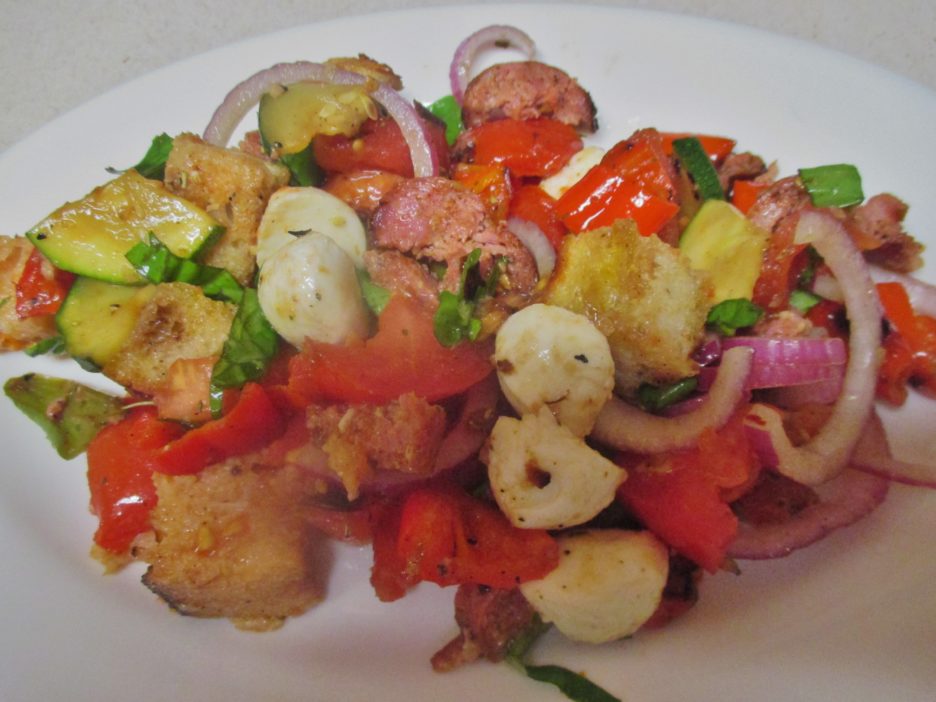
 Summer Panzanella Salad
A basic recipe for Panzanella salad that takes advantage of Summer's bounty.
Servings: 2Ingredients- 3-4 Ounces Crusty Bread Stale is great!
- 1/4 Cup Olive Oil
- 2 Cloves Garlic Smashed
- 1 Medium Onion Any variety
- 2-3 Medium Tomatoes
- 2 Cups Chopped Vegetables Whatever you love
- 1/2 Cup Chopped Herbs Any variety to taste
- 2 Tbsp. Vinegar Your choice
- 1 Cup Chopped Protein Anything
- 2 Ounces Cheese
- Salt & Pepper To Taste
Instructions-
In a small pan heat the oil and garlic gently . Once the garlic begins to sizzle take it off the heat and let it steep.
-
Slice the bread about 1 inch thick. Brush both cut sides with a little of the olive oil and toast in the oven or on the grill. It should be dry and lightly browned. Let it cool then cut it into cubes. Place in the bottom of a deep bowl.
-
If you are grilling vegetables, brush them lightly with some of the garlic olive oil and place on a medium grill. Tomatoes can be cut in half horizontally and will only take a few minutes. Cherry tomatoes can be skewered. Other vegetables whether cooked whole or chopped should be tender and lightly charred. Cut any whole vegetables into bite size pieces. Put these on top of the bread cubes.
-
Cut or chop raw vegetables into bite size pieces. Roughly chop the herbs. Cut your protein into bite size pieces as well. All of these can be put on top of the bread cubes. Toss everything together.
-
Add the vinegar to the remaining garlic olive oil and season with salt and pepper. Mix well. Pour the dressing over the salad and toss to combine. If the salad seems a bit dry add a bit more olive oil.
-
Let the salad sit for 15-20 minutes to allow the flavors to blend. Taste and adjust any seasonings. Divide between 2 plates and serve.
As you can see, this is a very general and basic recipe that will lend itself to any direction you want to head in. There are so many vegetables that would enjoy winding up in this kind of salad. Play around..that’s part of what Summer is all about. Know too, that as Fall approaches and winter comes along, there will be lots more Panzanella Salads.
Share this:


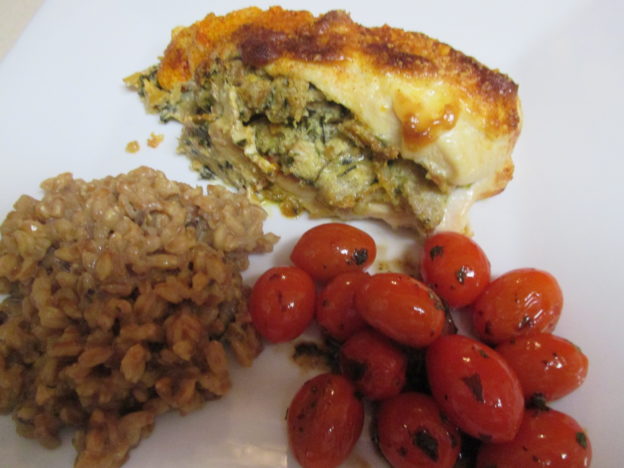

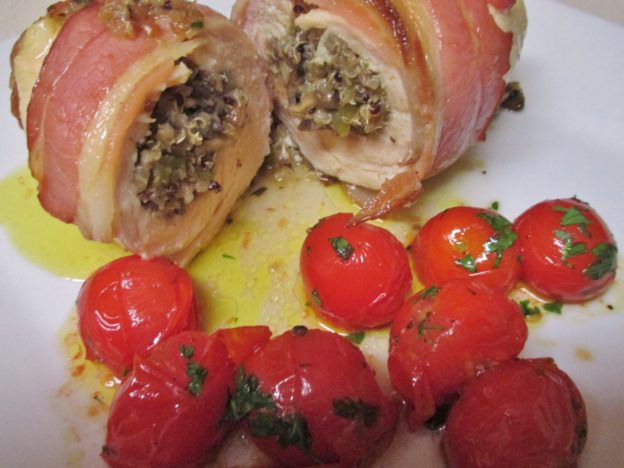
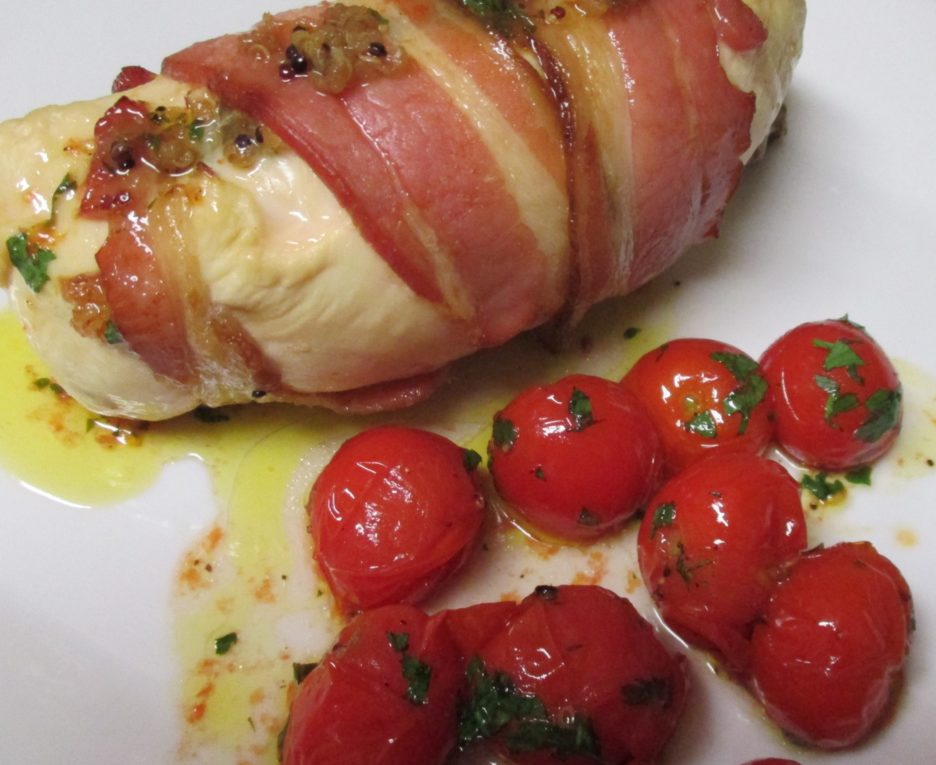
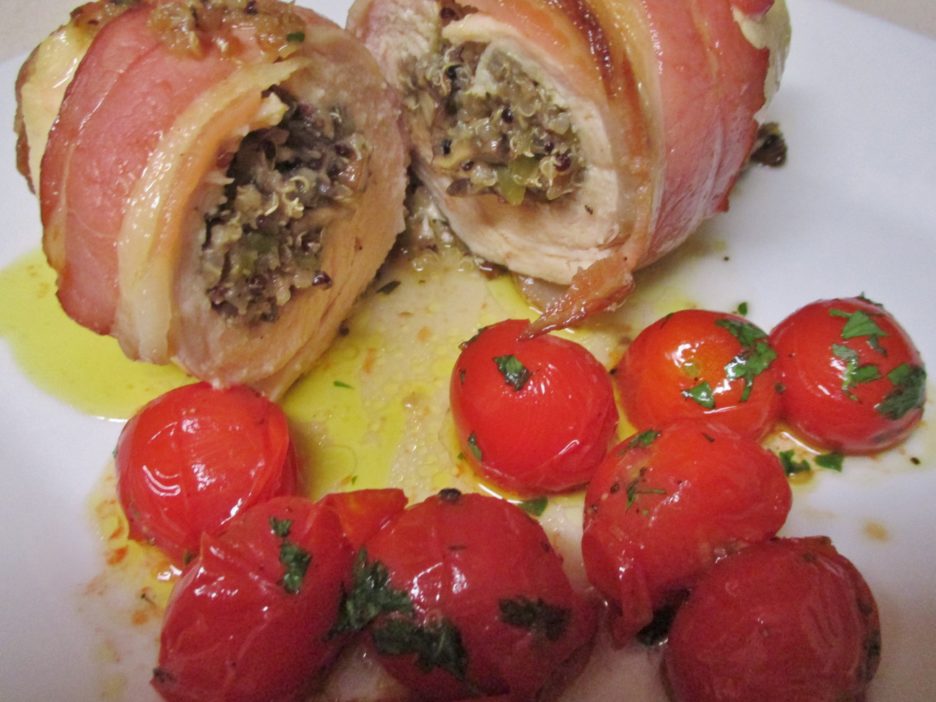 Little did I know that when the new year began, that I would still be singing their praises. Not to sound like I am repeating myself, but I have come up with yet two more ideas for filling a chicken breast and both of them are delicious and easy.
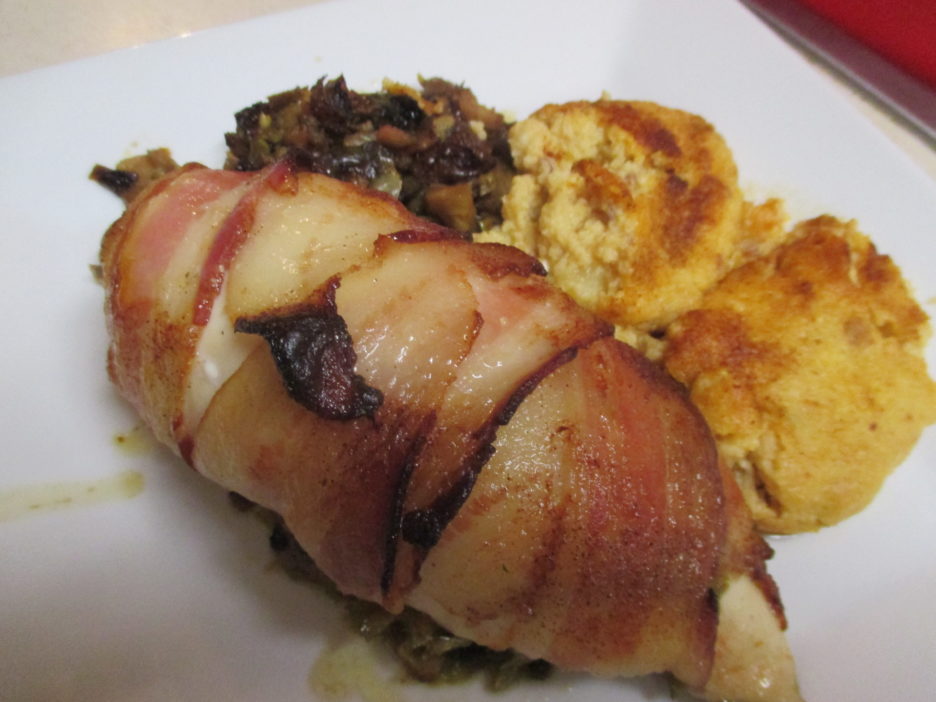
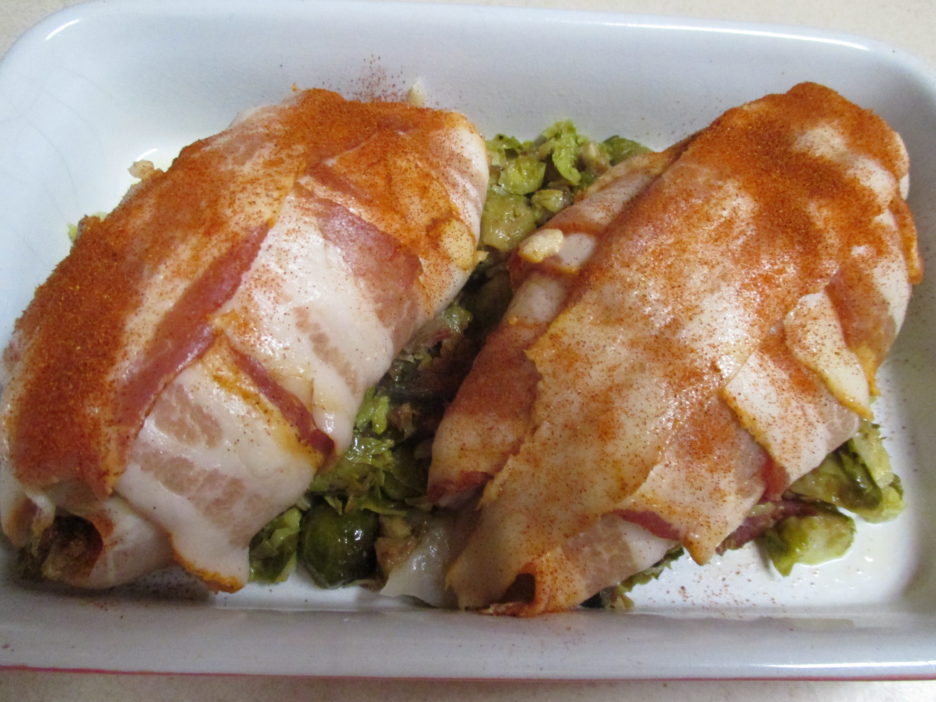
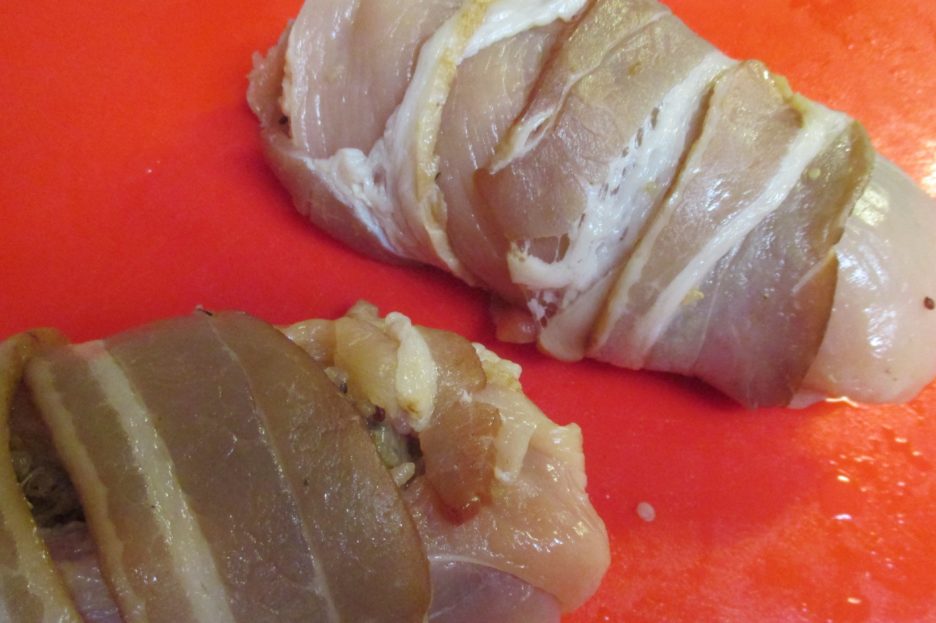
 The chicken breast pocket can also be a new home for leftover vegetables. Brussels Sprouts roasted with bacon and onions was uncharacteristically left over from a previous dinner. Chopped up and packed inside a chicken breast made it’s second life almost as wonderful as its first. I enrobed this one in bacon that carried on the bacon that was in the stuffing,
  These are but two of a virtually endless set of possibilities. Use the master recipe and join the movement to stamp out dry chicken breasts. Share you creations and let’s start a new day of moist and tasty chicken breasts for all!!

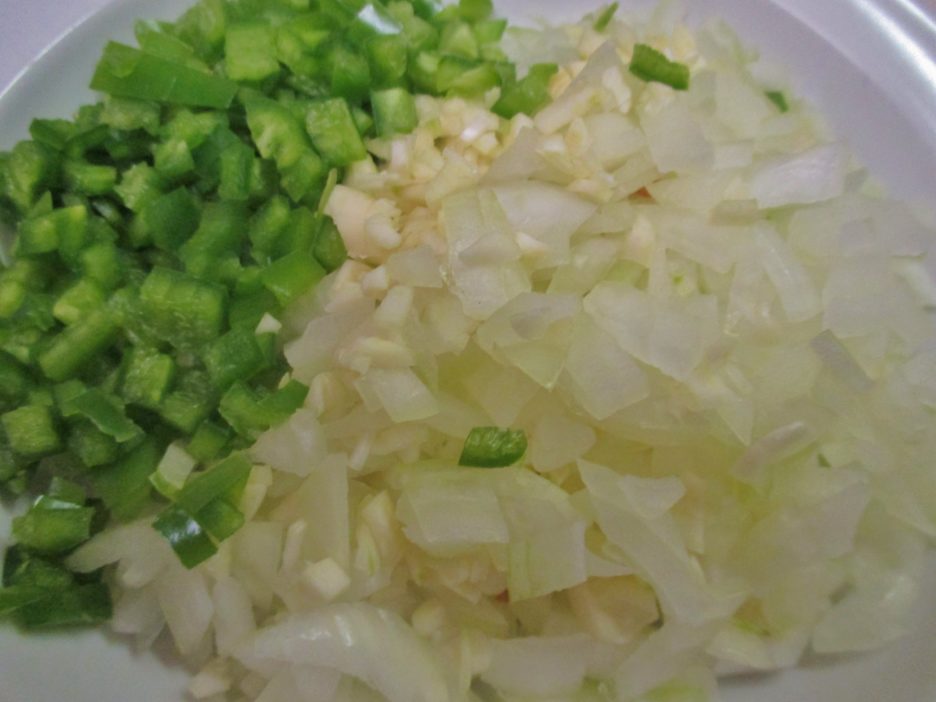
 On the practical side, the stuffing was created from what was on hand. If you’ve been following along on my food adventures, you know this is how I roll most of the time. I like to use what is in the pantry or refrigerator and enjoy the challenge of combining these finds in a manner that is both creative and tasty. I’m also cheap and hate to throw food away.
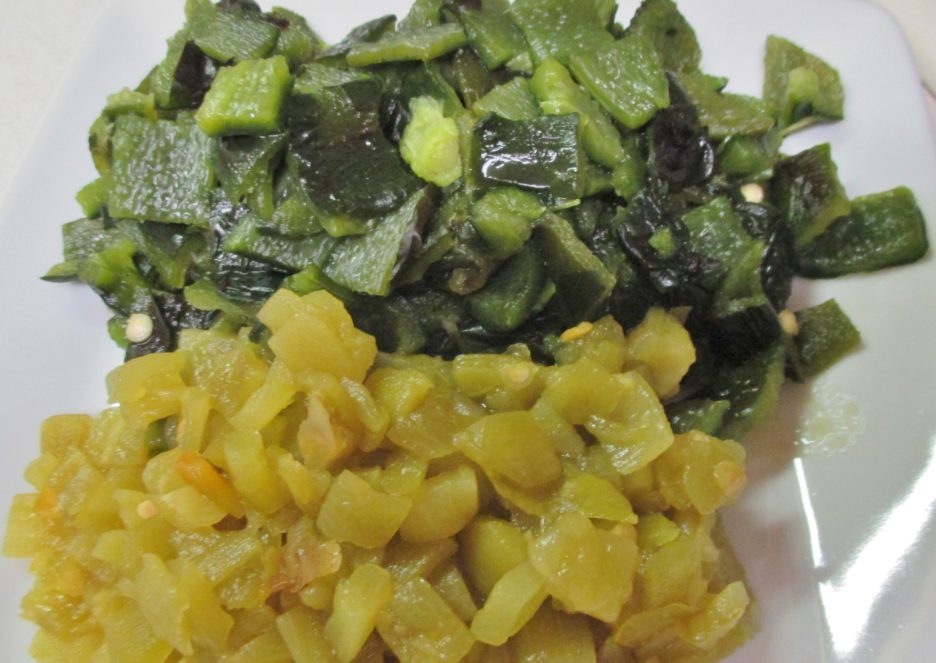
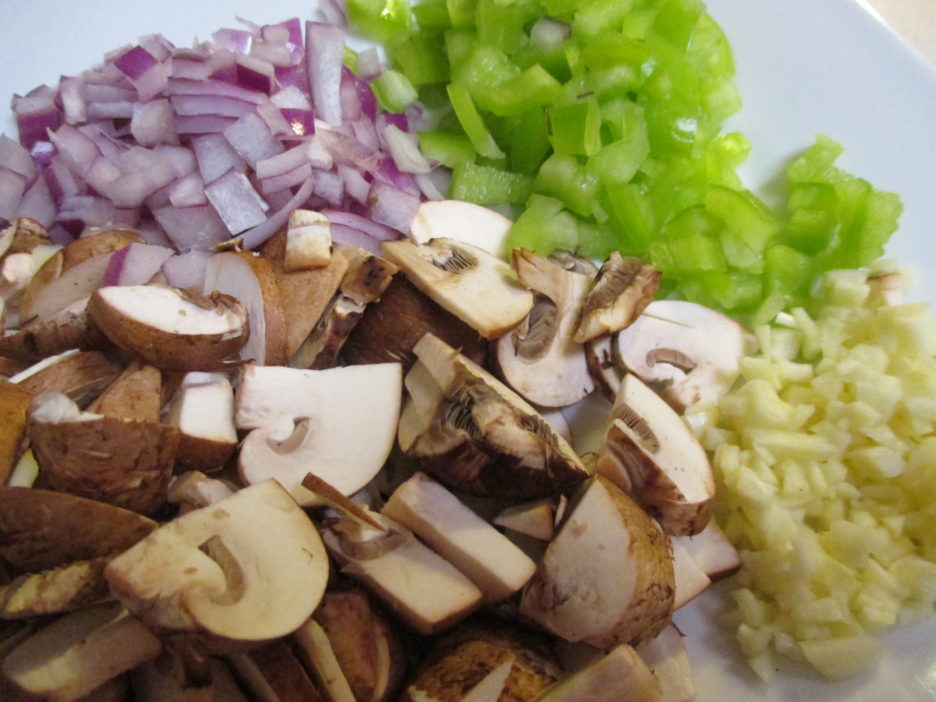 I let them cook for a good long time in olive oil. I added some chicken stock occasionally to keep things moving. The flavor had a chance to concentrate and what seemed like an overly large pile of vegetables cooked down to just the right size.
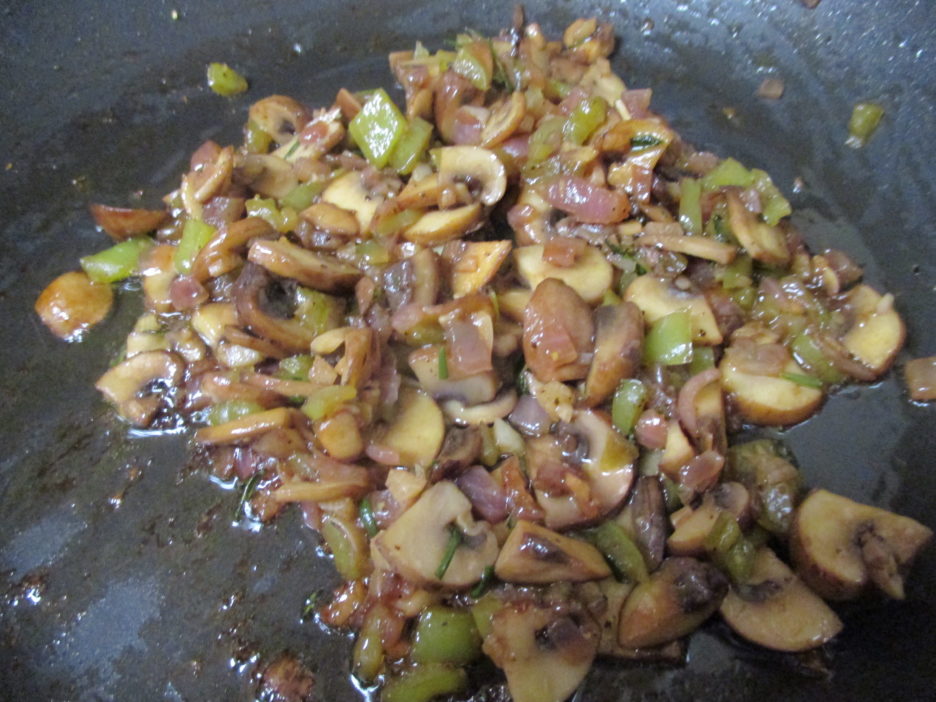


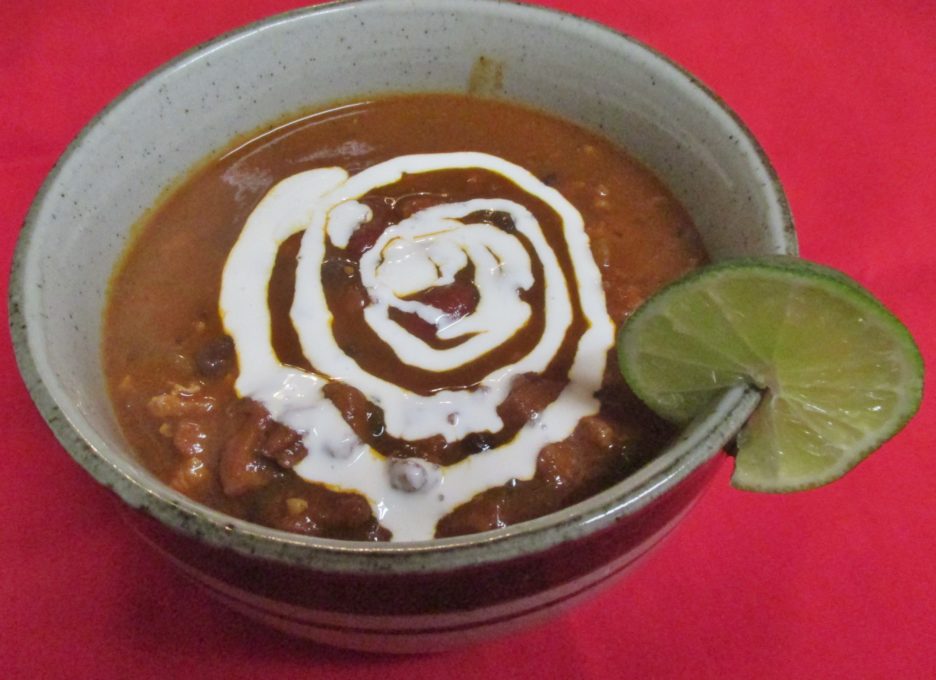
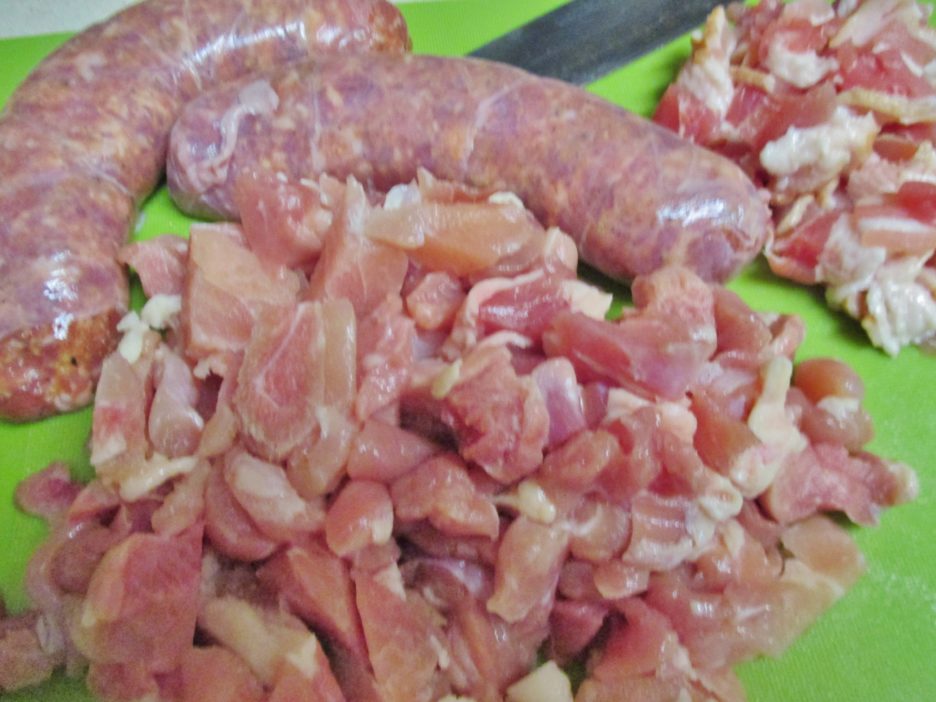
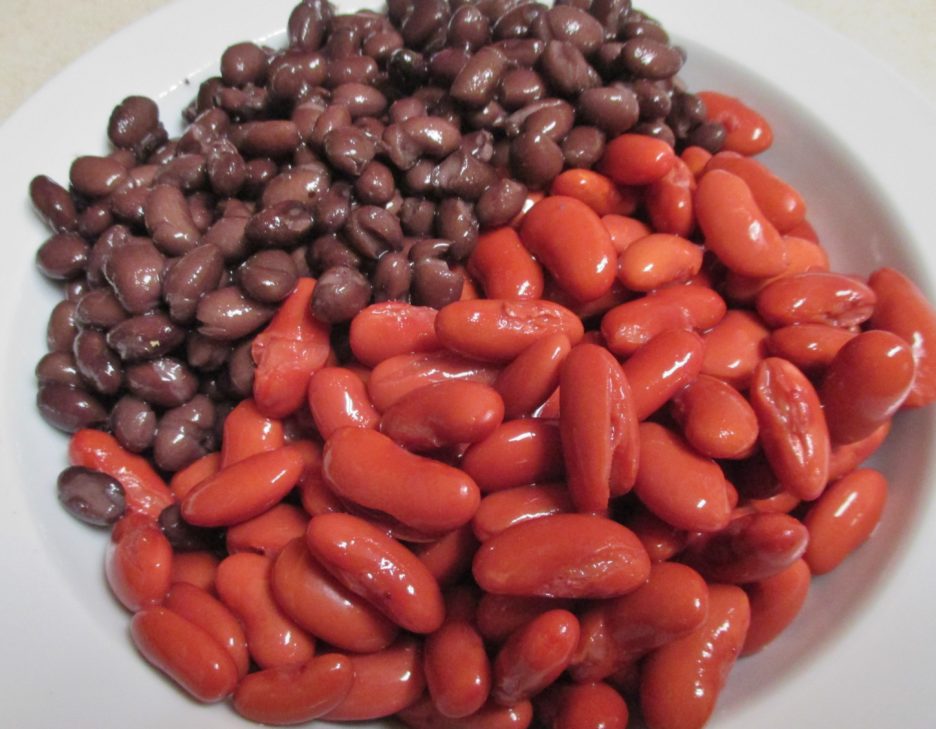
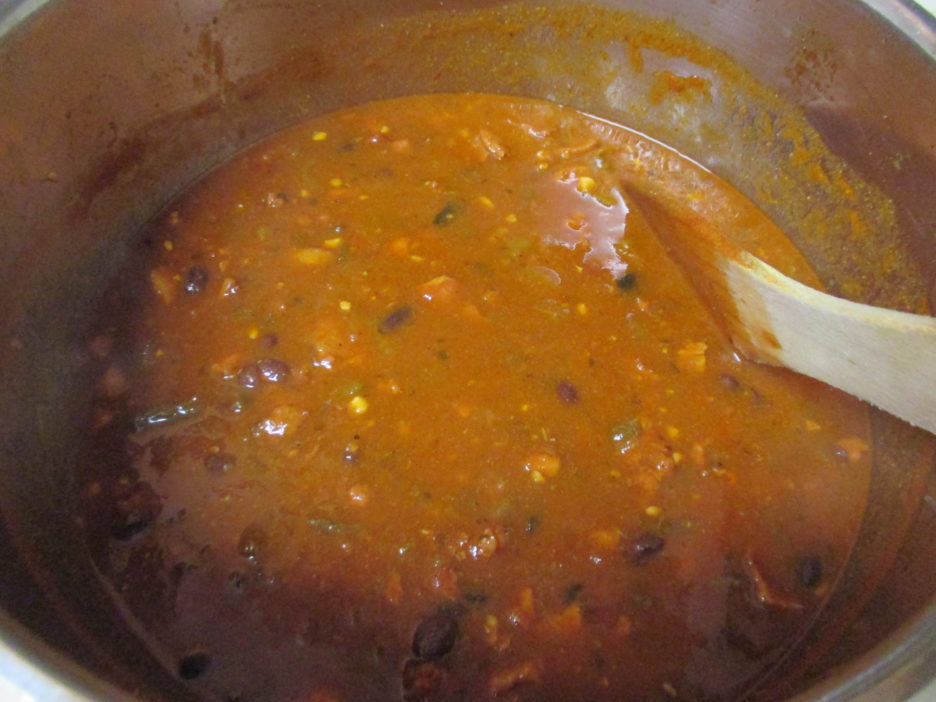
 The spices include Ancho and Chipotle Powders, which brings the chili total to seven. That’s a “Whole Lotta Chili.”