
I just made the first batch of Pesto from my sun and heat loving basil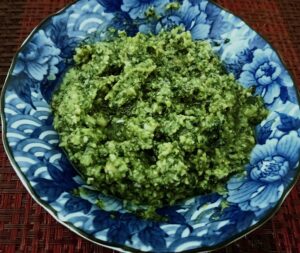 plant. It has been living happily on my balcony all summer, but it didn’t have an easy time of it. In fact this is basil plant #3. The first one was heartlessly destroyed by a marauding squirrel. The second one died a quick death caused by our crazy spring weather and a watering mishap. Plant #3 has survived and thrived. Partly because unlike some other plants, it really loves hot, dry, weather, but also because I built a chicken wire blockade surrounded by bamboo sticks that the squirrels can’t invade.
This is a picture of my plant, post pesto haircut.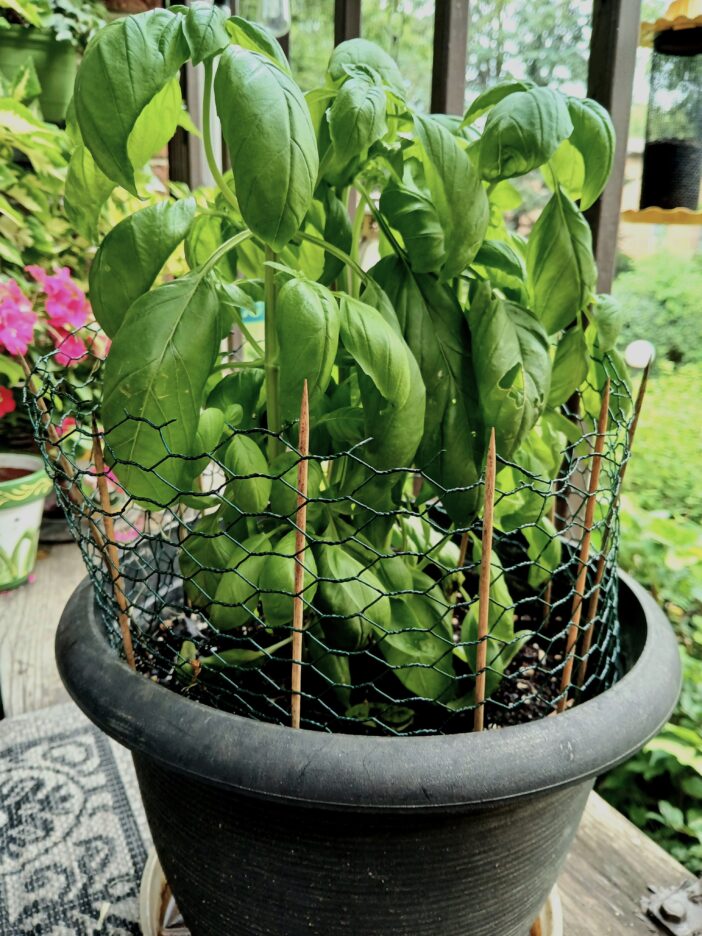 Yes, this is Mama D’s personal war with squirrels.
I love fresh basil. I use it in salads and pasta sauce, but my favorite use is to make pesto with it. Pesto is a simple thick and rich sauce simply made with basil, garlic, pine nuts, cheese, and olive oil. It comes together quickly and can be frozen in small portions that can be at the ready to elevate any dish simply by its presence.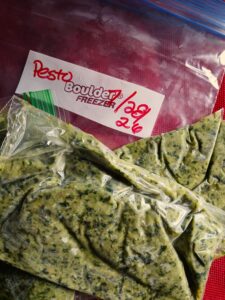 Here is my original recipe for pesto. I don’t always use the parsley, opting for all basil, but it is good either way. https://mamadskitchen.net/recipe/roasted-garlic-pesto/
I have written about Pesto, a lot. I searched on my web site and found six pages of recipes that feature pesto in one way or another. It can be the star of a dish or a flavorful supporting player as my recipes illustrate. There has hardly been a year that a recipe using pesto wasn’t on the blog. Just search Pesto on my site and see for yourself.
As I was looking over the pesto recipes, I found myself thinking that some of them could use an overhaul and decided that I would revisit and possibly re-work a couple of them. I often look back at old recipes and seem to see them with new eyes. Sometimes my available equipment has changed, other times my taste and sensibilities are in a different place.
First up is Chicken Cordon Bleu, Italian Style. I originally made it as a grilled, de-constructed, version using Prosciutto, Provolone, and Sage leaves. Pesto, in this case, was a garnish. Here is the original version: https://mamadskitchen.net/recipe/grilled-chicken-cordon-bleu-italian-style/
This time around, I wanted to make it more in the style of Traditional Cordon Bleu. 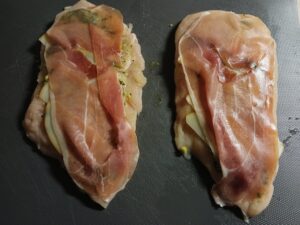 That is putting the prosciutto and cheese (smoked provolone) on the inside and wrapping the outside with more prosciutto. This also meant baking it instead of grilling it. Since I had a fresh batch of pesto, I decided to put it in the inside as well. Then it was a simple (sort of) process of rolling it up and securing it with some toothpicks. Finally, I enrobed it with prosciutto and sent it into the oven.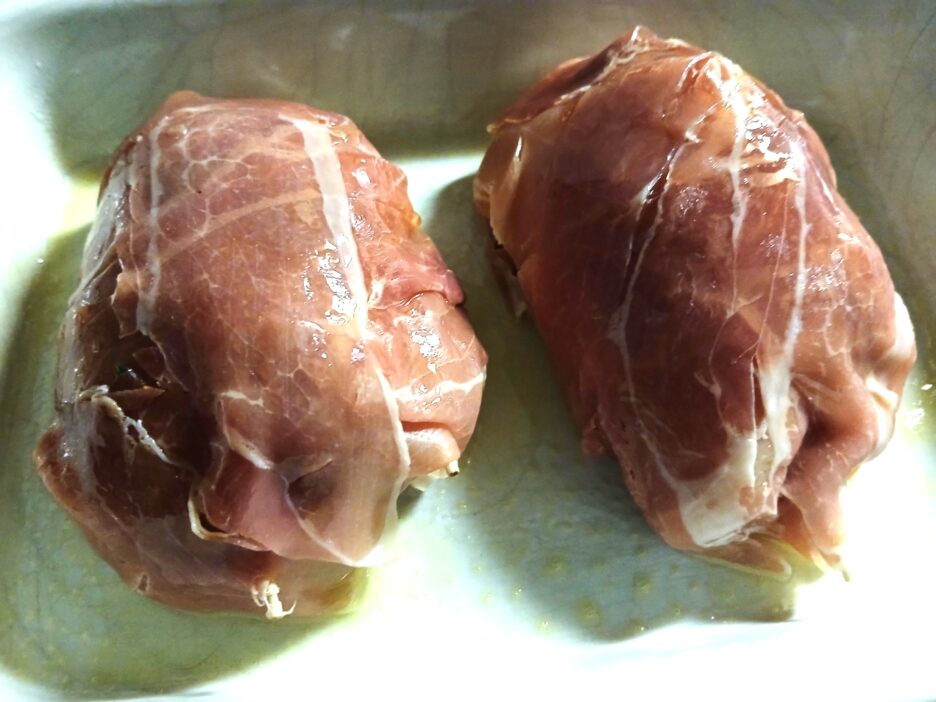
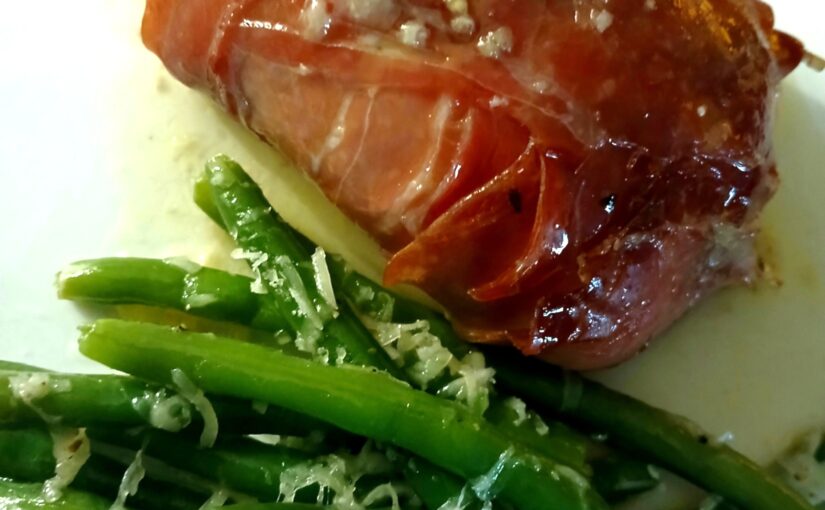
What came out smelled delicious and looked pretty good, too. Once it was plated and accessorized with some green beans it was time for the big reveal.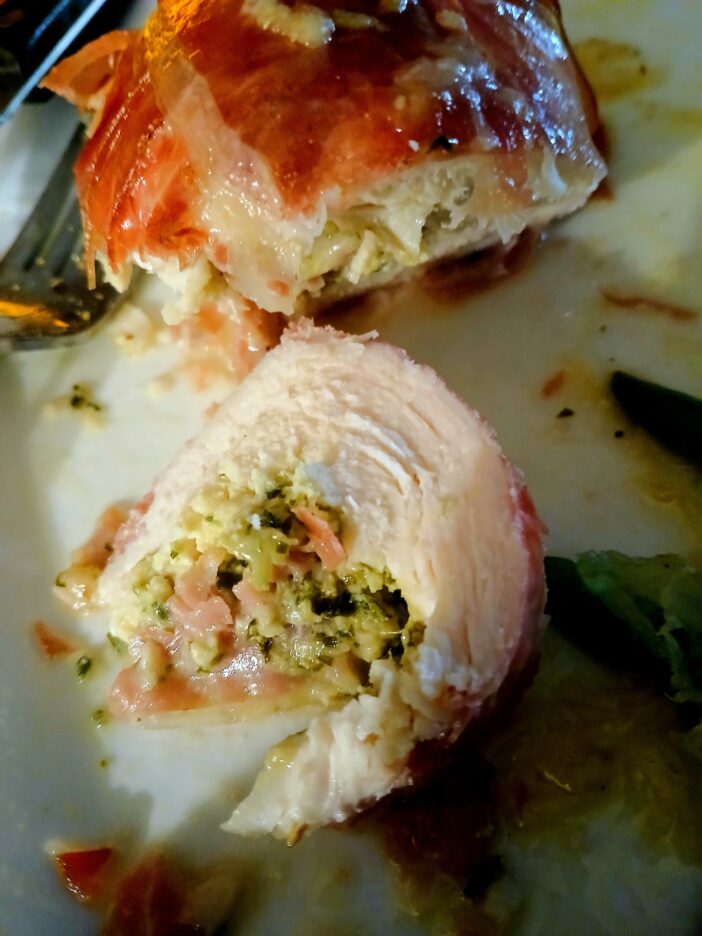
It was very tasty and showed me that every recipe can be changed into something different and sometimes, even better. So now, here with just a little fanfare, is the new version.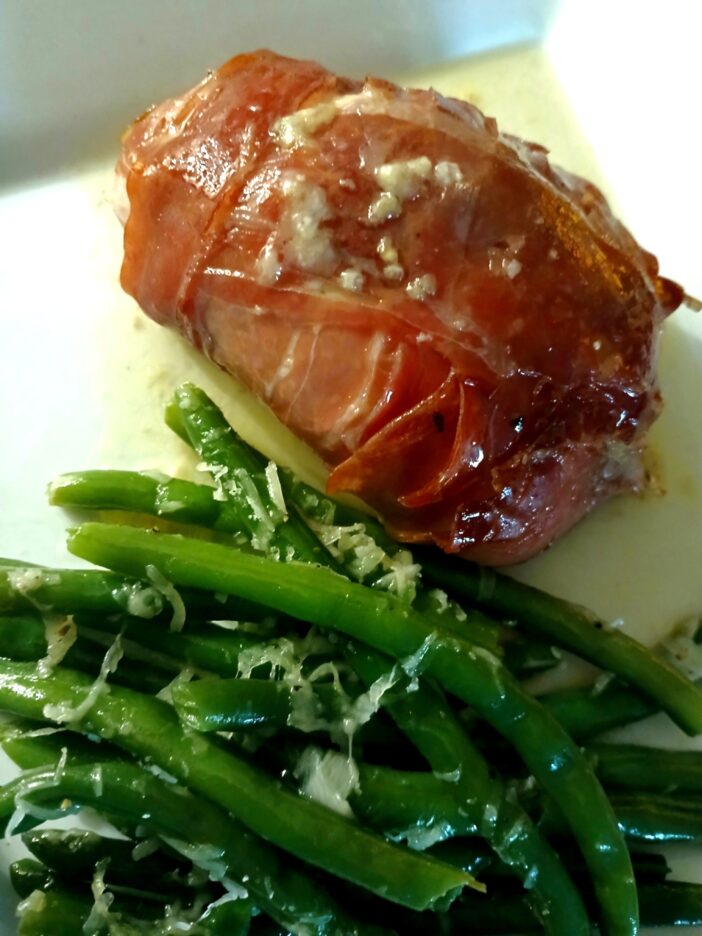
A new take on an old recipe.
- 2 Large Boneless Skinless Chicken Breast Cutlets
- 2 Oz. Provolone Cheese (smoked style if you like) Thinly sliced
- 1/4 Cup Pesto Homemade if you have it
- 3-4 Oz. Prosciutto Thin slices
- Freshly ground pepper
-
Pound your chicken breasts to an even thickness. If your chicken breasts are on the thick side, remove the tenderloin and trim the thicker underside to match the rest of the breast..
-
Lay the pounded breasts on a mat underside up. Season with pepper. Spread each breast with an even layer of the pesto, leaving a 1/2 inch border.
-
Layer the cheese on top of the pesto. leave a 1/2 inch edge all around.
-
Top each breast with 1 slice of prosciutto tear or fold to maintain the 1/2 inch border.
-
Starting at the thinner, point end, roll the chicken breast firmly but not too tightly. Secure with toothpicks as needed. Make sure you know how many and approximately where they are, trust me.
-
Wrap the chicken rolls with prosciutto. You can totally enrobe them or for a less salty version, wrap without overlapping..
-
Place in a baking dish and roast in a 350 degree oven for 25 minutes or until an instant read thermometer registers 160 degrees. Allow to rest until the internal temperature is 165. Remove all of the toothpicks
-
Serve with a drizzle of the pan juices if you like.
Share this:

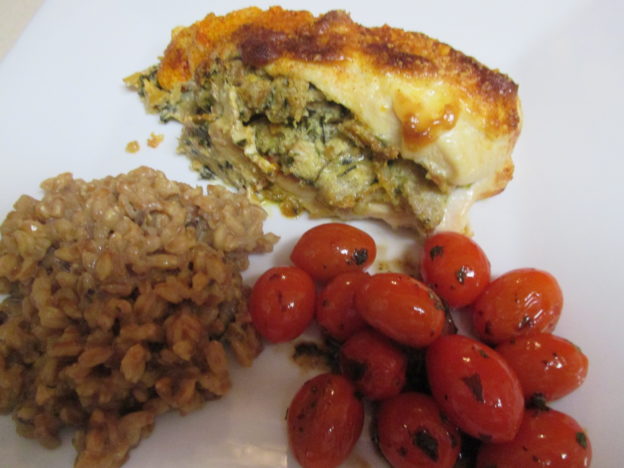

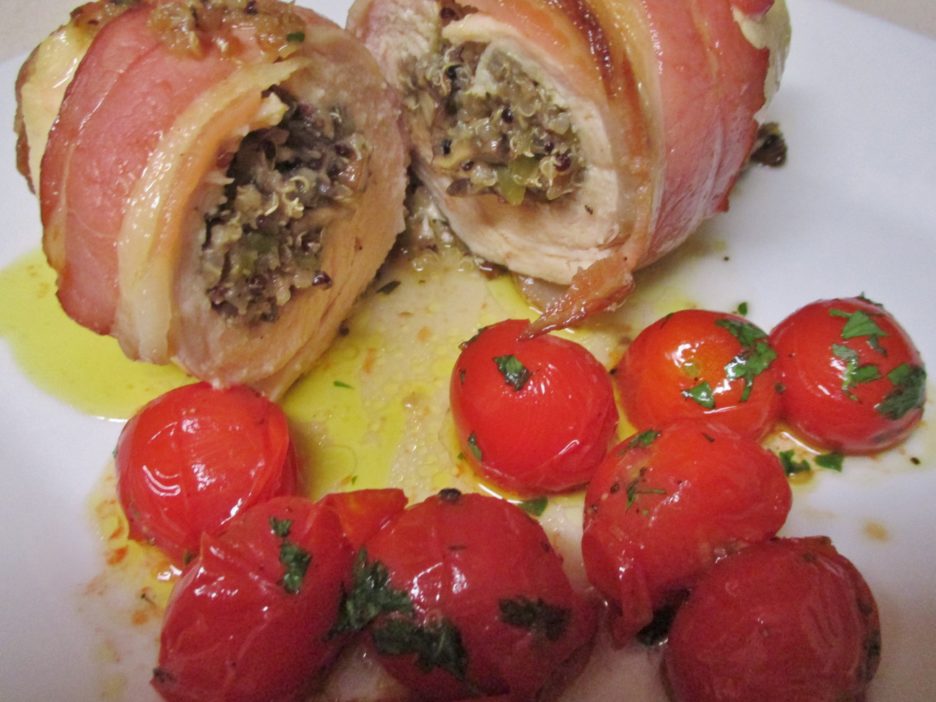 Little did I know that when the new year began, that I would still be singing their praises. Not to sound like I am repeating myself, but I have come up with yet two more ideas for filling a chicken breast and both of them are delicious and easy.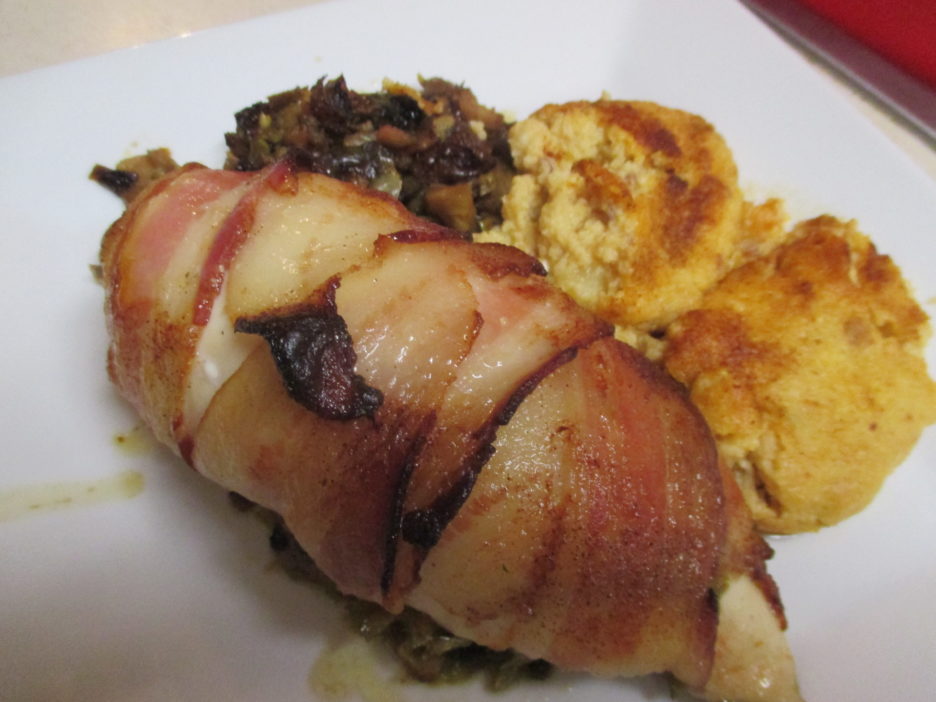
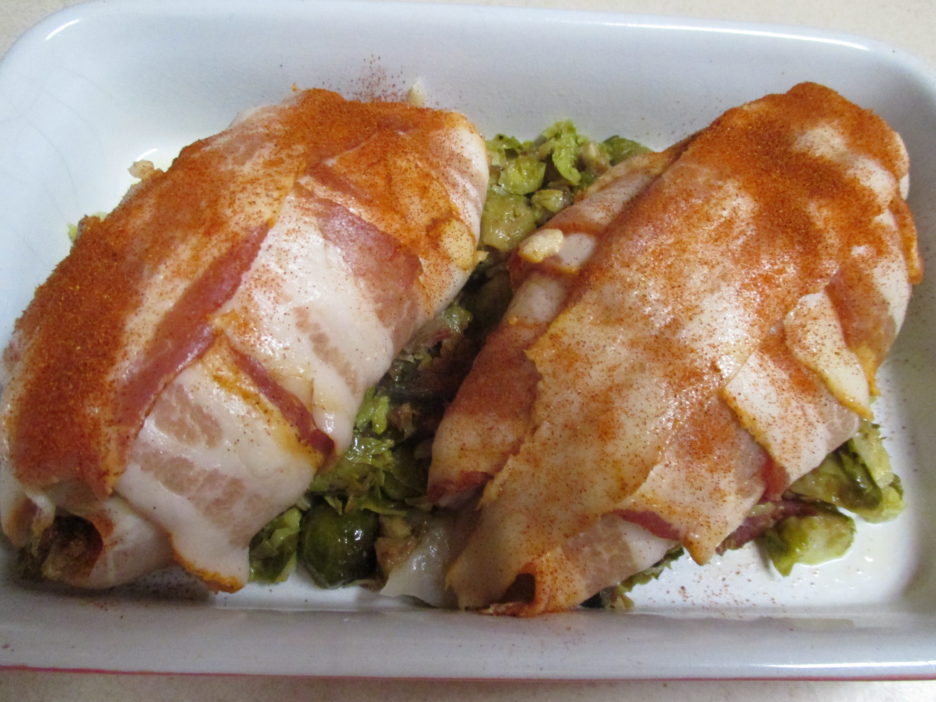
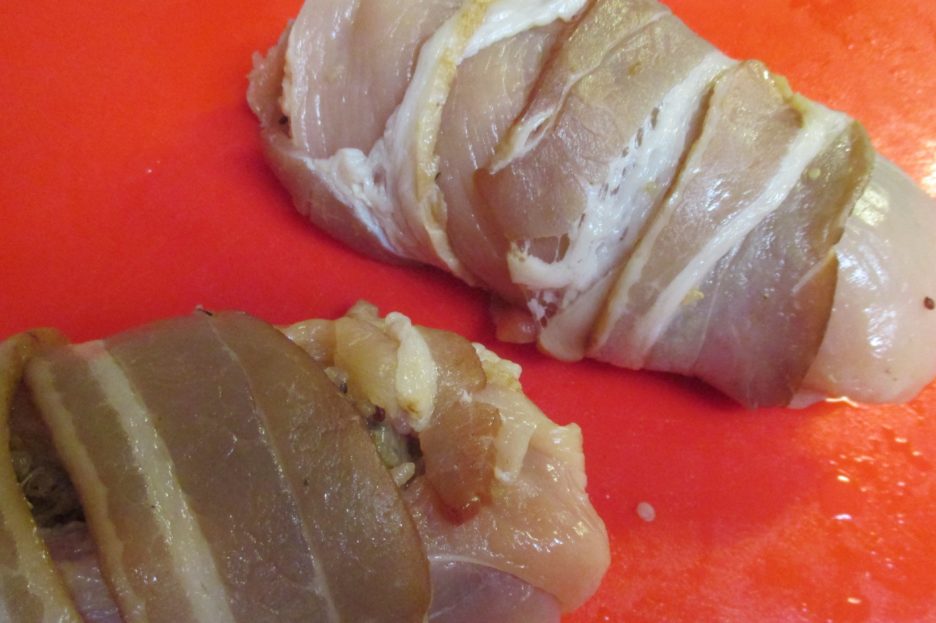
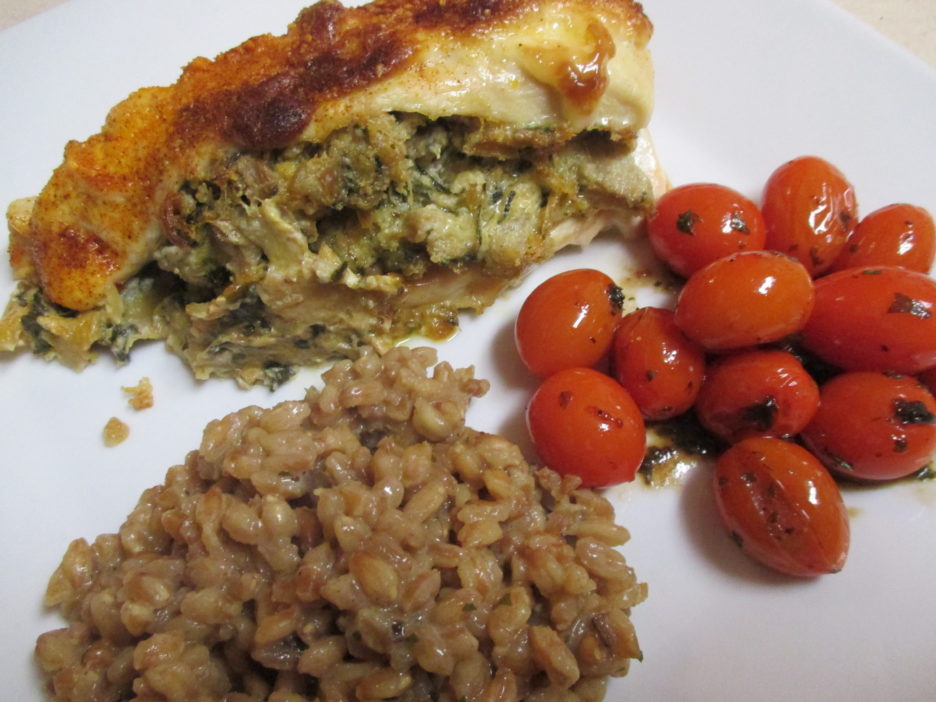 The chicken breast pocket can also be a new home for leftover vegetables. Brussels Sprouts roasted with bacon and onions was uncharacteristically left over from a previous dinner. Chopped up and packed inside a chicken breast made it’s second life almost as wonderful as its first. I enrobed this one in bacon that carried on the bacon that was in the stuffing,
 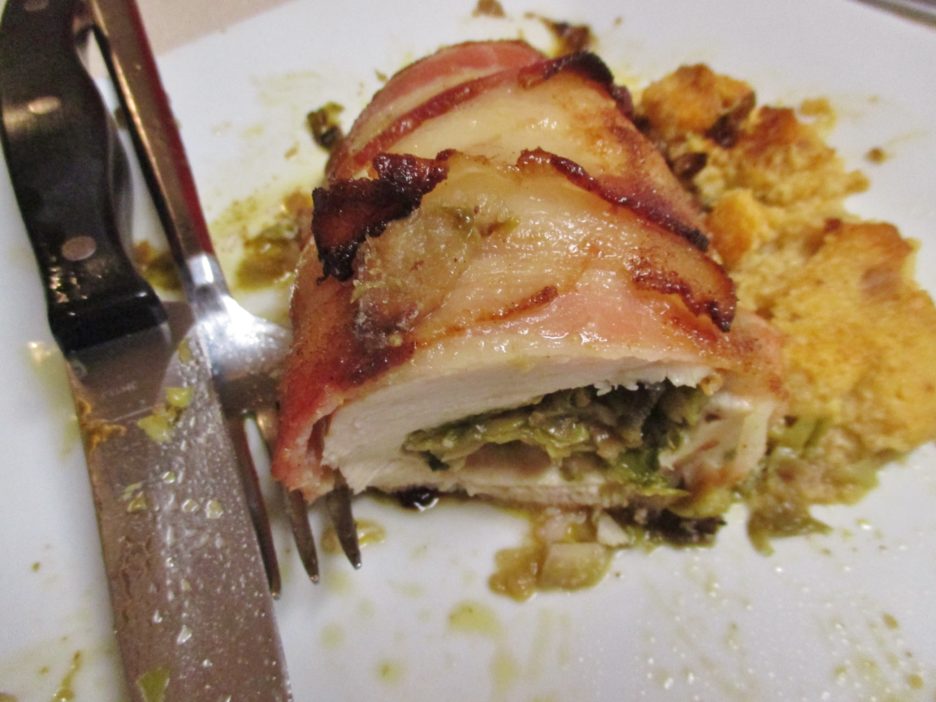 These are but two of a virtually endless set of possibilities. Use the master recipe and join the movement to stamp out dry chicken breasts. Share you creations and let’s start a new day of moist and tasty chicken breasts for all!!