Meatloaf – The Italian One

Meatloaf is one of those foods that can be a mundane reminder of childhood or the warm memory of classic comfort food. In the Mid Twentieth Century it was a staple in almost every household. Some have pleasant memories, others would prefer to forget it. I have mixed feelings about my Mother’s Meatloaf. If it were on the table today, I would probably like it very much. Back then, for some reason, I had an aversion to vegetables chopped up and “hidden” in something. I would spend more time picking out the onions, bell peppers and whatever other plant matter it contained, leaving a plate of messy crumbs much to my mother’s chagrin.

I’ve grown up and that “hidden green matter” isn’t much of an issue anymore. With Winter here and comfort food being , well, so comforting, it was time to make some meatloaf. I confess, I do not have a standard meatloaf recipe. I further confess that I have shared meatloaf adventures before. I more or less create meatloaf with what is on hand and how I am feeling. Each one begins as a work in progress using my best guess as to what will work together and just how much of each ingredient is enough. This go round, I was feeling a touch of Italian nostalgia along with the desire to use up some of the partially used condiments in the refrigerator. I also went pantry diving and came out with some treasures.

The meats were about a pound of Ground Chuck and a couple of Hot Italian Sausage Links both of which were lurking in the freezer. I think that meat loaf tastes best when there are a variety of meats involved. To turn this into what I have named the “Italian One”, I used plenty of minced onion and garlic. I chose the dried version of each and reconstituted it with time and water. Note to self: Forget your childhood aversion and use the fresh stuff next time. I had some Sourdough bread cubes that I crushed up and added to the mix along with some finely grated Romano and a couple of eggs. Since I had a started jar of Roasted Red Pepper and Artichoke Tapenade on hand I threw that in as well. If the stars align,  and I have it on hand again, I would use more. Still the flavor it gave to the meatloaf was delightful if a bit subtle. (Another note to self…)

Once everything was mixed together, I let it chill in the refrigerator for a couple of hours. While that was happening, I made a a tomato sauce to  go on top. Let me tell you how much I love canned Italian Cherry Tomatoes. They are so sweet and tender and just bursting with flavor that they are the perfect addition to almost anything. Given a little time and some garlic, onion, and olive oil, they make a slightly chunky  and flavorful sauce that is anything’s crowning glory. Thankfully, they must be an up and coming new darling in the marketplace, because I can find them in more stores now and I always like to have a can or two on hand.

When it was time to assemble, I opted for making two loaves. One to serve two now, and another to freeze to serve two later. Off they went to the oven for 30 minutes or so. I topped them with my lovely Cherry Tomato Sauce and a little Asiago Cheese and let them bake for another 10 minutes or so.

Meatloaf _ The Italian One
Course: Main Course
Ingredients
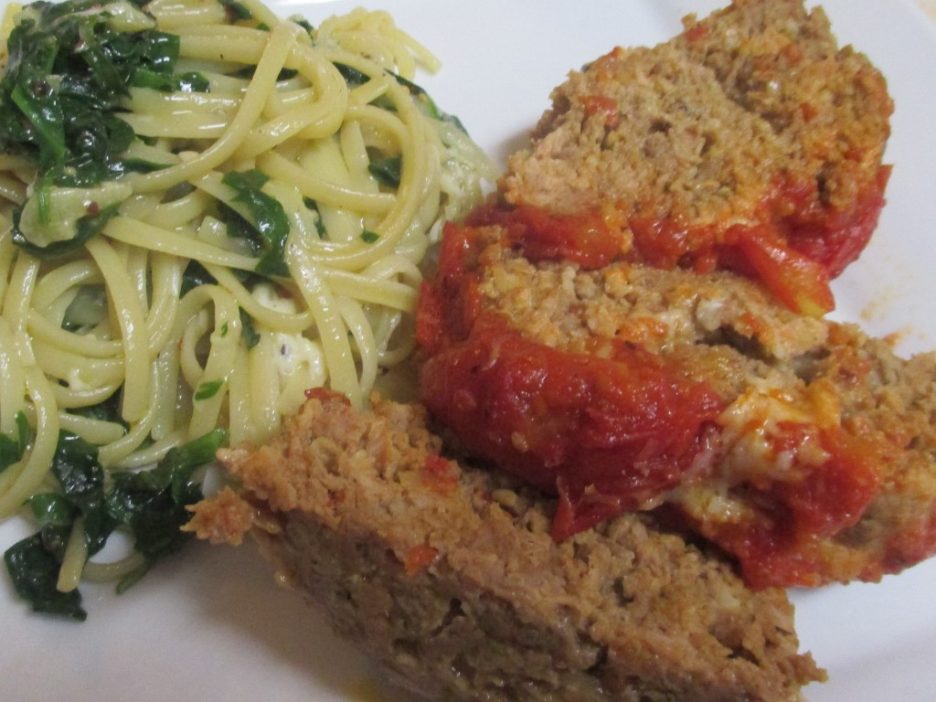
  • 1 Pound Ground Chuck
  • 2 Italian Sausage Links About 12 Ounces total.
  • 1/4 Cup Dried Onion 1/2 cup fresh
  • 1 Tbsp. Dried Garlic 3 Cloves if fresh
  • 1/2 Cup Bread Crumbs I used Sourdough
  • 1/3 Cup Grated Romano Cheese
  • 2 Eggs
  • 1/3-1/2 Cup Roasted Pepper/Artichoke Tapenade Or other savory condiment
  • 1 Cup Cherry Tomato Sauce Recipe below
Cherry Tomato Sauce
  • 1 Can Italian Cherry Tomatoes
  • 1/3 Cup Chopped Onion
  • 2 Cloves Garlic chopped
  • 1/2 Tsp. Red Pepper Flakes Optional, to taste.
  • 1 Tbsp Olive Oil
Instructions
  1. Combine the meats in a large bowl. Add the onions, Garlic, Bread Crumbs, Cheese, and Tapenade. Mix gently until everything seems blended.

  2. Lightly beat the eggs and add them to the bowl. Mix just until eggs are incorporated. Let mixture chill for 1-2 hours to allow flavors to blend. Make Sauce while the meat chills.

Cherry Tomato Sauce
  1. Heat Olive Oil in a small saucepan over medium heat. Add the onions and garlic (and the pepper flakes if you are using them) and cook for a few minutes, until the onions are translucent and the garlic is fragrant.

  2. Add the tomatoes and continue to cook until the tomatoes begin to burst. Thirty minutes or more is perfectly fine. Set aside.

Assemble and Bake
  1. Form the meat into one large or two small loaves. Pack gently but firmly and place on a rimmed baking sheet. Bake at 350 degrees for 20 - 30 minutes depending on number of loaves.

  2. Top with the Cherry Tomato Sauce and a sprinkle of Asiago (or any Italian cheese). Return to the oven for another few minutes until the cheese is melted Allow to rest 5 minutes before slicing.

I served this with Linguine that I tossed with Olive Oil, Garlic, and Spinach then sprinkled with more romano cheese. Any side “Starchy” or otherwise would be wonderful, too. Make this meatloaf and as always make it your own…there are no rules here.


What’s On Hand Pasta

The dog days of summer seem to have arrived a bit early this year. It is hot and humid and the occasional showers make it all the more hot and humid. Being out in this kind of weather no longer thrills me. At times I find myself “Summer Hibernating.”  Sometimes that means that I won’t leave the house, even for groceries, and that means that I have to delve into my freezer, fridge, and pantry to make dinner. Here’s what happened a few nights ago.

First stop was the freezer. It was time to get all those bags of vegetable scraps out of the cold and into the pot to make some vegetable stock. Click on this link to learn what that’s all about. I also found two links of Turkey Italian Sausage while I was rearranging things. Pasta came to mind because I knew it would make Papa D’s heart sing to dig into a bowl of pasta no matter what it was mixed with. I decided to use my soon to be wonderful vegetable stock for the base of a lighter sauce, it being summer and all. Now I needed to round out the flavors.

In the pantry I found a started bag of fancy fettuccini, more than enough for two. I also came upon a jar of Artichoke Salad. I bought it on a whim one day and knew that I could use it for something eventually. If you haven’t seen this before; it is marinated artichoke hearts with roasted red peppers, olives, and some fairly decent seasonings. Quick sauce in a jar. Of course I couldn’t just leave it at that. Onions and garlic had to come along, and I added a few more marinated artichokes (also in the pantry) to fill in the spaces a bit.

A thorough search of the fridge turned up two grilled chicken thighs topped with pesto and a small container of mozzarella pearls and of course my trusty wedge of Pecorino Romano. I looked at them and thought…Why not? Let the creative process begin!

I used some of the marinade to saute the sausage and once it was cooked, I added the onions and garlic and let everything get acquainted for a few minutes. I drained the artichoke salad well and added it to the pan. Around the same time I sliced up the chicken thighs and added them in as well. Once everything was getting some color, I added about a cup of vegetable stock. 
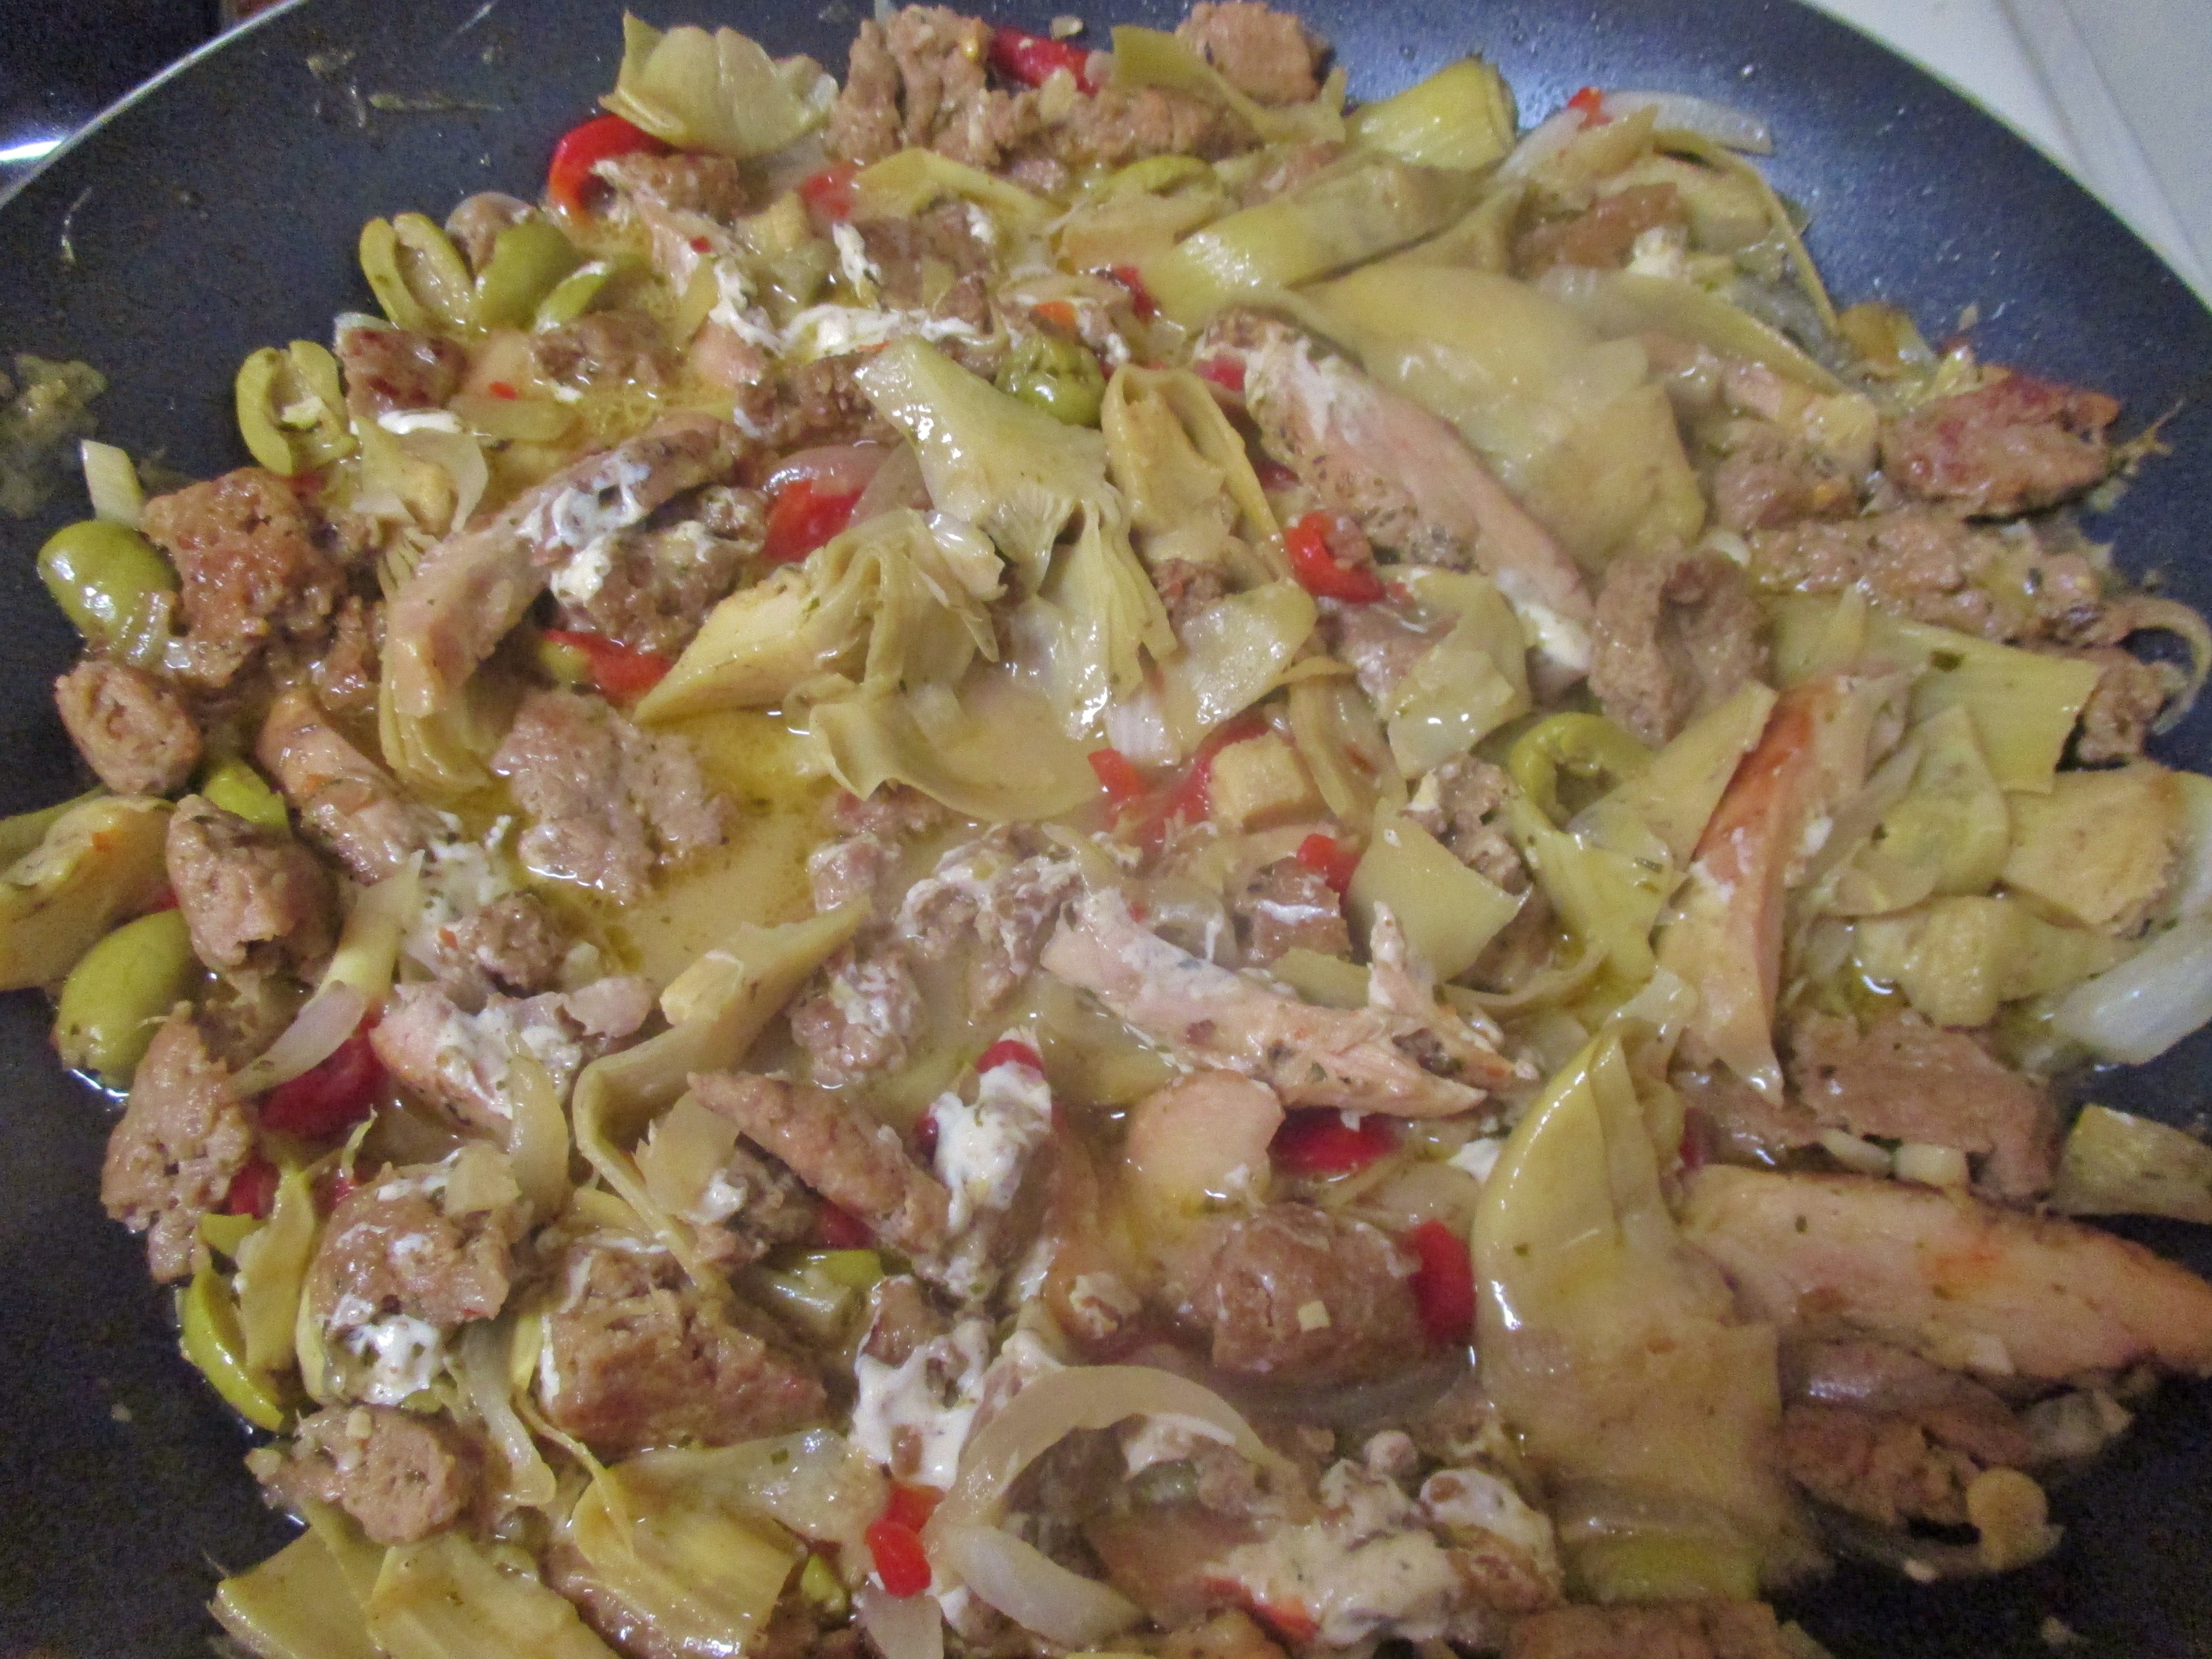
The mozzarella pearls went in next. This required a lot of stirring but they finally kind of melted leaving just a few intriguing stringy ribbons that I think added some texture and interest to the sauce (sticking to that story).

While all of this was happening in the skillet, the pasta was boiling up to al fente perfection in a pot nearby. Finally the kitchen planets aligned and it was time to put everything together. A few more minutes and it was show time.

This qualifies as a “Non-Recipe, Recipe” that will most likely never be exactly the same each time it is prepared, it all depends on what’s “On Hand.” Here are a few guidelines based on how I did it this time:

  1. I used about 8 ounces of pasta which was enough for two servings with a lunch portion left over. I used fettuccini but it would be just as good with a cut pasta…maybe better.
  2. I used a 12 ounce jar of Artichoke Salad and maybe a quarter of a jar of Marinated Artichoke Hearts. Everything was drained well and I did use about 1 tablespoon of the marinade to get things going in the skillet.
  3. I removed the casings from the sausages and browned it in the skillet. I used cooked chicken, but you could use more sausage or all chicken or something else.
  4. Onions and garlic were added because this is Mama D’s Kitchen after all. Add any other veggies you would like. Mushrooms and/or zucchini would be good.
  5. Use vegetable or chicken stock as you wish. About a cup is enough. You will also want to add a good ladle of the water from the pot before you drain the pasta.
  6. Cheese is up to the cook. I used Mozz, but it wasn’t easy. Provolone, Asiago, or Fontina would work or just go with a generous grating of the Romano.
  7. Serve it up and enjoy.


Smoked Shrimp Tacos

Well, here in the Midwest we are anxiously awaiting something that resembles Summer. We have had a few brief interludes which have then been followed by rain, wind, and other assorted weather mayhem. I honestly don’t remember the last day that it didn’t rain at some point. However, neither rain, nor wind, nor other mayhem will keep a Midwestern Griller from grilling.

I love shrimp, and I declare that my favorite way to prepare these little crustaceans is on the “barbie.” Because they cook in a matter of minutes, weather is not a problem. 
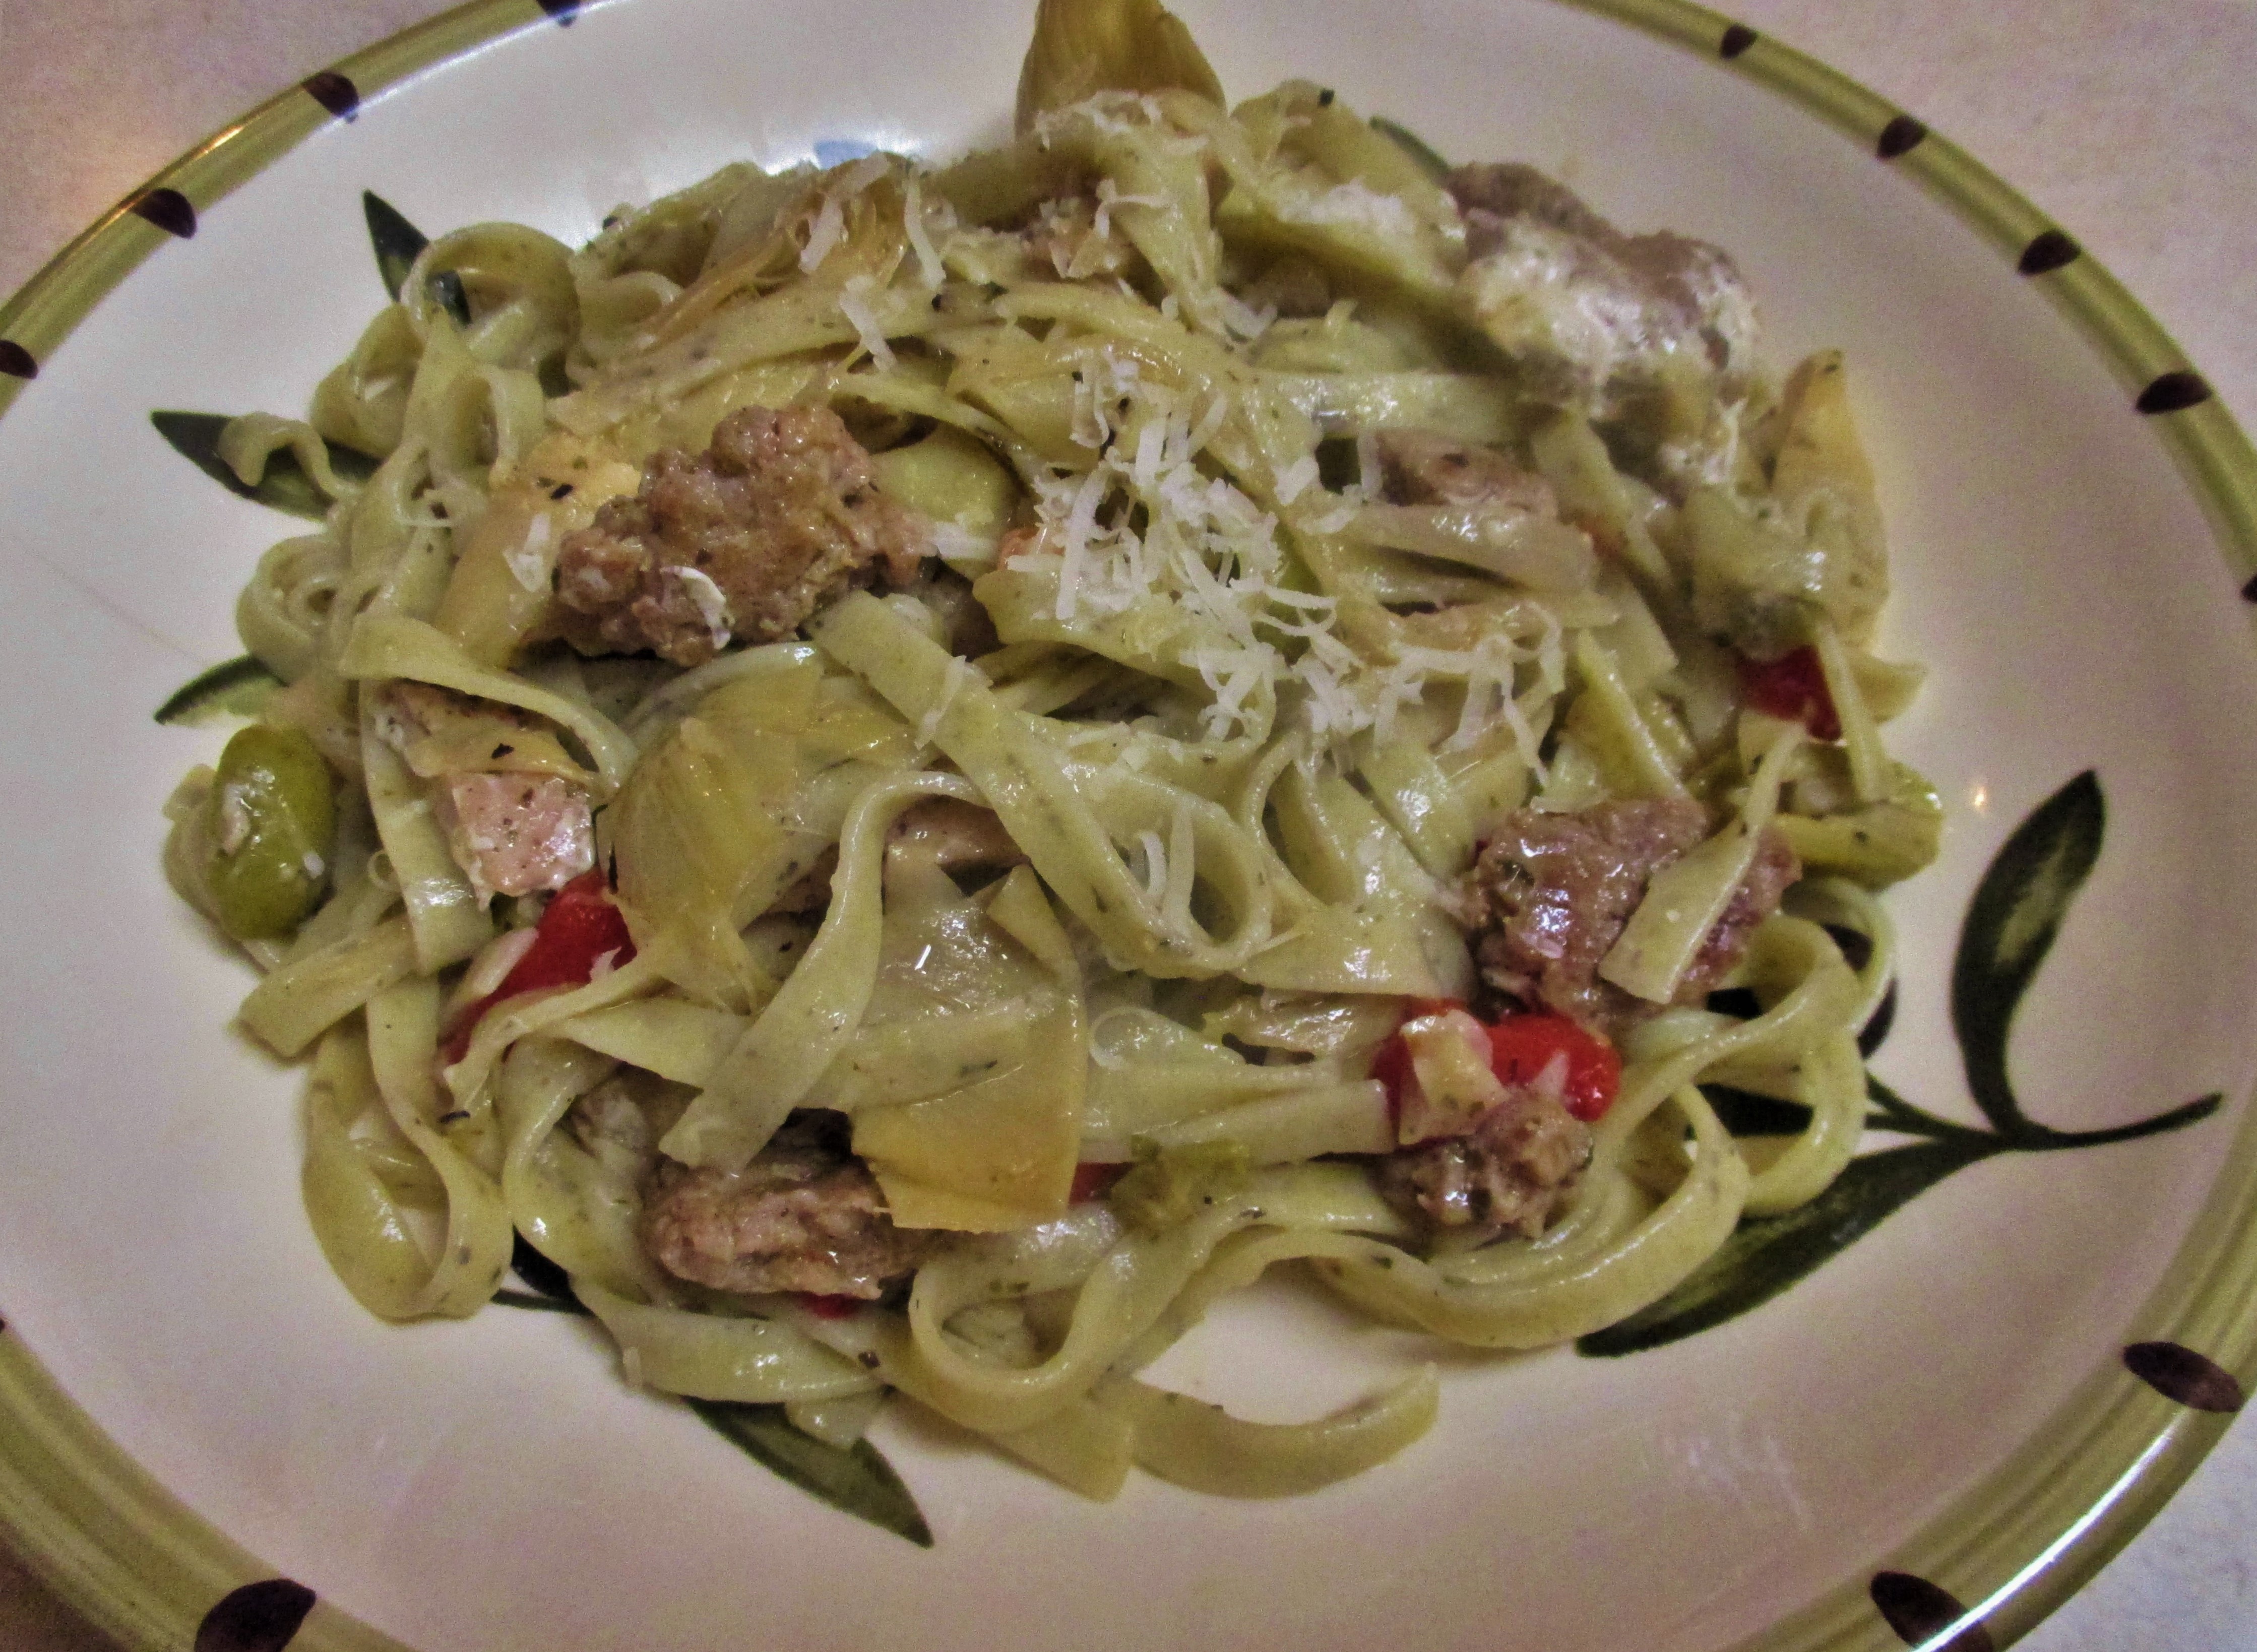
Grilling gives them wonderful flavor that works well in many dishes. Pasta is always at the top of my list followed by serving them on their own as a scrumptious finger food. For something entirely different this time, we decided to have them in tacos. Then, because we were feeling a little adventurous, we thought that having them spend  some time in the Smoking Cloche would be an interesting touch.

A Smoking Cloche is  exactly what the name intends. It is a smoke gun that is attached to a clear glass cloche. The smoke is created by lighting a pinch of fine wood chips, in this case Mesquite, on the smoke gun. This creates a smoking chamber that is ideal for drinks, cheese, and other small items. Here’s what it looks like in action.

Yes, there peeking out of the swirling smoke, are our lovely grilled shrimp.

This is a cold smoking process that takes about 5 -8 minutes. The result is a subtle smokiness that adds just enough flavor to make anything a little more interesting. Shrimp were no exception. 
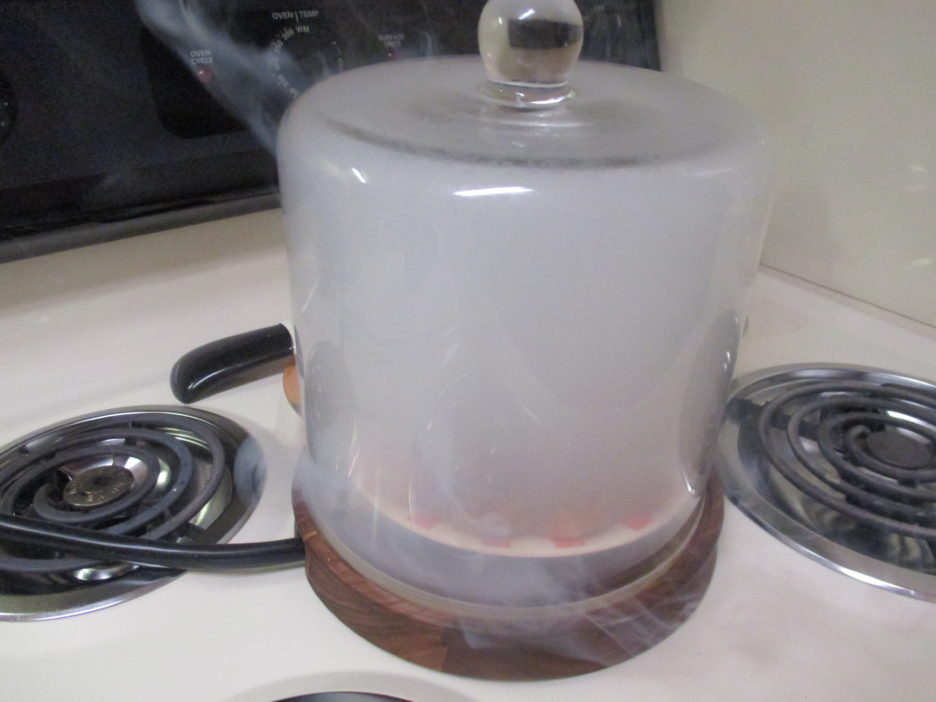
I did give them a little help by marinating them in a mixture of garlic, chili flakes, smoked paprika, cumin, and a touch of lime.

Tacos always need something else inside to create a handful of flavor. I wanted to keep it simple so that the shrimp would truly be the star attraction. I opted for pickled red onions for some acidic kick and perfectly ripe avocado chunks for a creamy component. The finishing touch was a drizzle of Buttermilk Ranch Dressing. I would have no objections to adding hot sauce, salsa, or pico de gallo.

Smoked Shrimp Tacos
Course: Main Course
Servings: 2
Author: Mama D
Ingredients
  • 1 Pound Jumbo Shrimp Peeled & deveined
  • 2 Tbsp. Canola Oil
  • 1 Tsp. Smoked Paprika
  • 1/2 Tsp. Chili Flakes
  • 1 Tsp. Ground Cumin
  • 1 Tbsp. Chopped Cilantro
  • 2-3 Cloves Garlic Chopped
  • Juice of 1 Lime
  • 1/2 Tsp. Salt Or to taste
  • 6 Corn Tortillas 6 inch
Instructions
  1. Combine the shrimp with all the ingredients, except the tortillas. Marinate for 4-6 hours.

  2. Grill the shrimp over medium heat using a grill basket, tossing occasionally until the shrimp are just turning pink. About 5 -7 minutes.

  3. Use a Smoke Gun (or cloche) if available or desired.

  4. Soften the tortillas over low heat and place on serving plates. Divide the shrimp between the tortillas.

  5. Top with pickled onions and avocado (or whatever toppings you enjoy).

    Drizzle with Ranch Dressing or the sauce of your choice and serve.

A quick ( pretty much open and dump) Black Bean and Corn Salsa rounded out the plate.  

Quick Black Bean and Corn Salsa
Author: Mama D
Ingredients
  • 1 Can Black Beans Drained and rinsed
  • 1 Cup Corn Kernels Thawed if frozen
  • 1/2 Cup Chopped Red Onions
  • 1 Cup Pico De Gallo
  • 1/4 Cup Chopped Cilantro More or less to taste
  • Juice of 2 limes
  • 1/2 Tsp. Chili Powder or Cayenne To taste.
  • 1/2 Tsp. Garlic Powder To Taste
Instructions
  1. Combine all of the ingredients. Refrigerate Covered for at least 1 hour. The longer the better

These were wonderful! We ate every last bite and we will have them again in the very near future.


Cauliflower Mac & Cheese, Again.

Disclaimer: I confess that I have shared various recipes for Cauliflower Mac & Cheese over the years. That is because I really, really like it. This, as with the other versions, takes a slightly different path. You can check these and lots of other recipes out on my website: mamadskitchen.net.

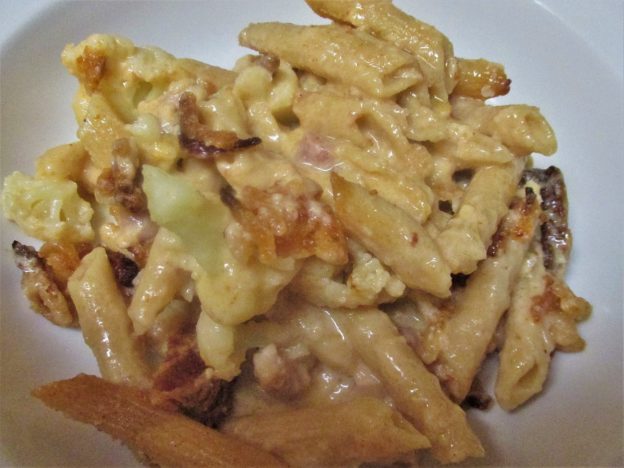
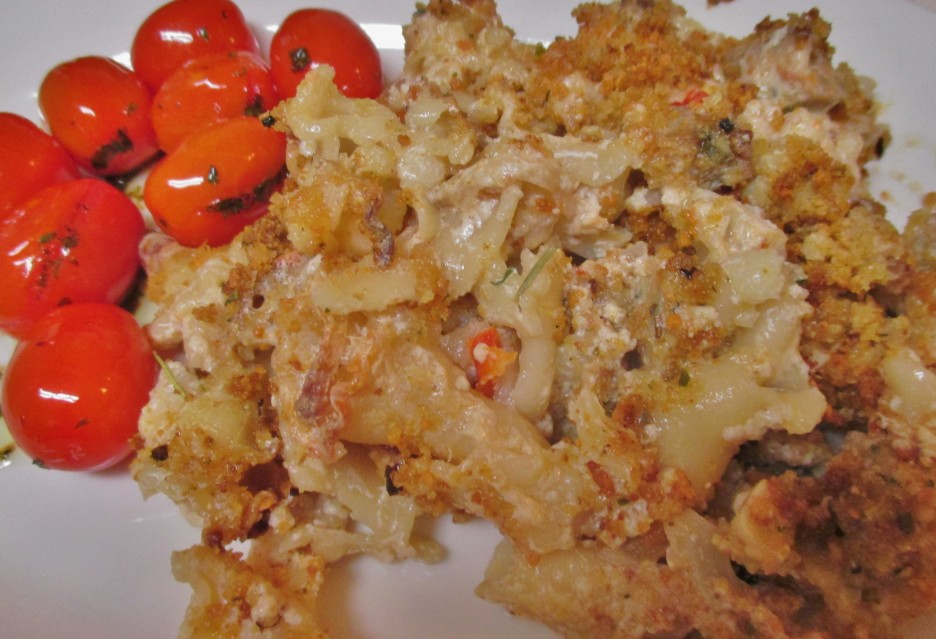
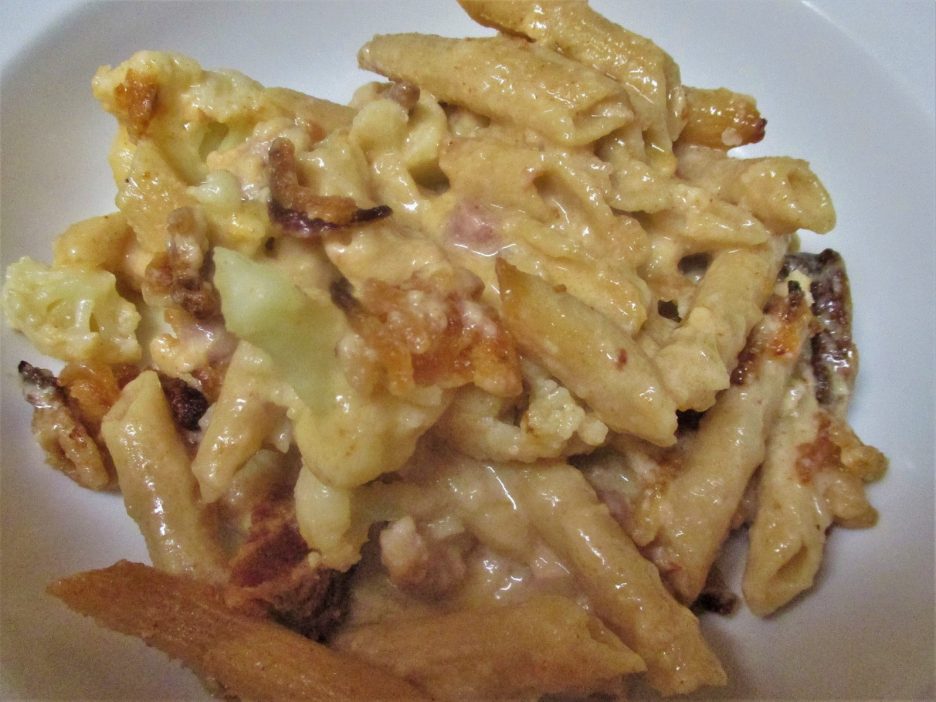
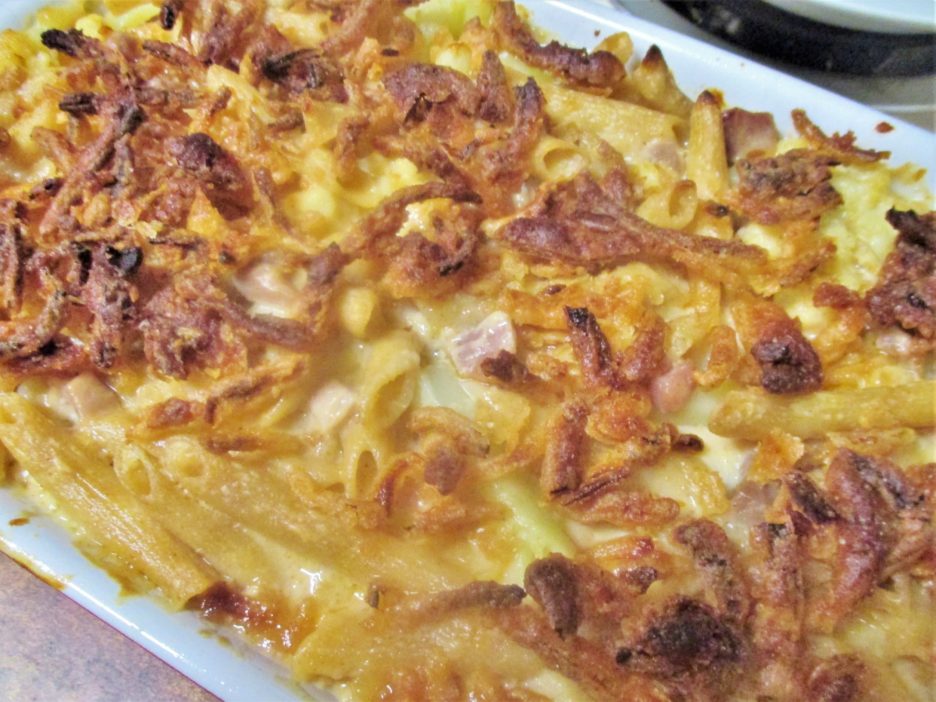
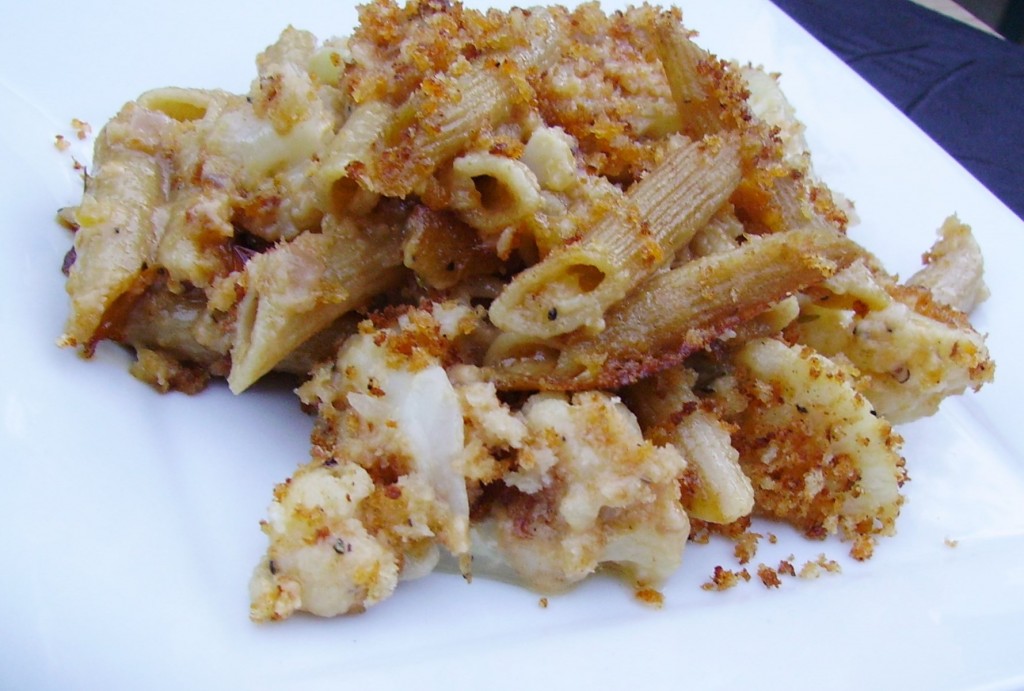
Even though spring is here, a casserole of comfort food love is a welcome weeknight supper once in a while.  Nothing says comfort food love like homemade Macaroni and Cheese, full of comfort and unfortunately, fat and calories. This is my attempt to take away some of the bad and keep most of the good intact.

Enter everyone’s (well, most everyone’s) favorite chameleon vegetable, cauliflower. Cauliflower is everywhere these days, often under the radar, in pizza crust, mashed potatoes, and of course as the low carb rice substitute.

One of the best things about cauliflower is how well it plays with others. That’s how it came to have a starring role in this dish. Cut into florets and cooked to al dente, it blends with cut pasta seamlessly. This dish is equal parts of cauliflower and pasta. Since cauliflower shrinks and pasta grows when cooked, I measured accordingly.

We all know that a delicious Mac & Cheese is only as good as the cheese used, so I chose a combination of Aged Cheddar and Smoked Gouda. They both provide big flavor, and that means that you need less to get that big cheese bang for the buck. Any cheese(s) that you love will work, however.

I used 2% milk because I think it gives enough creaminess without as much fat as cream, half & half, or whole milk would.  Smoked paprika and cayenne add a bit of heat and color, but you could add whatever flavors you would like.

Now, about the prosciutto. It added a saltiness and texture the dish. You could substitute ham or bacon or leave the pork products out completely. Remember this is going to be your recipe.

Finally, a word about the topping. French Fried Onions out of the can are one of my guilty pleasures. They are delicious on a green bean casserole, as a crunchy salad topping, or all by themselves as a crunchy salty snack.

So here is your Cauliflower Mac & Cheese springboard waiting for you to take the plunge.

Cauliflower Mac & Cheese
Print Recipe
Servings
4
Servings
4
Cauliflower Mac & Cheese
Print Recipe
Servings
4
Servings
4
Ingredients
Servings:
Instructions
  1. Cook the pasta in salted boiling water until just al dente. Add the cauliflower and cook 2 minutes more. Drain and set aside.
  2. Melt the butter in a medium saucepan. Add the shallots and cook until they begin to soften. Add the flour and stir to form a roux. Cook for 2 minutes.
  3. Gradually add the milk, stirring constantly. continue to cook stirring constantly until the sauce comes to a gentle bubble and thickens.
  4. Remove from the heat and add in the cheese, stirring until it is melted. Add the paprika and cayenne and taste for seasoning. Add what it needs.
  5. Combine the cheese sauce with the pasta, cauliflower, and prosciutto (if using). Pour into a 2 quart casserole that has been lightly coated with cooking spray.
  6. Cover with foil and bake at 350 degrees for 25 minutes, until the sauce is bubbling.
  7. Sprinkle with the fried onions and bake uncovered another 5 - 7 minutes until the onions are golden brown. Allow to rest 10 minutes before serving.
Share this Recipe
Powered byWP Ultimate Recipe

All Over the Map Asian Noodle Soup


This easy soup uses Asian ingredients from several different countries. Soba Noodles from Japan, Fish Sauce from Vietnam, Soy Sauce from China and broth in a box that is Thai inspired. It’s rounded out with American Pork, and vegetables that are available in most any grocery store.

Since this soup is literally all over the map it is fair game to any kind of modification you would like. Change the meat, change the noodles (rice or ramen noodles would be good) to whatever you have or like. The same goes for the vegetables.

I found this broth at Aldi. It is not one of their regular items so it may not be there when you go. Take a hint from the label and you can probably add ginger, lime juice, fish sauce, and chili to chicken broth and get a similar result. (Yes, I did taste all of those flavors in the broth.)

The cooking times in the recipe will result in tender crisp vegetables. Adjust the time to your preference.

All Over the Map Asian Noodle Soup
Print Recipe
Servings
4
Servings
4
All Over the Map Asian Noodle Soup
Print Recipe
Servings
4
Servings
4
Ingredients
Servings:
Instructions
  1. Heat 1/2 tablespoon oil in a soup pot. Add the ground pork and cook until it is no longer pink. Remove with a slotted spoon and set aside.
  2. Add the remaining oil to the pan and add the onions and carrots to the pan and cook for a few minutes until they are fragrant. Add the garlic and ginger and cook 2 minutes longer.
  3. Return the pork to the pan and add the broth, fish & soy sauce and lime juice. simmer for 15 minutes to allow the flavors to blend.
  4. Give the soup a taste and add whatever you think it needs. Add the cabbage, red pepper, chilis and green onions. s\Simmer for 5 minutes or so.
  5. While the soup is cooking, prepare the noodles per the package directions. Add the cooked noodles to the soup and let everything get acquainted for another 5 minutes.
  6. Serve with a sprinkle of chopped cilantro and a squeeze of lime. You could also add a splash of Sriracha if you like.
Share this Recipe
Powered byWP Ultimate Recipe