Vegetable Hash with Toads in the Hole

Another Meatless Monday is ready for the record books. I have to say I rather like the challenge and subsequent creativity that this little experiment is providing. As a money-saving and health enhancing exercise it is good for Mama D’s Kitchen. DIGITAL CAMERA

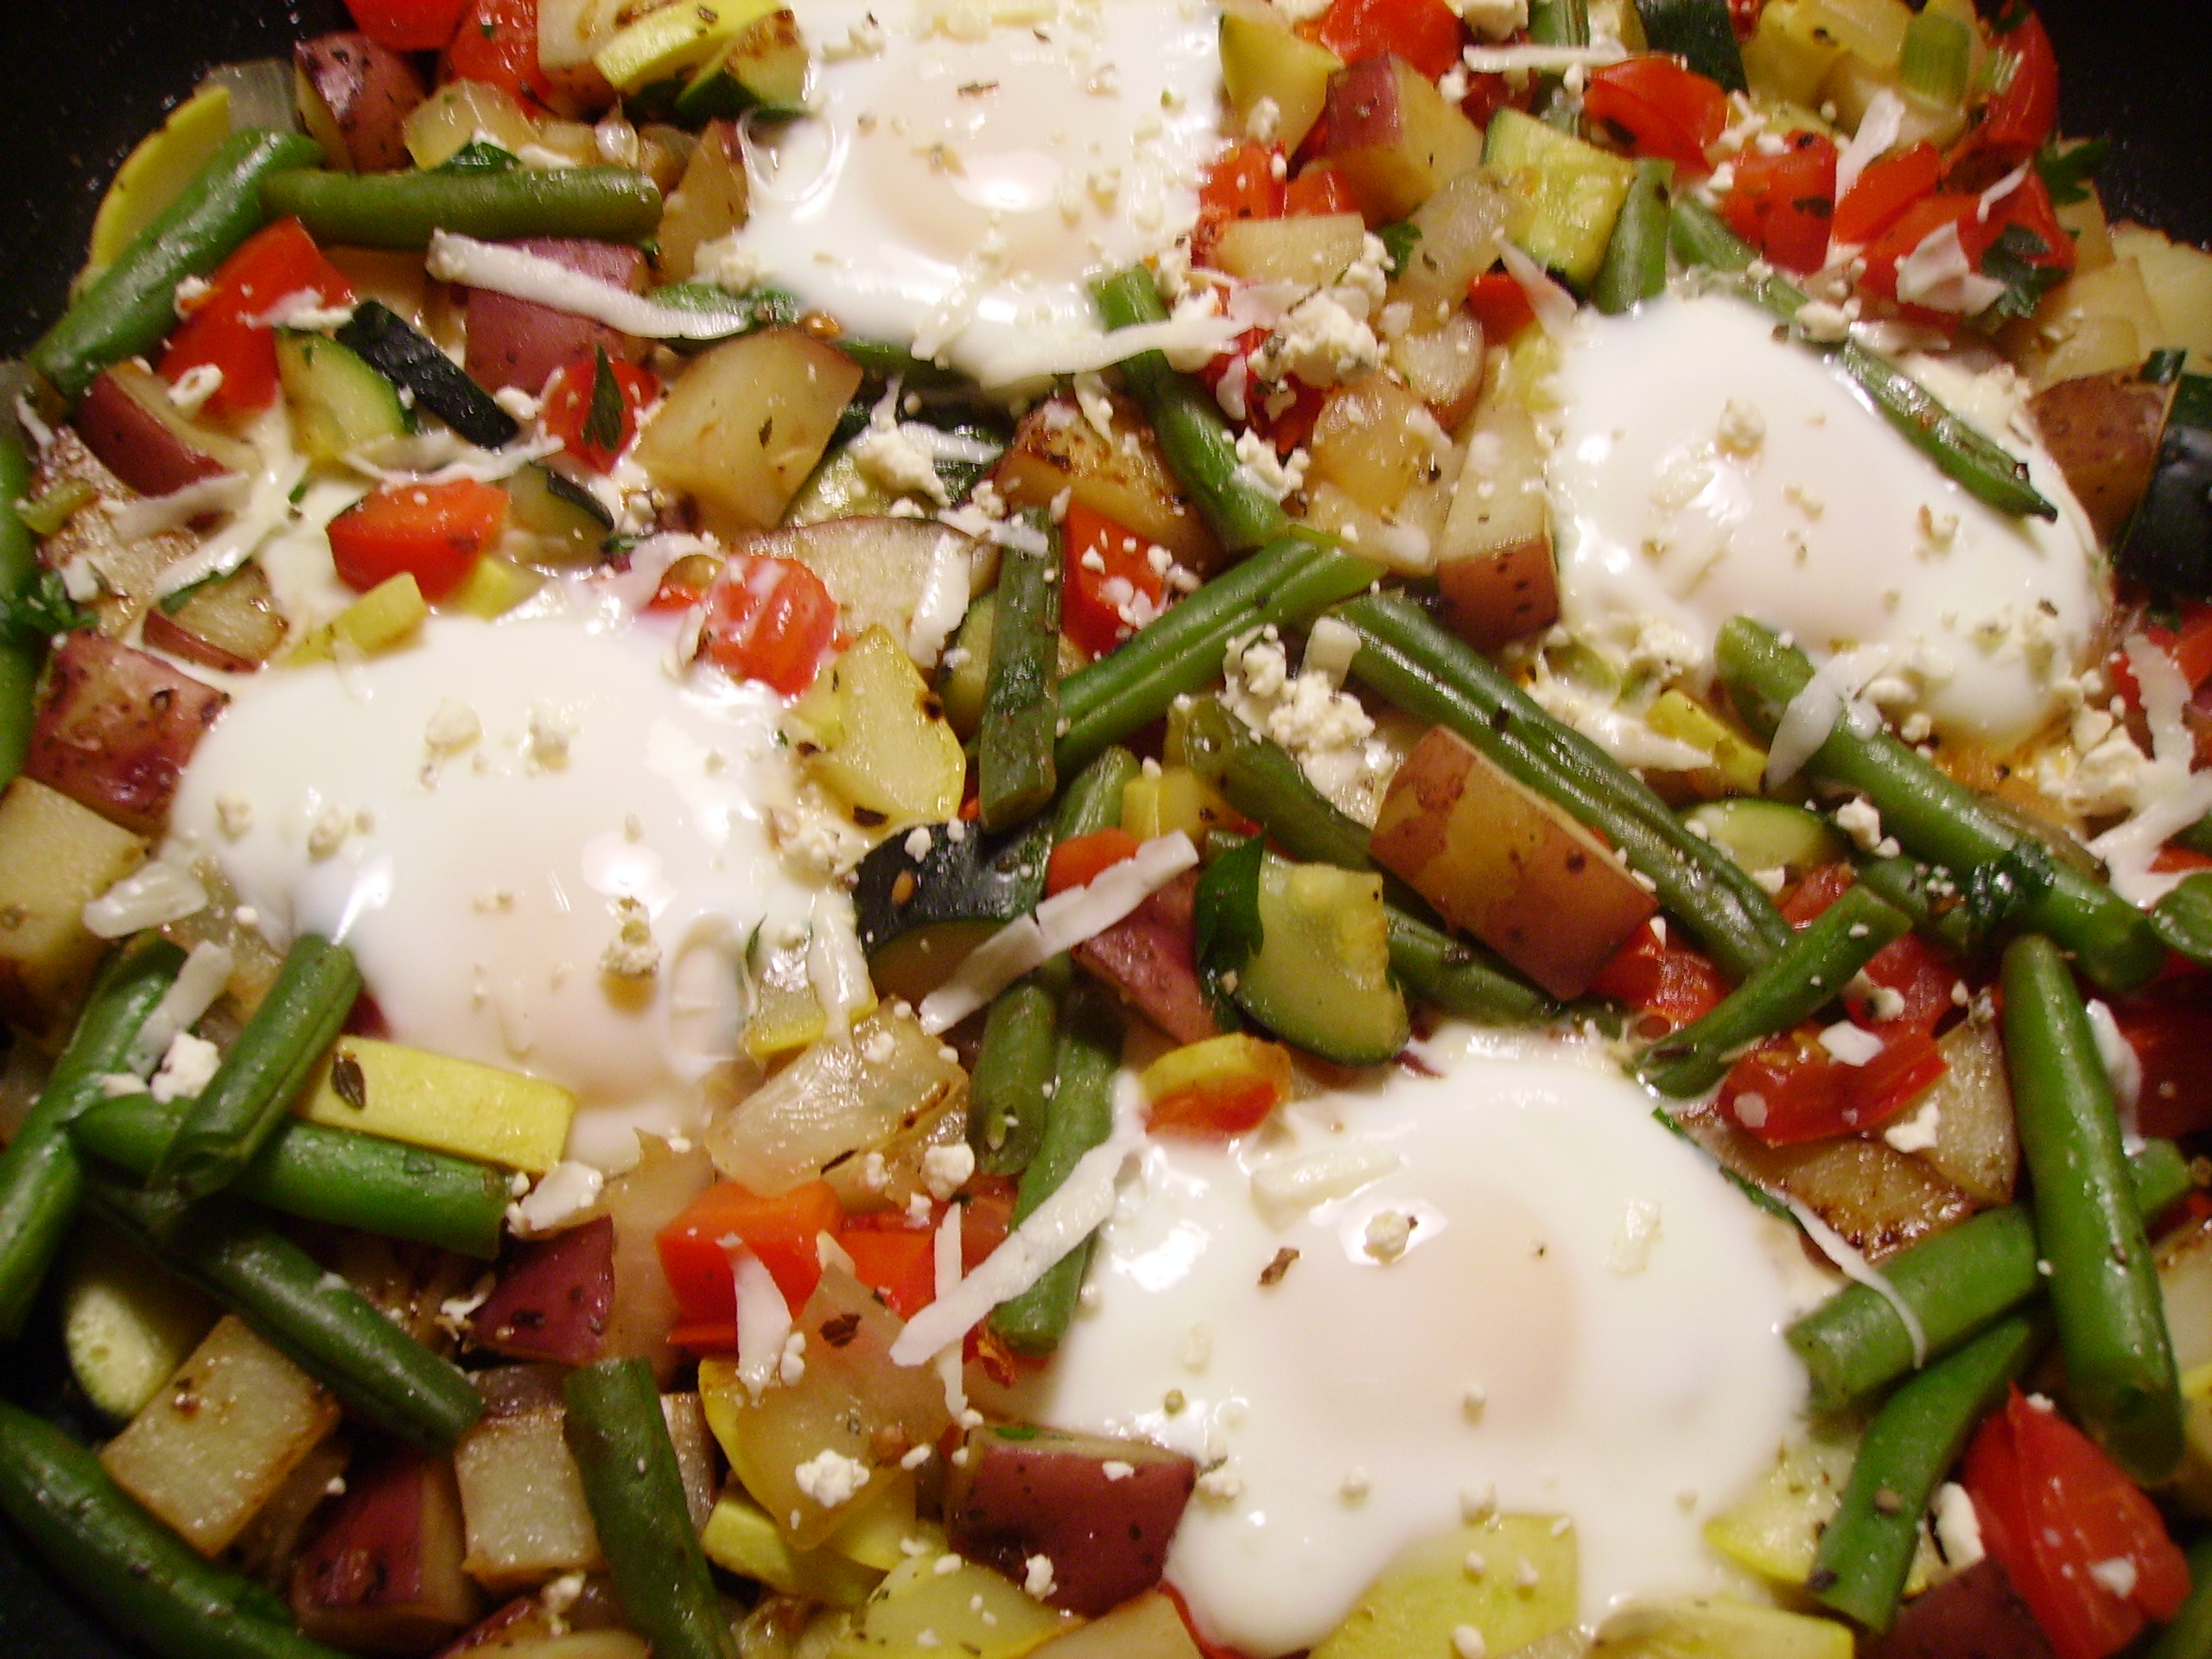
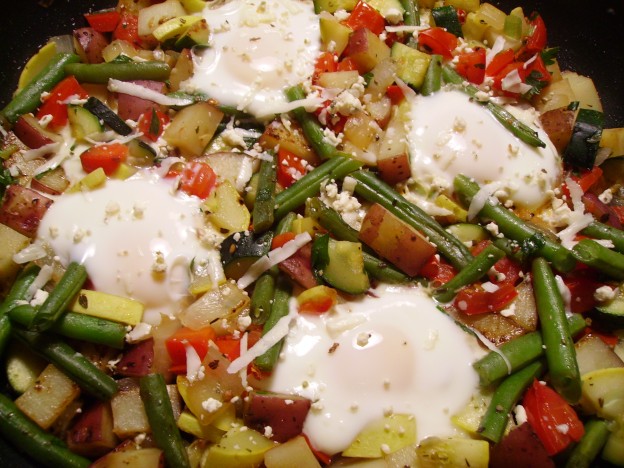
This week’s adventure was Vegetable Hash. I must give a good bit of the inspiration to a recipe I found in Cooking Light Magazine. While the ingredients were basically the same, I took a few liberties with quantities and techniques. I added “Toads in the Hole” to my version. This is the odd name that I use to describe a slice of bread with a hole cut out of the middle in which an egg is cooked to perfection or however the eater likes it. This was a staple when my kids were growing up. It was quick, easy, and could be eaten out of hand and on the run since mornings were not always pleasant in Mama D’s house.

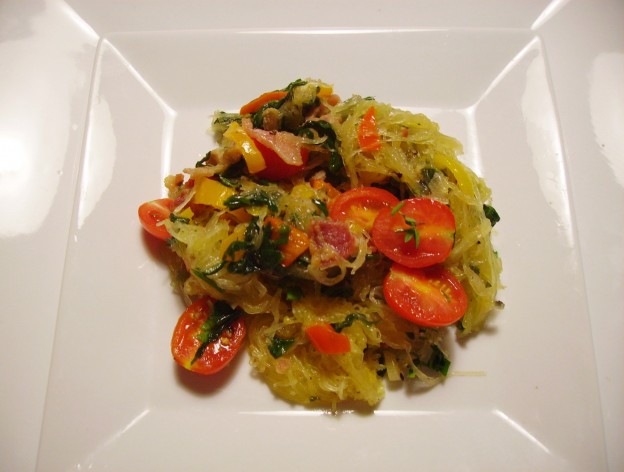
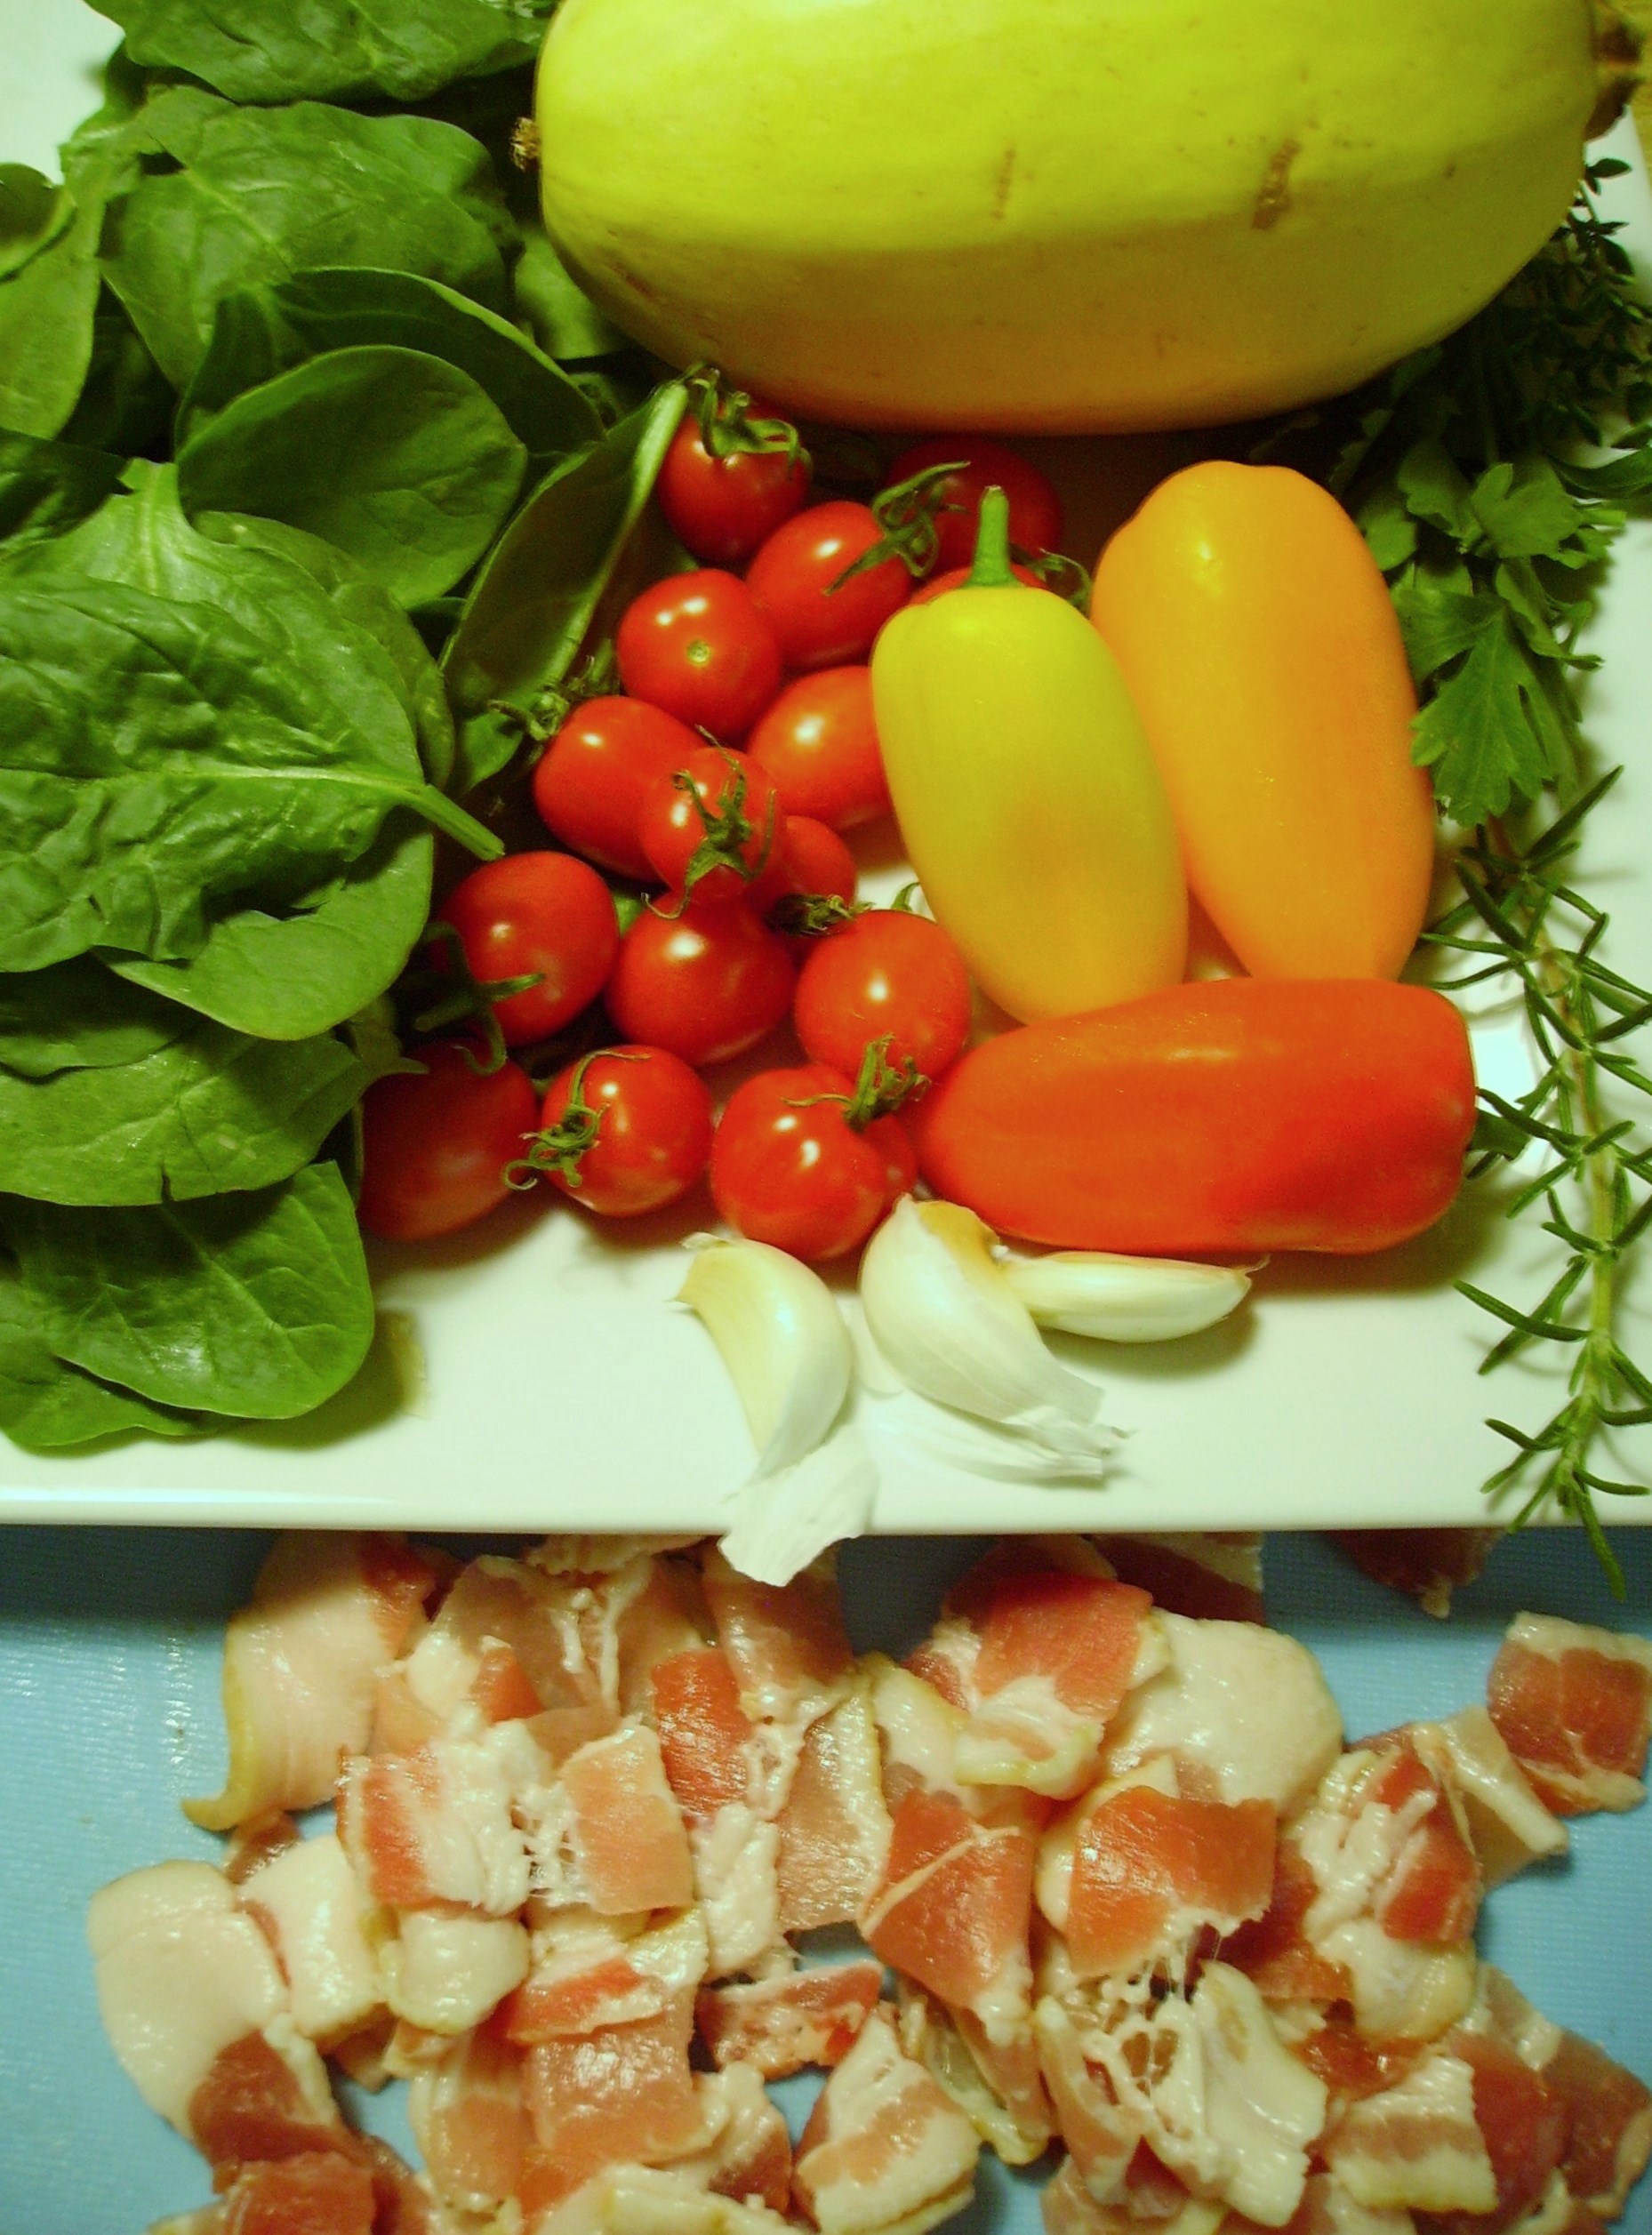
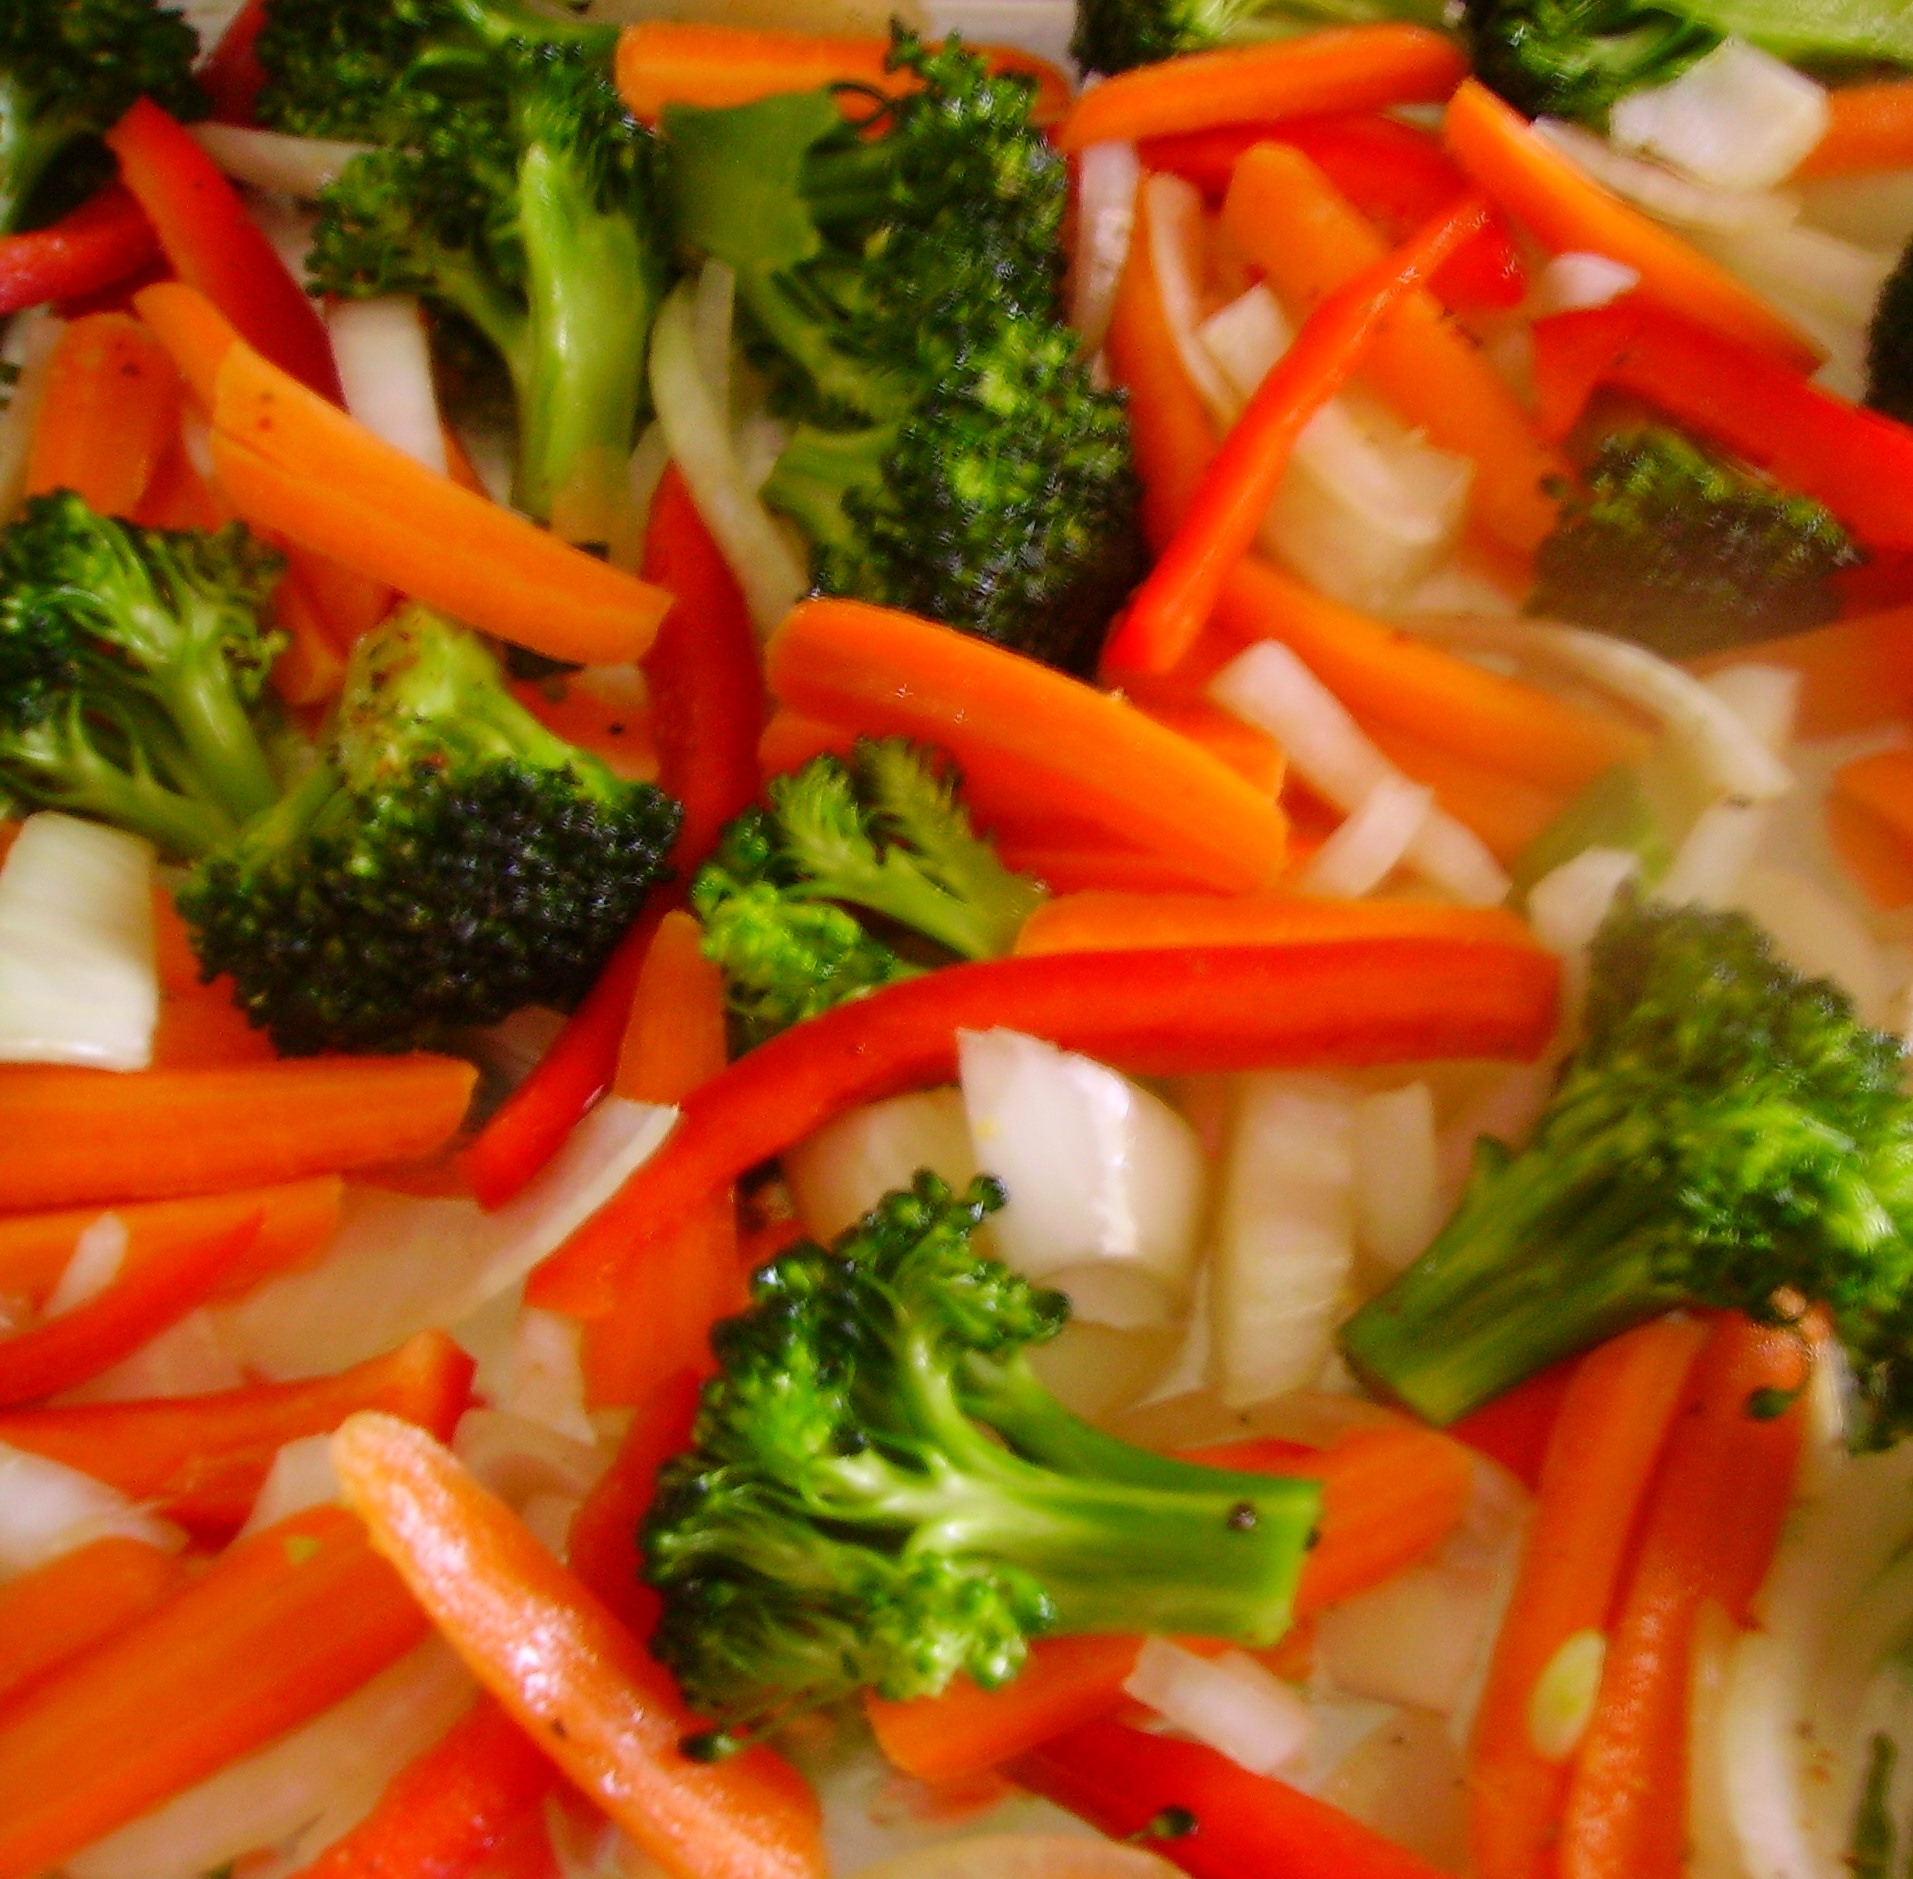
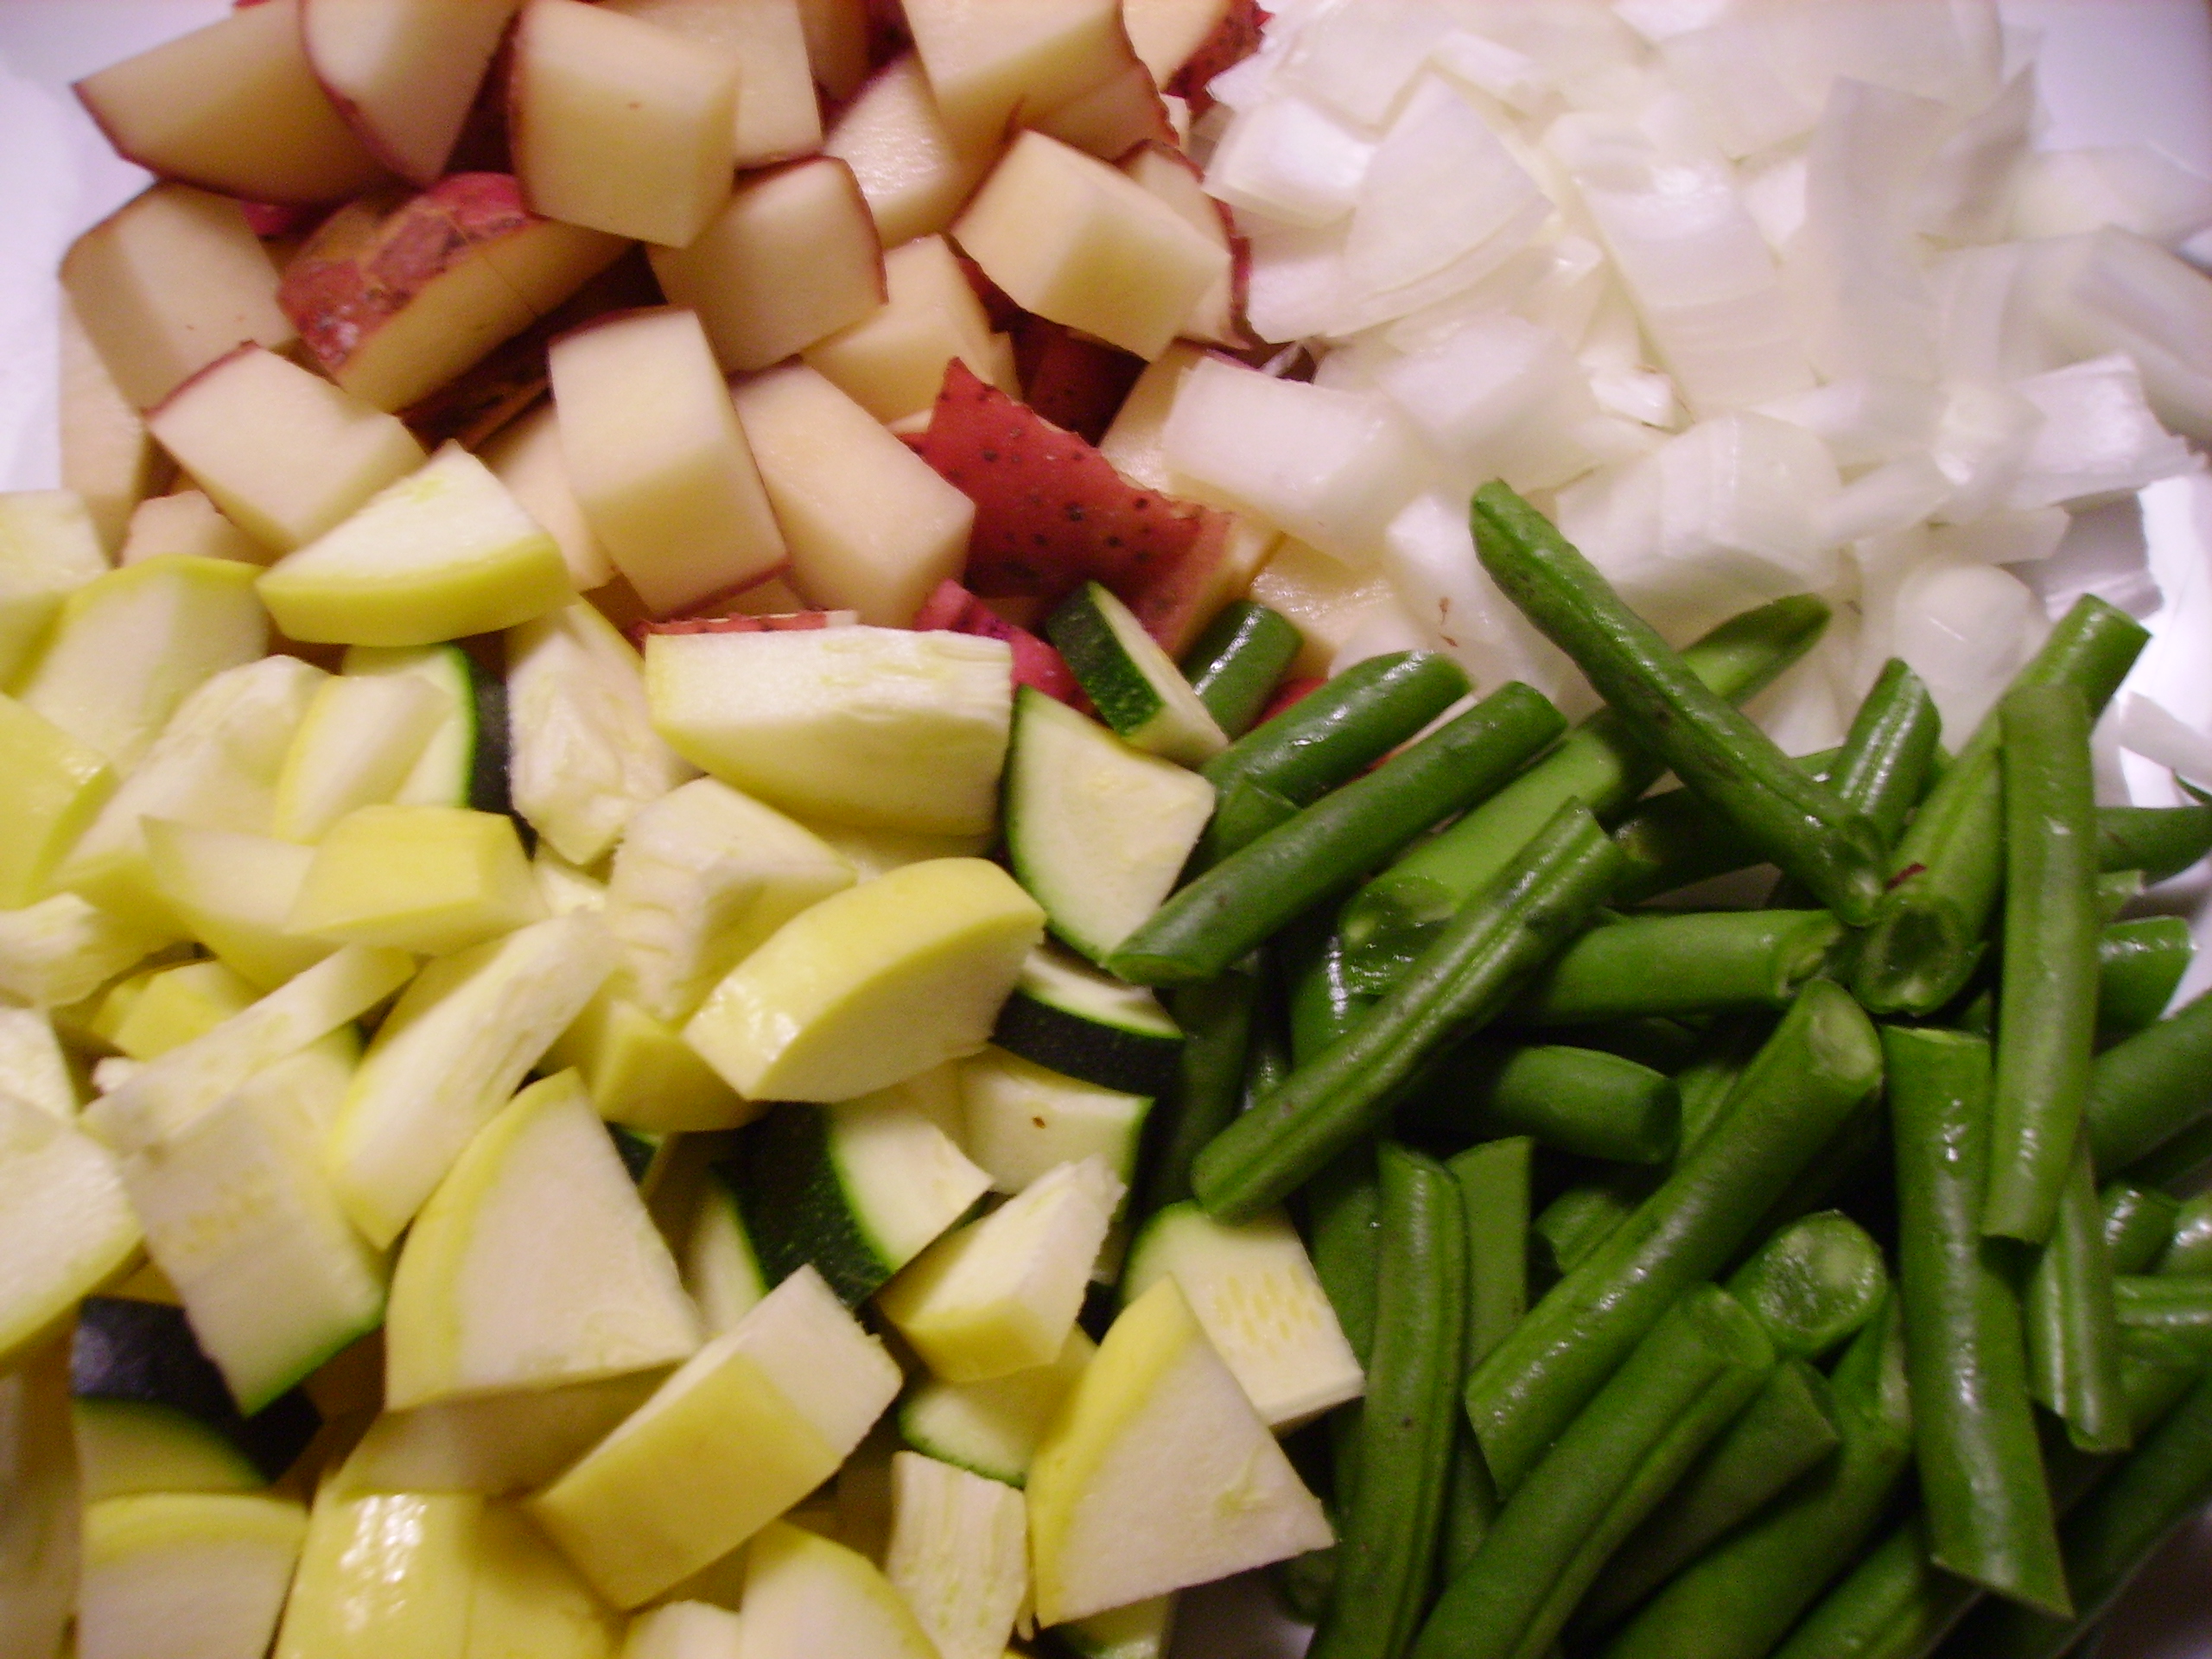
So the “hole” my “toads” occupied this time, was a big pan of sautéed vegetables. Red potatoes and sweet onions gave it hash credibility. Zucchini, yellow squash, and green beans gave it summer freshness.

DIGITAL CAMERA

Added color and a spark of flavor was provided by Roma tomatoes, parsley and green onions. The eggs, of course need no introduction.DIGITAL CAMERA An added flavor component was “Herbs de Provence”. This is a dried herb blend that includes flavors that run the gambit from savory and marjoram to fennel and lavender. My blend smelled woodsy and a little sweet and when used in the correct measure gave an interesting depth of flavor. My word to the wise is add this a little at a time. In moderation it is interesting and pleasant, but too much and it becomes an ill-mannered Frenchman.

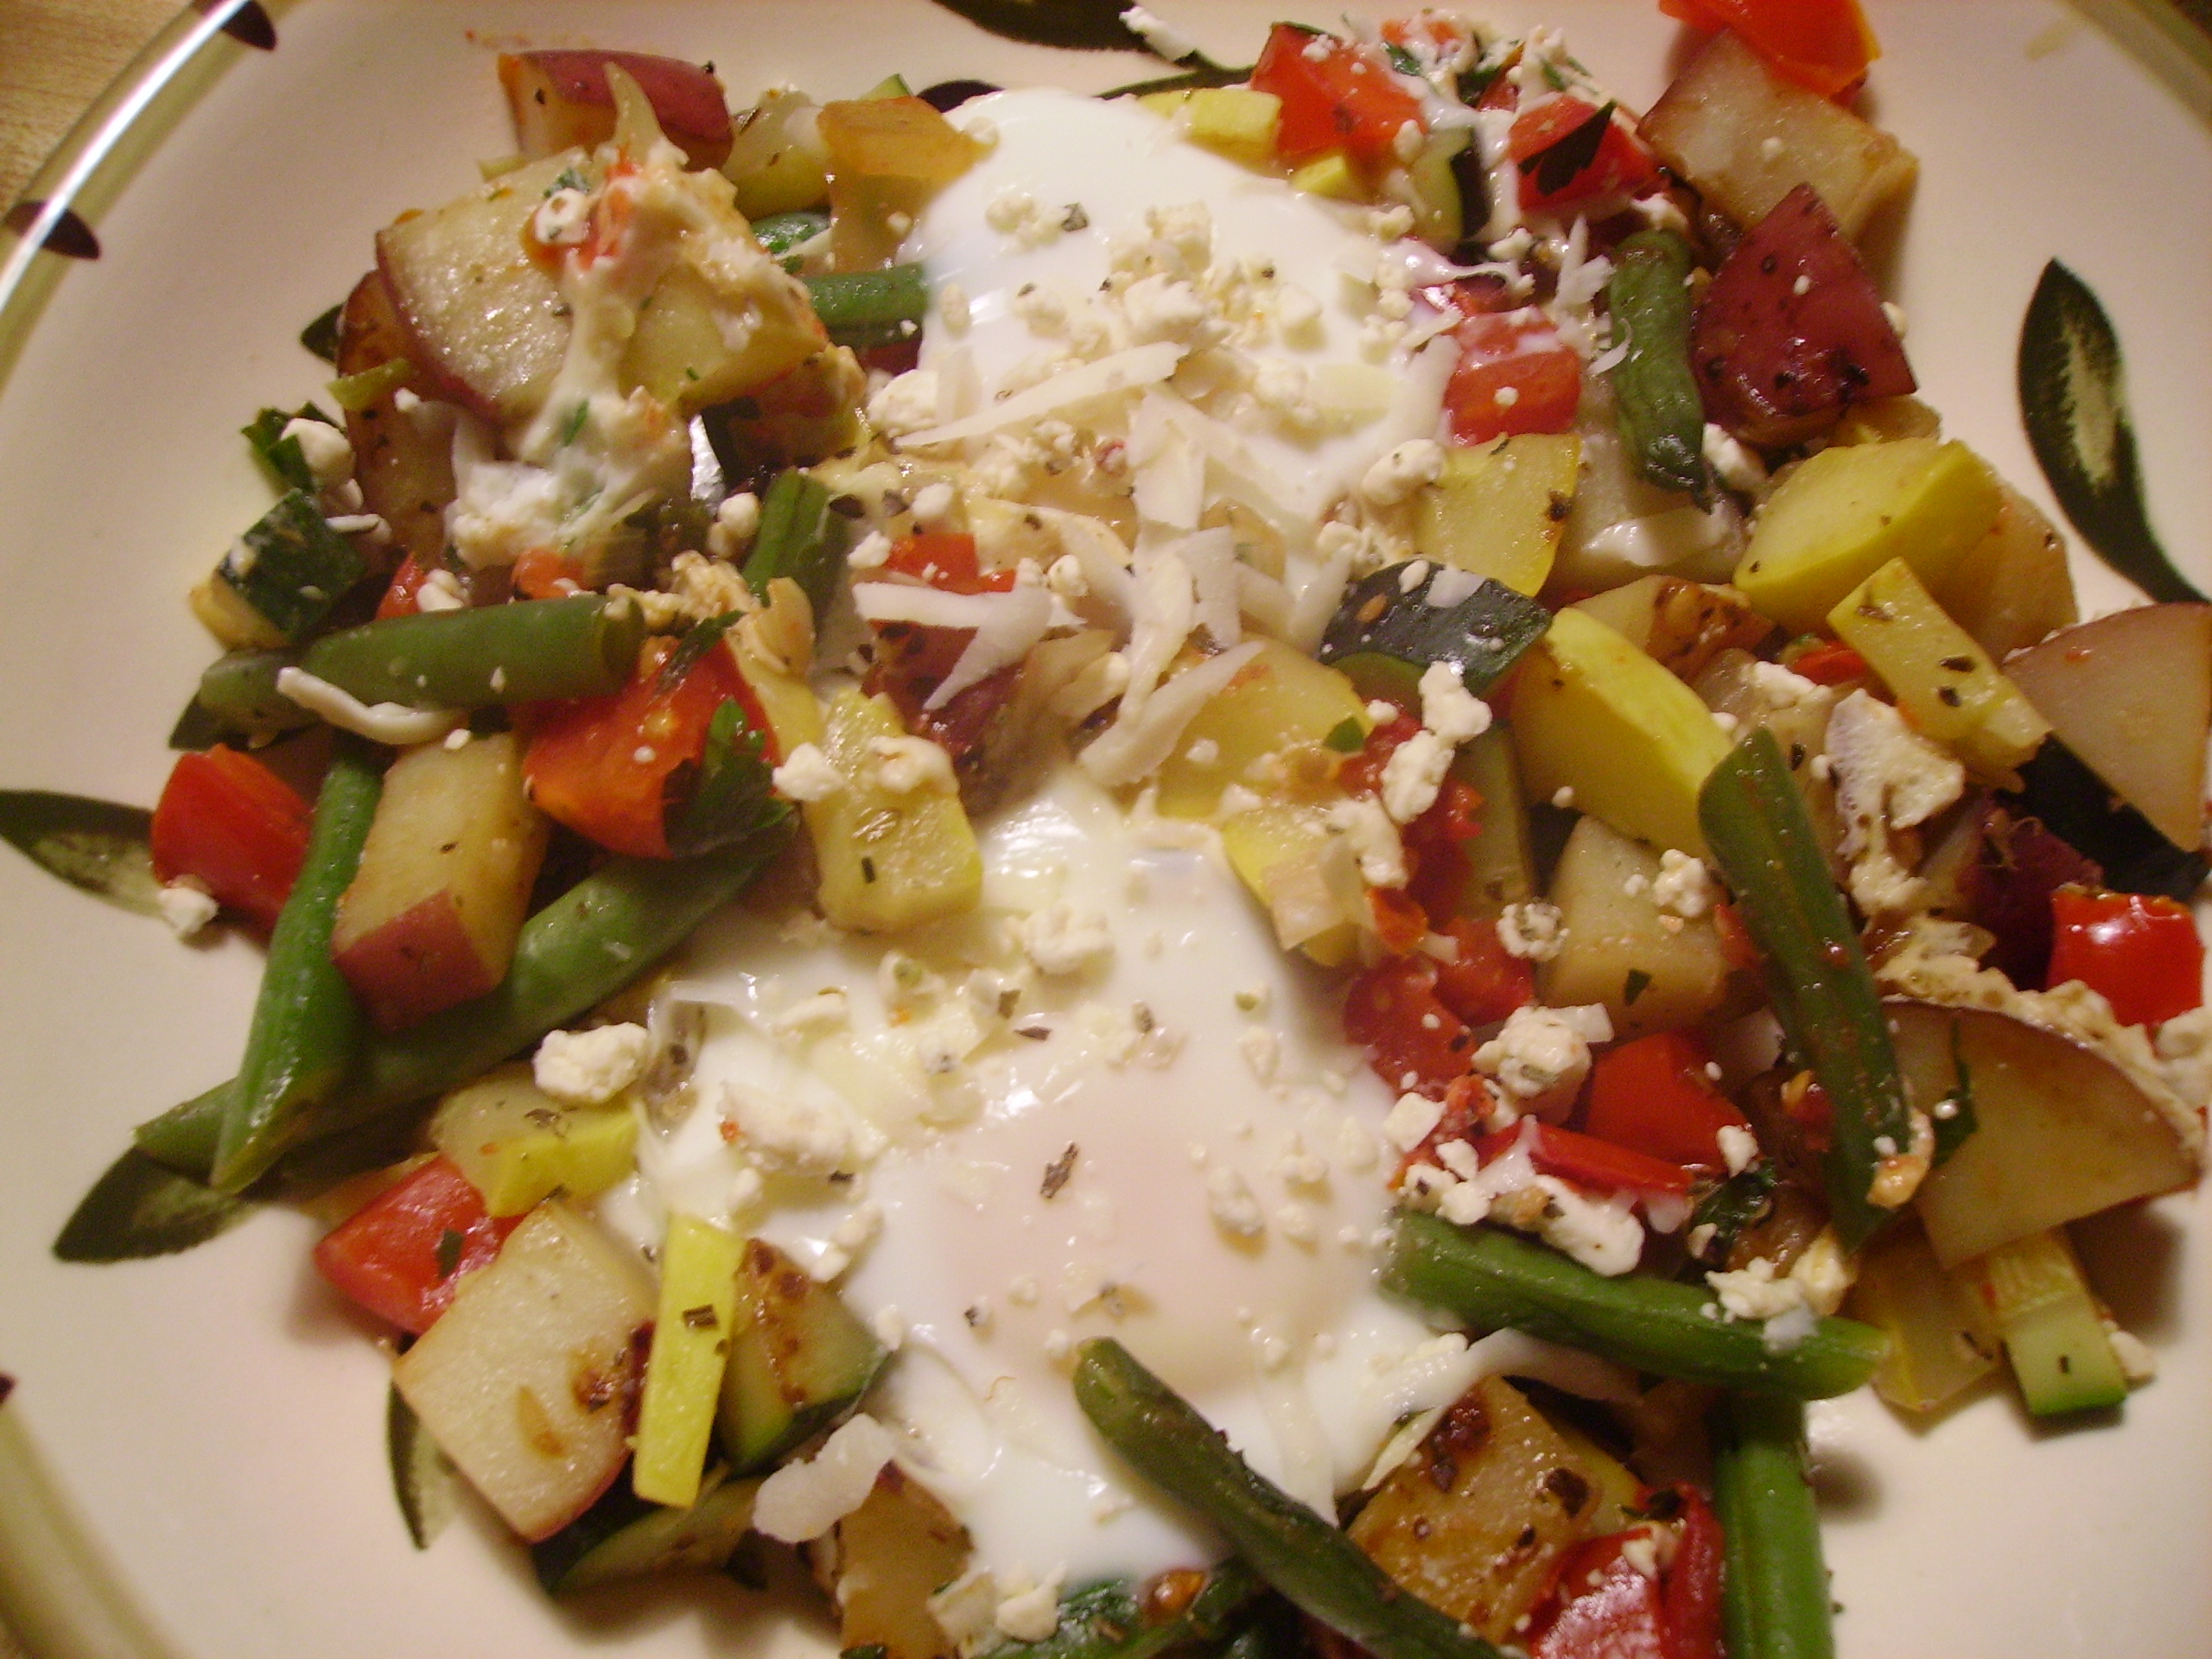
My Recipe Notes: I kept this on the light side using only 2 teaspoons of olive oil. My trusty box of good chicken stock added a little moistness as needed. A non-stick fry pan gave the eggs a fighting chance to come out intact. A lid was crucial to allowing the eggs to cook properly and insure the vegetables were tender crisp. Finally, I used a mixture of shredded Romano cheese and crumbled Feta to garnish the dish. Any hard or crumbly cheese would work. Go with whatever you’ve got on hand. This could probably serve four people, but they’d be raiding the refrigerator before bedtime, so it served the two of us lavishly, but still without guilt.

DIGITAL CAMERA

This rated 5 stars on the “Dear Husband Scale” so it will be making future appearances. Vegetable Hash could wander into Fall and Winter Meatless Mondays with a change of seasonal veggies and seasonings. Hope you’ll give this a try, and as always make it your own.                                                           Love, Mama D


Vegetable Hash with Toads in the Hole
Print Recipe
Servings
2 Lavishly
Servings
2 Lavishly
Vegetable Hash with Toads in the Hole
Print Recipe
Servings
2 Lavishly
Servings
2 Lavishly
Ingredients
Servings: Lavishly
Instructions
  1. Heat a large skillet and add the olive oil. Add the potatoes and onions to the pan. Sprinkle the herbs de provence on top and cook with out stirring for 5 minutes. As you are cooking the vegetables add the chicken stock as needed to keep things moving.
  2. Stir the potatoes and onions. Add the green beans and cook for another 3 minutes. stirring occasionally. Add the squashes and cook for 2 minutes or so.
  3. Add the tomatoes, parsley and green onion to the pan and cook for several minutes.
  4. Using a spatula, make four holes in the vegetable mixture. Break one egg into each of the holes. Cover and cook for 2 -4 minutes depending on how hard or soft you like your eggs.
  5. Carefully scoop out the hash into shallow bowls. Top with the grated cheese
Share this Recipe
Powered byWP Ultimate Recipe

Scampi

Scampi
Print Recipe
Servings
4
Servings
4
Scampi
Print Recipe
Servings
4
Servings
4
Ingredients
Servings:
Instructions
  1. Once the shrimp are shelled and deveined, dry them thoroughly between paper towels. Place the shrimp in a zip top plastic bag.
  2. Mix the remaining ingredients together in a small bowl. Pour the marinade into the bag with the shrimp. Seal the bag and refrigerate for at least 2 - 3 hours or as long as 4 -5.
  3. Heat a grill basket over a medium high fire. Spray lightly with olive oil non-stick spray. Remove the shrimp from the marinade and add to the grill basket. Discard the marinade.
  4. Cook, stirring frequently and gently. Move the basket around the grill as needed to keep the heat uniform. Cook until the shrimp turn pink and curl up slightly. This should take 7 - 10 minutes or so. Do not over cook.
  5. If you are using a broiler, give them 3 minutes or so than flip them and give them 3 -4 minutes more they should be pretty in pink and slightly curled up.
  6. Bake these little beauties at 375 degrees for 5 - 8 minutes or so turning half way through.
  7. Remove the shrimp from their heat source and arrange on a platter. Serve with picks as an appetizer. These can also be served as a main dish with side dishes of your choice.
Share this Recipe
Powered byWP Ultimate Recipe

Spaghetti Squash with Spinach and Bacon

Combine these tasty ingredients to create a side dish that goes with anything.
DIGITAL CAMERA


Spaghetti Squash with Spinach and Bacon
Print Recipe
Servings
2
Servings
2
Spaghetti Squash with Spinach and Bacon
Print Recipe
Servings
2
Servings
2
Ingredients
Servings:
Instructions
  1. Cook the Spaghetti squash in the microwave until it gives when touched. You can also bake or boil it. Times will vary based on the size of the squash. A squash weighing under 2 pounds takes 7 - 10 minutes or so in the microwave.
  2. When the squash is cool enough to handle, cut it in half. Scoop out the seeds. Using a fork, scrape the flesh. It should come out in thin ribbons. Remove all the flesh and set aside.
  3. Heat a large fry pan over medium heat. Add the bacon and cook until just beginning to crisp. Remove the bacon and let it drain on paper towels. Remove all but a teaspoon of the drippings from the pan.
  4. Add the peppers and garlic to the pan. Cook for 2 minutes until the peppers begin to soften and the garlic is fragrant. Add the spinach and cook for several minutes until it is wilted.
  5. Add the squash to the pan and cook and stir everything for another 3 minutes or so. If things seem too dry, add a little chicken stock.
  6. Return the bacon to the pan along with the herbs. Toss to combine. Add the tomatoes and continue to cook until everything is heated through. About 3 minutes.
  7. Serve as a side dish with grilled chicken, pork or fish.
Share this Recipe
Powered byWP Ultimate Recipe

Yogurt and Roasted Red Pepper Chicken

As I continue to take Mama D’s Kitchen to a lighter and healthier place, I’m exploring different ways of infusing flavor and love. This chicken dish uses Greek yogurt and coriander seeds to create flavor without fat. It is  complimented by vegetables enhanced by roasting. Those would be garlic and red peppers. The marinade is tart yet sweet as the peppers and yogurt combine.The subtle flavor of the roasted garlic and the aromatic toasted coriander add interesting tones. DIGITAL CAMERAVirtually fat free, but heavy on the flavor this can fit into almost any diet or food plan.

DIGITAL CAMERAIt is complimented with roasted vegetables. I used broccoli, carrots, red pepper and onion because that’s what I had. Any vegetables you have on hand will work. Figure one to one and a half cups of vegetables per person. Toss the vegetables with a bit of olive oil and season with salt and pepper or any herb/spice blend that you like. Roast for 15 – 20 minutes at 375 degrees. You want the vegetables to have a little crunch and vibrant color.

All this needs is some kind of grain. Couscous, quinoa, rice or orzo would be great. I opted for a combination of all those things. I got this mixture from World Market, but may grocery stores are starting to carry more than “rice-a-roni”.DIGITAL CAMERAYou can double or triple the chicken recipe as needed. The marinade will easily cover 4 – 6 breasts. If you are only doing a couple, save the rest of the marinade. Put it in a bowl, surround it with raw veggies and call it a dip.


Yogurt and Roasted Red Pepper Chicken
Print Recipe
Yogurt and Roasted Red Pepper Chicken
Print Recipe
Ingredients
Servings:
Instructions
  1. Pat chicken breasts dry and place in a zip top bag.
  2. Put yogurt, roasted peppers, garlic,coriander seeds, and parsley in the bowl of a processor. Process until smooth.
  3. Measure 1/2 cup of the mixture and pour it into the bag with the chicken. Marinate for at least 4 hours or as long as overnight. Reserve the rest of the yogurt mixture for basting. It also makes a great veggie dip.
  4. Preheat broiler. Spray broiler tray with non-stick cooking spray. Remove the chicken breast from the marinade and lay on the broiler tray. Top with a little more of the yogurt mixture, Broil 10 minutes. Turn chicken over and top with a little more of the yogurt. Broil 10 minutes more or until cooked through.
Share this Recipe
Powered byWP Ultimate Recipe

Poor Man’s Lasagna

Poor Man's Lasagna
Print Recipe
Quicker, cheaper, and easier than the traditional version. Use what you like and/or use what you have on hand.
Servings
8
Servings
8
Poor Man's Lasagna
Print Recipe
Quicker, cheaper, and easier than the traditional version. Use what you like and/or use what you have on hand.
Servings
8
Servings
8
Ingredients
Servings:
Instructions
  1. Combine the ricotta, egg, garlic powder, parsley, Parmesan, and pepper. Mix and set aside
  2. Cook the pasta one minute less than the box recommends. Drain and set aside Heat the pasta meat sauce until steamy. Keep warm.
  3. Spray a rectangular glass baking dish with olive oil cooking spray. Spread on cup of the pasta sauce on the bottom of the dish. Layer the prepared ingredients as follows.
  4. Add one third of the pasta. Spoon one half of the ricotta mixture on top of the pasta. Top with one third of the cheese. Top with one cup of pasta sauce. Repeat the above layers one more time.
  5. Add the rest of the pasta to the dish. Top with the remaining pasta sauce. Sprinkle the rest of the cheese on top.
  6. Bake in a preheated 375 degree oven for about 30 minutes. the cheese should be melted and lightly browned and everything else should be bubbly.
  7. Remove from oven and allow to rest for 10 minutes before serving.
Share this Recipe
Powered byWP Ultimate Recipe