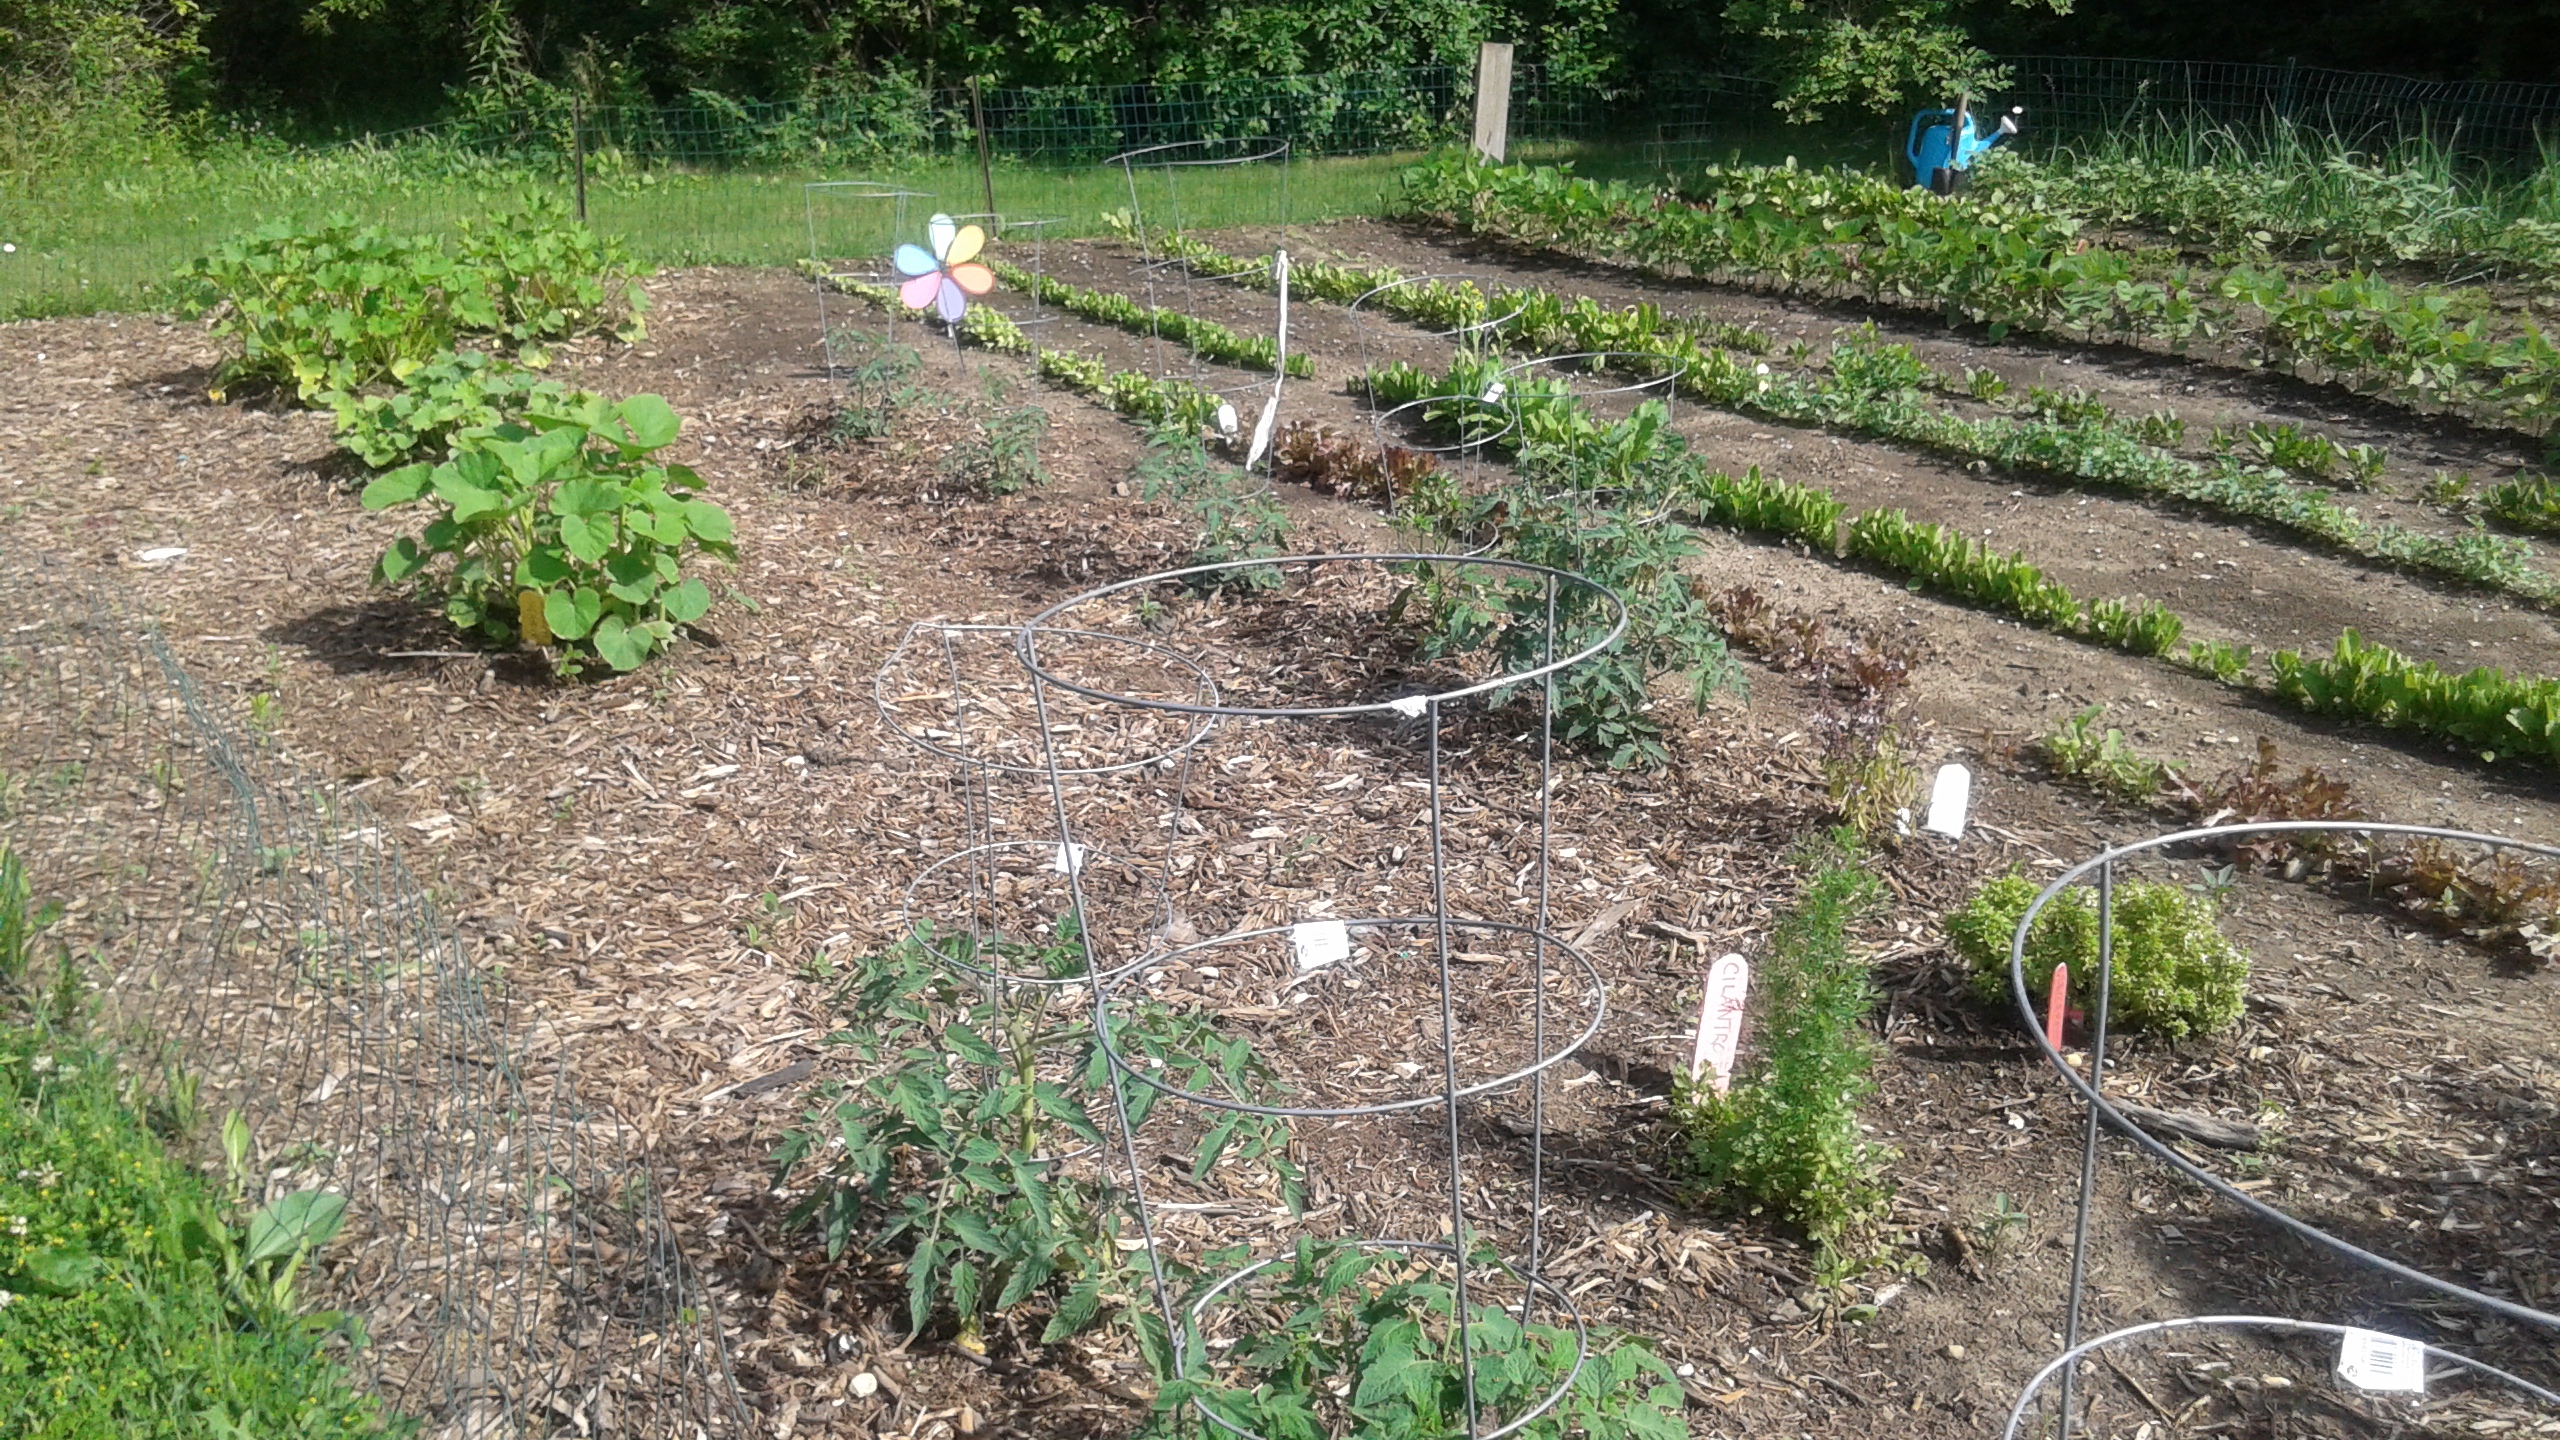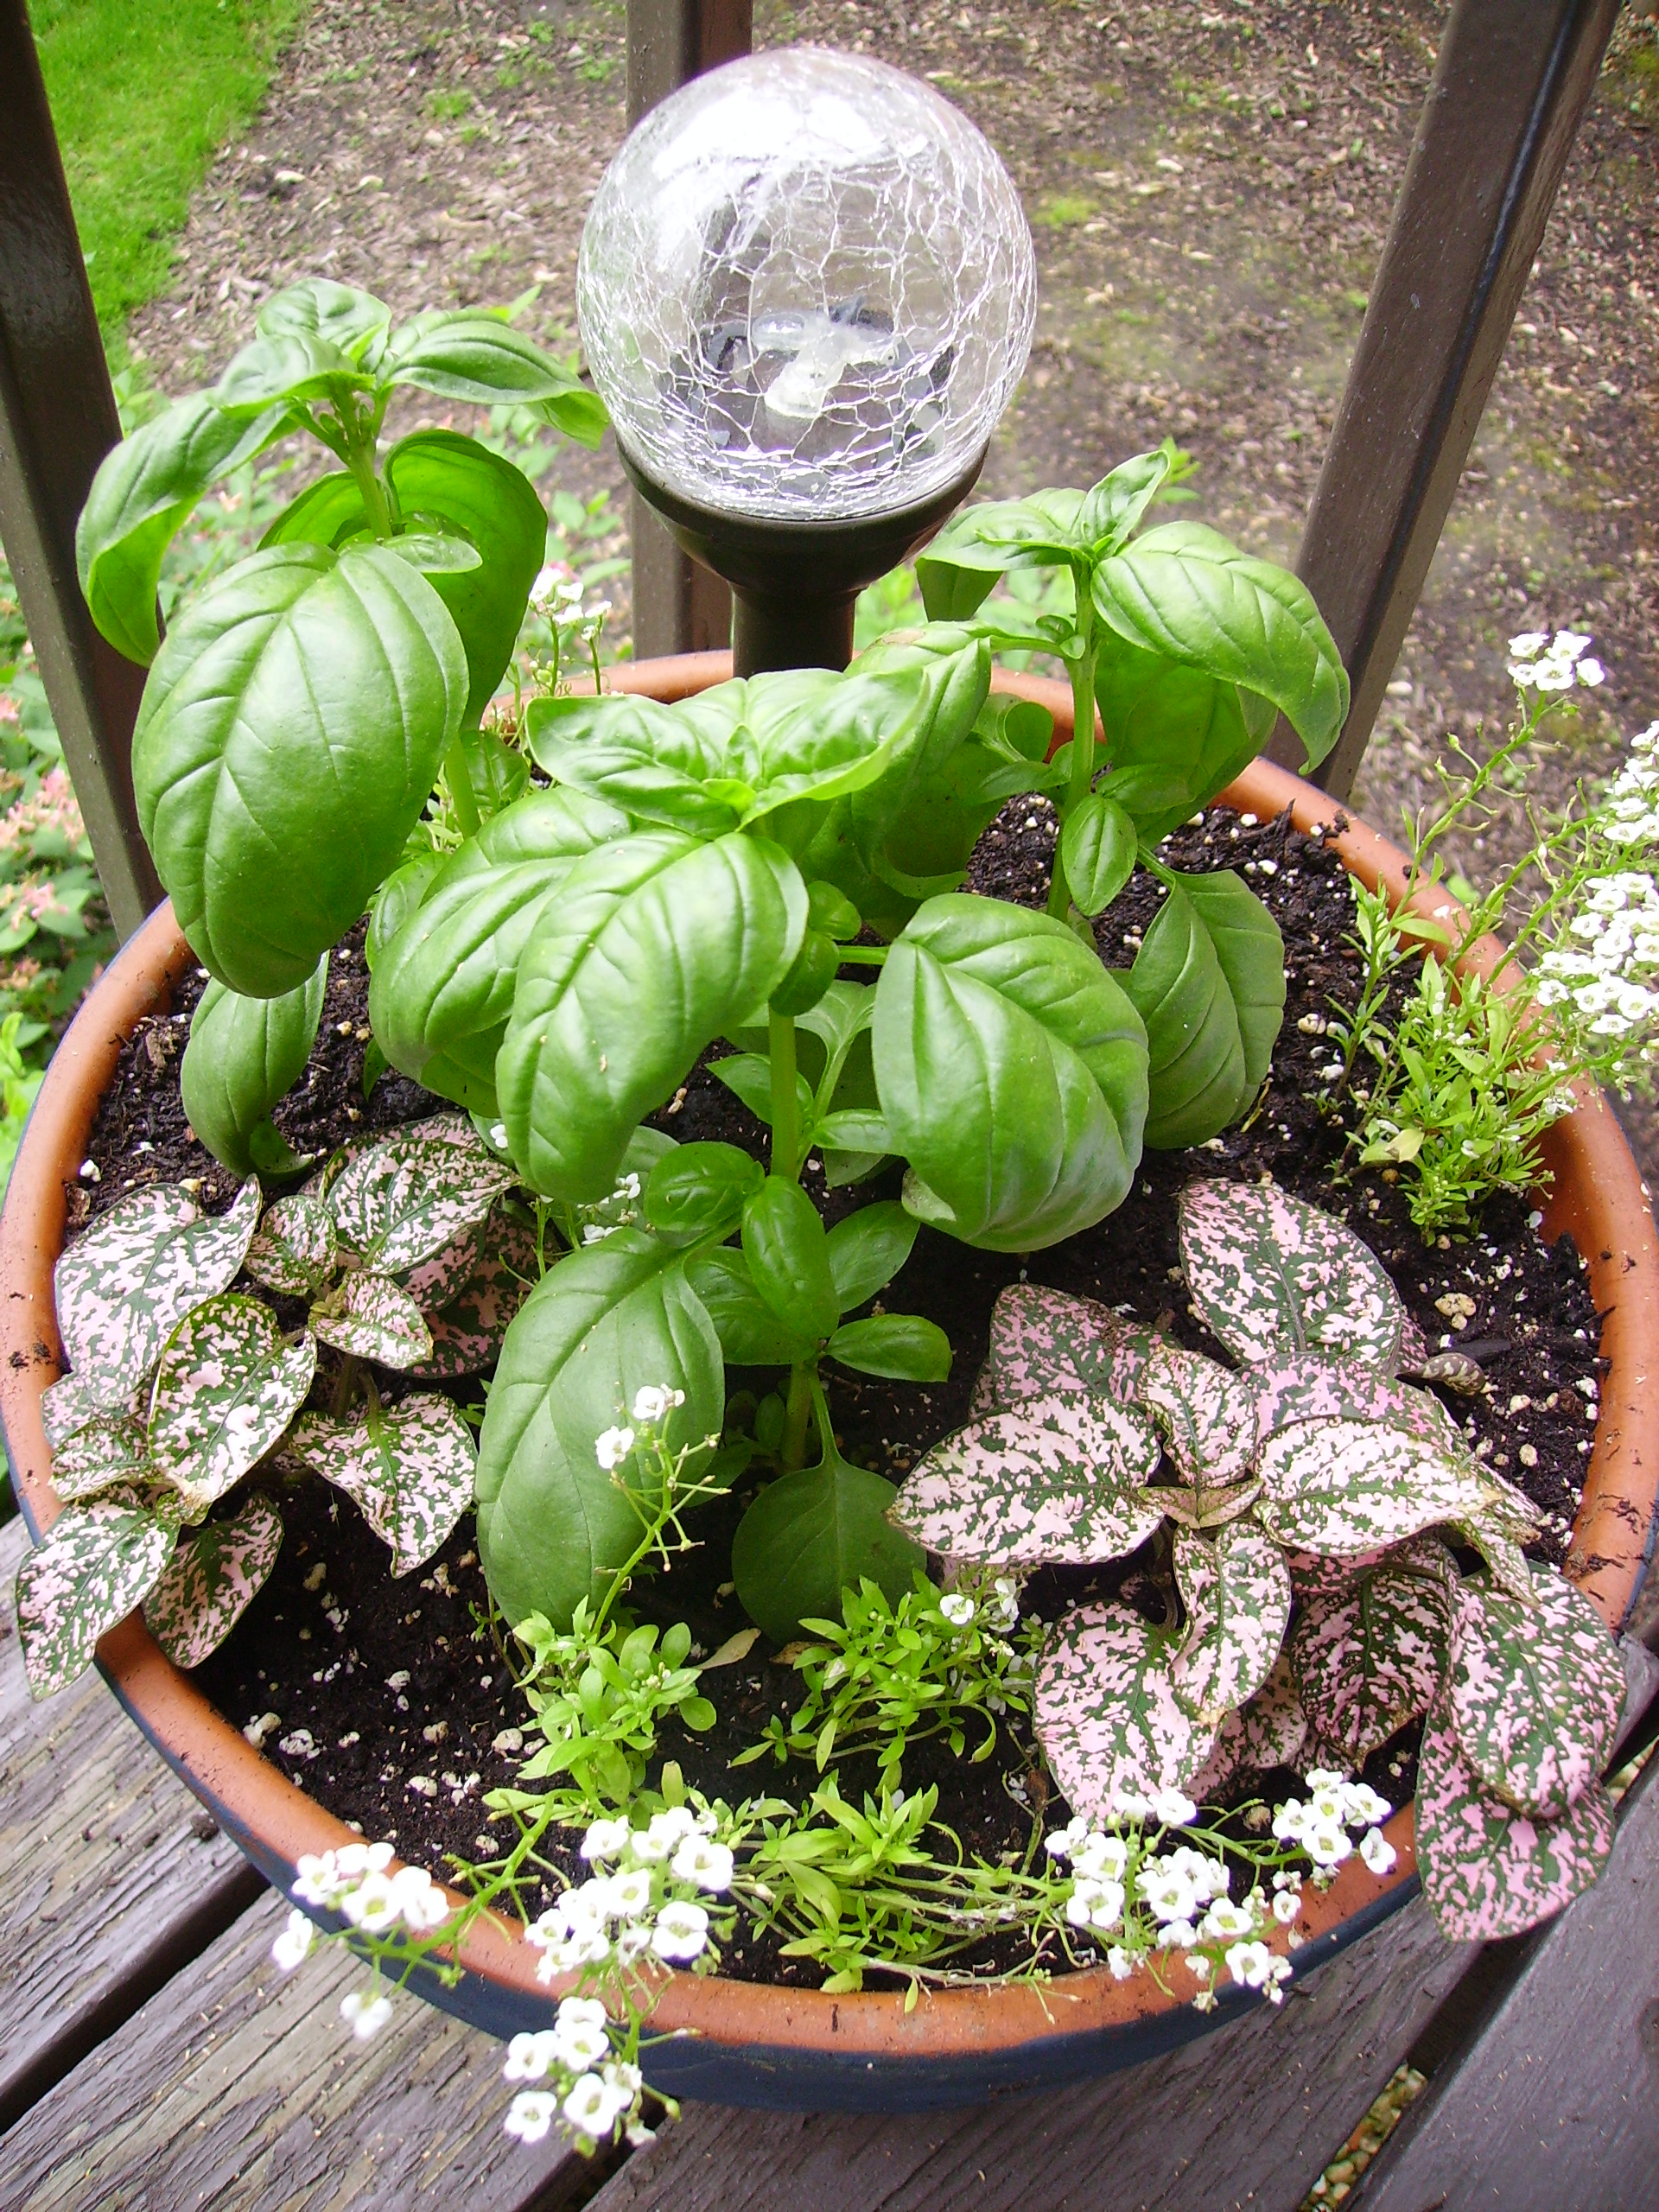

It’s hard to believe that my summer vacation will be over in a week. As the saying goes, time flies when you’re having fun. To be honest, I will still have a generous portion of each afternoon to do all the summer type things that I am remembering how much I enjoyed. While I’m not riding my bike or trying to go “over the bars” on a swing, I am taking time to enjoy the simpler things that made the Midwestern summers of my childhood so special, warm days, long evenings, and now, time in the kitchen. I am loving the time that I can spend planning and preparing meals. Produce abounds from the garden, farm stands, and the grocery store. The colors and textures paint visions of meals that are vegetable driven, healthy and dare I say it, fabulously delicious.
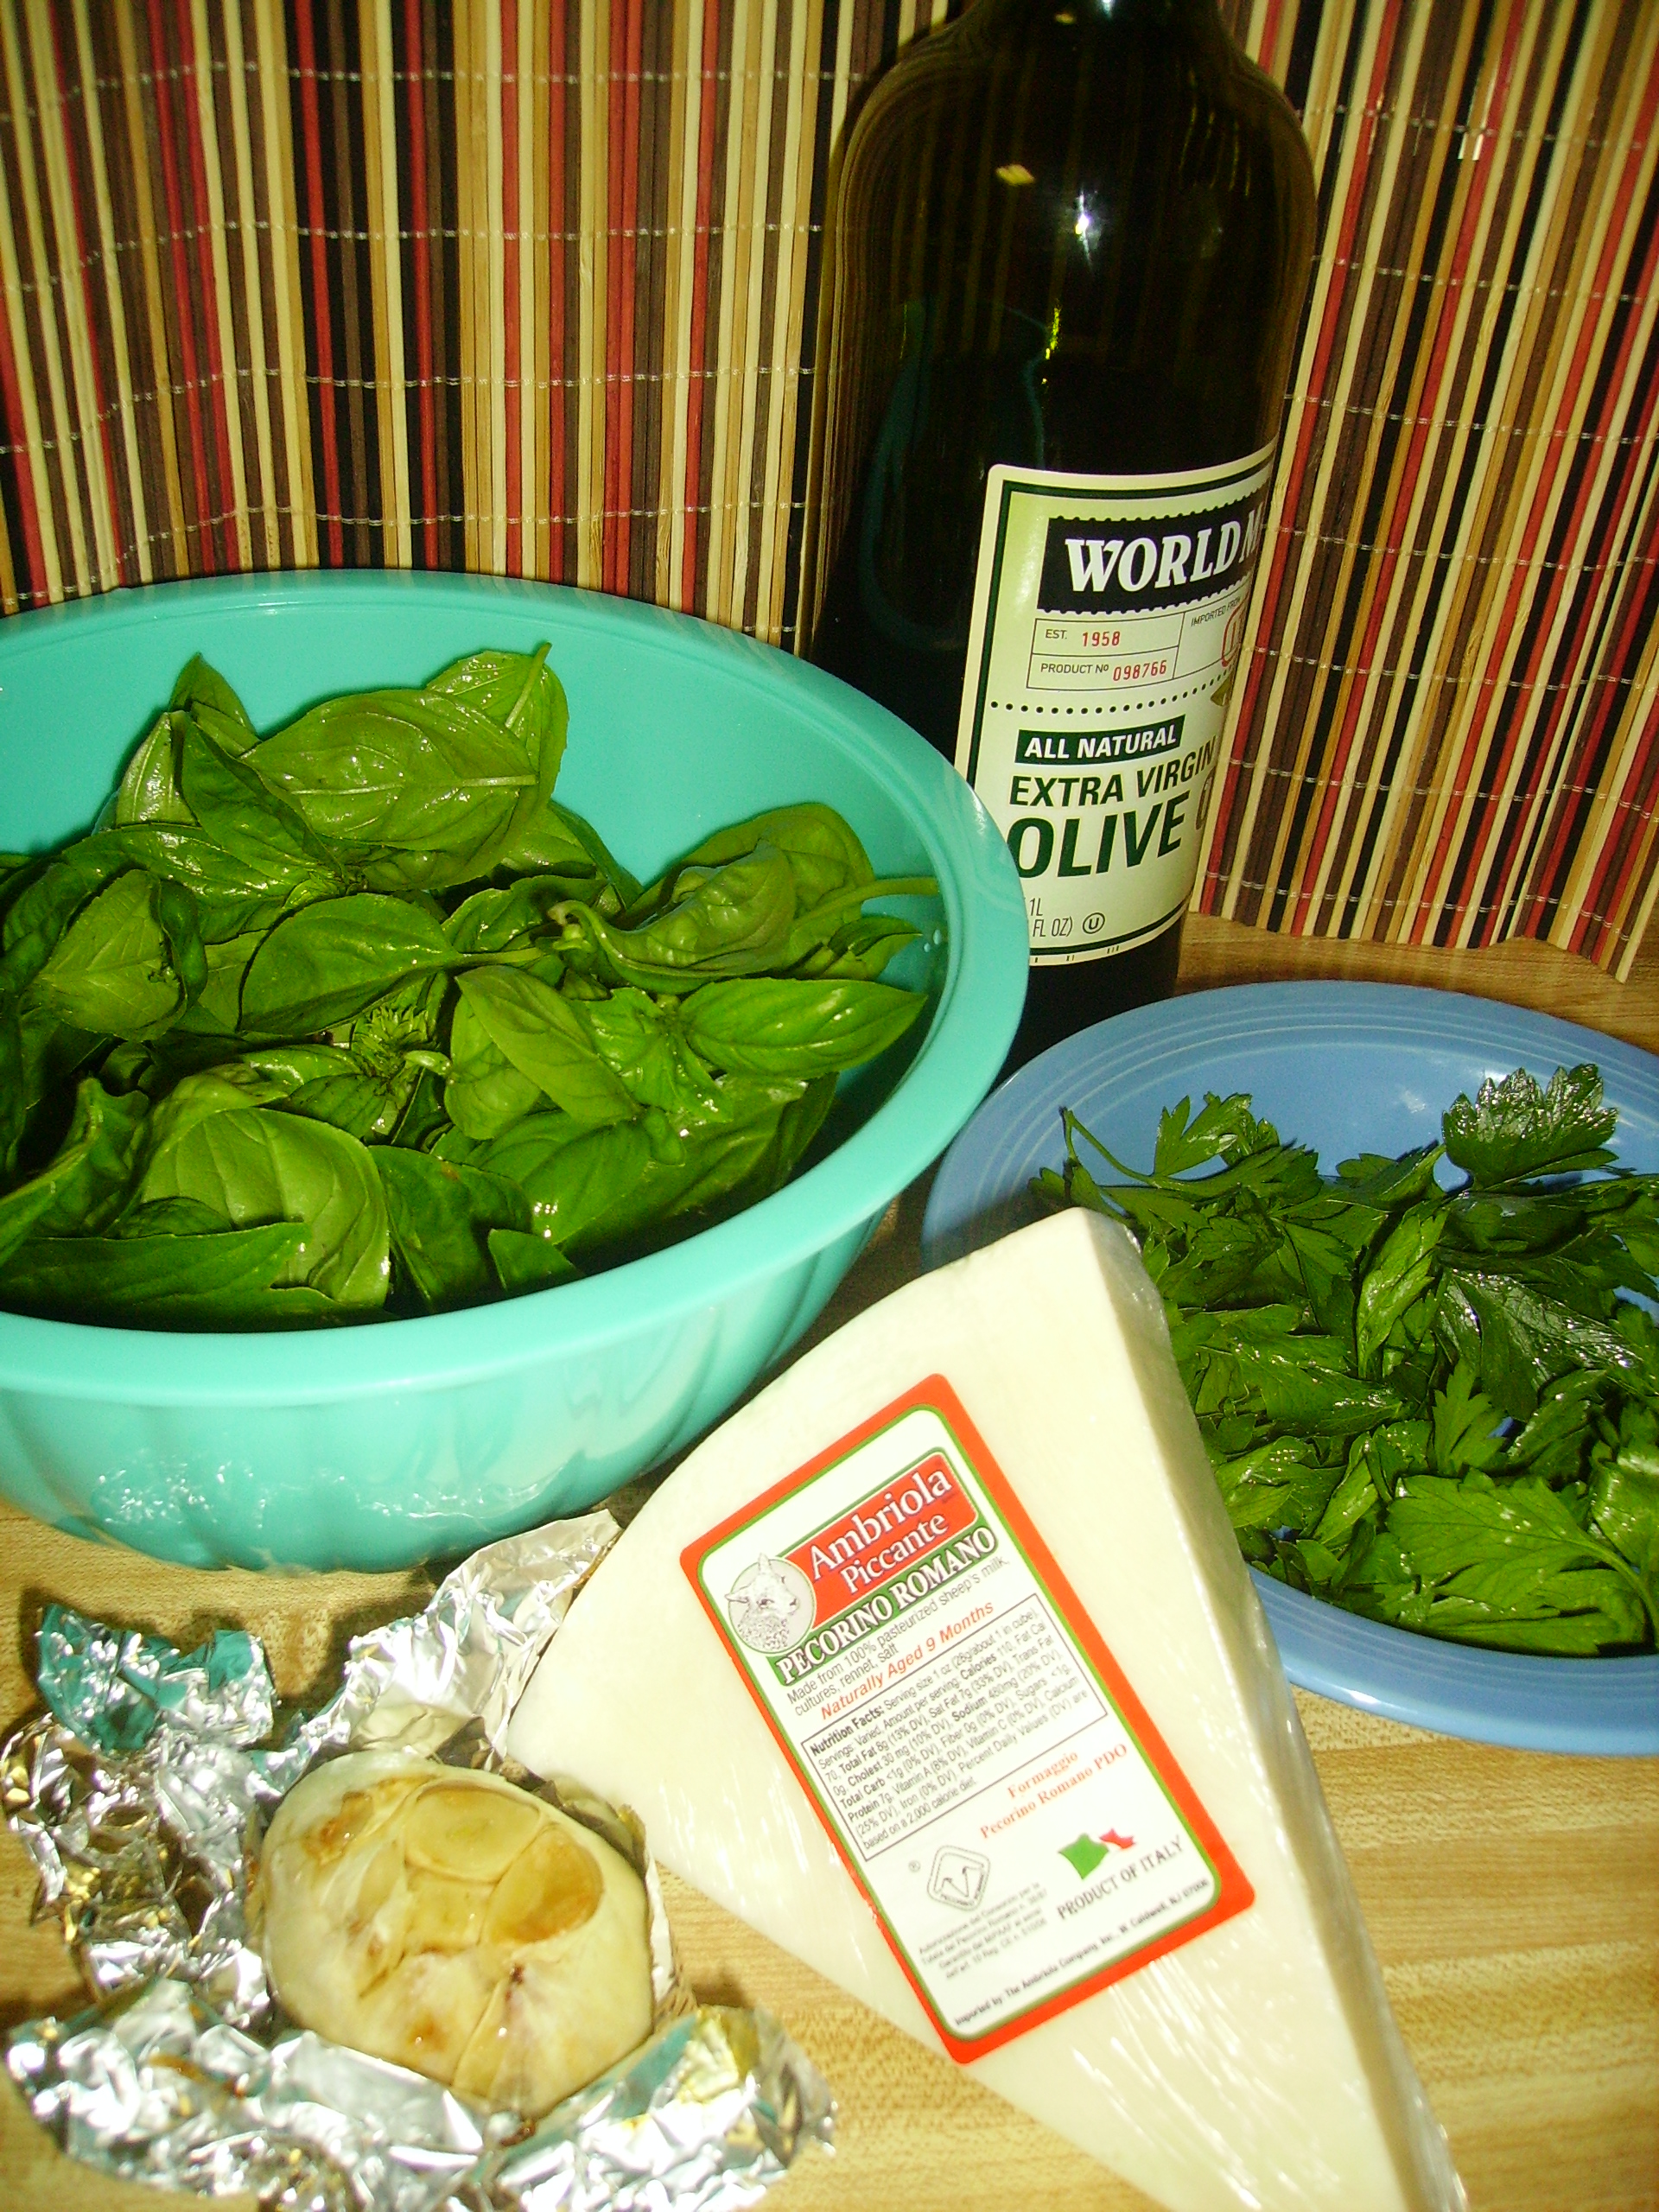
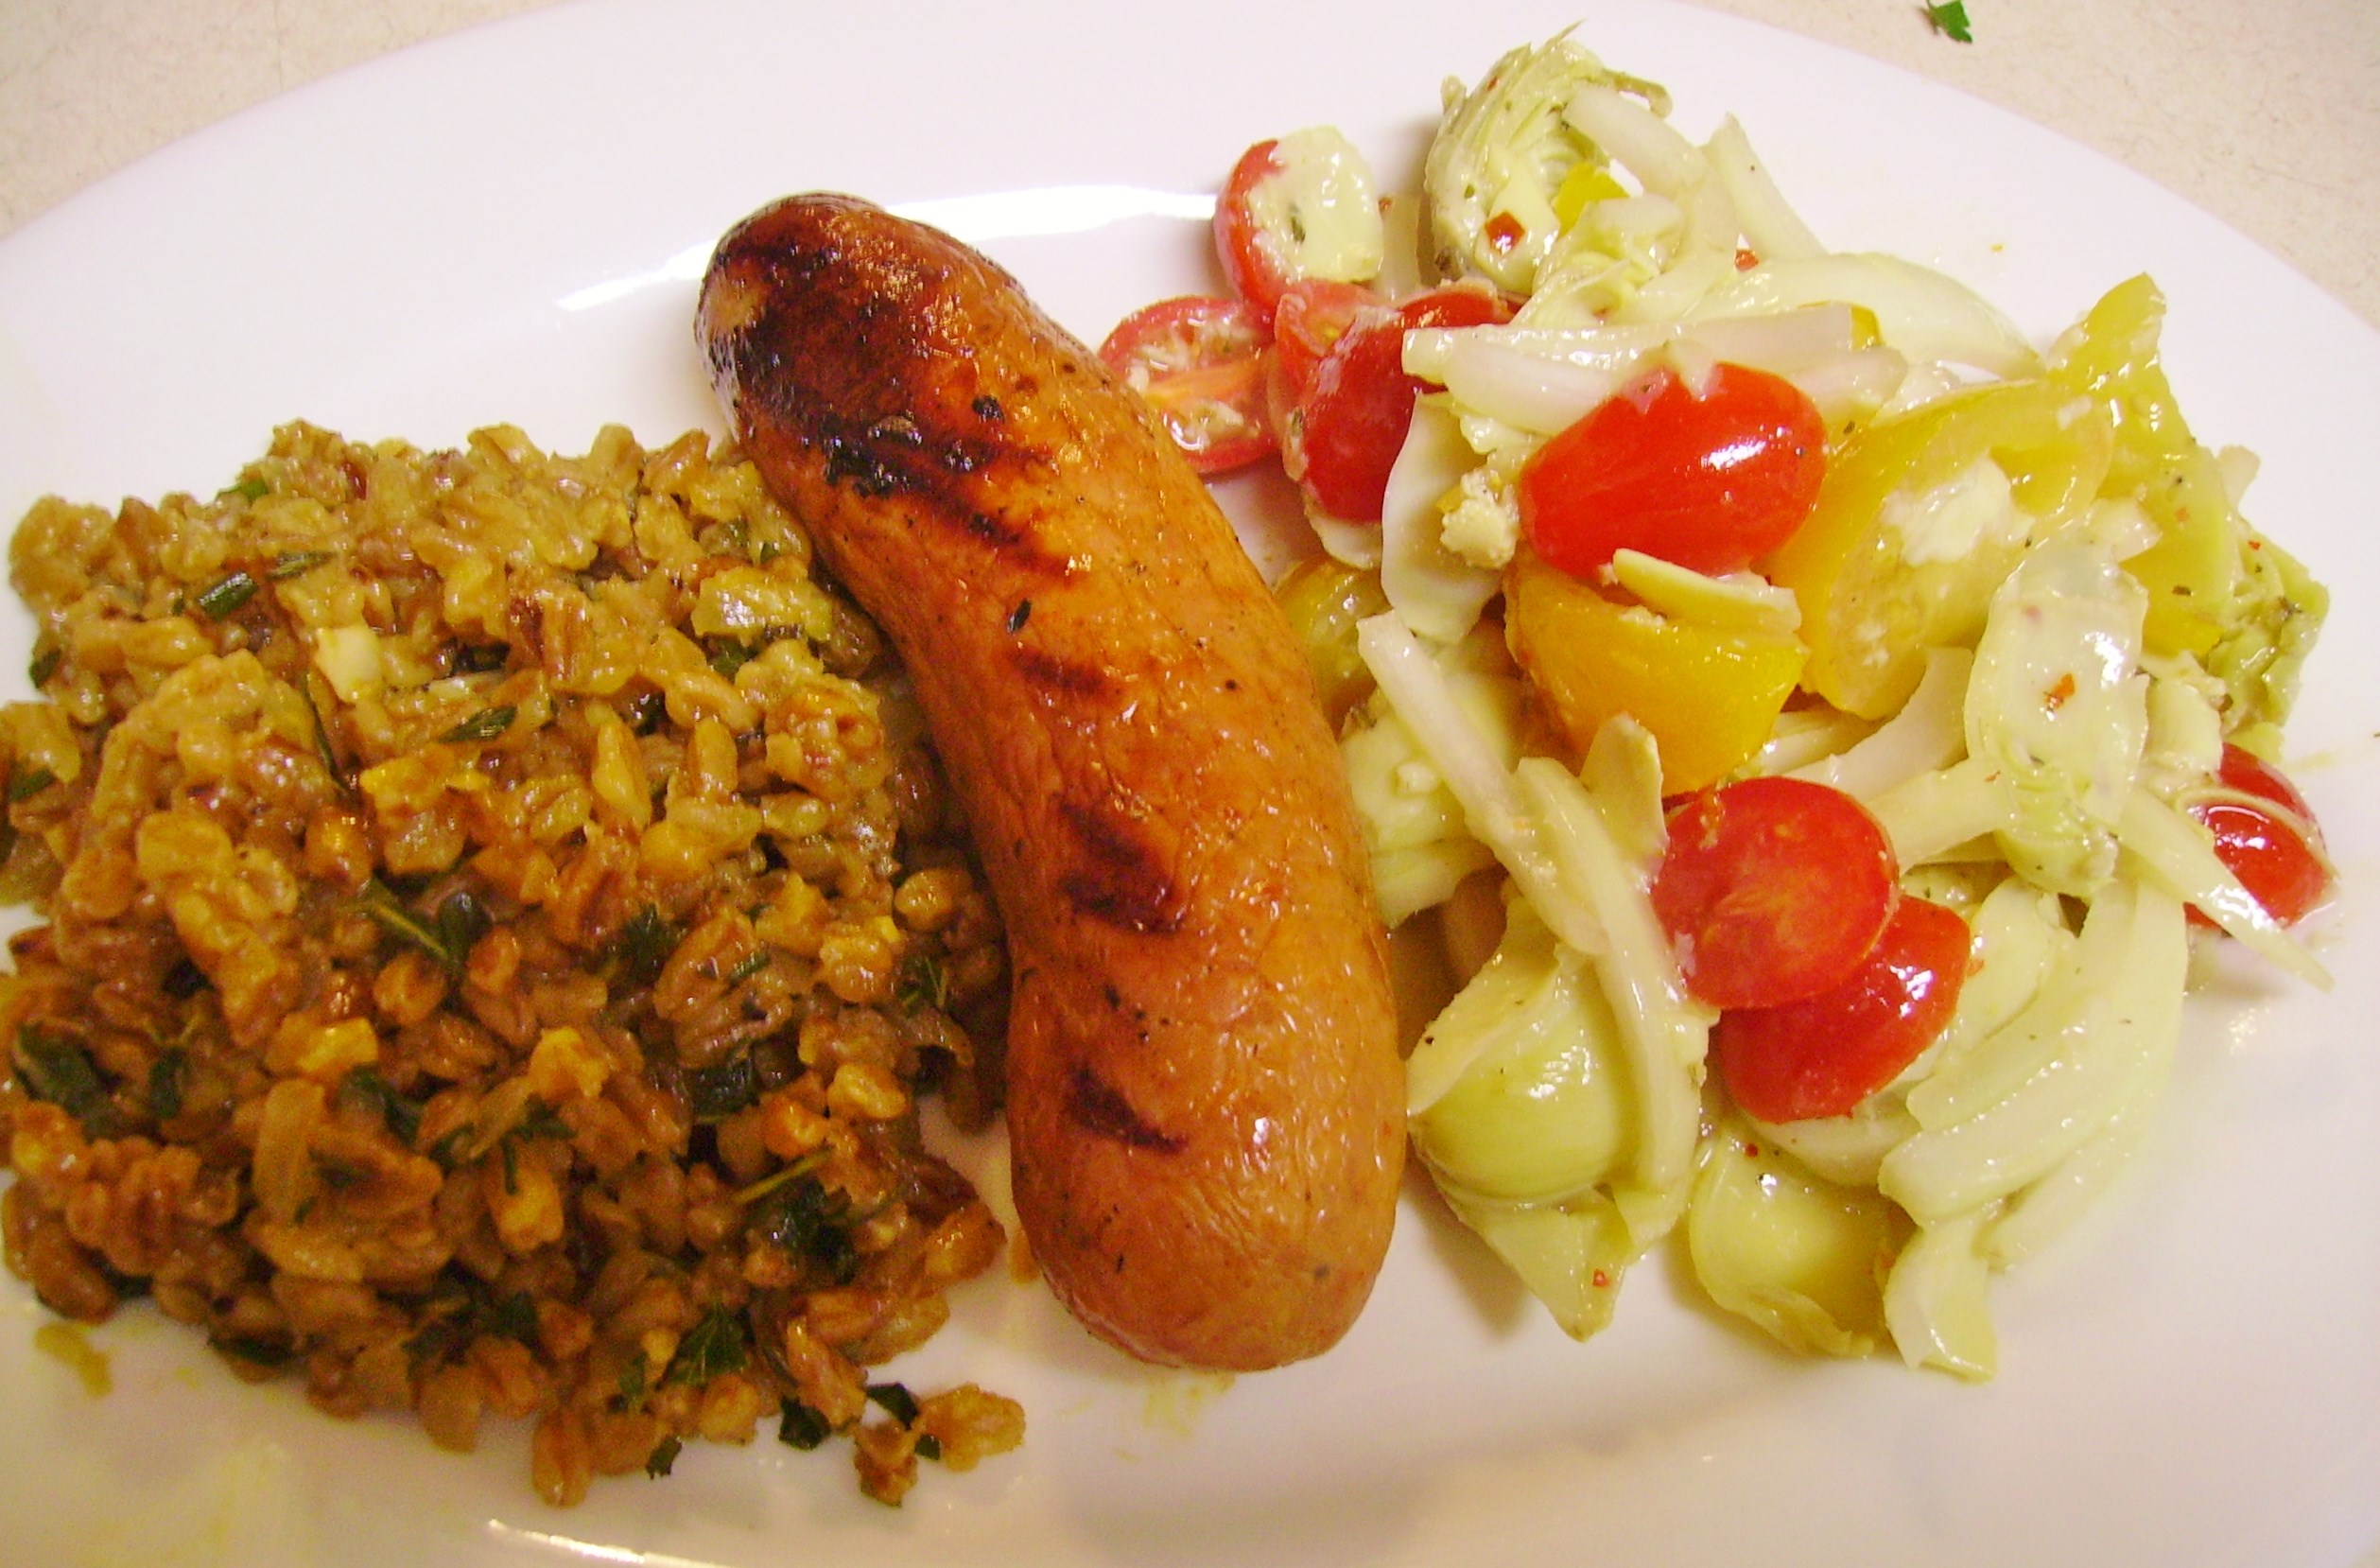
I’ve gone back to dinners around a theme. Recently we had an Italian inspired dinner. Okay, lots of my dinners have an Italian vibe. What do you expect? I’m Italian and proud of it. “Italian-ness” aside, I do love pork. Tenderloins are my current favorite because they are versatile, quick cooking and the perfect size for two. I wanted to do another version of the pork wrapped in pork that is always so succulently yummy. I had a little thin sliced pancetta that I carefully uncoiled to create a delicate casing for the pork.
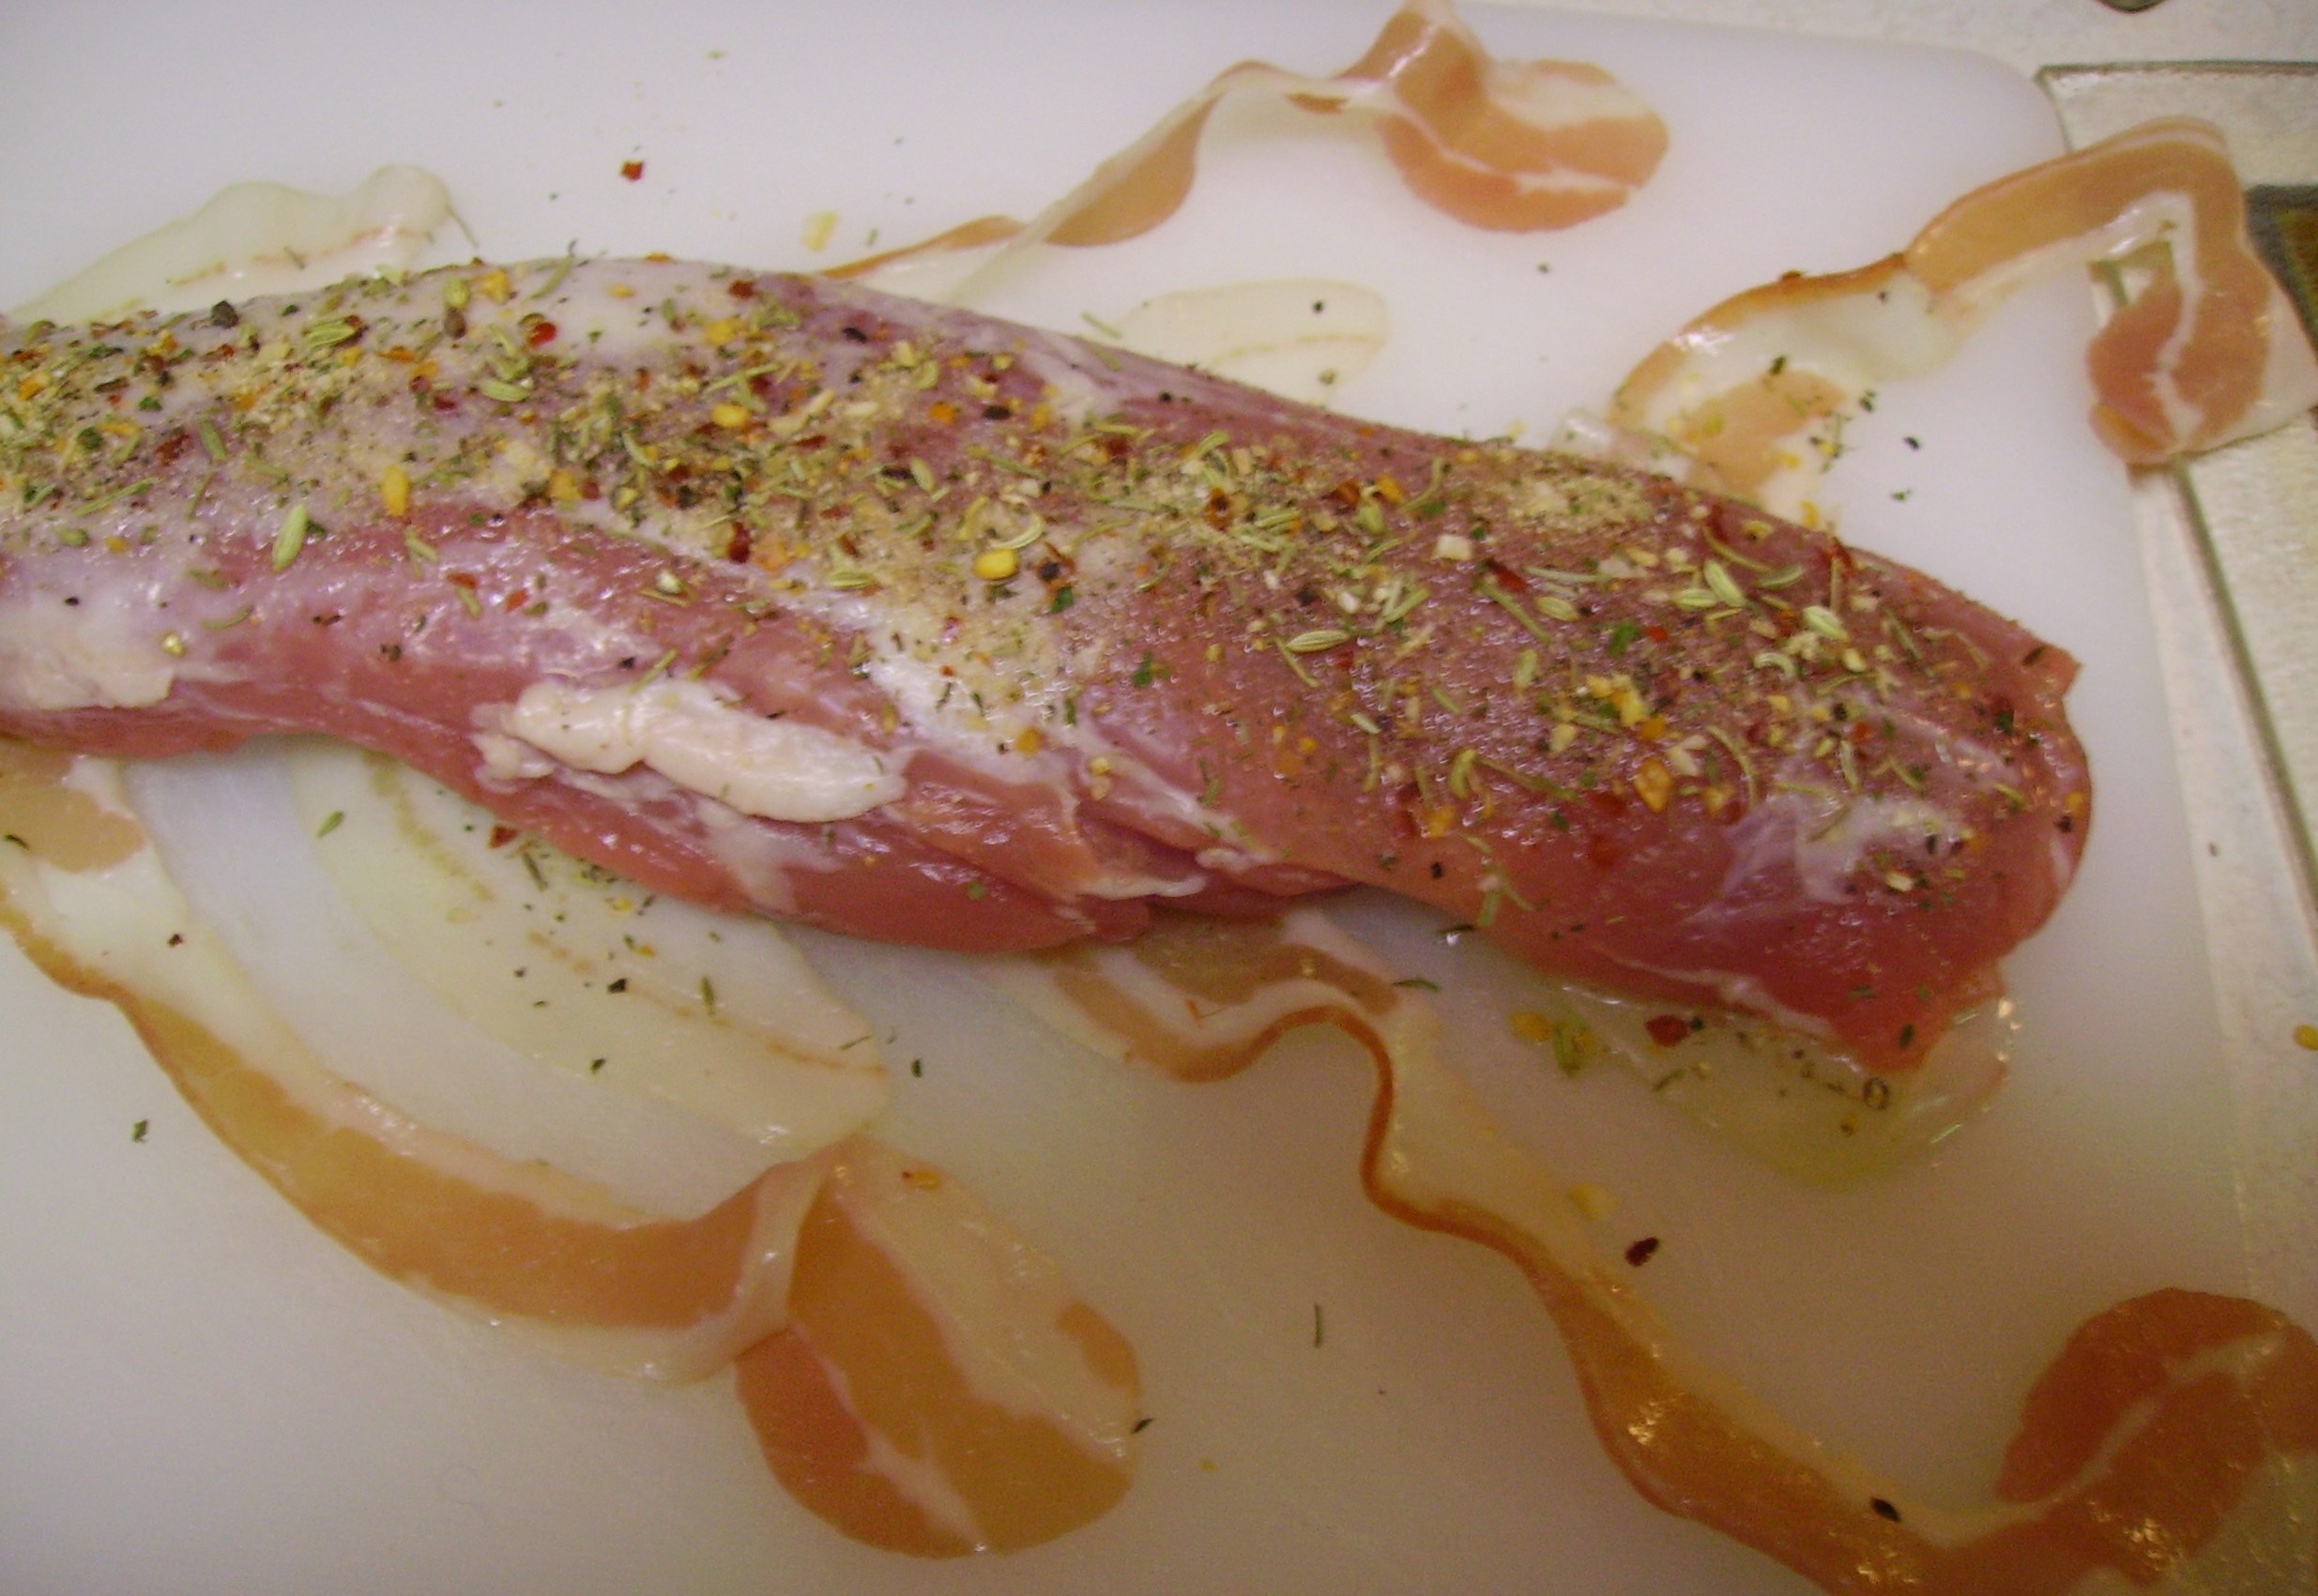
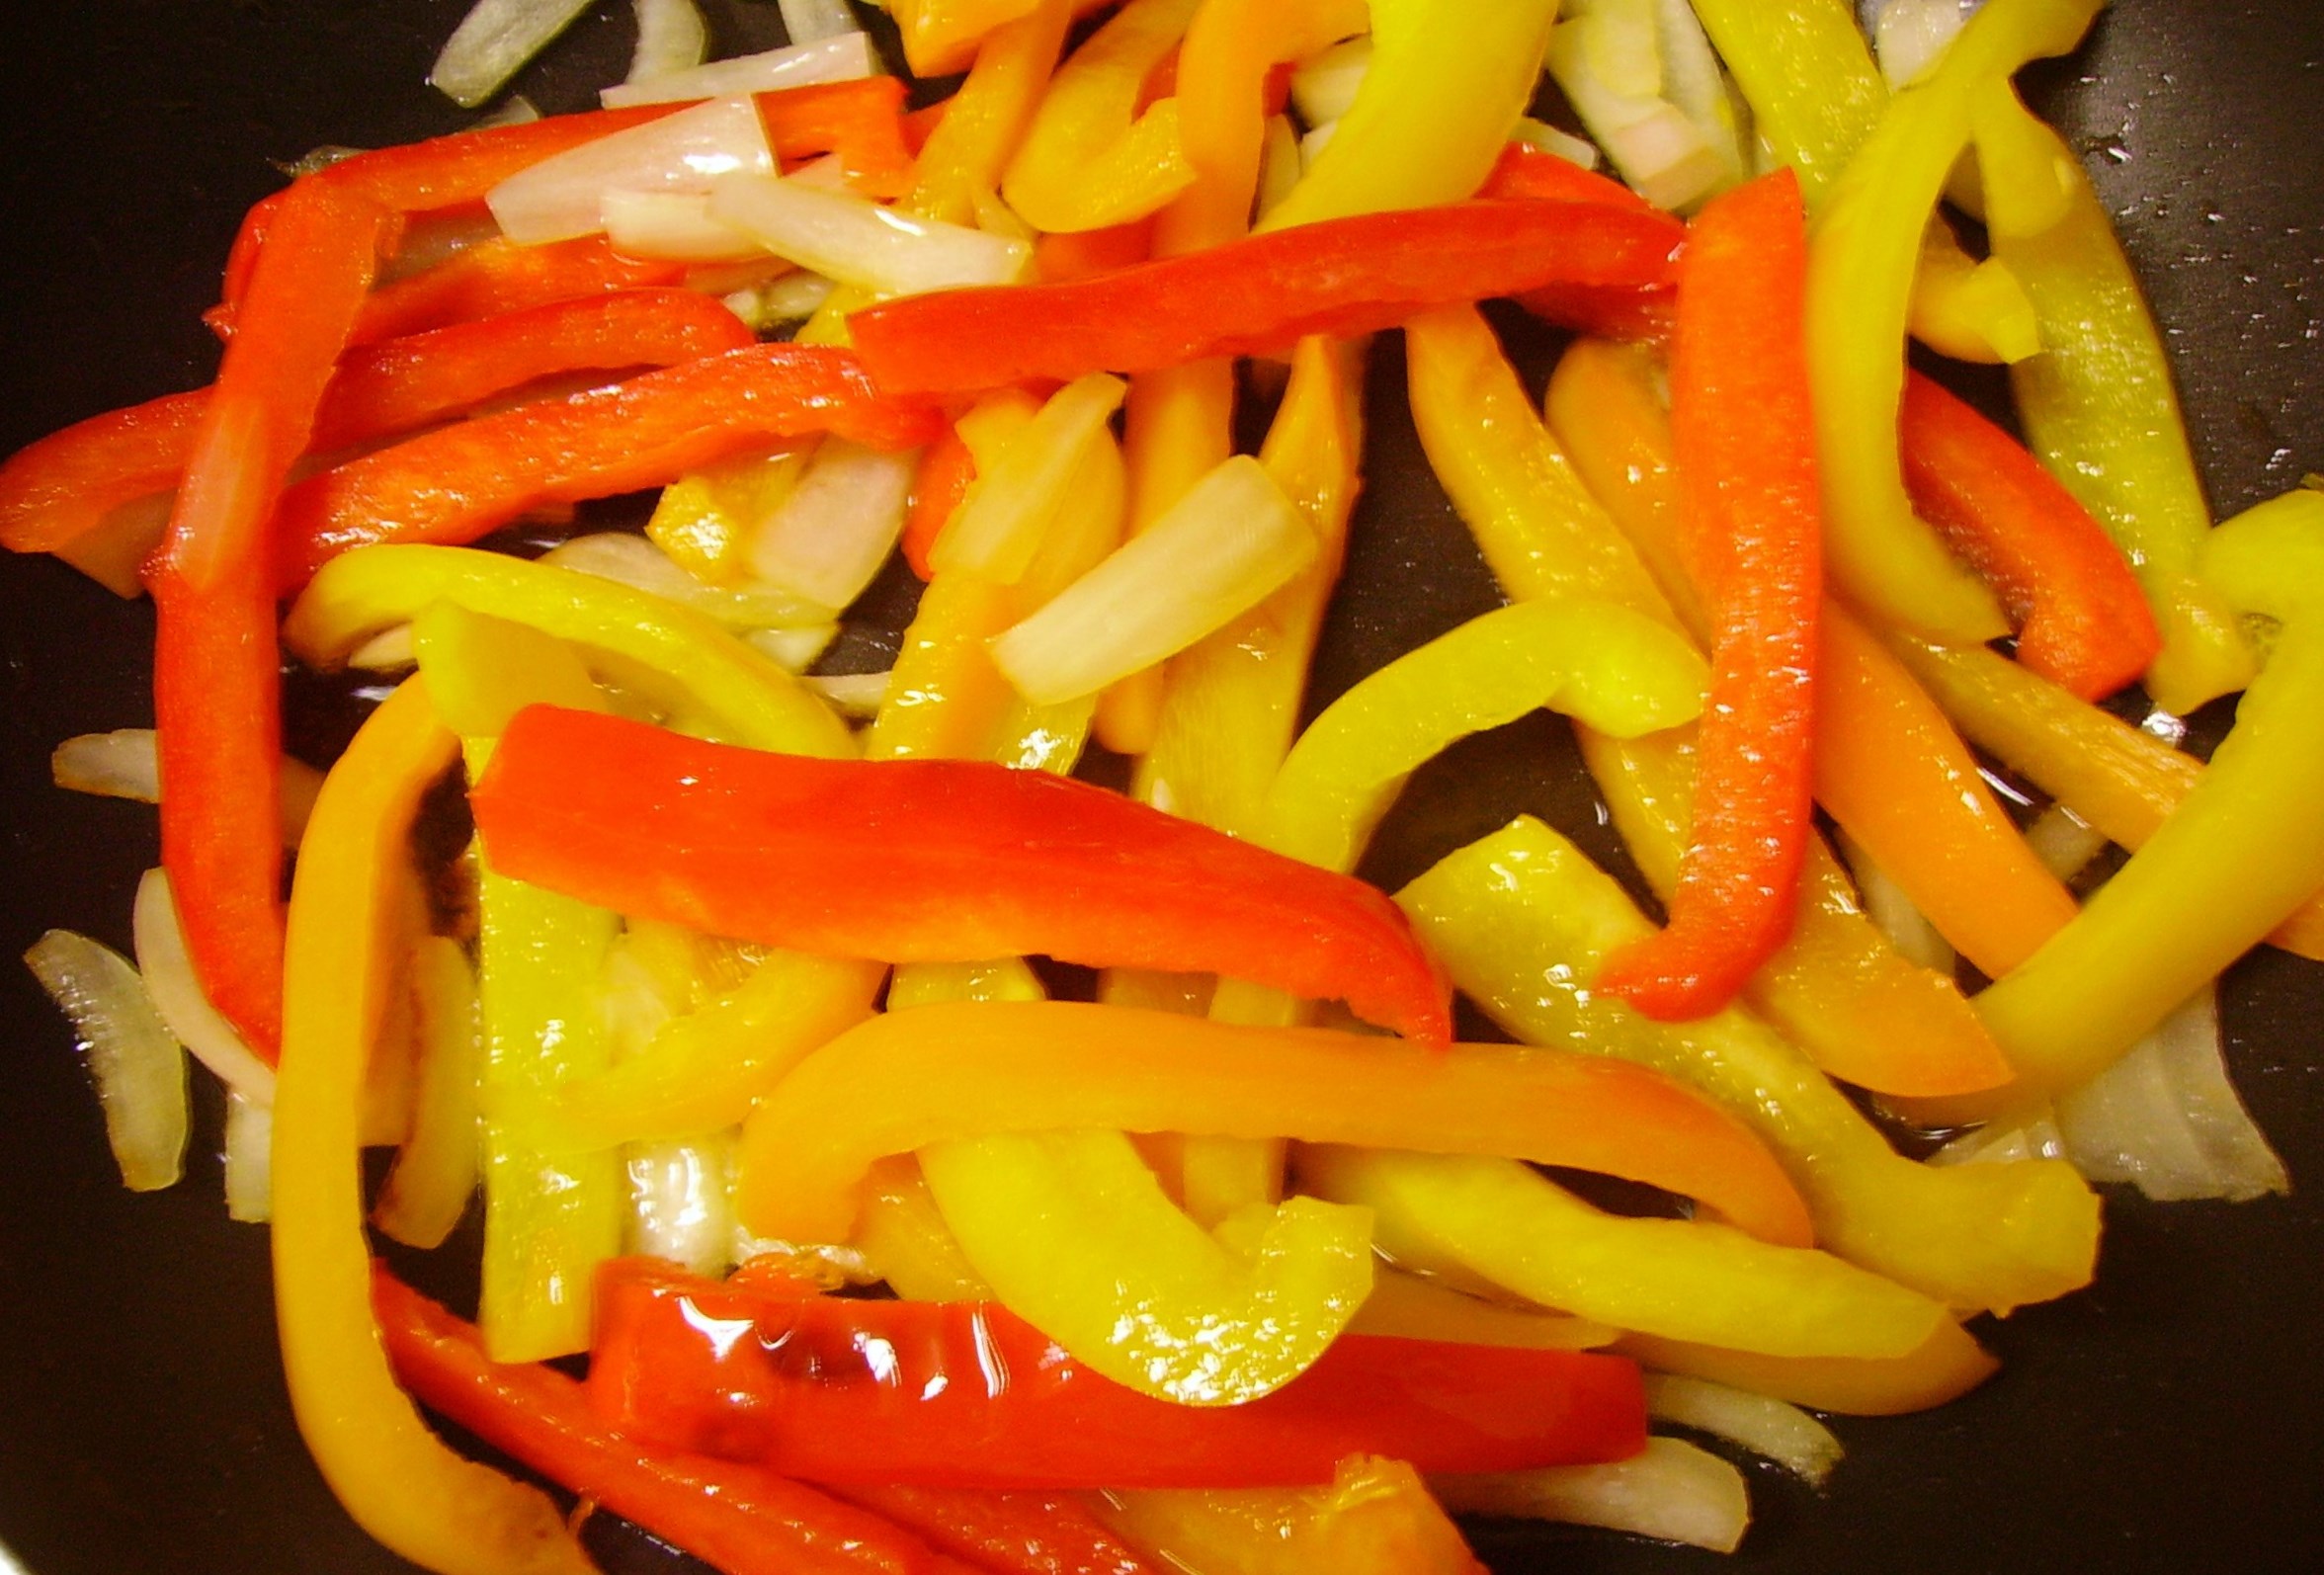
The seasoning for the meat had a very sausage like taste…red pepper flakes, fennel, and Italian herbs. In the summer, if you are Italian, and you think sausage, the next thing to pop into your head is peppers. Of course, peppers fried in olive oil with a bit of onion had to become the side.
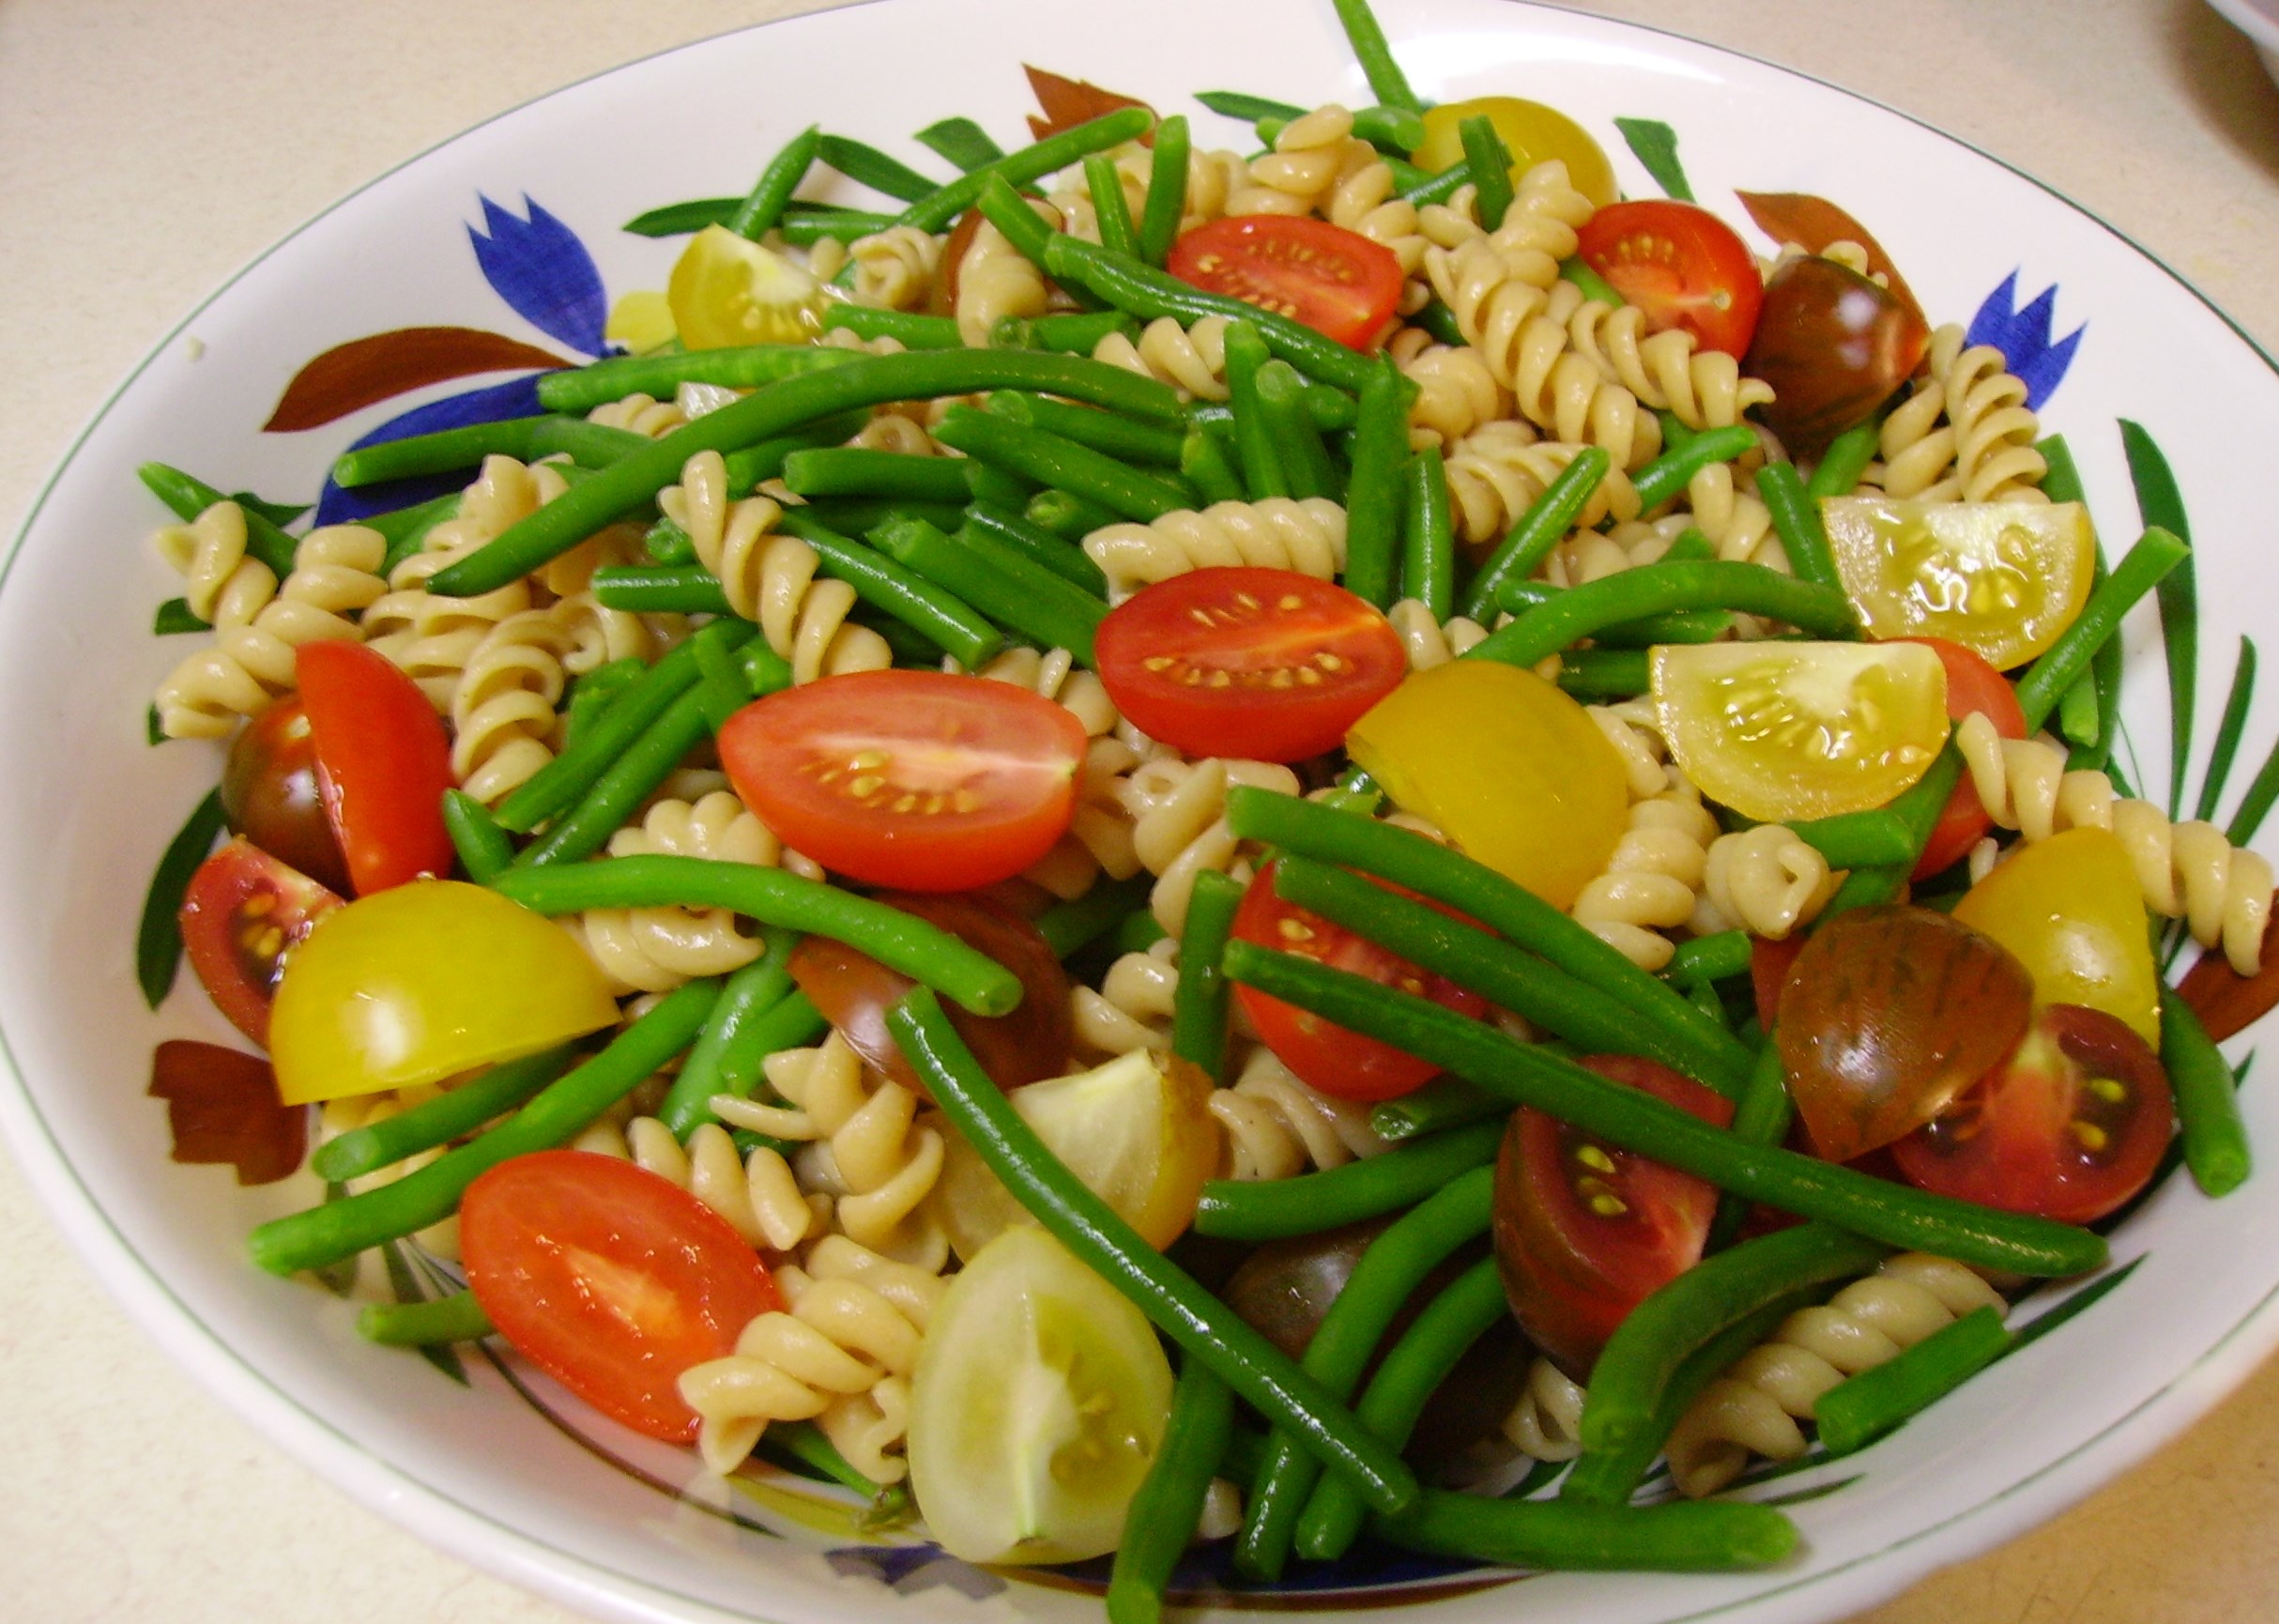
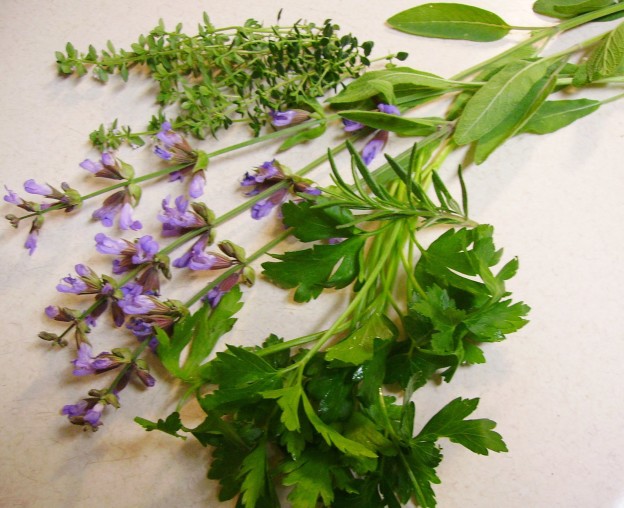
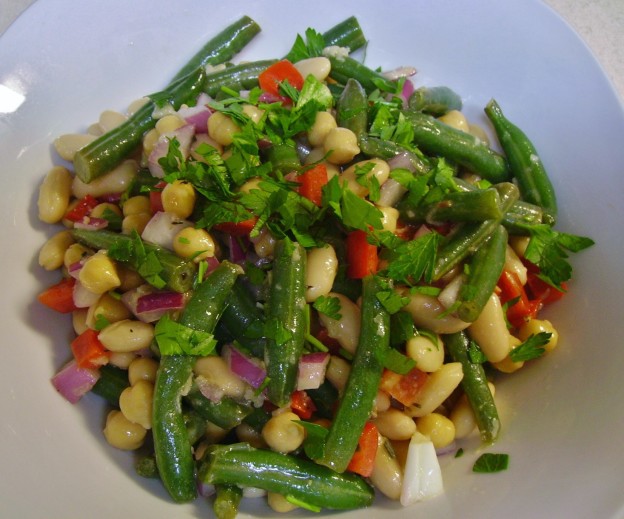
Now what? In what I feel was a stroke of brilliance, a bean salad came to mind. Then the gears in my Italian brain meshed and I decided to make an Italian version of Three Bean Salad. We all remember the traditional Three Bean Salad that often appears at picnics and many salad bars. Varying combinations of green and kidney beans swim in a decidedly sweet vinegar dressing. Can this become a Paisan? I kept the green beans and added garbanzo and cannellini beans. The dressing went from sweet to tangy with the addition of lemon juice and white balsamic vinegar. Garlic and olive oil completed the transformation.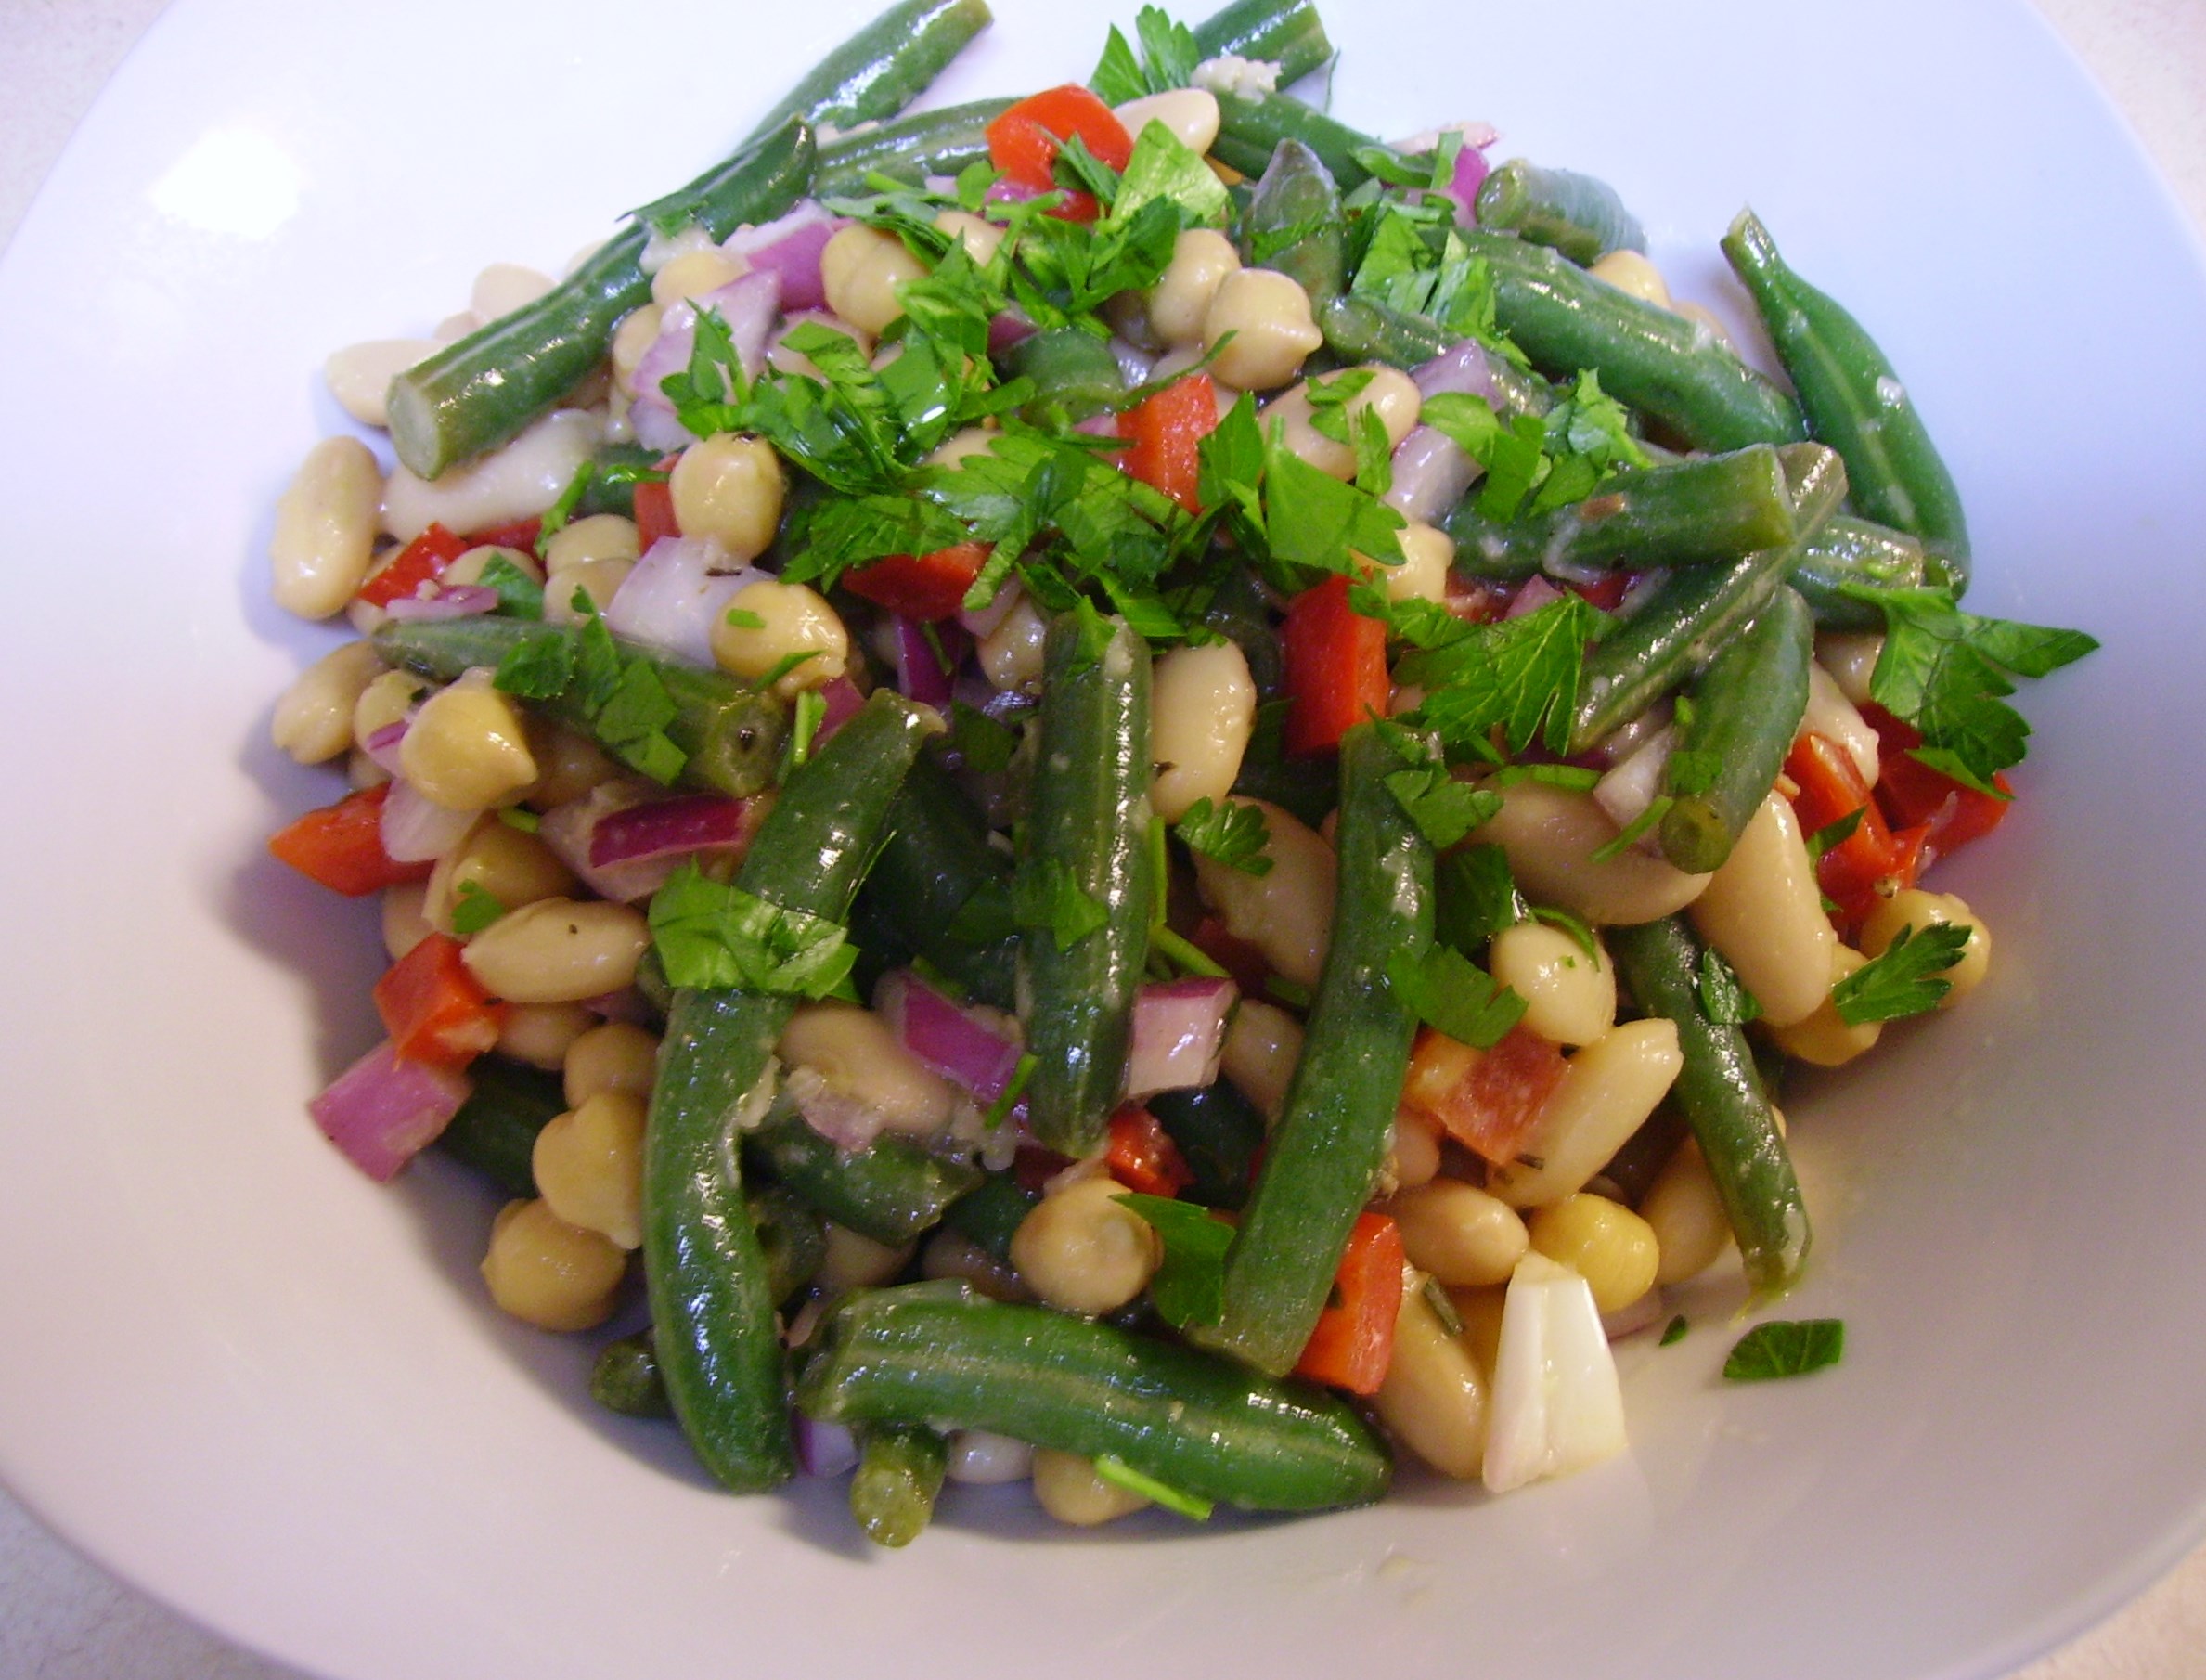 I opted to use rosemary and parsley as the herb component because I love how they taste with lemon. I chose red for the onion and pepper because they’re pretty and it gave a little nod to the Italian flag. As with any marinated salad, I made it early in the day so that everything had time to become as friendly as the goombahs from the old neighborhood.

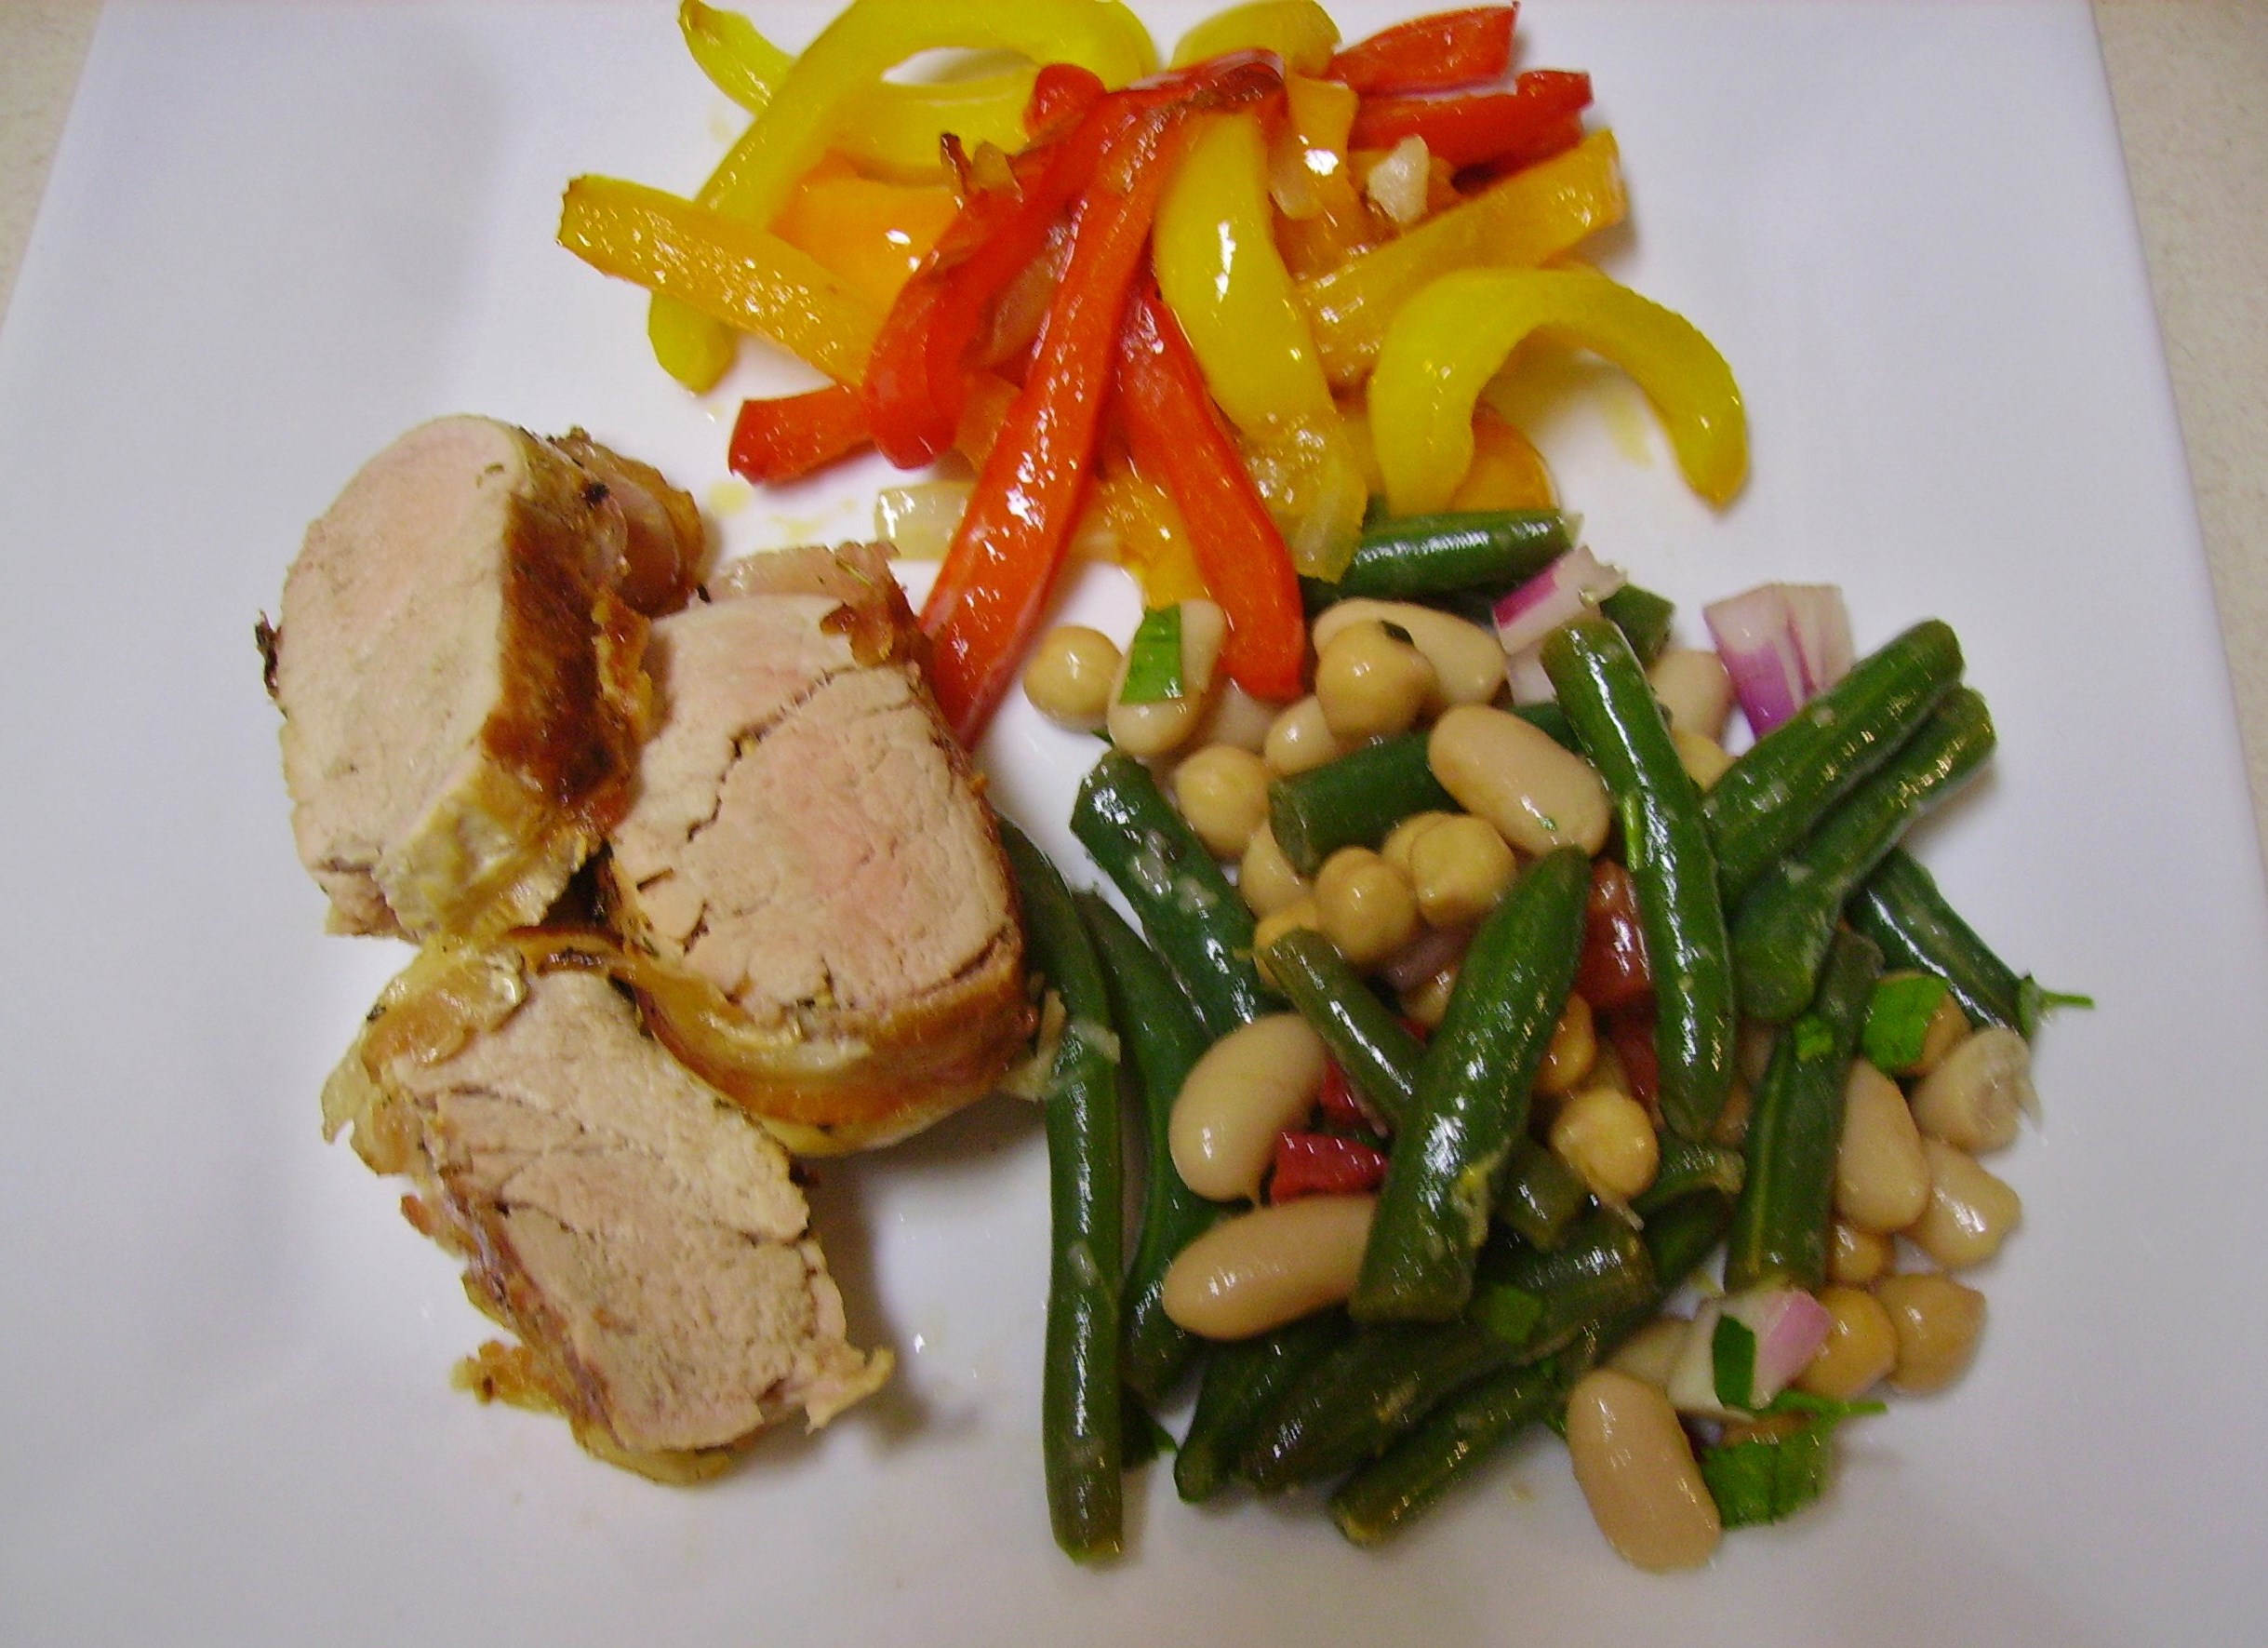
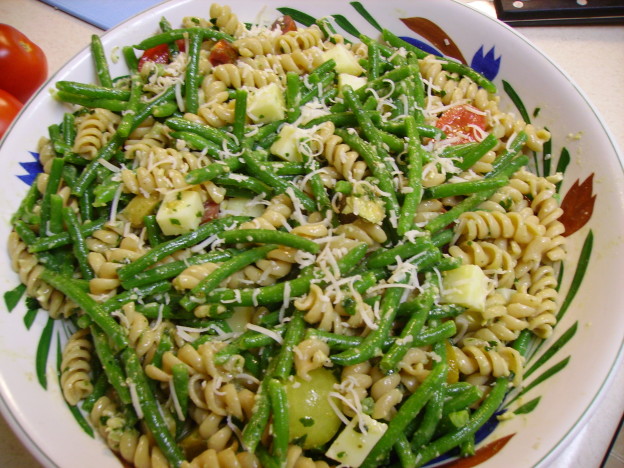
This was a wonderful partner for the pork and peppers, but it would go well with any grilled meat and would be a hit at any party you brought it to. Another plus for this dish is that it can easily function as a one dish meal. The beans provide plenty of protein and fiber, but if you wanted to up the ante, add some cheese.
I did just that for lunch the next day. A little feta cheese, some tomatoes and a nice bed of baby greens from the garden made for a lunch that was as tasty as it was pretty.

Share this: