Chicken Spinach and Artichoke Pizza

DIGITAL CAMERASpinach Artichoke Dip has become an iconic appetizer. You can find it at most gatherings, lots of restaurants, and pre-made in the grocery store. Most everyone loves the creamy, garlicy flavor that has just enough vegetables to make it slightly less guilt producing. Spinach and artichoke have an affinity that makes them work so well in this dip, but they happily go hand in hand in lots of other dishes.

I’ve used this dynamic duo in lots of different ways. Pasta sauces and stuffings have benefited from the joining of the thistle and the green. I’ve shared a recipe here awhile back for a tasty Spinach and Artichoke Soup (check it out on the RECIPE page; search Spinach Artichoke Soup) that pays homage to the dip.DIGITAL CAMERA
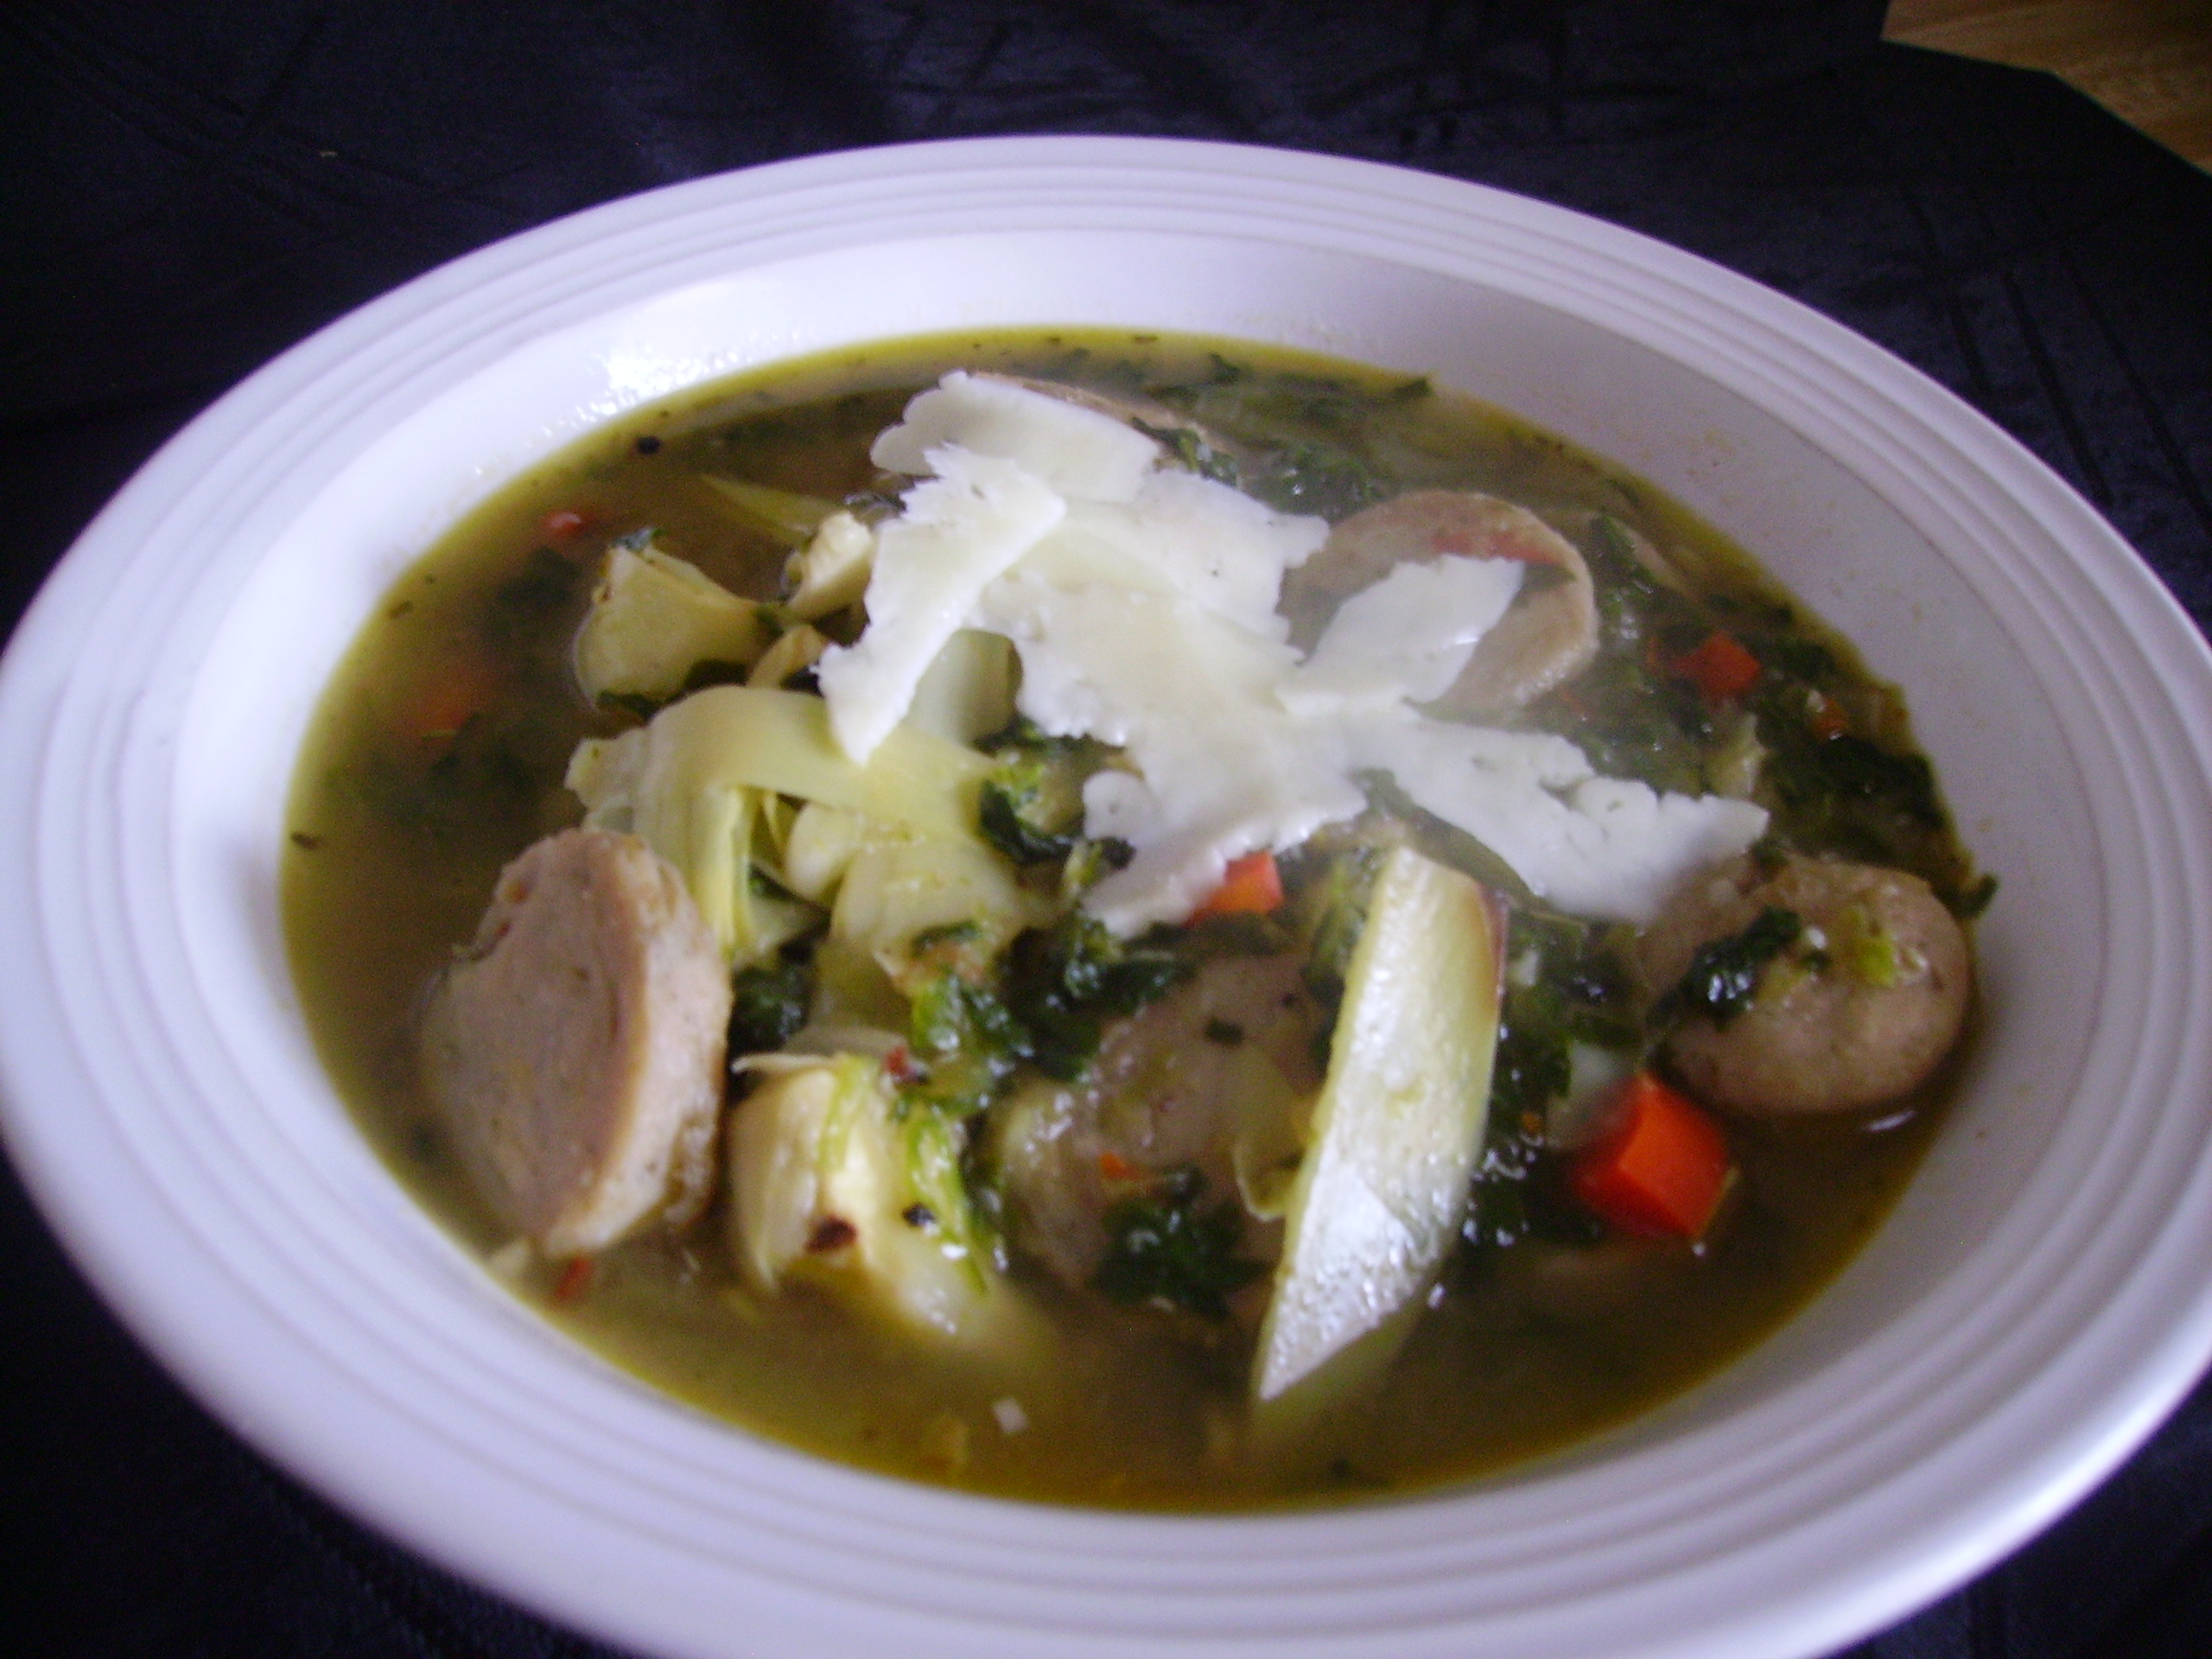
The following recipe is another riff on the dip. It even features a creamy sauce. DIGITAL CAMERA
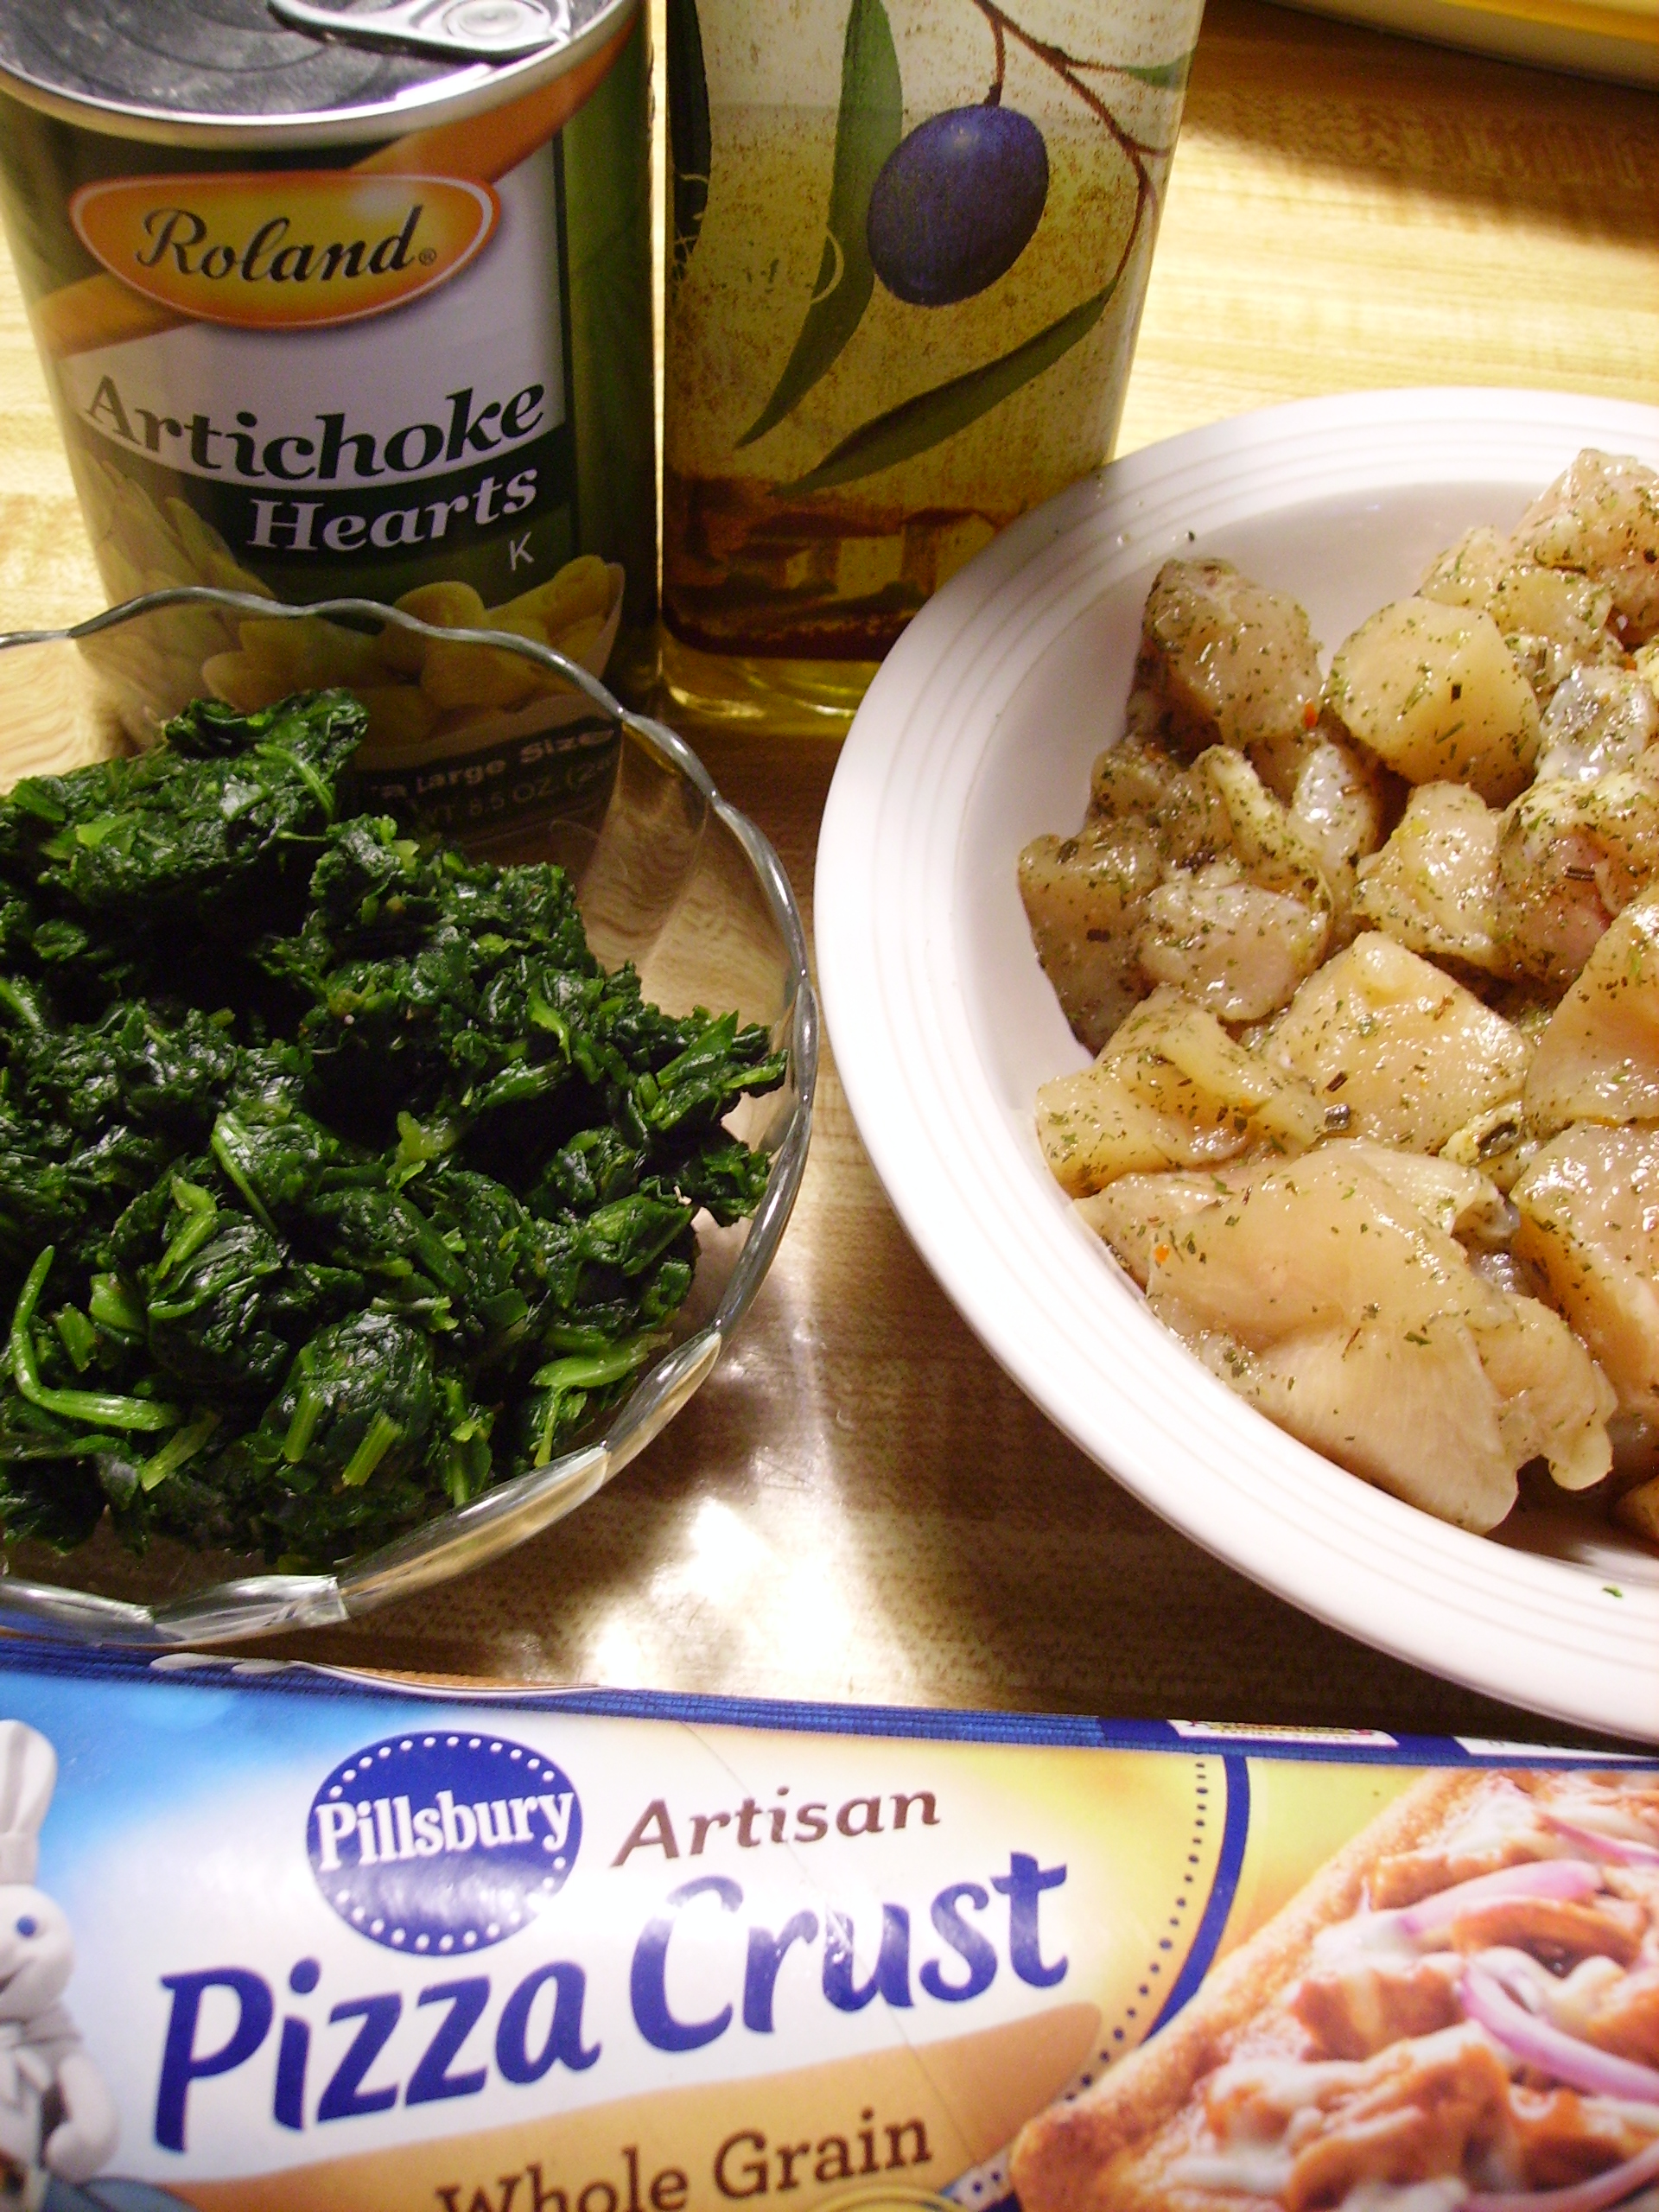
Things began with frozen chopped spinach, canned artichoke hearts, and chicken breast tenders. The pantry/freezer lightened their load a little bit more which is a major focus right now. I used the kind of pizza dough that comes in a can, but fresh or home-made would be wonderful. 
DIGITAL CAMERA
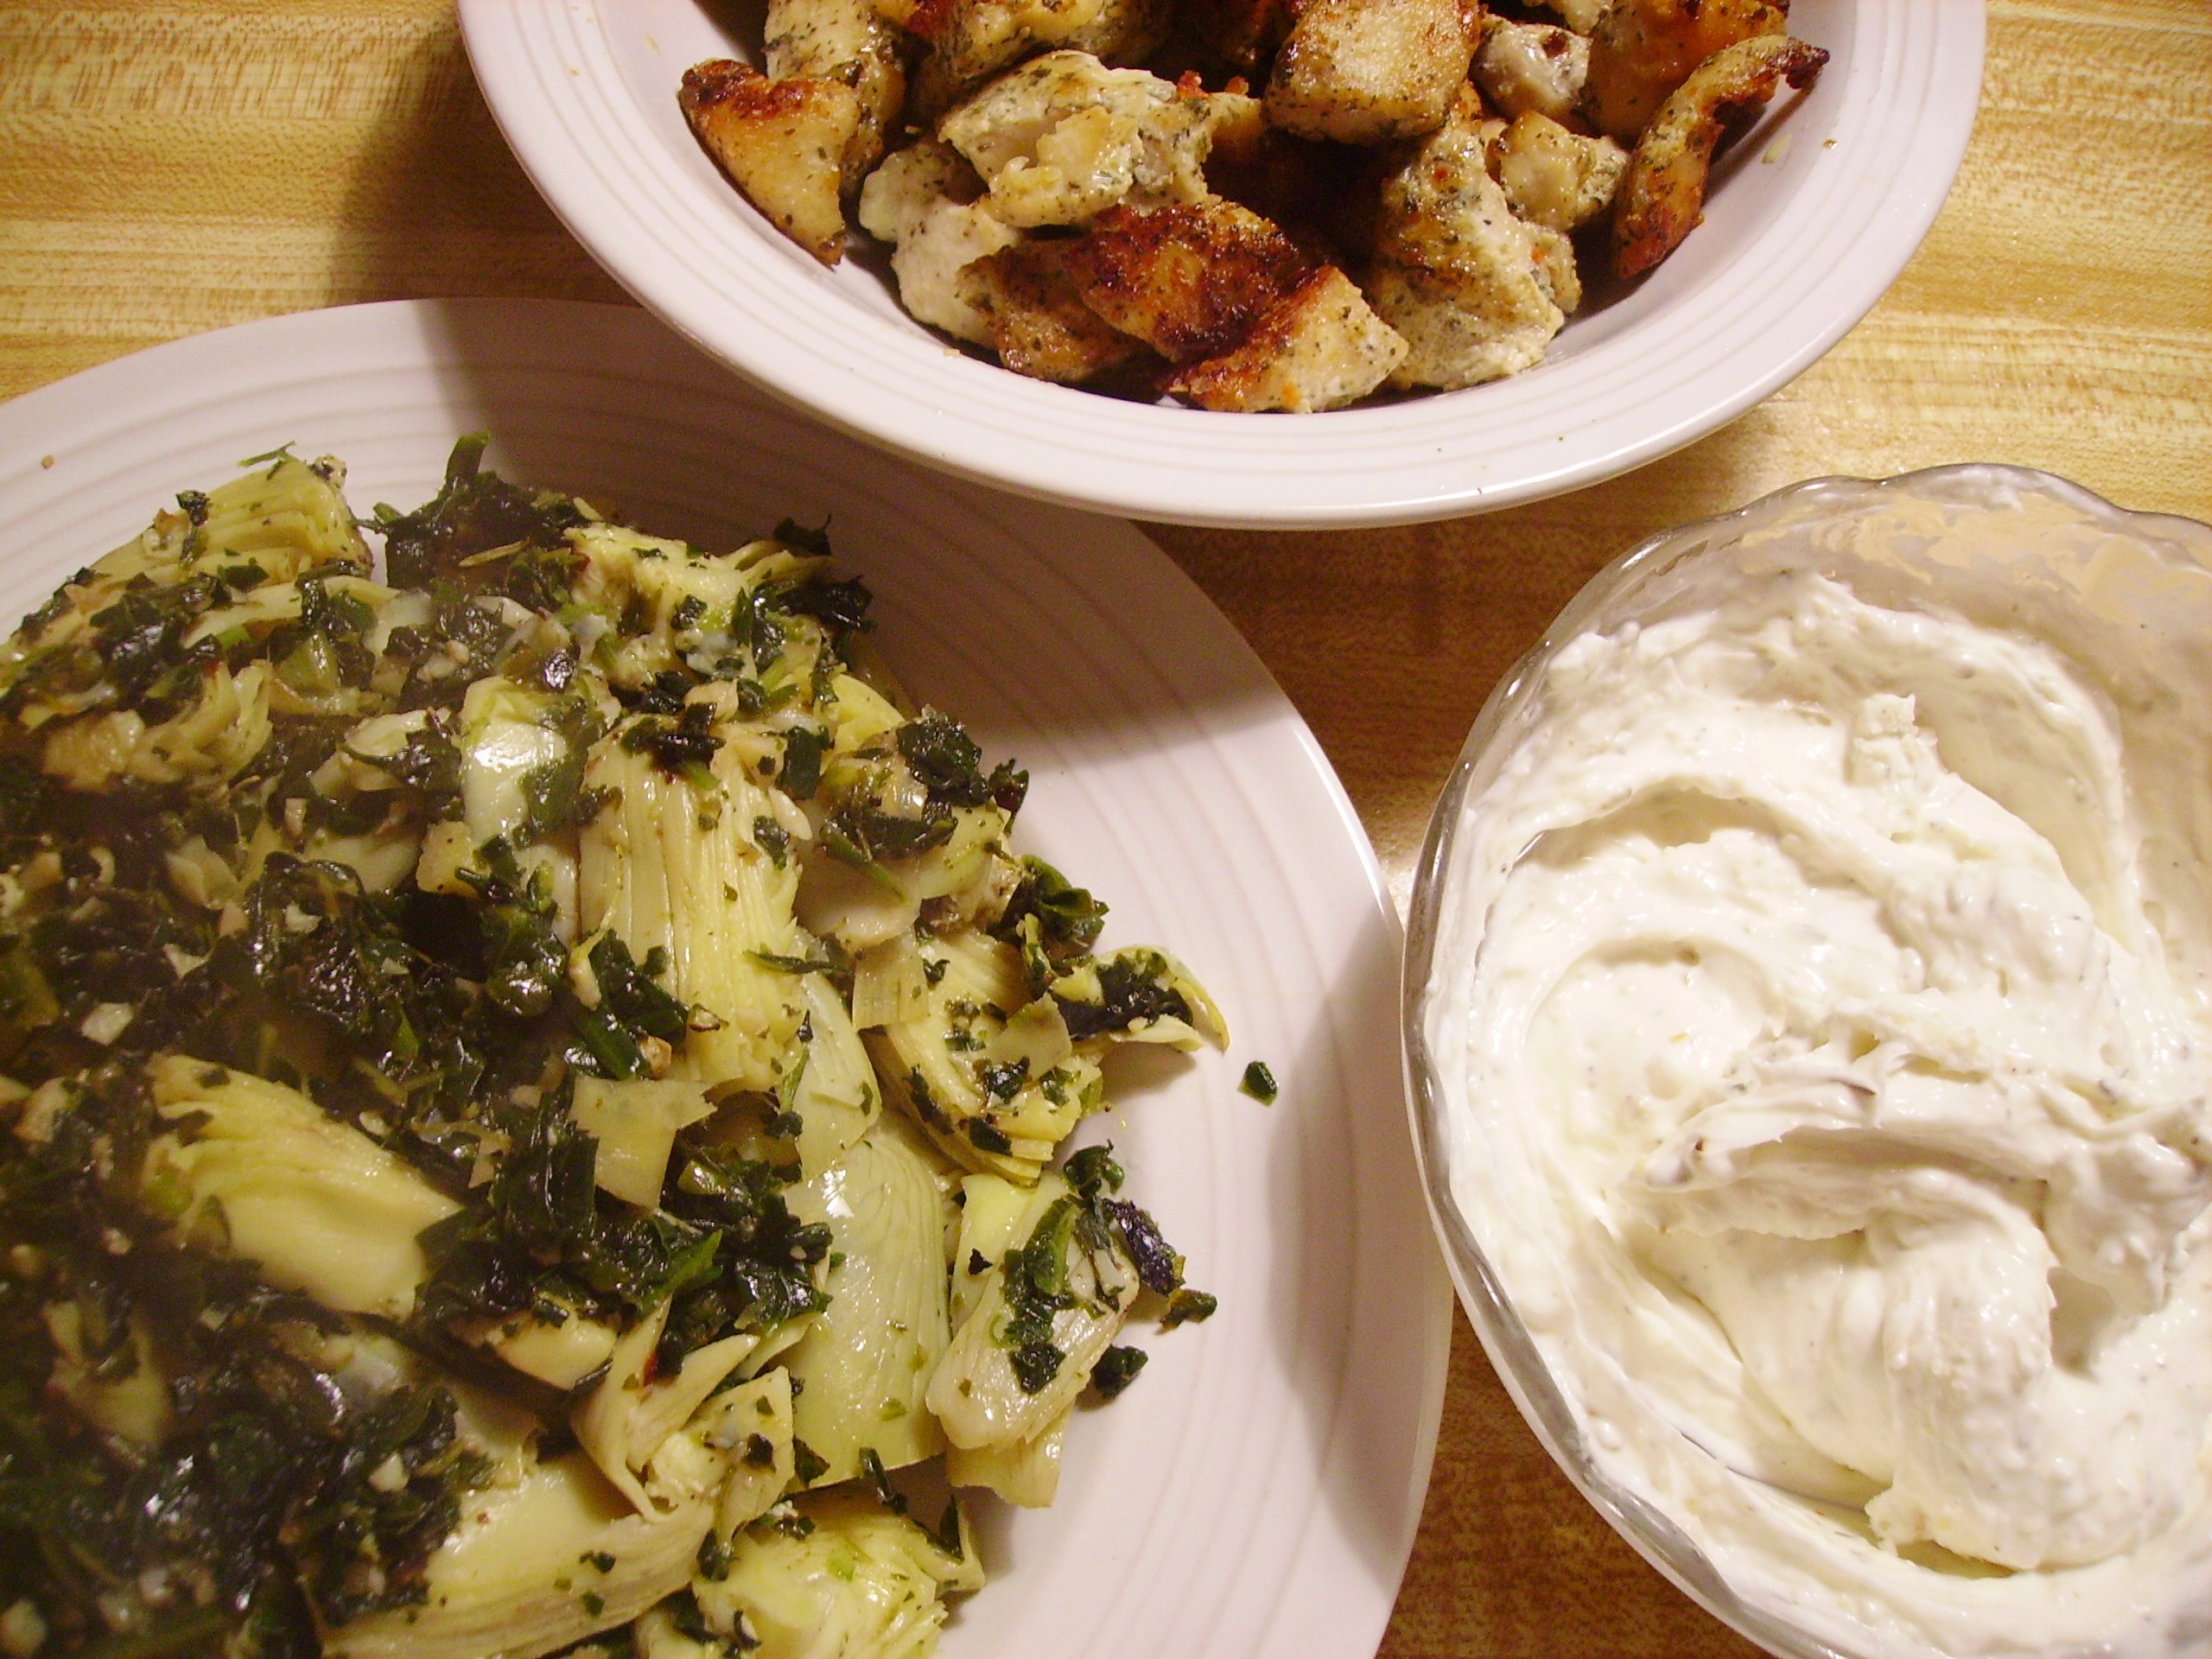
So the main ingredients were ready to become pizza. The chicken was browned in a little olive oil. The spinach and artichokes sautéed with a hearty dose of garlic. Light cream cheese thinned with a little fat-free half & half and flavored with Italian herb blend became the sauce.

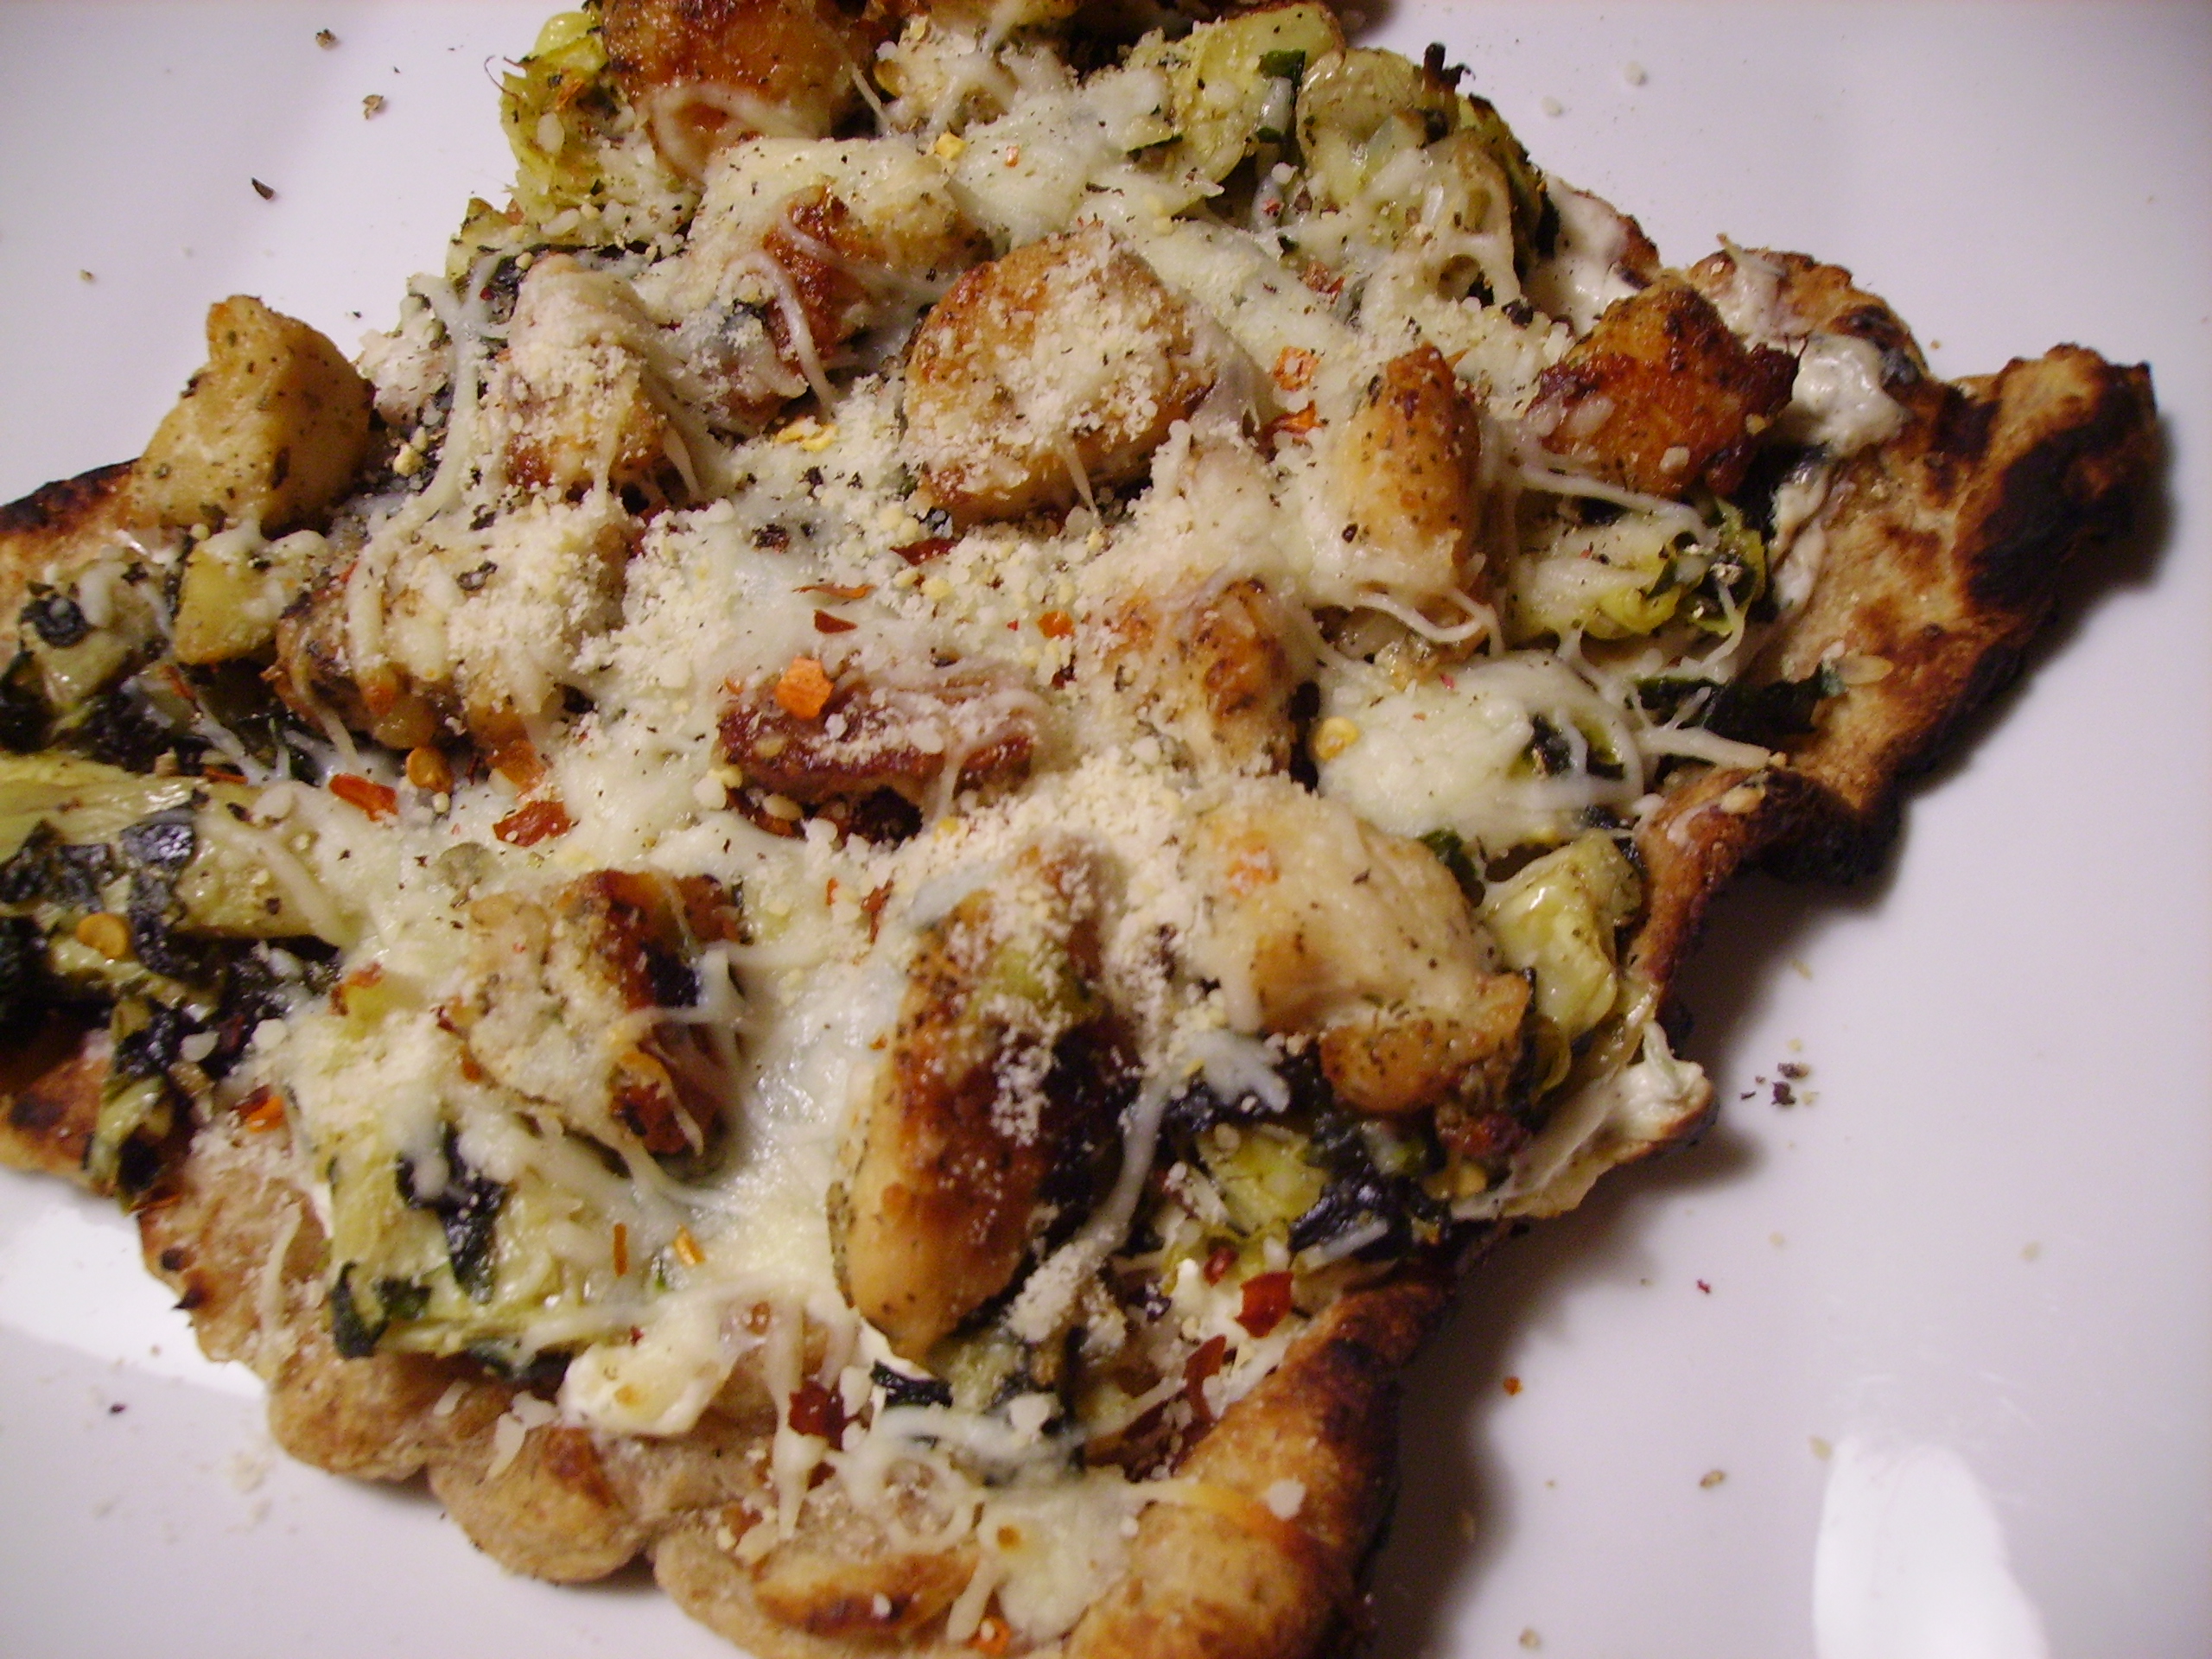
The weather almost demanded that the pizza be cooked on the grill, so of course I complied.DIGITAL CAMERA
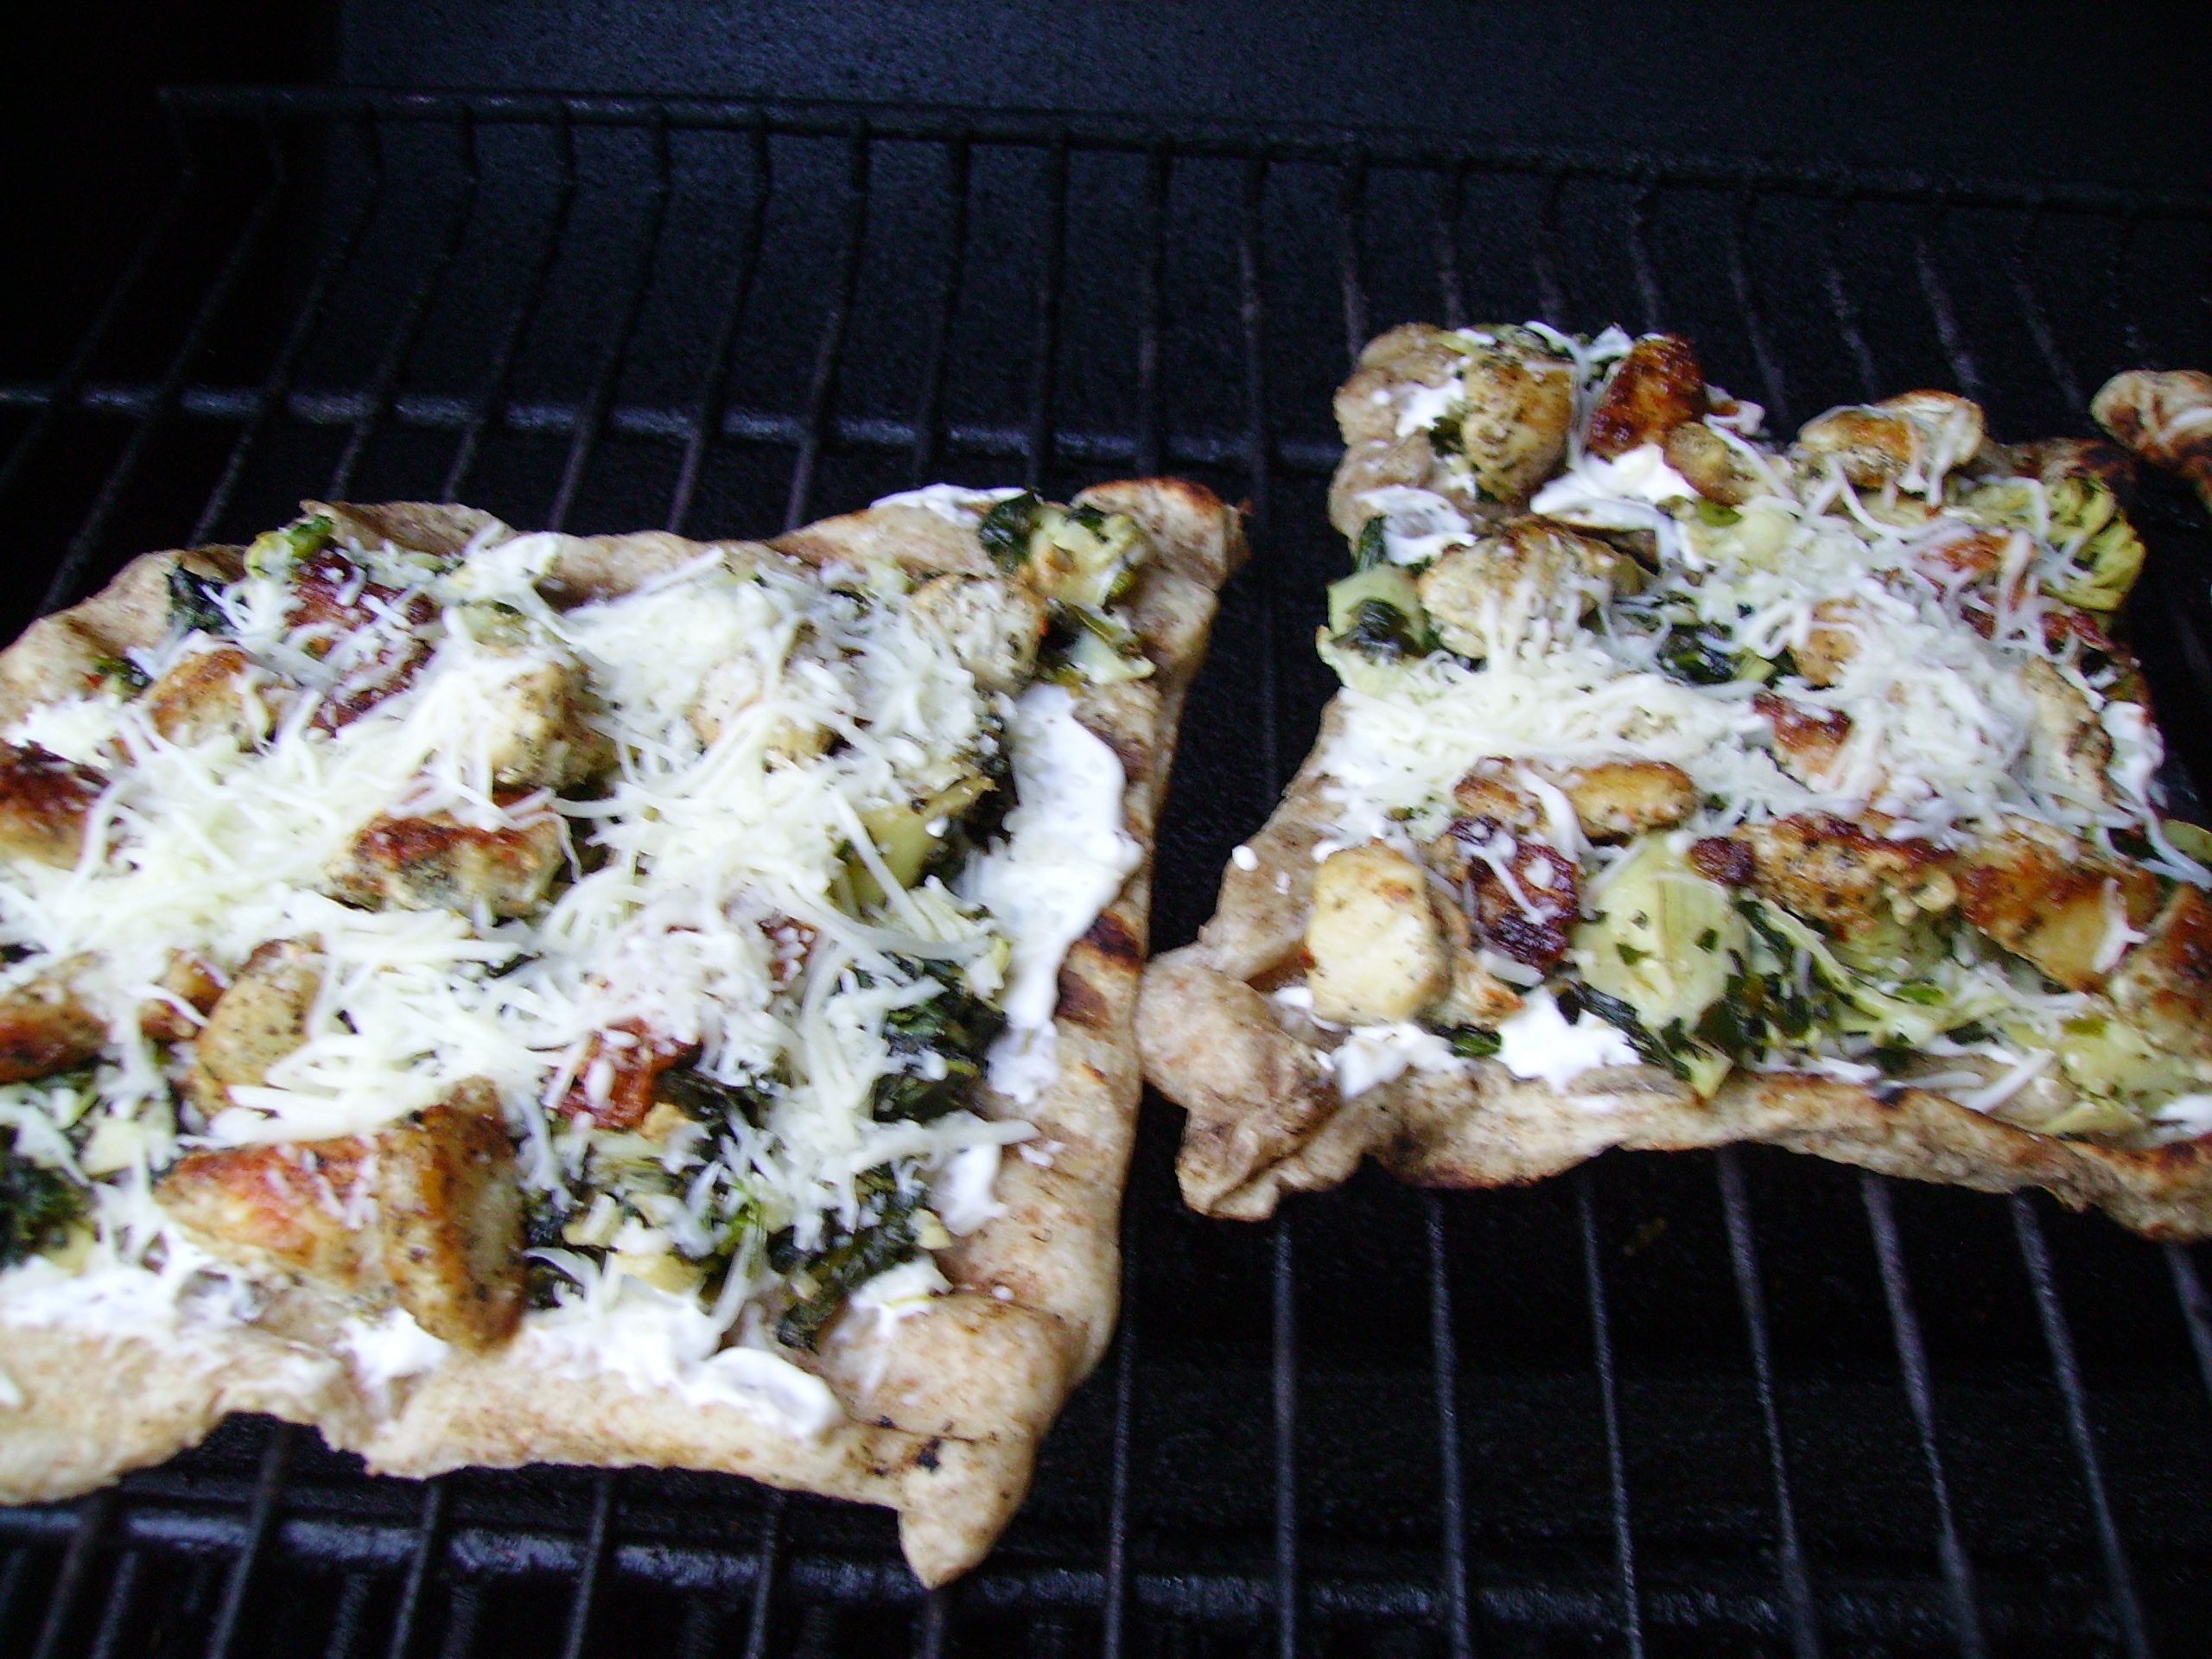
The result was crisp tasty pizza with just a hint of smokey goodness. This would be equally delicious baked in the oven as mini pizzas or one large one.DIGITAL CAMERAGive this recipe a try.

Chicken Spinach and Artichoke Pizza
Print Recipe
Servings
4
Servings
4
Chicken Spinach and Artichoke Pizza
Print Recipe
Servings
4
Servings
4
Ingredients
Servings:
Instructions
  1. Toss the chicken bits with the Mrs Dash blend. Place in a zip top bag and allow to marinate in the refrigerator over night.
  2. When you are ready to prepare the pizza, remove the chicken from the frig. Heat a large fry pan over medium heat. Add the olive oil and swirl to coat the bottom of the pan. Add the chicken, spreading it out in a single layer. Cook until it is golden brown and cooked through. This should take about 10 minutes.
  3. Remove the chicken from the pan, leaving the drippings. Add the garlic and cook for a minute or so until it begins to become fragrant.
  4. Add the artichokes and spinach to the pan and continue to cook for 4 - 5 minutes. When everything looks blissful, remove the mixture from the pan.
  5. Stir the cream cheese and half & hlaf together in a small bowl. Add the Italian Herb grinder blend and stir to combine.
  6. Open the pizza dough and allow it to rest for 10 minutes or so. Cut in 4 pieces and stretch slightly to an even thickness on a mat that has been lightly coated with cooking spray. Spray both sides of the dough lightly as well.
  7. On the upper rack of a hot grill lay the dough pieces leaving room between each. Cook 3 minutes until lightly browned and marked. Turn and grill 2 minutes more. Remove from grill and lay on large baking sheet, browner side up.
  8. Divide the cream cheese mixture among the four dough pieces. Spread evenly almost to the edges.
  9. Top each pizza with the Spinach/Artichoke mixture and sprinkle the chicken on top. Add the cheese blend to the pizzas along with drizzle of olive oil.
  10. Place the pizzas back on the grill (top rack if you have one). Put the lid down and cook for 3 minutes. Check the pizzas and move them around to help them cook evenly.
  11. Continue to cook, moving around as needed. the cheese should be melted and the bottom crust deeply marked but not burned.
  12. Remove from the grill and allow to rest for 5 minutes. Sprinkle with freshly ground pepper and a dusting of red pepper flakes if you dare and serve.
Share this Recipe
Powered byWP Ultimate Recipe

Apple Cinnamon Bundt Cake

Apple Cinnamon Bundt Cake
Print Recipe
A moist and delicious cake. Use your favorite kind of apple.
Servings
16
Servings
16
Apple Cinnamon Bundt Cake
Print Recipe
A moist and delicious cake. Use your favorite kind of apple.
Servings
16
Servings
16
Ingredients
Servings:
Instructions
  1. Preheat the oven to 350 degrees. Coat a bundt pan with non-stick cooking spray.
  2. Combine the butter, sugar, and 1 teaspoon cinnamon in a microwave safe bowl. Microwave on high heat for 2 minutes, stirring every 30 seconds. Pour into the bundt pan.
  3. Layer the apples and walnuts evenly over the caramel. Set aside.
  4. In a large bowl, combine the cake mix, pudding mix, eggs, oil, water, and the remaining 2 teaspoons of cinnamon. Beat for 2 minutes. Pour over the apple caramel mixture.
  5. Bake for approximately 45 minutes. Begin checking for "doneness" after 30 minutes. A toothpick poked in the center of the cake should come out clean. When cake is done, remove from the oven and cool in pan for 10 minutes.
  6. Carefully invert the cake onto the cooling rack. Allow to cool completely before transferring to a serving plate.
Share this Recipe
Powered byWP Ultimate Recipe

Farro with Vegetables and Chicken Italian Sausage

How farro will you go to put a healthy and quick meal on the table? A little chicken Italian sausage, some fresh vegetables and a good bit if farro and about 30 minutes and you will be serving dinner with pride.DIGITAL CAMERA

Once upon a time farro was only found outside of Italy in gourmet restaurants and little Italian markets. You don’t have to go all the way to Italy to get Farro any more. It’s now available in many grocery stores and markets. DIGITAL CAMERA

This ancient Italian grain is an early form of wheat that has recently become one of the “it” ingredients. There is a lot of confusion about Farro. There are 3 kinds that differ in taste and cooking technique. Farro Medio (a.k.a. emmer) is the most common type. It’s also the easiest to cook. Whatever kind of farro you buy, follow the directions on the package to get the best results. I like my farro on the softer side of toothsome. If you like a chewier bite, experiment with the cooking time until it’s just right.

I’ve been using Meijer Naturals Italian Farro . I cook the whole 8.5 ounce package and use the extras for hot breakfast cereal, salads, or side dishes. Yes, it is that versatile. I love this stuff! I’ve been known to stand in front of the refrigerator eating it cold. Use this recipe as a springboard to you own farro nirvana.

Farro with Vegetables and Chicken Italian Sausage
Print Recipe
Servings
2
Servings
2
Farro with Vegetables and Chicken Italian Sausage
Print Recipe
Servings
2
Servings
2
Ingredients
Servings:
Instructions
  1. Bring the Chicken broth to a boil in a large saucepan. Add the farro, garlic and onion powder and bring back to a boil. Reduce the heat and cook uncovered until the farro is toothsomely tender and the broth is almost absorbed. This should take 15 - 20 minutes.
  2. Heat a large fry pan over medium heat. Add the olive oil and swirl to coat the pan. Add the onion and cook for 3 minutes or so until it begins to soften.
  3. Add the sausage and mushrooms to the pan and cook for another 3 minutes.
  4. Add the peppers, zucchini and garlic to the pan. Cook everything for about 4 minutes. If the mixture seems a little dry, steal a bit of broth from the farro pan to keep things moving.
  5. Add approximately 2-1/2 cups of the farro and any remaining broth to the fry pan (save the rest of the farro for another meal). Cook over low heat for a few minutes stirring occasionally to bring things together.
  6. Add the herbs and half of the cheese. Stir until the cheese is melted. Serve topped with the rest of the cheese.
Share this Recipe
Powered byWP Ultimate Recipe

Cauliflower Mac and Cheese

Cauliflower Mac and Cheese
Print Recipe
Cauliflower Mac and Cheese
Print Recipe
Ingredients
Servings:
Instructions
  1. Cook pasta "al dente" in a large pot of lightly salted boiling water. When the pasta is almost done, add the cauliflower and cook for 2 minutes or so. Drain and place in a rectangular baking dish that has been lightly coated with non-stick spray.
  2. Slice the tomatoes in half and place on a broiler pan that is lightly coated with cooking spray. Spray the tomatoes lightly with more cooking spray. Broil until the tomatoes begin to break down and are lightly browned. Add to the pasta and cauliflower.
  3. Heat a large saucepan over medium heat. Add the bacon and cook stirring occasionally until the bacon is browned. Remove the bacon from the pan and drain on paper towels before adding to the casserole dish.
  4. Remove all but a scant tablespoon of the bacon drippings from the pan. Add the first tablespoon of butter. When it melts, add the red onion. Cook for several minutes until the onion begins to soften.
  5. Add the flour and stir to coat the onions. Continue to cook and stir for 2-3 minutes. Do not let the mixture brown.
  6. Add 1/2 cup of the milk and stir to create a smooth paste. Slowly add the rest of the milk, stirring constantly to keep things smooth. Conttinue to cook and stir until the mixture is thickened, 5 minutes or so.
  7. Add the mustard, pepper sauce and Worcestershire sauce to the pan and stir to mix. Remove from heat and add the cheese. Stir until the cheese is melted. Pour over the mixture in the baking dish.
  8. Melt the second tablespoon of butter in a small pan. Add the Panko, garlic powder, and paprika to the pan and toss until the crumbs are evenly coated. Sprinkle on top of the casserole.
  9. Cover with foil and bake in a pre-heated 375 degree oven for 25 minutes or so (it should be bubbly around the edges). Remove the foil and return to the oven for 10 minutes more. The crumbs should be golden brown.
  10. Remove from the oven and allow to rest for 5 minutes or so before serving.
Share this Recipe
Powered byWP Ultimate Recipe

Stuffed Peppers

Stuffed Peppers
Print Recipe
Servings
4
Servings
4
Stuffed Peppers
Print Recipe
Servings
4
Servings
4
Ingredients
Servings:
Instructions
  1. Heat the 1-3/4 cups of vegetable stock to boiling in a small sauce pan. Add the rice and stir. Return to boil and cover. Reduce heat and simmer for 35 - 45 minutes. Stock should be absorbed and rice should be fairly tender. Cool slightly and place in a large bowl.
  2. Quarter the zucchini lengthwise and slice thinly. Coarsely chop onion and mushrooms. Set aside with the minced garlic.
  3. Heat a medium fry pan and add the olive oil. Swirl to cover the bottom of the pan. Add the onion and cook and stir for about 3 minutes. Add the mushrooms and cook and stir for 2 minutes more.
  4. Add the zucchini and garlic to the pan and cook for 4 minutes or so. The vegetables should be slightly soft and just beginning to brown. Remove from the heat and add to the rice in the bowl.
  5. Slice the tomatoes into small pieces and add to the bowl.
  6. Roughly chop or crumble the meatloaf and add to the bowl. If you are using another protein, chop it into small bite-sized pieces. Add to the bowl. Stir the ingredients to mix. Add the 1/2 cup of stock and stir once more. Cover and refrigerate for at least 1 hour.
  7. Slice the peppers in half lengthwise. Remove the seeds and white membranes. Spray a medium casserole with non-stick spray. Place the pepper halves in the pan cut side up. Preheat the oven to 375 degrees.
  8. Divide the mixture between the 4 pepper halves, packing lightly. Spoon approximately 1 tablespoon of the marinara on top of each filled pepper. Cover tightly with foil and place in the oven. Bake for 35 minutes.
  9. Remove the pan from the oven and remove the foil. Add another tablespoon or so of the marinara to each pepper and sprinkle with the cheese. Spoon any remaining marinara into the pan to coat the bottom,
  10. Return the pan to the oven uncovered and bake for 10 - 15 minutes until the cheese is melted and the peppers are a little brown. Serve.
Share this Recipe
Powered byWP Ultimate Recipe