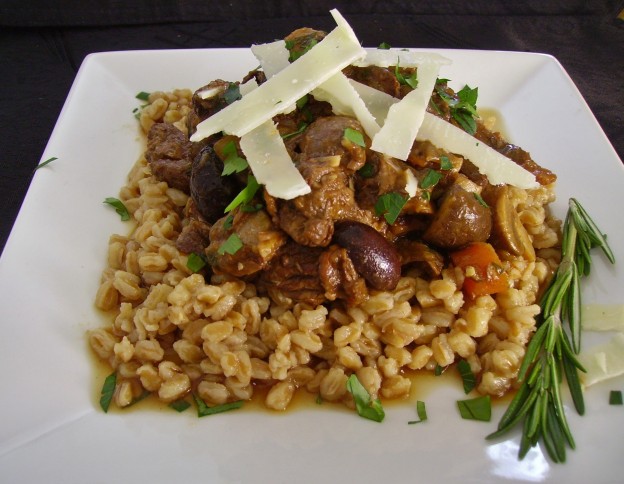
Beef Stew warms the heart and fills the stomach. It’s a comfort food that that can even be romantic when shared with the one you love. This takes a bit of time, but it is worth every minute and step.
Italian Beef Stew
Print Recipe
An Italian-ized version of classic Beef Stew. Make it your own with wine, vegetable, and aromatics choices.
Servings
8
Servings
8
Italian Beef Stew
Print Recipe
An Italian-ized version of classic Beef Stew. Make it your own with wine, vegetable, and aromatics choices.
Before you begin cooking, put your cooking vessel in the oven. Adjust the rack so that the covered pot will fit and slide in and out easily. Preheat the oven to 325 degrees.
Heat a 5 -6 quart dutch oven. Add the bacon pieces and cook until the bacon is brown, but not crisp. Remove the bacon and drain on paper towels. Leave the drippings in the pan and add 1 tablespoon of the olive oil.
Cut the meat in 1-1/2 inch to 2 inch pieces. Dry on paper towels for at least 10 minutes (this helps the meat brown). Season the meat with salt and pepper just before browning.
Brown the meat in batches turning to brown all sides. Put the browned meat into a bowl. If the pot is becoming dry, add additional olive oil. Set the bowl of browned meat aside.
Add the chopped onions, garlic, and carrots to the pot and begin to cook over medium low heat. Add the bay leaf, rosemary, fennel seeds, red pepper flakes, lemon zest and tomato paste. Cook, stirring often for 3 or 4 minutes. Return the bacon to the pot.
Add the cup of red wine and stir to loosen the browned bits and de-glaze the pan. Continue to cook for a few minutes until things are smelling beautiful. Add the beef stock and water, (and a little more wine if you want). Bring the mixture to a boil.
Add the beef and any accumulated juices to the pot. Cook until the mixture returns to a simmer. Once it is gently simmering, cover it and place in the oven. Cook covered for one hour.
Remove the pot from the oven and add the onion wedges and sliced garlic. Mix gently, cover and return to the oven for another 30 minutes.
Remove the pan from the oven and add the mushrooms. Stir to gently combine. Cover and return to the oven.
Check the meat after 45 minutes or so. The meat should be fork tender, but not falling apart. When the meat is perfect, remove the pot from the oven.
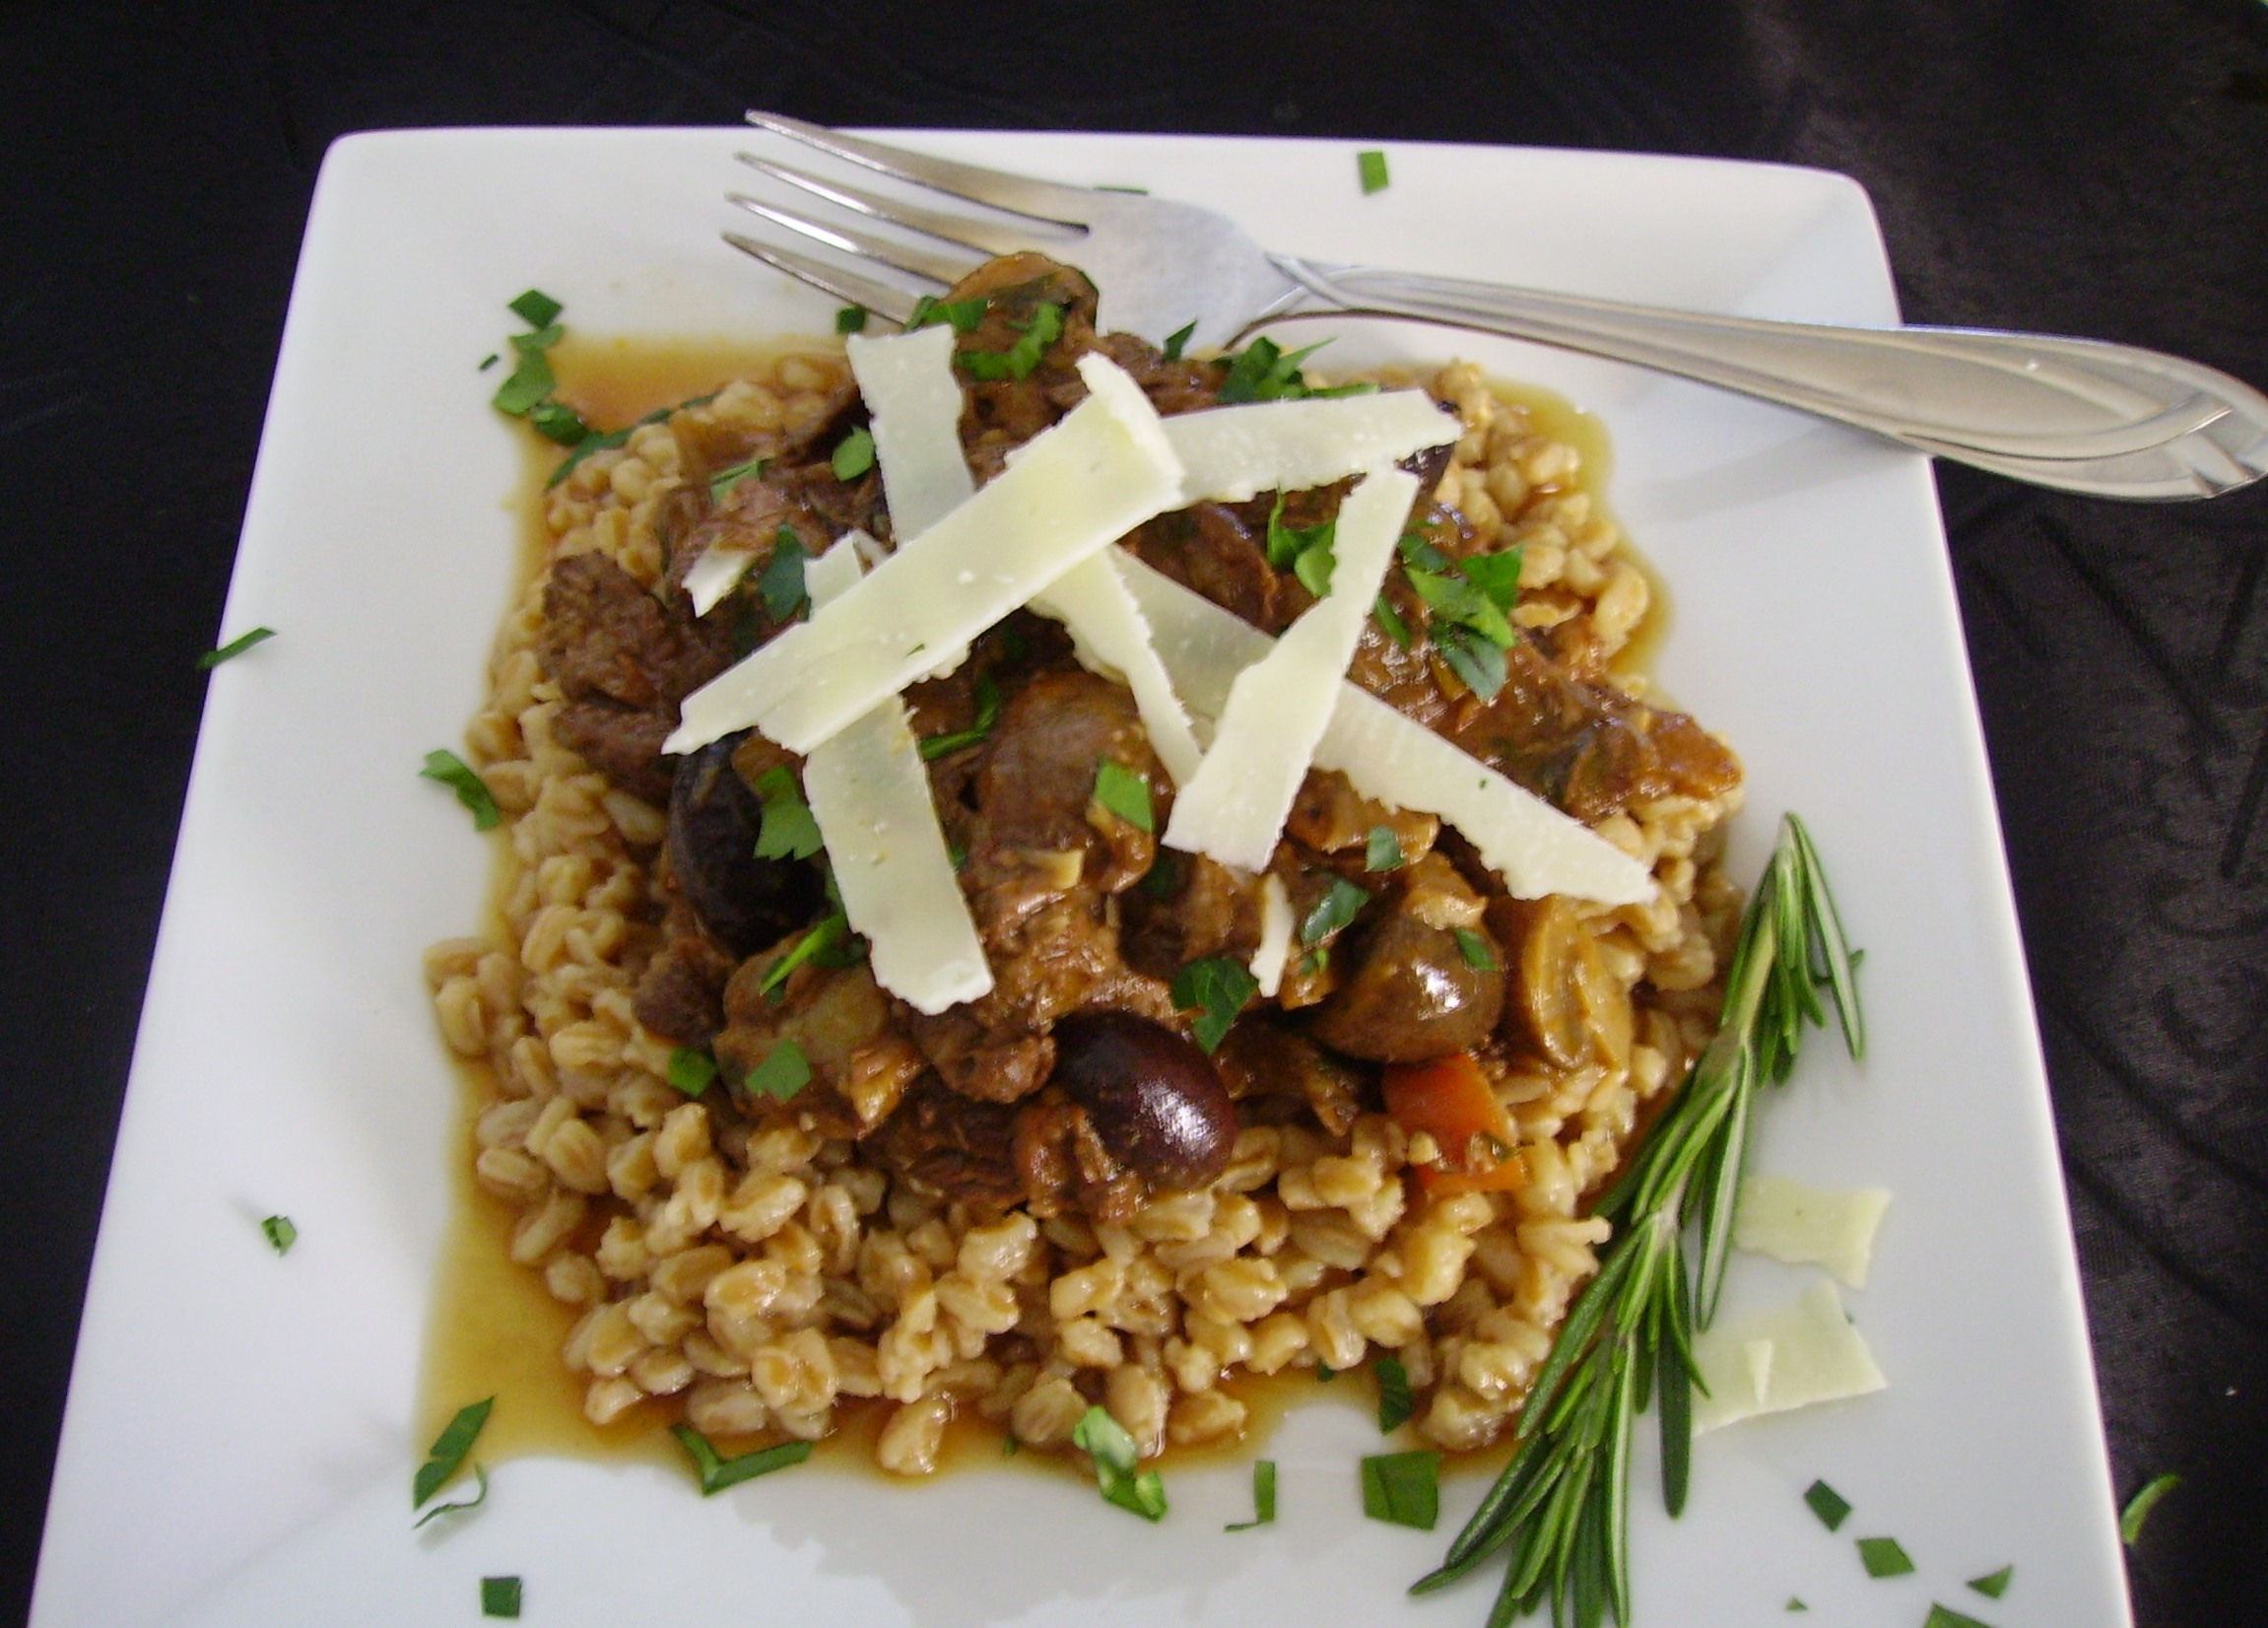
Add the lemon juice and olives. Stir to incorporate. Taste the sauce and add salt and pepper to taste. Transfer to a serving bowl or ladle into individual dishes. Sprinkle with the parsley.
This can be served as is with crusty bread or on top of your starch of choice; pasta, polenta, farro, etc.
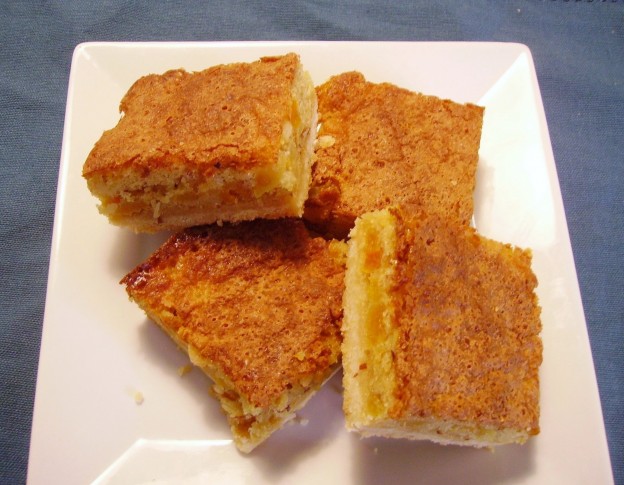
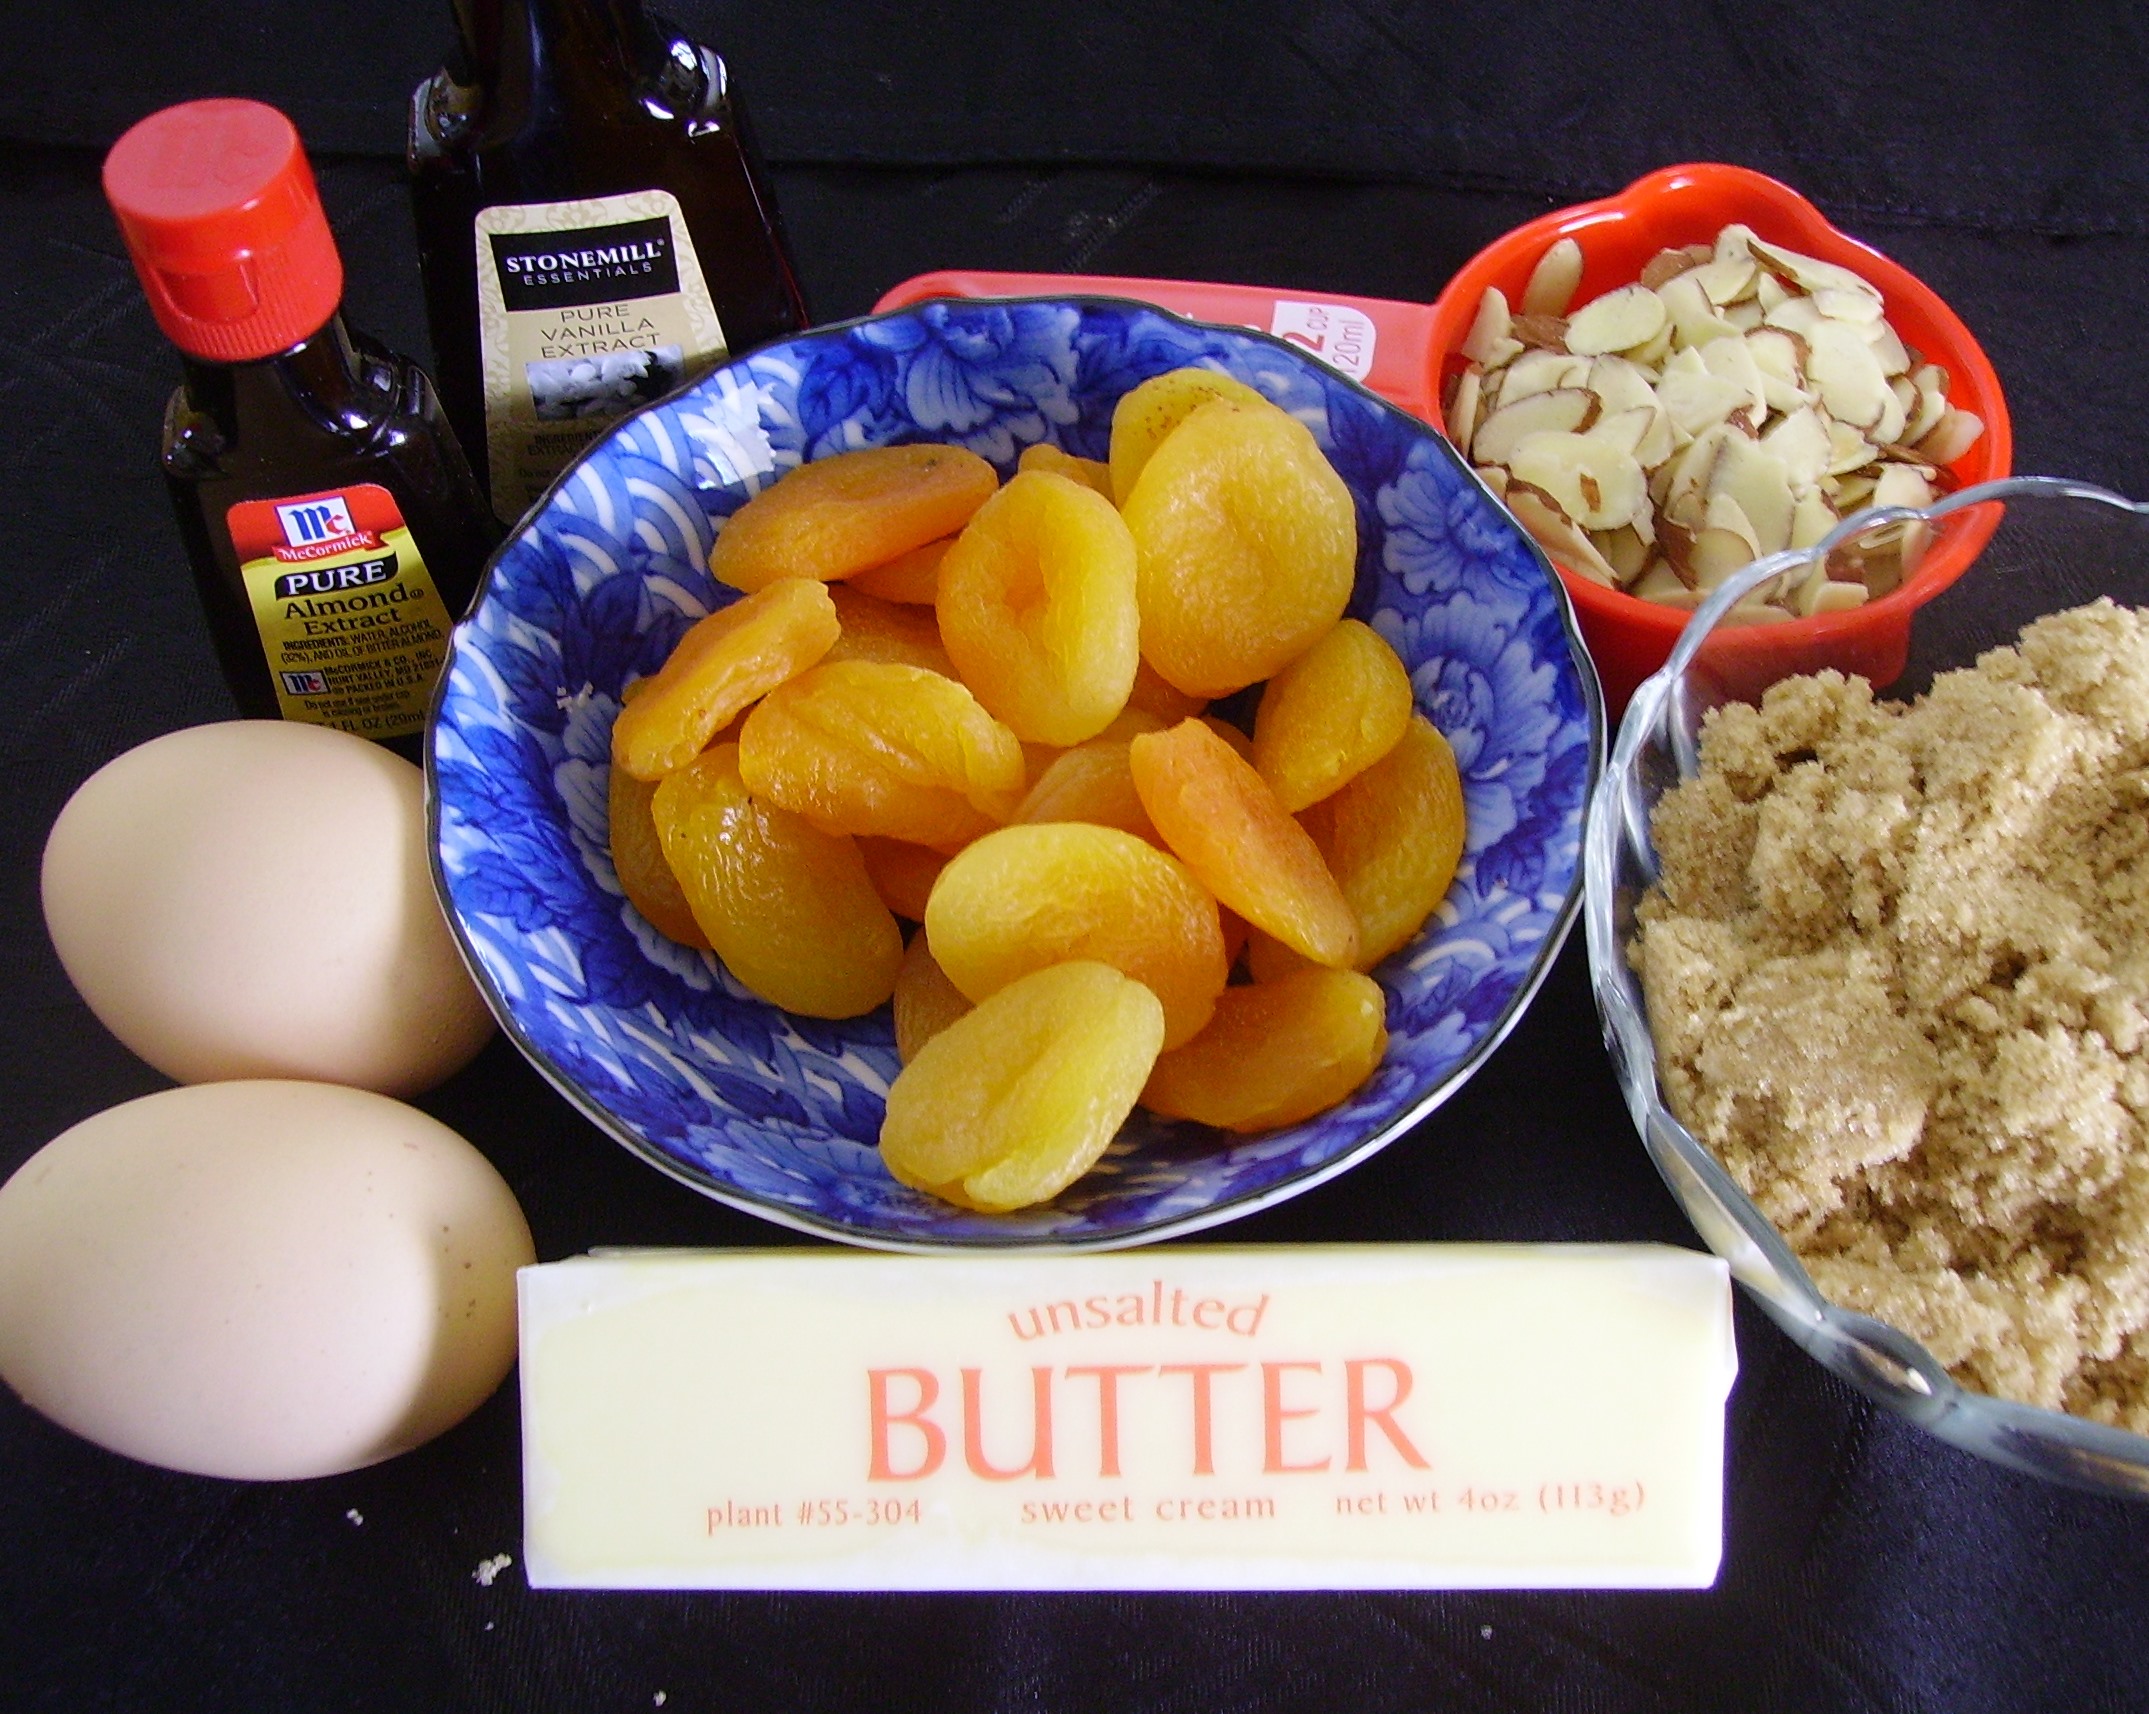
For a tasty fruit dessert any time of the year, combine dried apricots and almonds with light brown sugar and eggs. Bake it atop a sweet pastry crust and cut it into bars as big as you dare. This is so easy and so incredibly good, that it will become your go to all occasion cookie bar.
Combine the apricot pieces and water in small pan. Simmer covered for ten minutes until plumped and tender. Drain and set aside.
Preheat oven to 350 degrees. Butter a 9 X 9 baking pan. Combine sugar and butter until blended. Gradually add one cup of the flour stirring until a soft crumbly dough forms. Press the dough evenly into the bottom of the pan. Bake 25 minutes or until light golden. Remove from oven.
Mix the remaining flour, salt, and baking powder in a small bowl. In a medium bowl, beat the eggs and brown sugar until they are thick and light colored. Stir in the extracts, blending well. Slowly add the flour mixture. Add the almonds and apricots, blending well.
Pour the mixture onto the baked crust. Smooth evenly with a spatula. Return the pan to the oven and bake for approximately 30 minutes more. Top should be deep golden brown and feel springy.
Cool completely on wire rack. Cut into 16 squares.
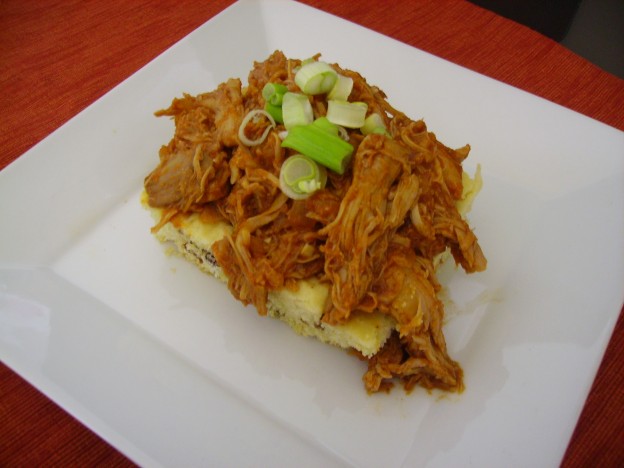
This is a delicious way to use the Pulled Chicken recipe that I shared in my last post. The homemade fries are actually not fried. They are baked in the oven on a rack to help them turn out as crisp as their fried brothers. Season the potatoes as you like them. Cajun or Blackening seasonings would be good, but use what you love.
I chose toppings that are a little reminiscent of a loaded baked potato, but other possibilities are limitless. You could even use the cheese curds that the original recipe from Quebec uses. Topping French Fries with anything makes them even better. This makes a great supper for two. Add a salad or a nice vinegar based coleslaw.
Wash the potatoes well and dry them off. Do not peel unless that's what you really like. Slice into french fry shapes. Aim for fries that are about 3/4 inch diameter and if your potatoes are longer than wider they will look prettier.
Preheat the oven to 425 degrees. Soak the potatoes in very cold water for 30 minutes or so. This gets rid of a little of the starch. Drain and DRY VERY WELL.
Put the potatoes in a large bowl. Add the olive oil and toss to coat evenly. Add the potato seasonings you have chosen and toss again.
Line a large baking sheet with foil. Place a size compatible wire rack on the baking sheet. Spray lightly with olive oil non-stick spray. Place the potatoes on the rack making sure they are not touching.
Bake in oven for 20 - 25 minutes. Turn the potatoes halfway through the baking.The potatoes should be golden brown and lightly crisp. Remove from oven and divide between two plates.
While the potatoes are baking, heat the Pulled Chicken on the stove or in the microwave. Have all of your toppings ready.
Top the potatoes with the Pulled Chicken and the toppings of your choice and serve.
A chicken version of the pork classic. It cooks in a Slow Cooker in five hours or less. resulting in a beautiful mound of succulent chicken that is perfect in a sandwich, a quesadilla, even all by itself. Make it as spicy as you’d like it by adding any chili powder or spice that tickles your fancy.
For a change of pace, try Mama D’s Poutine recipe below. It’s Carolina meets Canada in a really tasty way.
Trim chicken thighs of as much visible fat as possible. Layer in a 5 - 6 quart Slow Cooker coated lightly with non-stick cooking spray, placing the onions and garlic in between the layers.
Mix the remaining ingredients together in a small bowl until well combined. Pour over the chicken, onion, and garlic. Move things around so that the chicken is evenly covered with the sauce.
Cook on the low heat setting for 4 - 5 hours. The chicken should be very tender and just starting to fall apart. Remove the chicken to a heat resistant cutting board. Allow to cool for 10 minutes.
Using two forks, shred the chicken into uniform pieces. Return the chicken and any accumulated juice to the slow cooker. Raise heat to high and tilt the cover slightly. Cook an additional 20 - 30 minutes,until the sauce has thicken slightly and everything is hot.
Serve the Pulled Chicken in sandwiches, tacos, or quesadillas. It's also great sitting atop rice, pasta or corn bread. You can even eat it all by itself.
Mama D's Poutine: Top oven baked french fries with Pulled Chicken. Garnish with any or all of the following: Shredded cheddar cheese, blue cheese crumbles, bacon bits, sliced green onions, ranch dressing.
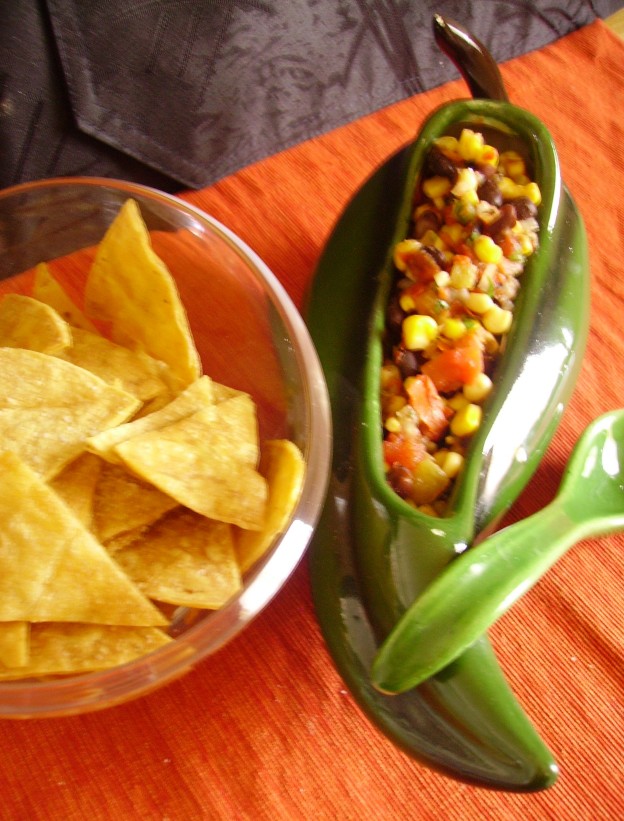
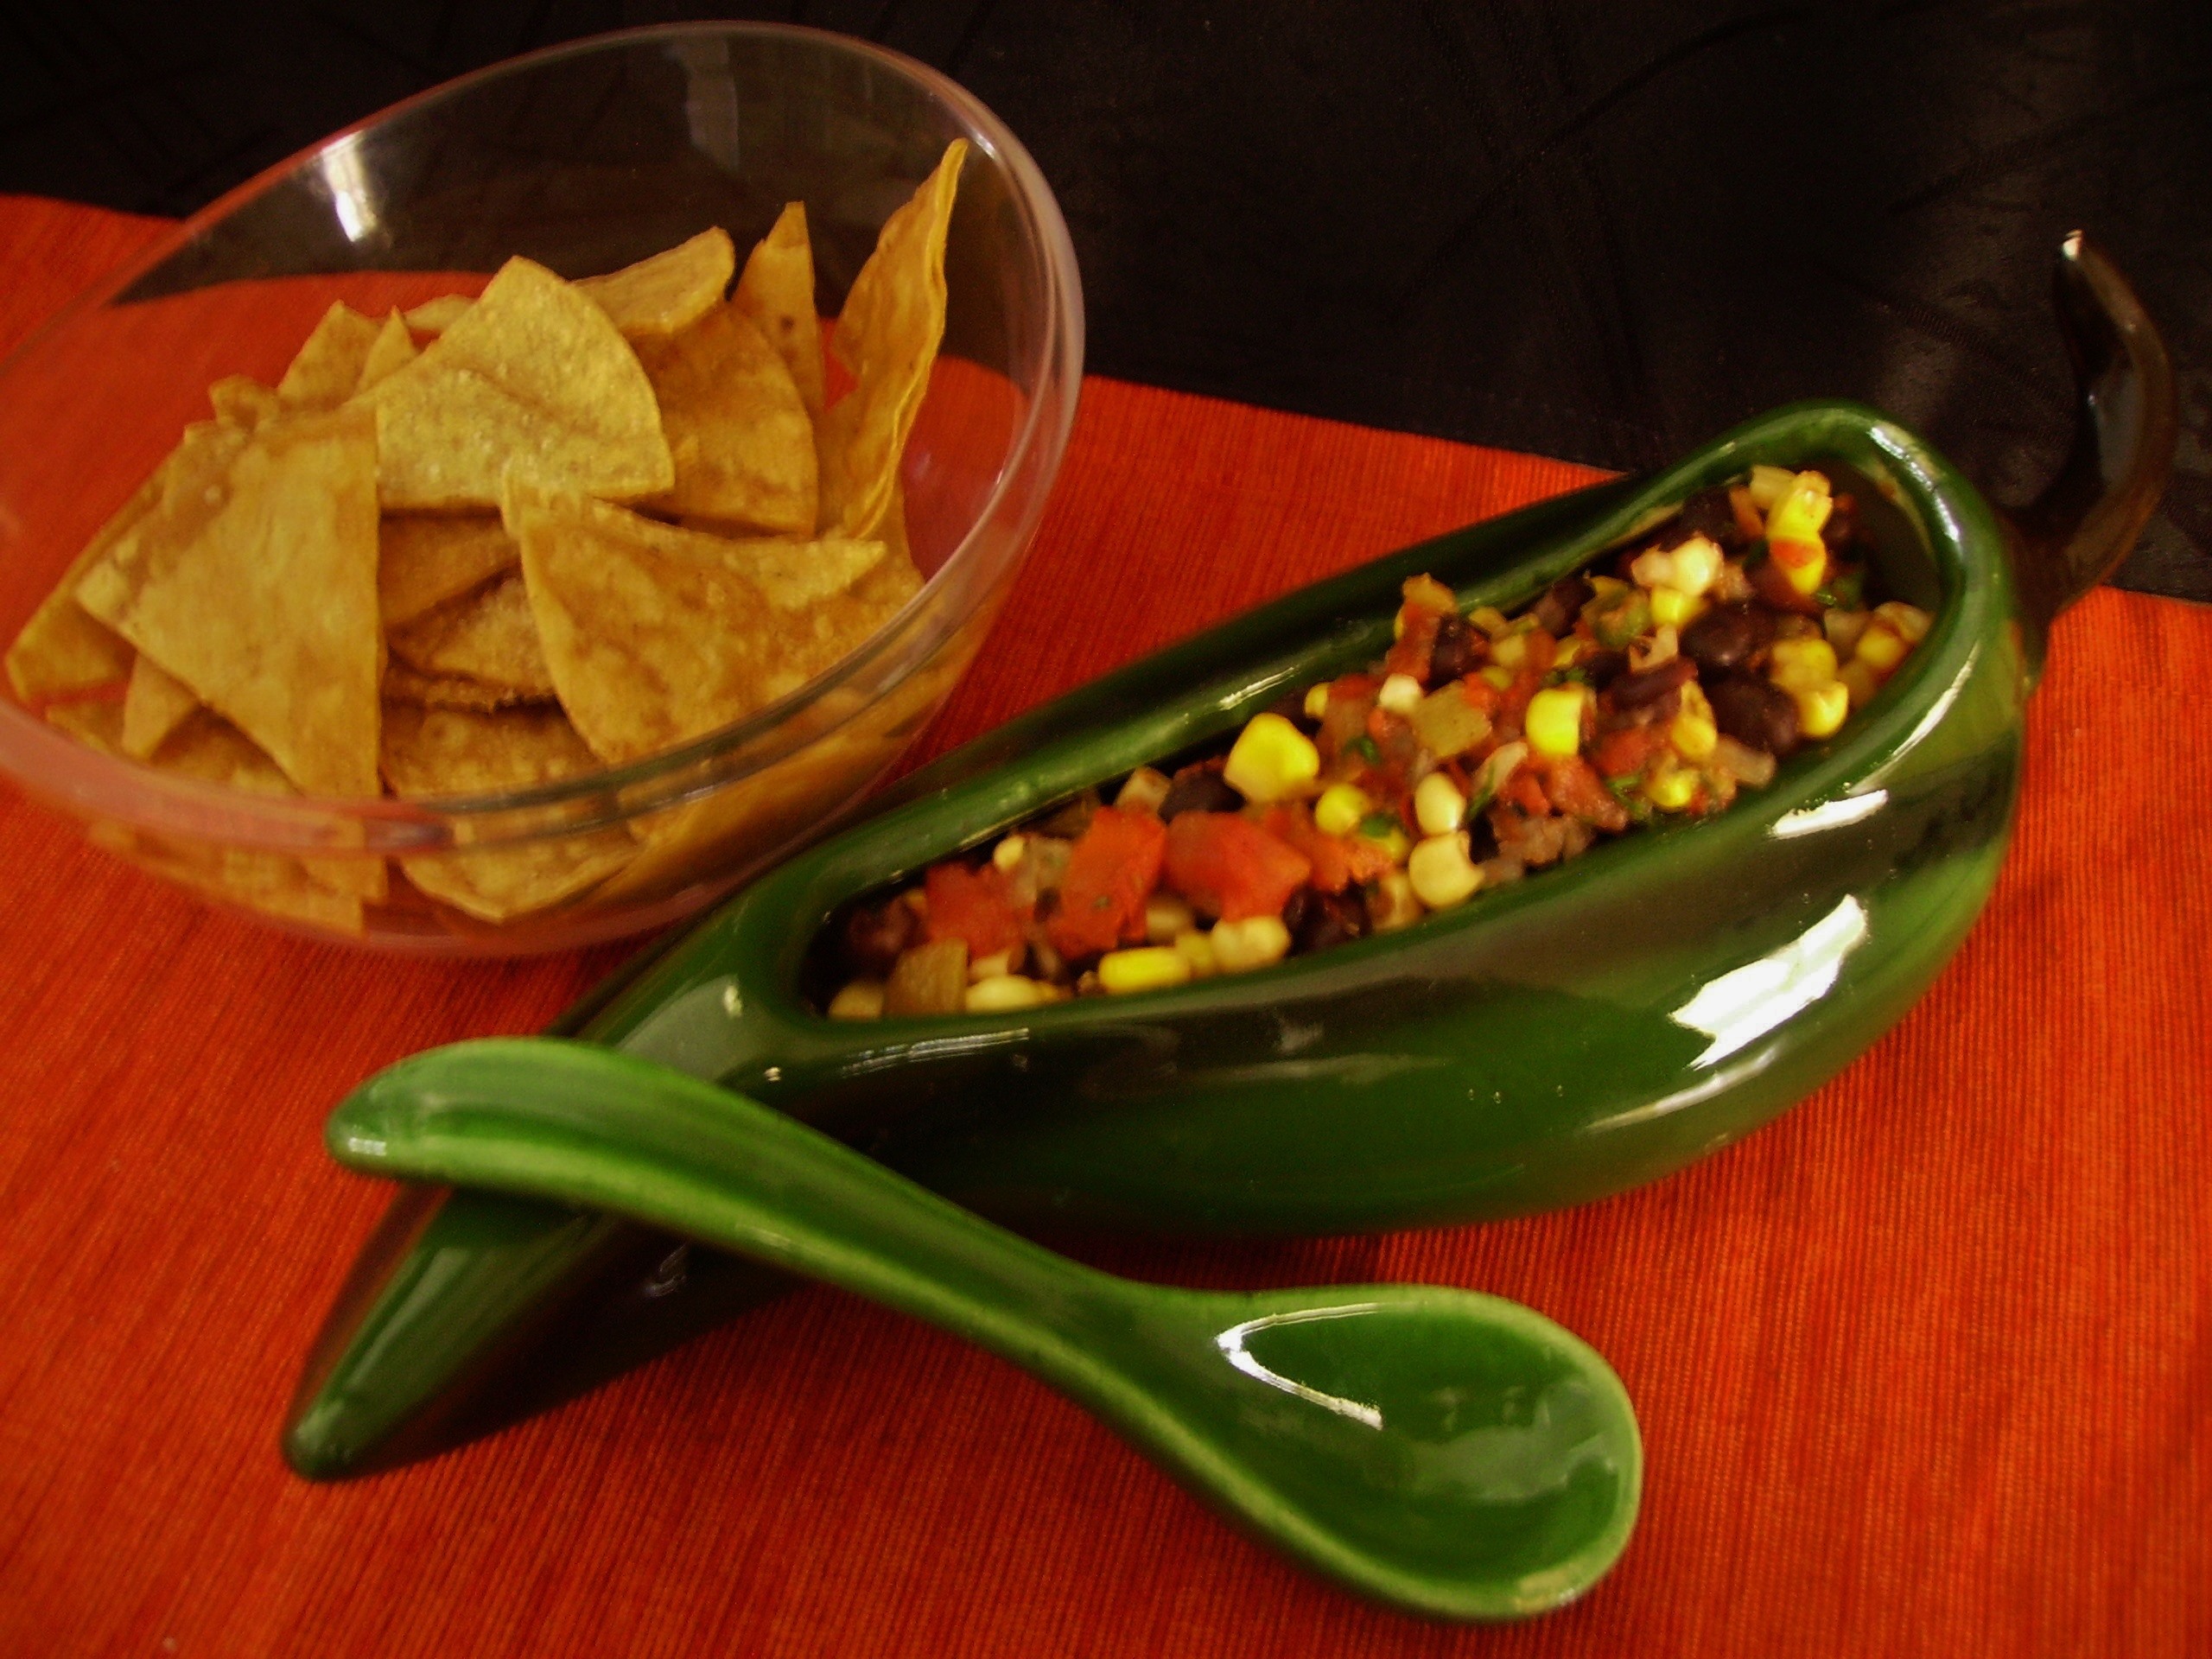
Salsa is an easy and inexpensive appetizer. There are lots of varieties and it never hurts to have a few choices in you recipe arsenal. I used canned fire roasted tomatoes in this recipe because it’s winter and they actually have more flavor than what you would probably get in the store.
Winter Black Bean and Corn Salsa
Print Recipe
This salsa uses canned tomatoes and corn, Great during the winter when fresh veggies are at their low point. Use the recipe any time of year since you'll probably have most of the ingredients in your pantry
Servings
3Cups
Servings
3Cups
Winter Black Bean and Corn Salsa
Print Recipe
This salsa uses canned tomatoes and corn, Great during the winter when fresh veggies are at their low point. Use the recipe any time of year since you'll probably have most of the ingredients in your pantry
 Beef Stew warms the heart and fills the stomach. It’s a comfort food that that can even be romantic when shared with the one you love. This takes a bit of time, but it is worth every minute and step.