Italian Tomato Soup, Literally

I used to come home for lunch when I was in grade school. I couldn’t wait to get in the door and discover what my mom had made for lunch. Sometimes it was a sandwich, but most of the time it was something hot and that hot item was often soup. Tomato was one of my favorites. My mother always used Campbell’s, but made it her own by adding milk instead of water. It changed the color from rose to salmon and it tasted wonderful. Every once in a while she’d stir in some leftover rice and the bowl of goodness became even more comforting. Back then the Grilled Cheese Sandwich of choice was made with Velveeta. Steaming hot tomato soup and a gooey grilled “cheese” sandwich made coming home for lunch extra special. (Disclaimer: Remember, this was the 1950’s. The world of convenience food was in its prime and my mother being a modern, forward thinking woman, embraced it.)

That was then and this is now, as the saying goes. I now know that making  homemade tomato soup is super easy. It just takes tomatoes. either fresh or canned and whatever ingredients you happen to have on hand to sweeten the deal. The time for fresh tomatoes has passed, so this soup started with a large can of tomatoes. These weren’t your basic tomatoes, no sir. These were the veritable Cadillac of tomatoes. These were San Marzano.

2015-08-16-1439737857-6365608-sanmarzano1These heirloom tomatoes originated in a town near Naples were they grew in the rich volcanic soil  surrounding Mount Vesuvius. To be authentic they have to grow in that area. This easily makes a can of them twice the price of the domestic variety, but it is so worth it. The San Marzano is sweet and rich and has low acidity. All of these factors make it a perfect choice for soup.

IMG_0665
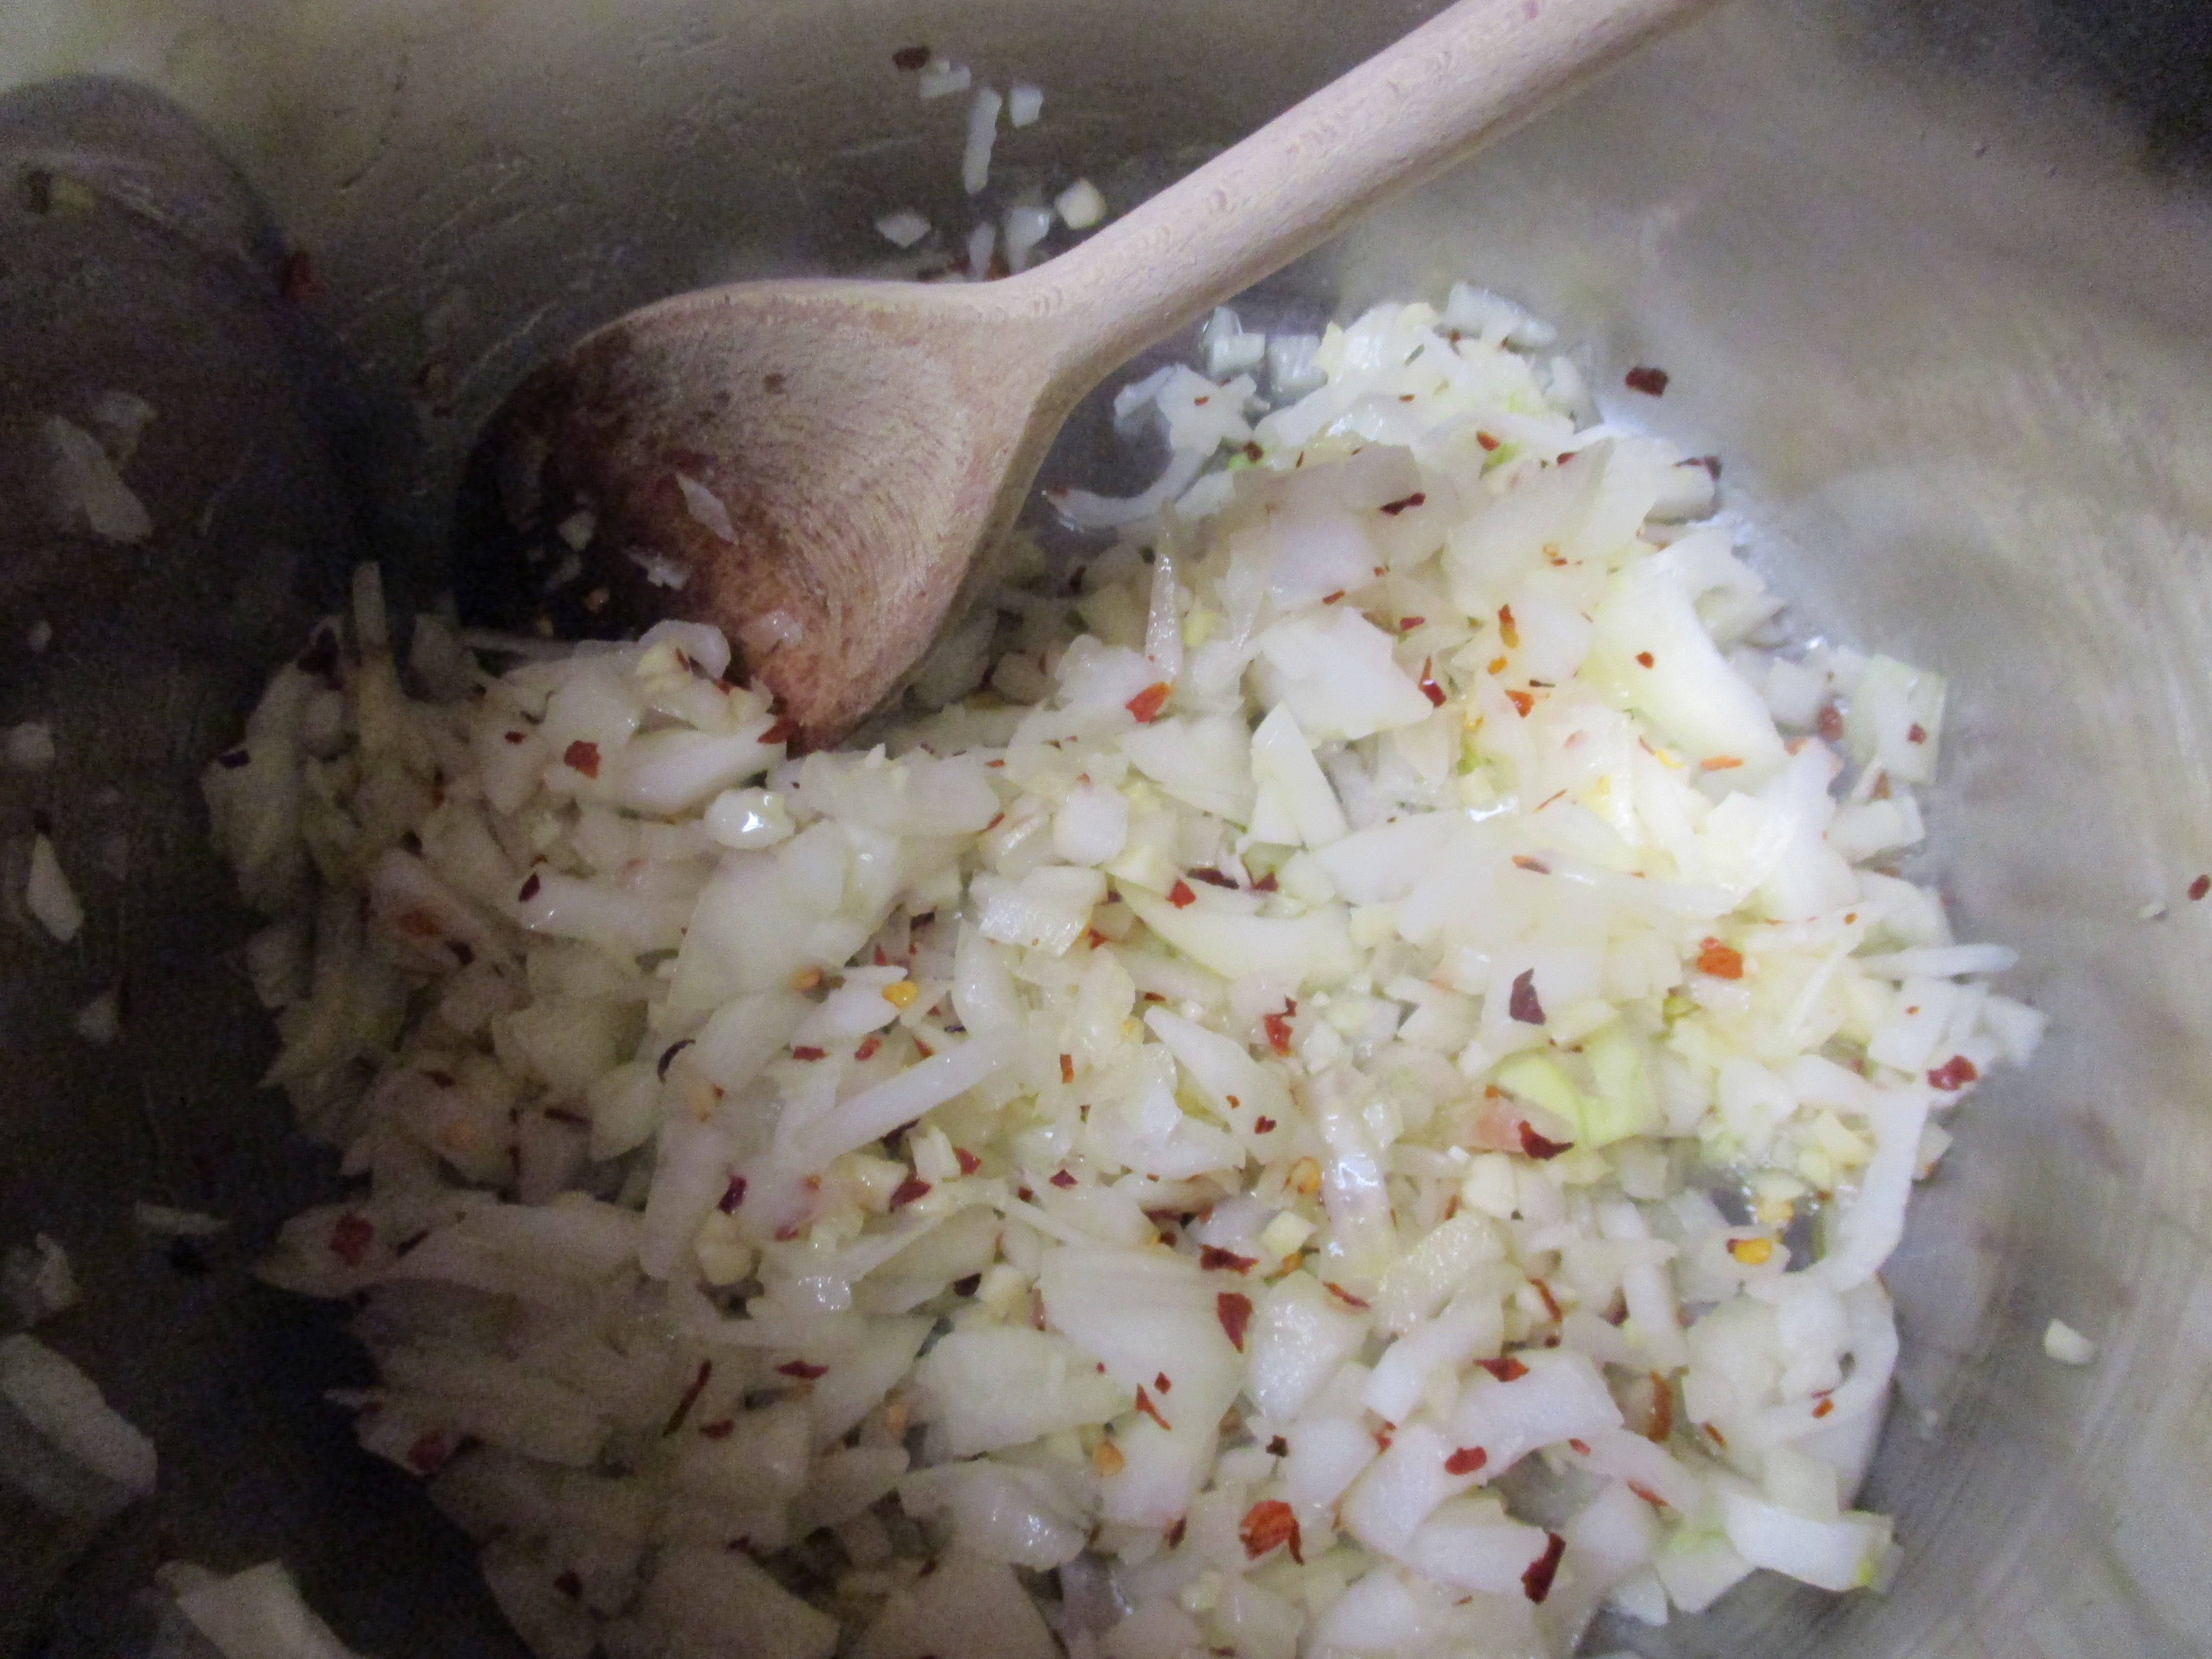
Mama D’s Trinity (onions, garlic, and olive oil) was the foundation. The trio became a quartet when I added a good dose of Red Pepper Flakes.IMG_0668 
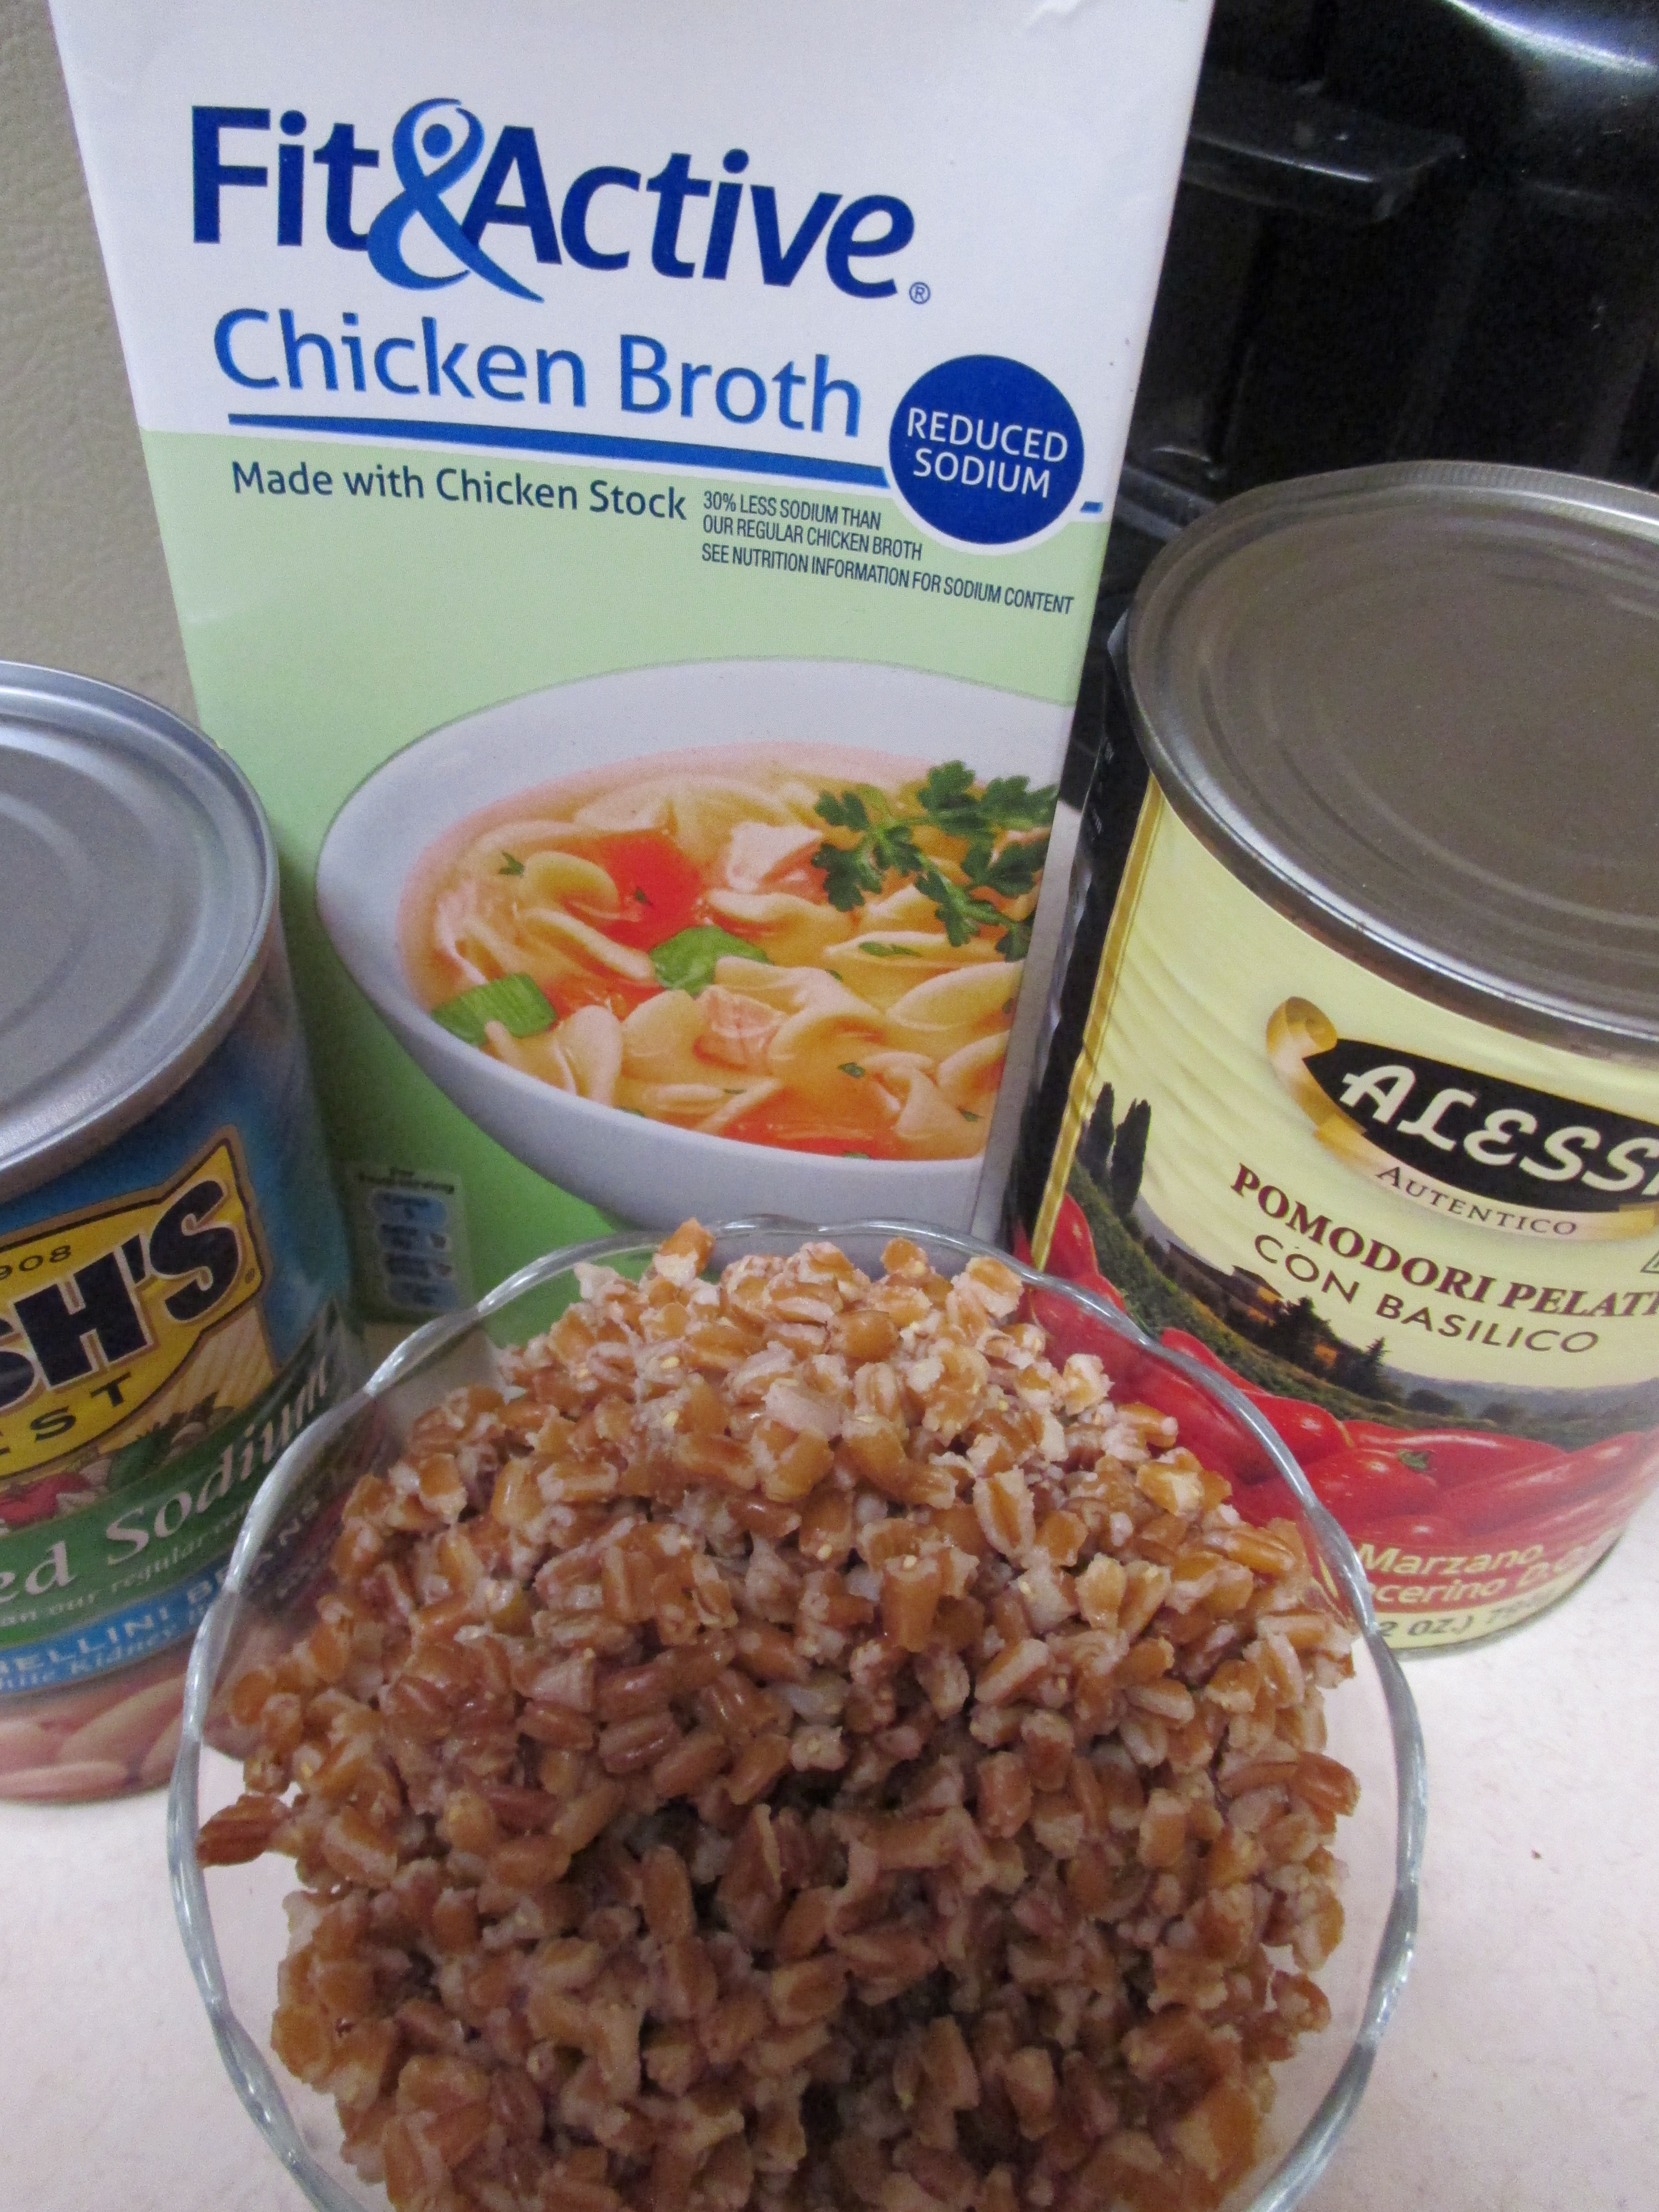
Besides the tomatoes I decided to continue the Italian theme by adding some Toasted Farro and Cannellini Beans. Both of these have made appearances here before. Farro actually comes from Italy and the beans’ ancestors came over on the boat, too.

IMG_0779
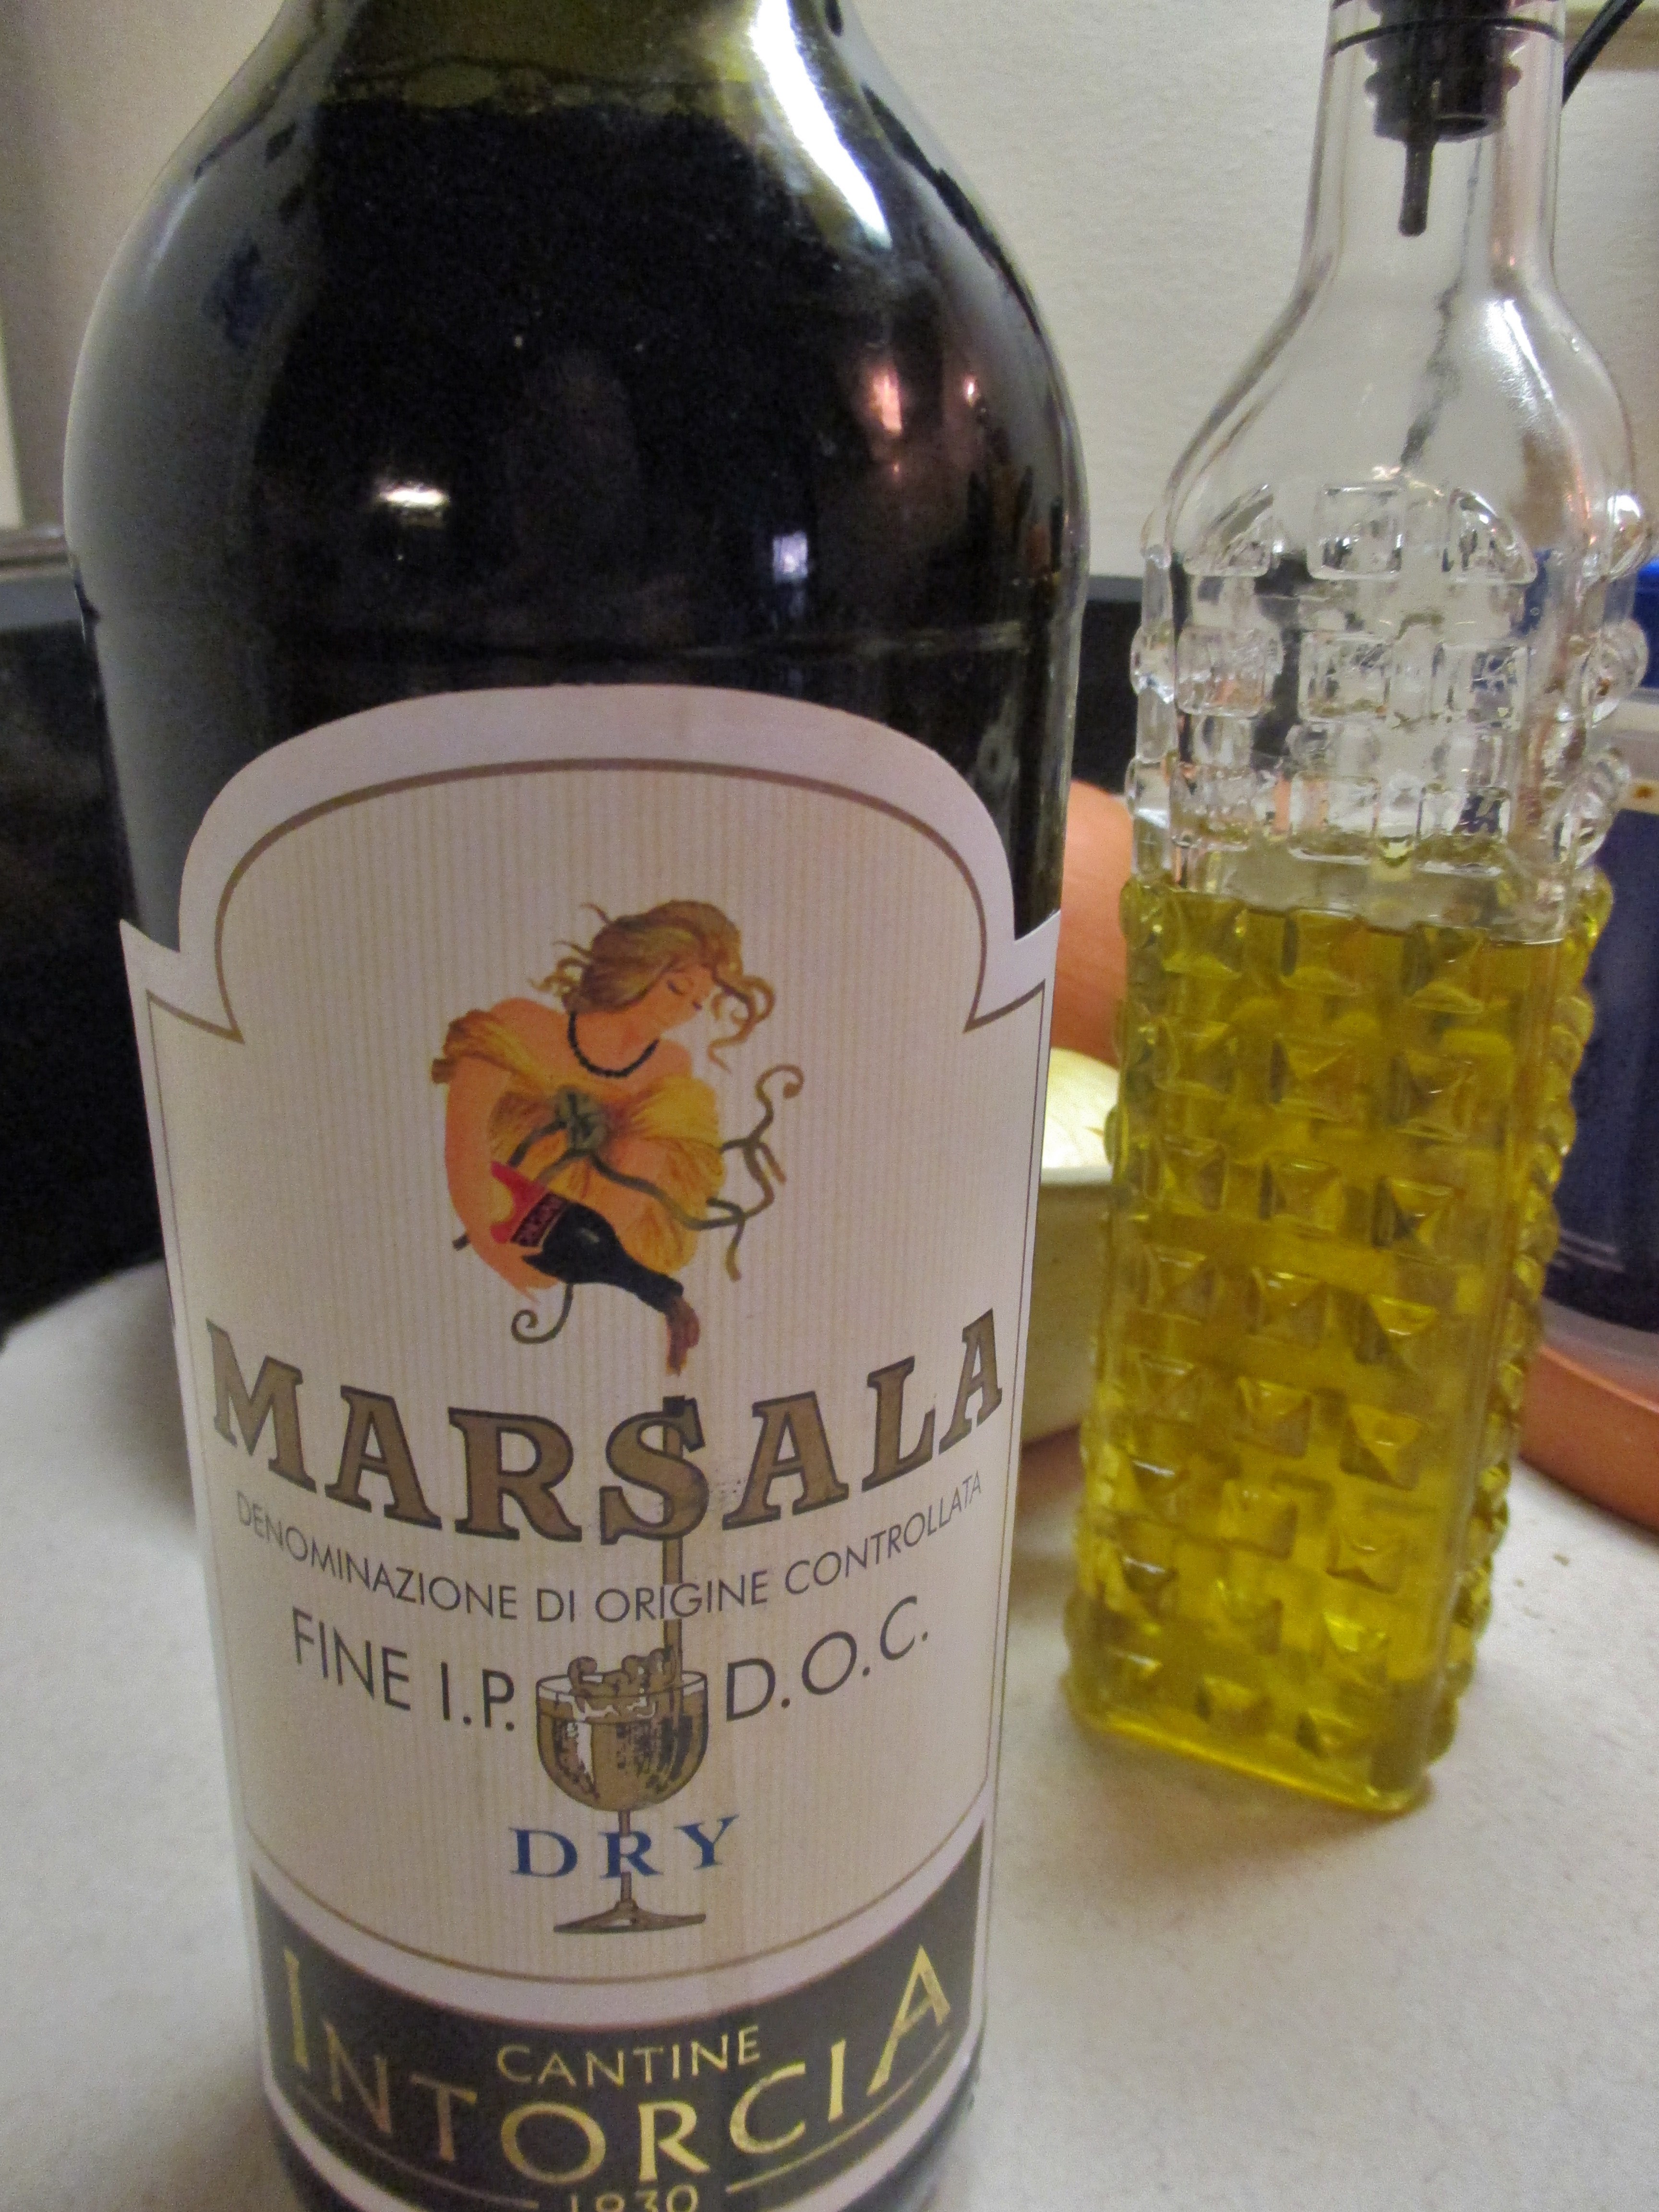
The Trinity sweat with the pepper flakes before the tomatoes went into the pot along with some Chicken Broth. I would have used Vegetable stock, but I didn’t have it on hand. Either one will do the trick. I decided to keep the Italian vibe going and added a bit of Marsala Wine, I let this all simmer together for twenty minutes or so before I took a potato masher to it. This gave it a rustic chunky texture that I found quite enjoyable, but you could use an immersion blender if you want your soup base to be silky smooth.

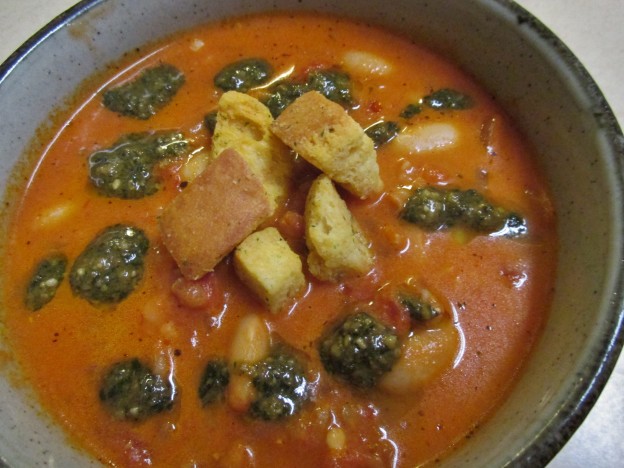
The cooked farro and the drained beans went in next along with some generous grinds of my McCormick Italian Herb Blend. I let things bubble away a bit more before, in a nod to my Mom, I added some half and half.  The soup was delightful. Just rich enough to be satisfying, but light enough to be guilt free.IMG_0676
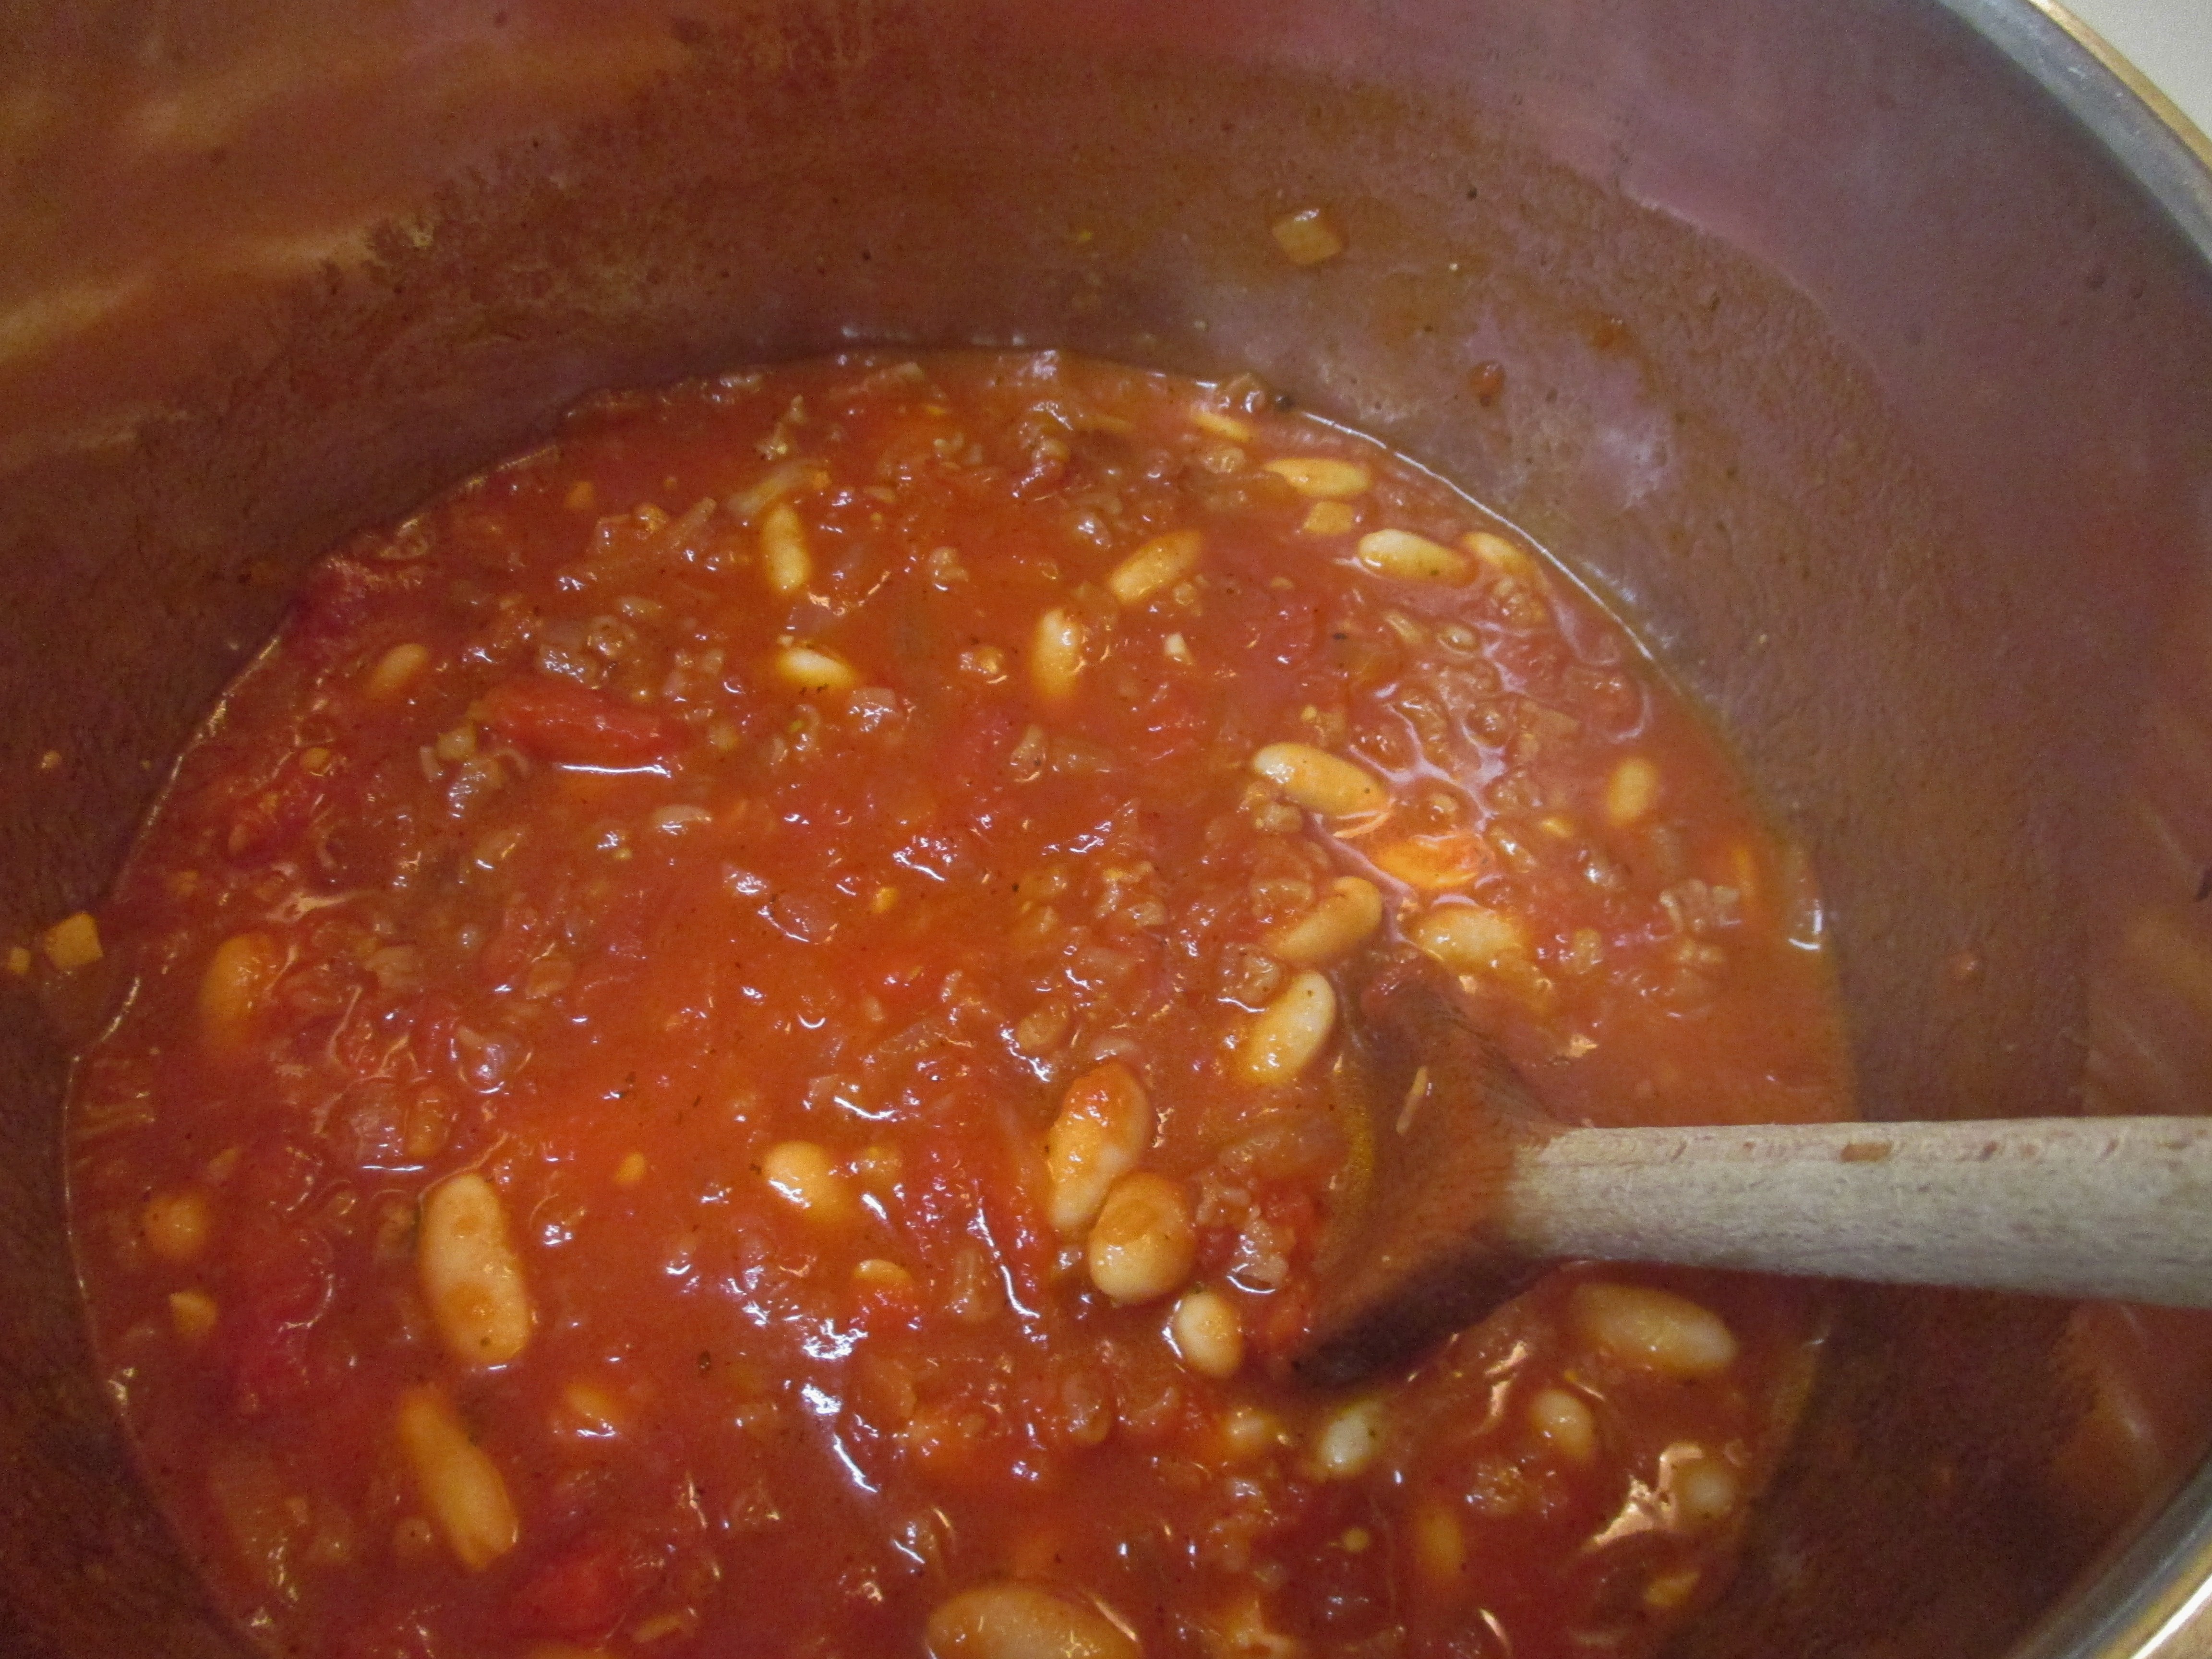
What’s tomato Soup without Grilled Cheese? Incomplete. My version was more cheese toast than sandwich and featured shredded Asiago.IMG_0673 If I’d had a baguette on hand, I would have definitely used it, but I didn’t so some Italian Bread stepped in. Use whatever cheese you love or have on hand. Just goes to show that anything that works for you, works.IMG_0686

Italian Tomato Soup with Farro and Cannellini Beans
Print Recipe
Servings
4
Servings
4
Italian Tomato Soup with Farro and Cannellini Beans
Print Recipe
Servings
4
Servings
4
Ingredients
Servings:
Instructions
Farro
  1. Toast the farro: Rinse 1/2 cup farro and allow to dry. Place the farro in a dry fry pan. Turn heat on stove to medium and toast the farro, stirring frequently until it is golden and fragrantly nutty, 10 -15 minutes
  2. Bring 2 cups of water (or broth) to a boil. Stir in the toasted farro and return to a boil. Reduce heat and simmer until most of the liquid is absorbed, 30 minutes or so. The farro should be chewy but tender. Drain any remaining liquid and set aside.
Soup
  1. Heat a soup pot over medium high heat. Add the olive oil. Once the oil is hot, add the onion, garlic and red pepper flakes. Stir to coat with the oil and cook for 5 minutes or so until the onion begins to soften.
  2. Stir in the stock, tomatoes, Italian Seasoning, and Marsala. Bring up to a boil and reduce the heat to simmer. Simmer for 20 - 30 minutes. Use a potato masher to create a chunky soup. Hit it with the immersion blender if you want it smooth.
  3. Stir in the farro and beans. Simmer for a little longer; 15 minutes is about right.
  4. Ladle into soup bowls and garnish with the pesto and croutons if desired.
Share this Recipe
Powered byWP Ultimate Recipe

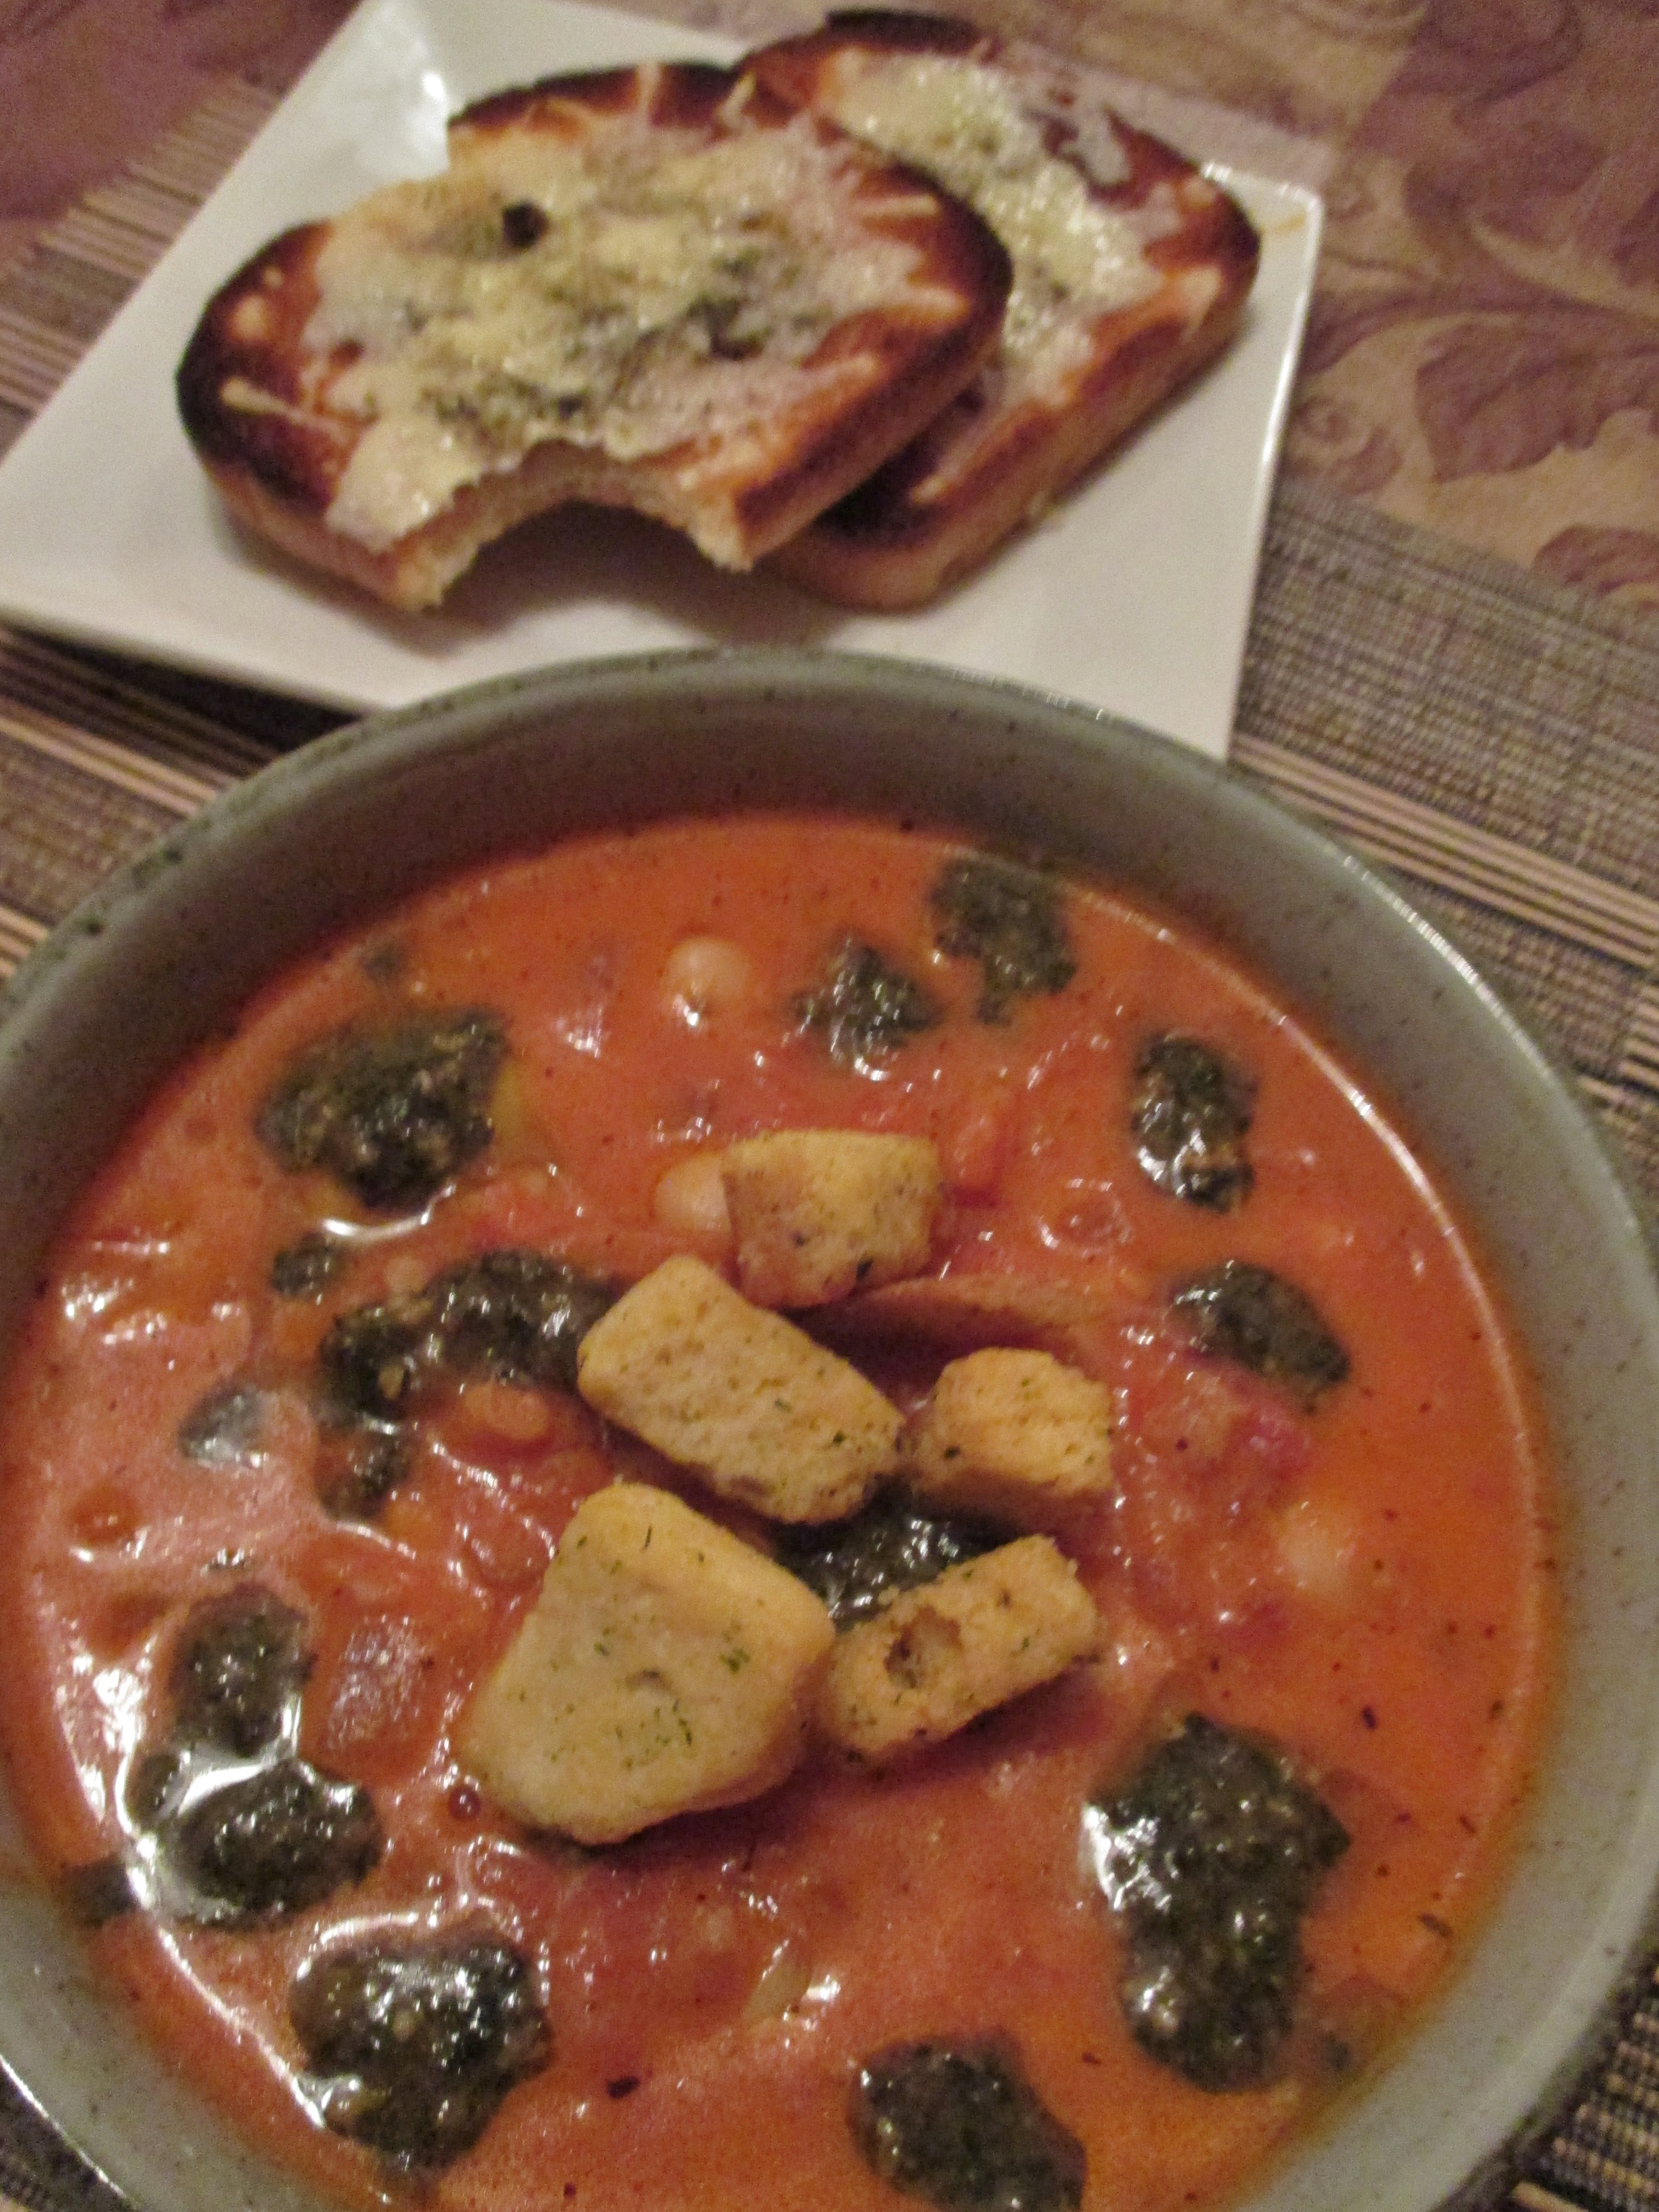
Soup season is upon us and there will be more soup adventures as Fall settles into Winter. There is nothing quite like a bowl of warm comforting soup in the Kitchen of Love.

Lovin’ From the Oven – Smothered Pork Chops

As you probably know, Mama D runs a pretty healthy kitchen. Fresh and light are terms often used in the posts that appear here. Every once in a while though, especially when the weather is getting chilly, she loosens her apron strings and goes for a little more gusto. Smothered Pork Chops from the oven is one such dish. It is a little richer than what I usually prepare, but it is lightened up in a few places as well. It’s the perfect weekend splurge that won’t break the calorie bank.

Pork is probably my favorite meat and pork chops are high on my list of favorite cuts. I wanted to see if I could come up with a different spin on this Southern favorite. I poked around the internet to get some background on this dish. Some called it Creole, some called it Soul Food, but everyone called it a comfort food staple. I kept some of the ingredients and a few of the techniques, but in the end it was a Mama D original.

It starts with thick center cut pork chops. Keep the bone in, the flavor it imparts is amazing. I skipped the dredge and seasoned the chops with Italian Herb Seasoning. I got a small cast iron skillet screaming hot and sprayed it lightly with Olive Oil Cooking Spray.IMG_0647 The chops got a quick sear before they took a seat on a nearby plate. I left all the wonderful bits and drippings in the pan and turned the heat to low before I added a bit of olive oil.IMG_0648 I added onions, leeks, and garlic and let them cook undisturbed for 5 minutes. I added a small pinch of salt and let them cook slowly for another 20 minutes giving them a stir every now and then.

Smothered Pork Chop Gravy can be anything from decadent and creamy to rich and savory. I opted to create a lighter sauce  without short-changing the flavor. The carmelized onion and garlic mixture was the perfect flavor base. A little Wondra Flour went in and cooked for a couple of minutes. Then I gradually added chicken broth and 1% milk and let it bubble into a beautiful thick sauce. I added some thyme sprigs while it was bubbling to give a delightful woodsy scent. Rosemary would also be wonderful as would any combination of woody herbs.IMG_0655

I added the chops back to the pan. The sauce almost covered the chops but I gave them a few turns to make sure every nook and cranny was coated. Some cracked black pepper went on the top before it headed into the oven to become a skillet full of golden love.IMG_0658The gravy was beyond fabulous. I even caught myself eating the leftover golden goodness out of the pan as I cleaned up. Gravy is meant to top something and the pork chops were delighted I chose them.

I rounded out the plate with some Polenta. I happened to have instant in the pantry so that;s what I used. I have to say I prefer the longer cooking variety as it has more texture, but this did fill in nicely. I added some sautéed spinach and garlic to the polenta as it was cooking. It made a wonderful side dish that also enjoyed a bit of gravy love.

IMG_0660

Smothered Pork Chops
Print Recipe
Servings
2
Servings
2
Smothered Pork Chops
Print Recipe
Servings
2
Servings
2
Ingredients
Servings:
Instructions
  1. Heat a small cast iron skillet over high heat. Sprinkle the Italian seasoning on both sides of the pork chops. Spray the skillet with the cooking spray. Add the pork chops and sear 3 minutes on each side. Remove the chops from the pan and set aside.
  2. Reduce the heat to medium and add the olive oil to the skillet. Add the onions, leeks, and garlic to the skillet and cook undisturbed for 5 minutes. Add a pinch of salt and continue to cook slowly for 20 minutes, stirring occasionally until they are golden brown.
  3. Add the flour to the skillet. Cook and stir for 2 minutes. Slowly add the broth and milk stirring to keep everything smooth. Add the thyme sprigs and continue to cook until the gravy begins to thicken, 5 minutes or so.
  4. Return the chops to the pan and turn several times to coat them with the gravy. Top with a generous dose of cracked black pepper. Place the skillet in a preheated 350 degree oven. Bake 20 - 30 minutes until the are cooked. Remove the thyme stems. Allow to cool slightly before plating.
Spinach Polenta
  1. Saute 2 cups of chopped spinach in a little olive oil with a clove or two of minced garlic. Set Aside
  2. Cook 1/2 cup polenta according to the package directions using equal parts of milk and chicken broth. When the polenta is the consistency you like, add the spinach mixture, 1 small pat of butter, and a small handful of Romano cheese. Serve.
Share this Recipe
Powered byWP Ultimate Recipe

Mama D’s Fall Kitchen Adventures

There  is more than just a hint of fall in the air. Cool days and cooler breezes make it abundantly clear that the season has changed here. Not that there’s anything wrong with that. I’m ready for Fall, at least I think I am. I enjoy the cooler days and the leaves changing colors. No longer having to rake them makes the whole process even more enjoyable. While I’m not anxious for Winter, I am ready for this change and the change in my cooking focus that it brings.

I want to share a few quick picks of what’s been happening in Mama D’s Kitchen. Many of these are Non-Recipe Recipes; that is they really are just musings on what’s in season and more importantly what’s in the house. So come join me as we a take a culinary walk back over the last couple of weeks.

I bought some Nan bread (the garlic variety) to go with a curry dish. The curry wound up being paired with some Brown Basmati Rice and the Nan was left to fend for itself. In case you’ve never thought of it, Nan makes a great quick pizza crust. It’s the perfect shape and size for personal pizza and works in the oven or on the grill.

I opted for a version of White Pizza using some of my Homemade Ricotta (thanks, Ina Garten) and Pesto. I mixed the two together to create the “sauce” I drizzled the Nan with some olive oil and toasted it in the oven briefly before adding said sauce. The toppings were Italian Sausage and Mini Heirloom Tomatoes both of which were on hand and waiting for their moment to shine. The cheese was a marinated mozzarella that was purchased on speculation, but perfectly suited to the pizza.2015-09-29 19.07.46 Once baked it was topped with some basil, olive oil, and served with baby greens dressed lightly with lemon juice and olive oil. Now, that was a delightful and very easy supper.2015-09-29 19.17.31

I found some lovely beets at the store and since they are one of Papa D’s favorites I had to bring some home. My preferred method of cooking is to roast them. This also is the most stain proof way, in my opinion. Wash them off and remove the greens leaving a little of the stem. Lay them on a couple of sheets of heavy foil, drizzle with a little olive oil and wrap them up tightly. Let them roast at 375 – 400 degrees until they are easily pierced with a knife and the kitchen has the earthy aroma of beets. This can take anywhere from 30 to 60 minutes depending on the beets.2015-09-27 19.45.11 Let them cool long enough to make them handle-able. I love beets, but beet red is not my color, so I opt to wear gloves to rub the skins off. If you enjoy red fingers go ahead and use bare hands and paper towels. Once peeled, I cut them into chunky chunks and dressed them lightly with a Balsamic Vinaigrette that was laced with some orange peel. Any dressing that you love would work here. I set them on top of some baby greens (left from guess what?) and garnished them with some goat cheese. Wonderful!2015-09-28 19.34.01

Finally I have to share another “Pork Love” dish, Stuffed Pork Chops. I have recently re-fallen in love with pork chops, particularly the thick cut, bone in, center variety. They are eating perfection. The thin ribbon of fat on the edge and the succulent bone along the side create a depth of flavor that is divine. They are wonderful simply prepared on the grill or in the oven, but I knew they were just begging to be stuffed.

This stuffing was inspired by what I had on hand and included some frozen chopped spinach, red bell peppers, and whole grain bread. Honestly anything could go into the stuffing. Leave out the bread and go all veggie, or use rice, quinoa or any other grain you have within easy reach. I started my stuffing with onion and garlic that I sautéed in a little olive oil (Is there any other way to begin?). The spinach and bell pepper jumped in and got very friendly with them. I put the bread in the toaster and then crumbled it into the veggies. I added a little chicken stock to moisten everything and packed it generously, albeit lightly, into the pockets that I had cut. I added a little wine to the pan and salt and pepper to the chops. For a crowning flavor boost I topped them with some sliced onions.2015-09-28 18.42.53

I let them bake covered for 20 minutes or so then I lifted their foil blanket and let them roast another few minutes to get lightly golden. I opted for 350 degrees because that seemed right. Baking time depends on the thickness of the chops and what’s inside…use your best guess, but do not overcook them.2015-09-28 19.38.31

The chops were scrumptious; moist and tender and positively dripping with flavor. I’ve started a mental list of what to add the next time; herbs, sausage, cheese, the ideas are endless.

So there you have it, three quick and easy kitchen adventures. Now it’s your turn to take my ideas and run with them.


Inspired Supper: Grilled Chicken Cordon Bleu-Italian Style

I absolutely love coming up with recipes. It’s so much fun to ponder, “What should I make for supper?” and then let my mind wander until the perfect blend of ingredients comes to mind. I must confess, however, sometimes my ideas are not always completely my own.

I like nothing better than to read a cookbook as if it was the hottest best seller. There are so many things to learn from the pages of any given culinary tome. Another source of inspiration comes from the myriad cooking magazines that are available. I make it a point to pick up two or three every month, choosing something different each time. The inspiration for this recipe comes from one of those magazines.

Food Network Magazine featured a Grilled Chicken Cordon Bleu recipe in its September issue. It was a classic recipe turned inside out and prepared on the grill. It was interesting enough to catch my eye. Once my eye was caught, my brain started thinking about how I could make it my own. It was easy to prepare and the ham and cheese wrapper was definitely open to interpretation. The question became, “Where should I go with this recipe?” The answer was quickly obvious. Why to Italy, of course. I kept the chicken breast and the grill leaving the other ingredients behind. Except, that is, the zucchini which is always a pleasant partner in any Italian caper. Prosciutto and provolone cheese became the wrapper. A few sage leaves came along to provide an earthy surprise.2015-09-20 18.58.24

I decided that boneless, skinless chicken breasts can always use a little help in the flavor department, so I marinated them in olive, oil, lemon juice, and some Italian herbs. A bit of onion and some garlic also joined the mix. Then the grill did its magic and when the chicken was almost done, I added the sage, cheese, and prosciutto, 2015-09-20 19.35.29The beautiful bundles returned to the grill for a few minutes to turn a lovely pale gold. I decided to top it with some of my pesto to round the final turn for a classically Italian dish.2015-09-20 19.46.00Then there was the matter of the zucchini. My grill isn’t very large and can only provide a friendly and hot haven for one thing at a time, so the zucchini roasted in the oven. It was paired with red and sweet onions a glug of  olive oil and some Italian herb blend.2015-09-20 18.51.15Towards the end of the cooking I added a sprinkle of finely grated Romano cheese and let it brown up under the broiler. A little roughly chopped parsley and it was ready.2015-09-20 19.38.26This was a very satisfying supper, not too heavy and bursting with flavor. Other than marinating the chicken, everything was ready in about  half an hour. Perfect for a weeknight, but great for a weekend meal after a busy day.2015-09-20 19.48.05

Grilled Chicken Cordon Bleu: Italian Style
Print Recipe
Servings
2
Servings
2
Grilled Chicken Cordon Bleu: Italian Style
Print Recipe
Servings
2
Servings
2
Ingredients
Servings:
Instructions
  1. Place the chicken in a zip top bag. Mix together the lemon juice, grated garlic, chopped onion, one teaspoon of the herb seasoning, and one tablespoon of the olive oil. Pour into the bag with the chicken squeeze and turn the bag to coat the chicken evenly. Refrigerate for at least 2 hours
  2. Remove the chicken from the bag and place on a hot grill. Grill until lightly browned. Turn and grill until the second side matches the first.
  3. Remove the chicken from the grill and lay three sage leaves on each breast. Top with a slice of the cheese and wrap with the prosciutto. Return the chicken to the grill cheese side up and cook for a few minutes to melt the cheese and crisp up the prosciutto.
  4. While the chicken is grilling, combine the zucchini, onions and the remaining olive oil and herb blend in a baking dish. Bake in a 375 degree oven for 20 - 25 minutes.
  5. Top the zucchini with the Romano cheese and broil until the cheese is golden. Sprinkle with the chopped parsley.
  6. Top each chicken breast with 1 tablespoon of the pesto. Plate it up and serve.
Share this Recipe
Powered byWP Ultimate Recipe

I’m happy that this recipe inspired me and happier that the inspiration turned into something delicious. The moral of this story is that any recipe worth “borrowing” is worth making your own. 

Steak Night Saturday and Porcini Pasta With Mushrooms and Cream

We have a tradition at Mama D’s house. Saturday is Steak Night. This is an inexpensive alternative to going to a pricey if not wonderful steak house. The steak is almost always a Petite Sirloin, a tender and flavorful steak that rivals a much more expensive filet at easily half the price. Many markets around here are starting to carry it and the going price is around $6.99 per pound, so you can indulge in its meaty goodness and not break the bank. Salt and pepper or a bit of Montreal Steak Seasoning is all it needs before the grill does its magic.

This isn’t about the steak…it’s about a side dish that was an inspired alternative to the potatoes I usually serve. It started with some Porcini Flavored Pasta that I found at a specialty store. I don’t often opt for these kinds of pastas, but Papa D fell in love with them and the price was right, so I thought I’d give them a whirl. I’m glad that I did.

Inspired by the earthy mushroom aroma that greeted my nose when I opened the bag, I knew that I had to add more layers of mushroom flavor to create a dish that would hold its own next to the steak. So I invited some Crimini Mushrooms and a good dose of my Porcini Rosemary Salt to the party.DIGITAL CAMERAThis was a heavenly trio that became a quartet when some shallots joined in to provide a subtle onion flavor.2015-09-12 16.39.05The mushrooms and shallots sautéed in some olive oil. I added some chicken stock to keep everything moist while keeping the fat content at bay.2015-09-12 17.15.26 After all, there would be some cream joining the pan shortly and I felt that one indulgence was enough.2015-09-12 19.25.15A good dose of fresh rosemary continued the woodsy flavor profile as the sauce thickened ever so slightly. The addition of the Porcini Rosemary Salt took the flavors to another level as the sauce continued to simmer gently until the pasta was ready. Once the pasta entered the pan the it was a few minutes to Side Dish perfection.2015-09-12 19.33.58

Porcini Pasta with Mushrooms, Rosemary, and Cream
Print Recipe
Servings
4
Servings
4
Porcini Pasta with Mushrooms, Rosemary, and Cream
Print Recipe
Servings
4
Servings
4
Ingredients
Servings:
Instructions
  1. Cook the pasta according to the package directions, but cut the time by one minute. Drain. While the pasta cooks make the sauce.
  2. Heat the olive oil in a medium fry pan. Add the mushrooms and shallots, and cook until the shallots are soft and the mushrooms are beginning to brown.
  3. Add about 1/3 of the stock and simmer for a few minutes until the stock is almost absorbed.
  4. Add the remaining stock and rosemary and cook 4 or 5 minutes.
  5. Add the cream and simmer for a few more minutes. The sauce should thicken slightly. Add the porcini salt and taste. If you think it needs more of the salt add a pinch or two. Add some fresh ground pepper and serve.
Share this Recipe
Powered byWP Ultimate Recipe

It joined the grilled steak with pride and made Steak Night Saturday something very special.2015-09-12 19.44.01This dish could easily take center stage and be a delectable main dish as well, so find some Porcini Pasta, make some Porcini Salt, and welcome Fall with a dish that sings of the earth.