
This is going to be about my flatbread adventures but first, I want to share the recent winery adventure that inspired these tasty meals.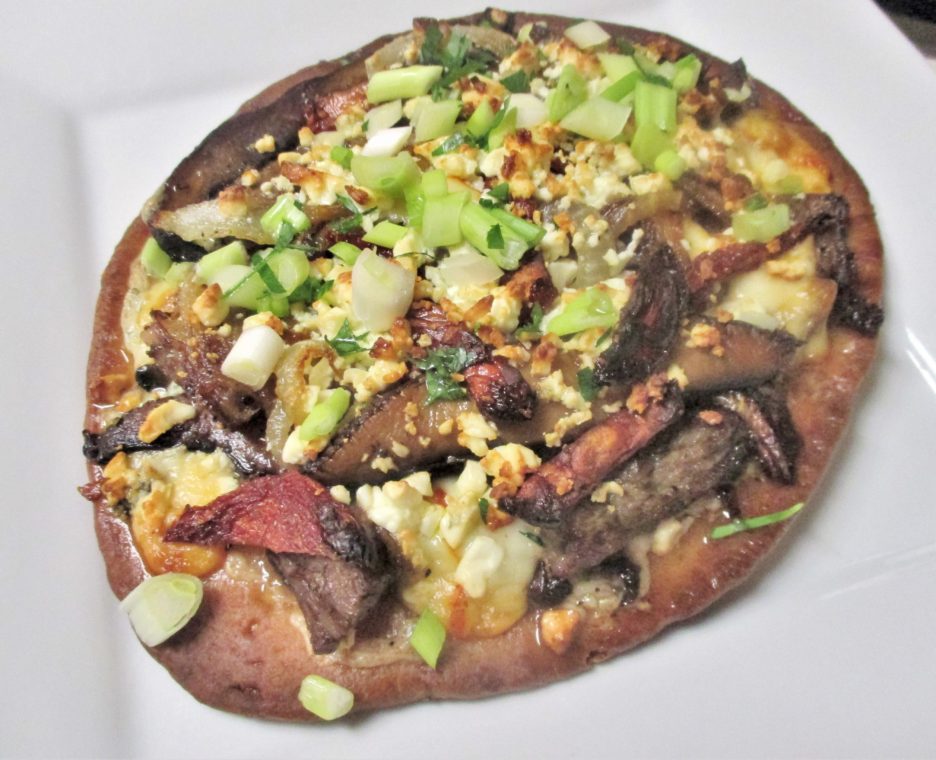
We recently spent some quality time in Springfield, Illinois. Our long weekend was filled with soaking up history, all things Lincoln, and discovering a Frank Lloyd Wright gem. All of this was very enjoyable but, midway through we decided we needed a break from all this wonderfully nerdy stuff.
We love wineries and the bottled fruits of their labors. We decided that the perfect way to wind down would be to head out in search of some wine and country air. Yes, there are wineries in Central Illinois and many of them are quite good. Danenberger Family Vineyard is an excellent example. We left Springfield for our afternoon in the country ready for adventure. And an adventure it was. Urban streets gave way to two lane blacktop and finally a mostly gravel road. Just when we thought we were lost, the dust cleared and we came upon a massive compound surrounded by corn fields. This was DFV.
There was something about this place that brought us back to our days in California. Driving up to wineries that were more like farms with the exception that their fields were vineyards. Friendly folks who were happy to share their wine with us. Then there were the dogs. They were always a part of the whole experience and a welcome diversion for our sons. Winery dogs are like no other group of canines. They reign as monarchs of their kingdom. Free to run, free to just curl up in a corner and wait for a visitor. Winery dogs don’t know what a stranger is. Every new visitor is a chance for some attention and they welcome you with a smile.
We entered the cozy tasting room and sampled some of the wines. They were very nice. Beyond the tasting room there was a restaurant, Sapori Italia. The restaurant had a long counter looking out on open airy seating. Its open kitchen was small but was equipped with a custom brick pizza oven and the menu board featured some very interesting flatbreads. This was the best cue for lunch, ever. 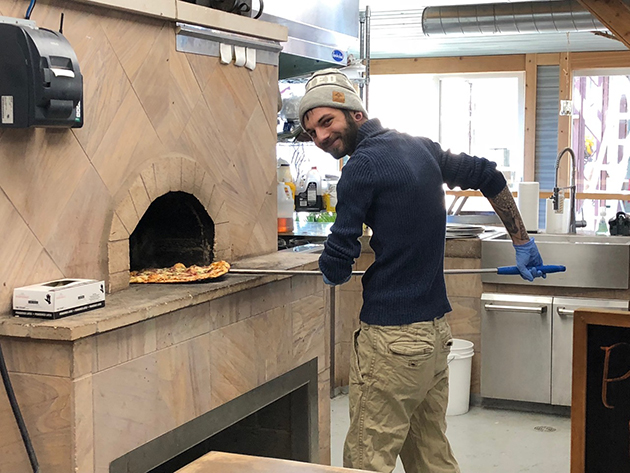 What is lunch at a winery without wine? We had tasted several very nice ones and decided to have the 2018 edition of their “Stilettos in the Vineyard” Rose. We ordered our flatbreads, took our pager, and went out to find a shady table on the West Terrace. One of the winery dogs came with us, a Great Pyrenees pup named Sully. He made himself comfortable under our table. While we enjoyed our wine,
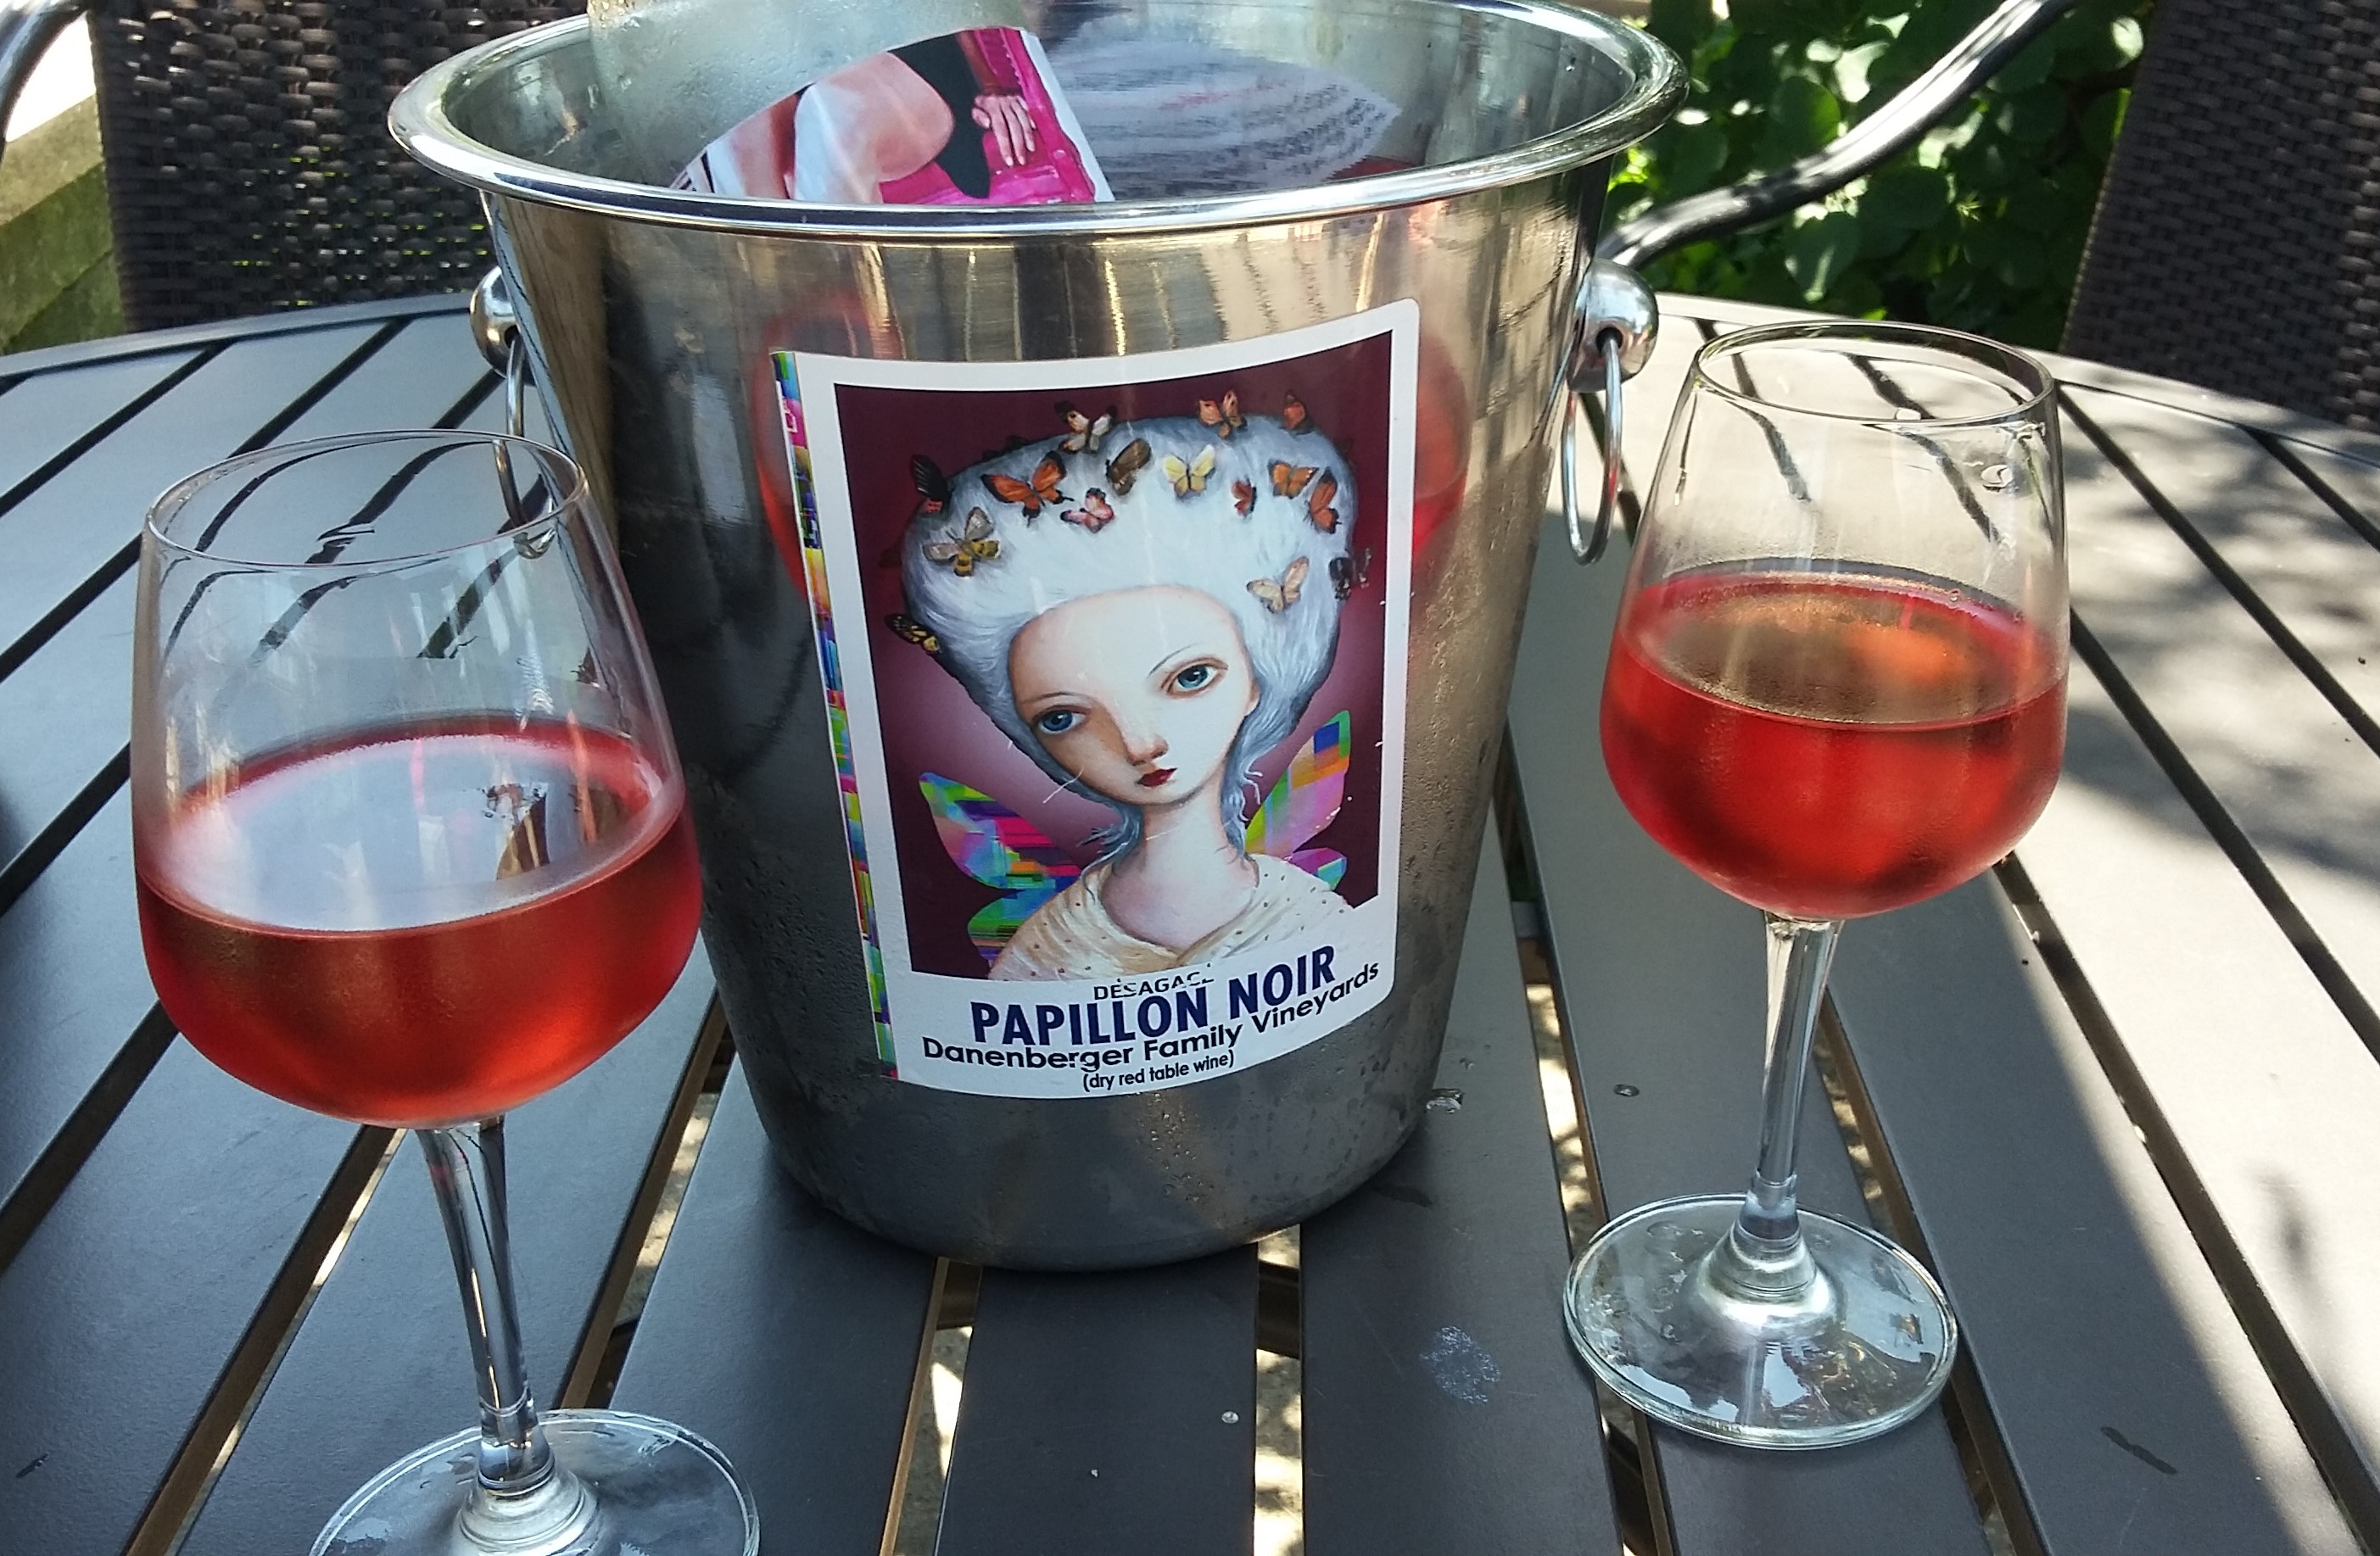 And Sully and his buddy enjoyed our company.
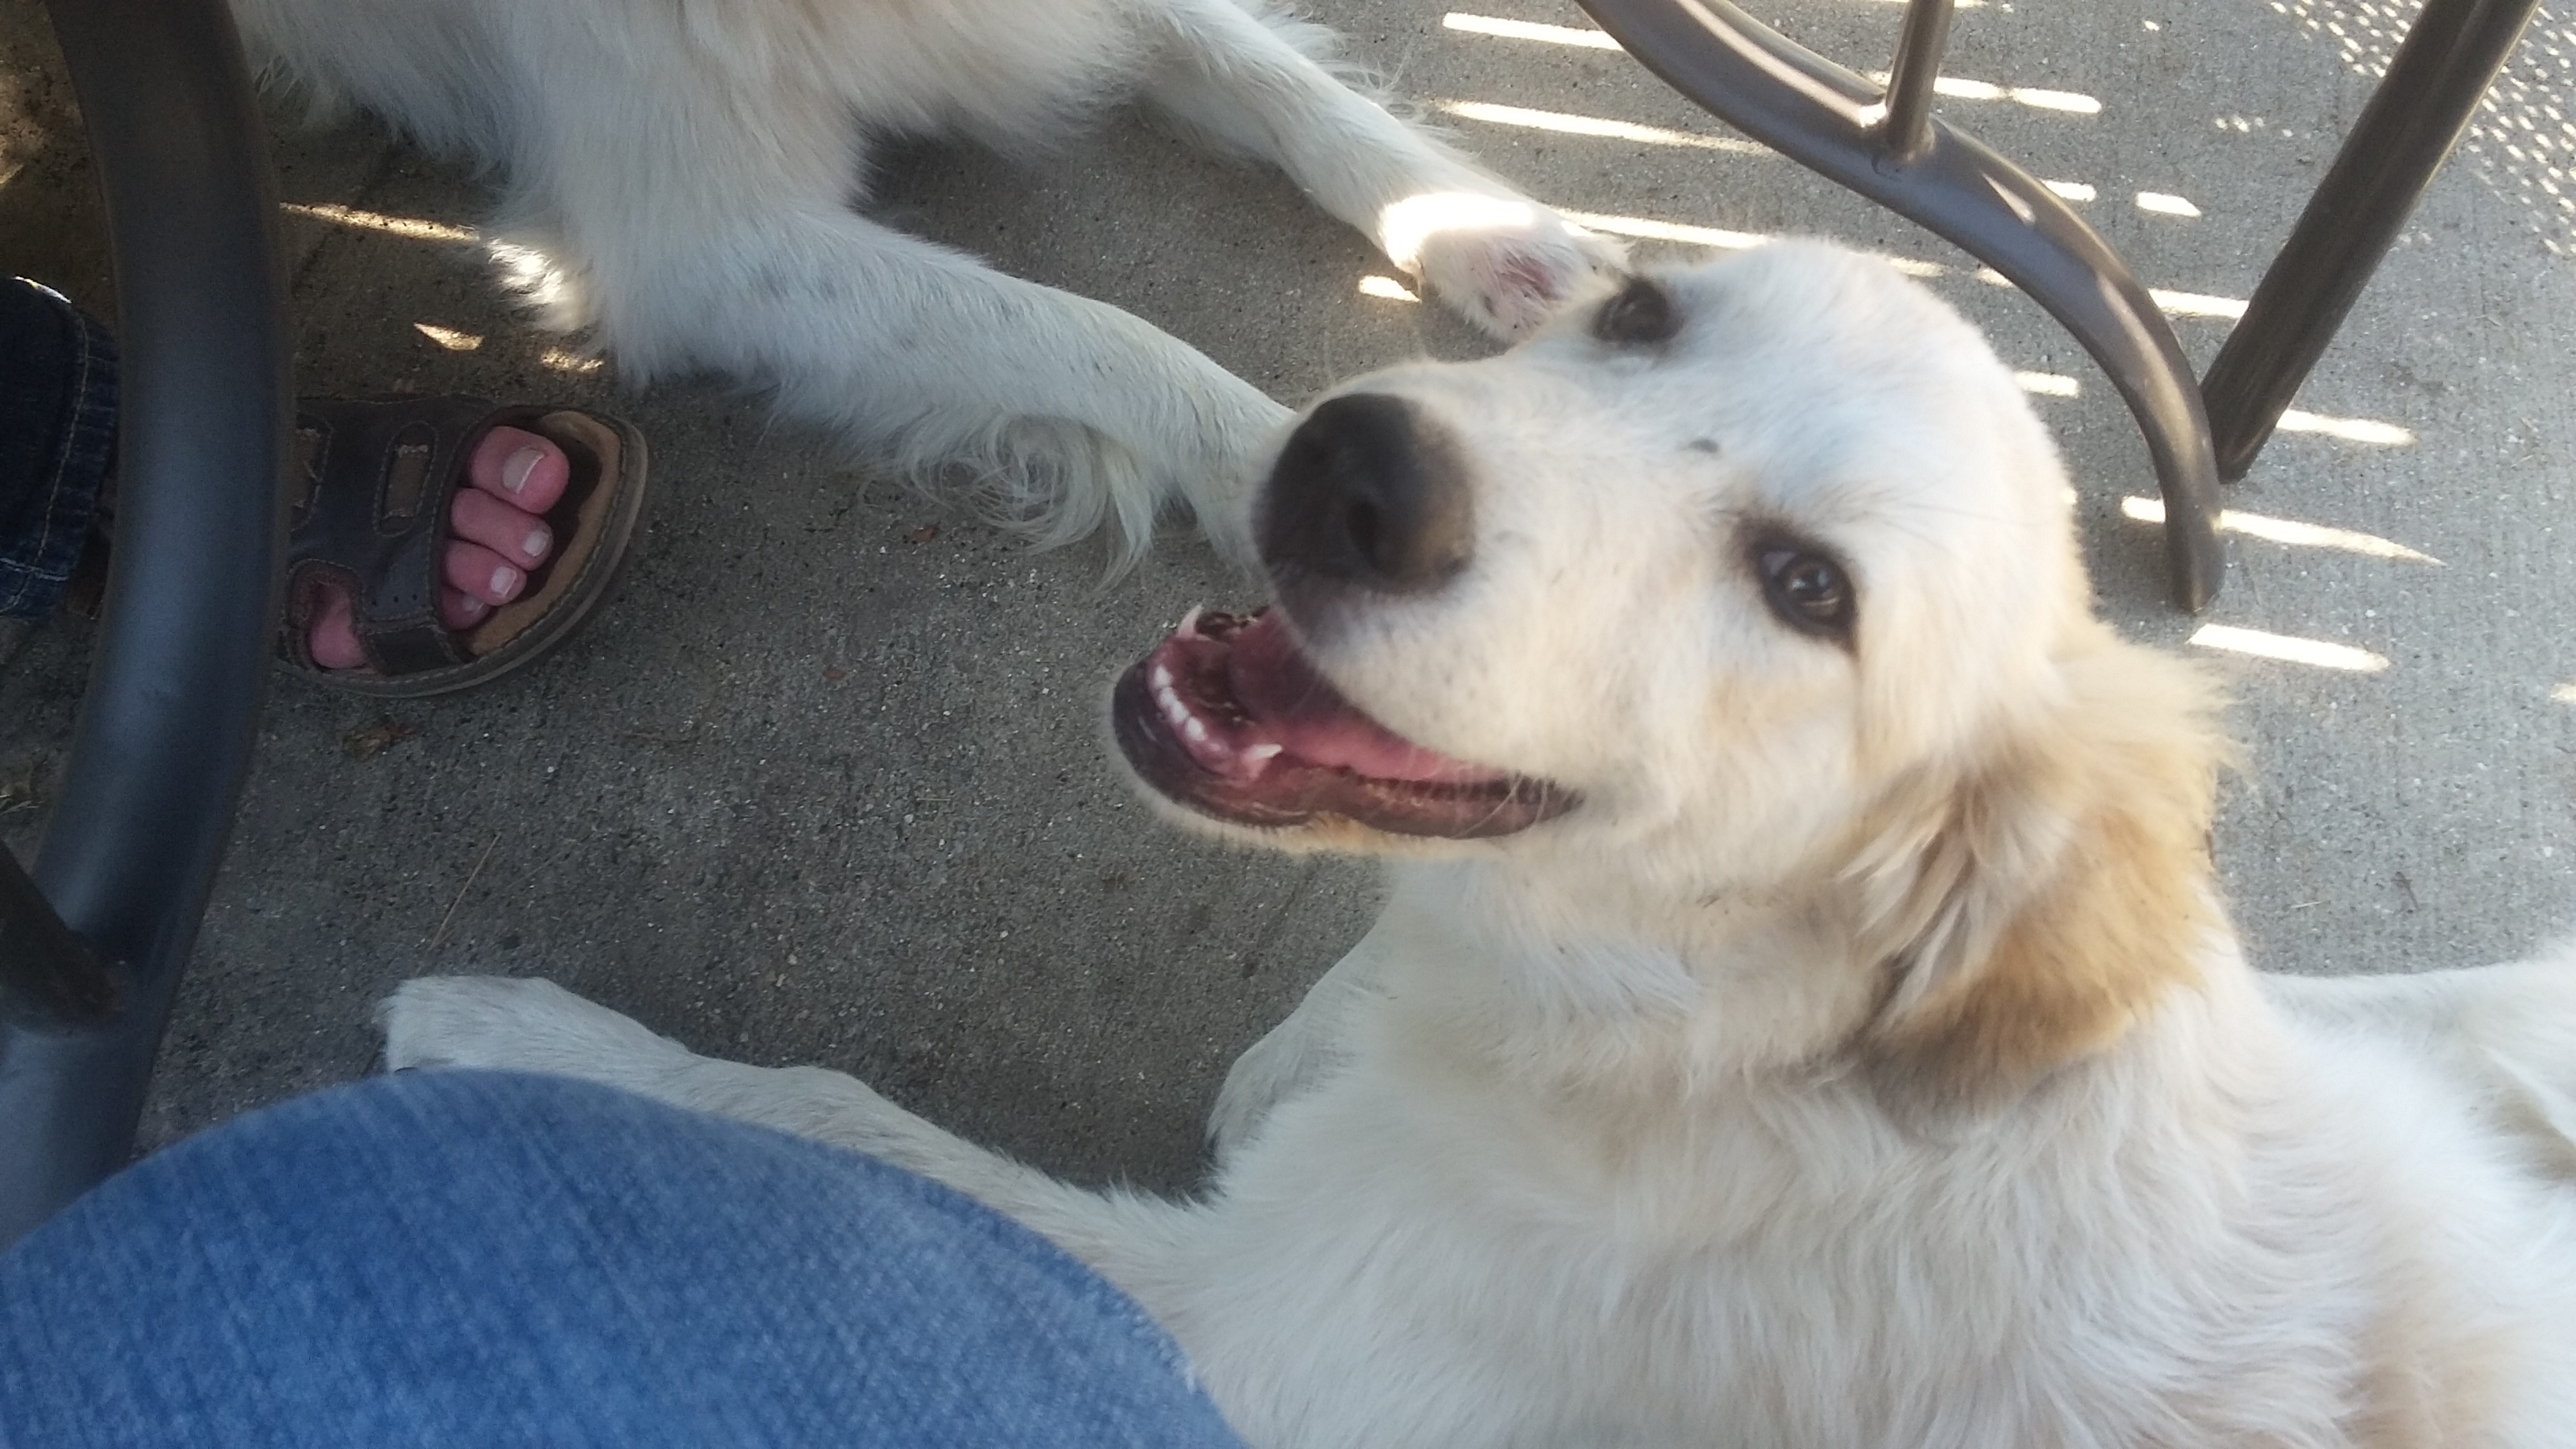
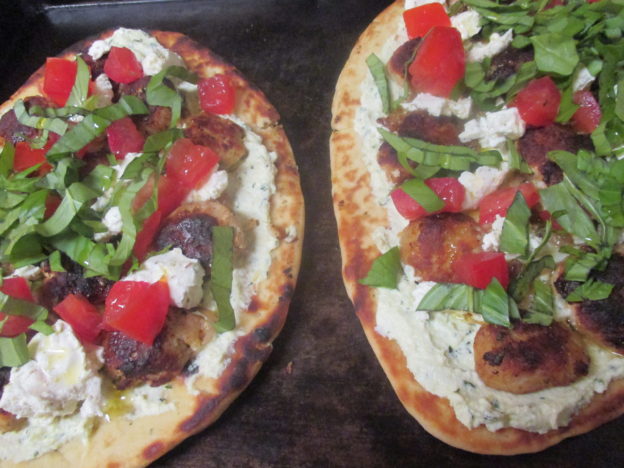
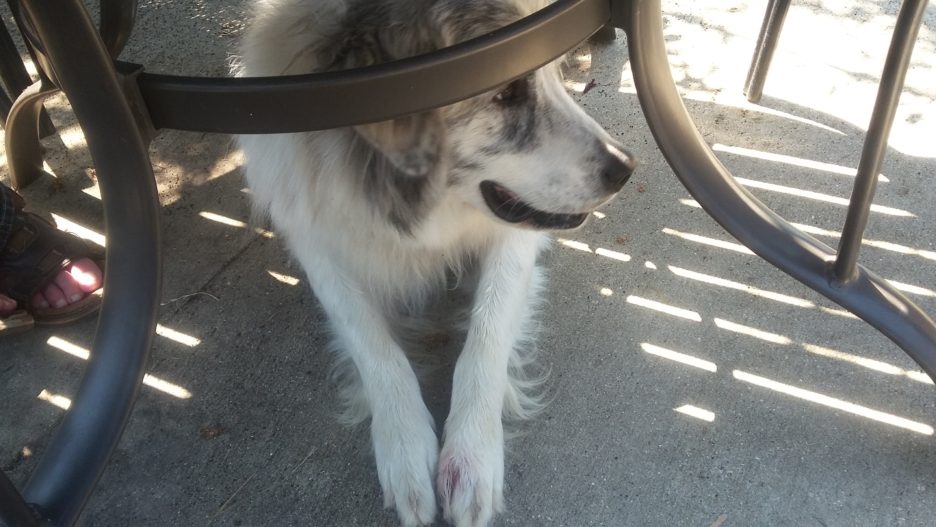 When our pager went off Sully got up and looked at us, checking to make sure we heard it. We all headed into the restaurant to retrieve our pizzas ( by this time we were officially a table for 4). We all returned, two of us ready to eat and two of us hoping the other ones were messy enough to drop something. Note: No begging occurred only camaraderie and a winsome glance or two. The flatbreads were wonderful. Our favorite was a Caprese with Heirloom Tomatoes and Fried Basil. These lovely pizzas were the inspiration for the recipes at the end of this post. Before we get there, I want to share the rest of this amazing place.
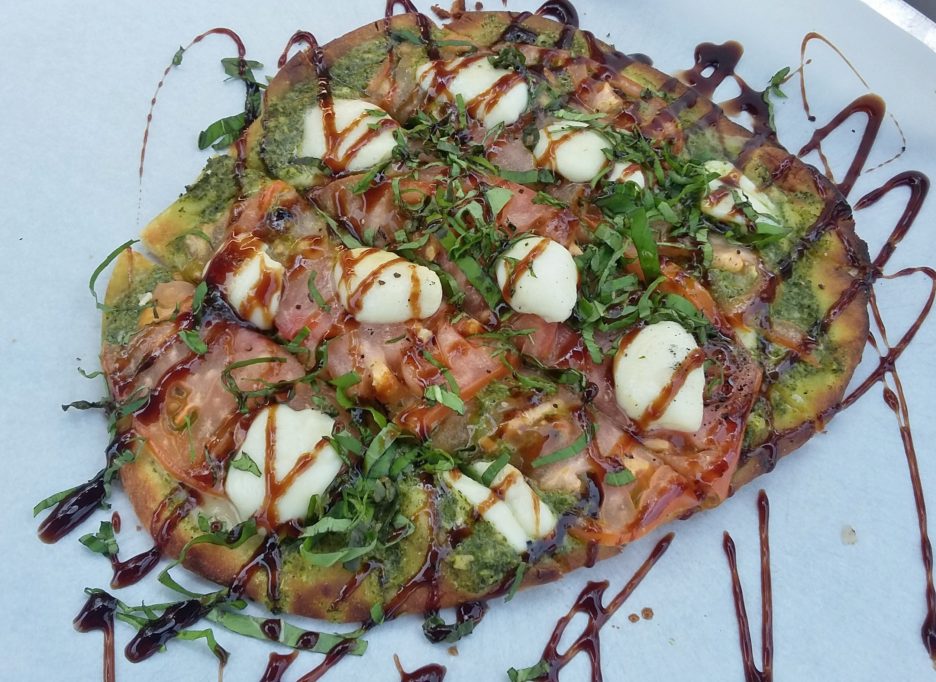
We experienced the wines, we ate the food, we enjoyed the dogs. We thought our afternoon was complete. Then we heard music. This wasn’t being piped in overhead, it was live and it was close by. We followed it back through the restaurant and through another door into what I can only describe as a large metal barn that had been transformed into a music venue. Yes, live music was also available here (and on a Saturday afternoon).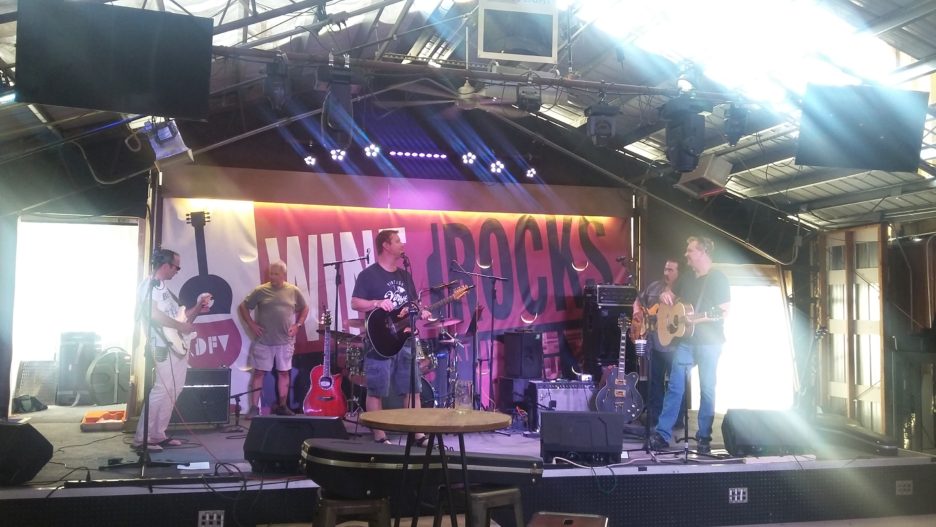 There were tables, chairs, and sofas. Guitars and other musical memorabilia decorated some of the walls.
 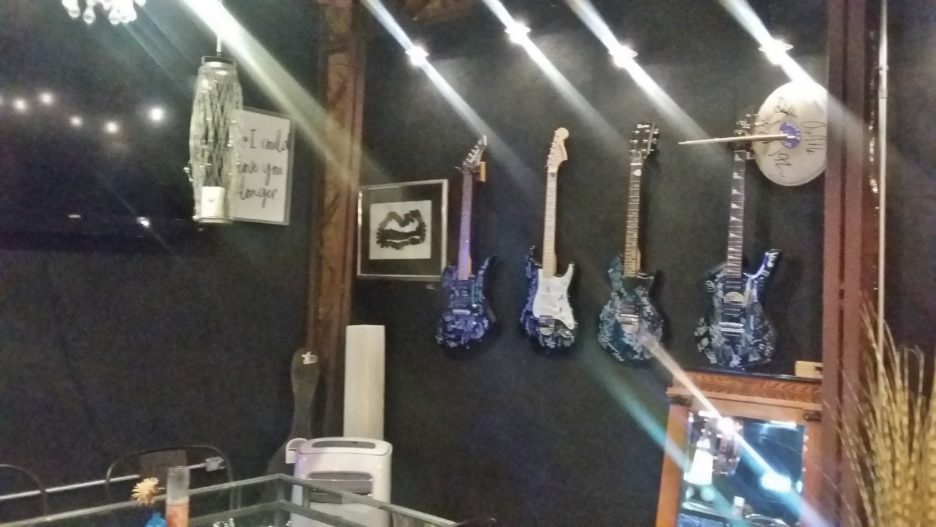 One corner even sported a graffiti wall.
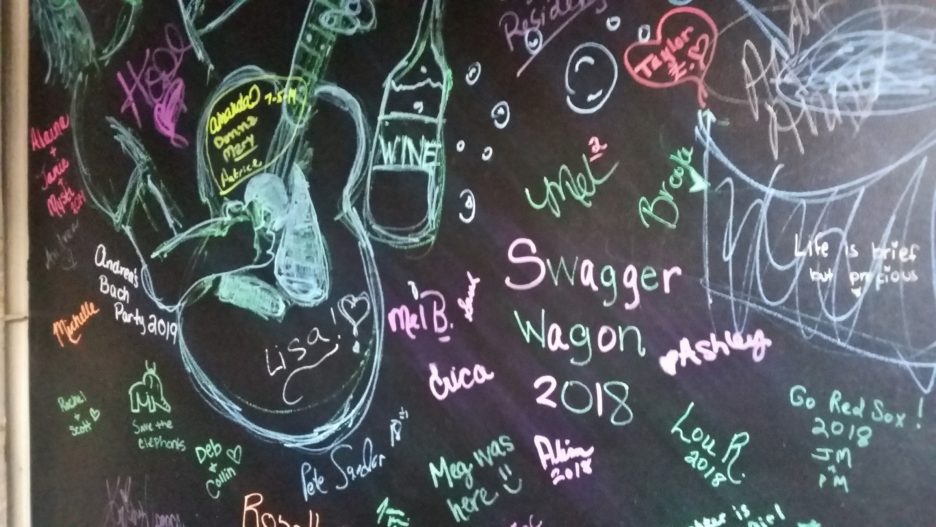 Pretty amazing for a winery in the middle of a corn field, in the middle of nowhere, in the middle of Illinois. Thank you Danenberger Family Vineyard, you and your wine rock.
Now for a few words about my inspired flatbreads. I used Nan for my base. It is sturdy 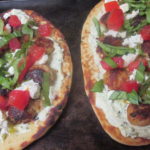 enough to hold a lot of toppings (my guilty pleasure) and is easy to find. Even Aldi carries it. The first creation was a bit of a riff on the Caprese we had at DFV. I mixed pesto with ricotta for base. Once that was slathered on, I added some Chicken and Zucchini meatballs (another story, another time) and some chopped Roma tomatoes. My cheese of choice was a garlic and herb goat cheese. Once it was baked I topped it with chopped basil and a drizzle of olive oil. Traditional but quick and very tasty.
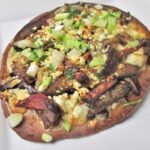 The second creation was a bit more adventurous and more time consuming (worth every extra minute). I made a mustard aioli (which was really just grainy mustard and mayonnaise) for my base, I lightly caramelized some onions and did the same with sliced portobellos. Grilled skirt steak joined in as well. Finally I added a few sun dried tomatoes and finished it off with blue cheese. Once it was baked, I sprinkled on some scallions. Wonderful once again.
These are my personal adventures. I hope they inspire you to create your own. I wrote up a general recipe to guide you through the process. Consider it an open ended blueprint.
Nan Pizzas that you can top with whatever your imagination desires. Bake in the oven or on the grill. these are the basic components.
- 2 Nan Bread
-
Preheat the oven to 400 degrees or heat the grill to Medium High. Lightly toast the Nan for 2-3 minutes per side. Remove from the oven/grill and top.
-
Choose a spreadable topping. Sauces like tomato, salsa, pesto, ricotta, aioli all work...there are many more.
-
Choose a Protein. Any cooked meat, fish, or poultry, sausage, prosciutto, mushrooms, breadfruit...again, anything goes.
-
Choose other toppings. Vegetables such as onions, squash, mushrooms, woody herbs, another protein, or whatever you have on hand.
-
Top with cheese. Fresh mozzarella, goat cheese, feta, blue cheese, brie...the choice is your.
-
Bake the pizza. Bake in the oven 10 minutes or so. You want the cheese to melt everything to be bubbly. Watch carefully as the edges burn quickly. If you are gilling the same rules apply and you will need to cover the grill.
-
Gilt the Lily. Once the pizza is out of the oven, you can add anything else you would like. Soft herbs, olive oil, pepper flakes, grated cheese, greens tossed with a bit of olive oil and lemon. you can also choose to let it bask unadorned. Serve.
Share this:


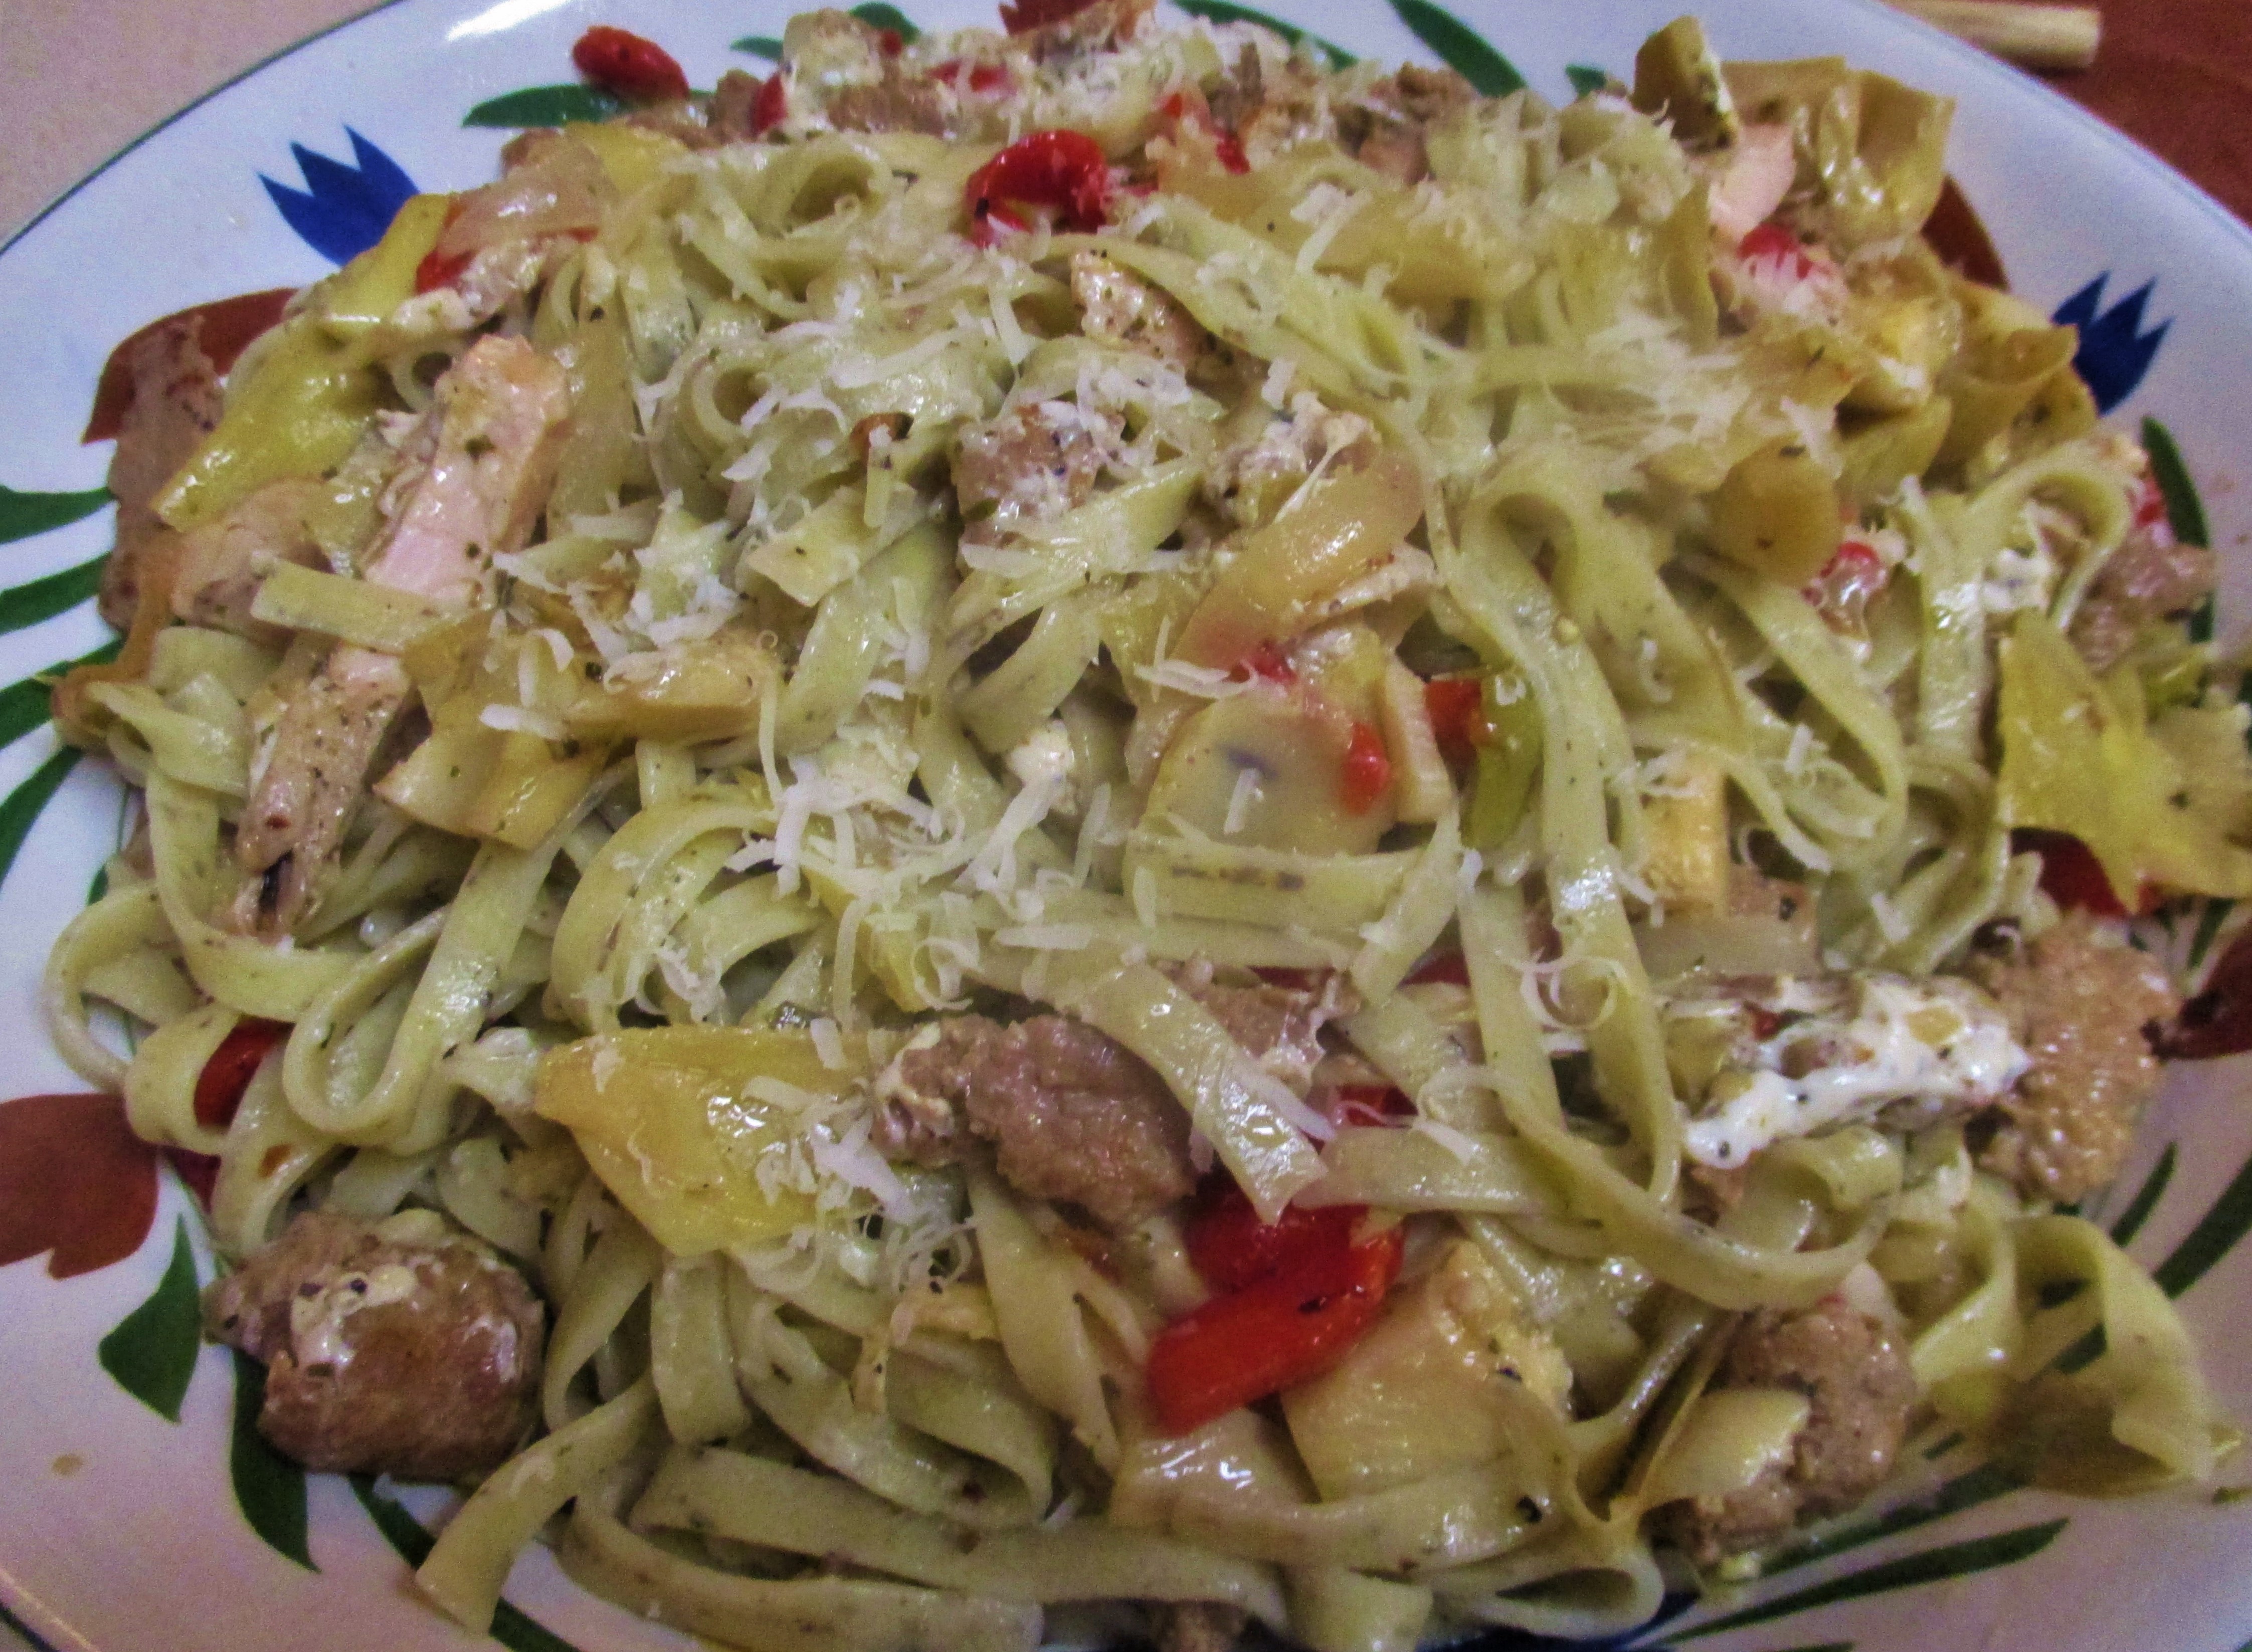
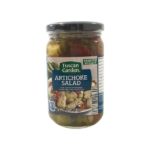 upon a jar of Artichoke Salad. I bought it on a whim one day and knew that I could use it for something eventually. If you haven’t seen this before; it is marinated artichoke hearts with roasted red peppers, olives, and some fairly decent seasonings. Quick sauce in a jar. Of course I couldn’t just leave it at that. Onions and garlic had to come along, and I added a few more marinated artichokes (also in the pantry) to fill in the spaces a bit.
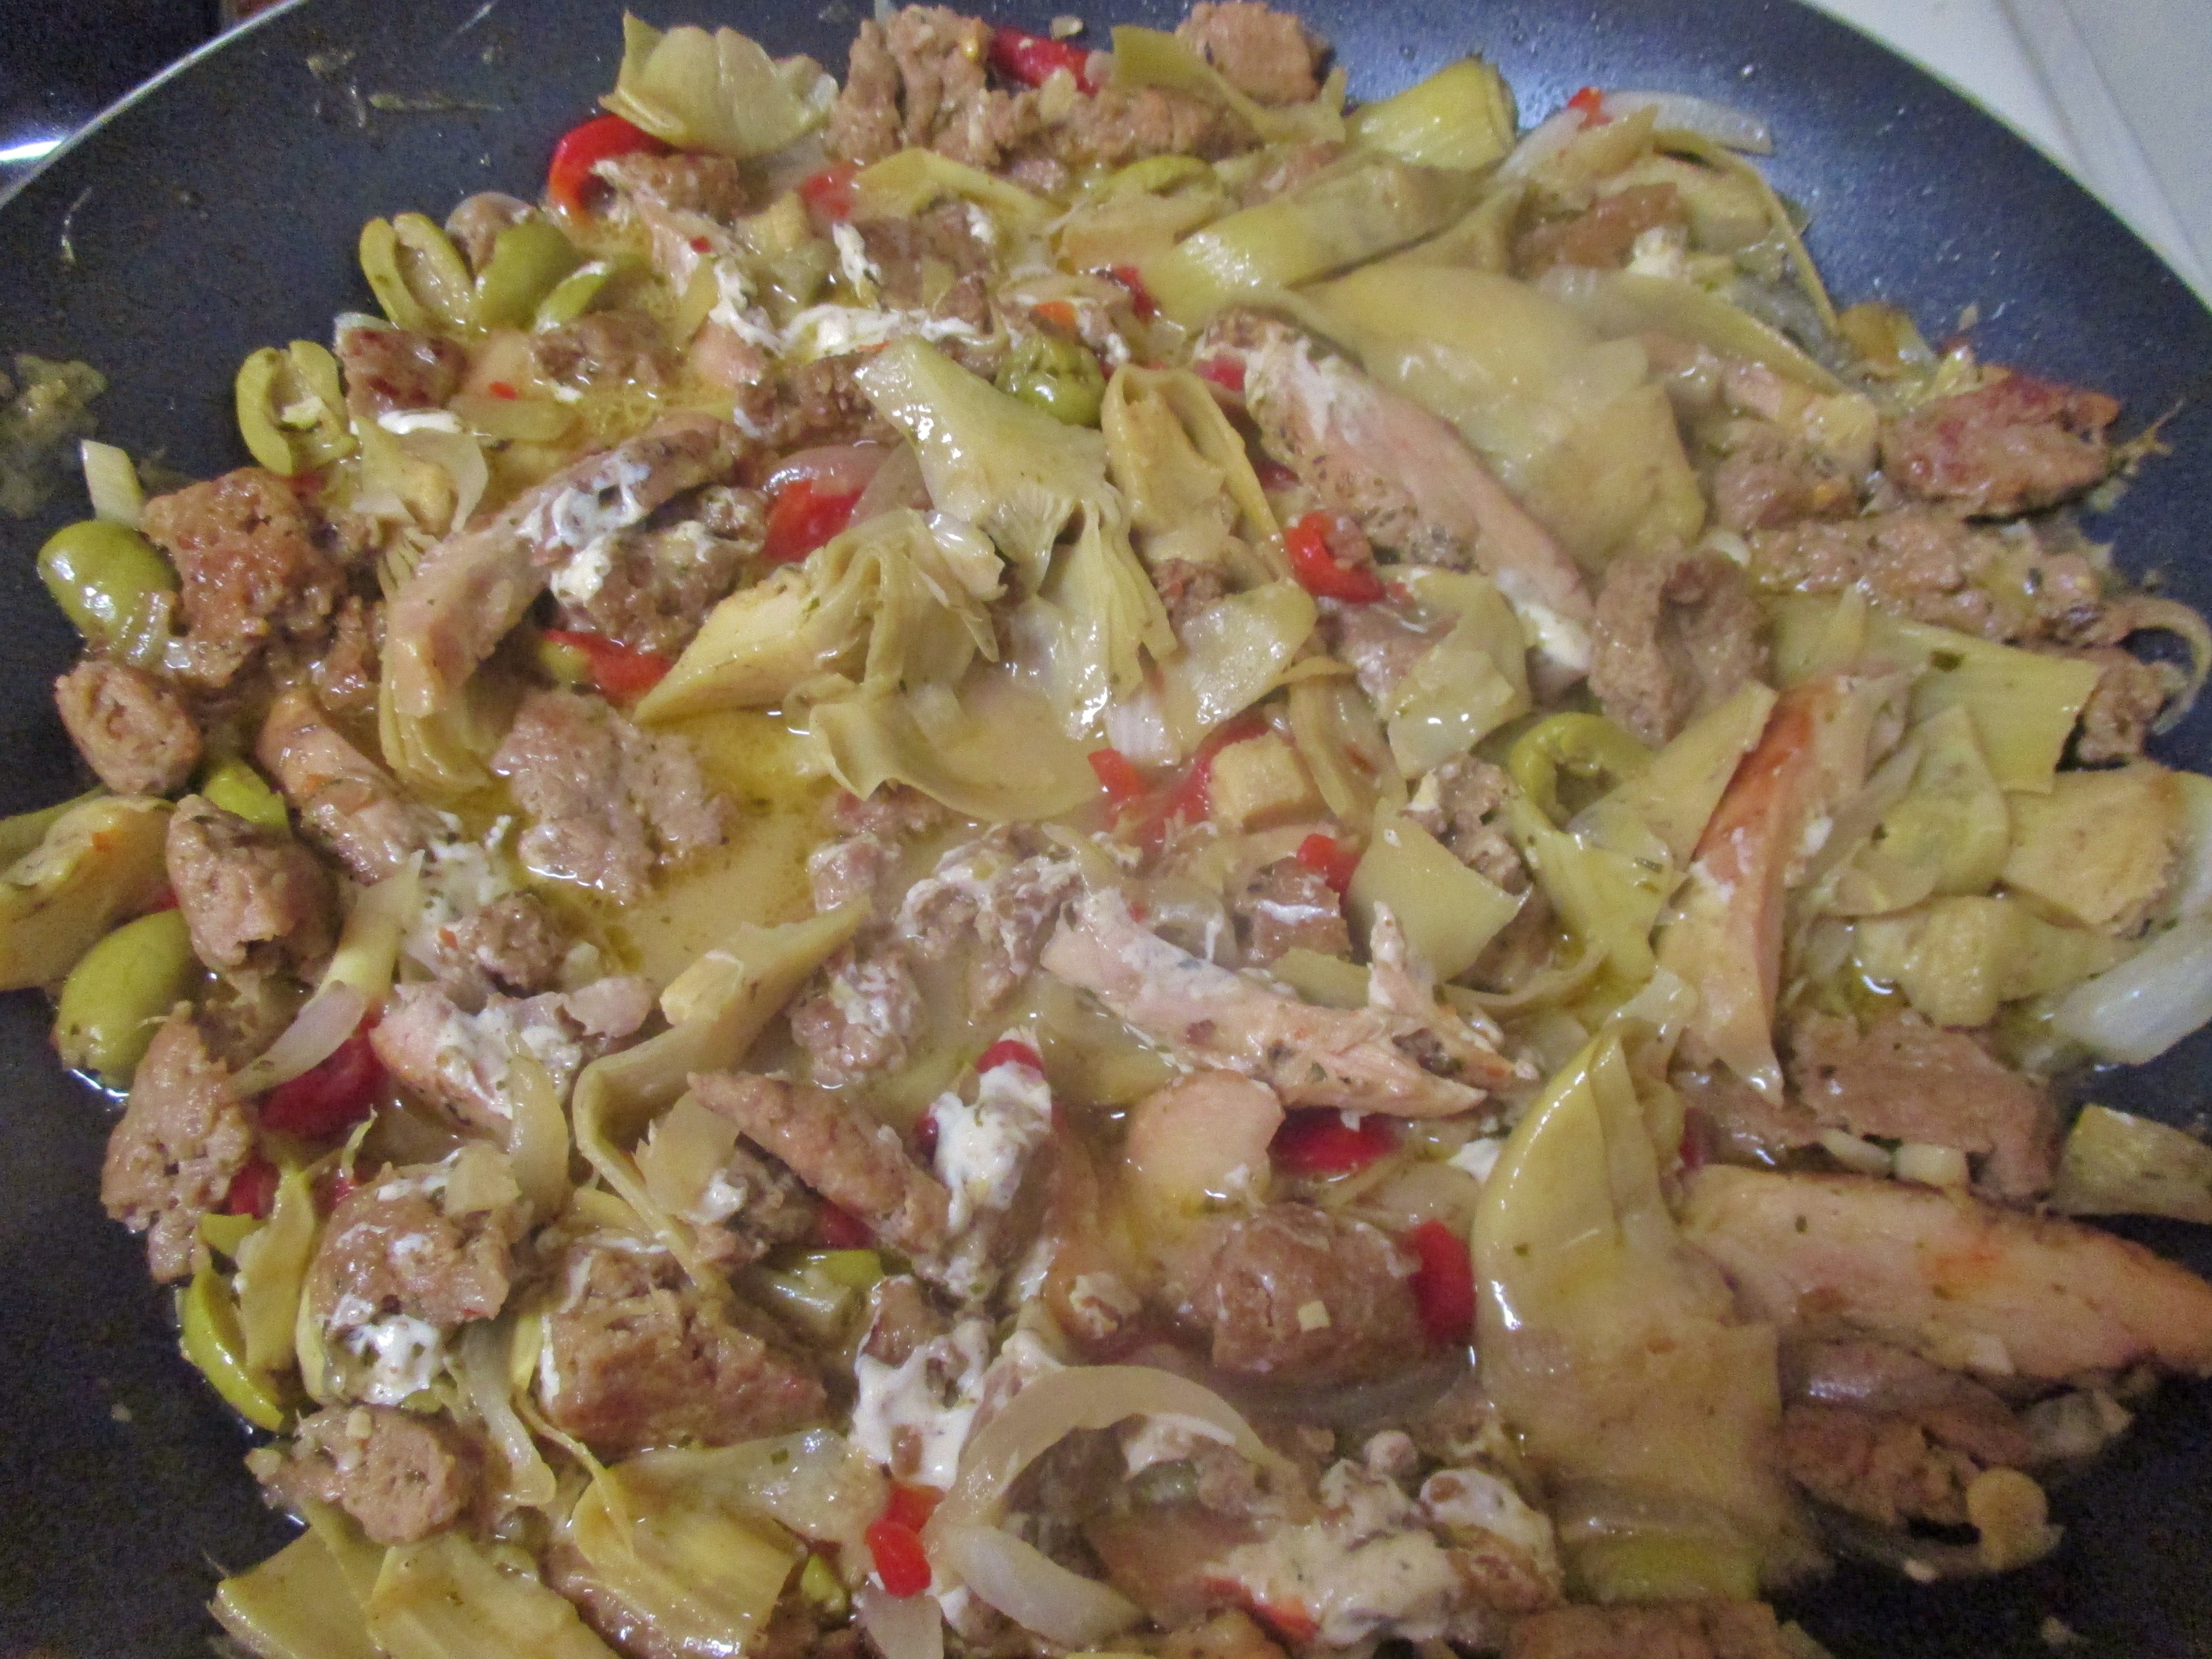 The mozzarella pearls went in next. This required a lot of stirring but they finally kind of melted leaving just a few intriguing stringy ribbons that I think added some texture and interest to the sauce (sticking to that story).
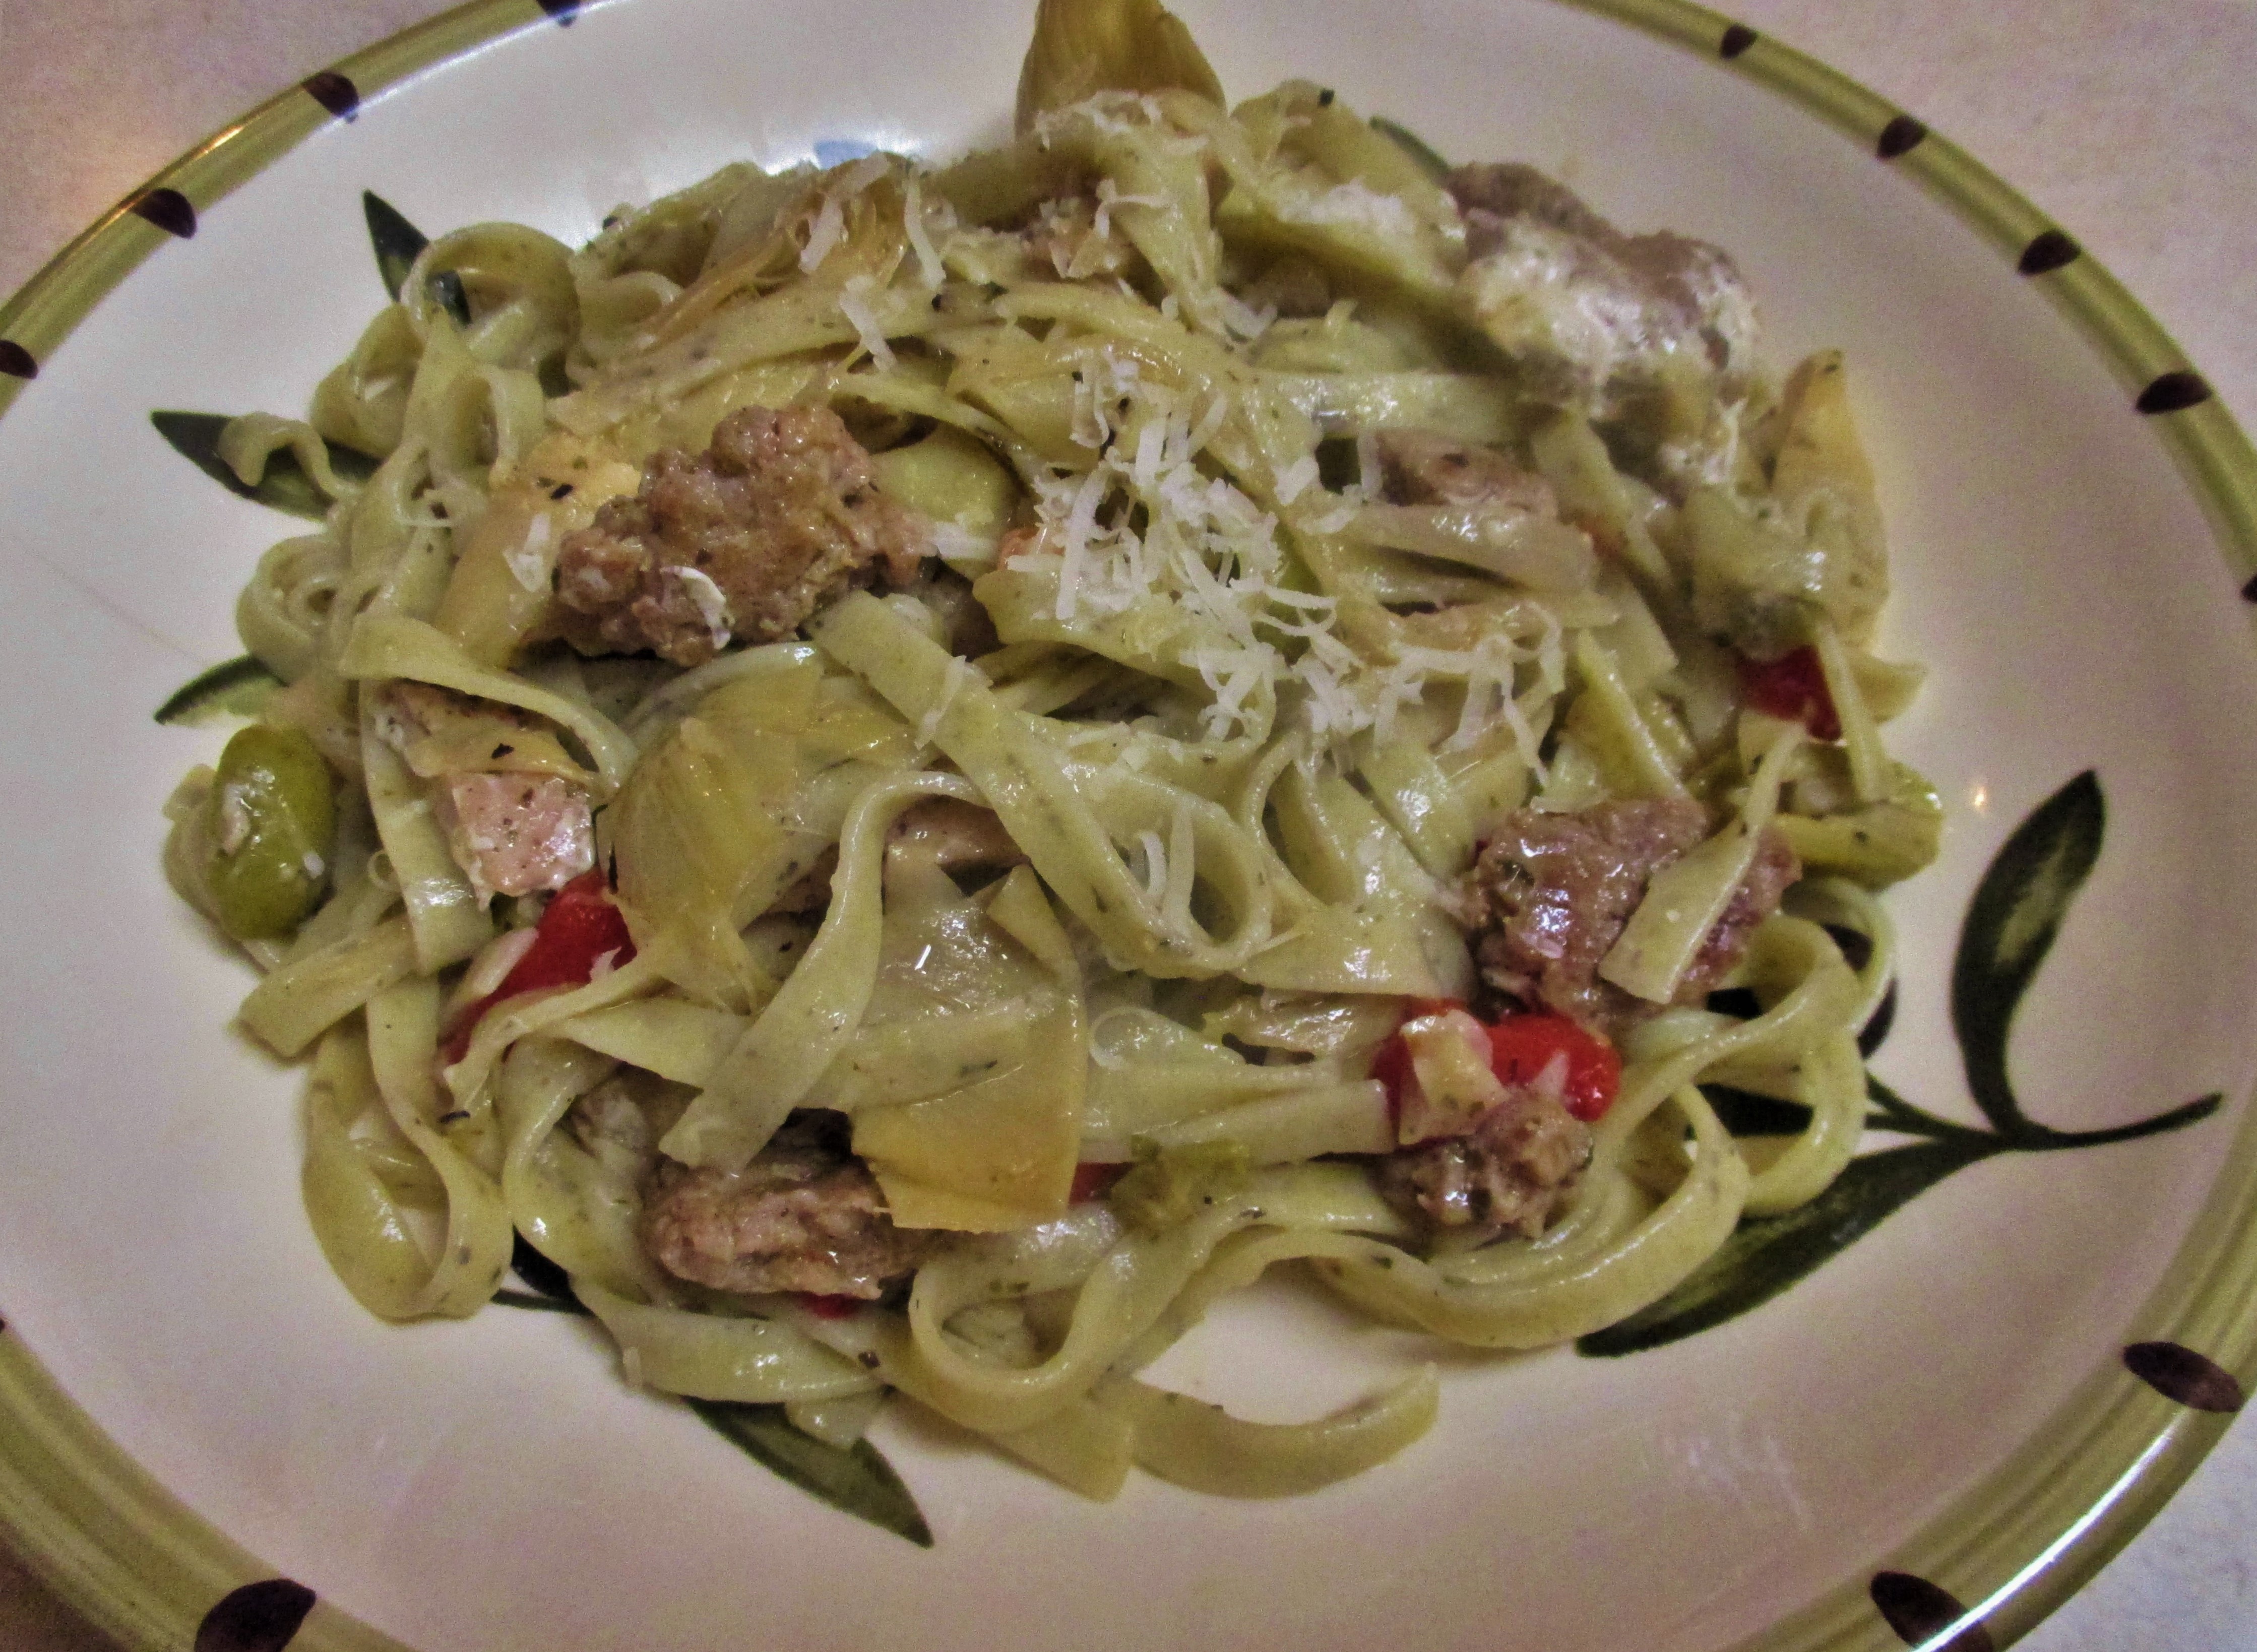

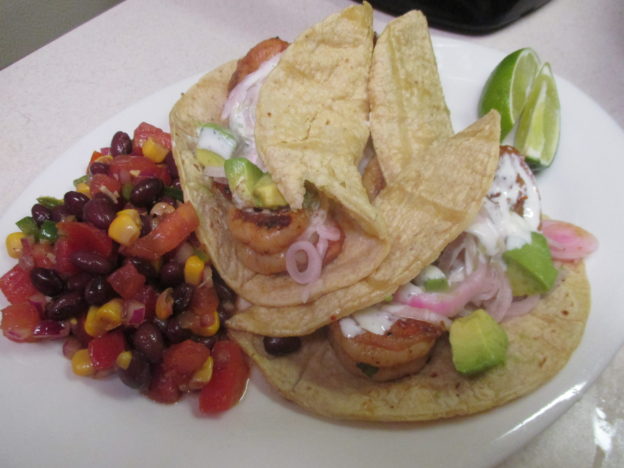

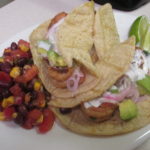
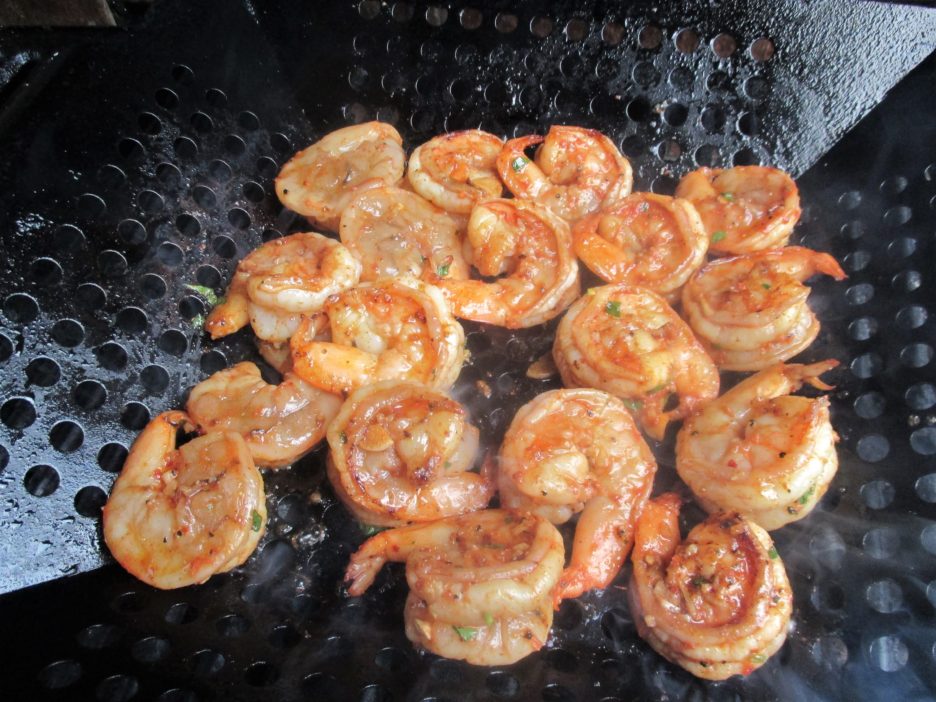 Grilling gives them wonderful flavor that works well in many dishes. Pasta is always at the top of my list followed by serving them on their own as a scrumptious finger food. For something entirely different this time, we decided to have them in tacos. Then, because we were feeling a little adventurous, we thought that having them spend some time in the Smoking Cloche would be an interesting touch.
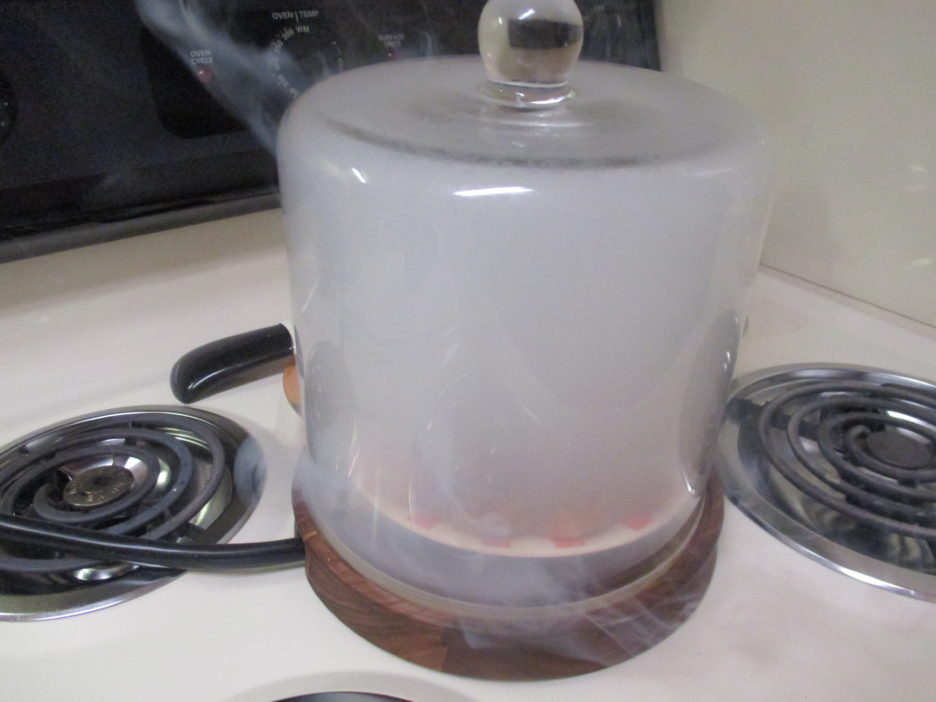
 I did give them a little help by marinating them in a mixture of garlic, chili flakes, smoked paprika, cumin, and a touch of lime.
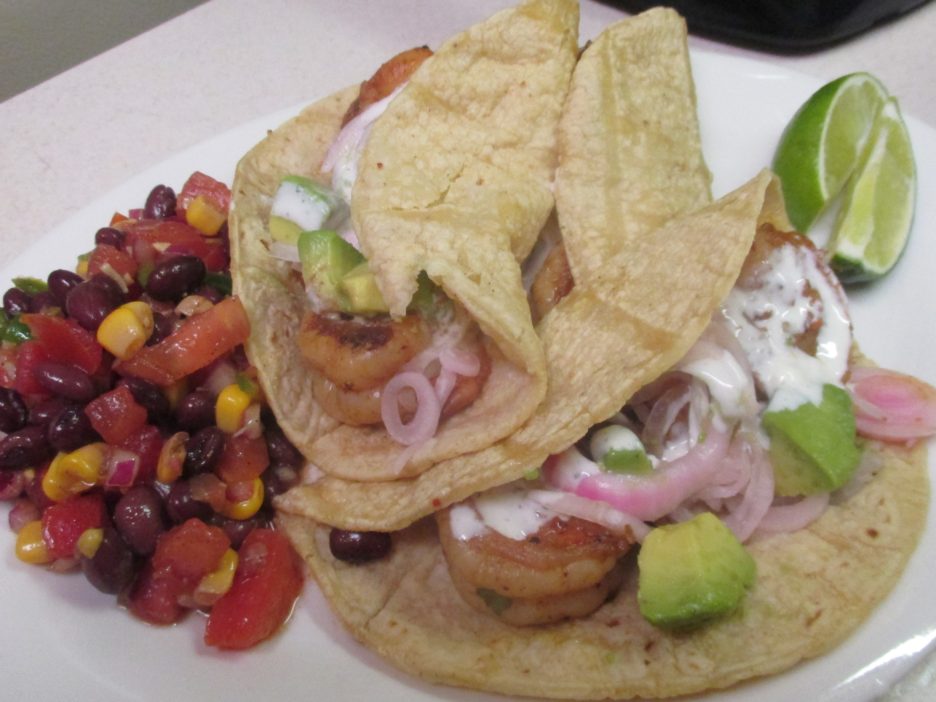

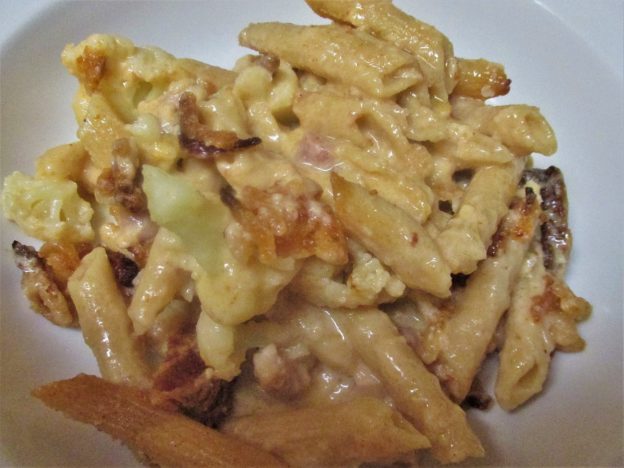

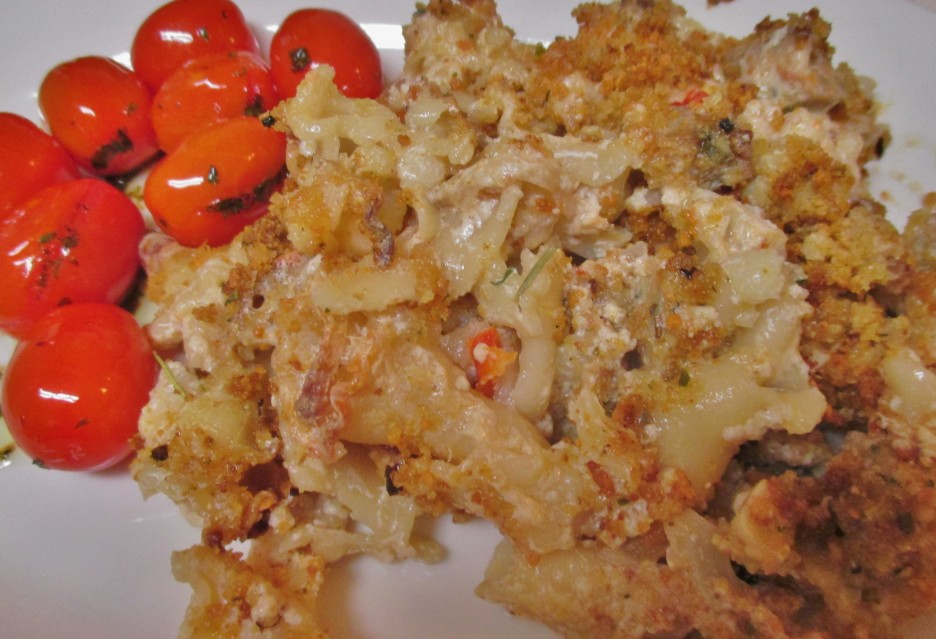
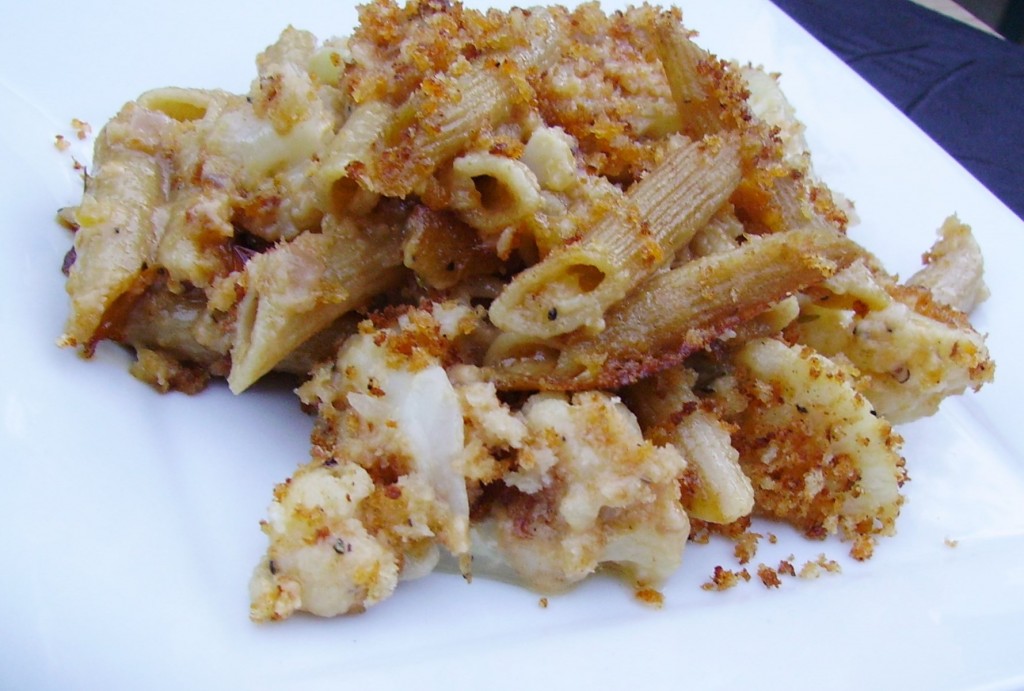 Even though spring is here, a casserole of comfort food love is a welcome weeknight supper once in a while. Nothing says comfort food love like homemade Macaroni and Cheese, full of comfort and unfortunately, fat and calories. This is my attempt to take away some of the bad and keep most of the good intact.