It is the middle of September here in Illinois. Our Summer (and what a summer it was) is winding down, but isn’t quite ready to surrender to Fall. As much as I love Fall, these last summer days are quite splendid. A most recent one was everything a day at this time of year should be; warm and sunny, and best of all very little humidity.
It was a day for an outing. Nothing big or extravagant, just some time to be out in weather that we will be wistfully looking back on in a few months. We ventured out to Oswego, a small town not far from home. Like many towns in this area it was originally a farm town that has succumbed to a bit of suburban sprawl in recent years. In spite of that, there are still areas that hold on to that small town charm.
Our first stop was at Fox Valley Winery. This is a family owned winery that we have visited for many years. Father and son have been making wine using mostly Illinois grapes for longer than that. While many of the wines are sweet, there are several that are delightfully dry, and one was the perfect choice for this day. This Rose is a blend of Landot Noir, Vignoles, and Chambourcin grapes all grown in Illinois. The result is a dry rose with a lot of body and just the right amount of fruitiness. Paired with a modest cheese plate and enjoyed on the patio it was a delightful lunch. Even though the winery sits on the edge of a semi-busy highway, the lush hedges and beautiful surroundings make it easy to tune out the occasional road noise. When the colder weather does arrive, we will move inside to enjoy another wine, Petite Pearl, in front of the massive fireplace.
As we sat and enjoyed our wine and cheese, we mused about the plan for dinner. This is Illinois corn country and having grown up here we are corn snobs. While we will occasionally try “imported” corn, nothing tastes better than corn grown close to home. This is by the calendar a little late for corn around here, but this has been an unusual Summer and we wondered if there might be a farm stand that still had corn. As luck would have it, a quick Google search told us that there was a farm stand nearby that might be able to help us out. That led us to Keller’s.
While not quite as big as some “Farm Stands” in the area, Keller’s does offer activities and wares three out of the four seasons. Like me, Keller’s is on the cusp of the changing seasons; offering the end of the summer bounty while constructing their Corn Maze and laying out their Pumpkin Patch. The barn was in transition as well. Bags of apples (they have a Pick Your Own Orchard) and bins of gourds, and mini pumpkins shared space with corn, tomatoes and peppers.
After a quick stroll around the barn, we headed for the corn table. We filled our bag with as much as we thought we could eat at one meal (Papa Diehl’s appetite for fresh corn is somewhat of a legend). Knowing that I was going to need the biggest pot in my kitchen, I opted to round out the meal simply with some fresh tomatoes. I figured that I would decide on the protein later. With our treasure trove of corn and tomatoes it really didn’t matter. The husked corn and ruby tomatoes were things of beauty.
Here is how I cook corn: Fill a pot big enough for the corn to have some room with water. Add the corn and about a tablespoon or two of sugar. Cover the pot and bring it to a boil. Once it comes to a boil, turn off the heat and leave it on the burner covered for about 20 minutes (a little less time if the ears are small). Serve with butter, salt, and pepper to taste. That’s it. Pretty straight forward and it always works.
The tomatoes were so beautiful, sweet, and juicy that all they needed was salt pepper and a drizzle of olive oil.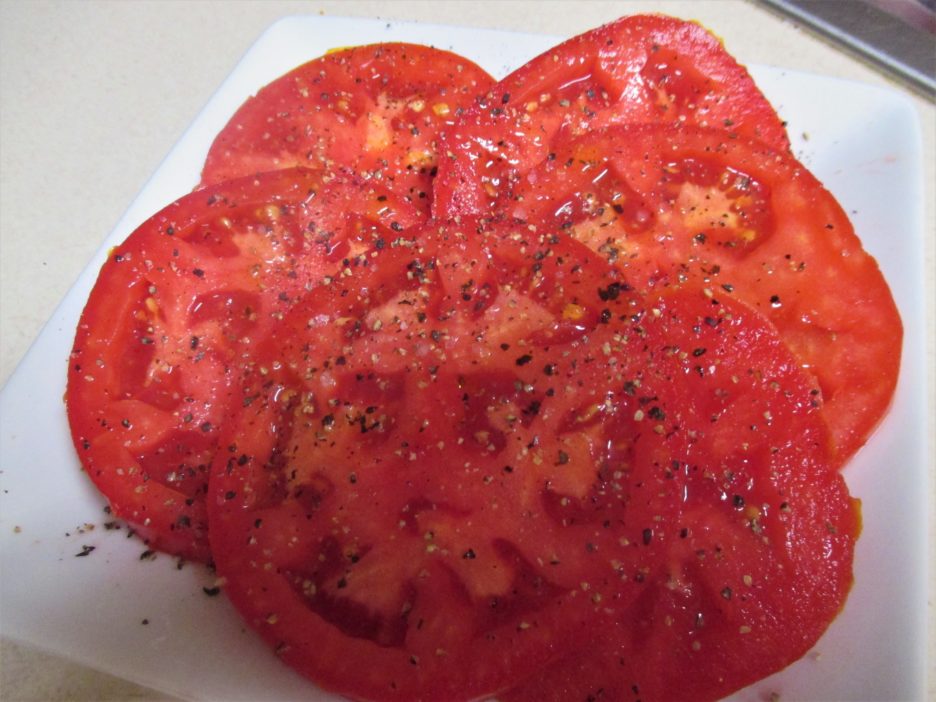
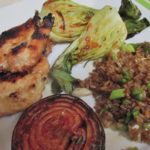
So we toasted the end of summer with another glass of the Fox Valley Rose as we ate the corn and tomatoes to our hearts content. I think that there might have been some Grilled Country Ribs (that are now in the refrigerator) on the plate, but it really didn’t matter.
When I think back about this summer, this may be one of my fondest memories; sweet corn that has just enough juicy crunch to delight the palate and the sweet and salty taste of sliced tomatoes. So simple, so fresh, so perfect.
Share this:


 We continue to discover new things that cook beautifully on the grill, as this post will show. We’ve done a one dish meal, grilled chicken (and an array of other proteins), and even a single ingredient for a recipe. This last being easy on a small grill that can be ready in 5 minutes.
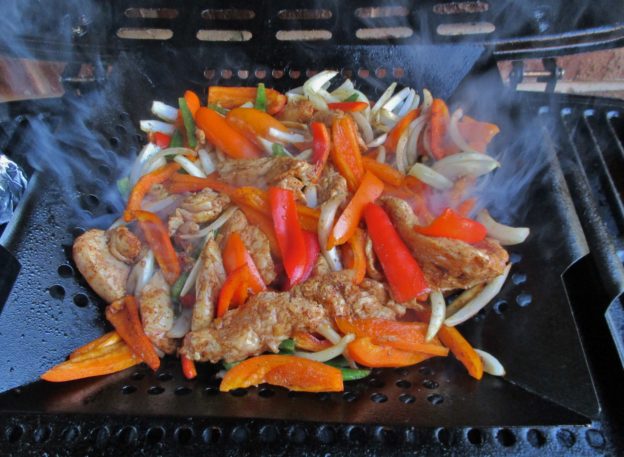
 I was inspired by a plethora of Sheet Pan Fajita Recipes. So, I decided to move my ingredients from the oven to the grill. This will work with any fajita recipe with just a bit of adaptation. My protein of choice was chicken breast. A Bag-o-Bits was in the freezer and this seemed like the perfect use for it. Marinating helps flavor the meat and amends the too long in the freezer time. This marinade would work for any protein that you want to give a citrusy southwestern flavor to.
 continue to use) dried onions and garlic in this marinade. Time saving was my first reason to use them. Yes, it doesn’t take much time to chop up onions and garlic, but it takes even less time to toss in their dried counterparts. I think they also impart more flavor, especially in long marinating. These are not new ingredients; they have been around forever, If you have relegated them to the back of the spice cabinet, throw them away and buy new jars. As with any spice they lose flavor as they age. They are relatively inexpensive so this is not a big waste.
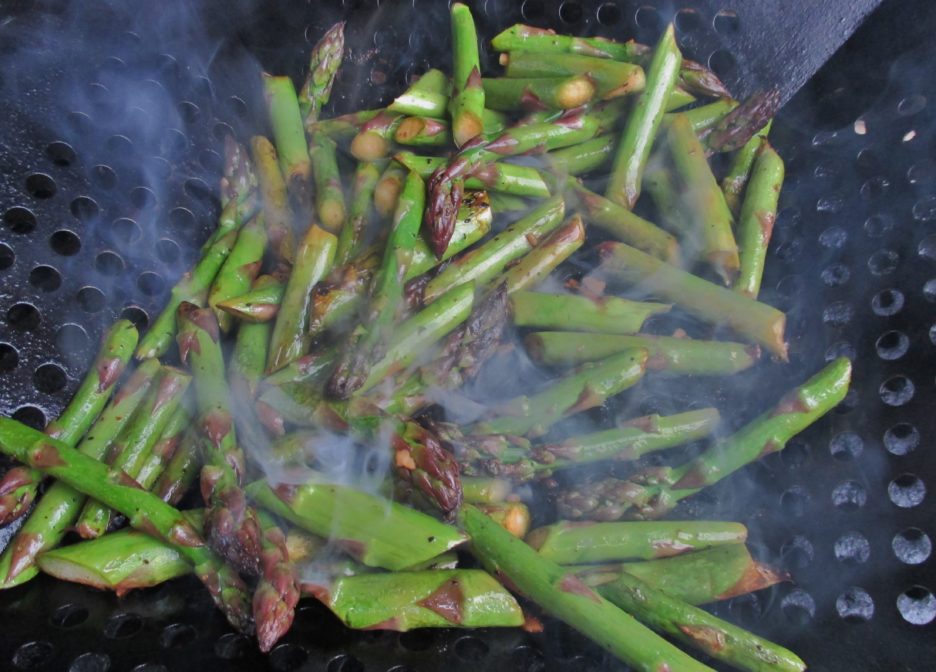
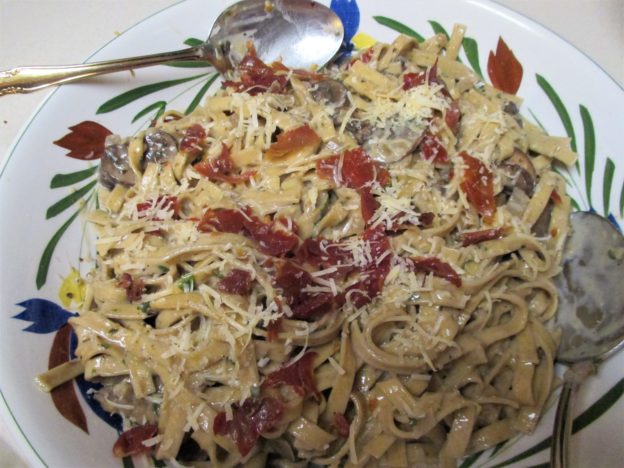
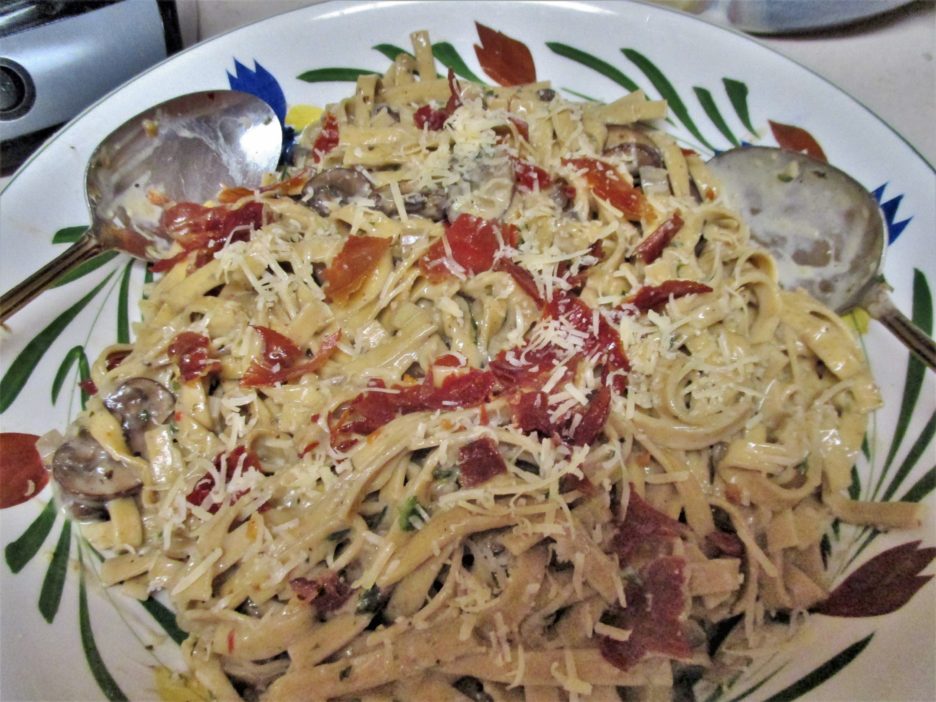
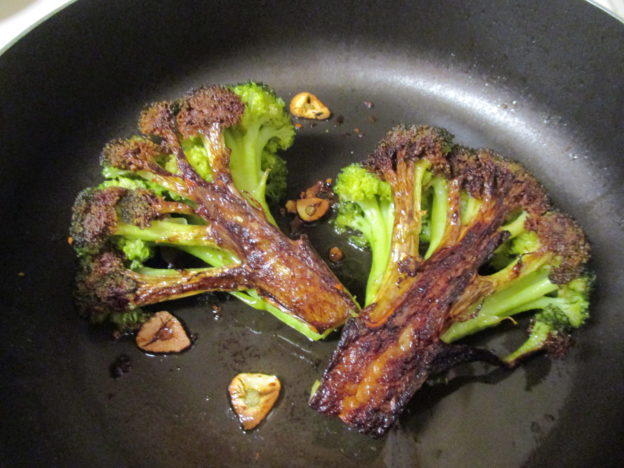
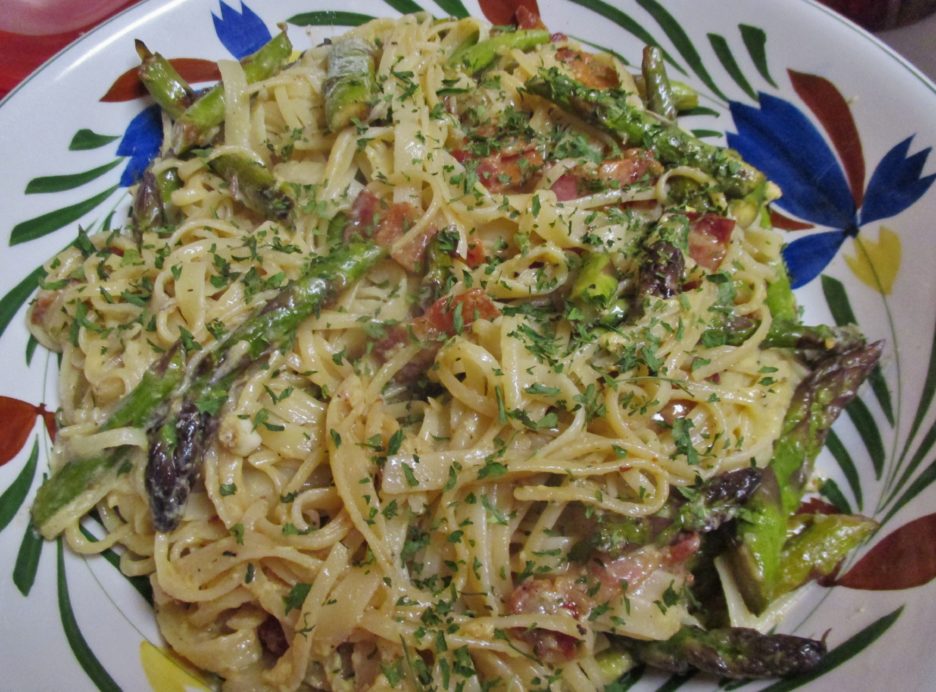 I made a not so heavy Carbonara recently that featured asparagus. Most vegetables have an affinity for the grill and asparagus is one of my favorites. I usually marinate it in olive oil, balsamic, and Italian herbs and grill the lovely spears until they have that perfect amount of char. The only difference was the spears were sliced into more pasta friendly pieces. (Pencil asparagus would work well whole in this dish.)