
When I think of soup from a ham bone, visions of thick and hearty Split Pea or Lentil Soup come to mind. There is nothing quite as comforting as losing oneself in the smokey richness that is found in a ham based legume soup. It’s the perfect partner for a cold wintry night. Winter is gone now (fingers and toes crossed) and Spring is in the air.
Like many, I was left with a ham bone from Easter Dinner (Thanks Jordan & Kelly it was wonderful). I went to the pantry and reached for the lentils, then thought better of it. As tasty as the result would be, the sun coming in the window and the trees beginning to turn green led my inspiration in another direction. Why not make Ham Broth out of the bone and use it as the base to make a lighter, brighter soup. And that’s just what I did.
The mirepoix was leeks, garlic, and carrots. Olive oil made its appearance in the pan to get everything sweating in the best way possible. The broth was added along with more than a few thyme sprigs and everyone took a nice long simmer.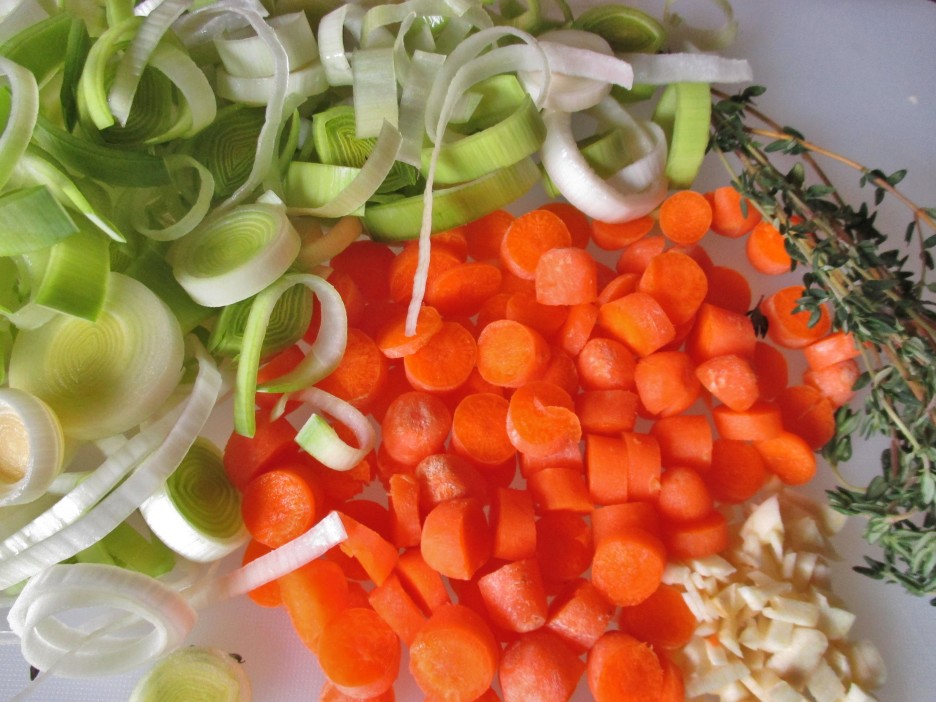
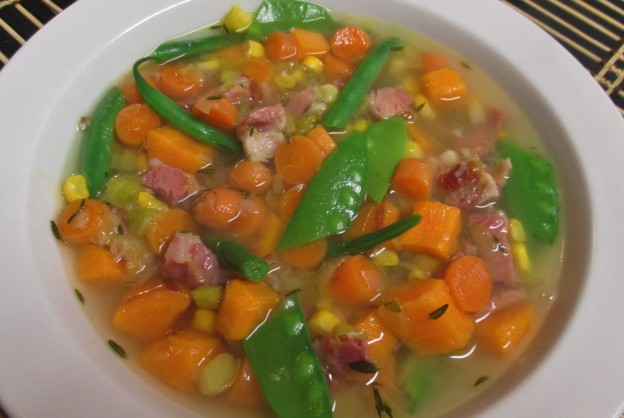
I know that sweet potatoes and corn don’t sound very spring-like, but they are the colors of spring (and often part of Easter Dinner). They were a colorful and tasty addition to this soup. I also added some haricot vert and snow peas. 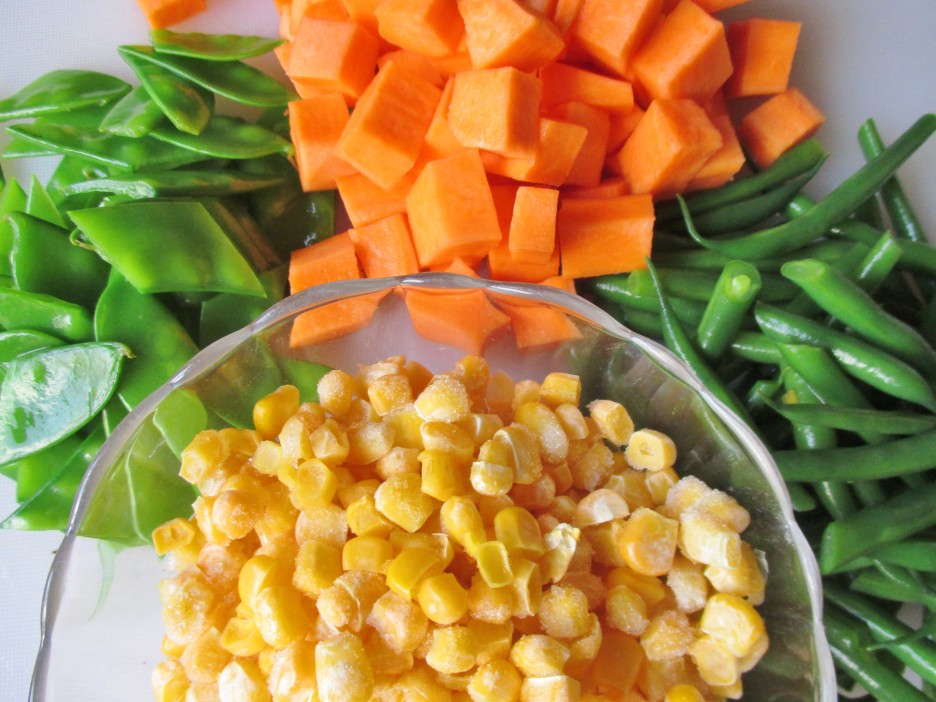
 It wouldn’t be ham soup with out ham so I added a generous cup of the ham bone trimmings. This meat is a little heartier and stands up to the long simmer that soup takes. Speaking of long simmering soup, the haricot vert and snow peas take only minutes to cook and can quickly turn dull, so I added them at the end. I actually blanched them and added them to the bowls before I ladled in the soup. The piping hot soup warmed them up and the crunch they gave to the soup was a bonus in flavor and texture. This soup was the perfect blend of light yet filling and comforting. Adding a grilled cheese sandwich to the meal would make it a perfect Supper.
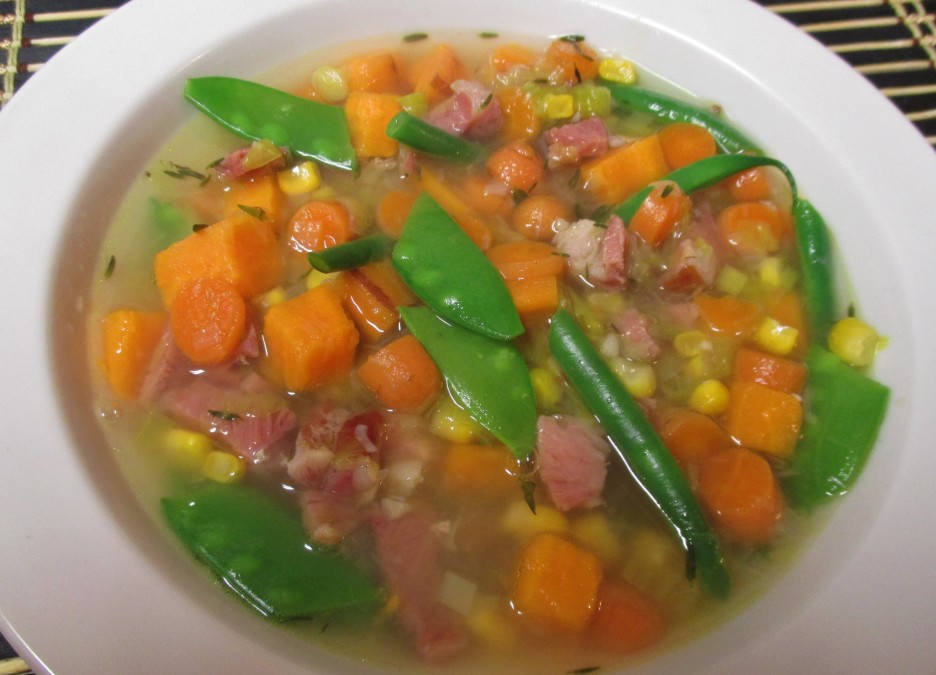

Soup is wonderful any time of year. With the new season’s vegetables coming in, take advantage of them and create your own soup pot of love.
Share this:


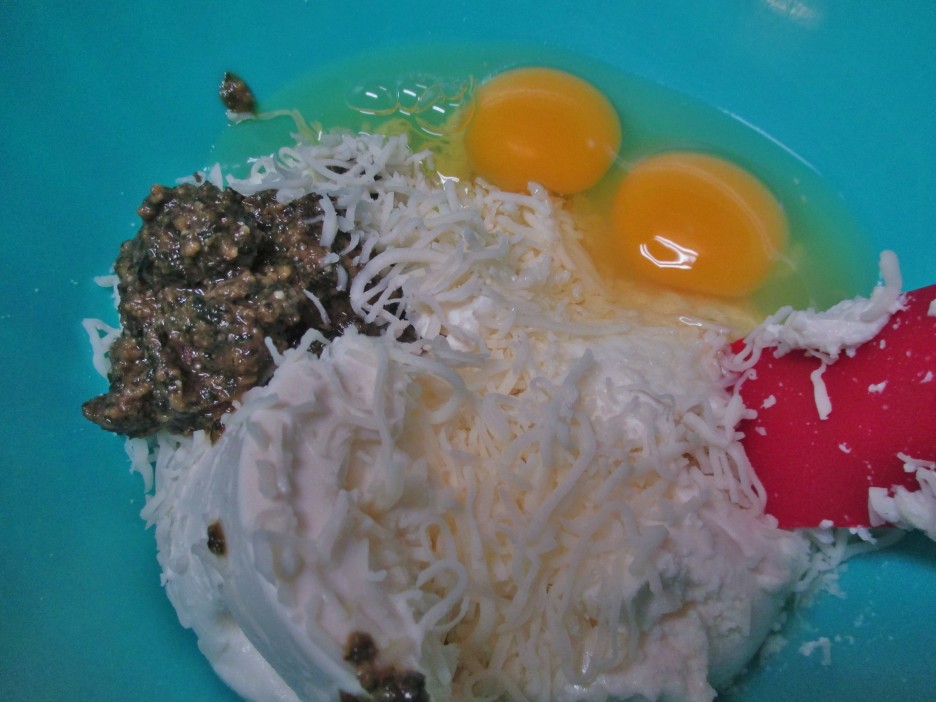 I combined the vegetables with this and the result was a creamy filling ready to hold its own in my lasagna.
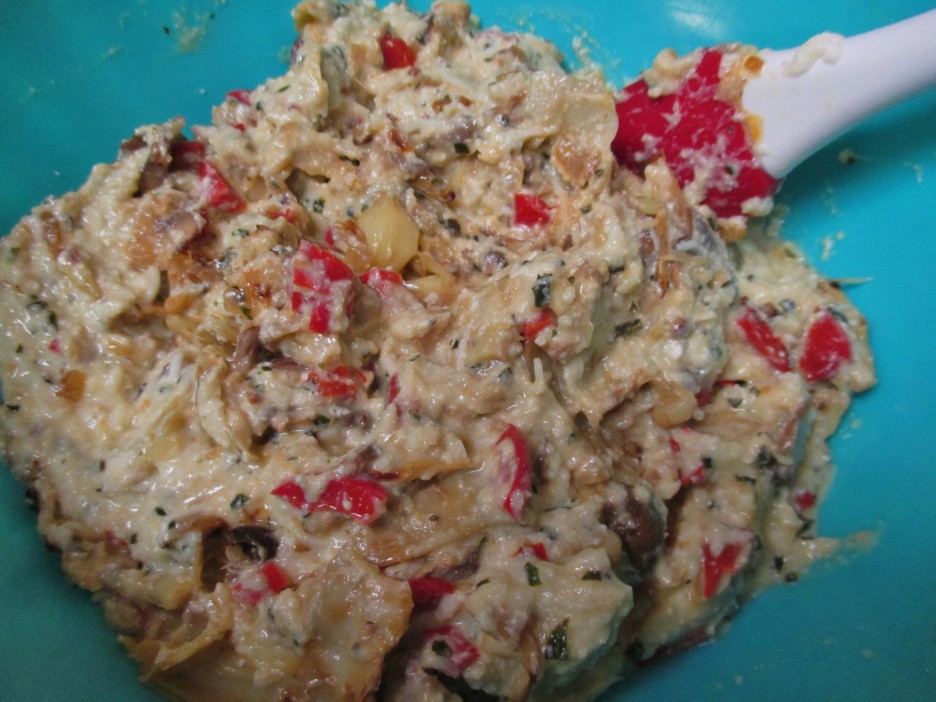 I decided to try whole grain lasagna and I can highly recommend it. The nutty flavor and sturdy texture added to the lasagna’s taste.
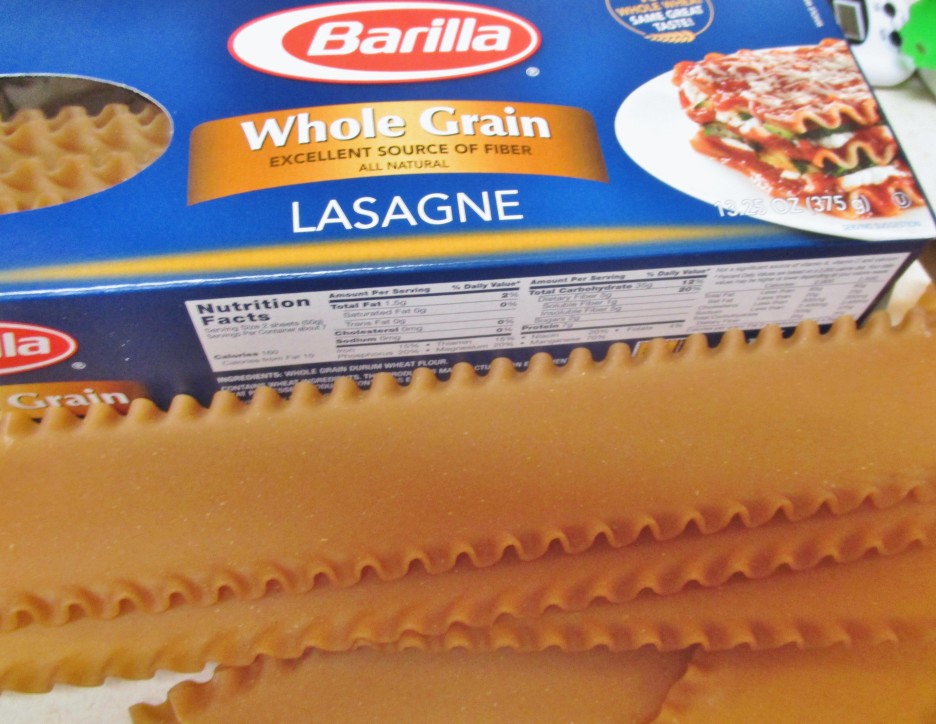 The lasagna went together in the usual way; layers of noodles, filling and cheese.
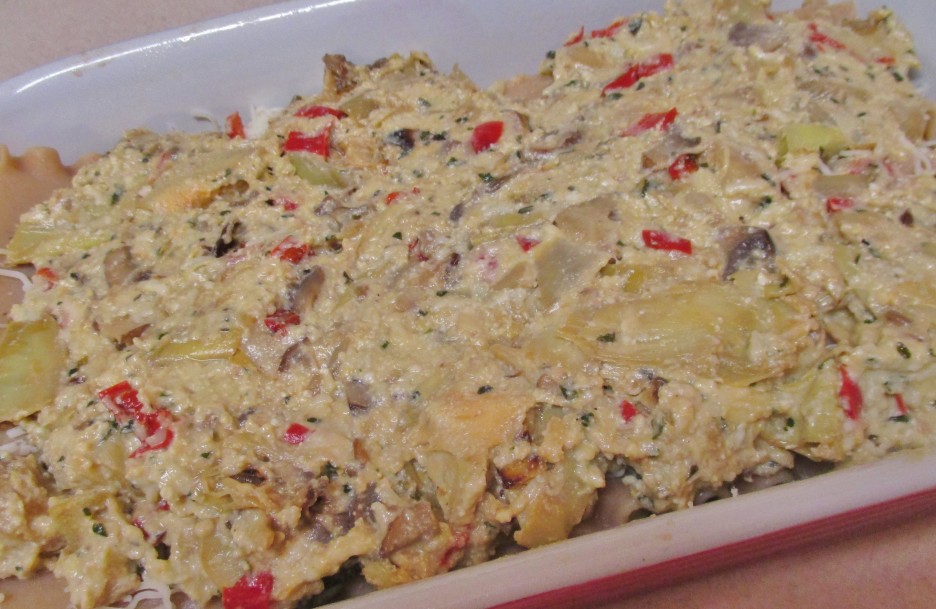 I topped it off with a Bechamel Sauce that I made with fat-free half & half and Cracked Pepper Toscano Cheese. This is one of my favorite Trader Joe’s items. It’s a creamy Parmesan type cheese that is coated in black pepper. Wonderful in cooking and a delicious addition to a cheese plate.
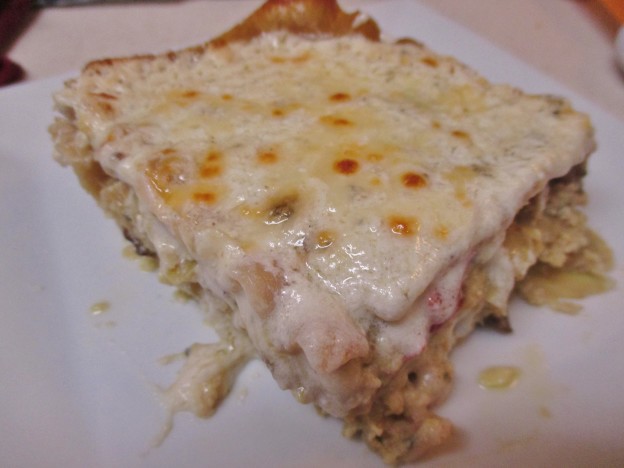
 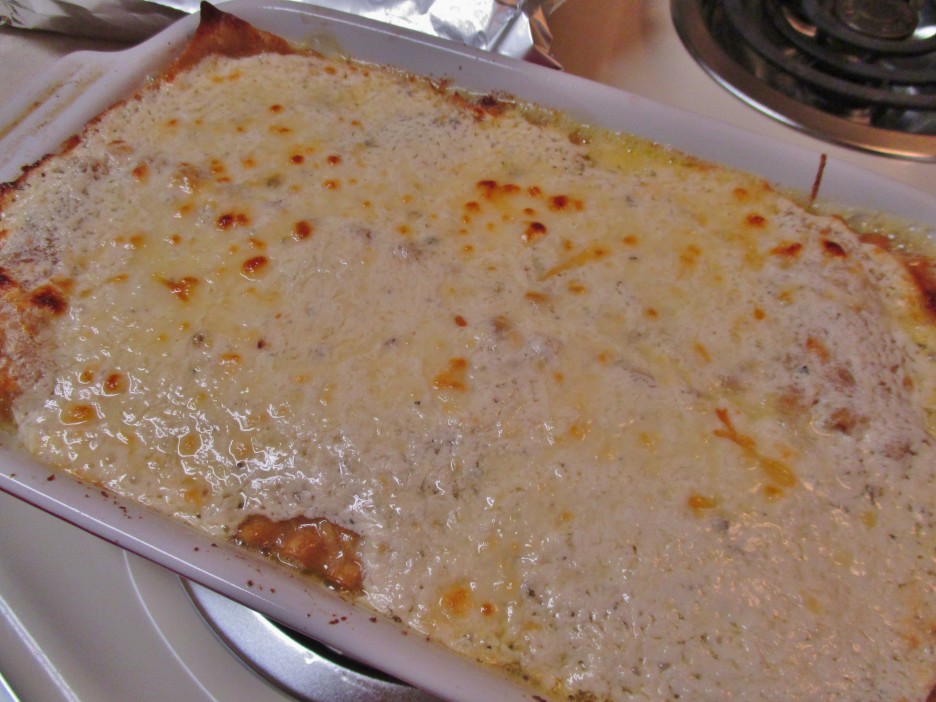 The lasagna emerged from the oven bubbly and golden as every lasagna should. After a waiting period that seemed endless, but was really about 15 minutes, it was ready to cut and serve.
 This was a win win for stolen inspiration and conscious en”light”enment. The filling was creamy and filled with veggie goodness. The six generous servings had plenty of cheesy goodness from modest amounts of ricotta and Italian Cheese Blend and of course, that killer Bechamel.


 The Spicy Shrimp Pasta that was the result was pretty tasty, too.
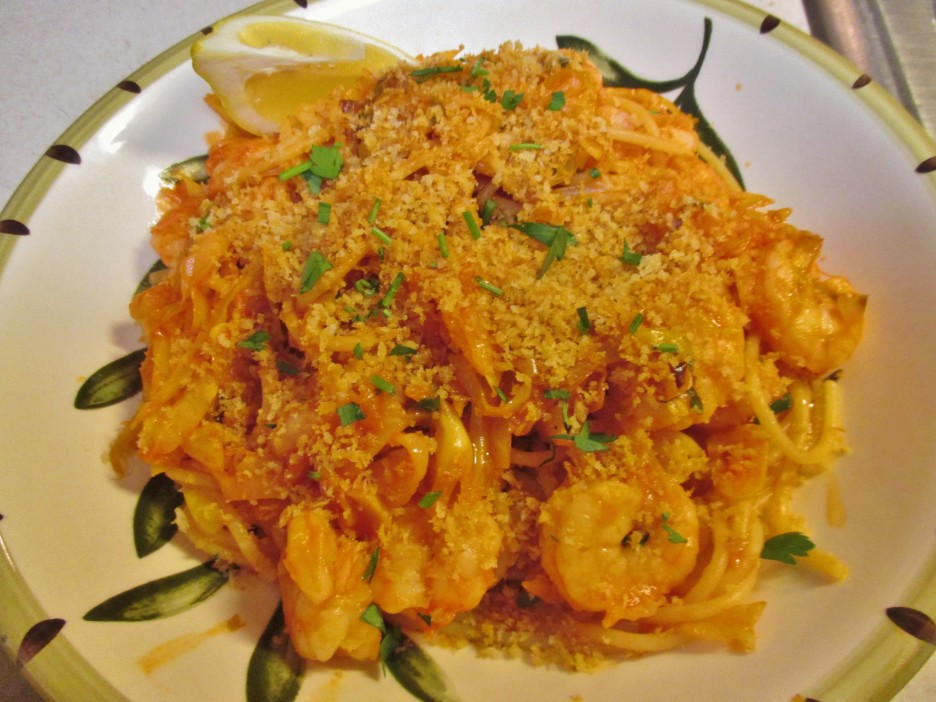
 We also enjoyed a Pub Burger on a Pretzel Roll that featured an
 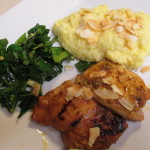 awesome Cheddar Cheese Sauce and Oven Fried Sweet Potatoes. I added some Honey Mustard Cole Slaw to balance things out. The final dinner was a Trinidadian Curried Chicken with Coconut Grits and Sautéed Collard Greens. By this time, I was I was ready to take a few liberties. I left the chicken thighs whole and cooked them on the grill. I only used a little of the herb mix that was included because I didn’t care for the taste. The grits were heavenly and the collard greens were the perfect side dish. Services like this have a place in many kitchens; great for busy couples that still want to have a home cooked meal. Being Mama D, I don’t always enjoy being told what to do,but in spite of that, I’m glad I got to try out this way of cooking. In between my Blue Apron Adventures, I was creating some dishes of my own. Here’s one that was particularly enjoyable….
 We’re slowly creeping into spring, but cold snaps are still popping up, so something hearty and warm is often a welcome supper.
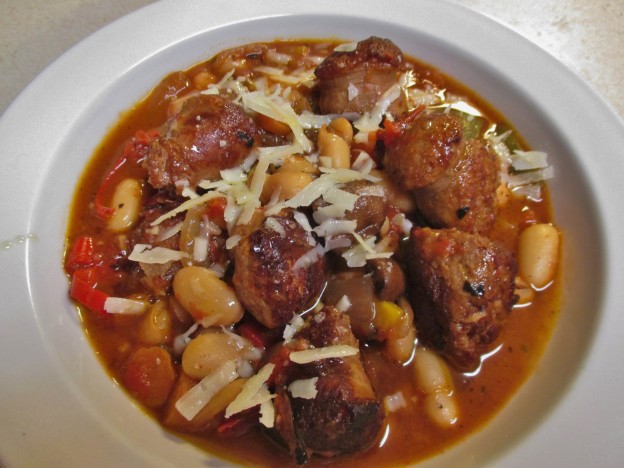
 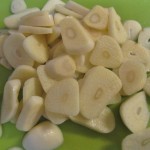 That’s how this Italian Sausage and Cannellini Stew came to the table. The cast of characters predominately came from cleaning out the refrigerator. Small amounts of veggies that couldn’t stand alone were combined with Turkey Italian
  Sausage and Cannellini Beans. I sliced what seemed to be a ridiculous amount of garlic, which turned out to be just the right amount. Chicken stock
  and fire roasted tomatoes created the liquid that was fortified with the wine left from the previous night’s dinner (yes, once in a while we don’t finish the bottle). I dubbed this a “stew” mainly because the liquid was less than what I would use in a soup. While stews usually simmer for an hour or more, this pot of goodness only took about 30 minutes Things came together quite nicely resulting in a stew that tasted like it simmered all day.
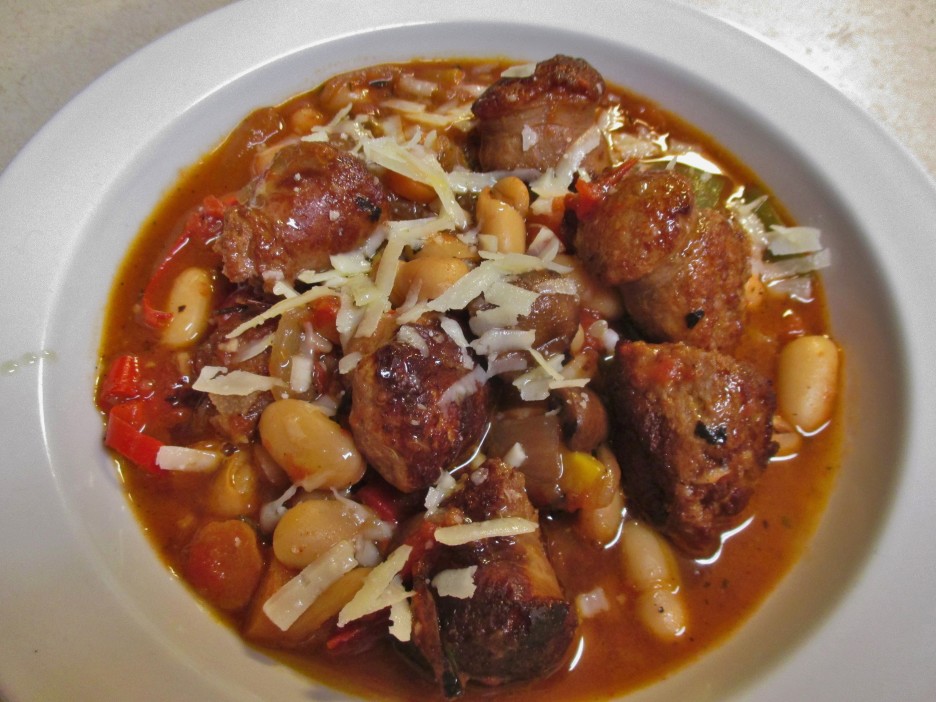 As with any of my recipes this is just a suggestion of the direction the dish can go. Use what you have on hand or love. Change the ingredients as much as you want. This is not a dish that comes in a box ready for you to prepare (not that there’s anything wrong with that). Here’s what I did…now make it your own.


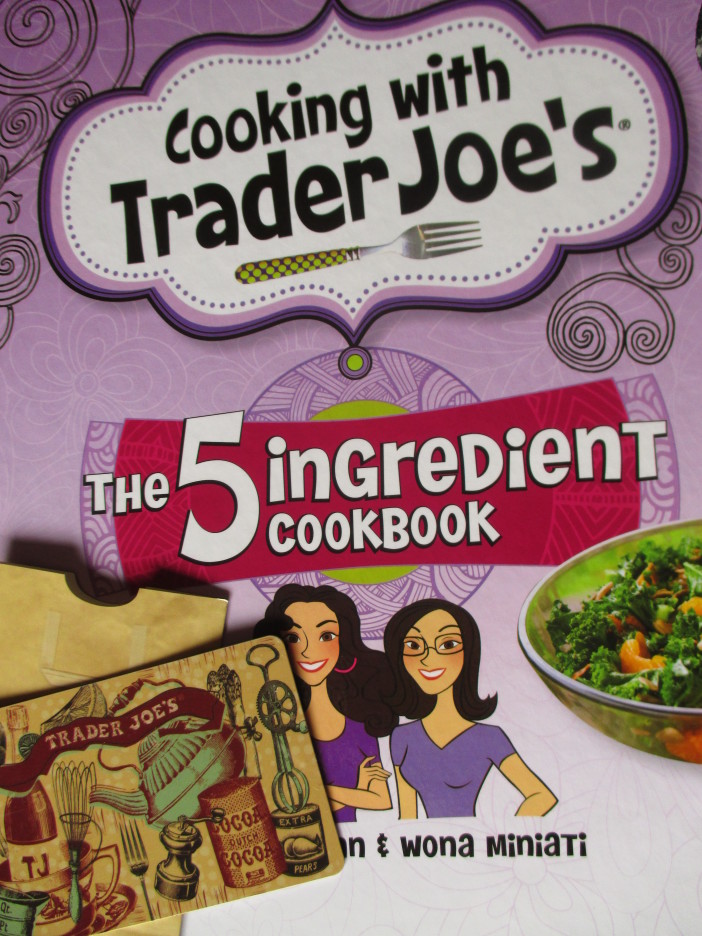 What was Mama D to do? As this site illustrates, I generally cook with more than 5 ingredients at a time. Still the book was fascinating. Lots of the recipes sounded delicious, and the limited number of ingredients made it all seem do-able, so armed with my gift card and some recipe ideas from the book, I paid a visit to my local Trader Joe’s. I came home with two bags of goodies. A few of my favorites like White Cheddar Popcorn and Frozen Artichoke Hearts had to come home with me (just because), but I also picked up some recipe specific items. Case in point; Frozen Country Potato Blend and Frozen Pie Crust both of which were new to my kitchen. These were the cornerstone of what sounded to be a great Meatless Monday supper, Country Potato Quiche
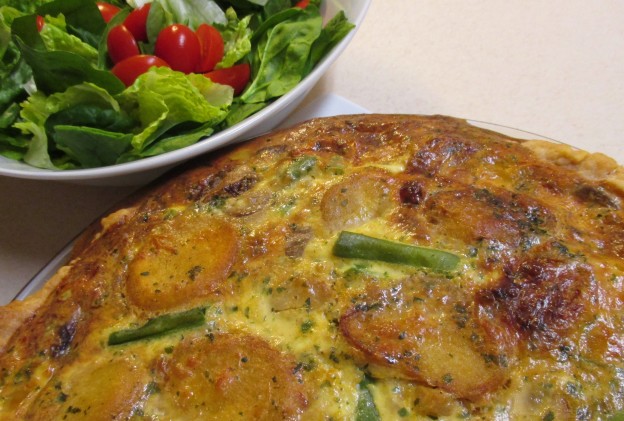
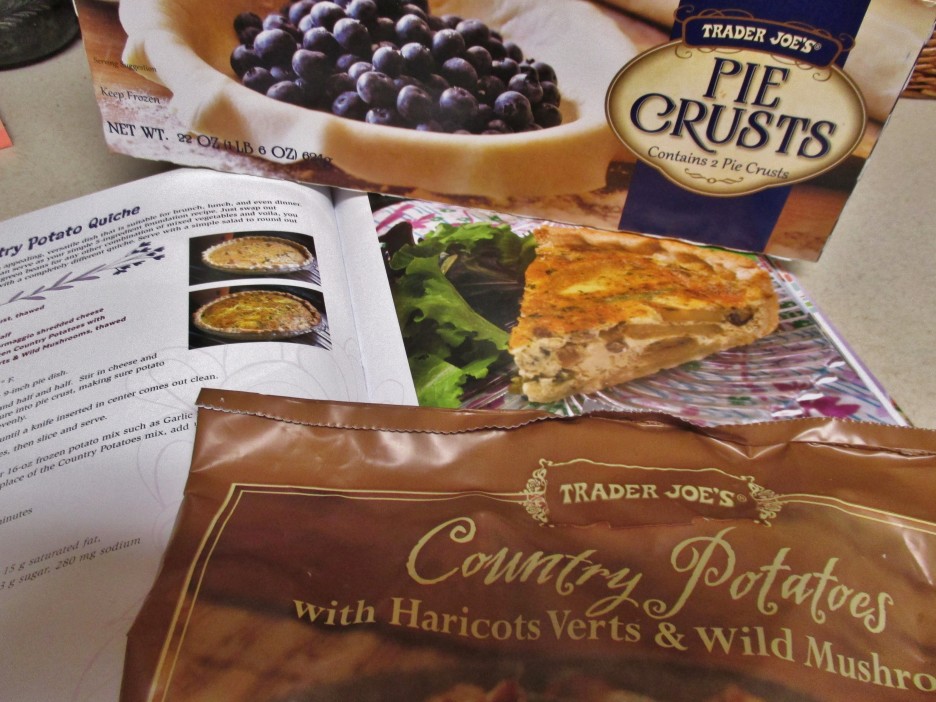 Besides these two ingredients the remaining cast was filled out with eggs, grated Italian Cheese blend, and some fat-free half and half (the last 2 being my personal substitutions). This was my first foray into frozen pie crust and I can’t say that I am a fan. The crust thawed into pieces, but once I gathered the pieces together and re-rolled the crust, I was in business. The filling was easy enough to make. All I had to do was mix the ingredients together in a bowl. The potato medley was quite unique as are many of the items at T.J.’s. Fried potatoes, green beans, and mushrooms made an intriguing and tasty base.
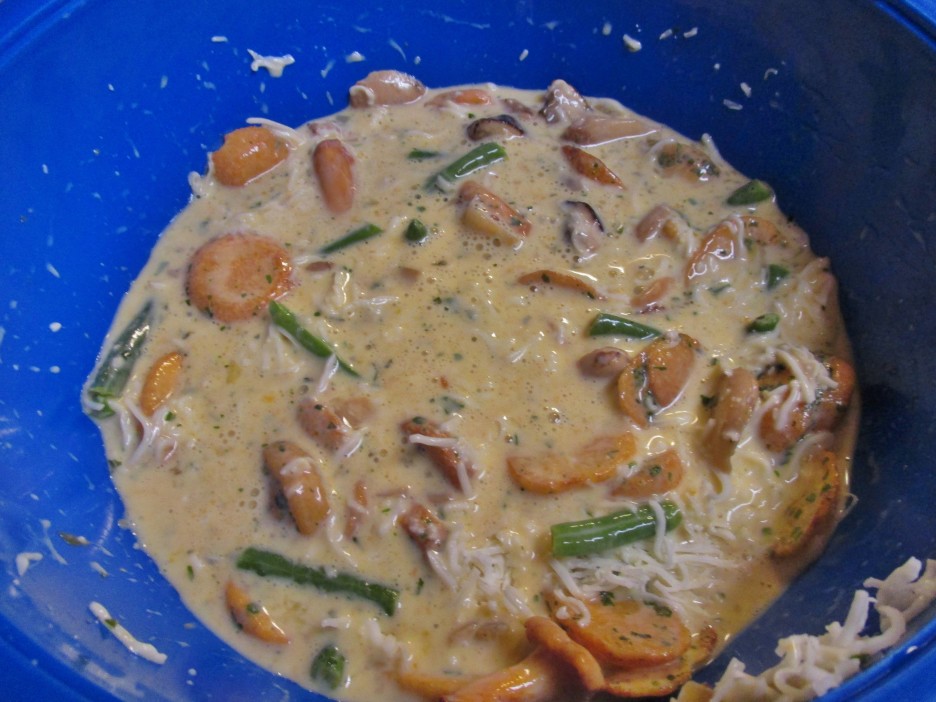 I decided to pre-bake the crust for 10 minutes to guard against a soggy bottom. Then it was a matter of pouring the generous filling into the crust (thankfully the pan was on a rimmed baking sheet which averted sure disaster). Once out of the oven it rested on its laurels for 15 minutes before making its way to the table, our plates, and ultimately our stomachs. A simple salad was the only other thing that was required (oh yeah, and a nice Pinot Noir)
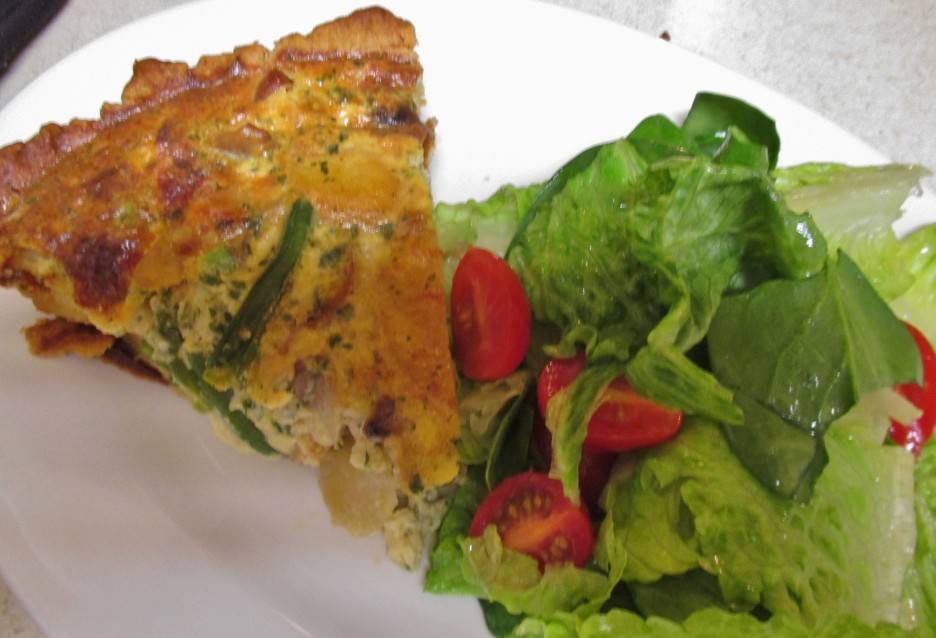


 With the water still boiling I added the cauliflower that was chopped into small pieces. I like my veggies “al dente”, but this is one time when a little overcooking is a good thing. Well cooked cauliflower results in smooth mash.
 The cauliflower went back into the pan along with the cheese spread that was at room temperature. They were mashed together just like mashed potatoes would be. The ratio was perfect so no other liquid was added. If things seem too stiff add some milk, a little at a time. Take it slow because you can’t take it out if you use too much.
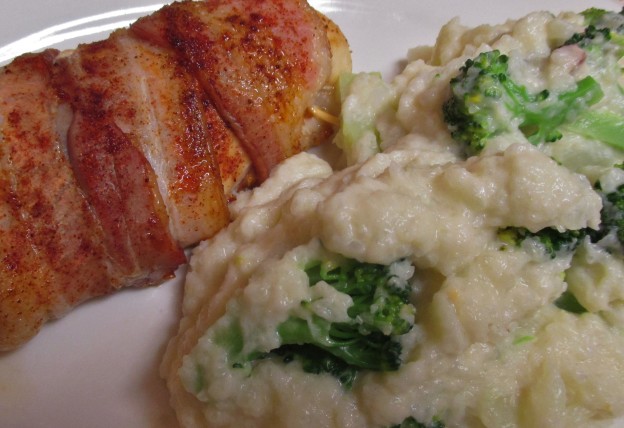
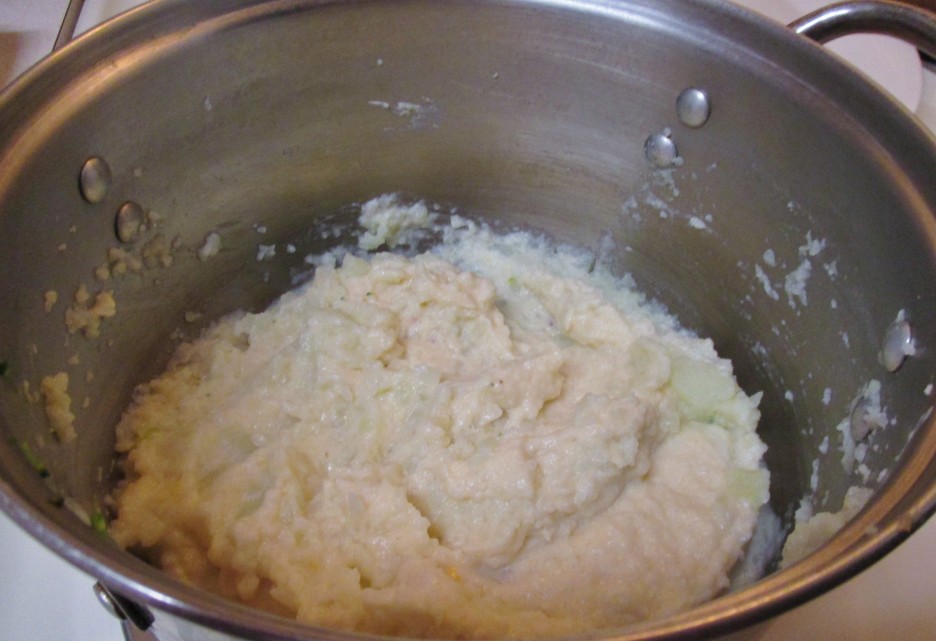 All that was left to do was fold in the broccoli and grace the dinner plate with a generous mountain of creamy goodness. Yes, that is a bacon wrapped chicken breast that is peeking out of the corner. Since I was reflecting back on those low-carb days of old, I thought that I would go for the gusto and create an entire plate of goodness in their memory.
 Honestly, this side would be wonderful with anything. Give this recipe a try, and by all means make it your own.
