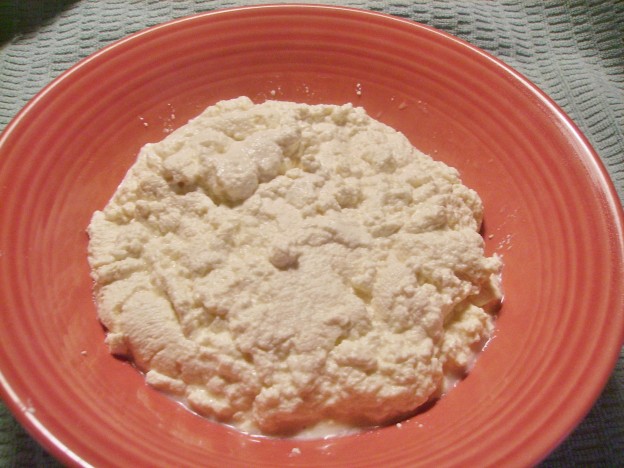

Ricotta, that creamy cheese in lasagna and ravioli is a staple in many kitchens Italian or otherwise. You can buy it in any grocery store, but it is so easy to make that it seems silly to do so. The biggest reason to make homemade ricotta is that it just tastes better.
Ricotta may be the easiest cheese to make. It takes 3 or 4 easily available ingredients. A large 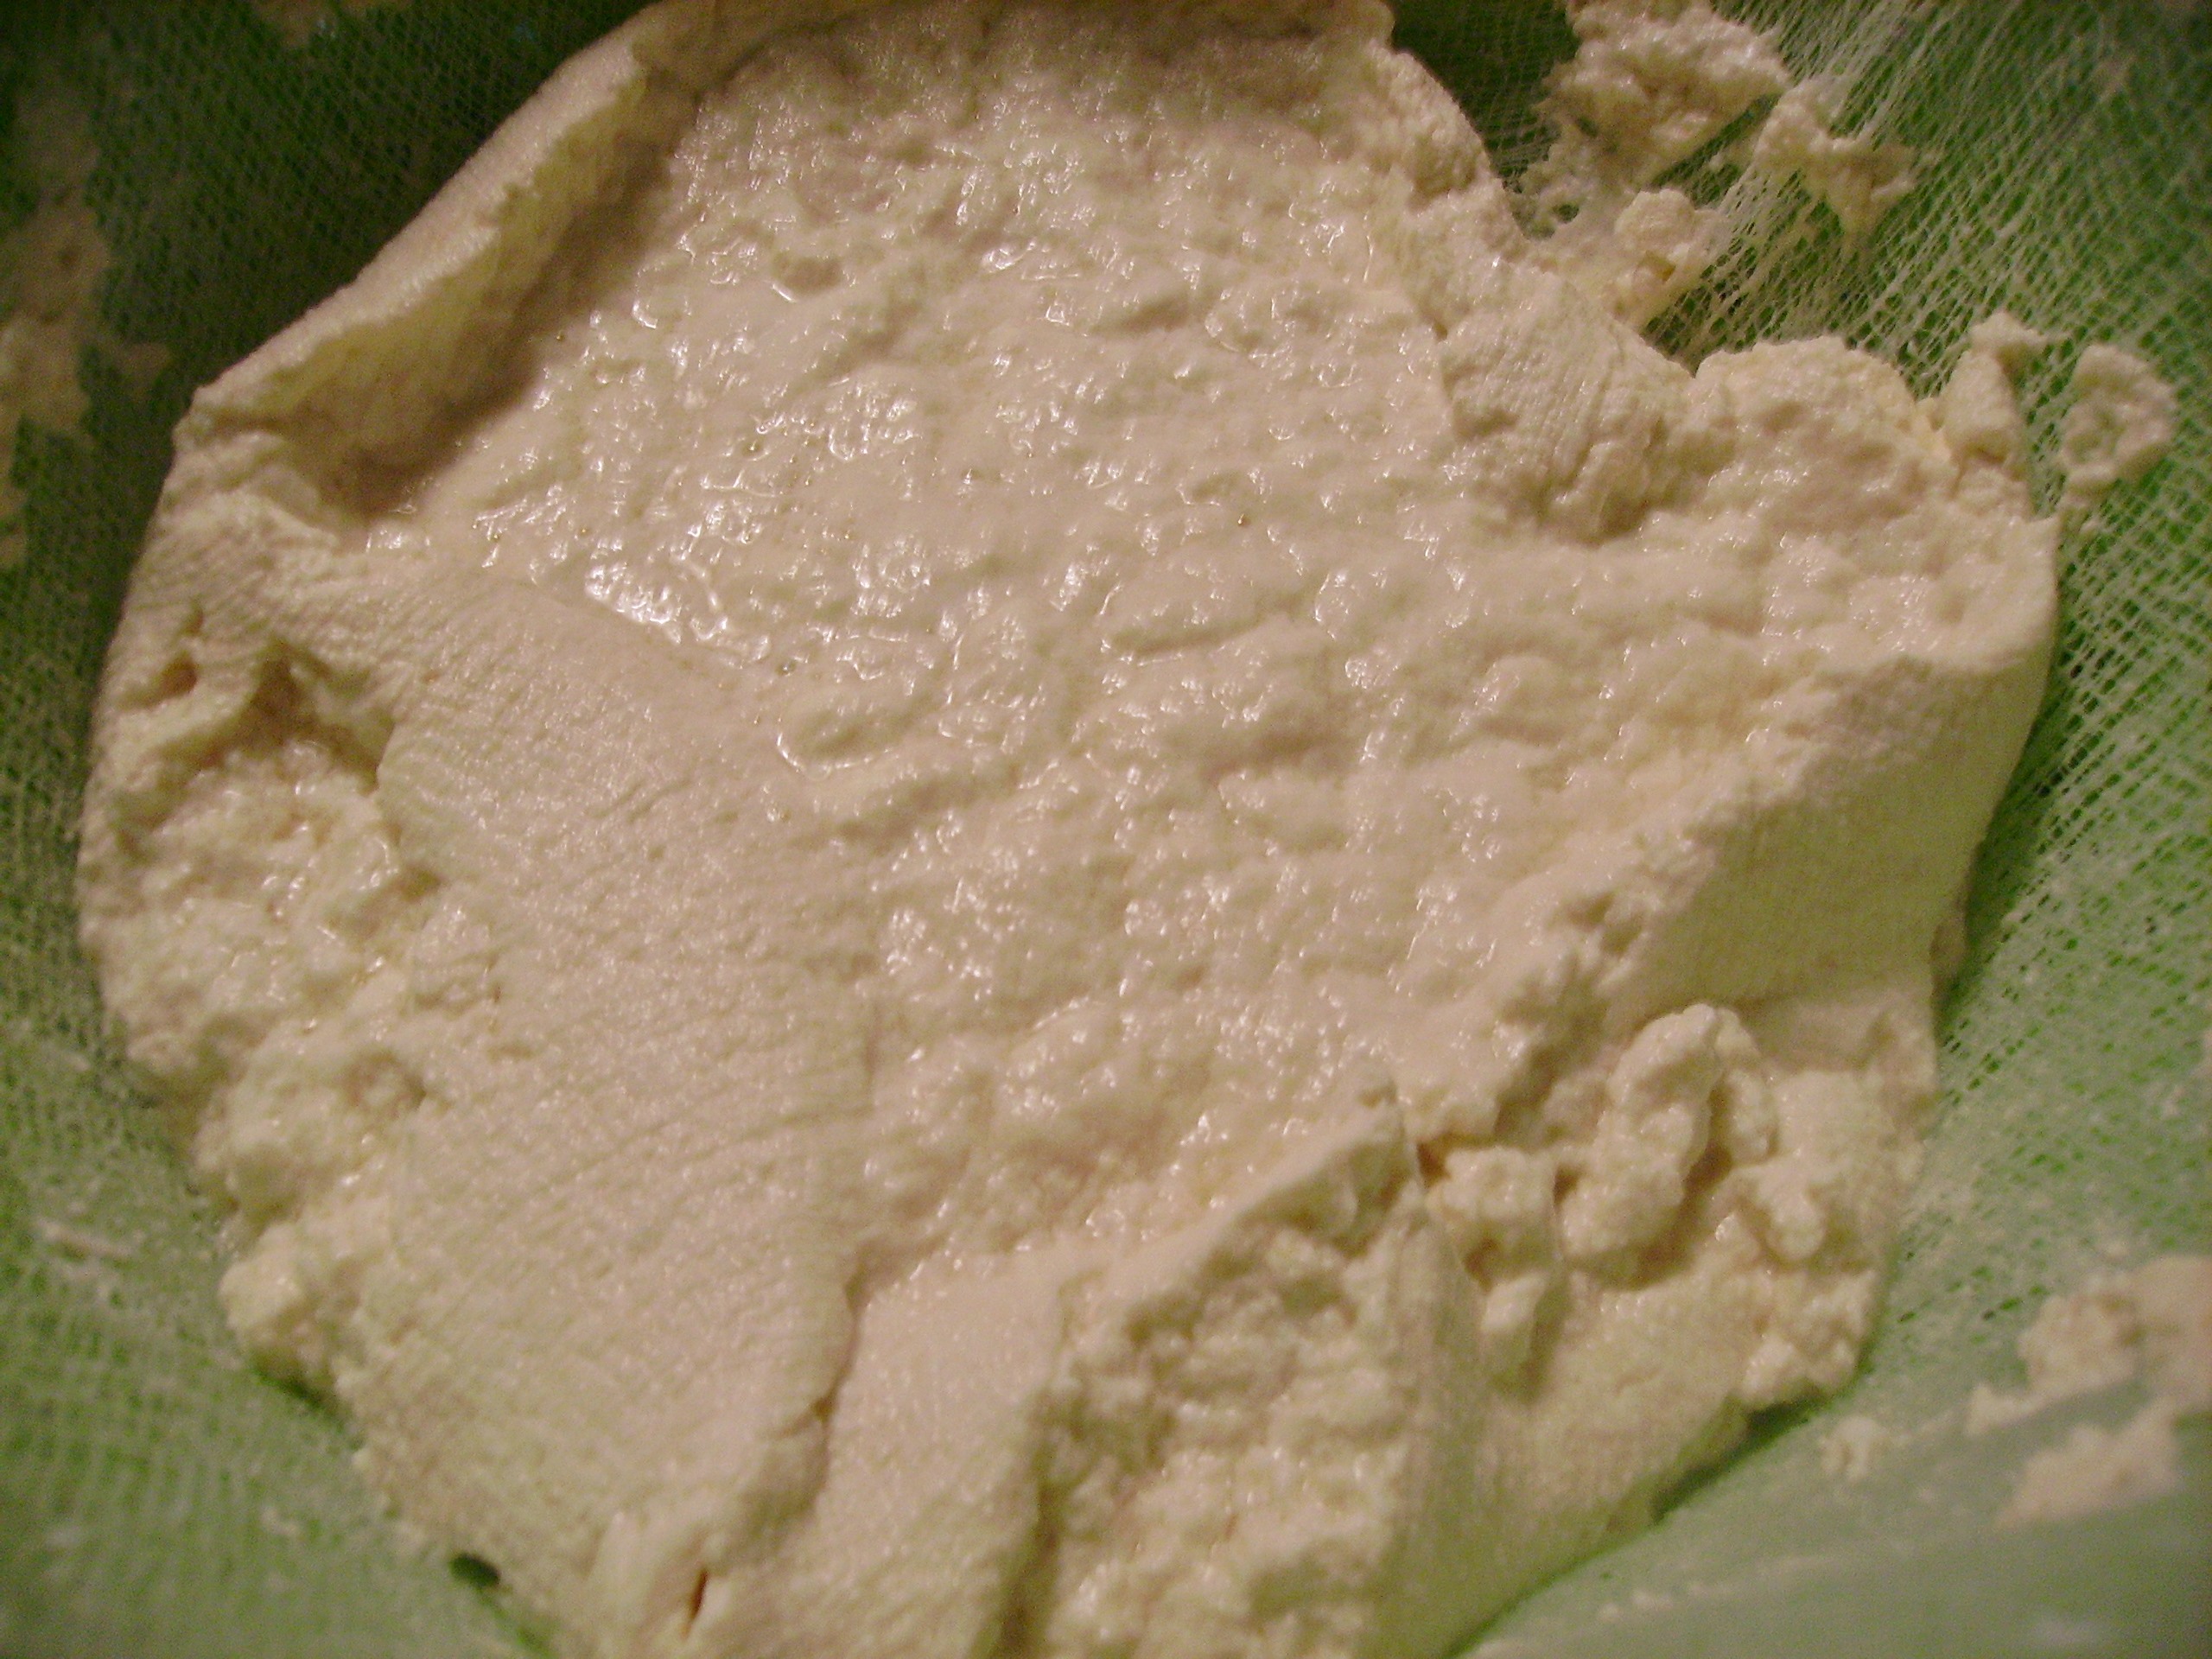 non-reactive pan. cheese cloth, and a strainer are the only tools you need. Time wise you’ll
 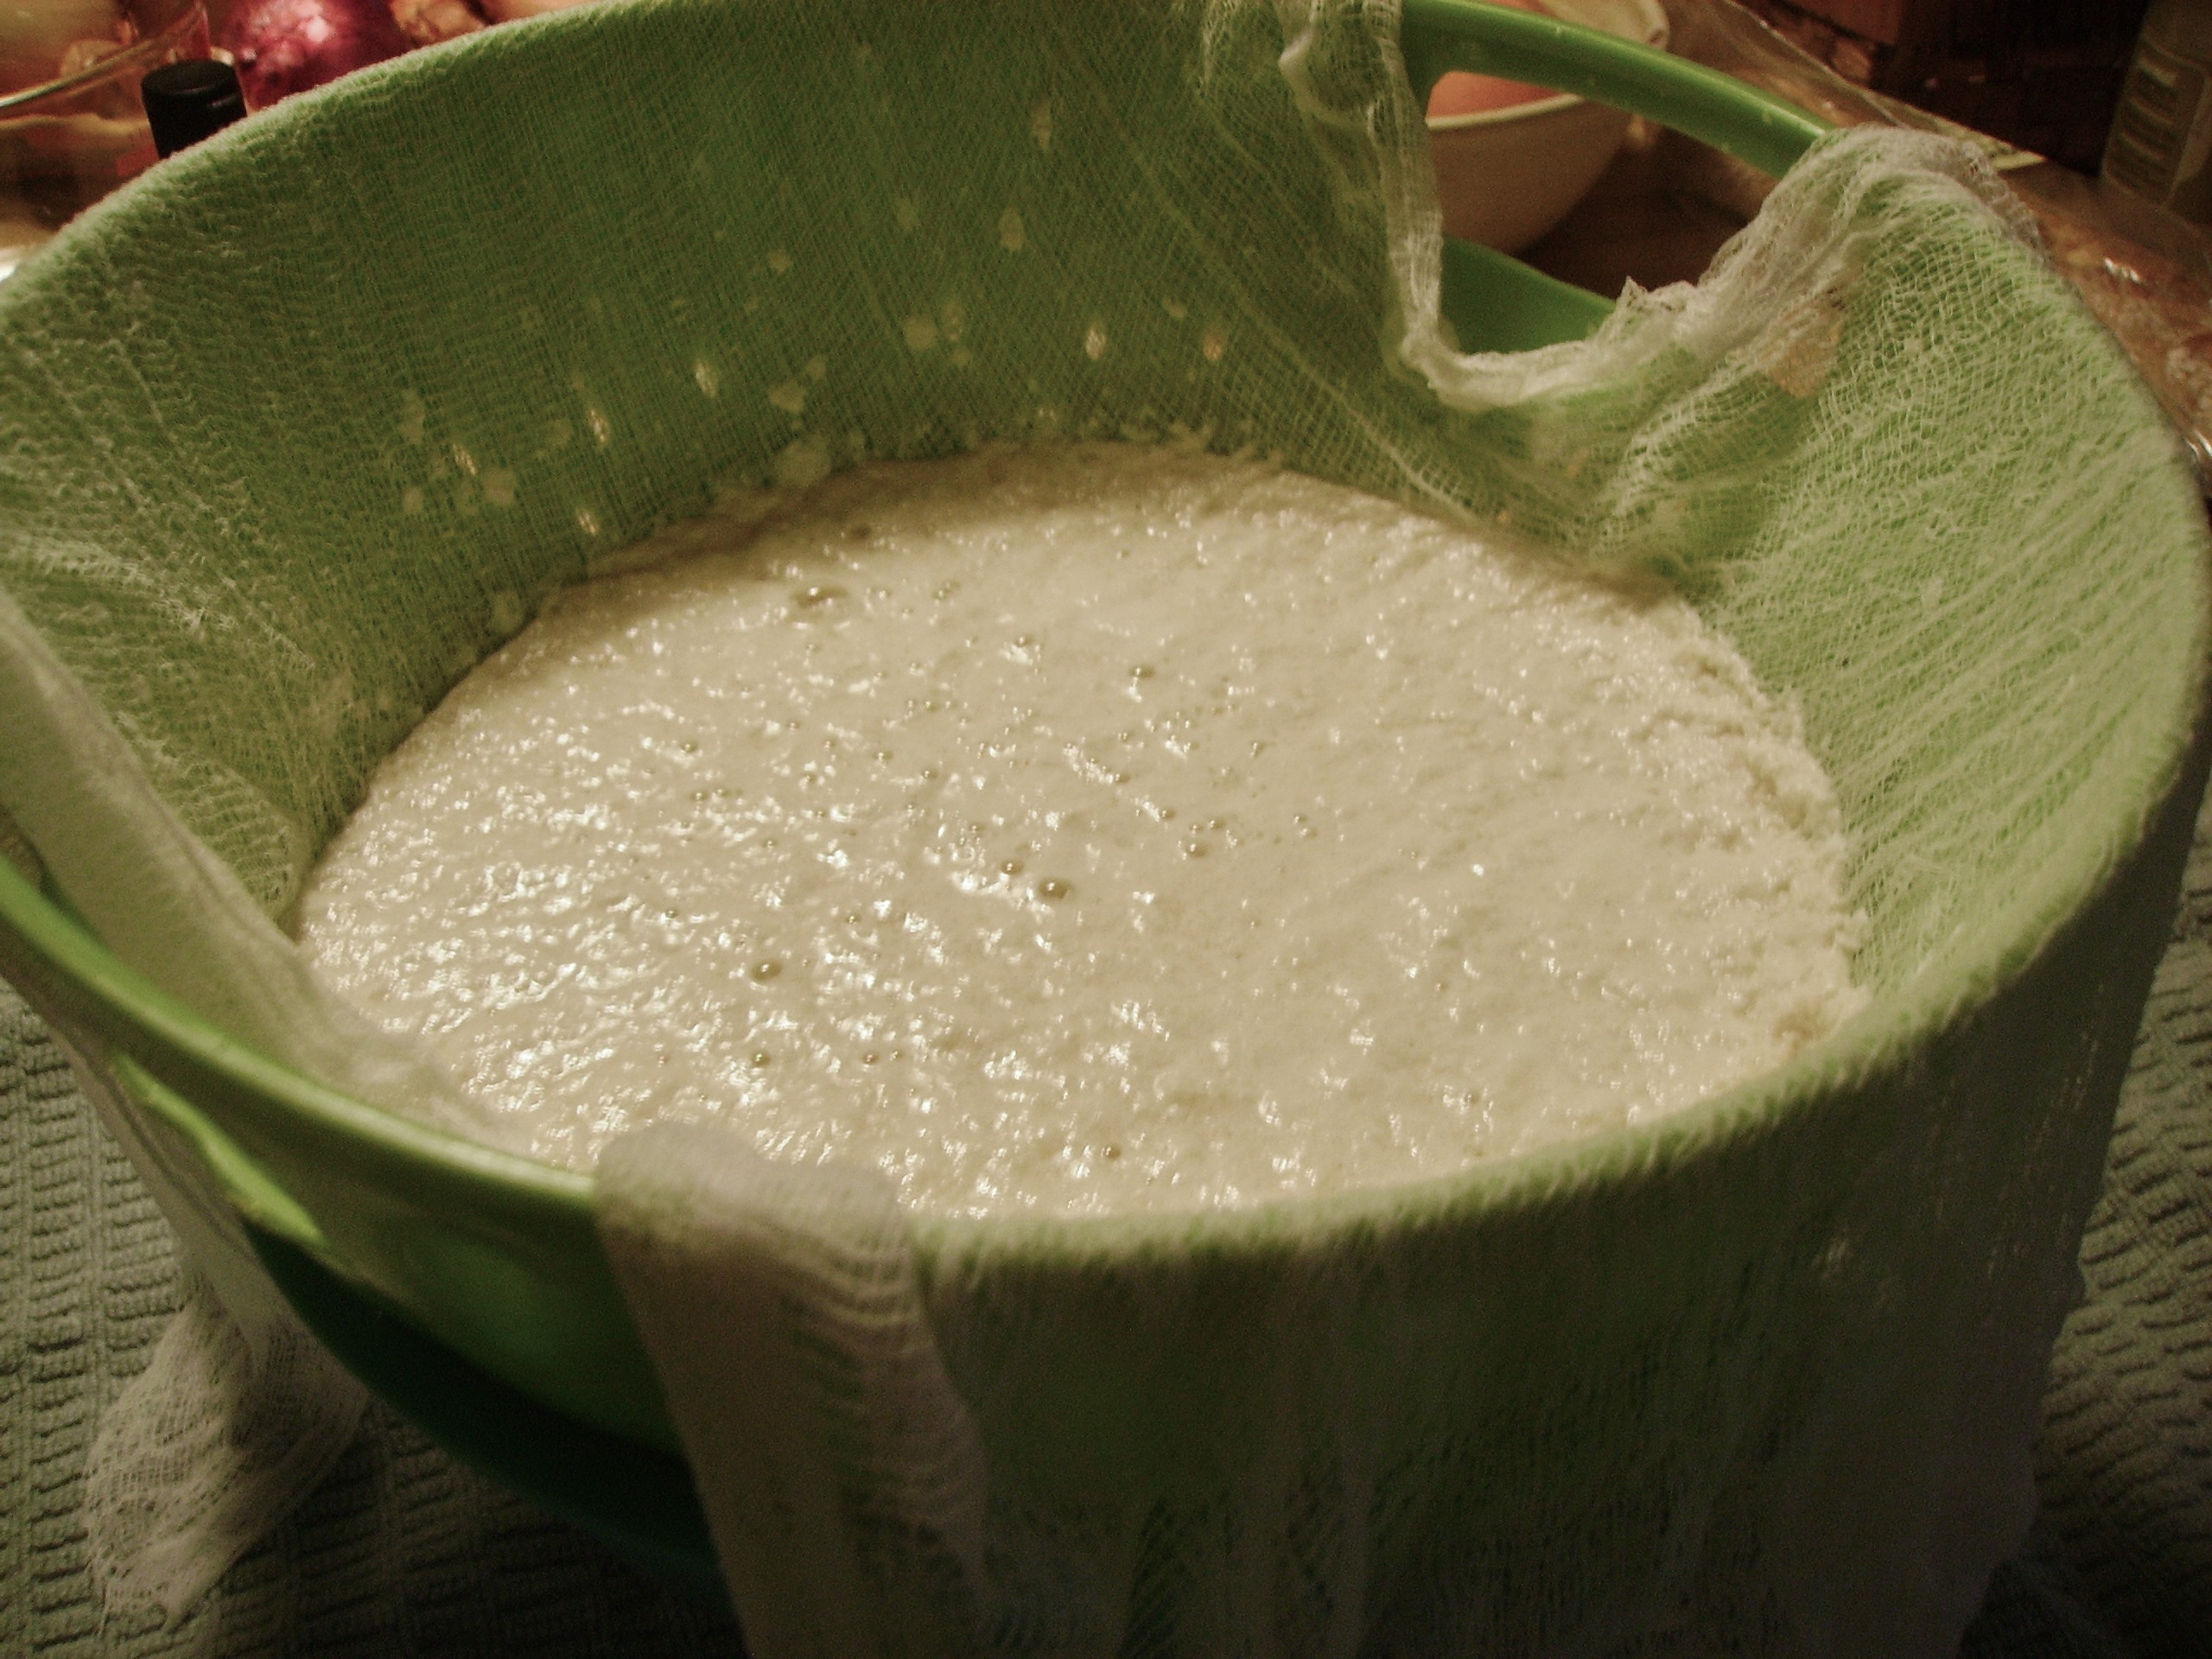 have cheese in a little over half an hour. Small investment for such a delicious indulgence.
I used to buy ricotta. It worked well in recipes and it tasted pretty good. Then one day I tasted homemade. The difference was night and day. Homemade was light and creamy. The taste was sweet with tart cheesy undertones. It made the pre-packaged grocery store ricotta taste heavy and bland.
Once I tasted the difference I set out to find a recipe for ricotta. For the simple ingredients needed there were lots of variations. Some used just milk, others used lots of milk and a little cream, I tried them all and the one I like the best comes from Ina Garten, the Barefoot Contessa. This recipe uses milk and cream in a 2:1 ratio. The resulting cheese is creamy and sweet with a light almost fluffy texture.
The original recipe uses White Wine Vinegar, I’ve substituted Lemon Juice and the taste is light and refreshing perfect for cheesecake and other sweet recipes. Champagne Vinegar imparts elegant yet fruity flavors perfect for spreads and as a garnish for pastas and soups. The current batch that I used in these recipes was made with Sherry Vinegar. This imparted a toasty oak flavor that was quite unique. It tasted like fall .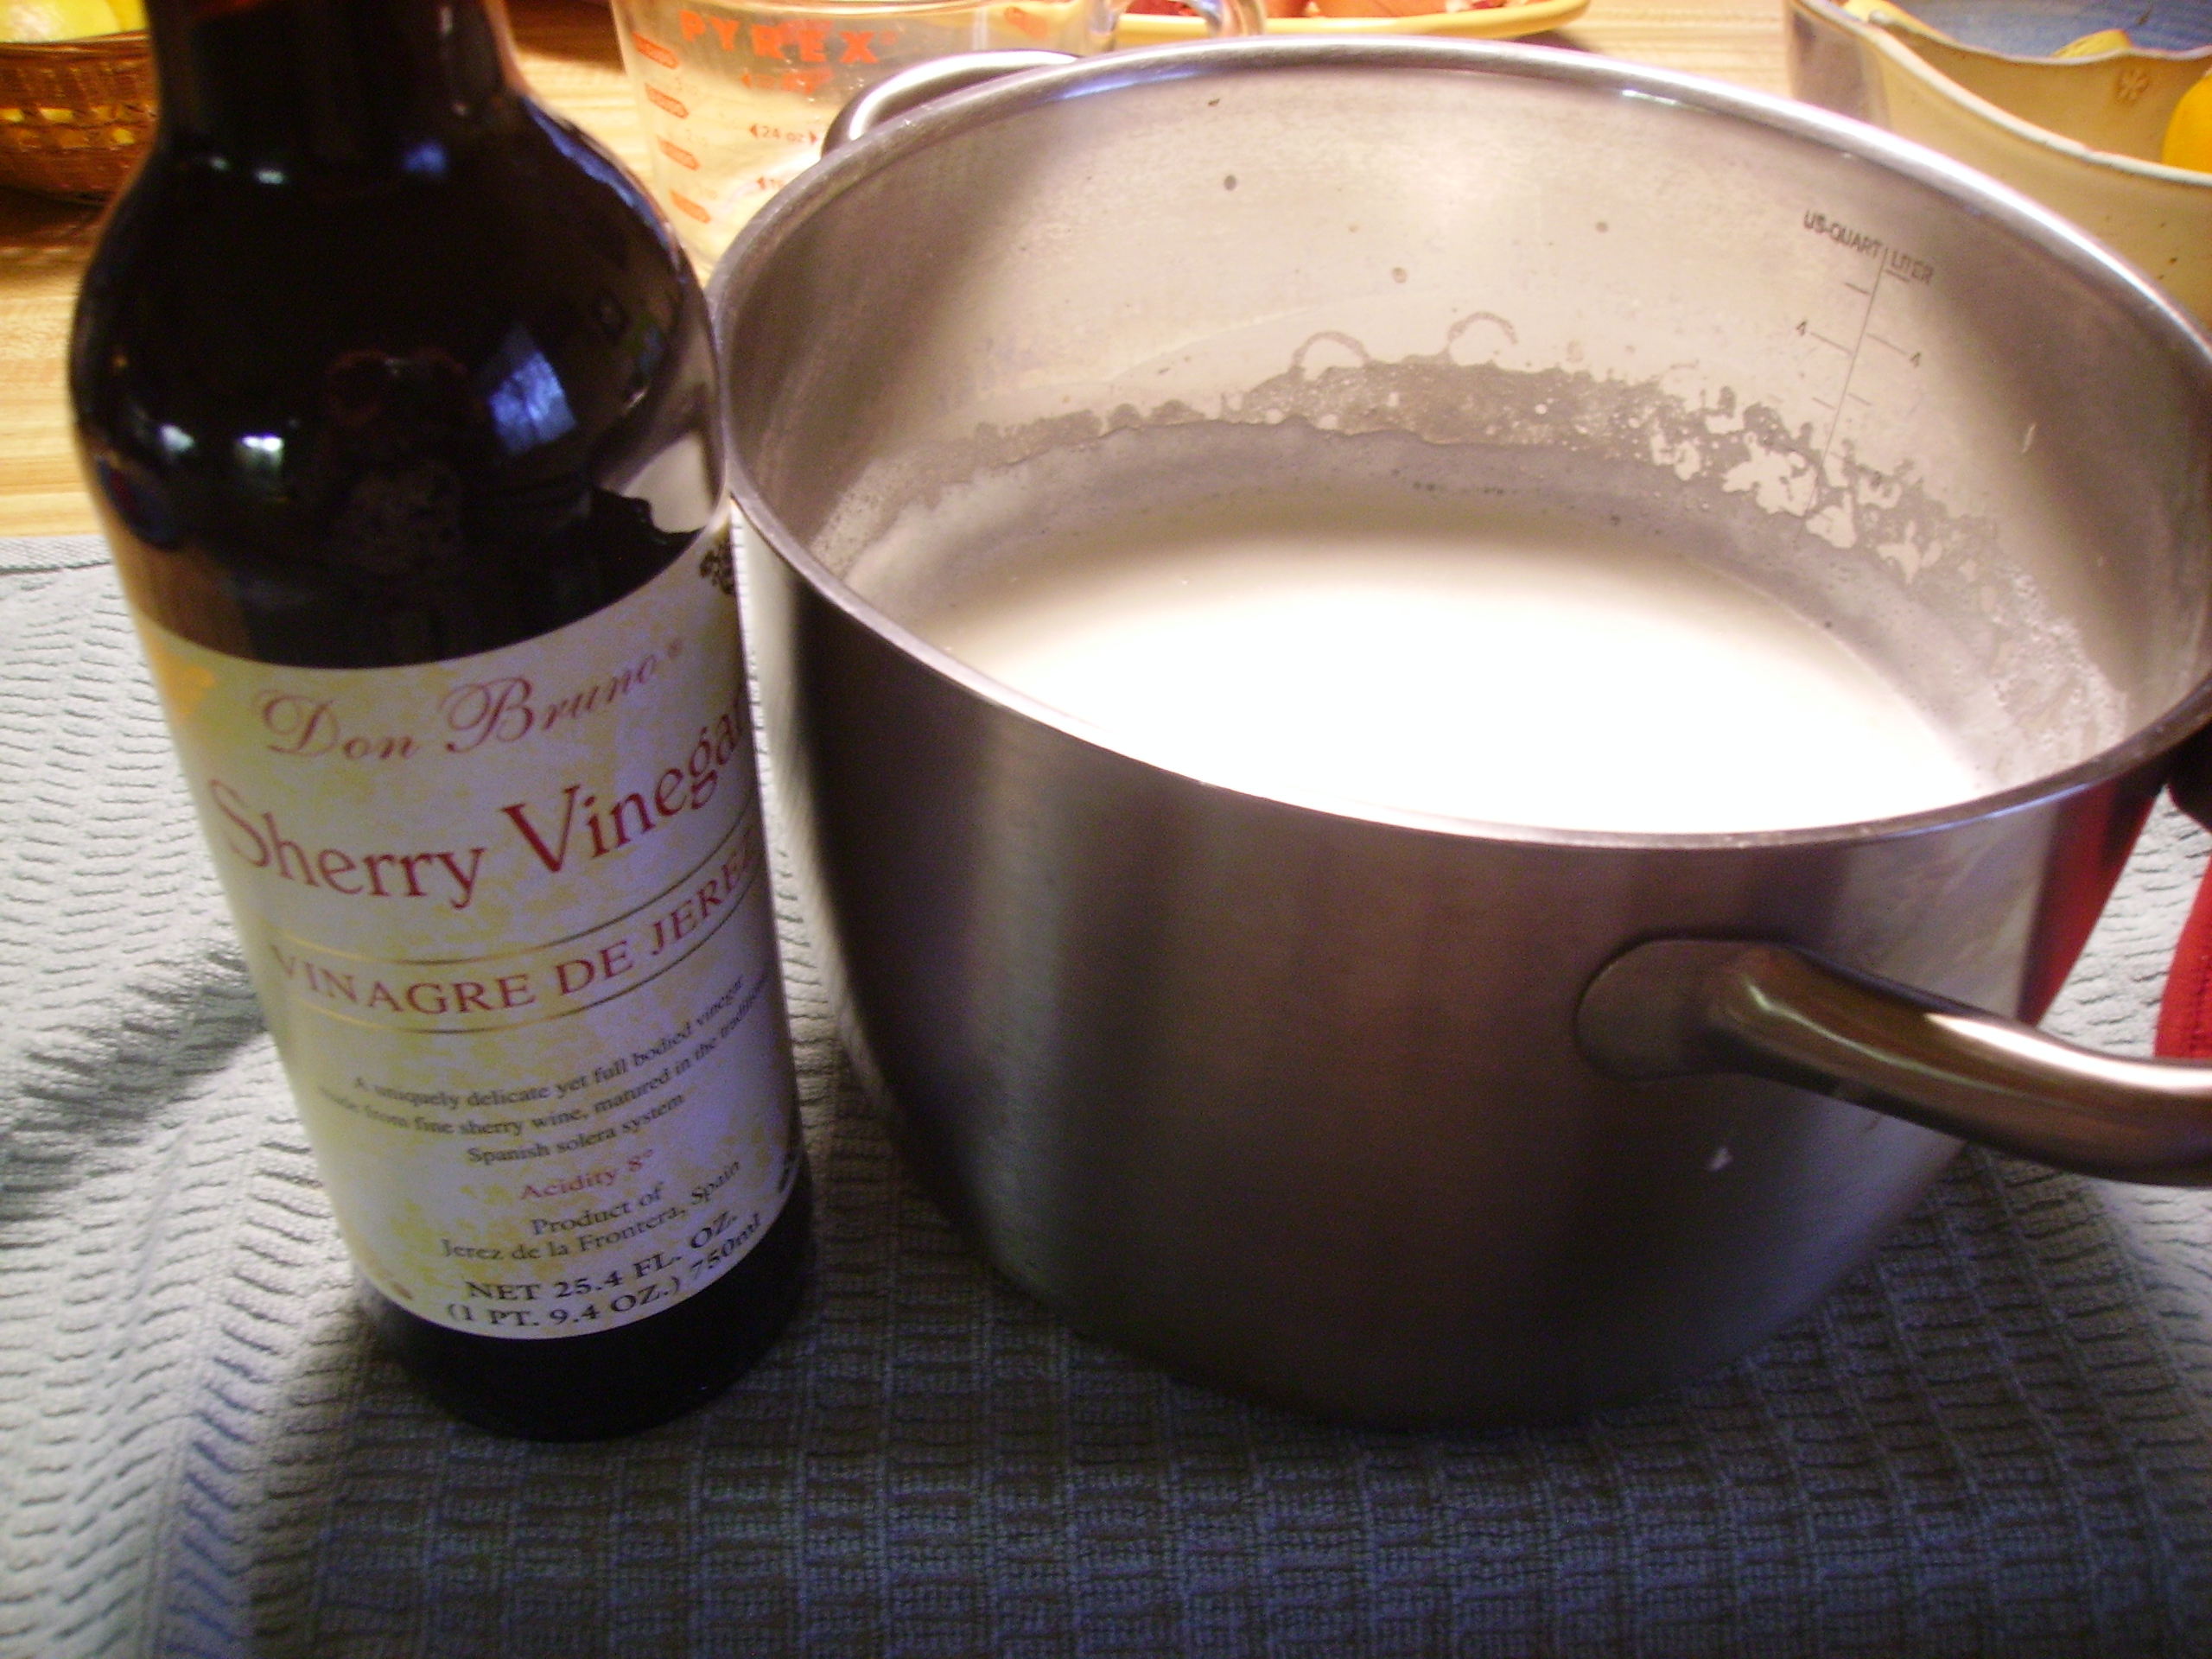
The following recipe lets the ricotta shine and makes a versatile appetizer.

- 2 Cups Homemade Ricotta
- 1/2 Teaspoon Garlic Powder Optional
- 1/3 Cup Fresh Herbs, chopped Whatever you love, but do include chives
- 2 Teaspoons Lemon Zest Optional
- Coarsley Ground Pepper Peppercorn Medley works well.
- Place ricotta in medium size bowl and add the ingredients of your choice. Stir gently to blend everything together.
- Store in a covered container in refrigerator for at least 2 hours. The longer it gets happy, the better it tastes.
- Serve with Bruchetta as part of a Crostini Bar Use in your favorite filled pasta recipe. Just eat it with a spoon. Any leftovers will keep in the refrigerator for up to 4 days.
While I love this ricotta as it is, I wanted to use it in a recipe but one that would showcase the lovely ricotta not hide it under a rich tomato blanket or smother it in a silky layer of cheese. Not that there’s anything wrong with that.
And so I embarked on cannelloni. Currently being a stay at home cook, I opted to make the pasta from scratch. Being super old school, I made the flour nest and kneaded the dough by hand. (My favorite pasta recipe is Ann Burell’s.) Then using my trusty Atlas Pasta Machine, I made the pasta strips.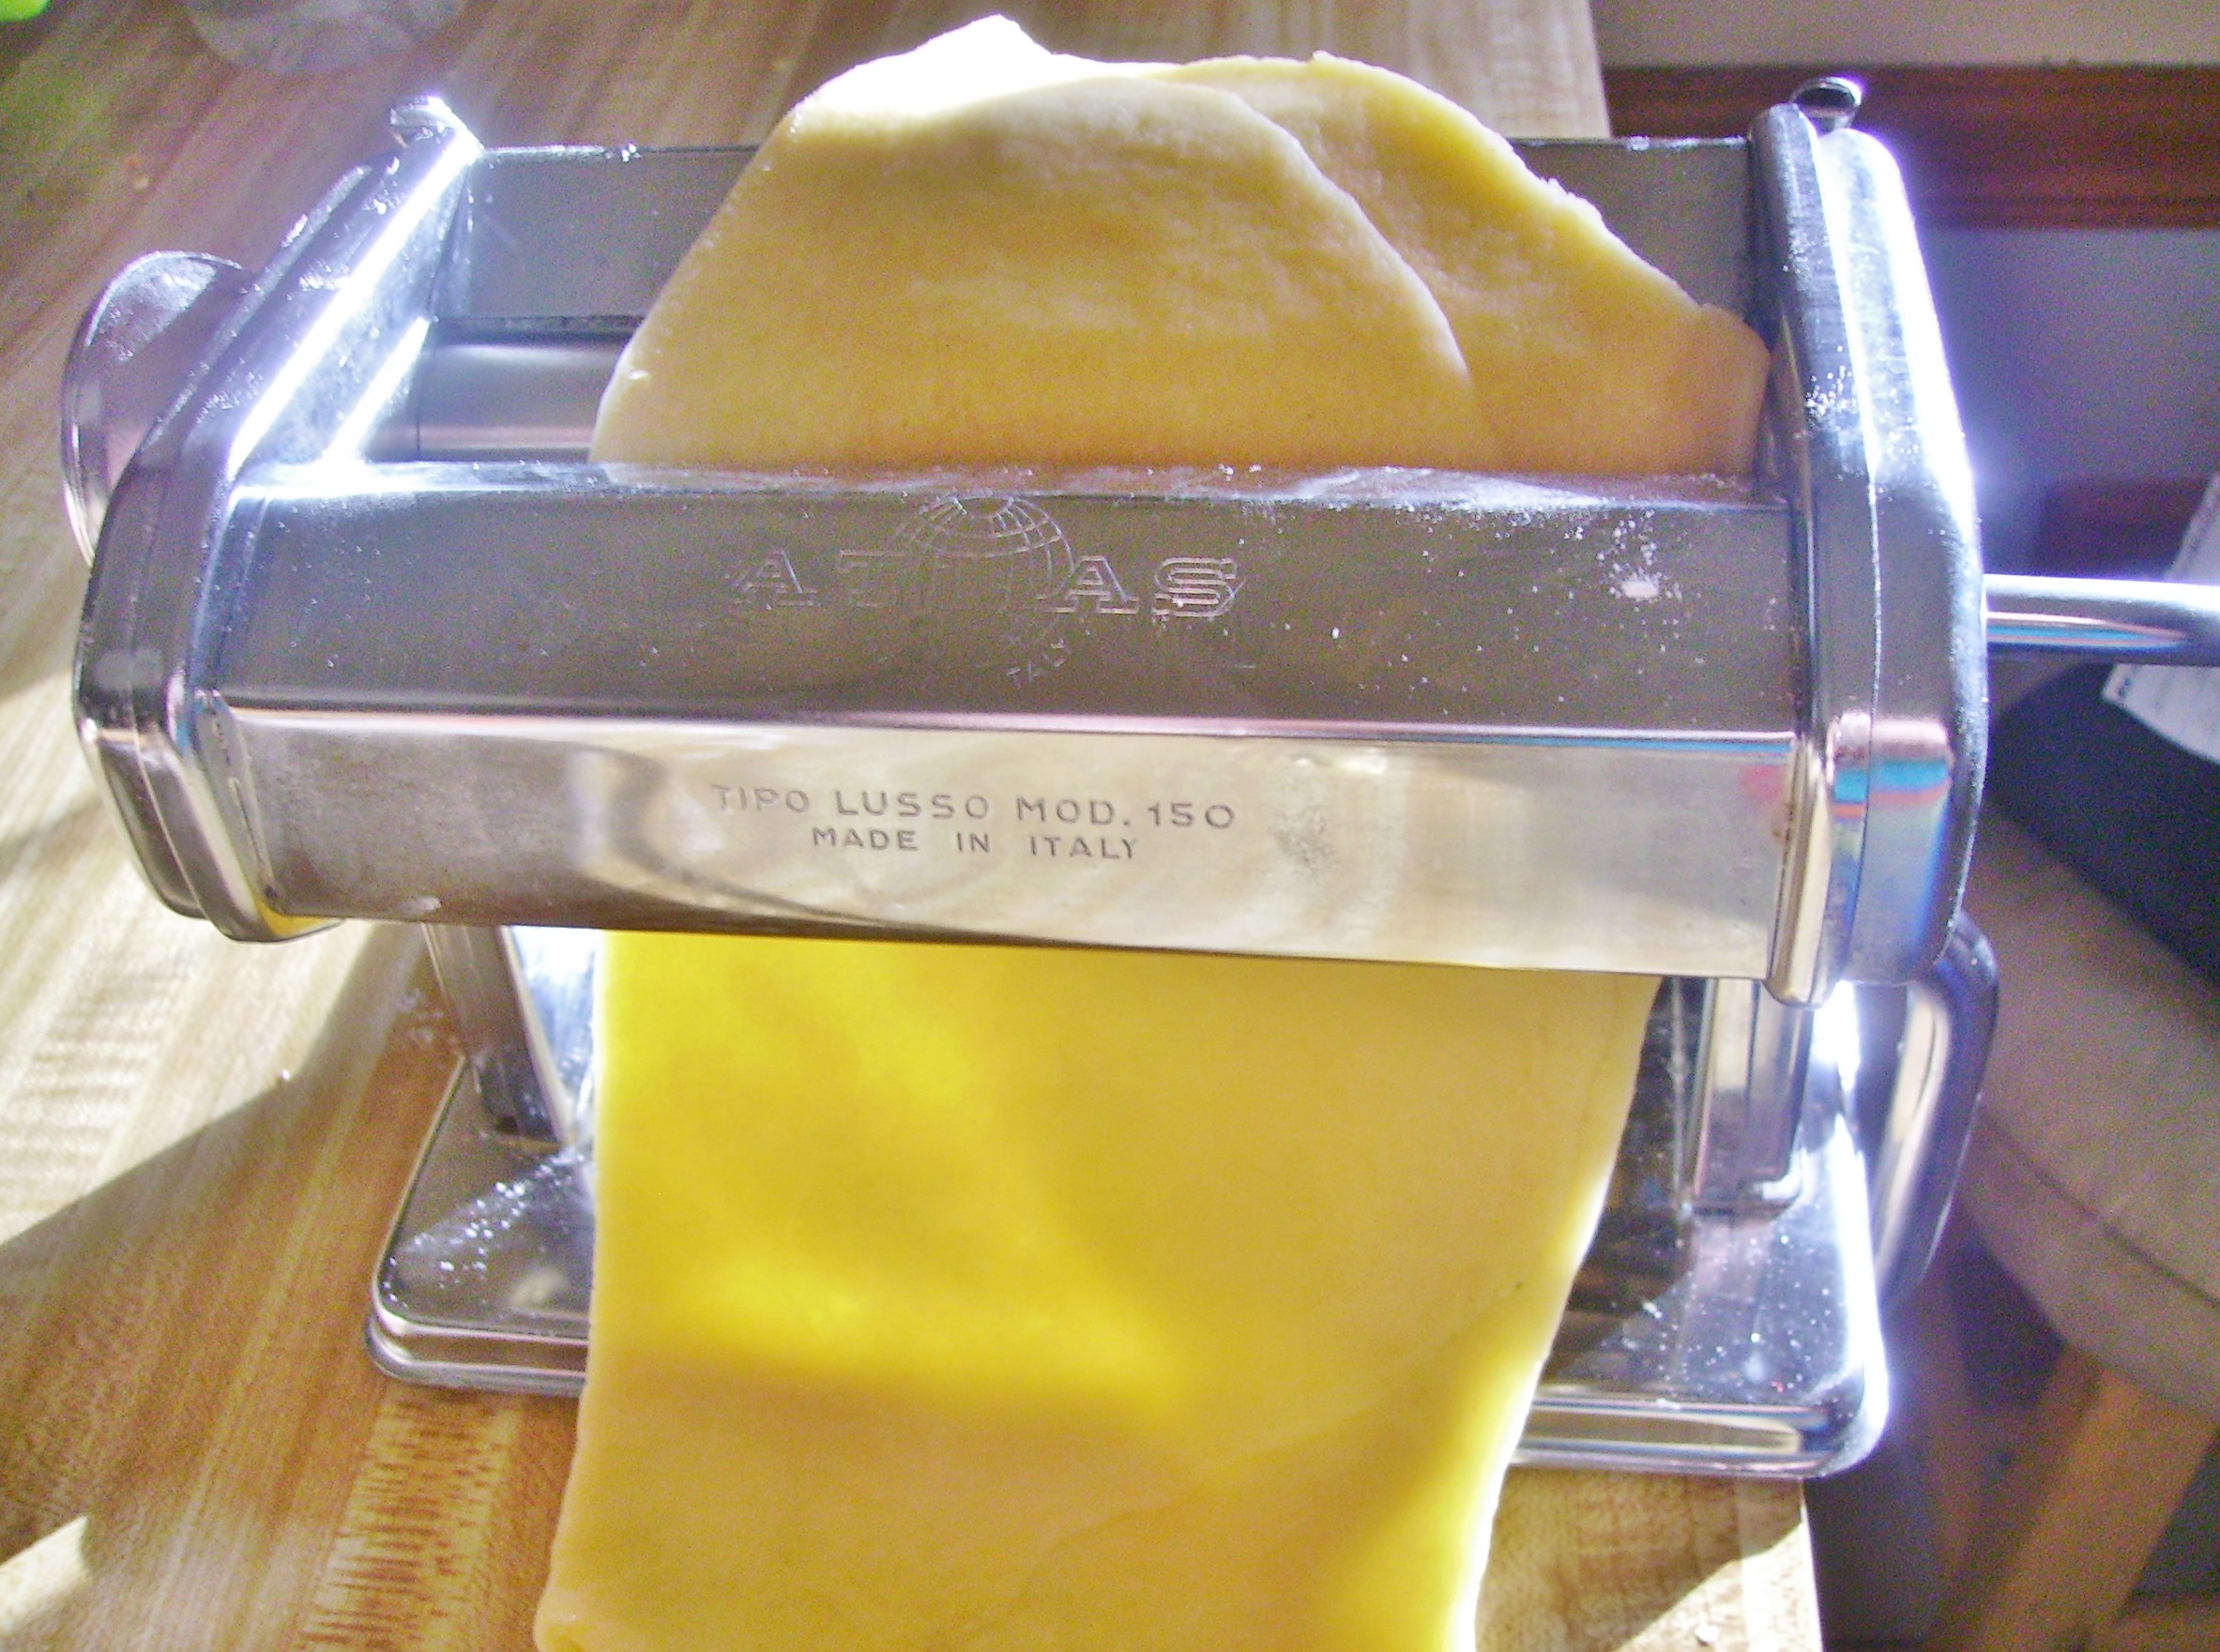
The filling begins with Pancetta, Onion and Garlic sautéed in Olive Oil. Baby Spinach joins the party in the pan. The party then moves to a mixing bowl where it gets friendly with Ricotta, Eggs, and Parmigiano – Reggiano.
The cannelloni is assembled and is covered with a Besciamella. Just a light sprinkling of Parmigiano and a bake in the oven, a quick stint in the broiler and it’s ready to eat.
You can use your favorite pasta recipe. You will only be using about half of the dough, so either cut your recipe in half or save the rest for something else. The recipe that follows is for the filing. This would be good in any filled pasta recipe.

- 3 Tablespoons extra-virgin olive oil
- 4 Ounces Pancetta Diced
- 1 Small Onion Finely diced
- 2 Cloves Garlic Minced
- 5 Ounces Baby Spinach Chopped
- 1-1/2 Cups Ricotta Preferably homemade
- 1 Egg Lightly beaten
- 1/2 Cup Parsely Chopped
- 1/2 Cup Parmigiano-reggiano Grated
- Salt & Pepper To taste
- Heat olive oil in large pan. Add Pancetta and saute until it is slightly brown. Add the onions and garlic and continue to cook stirring occasionally until the onion begins to turn translucent and the garlic is fragrent.

- Add Spinach to pan and toss and cook until the spinach is just wilted. Remove from heat and allow to cool completely.

- Mix Egg, Ricotta, and Parmigiano in a medium bowl. Add the cooled Spinach mixture and stir to combine. Set aside

- Use this filling to stuff your favorite" stuffable" pasta. Canneloni, Manicotti, Ravioli or Lasagna all would love to have this filling between their sheets.


Share this: