While the magical glow of Christmas is still in the air, the knowledge that the holiday season is slowly winding down and a new year is on the horizon is creeping into my mind. This is a time of reflection. It’s more than what worked and what may have seen its last Christmas appearance though that will be given some thought. It’s the deeper emotional experience of the holiday season. This was a year that just by the nature of the changes that life has given us was cause for a deeper feeling of joy and gratitude.
 It was a year of family getting bigger and home getting smaller.
 Job descriptions changed along with our address. While many changes were joyous, others were startling, causing major adjustment to thought and life style. As my mother always said, “Everything happens for the best” and in Mama D’s Kitchen and life that has proven true. I’m grateful for every change because it brought new insight into what really matters. Love and family are the most important things. What ever needs to be done to enhance that is one’s life path.
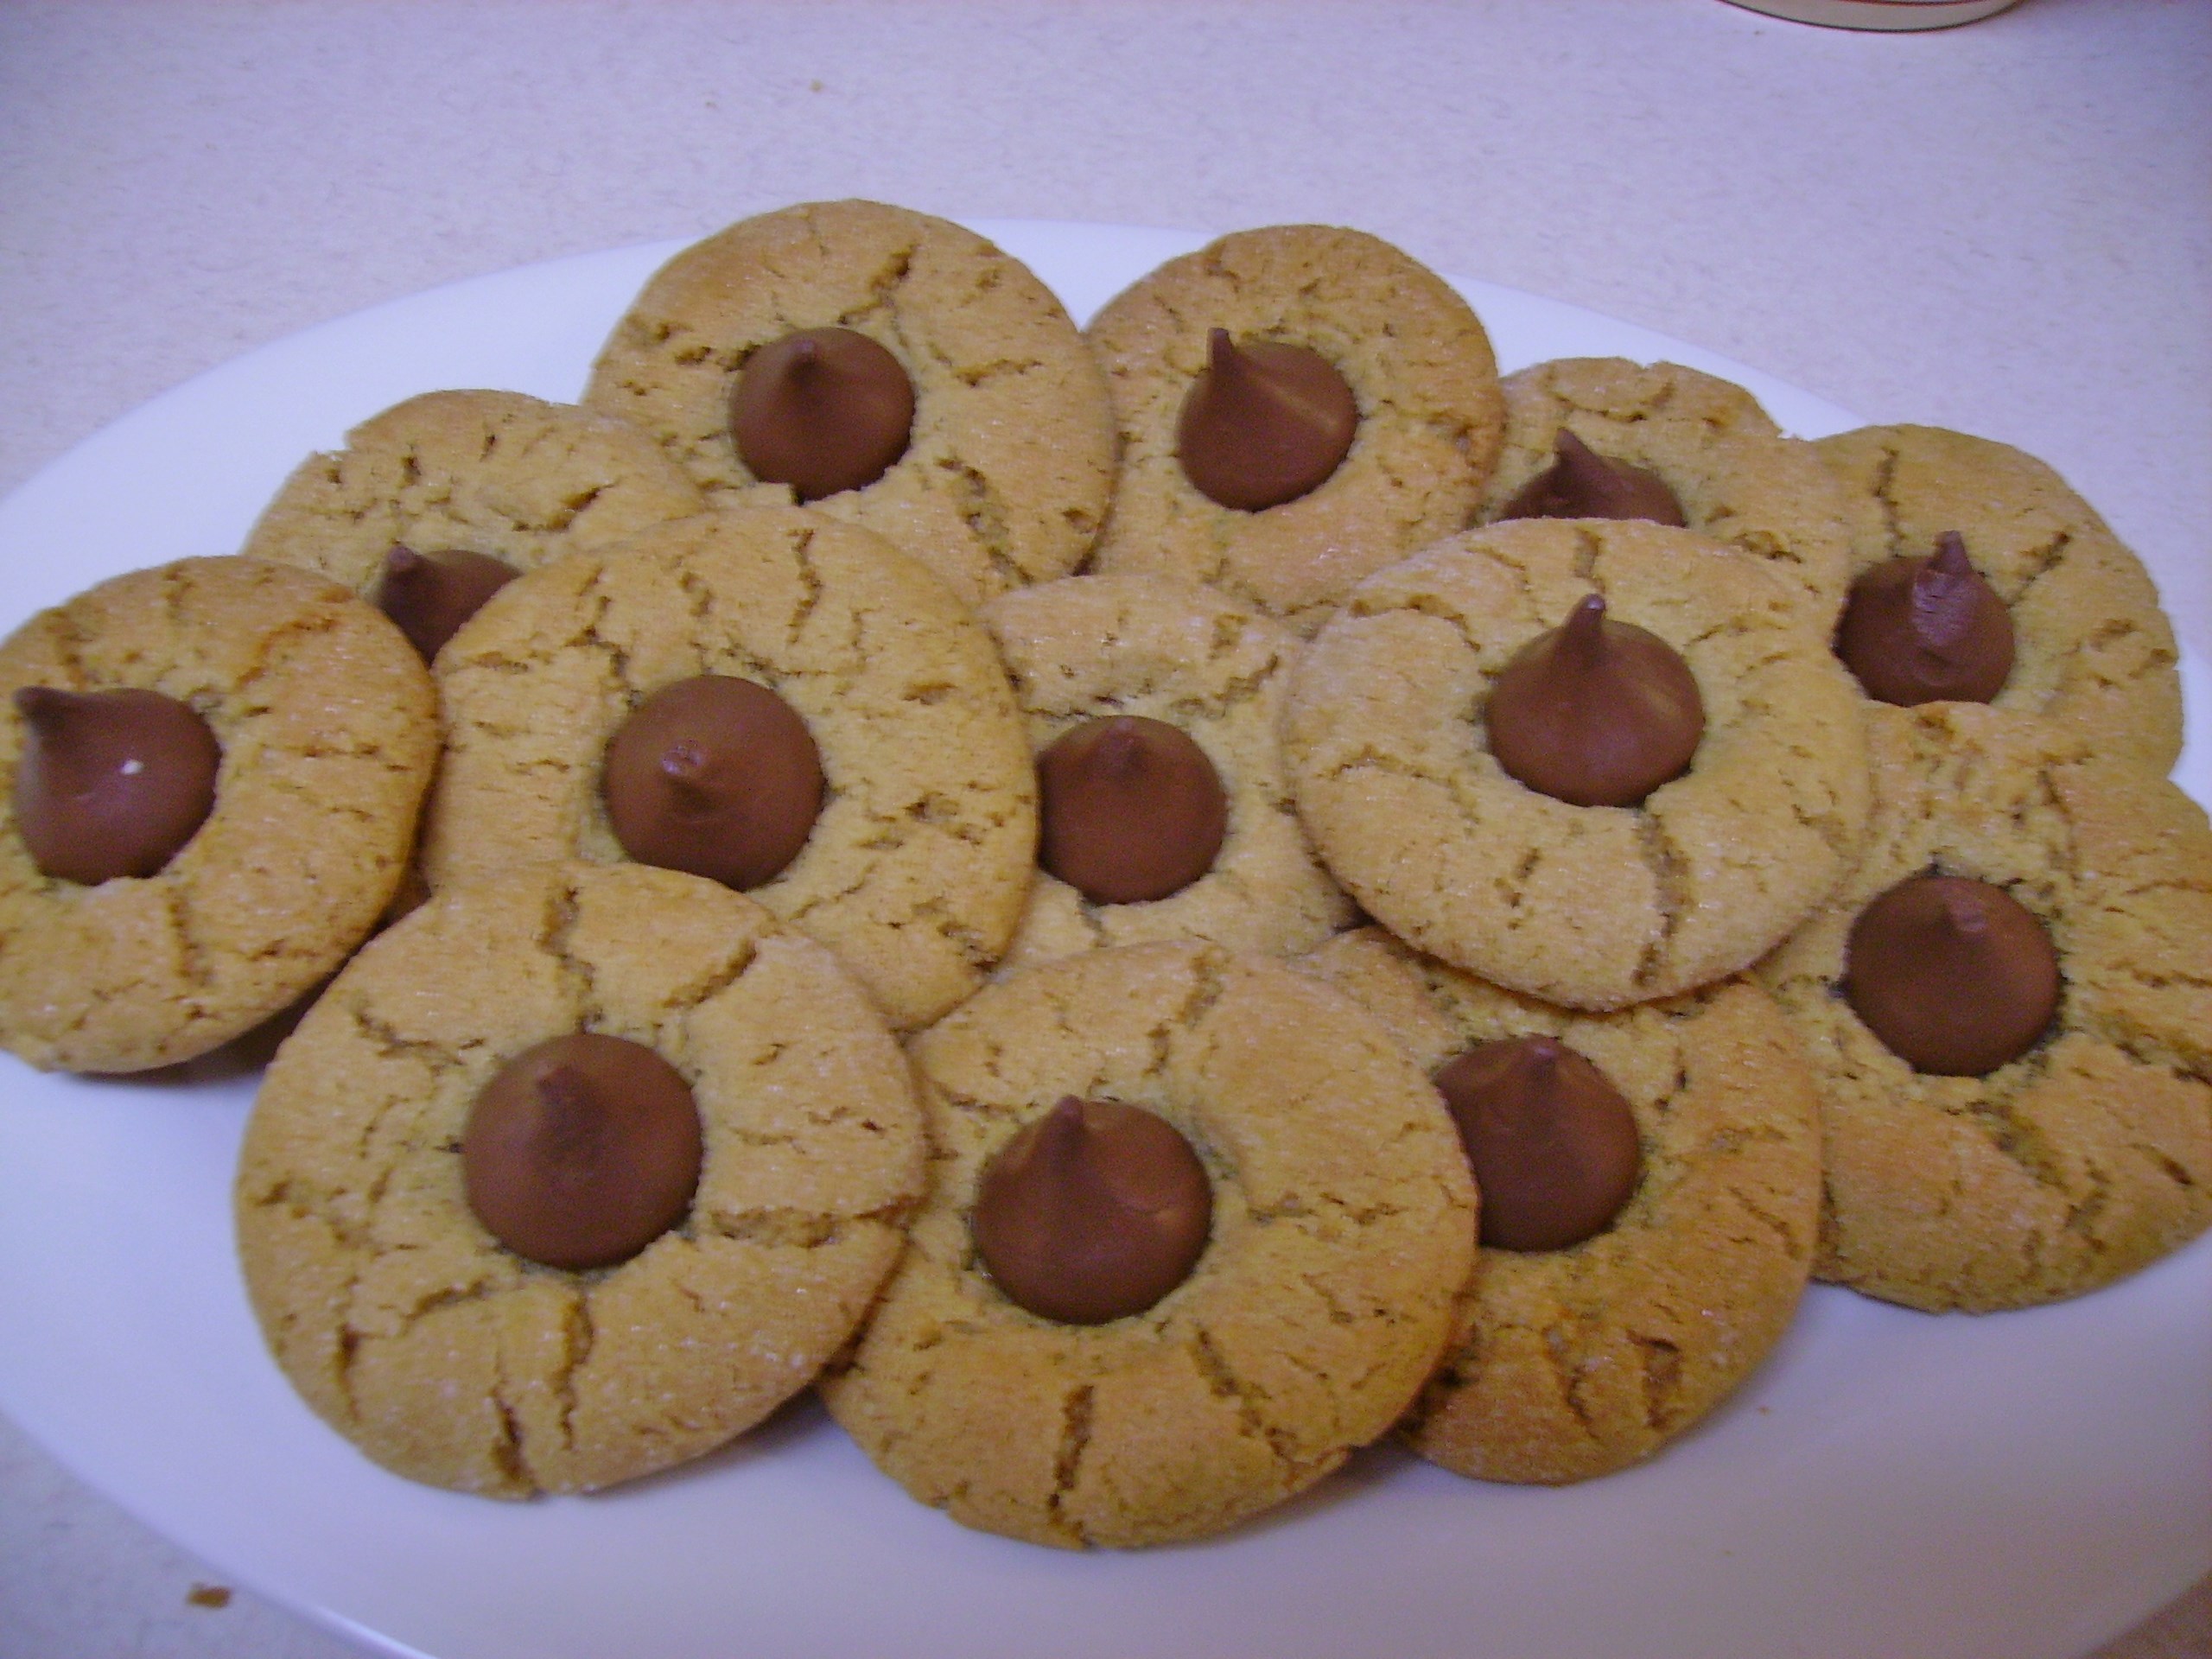
This year the holidays seemed to get here at warp speed. The baking happened, but at such a rapid pace that picture-taking became an afterthought. One newcomer (or I should say two) was added because it could be made in 10 minutes or so. It yielded a generous amount of goodness that was welcomed far and wide. “Bark” is a decadent confection that features virtually anything mixed into melted chocolate. The mixture chills for an hour or so and is then broken into pieces. My maiden voyage included two versions taken from Kraft Recipes. One featured white chocolate with dried fruits and pistachio nuts that lived up to its name, Jewel. The other blended white and semisweet chocolate with pretzels and peanuts creating a sweet and salty treat. Check out these recipes and get your own inspiration This was so easy and yummy that I see many more variations in my future.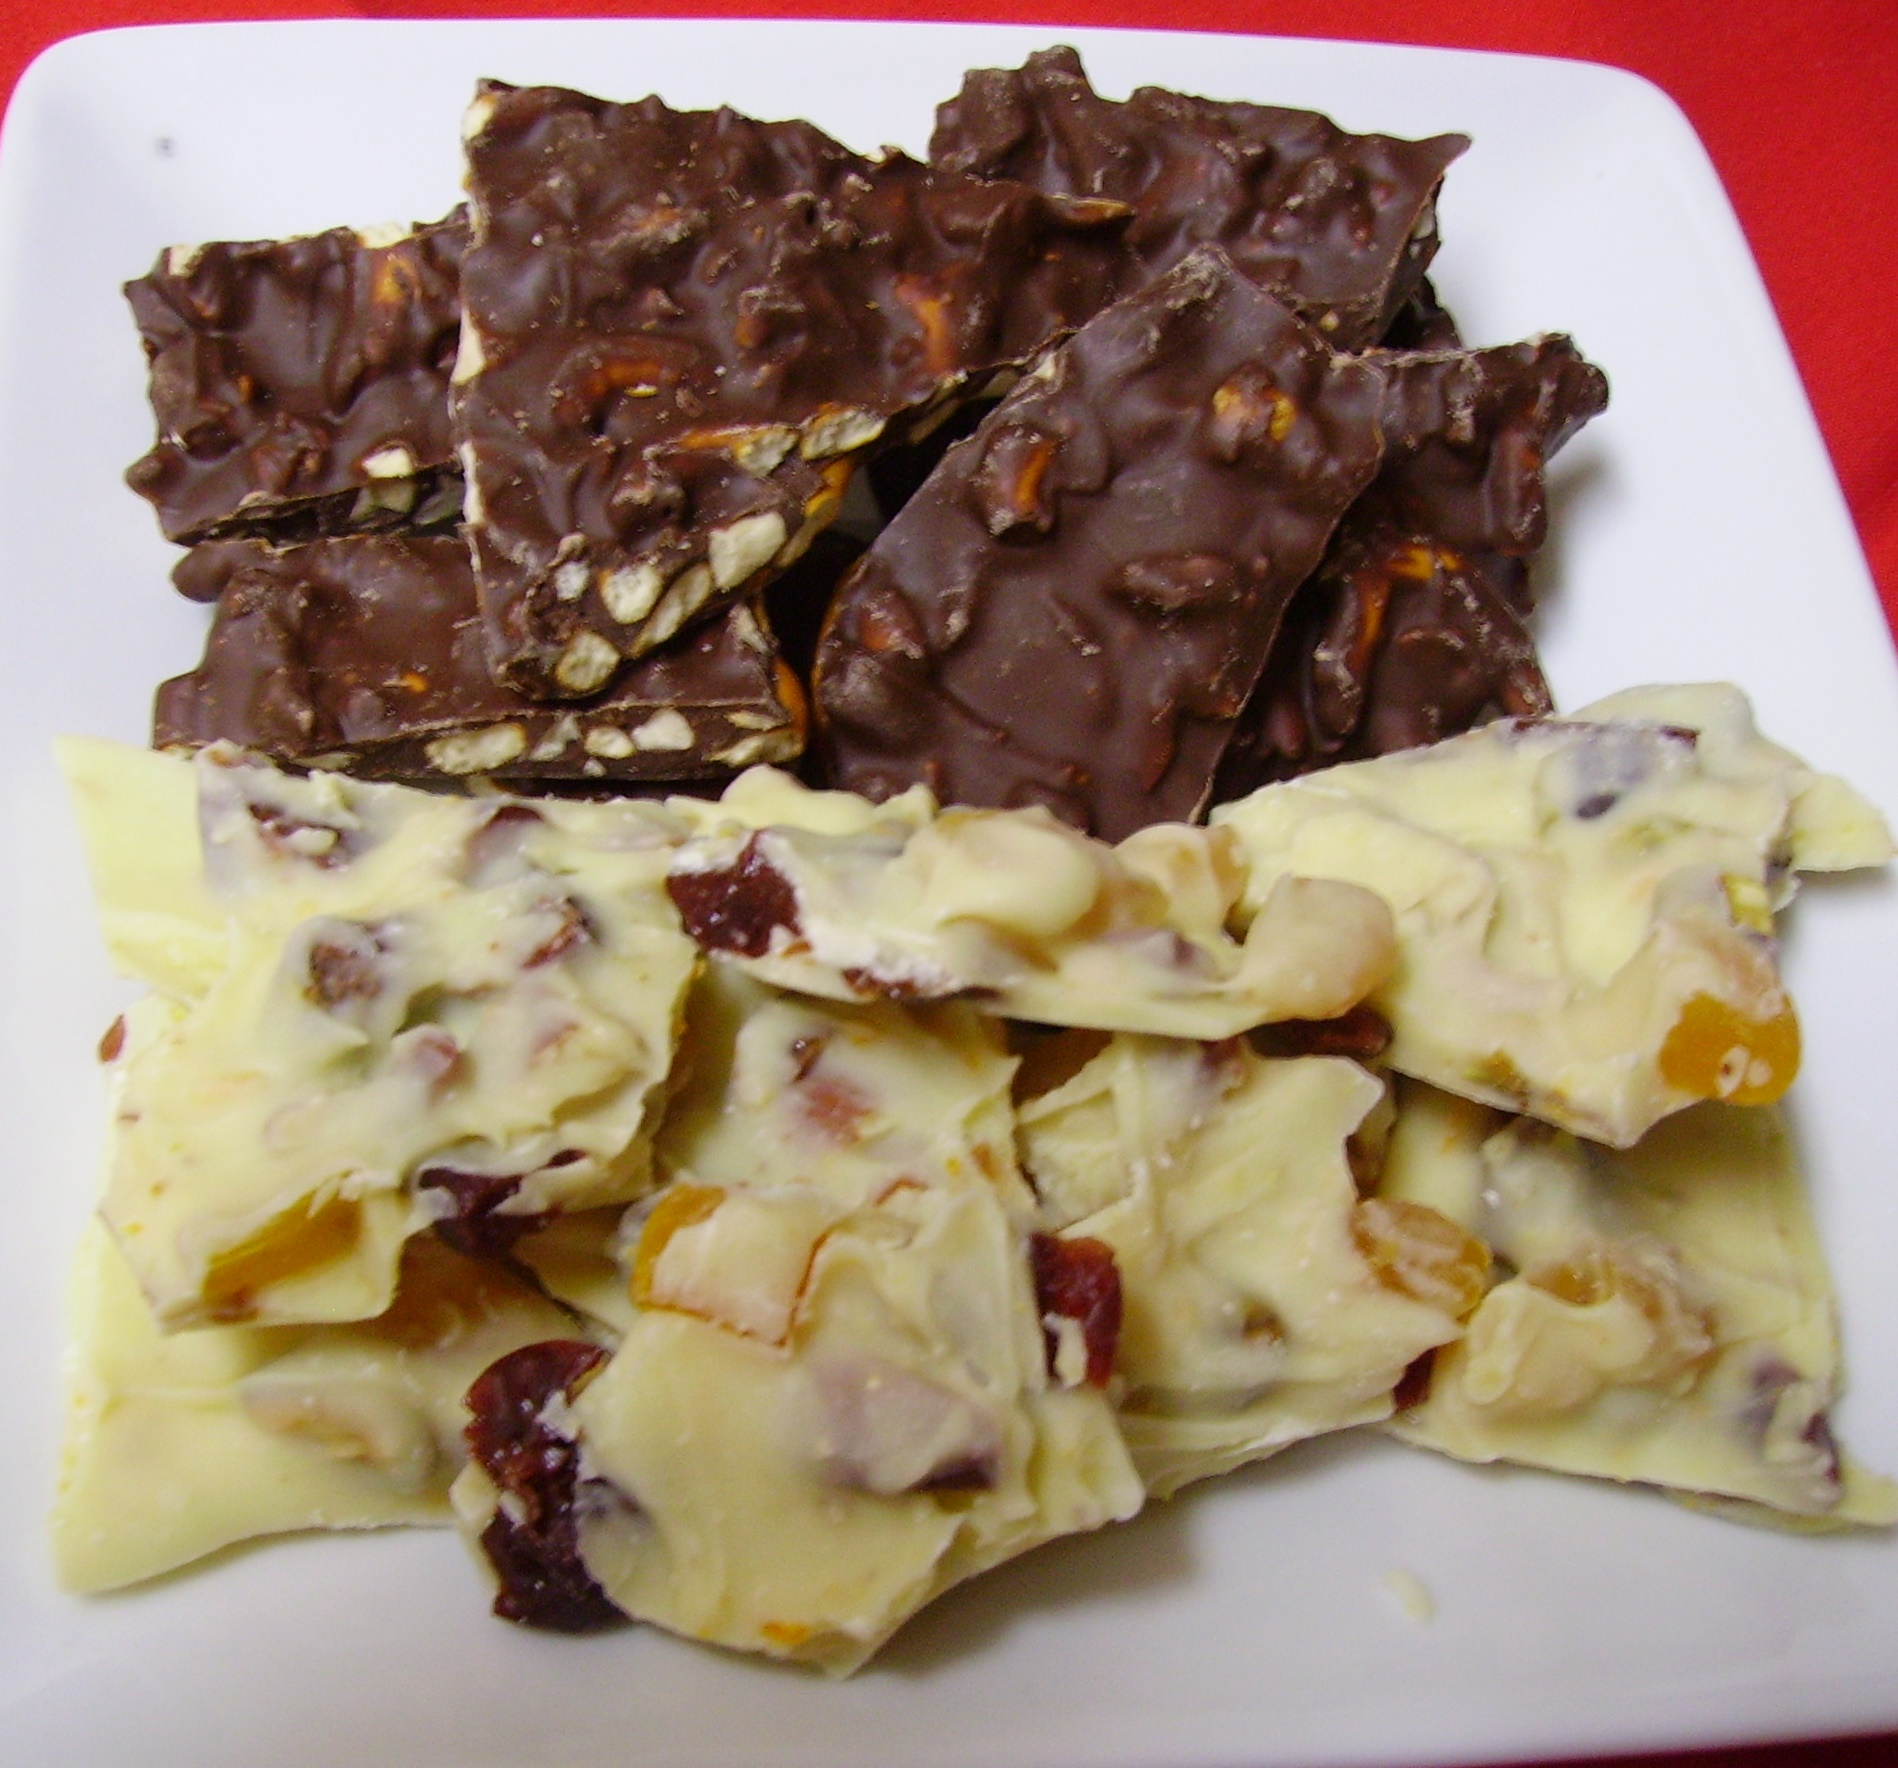 While I don’t have many pictures of the cookies I made, I do have a Holiday recipe that I came up with that is worth sharing. It uses the flavors of the season and pairs beautifully with the heartier holiday fare that comes along at this time of year. Sweet Potato and Butternut Squash are joined by Cheddar Cranberry Cheese. This cheese is a seasonal item at both Trader Joe’s and Aldi. It may be carried at some Delis as well. It was wonderful on the Christmas Eve cheese tray and was fabulous in this gratin.
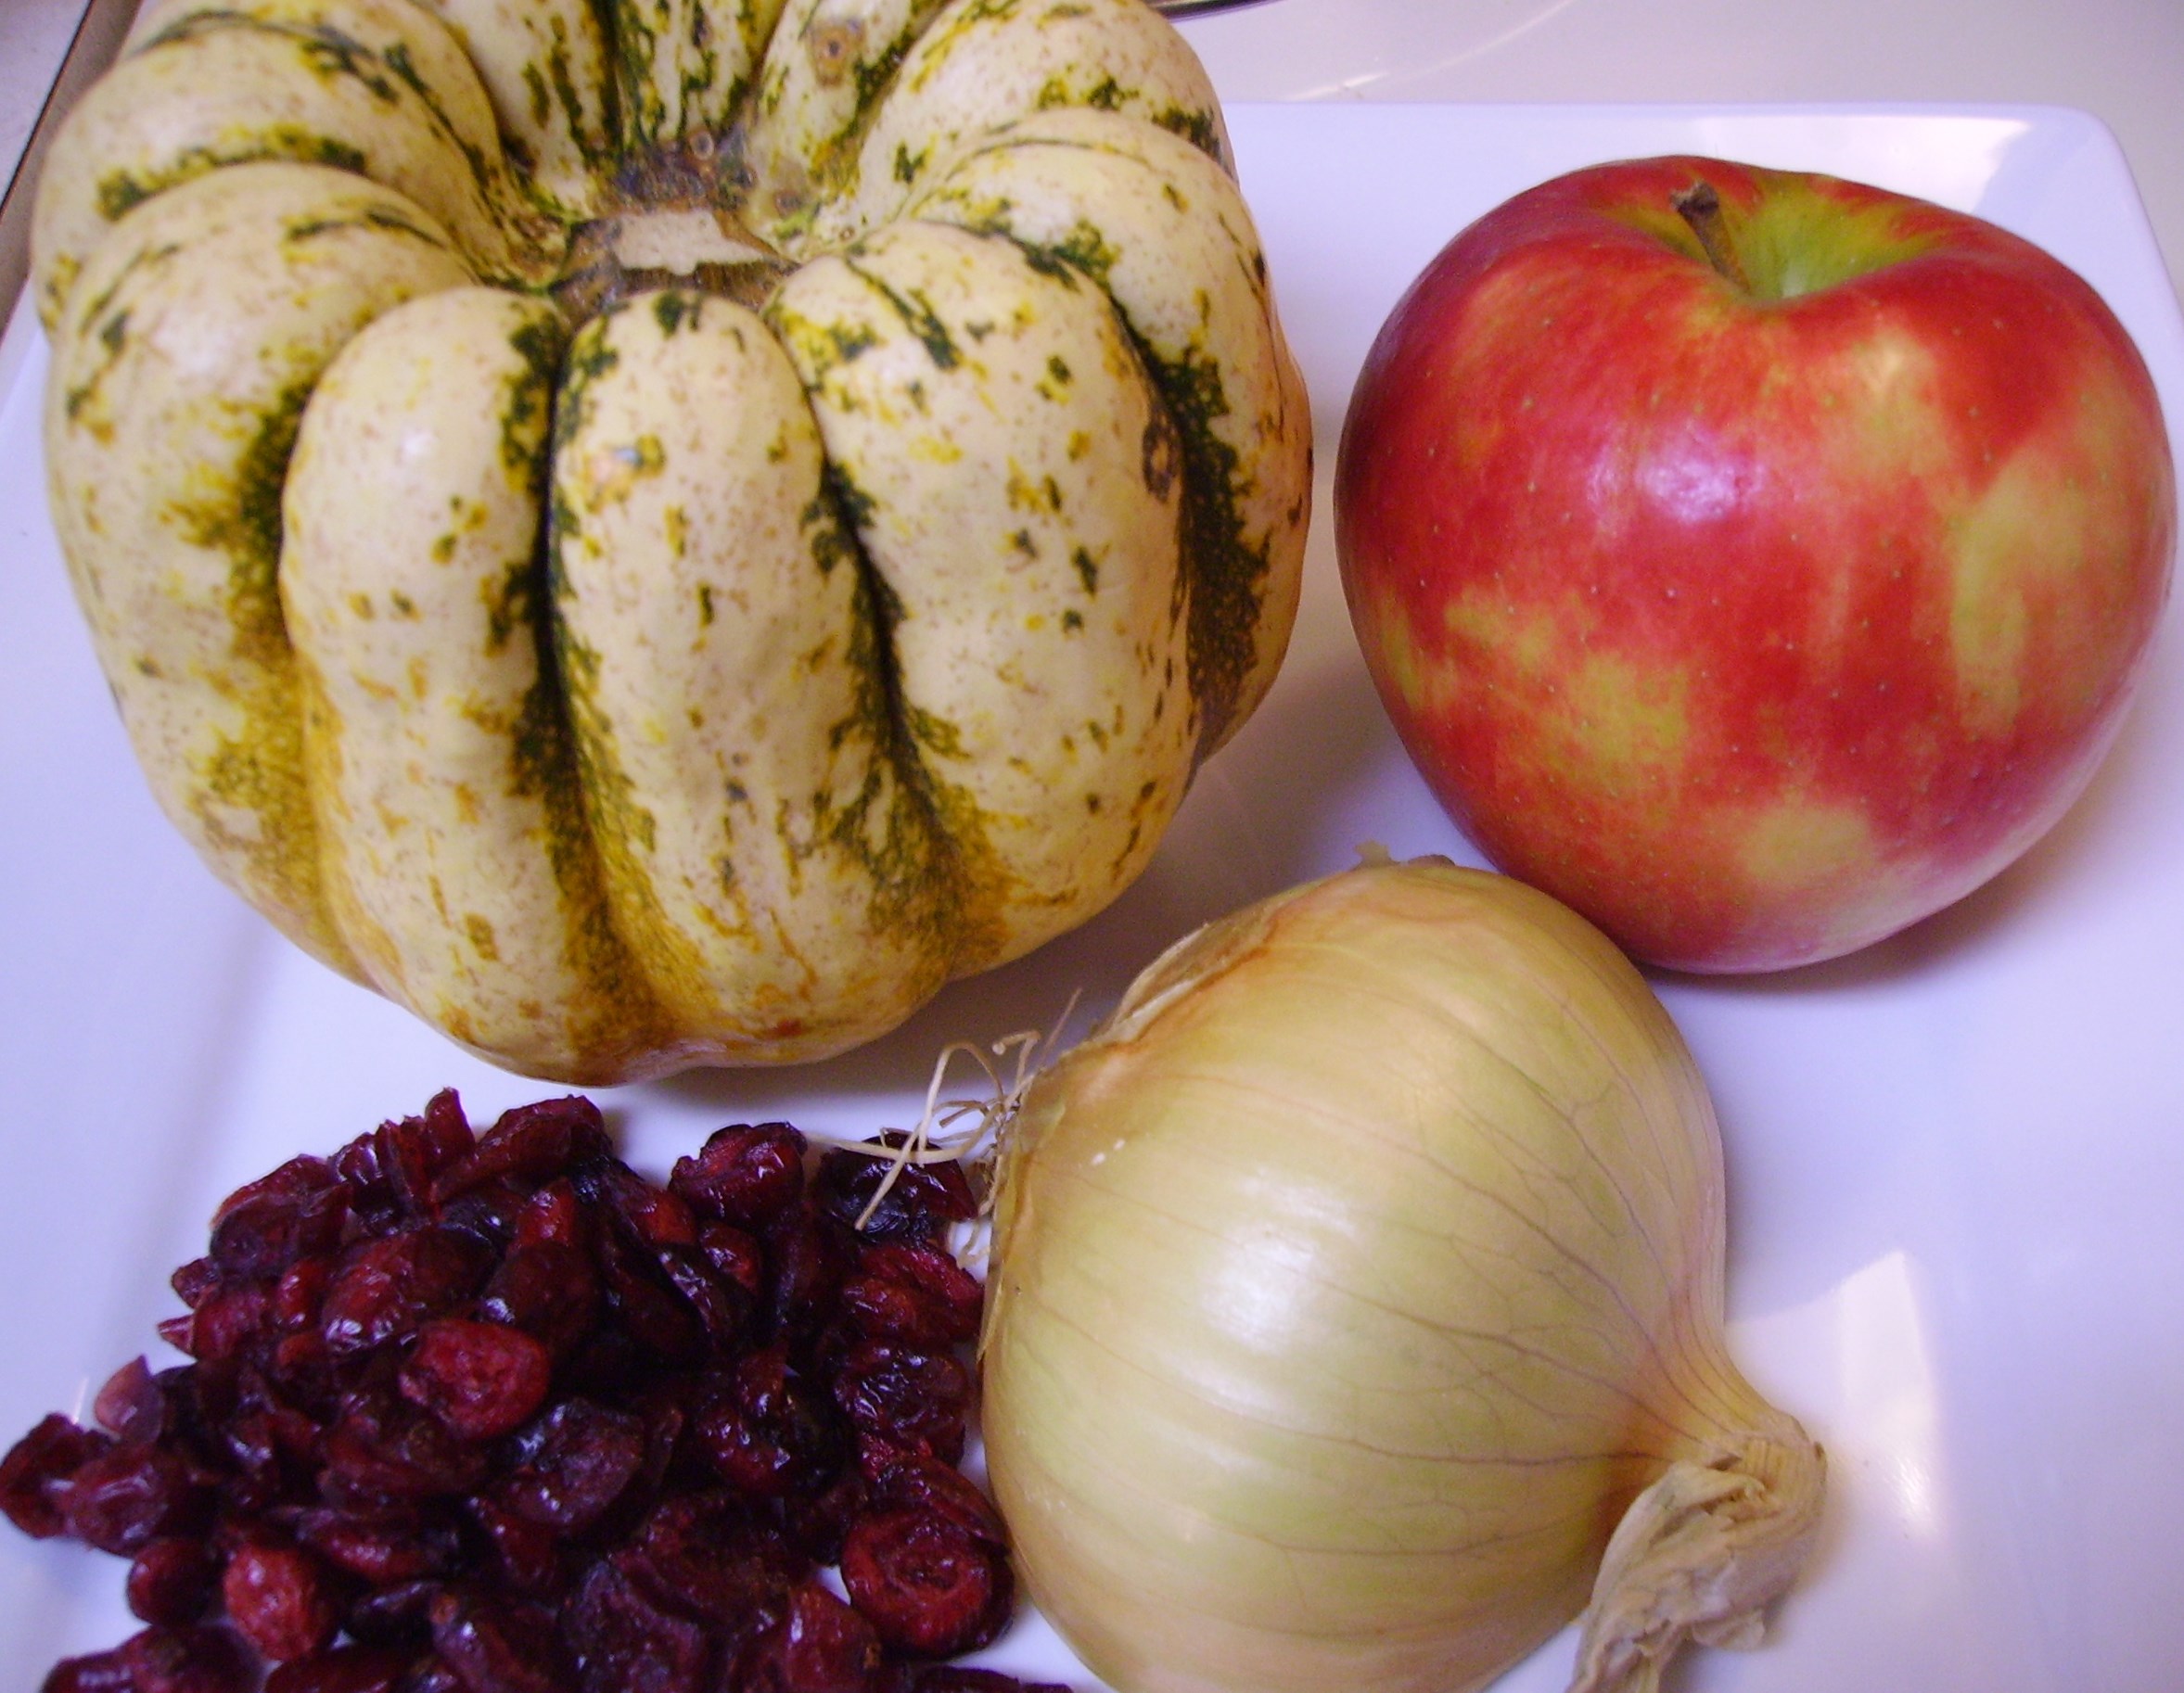
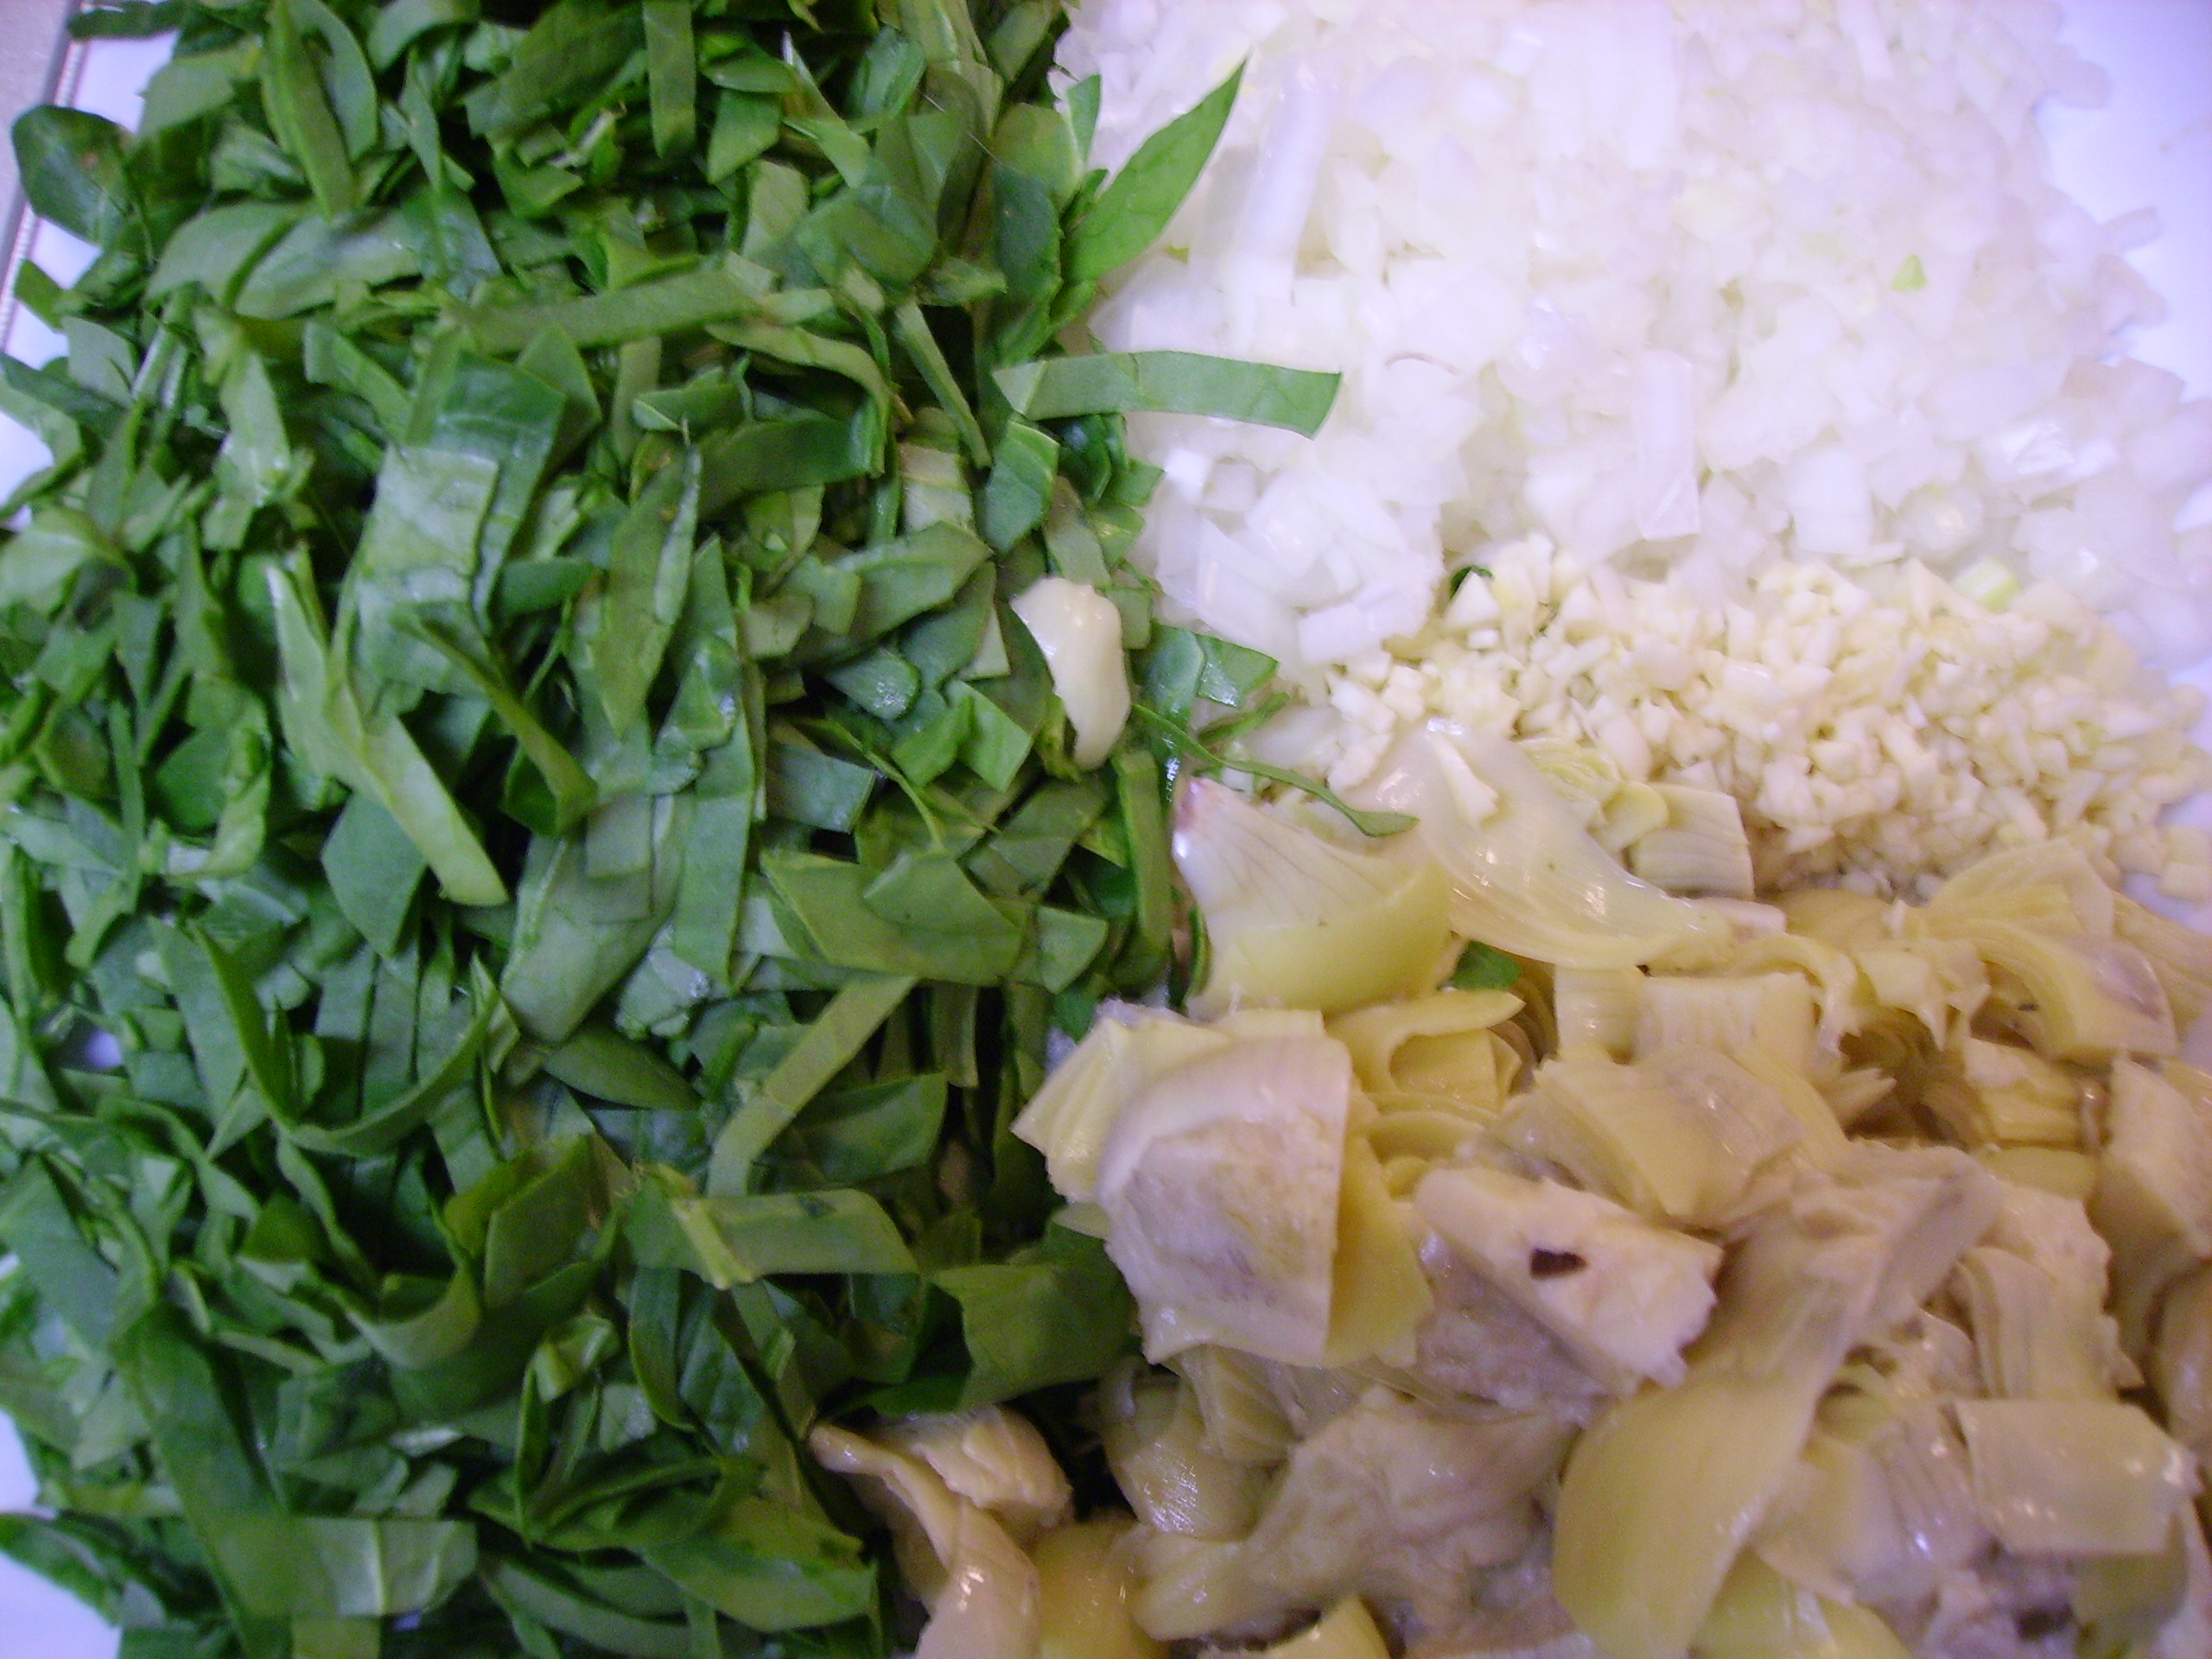
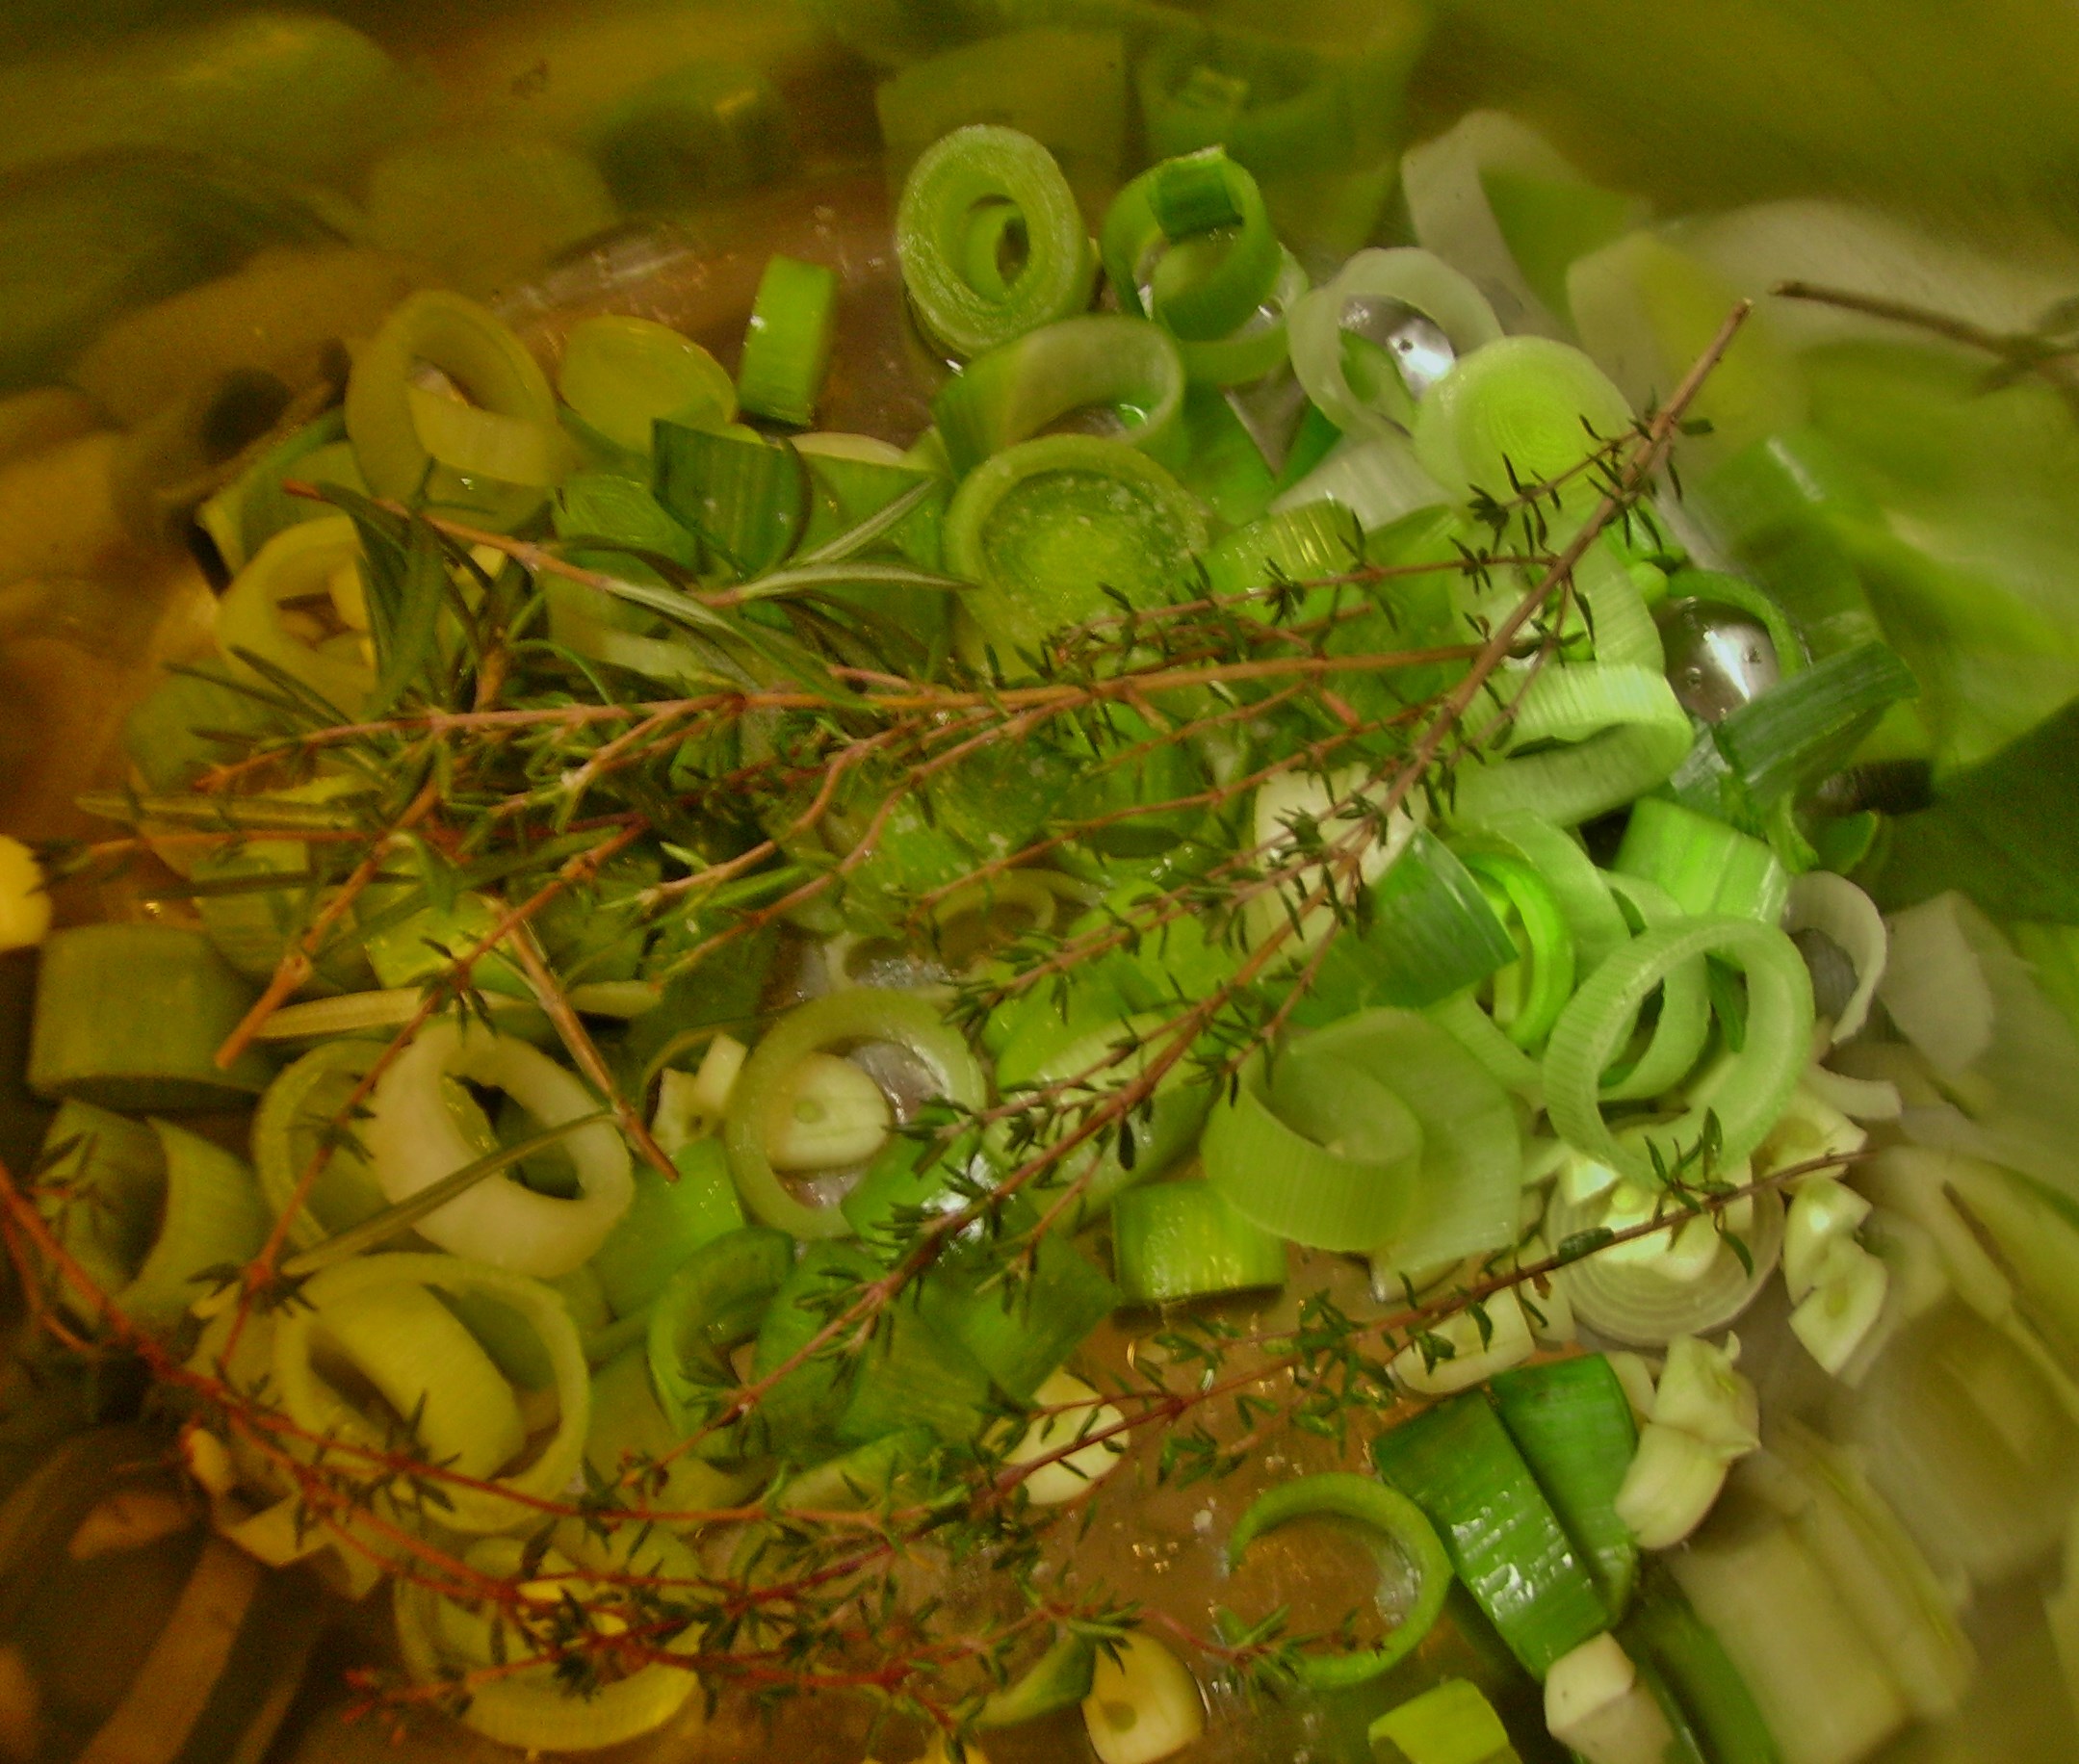
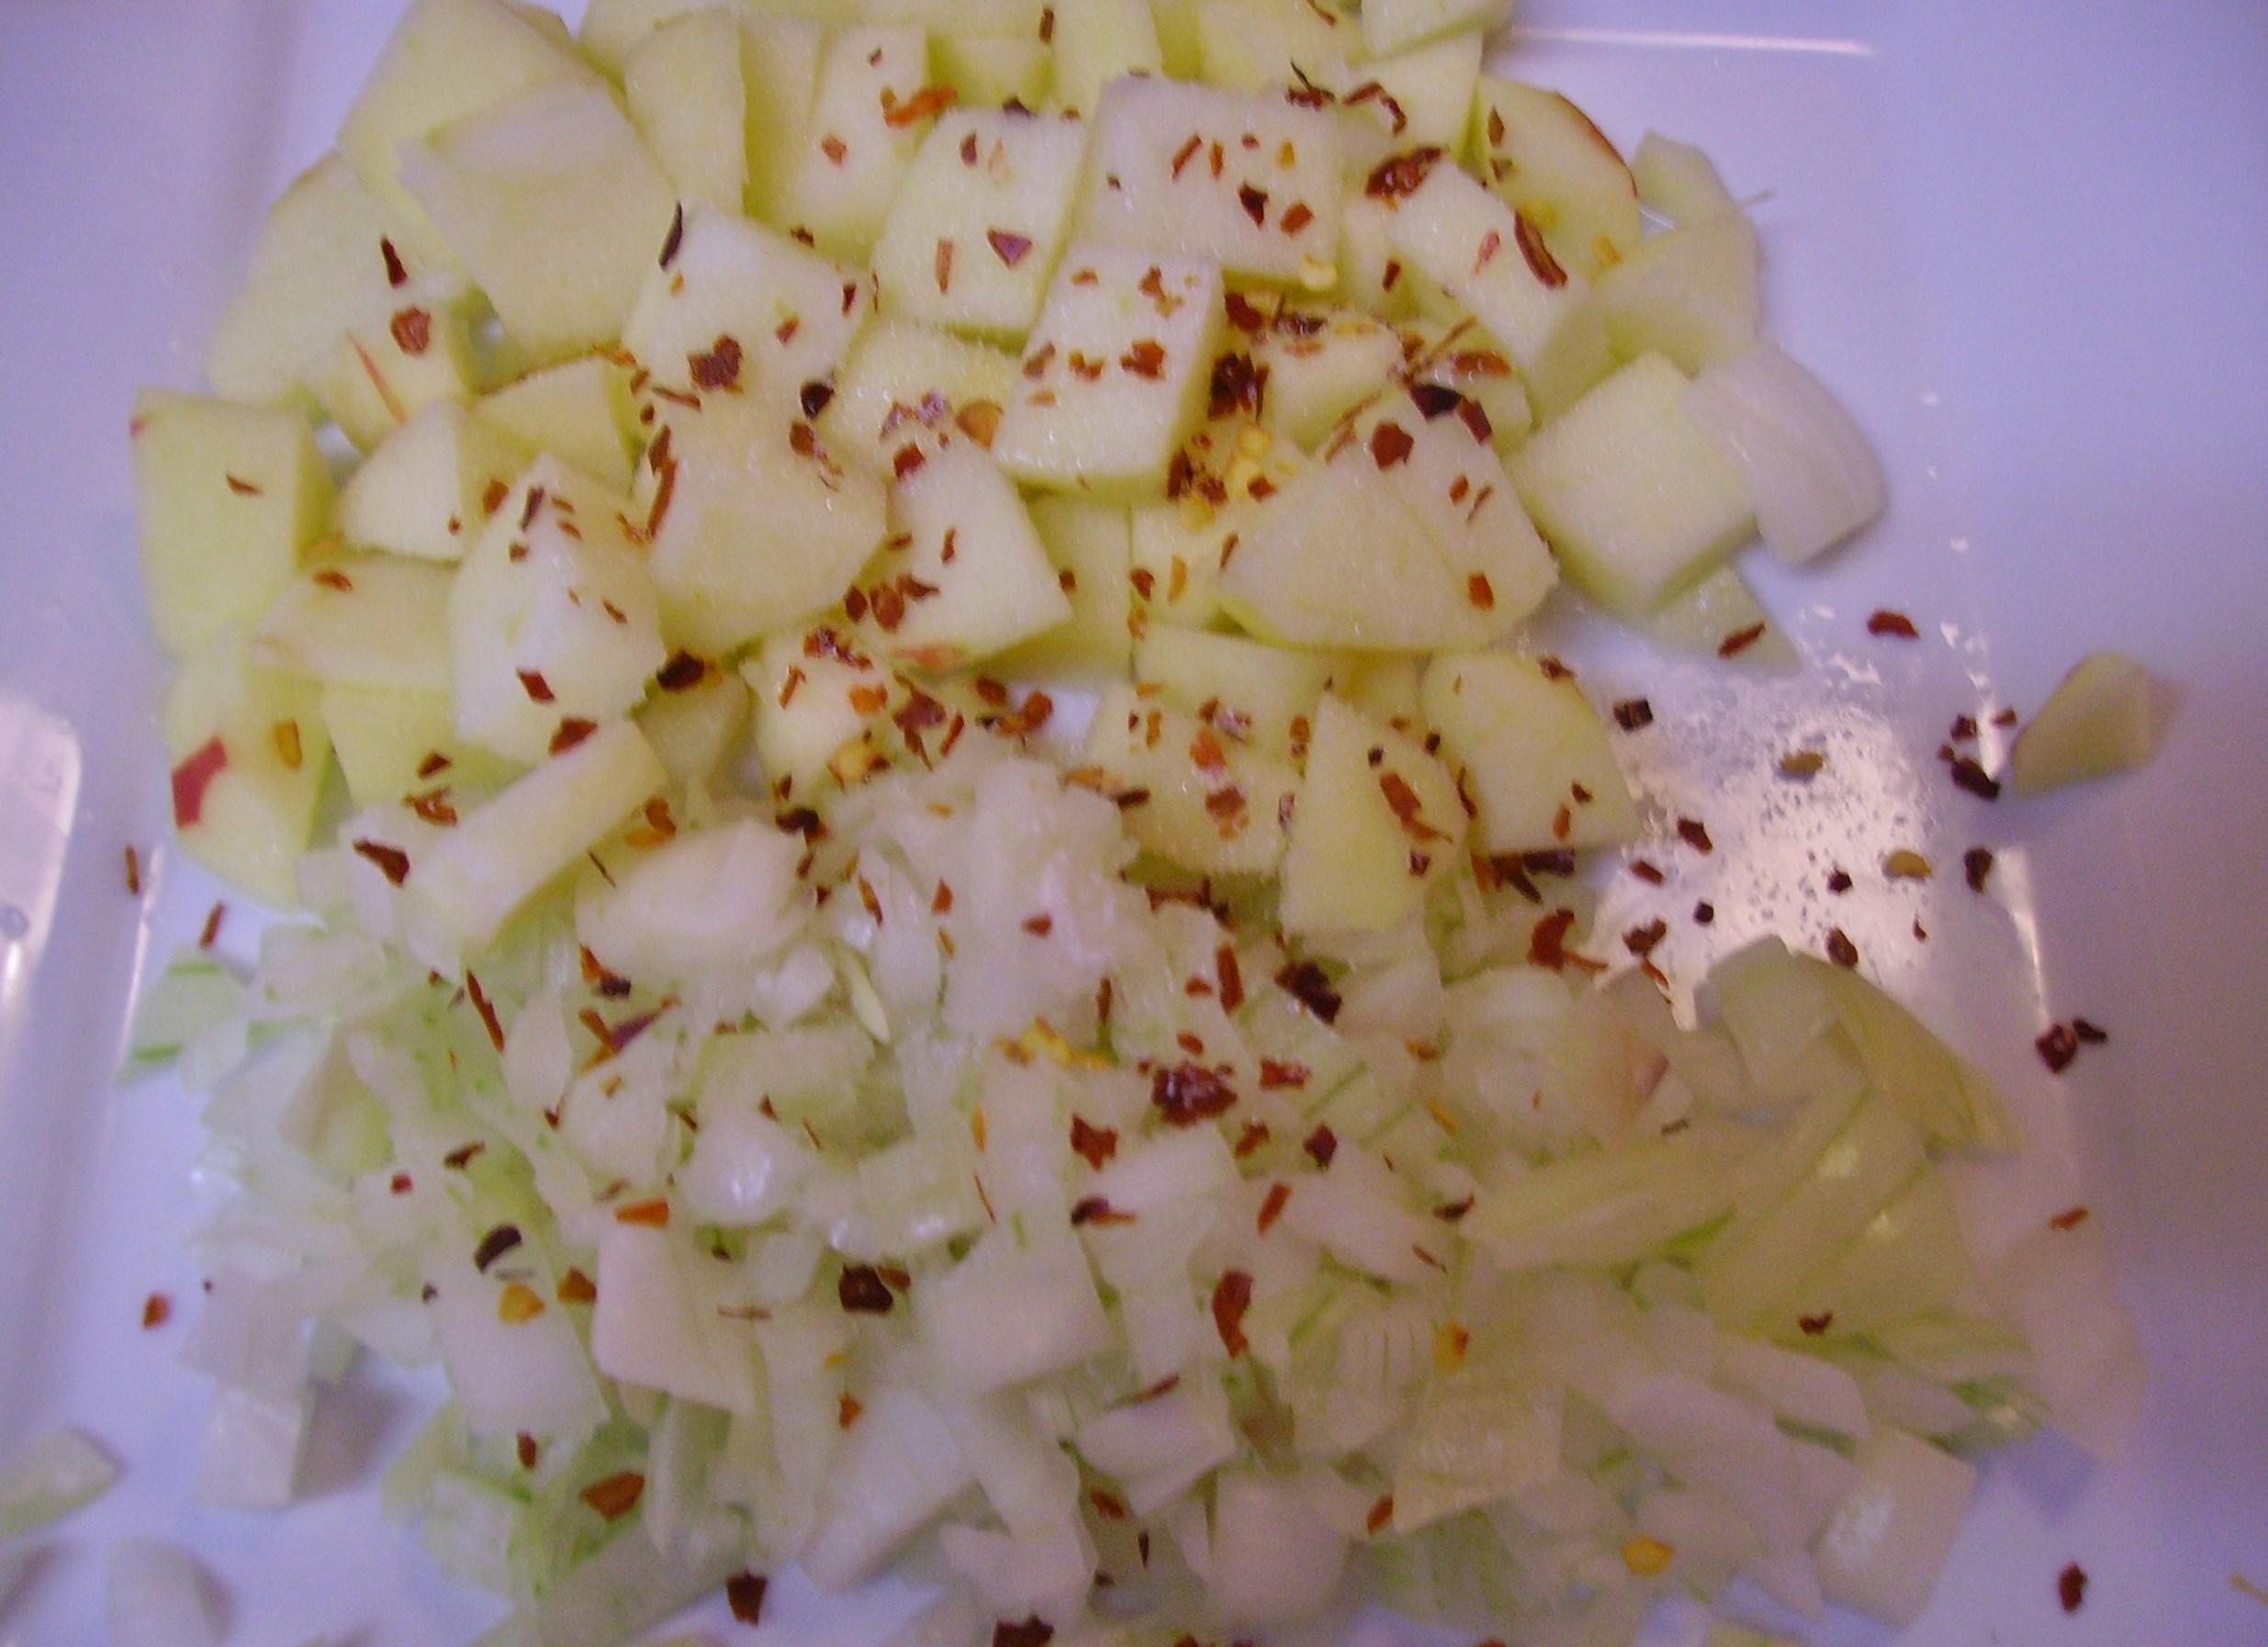
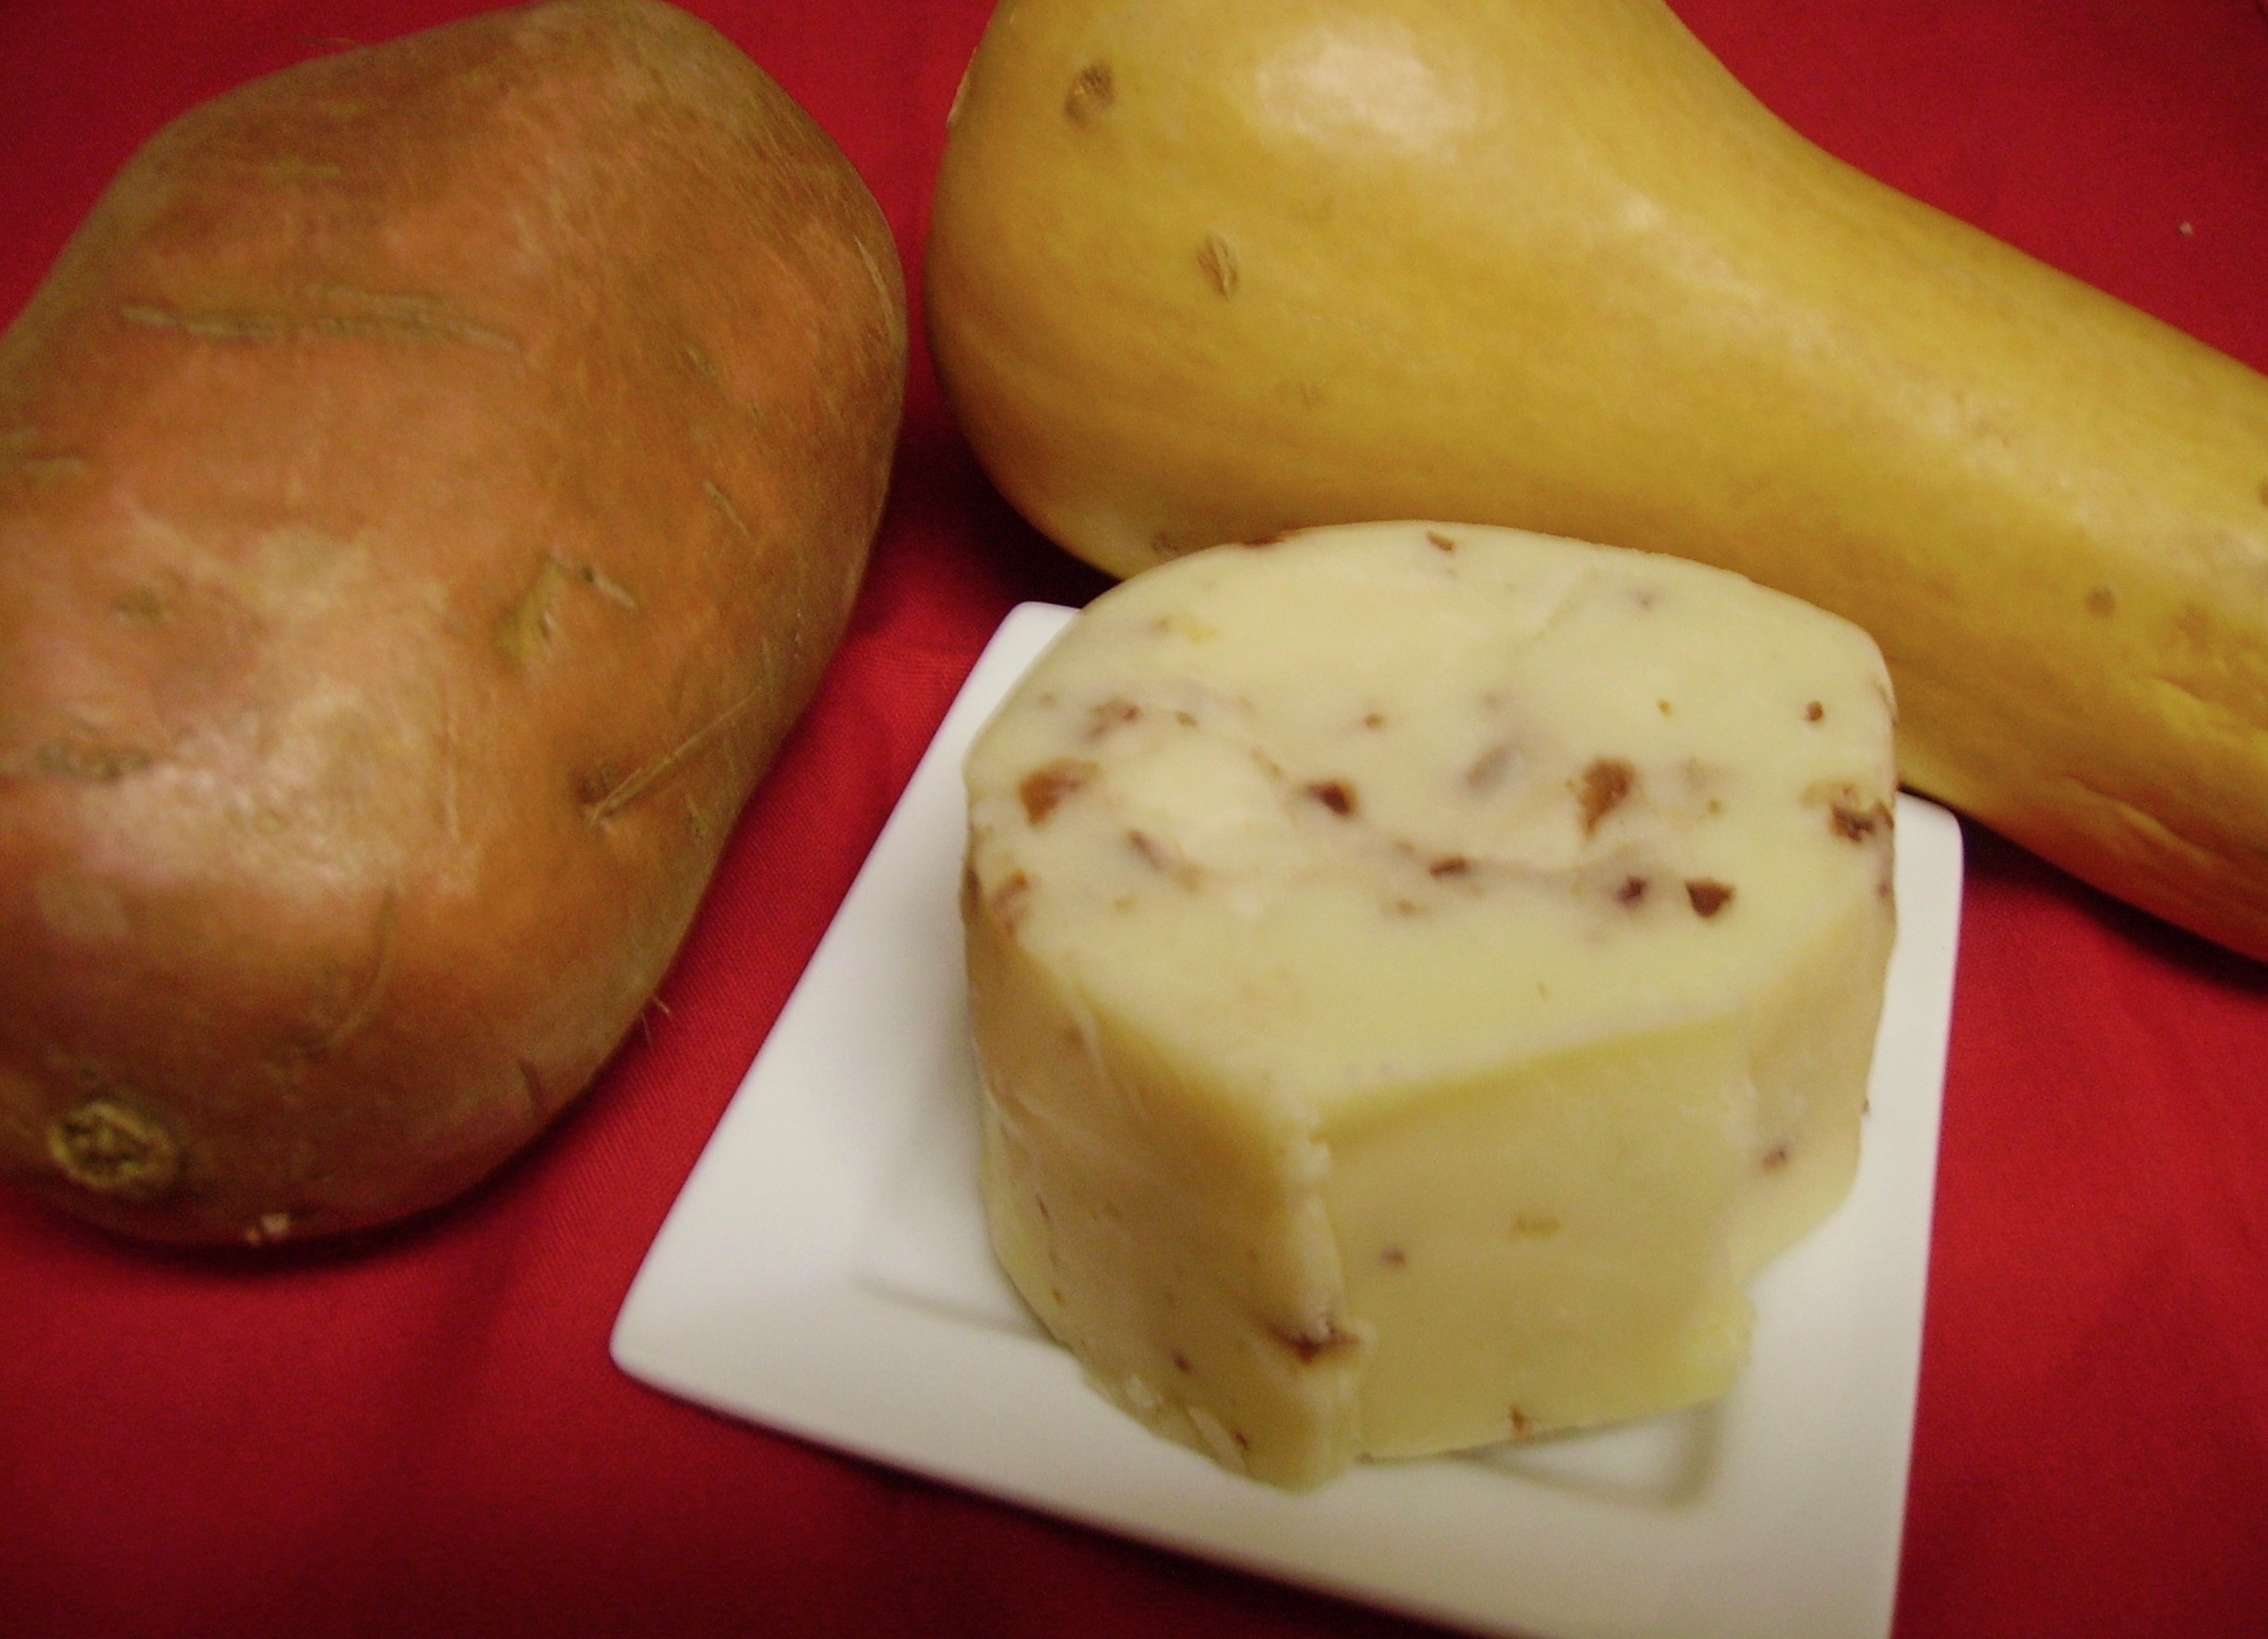 So, these three stars were joined by red onions, rosemary, and thyme.
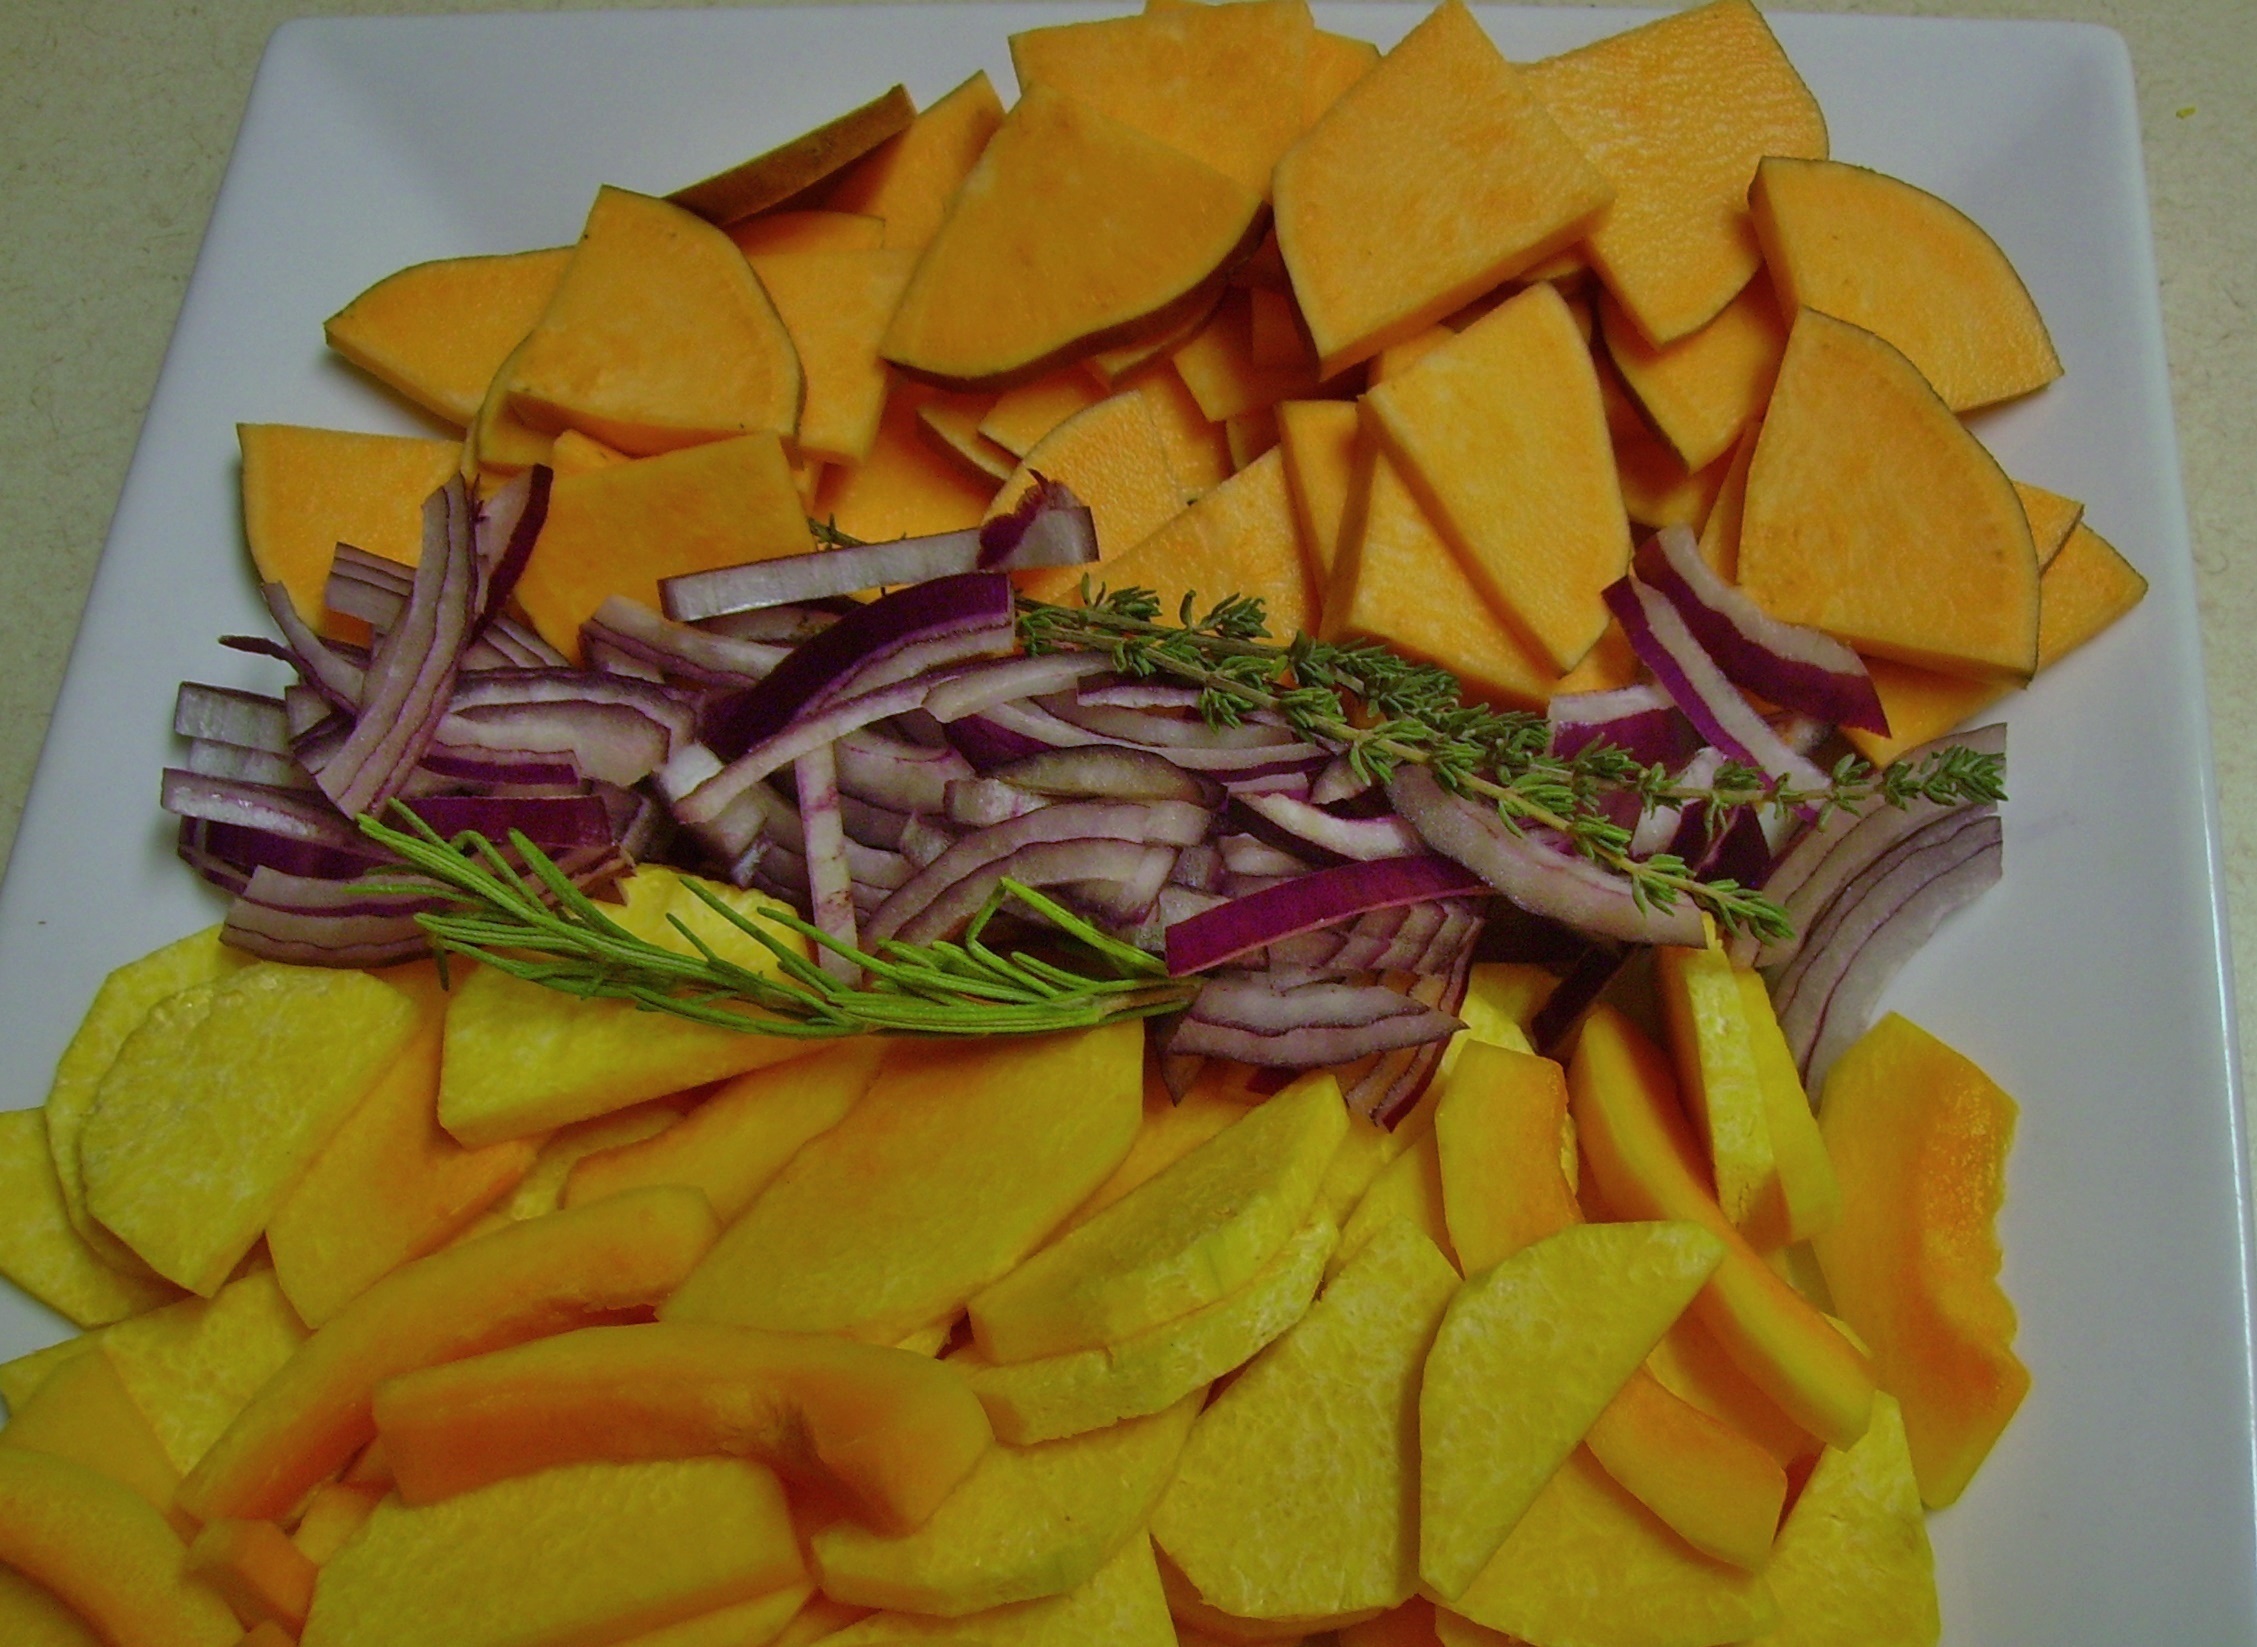
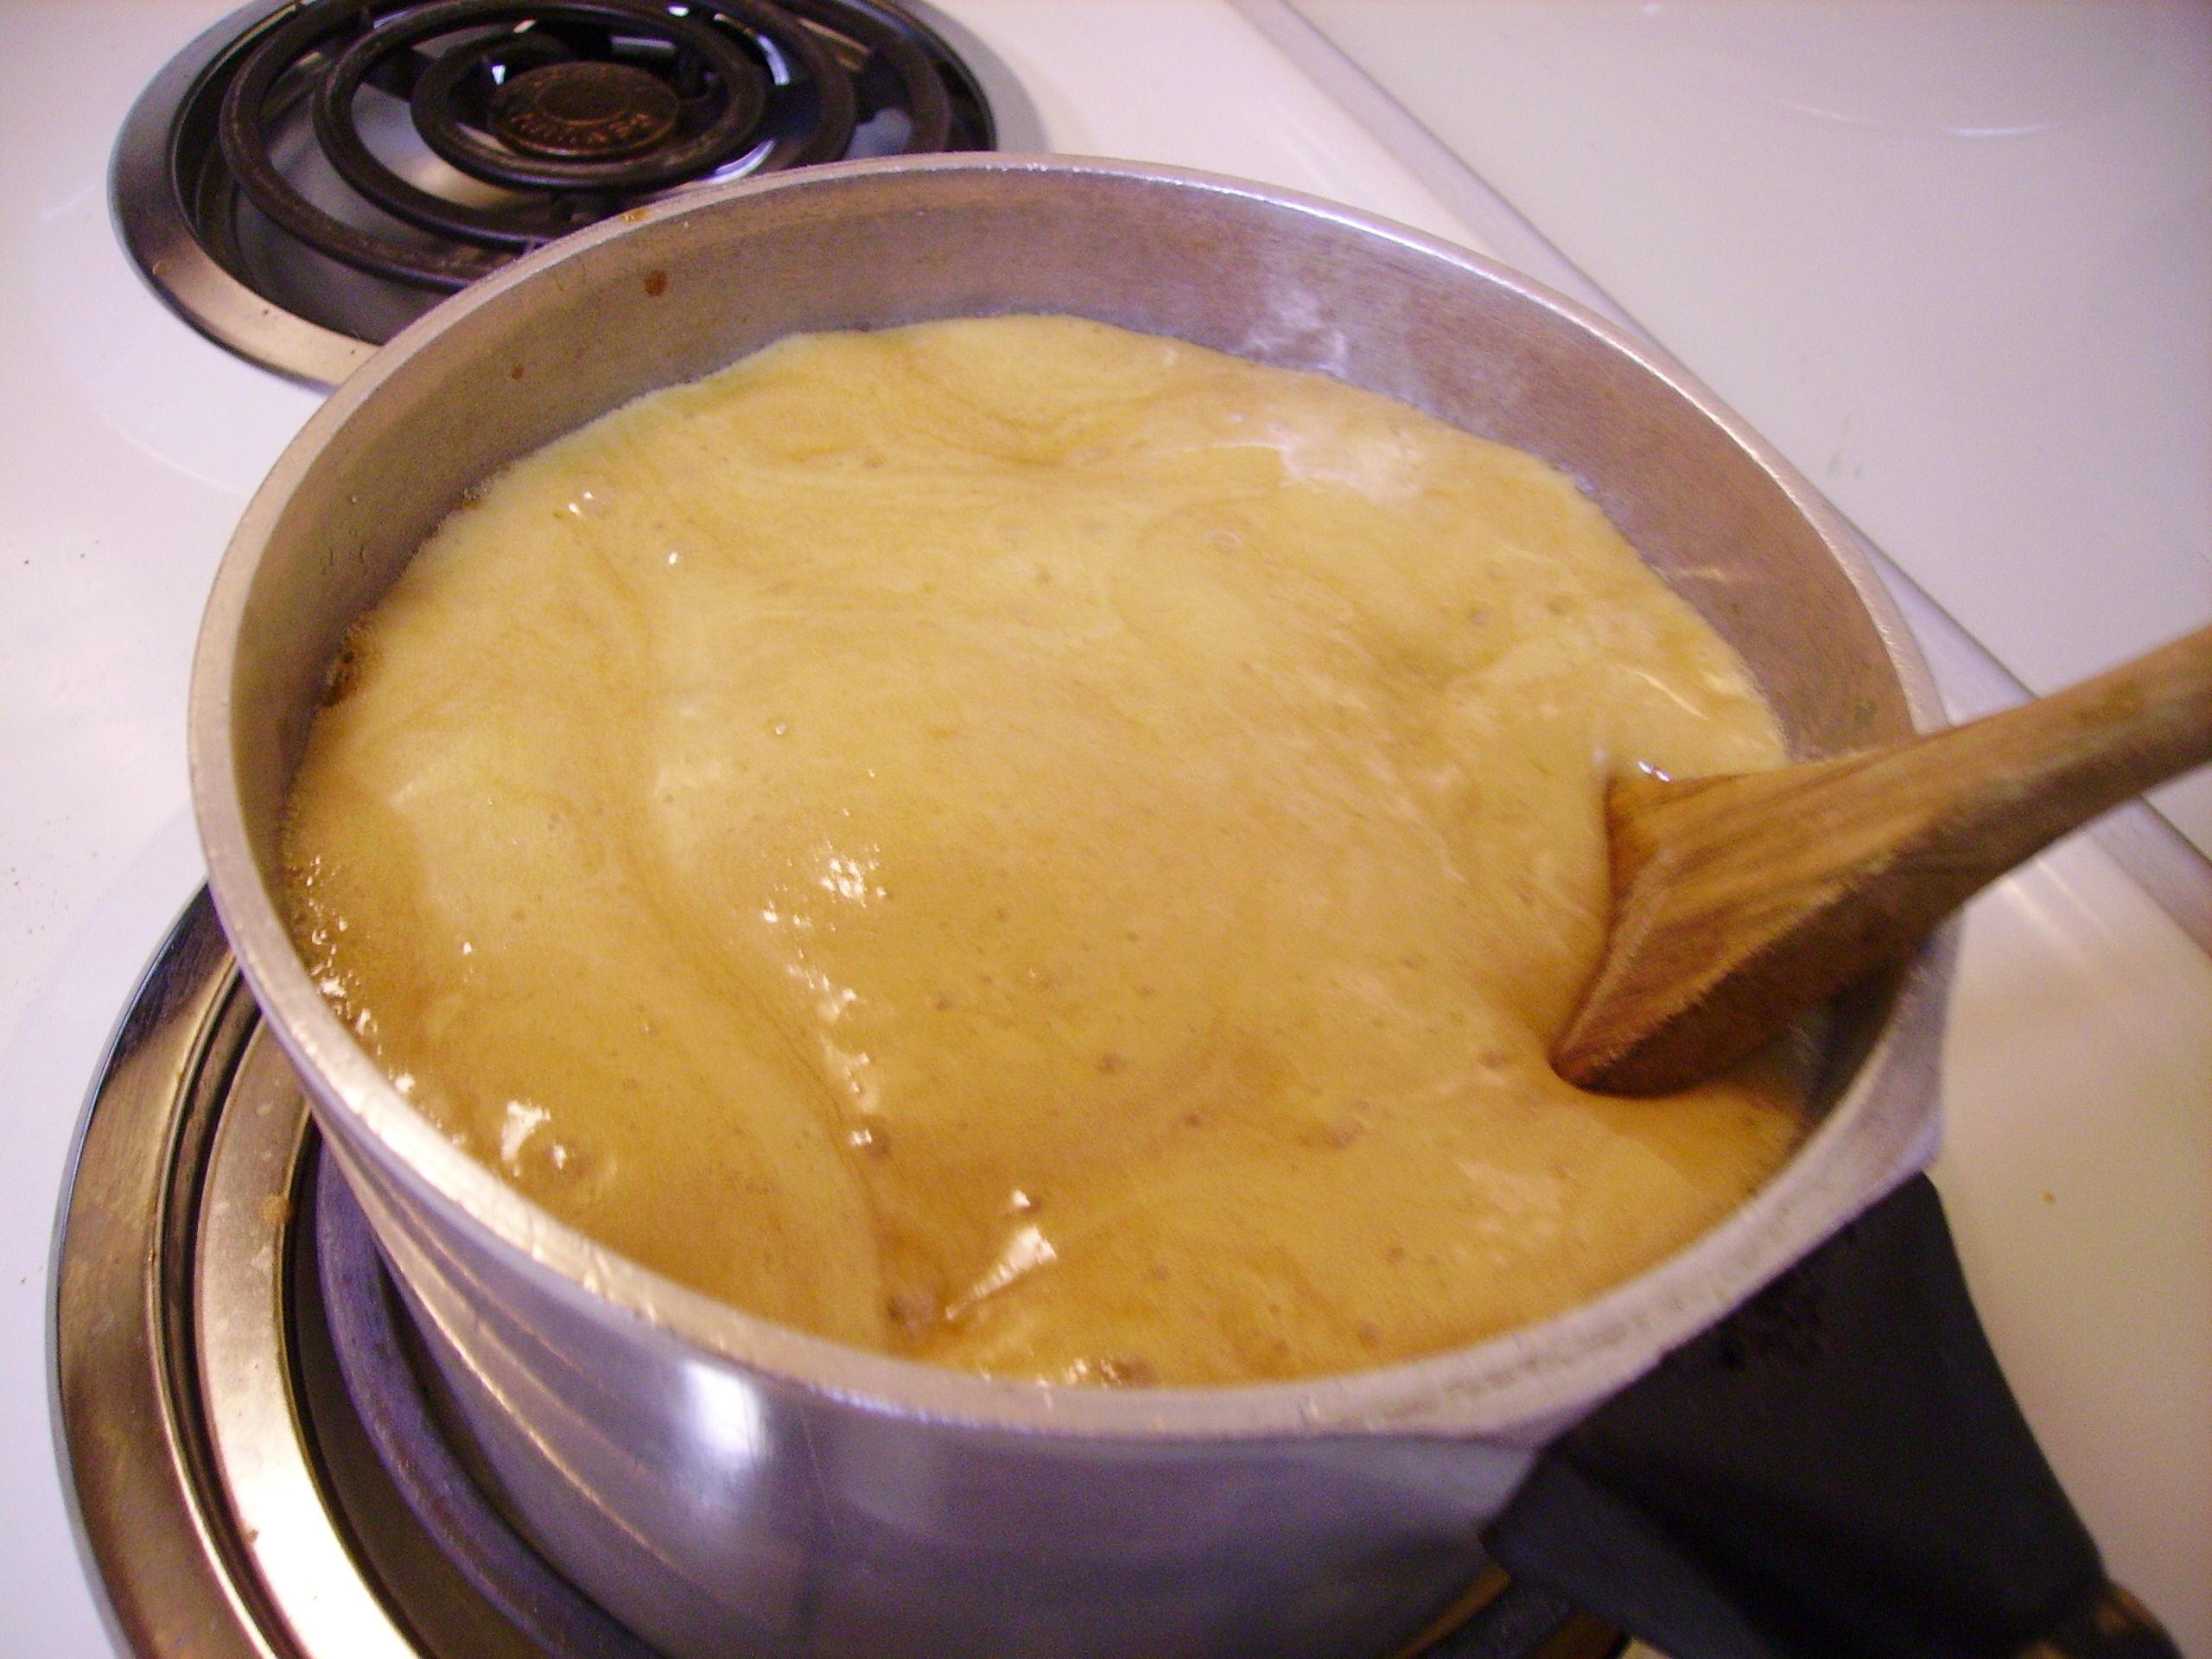
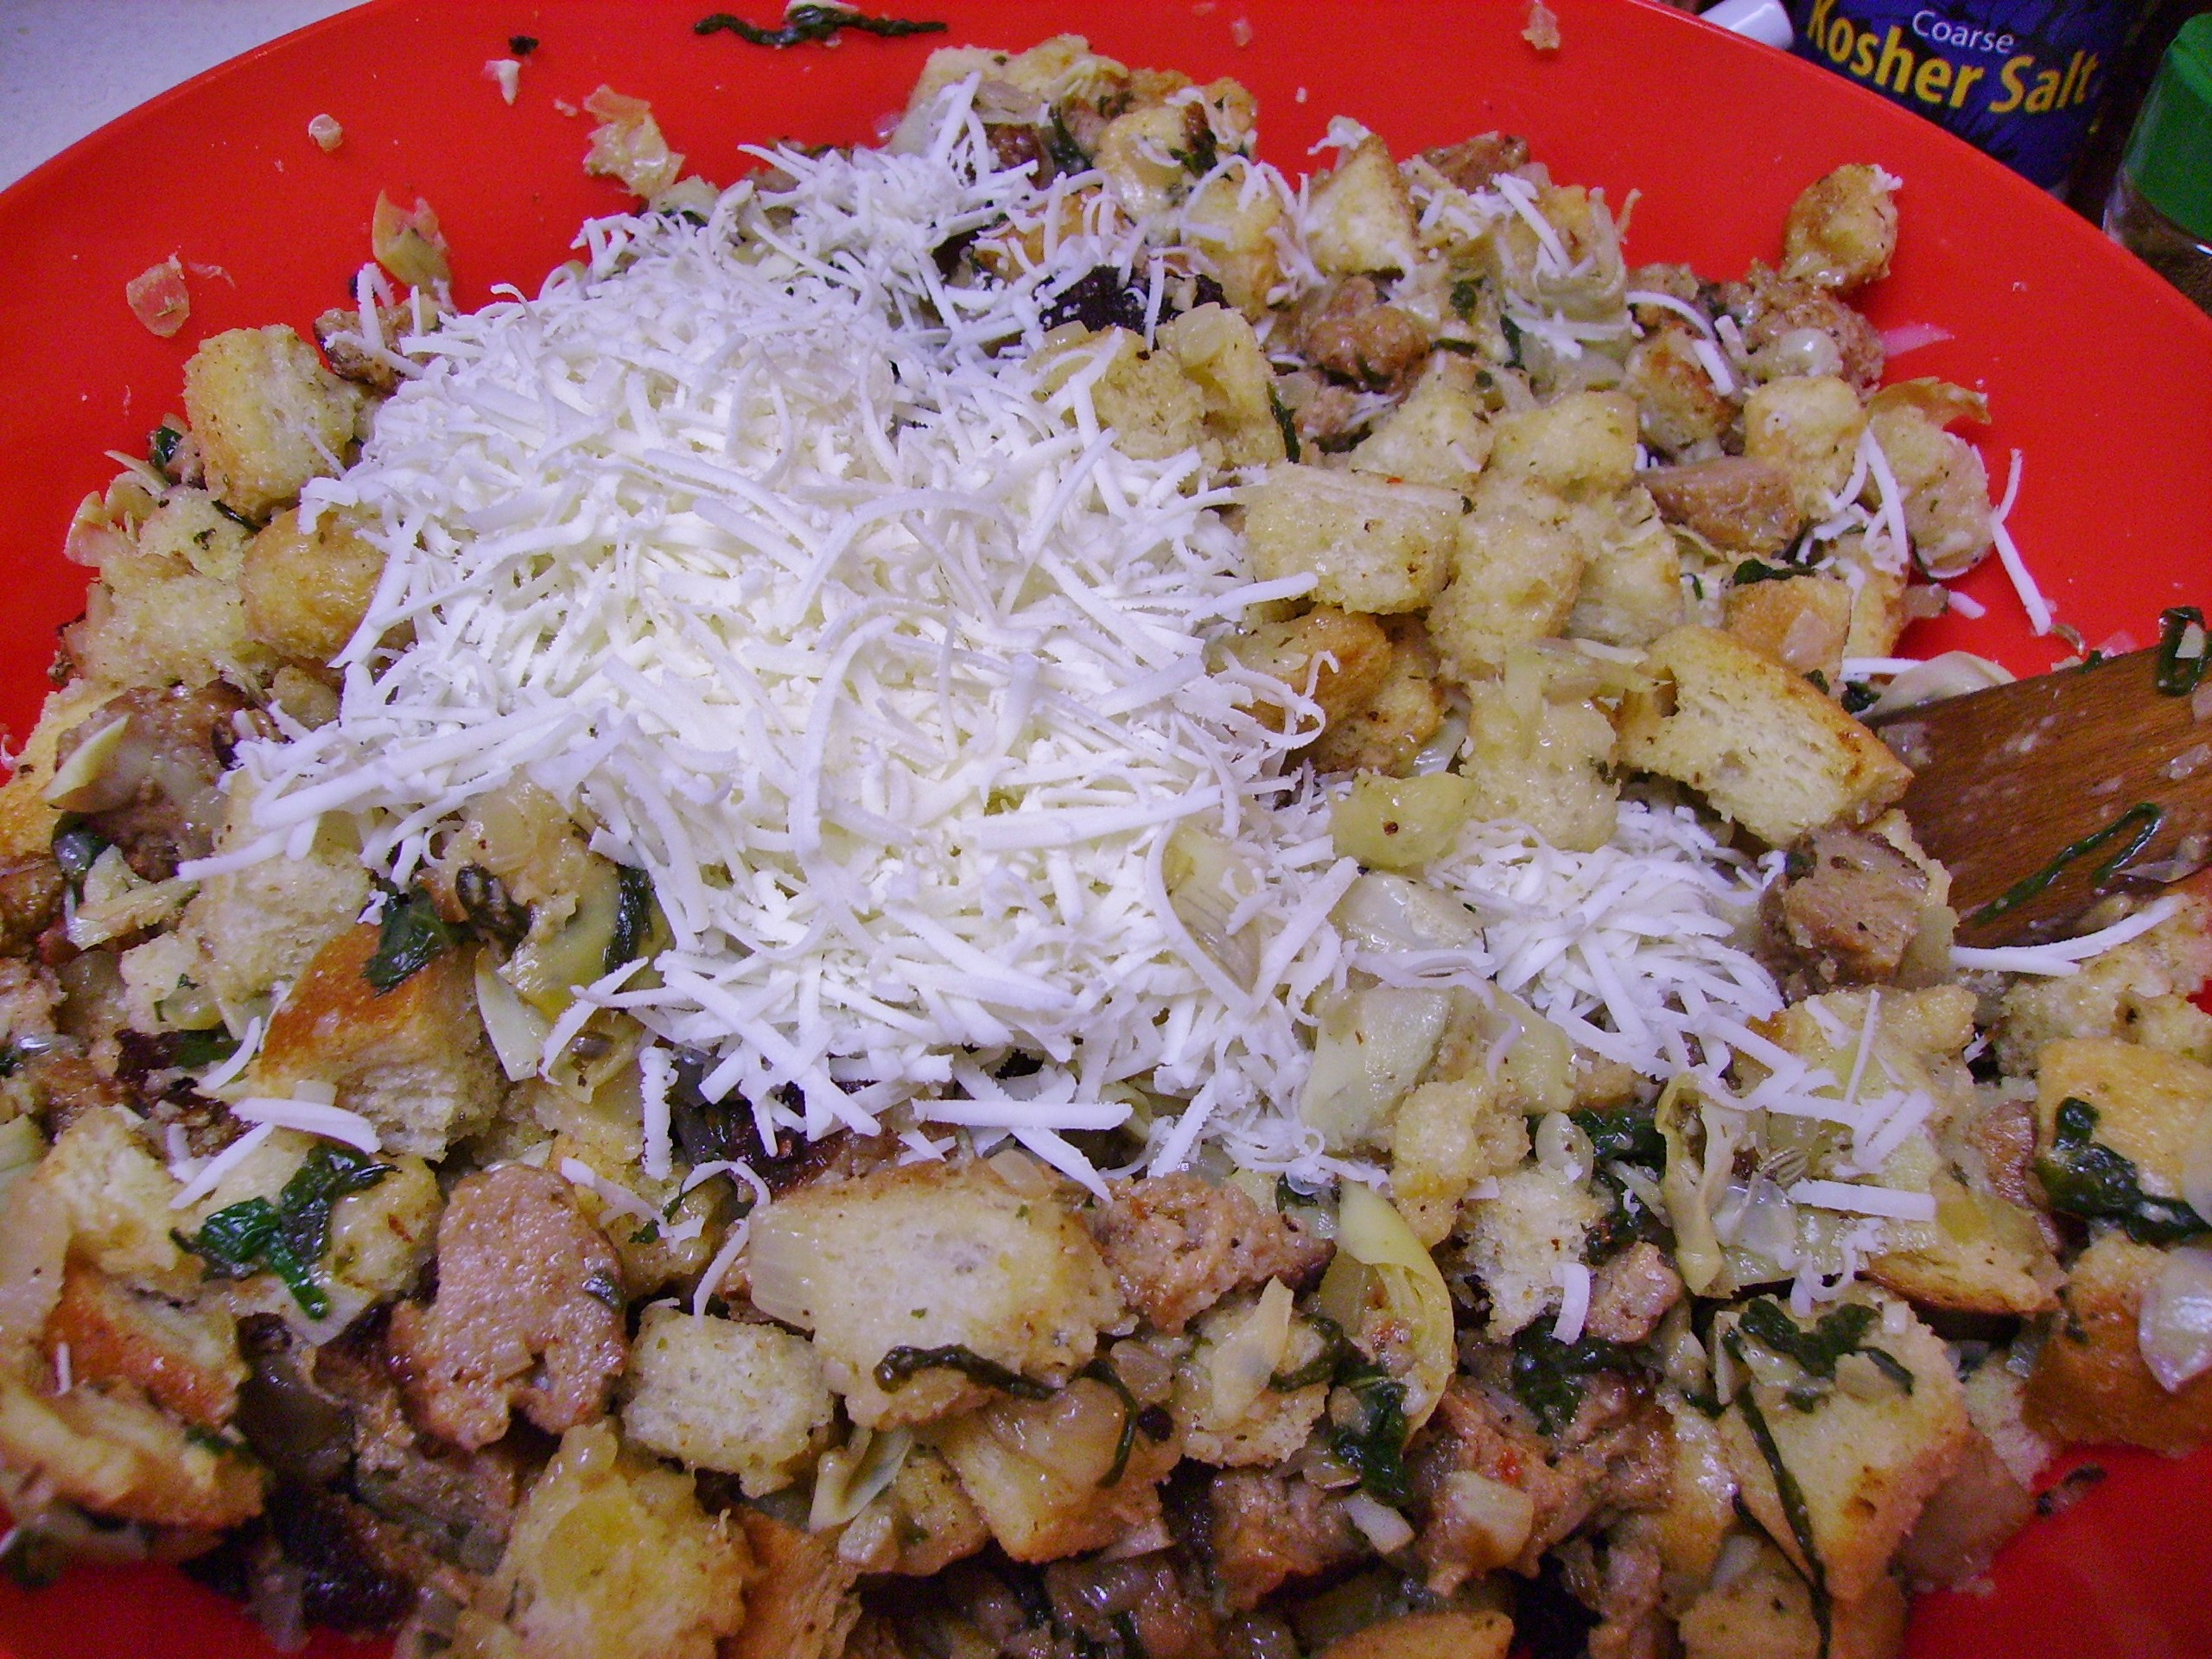
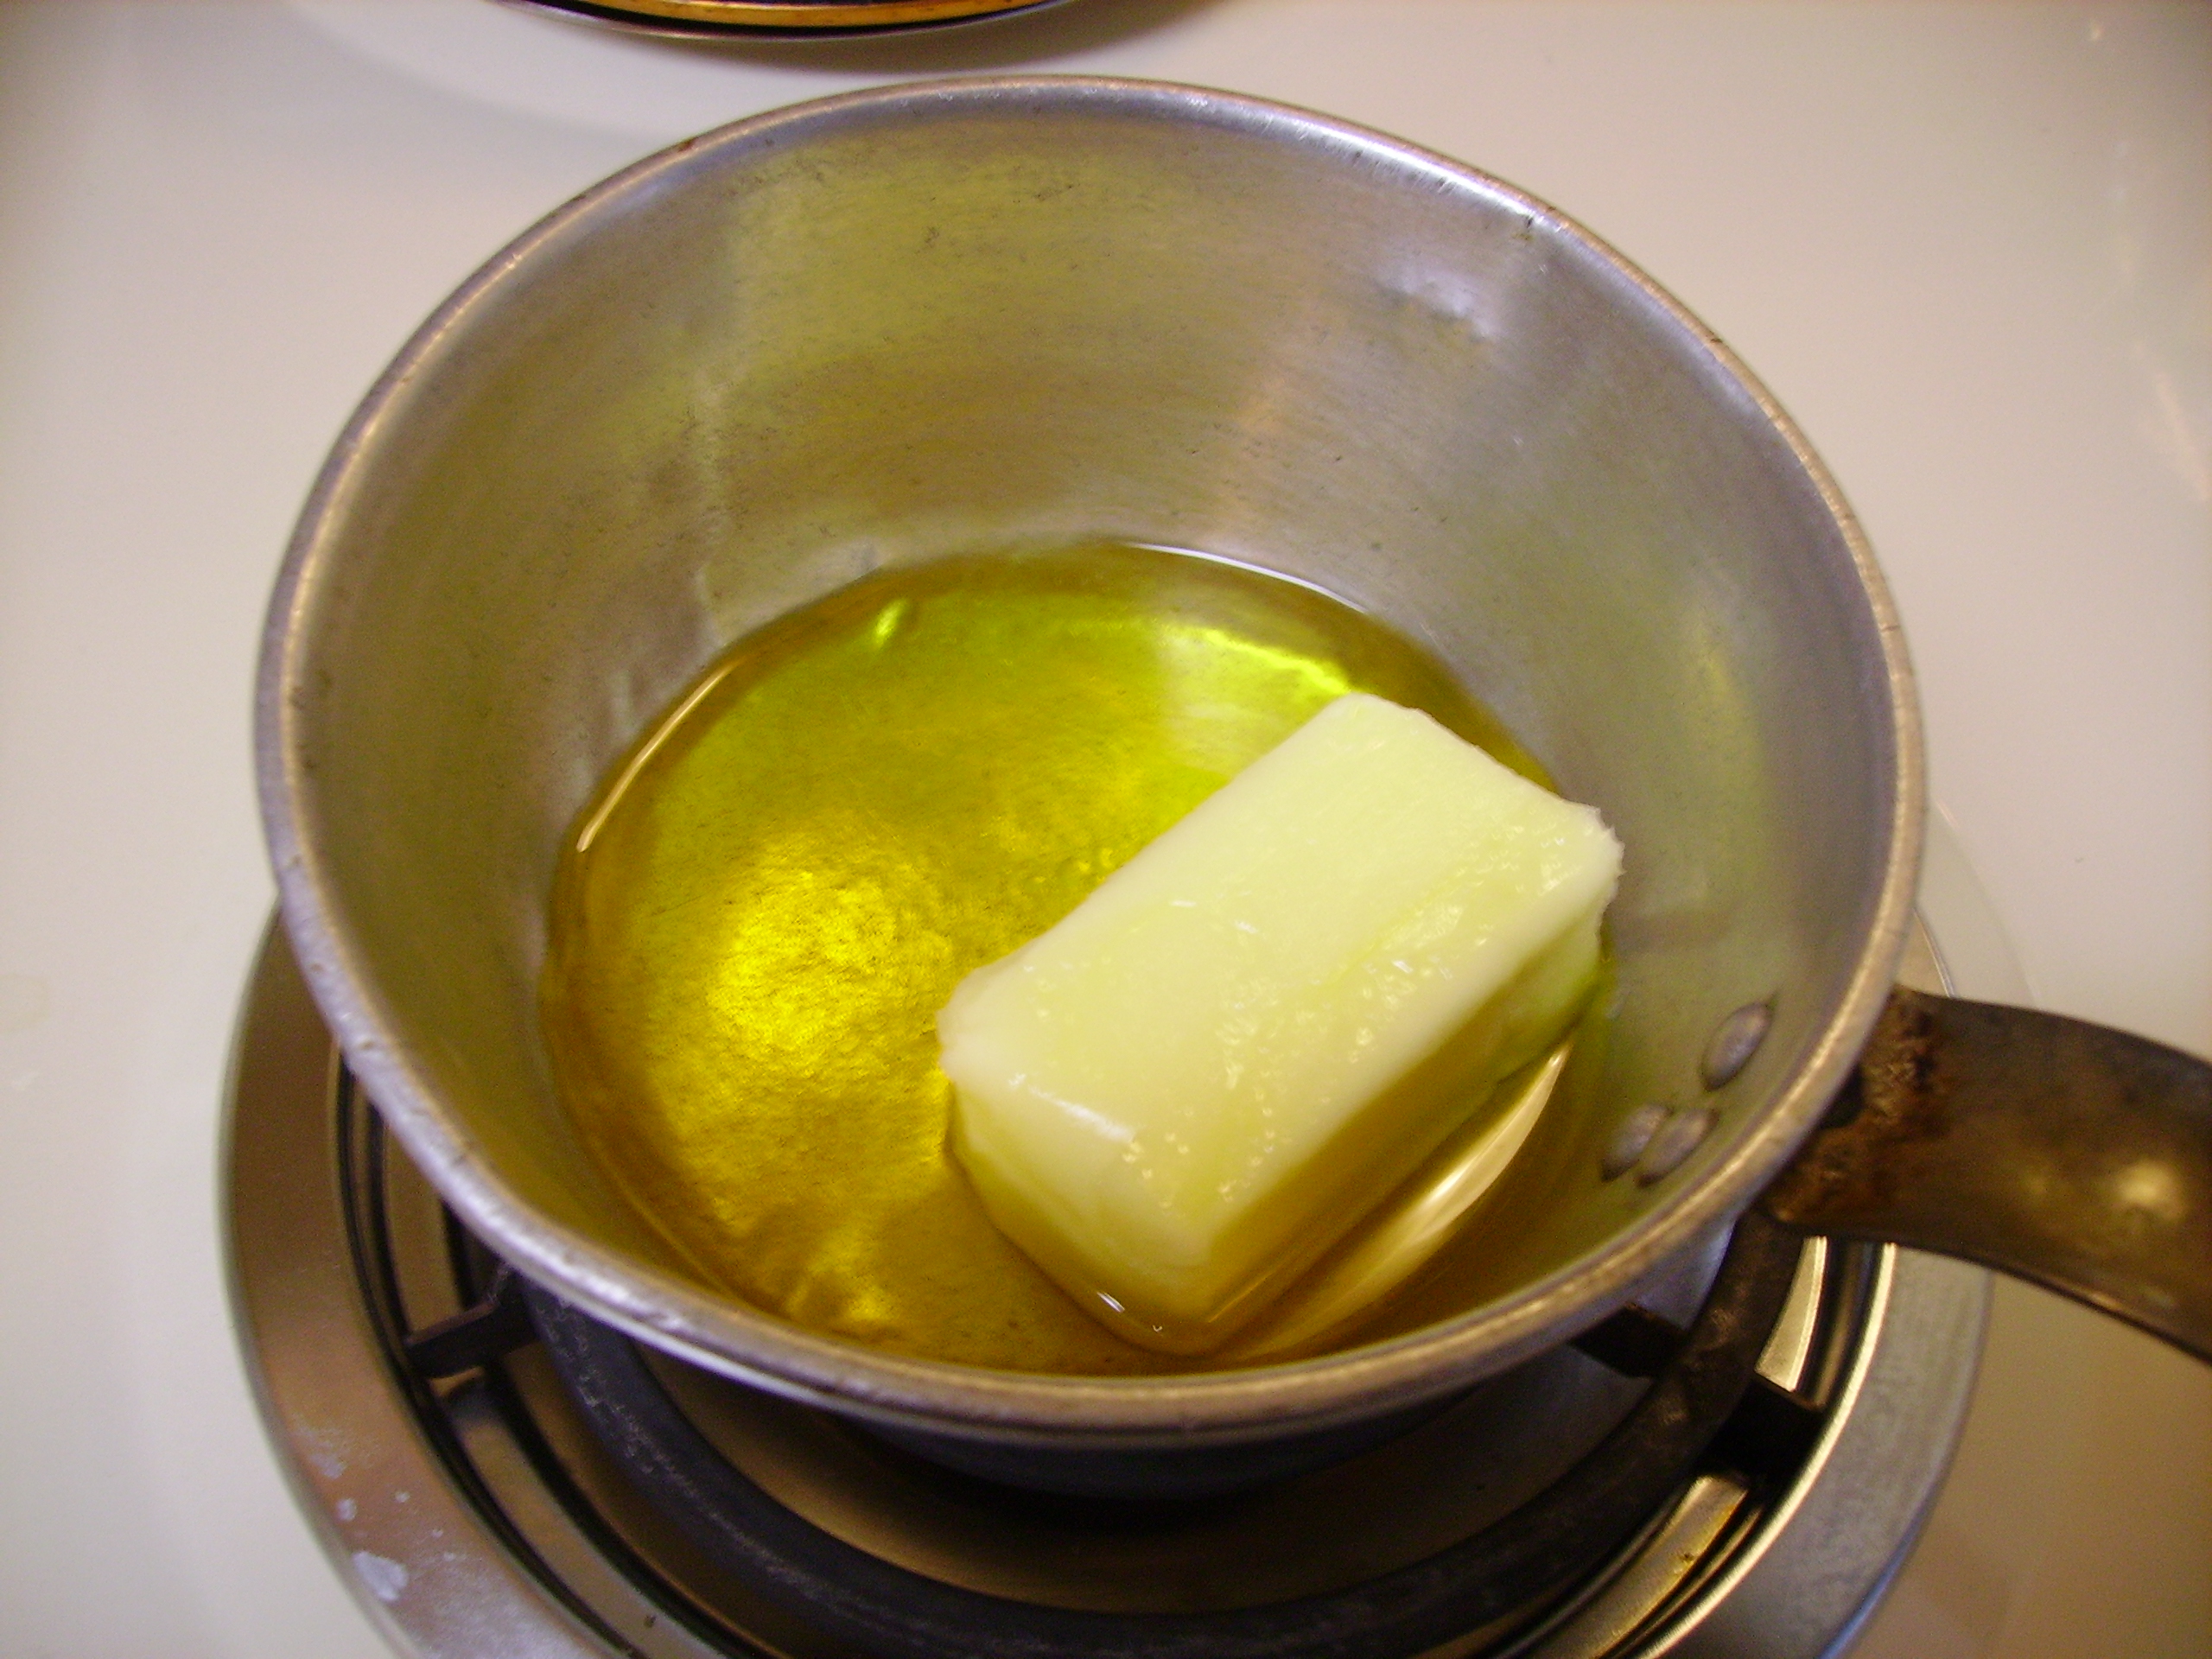
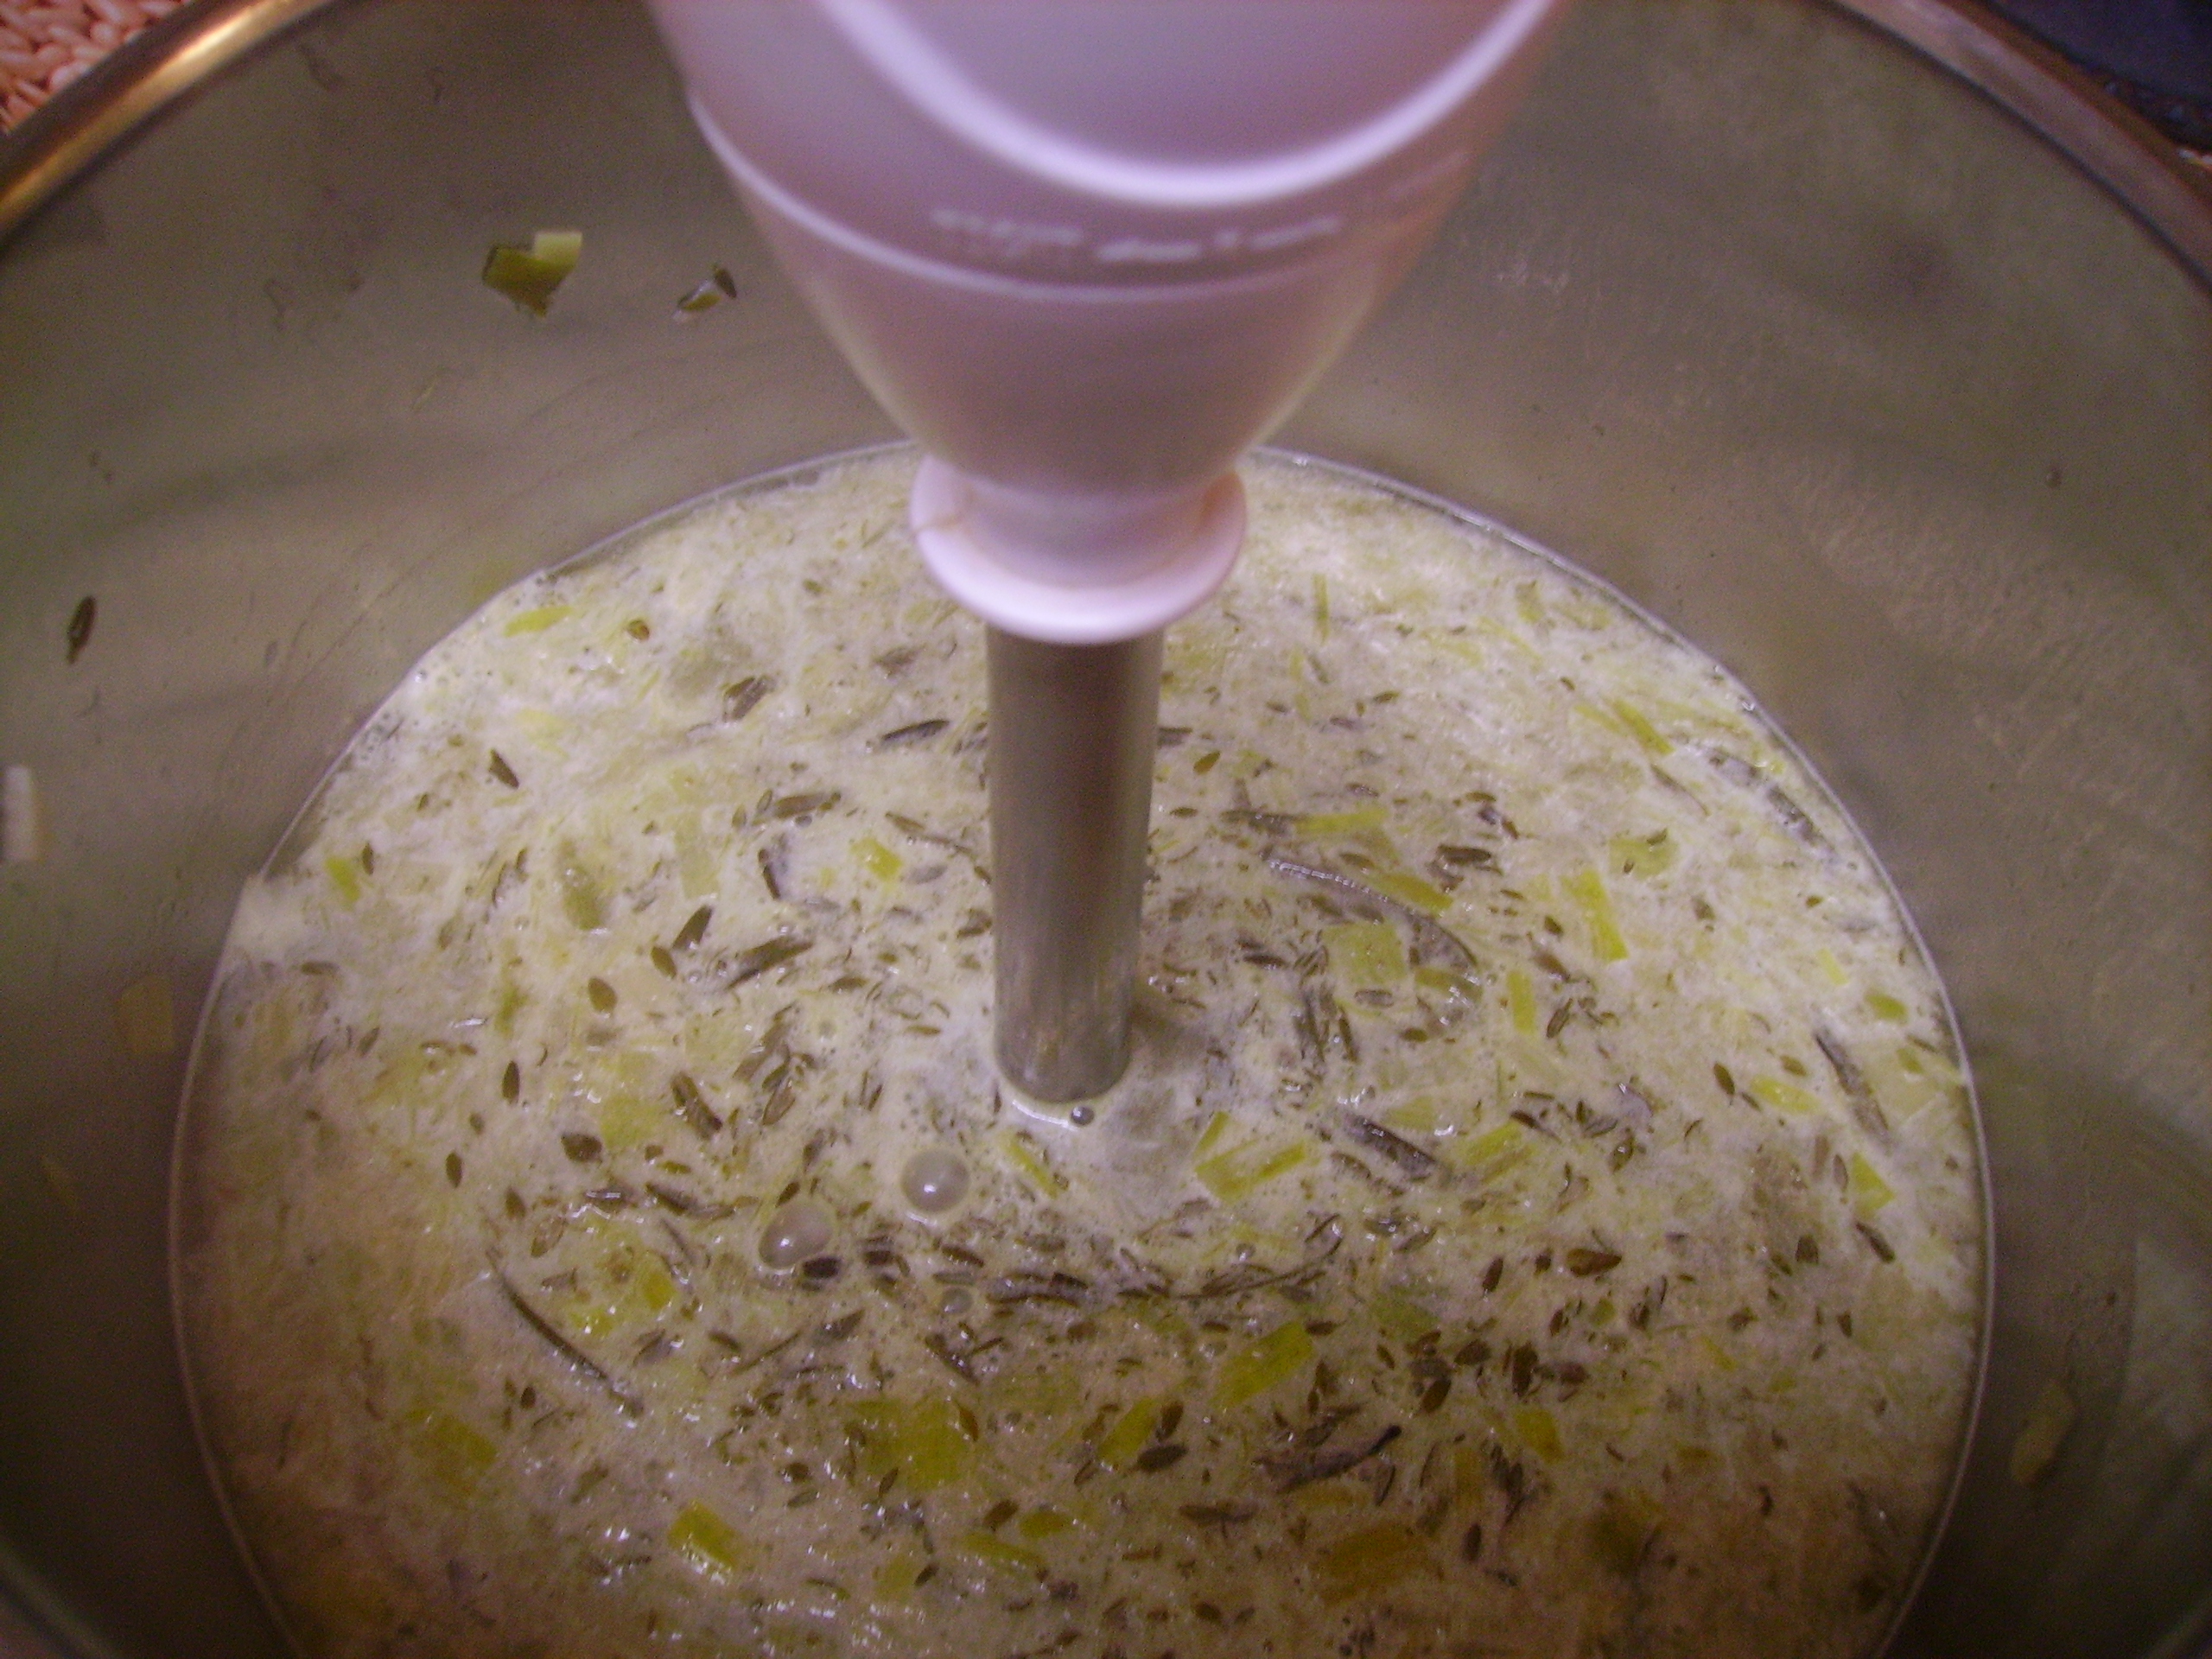
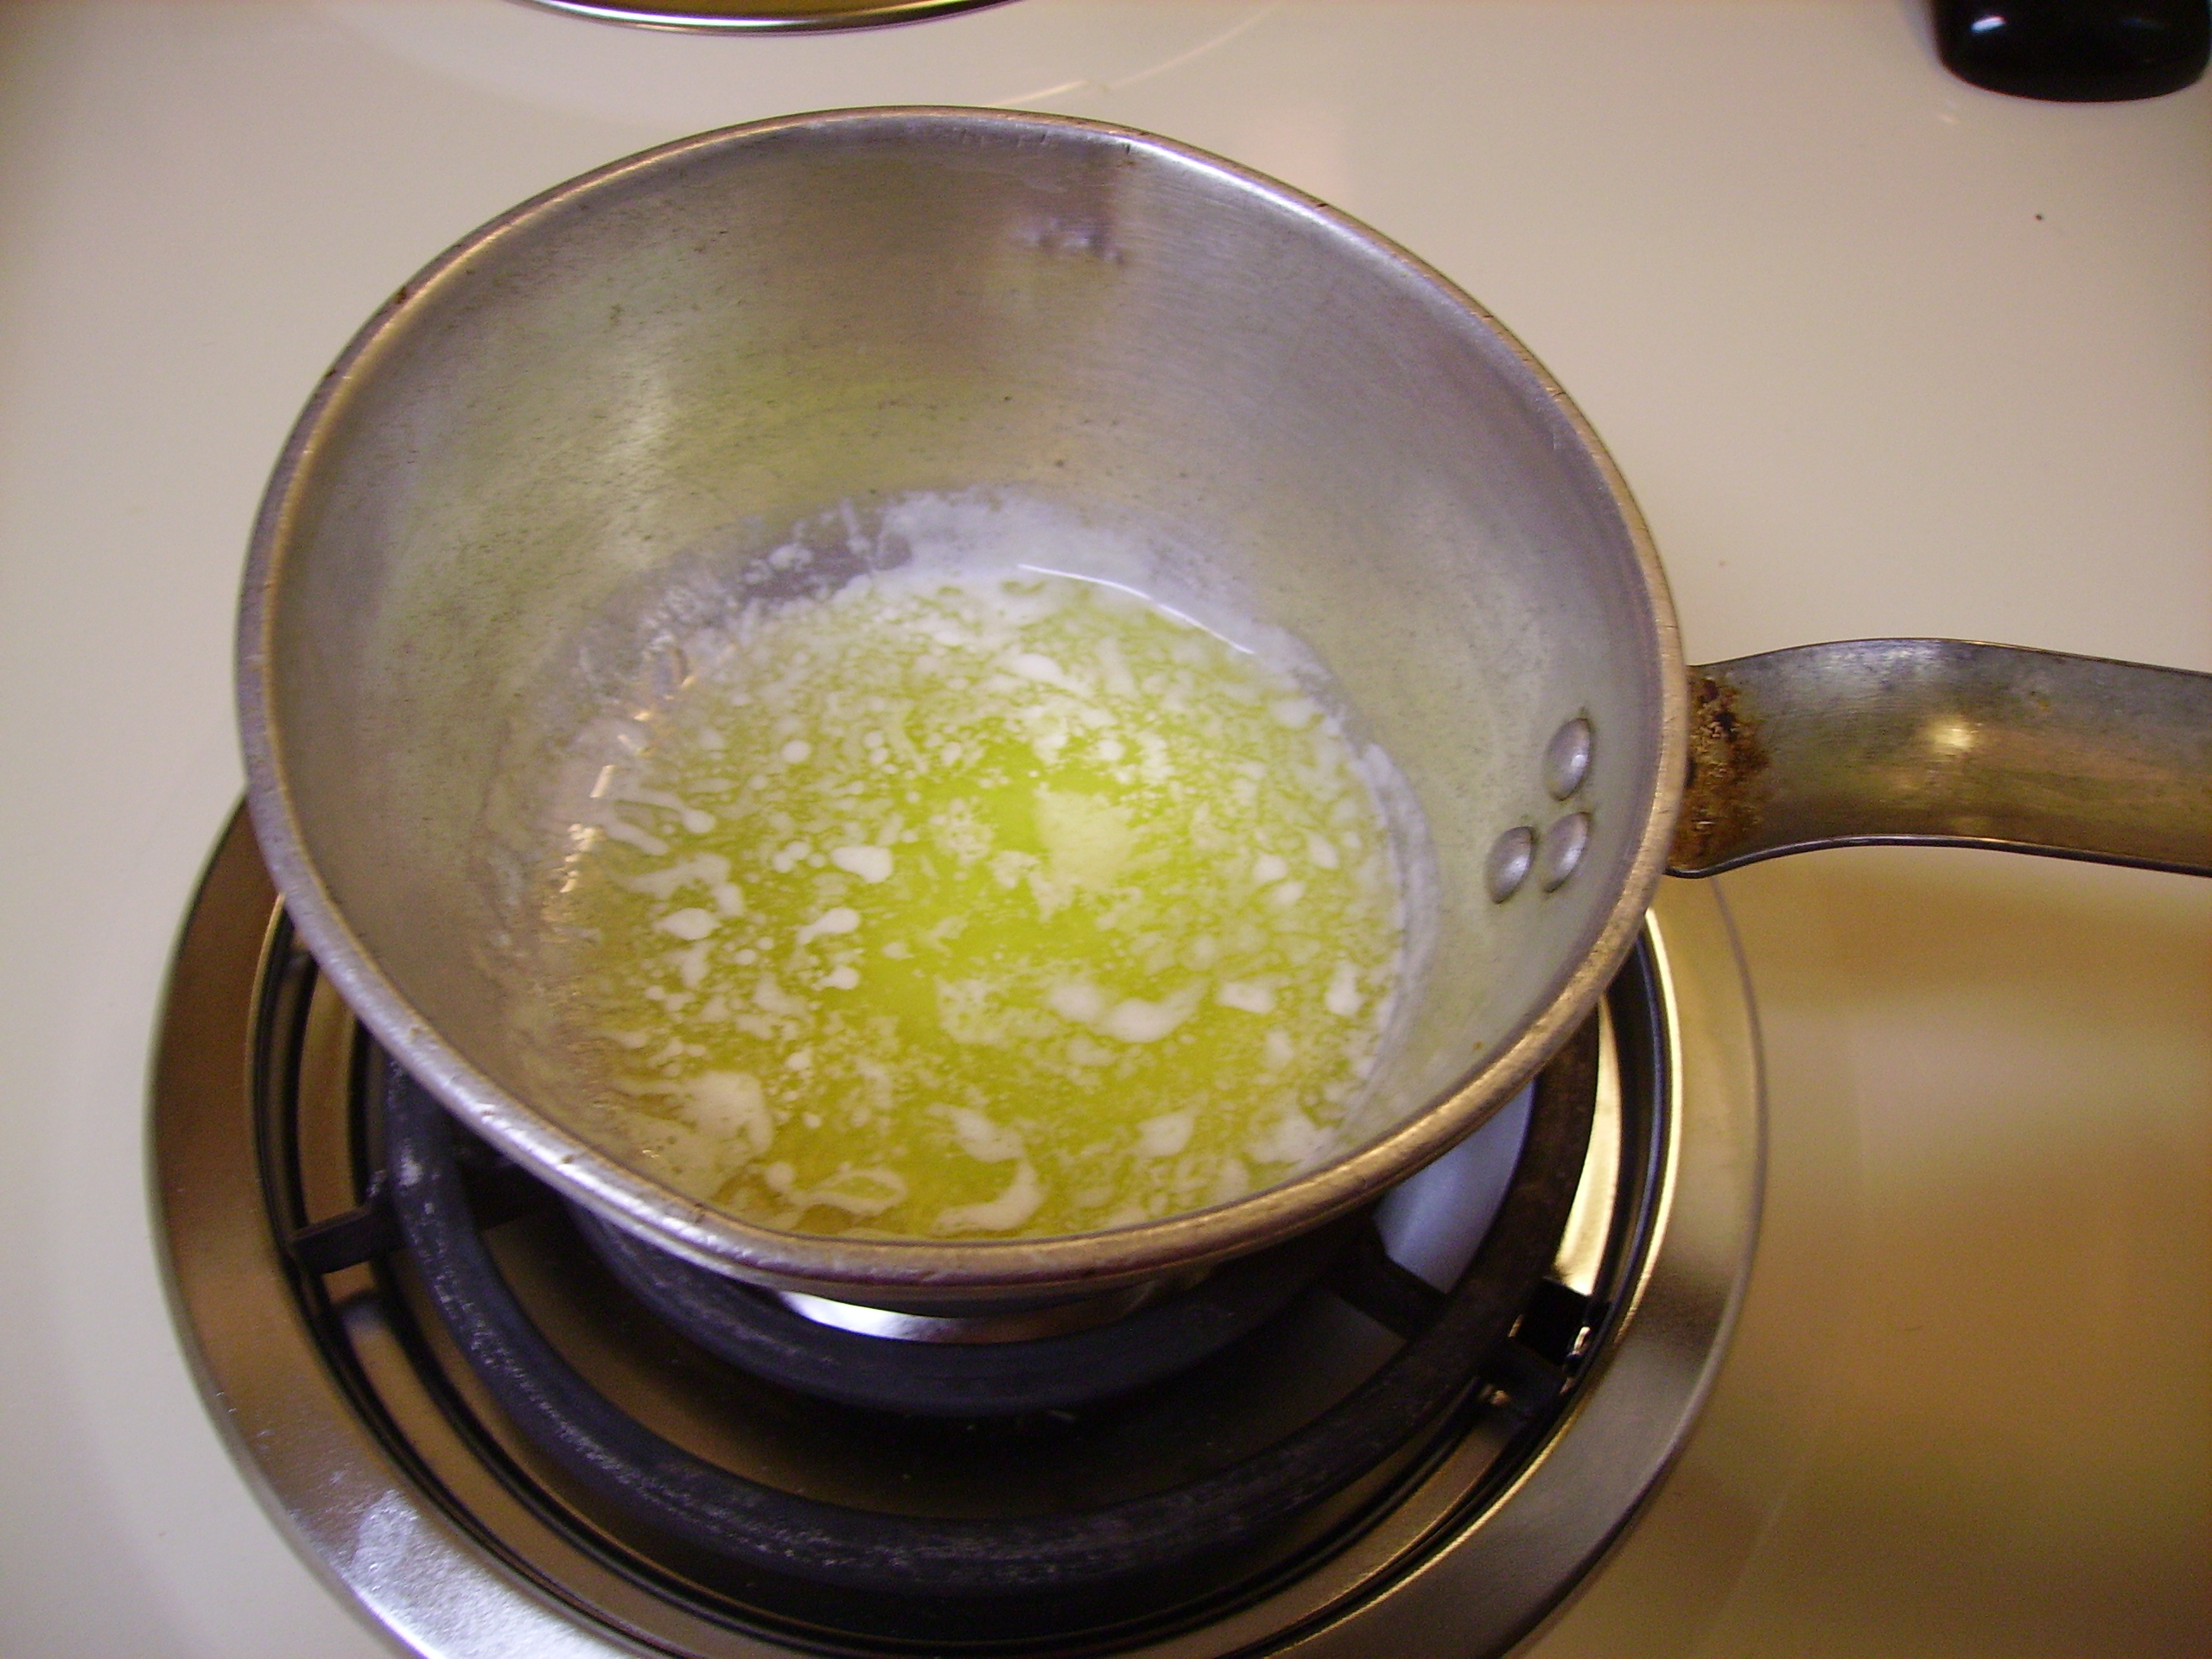
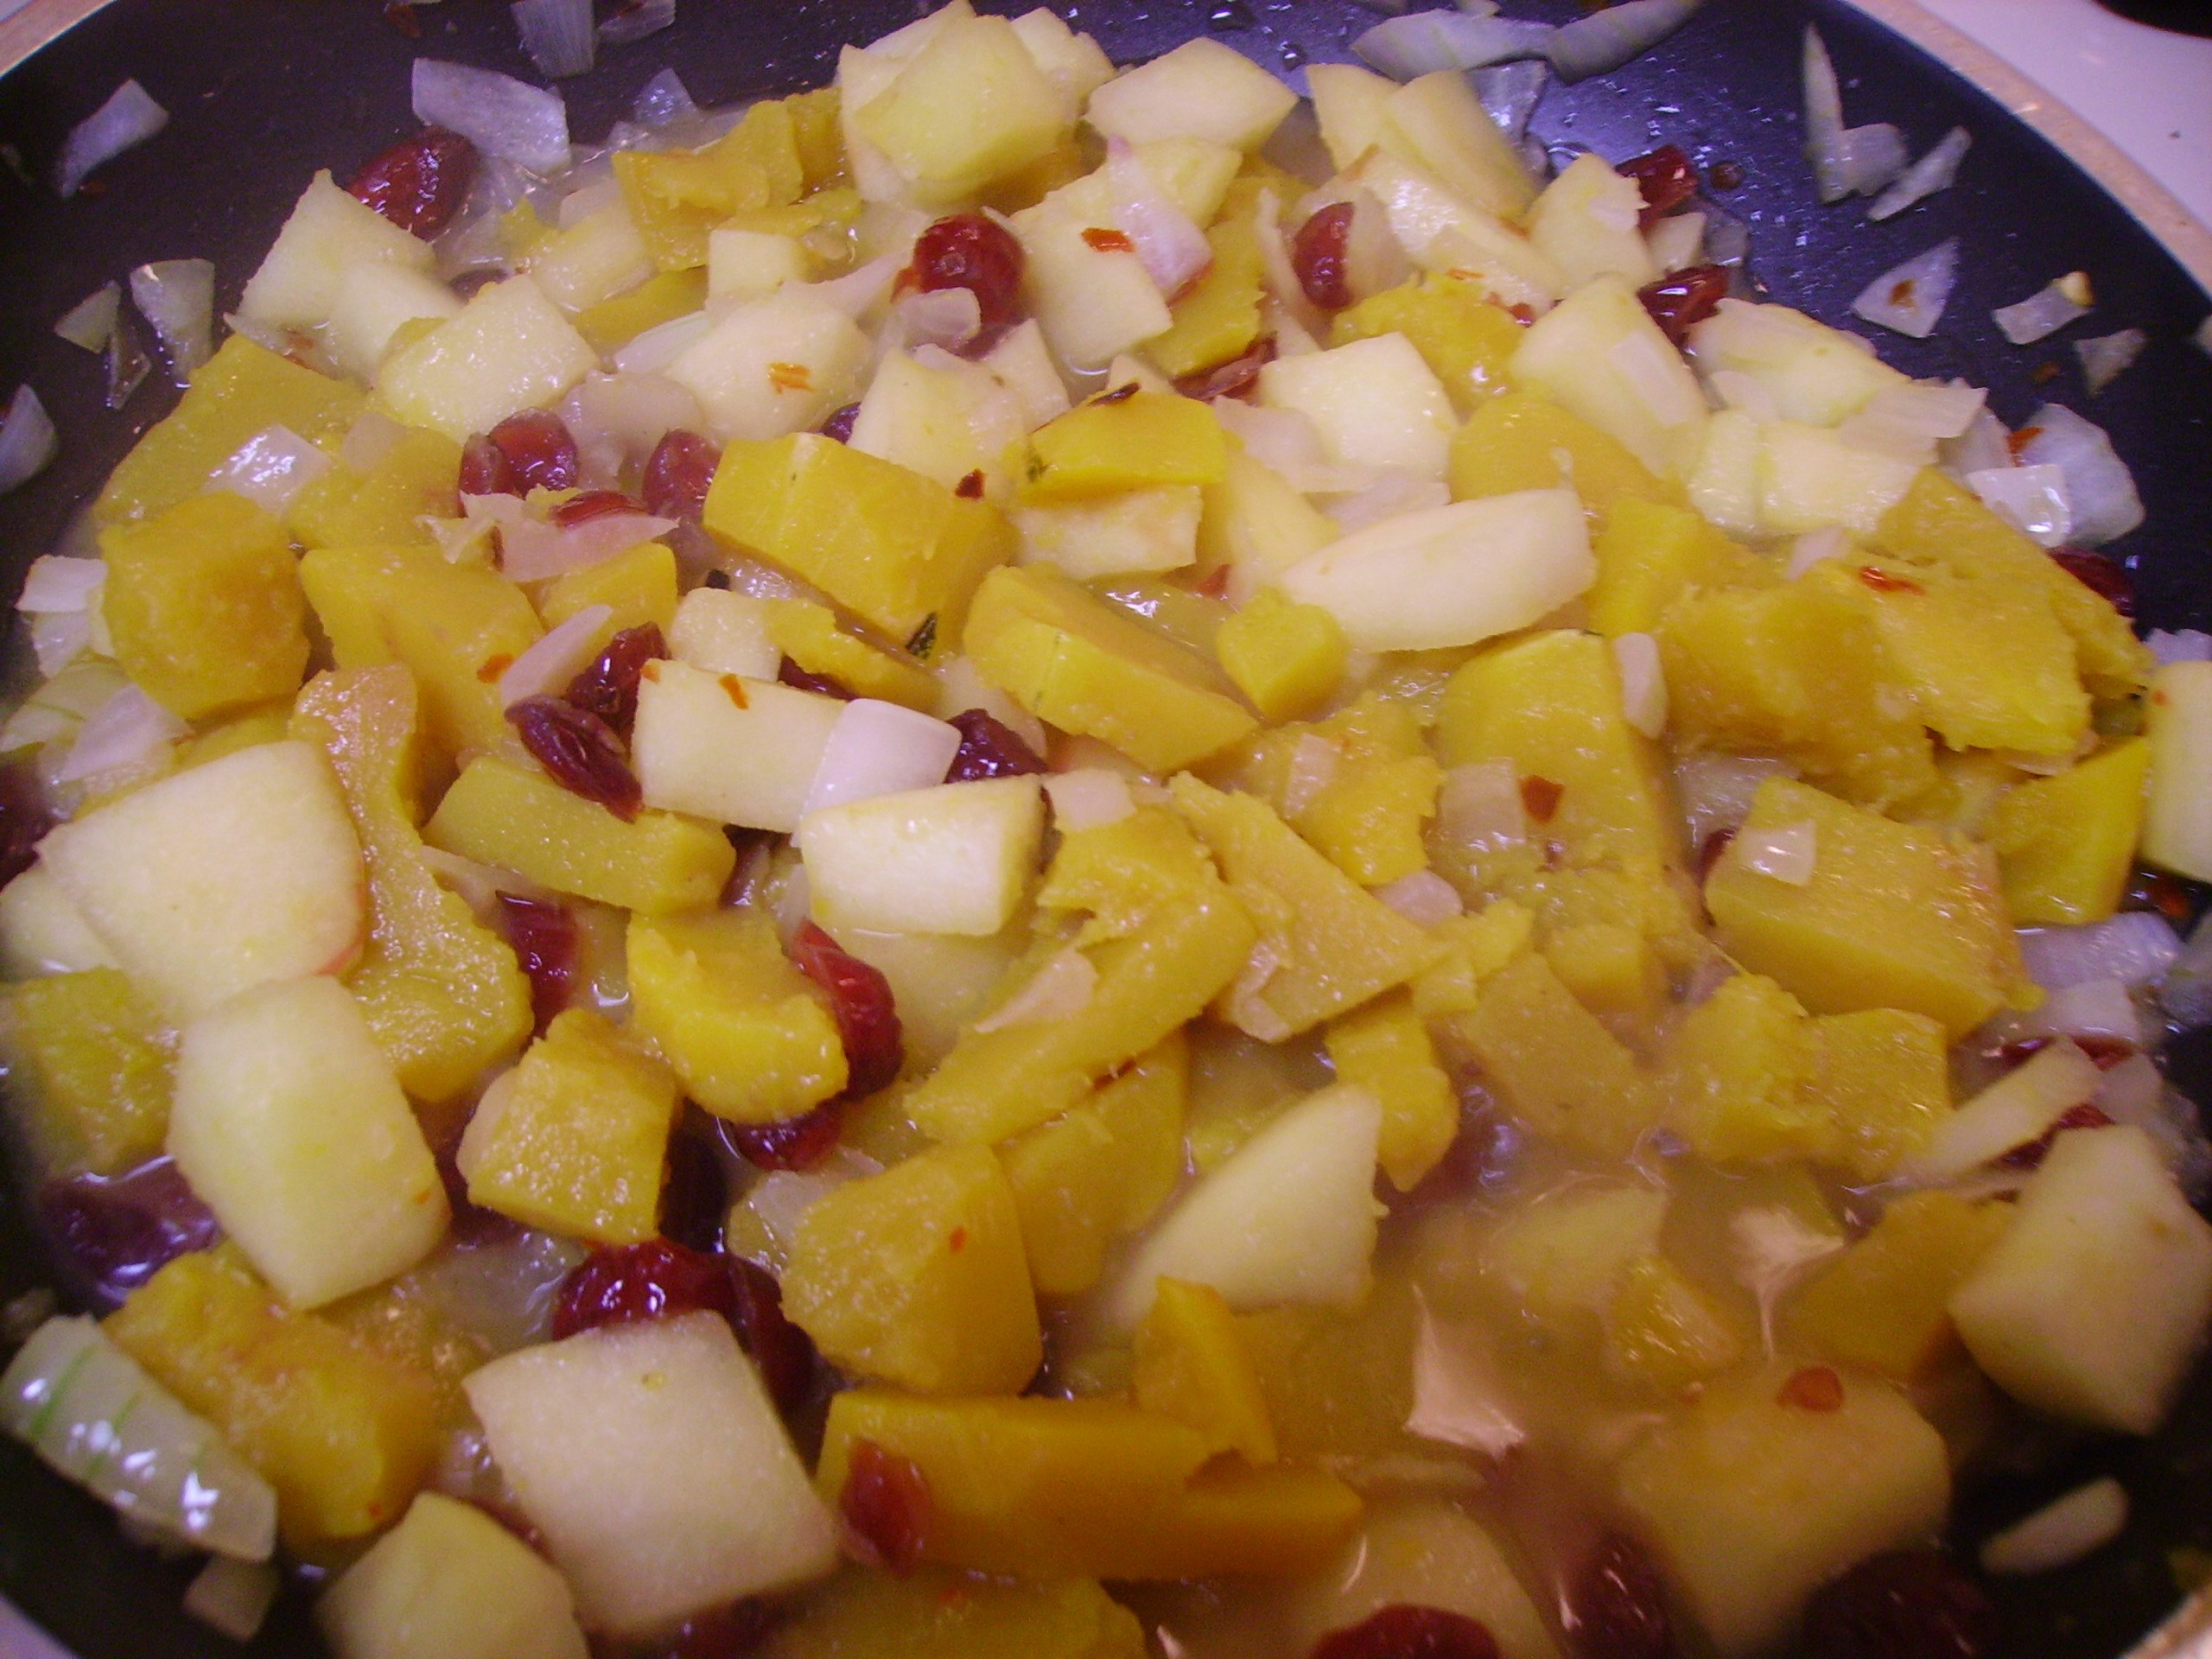
The onions were sautéed in butter and as a last-minute thought some dried cranberries came along for the ride. The herbs went in and everything took a “milk bath” as the sauce came together. I used a combination of 2% milk and fat-free half and half, but cream would be wonderfully naughty.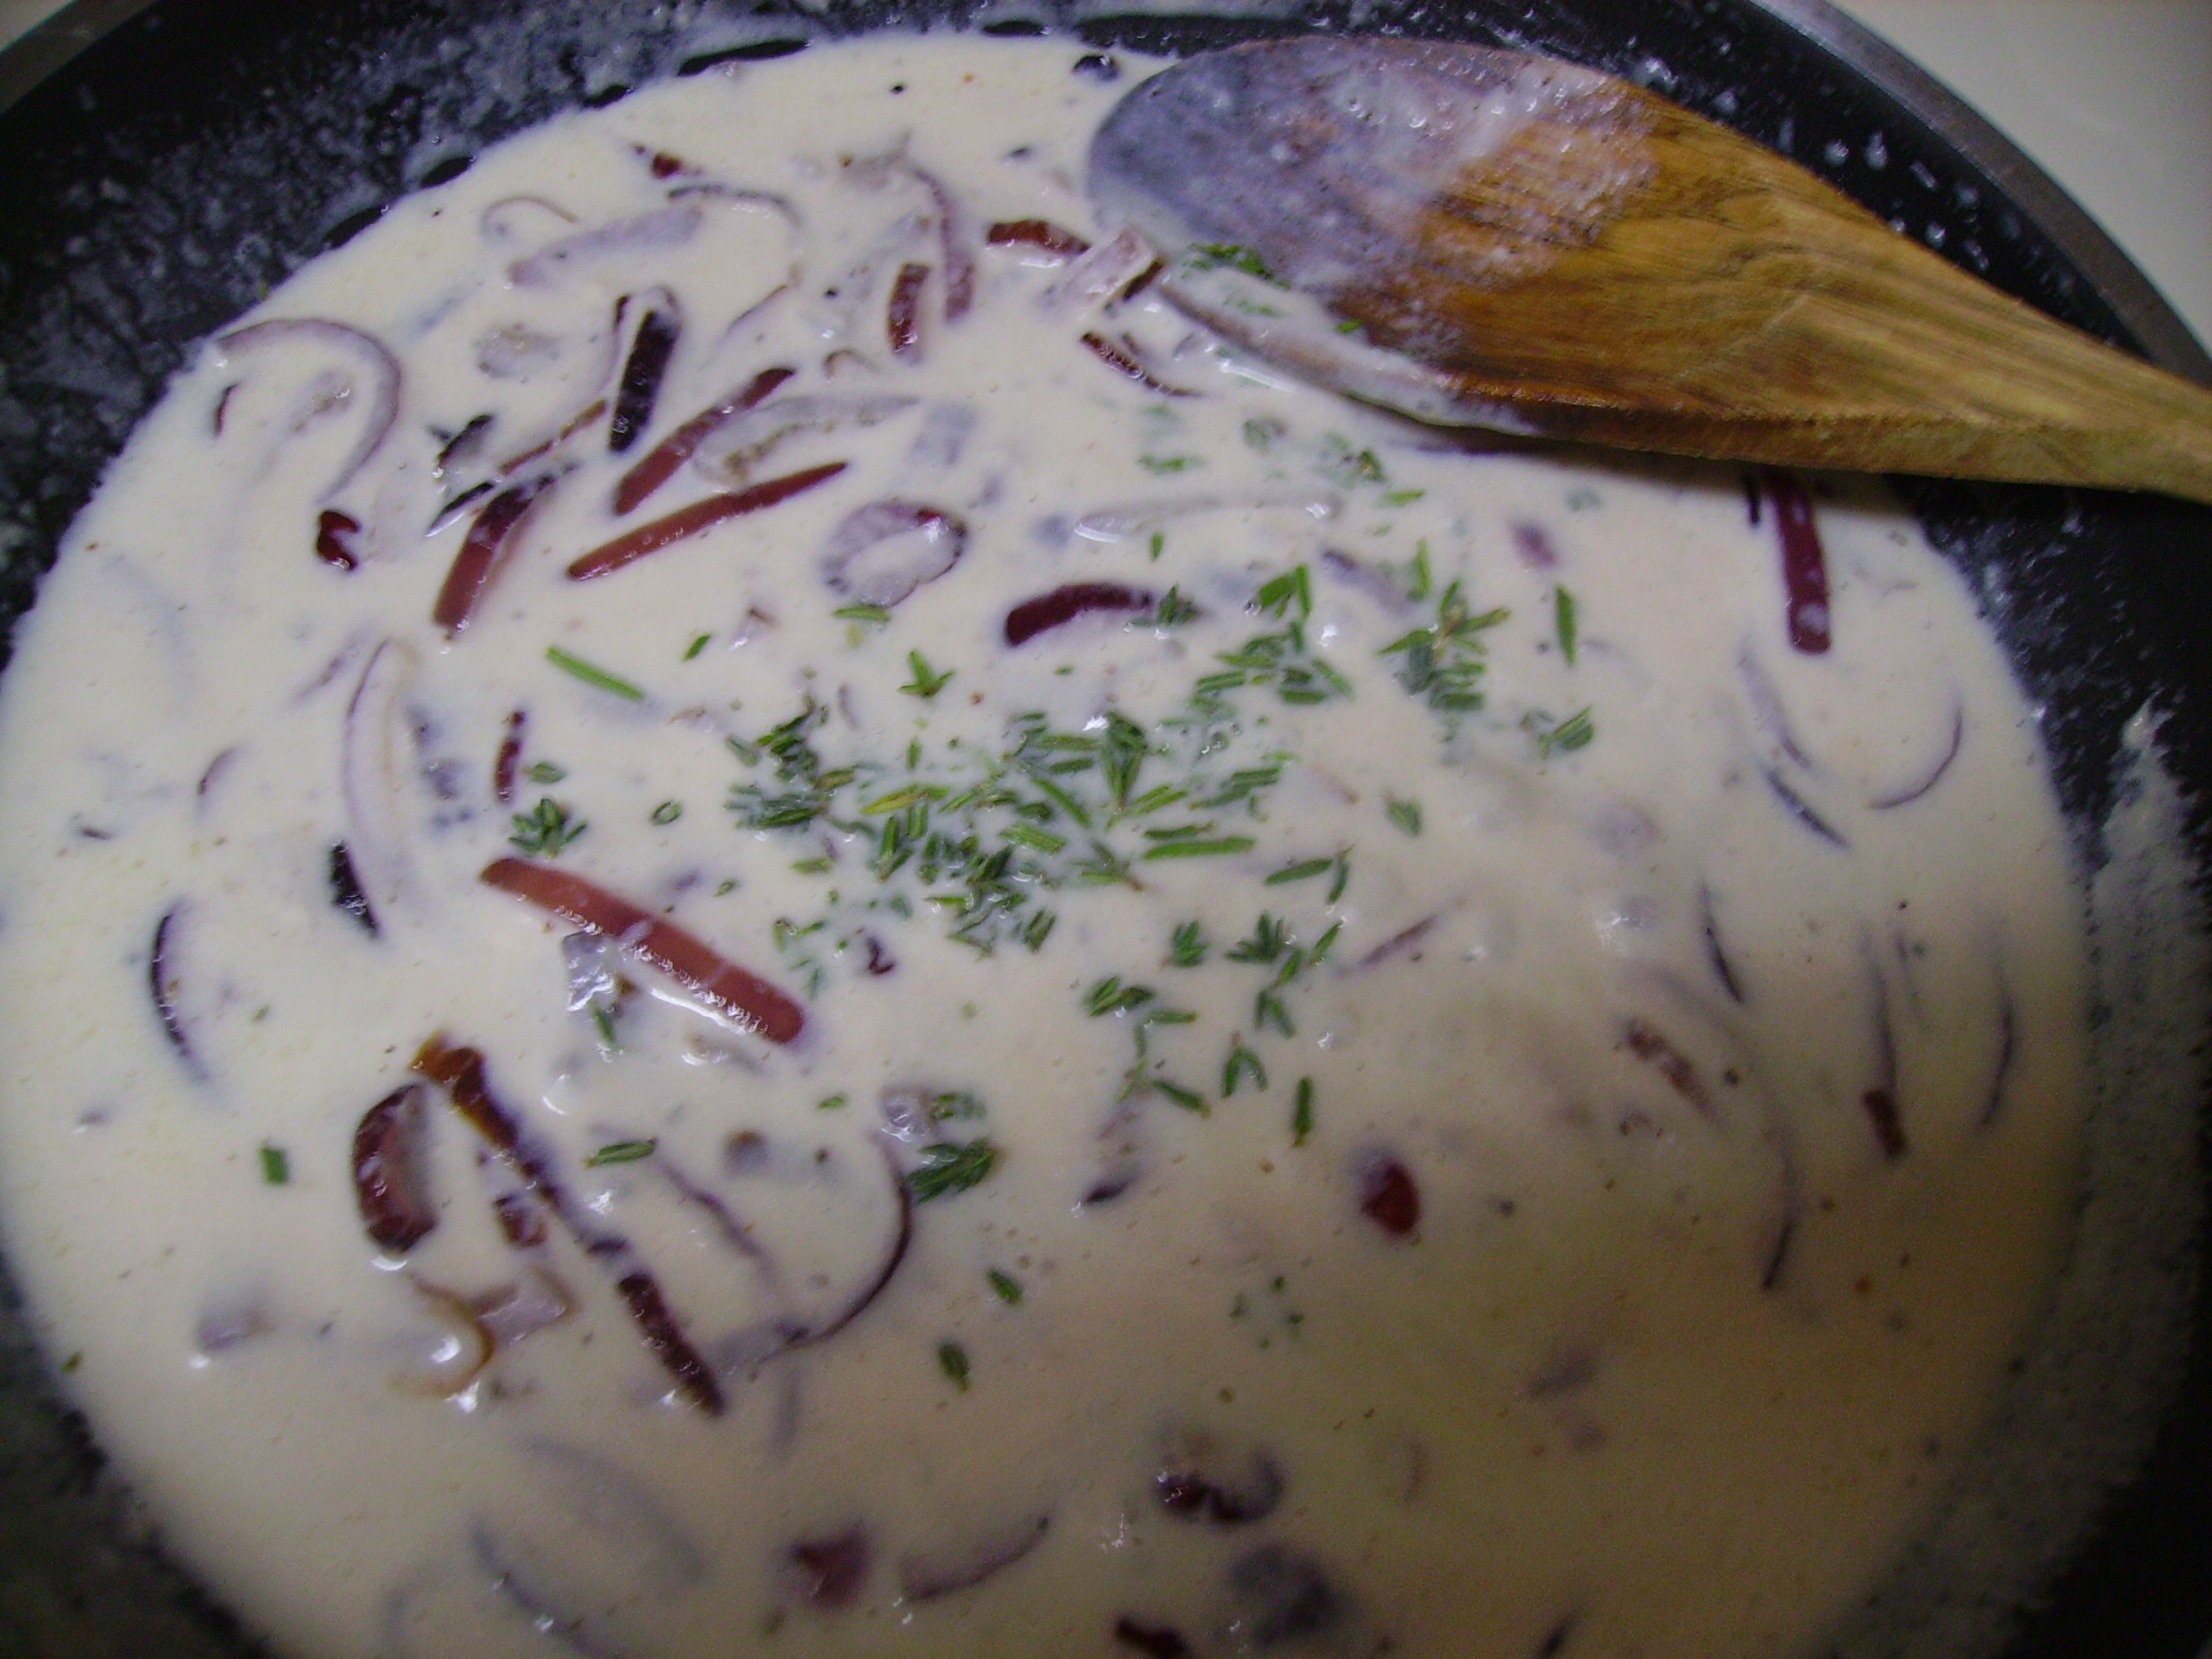 I added plenty of grated cheese
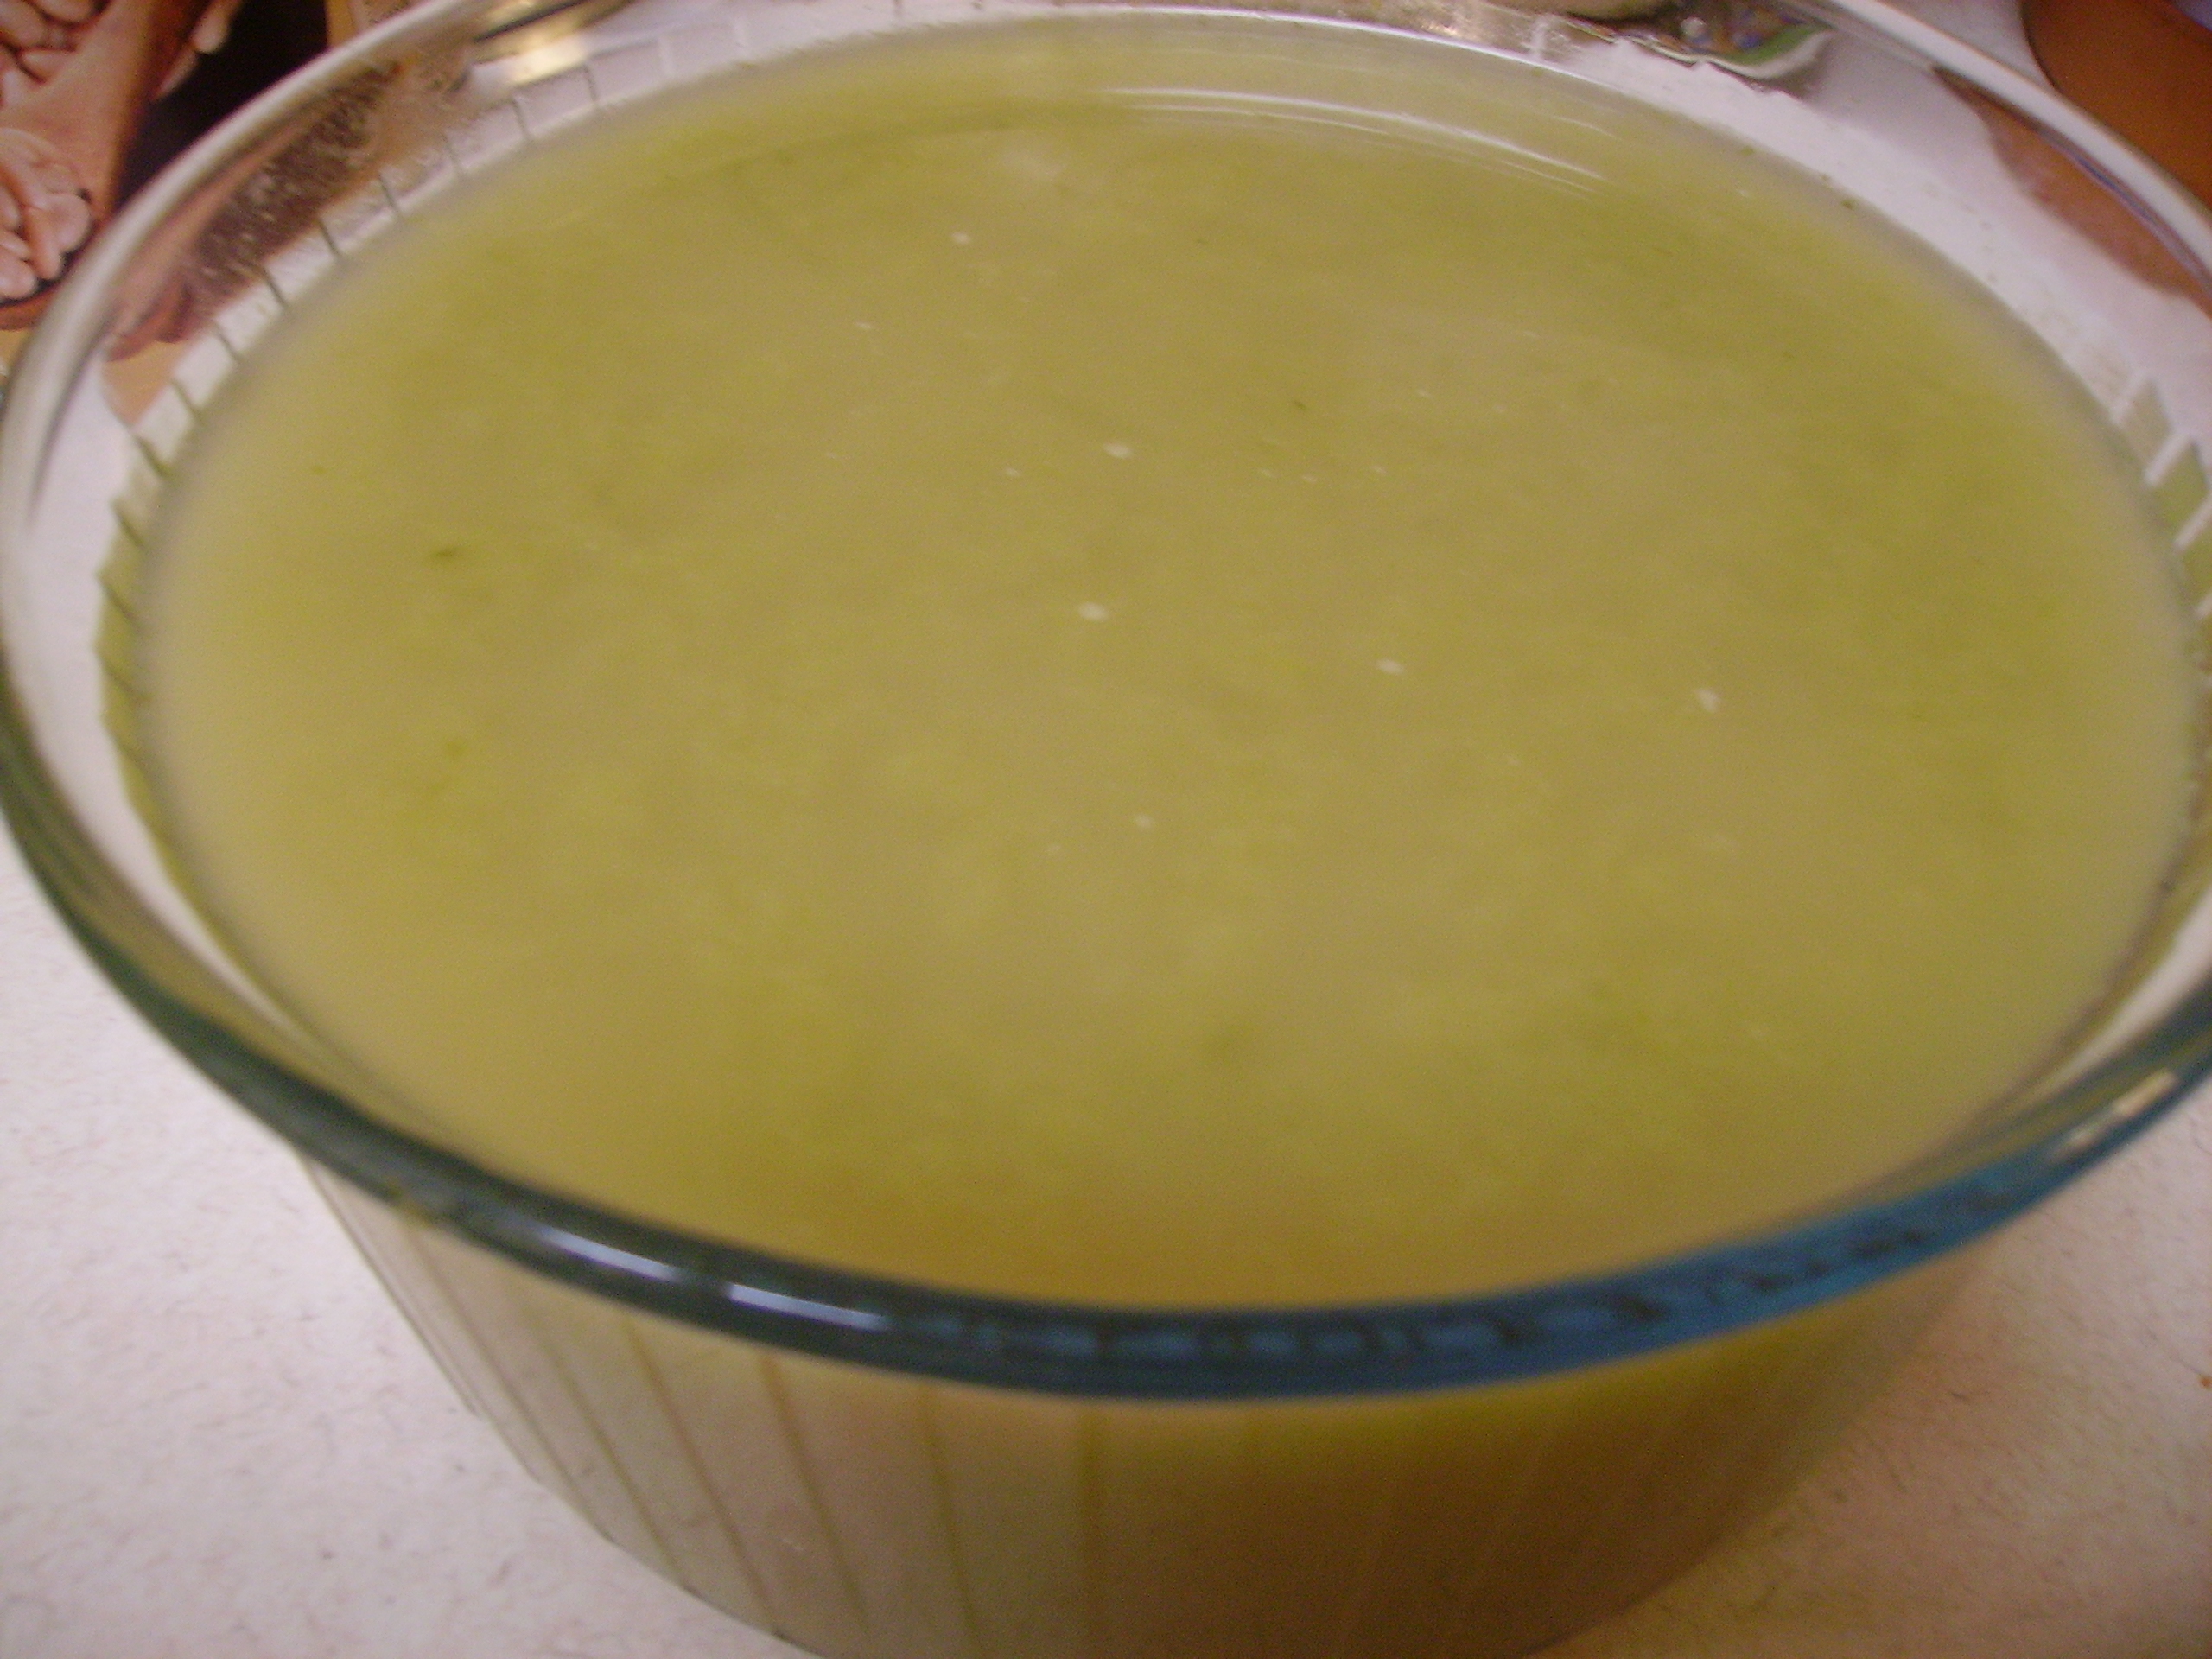
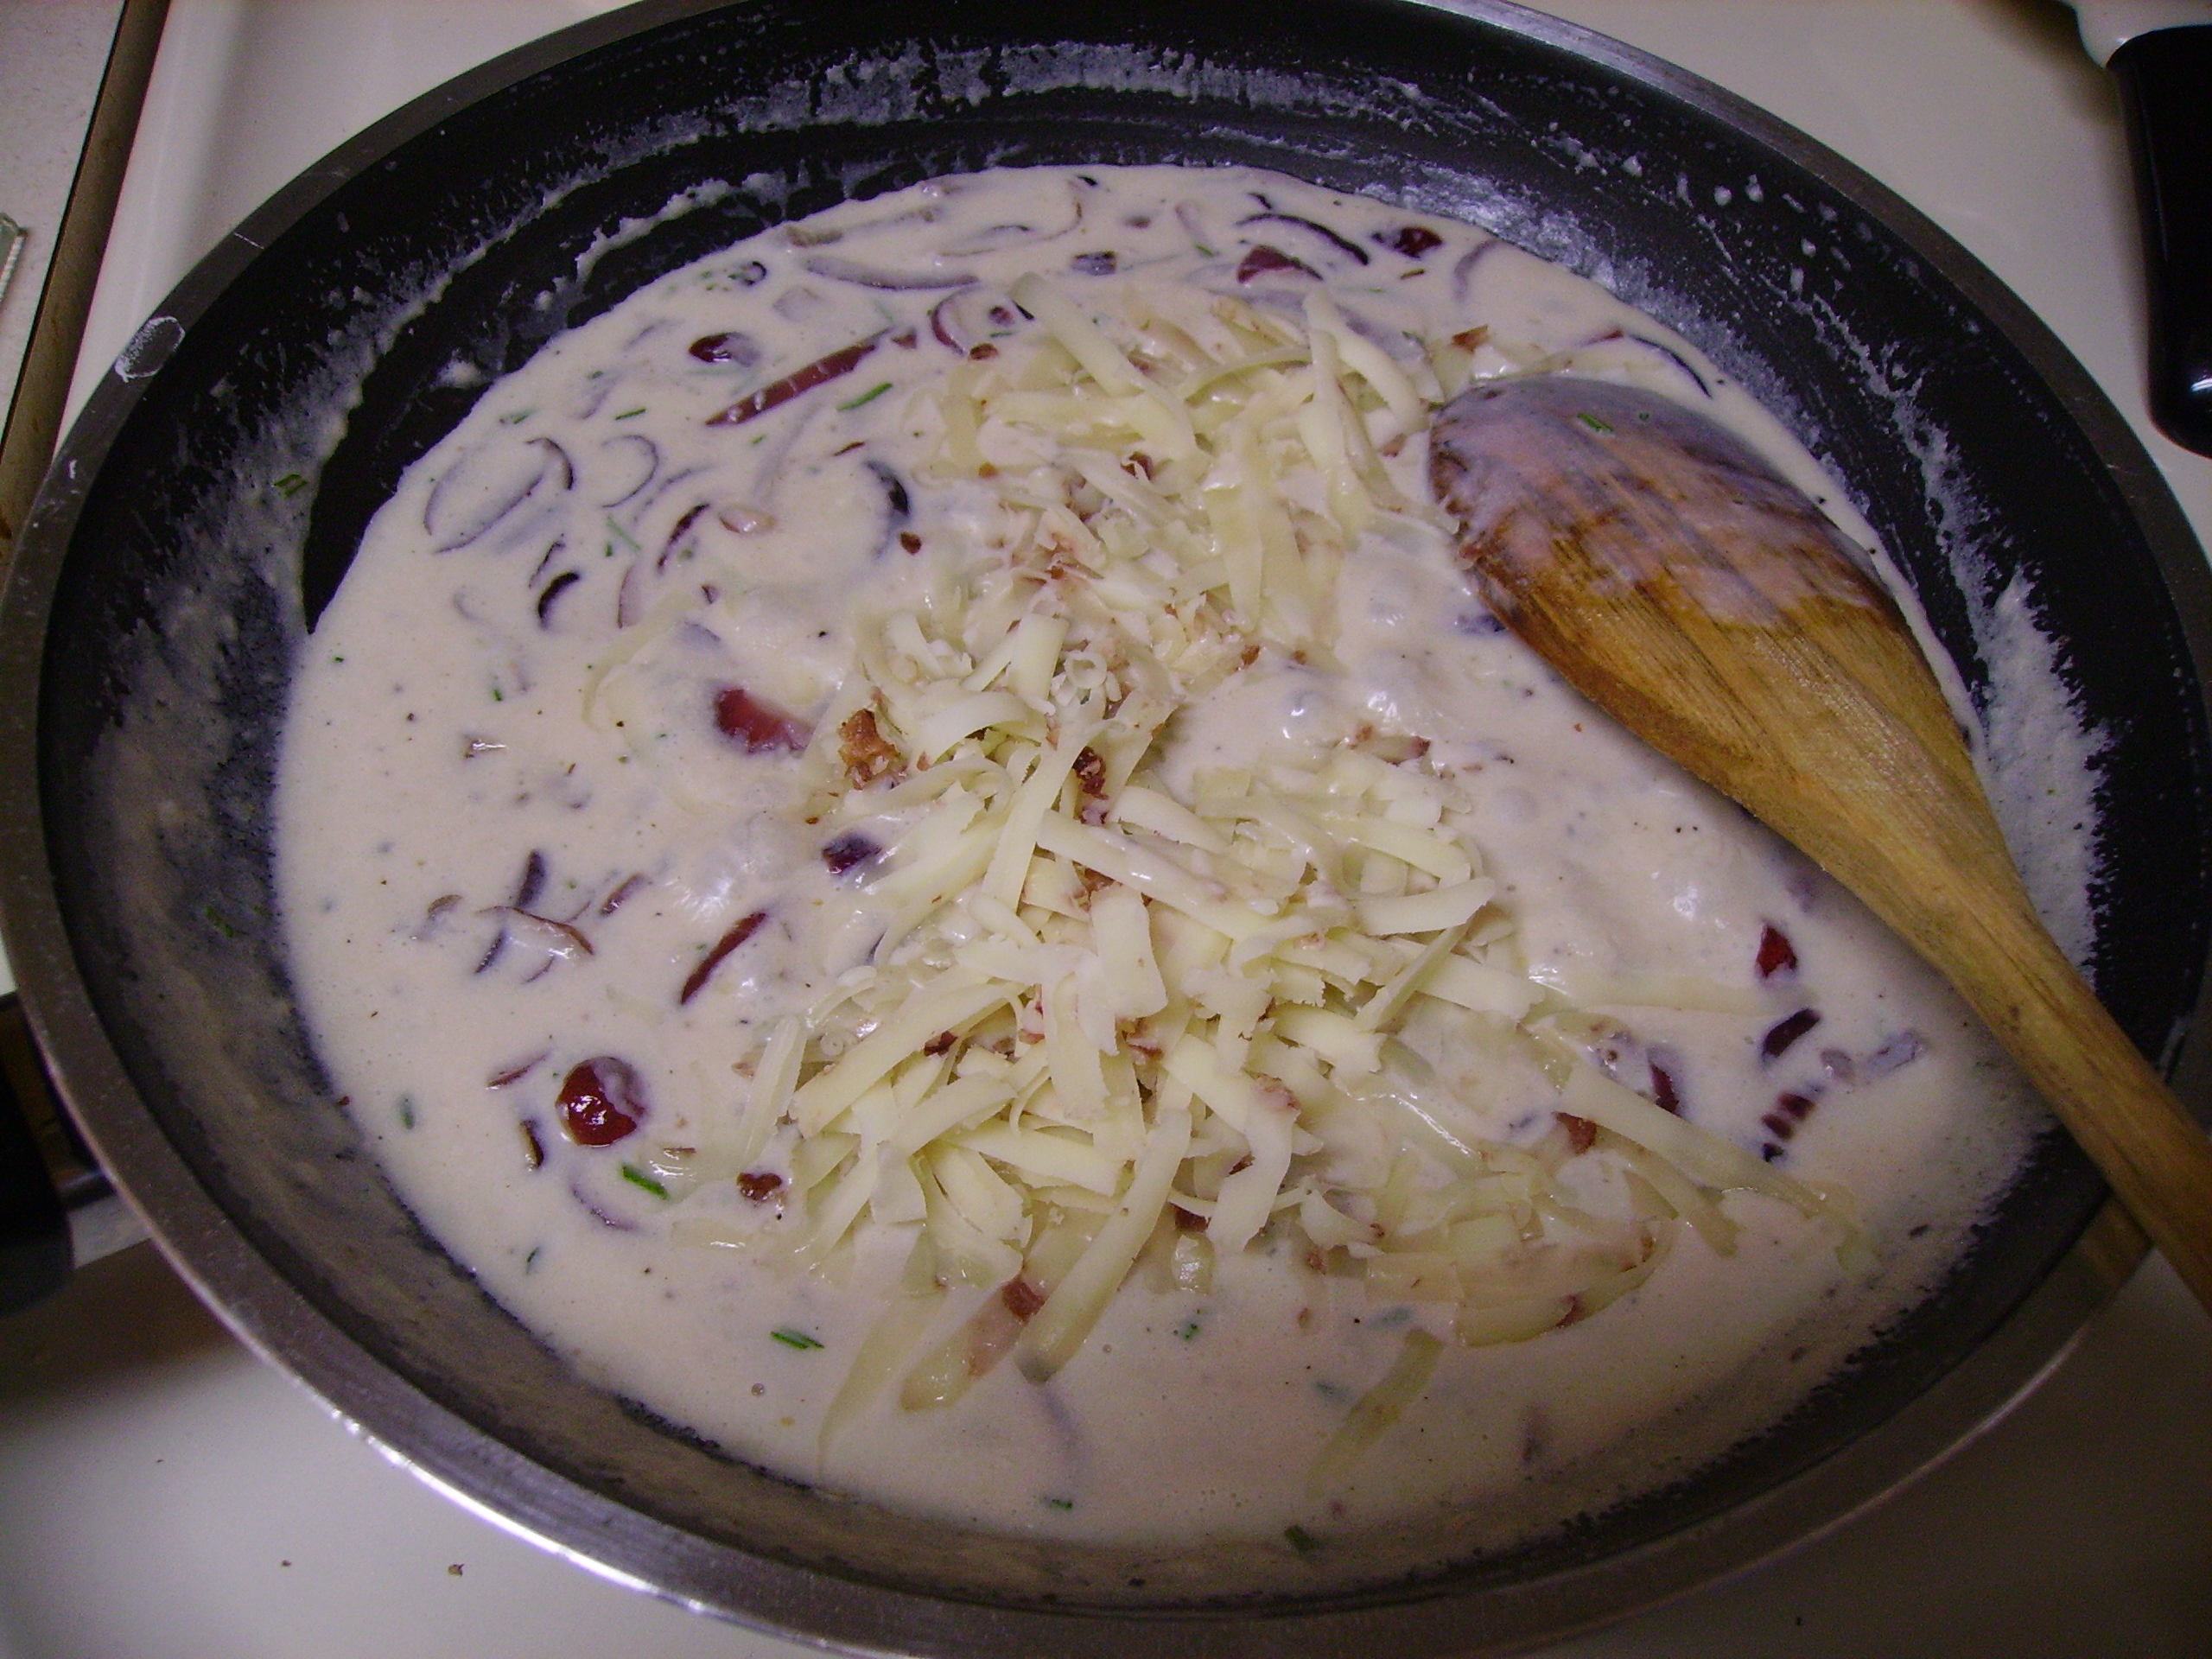 and when everything was beautifully co-mingling I poured it over the squash and sweets.
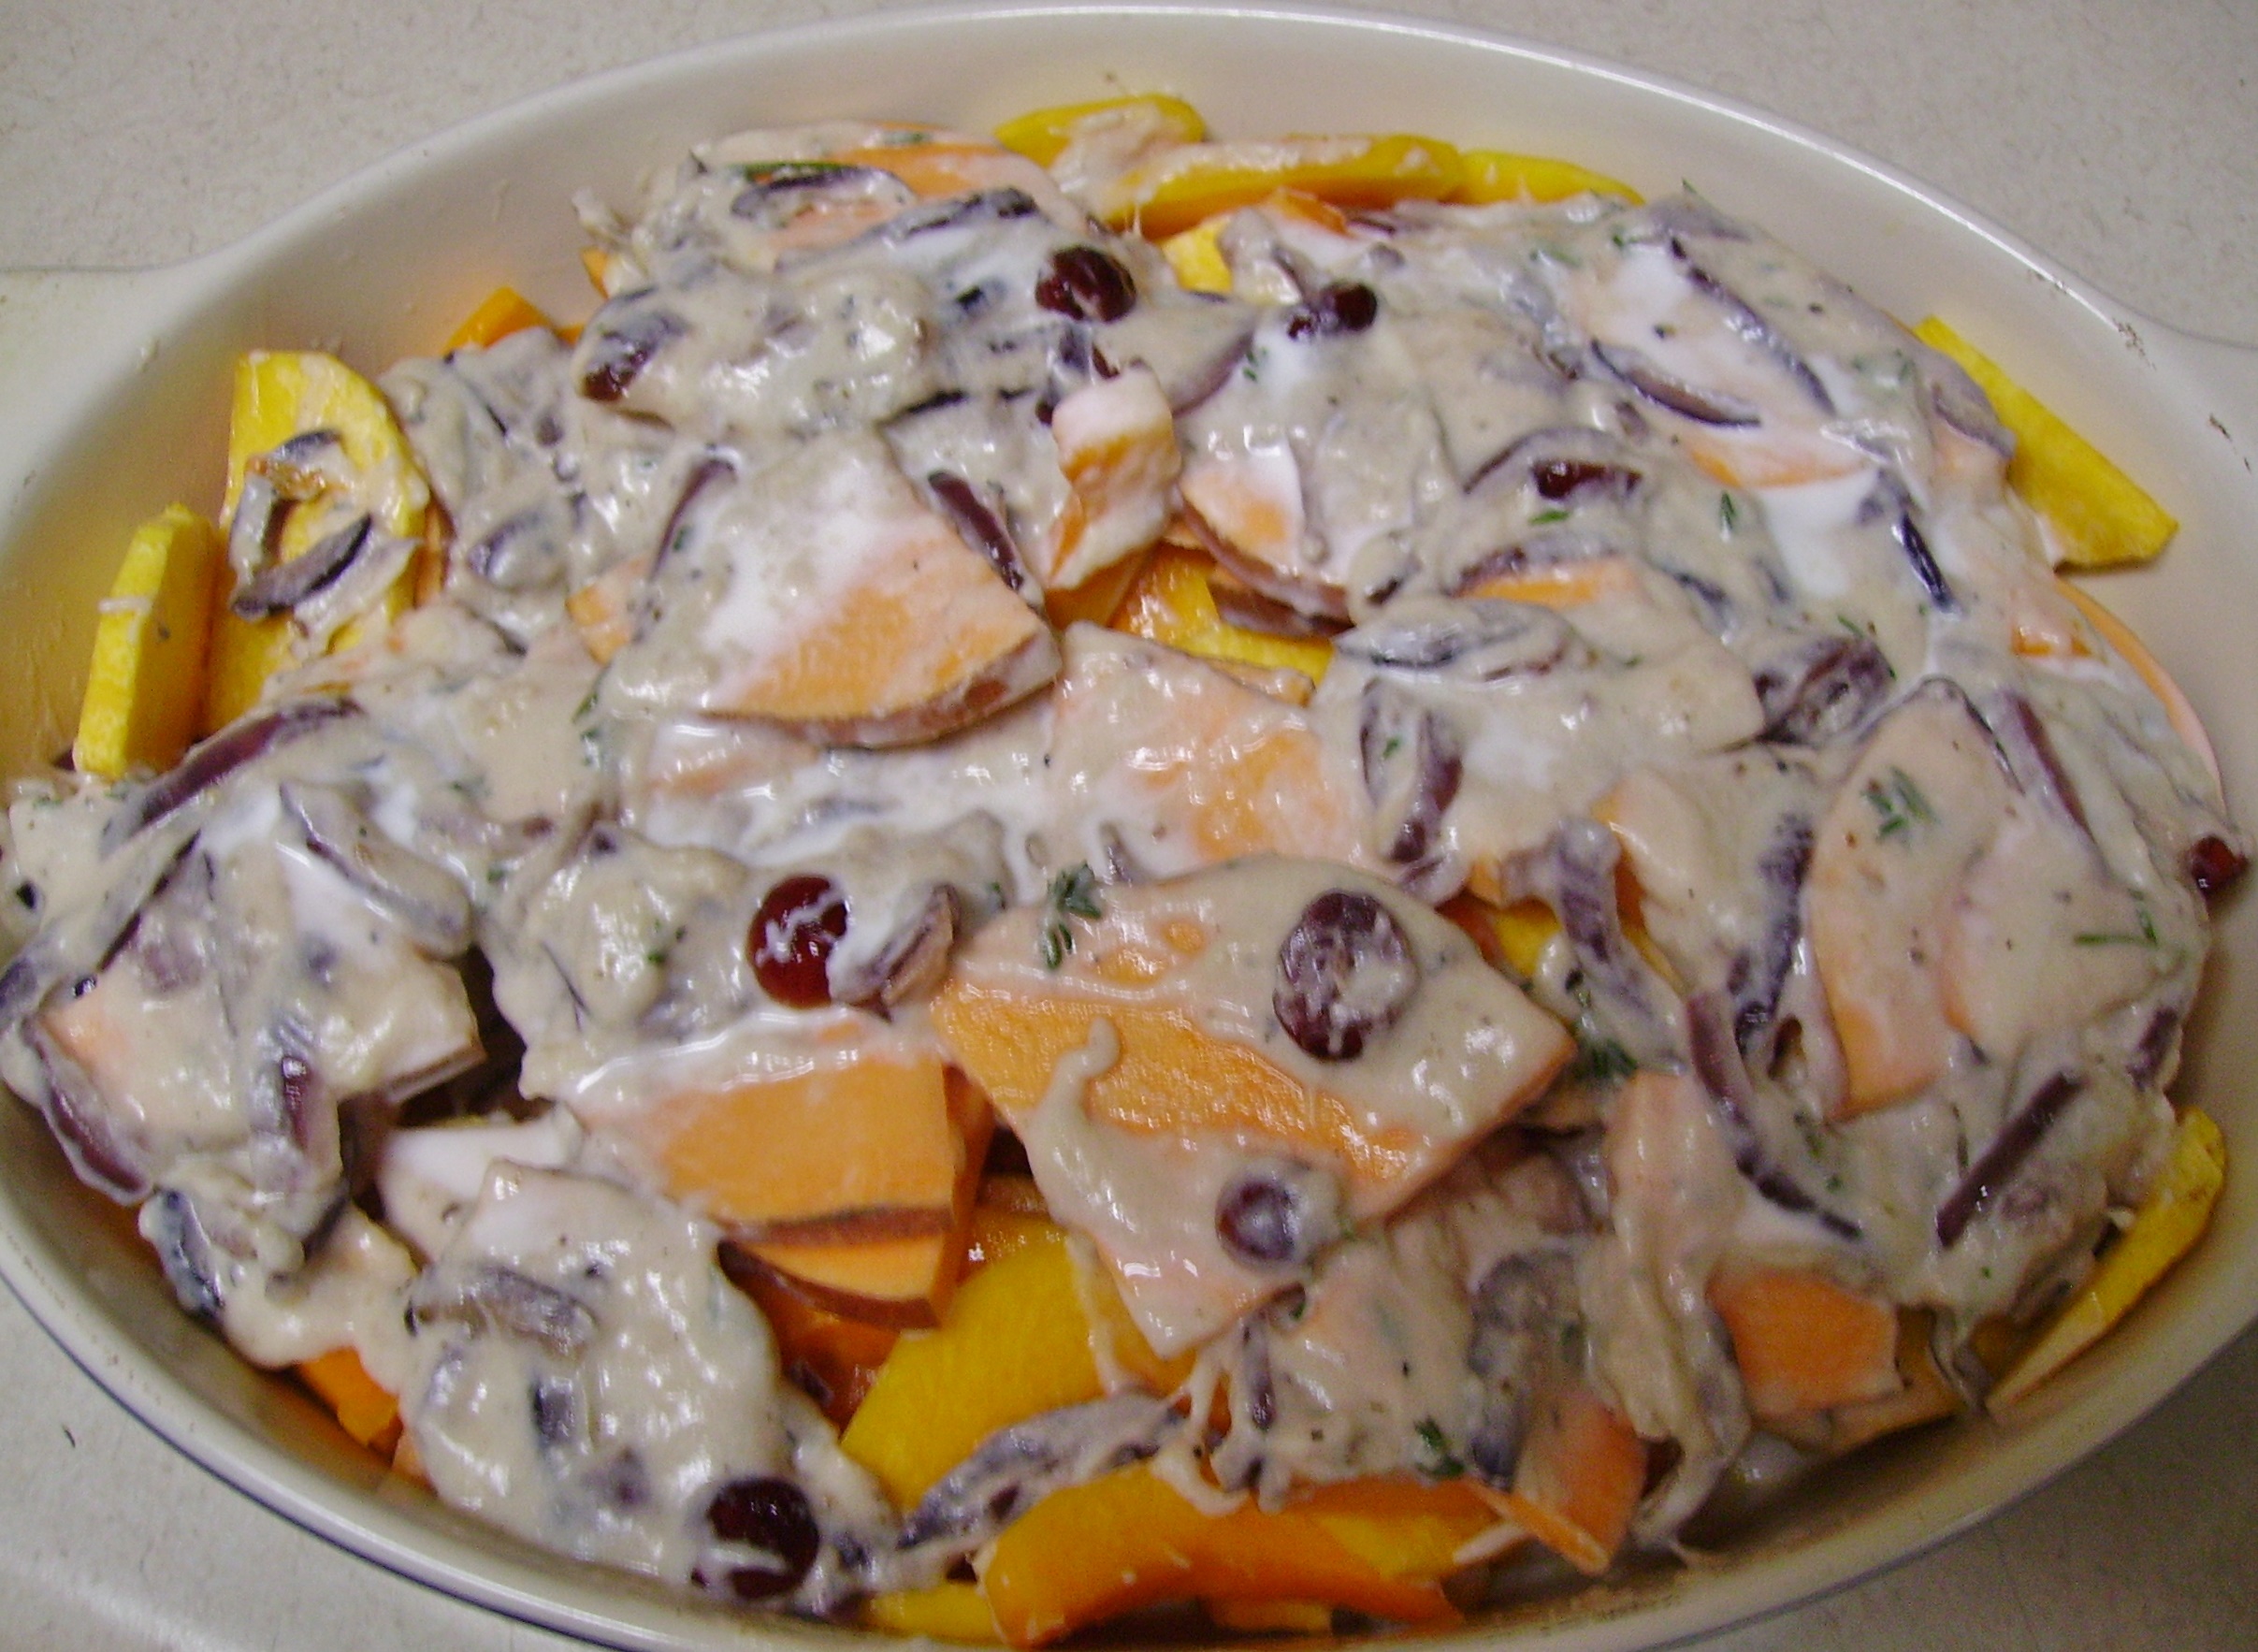 It baked in the oven under a foil cover for about 35 minutes or so. Then a final layer of cheese was added.
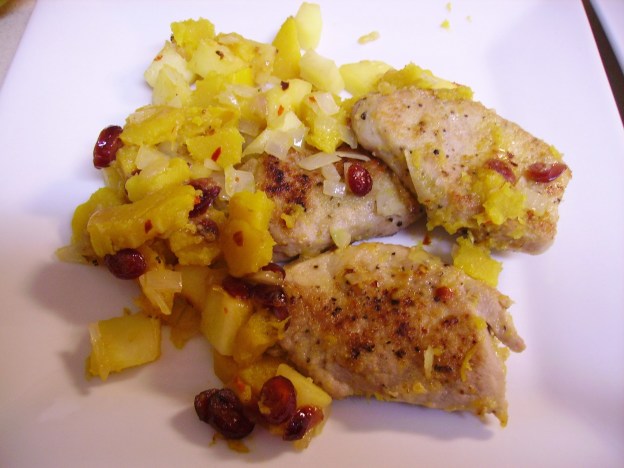
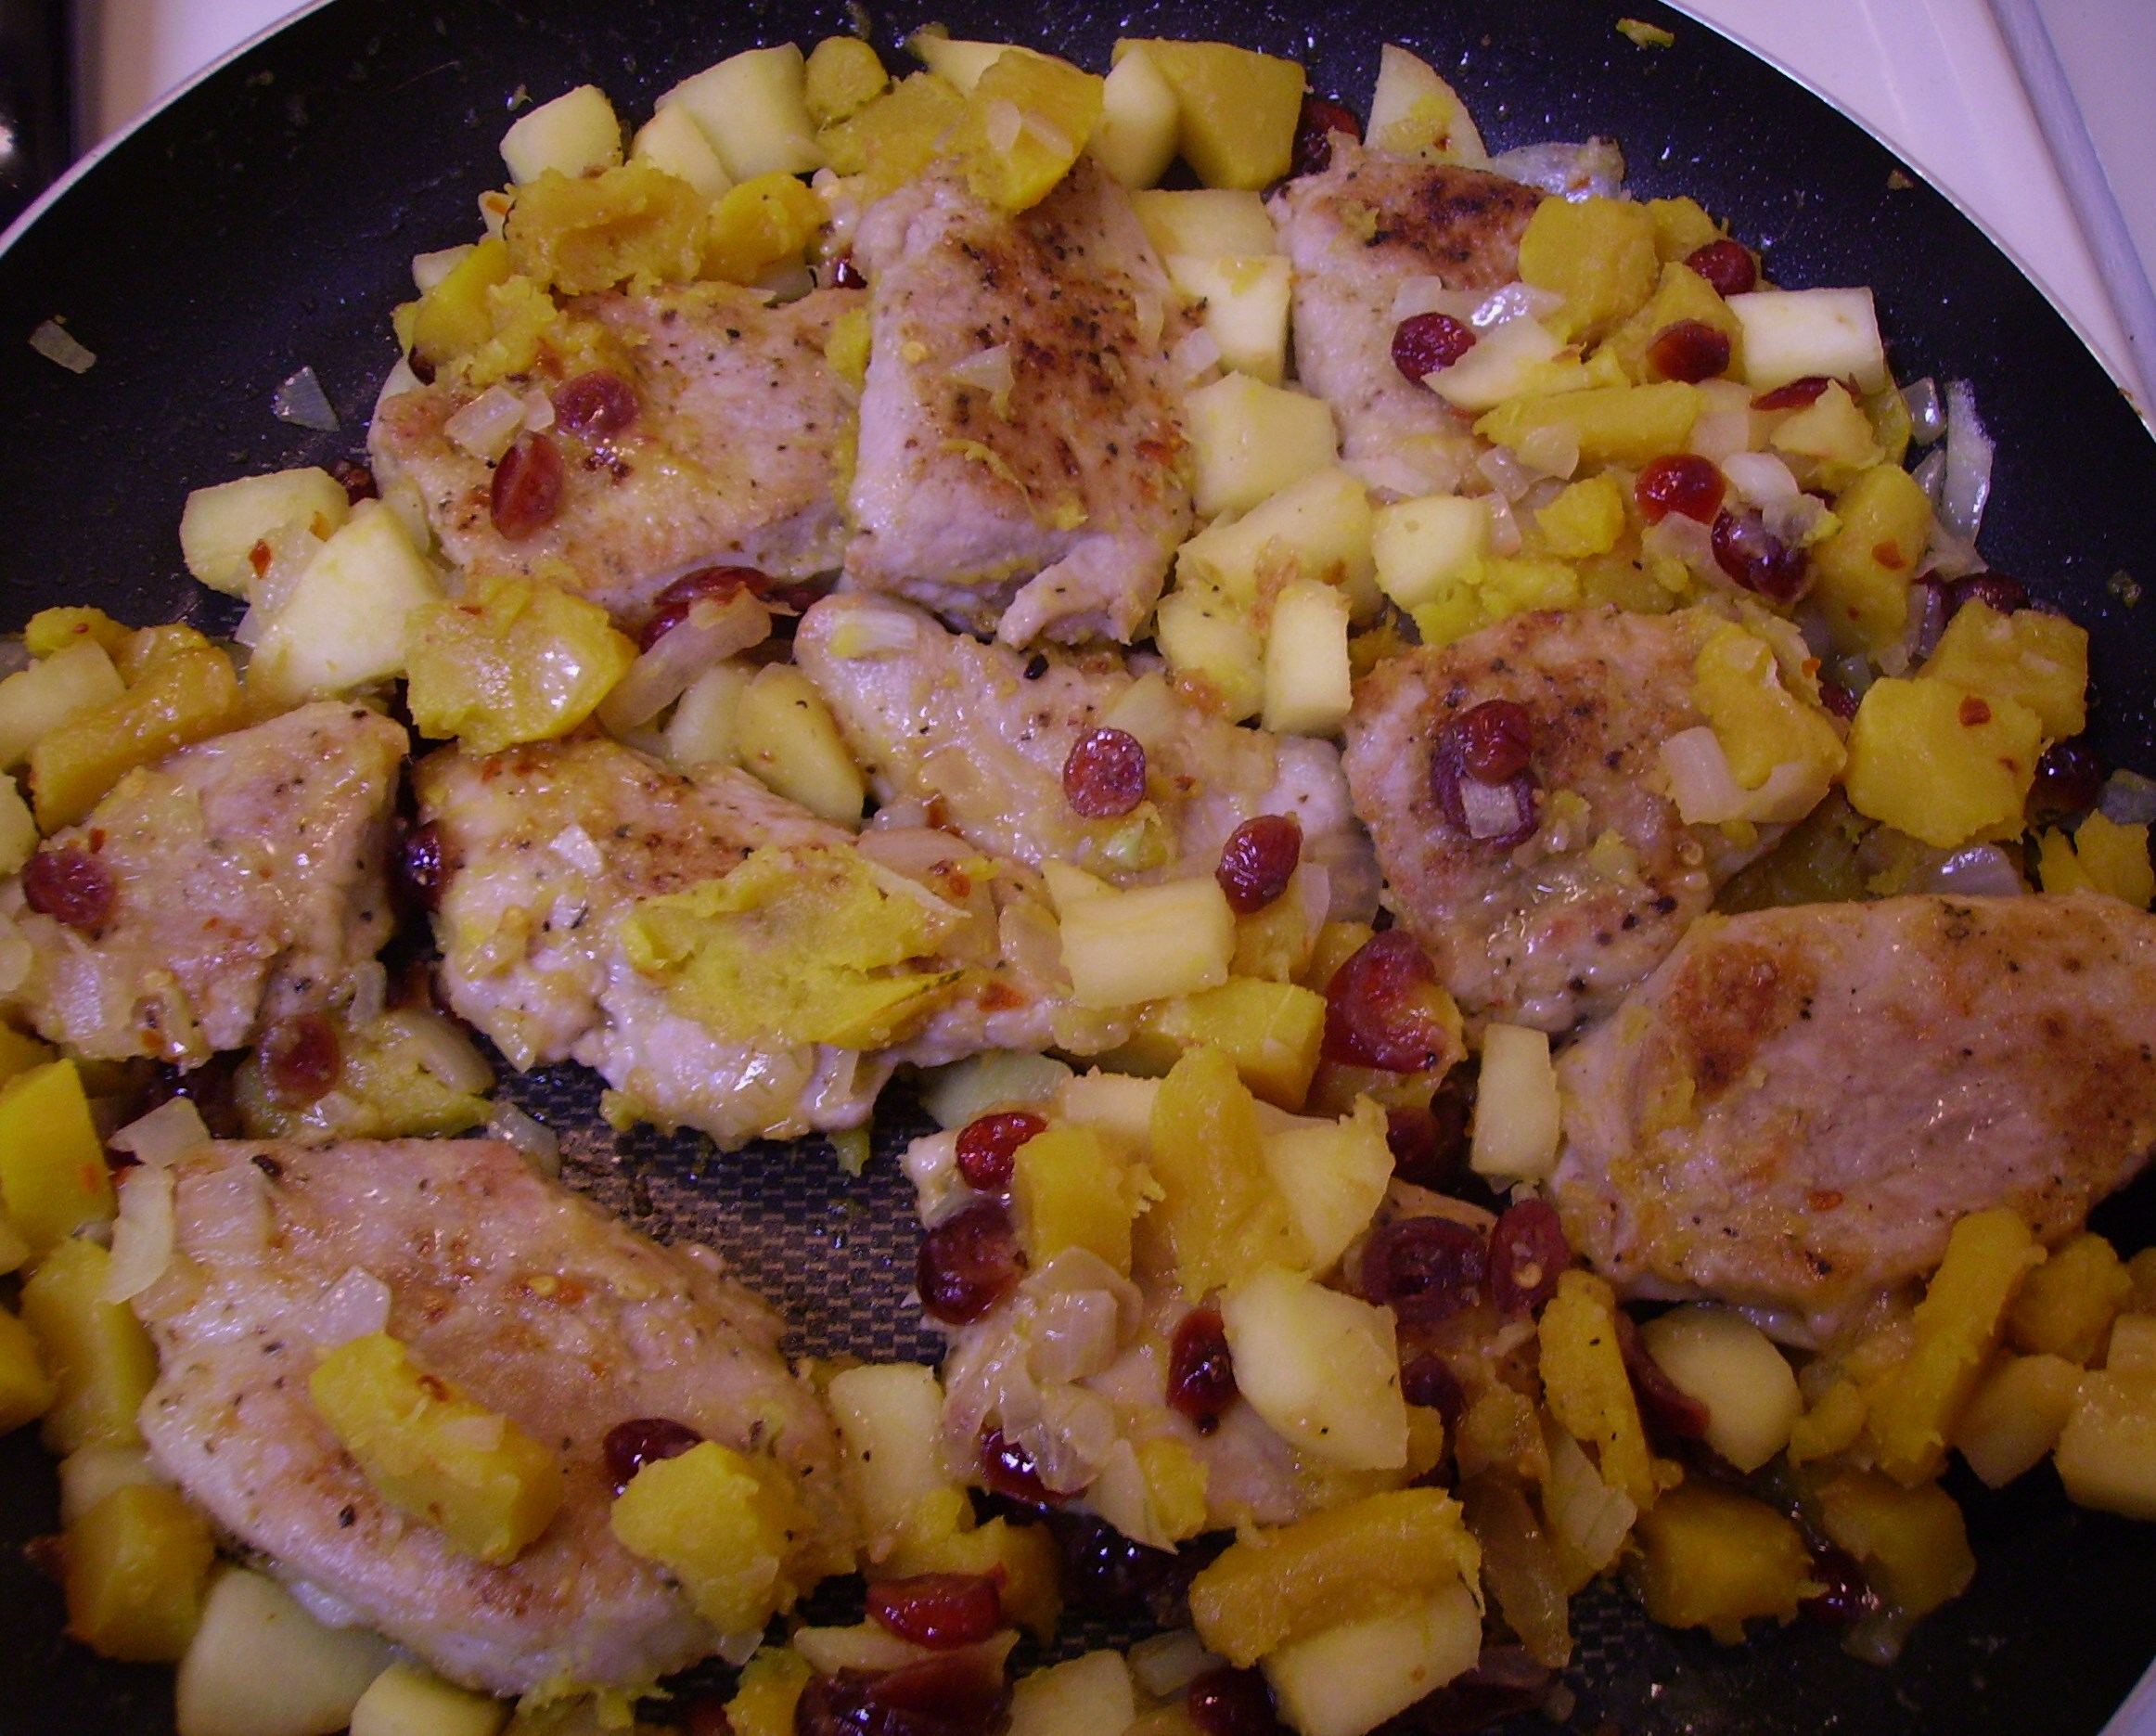
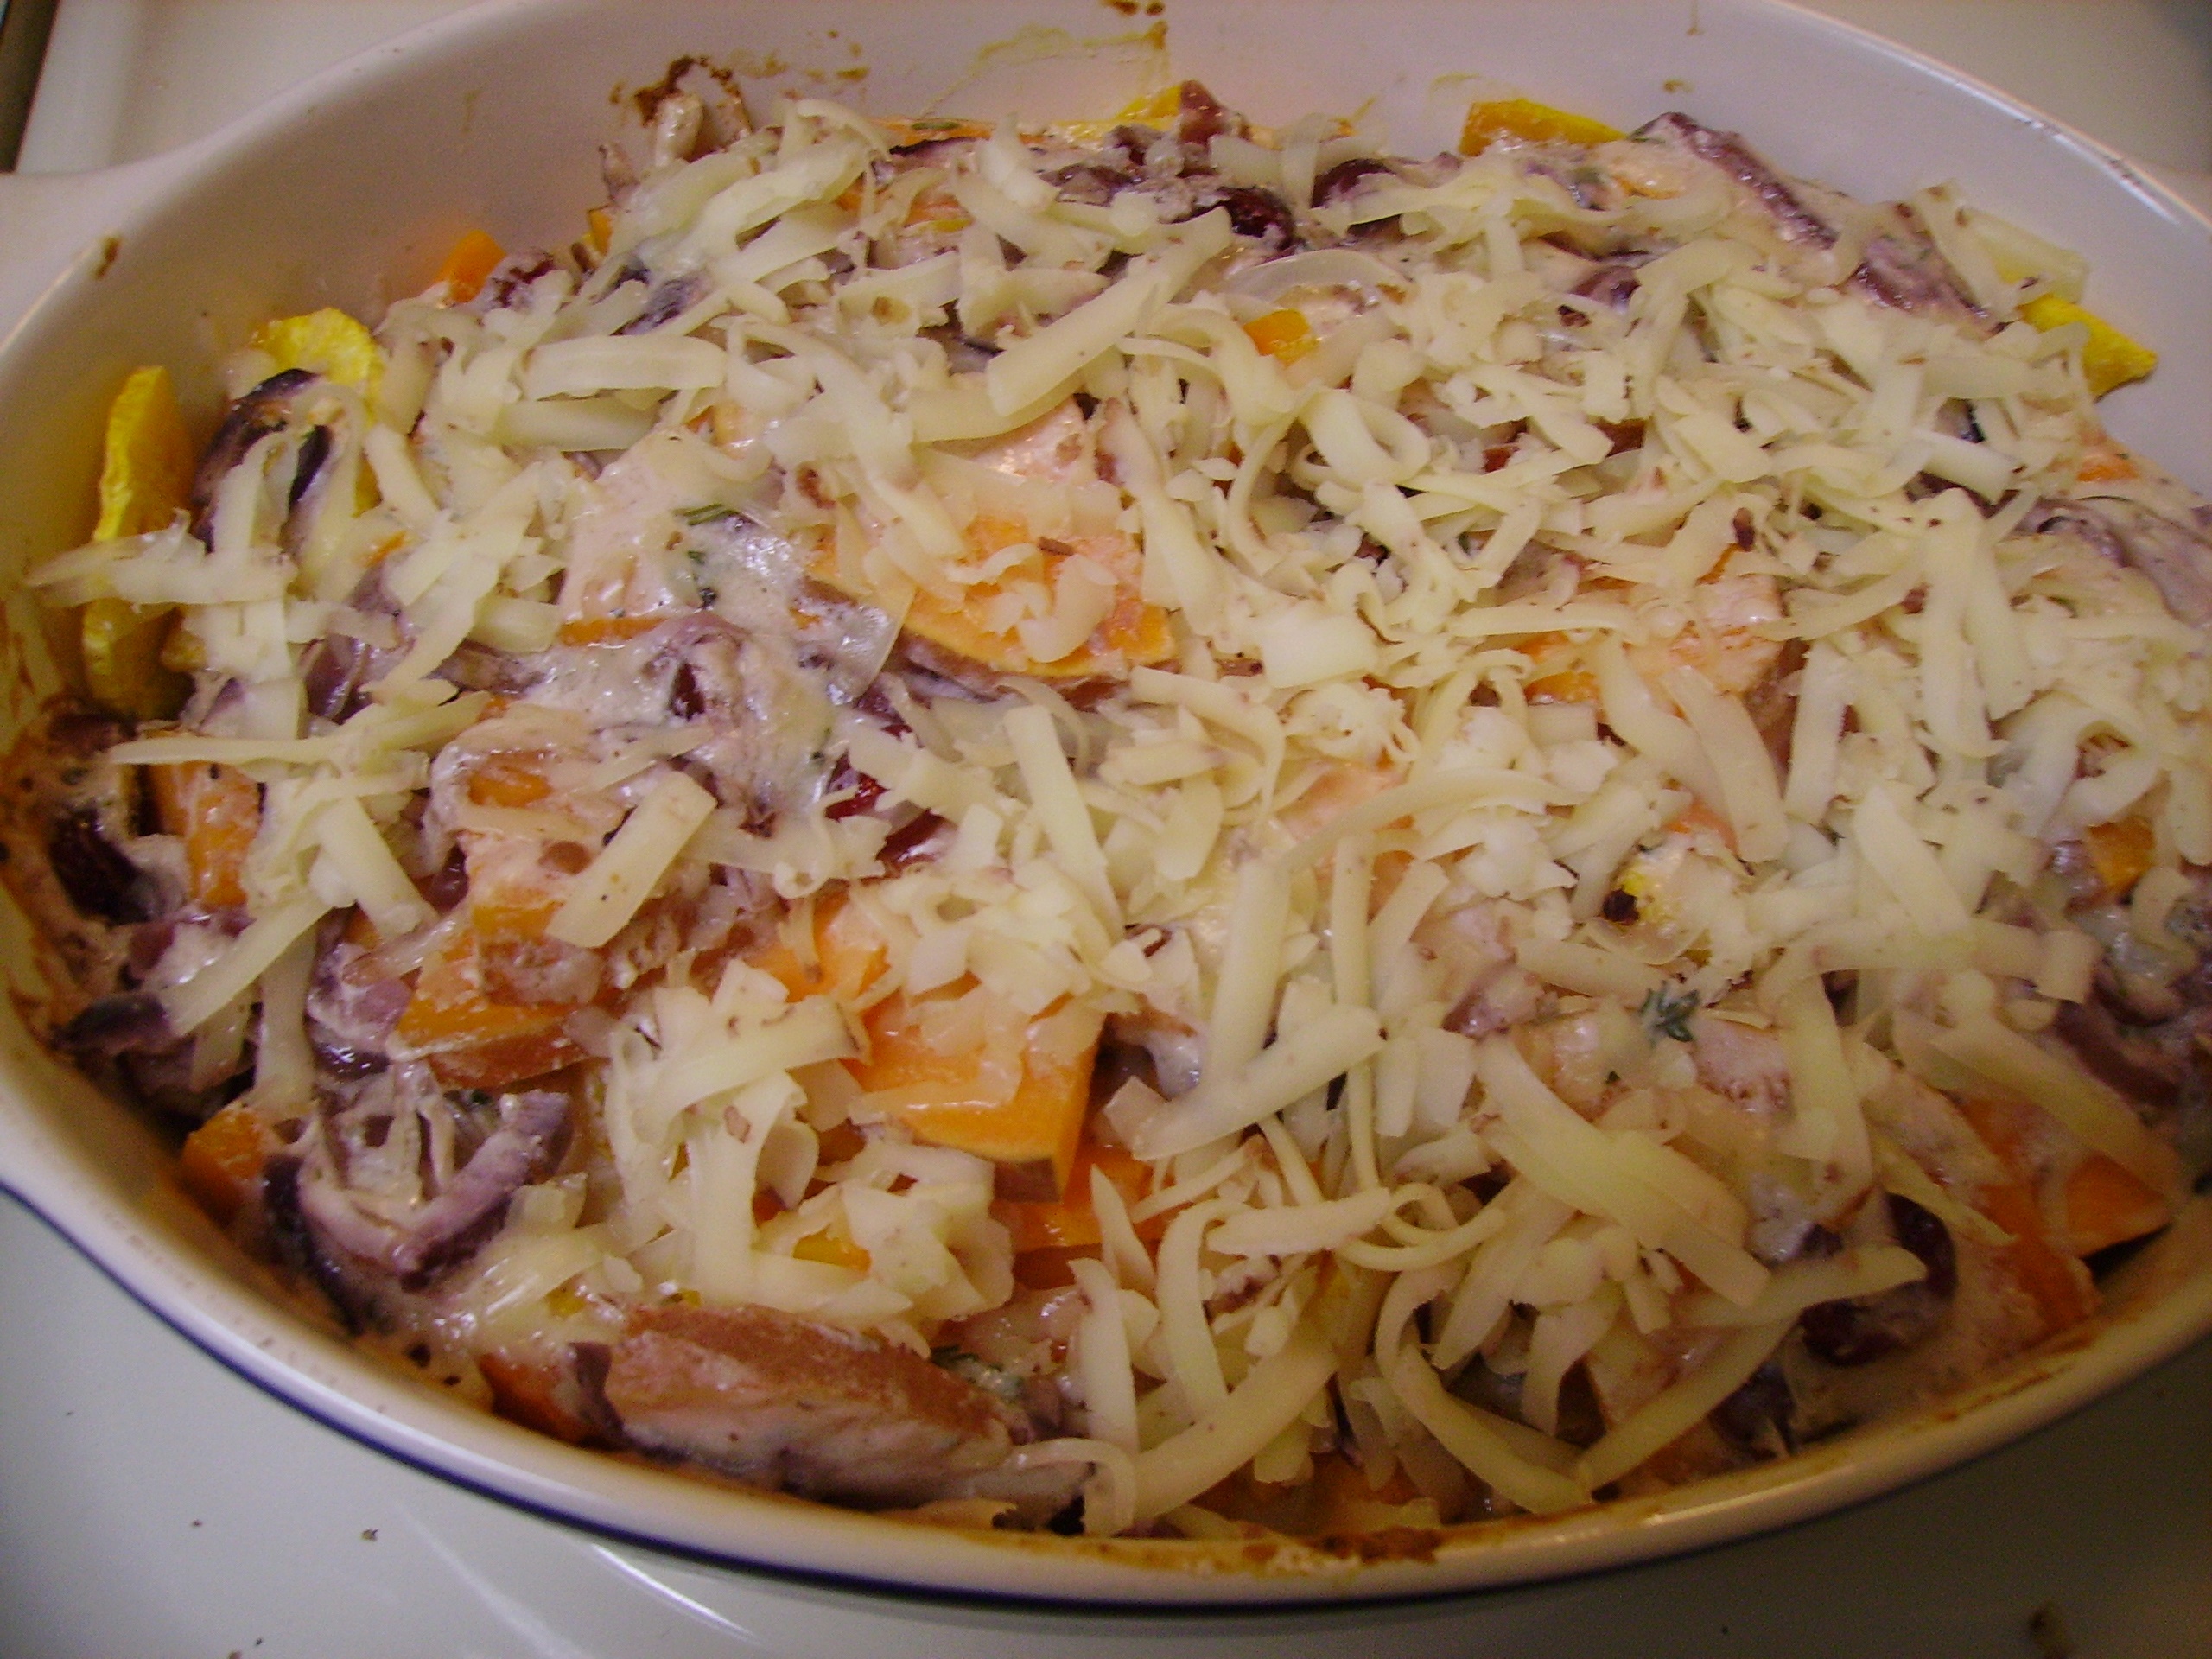 A few more minutes in the oven and the gratin transformed into golden brown deliciousness.
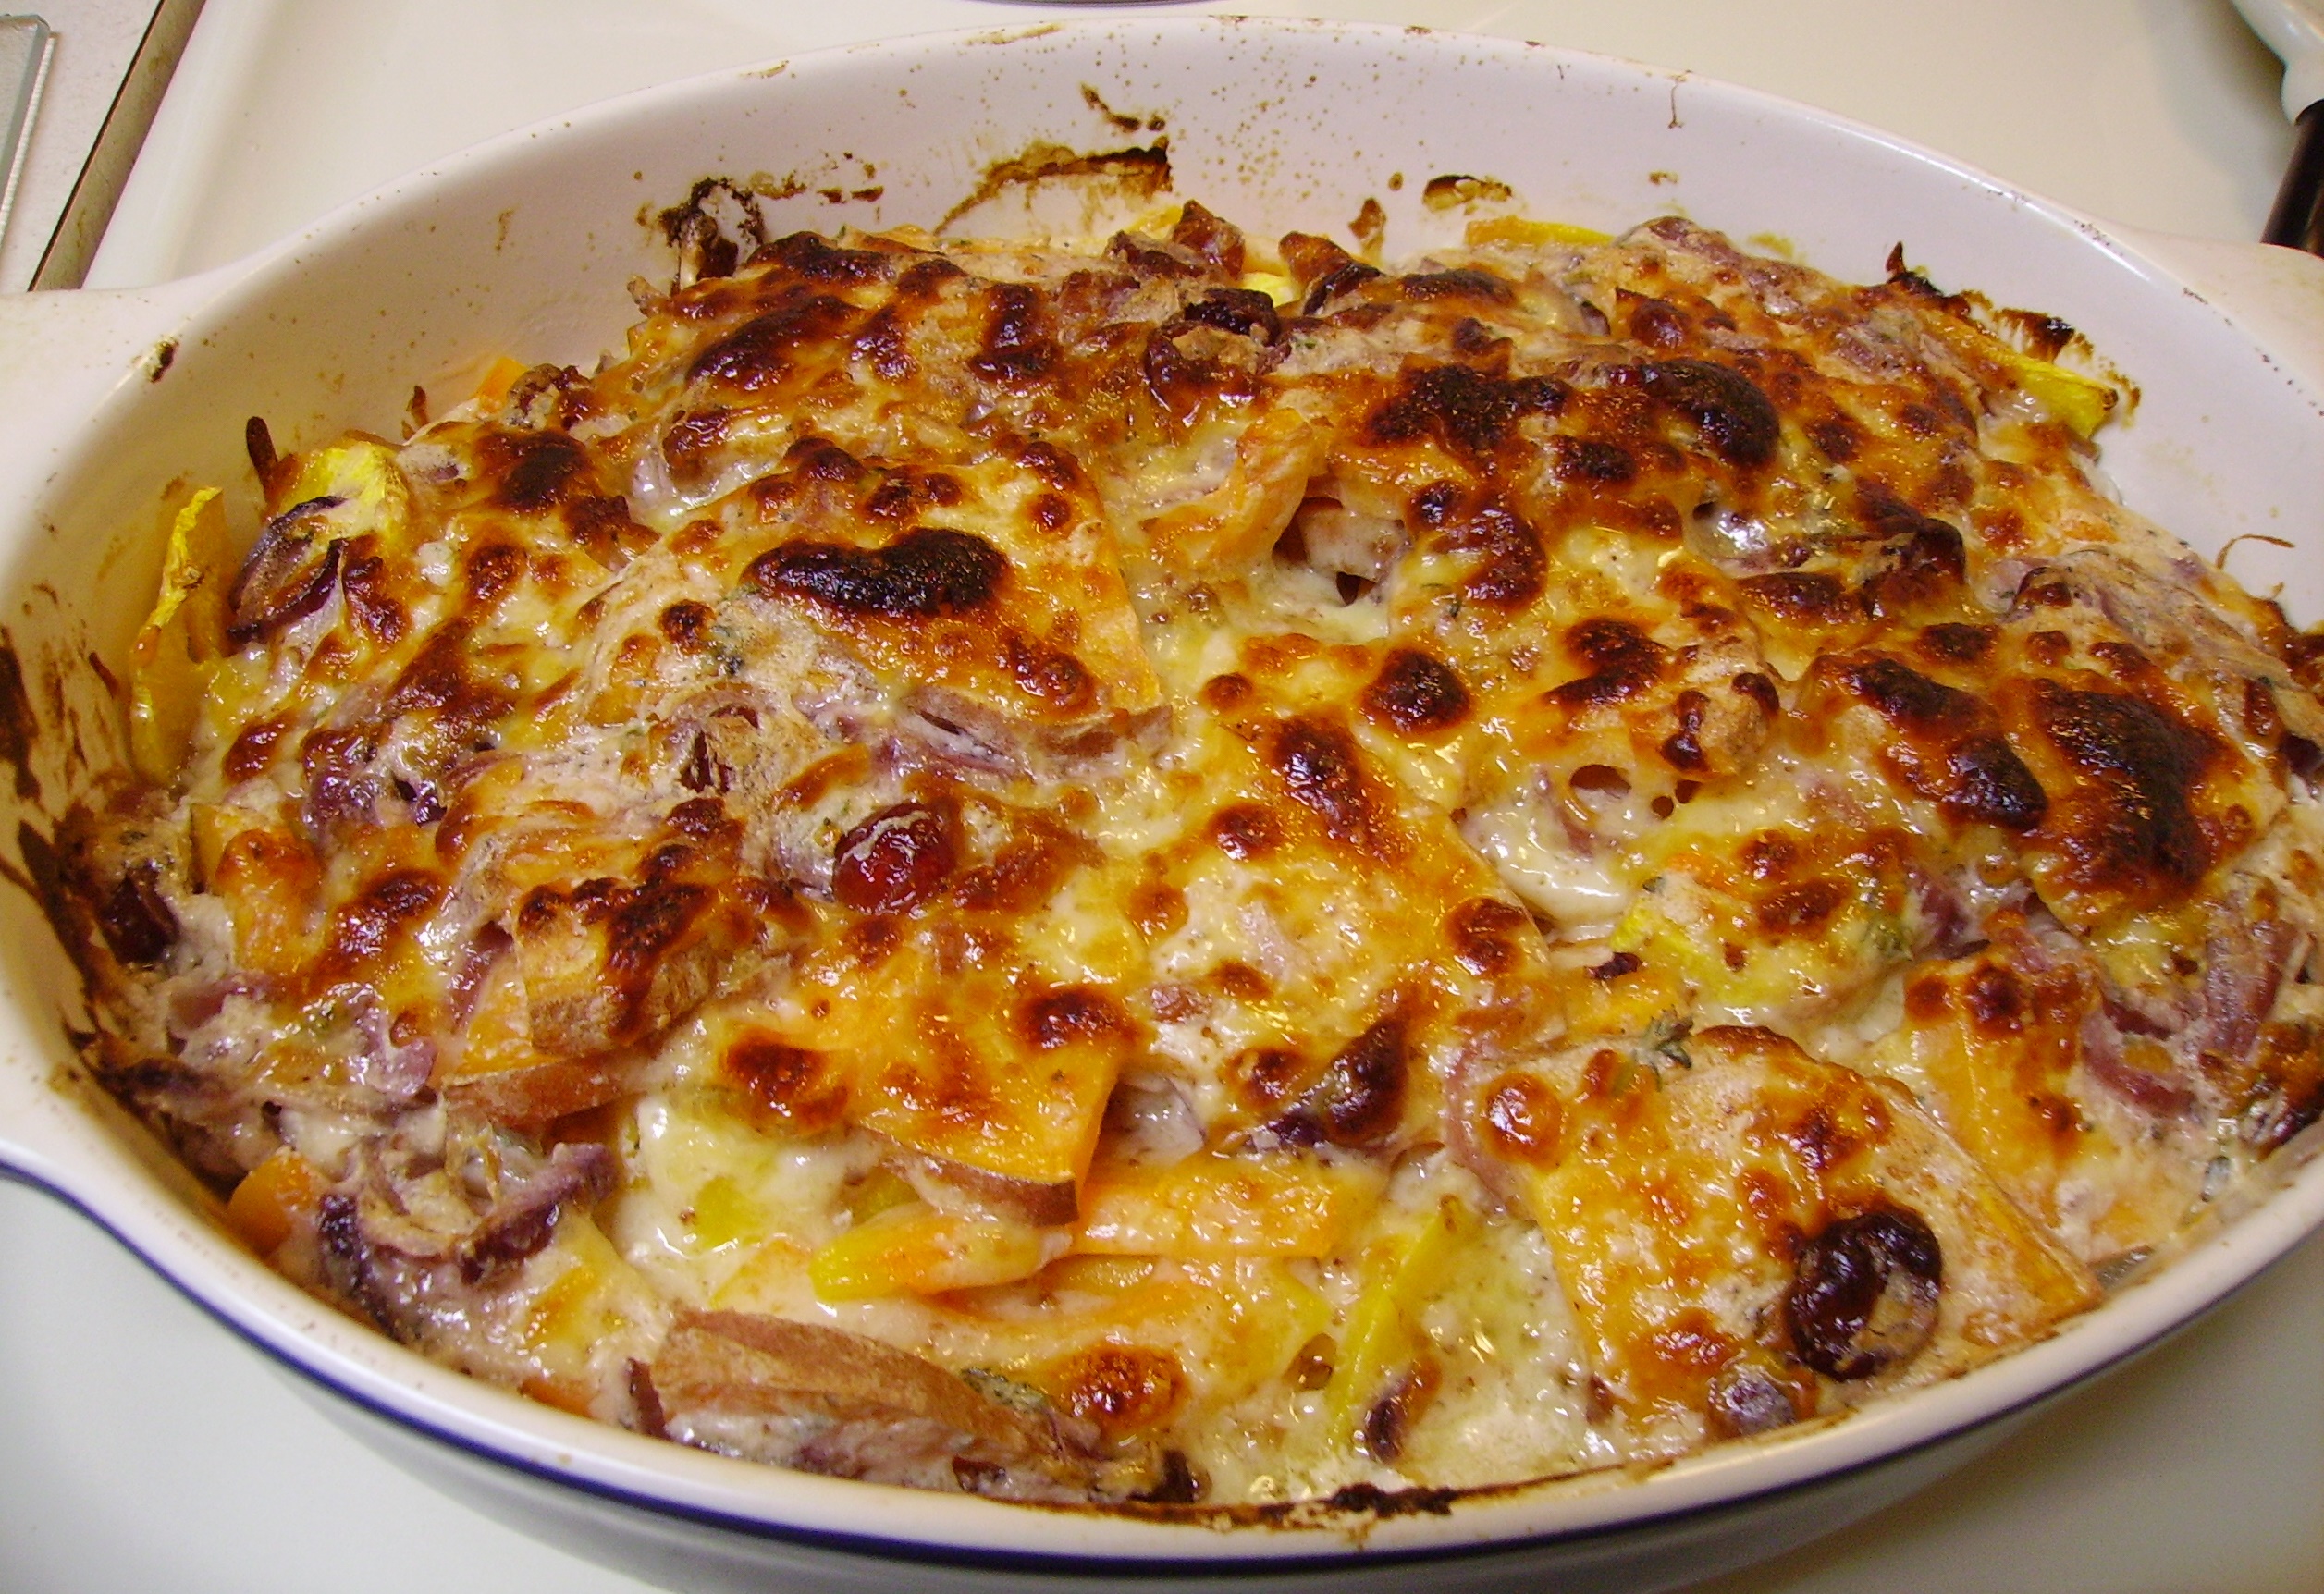
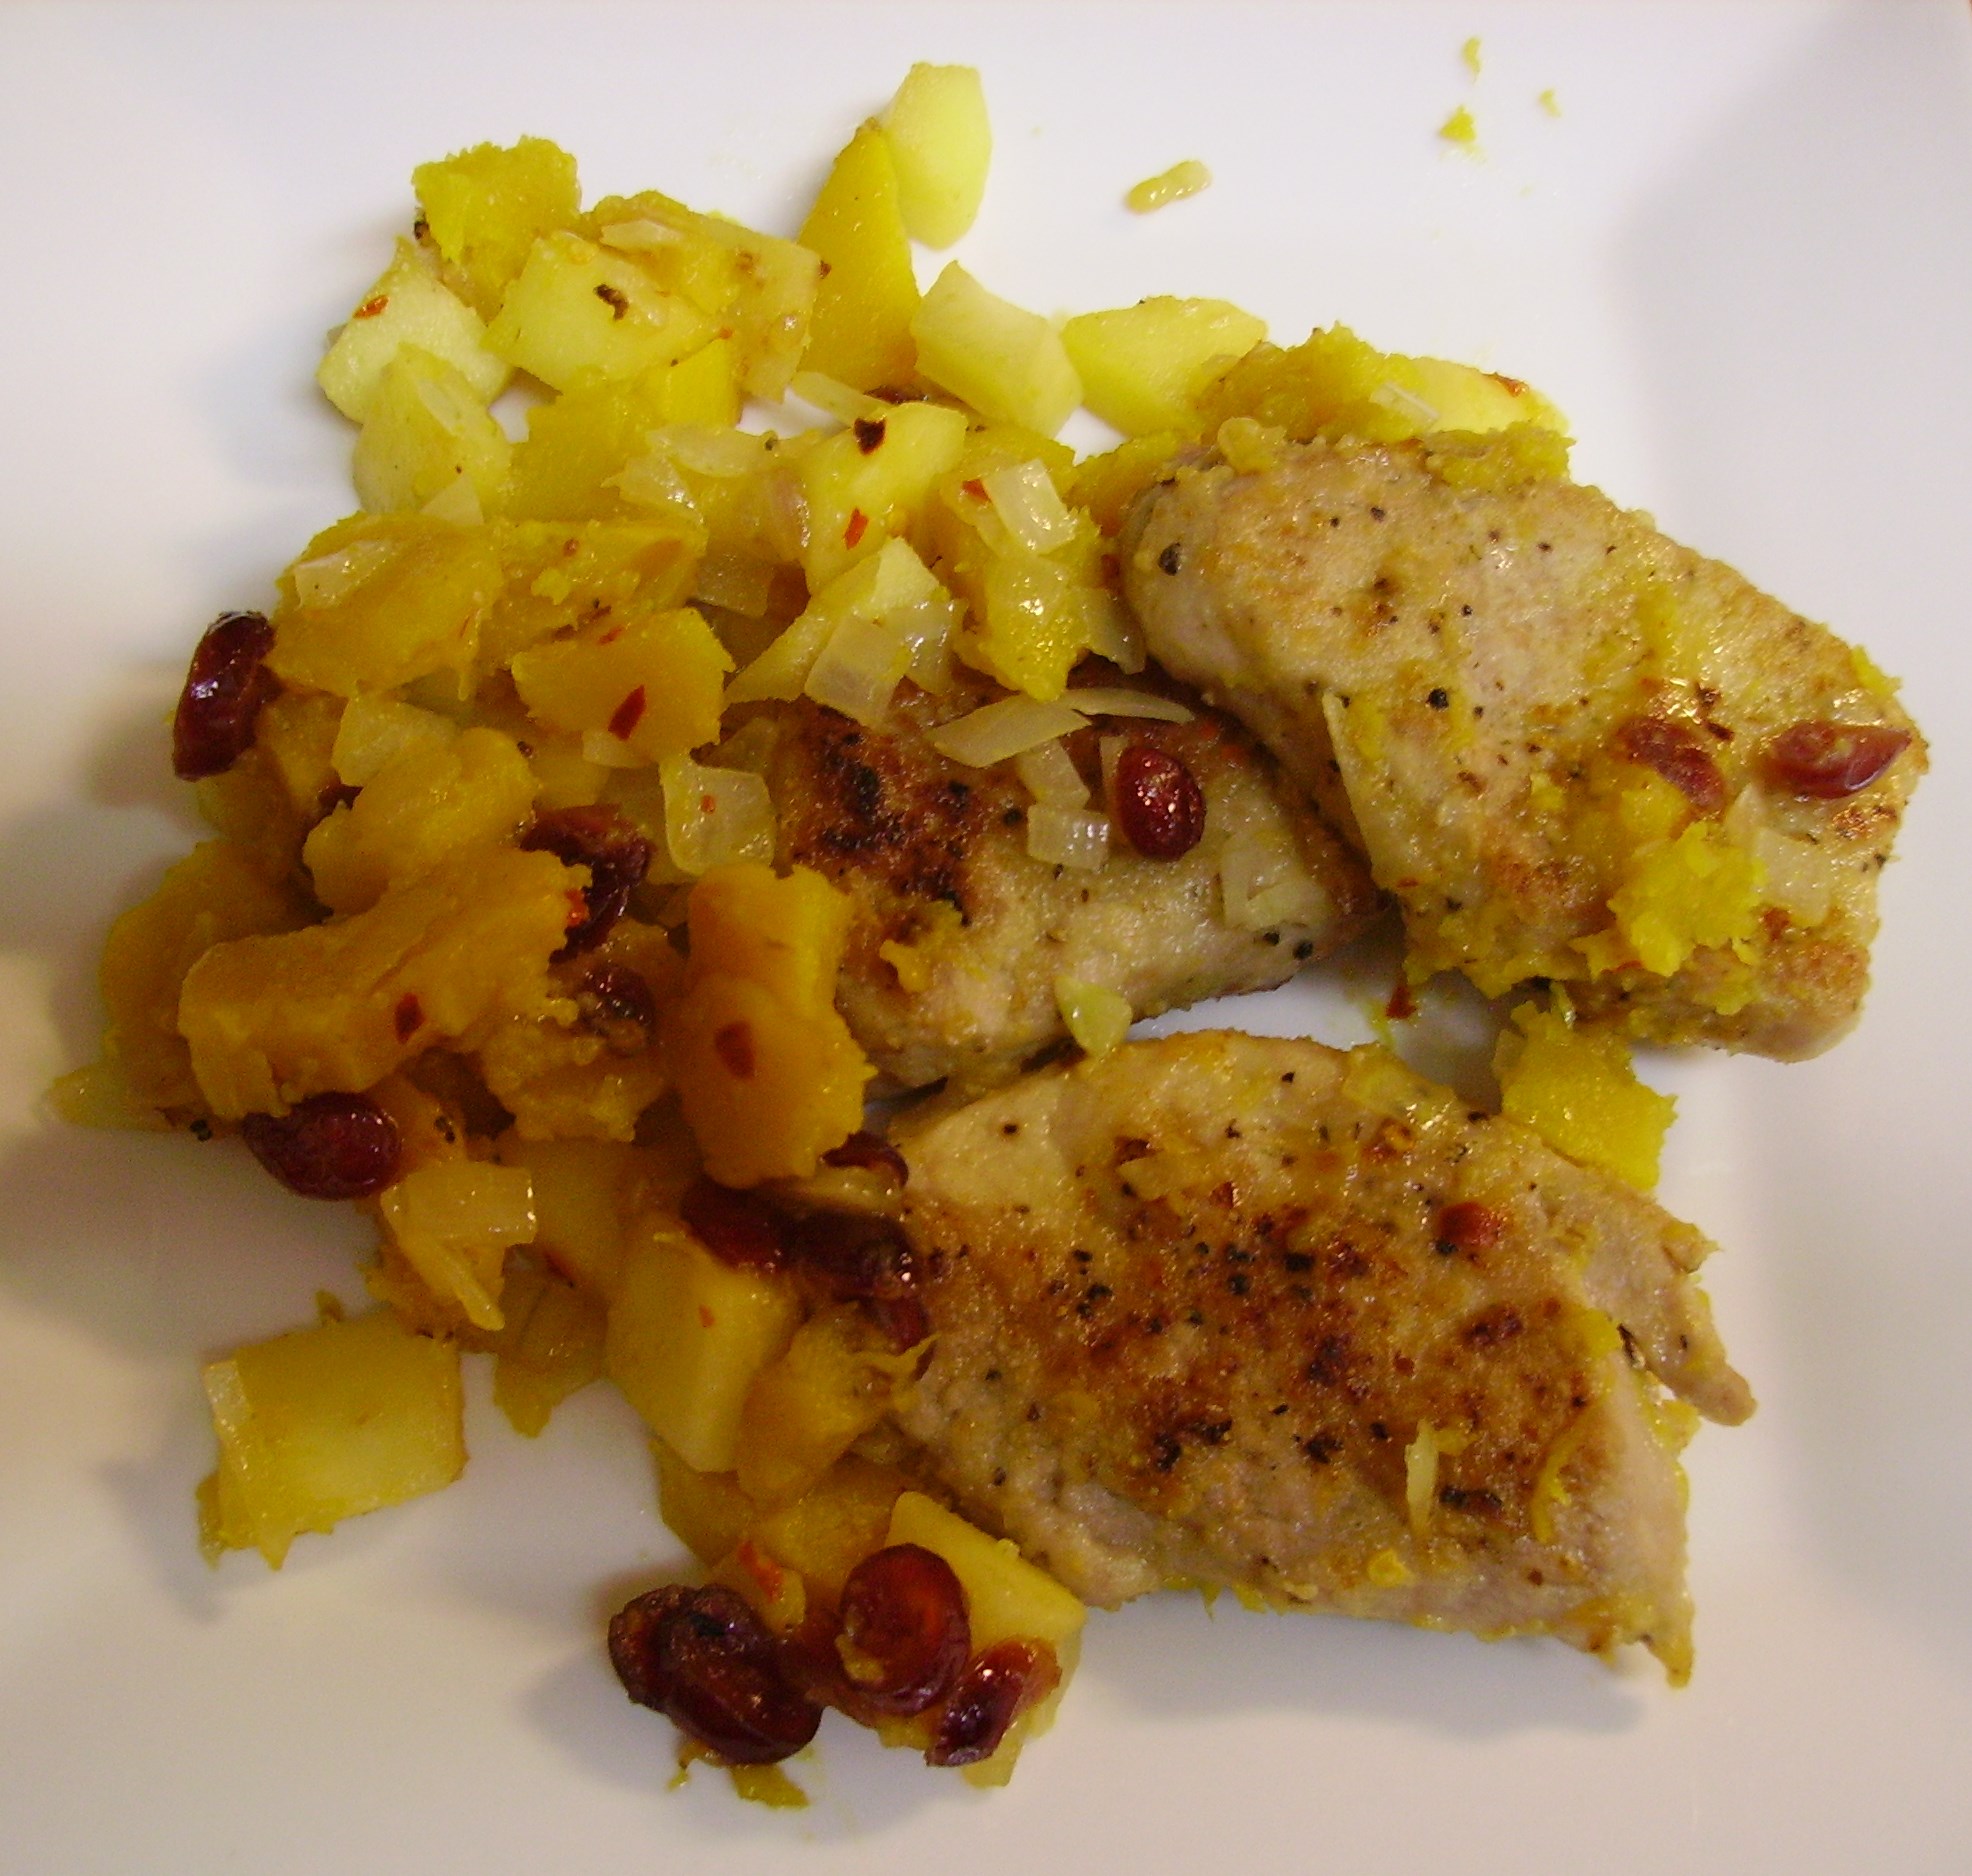
This would be a wonderful side dish for any Fall or Winter holiday meal. It could even be a wonderful main dish for two on a cold Winter’s night… and it was.

The holiday season is slowly winding down. I’m always a little sad to see it end. This year I’m planning on keeping the warm feelings and abiding love in my heart for as long as I can. Christmas is after all, a state of mind. I hope your hearts stay filled with the Christmas spirit, too.
Share this: