Life After a Microwave and a Skillet Pork Dish

I have never considered myself microwave dependent. In fact I only used it (or so I thought) to reheat leftovers and melt butter. So, as I left my old kitchen behind, I hardly gave the microwave a second glance. Cooking with love does not require energy waves. The stove top can do anything the microwave can and is so much more organic…or so I thought. One week in the new kitchen and I’ve reached for the microwave almost daily only to have to rethink  how to do some small cooking task. I guess I took the microwave for granted. Does it amount to enough need to take up precious counter space? Time will tell. but at this point, I think not.

The microwave was convenient and it was a time saver in the fact that I could set it and go on to other things. Not having a microwave has made me turn back to the way things were done in the “old days.”

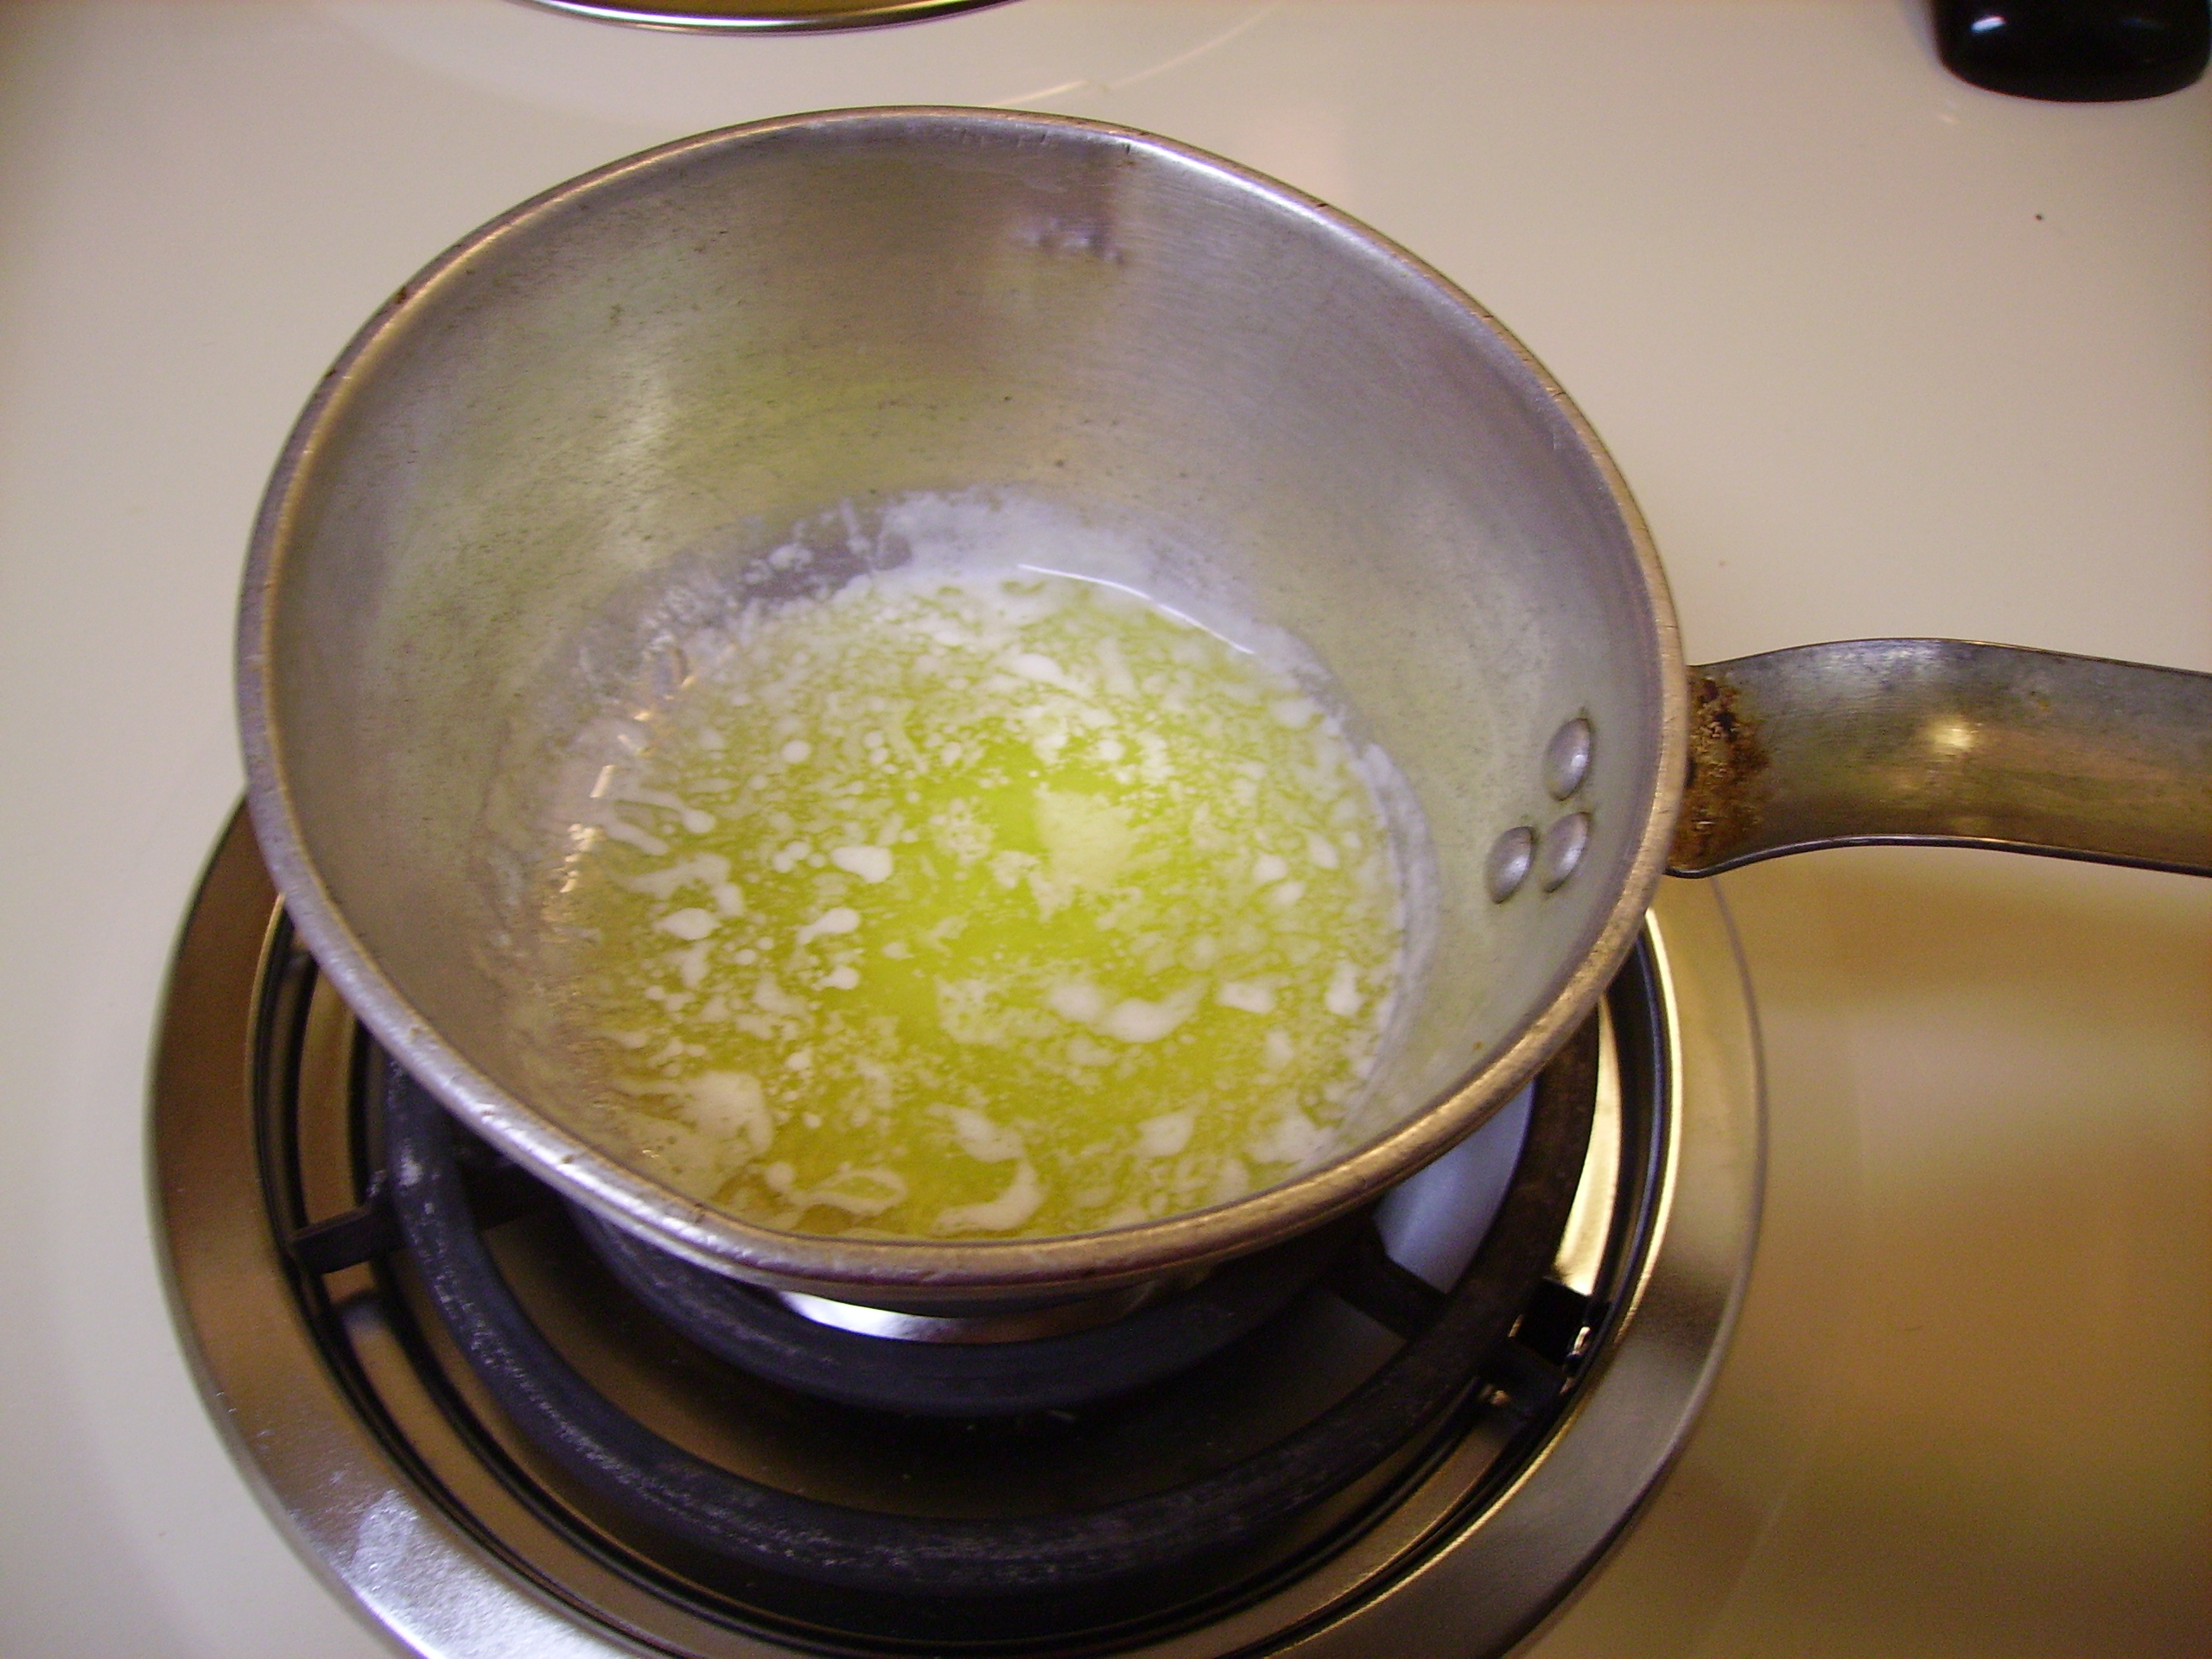
We wanted pop corn for an alternative dinner the other night (don’t judge me, sometimes it’s the perfect end to a day). I always make my popcorn in a pan on the stove. I even have a designated popcorn pan that creates fluffy and tender kernels of goodness with hardly an “old maid” in the batch. While the magic is happening in the pan, I would melt a cube of butter in the microwave timing it so that the butter and the pop corn would be ready together. What to do without a microwave? I have a small sauce pan that was my mother’s that easily accommodated the butter and resulted in melted perfection.

DIGITAL CAMERA

As the week went on I reached for the microwave to reheat some leftovers which turned out better reheated on the stove where they could gain a little color and crust. I had to plan ahead more to thaw out things from the freezer, but they turned out better thawing naturally, as well. My new mantra became, no microwave, no problem…after all I was really only using it for shortcuts.

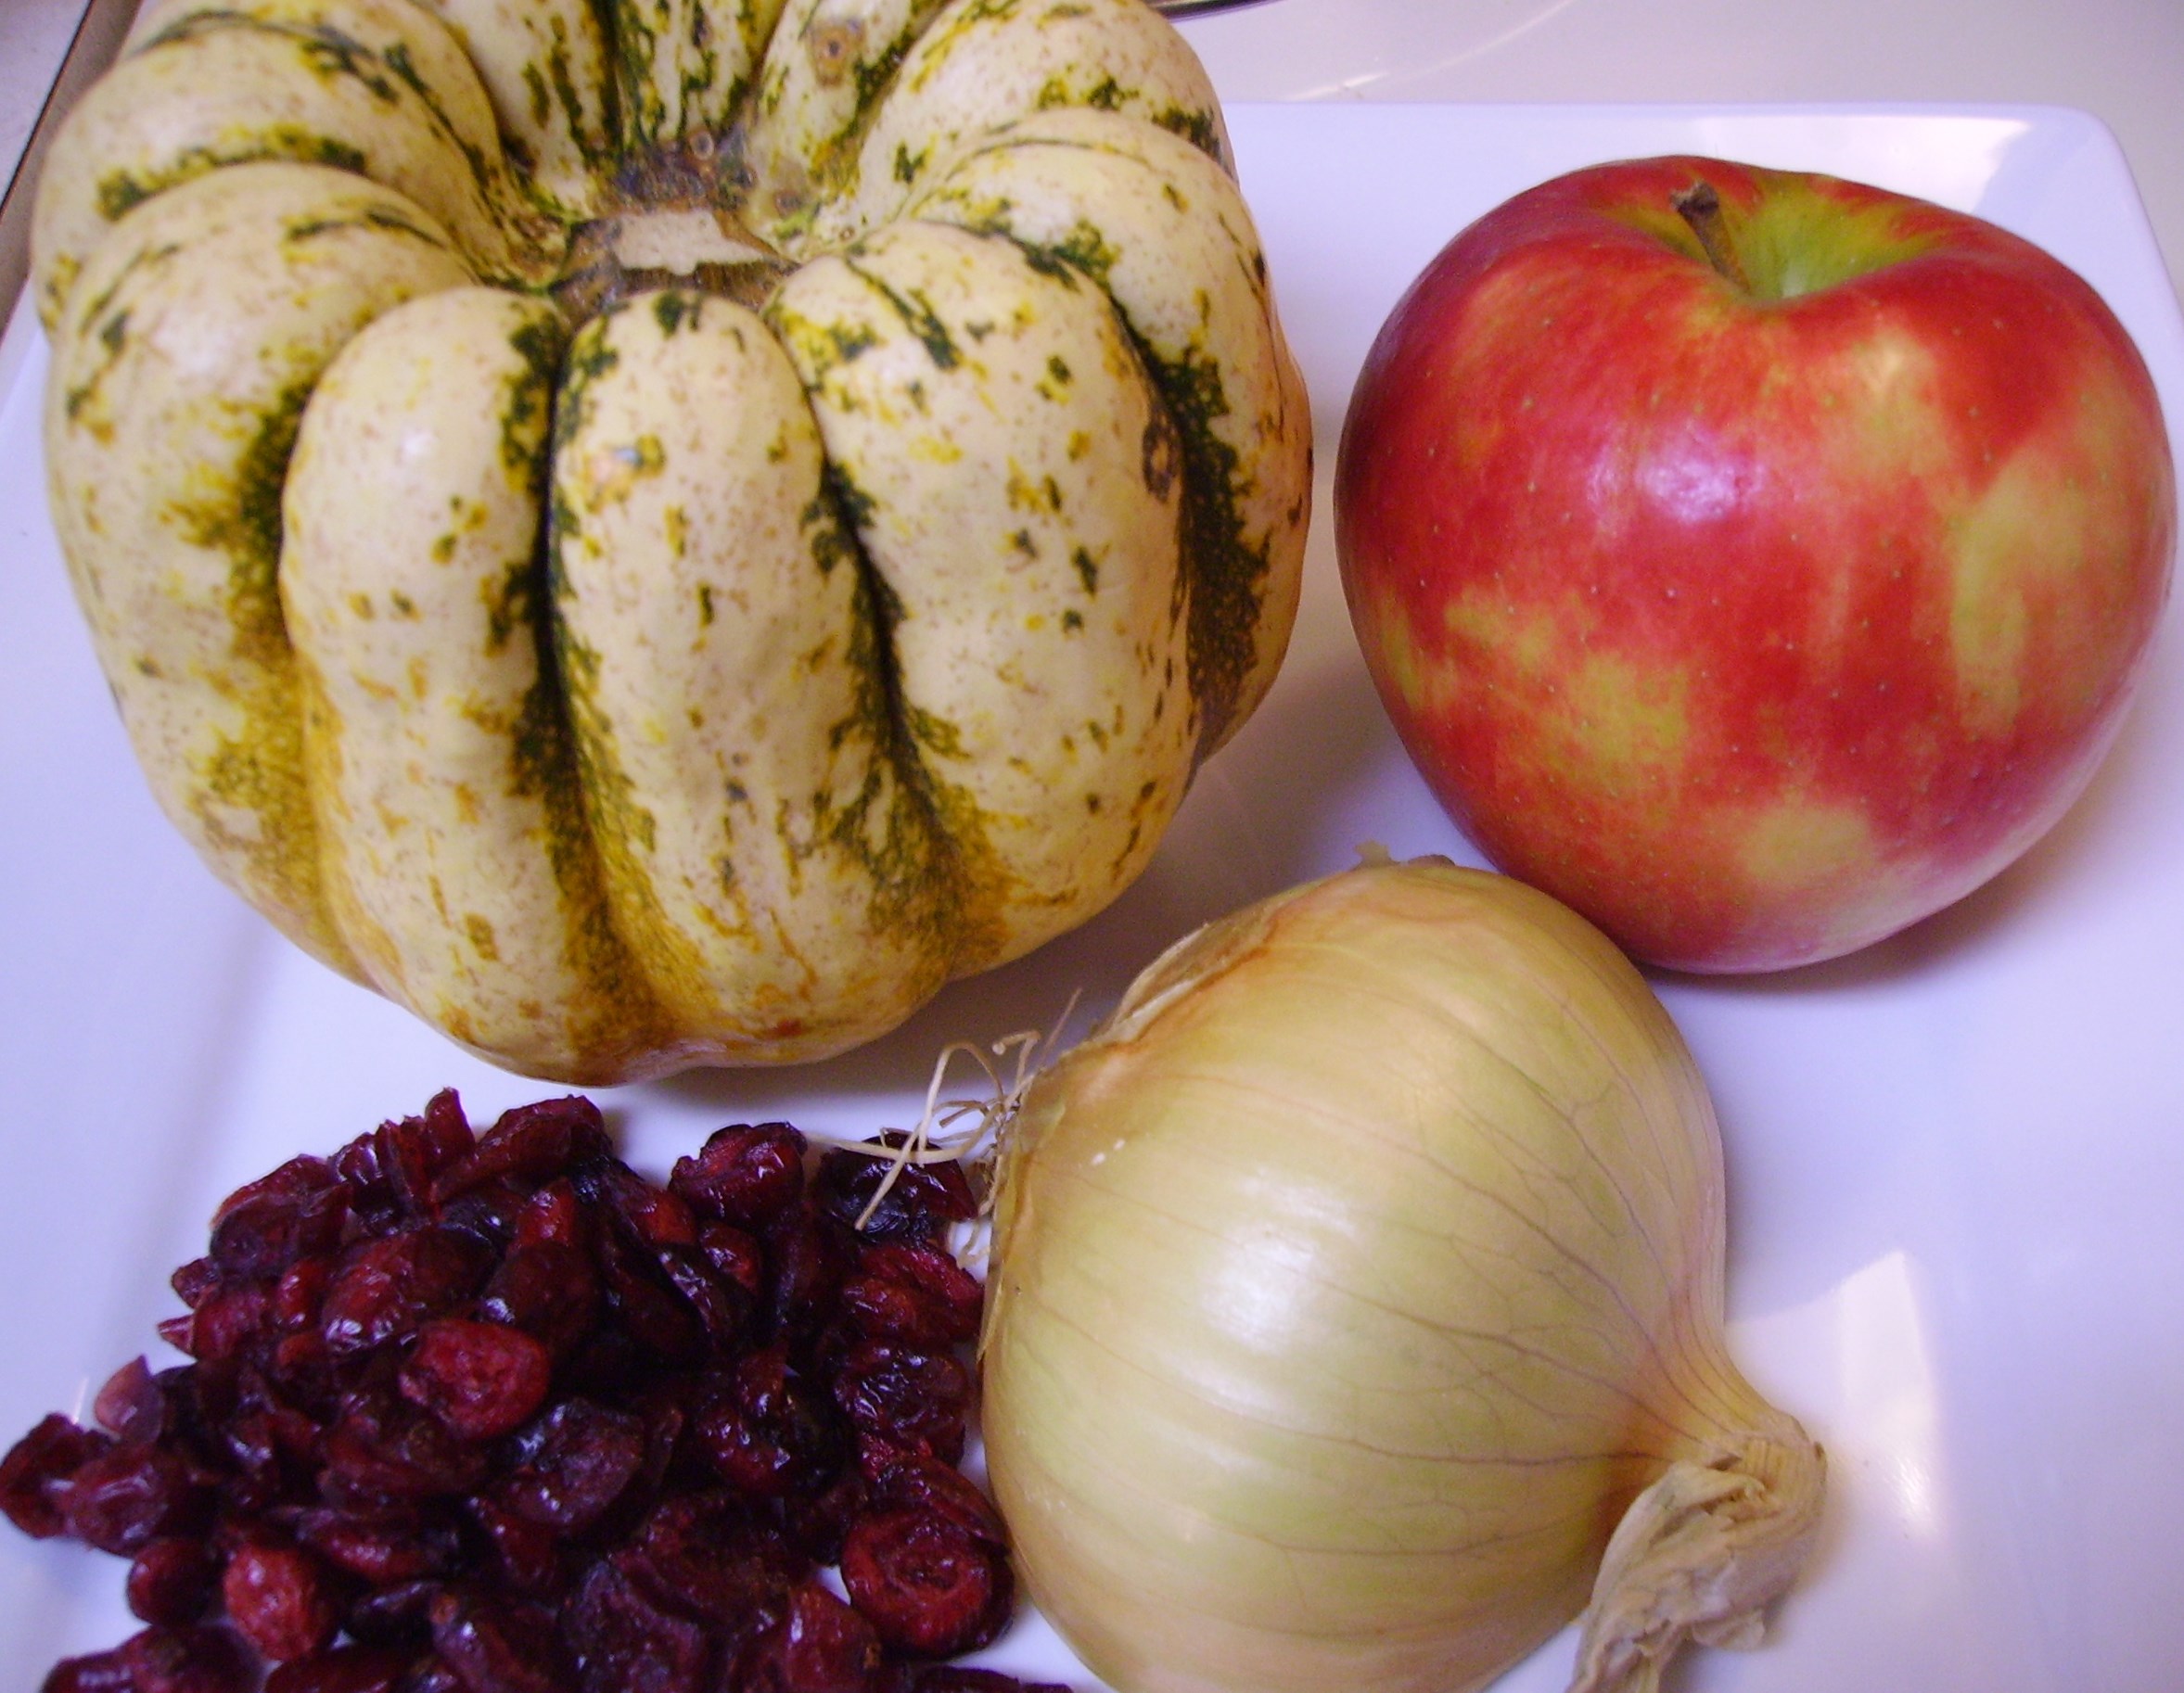
As I’ve shared before, I take inspiration for my recipes from many sources. Tonight’s dinner was no exception. I found a wonderful recipe for pork with a sauce made of squash, dried cranberries, and apples in the latest Cooking Light Magazine.DIGITAL CAMERA

I had a reasonable equivalent of the ingredients on hand so I set out to put Mama D’s spin on it.

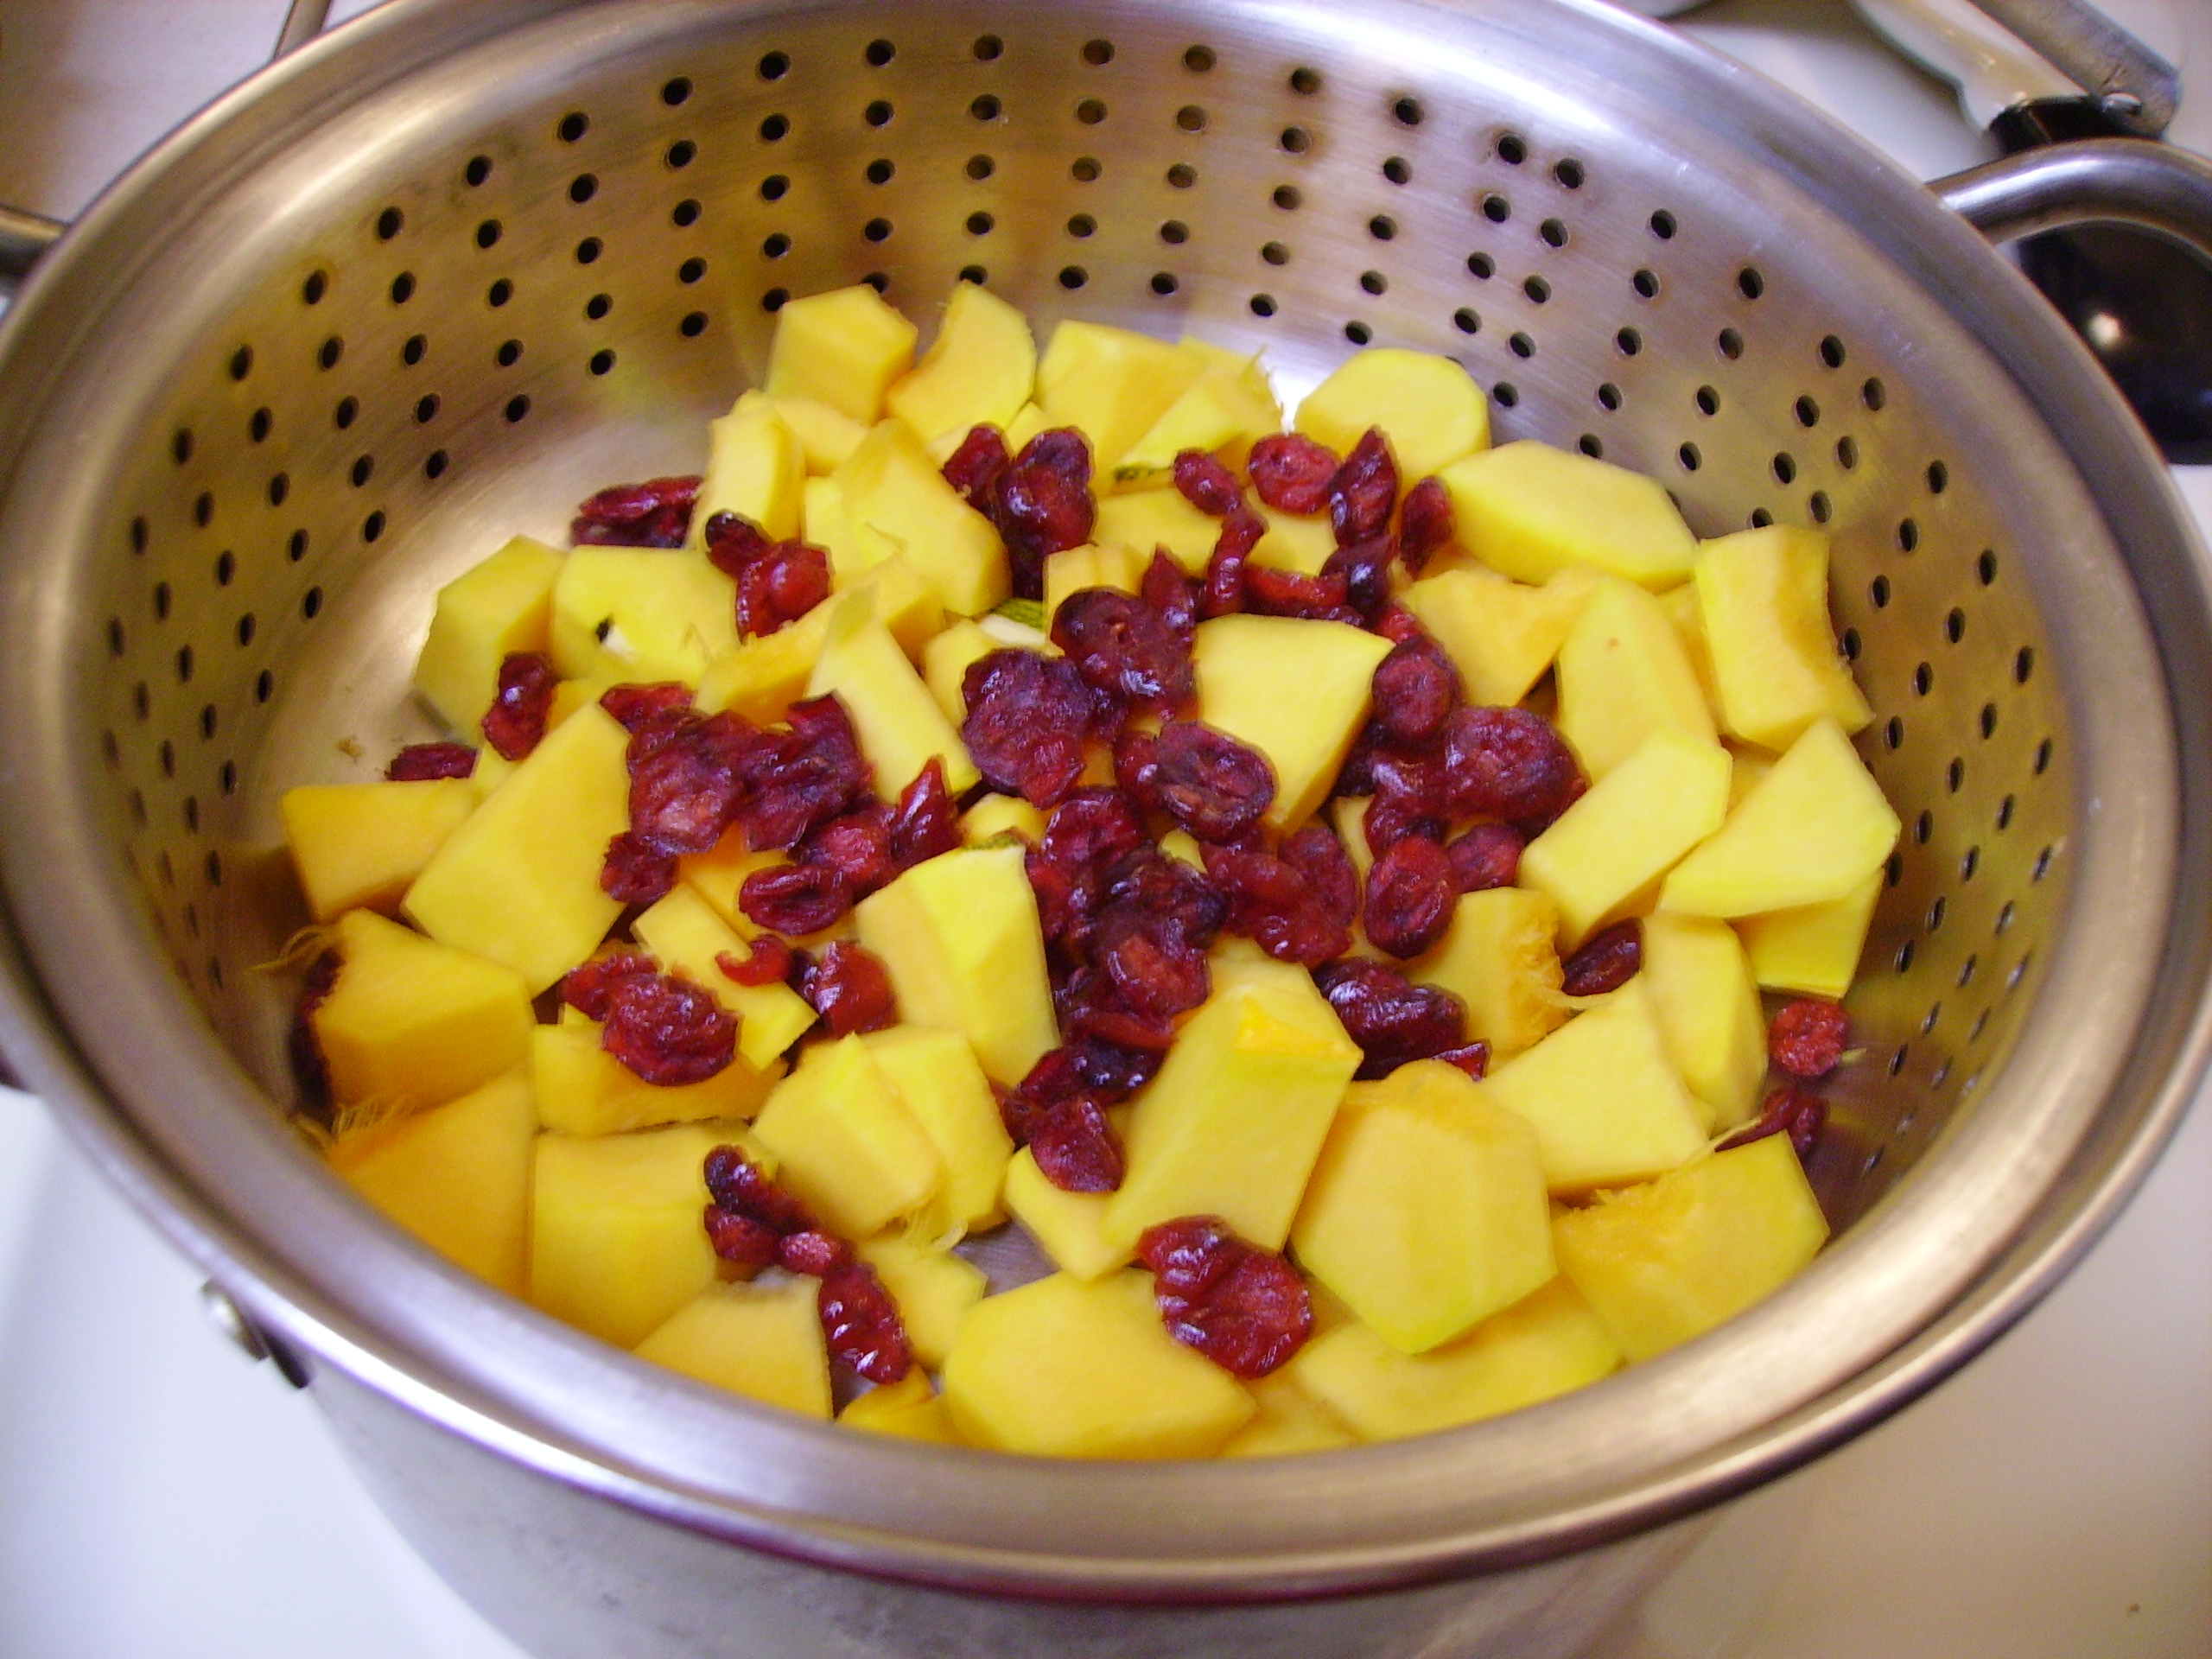
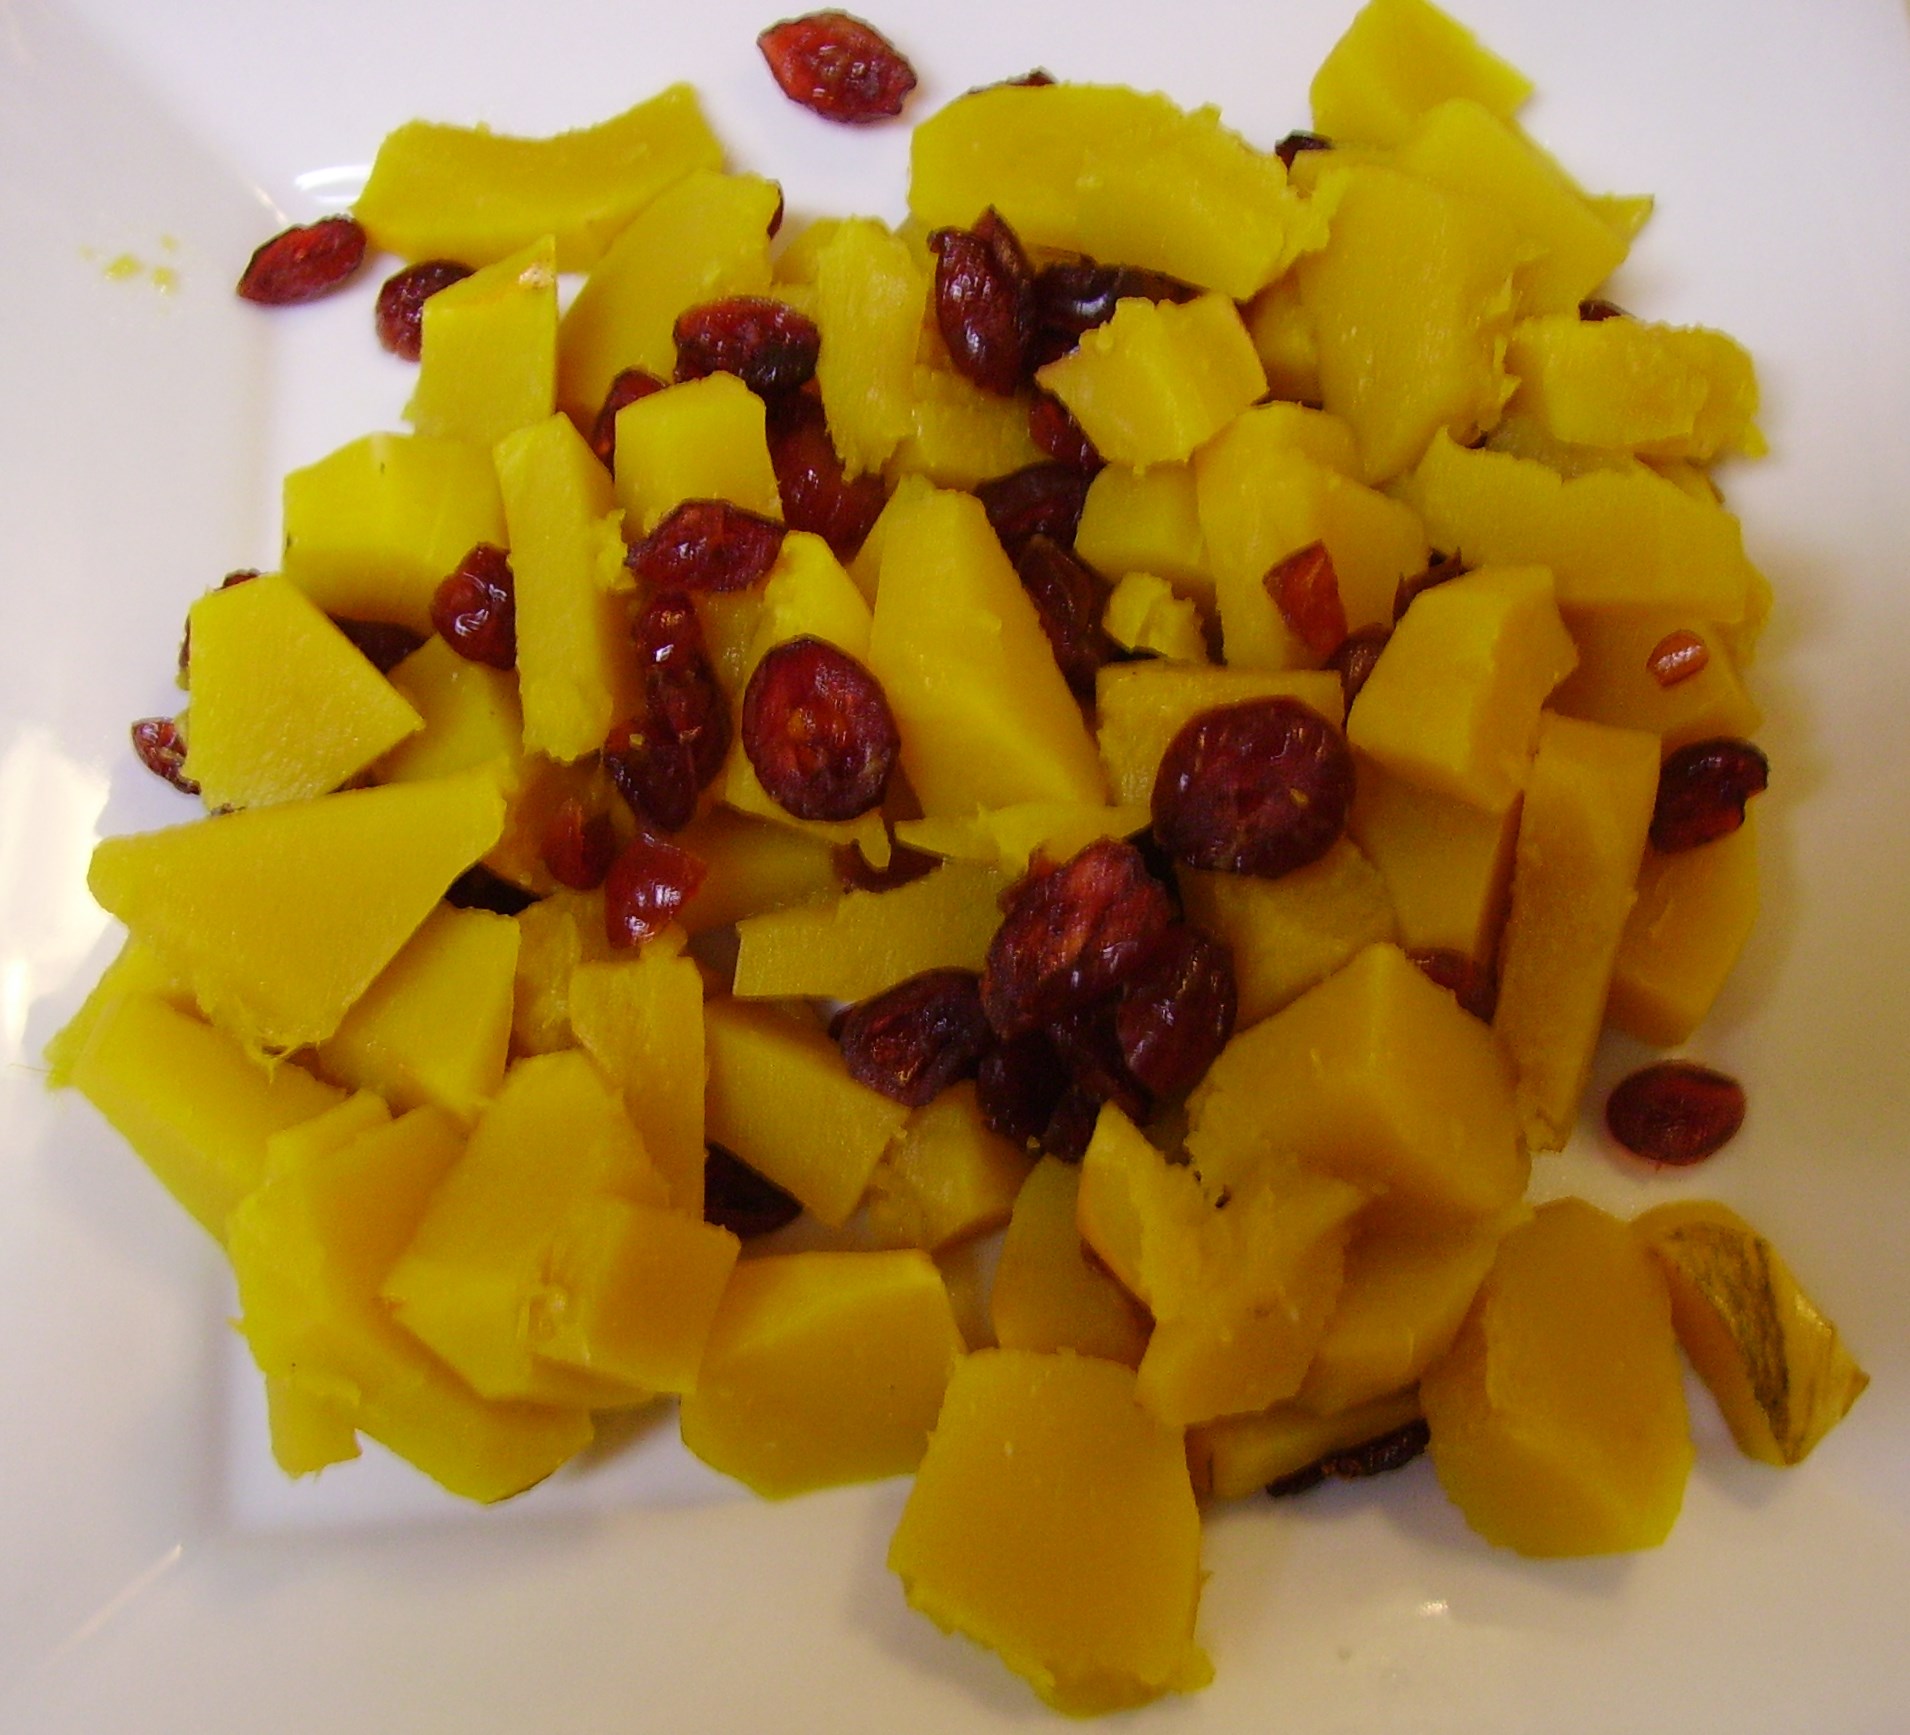
Step 1 brought me to a screeching halt.  It called for microwaving the squash and cranberries to prep them for the sauce. Hm? Now what?  Out came my trusty steamer pan and in went the berries and squash.

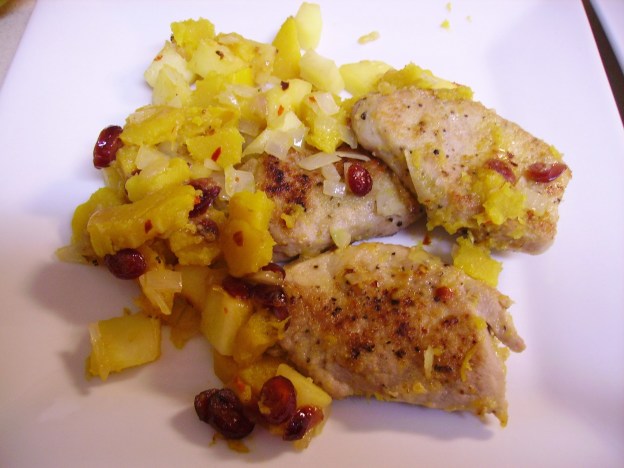
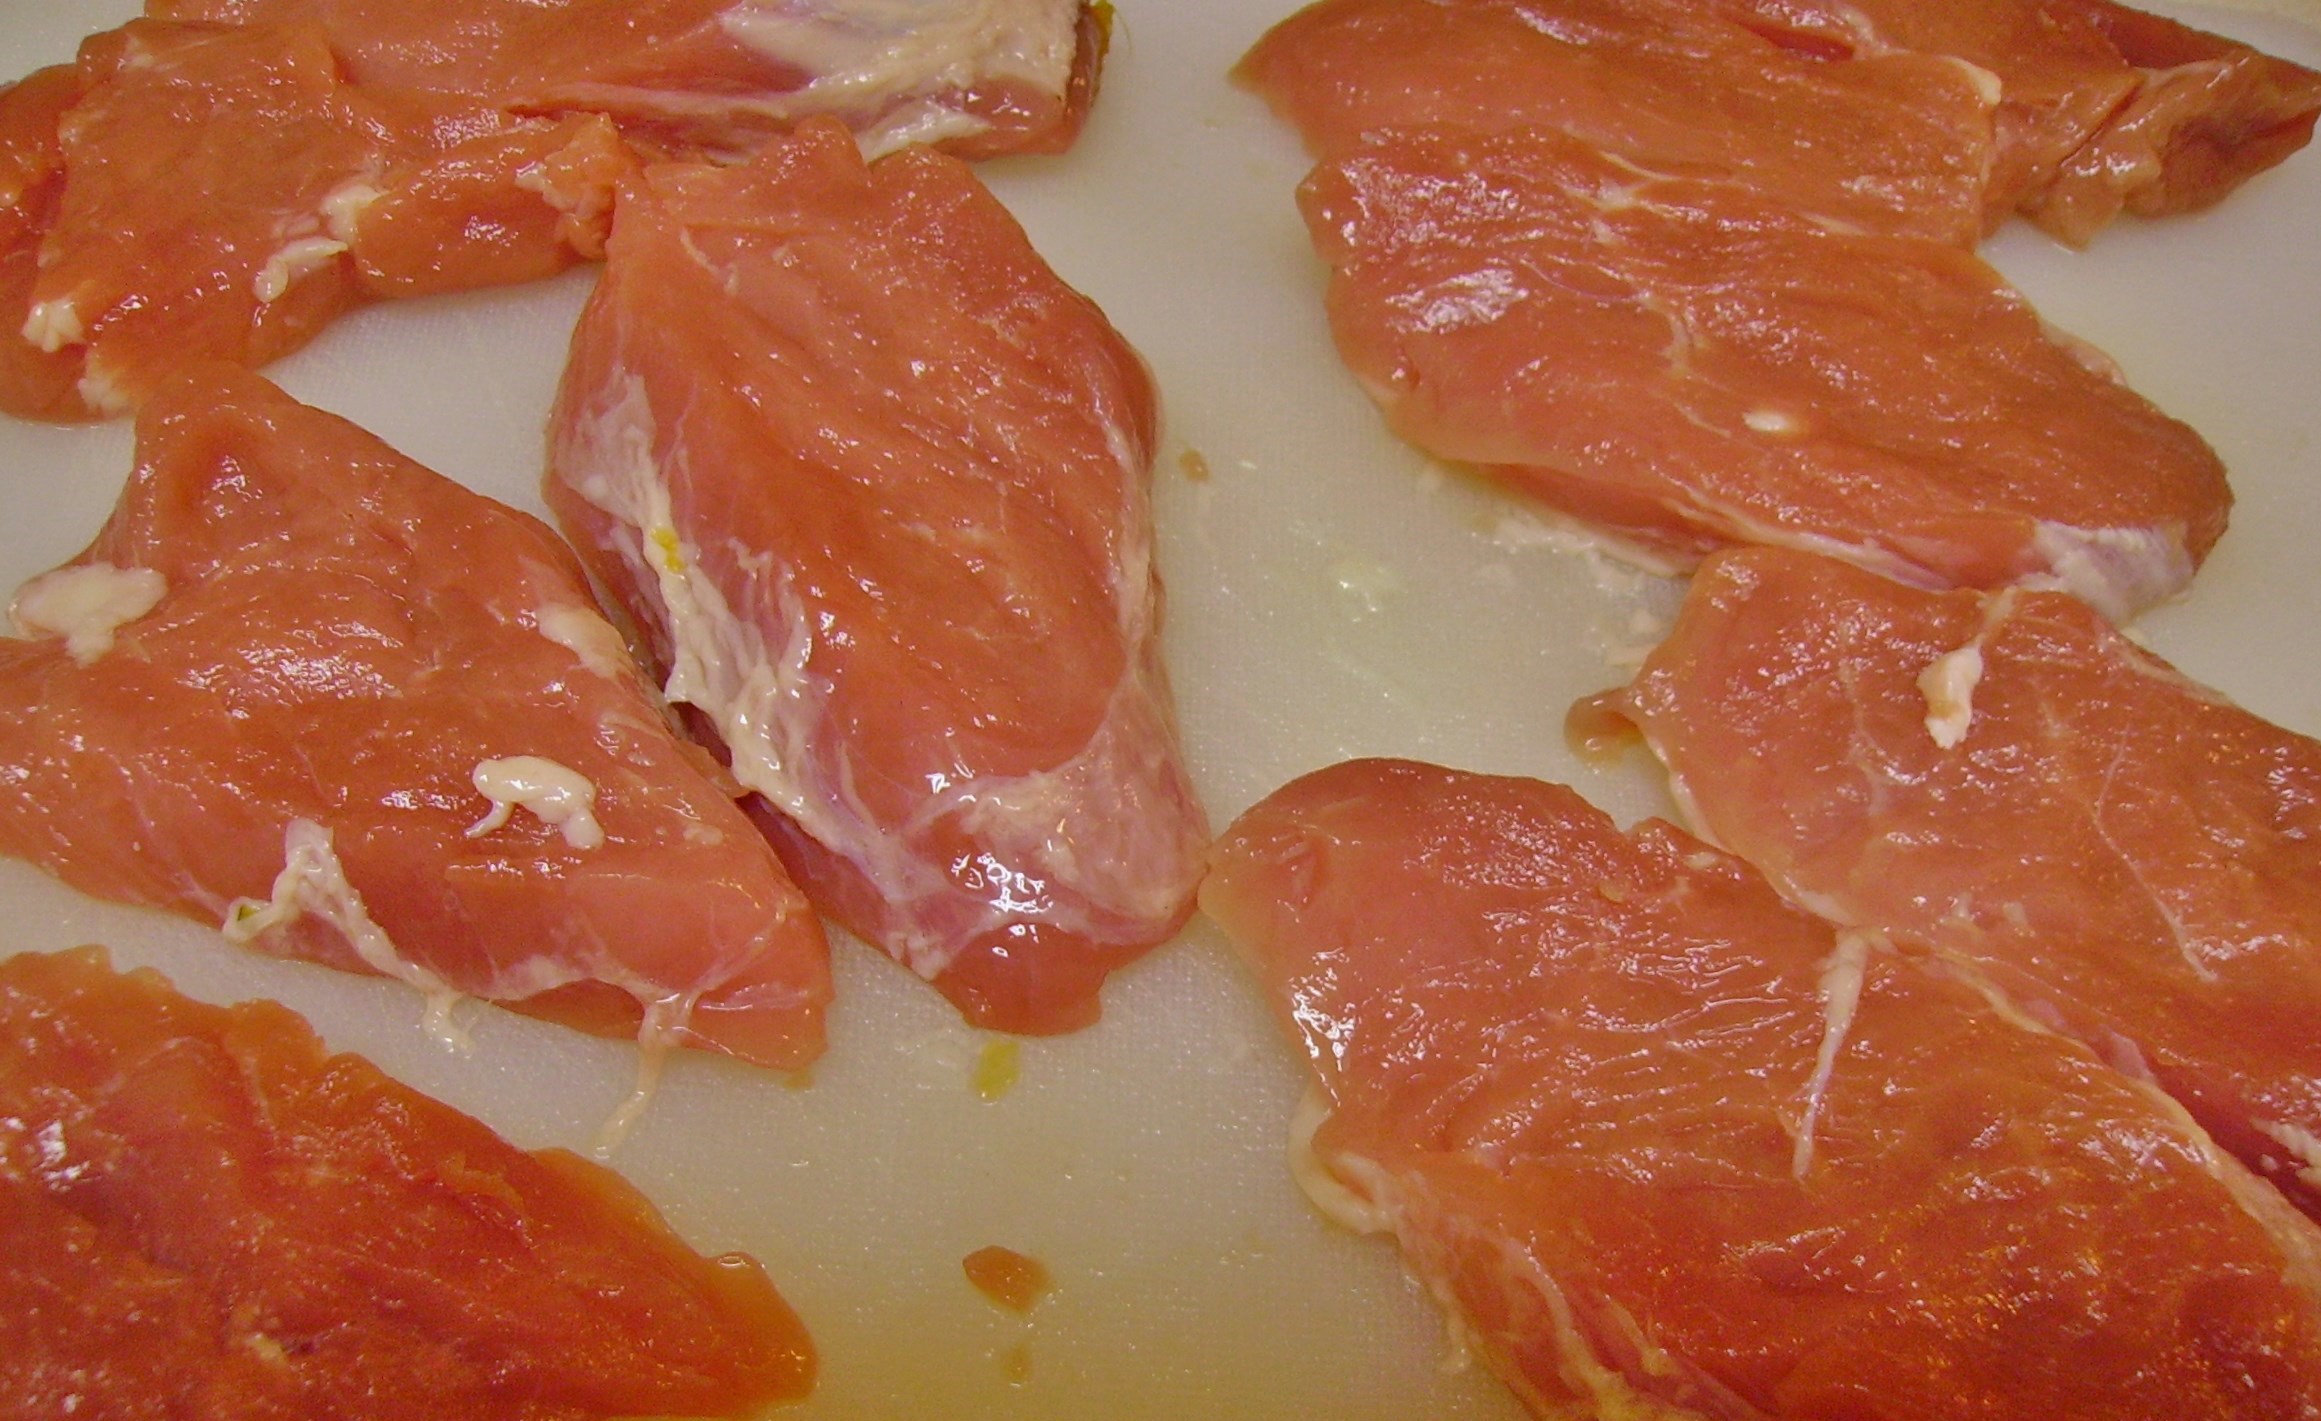
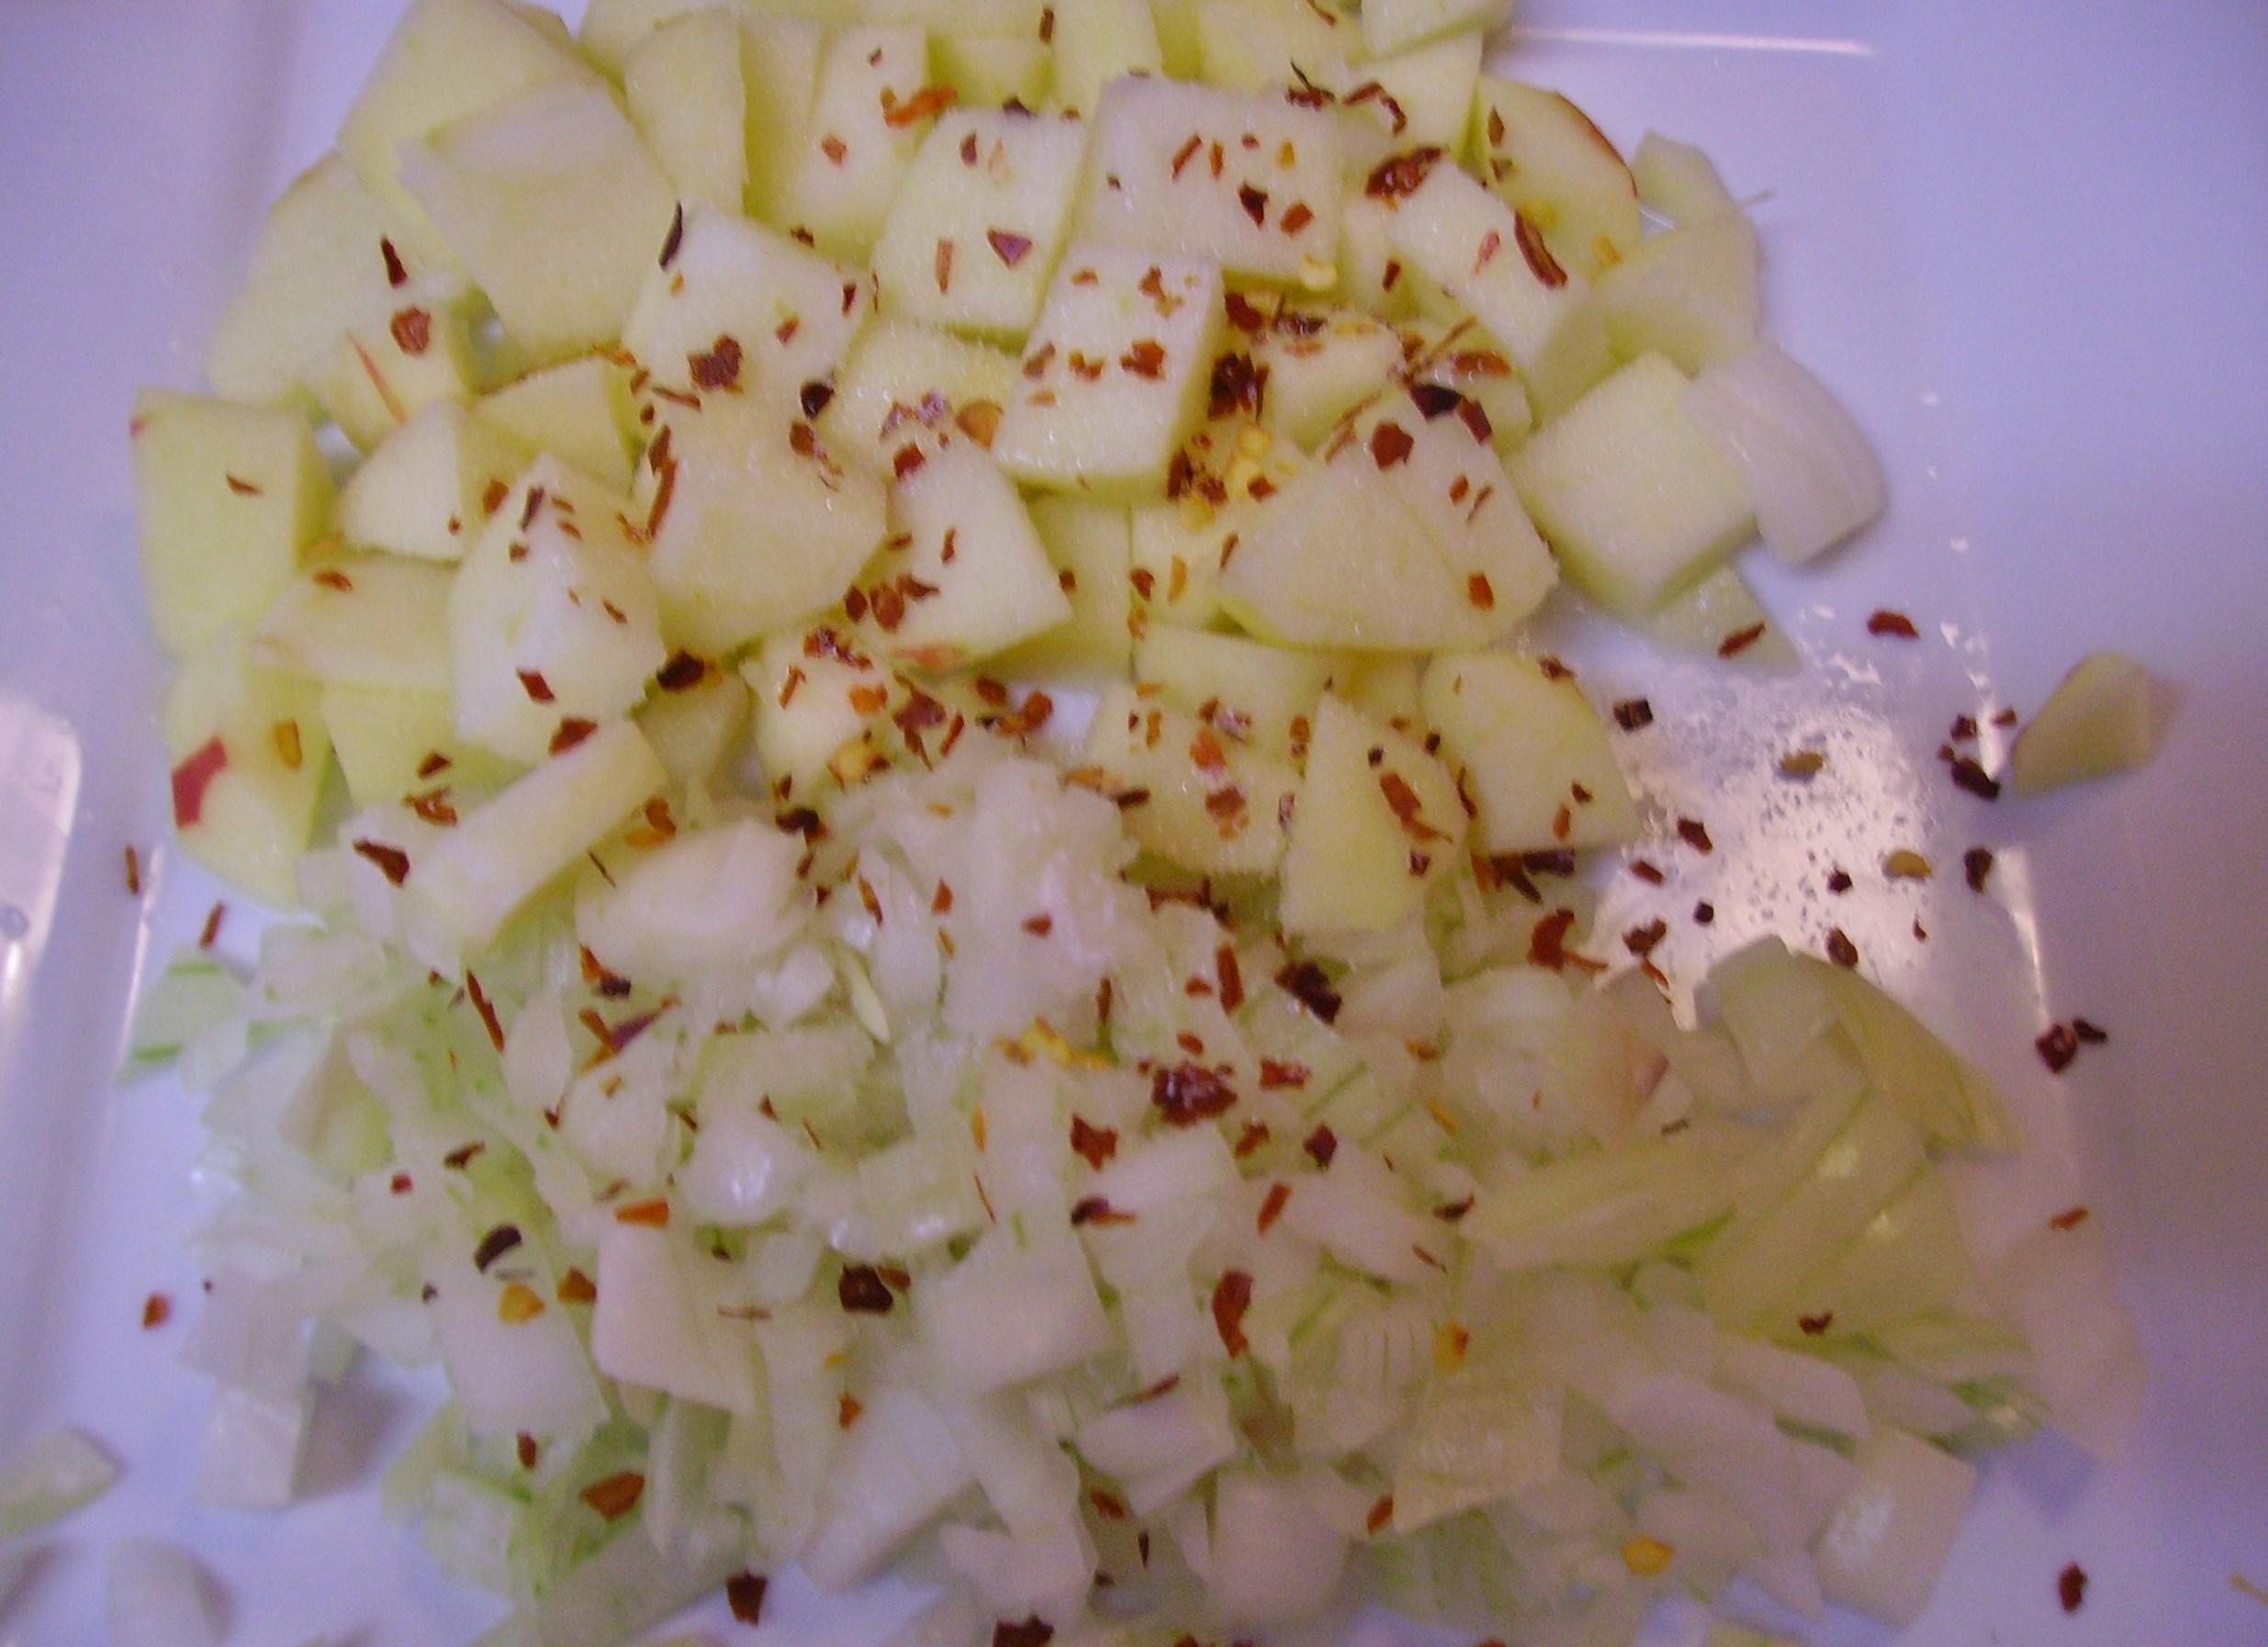
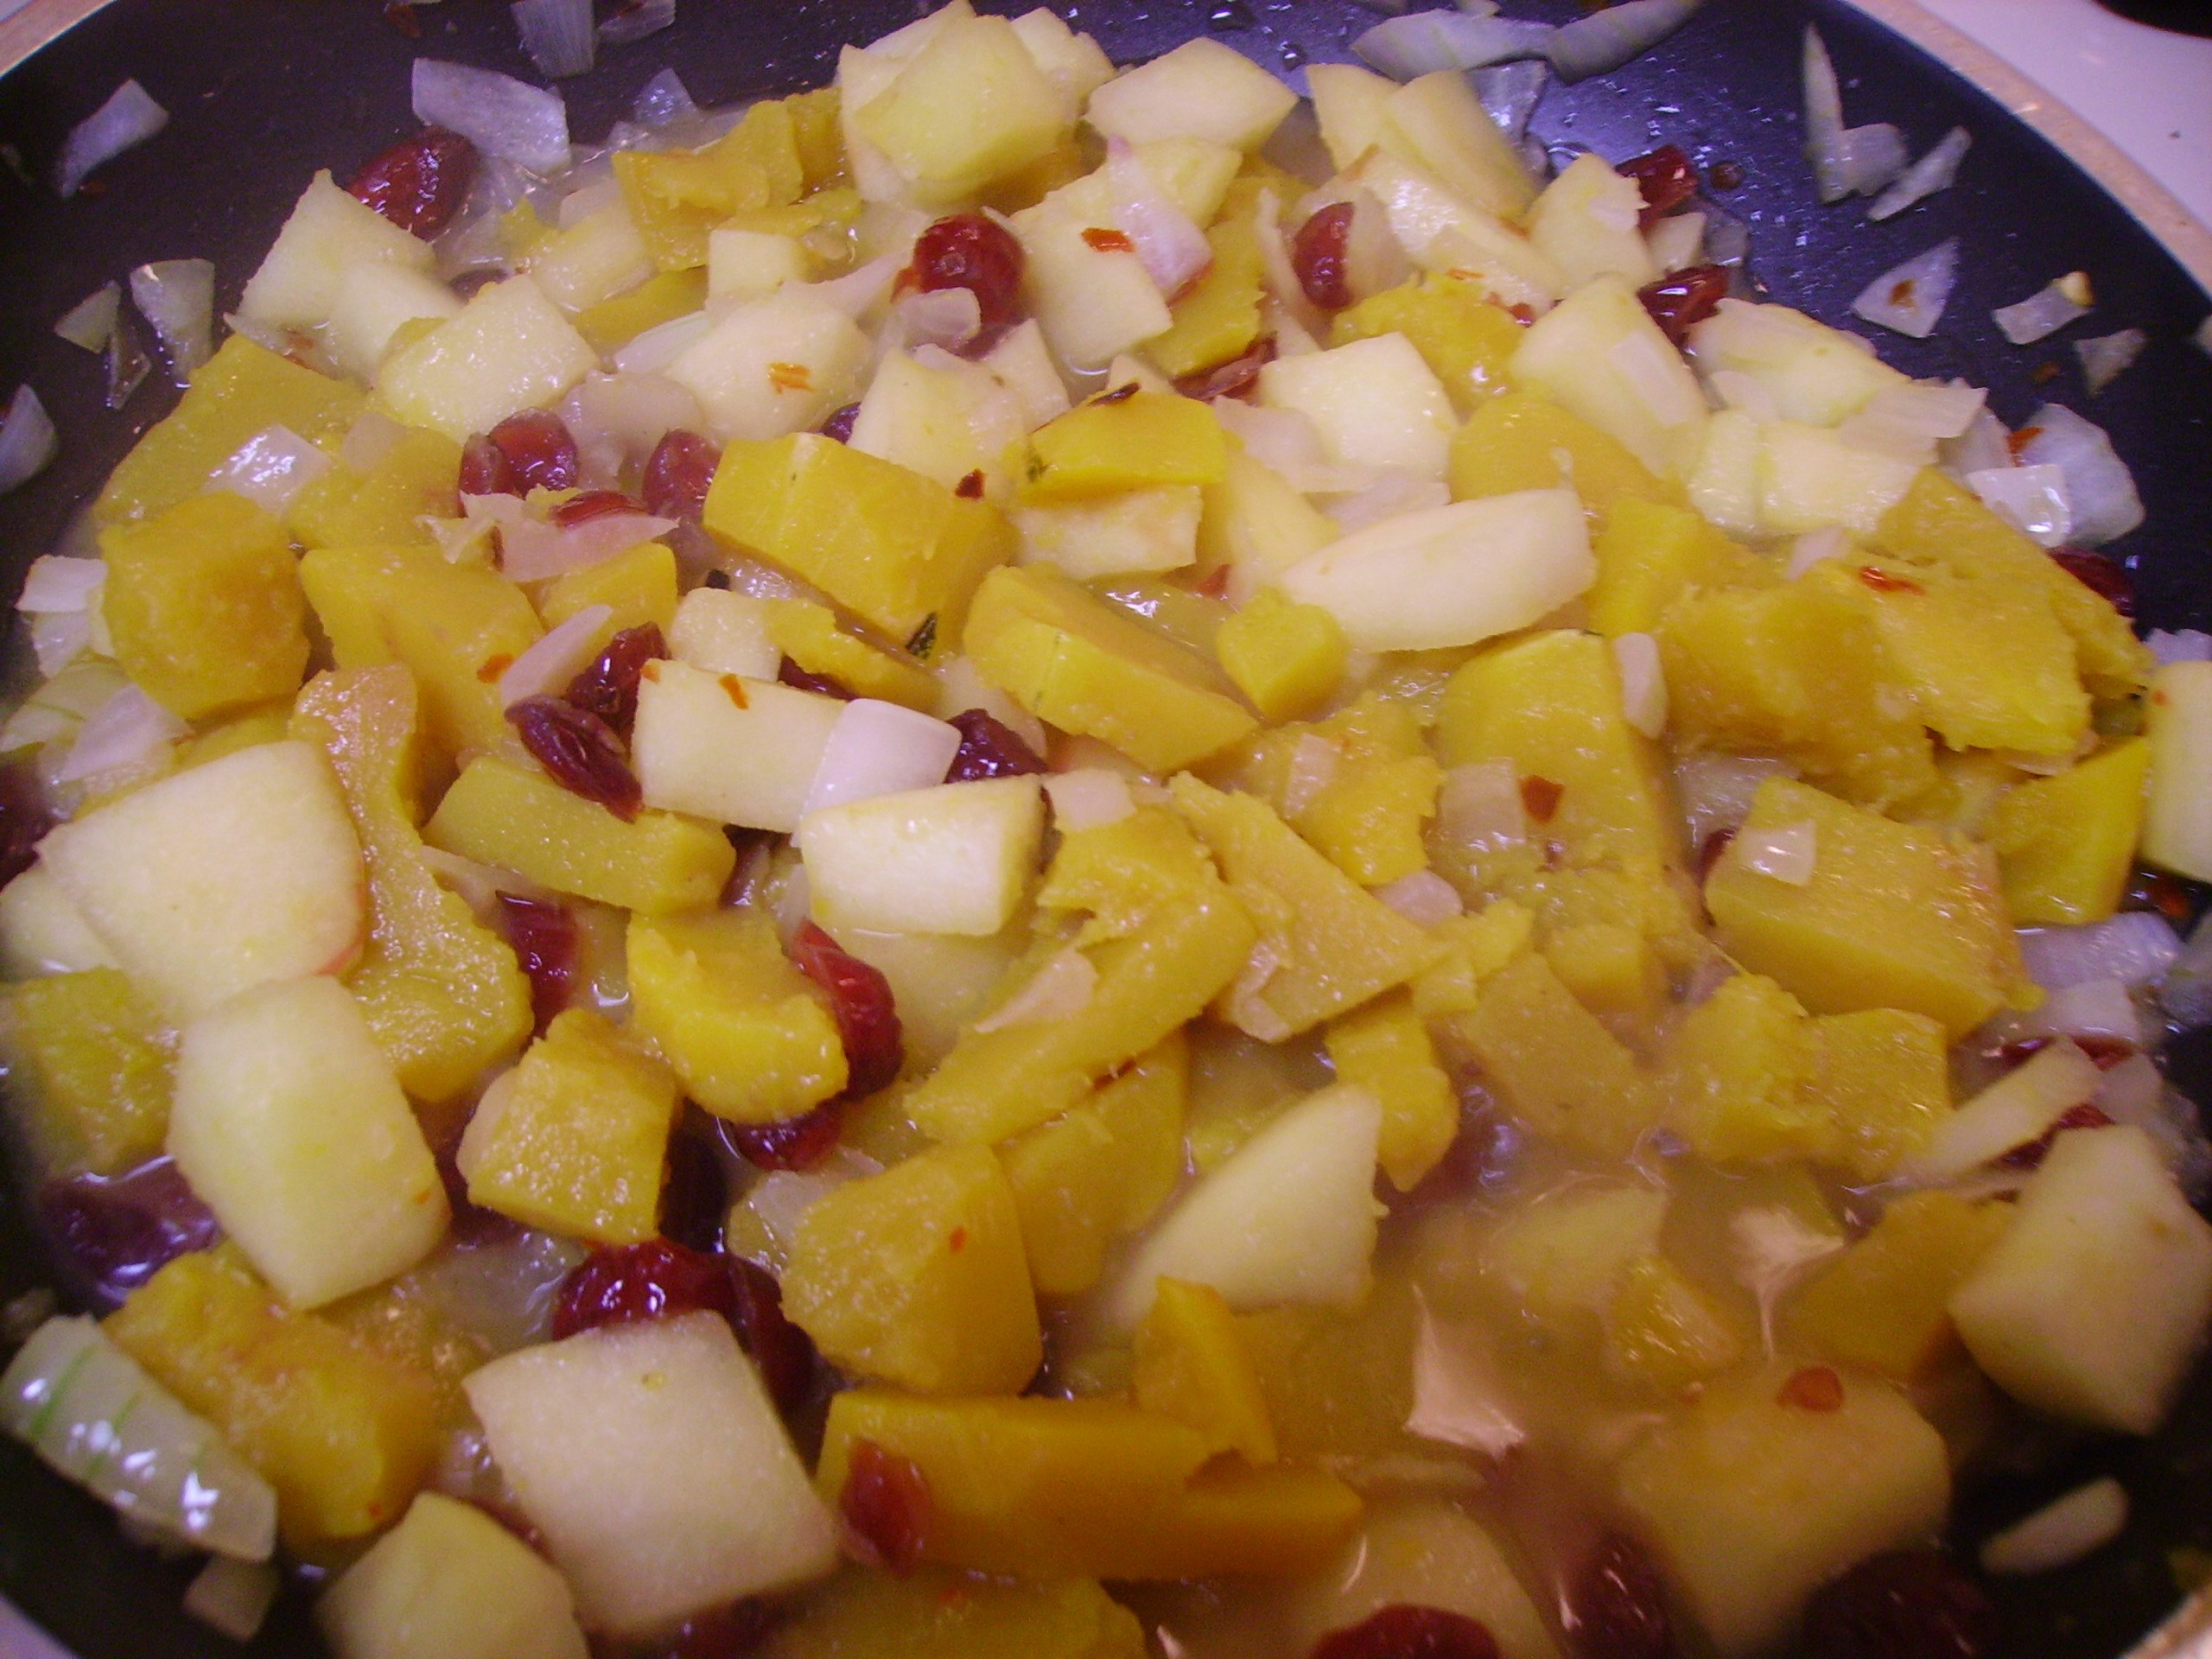
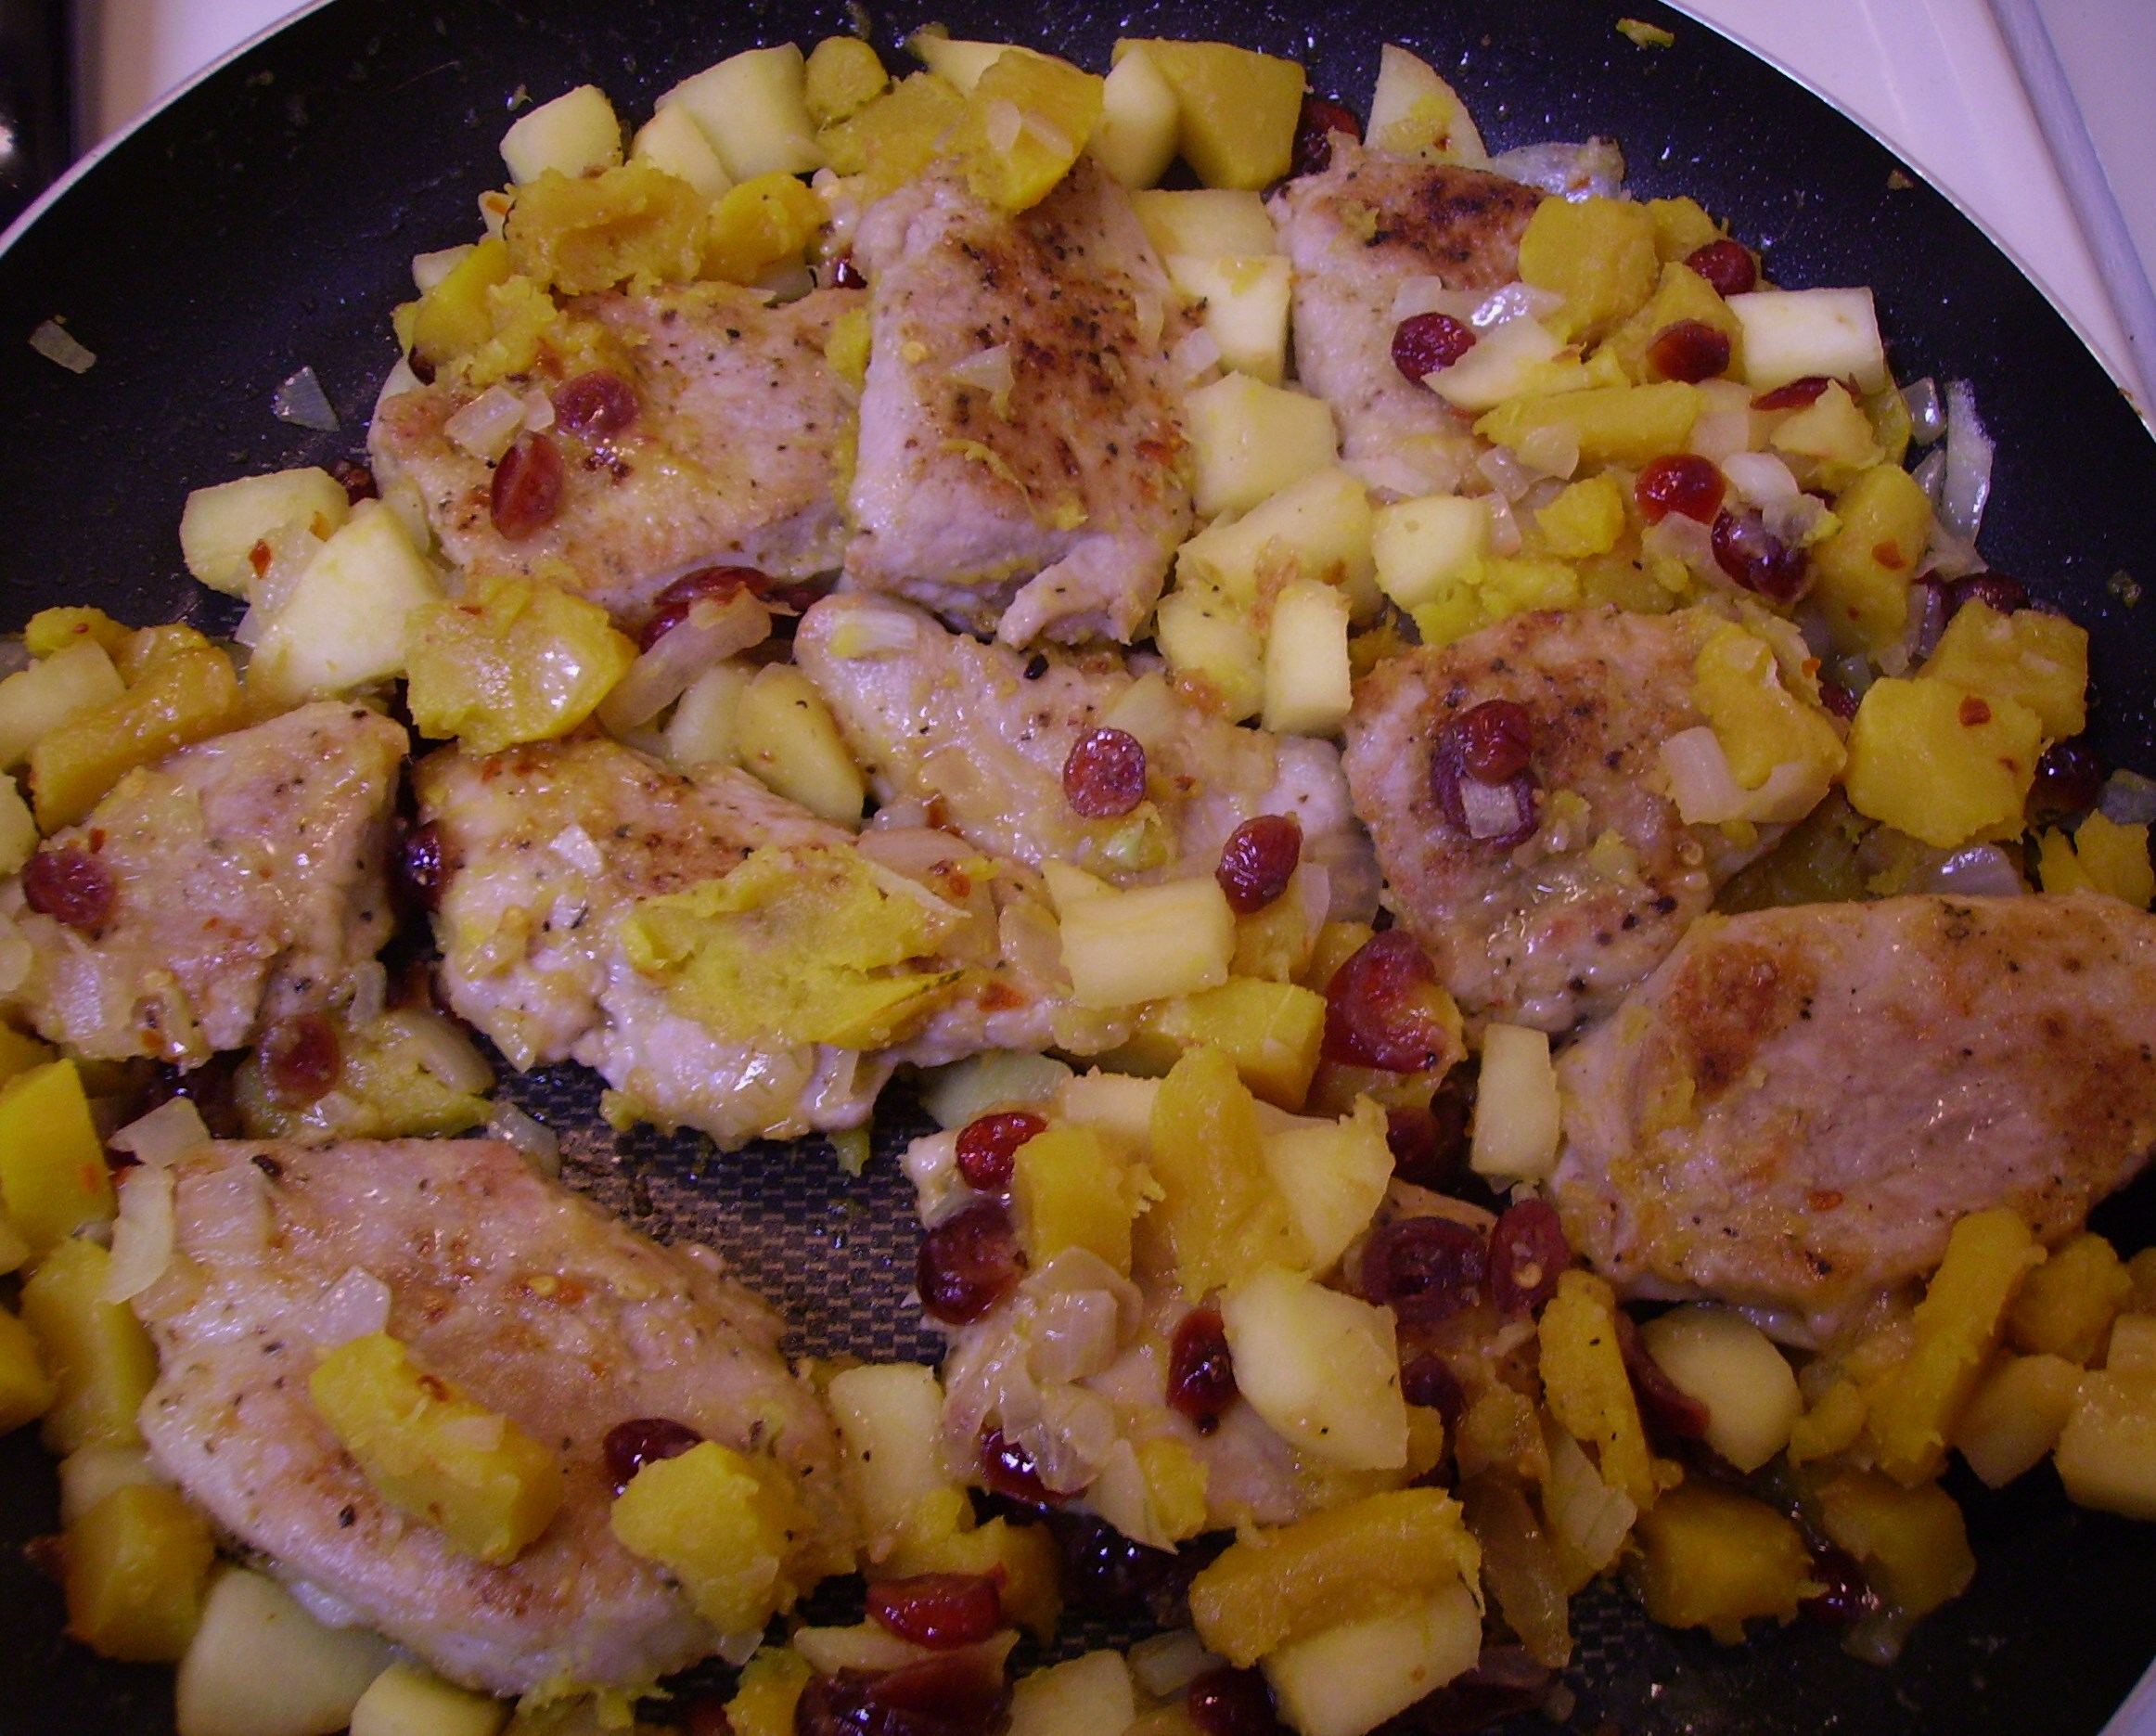
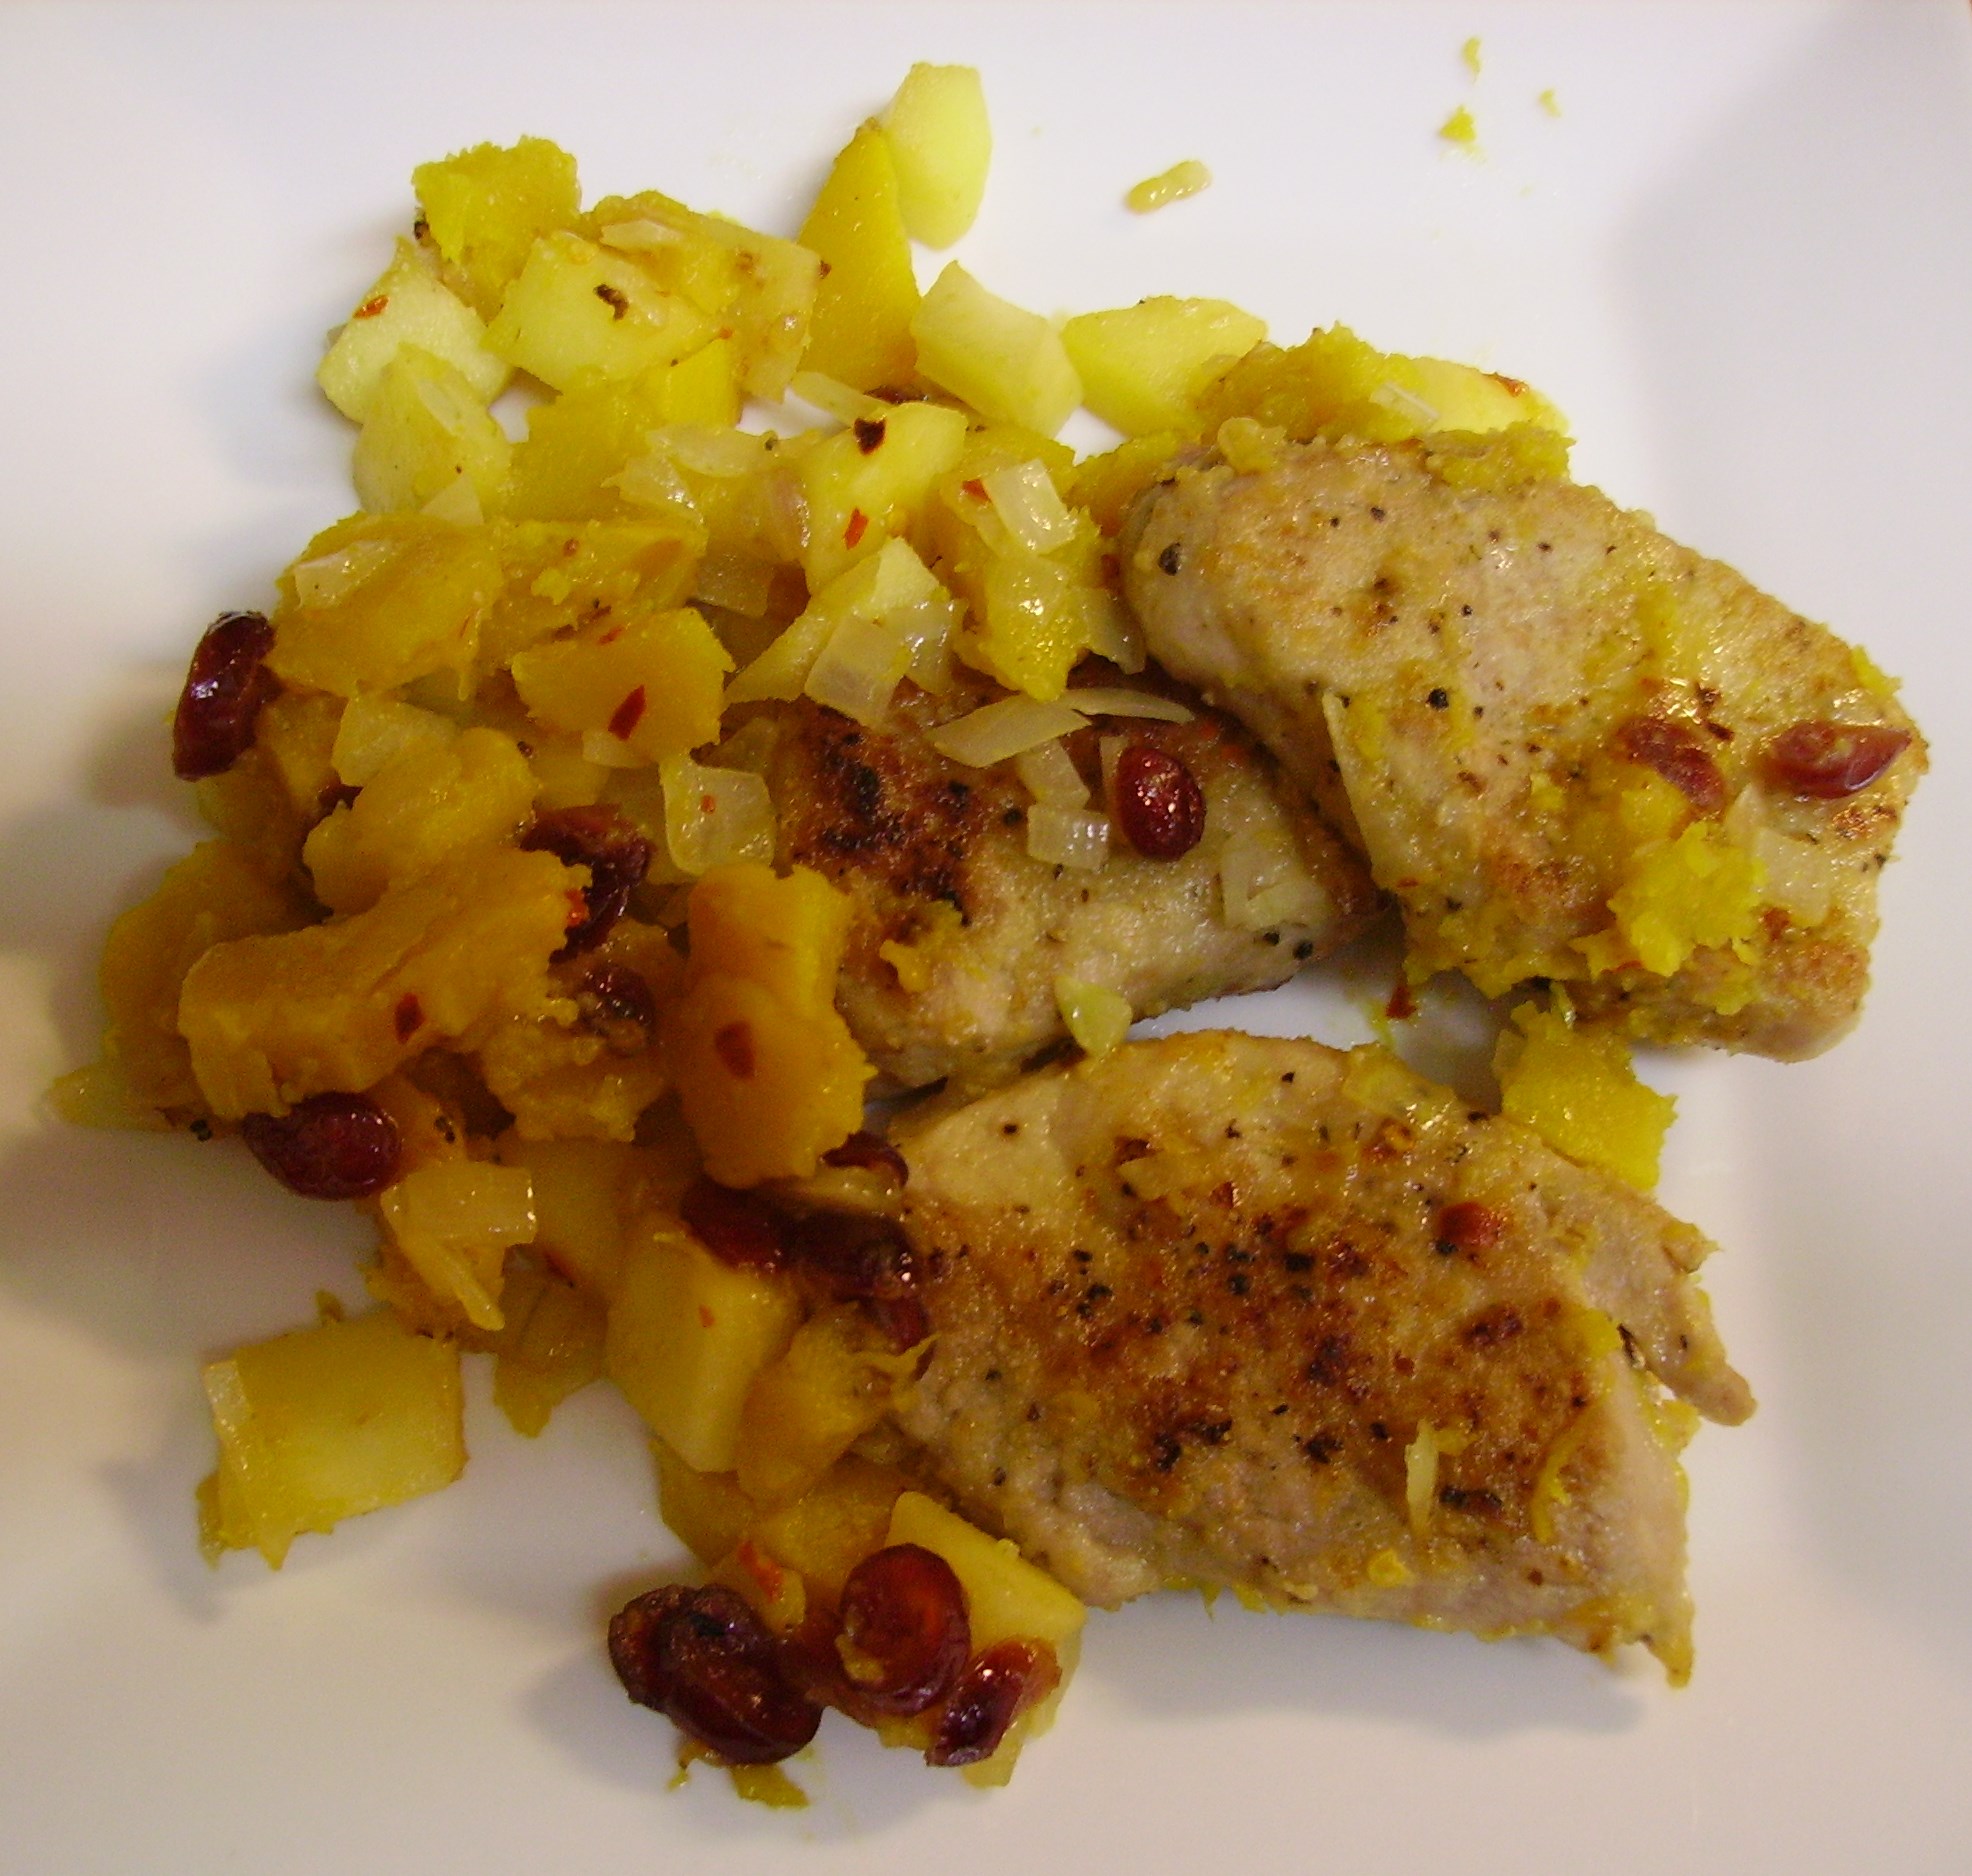
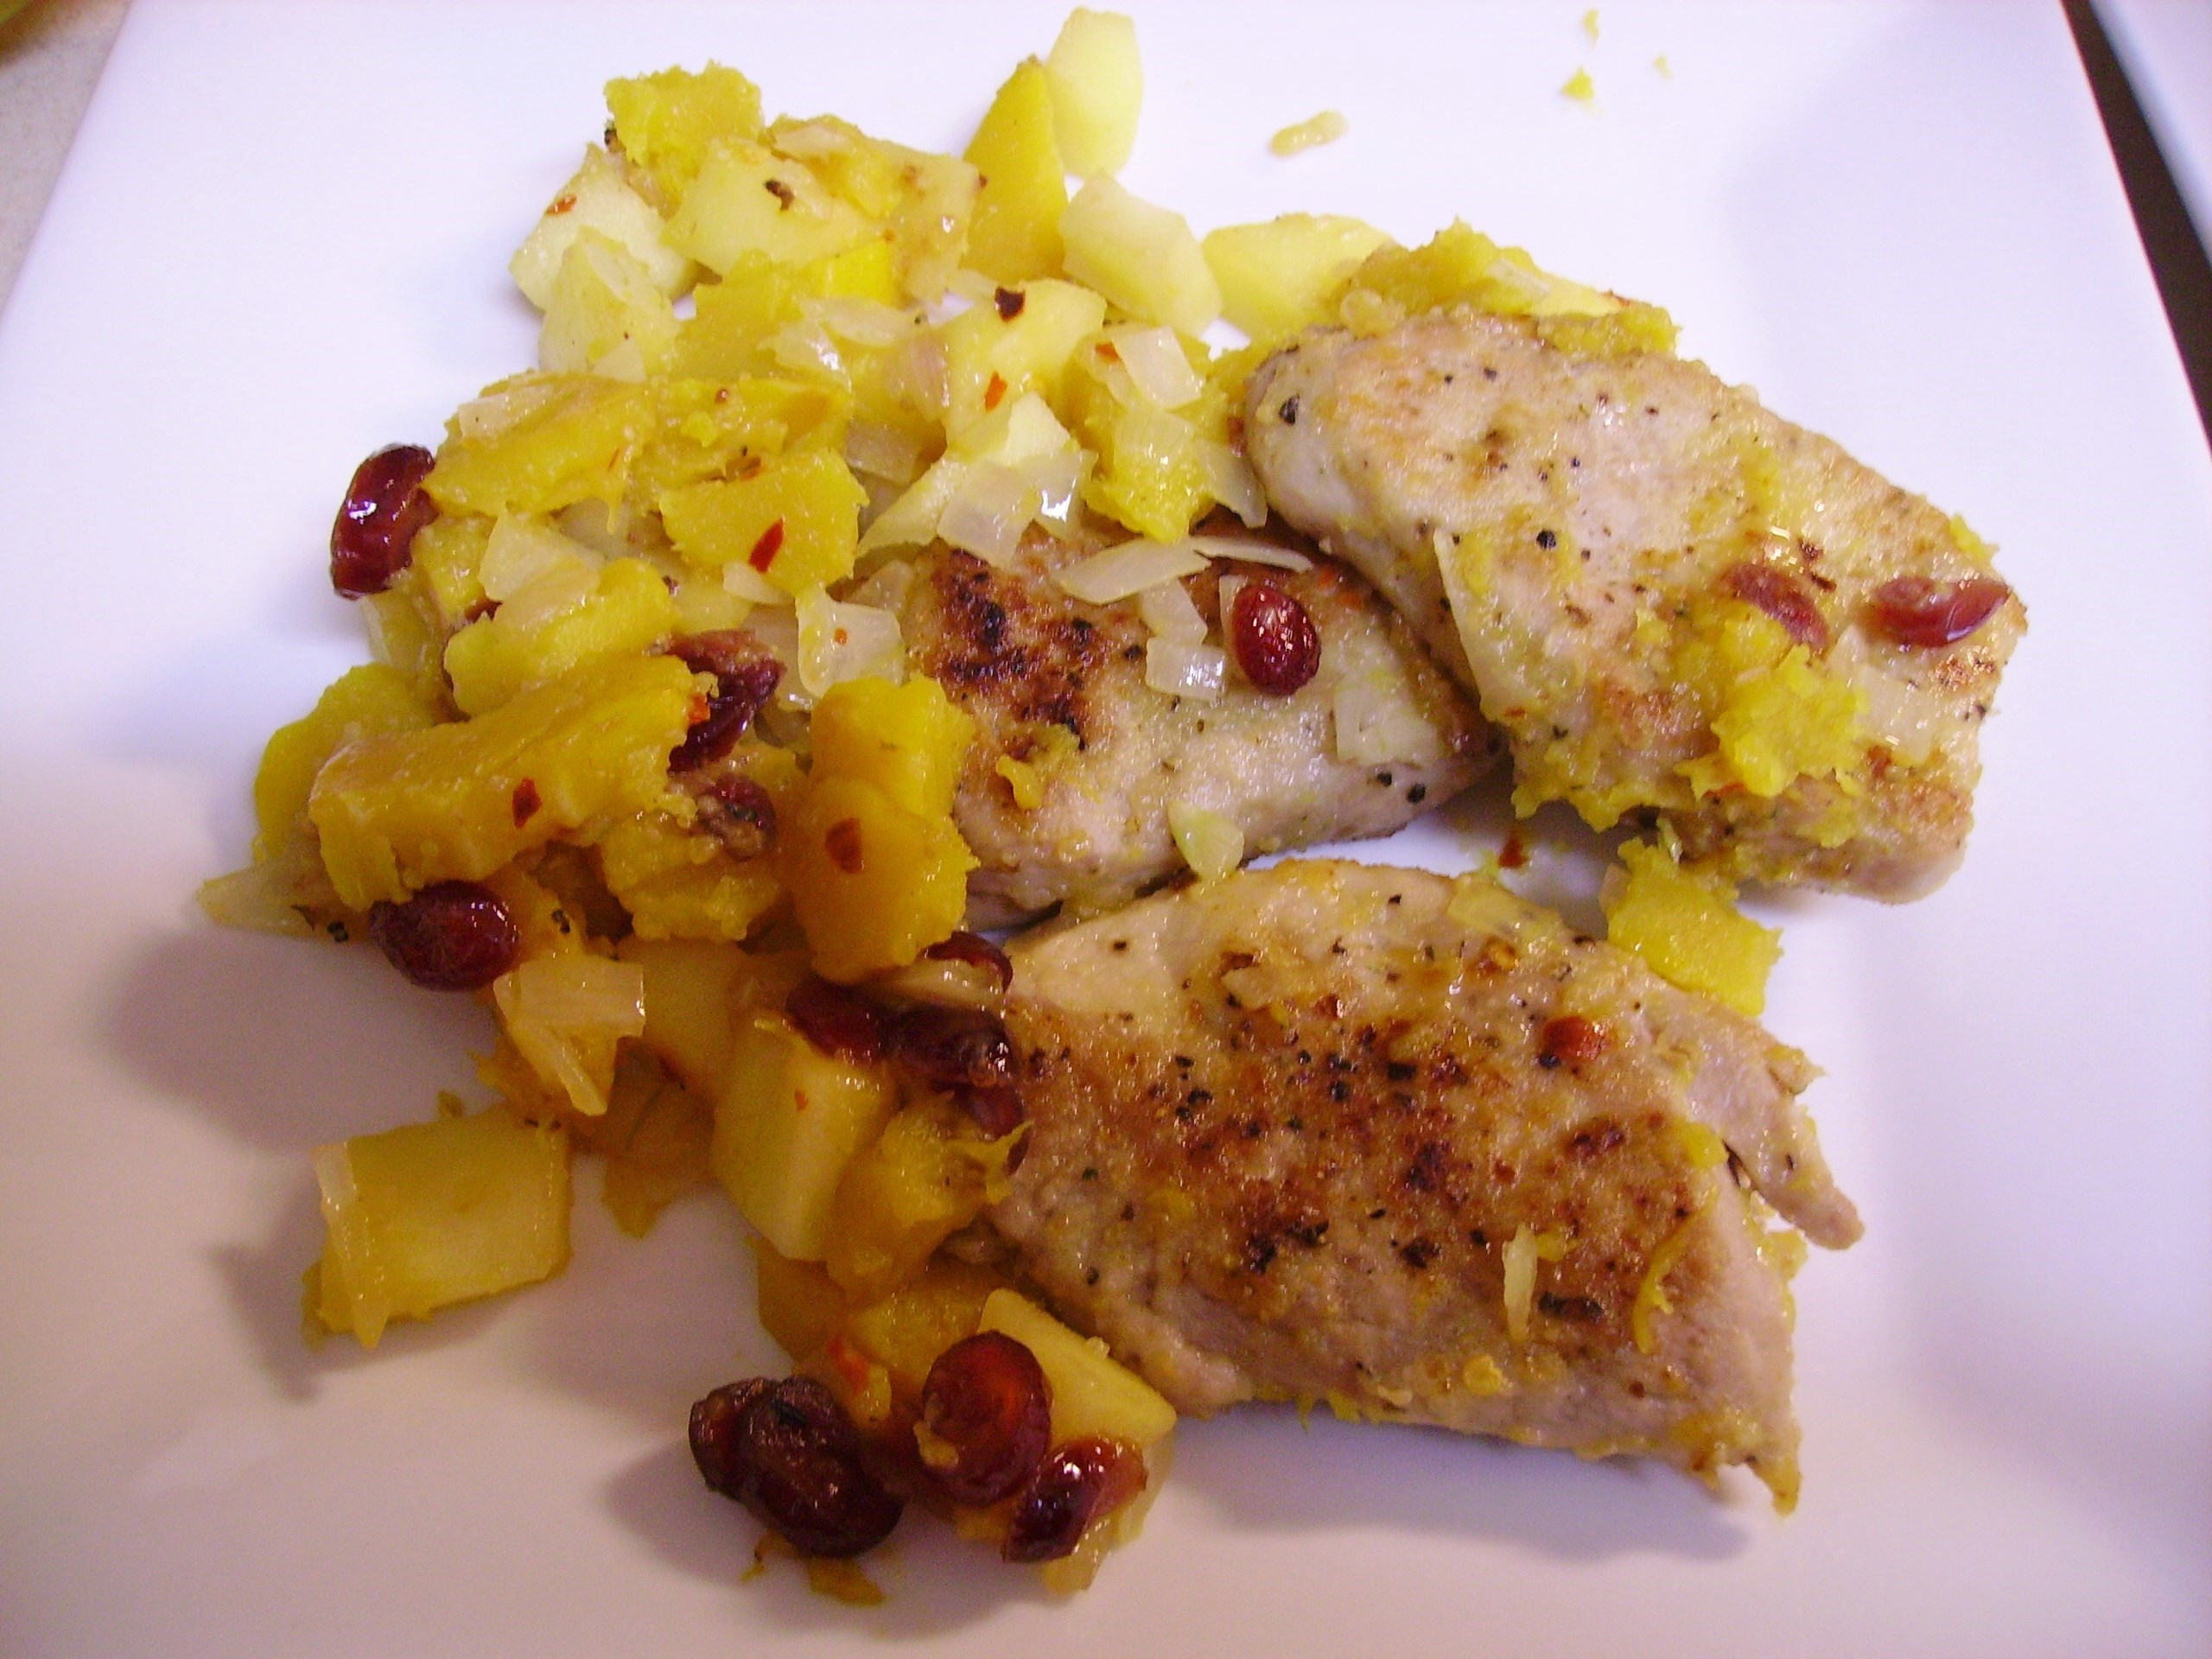
DIGITAL CAMERA10 minutes later (only 3 minutes more than the microwave would have cooked them) they were ready to become part of the dish.DIGITAL CAMERAPork tenderloin, my new favorite pork product, was sliced into medallions that were lightly seasoned with a salt free onion and herb mixture.DIGITAL CAMERAOnce they were lightly browned, they waited patiently in a warm oven while the rest of the dish came together. Apples and onions were joined by a sprinkling of red pepper flakes and a pinch of sugar.DIGITAL CAMERASautéed in butter (just a little) they were joined by the squash and cranberries to create a lovely fruit and vegetable medley. DIGITAL CAMERAI chose to add the pork to the pan at this point. I had reduced some chicken broth in the pan I cooked the pork in and so I added that to the pan as well.DIGITAL CAMERAThe dish was wonderful. It took less than a half hour to prepare, even without the microwave. It tasted like Fall and was healthy, too. The leftovers, by the way, were great reheated in a small fry pan on the stove.DIGITAL CAMERA

Pork with Squash, Apples and Cranberries
Print Recipe
This is a skillet dinner that is all about Fall. Inspired by and adapted from Cooking Light Magazine.
Servings
4
Servings
4
Pork with Squash, Apples and Cranberries
Print Recipe
This is a skillet dinner that is all about Fall. Inspired by and adapted from Cooking Light Magazine.
Servings
4
Servings
4
Ingredients
Servings:

Instructions
  1. Place the squash and cranberries in the basket of a steamer pan. Add water to the pan, cover and steam for 7 - 10 minutes. The squash should be tender and the cranberries slightly plumped. Set aside.
  2. In a large skillet, heat the olive oil. Season the pork slices with onion herb mixture and dredge lightly in the flour. Add the slices to the skillet and cook, turning once until browned on both sides. This should take about 5 minutes. Place pork in a low oven to stay warm.
  3. Add the broth to the pan. Scrape up any brown bits and cook over medium heat until reduced by half. Set aside.
  4. In a medium fry pan, melt the butter. Add the apple and onion pieces, pepper flakes, and sugar. Toss to coat everything and let it cook for 4-5 minutes. The apples and onions should begin to soften.
  5. Add the squash and cranberries to the pan. Toss to coat and cook for a minute or two. Add the reduced chicken broth and any yummy bits stirring to combine. Let this cook for another minute.
  6. Add the pork slices and any accumulated juices and let everything get happy together for several more minutes.
  7. Divide among four plates and serve.
Share this Recipe
Powered byWP Ultimate Recipe

So, as I start the new version of Mama D’s Kitchen, I’m getting used to my new surroundings. While the kitchen is small, I’ve created two good-sized work spaces. I like the fact that everything is close at hand. It feels cozy and friendly. The electric stove is feeling less foreign. It will take a bit of time to get really comfortable with each other, but we’re going to make it.

Mama D’s smaller kitchen and the rest of her downsized apartment are starting to feel like home.

Signs of Fall and Cauliflower Mac and Cheese

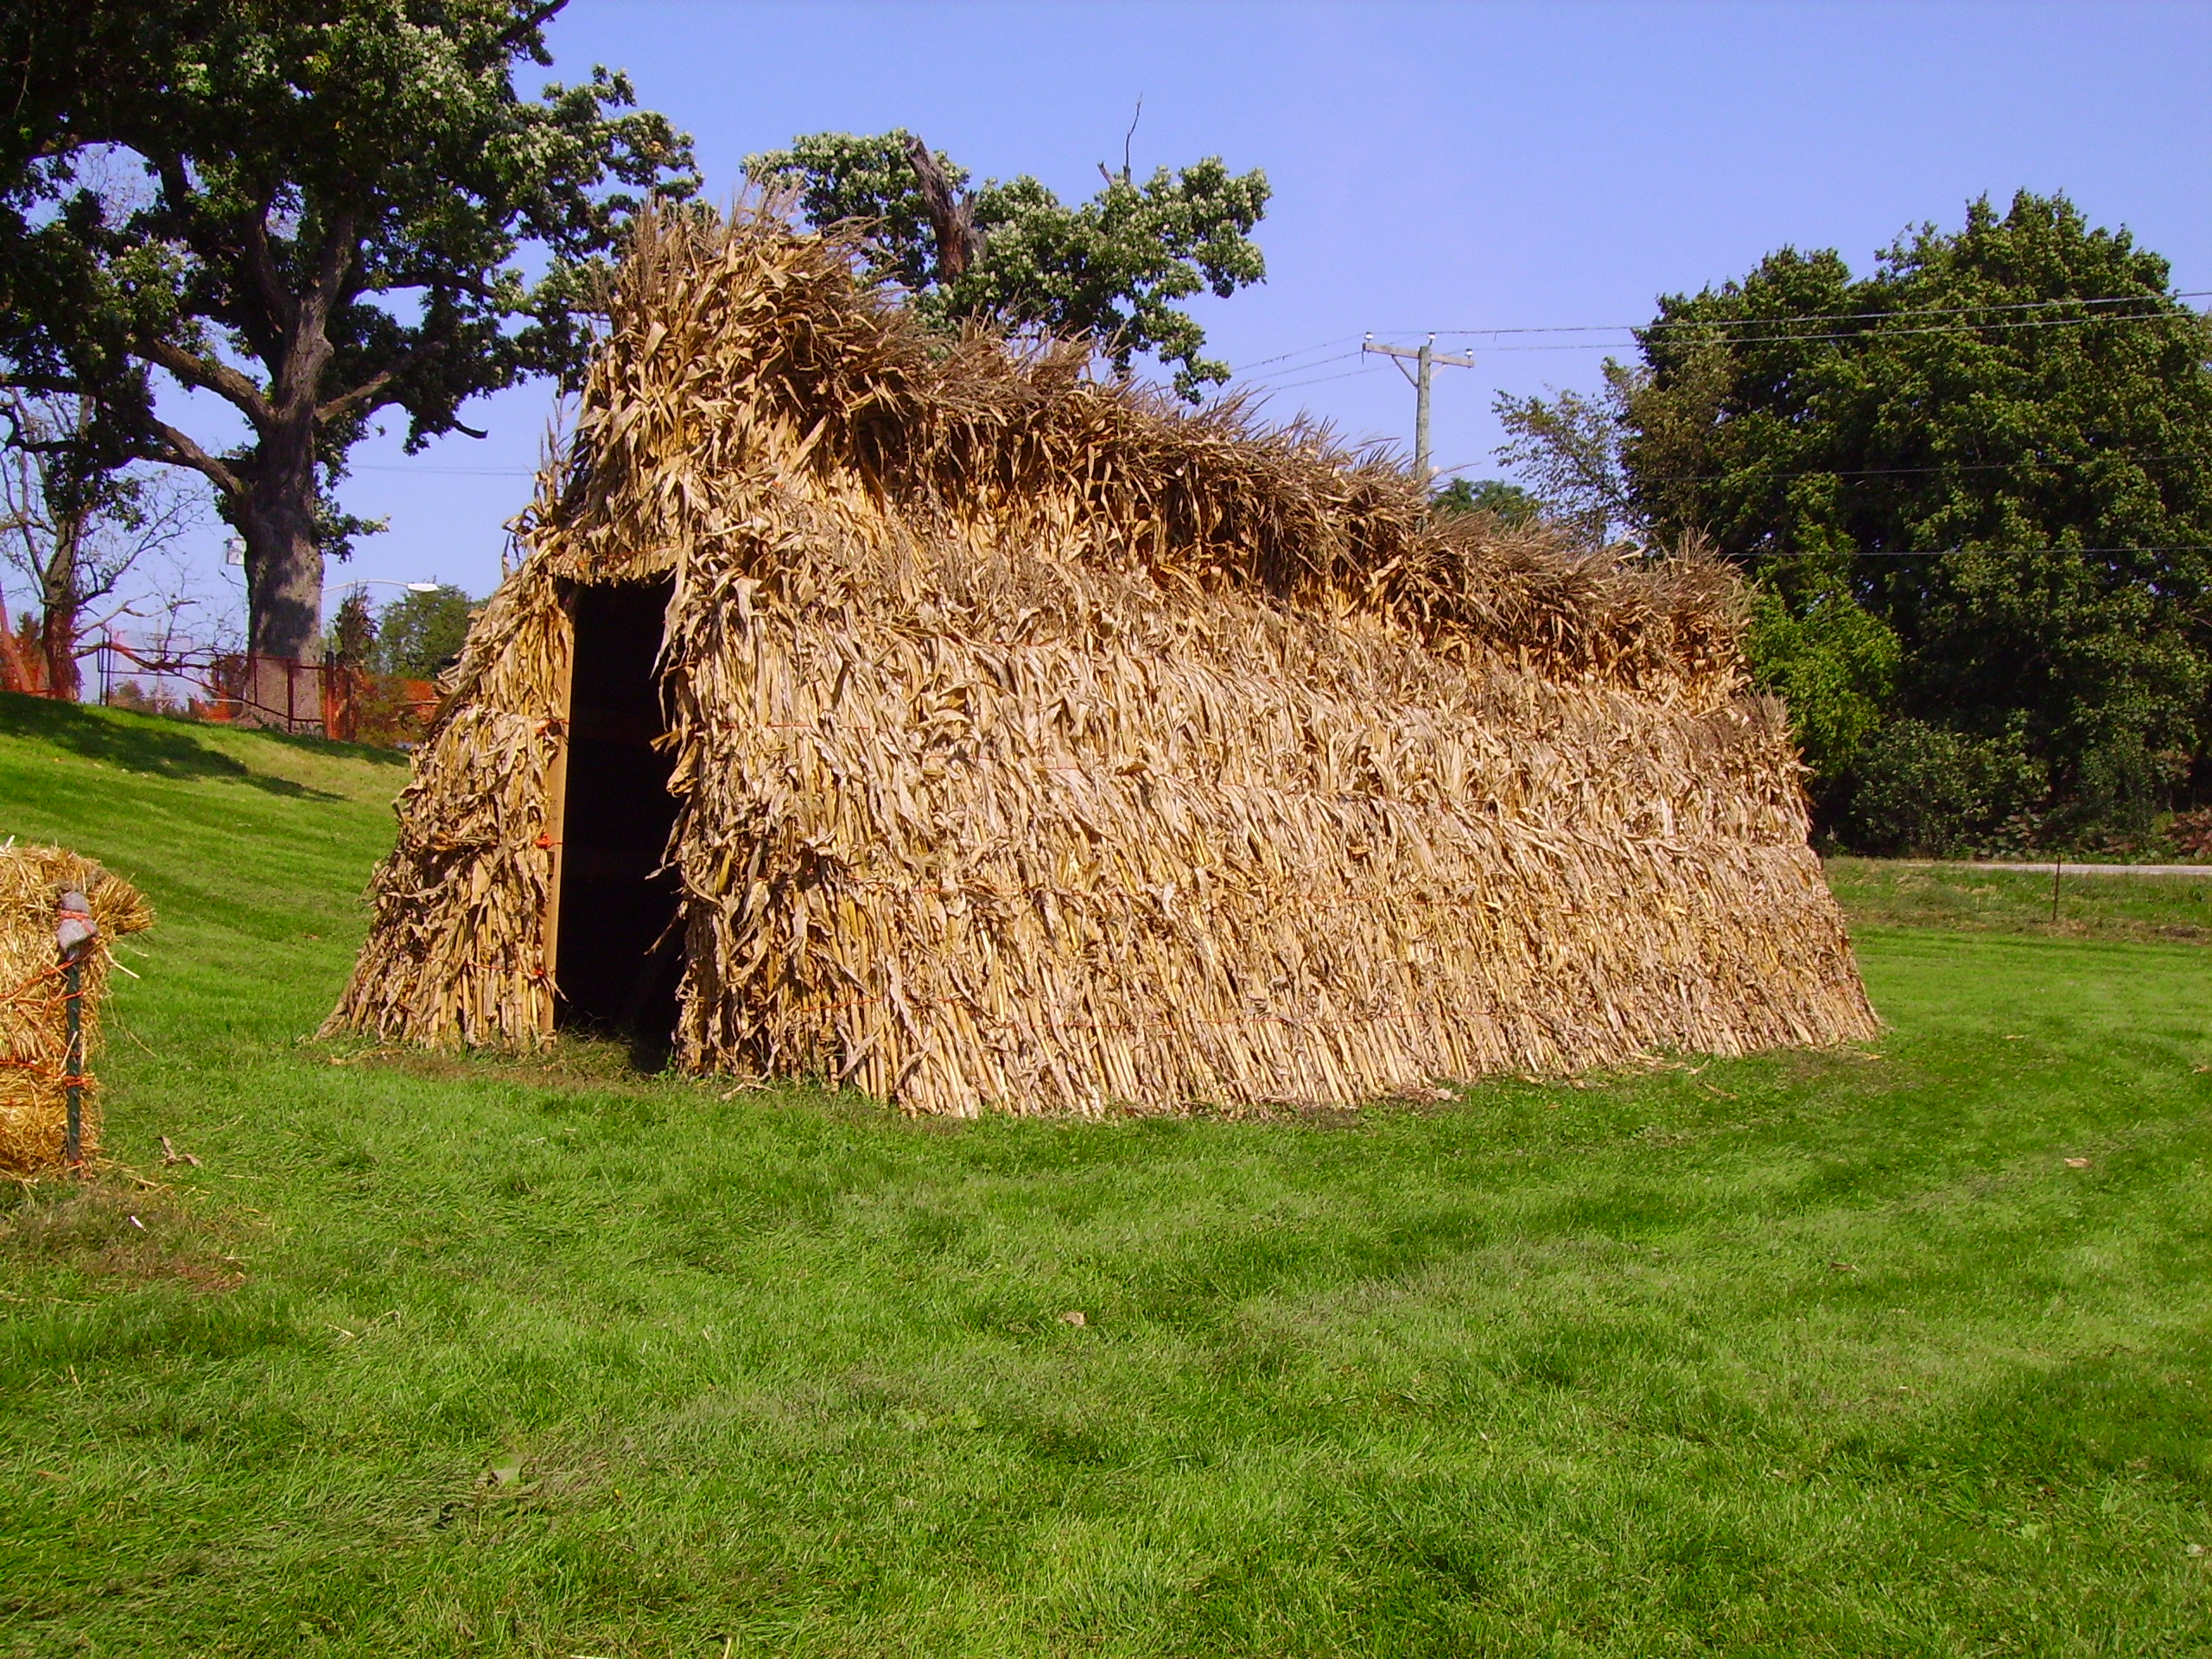
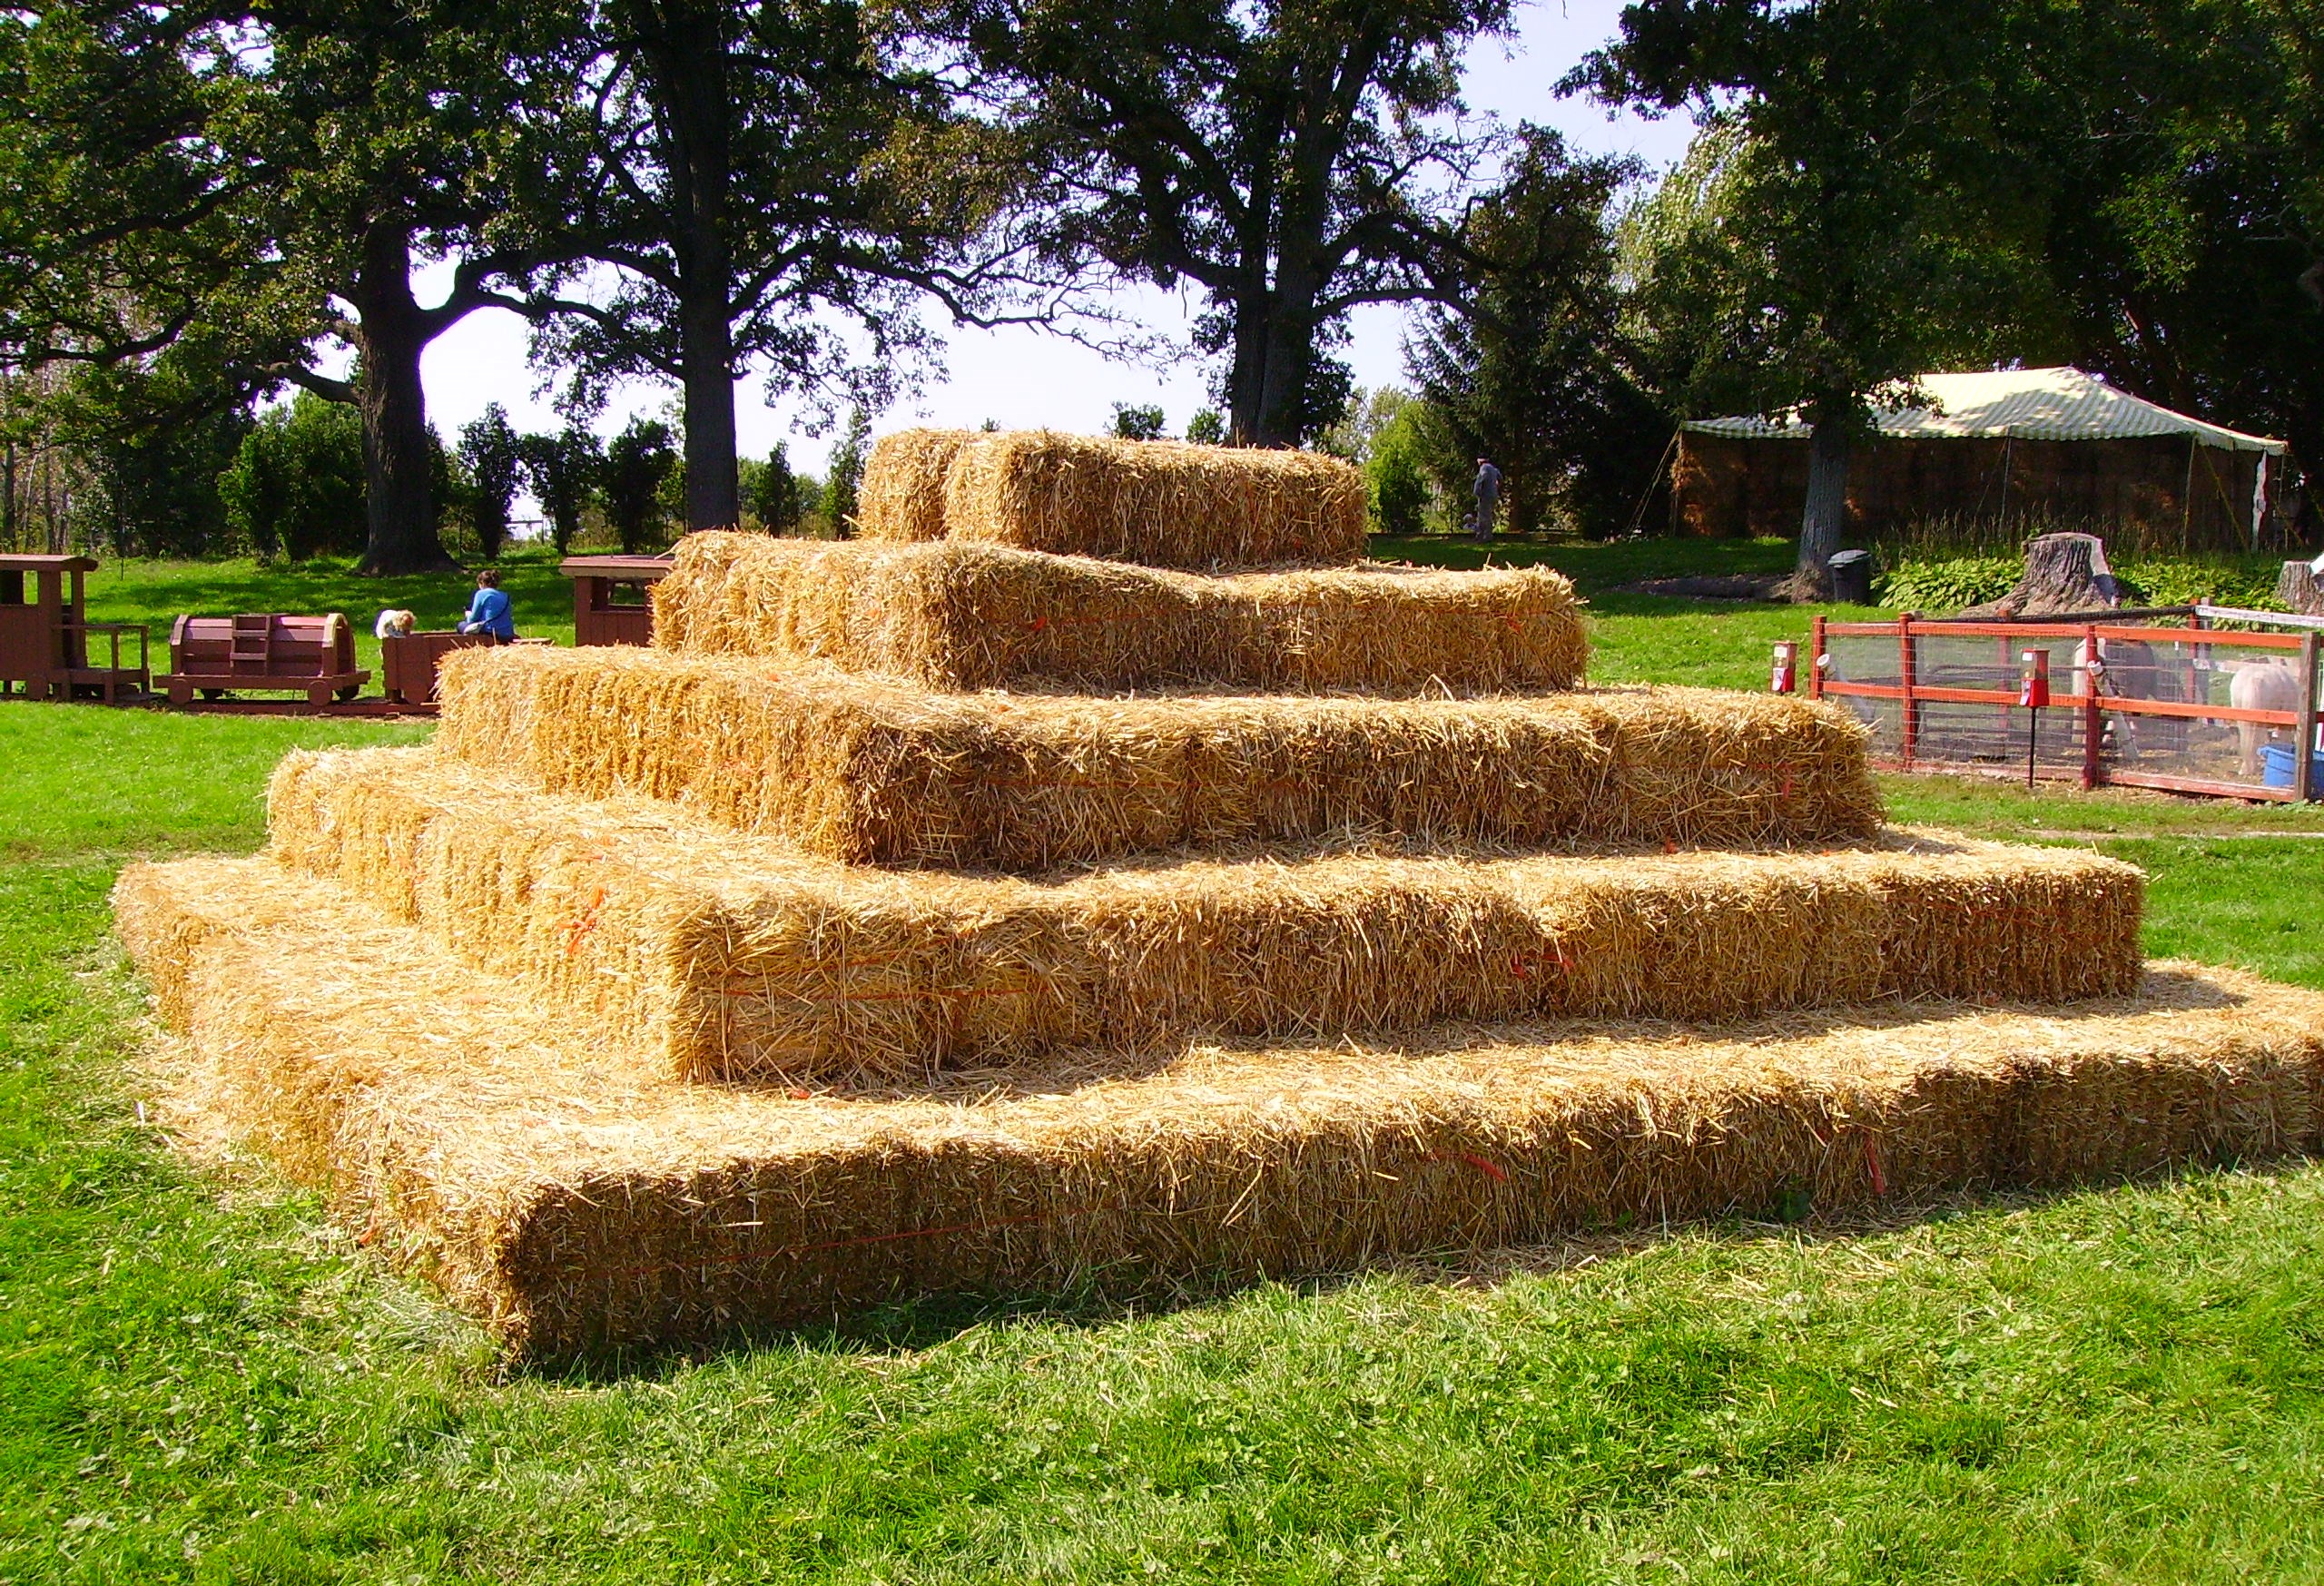
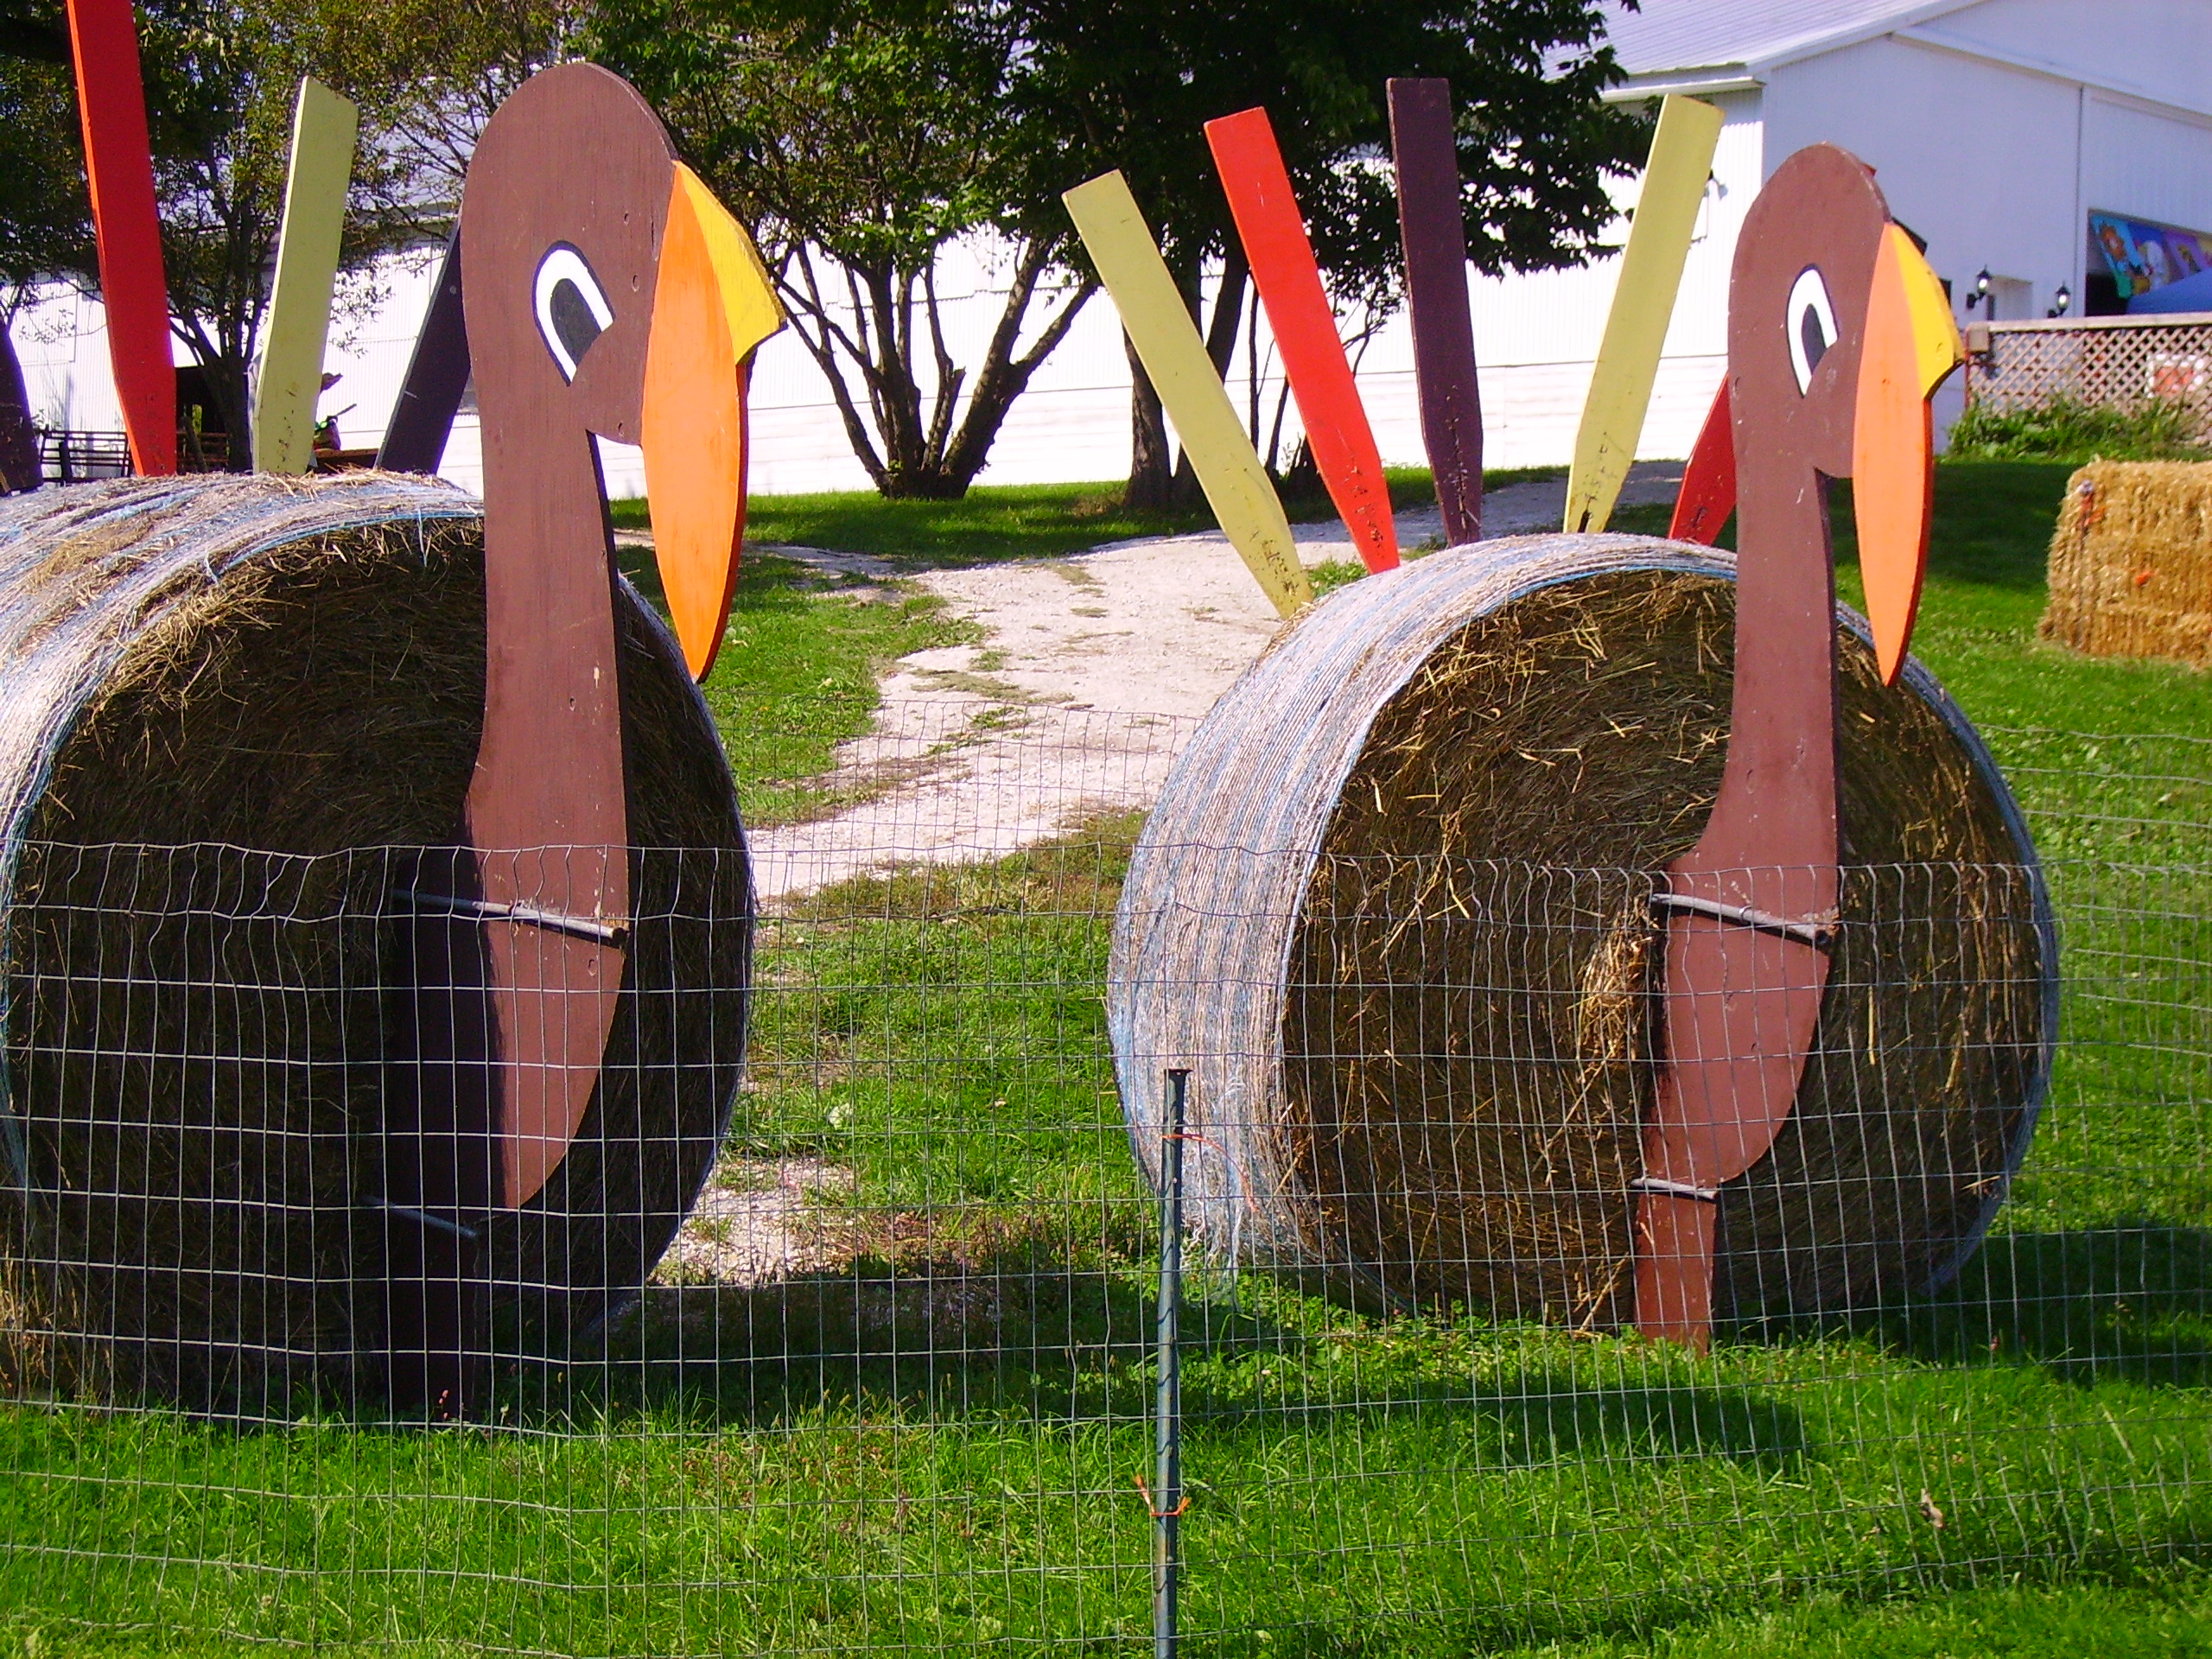
As I take my daily ride into the country, the signs of Fall are everywhere. The corn stalks stand drying in the fields their single ears of seed corn still attached. they’ll stay there for a few more weeks until the process is complete.DIGITAL CAMERAOther stalks face another fate. Gathered and bound to adorn farm stands in every incarnation imaginable, decking their yards for Fall. DIGITAL CAMERAHay bales not being used for feed find their way into the autumn landscape. They can become a climbing structure waiting for children to cast allergies to the wind and scale them with reckless abandon.DIGITAL CAMERA Others are transformed with a few props into (slightly tacky) symbols of the season.DIGITAL CAMERA

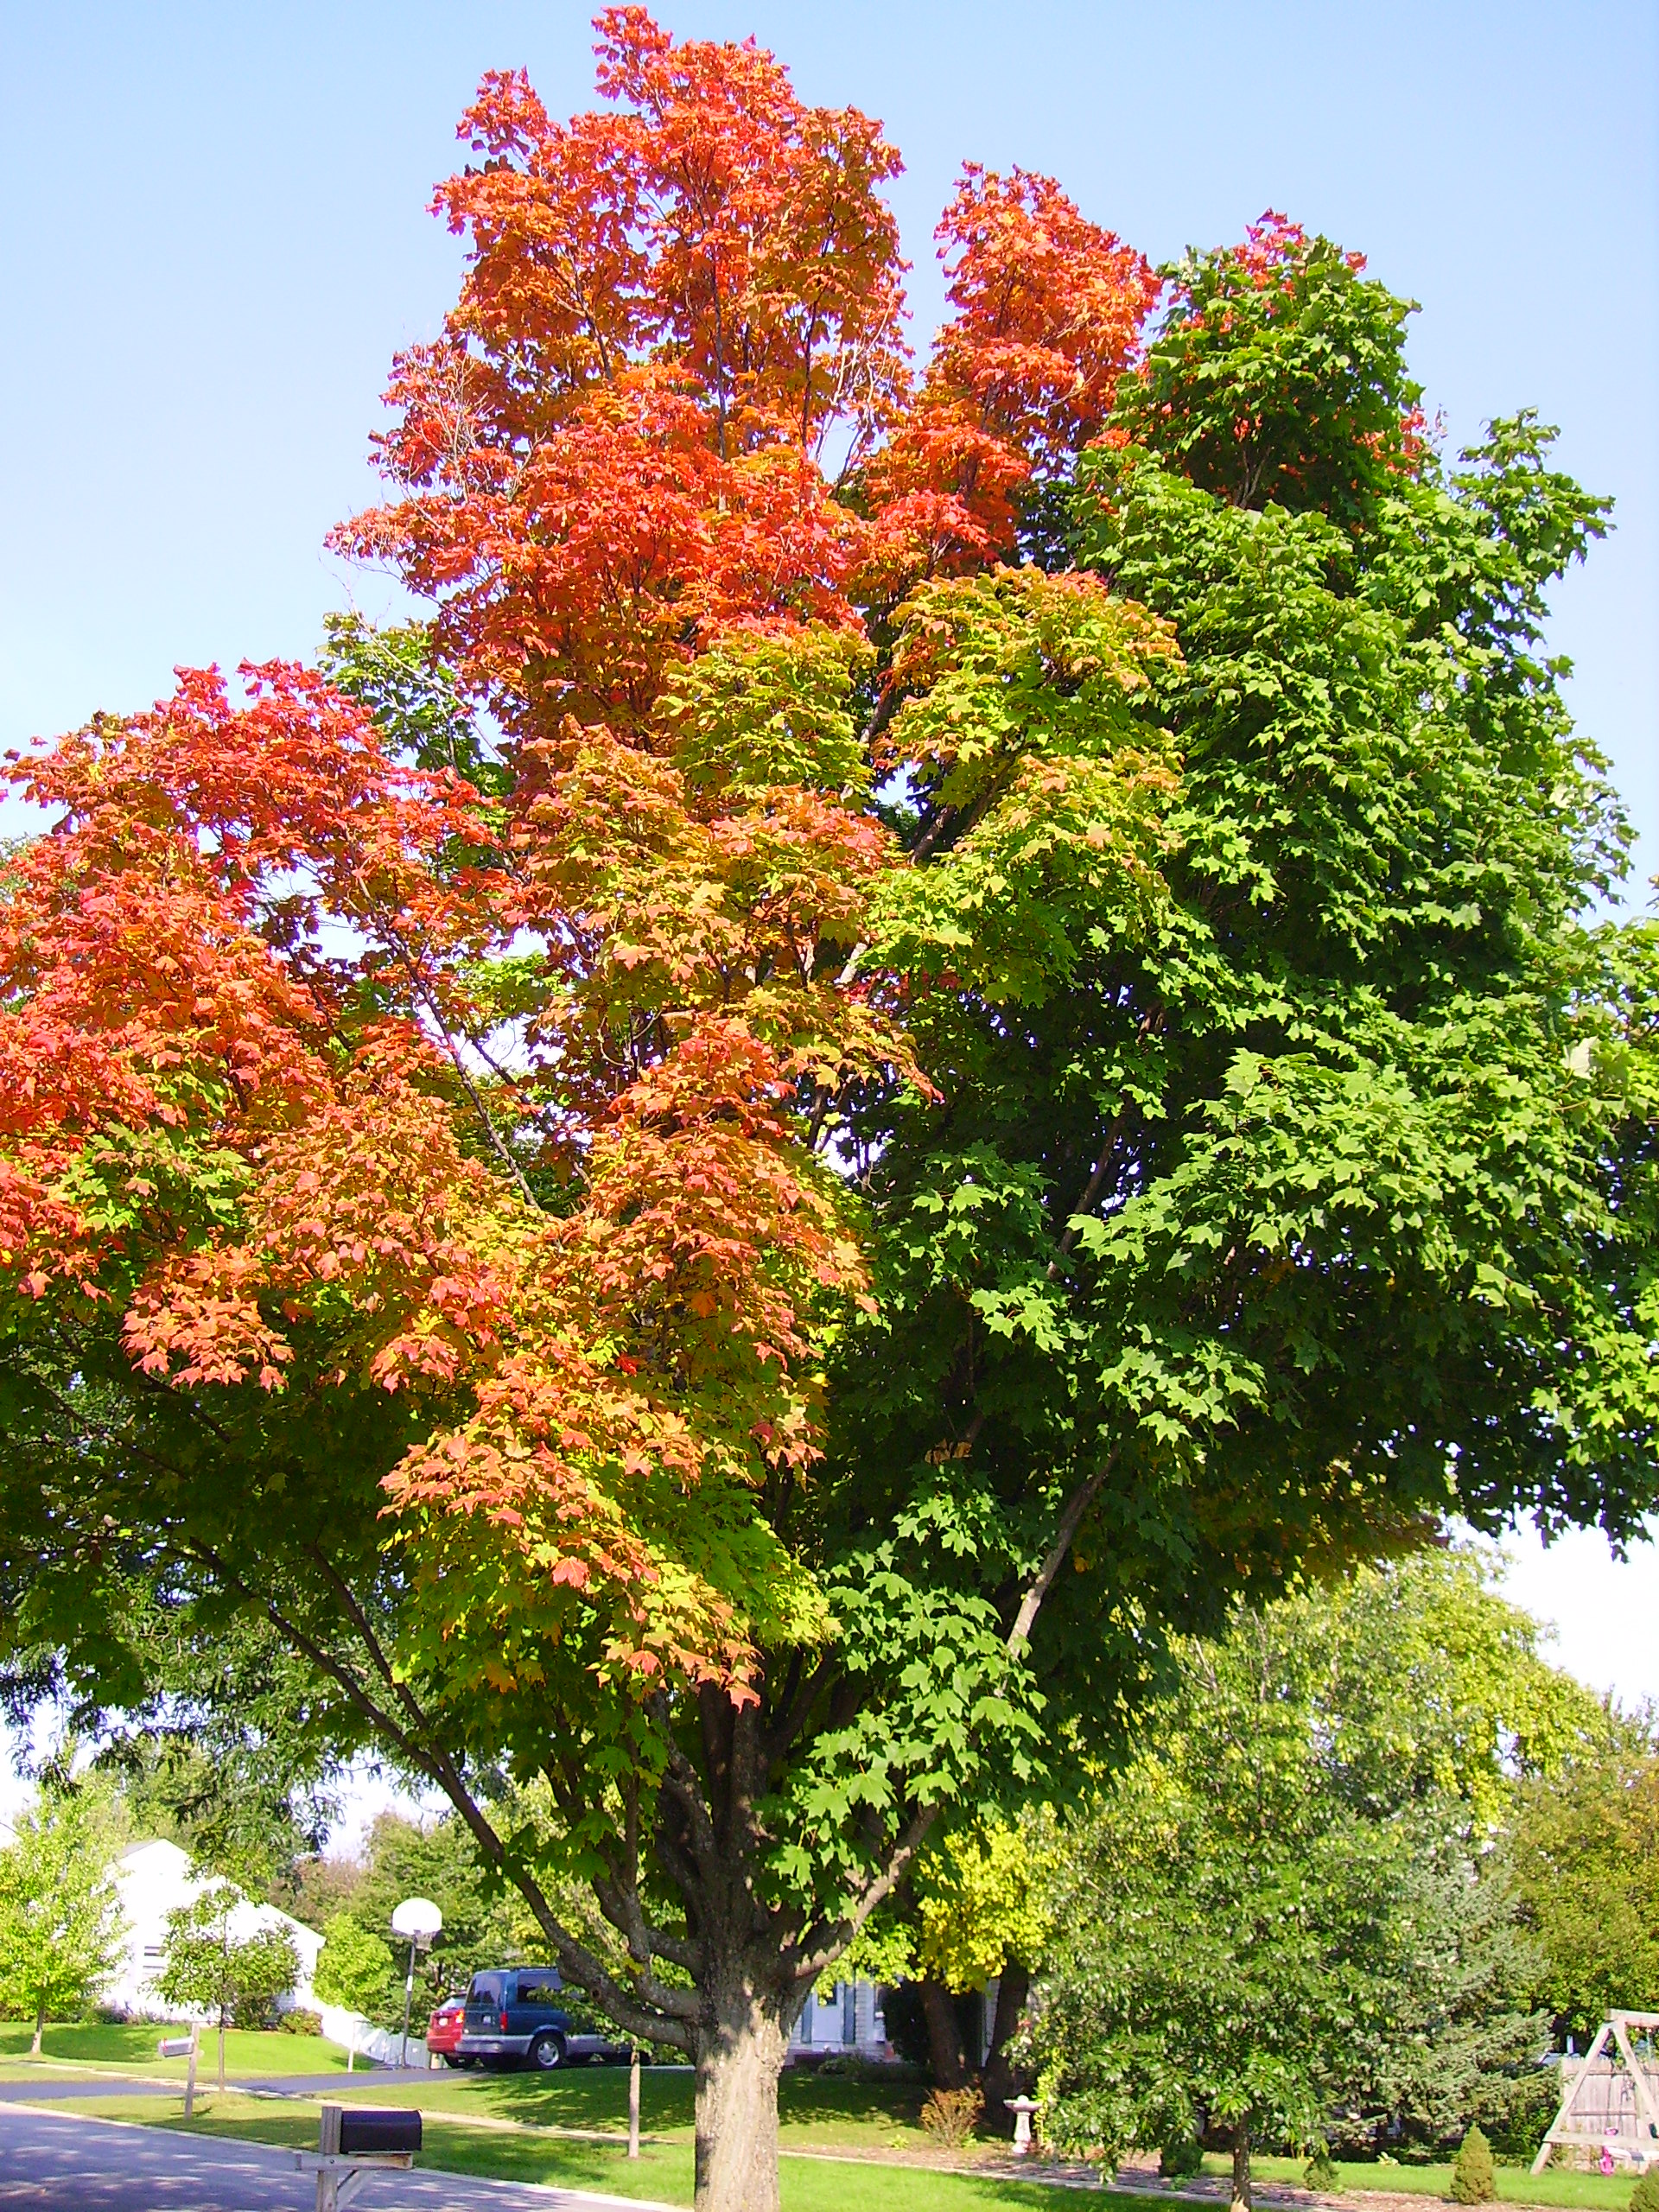
DIGITAL CAMERAThe air has that Fall scent. It’s an almost imperceptible hint ofDIGITAL CAMERA dried leaves and crisp air that has just a touch of chill to it. There are a those rogue overachiever trees that are displaying their autumn glory more than a few weeks early, The touches of red and orange a gift of their perfect proximity to the sun.

DIGITAL CAMERA

This is casserole weather. The temperature is cool enough to turn off the air conditioning and open the windows and using the oven is once again a pleasant proposition. Mama D, always a fan of the one dish meal, has popped more than a few things in the oven of late. Pork loins and chicken breasts have roasted to perfection within the oven walls, but the real treat is when an eclectic group of ingredients come together in one pan of love.

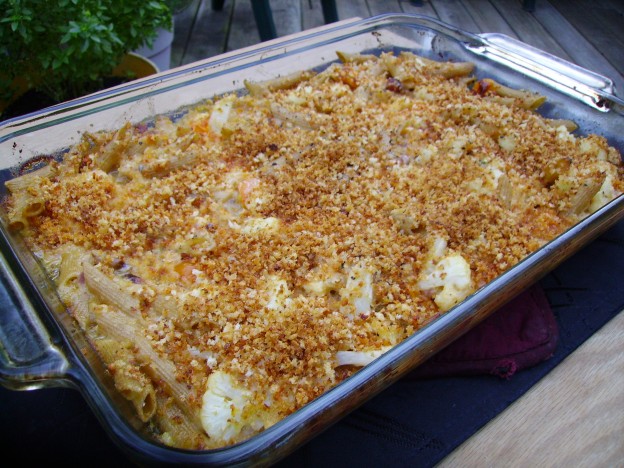
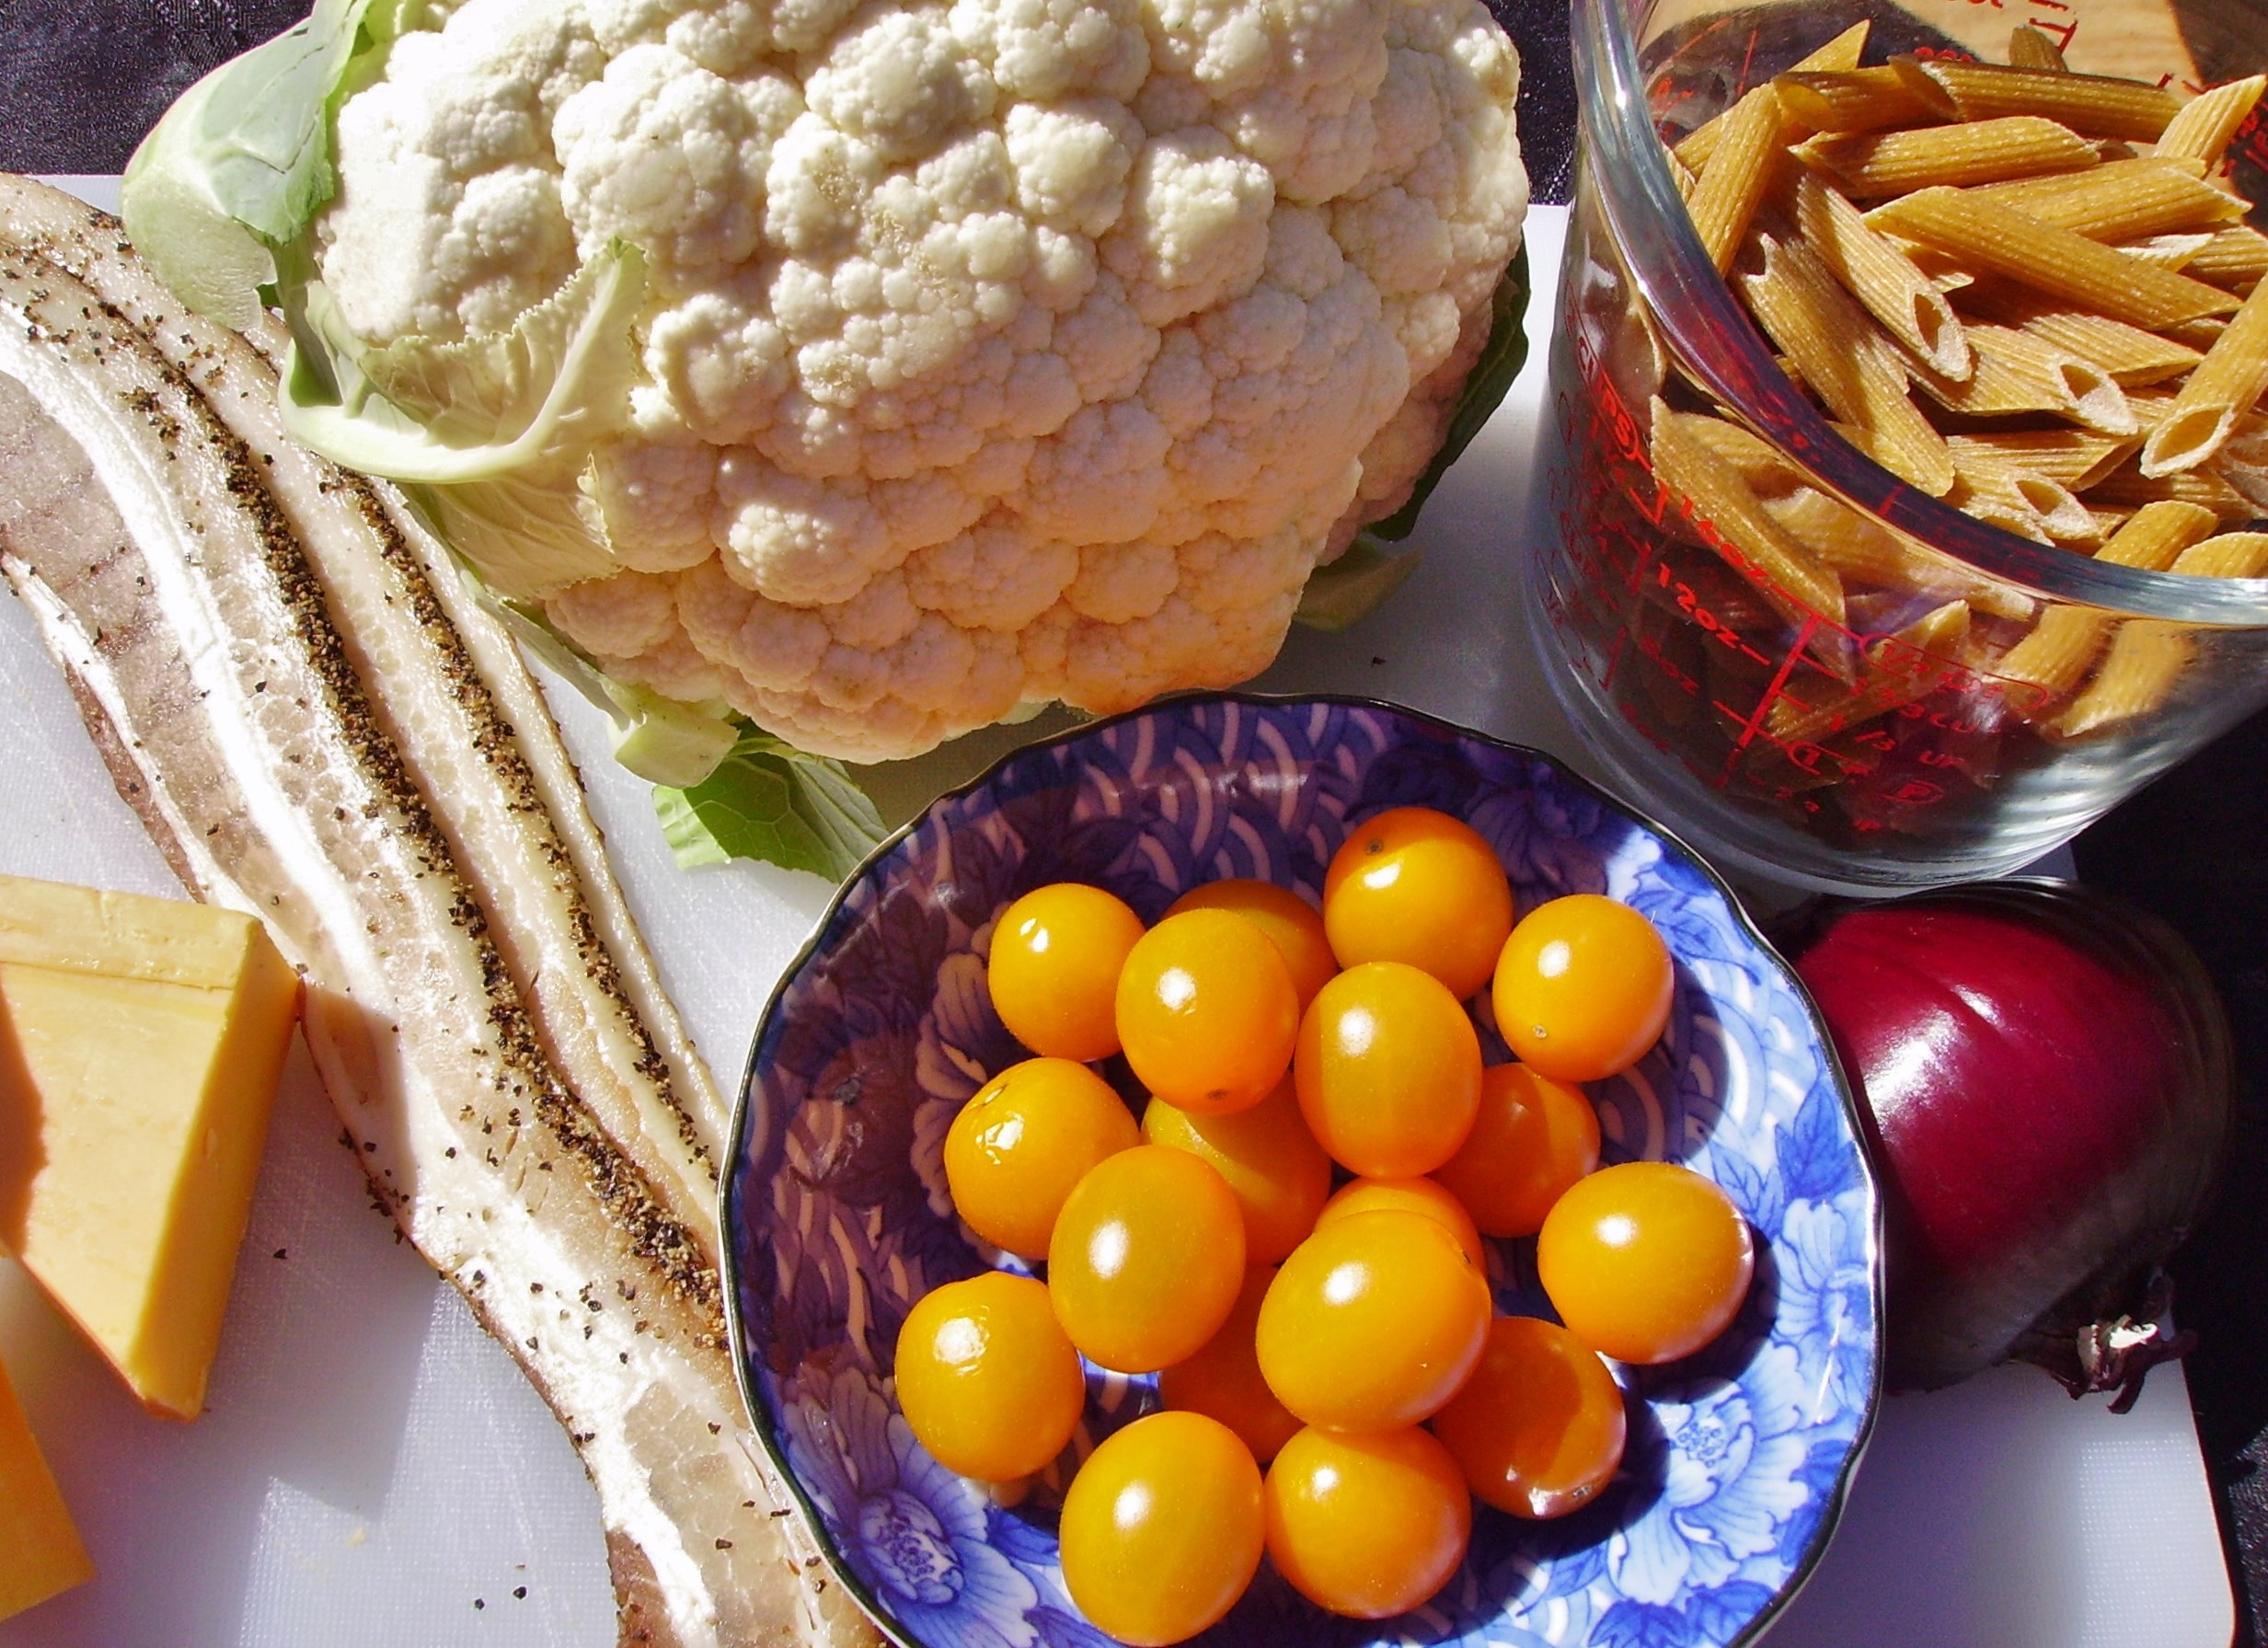
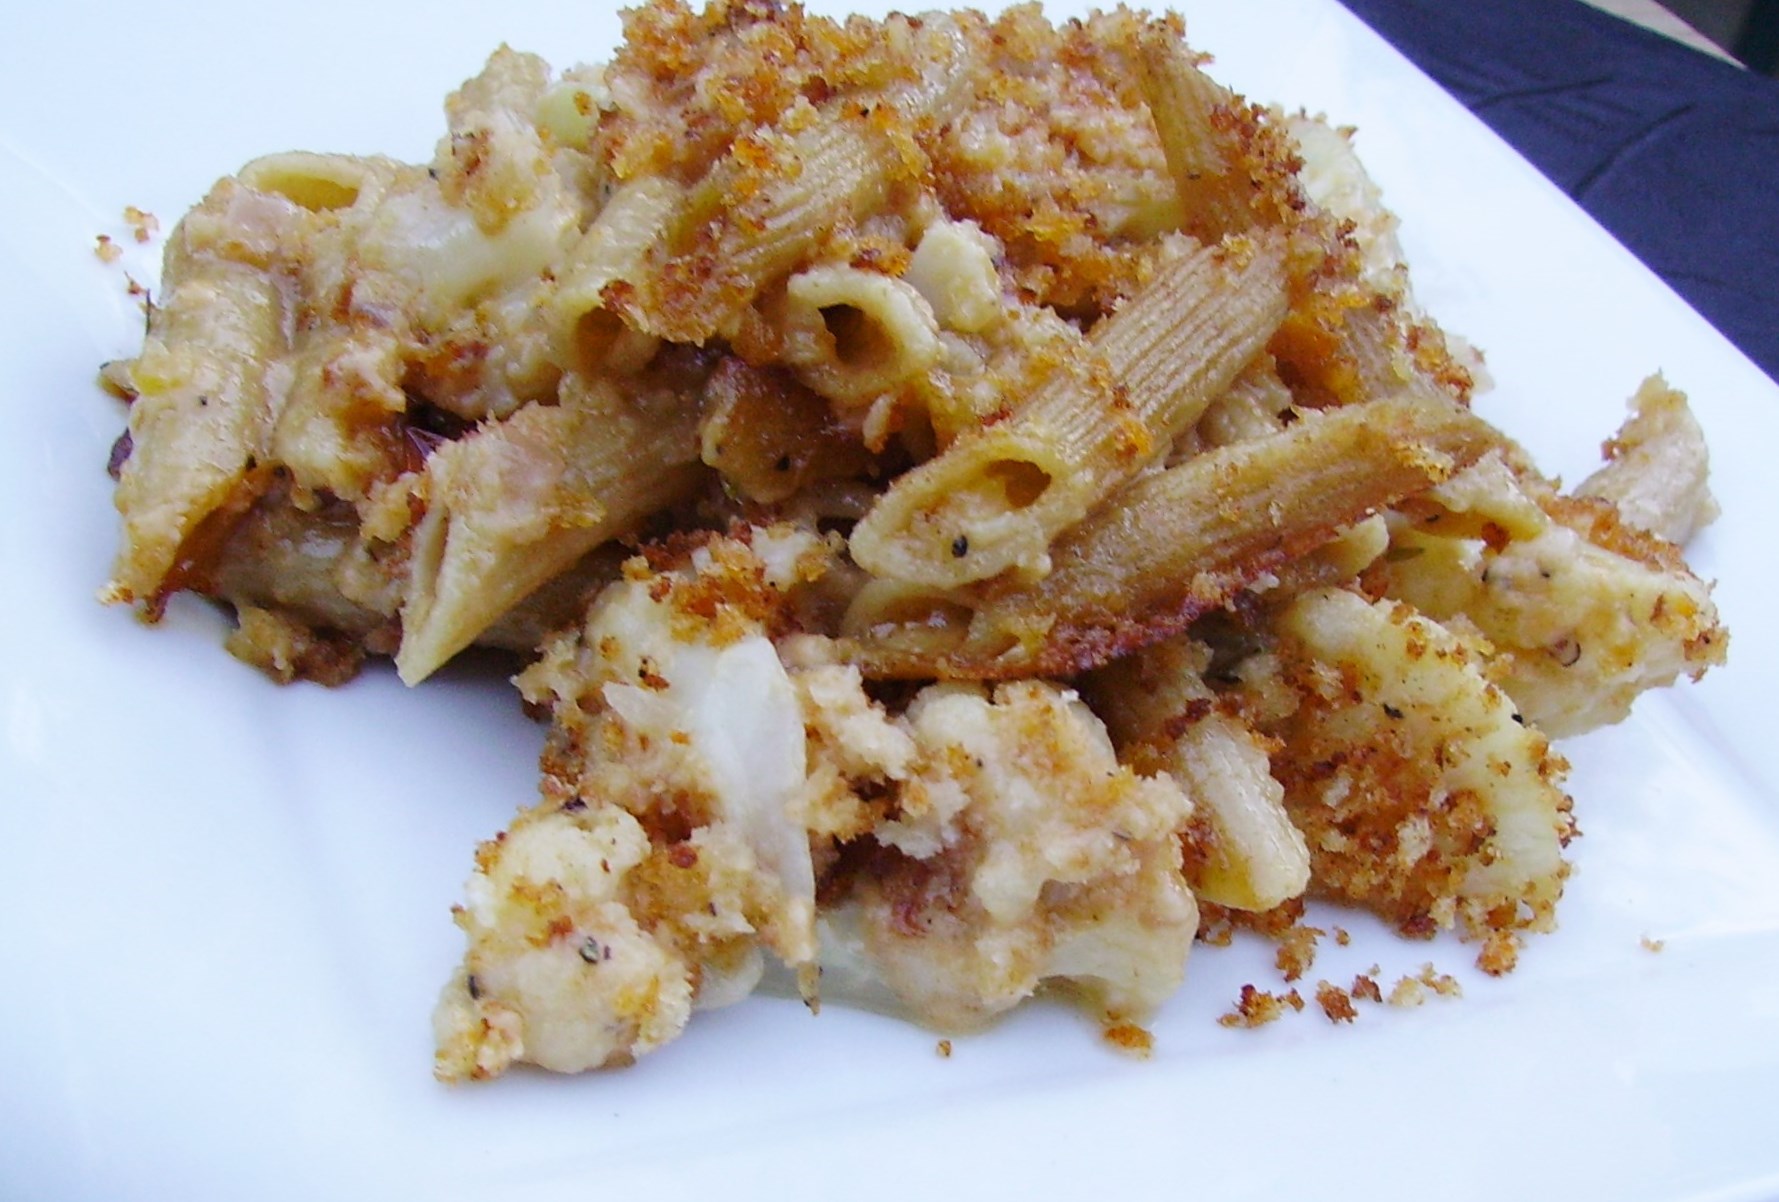
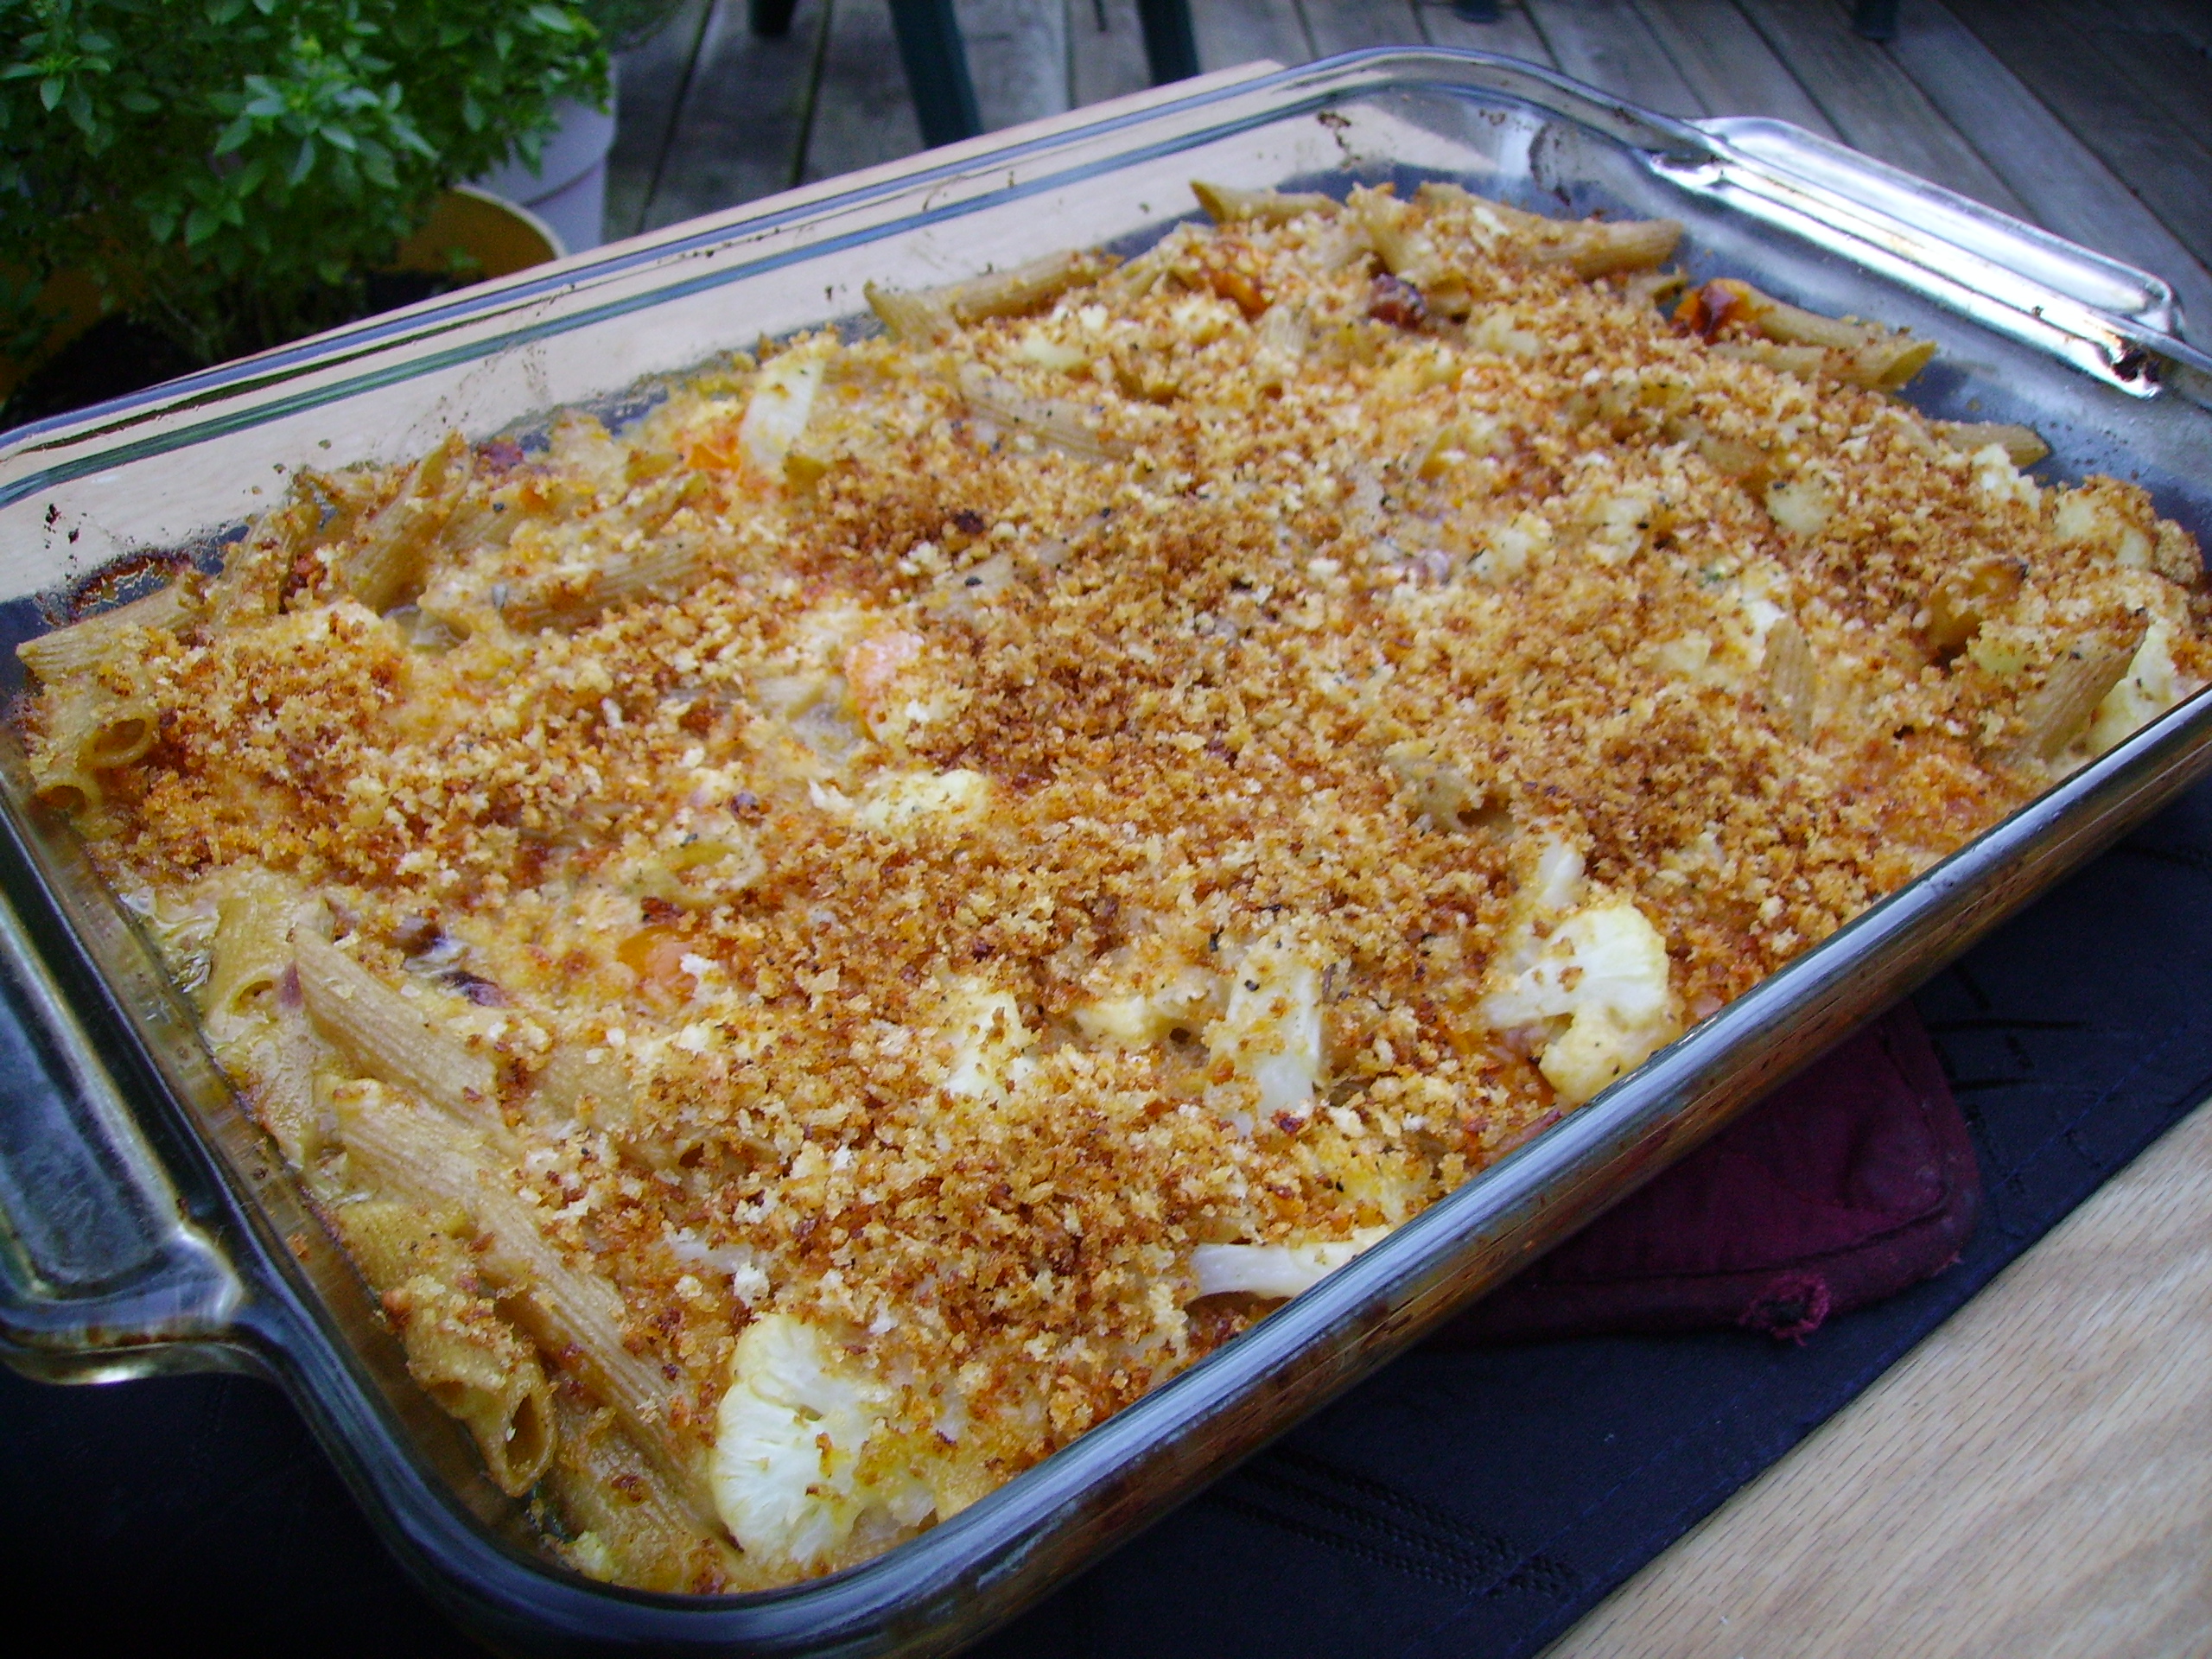
The most recent creation was a healthier twist on Macaroni and Cheese. Pasta was there in the form of Multi-Grain Penne. Extra sharp Cheddar Cheese created a creamy sauce. There was even a little bacon goodness going on. This casserole also featured a healthy dose of cauliflower, red onion, and a handful of golden grape tomatoes.

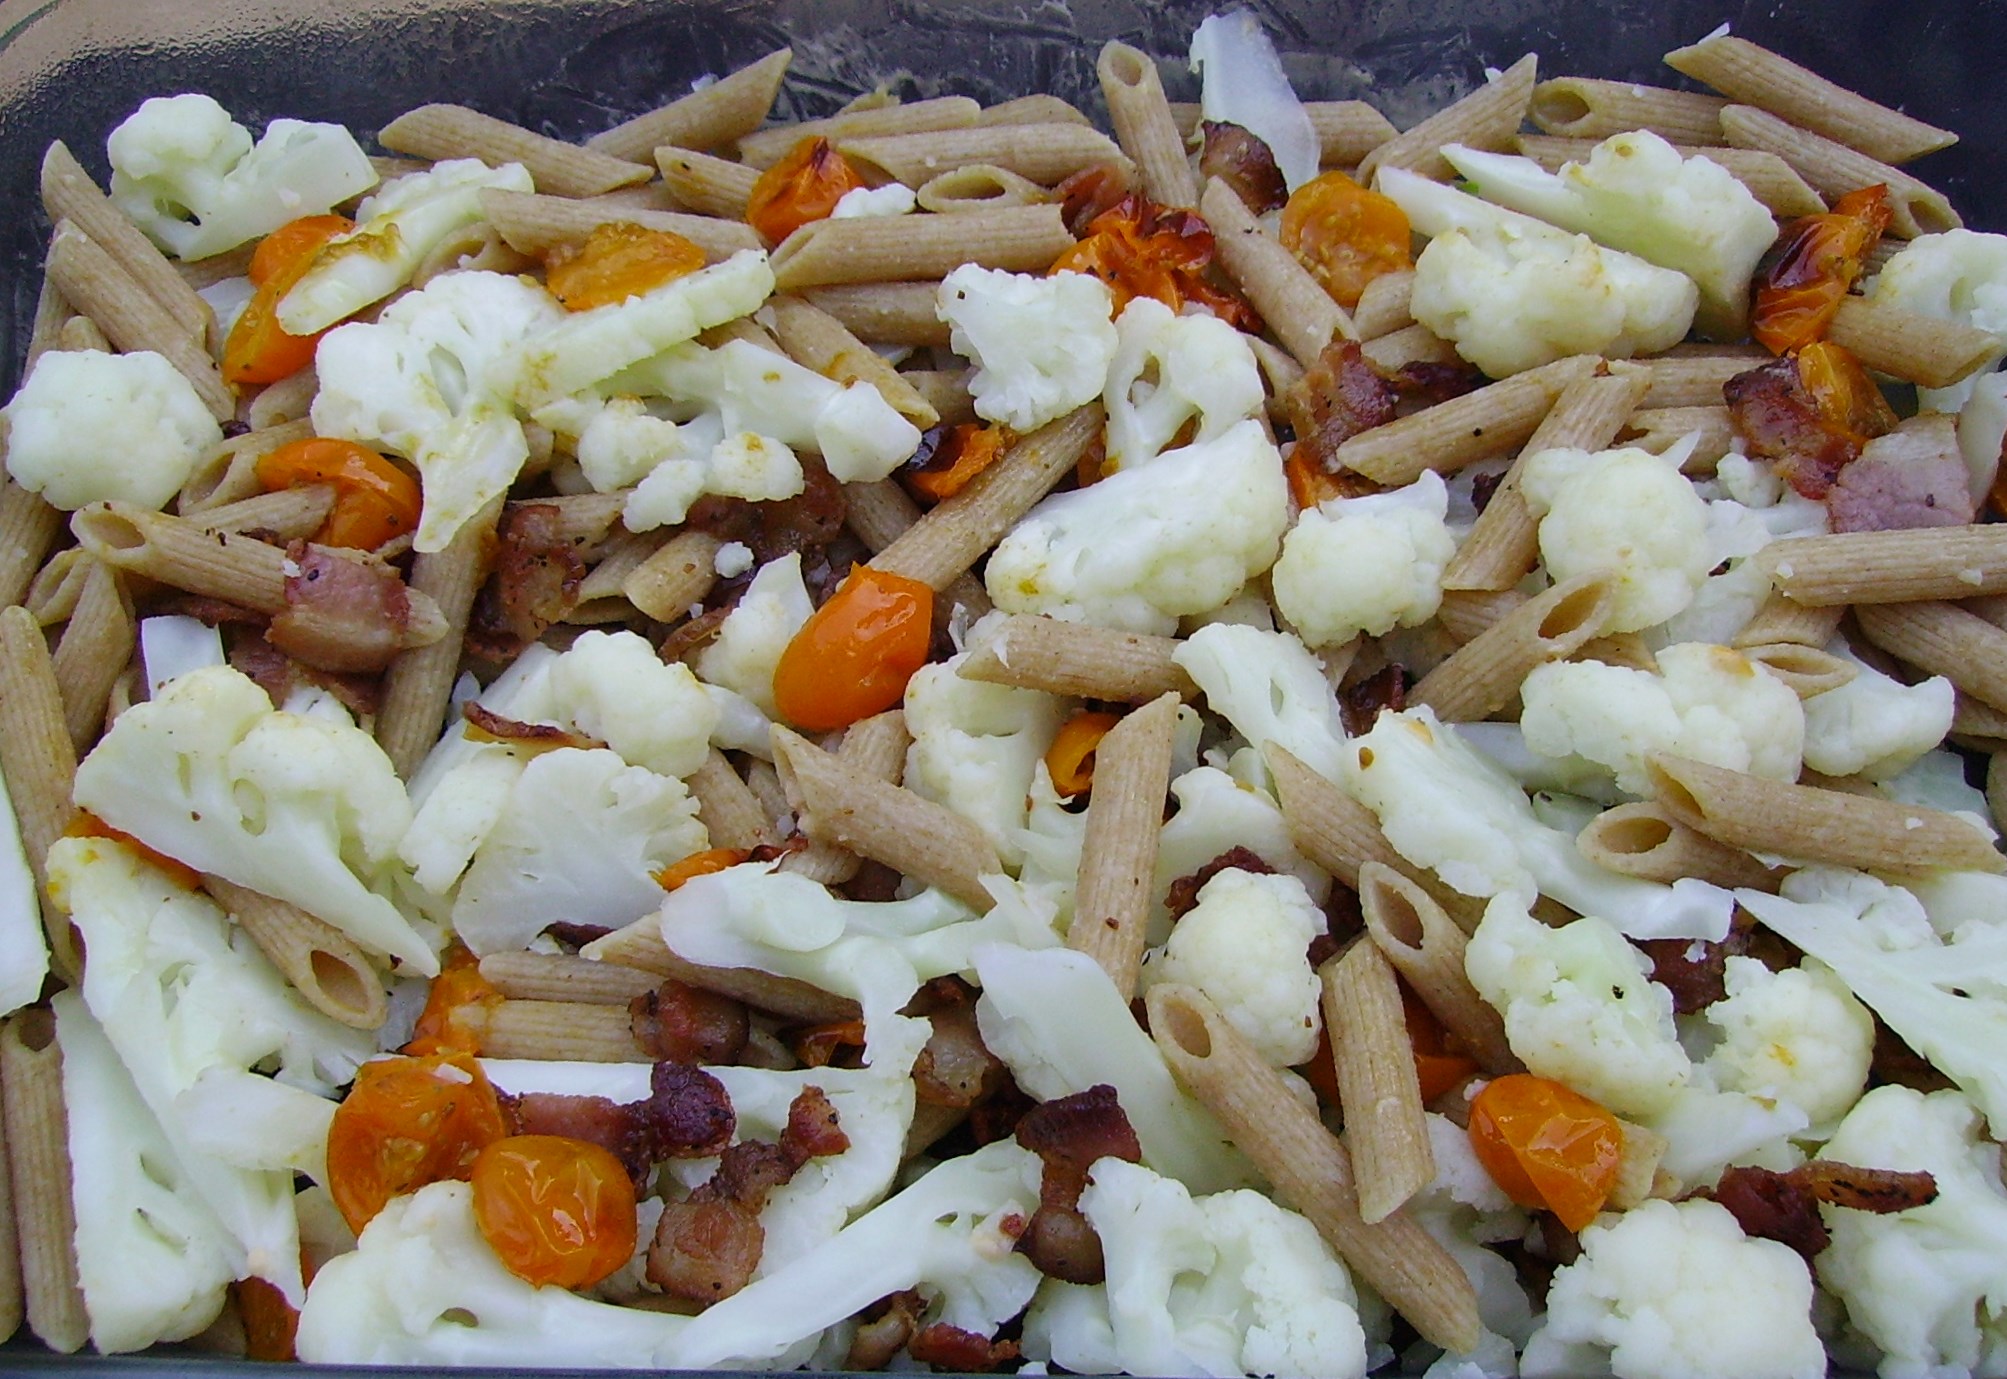
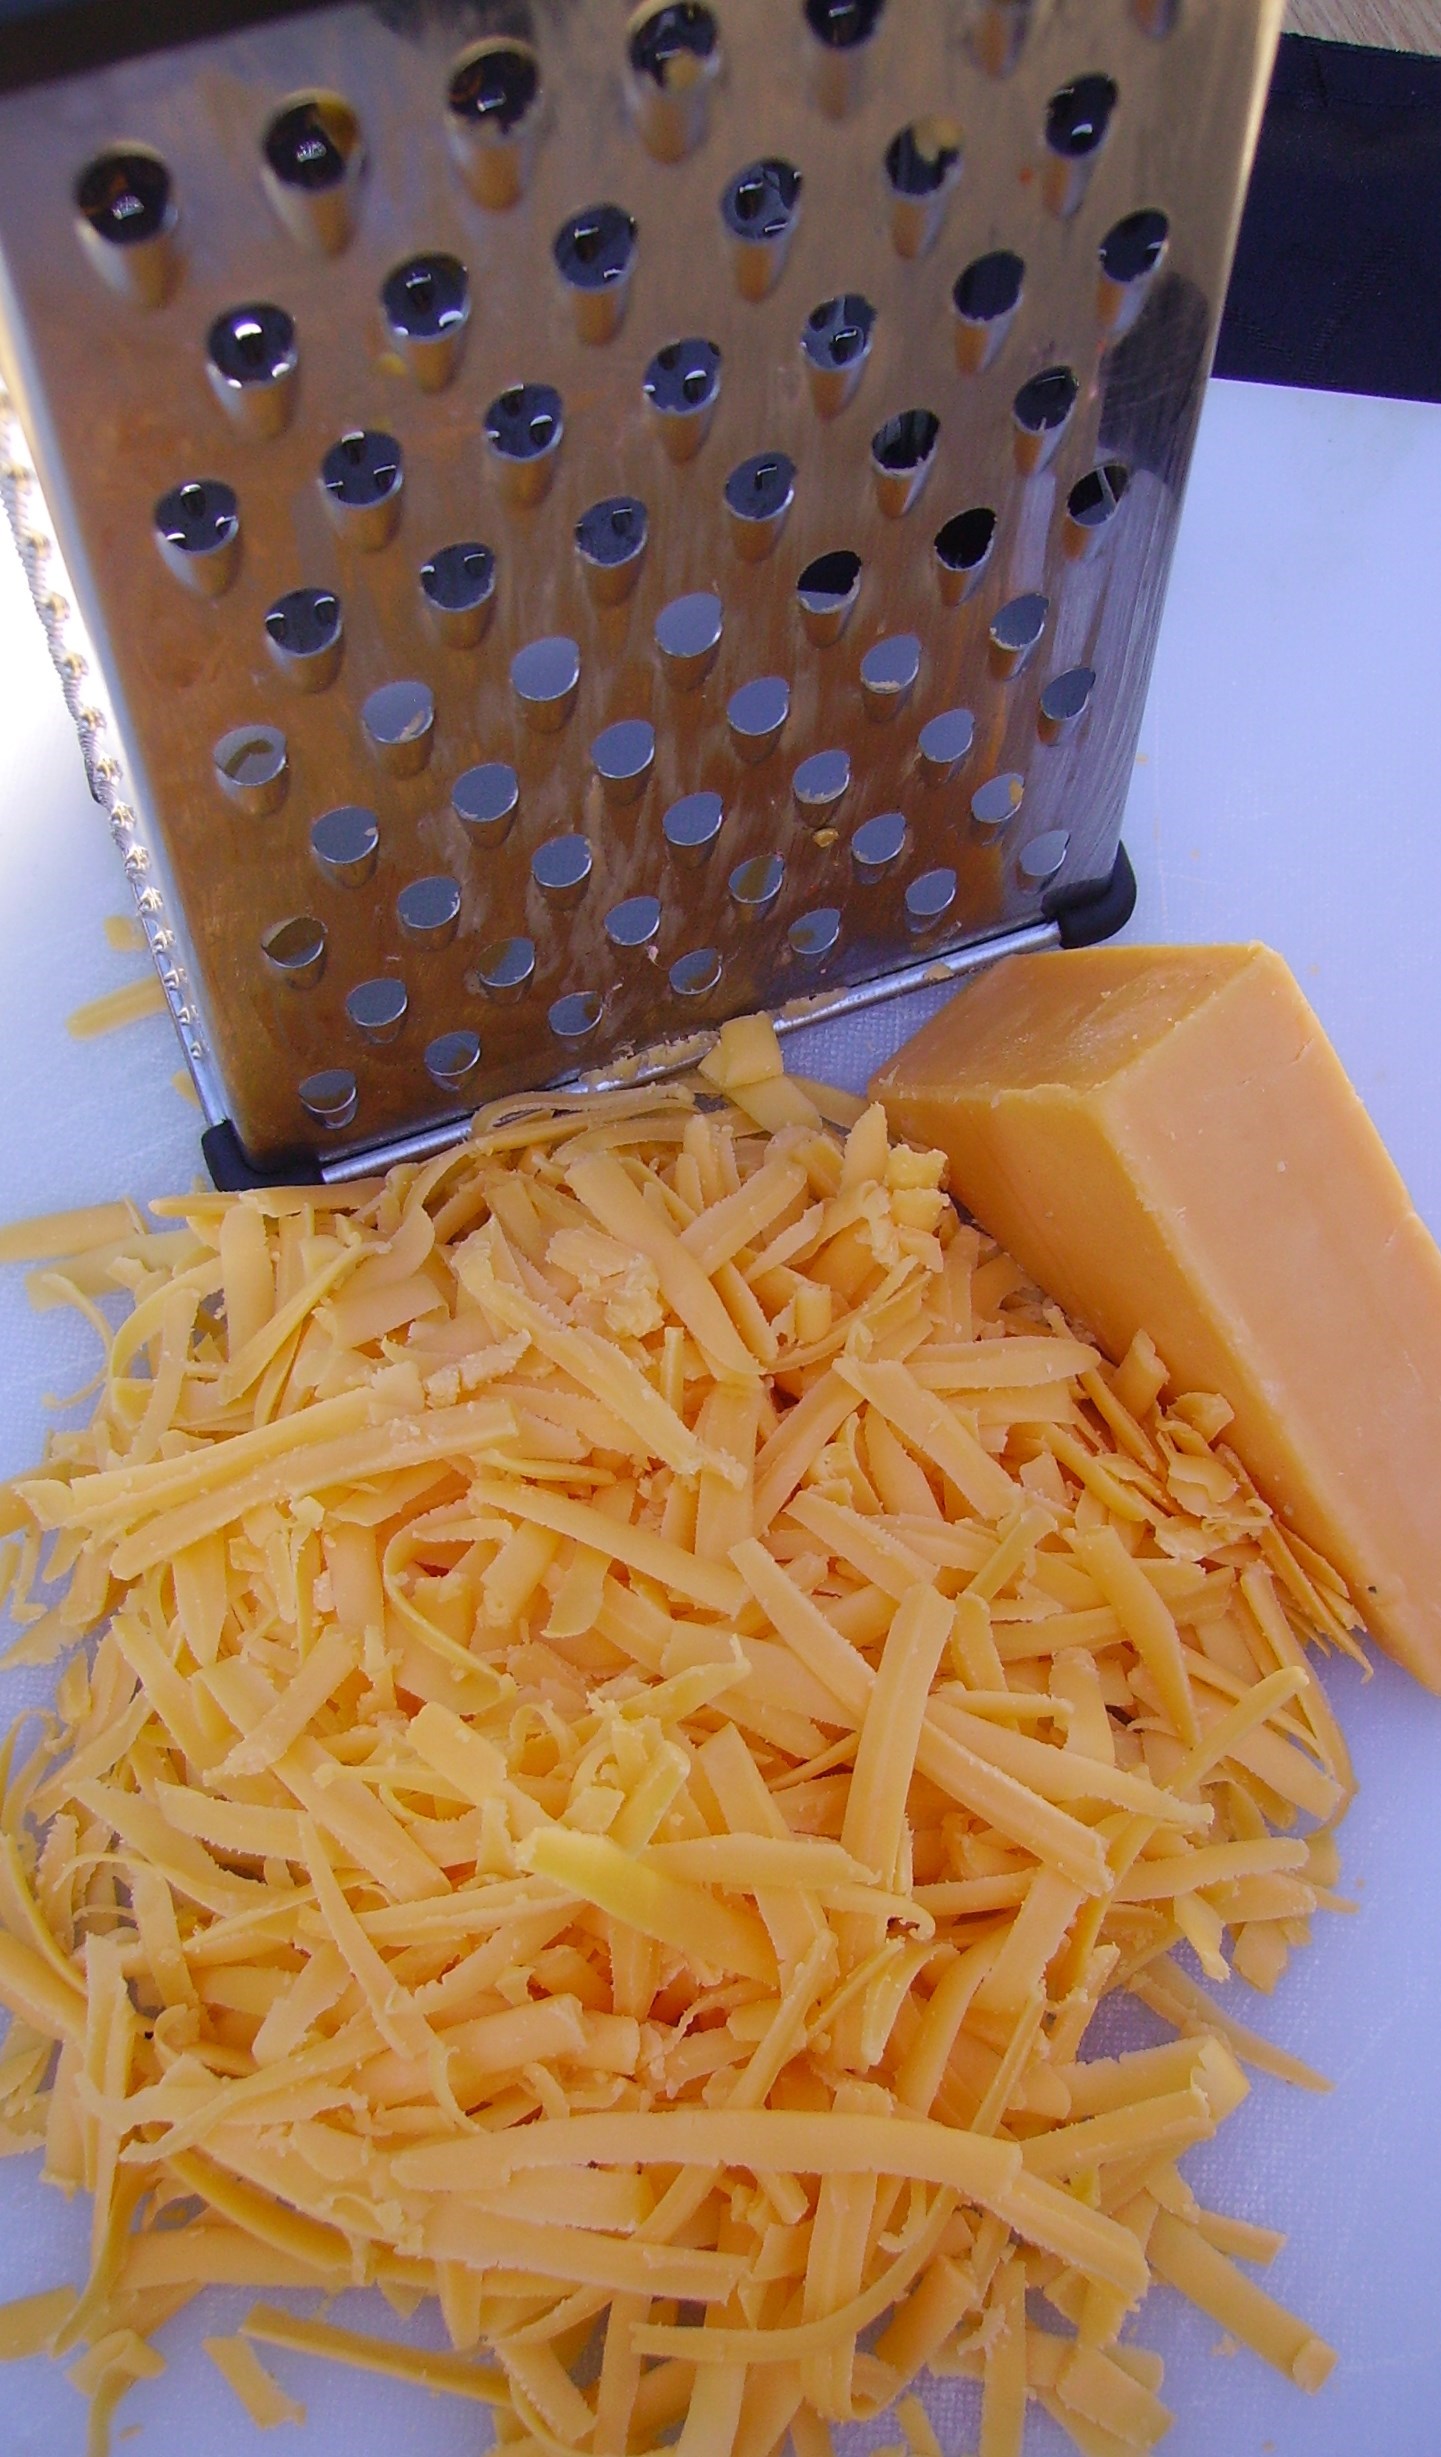
DIGITAL CAMERACombining these ingredients was easy, if a little time consuming, but completely worth it. I chopped up 3 cups worth of cauliflower (a little more than 1/2 a large head). I cooked the pasta in the usual manner and added the cauliflower to the pot a couple of minutes before the pasta was cooked. They resided together in a rectangular casserole dish. I broiled the tomatoes and cooked the bacon and added them to the dish. DIGITAL CAMERAWhile I drained most of the bacon drippings from the pan, I kept just a little to saute the onions which became the base for my cheese sauce. Cheese sauce needs cheese and I chose an extra sharp cheddar. The grab your taste buds kick allowed me to use less saving some fat and calories.DIGITAL CAMERAI upped the flavor of the sauce with Worcestershire sauce, Tabasco, and mustard. Some garden thyme added a little sumpin’ as well.

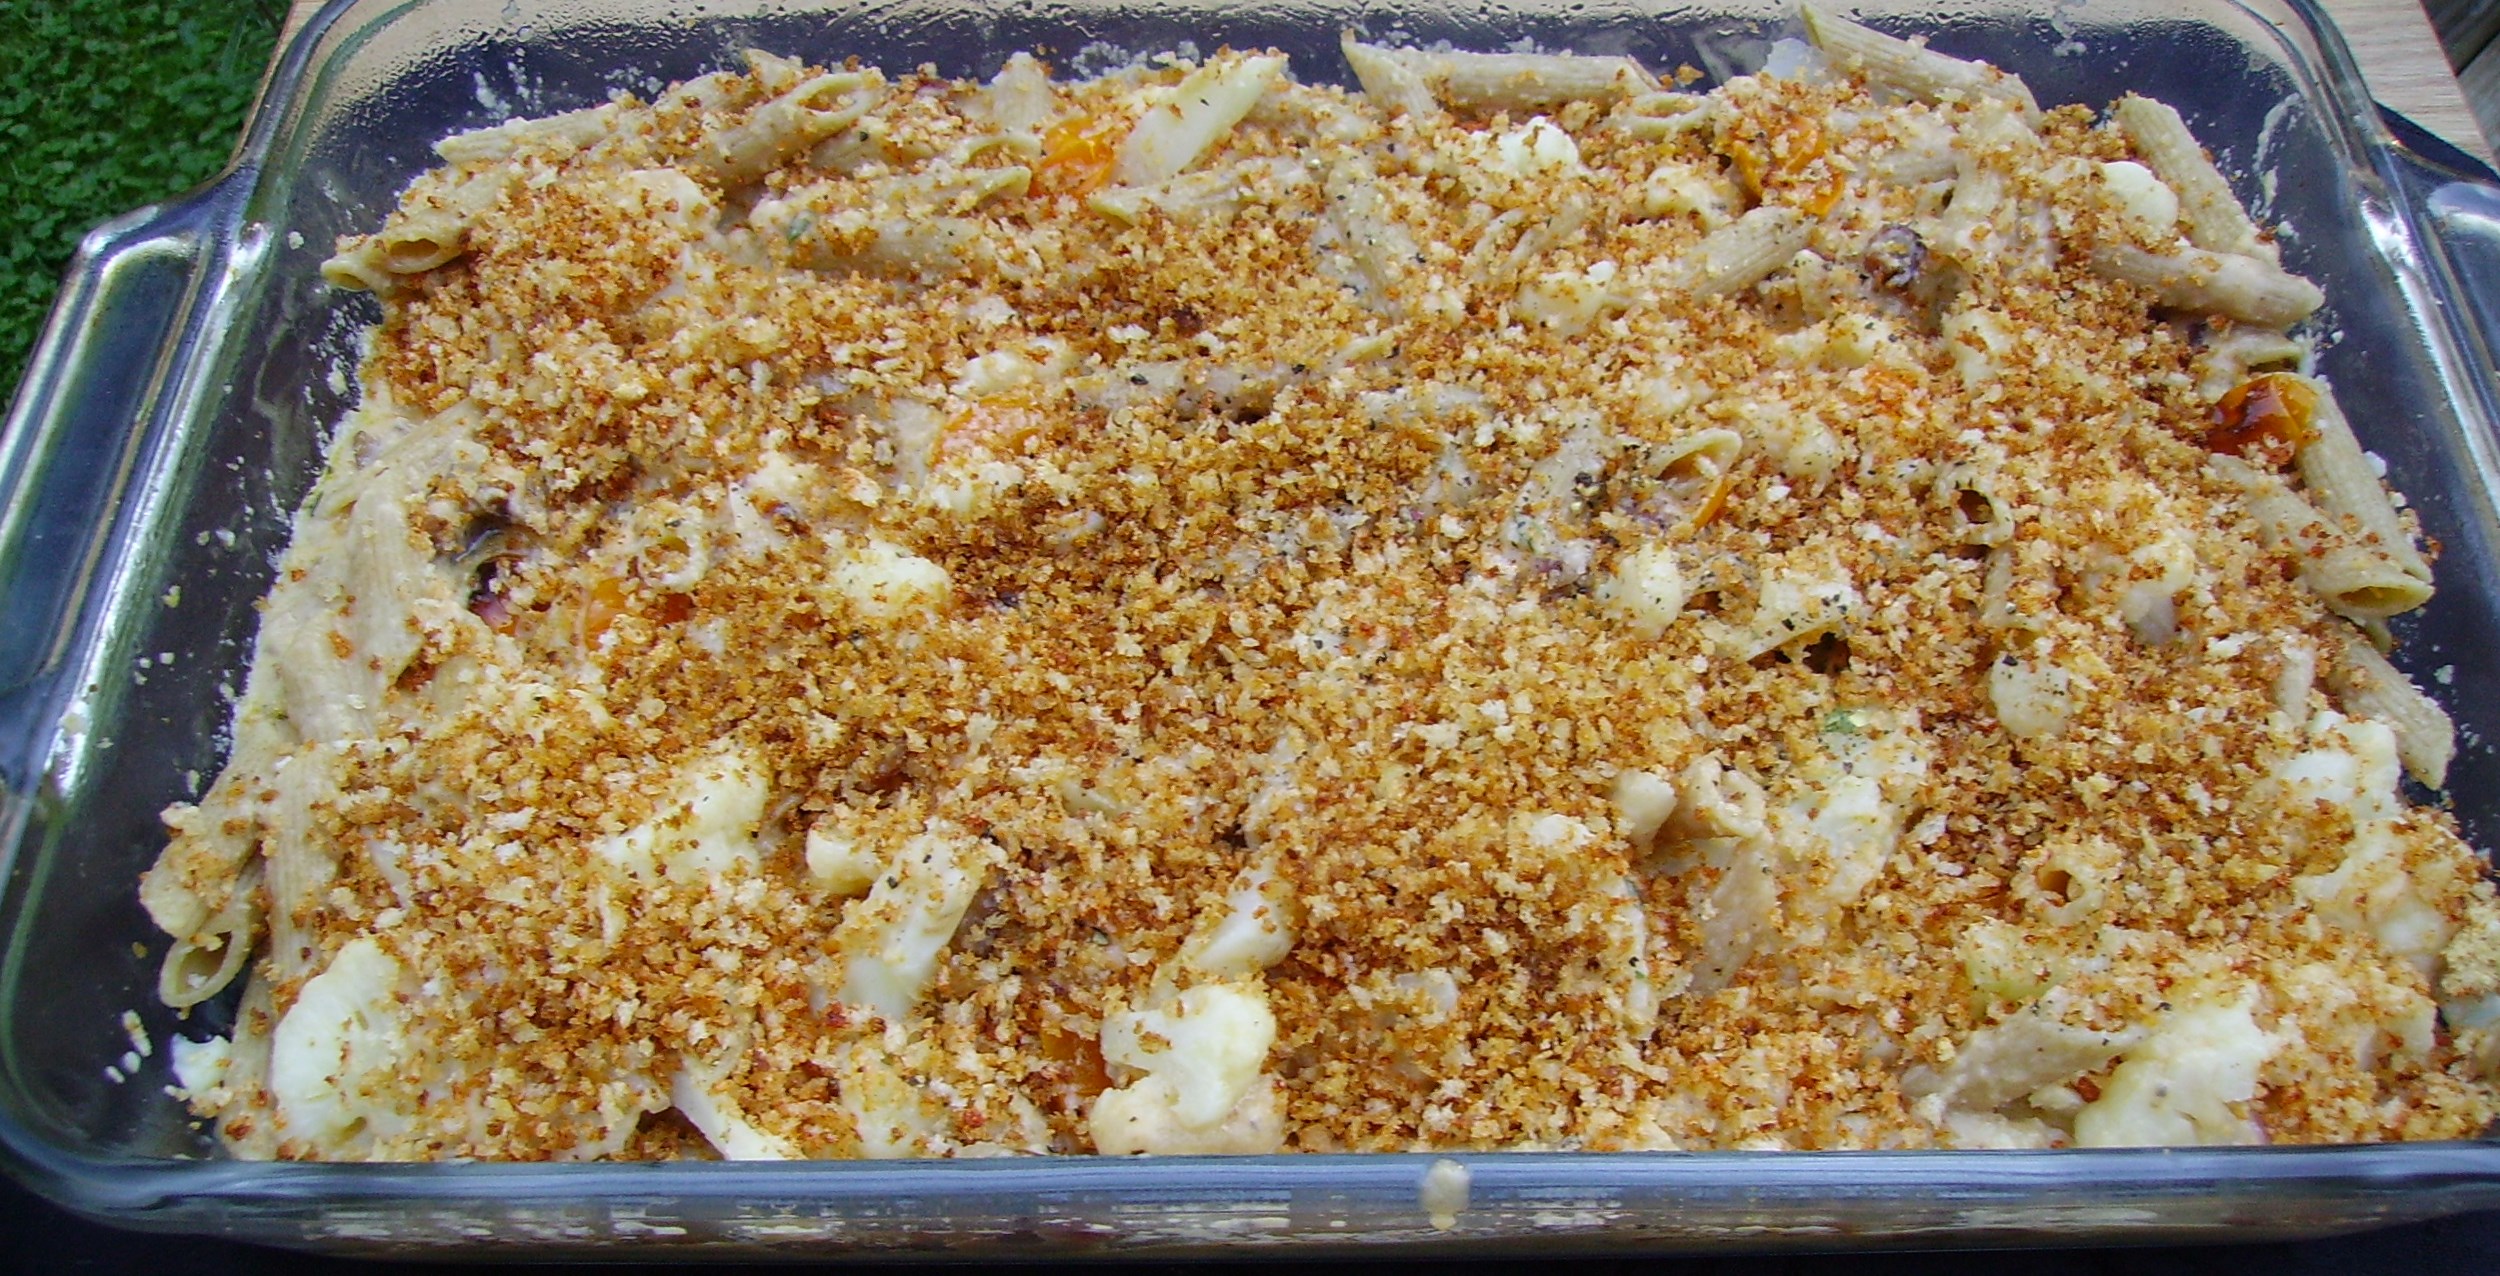
Every good casserole needs a crunchy crumb topping and so did mine. Panko crumbs with a little garlic powder and paprika was the crowning touch.DIGITAL CAMERAIt baked in the oven mostly covered with foil, but (foil) topless for a bit to create a crunchy golden crust. The result was a tasty yet somewhat healthy dish. DIGITAL CAMERAThe bacon could be eliminated to make it a Meatless Monday delight. Any cut pasta would work from elbows to shells to rotini. Just cut the cauliflower to a size that is similar to the pasta. This will generously serve four and the leftovers are pretty tasty as well.

Cauliflower Mac and Cheese
Print Recipe
Cauliflower Mac and Cheese
Print Recipe
Ingredients
Servings:
Instructions
  1. Cook pasta "al dente" in a large pot of lightly salted boiling water. When the pasta is almost done, add the cauliflower and cook for 2 minutes or so. Drain and place in a rectangular baking dish that has been lightly coated with non-stick spray.
  2. Slice the tomatoes in half and place on a broiler pan that is lightly coated with cooking spray. Spray the tomatoes lightly with more cooking spray. Broil until the tomatoes begin to break down and are lightly browned. Add to the pasta and cauliflower.
  3. Heat a large saucepan over medium heat. Add the bacon and cook stirring occasionally until the bacon is browned. Remove the bacon from the pan and drain on paper towels before adding to the casserole dish.
  4. Remove all but a scant tablespoon of the bacon drippings from the pan. Add the first tablespoon of butter. When it melts, add the red onion. Cook for several minutes until the onion begins to soften.
  5. Add the flour and stir to coat the onions. Continue to cook and stir for 2-3 minutes. Do not let the mixture brown.
  6. Add 1/2 cup of the milk and stir to create a smooth paste. Slowly add the rest of the milk, stirring constantly to keep things smooth. Conttinue to cook and stir until the mixture is thickened, 5 minutes or so.
  7. Add the mustard, pepper sauce and Worcestershire sauce to the pan and stir to mix. Remove from heat and add the cheese. Stir until the cheese is melted. Pour over the mixture in the baking dish.
  8. Melt the second tablespoon of butter in a small pan. Add the Panko, garlic powder, and paprika to the pan and toss until the crumbs are evenly coated. Sprinkle on top of the casserole.
  9. Cover with foil and bake in a pre-heated 375 degree oven for 25 minutes or so (it should be bubbly around the edges). Remove the foil and return to the oven for 10 minutes more. The crumbs should be golden brown.
  10. Remove from the oven and allow to rest for 5 minutes or so before serving.
Share this Recipe
Powered byWP Ultimate Recipe

Autumn brings changes in the weather and often the foods we eat. This year fall also holds many personal changes for us. Like a change of season…a change of lifestyle can be a welcome challenge.  Embrace it.  Love, Mama D


Birthday Memories and Grilled Shrimp Scampi

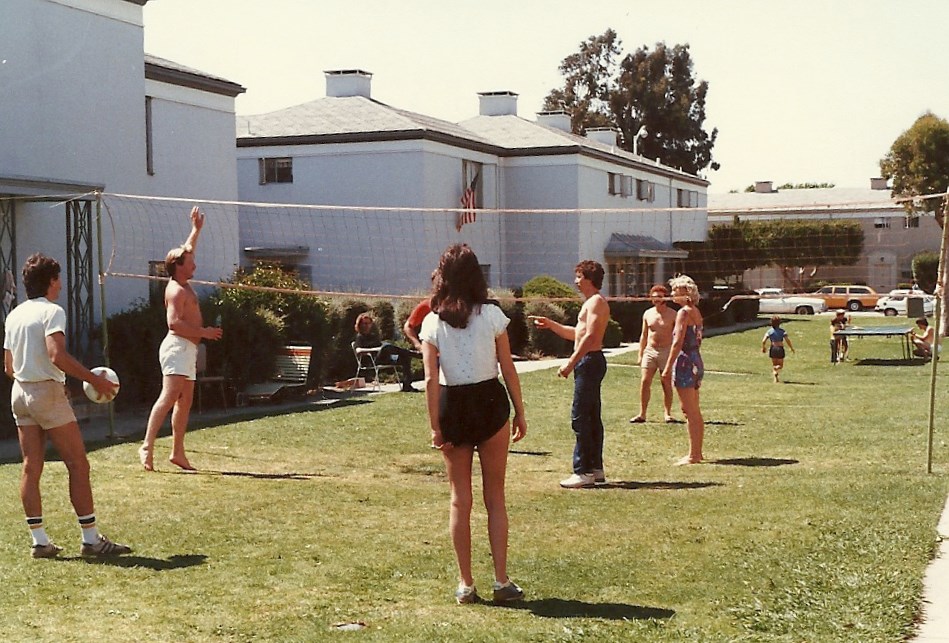
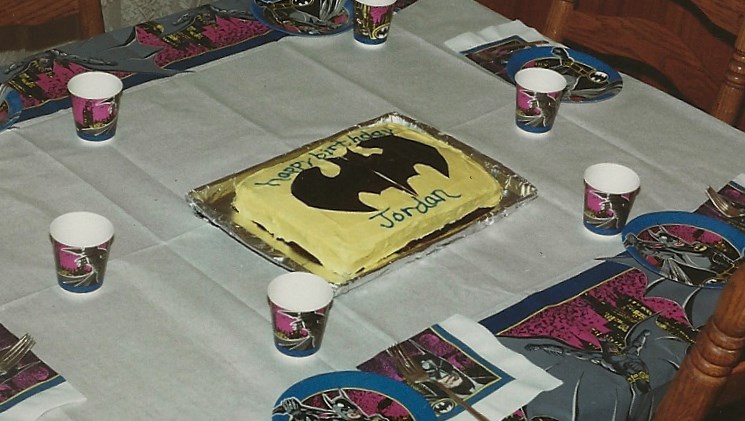
We just celebrated my son’s birthday. As I’ve been doing since my sons were celebrating their first trips around the sun, I prepared the dinner that he requested. Birthdays have always been kind of a big deal in our family. When the boys were growing up, there was the “friends party” and the family dinner. We lived in a family dense complex in California and friends were as close as walking out the front door. Scan_Pic0053The common courtyard was always alive with kids having fun. Scan_Pic0054Even adults got into the act. (No apologies,..it was the 80’s)

I was (in)famous for my themed parties that always featured the appropriately themed cake. Scan_Pic0057From dinosaurs to super heroes Scan_Pic0056I did it all…and Ninja Turtles twice. Scan_Pic0055Scan_Pic0058Whatever the boys were into, I was right there with a sheet cake. It’s amazing what you can do with a cake mix, food coloring, and decorating icing tubes.

Once the “friend party” was over, there was the family dinner. As soon as they were old enough to make the request, I prepared whatever meal they wanted. Yes, there were times that we had pizza or macaroni and cheese. Then there was the time we had Big Macs. I’m sure grandma was glad she flew over 2000 miles for that taste treat. The boys grew up and their palates expanded. Artichokes, crab, and Fettuccine Alfredo took over the menu. Now that they are grown up, their choices have grown up with them, more or less… Fried chicken three years running may be an exception to that, but I aim to please.

Now, back to the Shrimp Scampi, (another three-year running request) I usually make scampi in the traditional manner; on the stove with butter, olive oil, garlic ,and lemon. I lovingly place it on a bed of al dente linguine and dust it with Romano cheese. This year something got into me. Most likely it was the fact that this dinner also needed to include barbecued ribs and there seemed to be no natural bridge. Being Mama D, I was of course able to come up with a solution. The shrimp would become the appetizer.

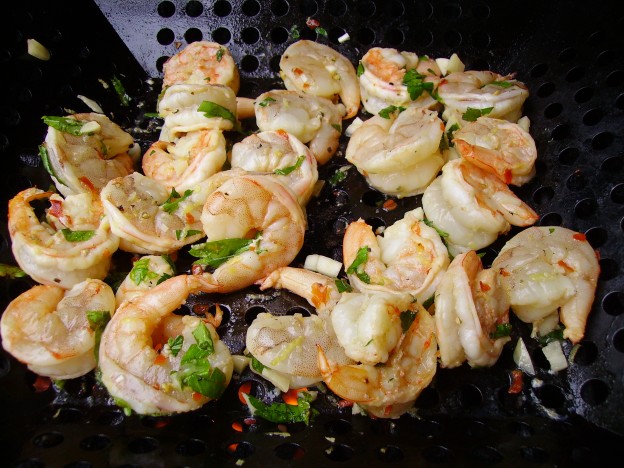
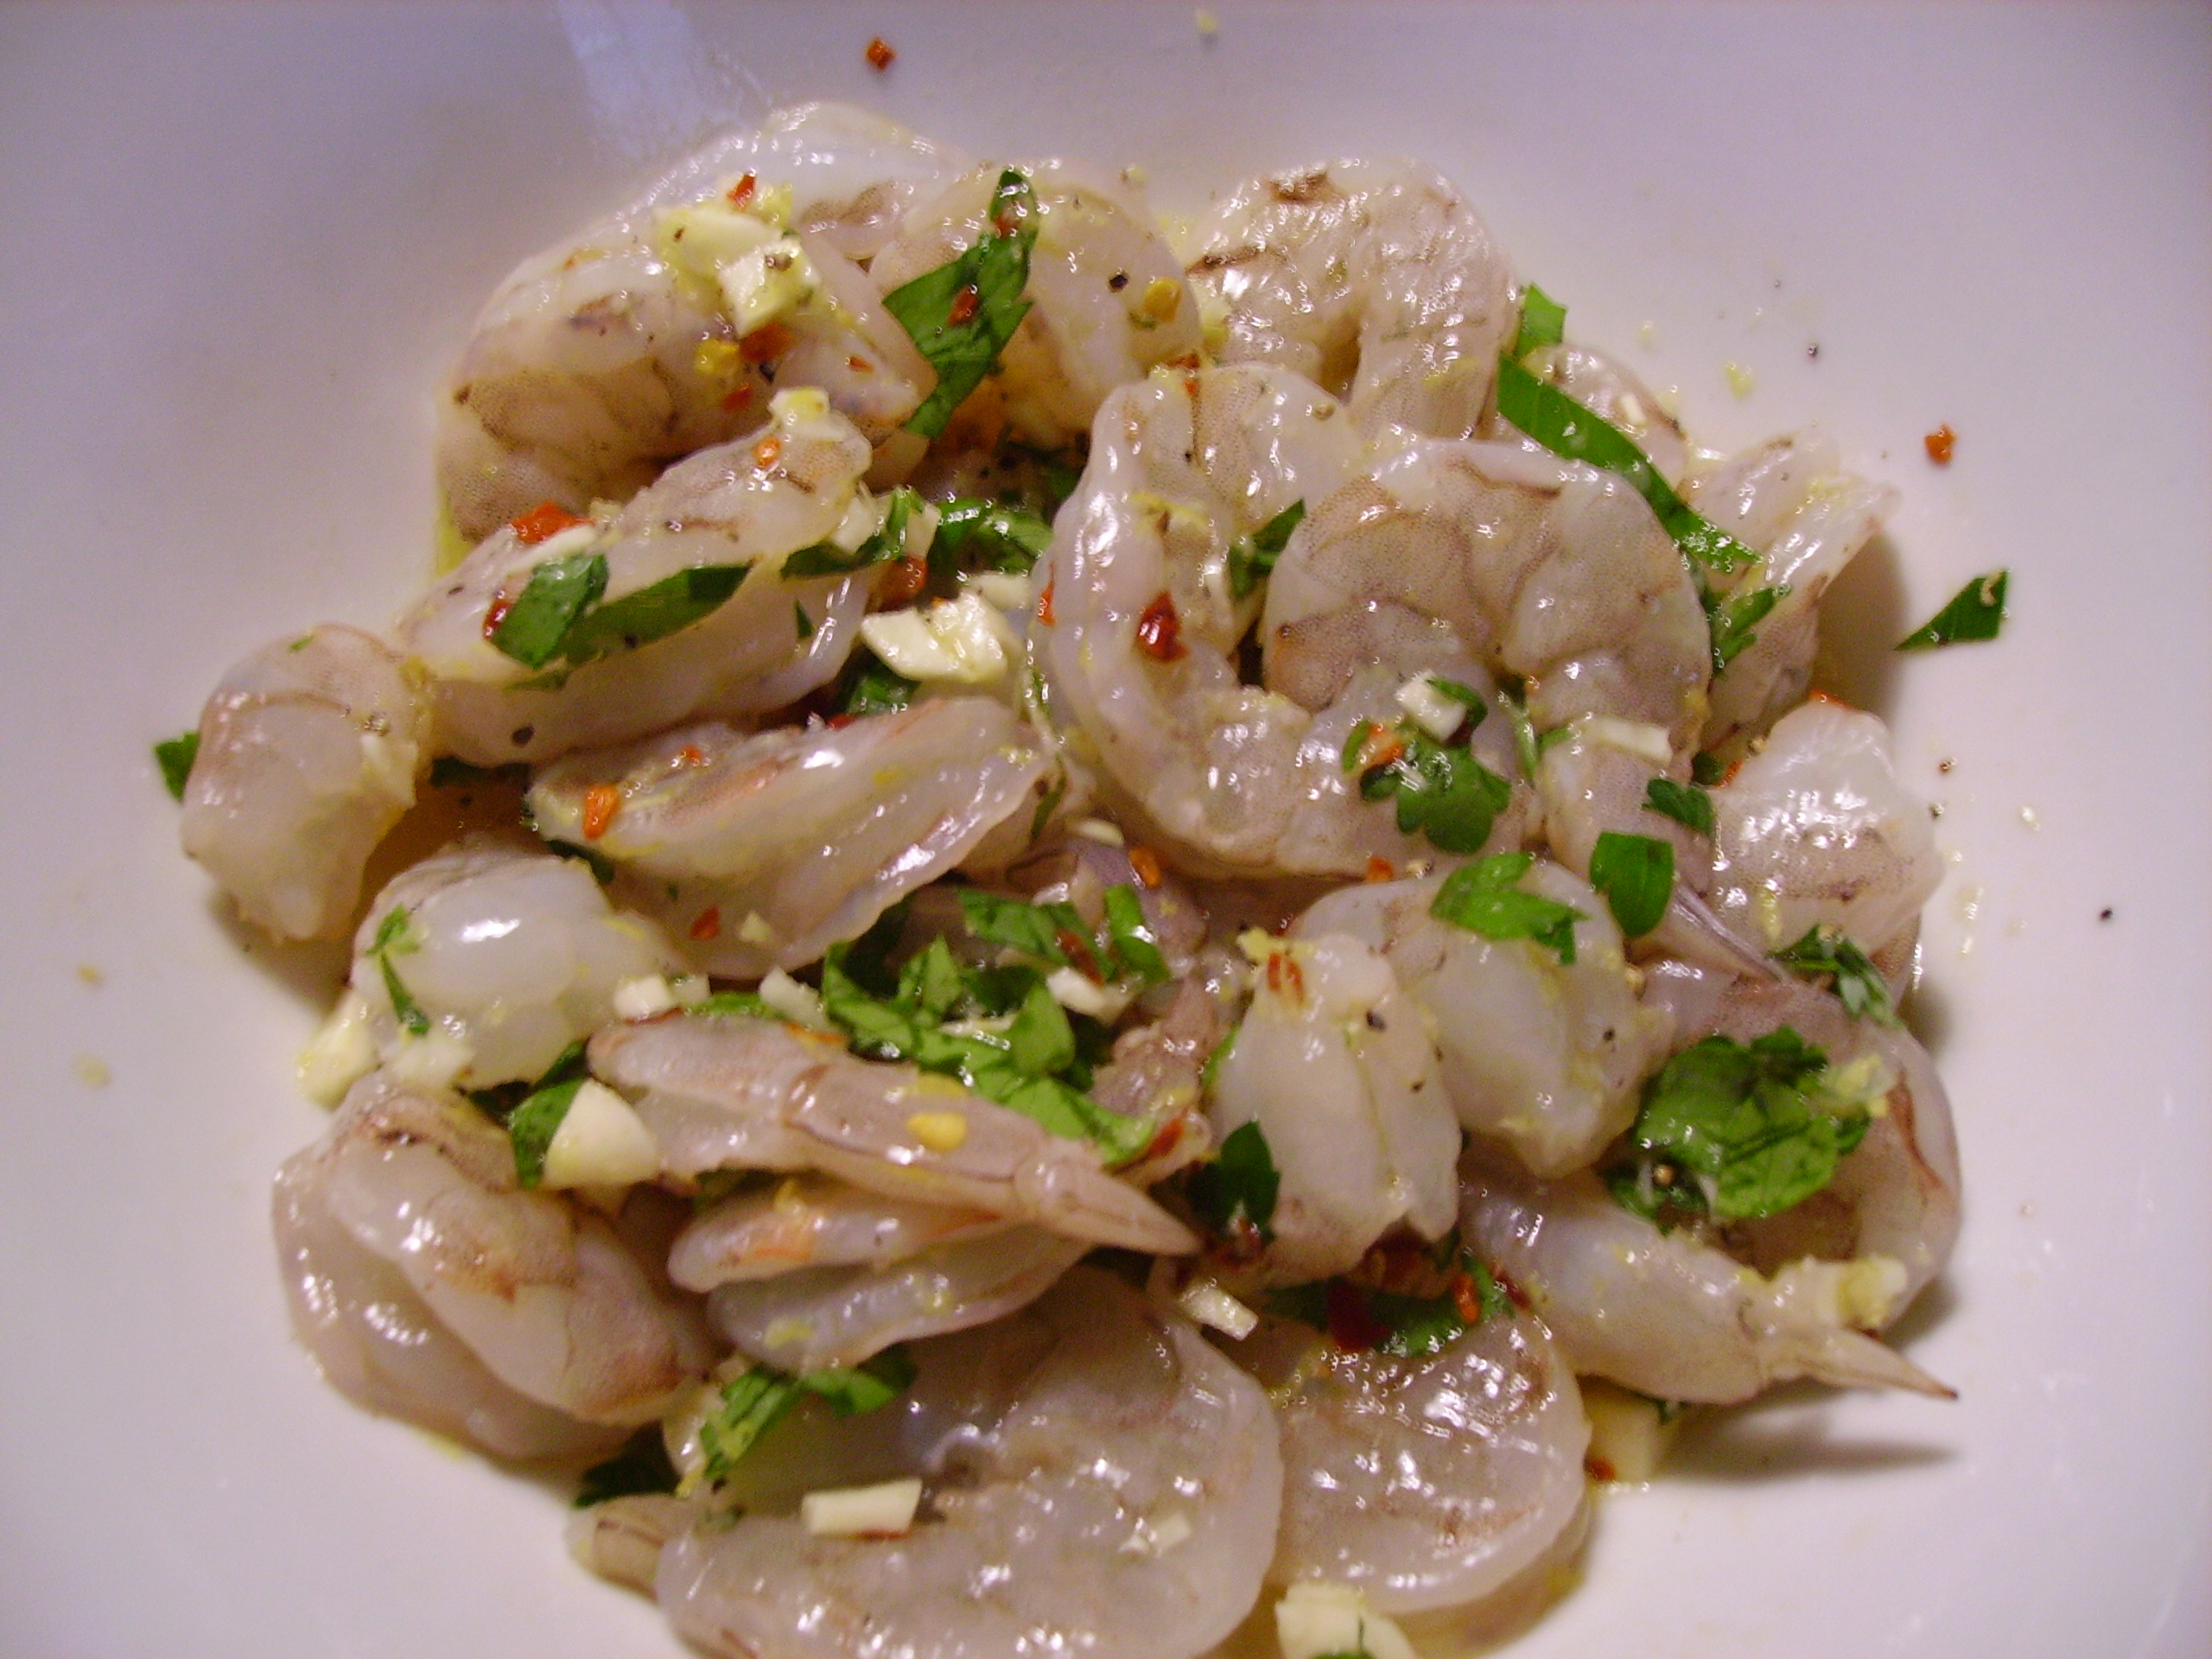
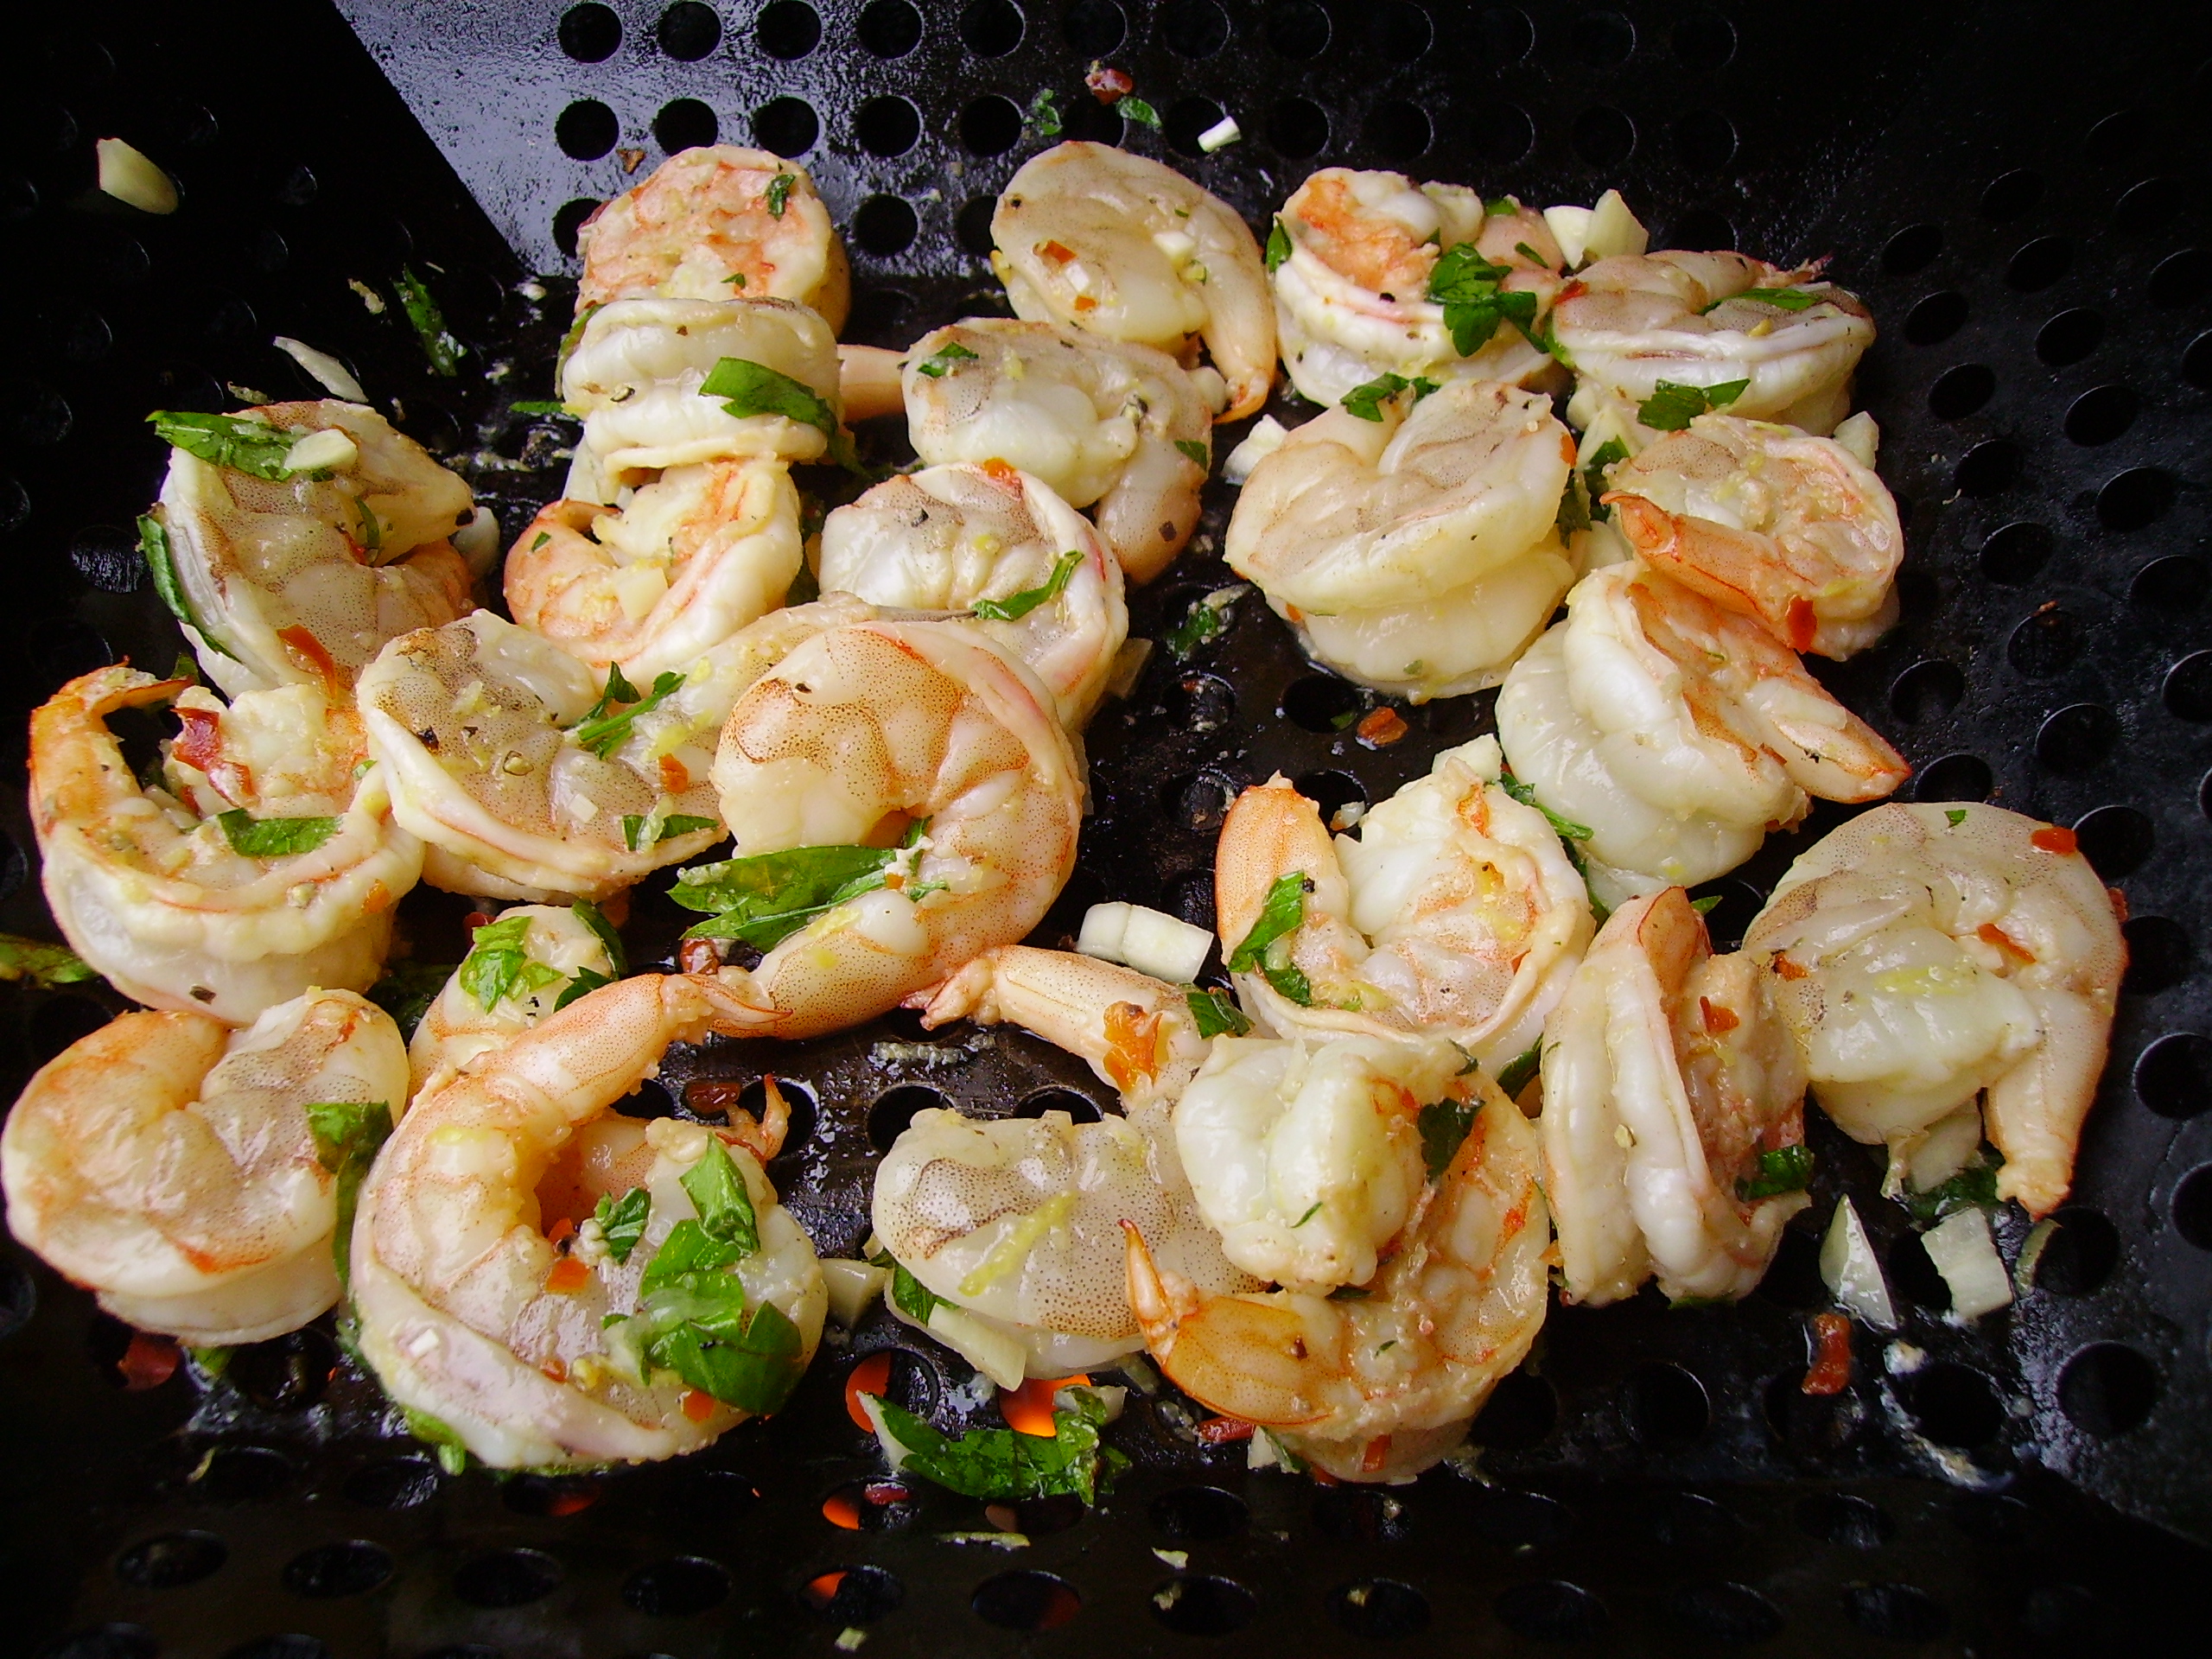
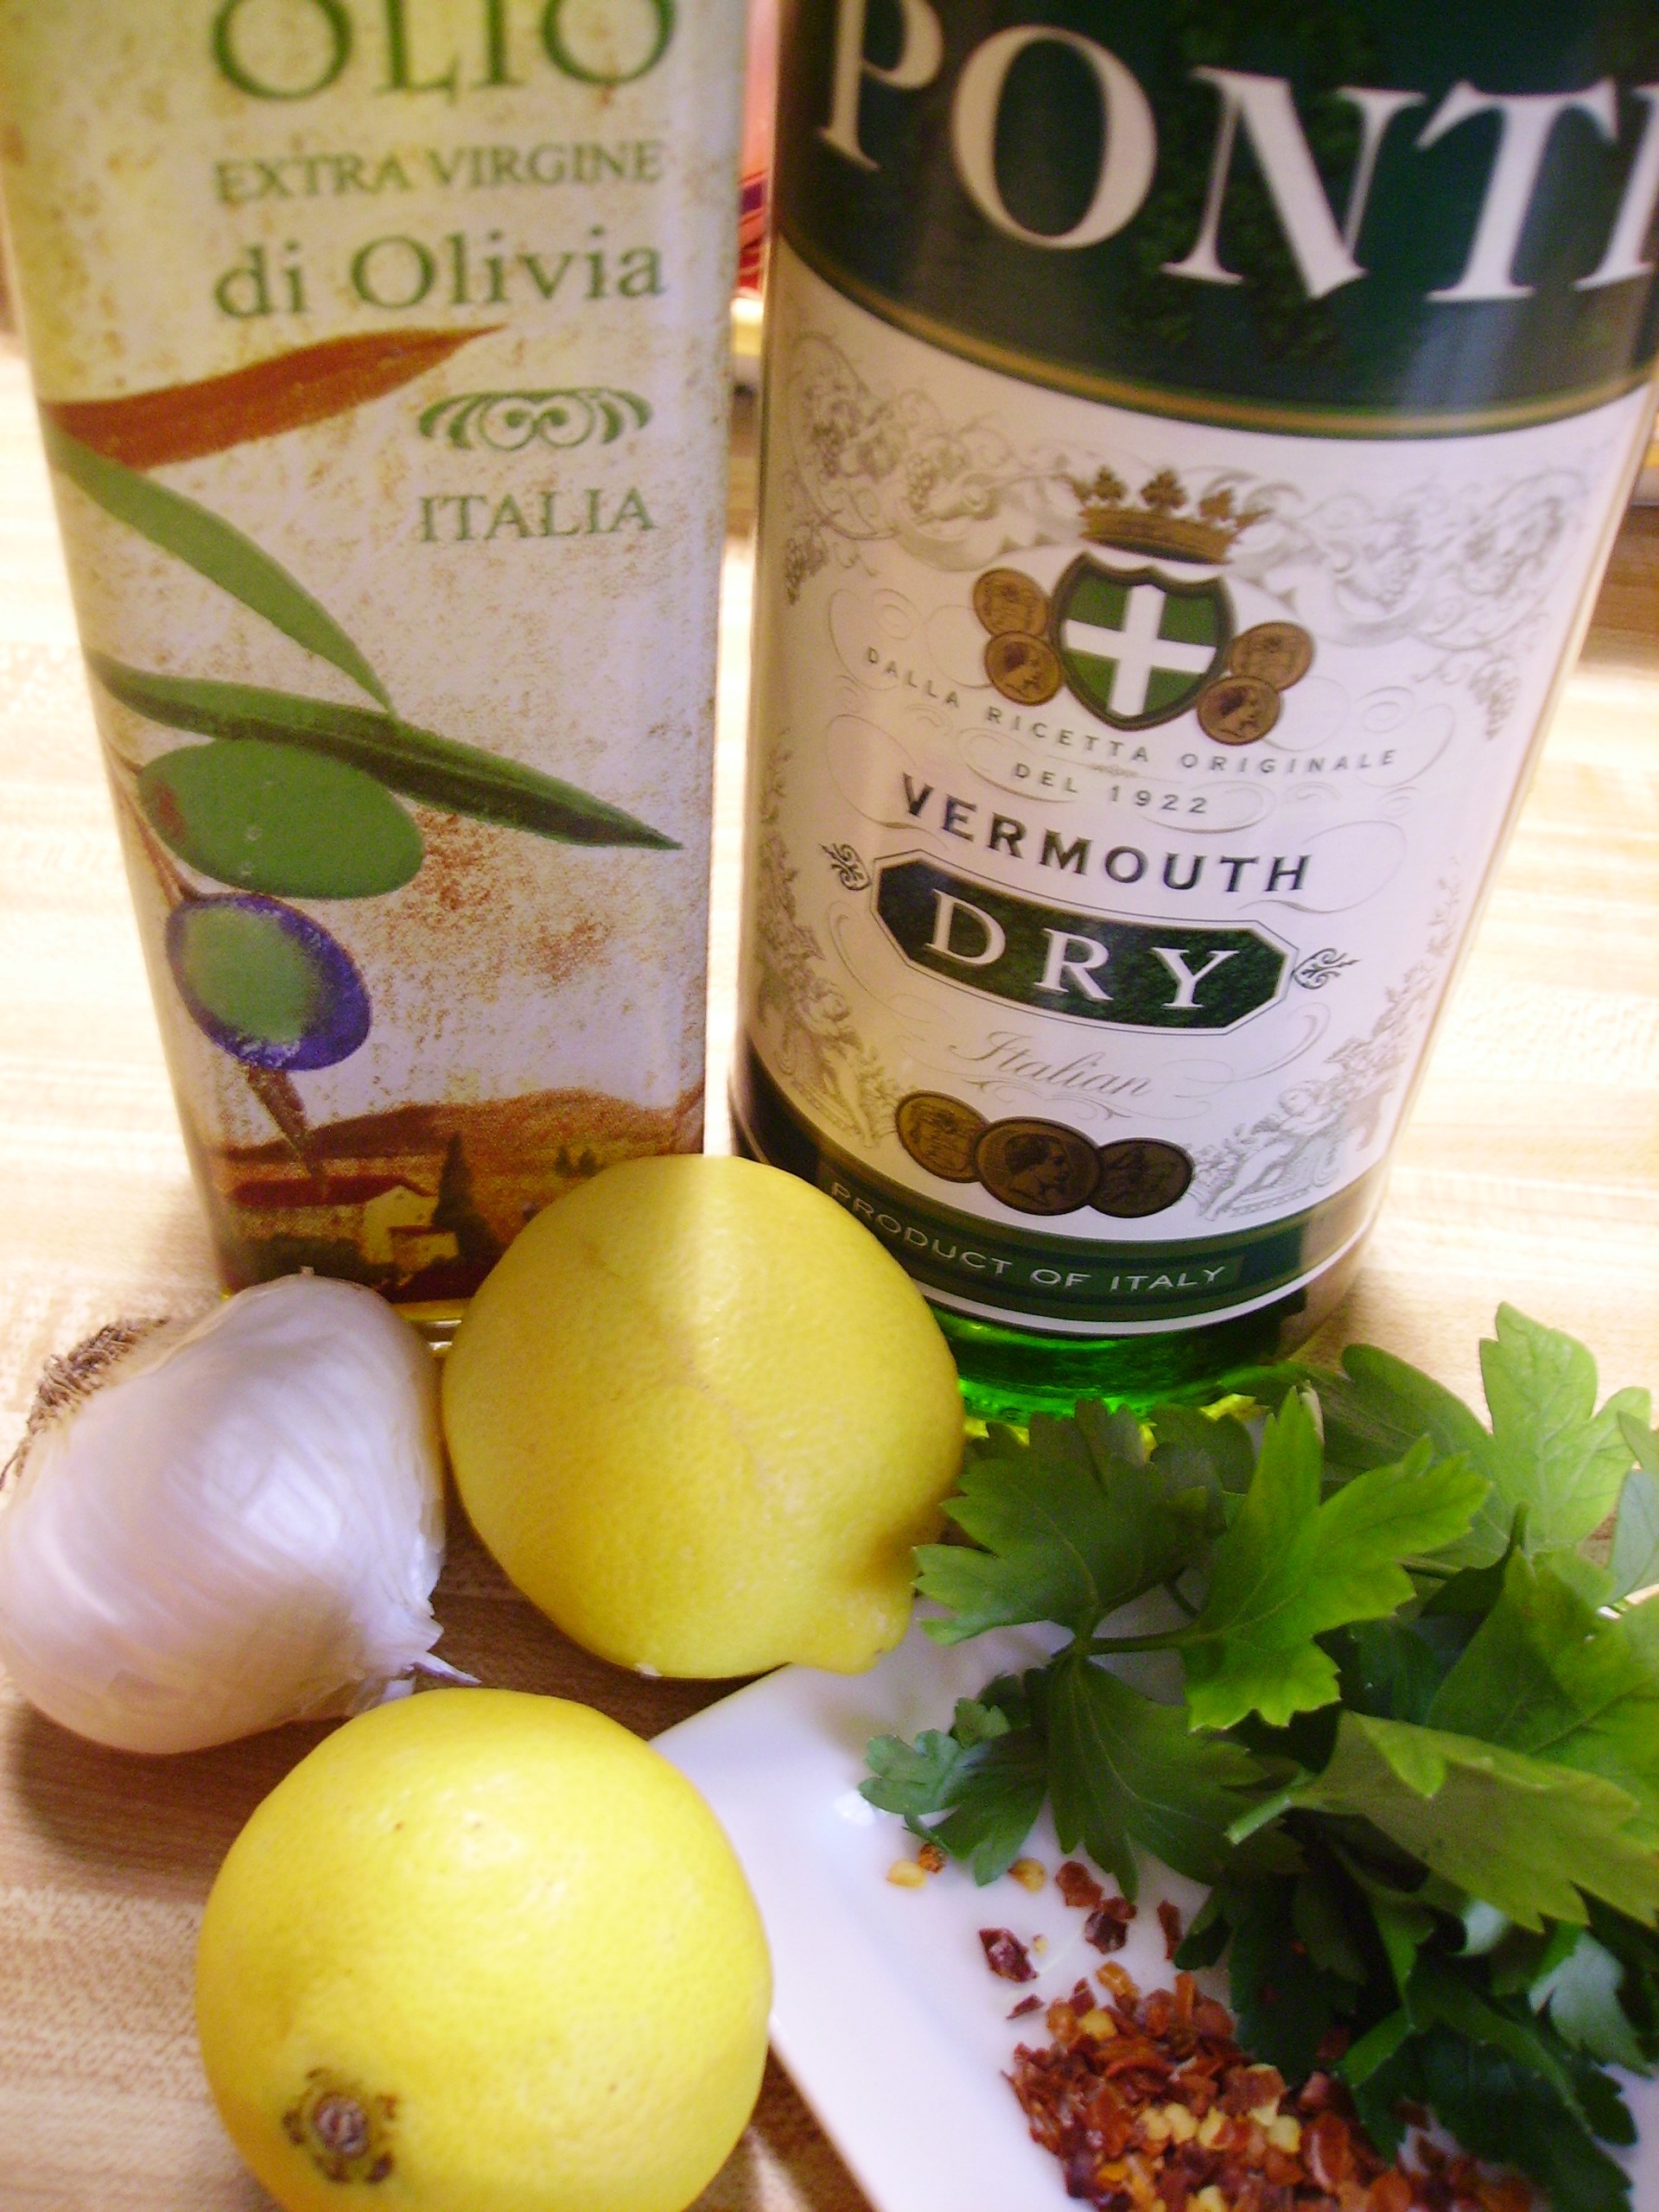
All the flavors that went into scampi would become a marinade.  So, lemon juice (and zest) joined lots of garlic, a little red pepper and vermouth.DIGITAL CAMERAAfter several hours the shrimp were extremely happy. They glistened with olive oil and their sweet scent of the sea mingled with the garlic.DIGITAL CAMERAI tossed them in our trusty grill basket where they cooked quickly aided by lots of tossing and moving about on the grill. DIGITAL CAMERA

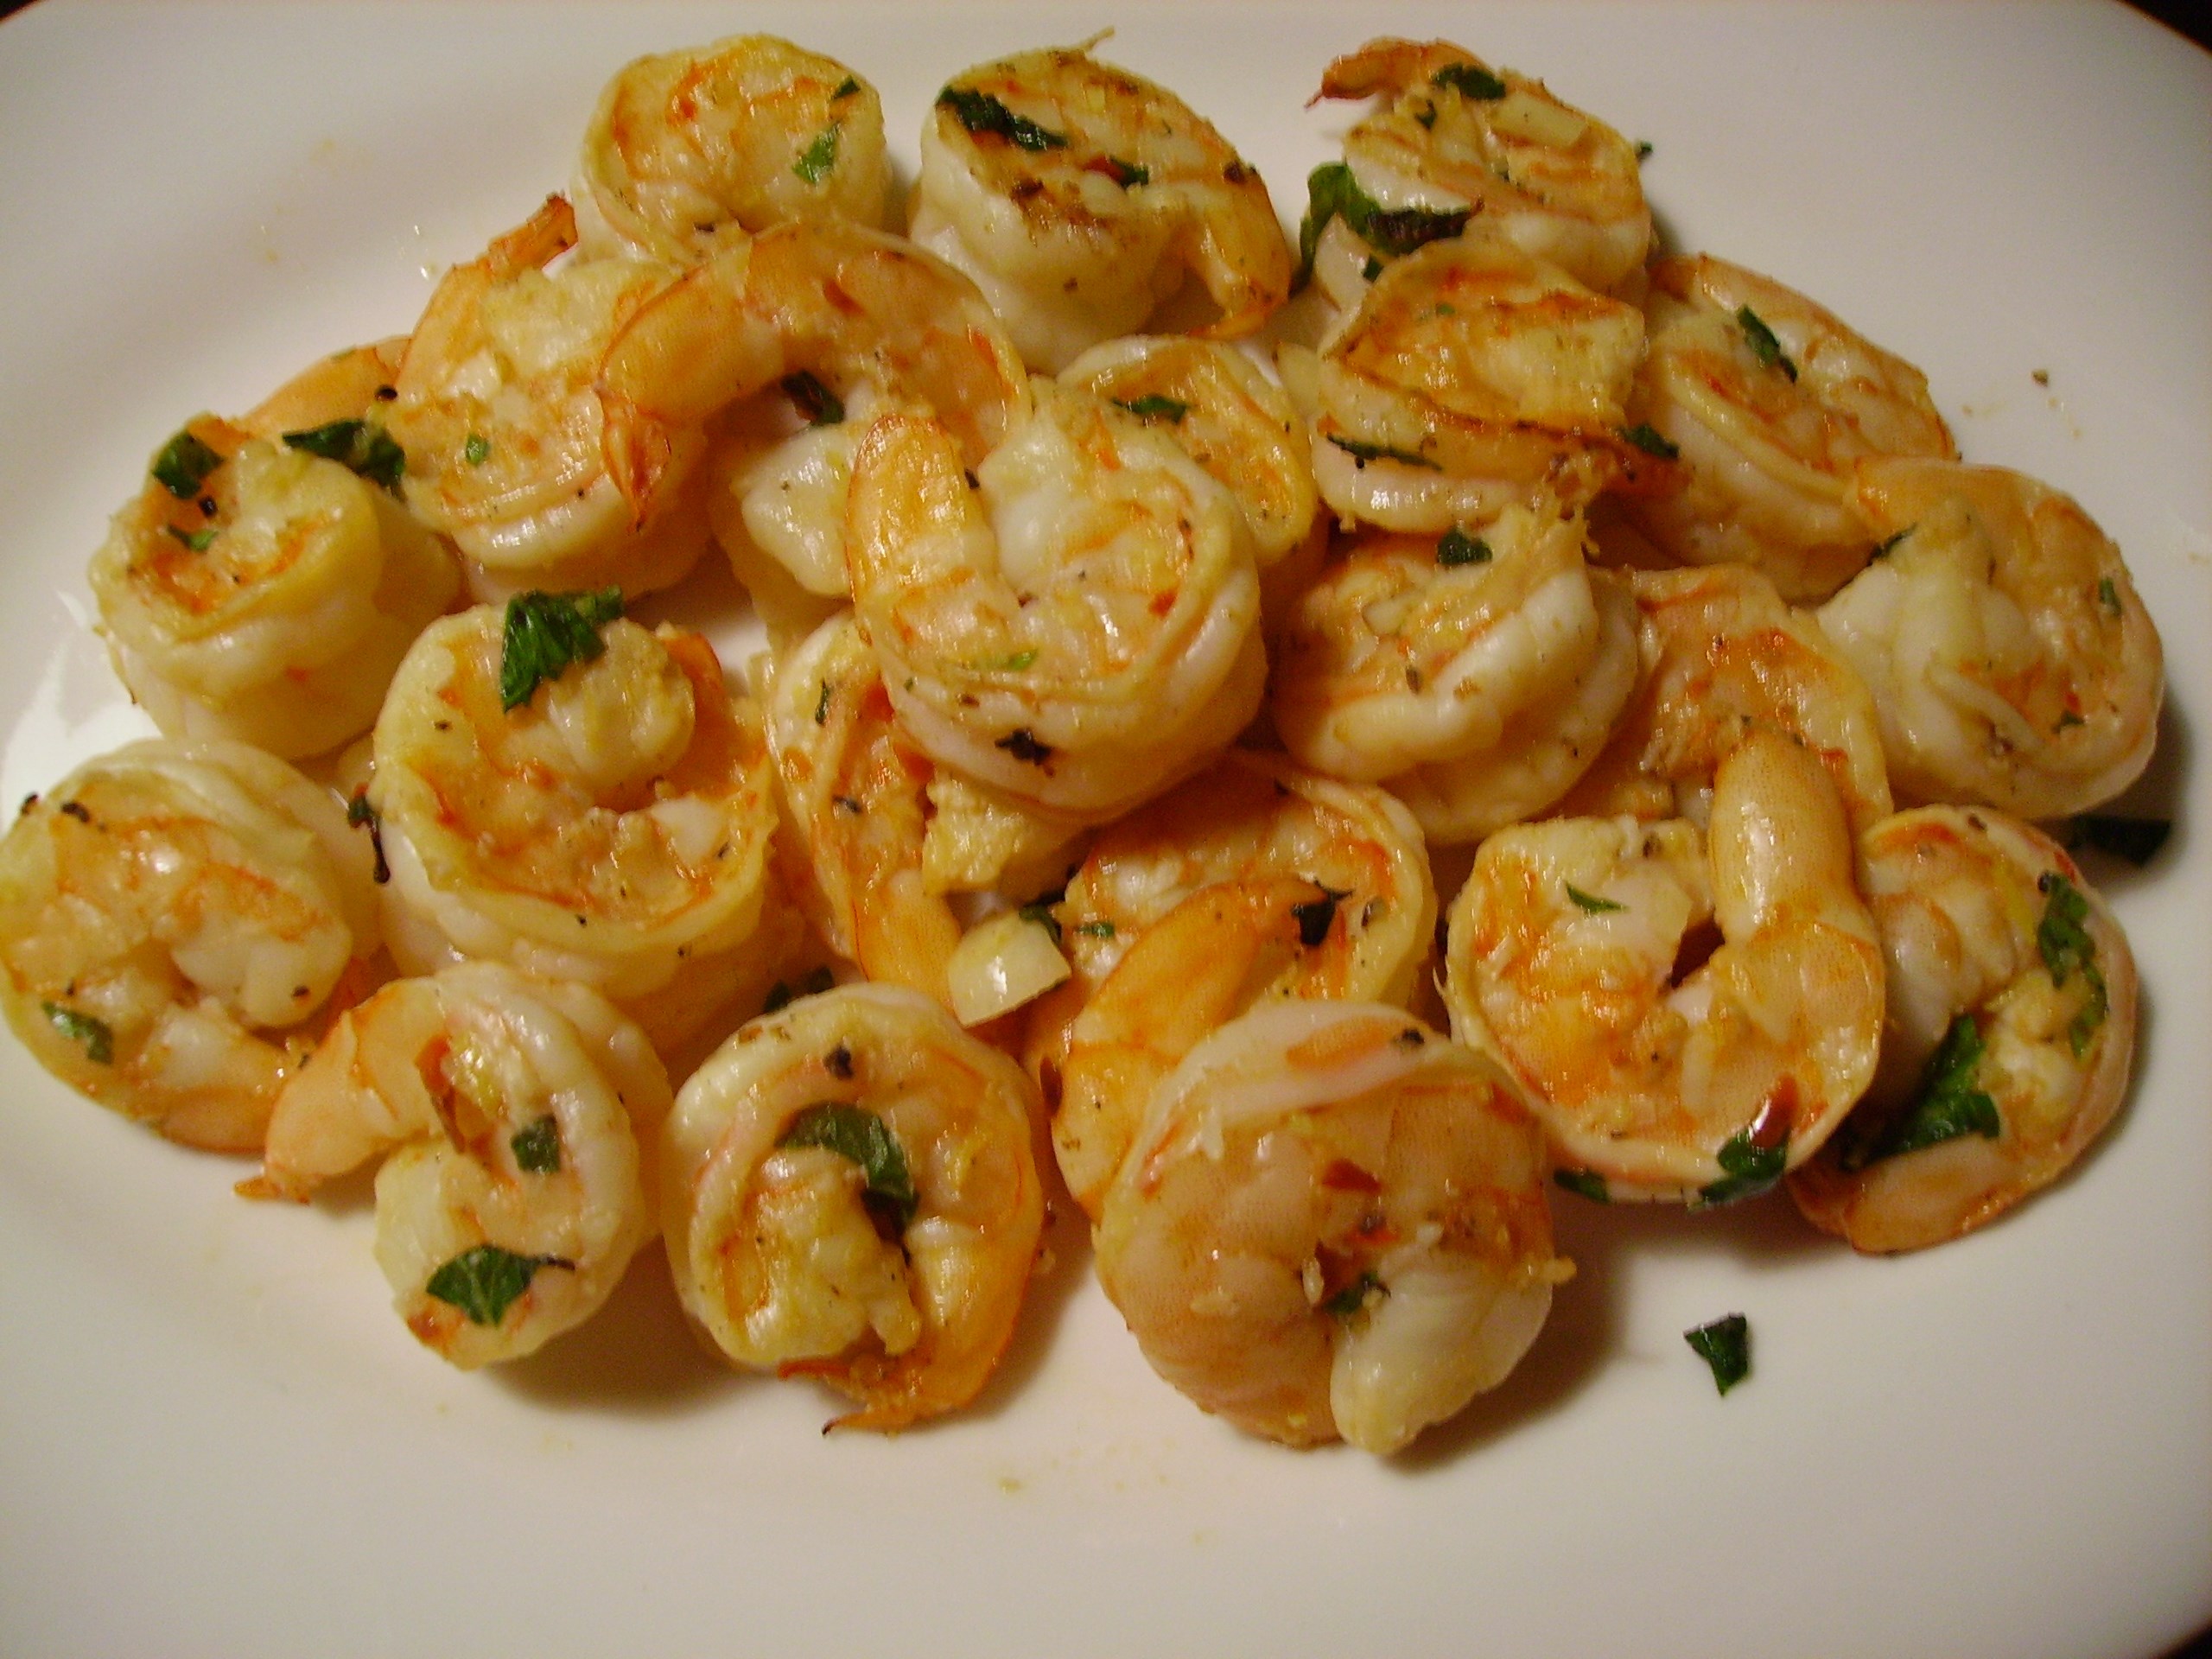
When they were cooked to perfection; plump and pink and slightly translucent with a good bit of spring in their step, They were plated to the happiness of all present.

DIGITAL CAMERAWe repeated this three times, cleaning the plate every time. The shrimp were tender and juicy and the flavor was amazing. There is something about the combination of sweet seafood and the smokey grill that are just magical. I think this may be the new standard for shrimp scampi, and no one seemed to miss the linguine.

Scampi
Print Recipe
Servings
4
Servings
4
Scampi
Print Recipe
Servings
4
Servings
4
Ingredients
Servings:
Instructions
  1. Once the shrimp are shelled and deveined, dry them thoroughly between paper towels. Place the shrimp in a zip top plastic bag.
  2. Mix the remaining ingredients together in a small bowl. Pour the marinade into the bag with the shrimp. Seal the bag and refrigerate for at least 2 - 3 hours or as long as 4 -5.
  3. Heat a grill basket over a medium high fire. Spray lightly with olive oil non-stick spray. Remove the shrimp from the marinade and add to the grill basket. Discard the marinade.
  4. Cook, stirring frequently and gently. Move the basket around the grill as needed to keep the heat uniform. Cook until the shrimp turn pink and curl up slightly. This should take 7 - 10 minutes or so. Do not over cook.
  5. If you are using a broiler, give them 3 minutes or so than flip them and give them 3 -4 minutes more they should be pretty in pink and slightly curled up.
  6. Bake these little beauties at 375 degrees for 5 - 8 minutes or so turning half way through.
  7. Remove the shrimp from their heat source and arrange on a platter. Serve with picks as an appetizer. These can also be served as a main dish with side dishes of your choice.
Share this Recipe
Powered byWP Ultimate Recipe

DIGITAL CAMERAI did make these again, because you really can’t have too much of a good thing. I paired it with an artichoke and tomato panzanella salad for a dinner that was quite wonderful. So this is the appetizer that can easily become  a meal. However you want to enjoy it, you’ll find that it is easy to prepare. As long as you have a few hours to spare for the marinating, it’s quick, too.

Birthdays are a once a year event, but meals cooked with love should happen every day.

                                                           Love, Mama D

Eataly: Been There, Done That, Got the Tee Shirt

I spend a lot of time in the kitchen. Cooking is my passion. I love the creativity and adventure of coming up with a new dish or a fresh take on an old one. I guess I would qualify as a  “foodie,” what ever that actually means. I also love going to the grocery store, be it a mega market or a local shop, it’s the springboard for inspiration. Even Mama D needs a little kick in the inspiration once in a while. Eataly is inspiration on steroids and calling it a mega market is a gross understatement.443

I thought I’d have to stow away to New York to visit this ultimate Italian food experience. That is, until Eataly came to Chicago.  The idea was born in Italy and brought to America by the Bastianich/Batali team. I’ve been getting the newsletters since they opened, and have been enticed by the on-line shopping experience. Needless to say, visiting in person was at the top of my “to do list”  when I recently spent the weekend in Chicago. It didn’t disappoint.

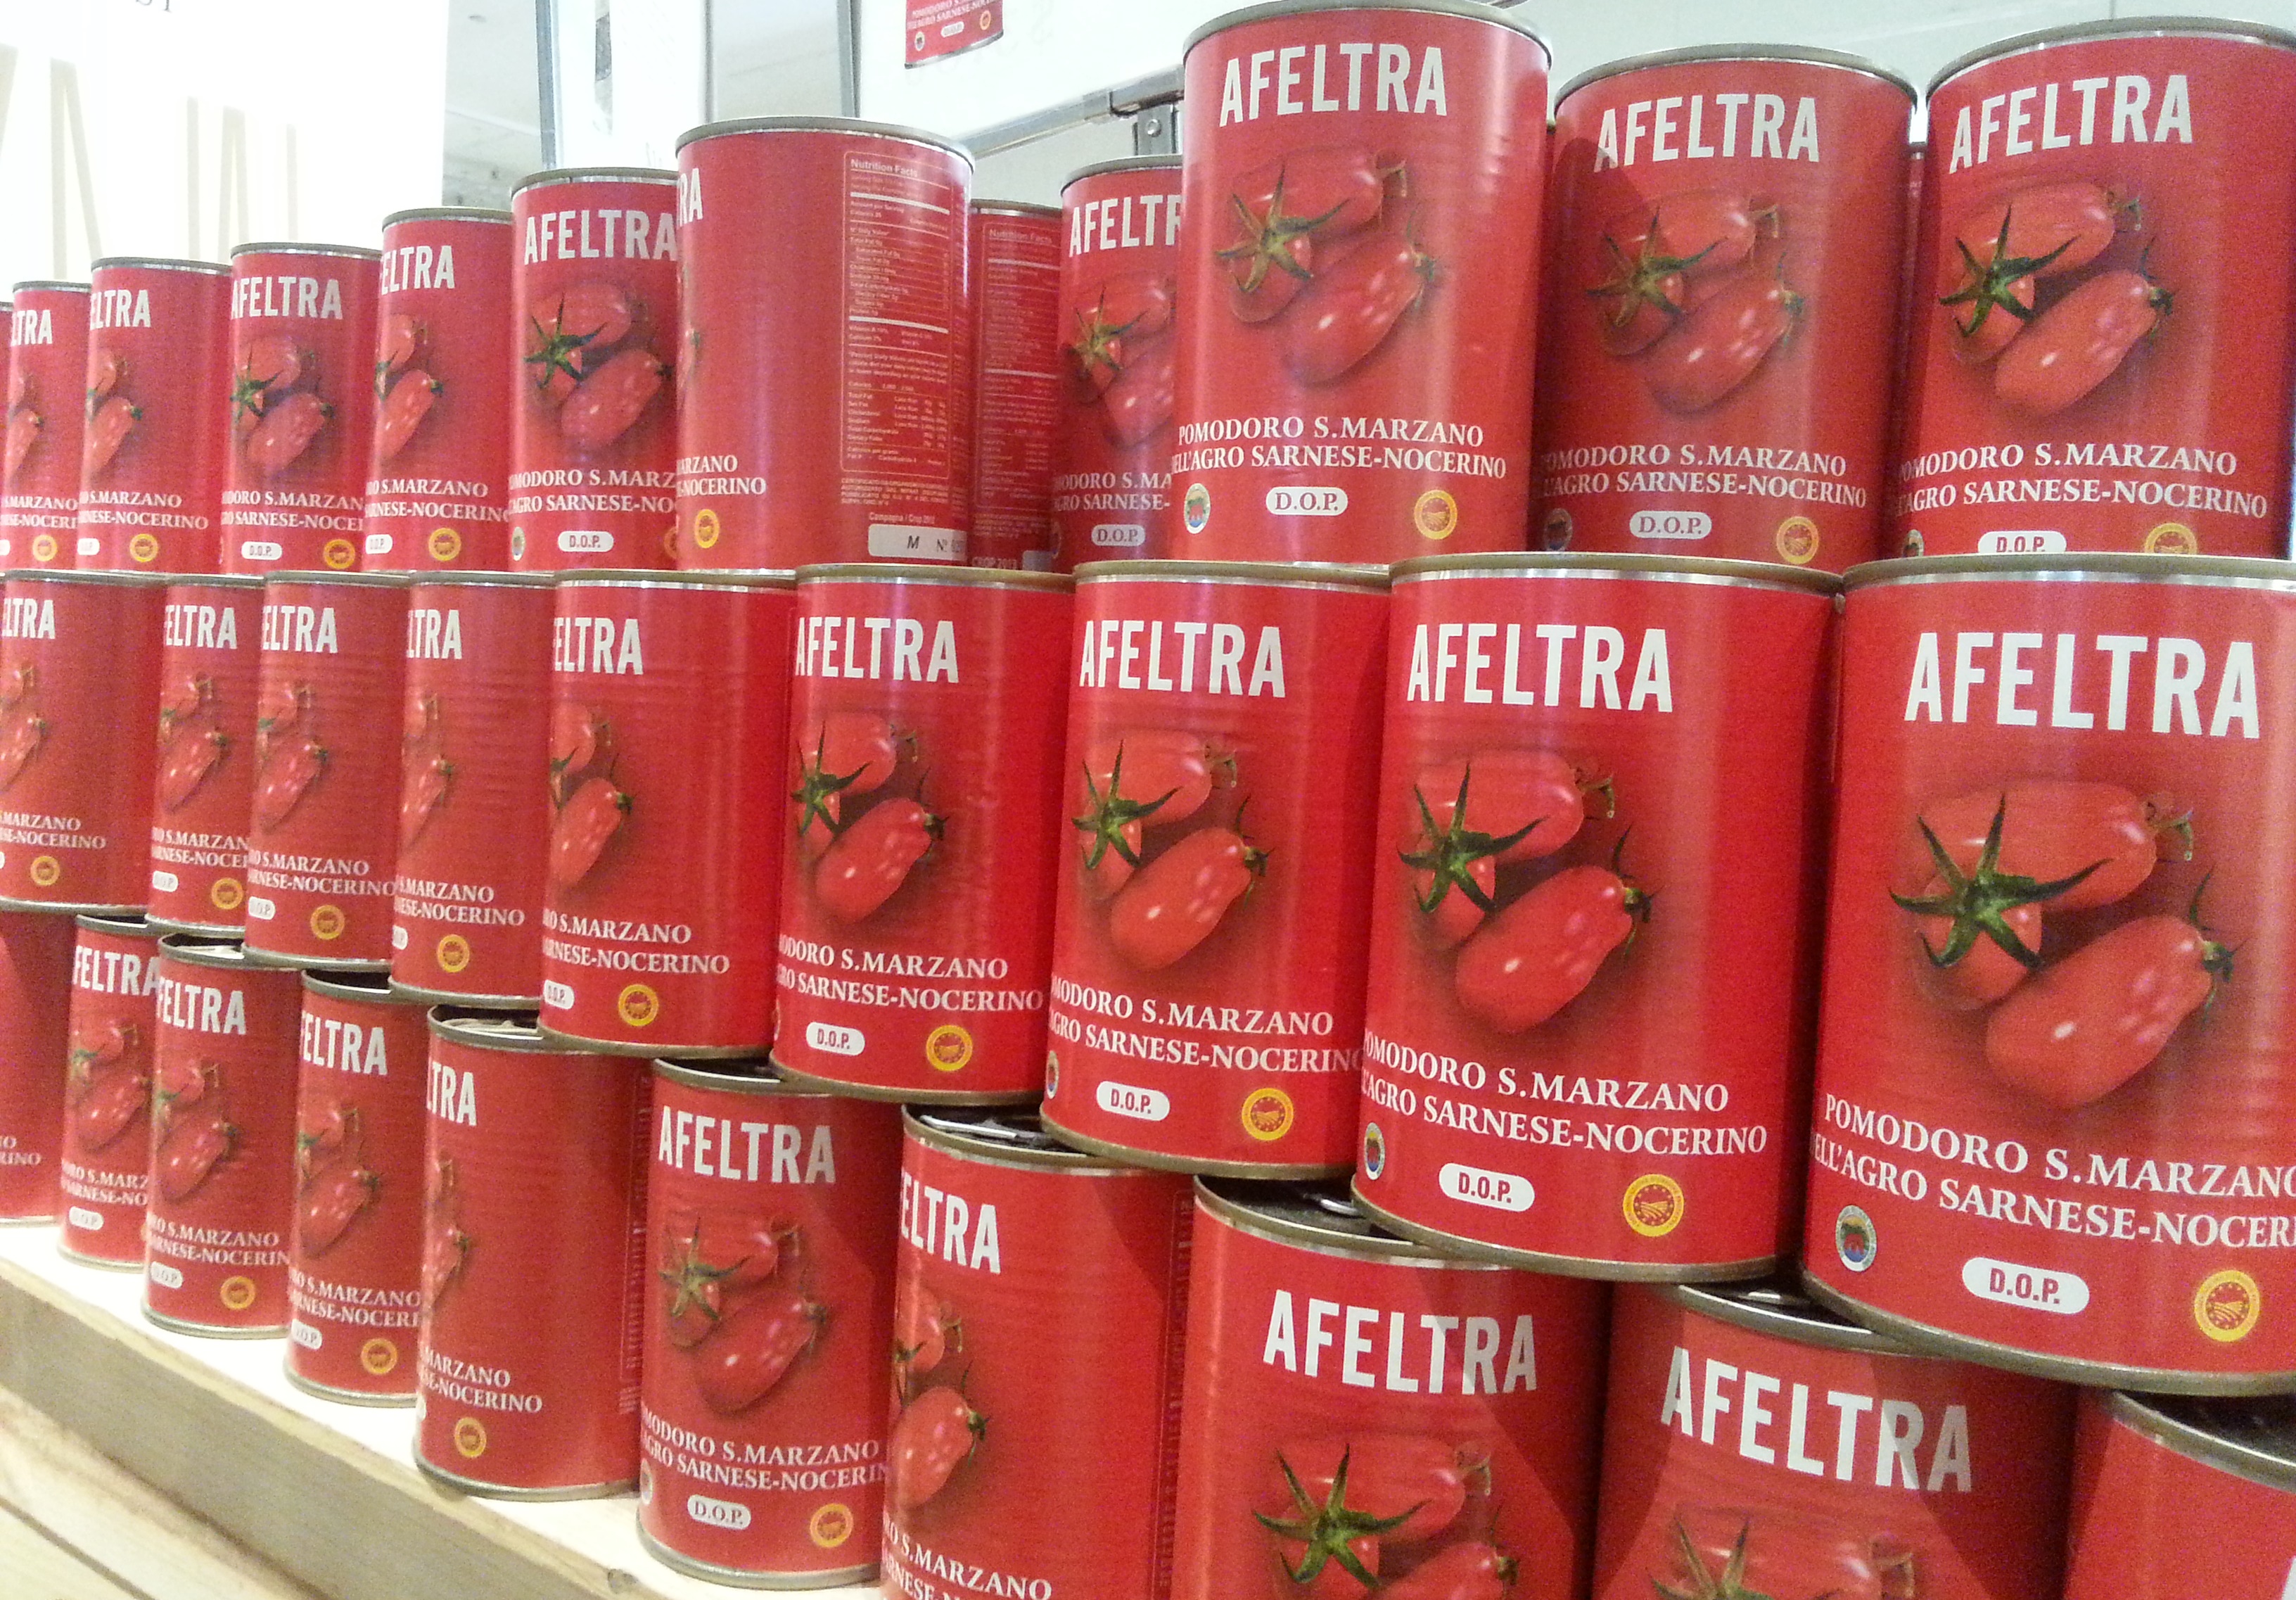
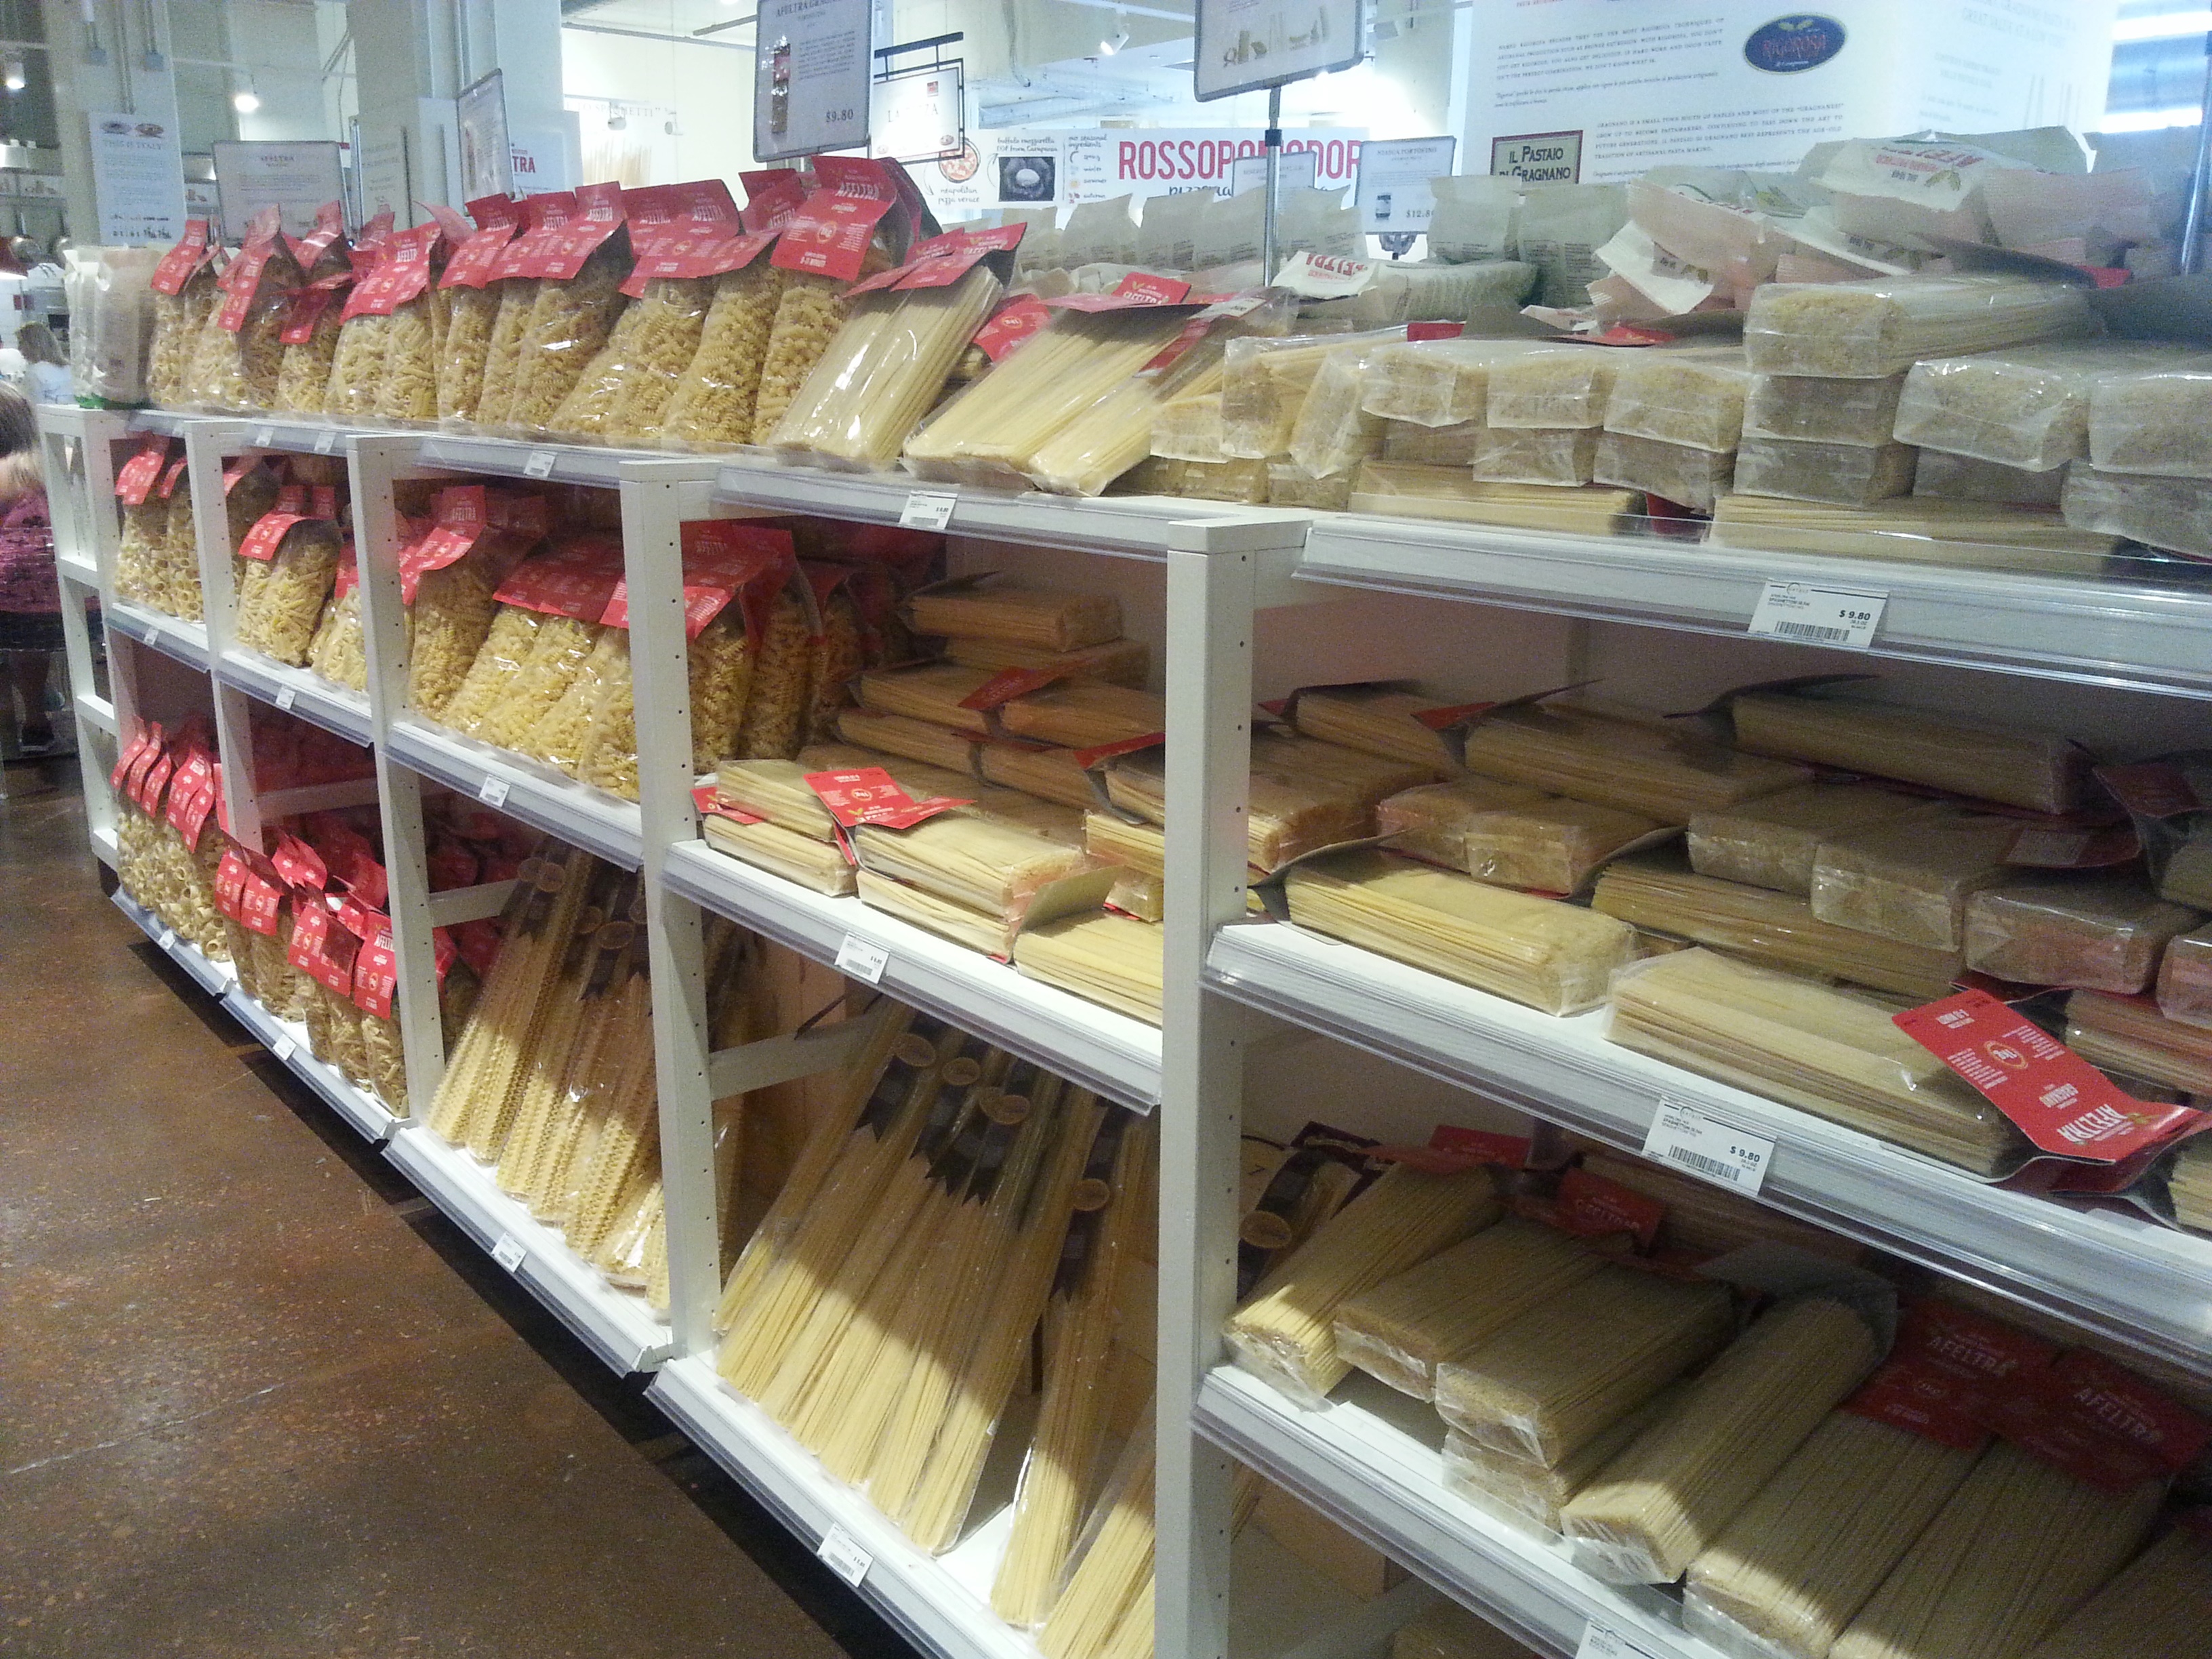
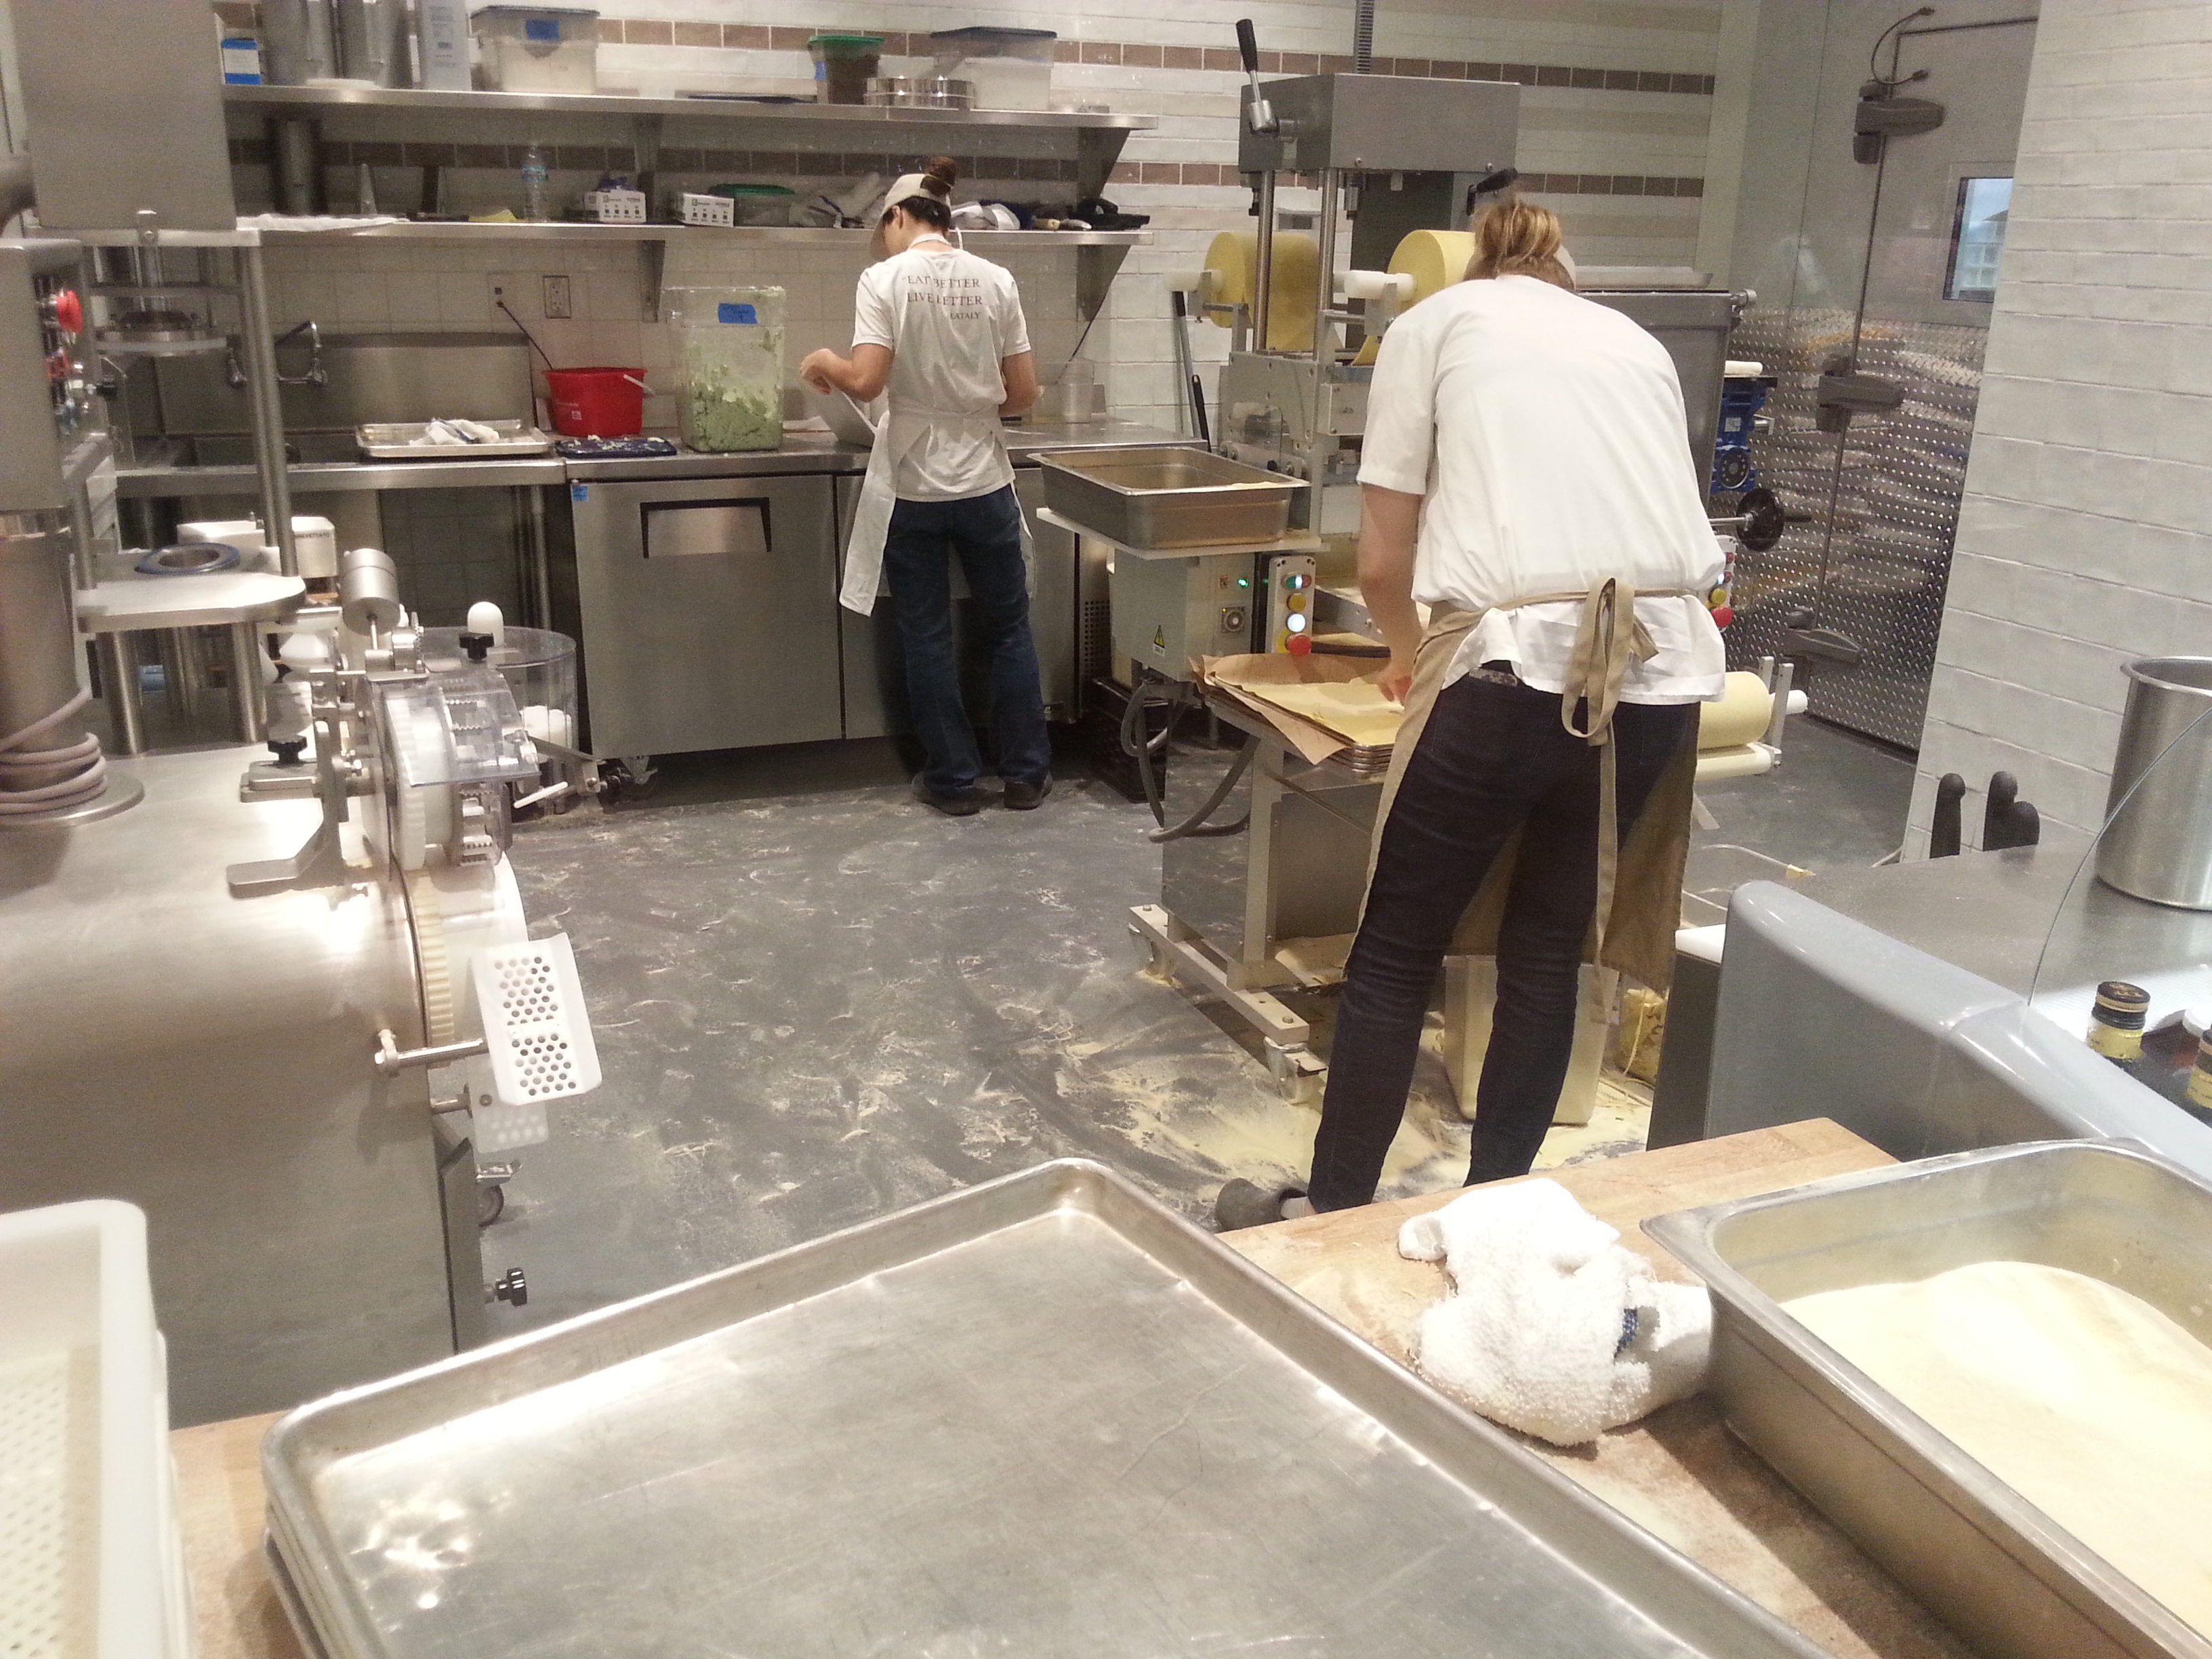
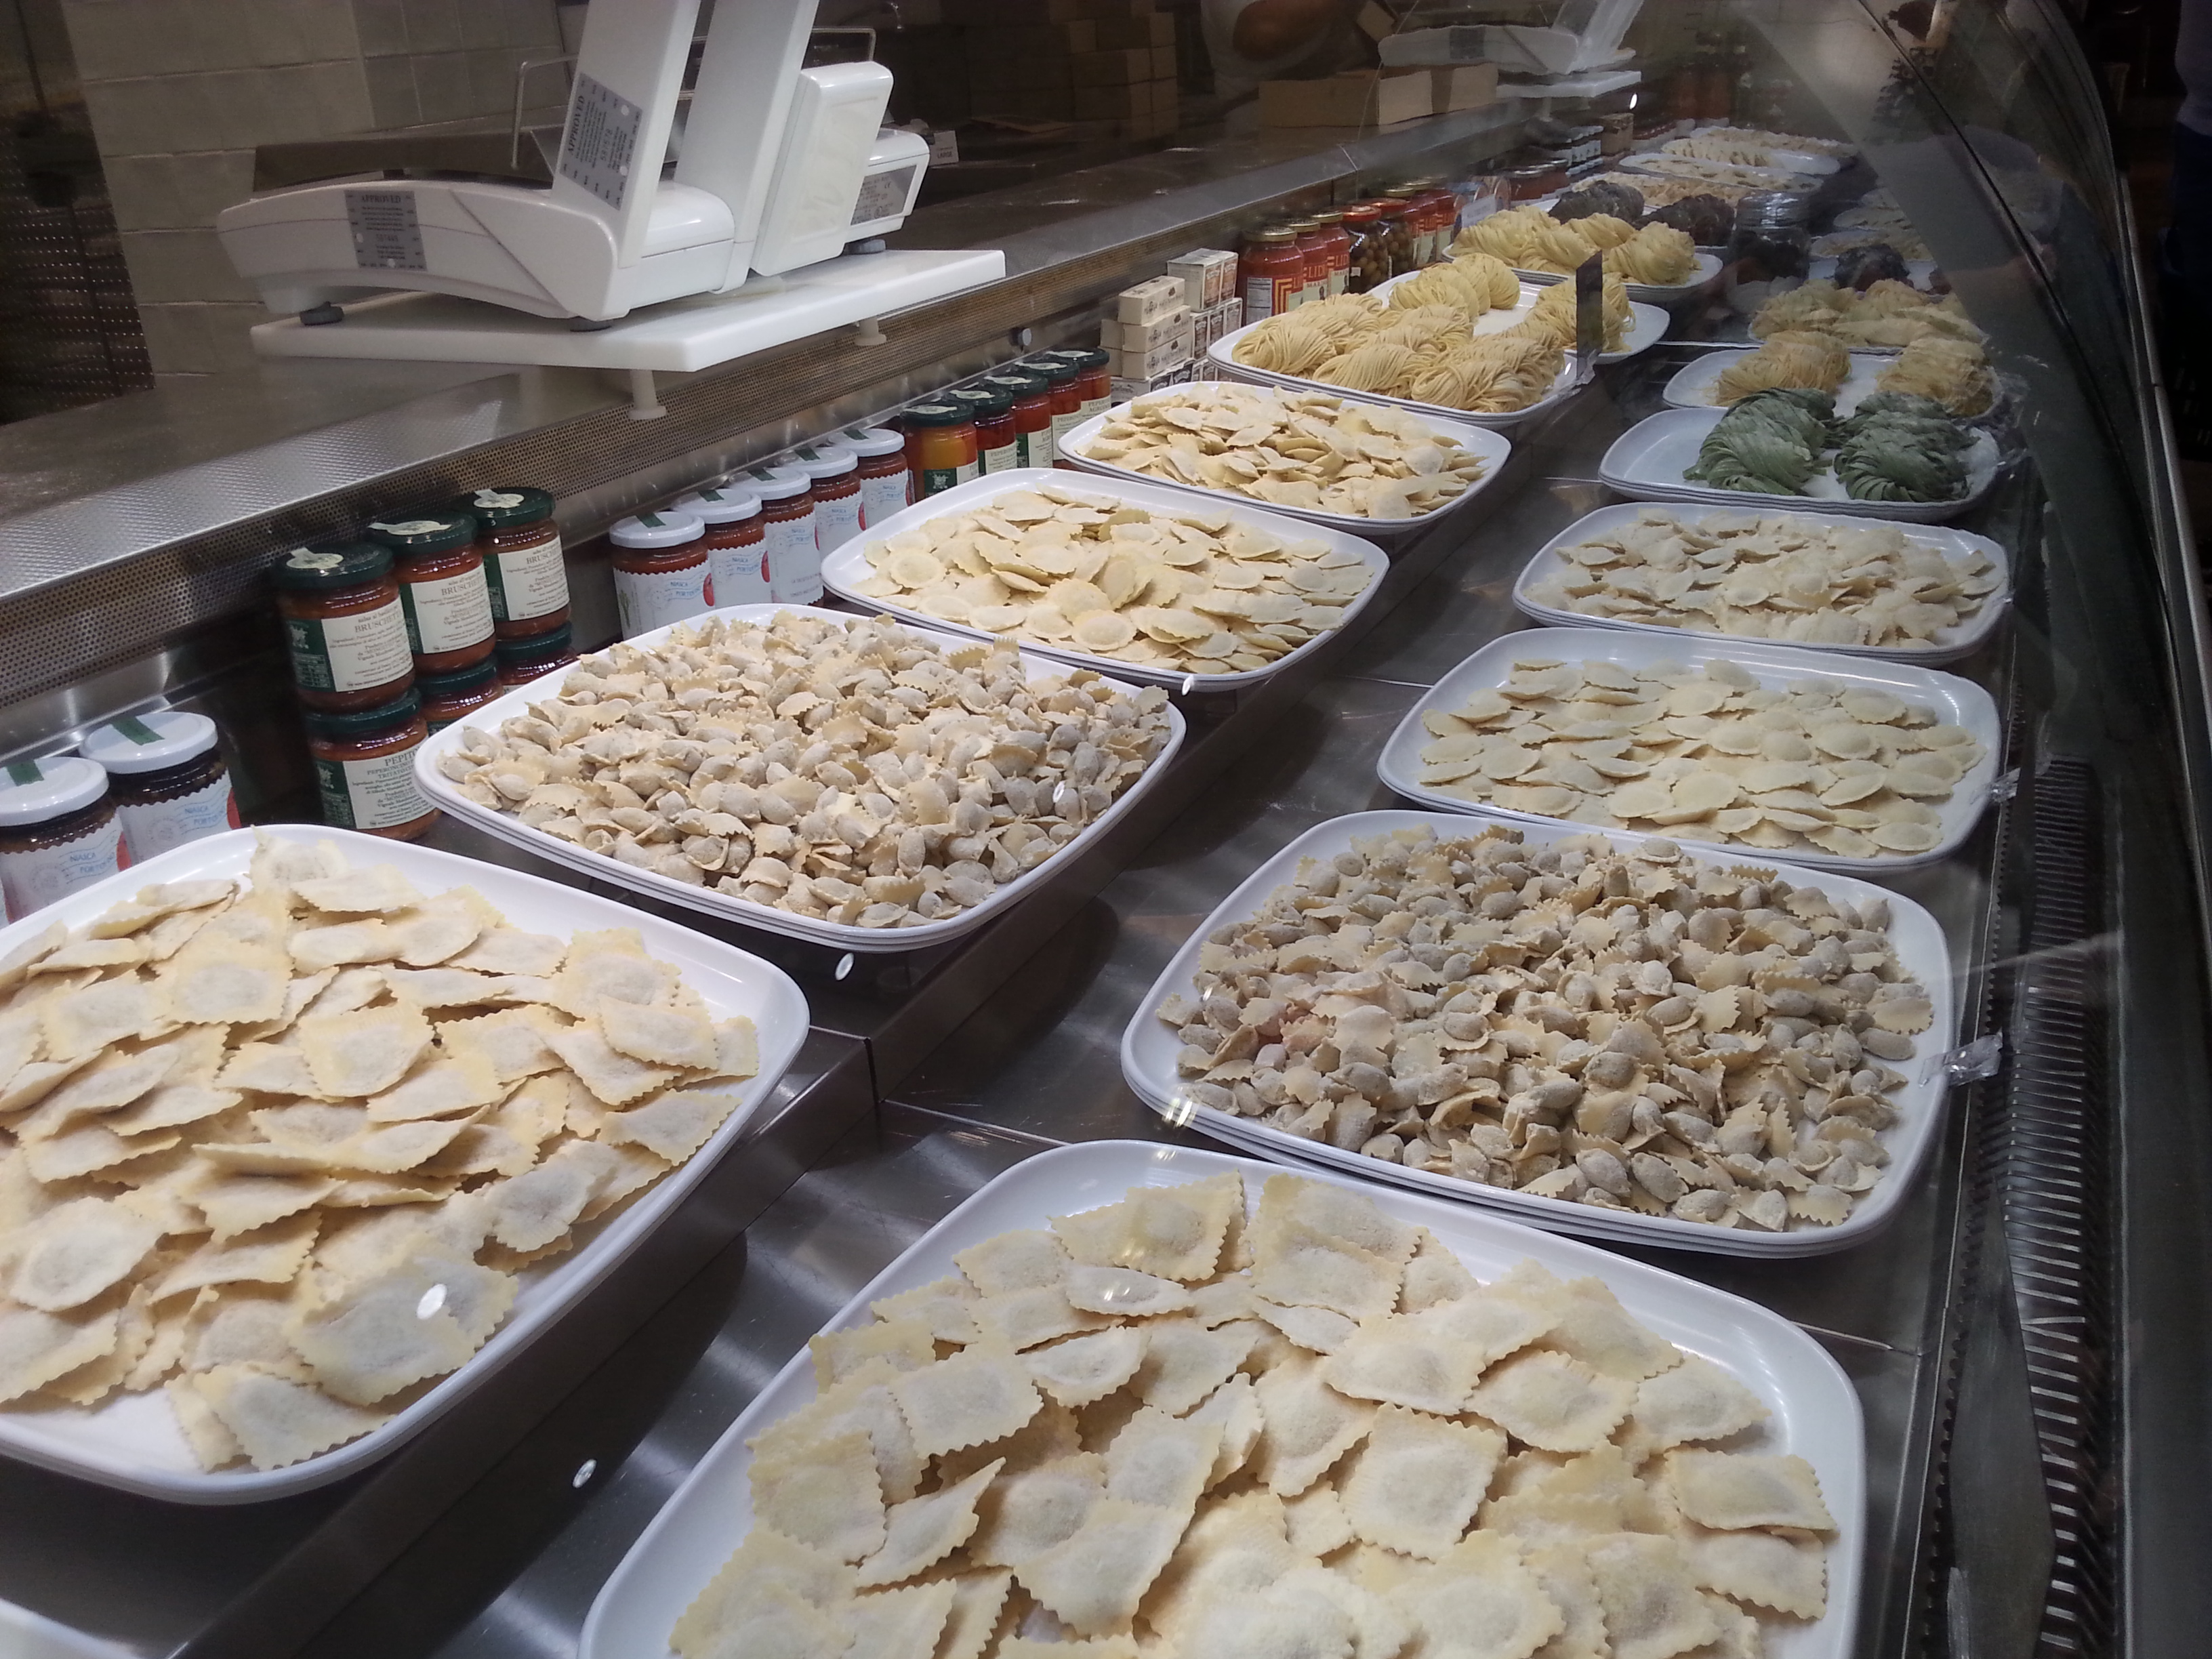
433The place is enormous; 63,000 square feet spread out over two floors, to be exact. It has a modern industrial feel with incredible merchandising of it’s over 10,000 items. A single item often takes up an entire shelf. The impact this creates is eye-popping and genius. 428Still there are other areas where the variety of products is mind-boggling. Dry pasta goes on for aisles with every shape imaginable, and some that were  beyond belief.419426Cooks can’t live by dry pasta alone.427 Eataly has the perfect solution for that. There is a pasta kitchen on site that turns out beautiful sheets of golden dough that are transformed into long, cut, and filled pastas. You can buy a pound, go home, and create.

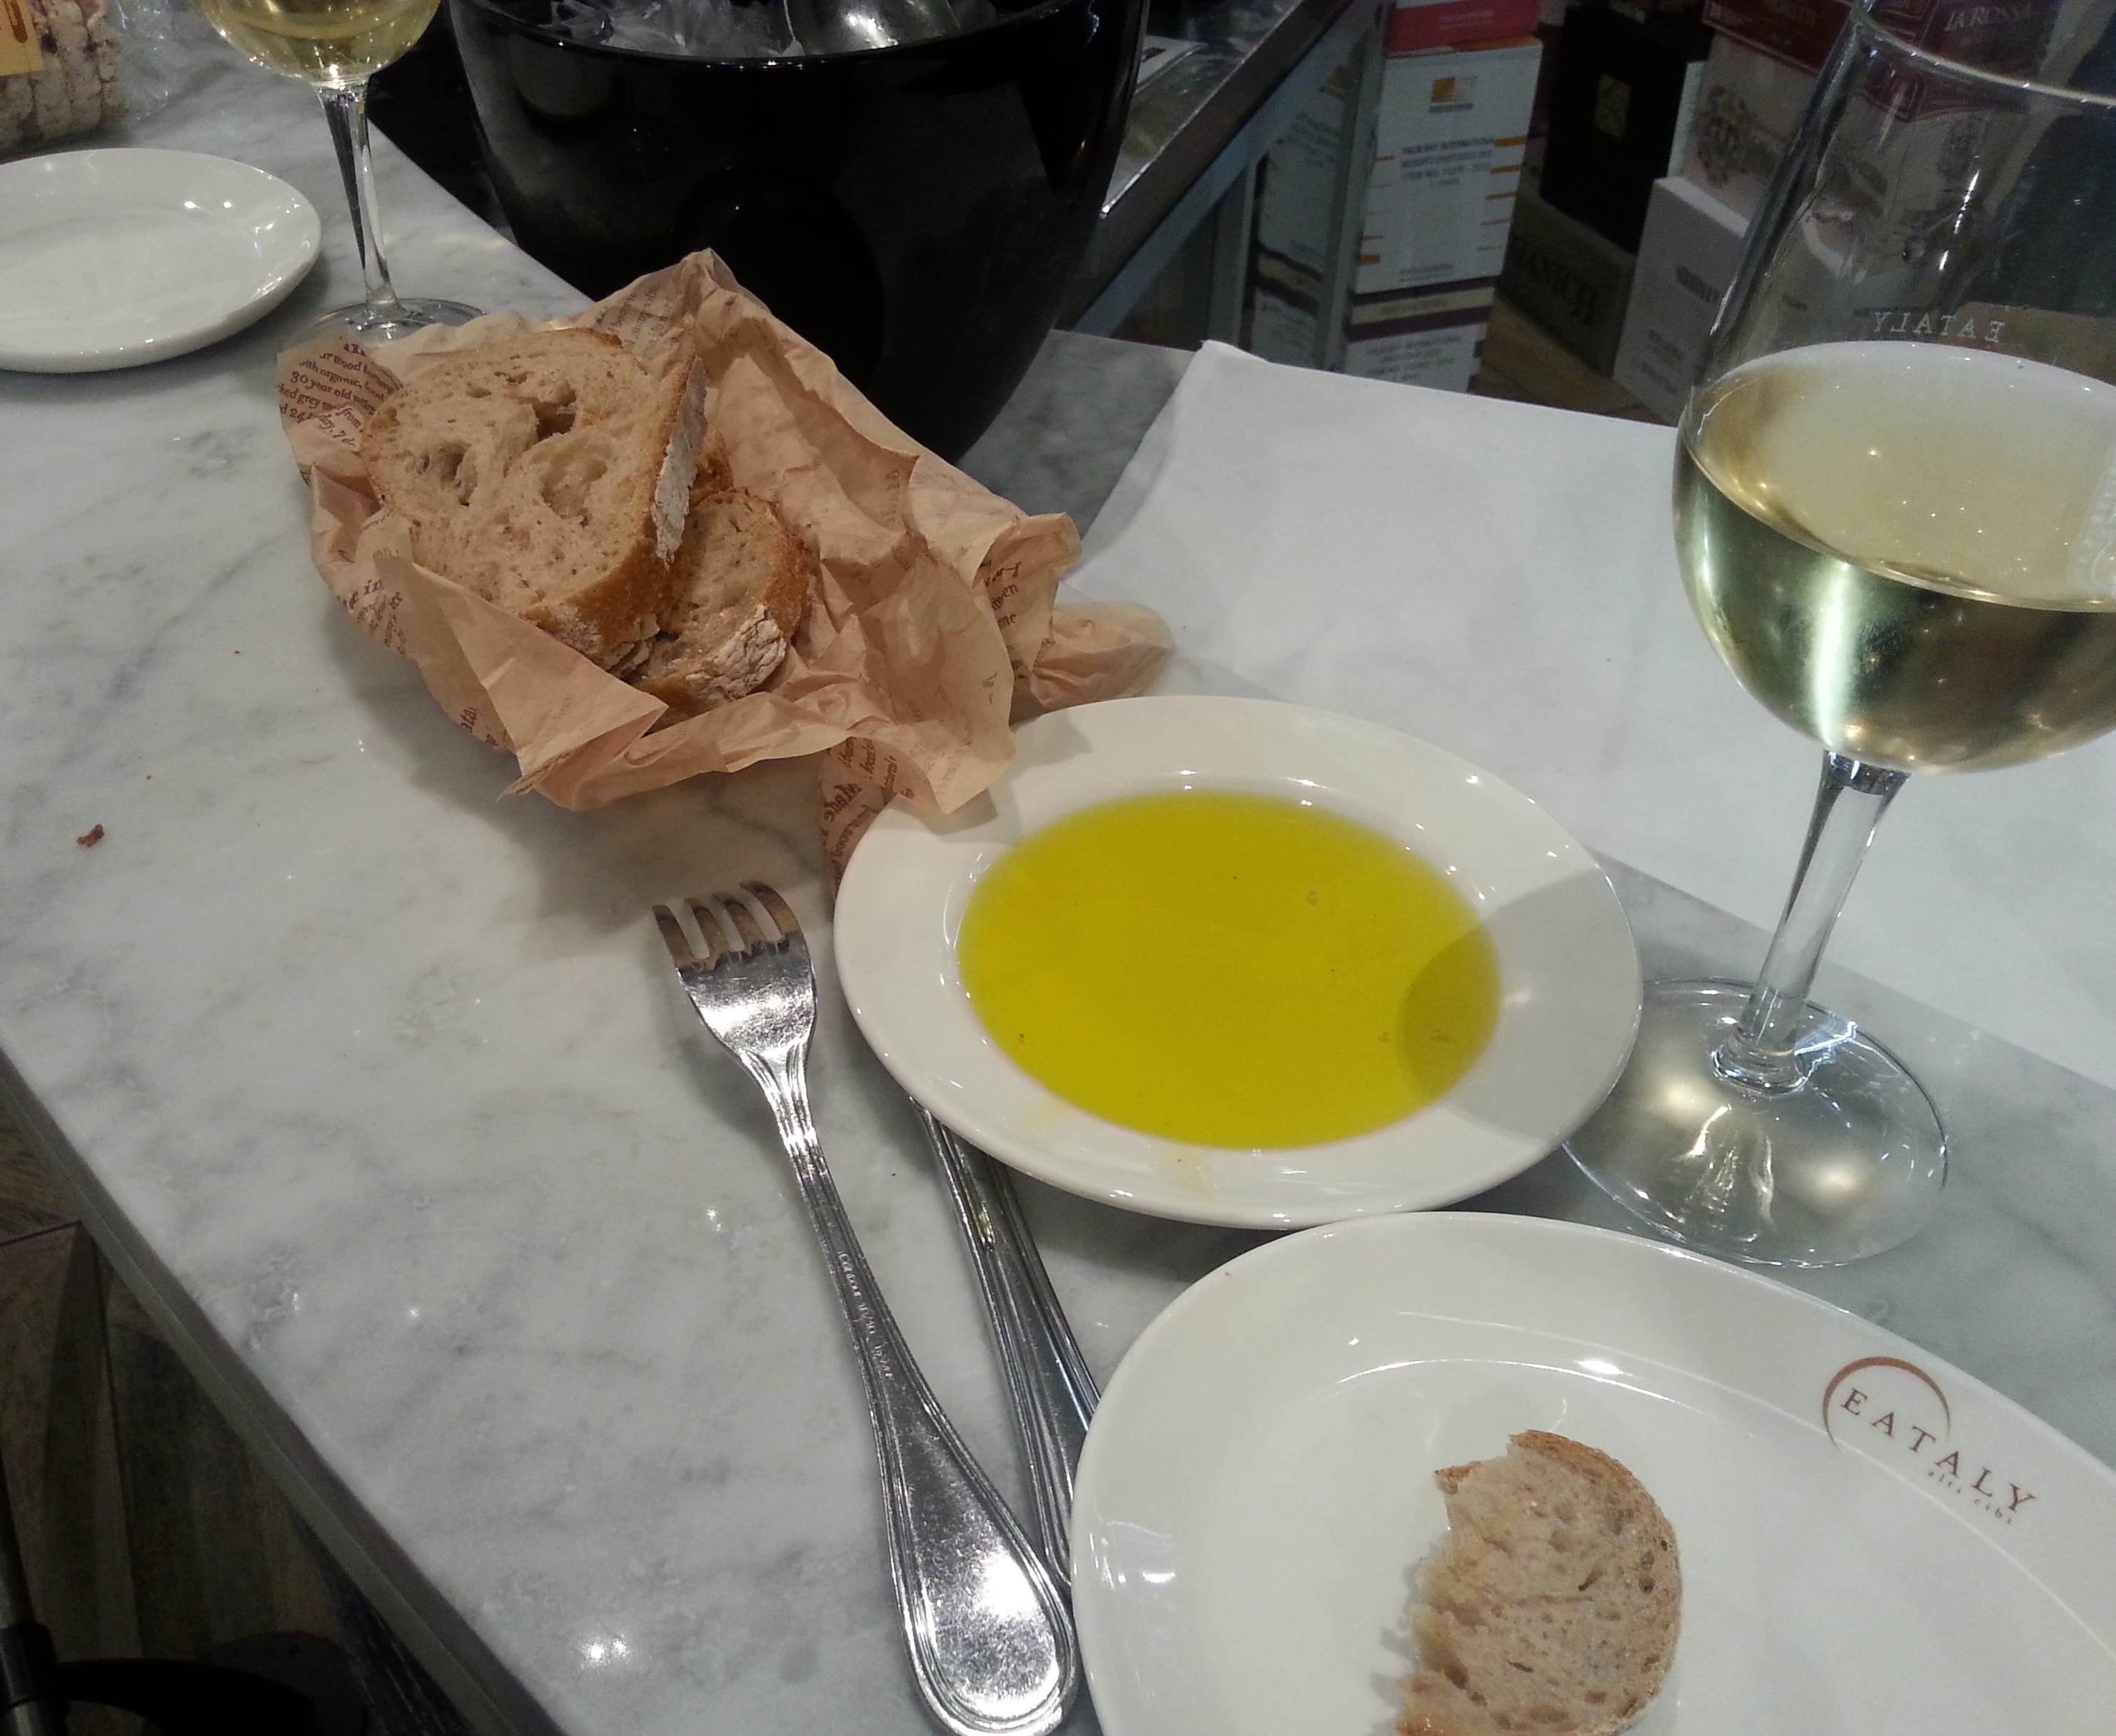
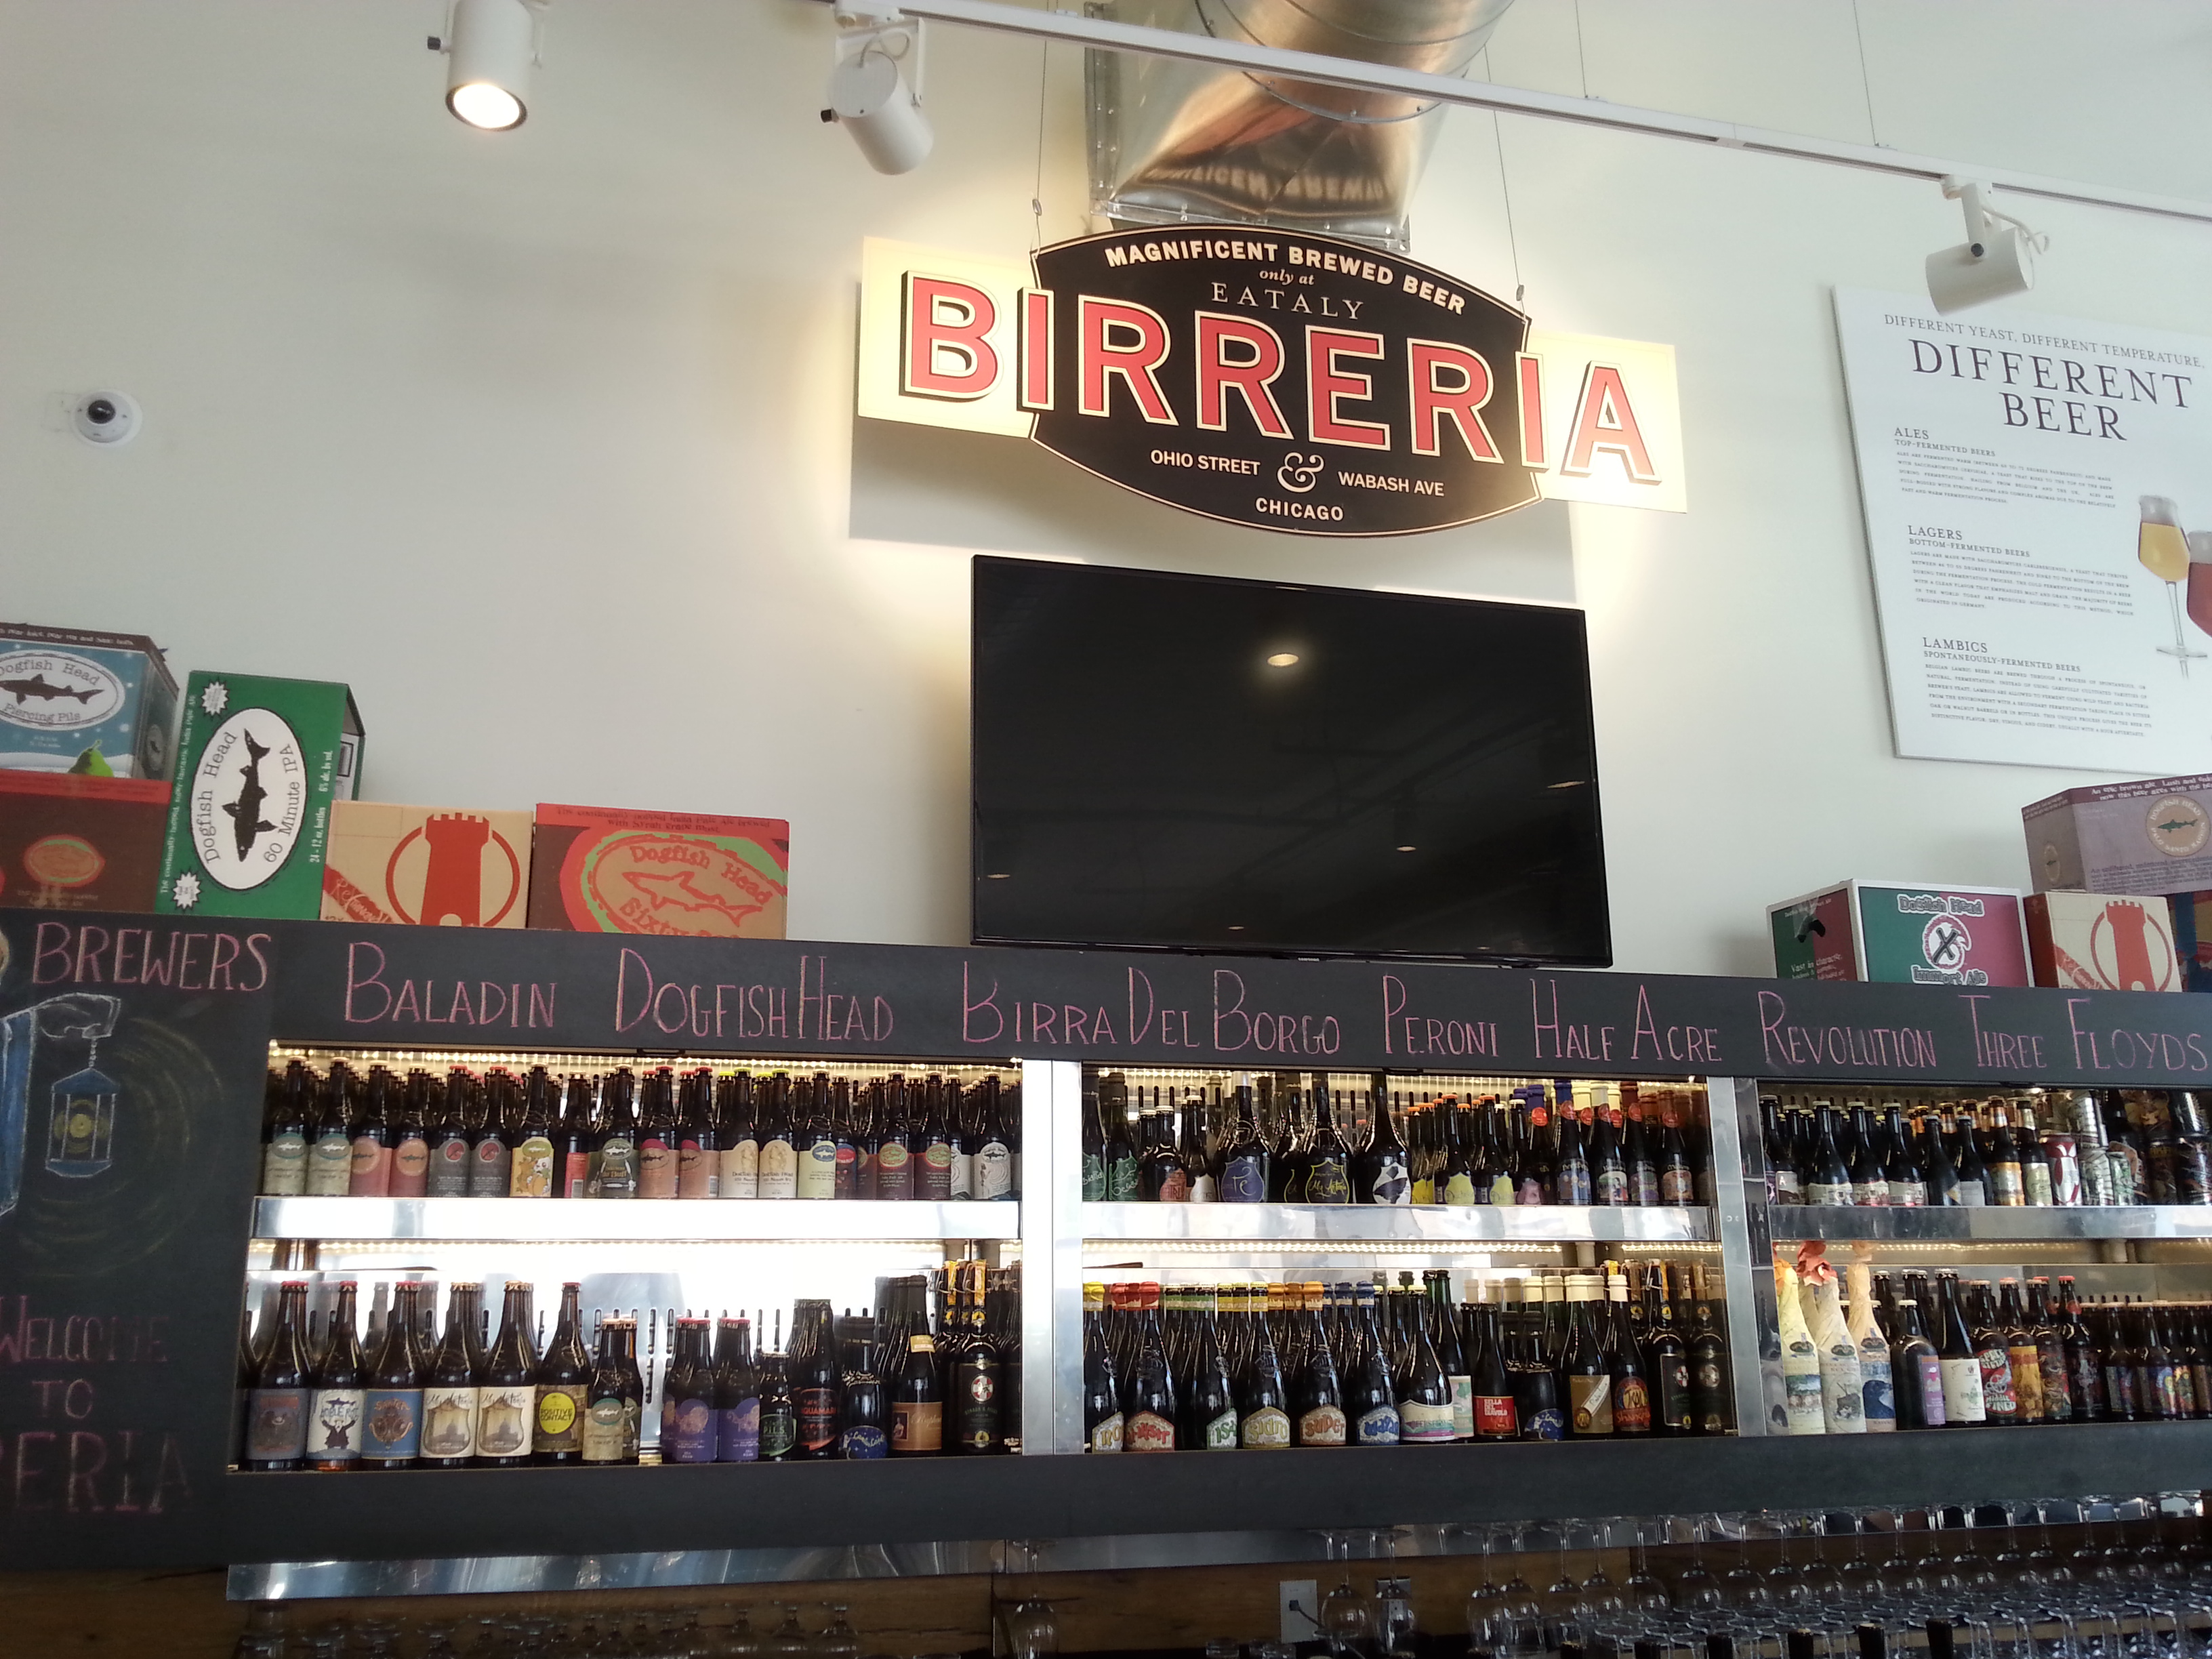
The grocery aspect of Eataly is like no other, but that’s only part of the package. It is an amazing place to eat and drink as well. The selection of Italian wines is huge and many are available for tasting and purchase by the glass at La Piazza, one of the twenty three dining possibilities. This is a stand up affair much like the square in an Italian city. Freshly baked bread was served with a pool of fruity olive oil that was the tease before our Grande Piatto Misto Di Salumi  & Formaggi arrived. 424There was a Birreria, serving an impressive array of beers. It featured Italian brews along with local craft beers and two cask ales made on site. Yup, there’s a craft brewery here as well.412My wonderful husband, Jeff was quite impressed with the place. Amazing for someone who doesn’t like crowds and hates to shop because this place is busy, loud, and circus like at times. He also took all of these pictures. We ate and drank, but bought very little. It’s hard to keep fresh pasta and salami in a hotel room. I was also honestly overwhelmed by it all and it was hard to choose.

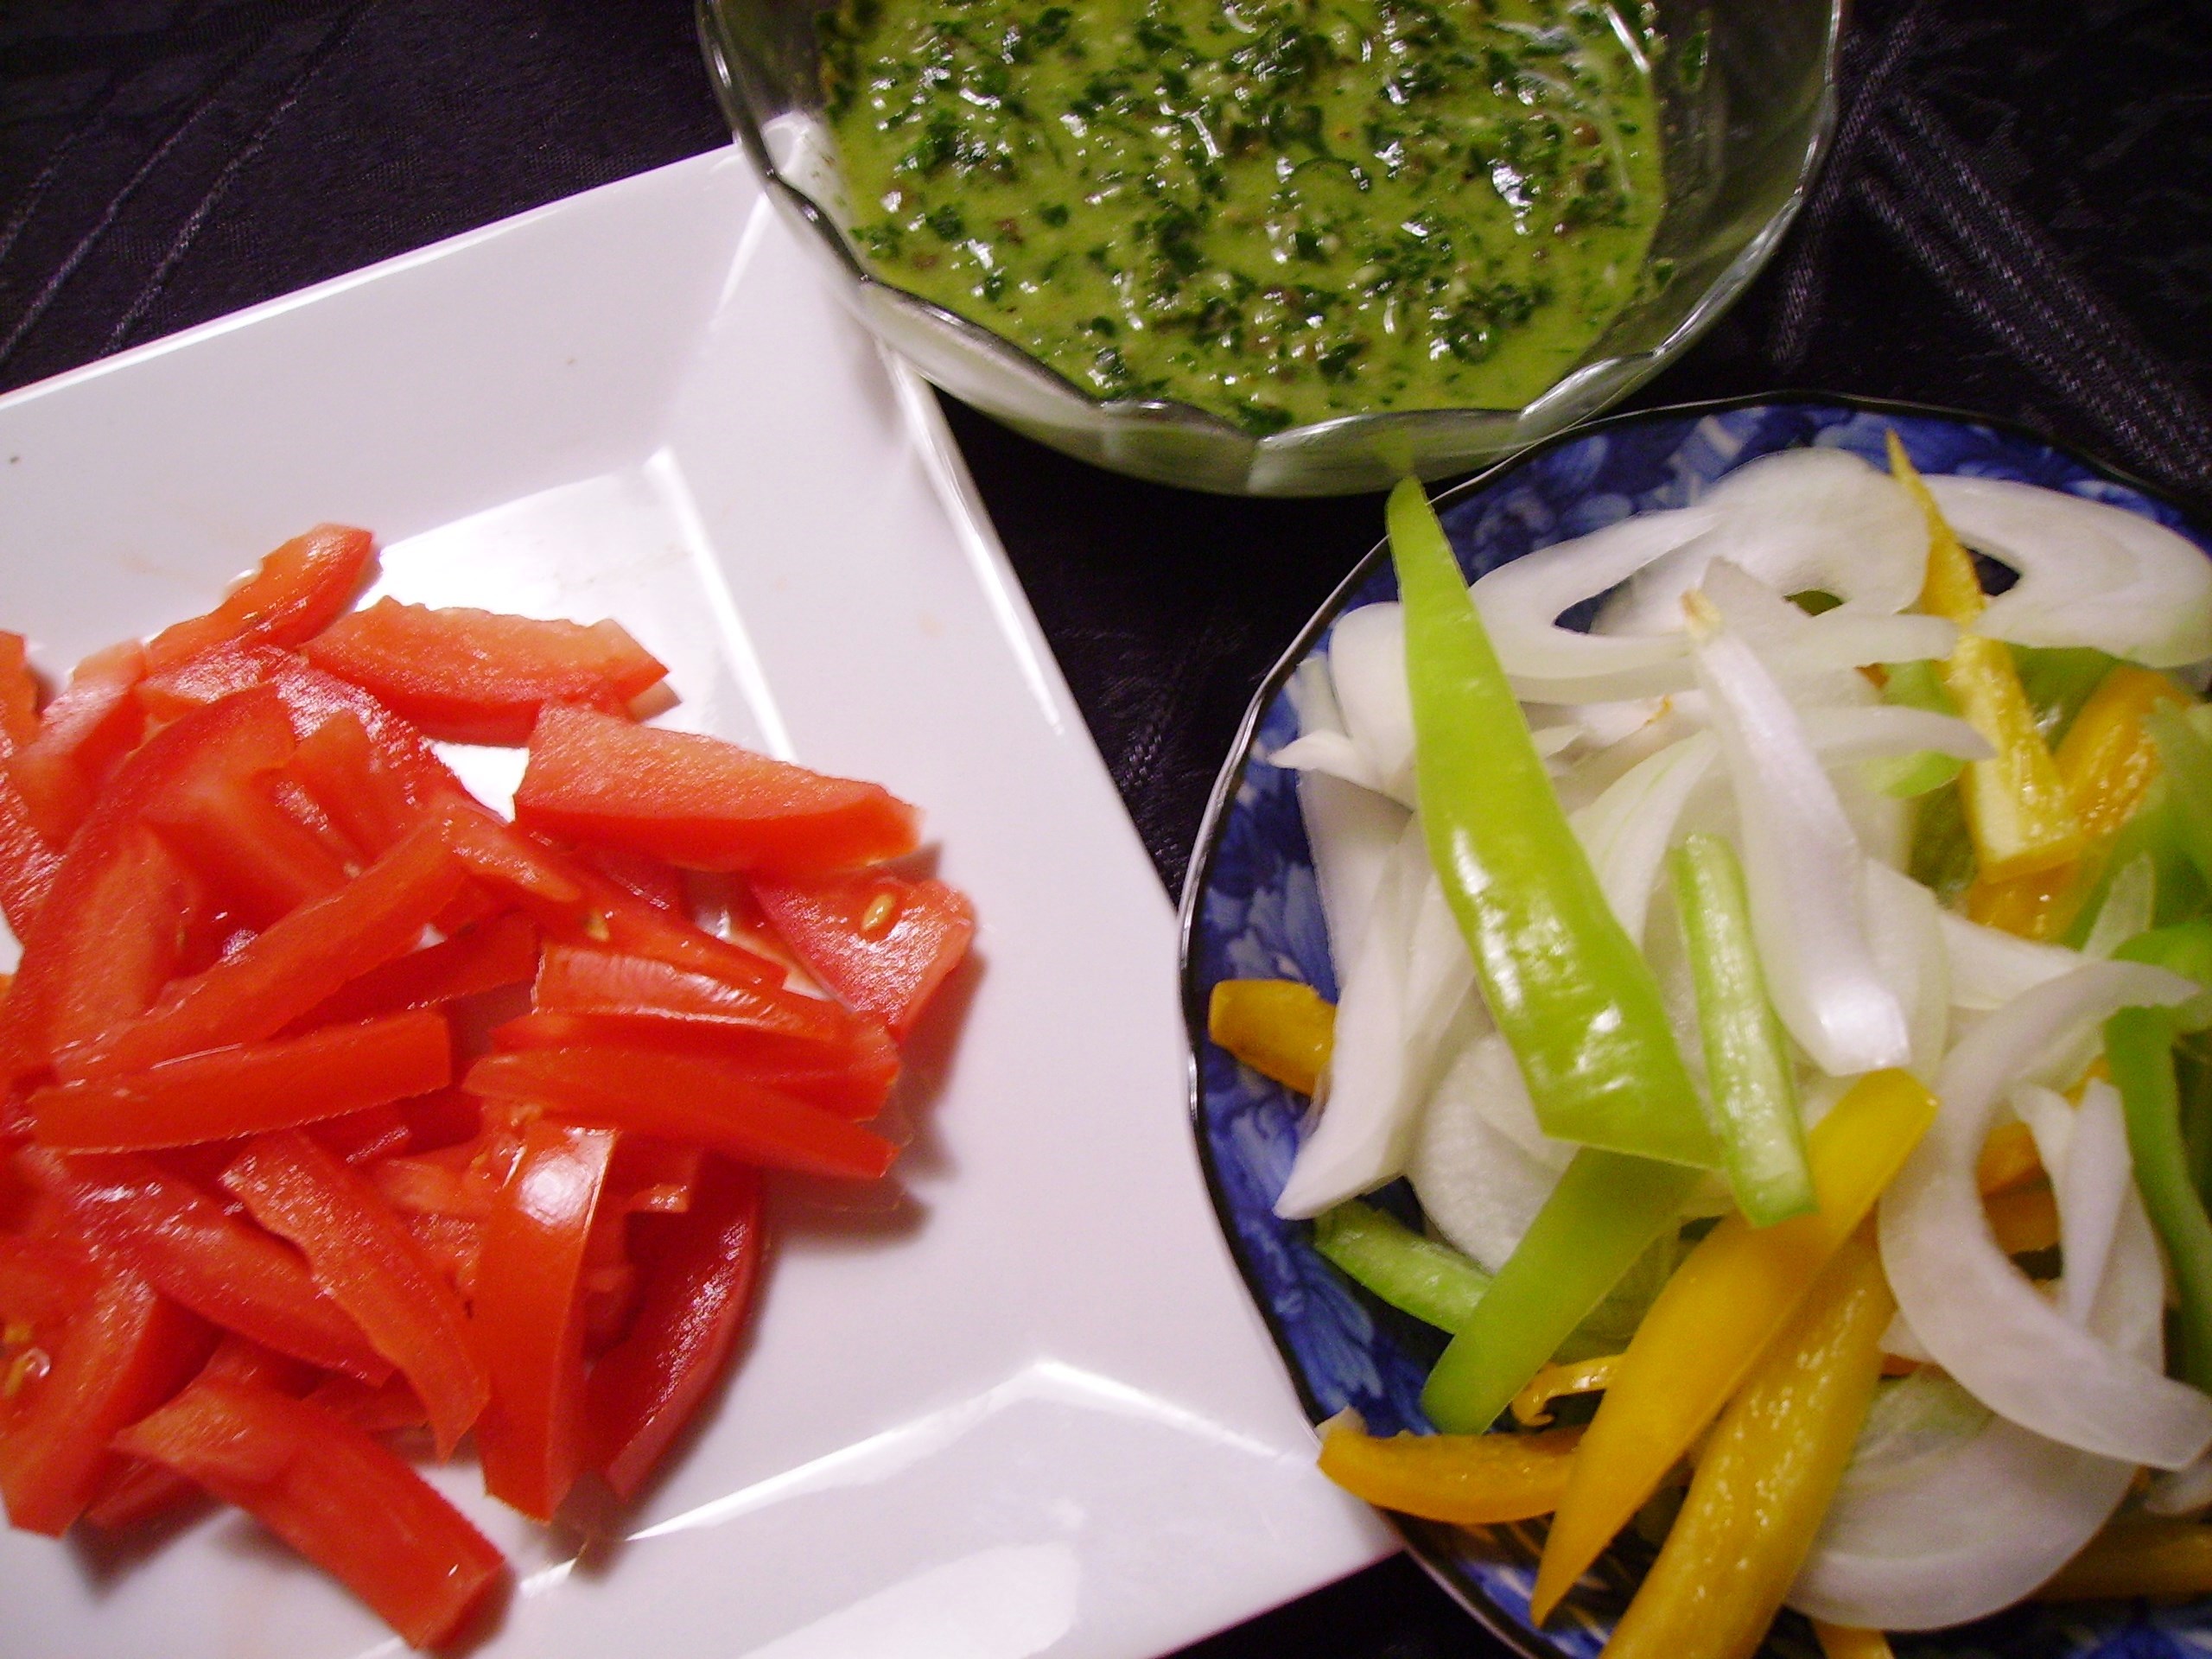
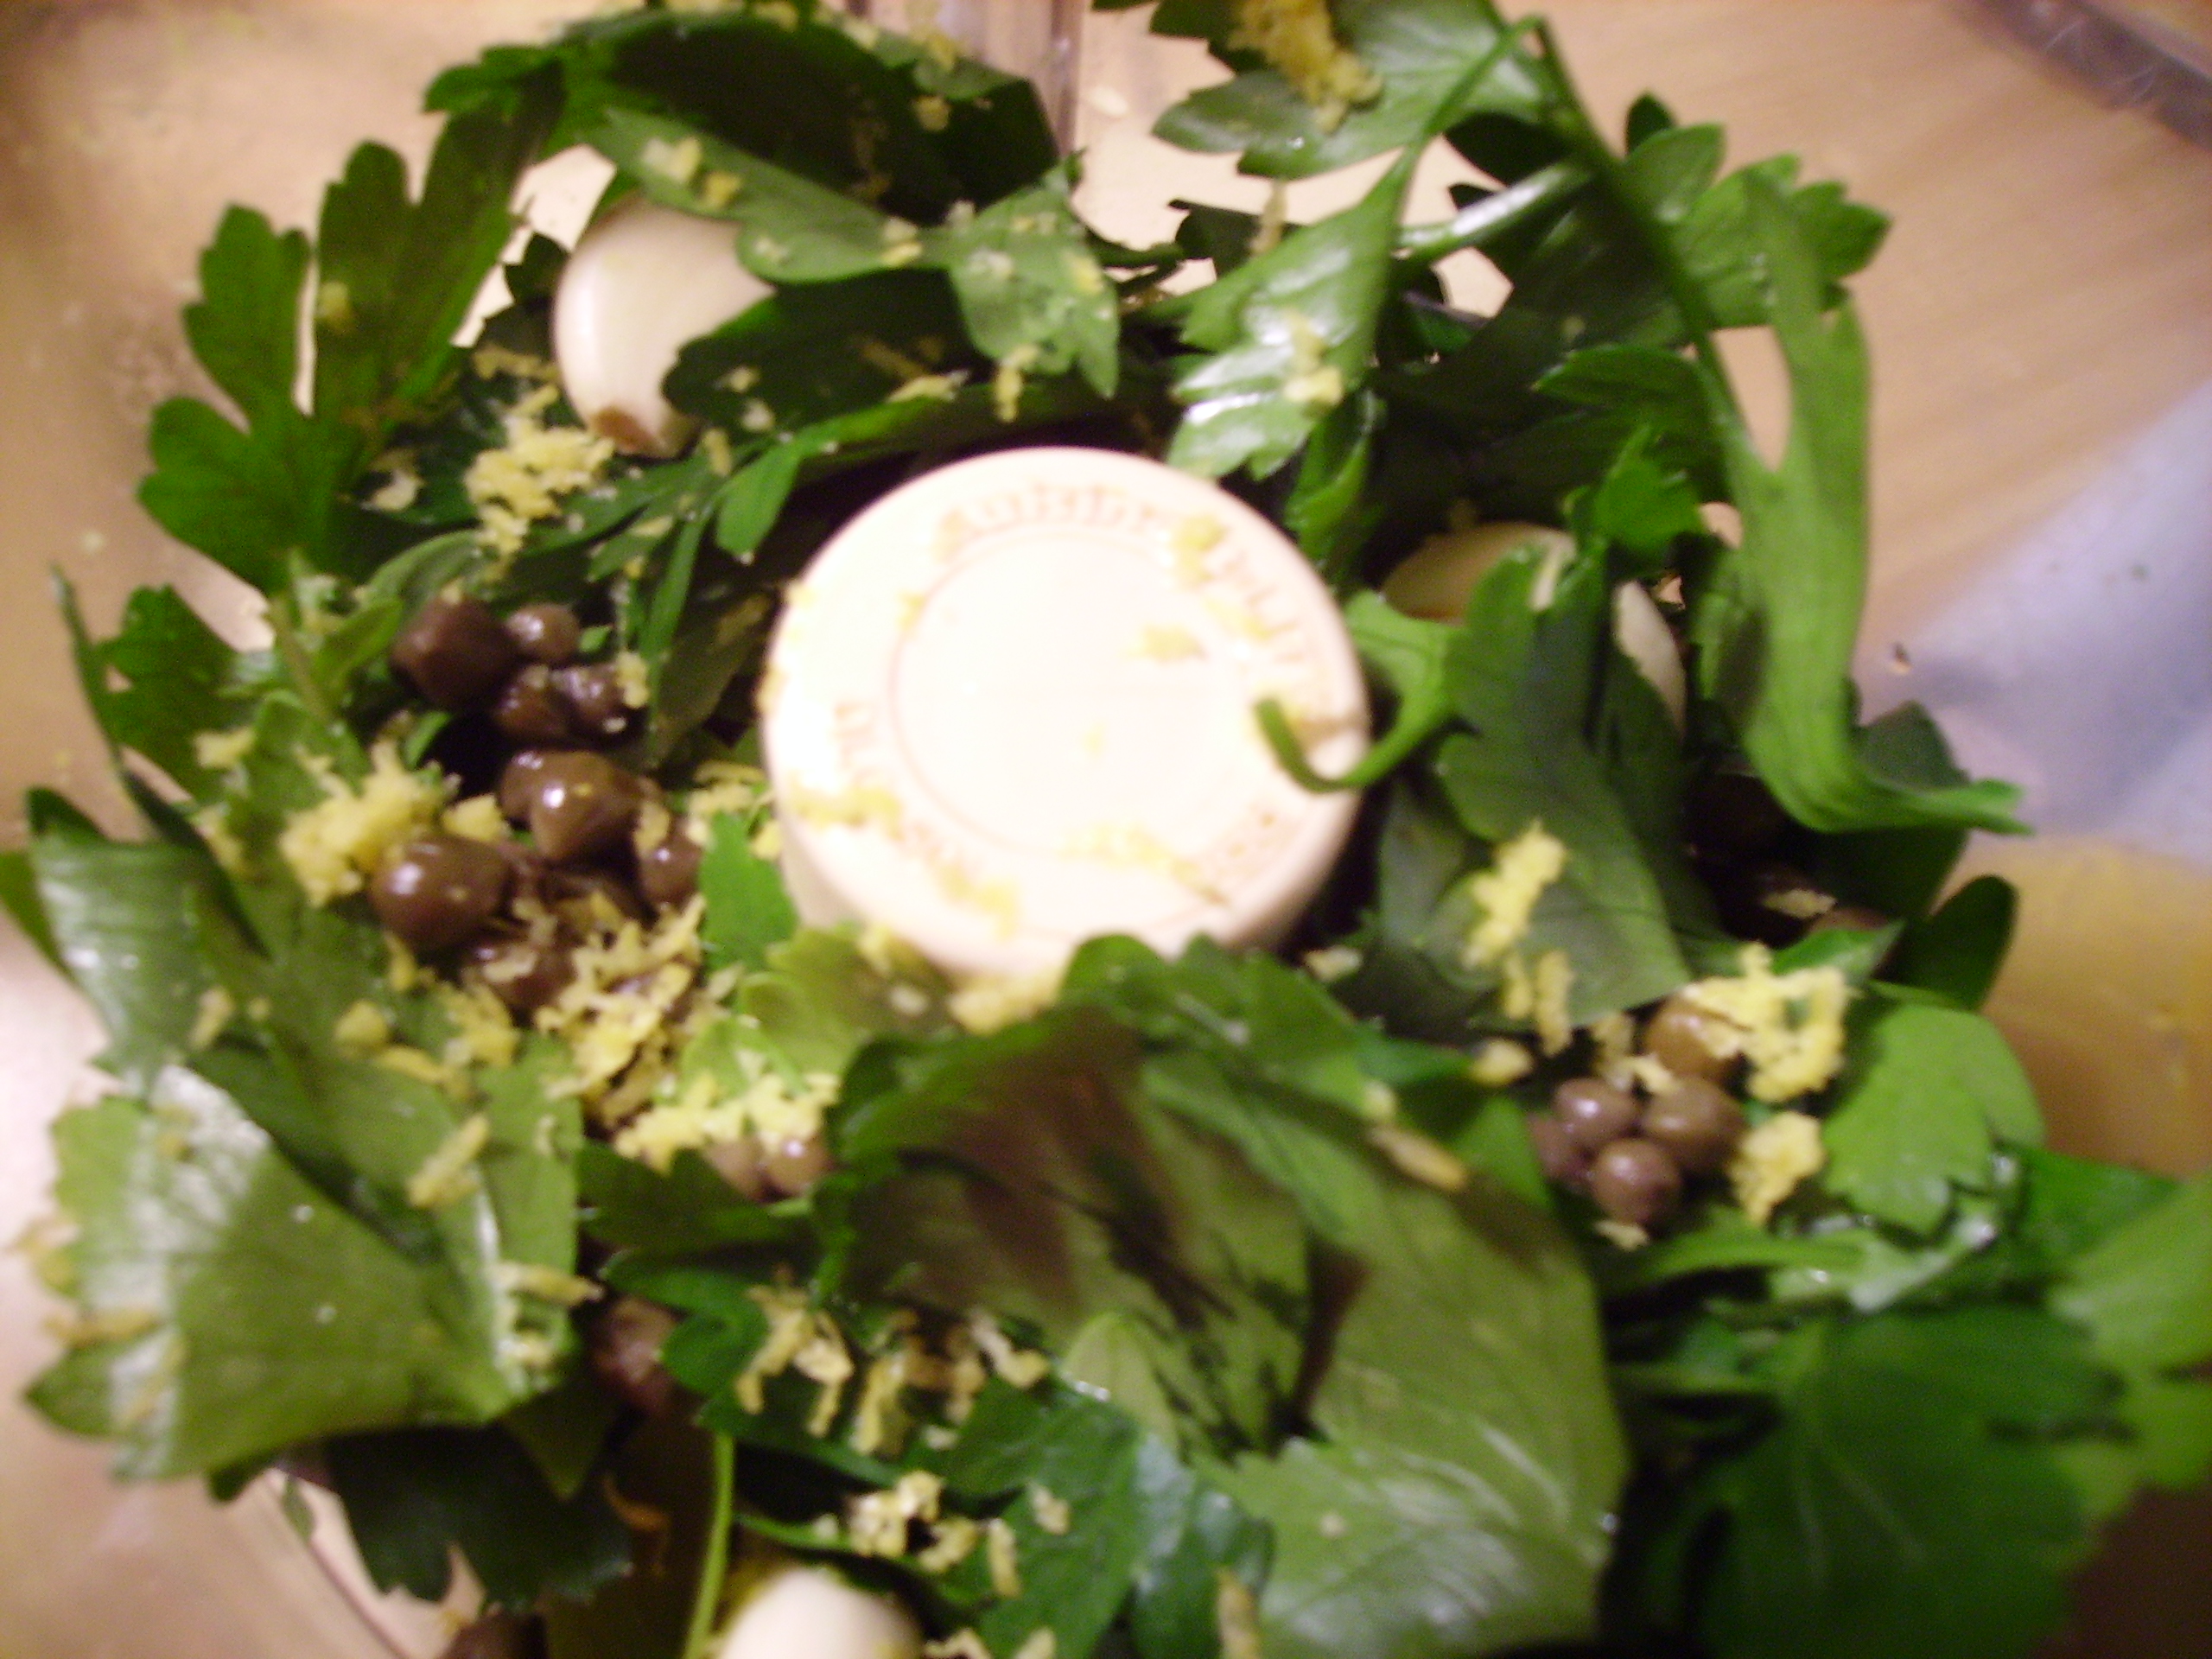
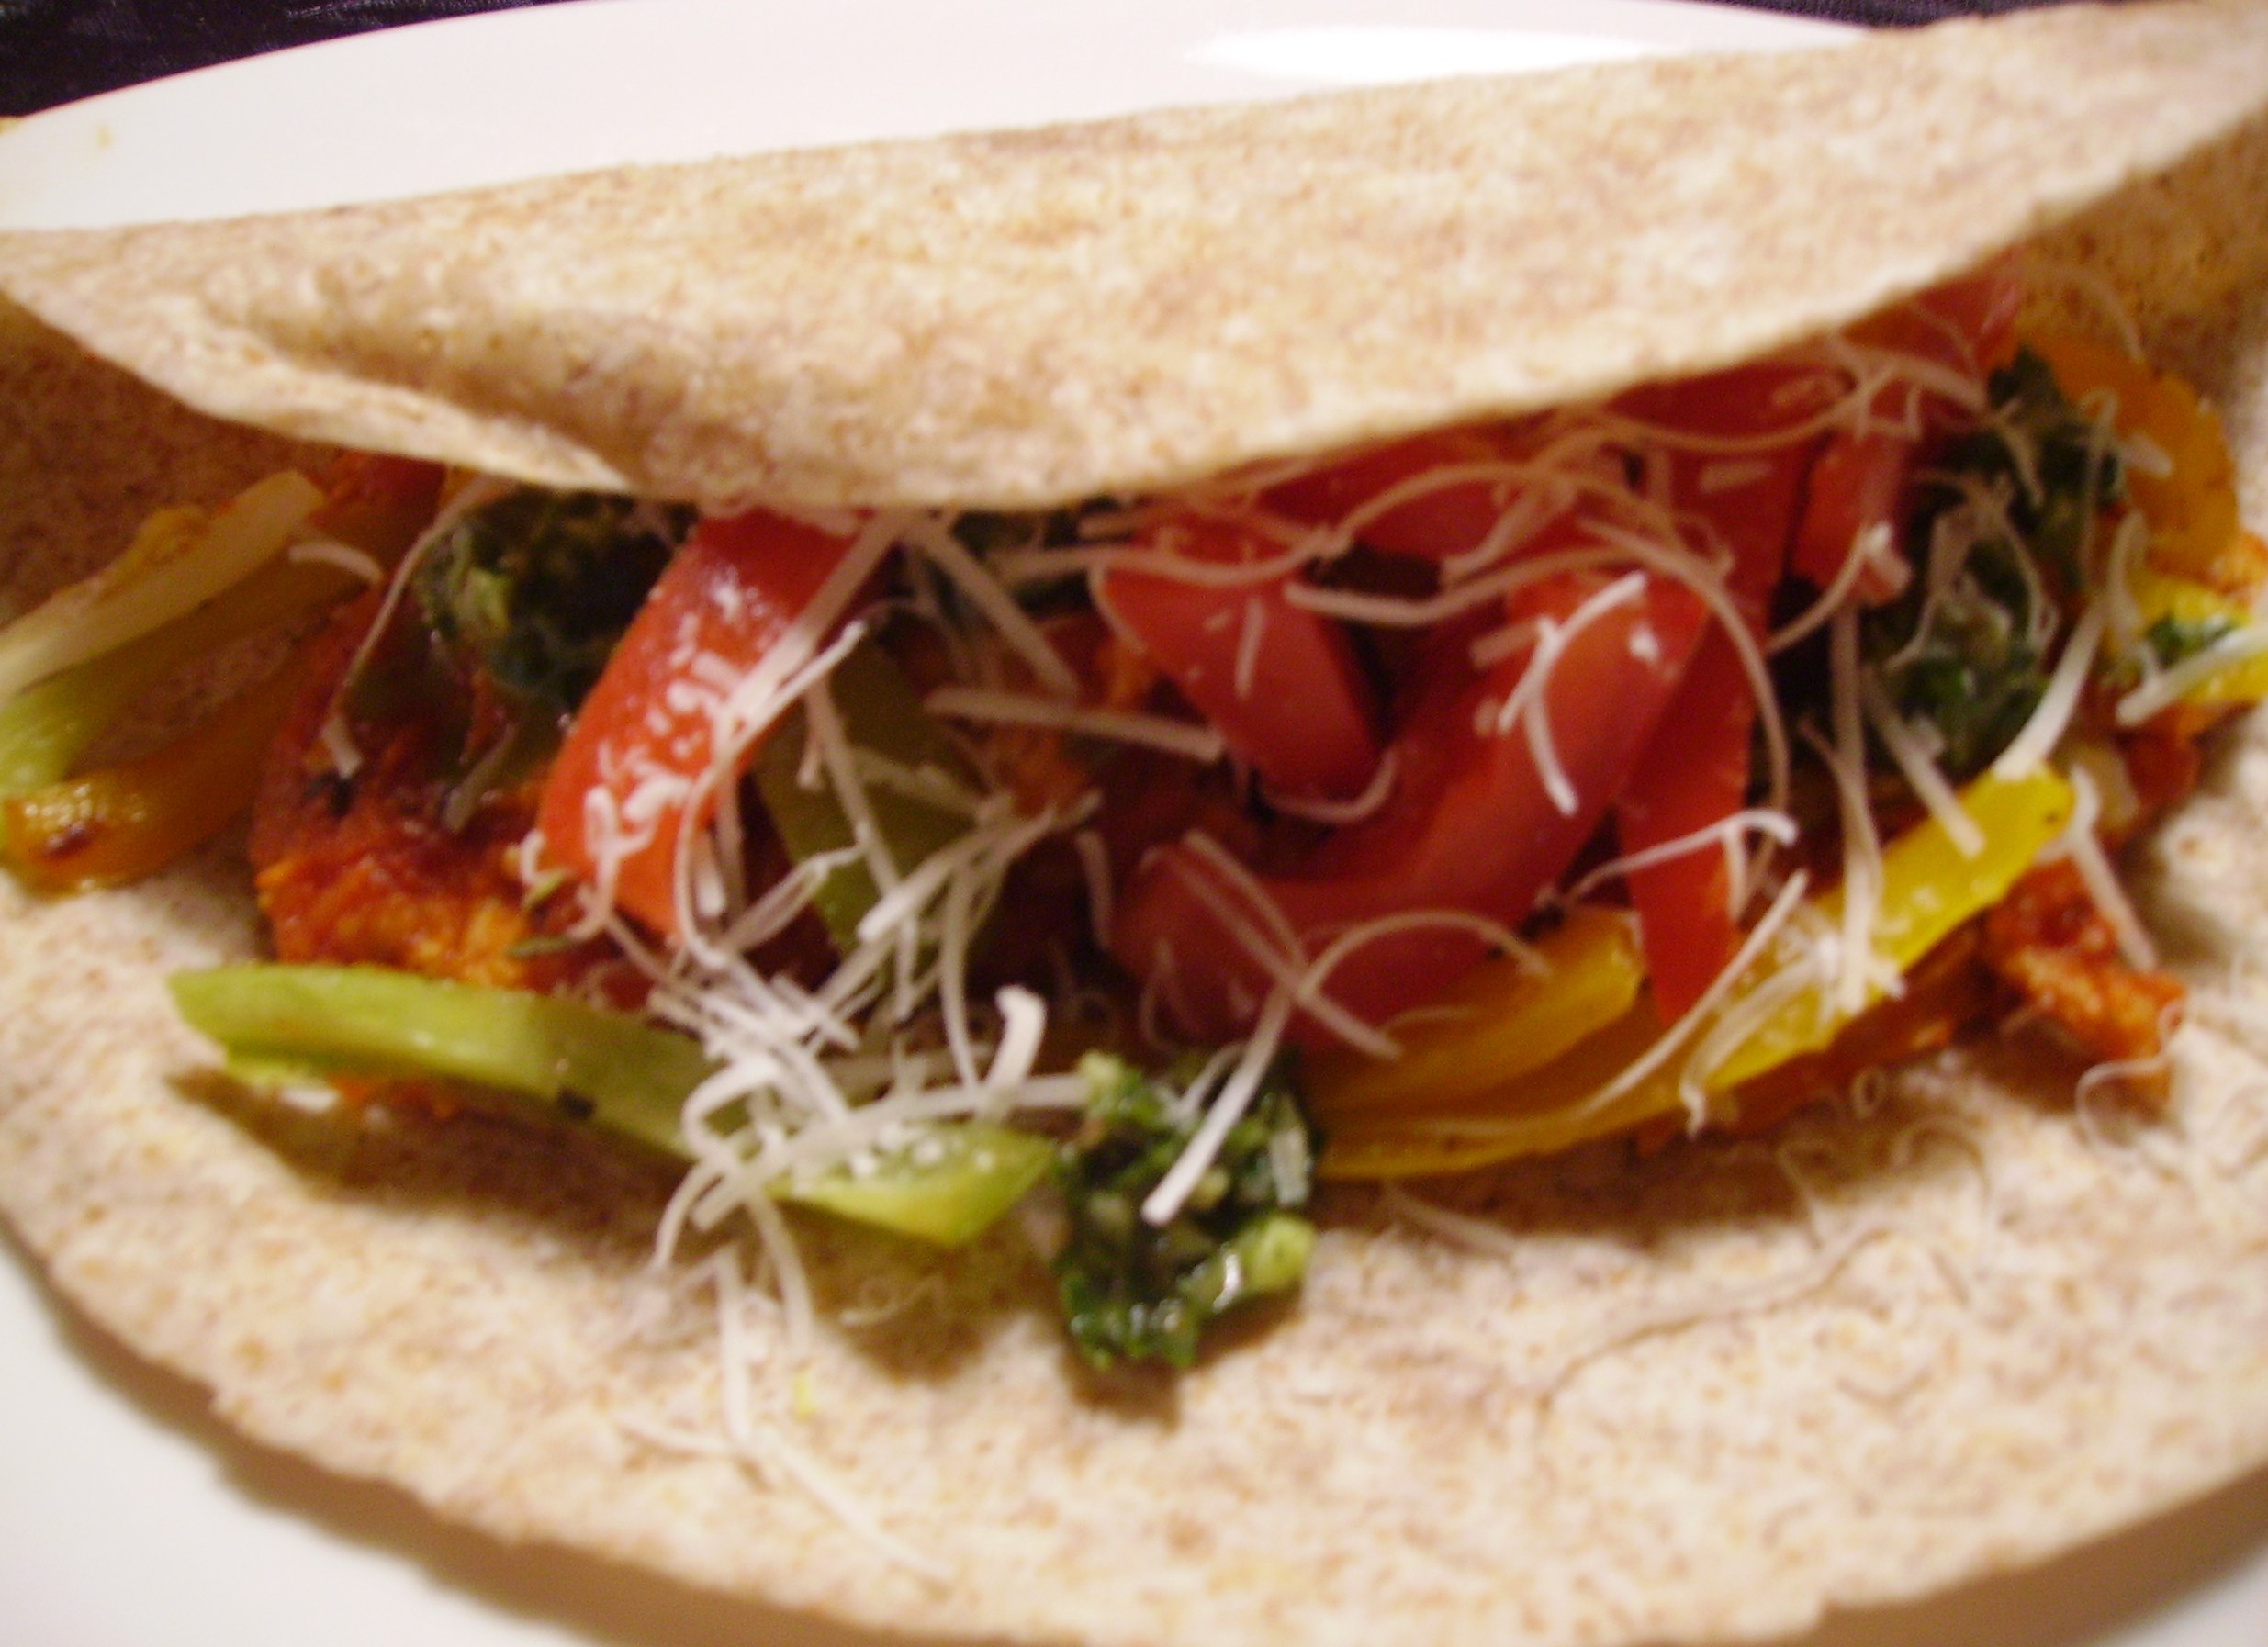
What Eataly gave me was renewed inspiration. I tink the food I’ve been creating since my visit has been more creative and tastier. It has given life to, among other things, the Italian Taco… Sausage simmered in marinara and layered with sautéed onions and peppers and sliced tomatoes. A drizzle of Salsa Verde gives it some punch and pizzazz. DIGITAL CAMERA  This salsa is parsley, garlic, and lemon driven. Basil, thyme and capers play the supporting role. Olive oil brings it all together. DIGITAL CAMERA The fillings were layered in a tortilla. Yes, that’s a whole grain tortilla… Inspiration can be healthy, too. A sprinkle of Romano cheese topped it all. DIGITAL CAMERA  

Italian Tacos
Print Recipe
Servings
4
Servings
4
Italian Tacos
Print Recipe
Servings
4
Servings
4
Ingredients
Salsa Verde
Italian Tacos
Servings:
Instructions
  1. To make the salsa: Combine the herbs, capers, garlic, lemon zest and juice in the bowl of a processor. Process until coarsely chopped, scraping the bowl as necessary.
  2. Add the olive oil and process until finely chopped, scraping bowl as necessary. If mixture is too thick add water a little at a time until the consistency is as you like it. Pour the salsa into a container cover and refrigerate until ready to use.
  3. Grill or broil the sausages. Allow to cool enough to slice thinly. Combine the sausage slices and the marinara sauce in a saucepan. Simmer for 5-7 minutes.
  4. While the sausage simmers, saute the the onions and peppers in the olive oil. They should be lightly browned but still crunchy.
  5. Assemble the Tacos: Divide the sausage between the tortillas. Top the sausage with the peppers and onions. Add the tomato slices. Drizzle with the Salsa Verde and sprinkle with the cheese.
Share this Recipe
Powered byWP Ultimate Recipe

Triple Shot Pork Ribs

file000987825684For many of us, coffee helps make the world go around. My morning doesn’t begin until I’m on my second cup and I know that I am not alone. But coffee definitely isn’t just for breakfast any more. Starbucks has seen to that. Coffee also isn’t just for drinking either. Ice cream and any other sweet treat that can handle the coffee_rub_newcaffeine hit can be coffee flavored. And then there’s mocha that wonderful marriage of coffee and chocolate. Just when you thought that coffee had conquered enough markets, along comes the Coffee Rub. This isn’t totally new, but it is definitely on the upswing and with most of the free world firing up their grills this weekend, it’s a flavoring whose time has come.

I’ve plunged into coffee enhanced meat grill first. I found 3 recipes created by Andy Schloss. He created a brine, rub, and barbecue sauce that all featured coffee with orange as a supporting player. While I do think coffee and orange work well together, I thought that chocolate could contribute something special as well and because I’m Mama D there had to be onion and garlic, too.DIGITAL CAMERA I chose Baby Back ribs for this recipe. I’m usually a Country Rib kind of gal, but I found the perfect rack of ribs for two that looked to be lean and meaty, so they found their way into my cart and my kitchen. They spent just over 24 hours in a brine of strong coffee, orange juice, and beer that was laced with onion, garlic, and brown sugar.DIGITAL CAMERAI coated the ribs with my coffee- cocoa-orange peel rub and let them soak up the flavor for an hour.DIGITAL CAMERAThey cooked over indirect heat for 40 minutes or so, meaty side up. They only required a little do-si-do around the grill to cook to crusty perfection.DIGITAL CAMERAA liberal brushing with what I believe is a killer barbecue sauce and a few more minutes on the grill and they were perfection.DIGITAL CAMERANaturally these three recipes work beautifully together, but they could be used individually, too. I think that the barbecue sauce may become my new favorite. It’s the perfect blend of sweet and spicy. I’ll be trying the rub on steaks soon and I think the brine would do wonders for chicken. So without further ado, I give you the three shots of caffeinated barbecue goodness. 

Coffee Rub
Print Recipe
This rub works on any pork cut, especially ribs. It would also be great on steak.
Servings
1 Cup
Servings
1 Cup
Coffee Rub
Print Recipe
This rub works on any pork cut, especially ribs. It would also be great on steak.
Servings
1 Cup
Servings
1 Cup
Ingredients
Servings: Cup
Instructions
  1. Mix all ingredients together.Use as a rub on pork, beef or chicken. Leftover can be stored in an airtight container.
Share this Recipe
Powered byWP Ultimate Recipe

Coffee Brine
Print Recipe
This is enough to brine about 4 pounds of ribs. It would work with any cut of pork as well as chicken or turkey.
Coffee Brine
Print Recipe
This is enough to brine about 4 pounds of ribs. It would work with any cut of pork as well as chicken or turkey.
Ingredients
Servings:
Instructions
  1. Mix all the ingredients together until the salt and sugar dissolve.
  2. Place the ribs in a zip top bag. Add the brine and seal the bag. Place the bag in baking pan in case of leaking. Refrigerate for up to 24 hours, turning bag occasionally.
  3. When ready to grill, remove the ribs and allow to drain. Discard the brine.
Share this Recipe
Powered byWP Ultimate Recipe

Orange Mocha Barbecue Sauce
Print Recipe
This is an awesome sauce. Sweet and tangy with that subtle flavor that makes you say,,,Hmmm.
Servings
1 Cup
Servings
1 Cup
Orange Mocha Barbecue Sauce
Print Recipe
This is an awesome sauce. Sweet and tangy with that subtle flavor that makes you say,,,Hmmm.
Servings
1 Cup
Servings
1 Cup
Ingredients
Servings: Cup
Instructions
  1. Combine all of the ingredients except the orange zest in a medium sauce pan.
  2. Bring just to a boil over medium heat. Reduce heat to low and simmer for 15 minutes or so, stirring frequently. The sauce should thicken and reduce slightly.
  3. Stir in the orange zest and simmer for 2-3 more minutes. Remove from heat and allow to cool. Use immediately or refrigerate for up to a week
Share this Recipe
Powered byWP Ultimate Recipe
 

Making this for your July 4th Cookout may be too much of a time challenge, but the summer is still young so give it a try soon. Love, Mama D