A Reluctant Spring and An Adapted Recipe

I’m sitting here listening to the wind propelling a driving rain at my window. The air is flirting with being warm (sort of), and Spring is more than a week old. This week has been quite unsettled weather wise. It has been warm and sunny and cold and gray seemingly within hours of each other. I know the old adage that if you don’t like the weather in Chicago, just wait an hour, but I (and I know I am not alone) want Spring to come in and stay awhile.

As a seasonal cook, I am anxious to create light and bright meals that are bursting with the flavors of spring. When I’m still wearing my winter coat to shop for ingredients of the season, that kind of inspiration is a struggle. I feel the need to eschew light salads and set my sights on warm and comforting soups.

Long time readers know that I love creating recipes based on what I have on hand and what I have a taste for at any given moment. Readers also know that I do like to take inspiration from someone else’s imagination once in a while, too. When I came across a recipe for a Vegetable Chowder on Facebook, I knew what would be coming out of the Kitchen of Love next.
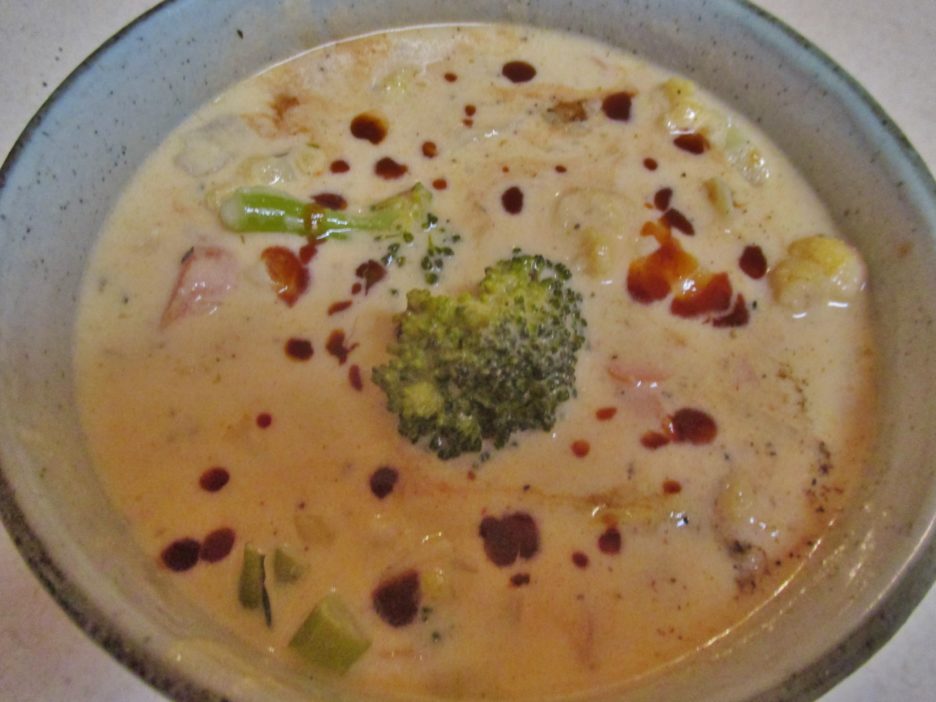
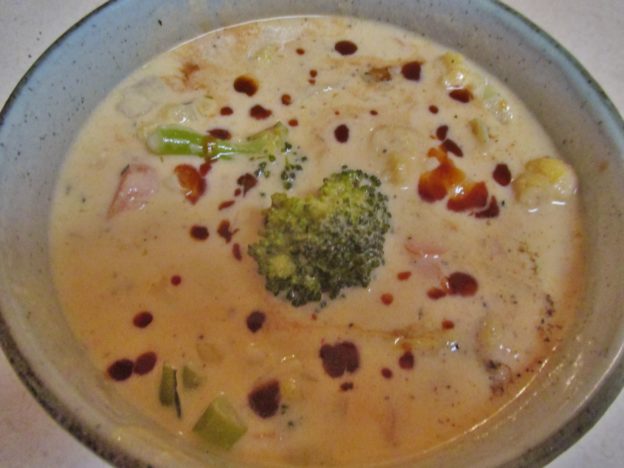
The recipe features Broccoli, Cauliflower, and Potatoes in a decadent Cheddar Cheese Sauce. Perfect for a Winter evening or an overly chilly Spring one. Thicken the sauce a little more and it could be the kind of side dish that would make a marvelous counterpoint to an Easter Ham. The best of both seasons, so to speak.

While this recipe is an adaptation from Life Made Simple. There was another adaptation before mine. Decatur Macpherson and Twelve Tomatoes also took it for a spin. So, to my knowledge this is the third generation adaptation of this recipe. Every good cook looks at a recipe and immediately starts their own editing process. My initial edit looked like this:
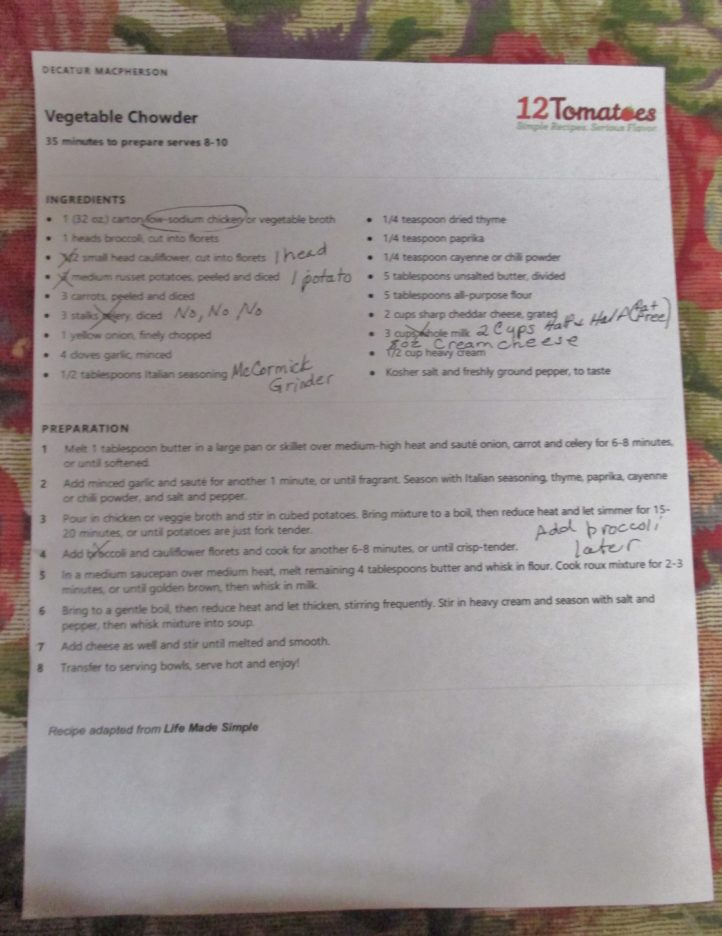
While I really made no major changes to the recipe, I did give it a few tweaks. More cauliflower, less potatoes, and absolutely no celery, because I knew that was how I would like it. Every cook, whether casual or professional, makes changes to a recipe  based on their taste and preferences. I do not like celery therefore I didn’t use it. I wanted a slightly less starch heavy soup so I added more cauliflower and reduced the potatoes. You get the idea. I’m sure you do this in your own kitchen. That’s how creative cooking works.

The soup that resulted was beyond memorable. I took the time to add each vegetable individually. This resulted in cauliflower and broccoli that were still tender-crisp. The broccoli even retained most of its color. The cheese sauce was a study in Yin and Yang. Fat free half & half played brilliantly with the cream cheese and buttermilk filled in for the heavy cream. Never mind the fact that those were the ingredients I had in the house. It was our supper twice within a few days and I’m sad that we ate it all so quickly. Here is what I believe is the Third Generation Vegetable Chowder recipe.

Vegetable Chowder

Adapted from Life Made Simple and Decatur Macpherson/Twelve Tomatoes

Servings: 8
Ingredients
  • 1 Quart Low Sodium Chicken Stock
  • 1 Head Broccoli Cut into florets
  • 1 Small Head Cauliflower Cut into florets
  • 1 Medium Russet Potato Peeled and cubed
  • 1 Cup Sliced Carrots
  • 1 Yellow Onion Diced
  • 4-5 Cloves Garlic Finely chopped
  • 1/4 Tsp. Cayenne More or less to taste
  • 1/2 Tsp. Smoked Paprika Or to taste
  • 2 Tsp. Italian Herb Blend I like McCormick Grinder
  • 1/2 Tsp. Dried Thyme
  • 5 Tbsp. Butter Divided
  • 5 Tbsp. Wondra Flour
  • 2 Cups Half & Half I used fat free
  • 8 Ounces Cream Cheese Cubed & room temp.
  • 2 Cups Shredded Sharp Cheddar Cheese
  • 1/3 Cup Buttermilk
Instructions
  1. Melt 1 tablespoon of butter in a large soup pot over medium heat. Add the onions and carrots and saute for 5 minutes or so.

  2. Add the garlic, paprika and cayenne and cook for another minute or two.

  3. Pour in the Chicken Stock and the potatoes. Bring to a low boil and simmer for 10 - 15 minutes. Add the herbs at this point.

  4. Add the cauliflower and simmer for 5-6 minutes more then add the broccoli. Cook until the vegetables are barely tender crisp.

  5. In a separate pan, melt the remaining butter and stir in the flour. Cook this for 3 minutes or so until the roux begins to turn golden, then slowly whisk in the half & half.

  6. Bring to a low boil, stirring constantly until the mixture begins to thicken. Add the cream cheese cubes and stir until they are melted into the sauce. Finally, stir in the buttermilk. Add this mixture to the soup pot and stir to thoroughly blend.

  7. Lower the heat and add the cheese to the pot gradually, allowing each addition to melt. Heat a few minutes more and it is ready to serve.

This will definitely be appearing again. At this time of year, in this part of the country, there could be another cold snap. Even if there isn’t, the rich creamy goodness of this soup is going to be heating up Mama D’s Kitchen soon.


Porcini Pasta Revisited

When something is wonderfully delicious, it earns the right to be made again. It also earns the right to be tweaked a little to make it even more wonderfully delicious. Porcini Pasta is just that kind of recipe. I first made it as a side dish to enhance grilled steak. It stole the show so to speak. It was definitely tasty enough to move into the spotlight as a main dish. I dressed it up with a little cheese and served it to non-meat eating guests. Again it was a home run. Could the third time be even more of a charm? So here’s what I came up with.

It was one of those days that seemed busy from the minute my feet hit the floor. Errands, laundry, and a bit of grandboy sitting and before I knew it, dinner (or plans for it) was looming on the horizon. Time to take stock of what was interesting in the pantry. Porcini pasta was sitting in an unassuming corner and not too far away was a jar (yes, I do succumb sometimes) of Alfredo Sauce. A brief foray into the refrigerator yielded  crimini mushrooms and some prosciutto. I also found a chunk of Aged Asiago Cheese. I sensed that this could be the start of a wonderful friendship.

I gave some thought to how I was going to use the prosciutto. I decide to see if I could fry it to create crispy bits much like bacon. The thin slices frizzled up beautifully and crumbled into wonderful salty flakes that would serve as both a surprise crunch in the sauce and a garnish.

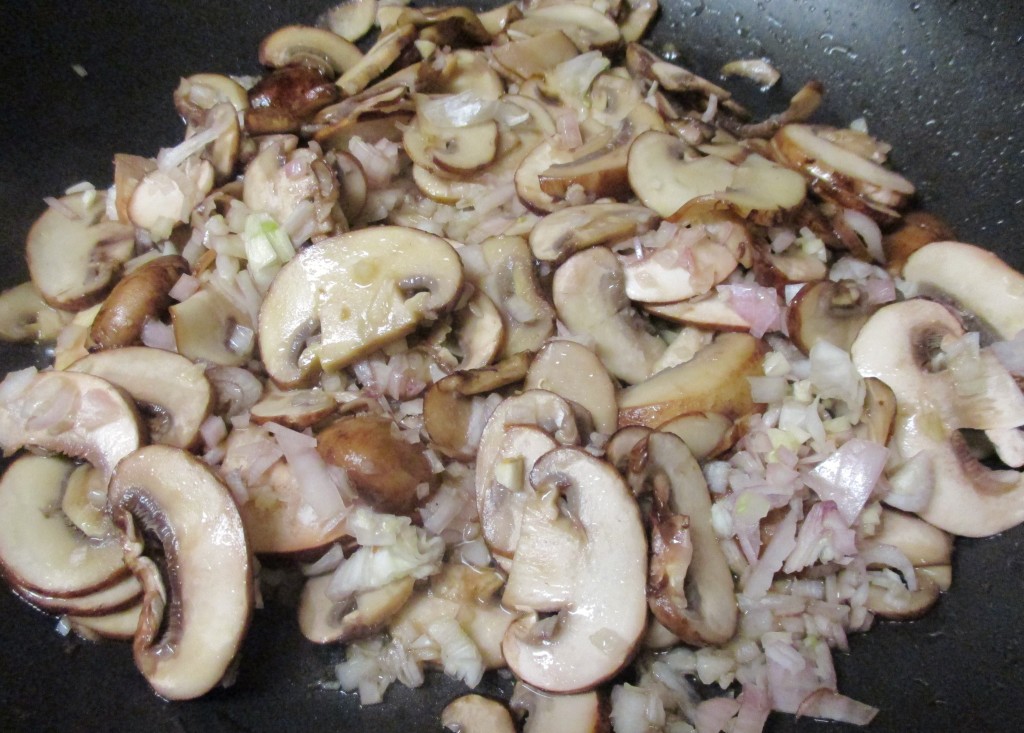
Using my original recipe as a guide, I sliced the mushrooms and chopped up shallots and garlic. These cooked in the drippings  from the prosciutto and some olive oil until they were lightly caramelized.

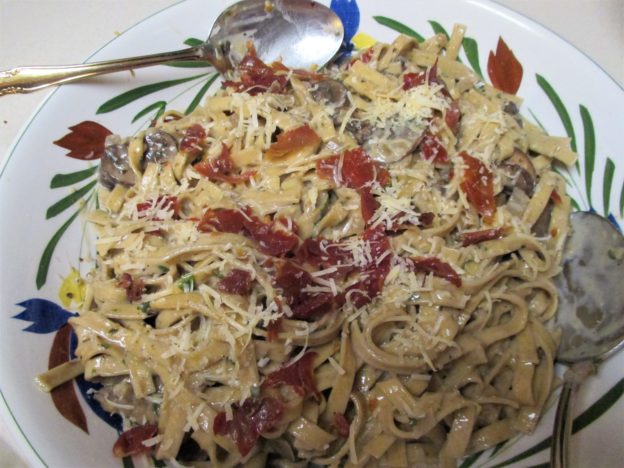
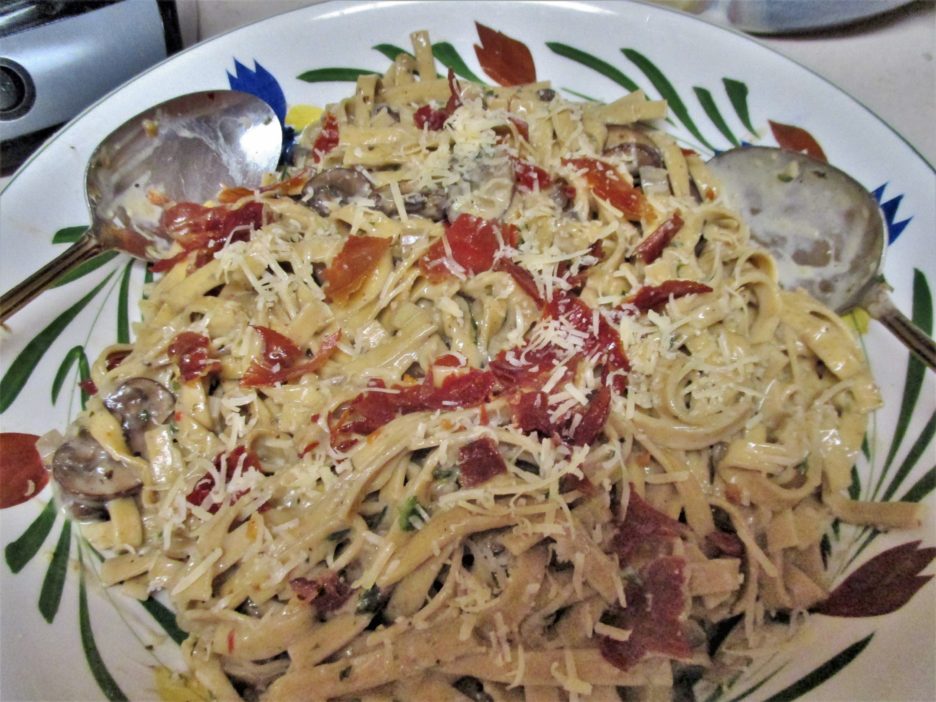
While the water for the pasta boiled, I thinned the Alfredo sauce with some chicken broth and let it simmer with the mushroom mixture. I added a good amount of the grated Asiago and a generous amount of freshly ground pepper. I cooked the pasta until it was barely al dente, drained it and added it to the sauce along with half of my prosciutto flakes. Things got happy for a few more minutes and dinner was ready to plate. All it needed was a sprinkling of a little more cheese and a flurry of prosciutto flakes.

Porcini Pasta Revisited

The original side dish recipe has graduated to an easy Weeknight Supper.

Servings: 3
Ingredients
  • 8 Ounces Porcini Pasta
  • 3 Ounces Prosciutto
  • 8 Ounces Crimini Mushrooms Sliced
  • 1/2 Cup Chopped Shallots
  • 3 Cloves Garlic Chopped
  • 1 Tbsp. Olive Oil
  • 1-1/3 Cups Alfredo Sauce
  • 1/2 Cup Chicken Broth More or less as needed
  • 1 Cup Grated Asiago Cheese Divided
  • 3/4 Tsp. Freshly Ground Pepper
Instructions
  1. Bring a large pot of pasta to a boil. While the water heats prepare the sauce.

  2. Heat a large skillet over medium heat. Add the olive oil and heat. Add the prosciutto and cook until it is crispy. remove from the pan and drain on a paper towel.

  3. Add the mushrooms, onions, and garlic to the drippings in the pan. Cook stirring occasionally until everything is lightly golden brown.

  4. Add the Alfredo sauce and the chicken broth and cook over low heat for 5 minutes or so.

  5. Cook the pasta until it is just barely "al dente."

  6. Add 3/4 of the cheese and half of the prosciutto to the sauce along with the pepper. Drain the pasta and add it to the sauce. toss to coat and allow to cook for a few minutes more.

  7. Pour into a serving bowl and top with the remaining cheese and prosciutto.     Serve

If my truth be told, I hardly ever make anything the same way twice, not that there’s anything wrong with that. I am always looking for ways to make things better or to incorporate ingredients that I have on hand. That’s how Mamam D’s Kitchen of Love rolls. 


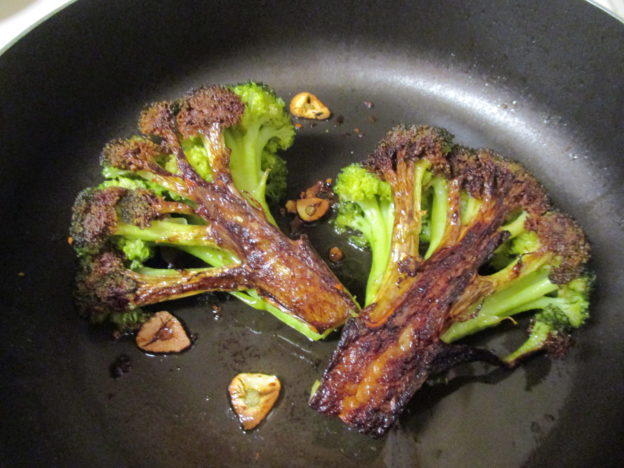
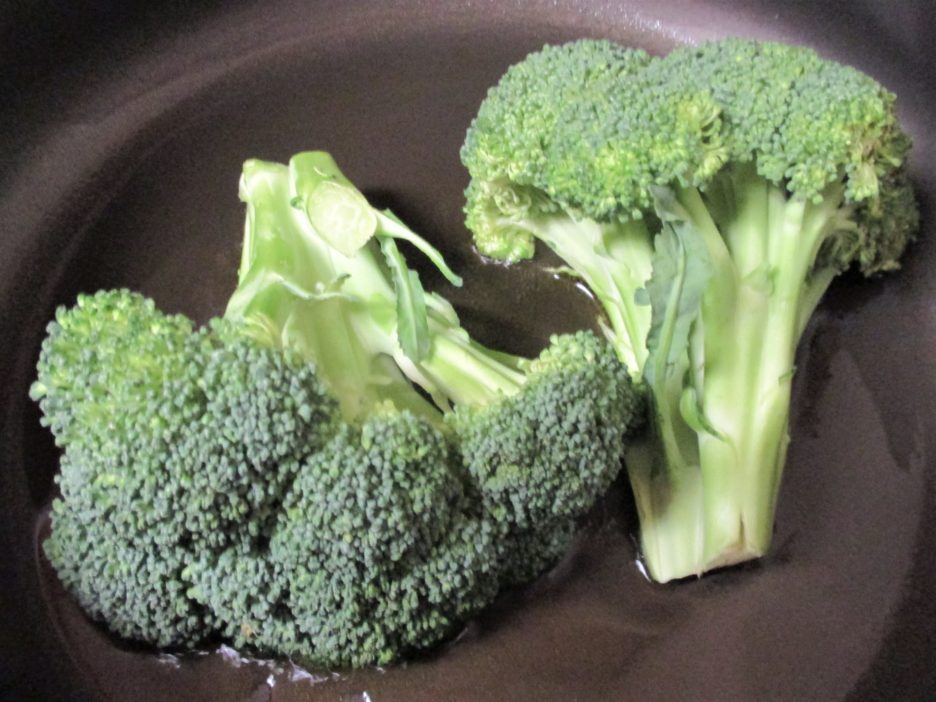
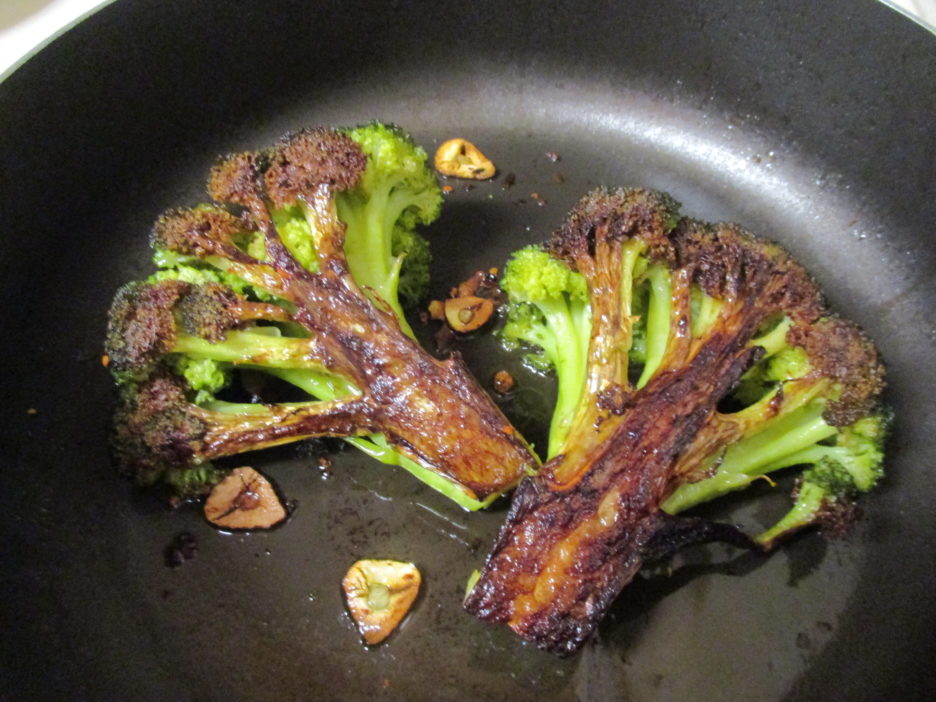
Caramelized Broccoli and Other Vegetables

I have a new favorite way to cook broccoli and I can’t take credit for it. First, let me say that Broccoli is probably my favorite vegetable side. I like the taste, and the nutrient profile makes it an excellent choice for adding some green to a plate. It is easy to cook and lends itself to many styles and flavors. It is available year round without too much of an out of season mediocrity factor. It is also usually a good value. What’s not to love?

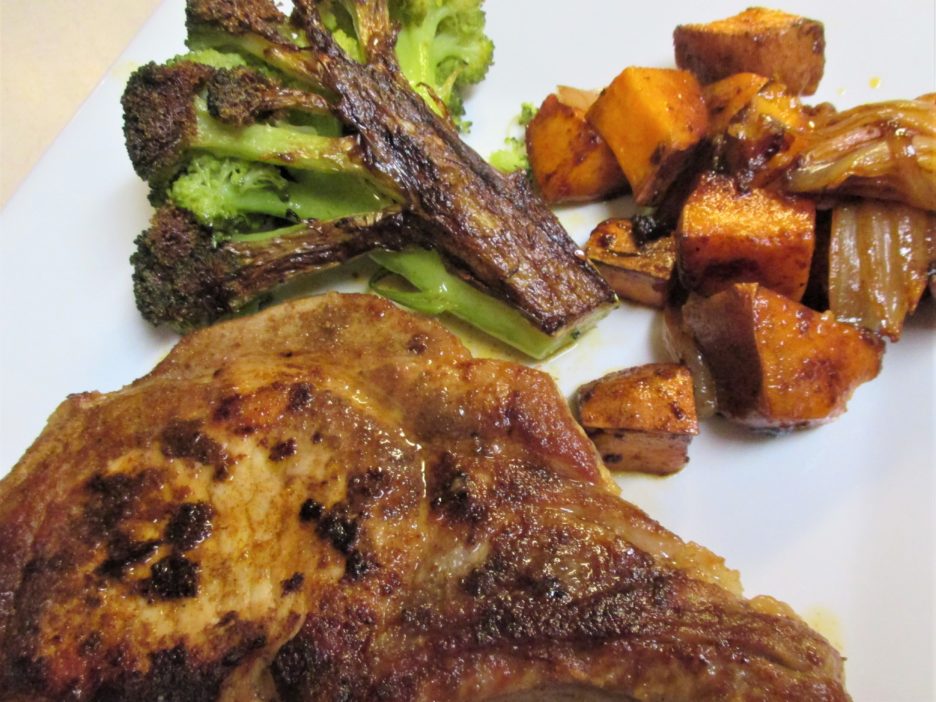
All of these factors result in Broccoli gracing our plates several times a week. That means I am always thinking about different ways to prepare it. I admit that I search Google, Pinterest, etc. quite often for ideas and I am sure that I am not alone. That’s when I found what I believe to be the best way to cook broccoli, ever, Caramelized Broccoli

The recipe came up many times in my search and while I can’t be certain, I think it originated with Chef David Gingrass, a well-known Bay Area chef. In one article he said it would make a Broccoli lover out of a hater. If you are a broccoli lover like me you then become obsessed.  It is easy to prepare, but takes a bit more time and effort than putting it in a steamer. This is a small price to pay for the fantastically delicious results.

Now, even though I have made this recipe a number of times, I can’t quite leave it alone. If you can caramelize broccoli, what other vegetables would benefit from this technique? The short answer is lots. And so the experimentation begins…

The requirement of any vegetable is that it can be cut into a good-sized slab creating at least one flat surface. It also needs to be fairly dense since it is going to be under pretty intense heat. While the experimentation continues, here are two vegetables that were wonderful.

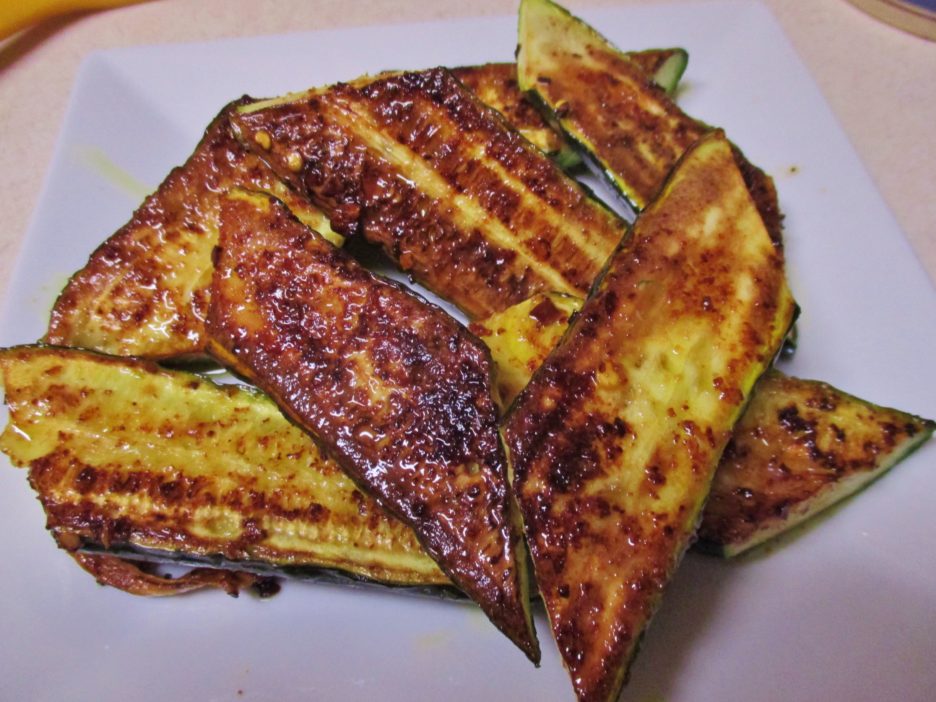
Zucchini was my first test. Halving it lengthwise and creating chunky fingers was the perfect shape, The garlic, red pepper flakes, and lemon juice were an ideal complement to the creamy texture that the caramelizing created. To carry the experimentation further, I will be trying yellow squash and perhaps eggplant.

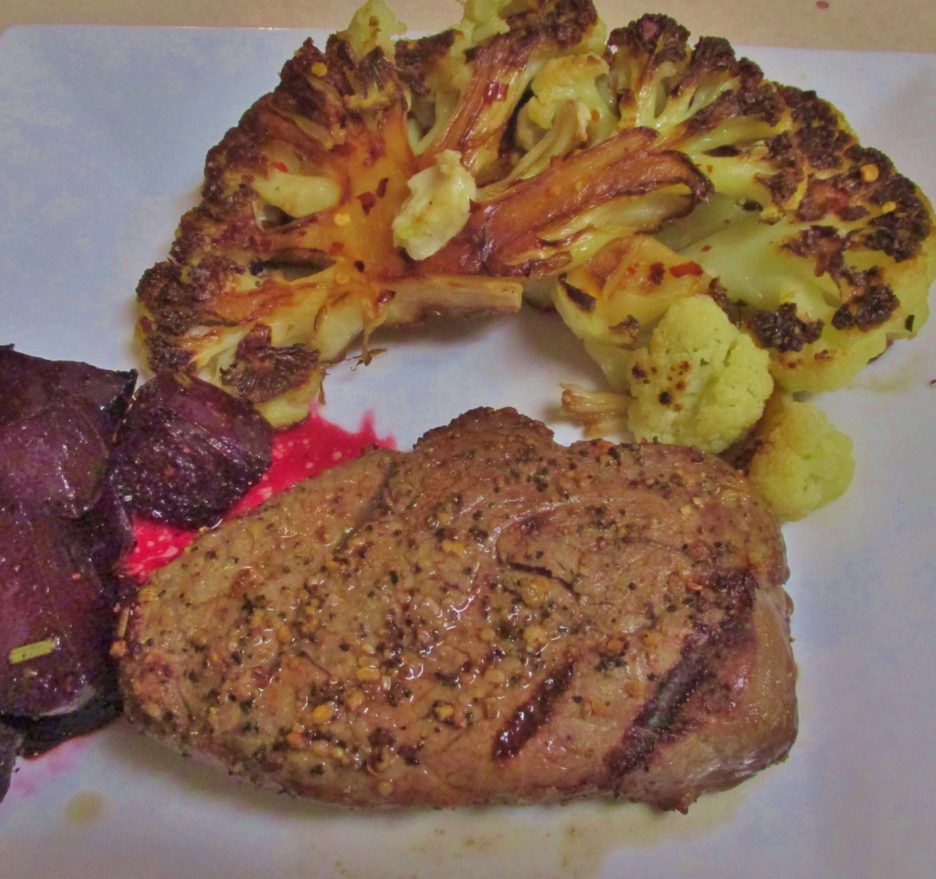
The next experiment was Cauliflower. This was certainly not a huge leap as it is closely related to broccoli. Cut into thick steaks, it too, was a delectable addition to a dinner plate. In this case it joined Steak and Roasted Beets.

I’ve just conducted a mini brainstorming session and have added Carrots, Leeks, Sweet Potatoes, and Delicata Squash to my list of possibilities. I’m sure this is only the beginning.

I think that this calls for a “Master Recipe” of sorts. So, without further ado, here we go:

Caramelized Vegetables

A master recipe to create golden, sweet, and tender vegetables. Cooking times will vary by vegetable. You are looking for golden brown and tender.

Servings: 4
Ingredients
  • 1 Pound Vegetable "Planks"
  • 2 Tbsp. Olive OIl Divided
  • 1 - 2 Tbsp. Water
  • 2 Cloves Garlic Sliced
  • 1/2 Tsp. Red Pepper Flakes
  • 1 - 2 Tbsp. Lemon Juice
Instructions
  1. Cut firm, dense vegetables into flat slices about 3/4" thick.

  2. Heat 1 Tablespoon of the olive oil in a deep skillet that has a lid. The heat should be medium high.

  3. Lay the vegetables in the skillet cut side down. Cover and cook for 5-8 minutes (depending on the vegetable) until they are golden brown.

  4. Add the water cover again and cook until water evaporates, and vegetables are barely tender, 3 - 6 minutes.

  5. Add remaining Oil, the Garlic and Pepper Flakes. Cook until the vegetables are tender and the garlic is golden. 3 -5 minutes.

  6. Remove to a plate and drizzle with the Lemon Juice and serve.

This technique would make even the most vegetable resistant eater into a fan. Here’s hoping that you will give it a try. I know that I will continue to experiment with other vegetables and maybe even other flavors. It is easy and oh so delicious.


Chicken Breasts…the Right Stuff(ed)

As we began the Holiday Season, I shared a post about stuffed chicken breasts. Little did I know that when the new year began, that I would still be singing their praises. Not to sound like I am repeating myself, but I have come up with yet two more ideas for filling a chicken breast and both of them are delicious and easy.
Why am I suddenly obsessed with stuffing chicken breasts? First off they are a lean and inexpensive protein. In and of themselves they are pretty bland and very boring, but that is what makes them so wonderfully versatile. They are quick cooking which is always a plus for weeknight suppers and can embrace any cuisine from comfort to gourmet.

Another reason to stuff a chicken breast is to keep it moist and tender, especially when it is heading into the oven. I’m sure that we have all choked our way through a dry and tough chicken breast at one event or another. Stuffing works from the inside to keep everything moist. To create a little extra moistness insurance, wrapping or coating it with something fat based helps as well.

There are two ways to stuff a chicken breast. The more gourmet method is to butterfly a good-sized breast and then pound it into a nice evenly flat canvas that can then be stuffed, rolled, and tied.

A simpler approach is to cut a deep pocket into the breast and fill it to the rim with something yummy. That is where we are heading today. The fillings of choice are more carb friendly for those that care about that sort of thing. They are vegetable forward with just the right amount of richness to create a palate pleasing sensation.

This can be considered a master recipe. I wrote it for two servings because that’s how many I cook for most of the time. It can easily be doubled, tripled or quadrupled if that’s what you need. A little simple math will give you the amount of ingredients you need. This stuffing will generously stuff the breasts with a little left over to create a comfy bed in the baking pan. Without further ado I give you Stuffed In the Side Pocket Chicken Breasts.

Stuffed In The Side Pocket Chicken Breasts

A master recipe for creating moist and delicious baked chicken breasts.

Servings: 2
Ingredients
  • 2 6-8 Ounce Boneless Skinless Chicken Breasts
  • 1/2 Tbsp. Olive Oil
  • 1 Clove Garlic Chopped
  • 1/3 Cup Chopped Onion Any type will work
  • 2 Cups Raw Vegetables, chopped Pick the ones you love.
  • 1 Ounce Cream Cheese Optional
  • 1 Tbsp. Bread Crumbs As needed, optional.
  • 4 Strips Bacon For wrapping the breast
  • 1 Tbsp. Mayonnaise To coat breast if not using bacon
  • Paprika
Instructions
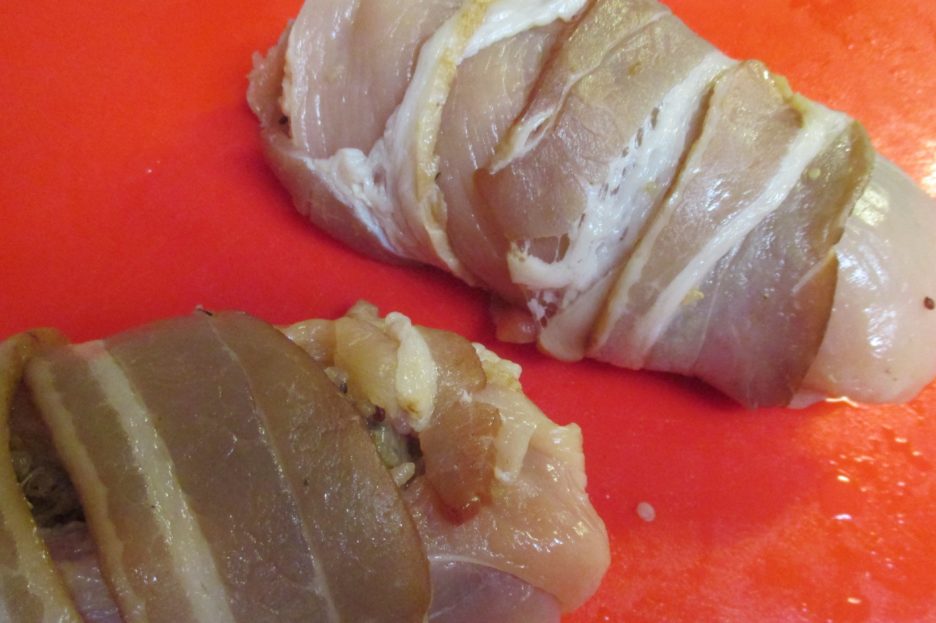
  1. Using a sharp knife and going slowly, cut a pocket in the thickest side of the breast. Do not pass go or cut all the way through. Set Aside

  2. In a medium skillet, heat the olive oil over high heat. Reduce slightly and add the onions and garlic. Cook stirring occasionally until the mixture is soft and fragrant,

  3. Add the vegetables that you have chosen and continue to cook for 7-10 minutes stirring often. The vegetables need to be soft and slightly caramelized. At this point you should have about 1-1/4 cups of delicious stuff(ing).

  4. Depending on the vegetables moisture level, add cream cheese and/or breadcrumbs to make a thick (not runny) mixture. Add any additional seasonings and heat  long enough for everything to get acquainted.

  5. Cool the mixture slightly and and spoon it into the pockets of the breasts. Pack it gently but do not fill it to the point that the stuffing is coming out. If you have some left, spread it in the bottom of the baking pan you will be using. Give the pan a good spritz of cooking spray first.

  6. Choose how you want to finish the outside:  Wrap the breast with the bacon strips securing with toothpicks or kitchen twine if necessary. OR Spread the mayonnaise evenly on the tops of the breasts. Add any seasoning of you choice. 

  7. Bake at 375 degrees for approximately 25 -30 minutes. Watch carefully and check for an internal temp of 160 degrees. Remove from the oven and allow to cool for 5 minutes before serving.

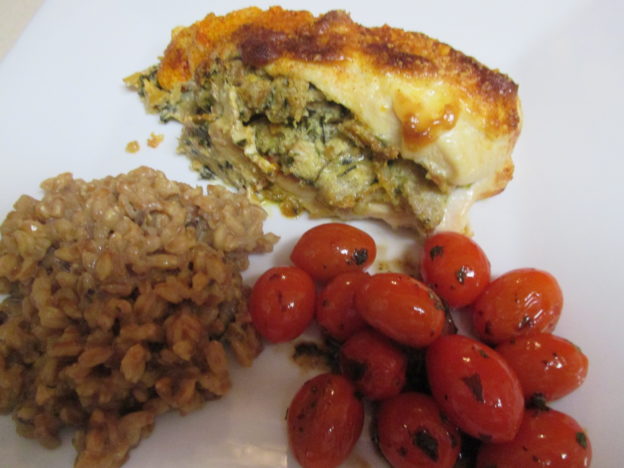
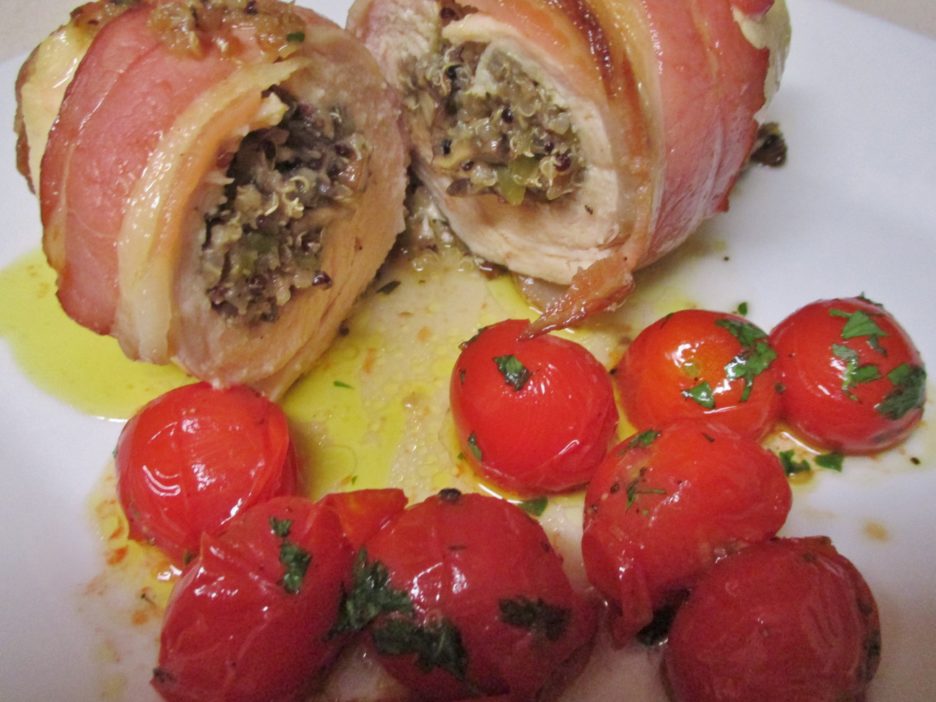
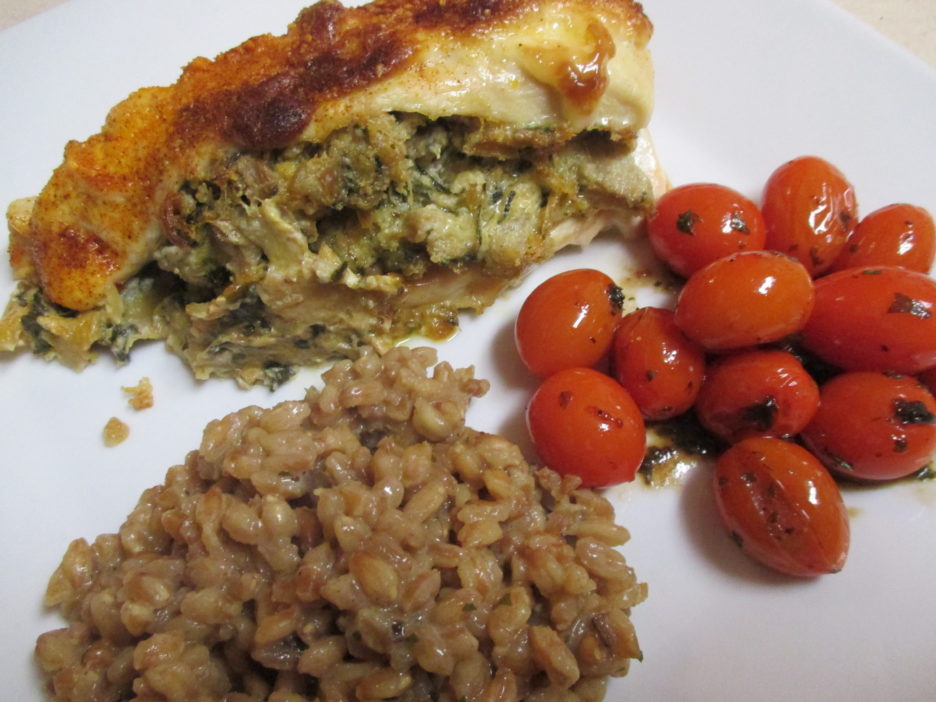
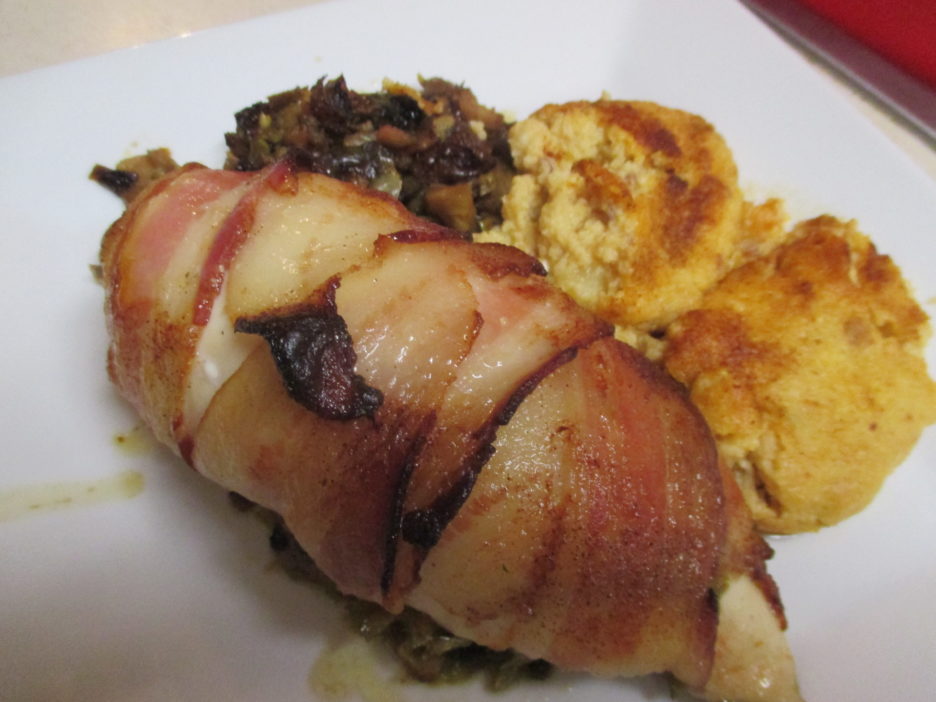
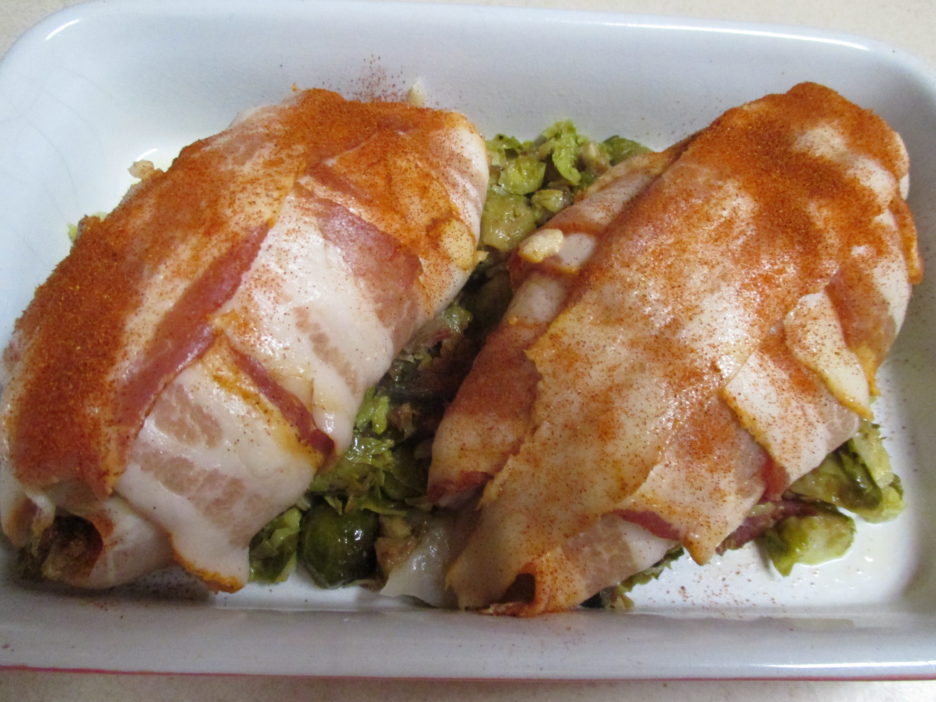
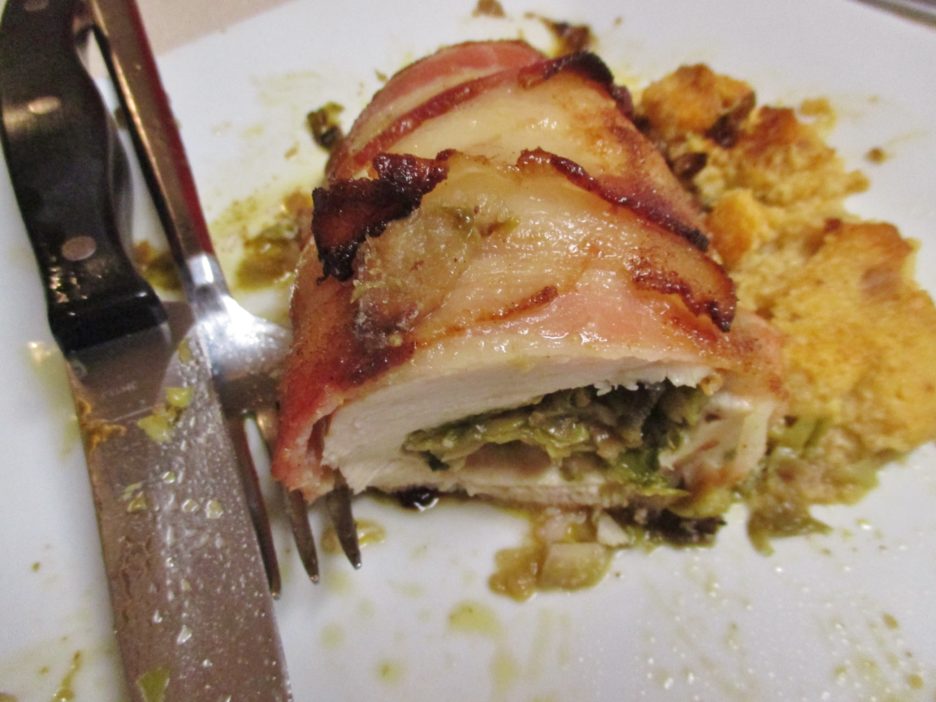
Now for how I made this recipe my own:  Spinach Artichoke Dip is a staple at many parties…you may have even indulged in it over the holidays. It also makes a killer stuffing for  a chicken breast. Marinated artichoke hearts and fresh spinach are sauteed with a little garlic and olive oil. Once they are happily united some cream cheese and grated parmesan are added. To keep the stuffing in the chicken where it belongs, a touch of bread crumbs ( a small carb price to pay) is added as binder. The final touch is a thin coating of mayonnaise and a light sprinkle of parmesan. A dusting of paprika makes it pretty. It only takes 25 minutes or so in the oven and it is ready to be the star of the show. Porcini Laced Faro (from a box) and sauteed grape tomatoes round out the plate.The chicken breast pocket can also be a new home for leftover vegetables. Brussels Sprouts roasted with bacon and onions was uncharacteristically left over from a previous dinner. Chopped up and packed inside a chicken breast made it’s second life almost as wonderful as its first. I enrobed this one in bacon that carried on the bacon that was in the stuffing, These are but two of a virtually endless set of possibilities. Use the master recipe and join the movement to stamp out dry chicken breasts. Share you creations and let’s start a new day of moist and tasty chicken breasts for all!!
Thanksgiving Memories of Not So Long Ago

Thanksgiving week is here. The planning is complete and implementation is about to begin. In recent years we have had a blended family Thanksgiving. Along with family, recipes get blended as well. I have been in charge of stuffing/dressing and gravy. Since both of these are near and dear to my heart, it’s an assignment that I welcome every year. I shared the whole process several years ago and the time seemed right to revisit the experience before I relive it this Thanksgiving.

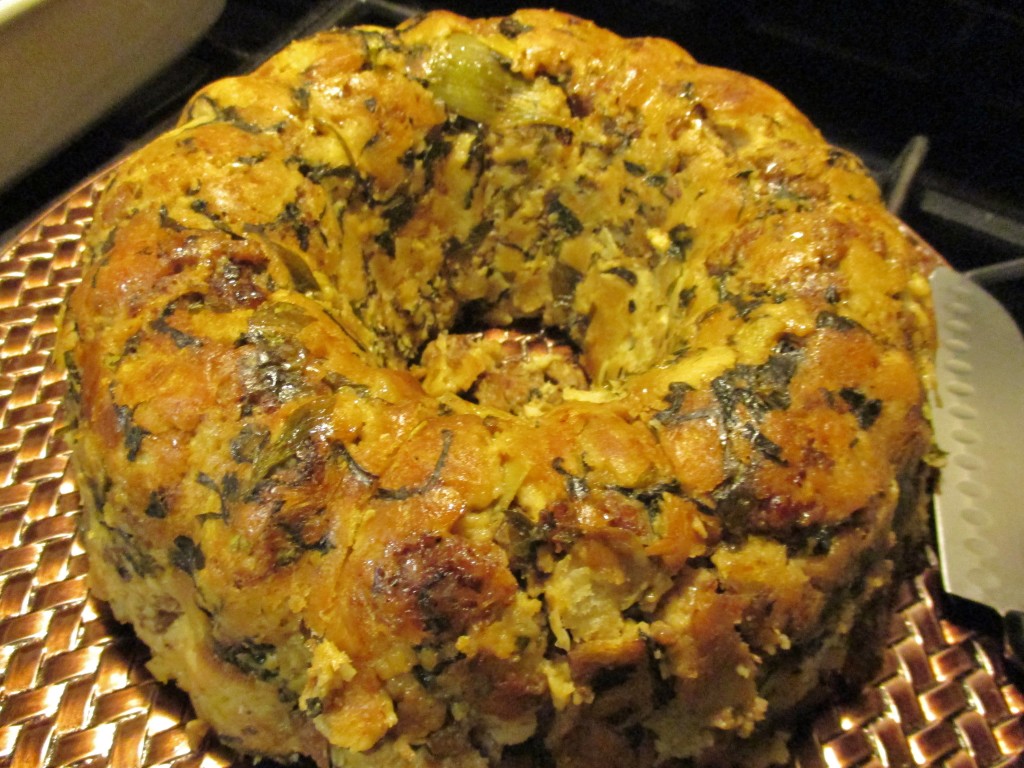
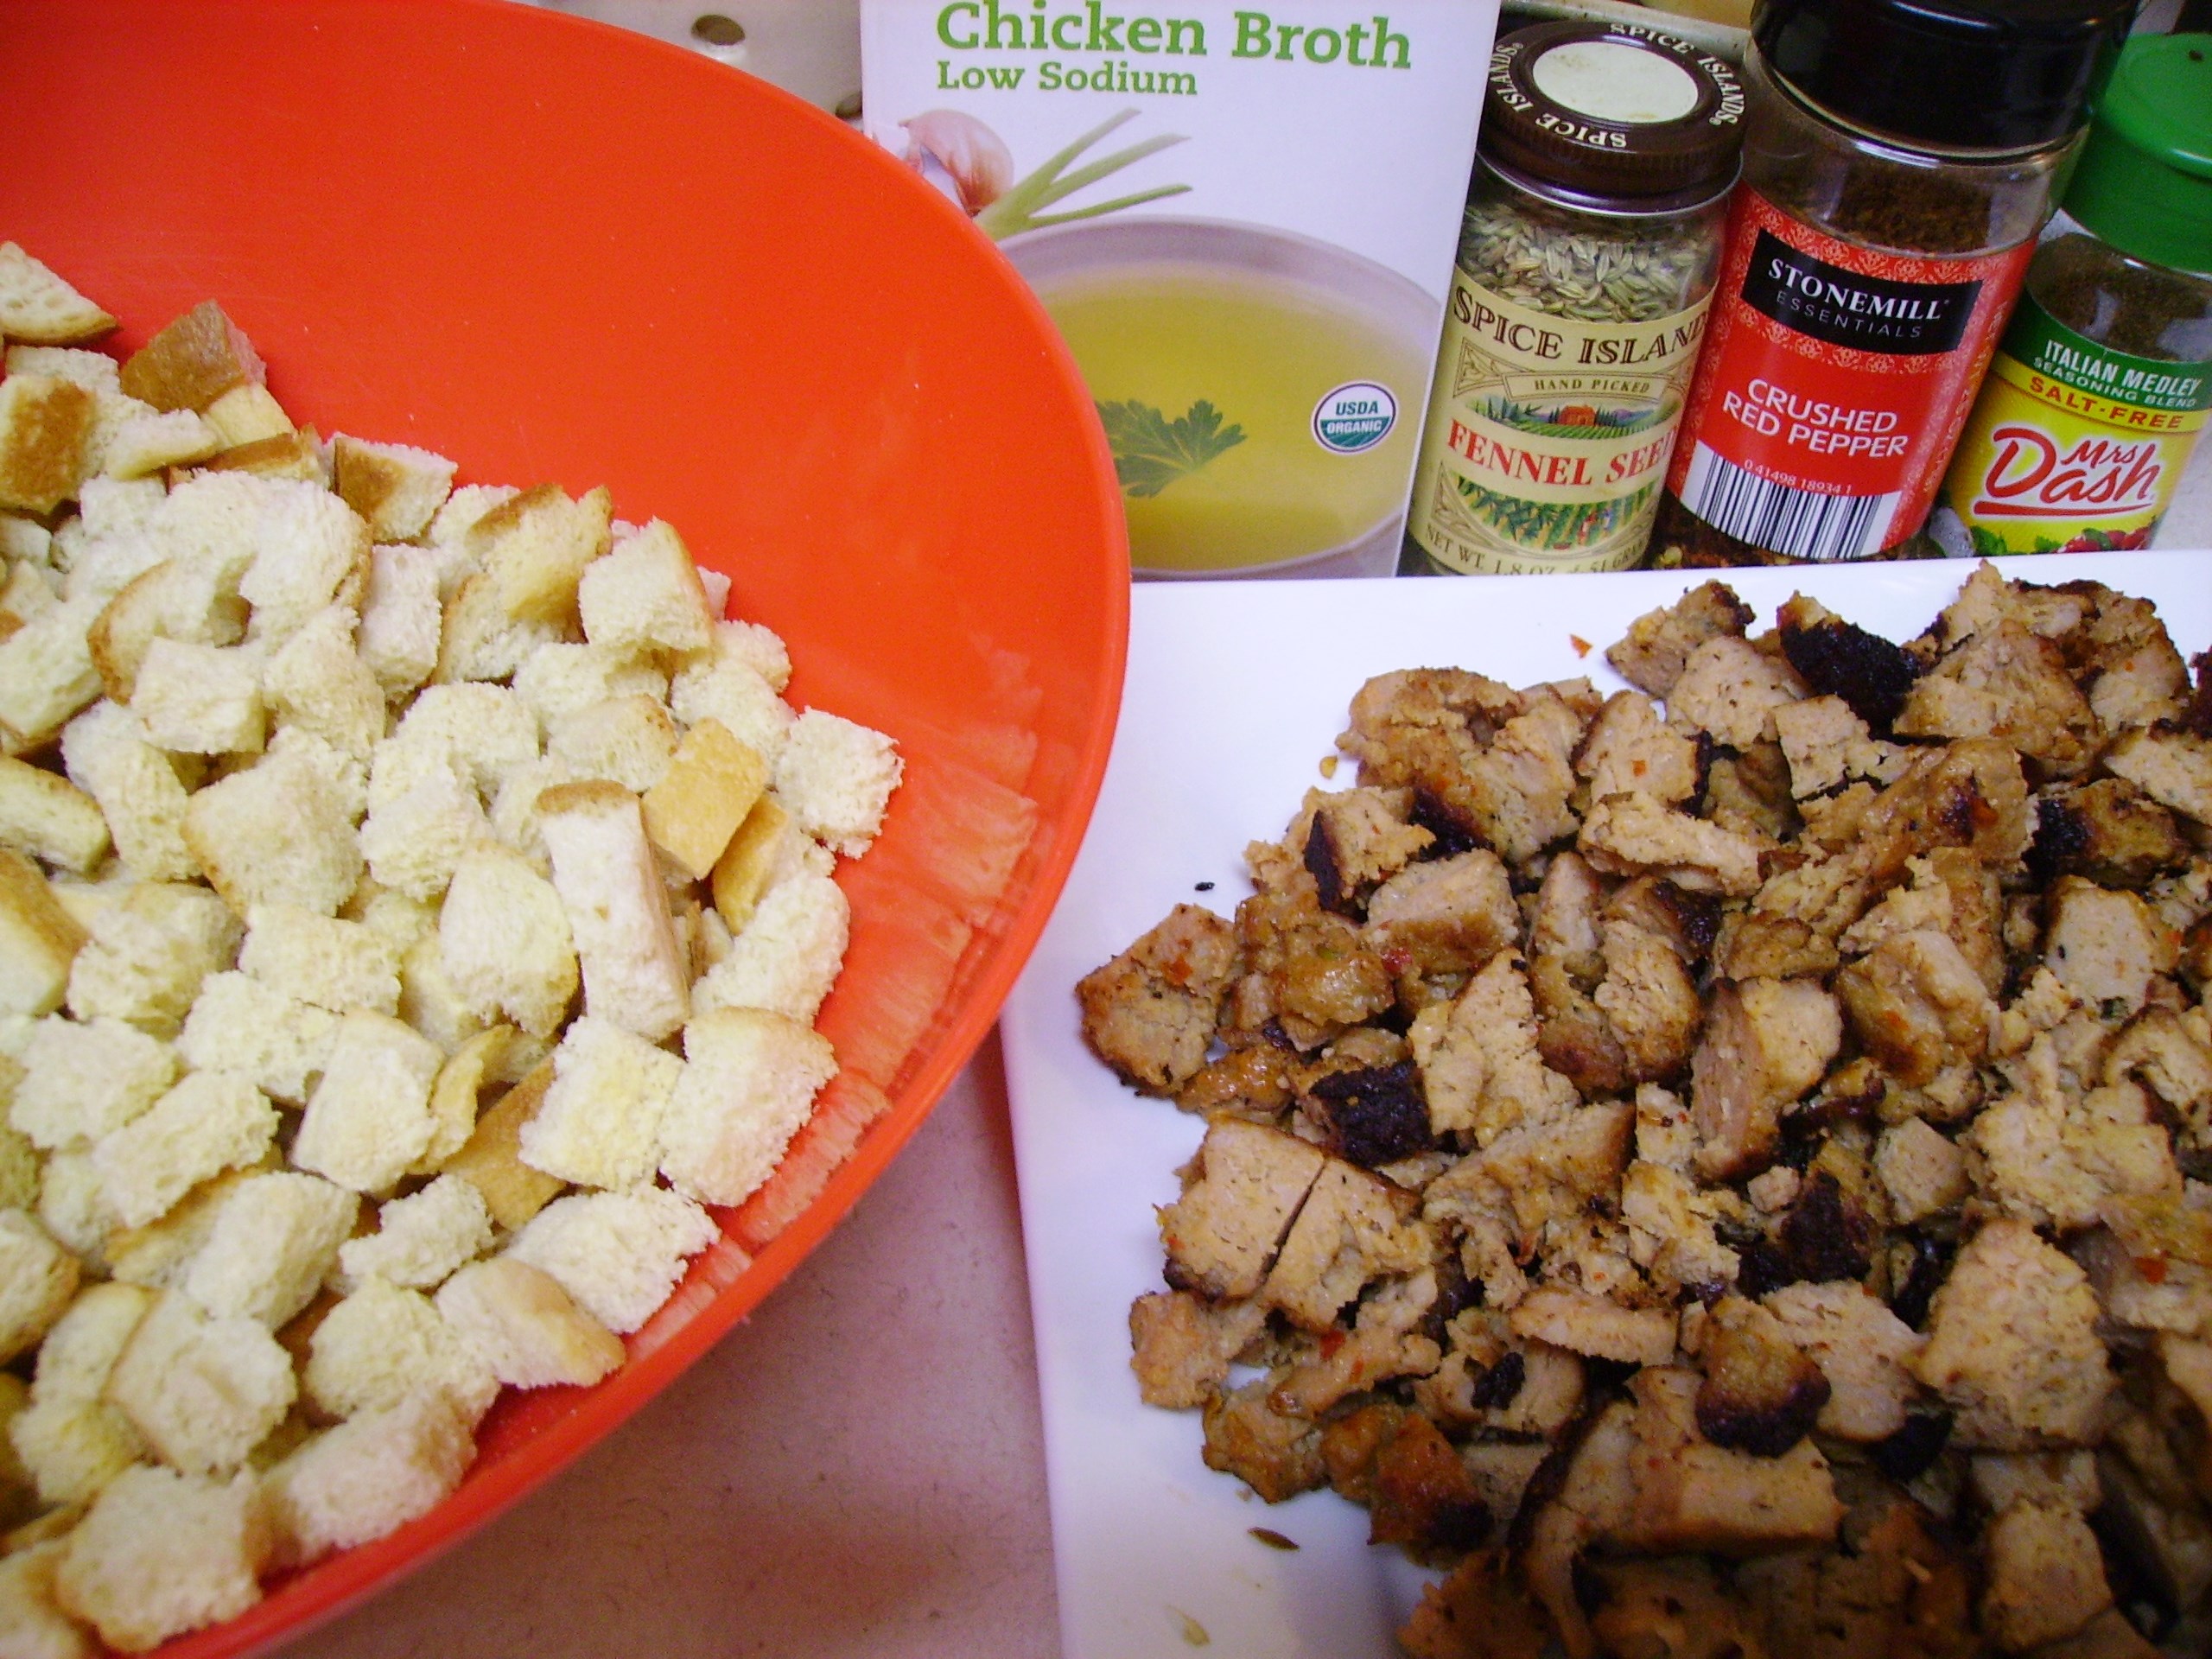
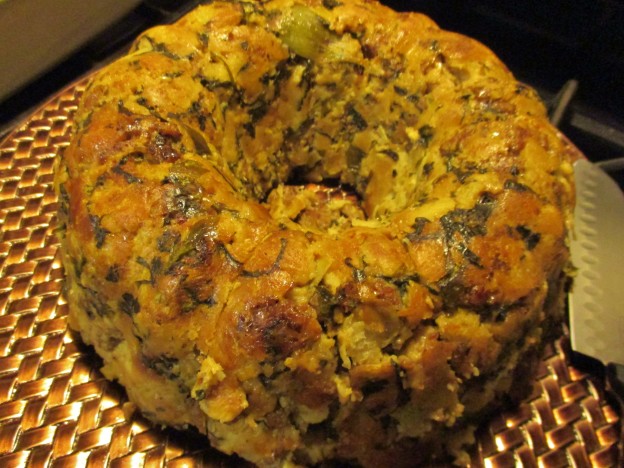
Stuffing or in this case dressing, as it will not see the inside of a turkey, is many folks’ favorite part of the dinner. It certainly is mine. I make a dressing that has evolved over the years to become an homage to my time in California and my Italian heritage. I gave it the rather silly name of Mama D’s Cali-Itali Stuffing. This is a seriously hearty stuffing filled with Italian sausage and artichoke hearts. The bread is sourdough, next to rice-a-roni, the San Francisco Starch of choice. Artichoke hearts add flavor and as the recipe has evolved, I now use frozen (Trader Joe’s are the best) instead of canned. It also now gets baked in a bundt pan, because who doesn’t want a nice slice of stuffing.

Mama D's Cali-Itali Stuffing
Print Recipe
Use this for your holiday dinner. Make it your own by adjusting the flavors to your family's taste.
Servings
12
Servings
12
Mama D's Cali-Itali Stuffing
Print Recipe
Use this for your holiday dinner. Make it your own by adjusting the flavors to your family's taste.
Servings
12
Servings
12
Ingredients
Servings:
Instructions
  1. Heat a large skillet over medium high heat. Crumble the sausage into the pan and cook until it is well browned. Turn and break apart as needed.
  2. Remove the sausage from the pan and drain on a paper towel. Pour off most of the drippings. Add 3 tablespoons of olive oil to the pan and add the onions and garlic. Saute stirring frequently until the onion is golden and the garlic is fragrant, 5-7 minutes.
  3. Add the artichokes and spinach to the pan and continue to cook for another 3 - 5 minutes. The artichokes should have a little color and the spinach should be wilted.
  4. In a large bowl, combine the toasted bread cubes, sausage, and the vegetables from the pan (include all the drippings, too). Toss to combine.
  5. Add the seasonings that you are using along with the cheese and toss again to combine.
  6. Pour in the eggs and blend well. Add the chicken stock. Use enough so that the stuffing is very moist, but not mushy. Taste and make any necessary adjustments to the seasonings. Add a little salt if you think it needs it.
  7. Grease a large rectangular baking dish. Add the stuffing and smooth out evenly. Do not pack it down. Cover with foil and bake in a pre-heated 350 degree oven for 35 - 40 minutes.
  8. Combine the remaining olive oil and the melted butter. Remove the stuffing from the oven. Take off the foil and drizzle the butter/olive oil mixture over the top. Return to the oven for another 15 - 20 minutes until the top of the stuffing is golden brown.
  9. Remove from the oven and allow to rest for 10 minutes before serving.
Share this Recipe
Powered byWP Ultimate Recipe

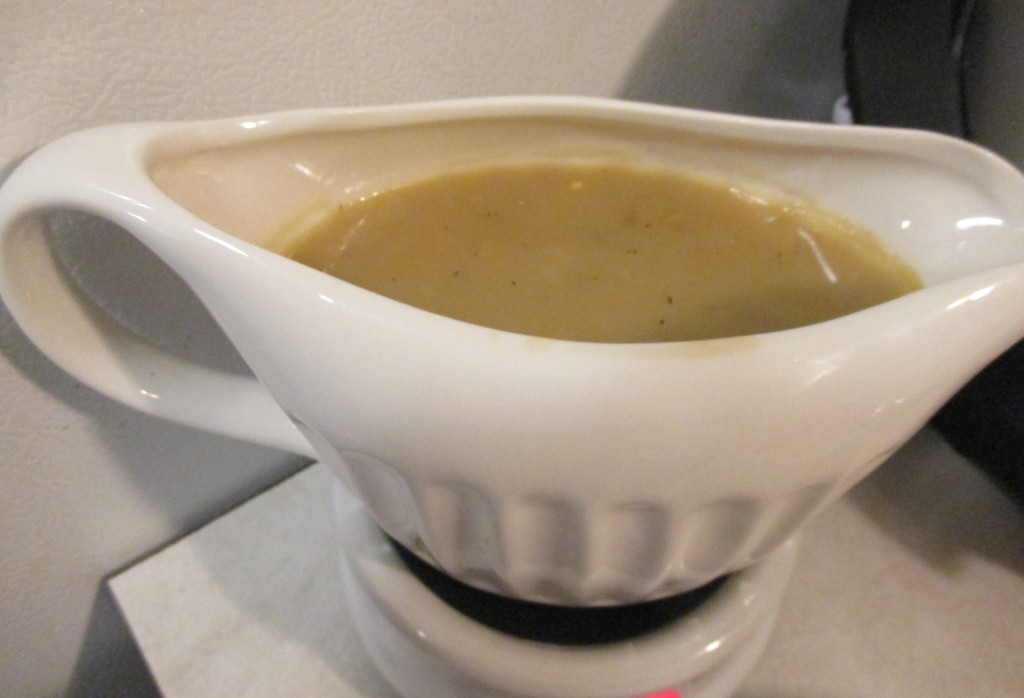
Every Thanksgiving table needs a boat of gravy. Since in our blended Thanksgiving someone else is making the turkey, I had to come up with a recipe that would be rich and tasty without the benefit if turkey drippings. This Garlic and Wine Gravy fills the bill. It is flavorful but has a lightness about it that makes it feel slightly less a guilty pleasure.

Garlic and Wine Turkey Gravy
Print Recipe
Servings
12
Servings
12
Garlic and Wine Turkey Gravy
Print Recipe
Servings
12
Servings
12
Ingredients
Servings:
Instructions
  1. Heat the olive oil in a small fry pan. Add the garlic and shallots and cook until golden brown. Be careful not to burn them.
  2. Add the wine to the pan and bring to a boil. Reduce the heat to medium and simmer until the wine is reduced by half, 5 - 7 minutes. Set aside.
  3. In a medium saucepan, melt the butter over medium heat. Whisk in the flour and cook stirring often for 2 minutes.
  4. Add about 1 cup of the stock and continue to whisk until it is smooth. Gradually stir in the rest of the stock. Bring the mixture to a boil, reduce the heat and add the reserved garlic and wine mixture and the Italian Herb Blend.
  5. Continue to simmer for 5 - 10 minutes until the gravy thickens. Give it a taste and add salt and pepper as needed.
  6. Serve with turkey, dressing, or anything else you want to put it on.
Share this Recipe
Powered byWP Ultimate Recipe

This year I have so much to be thankful for. Our family is thriving and the younger grandboys are a true delight. I cherish the time I get to spend with them. Our first grandboy is “home” for the holiday and the time spent with him is precious. I hope that you too, have many things that make you thankful and happy. Enjoy the day and all the blessings that it brings.