Can You Grill It? Potato and Green Bean Salad, Revisited

Yes, the grill on Mama D’s balcony is still working its grates off. It is after all, grilling season and everything is fair game. That’s where my “Can you grill it?” test comes into play. Taking a recipe or food that is usually made in the comfort of the kitchen into the great outdoors can be an adventure. Sometimes the result is wonderful, every once in a while, not so much. This potato salad, however, was a rousing success.

I’ve made this salad before and I’ve even shared the recipe. I don’t know why it took me this long to realize that it would be awesome on the grill. Well, thankfully it did (dawn on me, that is) and I wanted to share it with you.

Baby red potatoes got steamed until almost tender and green beans were blanched before meeting up with some sliced onions.IMG_2057

Everything got tossed with a little salt and pepper and a generous glug of olive oil before diving into the grill basket. Can this really count as a grilled dish if some time on the stove was required?  Why yes, it can. Partly because I said so, but primarily because the potatoes would burn before they cooked through and the green beans would lose their beautiful green-ness if this step wasn’t taken. So there.

My original recipe used a vinegar based dressing featuring a combination of balsamics (white and other wise) with olive oil, garlic, and grainy mustard. For the grilled version I lost the vinegars and went straight to the lemon juice. I know they are available all year, but fresh squeezed lemon juice just says summer to me. I have a condiment crush on grainy mustard right now, so it played a major role in the dressing. Some garlic, olive oil and a few snips of rosemary from the herb garden and I called it dressing.IMG_2052

Once the veggies were suitably golden, I tossed them with the dressing and lo and behold, a perfectly delicious side dish was born. In this case, it was paired with some grilled chicken thighs, but I think that any protein would enjoy sharing a plate with this “Can you grill it?” winner.IMG_2064

Grilled Potato and Green Bean Salad
Print Recipe
Servings
4
Servings
4
Grilled Potato and Green Bean Salad
Print Recipe
Servings
4
Servings
4
Ingredients
Servings:
Instructions
  1. Steam the potatoes for 5 - 7 minutes or until they are barely tender. Set aside.
  2. Blanch the beans in boiling water for 2 -3 minutes until barely tender. Remove from pan and plunge them into an ice water bath. Drain and set aside.
  3. Combine the potatoes, beans, and onions in a large bowl. Add a bit of the olive oil and some salt and pepper and toss to coat everything evenly.
  4. Spray a grill basket with non-stick spray and set on a grill over medium/high heat. Spread the potato mixture evenly in the basket.
  5. Cook, tossing occasionally until the potatoes are golden and tender and the beans are tender with a bit of crunch. How long this will take depends on your grill. Don't go too far away.
  6. When the vegetables are cooked place them in a large bowl.
  7. Combine the remaining olive oil and the rest of the ingredients in a small bowl and whisk until blended. Pour the dressing over the veggies and toss to coat. Serve warm or at room temperature.
Share this Recipe
Powered byWP Ultimate Recipe

You can be sure that the grilling adventures will continue. There will be more “Can you grill it?” tests that will hopefully result in some fantastic recipes that will find their way into these posts. Until the next time, Happy Grilling!


Steak Night Saturday and Porcini Pasta With Mushrooms and Cream

We have a tradition at Mama D’s house. Saturday is Steak Night. This is an inexpensive alternative to going to a pricey if not wonderful steak house. The steak is almost always a Petite Sirloin, a tender and flavorful steak that rivals a much more expensive filet at easily half the price. Many markets around here are starting to carry it and the going price is around $6.99 per pound, so you can indulge in its meaty goodness and not break the bank. Salt and pepper or a bit of Montreal Steak Seasoning is all it needs before the grill does its magic.

This isn’t about the steak…it’s about a side dish that was an inspired alternative to the potatoes I usually serve. It started with some Porcini Flavored Pasta that I found at a specialty store. I don’t often opt for these kinds of pastas, but Papa D fell in love with them and the price was right, so I thought I’d give them a whirl. I’m glad that I did.

Inspired by the earthy mushroom aroma that greeted my nose when I opened the bag, I knew that I had to add more layers of mushroom flavor to create a dish that would hold its own next to the steak. So I invited some Crimini Mushrooms and a good dose of my Porcini Rosemary Salt to the party.DIGITAL CAMERAThis was a heavenly trio that became a quartet when some shallots joined in to provide a subtle onion flavor.2015-09-12 16.39.05The mushrooms and shallots sautéed in some olive oil. I added some chicken stock to keep everything moist while keeping the fat content at bay.2015-09-12 17.15.26 After all, there would be some cream joining the pan shortly and I felt that one indulgence was enough.2015-09-12 19.25.15A good dose of fresh rosemary continued the woodsy flavor profile as the sauce thickened ever so slightly. The addition of the Porcini Rosemary Salt took the flavors to another level as the sauce continued to simmer gently until the pasta was ready. Once the pasta entered the pan the it was a few minutes to Side Dish perfection.2015-09-12 19.33.58

Porcini Pasta with Mushrooms, Rosemary, and Cream
Print Recipe
Servings
4
Servings
4
Porcini Pasta with Mushrooms, Rosemary, and Cream
Print Recipe
Servings
4
Servings
4
Ingredients
Servings:
Instructions
  1. Cook the pasta according to the package directions, but cut the time by one minute. Drain. While the pasta cooks make the sauce.
  2. Heat the olive oil in a medium fry pan. Add the mushrooms and shallots, and cook until the shallots are soft and the mushrooms are beginning to brown.
  3. Add about 1/3 of the stock and simmer for a few minutes until the stock is almost absorbed.
  4. Add the remaining stock and rosemary and cook 4 or 5 minutes.
  5. Add the cream and simmer for a few more minutes. The sauce should thicken slightly. Add the porcini salt and taste. If you think it needs more of the salt add a pinch or two. Add some fresh ground pepper and serve.
Share this Recipe
Powered byWP Ultimate Recipe

It joined the grilled steak with pride and made Steak Night Saturday something very special.2015-09-12 19.44.01This dish could easily take center stage and be a delectable main dish as well, so find some Porcini Pasta, make some Porcini Salt, and welcome Fall with a dish that sings of the earth.


Summer Vacation, Scarborough Farro, and Artichoke & Tomato Salad

Summer has arrived in Mama D’s Kitchen. I’m officially on Summer vacation for 3 whole weeks! Instead of rising before 5 every morning to get on a school bus, I can get up early (if I want) and do what I want. Morning walks, afternoon swims, puttering in the garden, and more than a little time with my grandsons. It also means that I have more time to spend in the kitchen and with the bounty of fresh produce around, inspiration is always arriving.

Once summer is firmly entrenched meals just naturally get lighter. Recently we feasted on Grilled Turkey Italian Sausage that was accompanied by a simple Artichoke and Tomato Salad and a riff on my Farro Risotto that I affectionately call Scarborough Farro.

DIGITAL CAMERA

Parsley, Sage, Rosemary, and Thyme, of course, feature prominently in this dish. If you haven’t listened to  Scarborough Fair lately, take a few minutes to go back to a time that was simpler, yet very complex. Superficially a peaceful song based on an old English ballad, it intertwines with an anti-war song not so subtly protesting the Vietnam War.

Farro has been cooking up in my kitchen a lot lately. I followed the same steps that I did for the Farro Risotto, cooking onion as well as garlic along with the uncooked  farro in some olive oil. I added some chicken stock and let it cook for a good 20 minutes.Towards the end I added my herbaceous quartet. These four herbs get along really well together with a sweet harmony much like Simon & Grafunkel. The best part was they all came from our garden.

Click on the link to the farro risotto recipe above. Once you’re there, do a few substitutions. Leave out the spinach and roasted peppers (though I think they could stay in if you like) and add a good 1/3 – 1/2 cup of chopped fresh herbs near the end of the cooking. My personal preference was to let the thyme and parsley take the lead vocal while the rosemary and sage provided the harmony. Make a blend that will sing your own song. 

Now to that Artichoke  and Tomato Salad:

DIGITAL CAMERA

I used a can of whole artichoke hearts, I find that I get better pieces when I cut them myself. If you can find fresh baby artichokes, by all means go for it. They are hard to find in this part of the country, but if you do find them it will make this salad even more amazing. I used a combination of red grape and yellow cherry tomatoes, mainly because it’s what I had on hand. Sweet onion was the final component.

DIGITAL CAMERA

I made a straight forward vinaigrette. I added just a touch of Agave Syrup. Since my dressings tend to be light on the oil, this bit of sweetness balances the acidity and creates a better texture. Everything went together early in the day so that when it was time for dinner everyone was well acquainted.

Artichoke and Tomato Salad
Print Recipe
Servings
3
Servings
3
Artichoke and Tomato Salad
Print Recipe
Servings
3
Servings
3
Ingredients
Servings:
Instructions
  1. Combine the artichokes, tomatoes, and onion in a bowl. Toss gently to mix.
  2. Combine the remaining ingredients in a jar with a tight fitting lid. Close tightly and shake until all of the ingredients are thoroughly blended.
  3. Pour the dressing over the vegetable and toss to coat. Cover and refrigerate for at least 2 hours (more is better).
  4. Serve with your favorite grilled meat, fish, or poultry.
Share this Recipe
Powered byWP Ultimate Recipe

Summer is here and the Kitchen of Love is bursting with inspiration. I have lots of adventures to share with you and a memory or two as well, so keep tuning in.             Love, Mama D


Stock in a Box on Steroids

Let me start by saying that homemade stock is the best. It is easy to make and freezes beautifully. I will also say that nothing compares with the flavor of homemade stock. You are in complete control of salt and all the other flavors that you choose to add.

That being said, I admit that I use “Stock in a Box” from time to time. It is convenient and once you find a brand that you like and that doesn’t offend your healthy sensibilities too much, it is great for quick soups and sauces. I’ve even been known to saute in it.

I was getting ready to make some soup the other day and was out of my homemade stock. The soup, which was going to be dinner couldn’t wait for me to make scratch stock, so I went to the pantry and found a box of chicken stock. Feeling somewhat adventurous, I decided to play with it a bit.

I decided it needed to be bulked up some so I added a leek, some garlic, and fresh herbs.DIGITAL CAMERAI used my fool-proof method for cleaning leeks. Leeks are notoriously sandy and the sand loves to settle in the layers of the leek where it can create an unpleasant taste and texture experience.

DIGITAL CAMERA You can diligently rinse them under running water while prying the layers apart, but it’s been my experience that a few errant grains will remain.

This technique eliminates that. Once you have cut off the root end and the tougher dark green ends you can slice the leeks to suit the recipe you are creating.DIGITAL CAMERADrop the slices into a bowl of cold water and let them float there for 5 minutes or so.DIGITAL CAMERACarefully scoop out the leeks with a slotted spoon and drain them on paper towels. Dump out the water and marvel at the grit and sand in the bottom of the bowl that now will not ruin your creation.

Once the leeks were clean, I added them to a soup pot along with some garlic and herb sprigs. I let them all “sweat it out” for a bit in some olive oil before I added the stock.DIGITAL CAMERAI let everything simmer for 45 minutes or so until the stock smelled incredible. The sprigs of rosemary and thyme that I used came out clean as the proverbial whistle. I diligently fished them out until I had the same number of stems that I started out with.DIGITAL CAMERA This isn’t me being anal, it is saving my immersion blender from “choking” on the woody stems. Experience is a wonderful teacher…DIGITAL CAMERAThe stock that resulted was a bulked up and richer version of what came out of the box. It was a perfect addition to my soup. In fact, this may become a new Mama D standard when using stock in a box. I used chicken stock, but it would work equally as well with vegetable stock. You could even use this technique with homemade stock to give it a little more muscle. With Thanksgiving only days away, this could be a wonderful base for your gravy.

Stock in a Box on Steroids
Print Recipe
Stock in a Box on Steroids
Print Recipe
Ingredients
Servings:
Instructions
  1. Chop off the root and and the dark green top of the leek. Cut it in half lengthwise then slice thinly into half moons. Place the pieces in a bowl of cold water and let them sit for 5 - 10 minutes without disturbing them. Carefully scoop the pieces out with a slotted spoon and drain on paper towels.
  2. Heat the olive oil in a large soup pot over medium low heat. Add the leeks, garlic and herb sprigs (count them). Sweat until the leeks are very soft and the garlic is fragrant.
  3. Pour in the box of stock and stir to combine everything. Bring to a boil. reduce the heat to low, cover and simmer for 45 minutes or so. The stock should smell wonderful and the herb stems should be bare of their leaves.
  4. Remove the pot from the heat and fish out the herb stems. Make sure you have the same number of stems you put in (your immersion blender will thank you).
  5. Using an immersion blender process the stock until it is smooth (how smooth is up to you and there will be some herb flecks)
  6. Your "bulked up" stock is ready to use in your recipe.
Share this Recipe
Powered byWP Ultimate Recipe

DIGITAL CAMERA

Whatever techniques and ingredients you use in your cooking, the most important thing to add is love. There’s a place for short cuts and convenience, even in Mama D’s Kitchen. 


Memories of Julia…Italian Beef Stew

Beef Stew, a quintessential Winter dish, has as many variations as there are cooks. It is a comfort food that can be simple and satisfying or elegant and complex. The process is time-consuming, but the results are worth it.

I have so many memories of my mother’s cooking, but there isn’t a single one of stew. Chicken Cacciatore came closest, but that’s technically braising. My first adventure or memory for that matter, of stew was making Beef Bourguignon after watching Julia Child. I’ve made this recipe for years, but I wanted something different, so I went about putting an Italian spin on things.

Could I be breaking new ground here? Of course not. Stew goes back to ancient times, including the Romans. I did find a traditional recipe for “Peposo” a dish from Florence featuring chunks of beef, lots of black pepper, and red wine. It was invented back in the 14th century by tile makers who put these ingredients into terra-cotta pots and cooked it by the heat of the furnace. My beef stew incorporates Peposo’s ingredients and oh, so much more.DIGITAL CAMERA
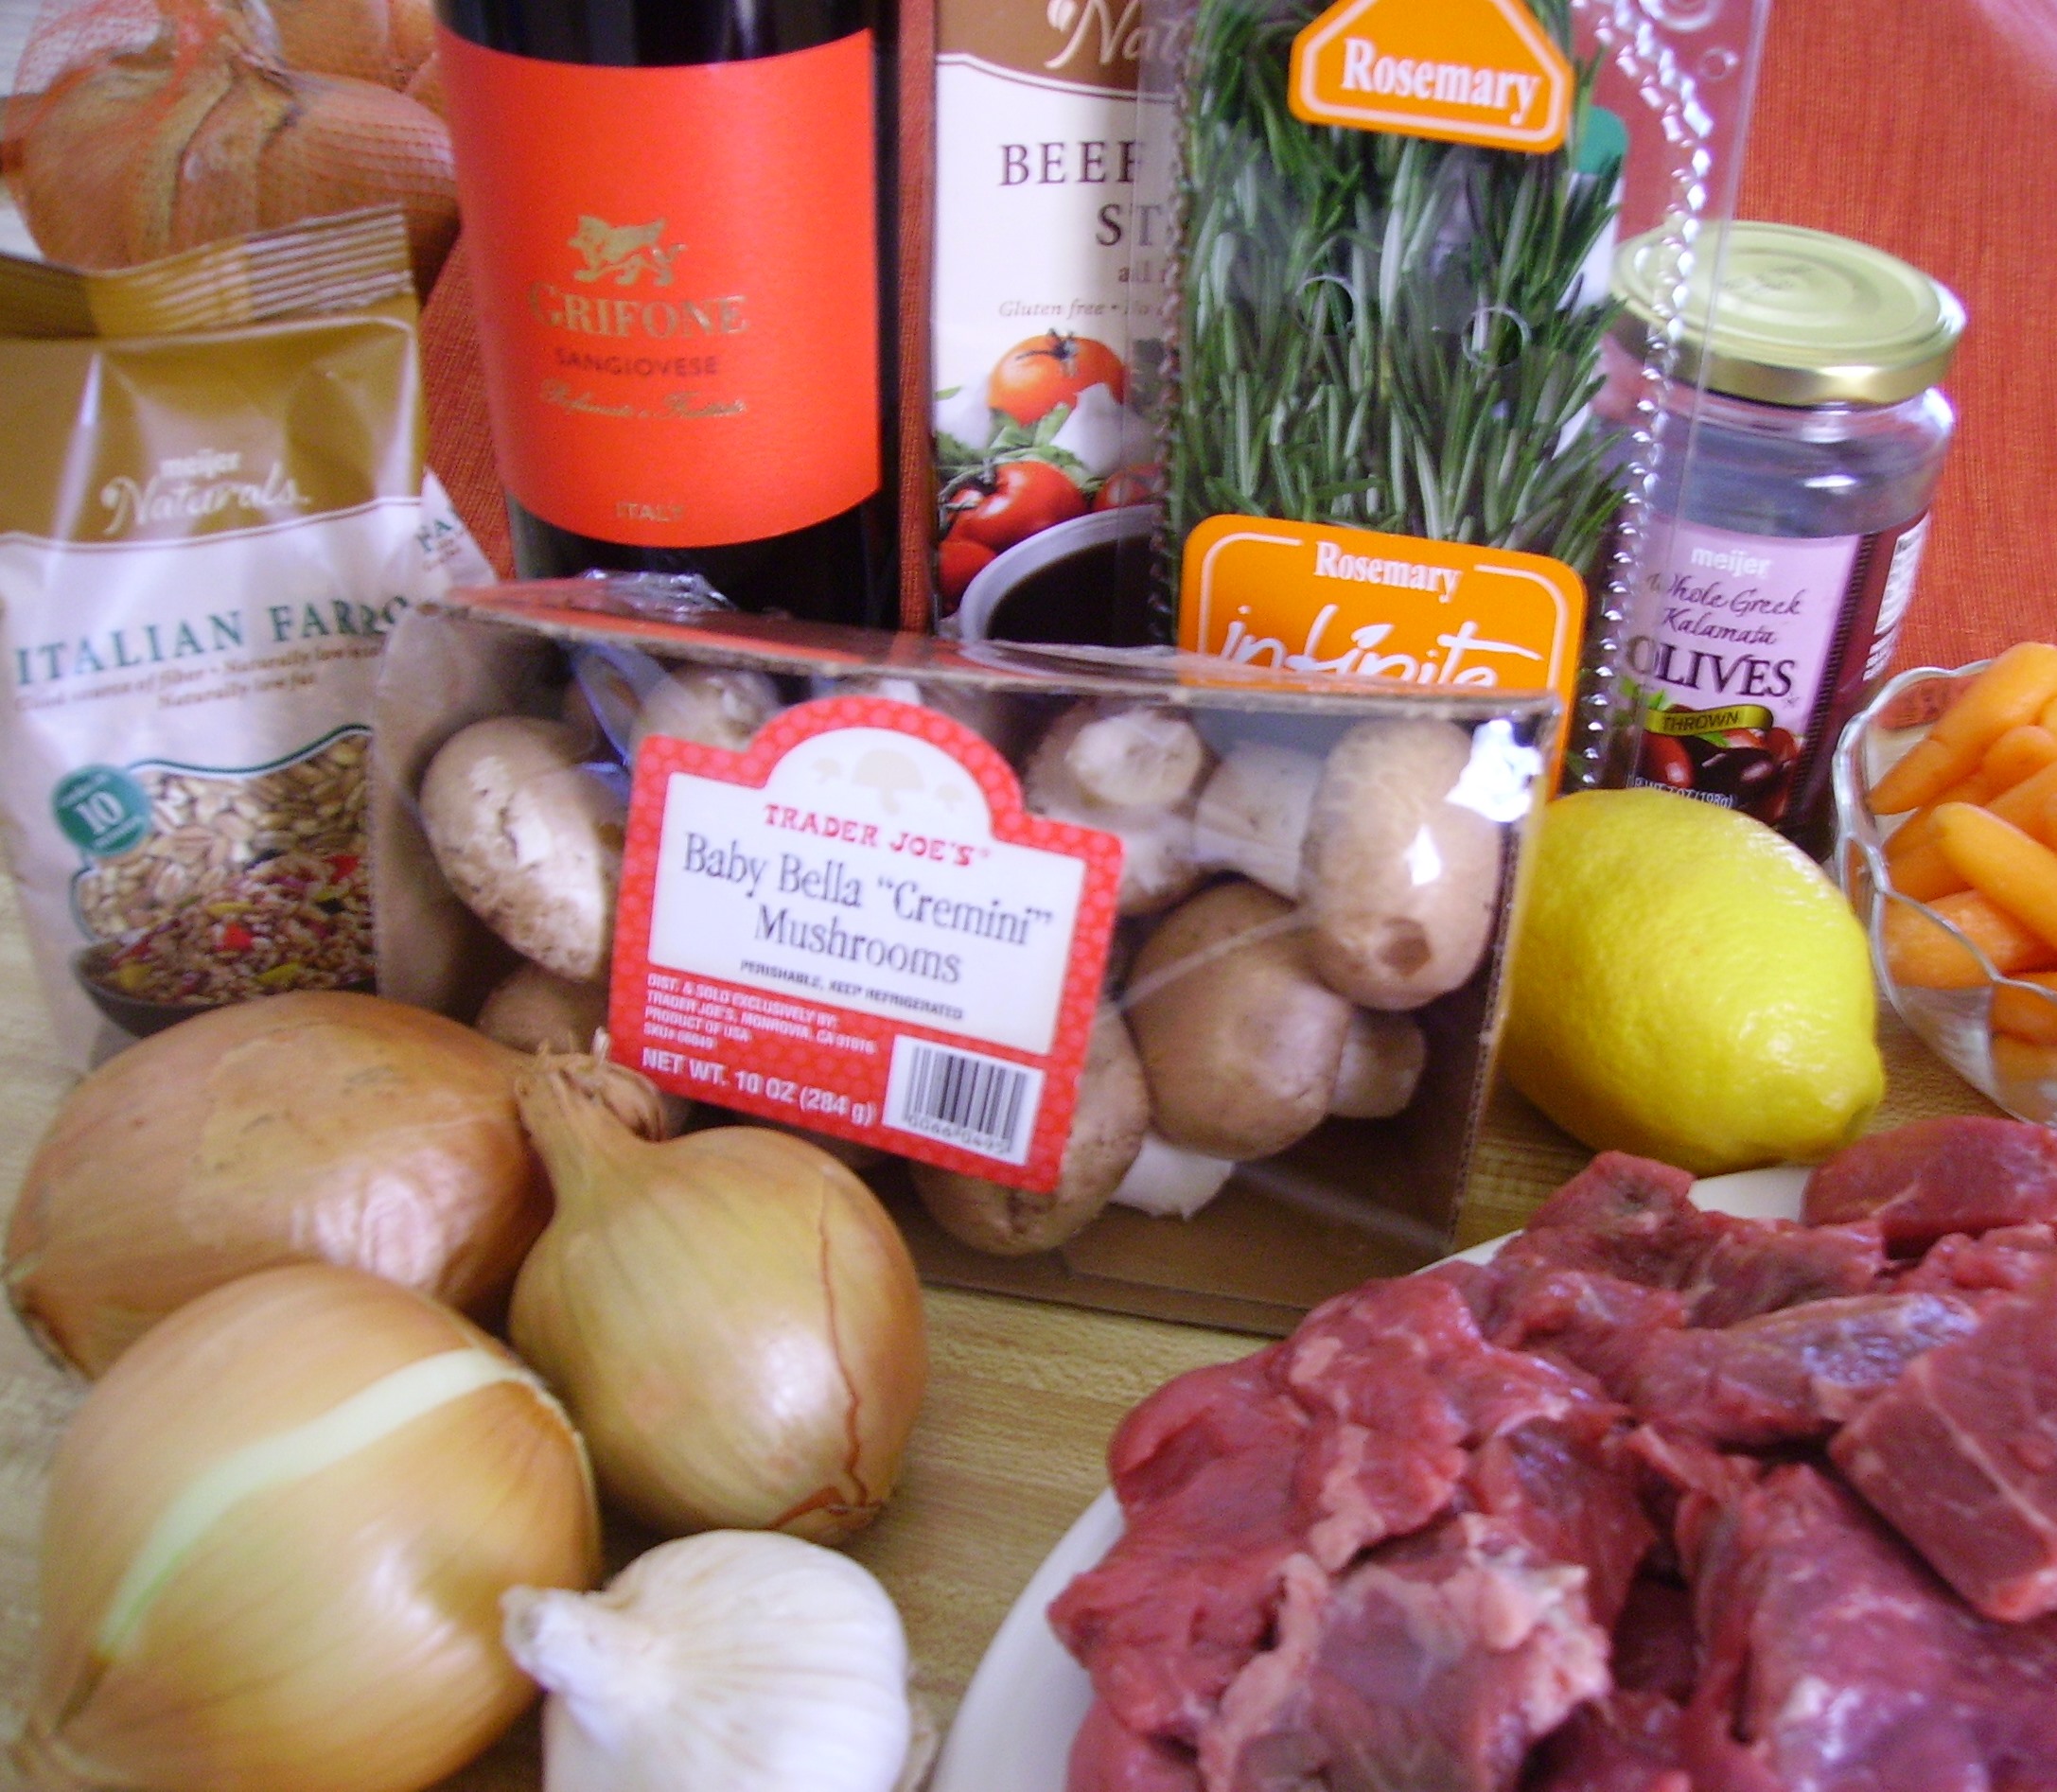
My wine of choice was Sangiovese, considered by many to be the King of Italian wine grapes. It’s the principle wine in Chianti. Usually fruity but with noticeable acidity and tannins, It can hold its own in this stew as well as on the table.DIGITAL CAMERA

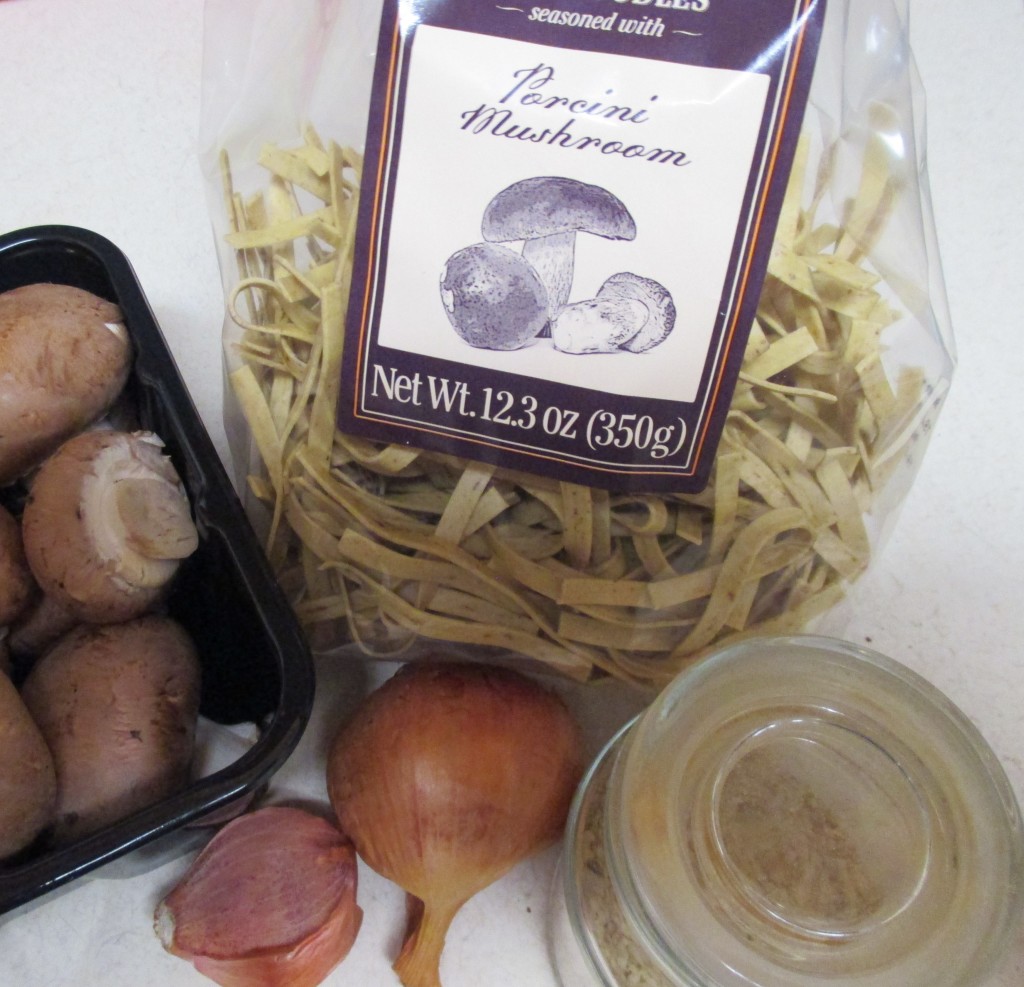
The beef was Chuck Eye Roast. This is lean and tender as chuck cuts go. The muscles are fairly large and can be cut up without too much difficulty. Read that as those pesky membranes are few and loose enough to be dispatched quickly. Cutting the meat yourself will save you money  and allow you to cut the pieces the size you want. I like to eat my stew with a spoon and/or fork so I opted for one and a half-inch pieces.DIGITAL CAMERA

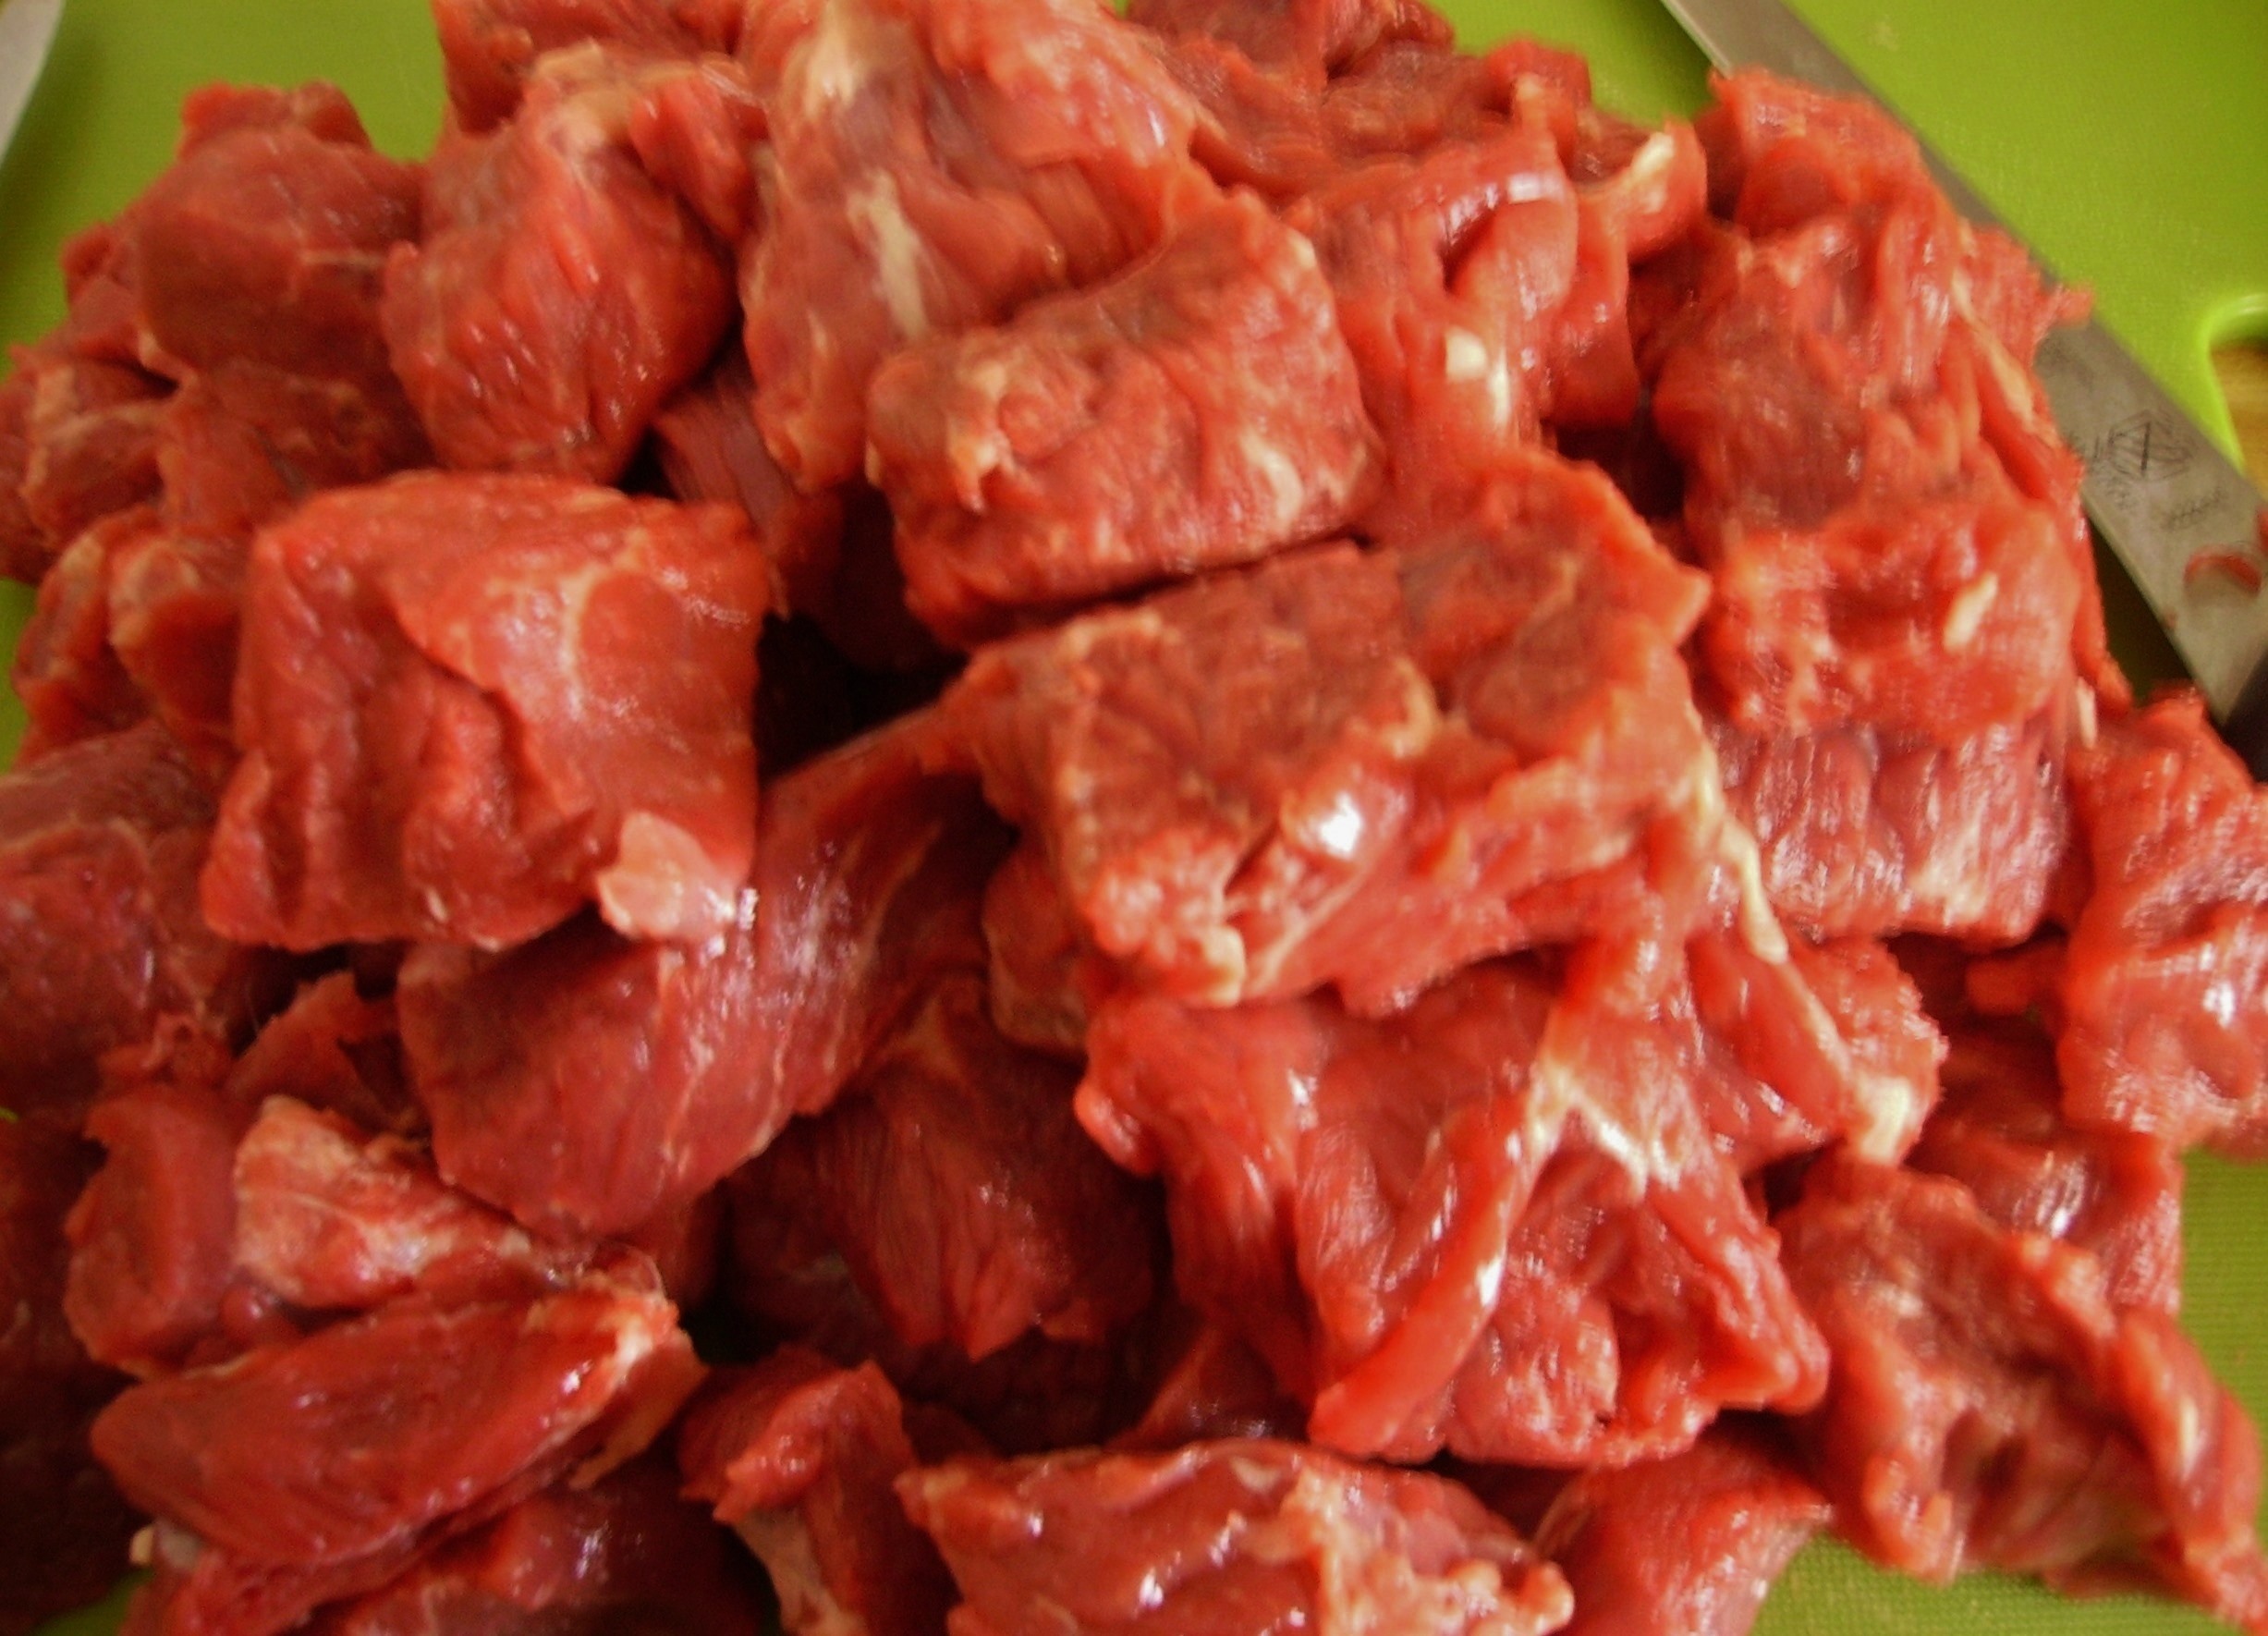
I used bacon because I like the smokieness of it, but pancetta would work well and probably be more Italian. The bacon provided the fat to brown the meat, done in batches so that they would brown instead of steam.DIGITAL CAMERA

DIGITAL CAMERA
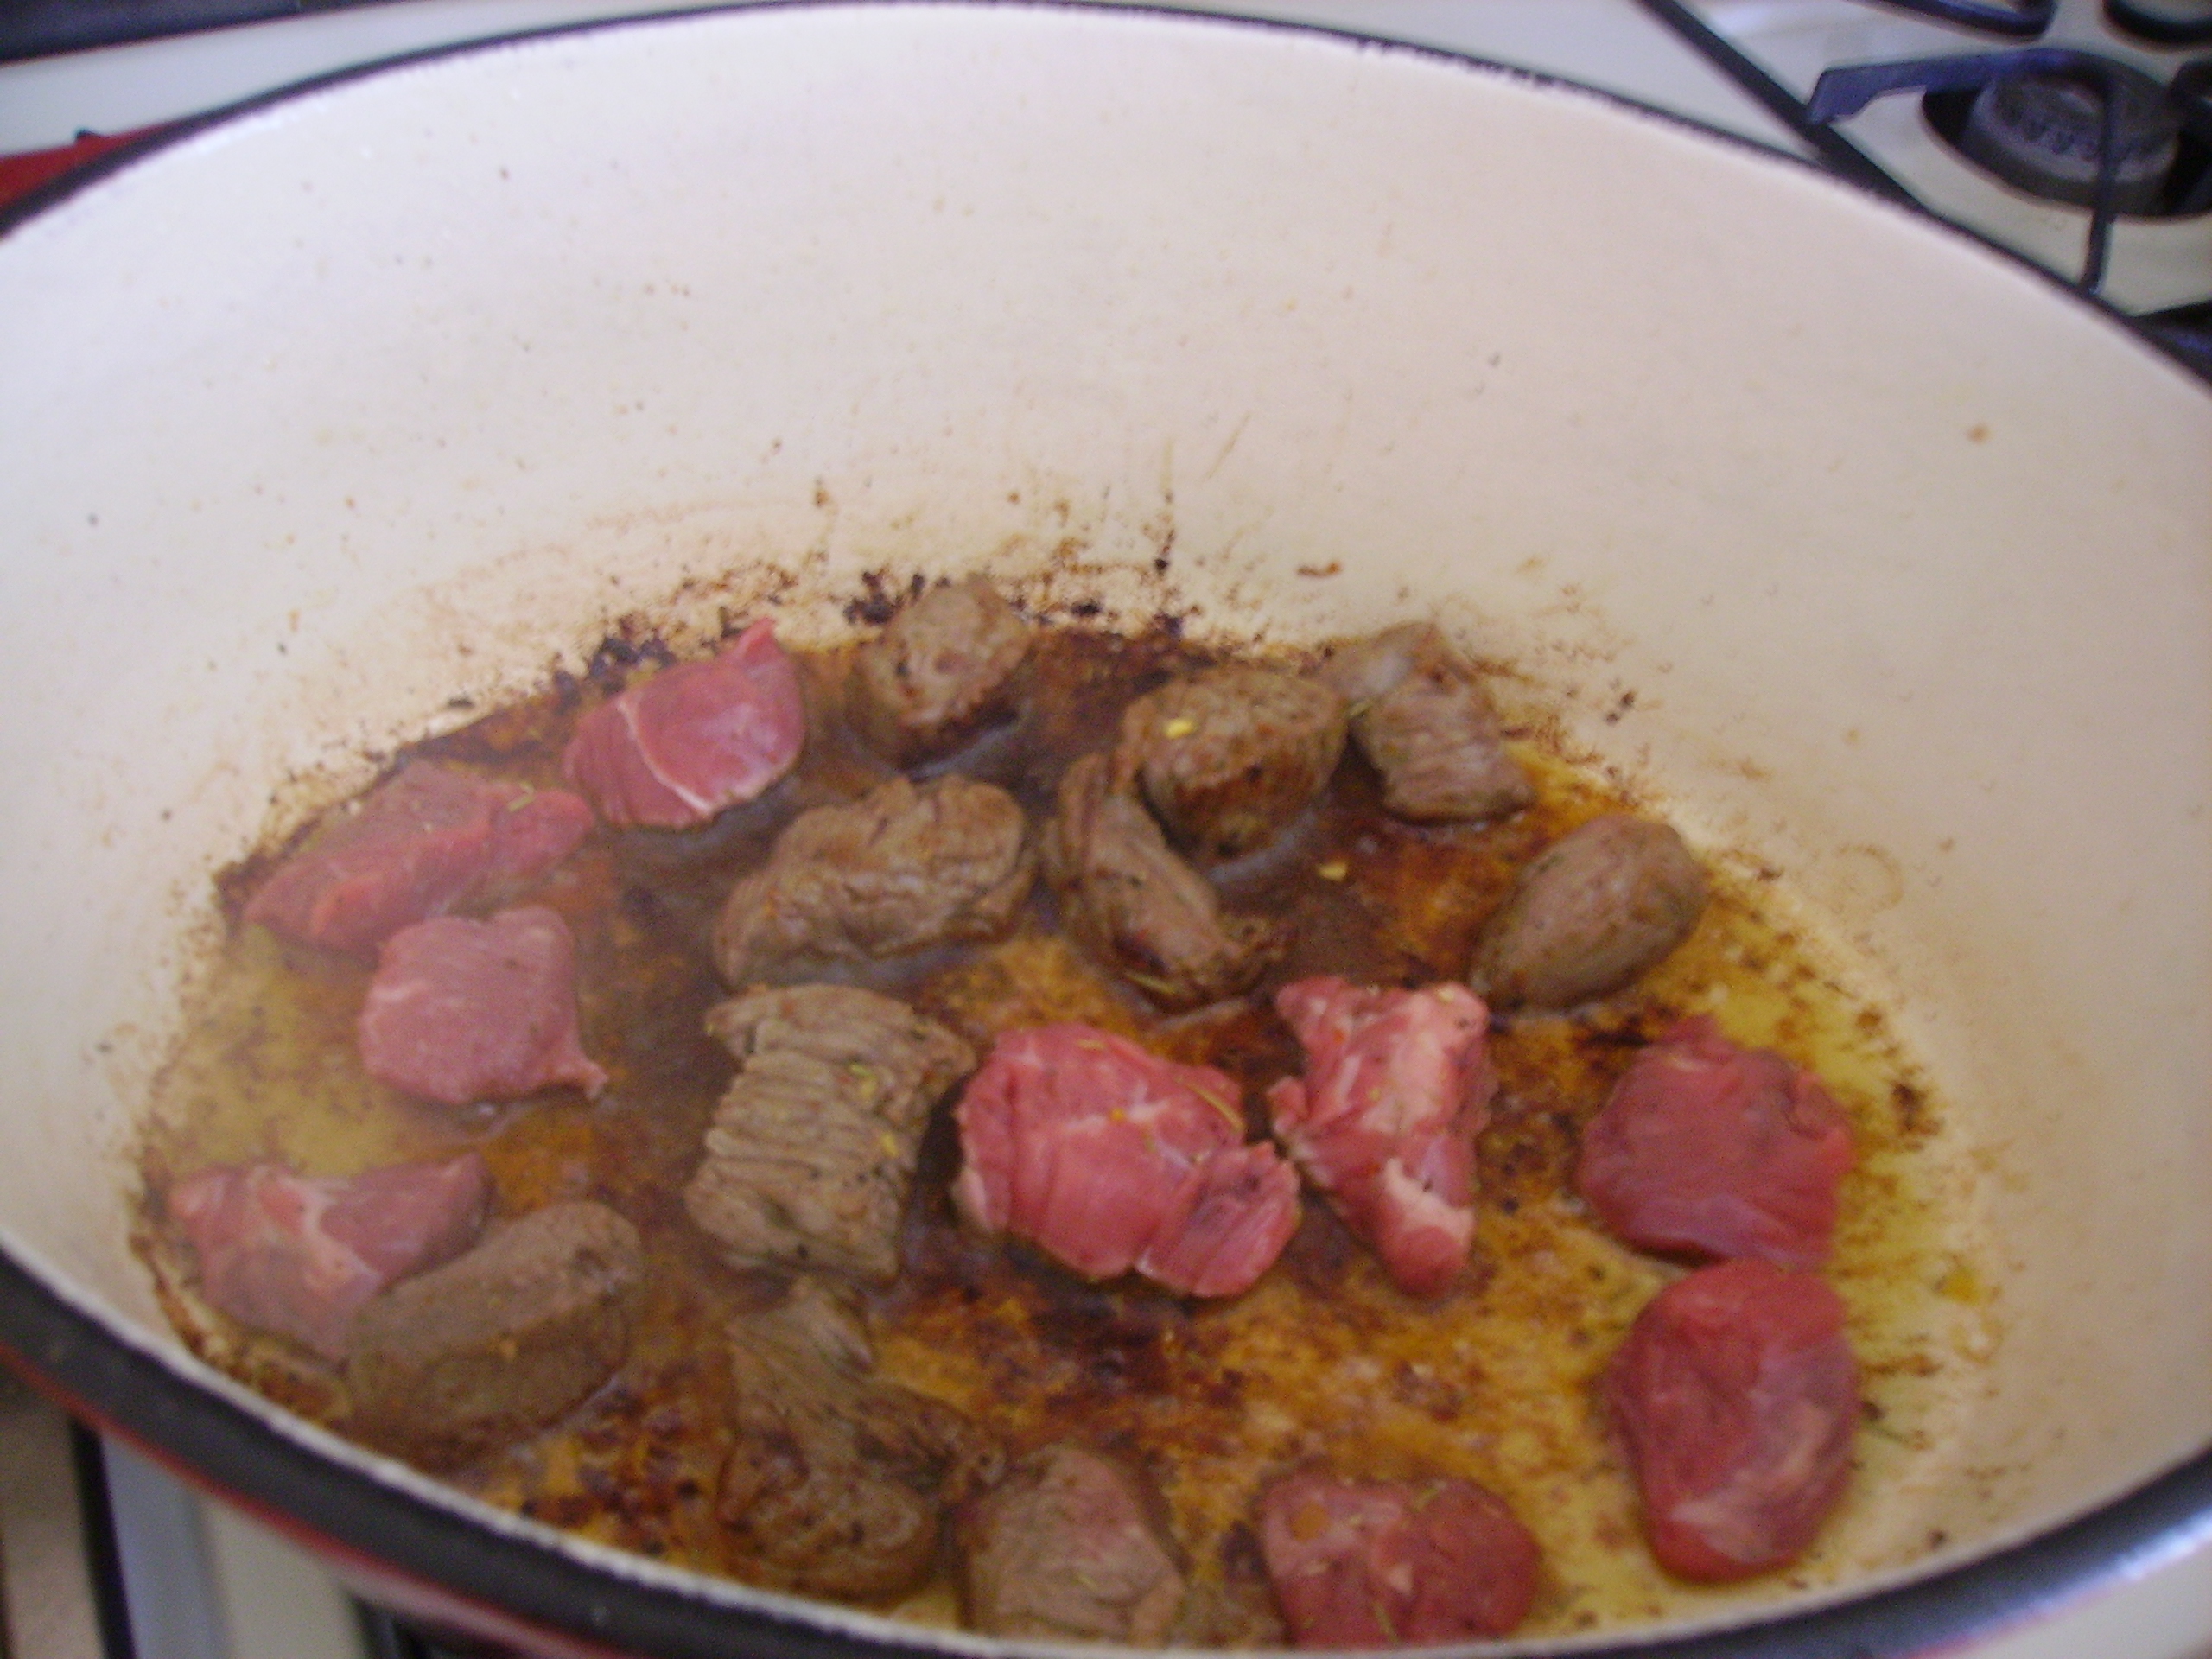
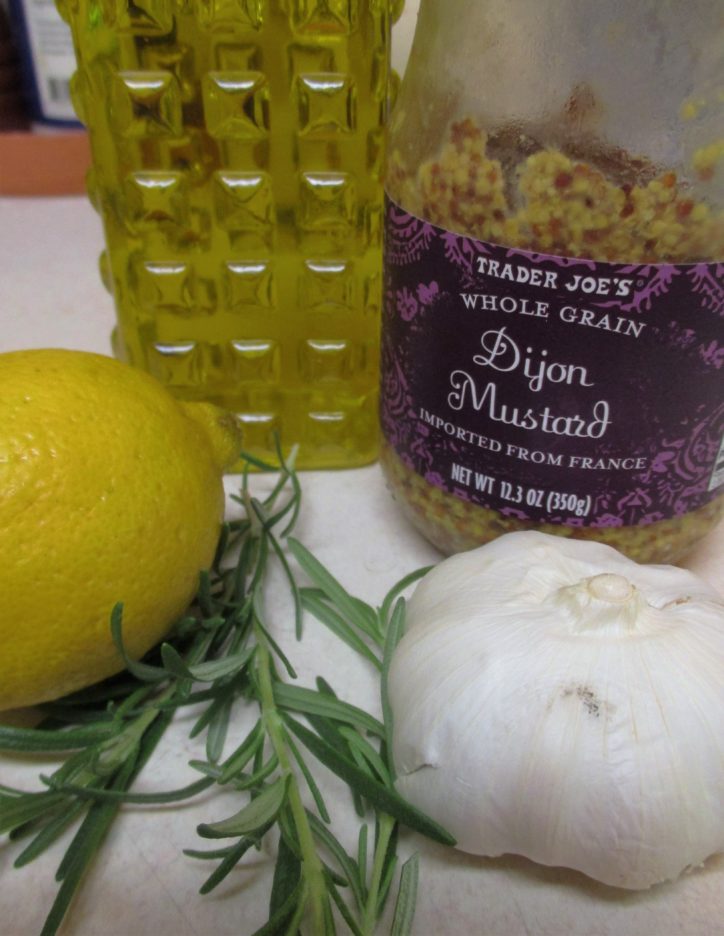
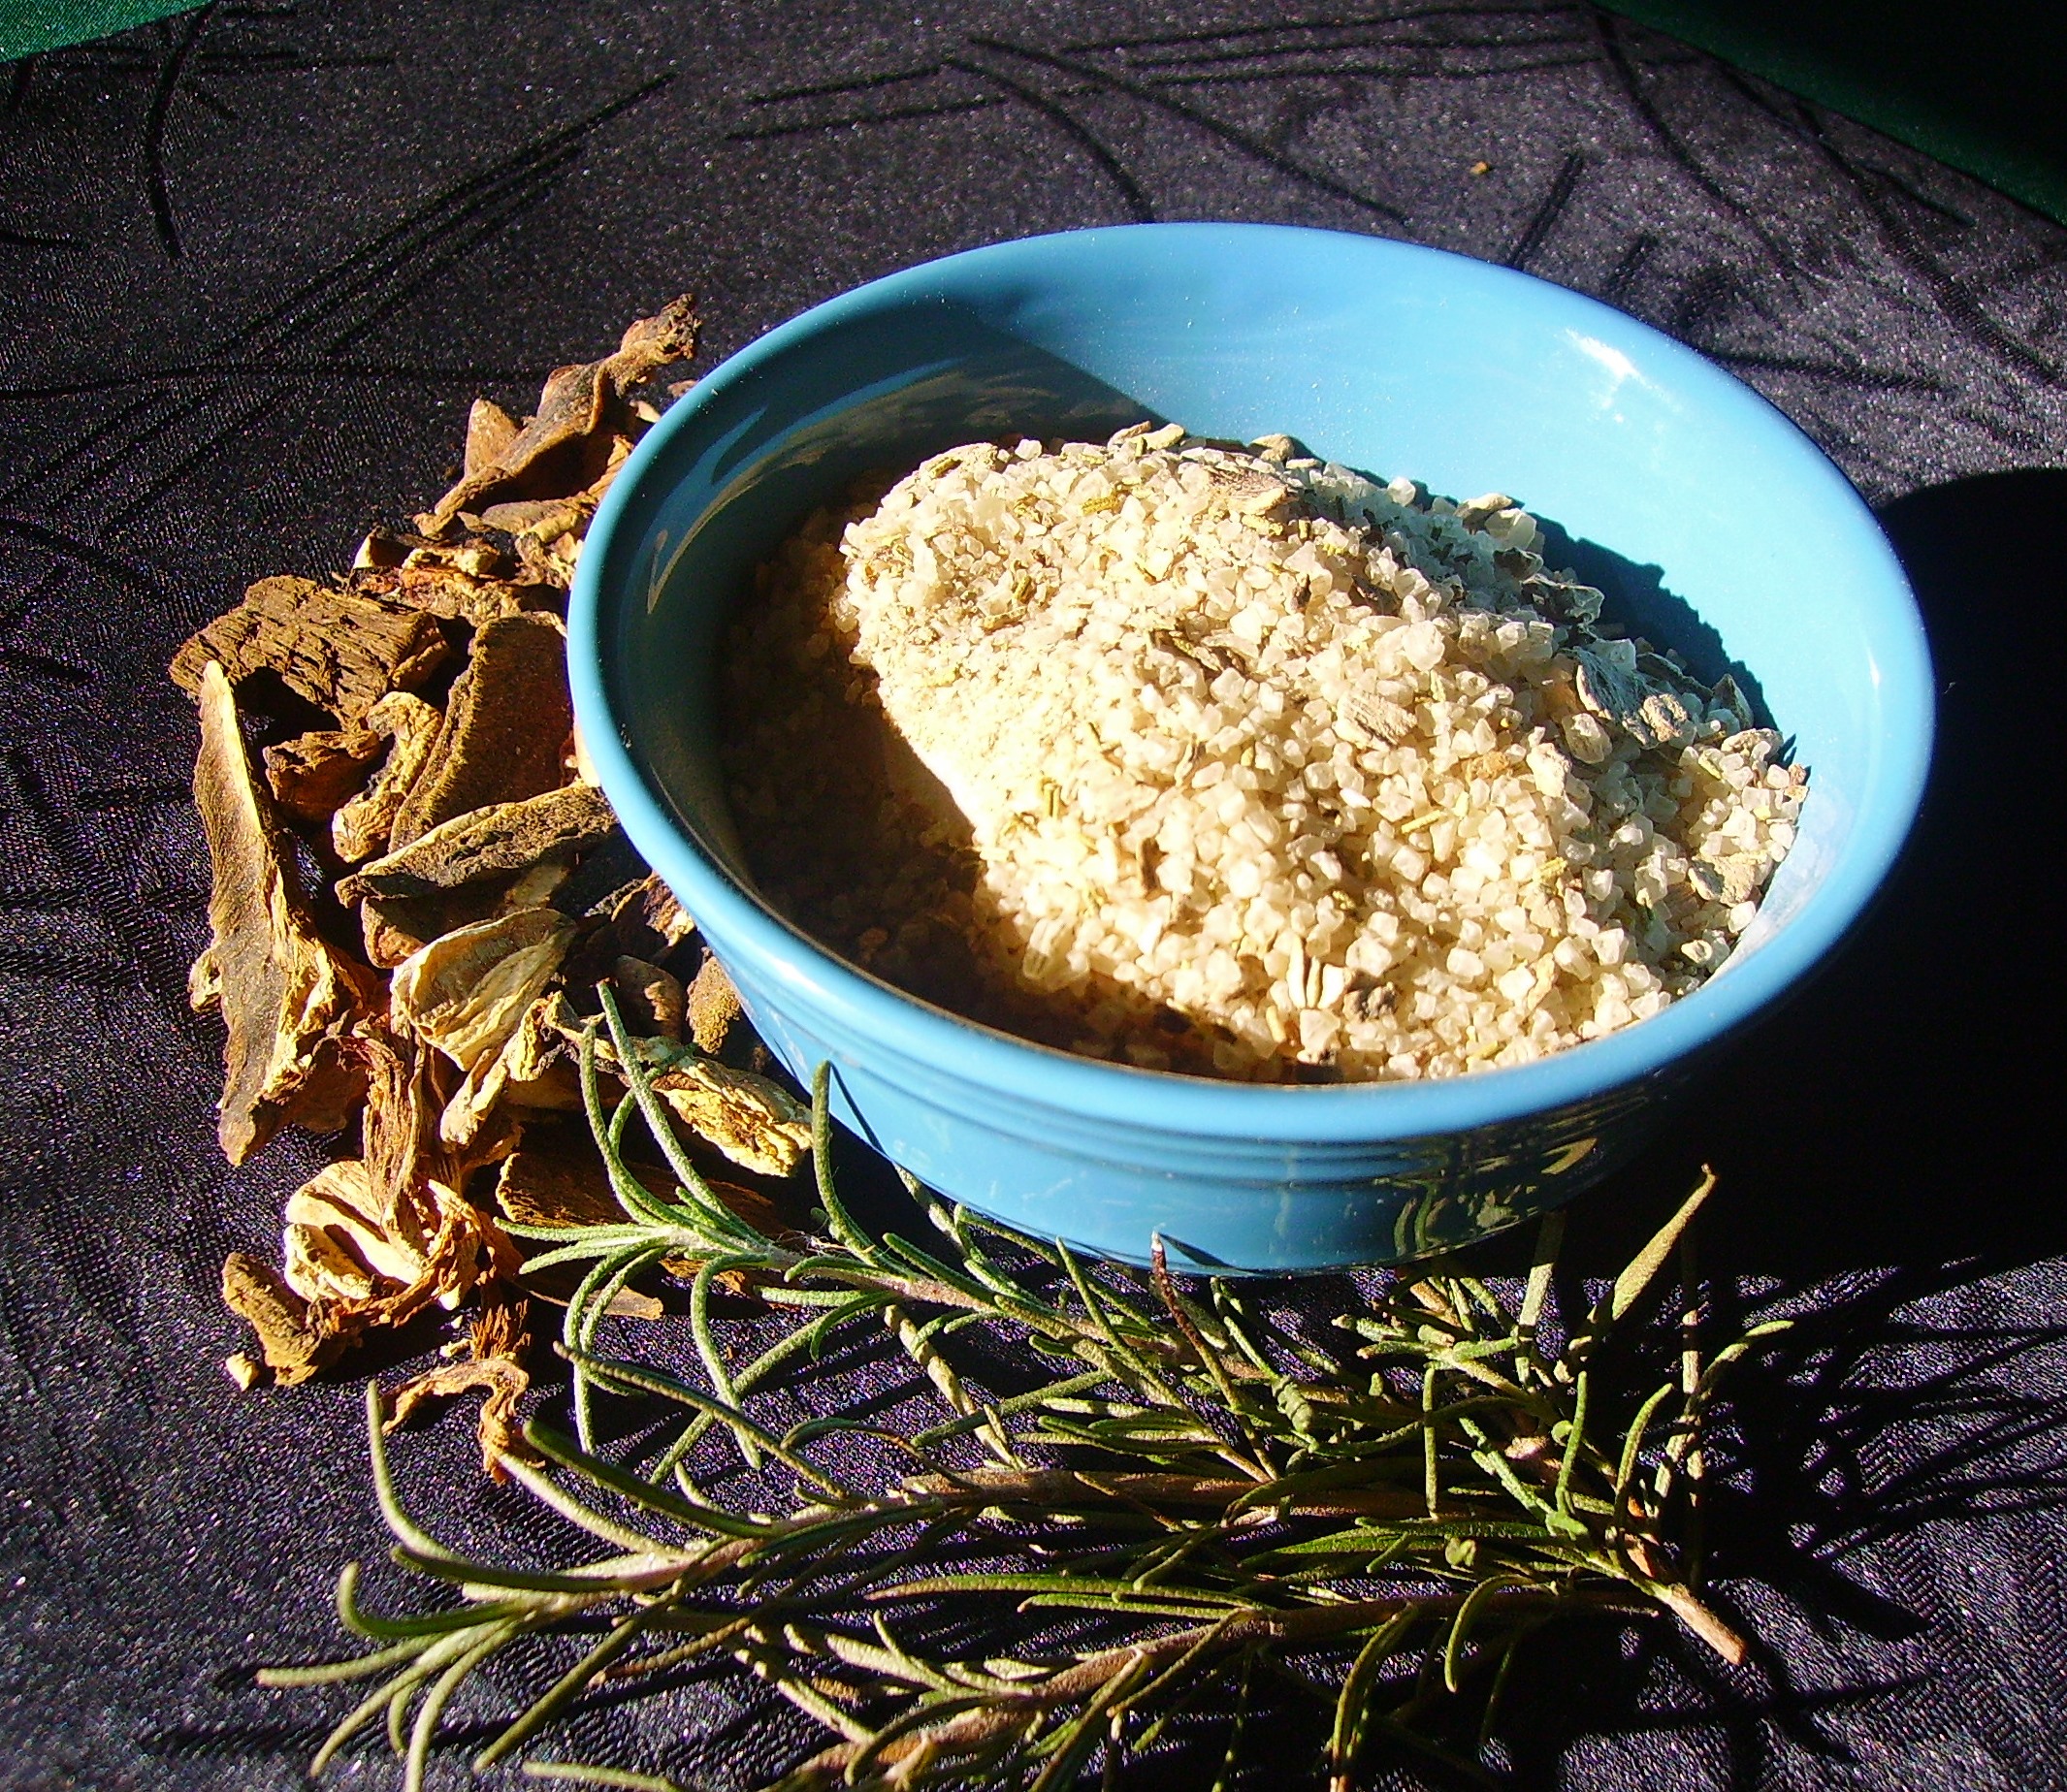
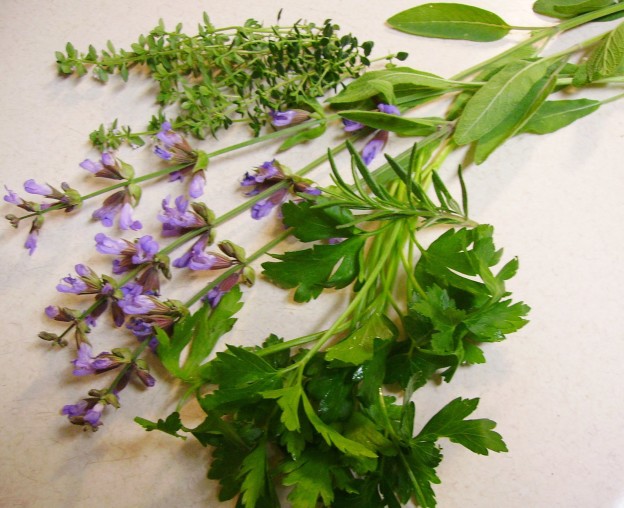
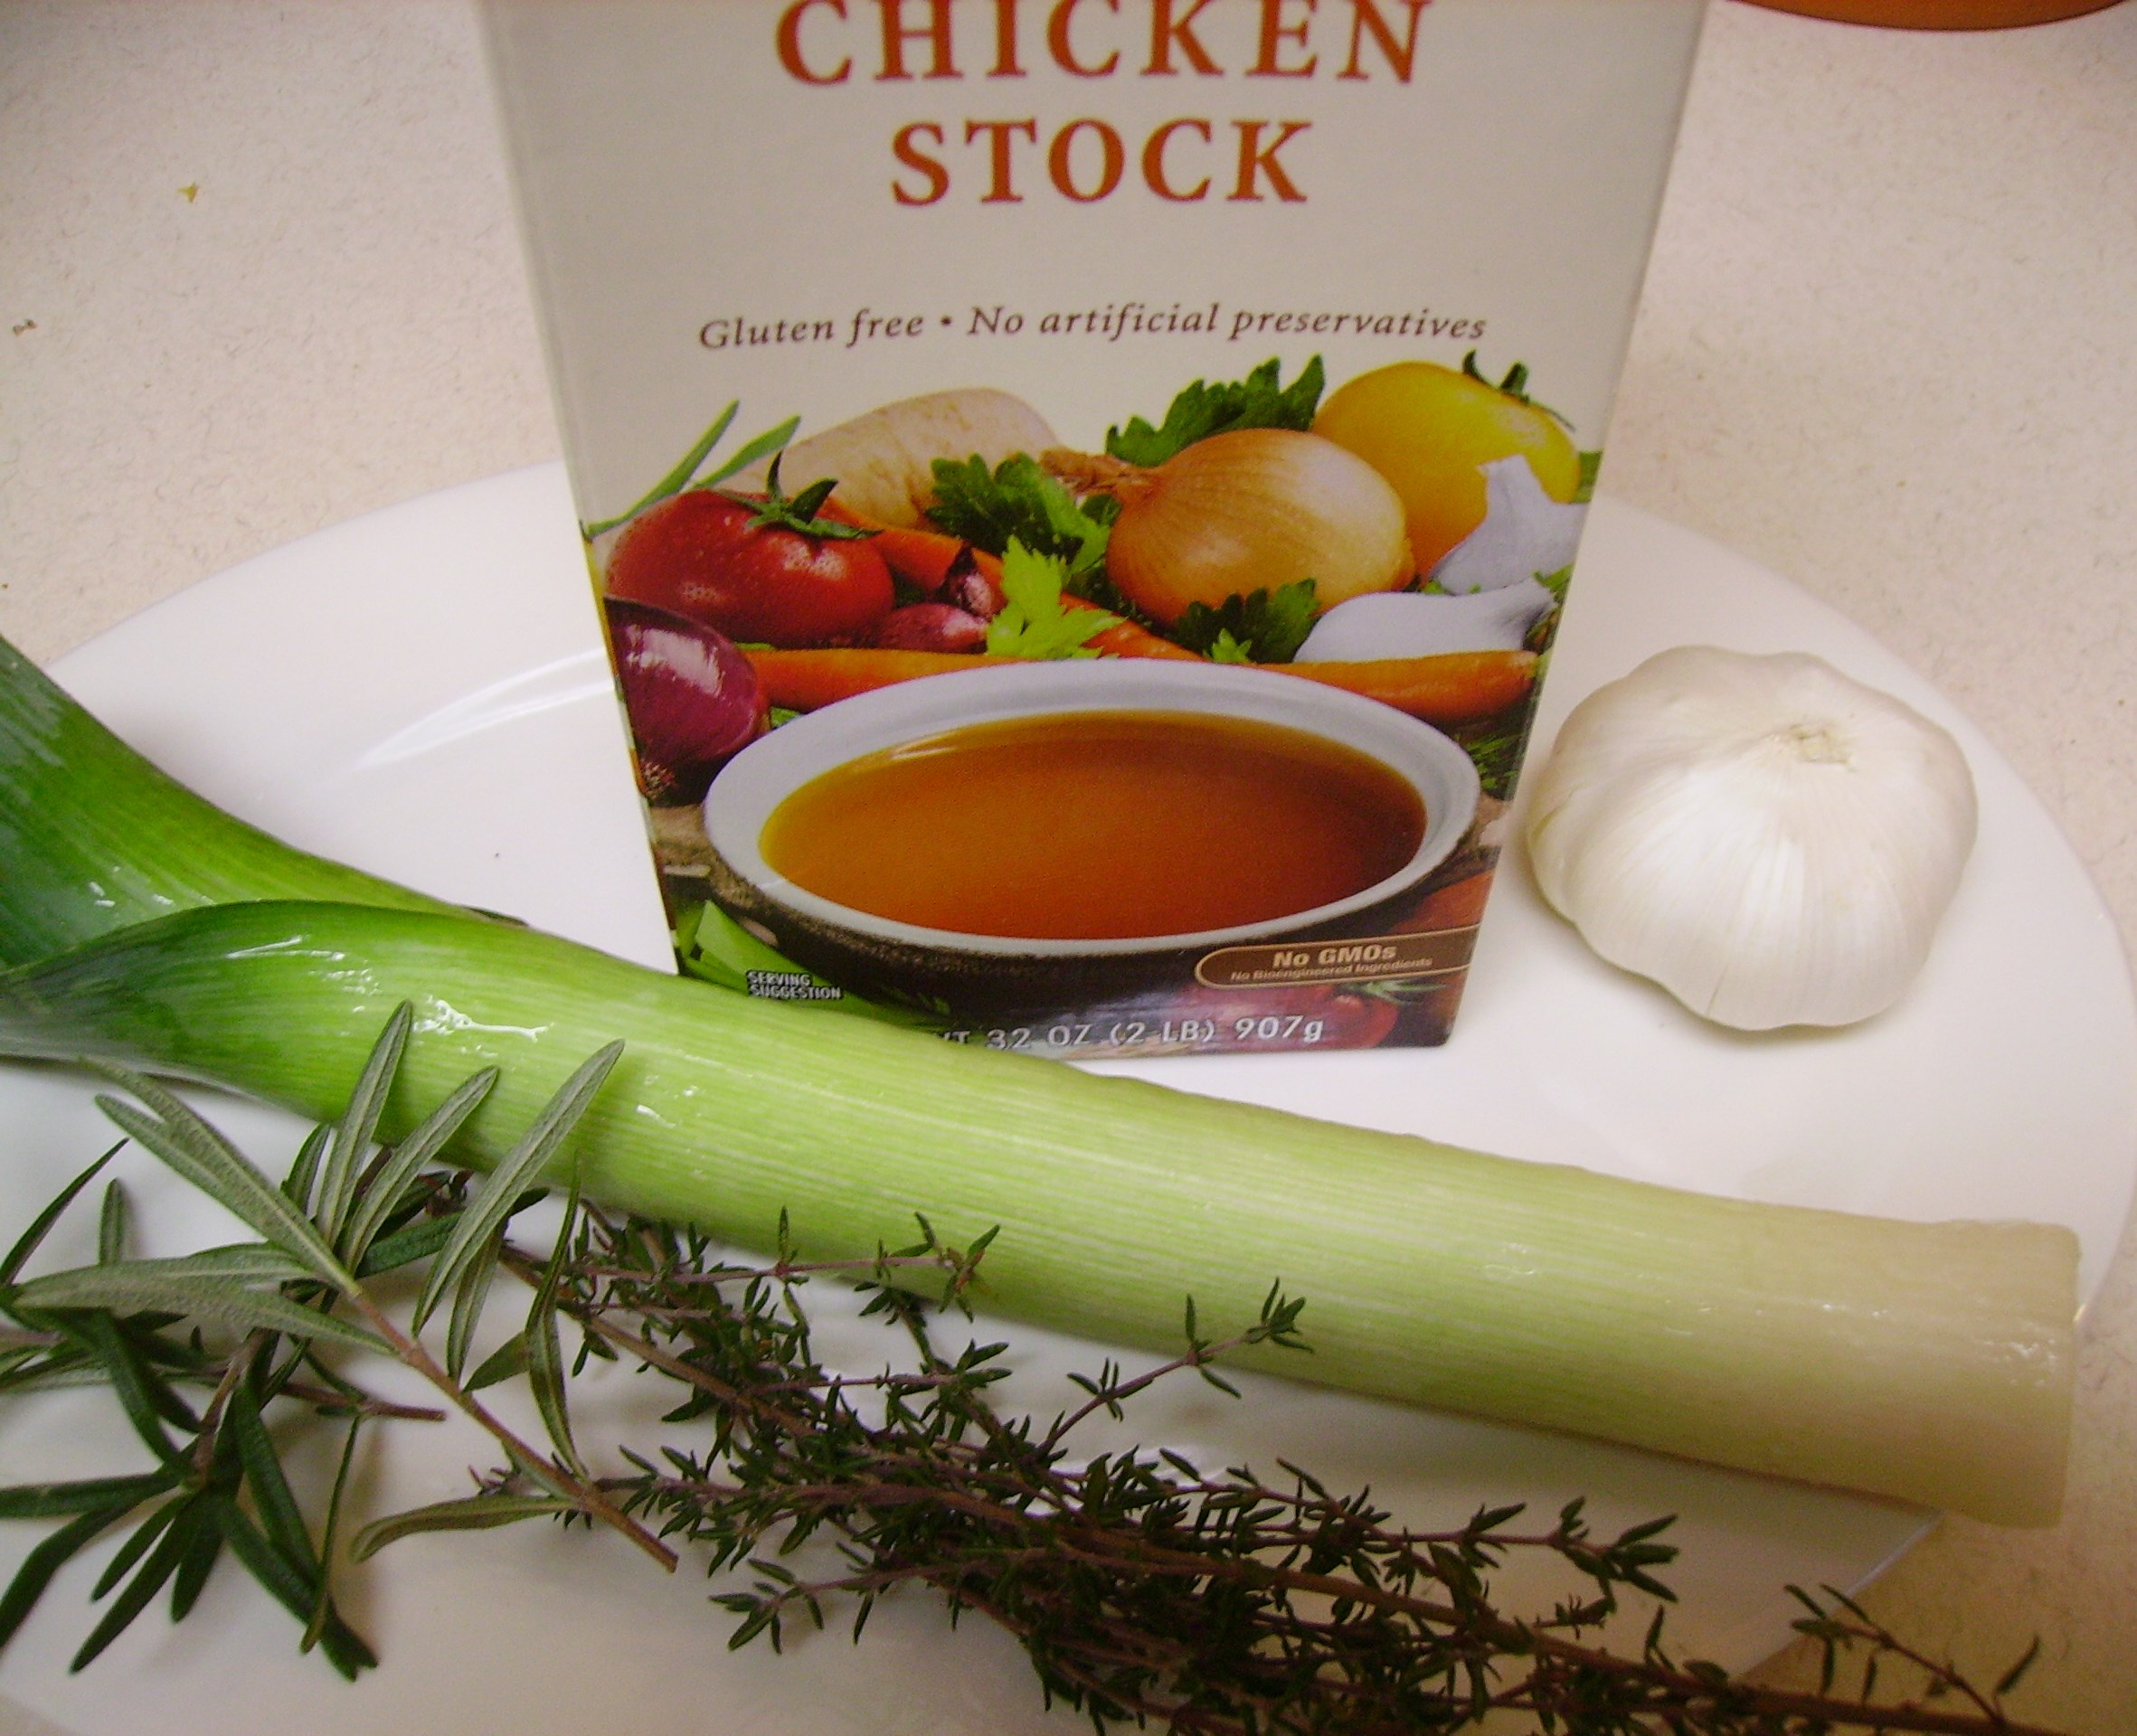
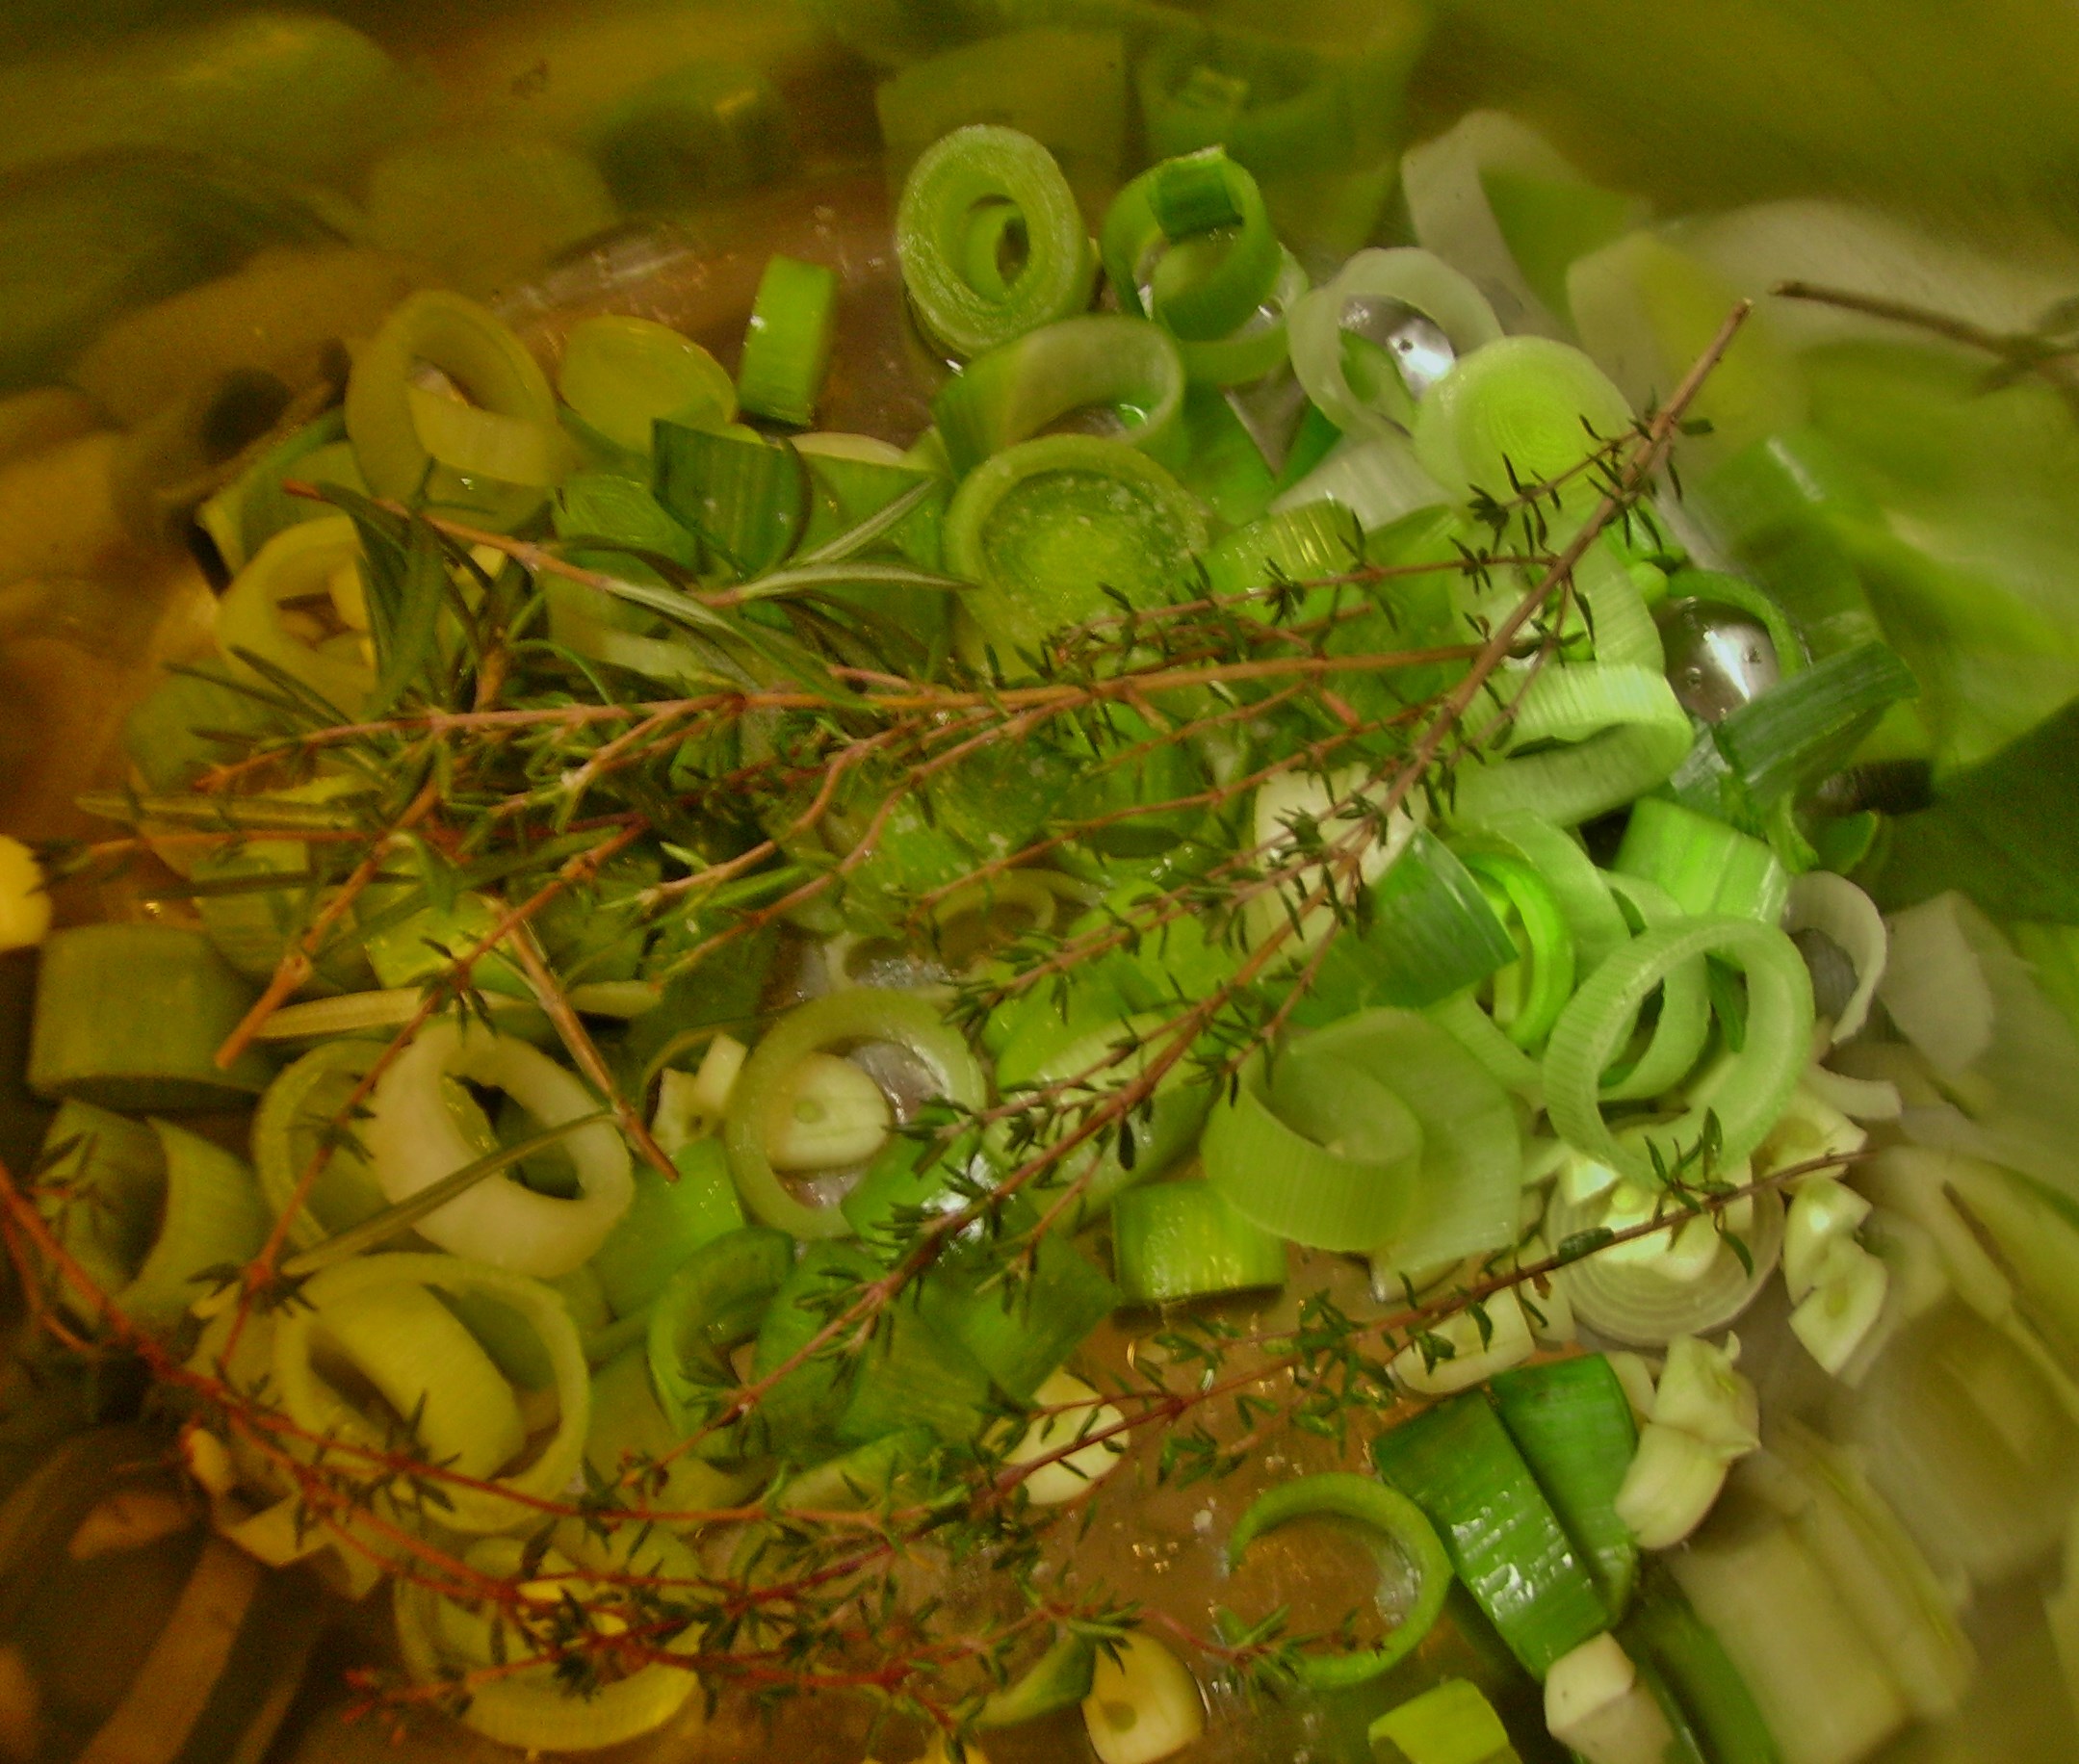
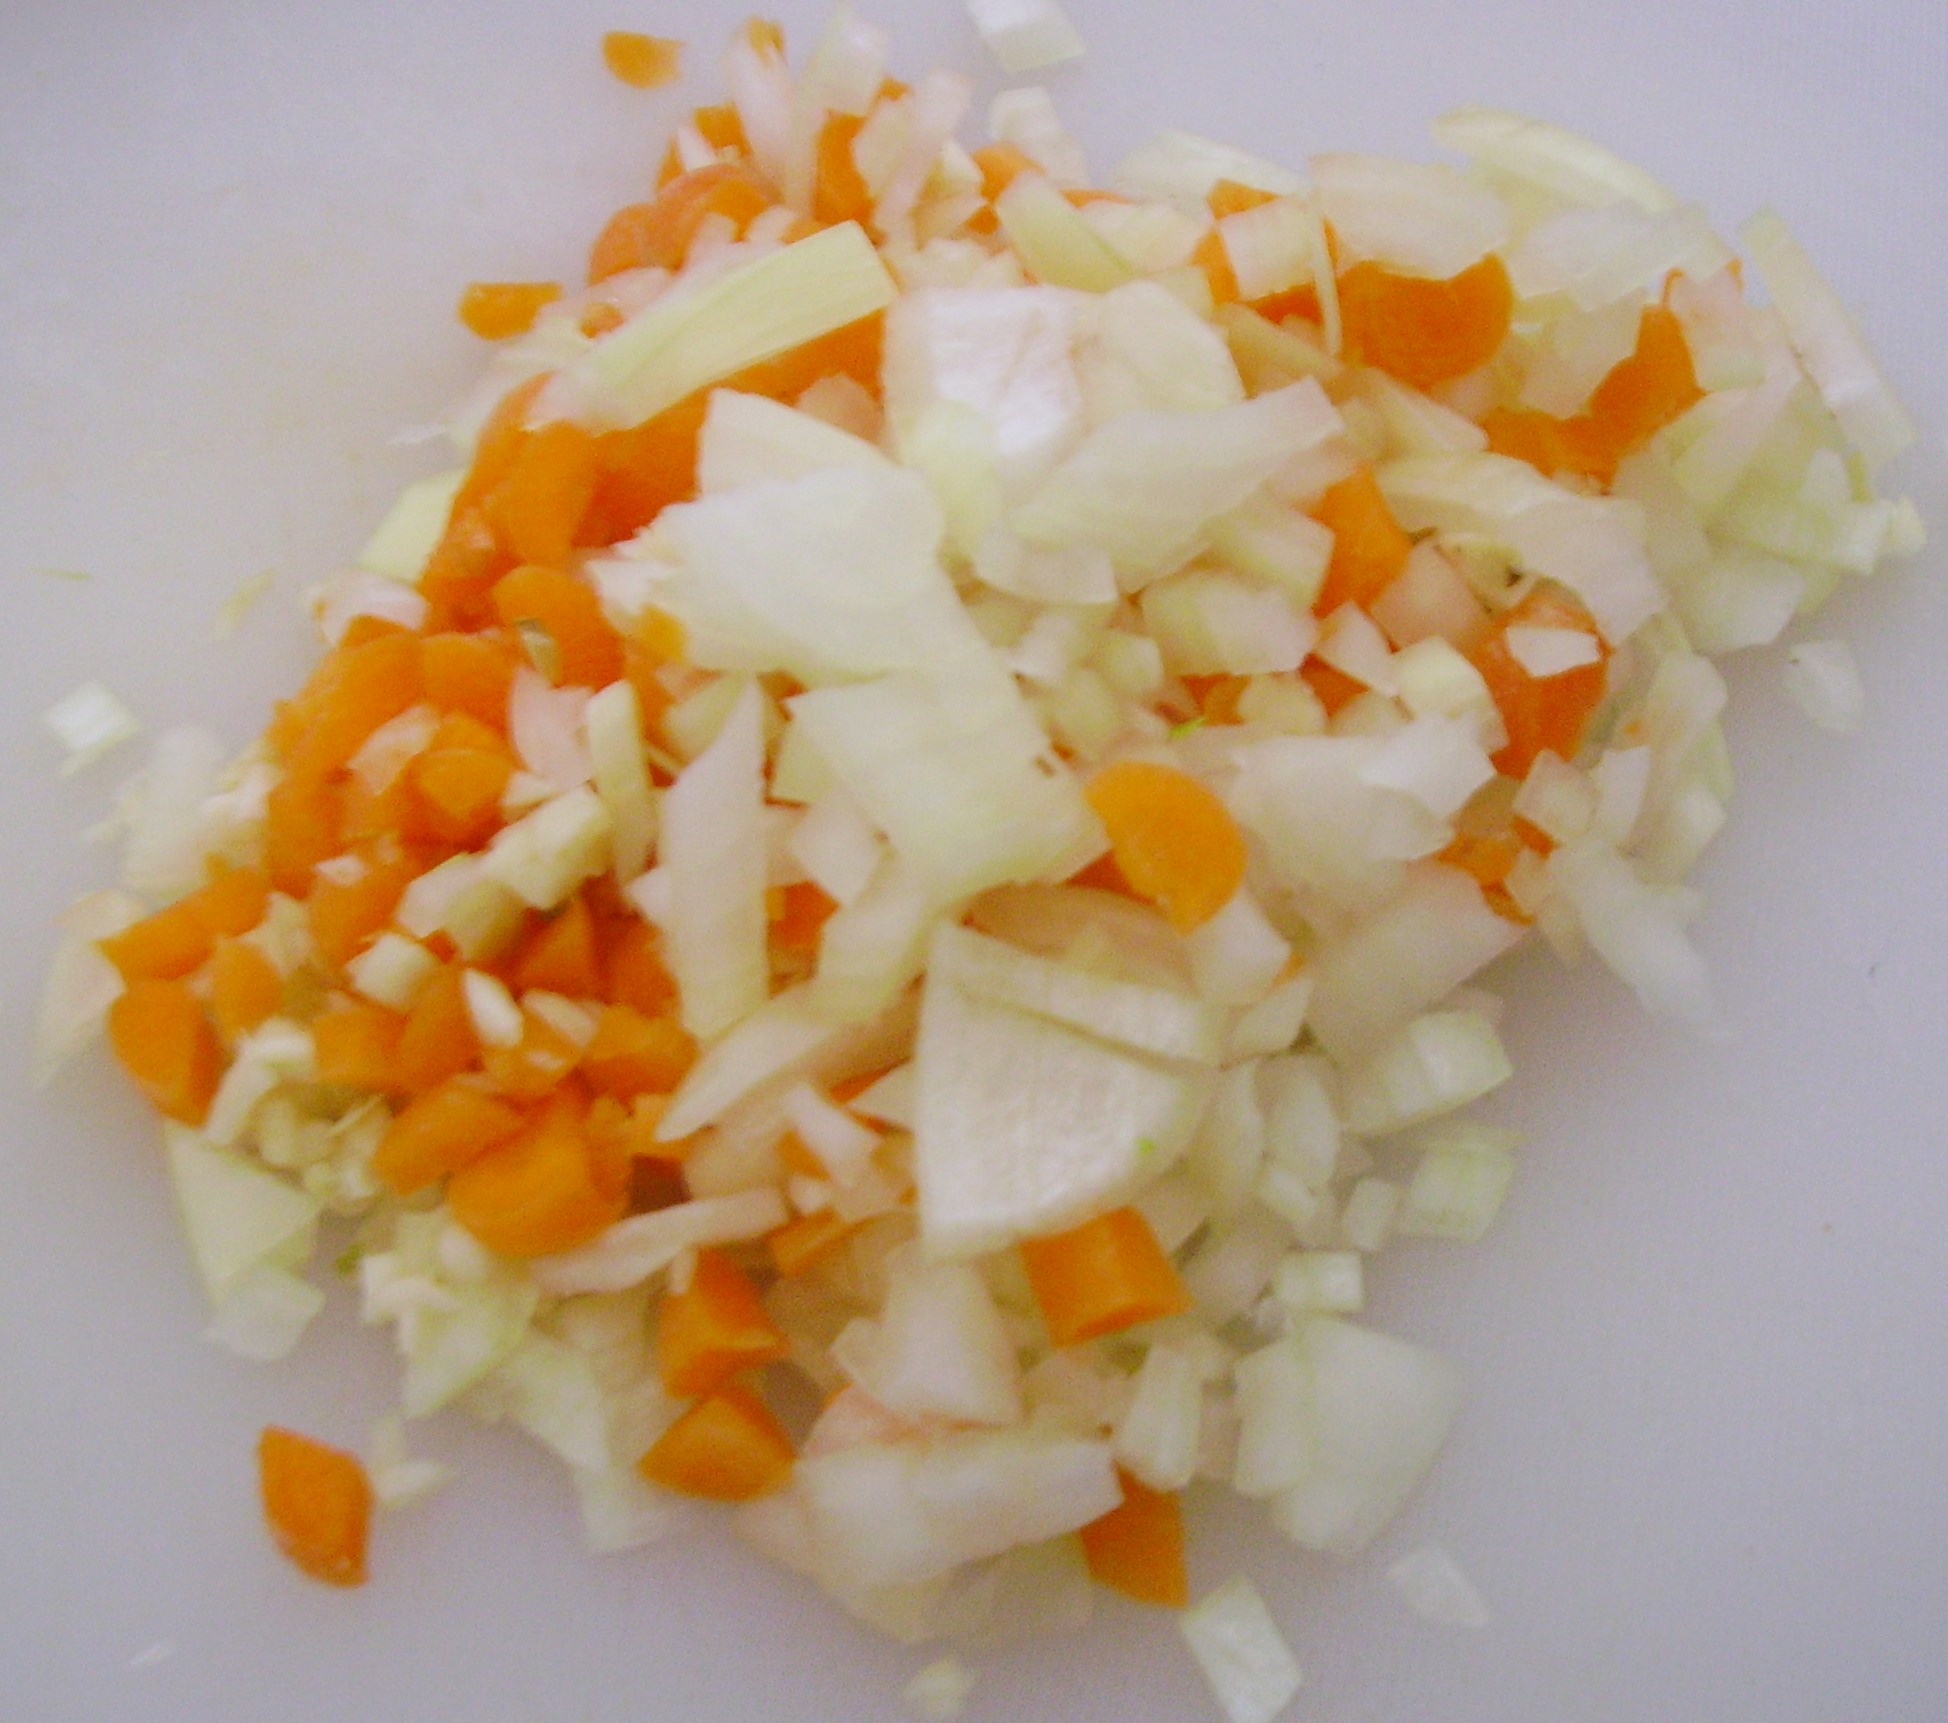
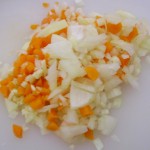
Then came the Sofritto. My understanding of Soffrito is that while traditionally it’s the same flavor base as its French cousin, Mirepoix, it can be any combination of aromatics, and since I’m not a fan of celery, I chose to use onions, garlic, and carrots. I chopped up a good size sprig of fresh rosemary, added some fennel seeds and red pepper flakes and rounded out the aromatics with bay leaf and lemon zest.DIGITAL CAMERA

All of this went into the dutch oven now beautifully coated with brown bits. A little tomato paste and more than a little wine to de-glaze the pan and I was well on my way to creating stewing magic.DIGITAL CAMERA
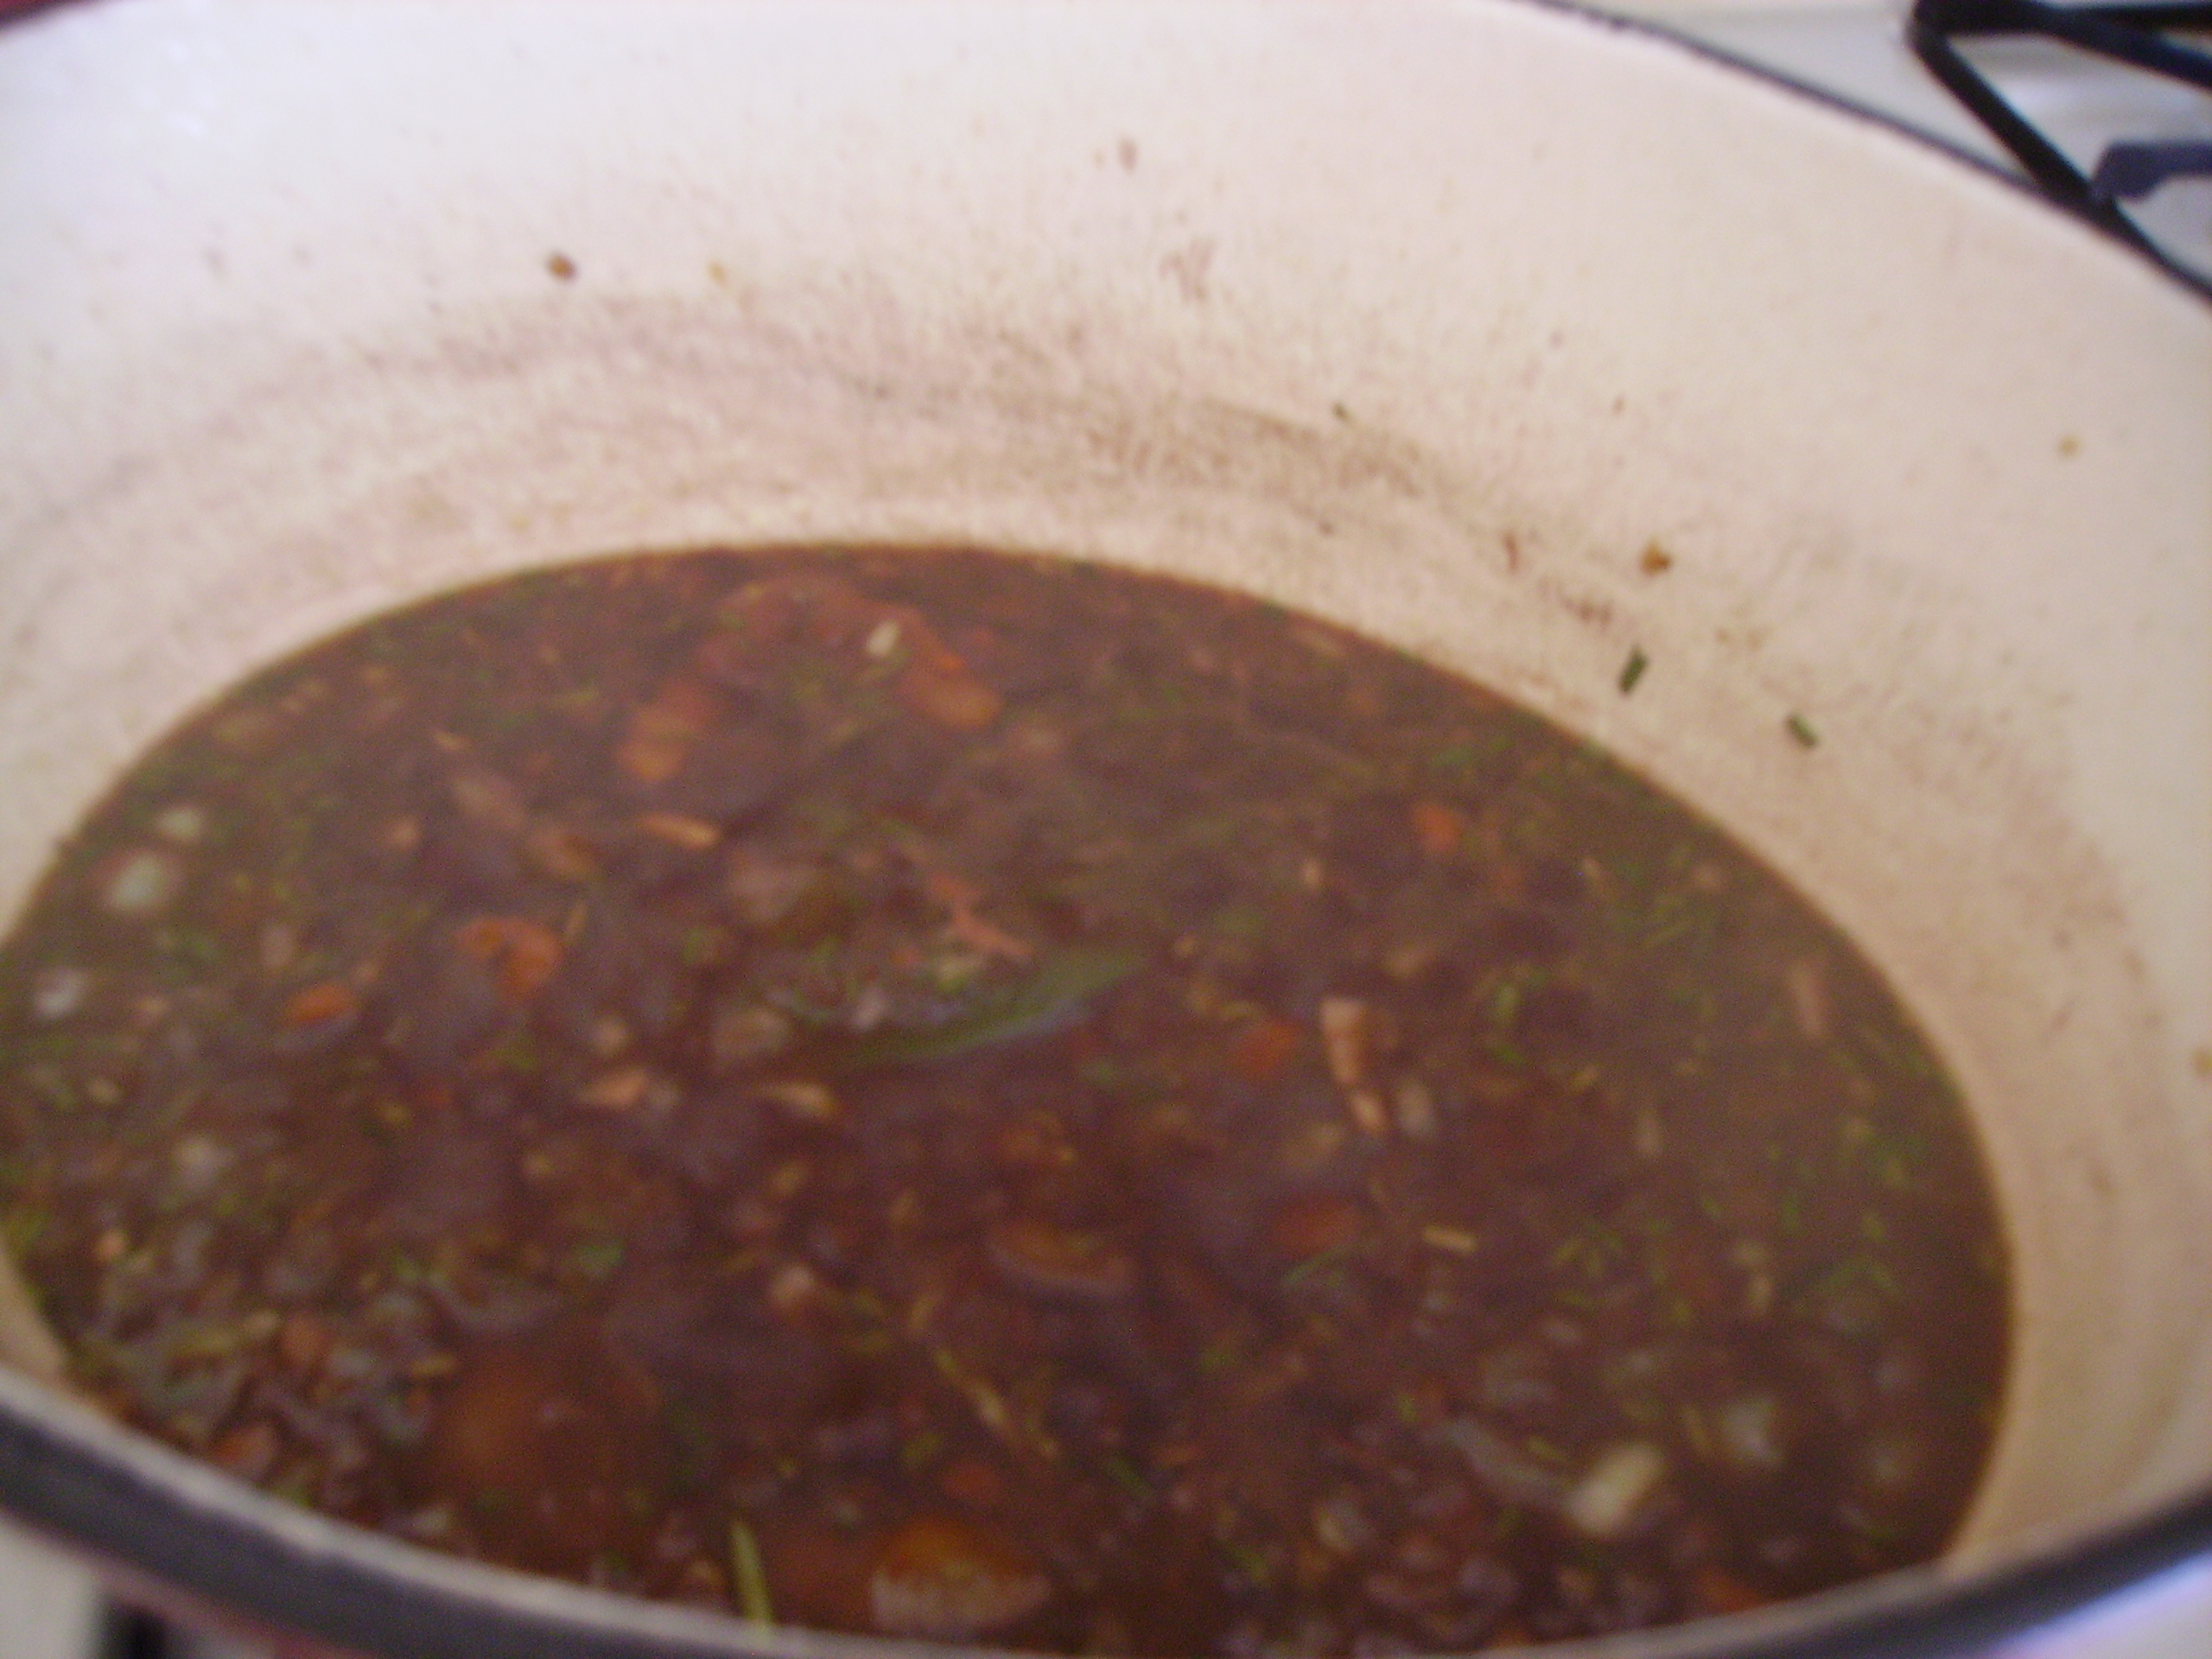
The beef goes back in  along with some beef stock, water and a little more wine if you dare. Bring it up to a simmer, cover it  and pop it in a low oven (325 degrees.) In order to get the meat tender and not over cook the vegetables, let the beef cook for about an hour.DIGITAL CAMERA

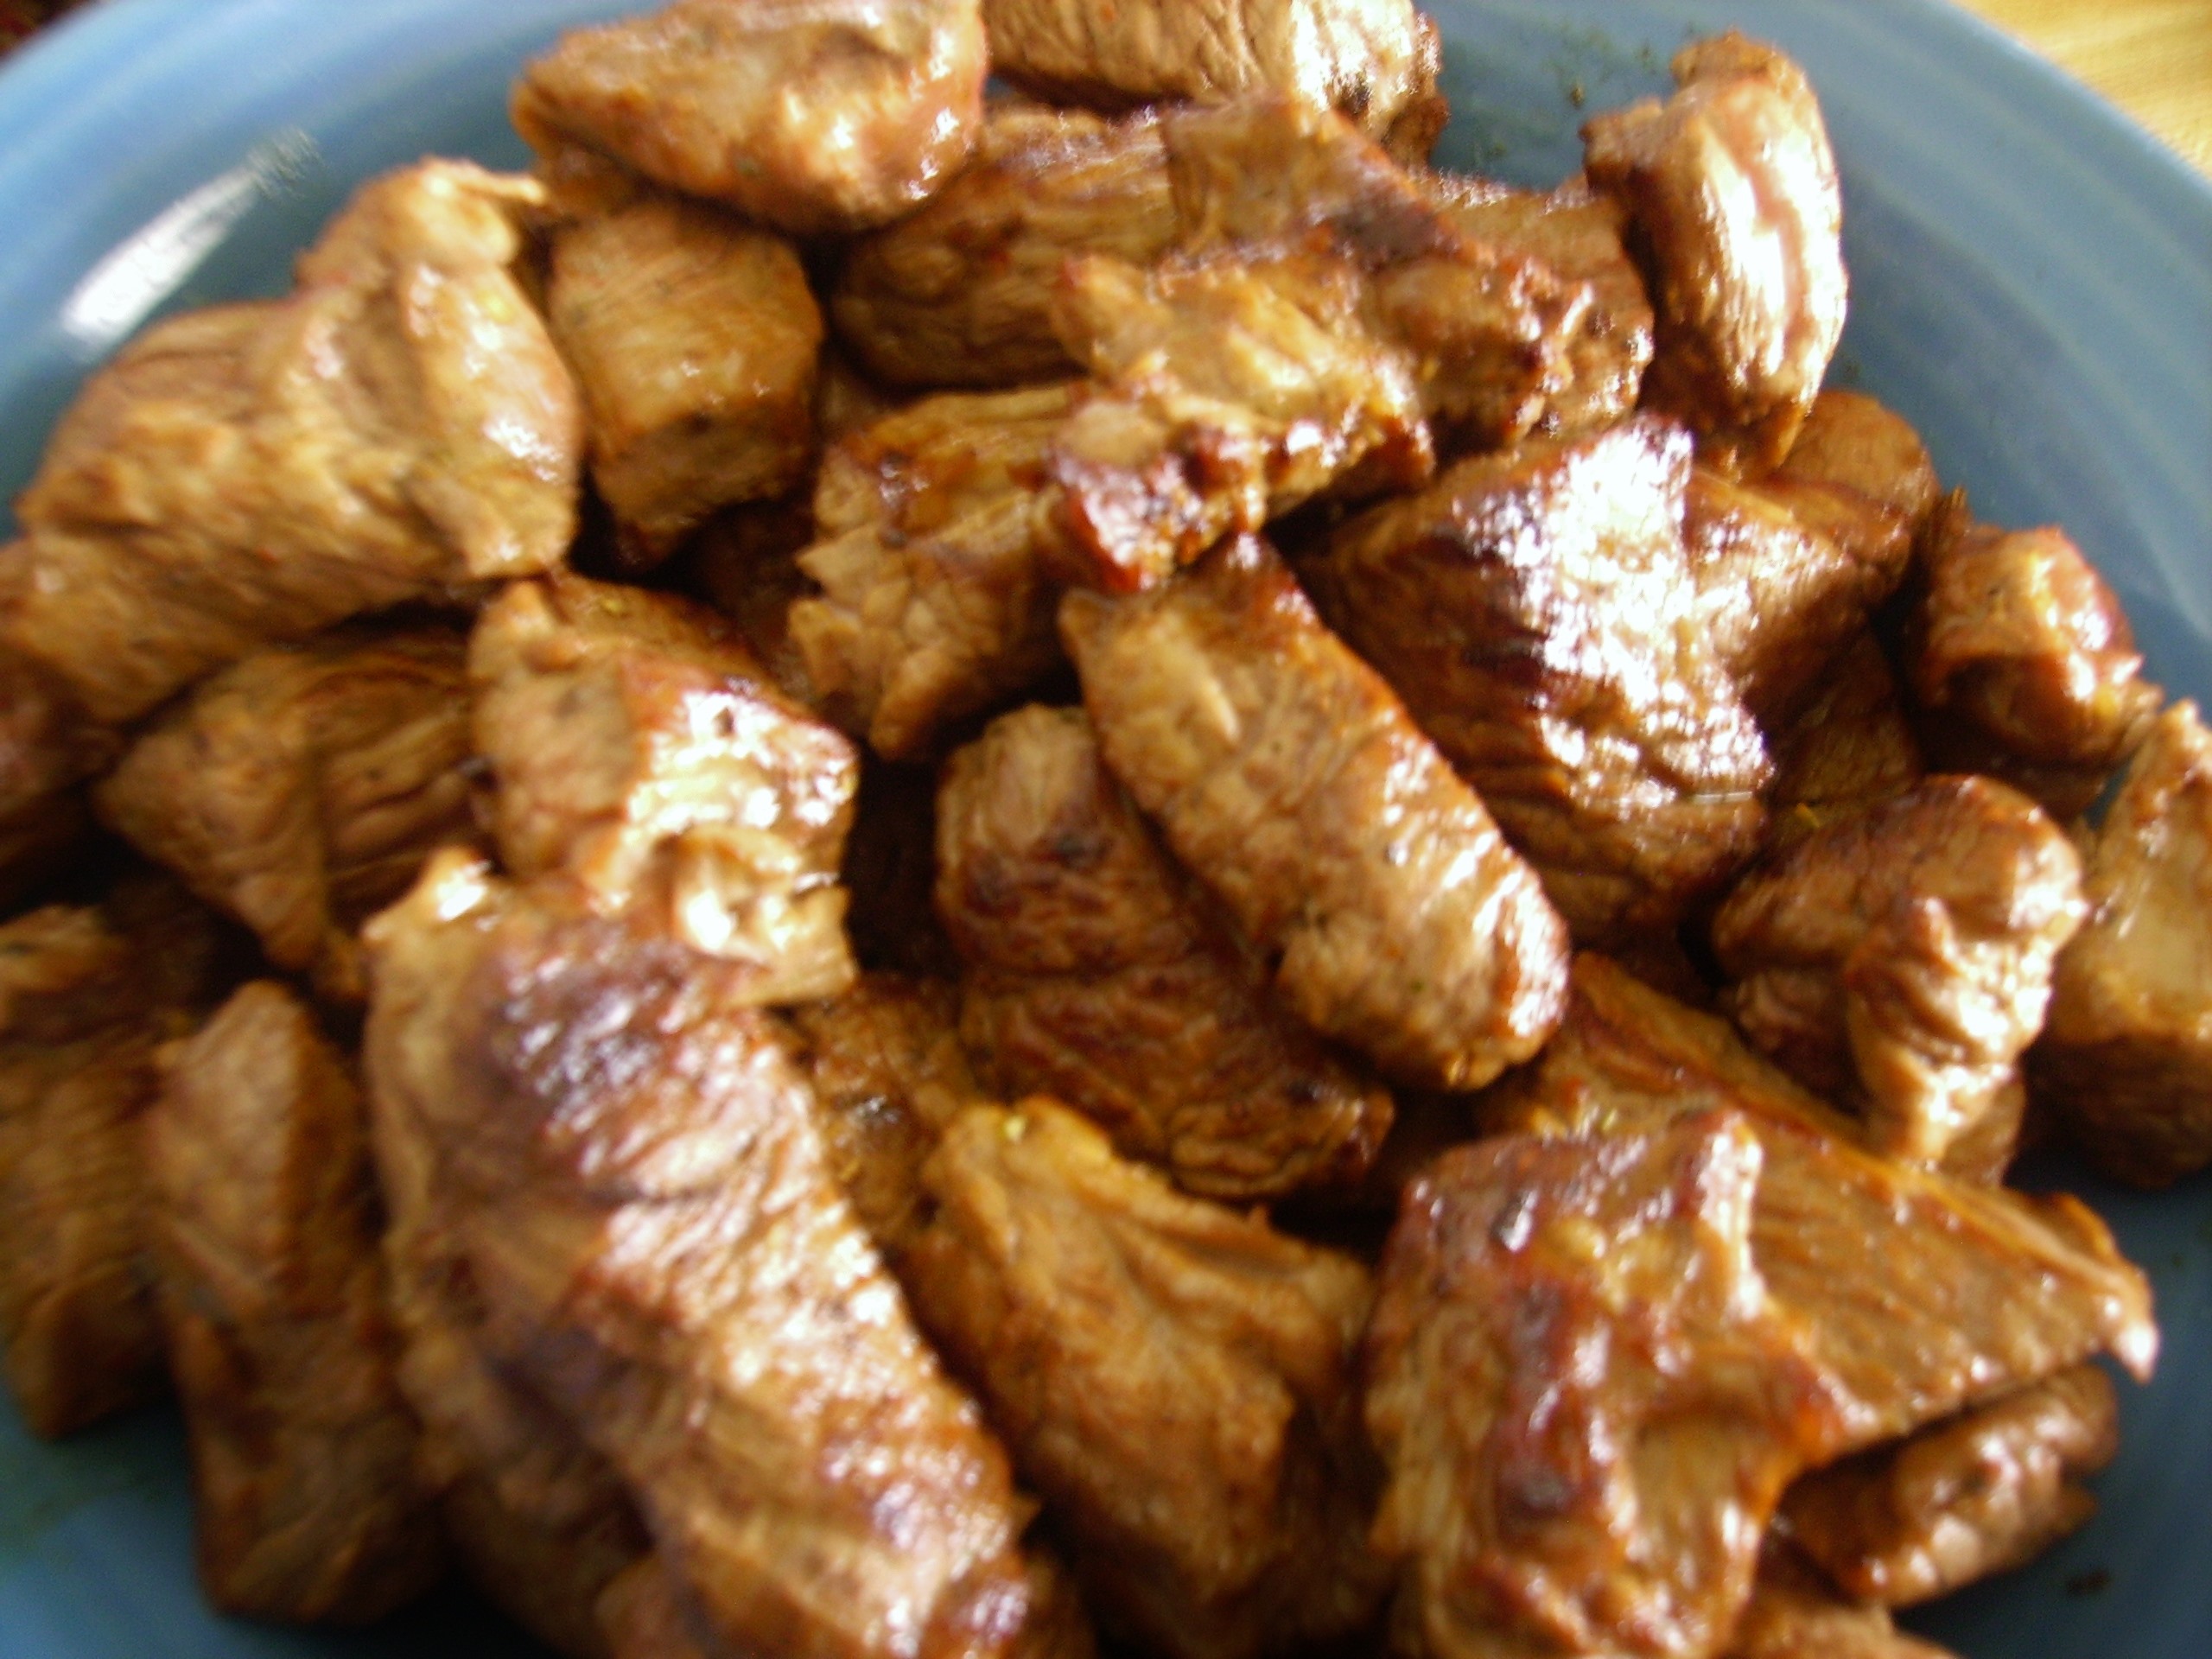
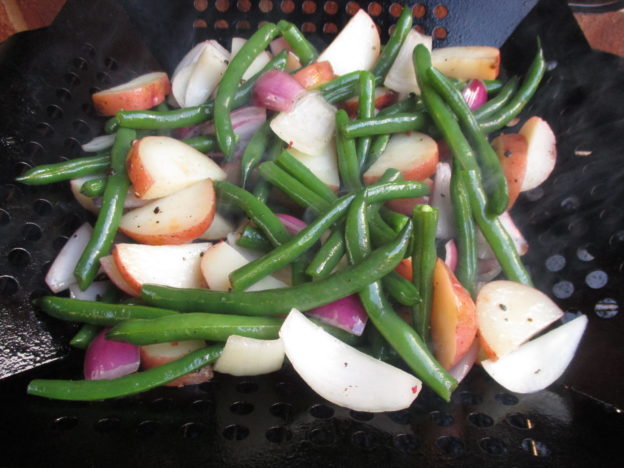
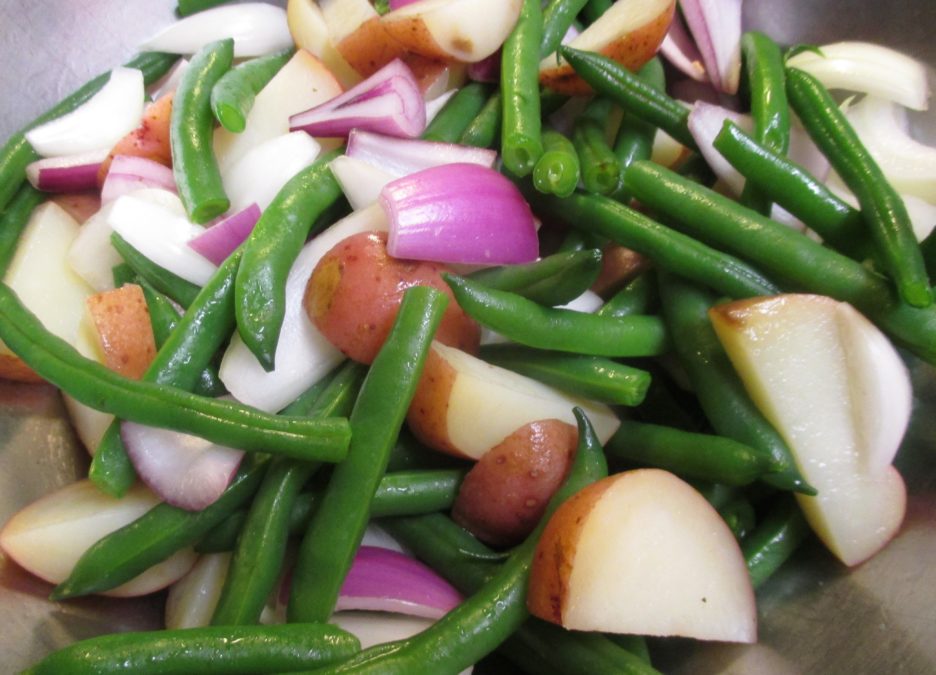
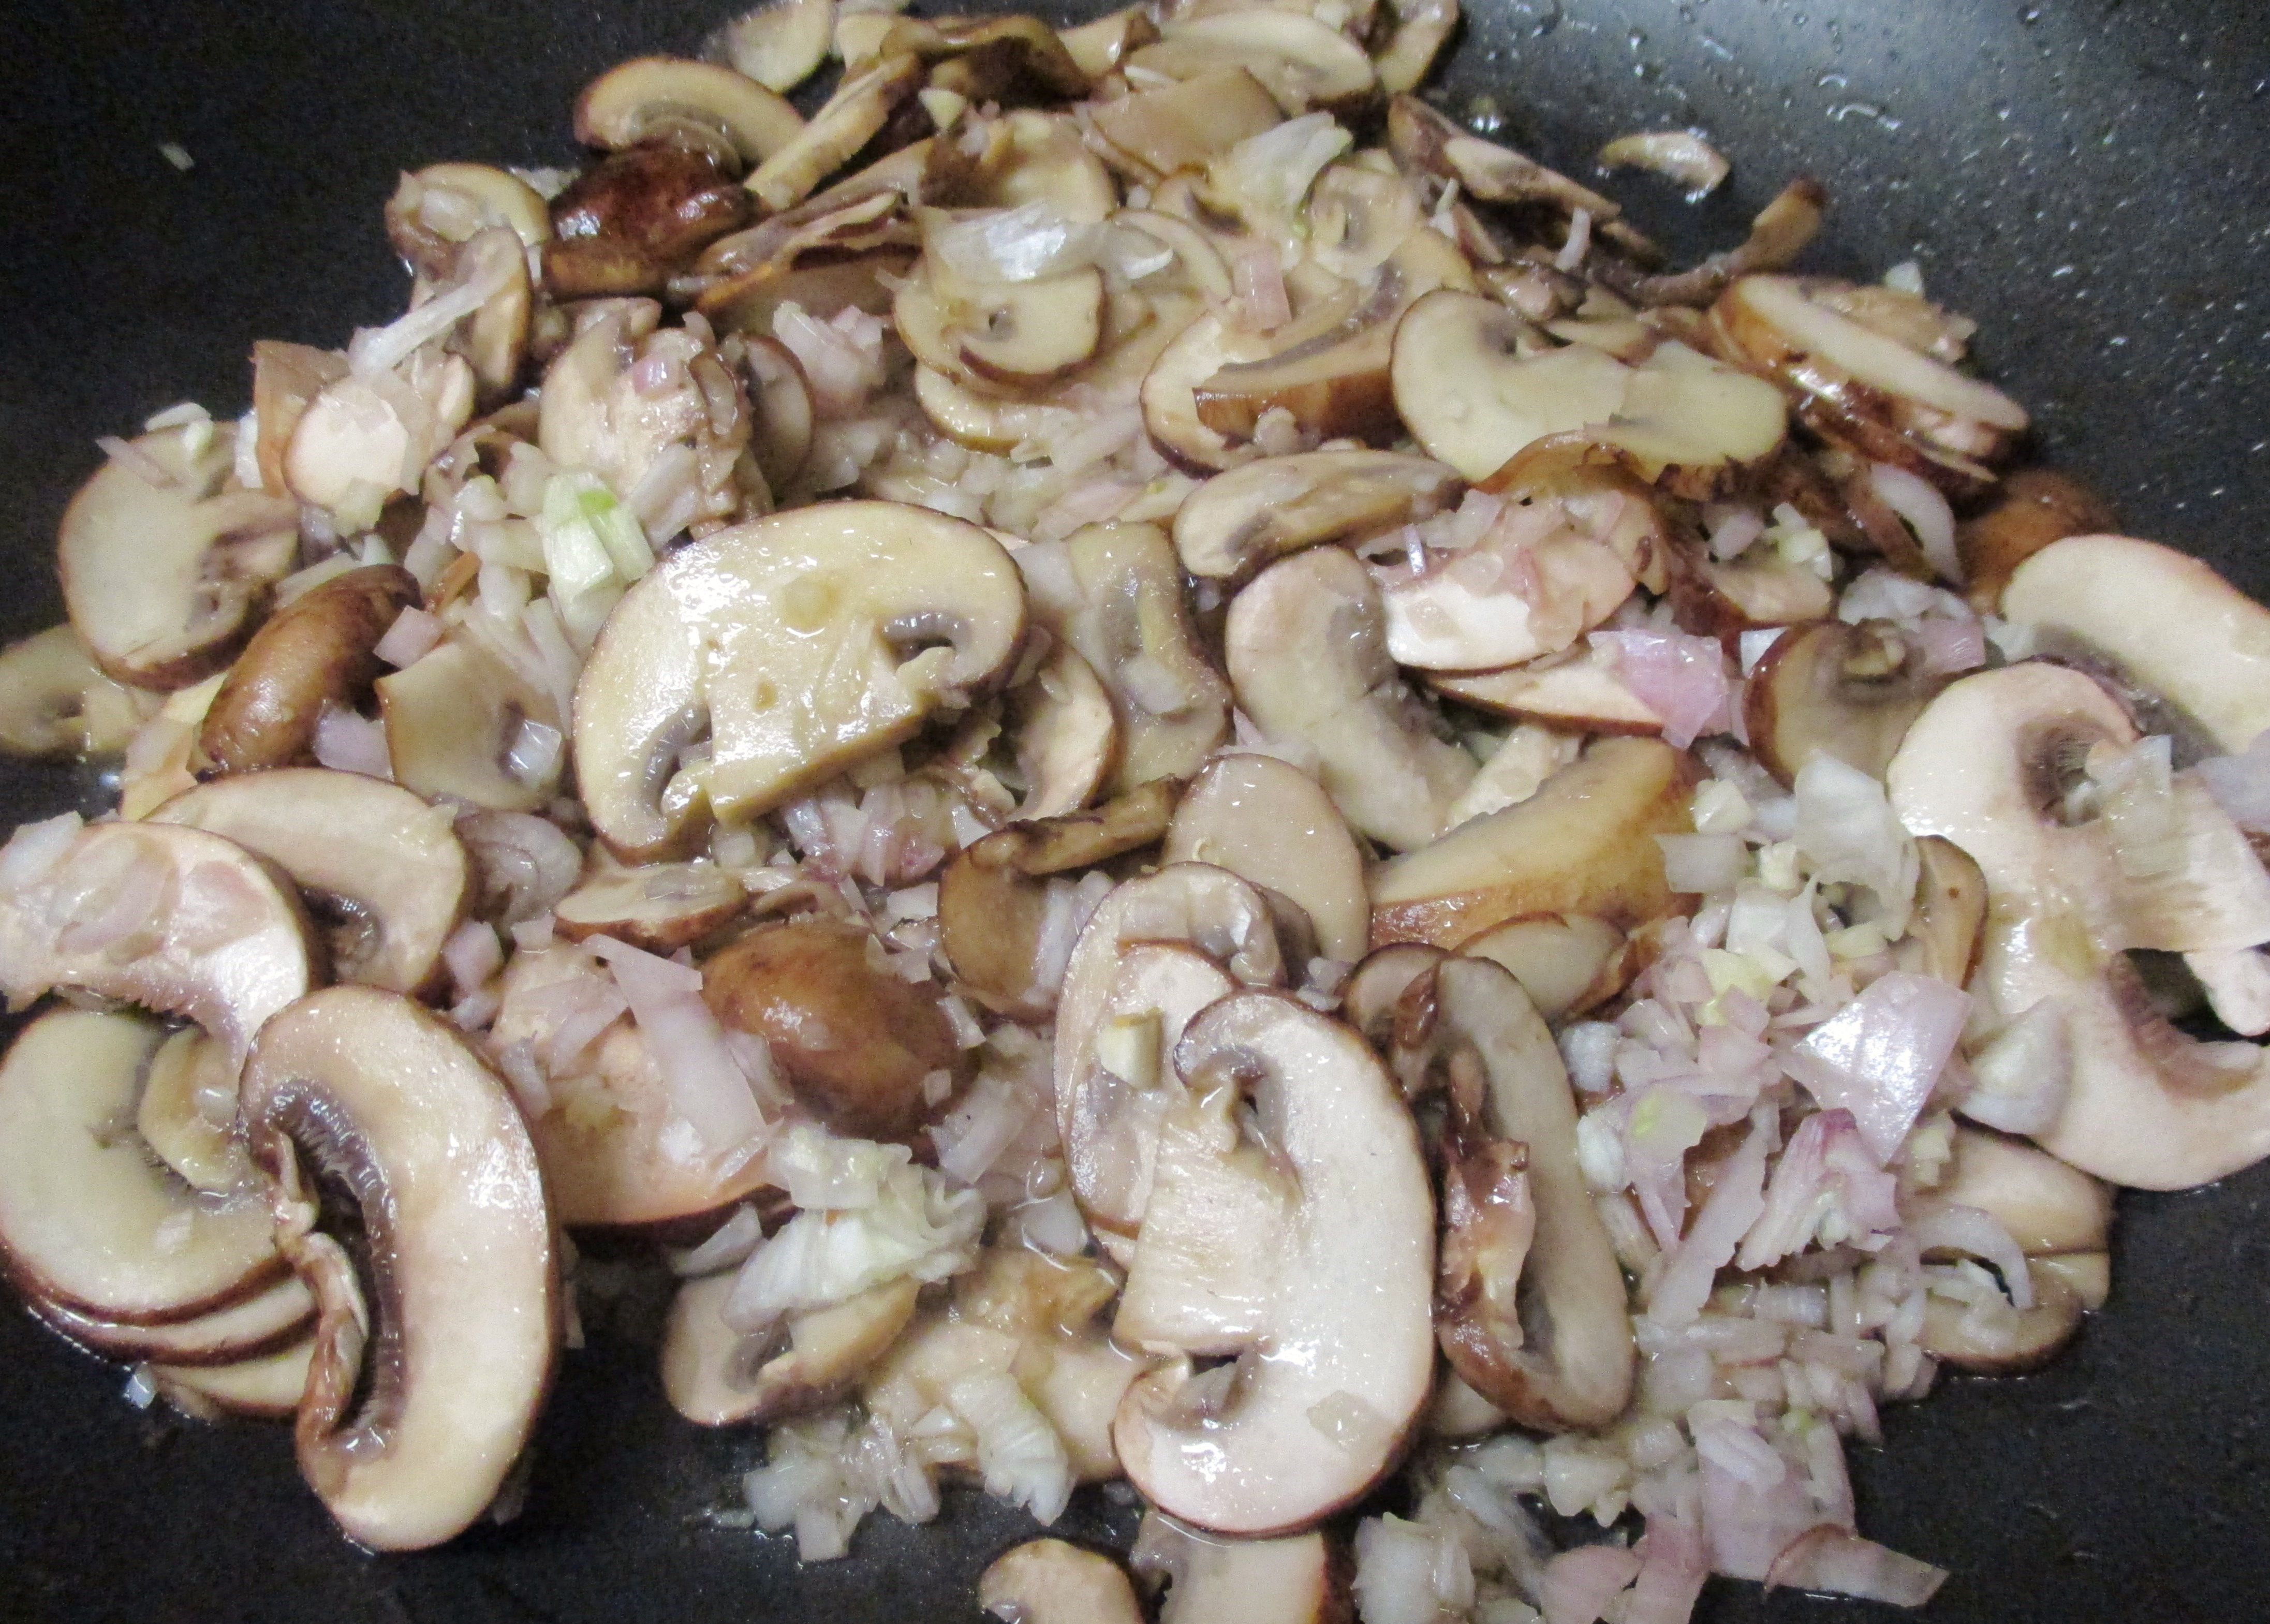
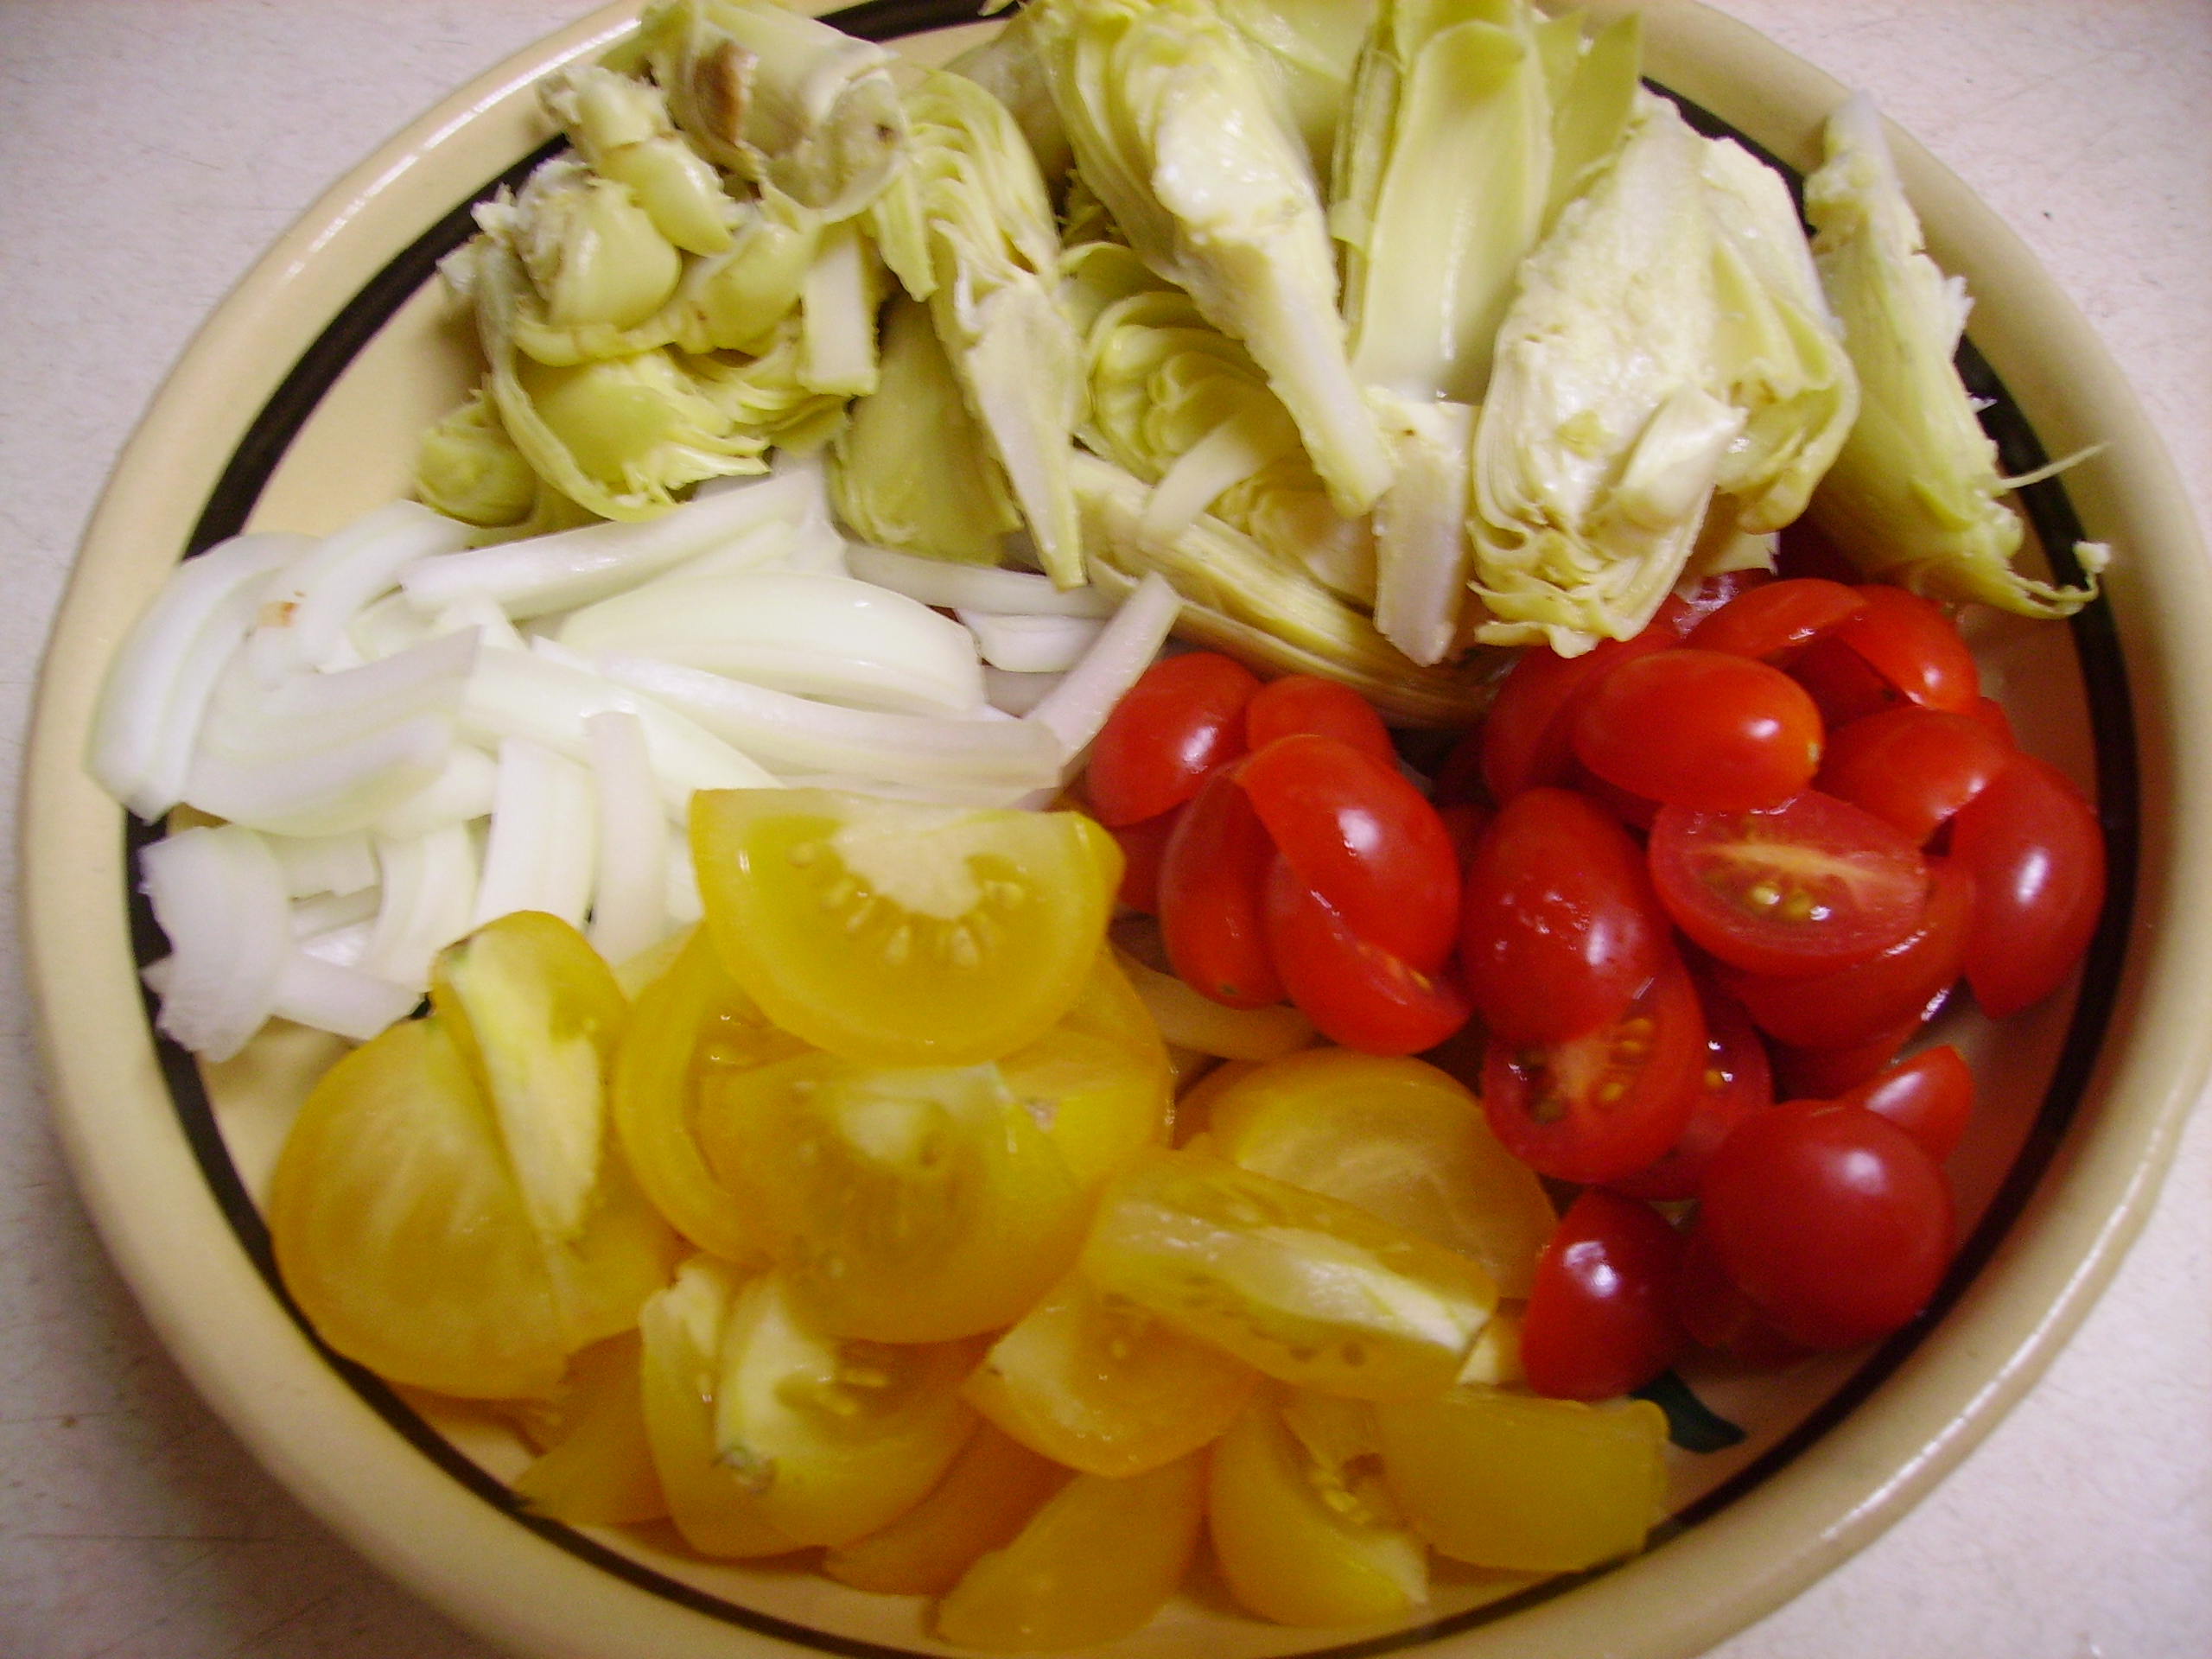
When the time was right, I added the vegetables that take the longest to cook. In this case, it was yellow onions, carrots and lots of sliced garlic. I opted to add the cremini mushrooms a little bit later since they cook more quickly.DIGITAL CAMERA

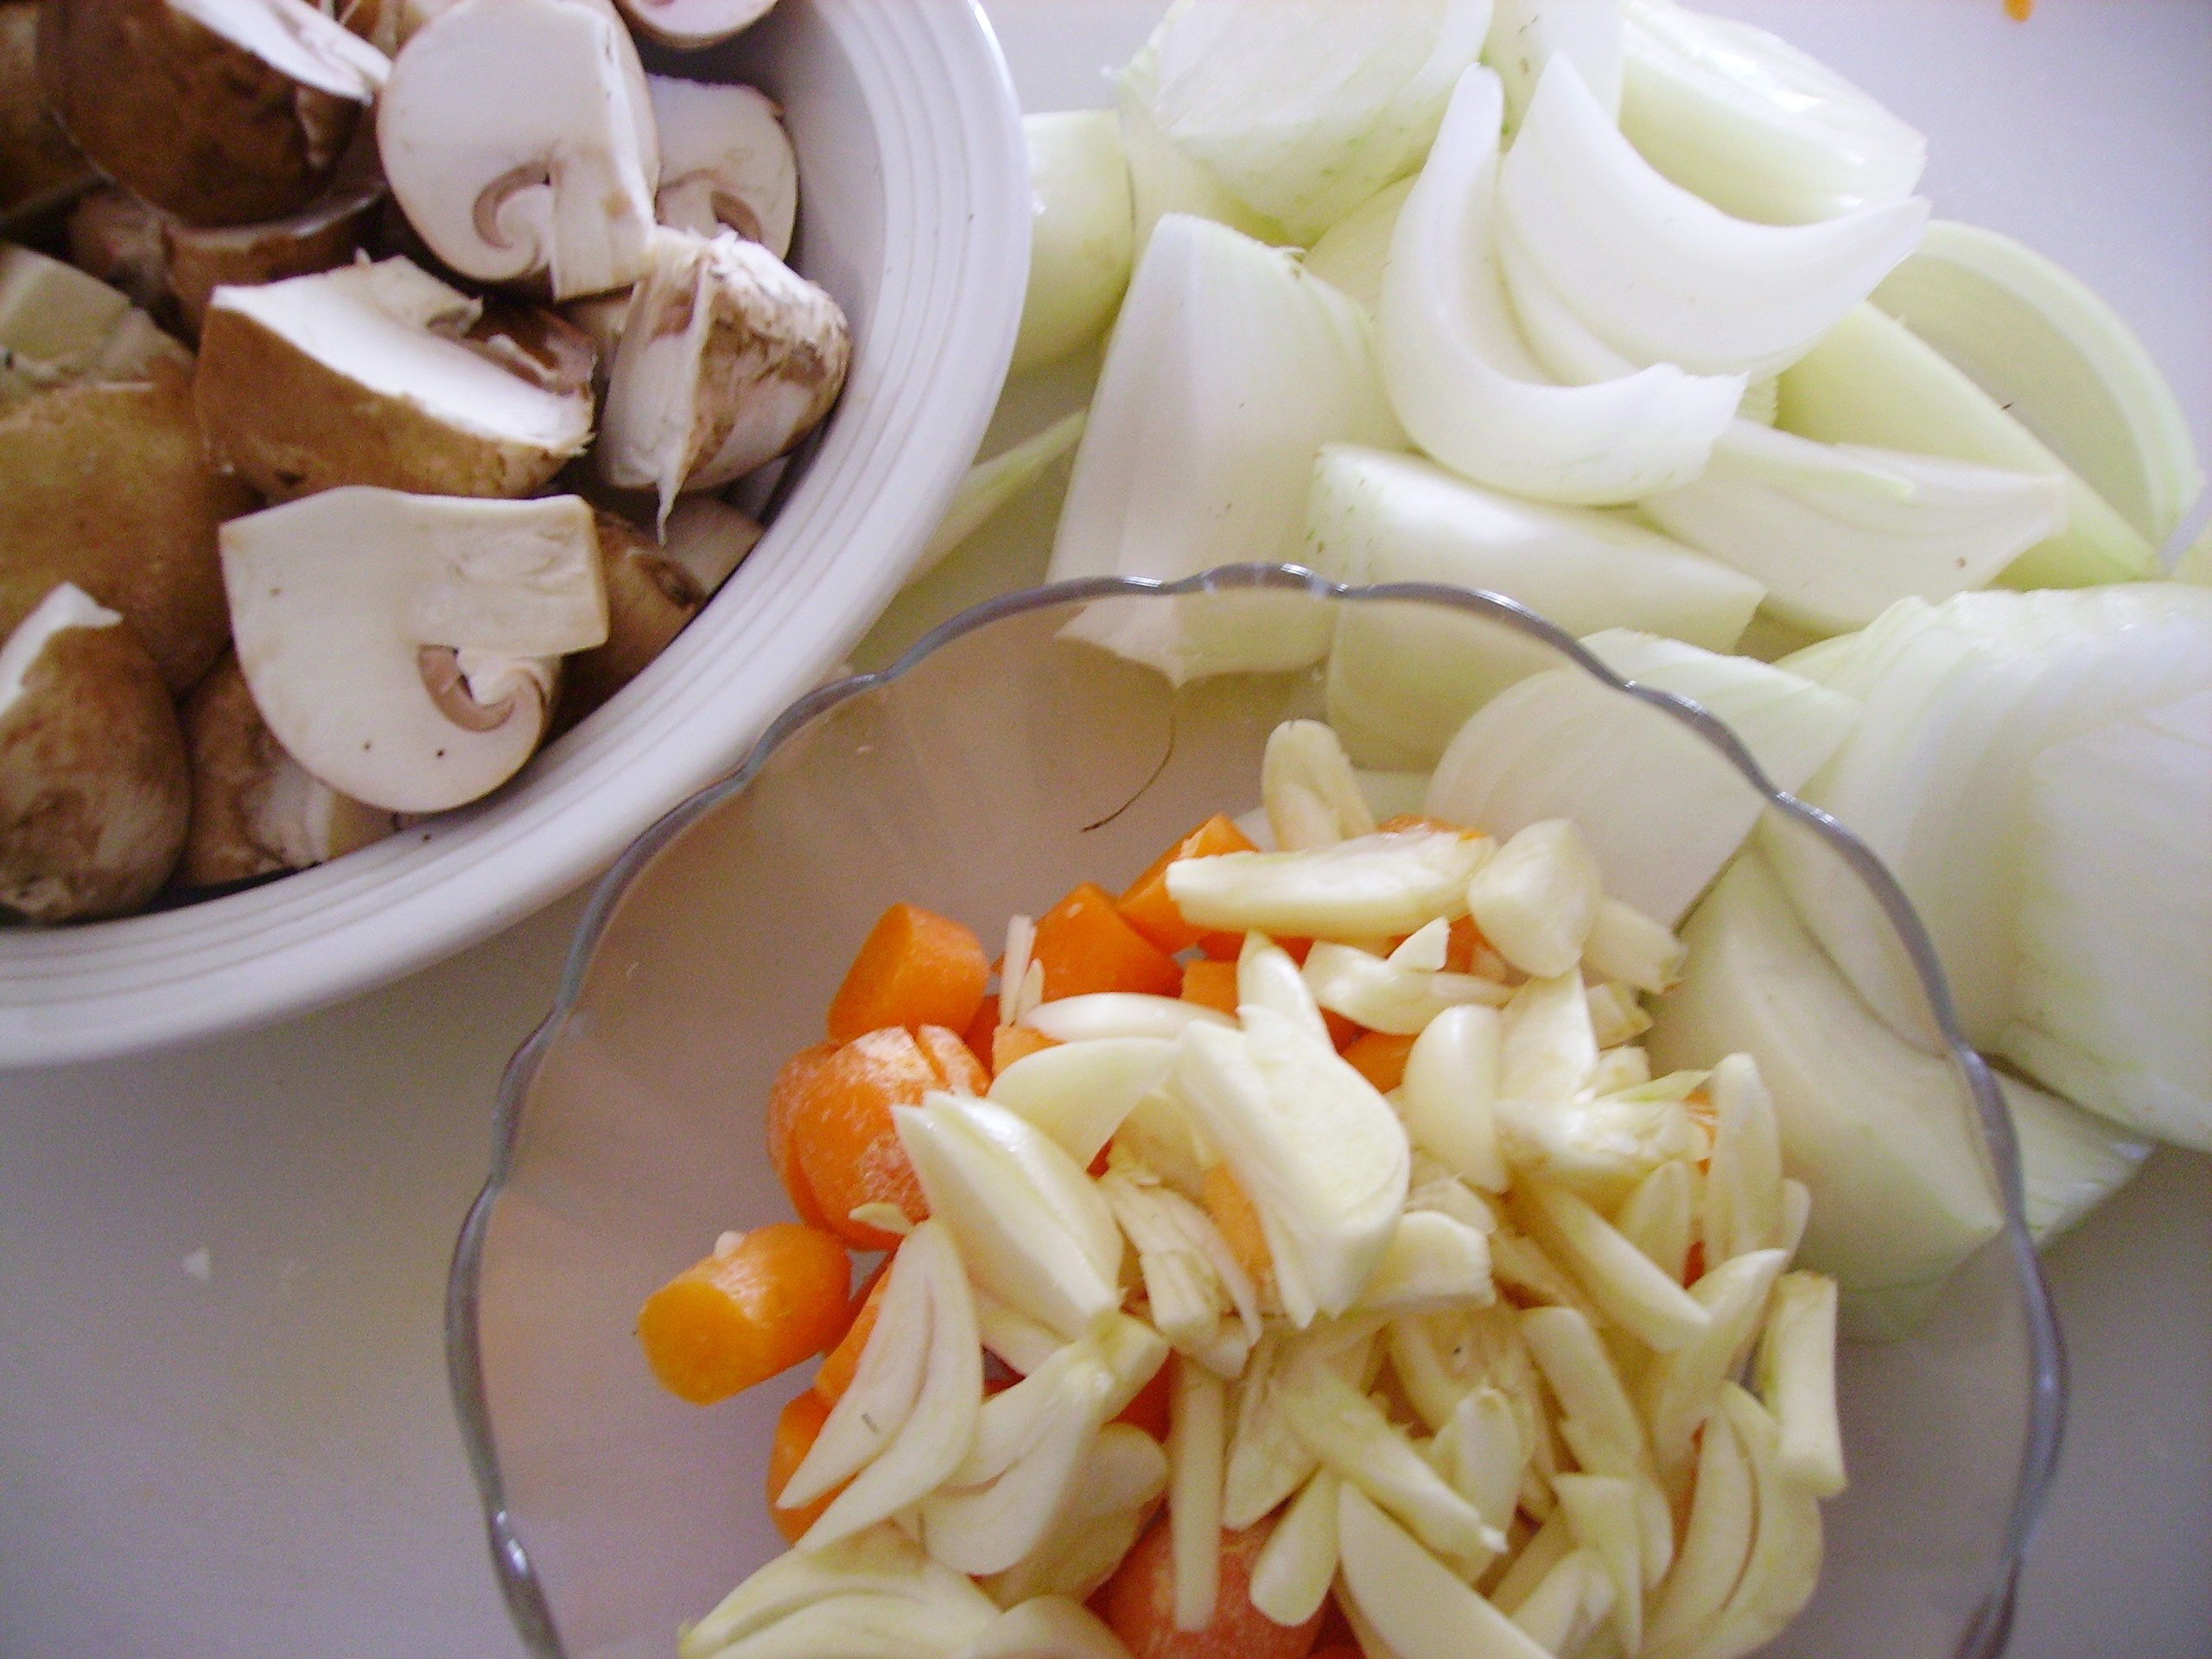
The stew cooked for about two and a half hours. When it came out of the oven, the meat was tender, the vegetables were cooked, but still identifiable, and the sauce was slightly thickened and smelled like heaven. (there are worse things you could  imagine heaven smelling like).

It was now time to guild the lily. I added some sliced Kalamata olives, parsley, and fresh lemon juice. The olives added an interesting taste and texture. The acidity of the lemon juice did wonders for refining the richness of the sauce, and the parsley was pretty. DIGITAL CAMERA

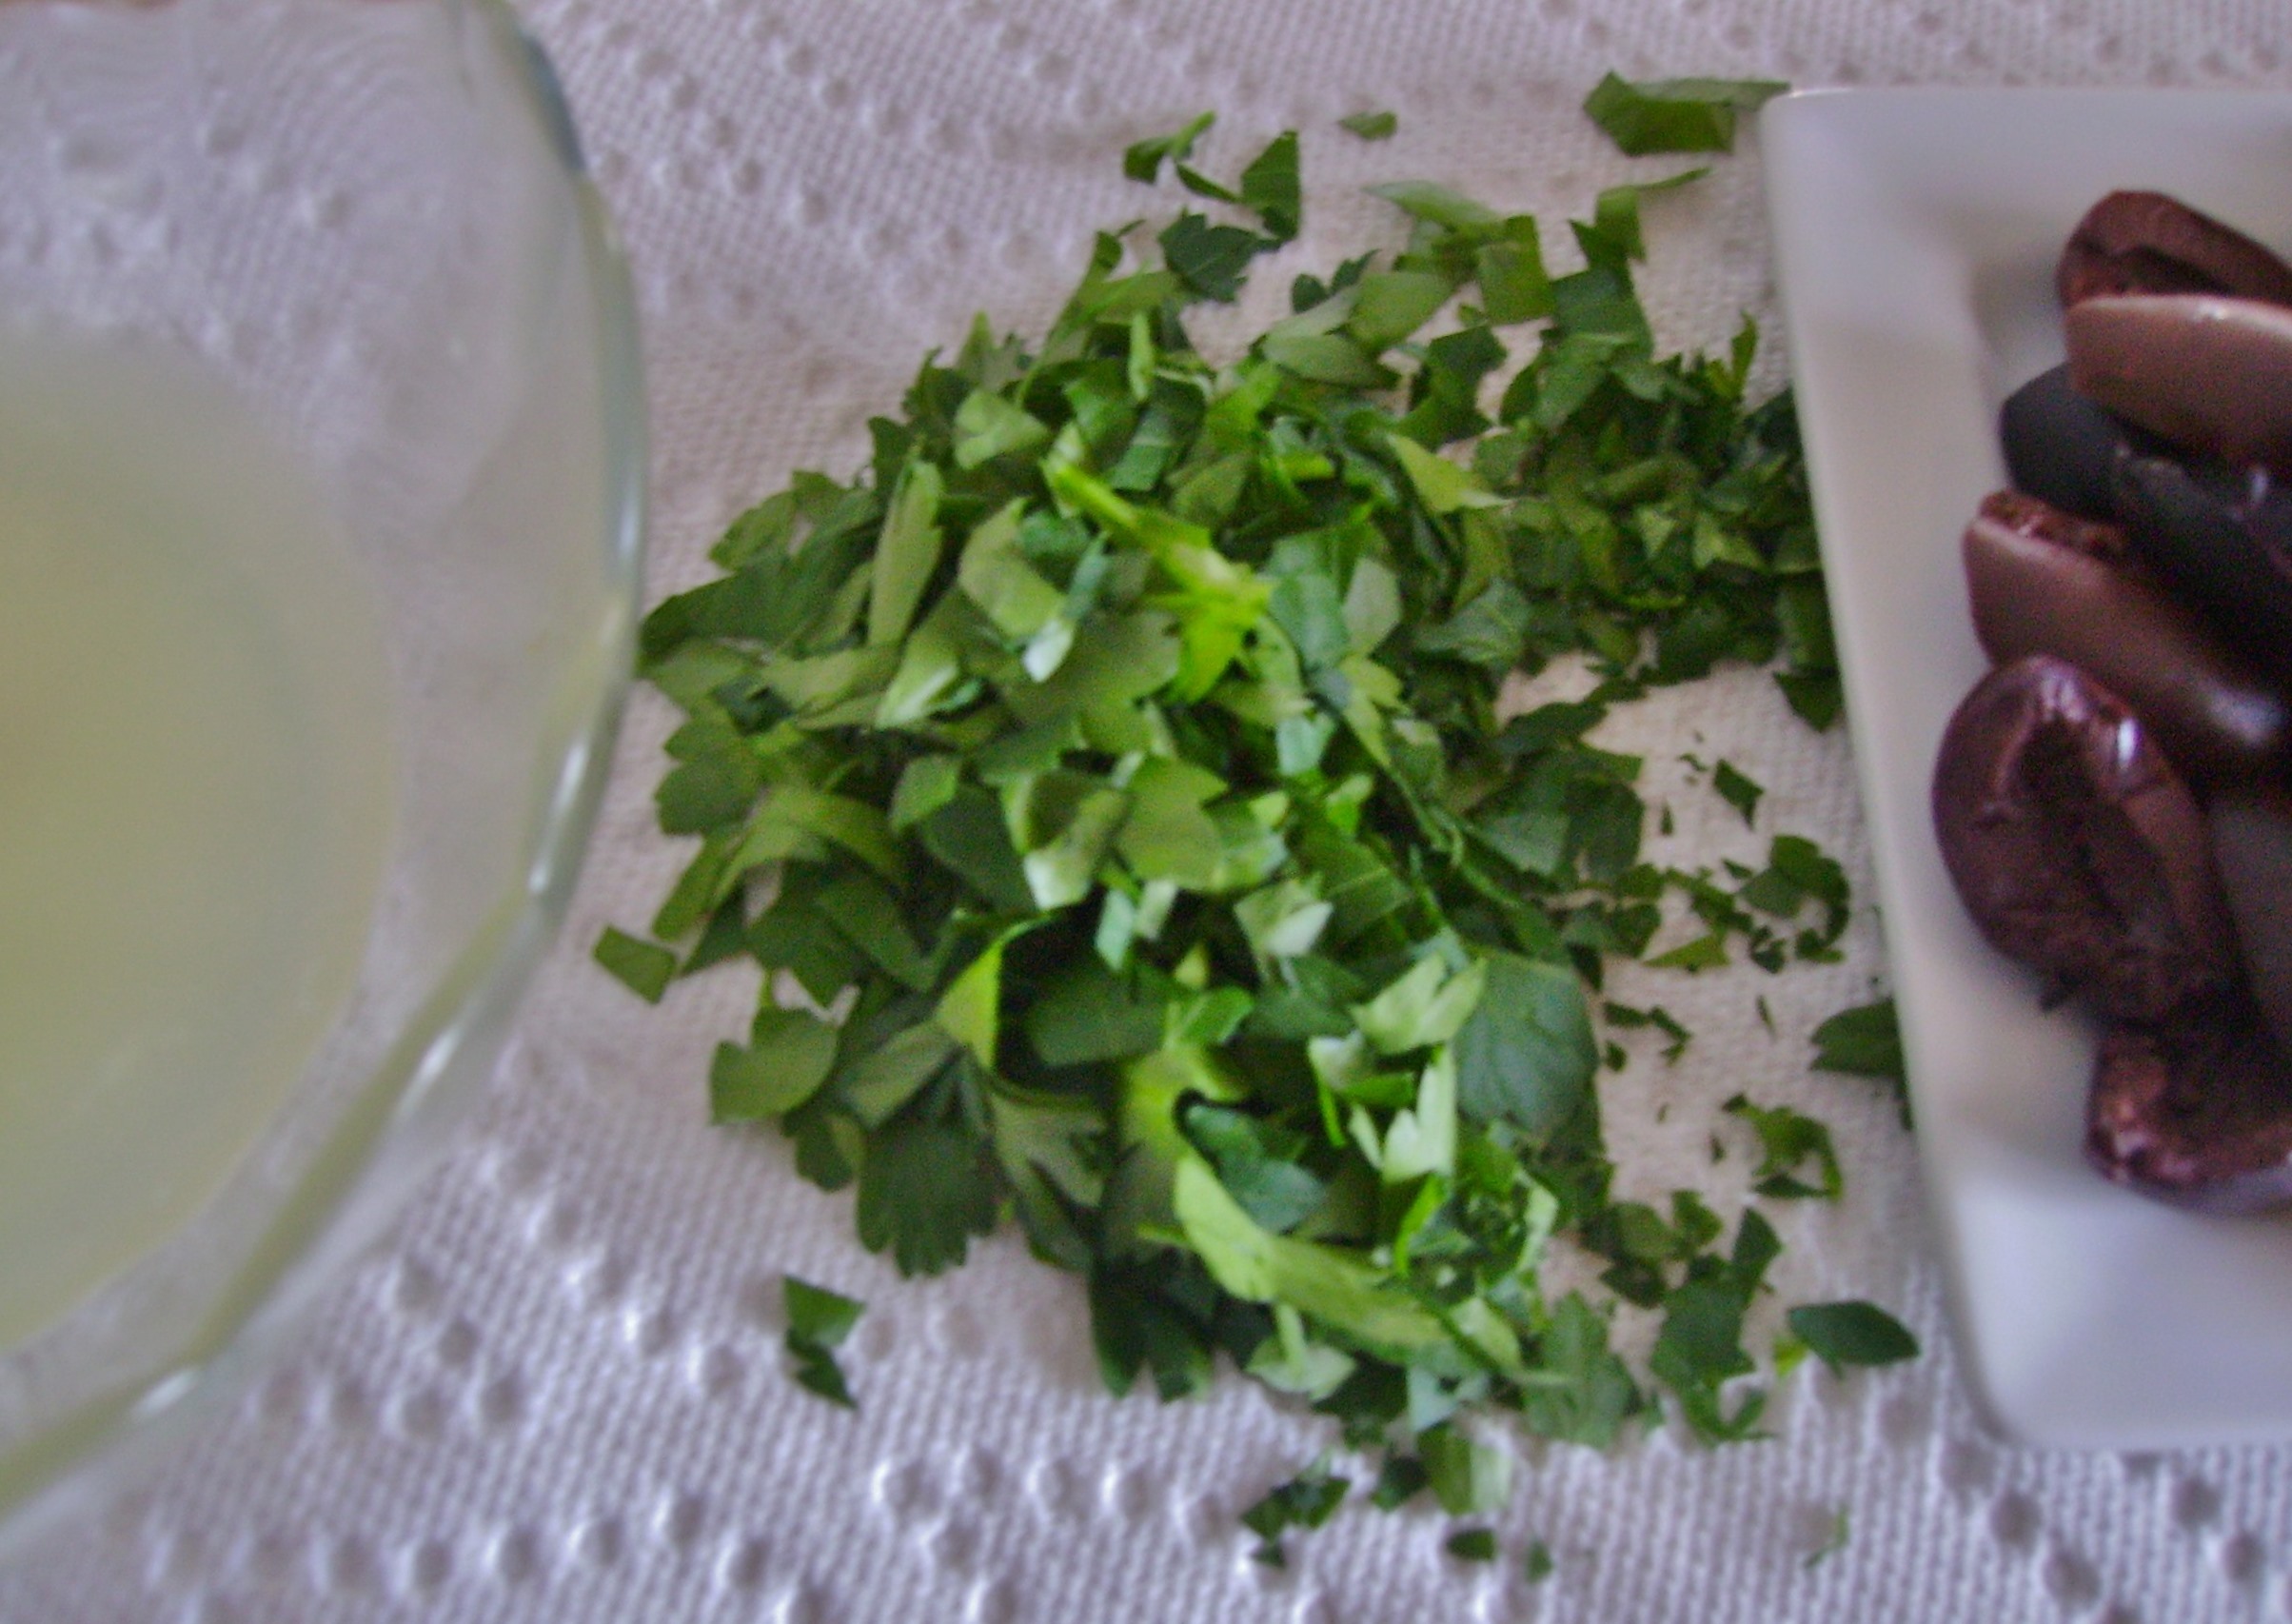
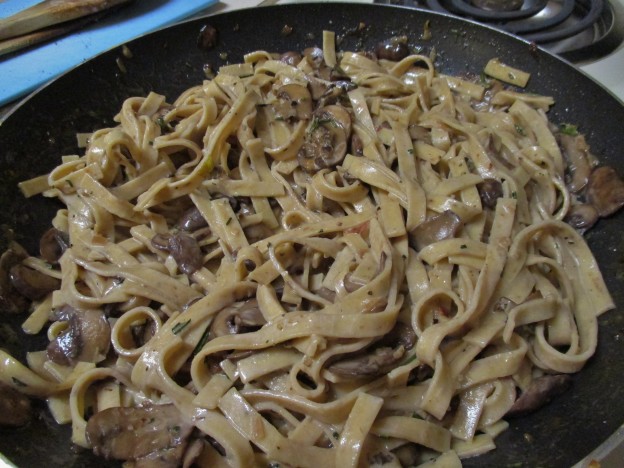
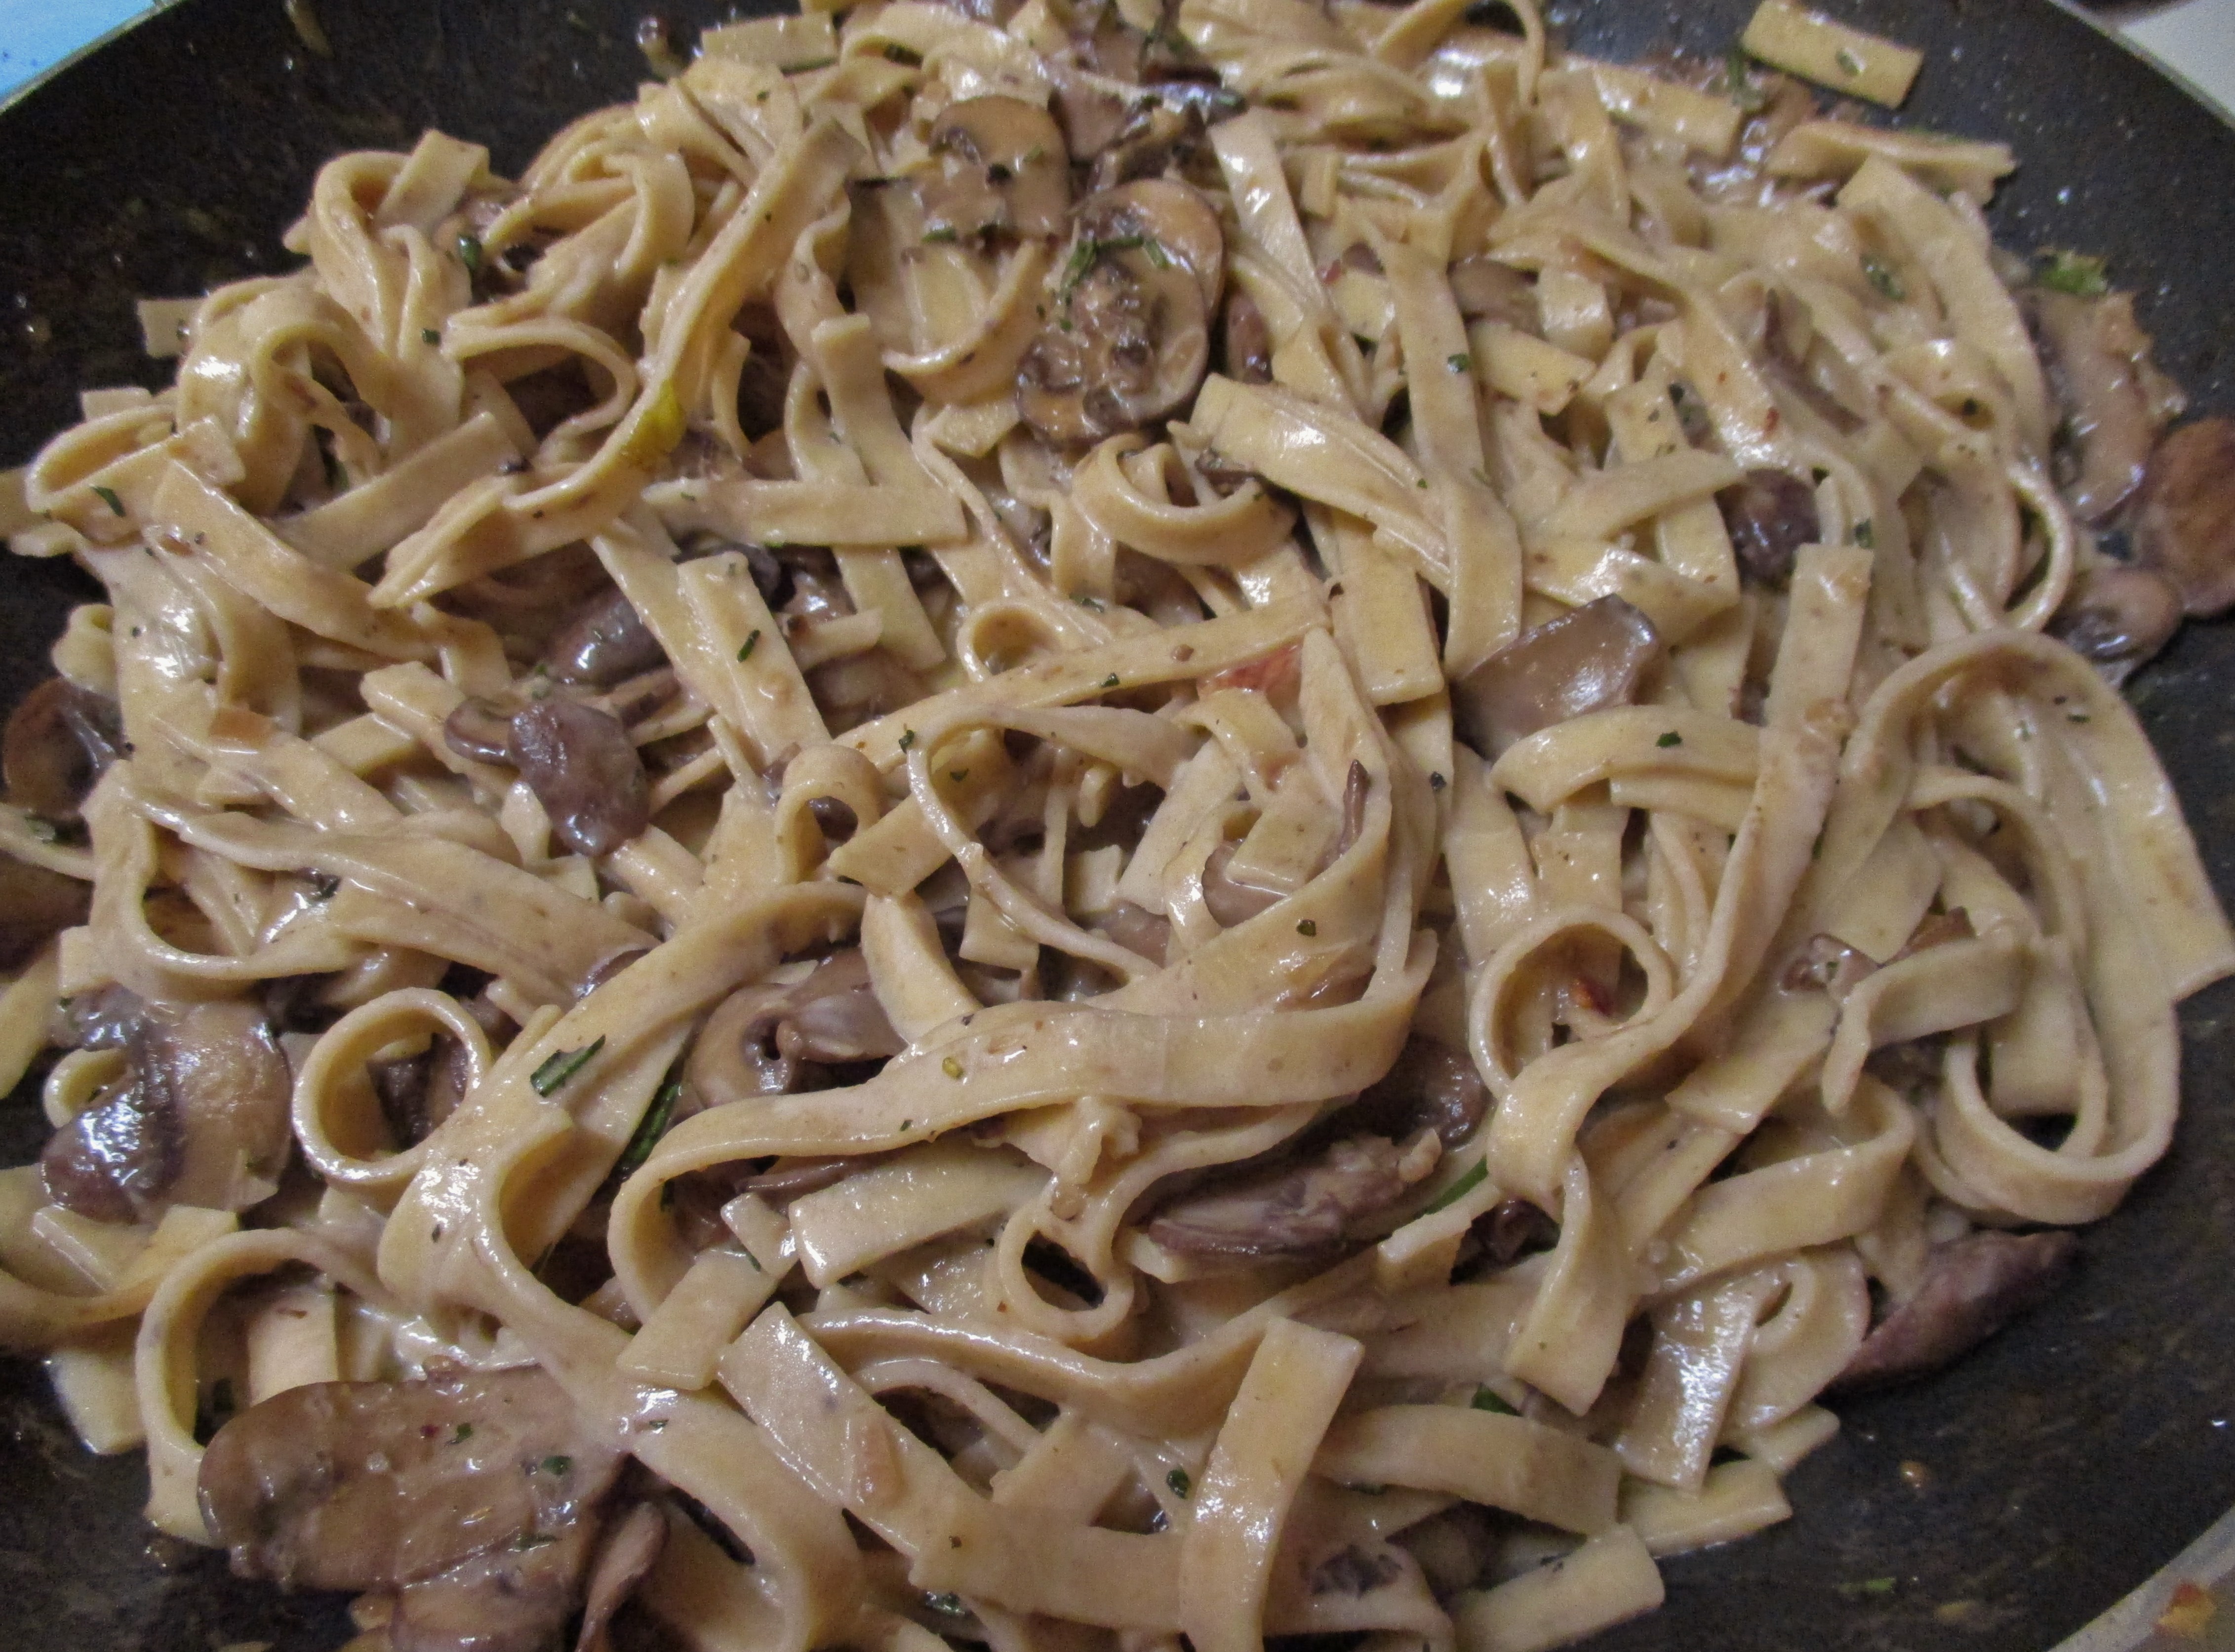
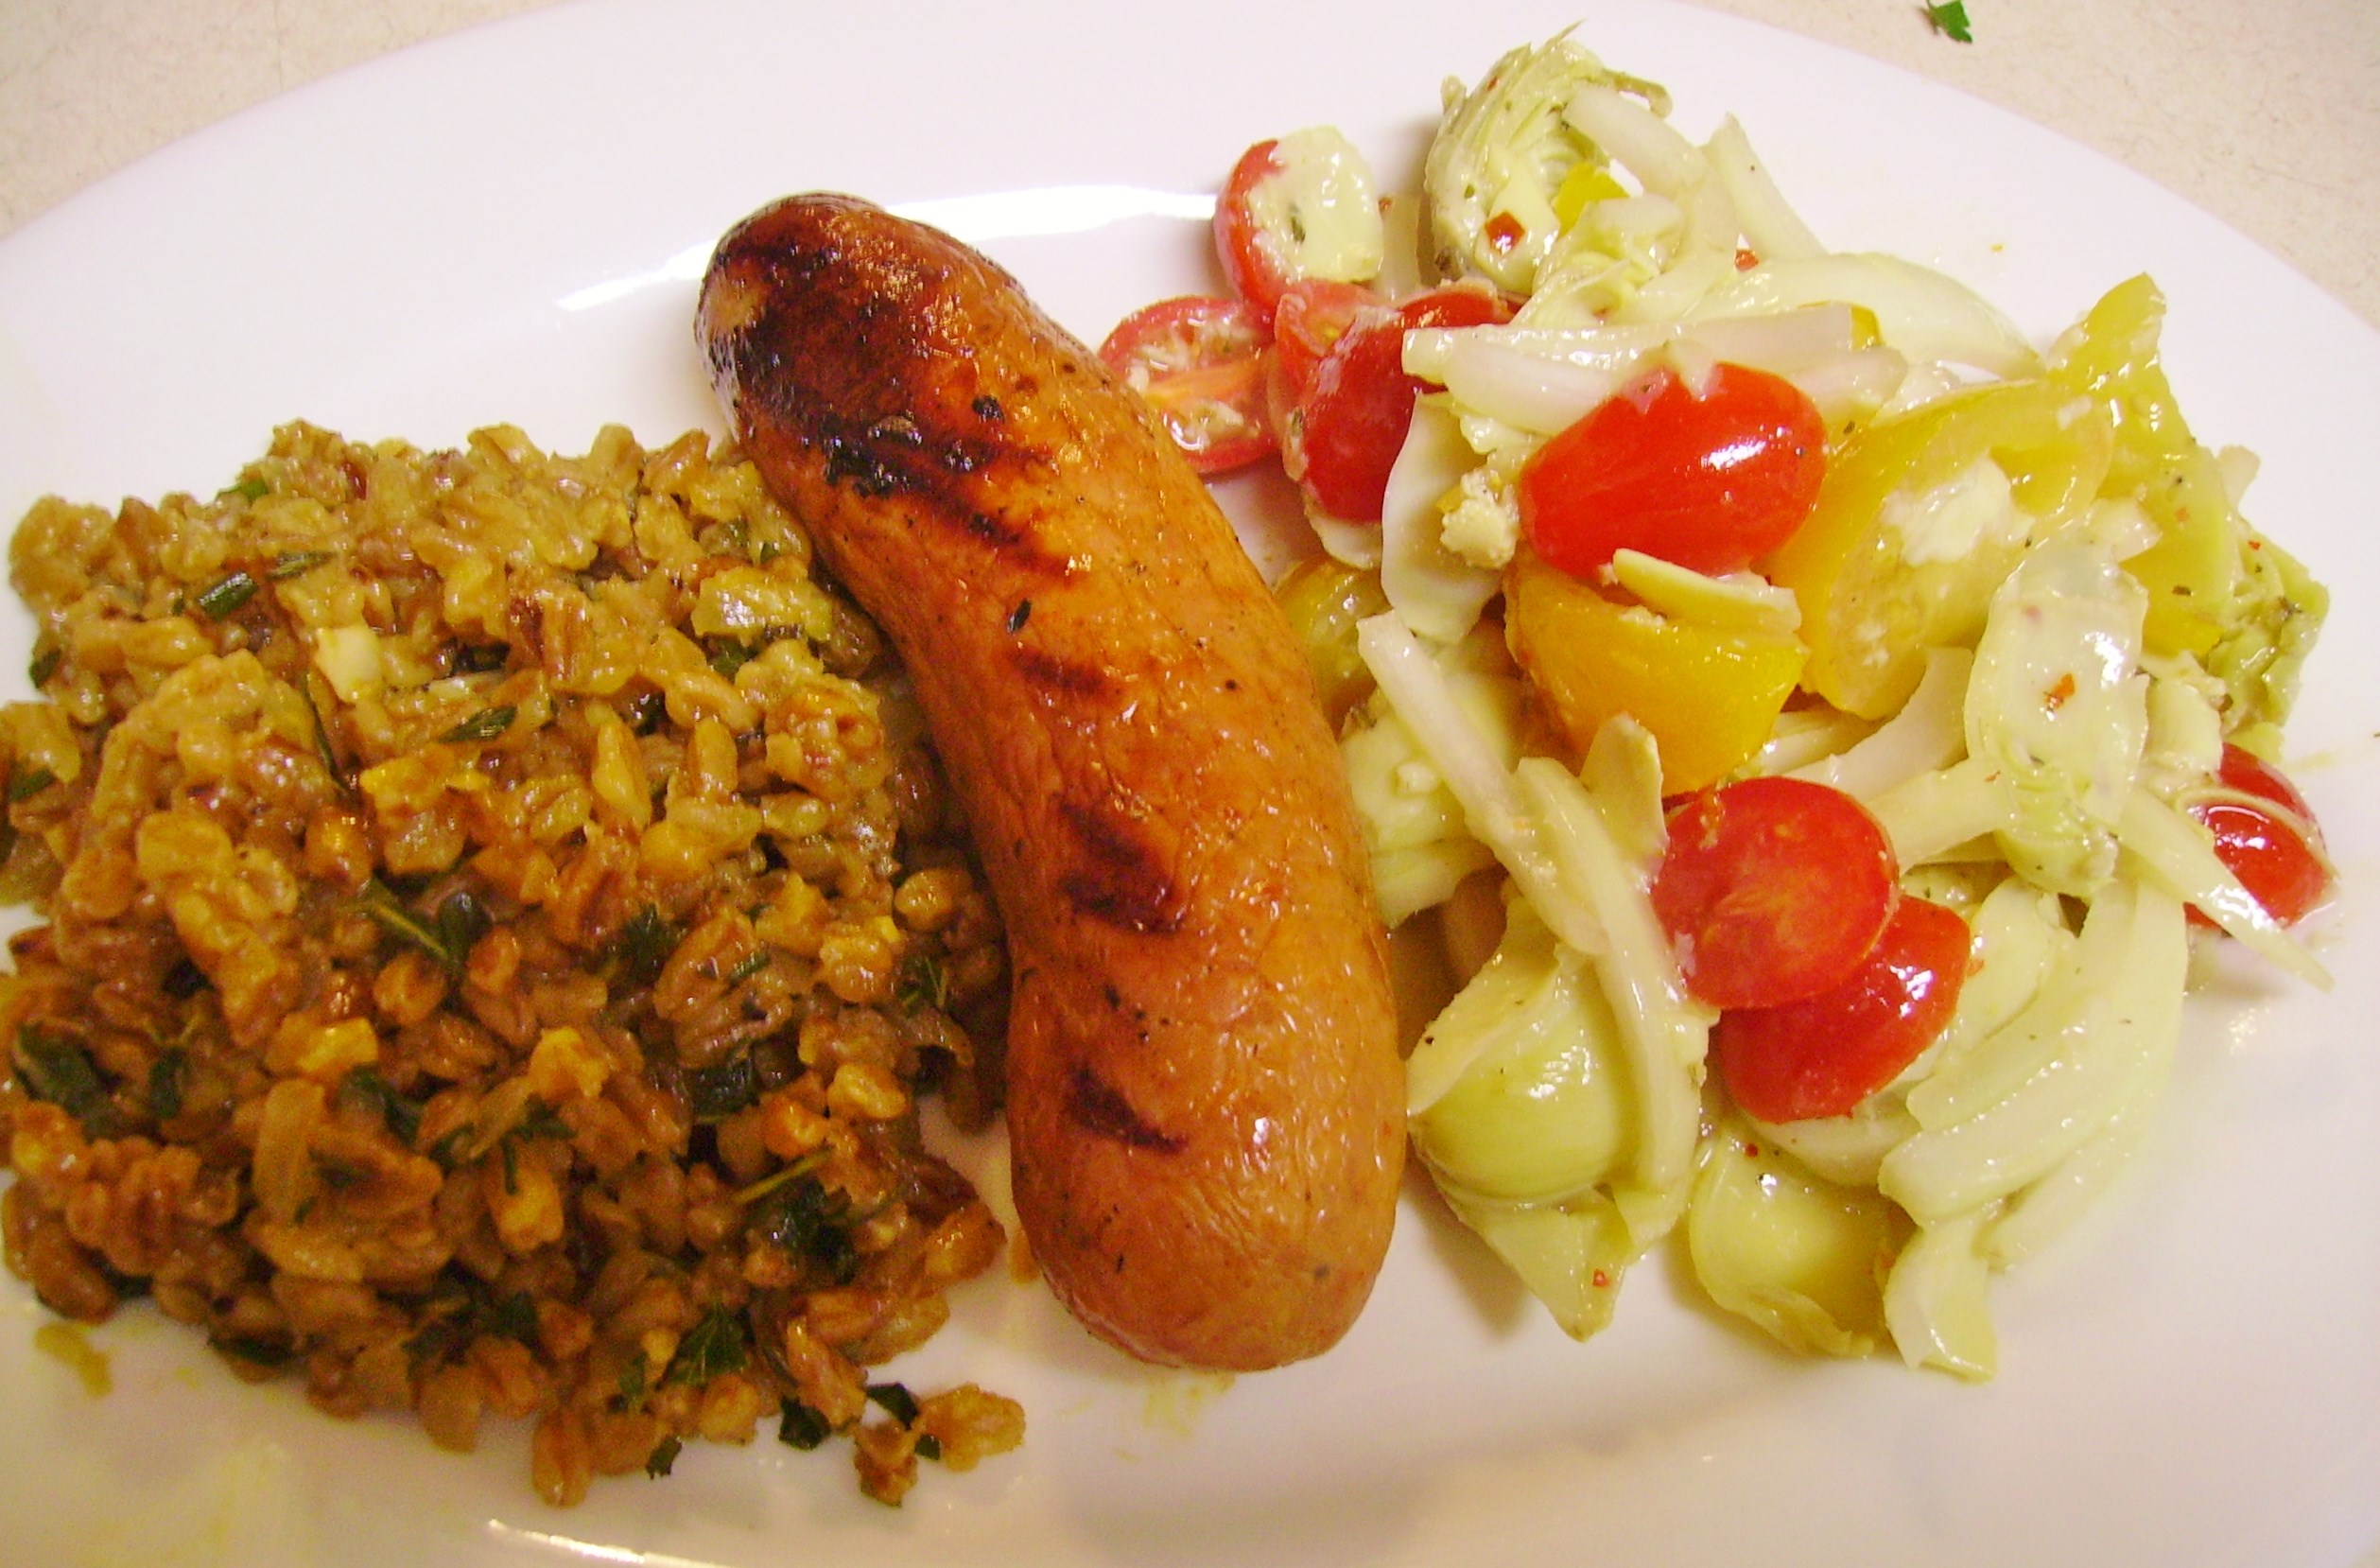
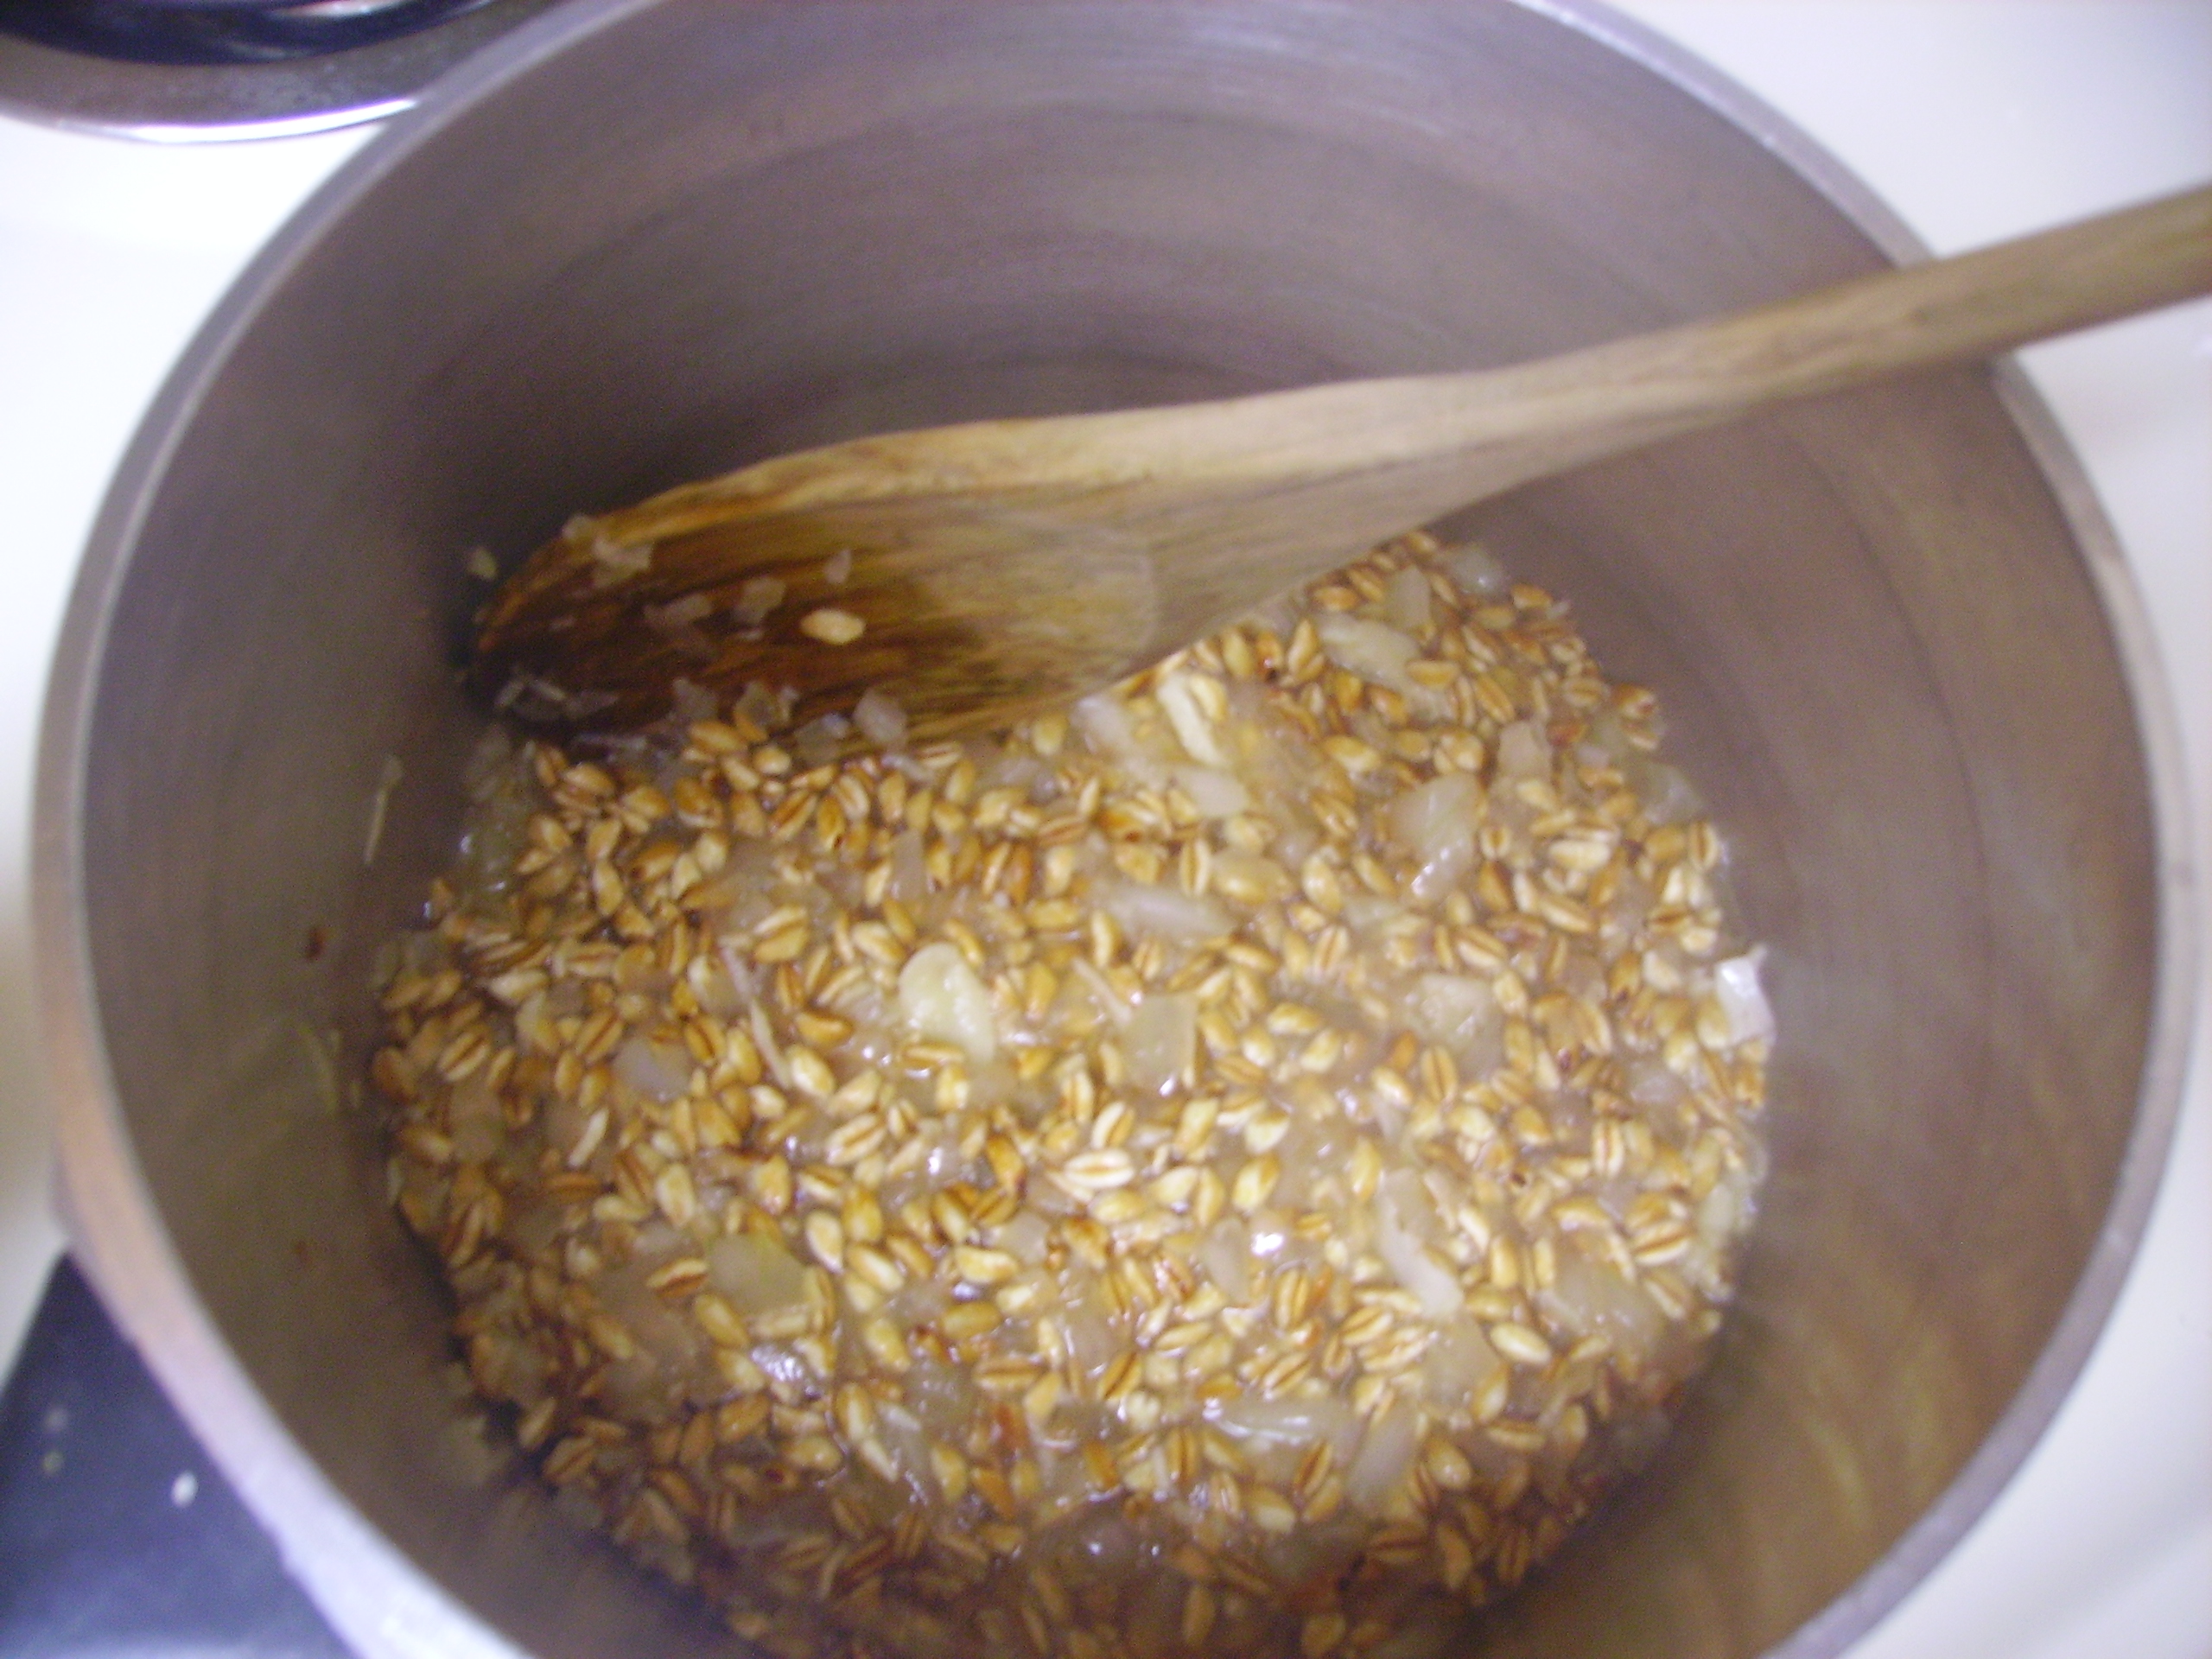
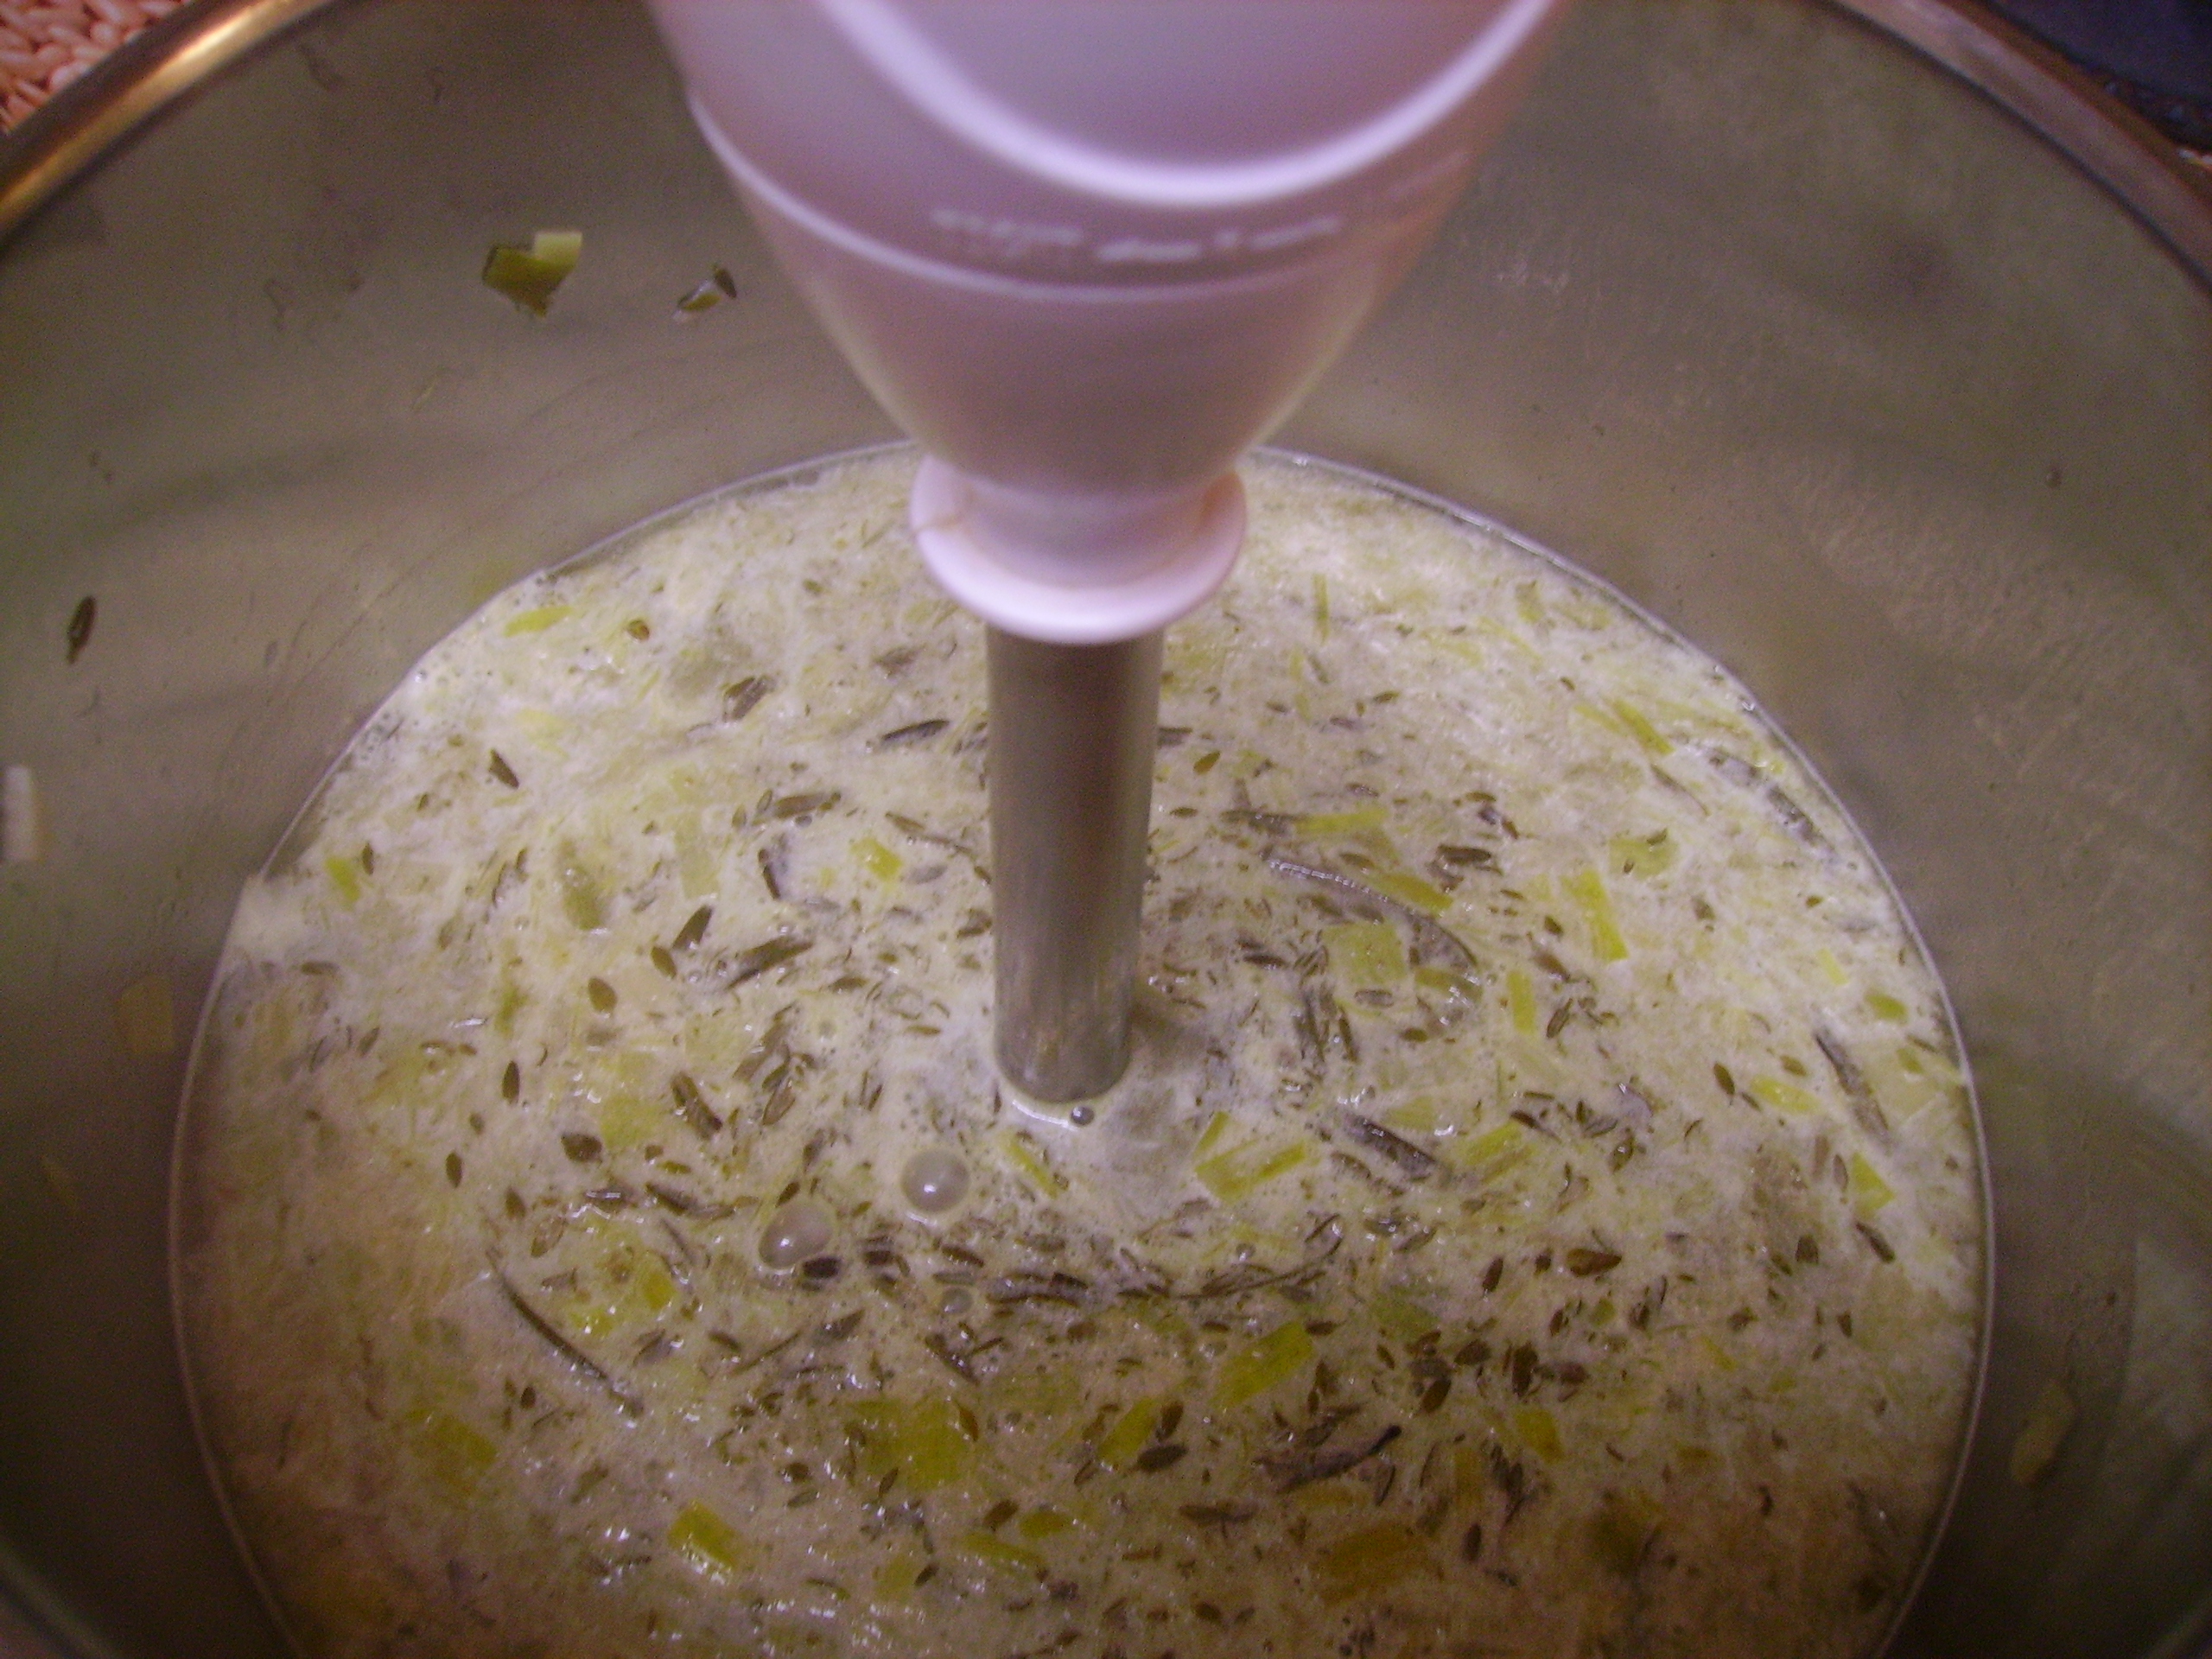
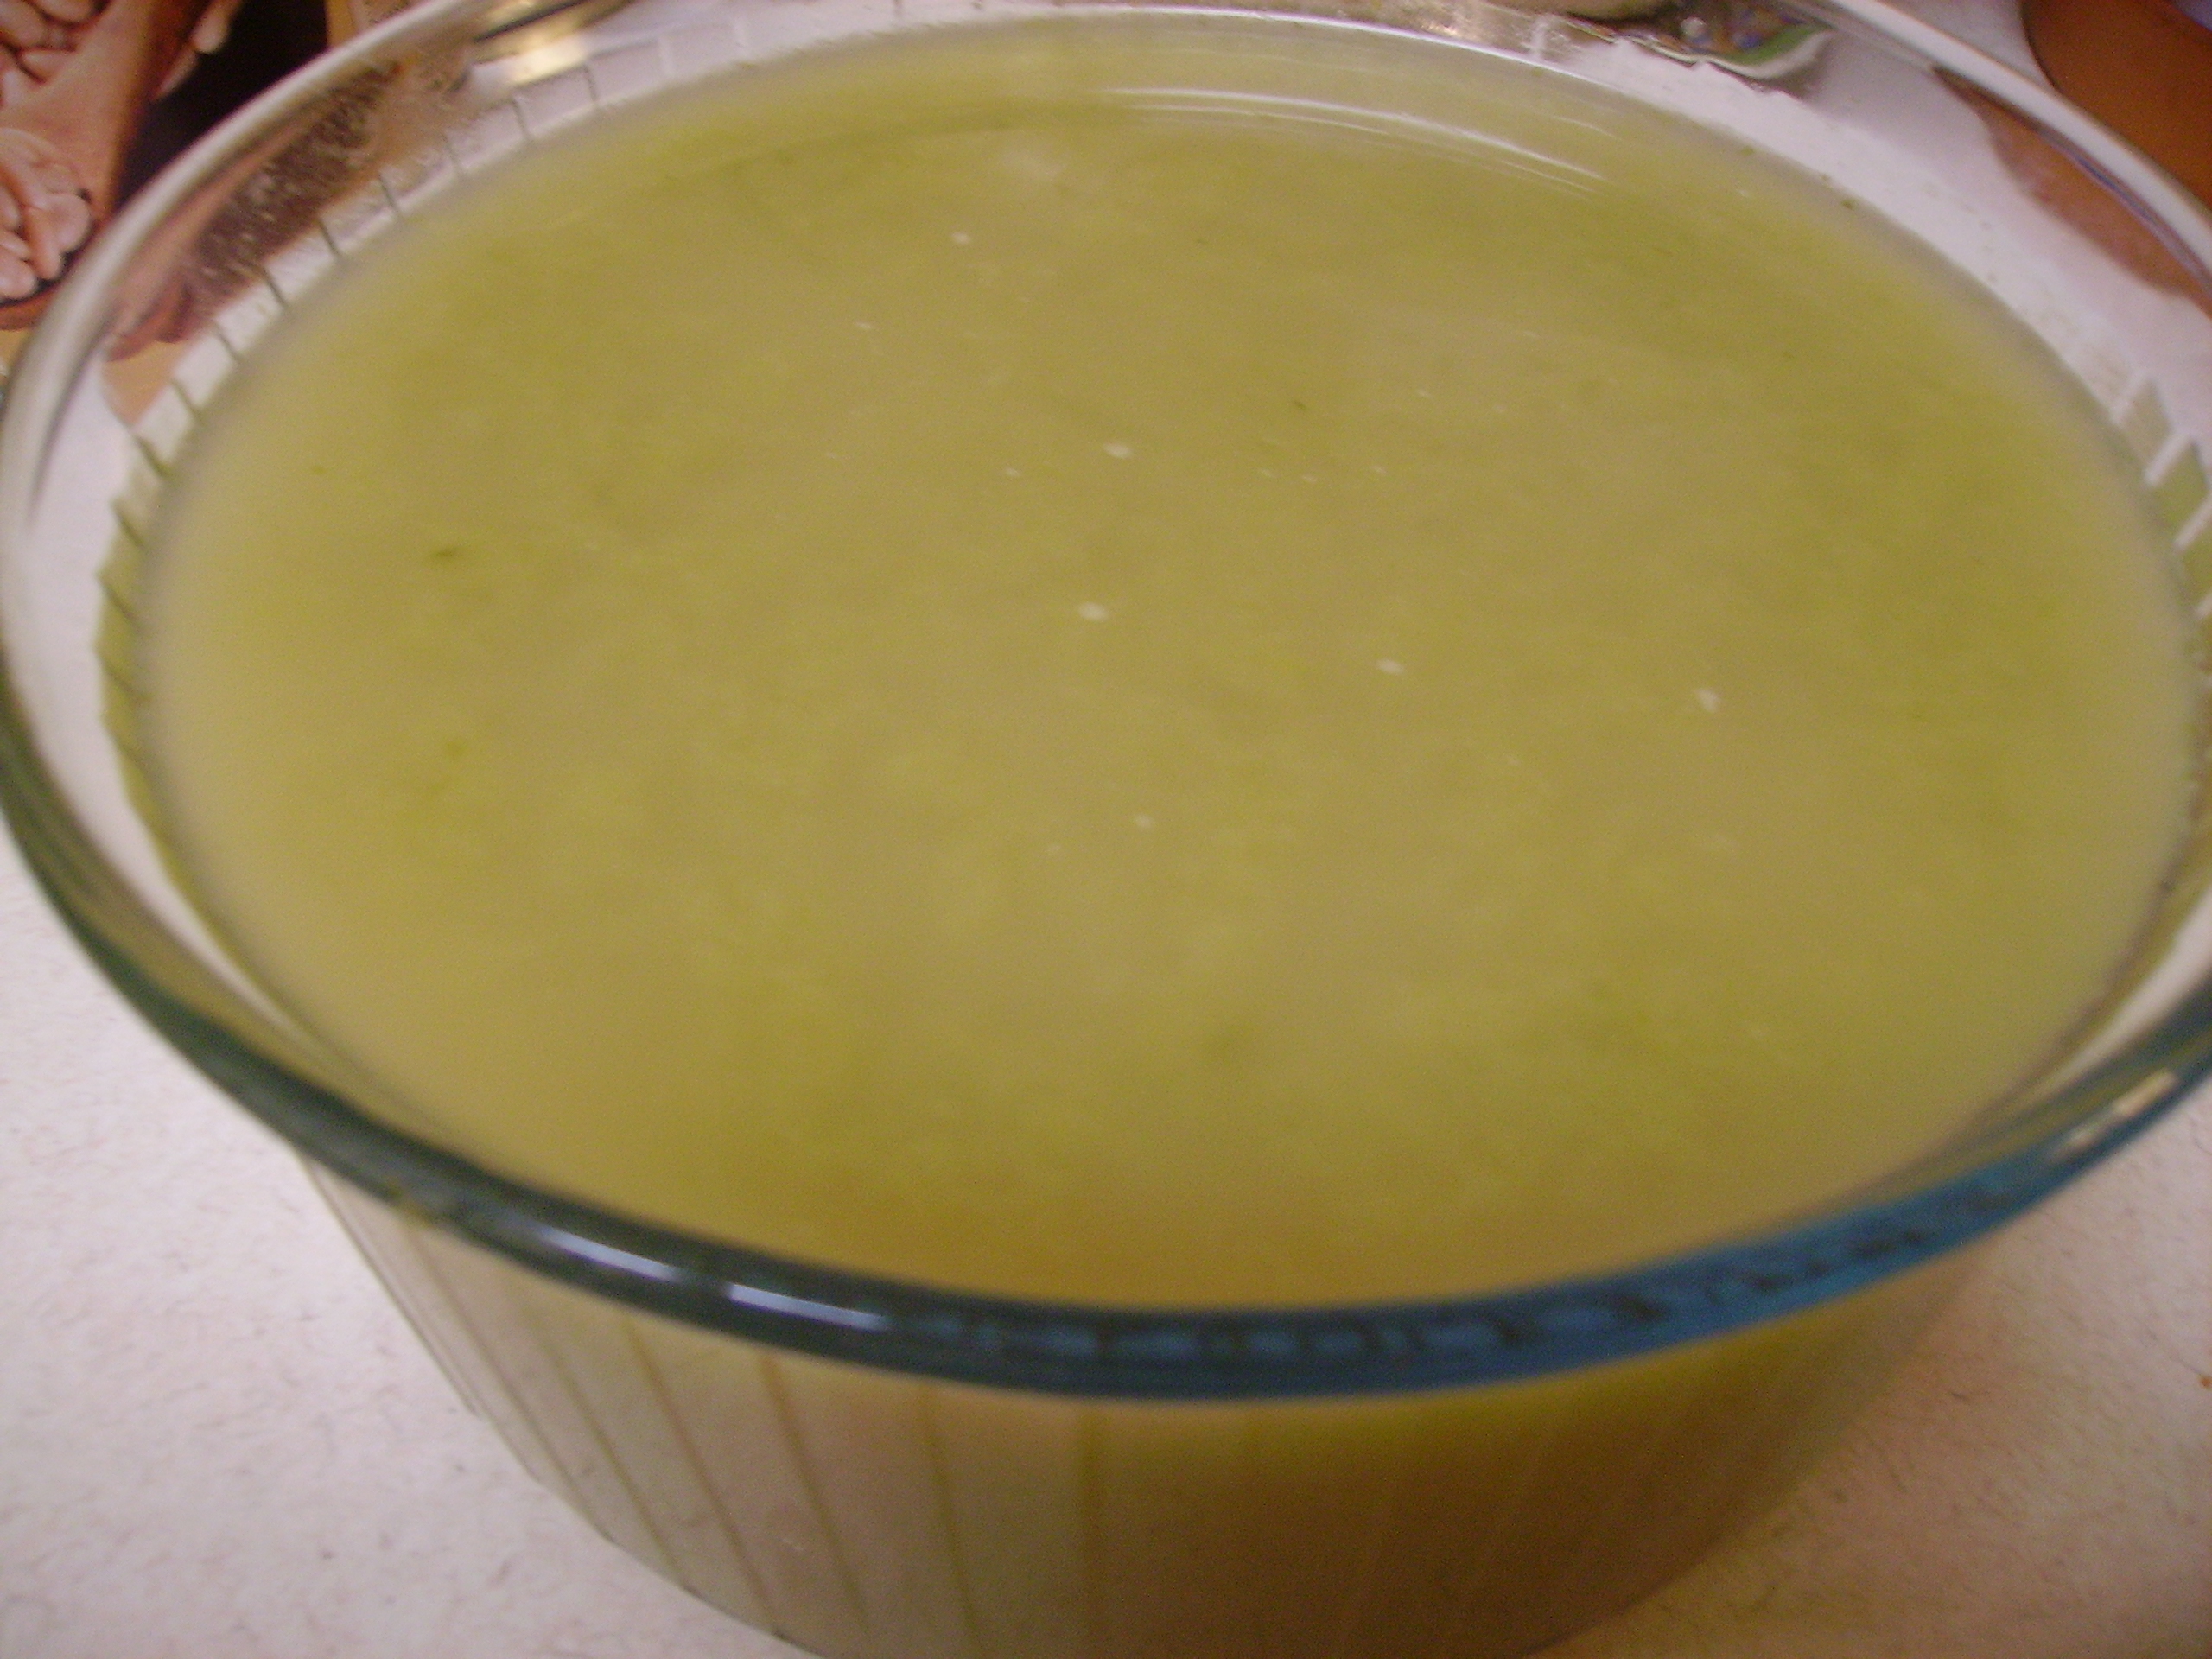
It’s always nice to have some kind of starch to serve with the stew. The sauce is wonderful and it would be a shame to leave it in the bottom of the bowl. I decided to use Farro.

DIGITAL CAMERA
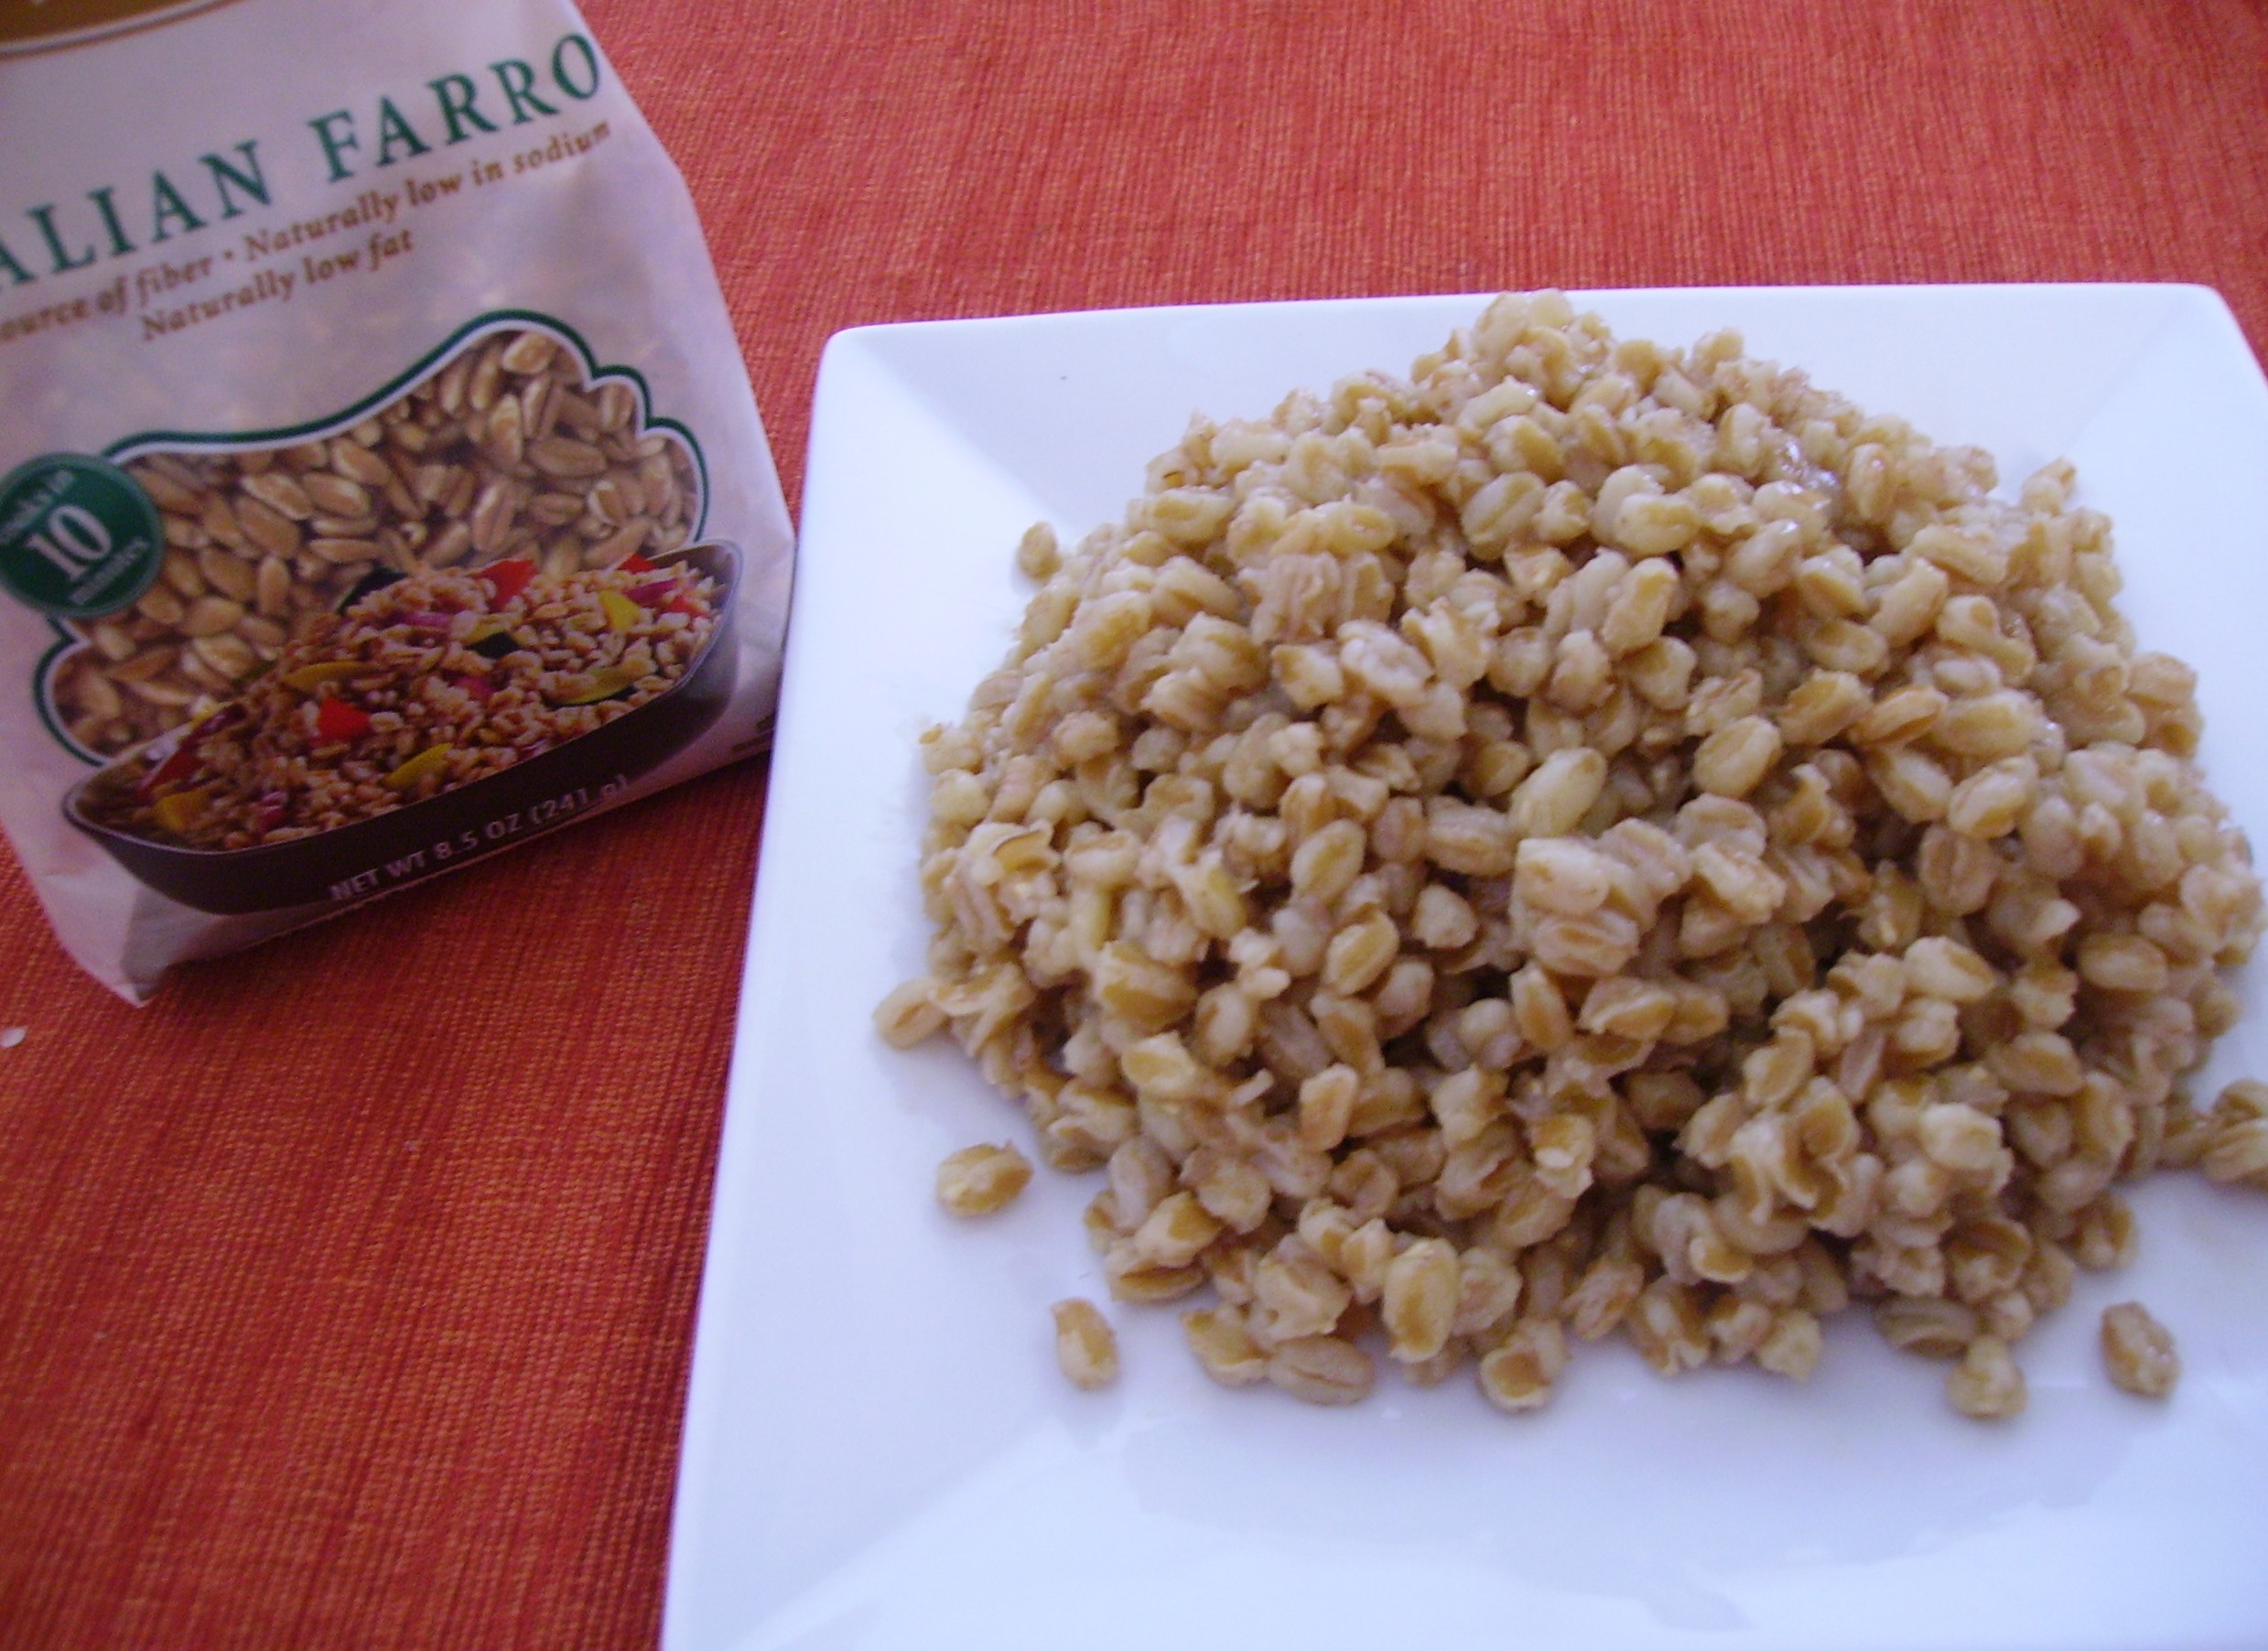
This Italian super grain has a slightly chewy texture and a nutty barley like taste. It cooked quickly and stood up perfectly to the hearty richness of the stew.
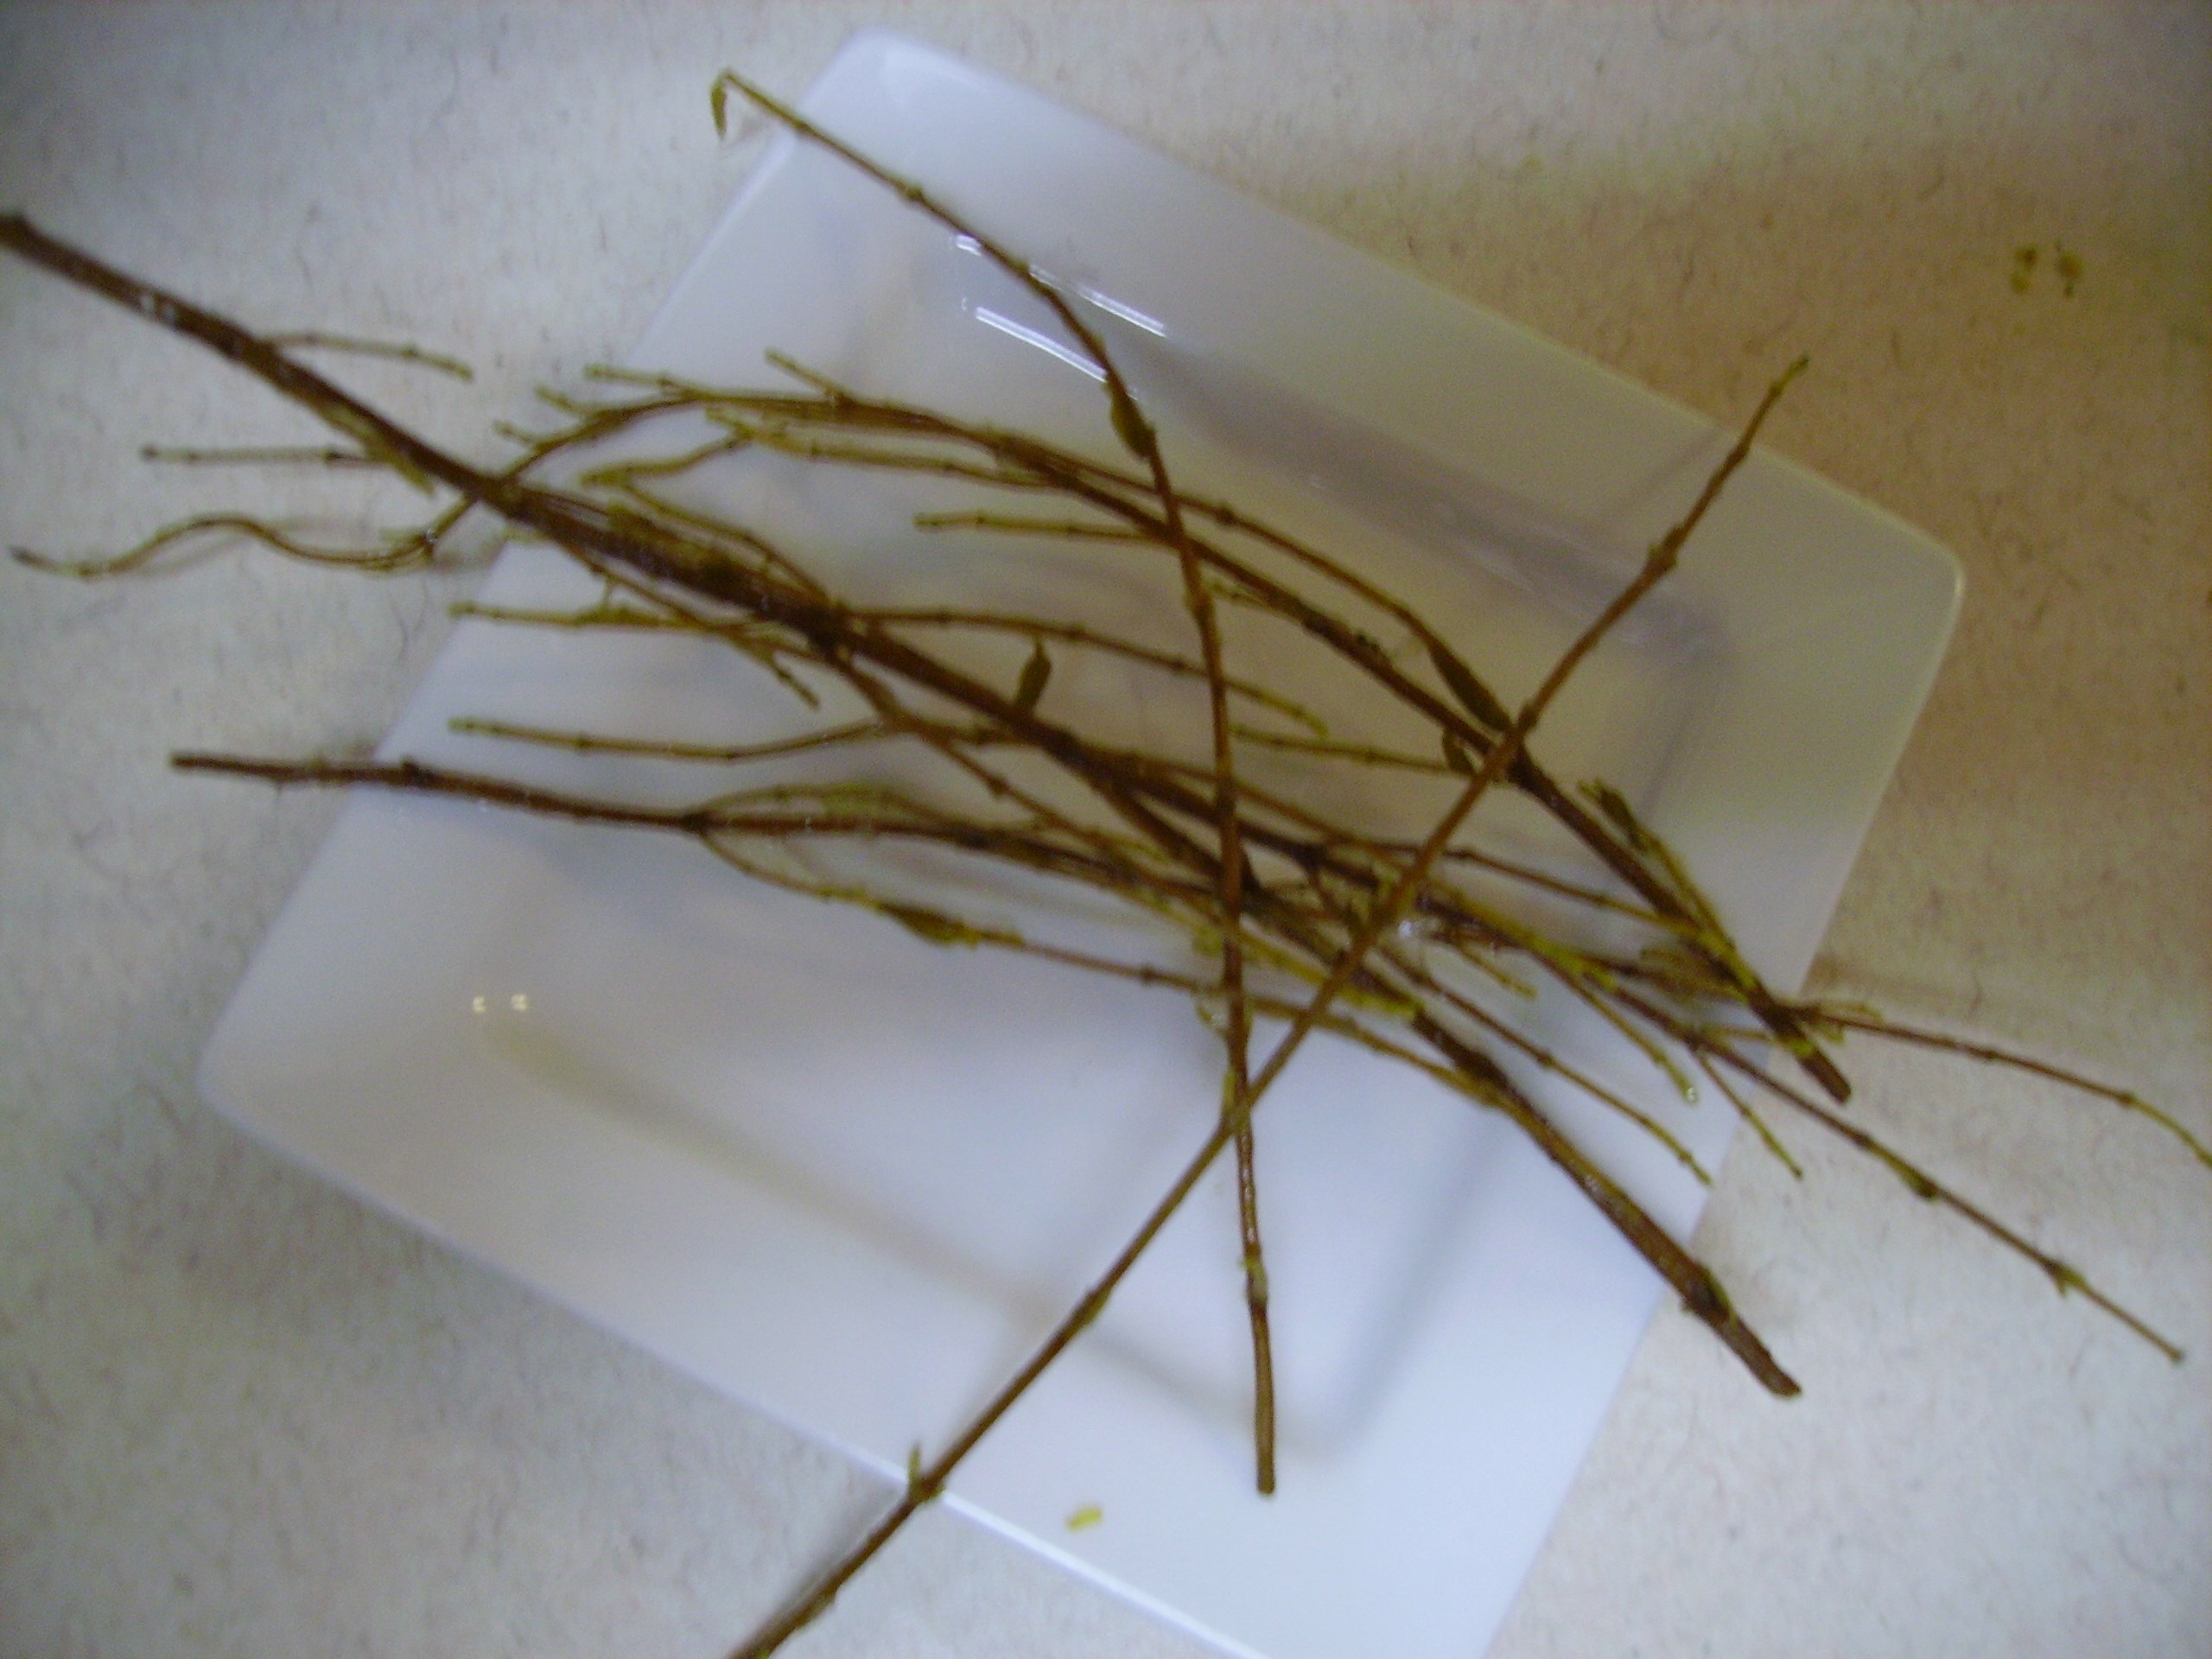
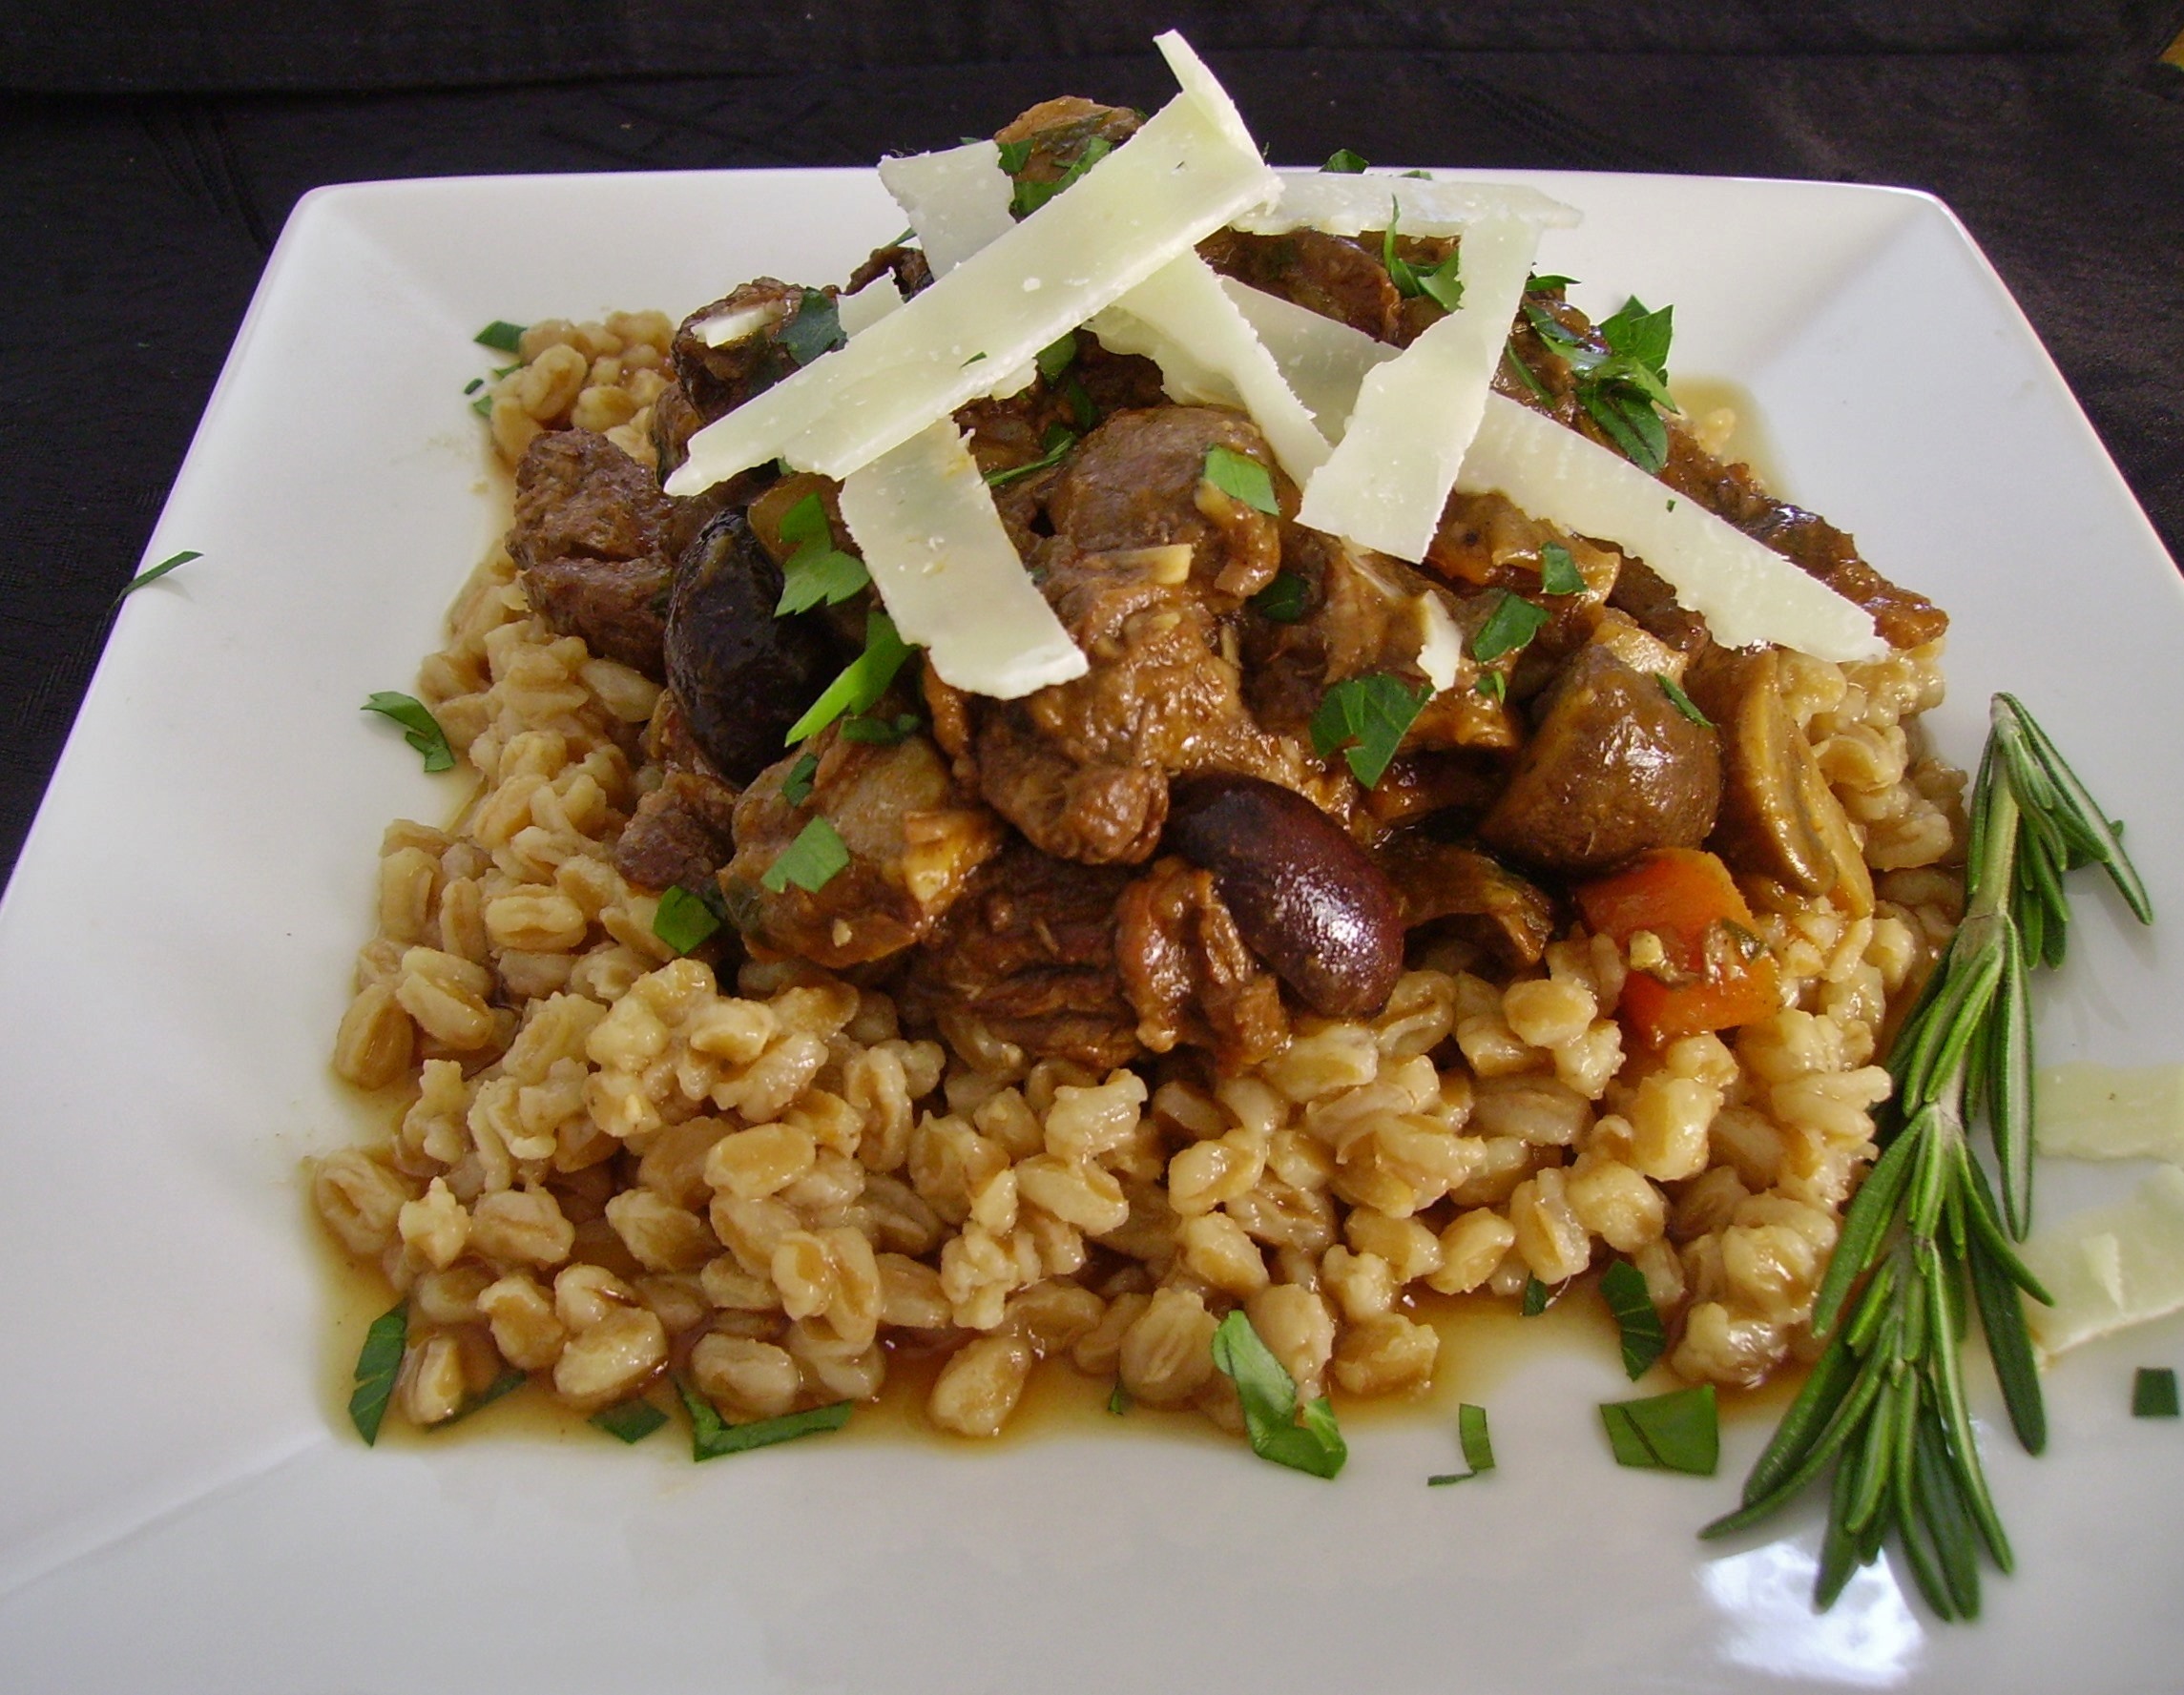
 DIGITAL CAMERA Rosemary, lemon

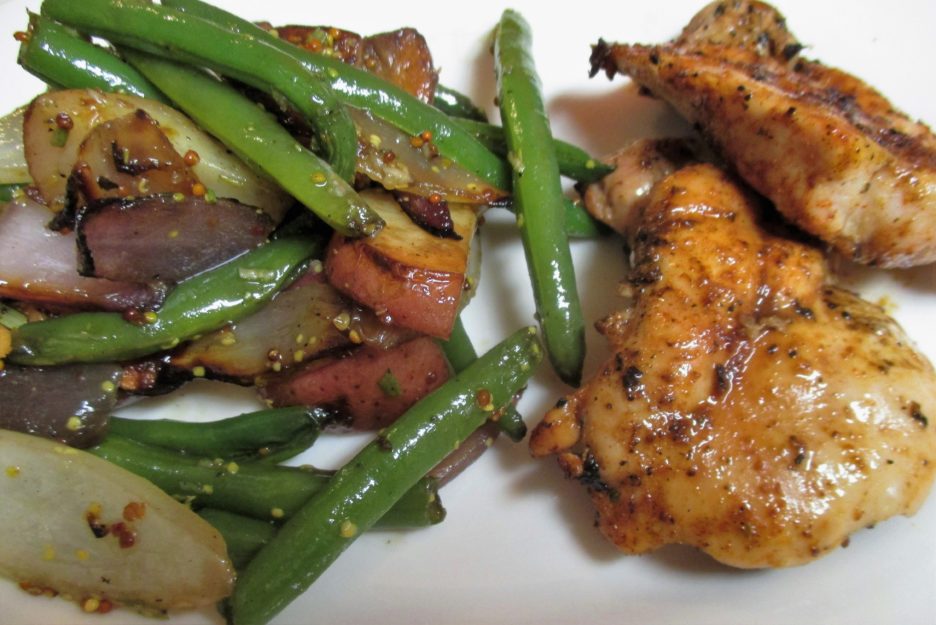
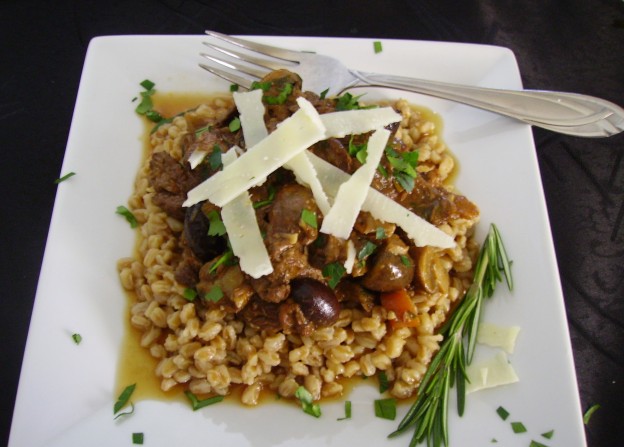
Some shavings of Pecorino Romano and a dusting of parsley and it was ready to serve. It was wonderful the first time, but the second day it was amazing.

Italian Beef Stew
Print Recipe
An Italian-ized version of classic Beef Stew. Make it your own with wine, vegetable, and aromatics choices.
Servings
8
Servings
8
Italian Beef Stew
Print Recipe
An Italian-ized version of classic Beef Stew. Make it your own with wine, vegetable, and aromatics choices.
Servings
8
Servings
8
Ingredients
Servings:
Instructions
  1. Before you begin cooking, put your cooking vessel in the oven. Adjust the rack so that the covered pot will fit and slide in and out easily. Preheat the oven to 325 degrees.
  2. Heat a 5 -6 quart dutch oven. Add the bacon pieces and cook until the bacon is brown, but not crisp. Remove the bacon and drain on paper towels. Leave the drippings in the pan and add 1 tablespoon of the olive oil.
  3. Cut the meat in 1-1/2 inch to 2 inch pieces. Dry on paper towels for at least 10 minutes (this helps the meat brown). Season the meat with salt and pepper just before browning.
  4. Brown the meat in batches turning to brown all sides. Put the browned meat into a bowl. If the pot is becoming dry, add additional olive oil. Set the bowl of browned meat aside.
  5. Add the chopped onions, garlic, and carrots to the pot and begin to cook over medium low heat. Add the bay leaf, rosemary, fennel seeds, red pepper flakes, lemon zest and tomato paste. Cook, stirring often for 3 or 4 minutes. Return the bacon to the pot.
  6. Add the cup of red wine and stir to loosen the browned bits and de-glaze the pan. Continue to cook for a few minutes until things are smelling beautiful. Add the beef stock and water, (and a little more wine if you want). Bring the mixture to a boil.
  7. Add the beef and any accumulated juices to the pot. Cook until the mixture returns to a simmer. Once it is gently simmering, cover it and place in the oven. Cook covered for one hour.
  8. Remove the pot from the oven and add the onion wedges and sliced garlic. Mix gently, cover and return to the oven for another 30 minutes.
  9. Remove the pan from the oven and add the mushrooms. Stir to gently combine. Cover and return to the oven.
  10. Check the meat after 45 minutes or so. The meat should be fork tender, but not falling apart. When the meat is perfect, remove the pot from the oven.
  11. Add the lemon juice and olives. Stir to incorporate. Taste the sauce and add salt and pepper to taste. Transfer to a serving bowl or ladle into individual dishes. Sprinkle with the parsley.
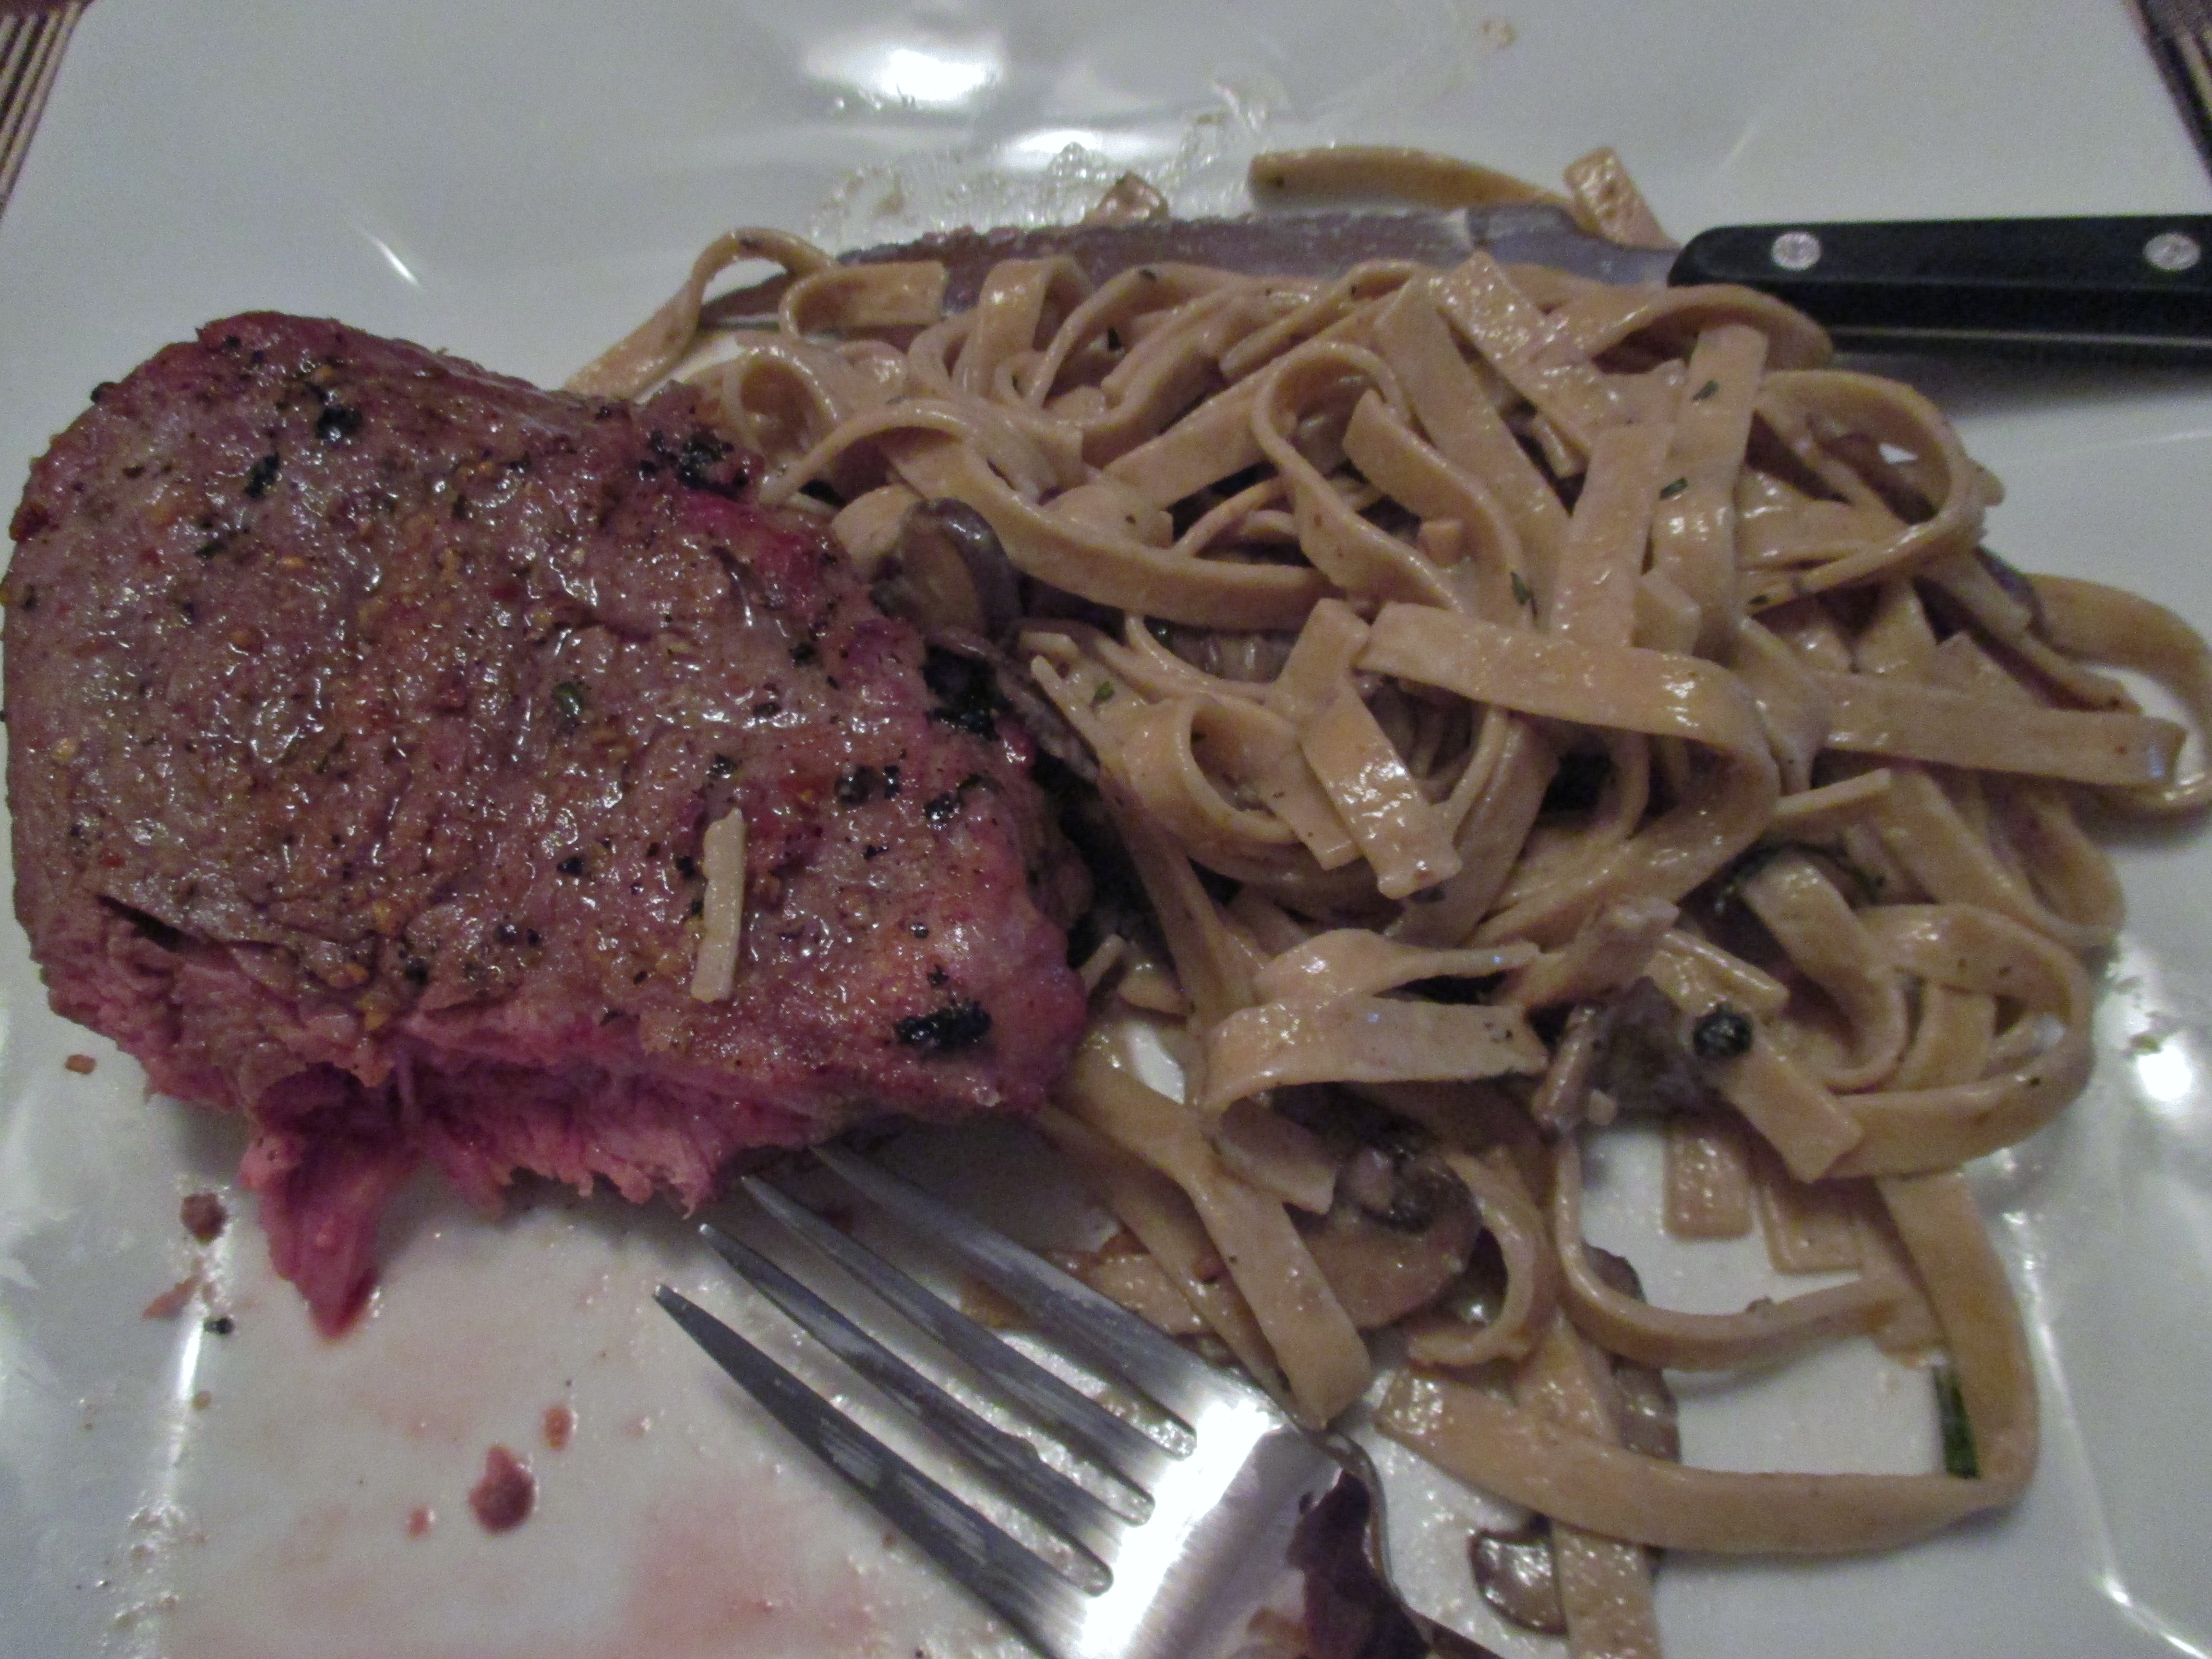
  12. This can be served as is with crusty bread or on top of your starch of choice; pasta, polenta, farro, etc.
Share this Recipe
Powered byWP Ultimate Recipe

This was worth the time it took to prepare. I’m afraid Julia’s Beouf  will have to move over, Mama D’s Manzo is joining the club.