Soup For a Summer Evening: Grilled Broccoli and Cauliflower Soup

When I first thought about making this soup, I felt that the season and the veggies didn’t go together. Broccoli and cauliflower are usually part of a rich creamy soup that in Mama D’s Kitchen has bacon and cheese as  mandatory ingredients. It creates a soup that is perfect for crisp autumn days and cold winter nights. I love how the smokey salty flavor of the bacon brings out something special in the vegetables. Full flavored cheese has the same magical powers. We are in the hea(r)t of summer and as delicious as those flavors are, they are just too heavy when the thermometer is tickling the 90’s.

The question then becomes, can there be a summer weight broccoli and cauliflower soup? Why yes, yes, there can, and if I do say so myself, it’s very tasty and there isn’t a bit of bacon or cheese, or even cream for that matter. This could fit into a Vegan meal or star in a Meatless Monday one. I think it is also gluten-free, so whatever your dietary restrictions you can enjoy this soup.

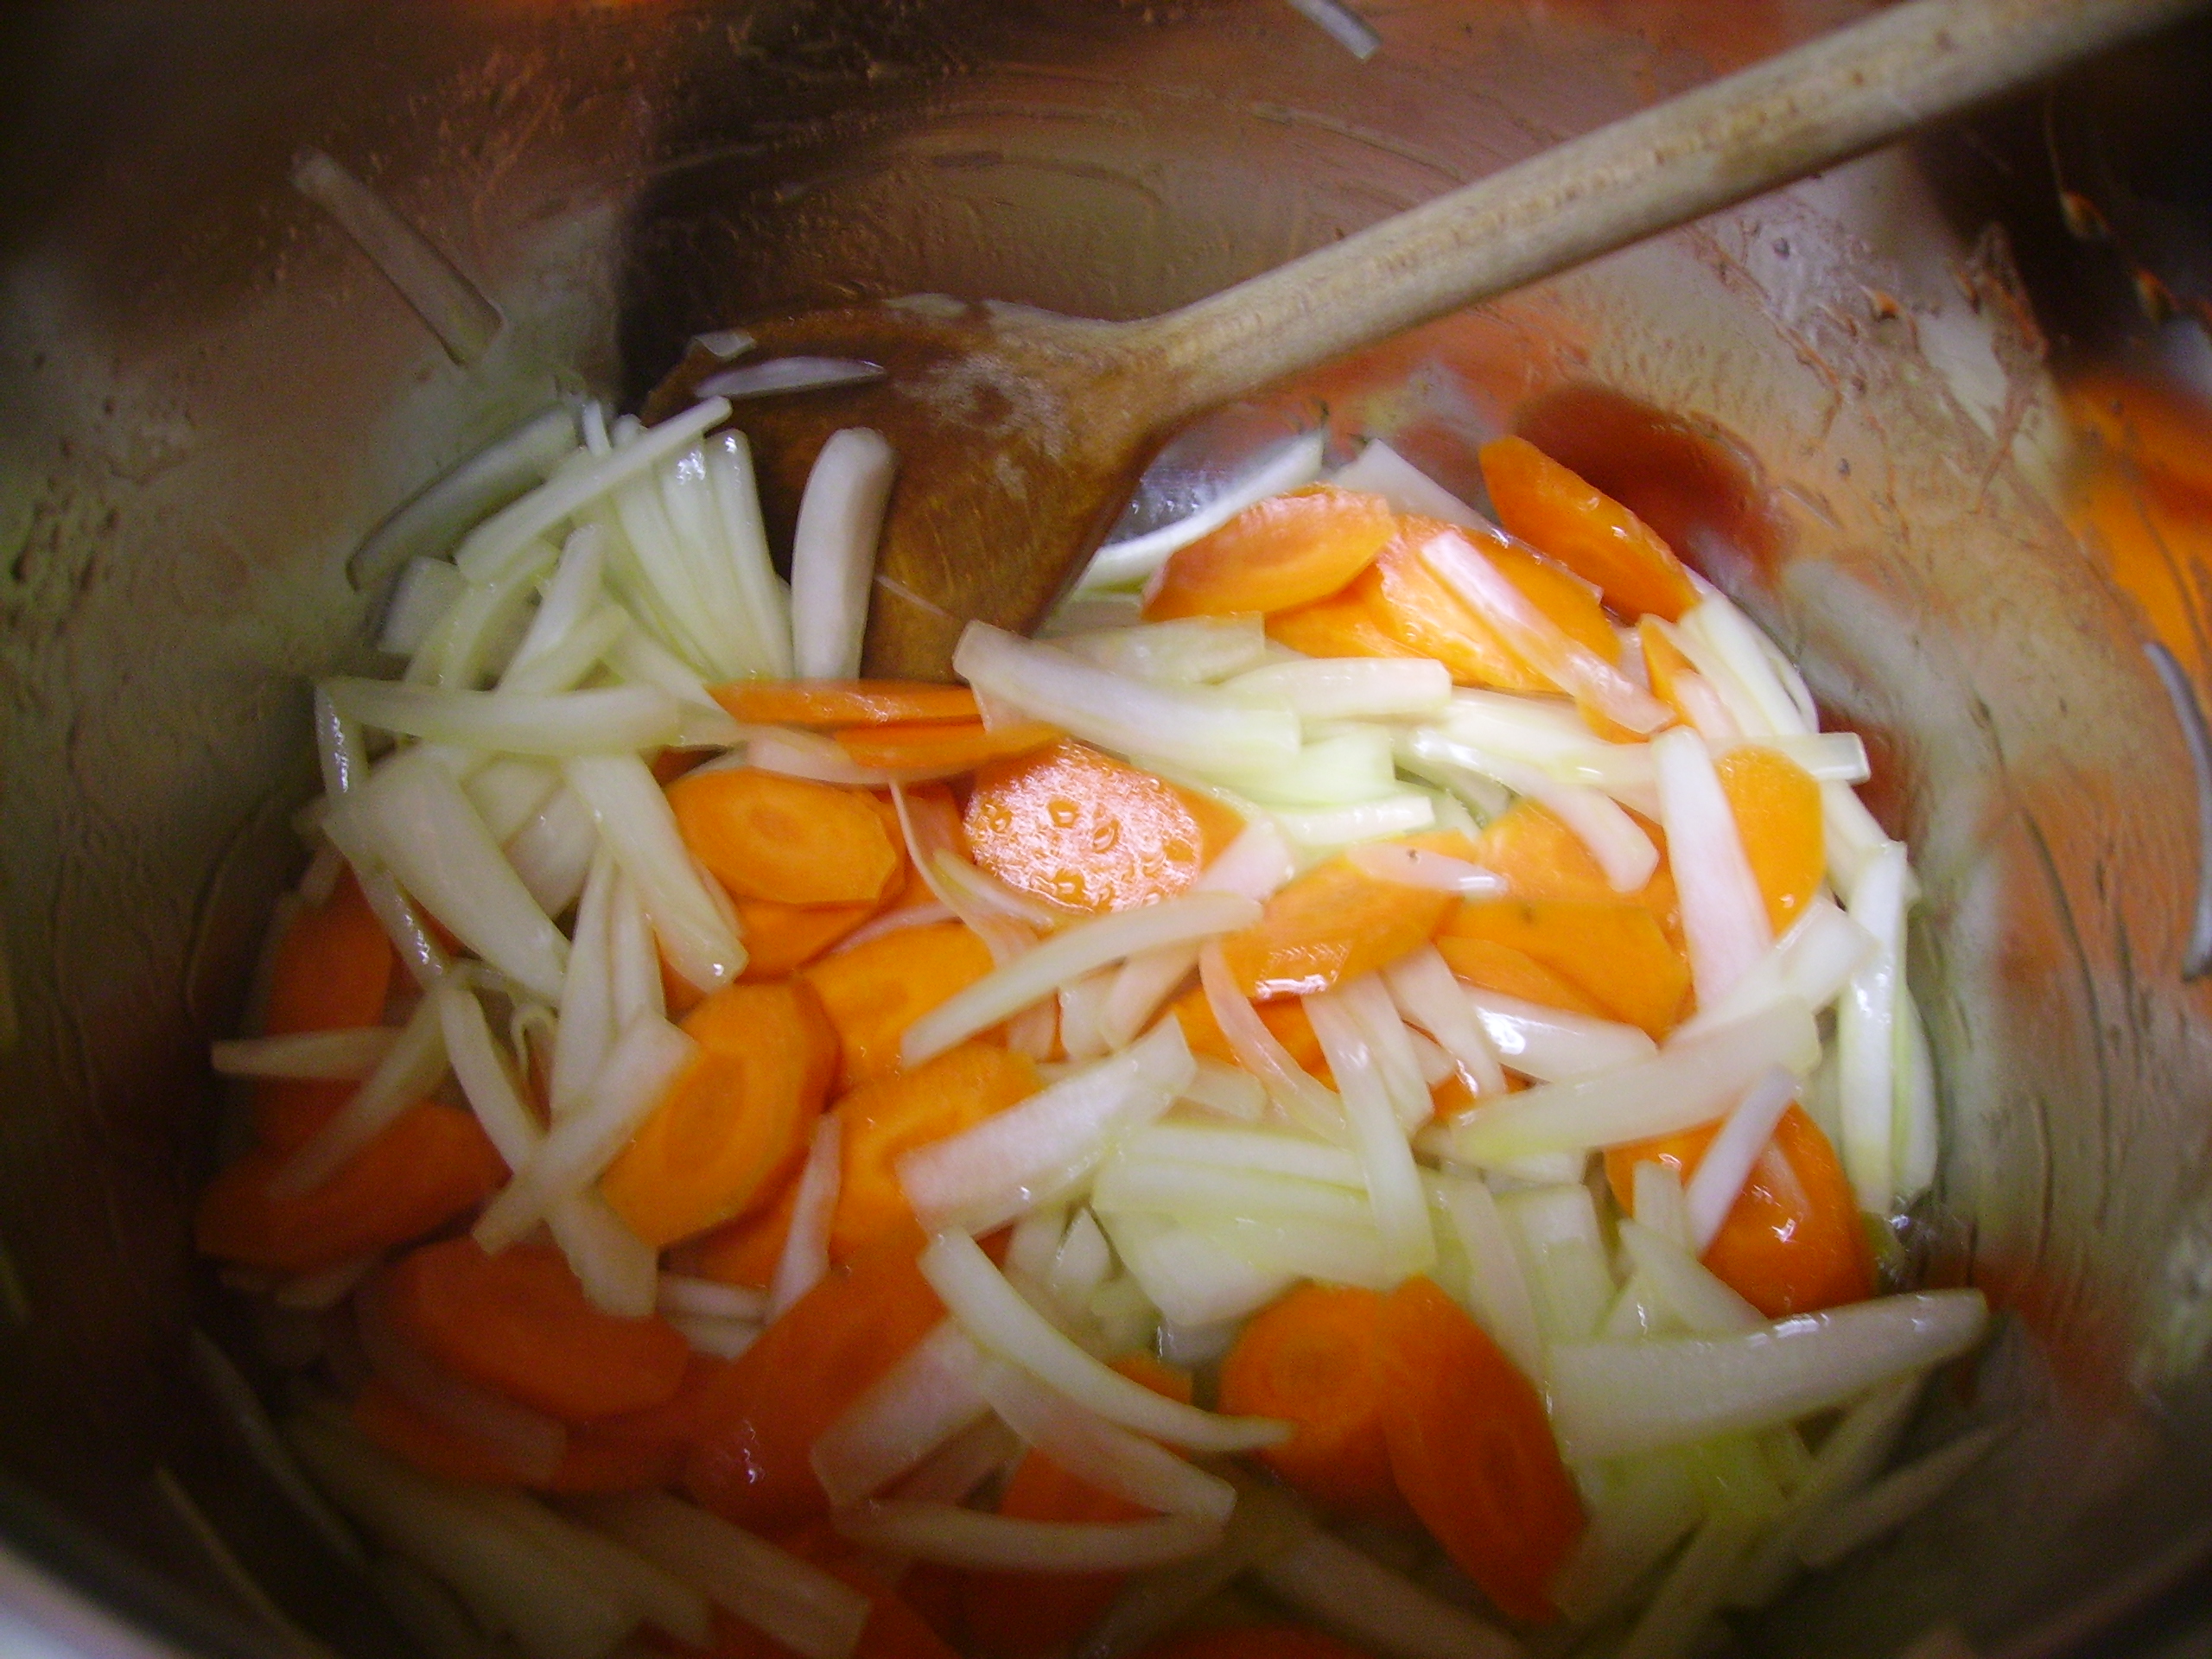
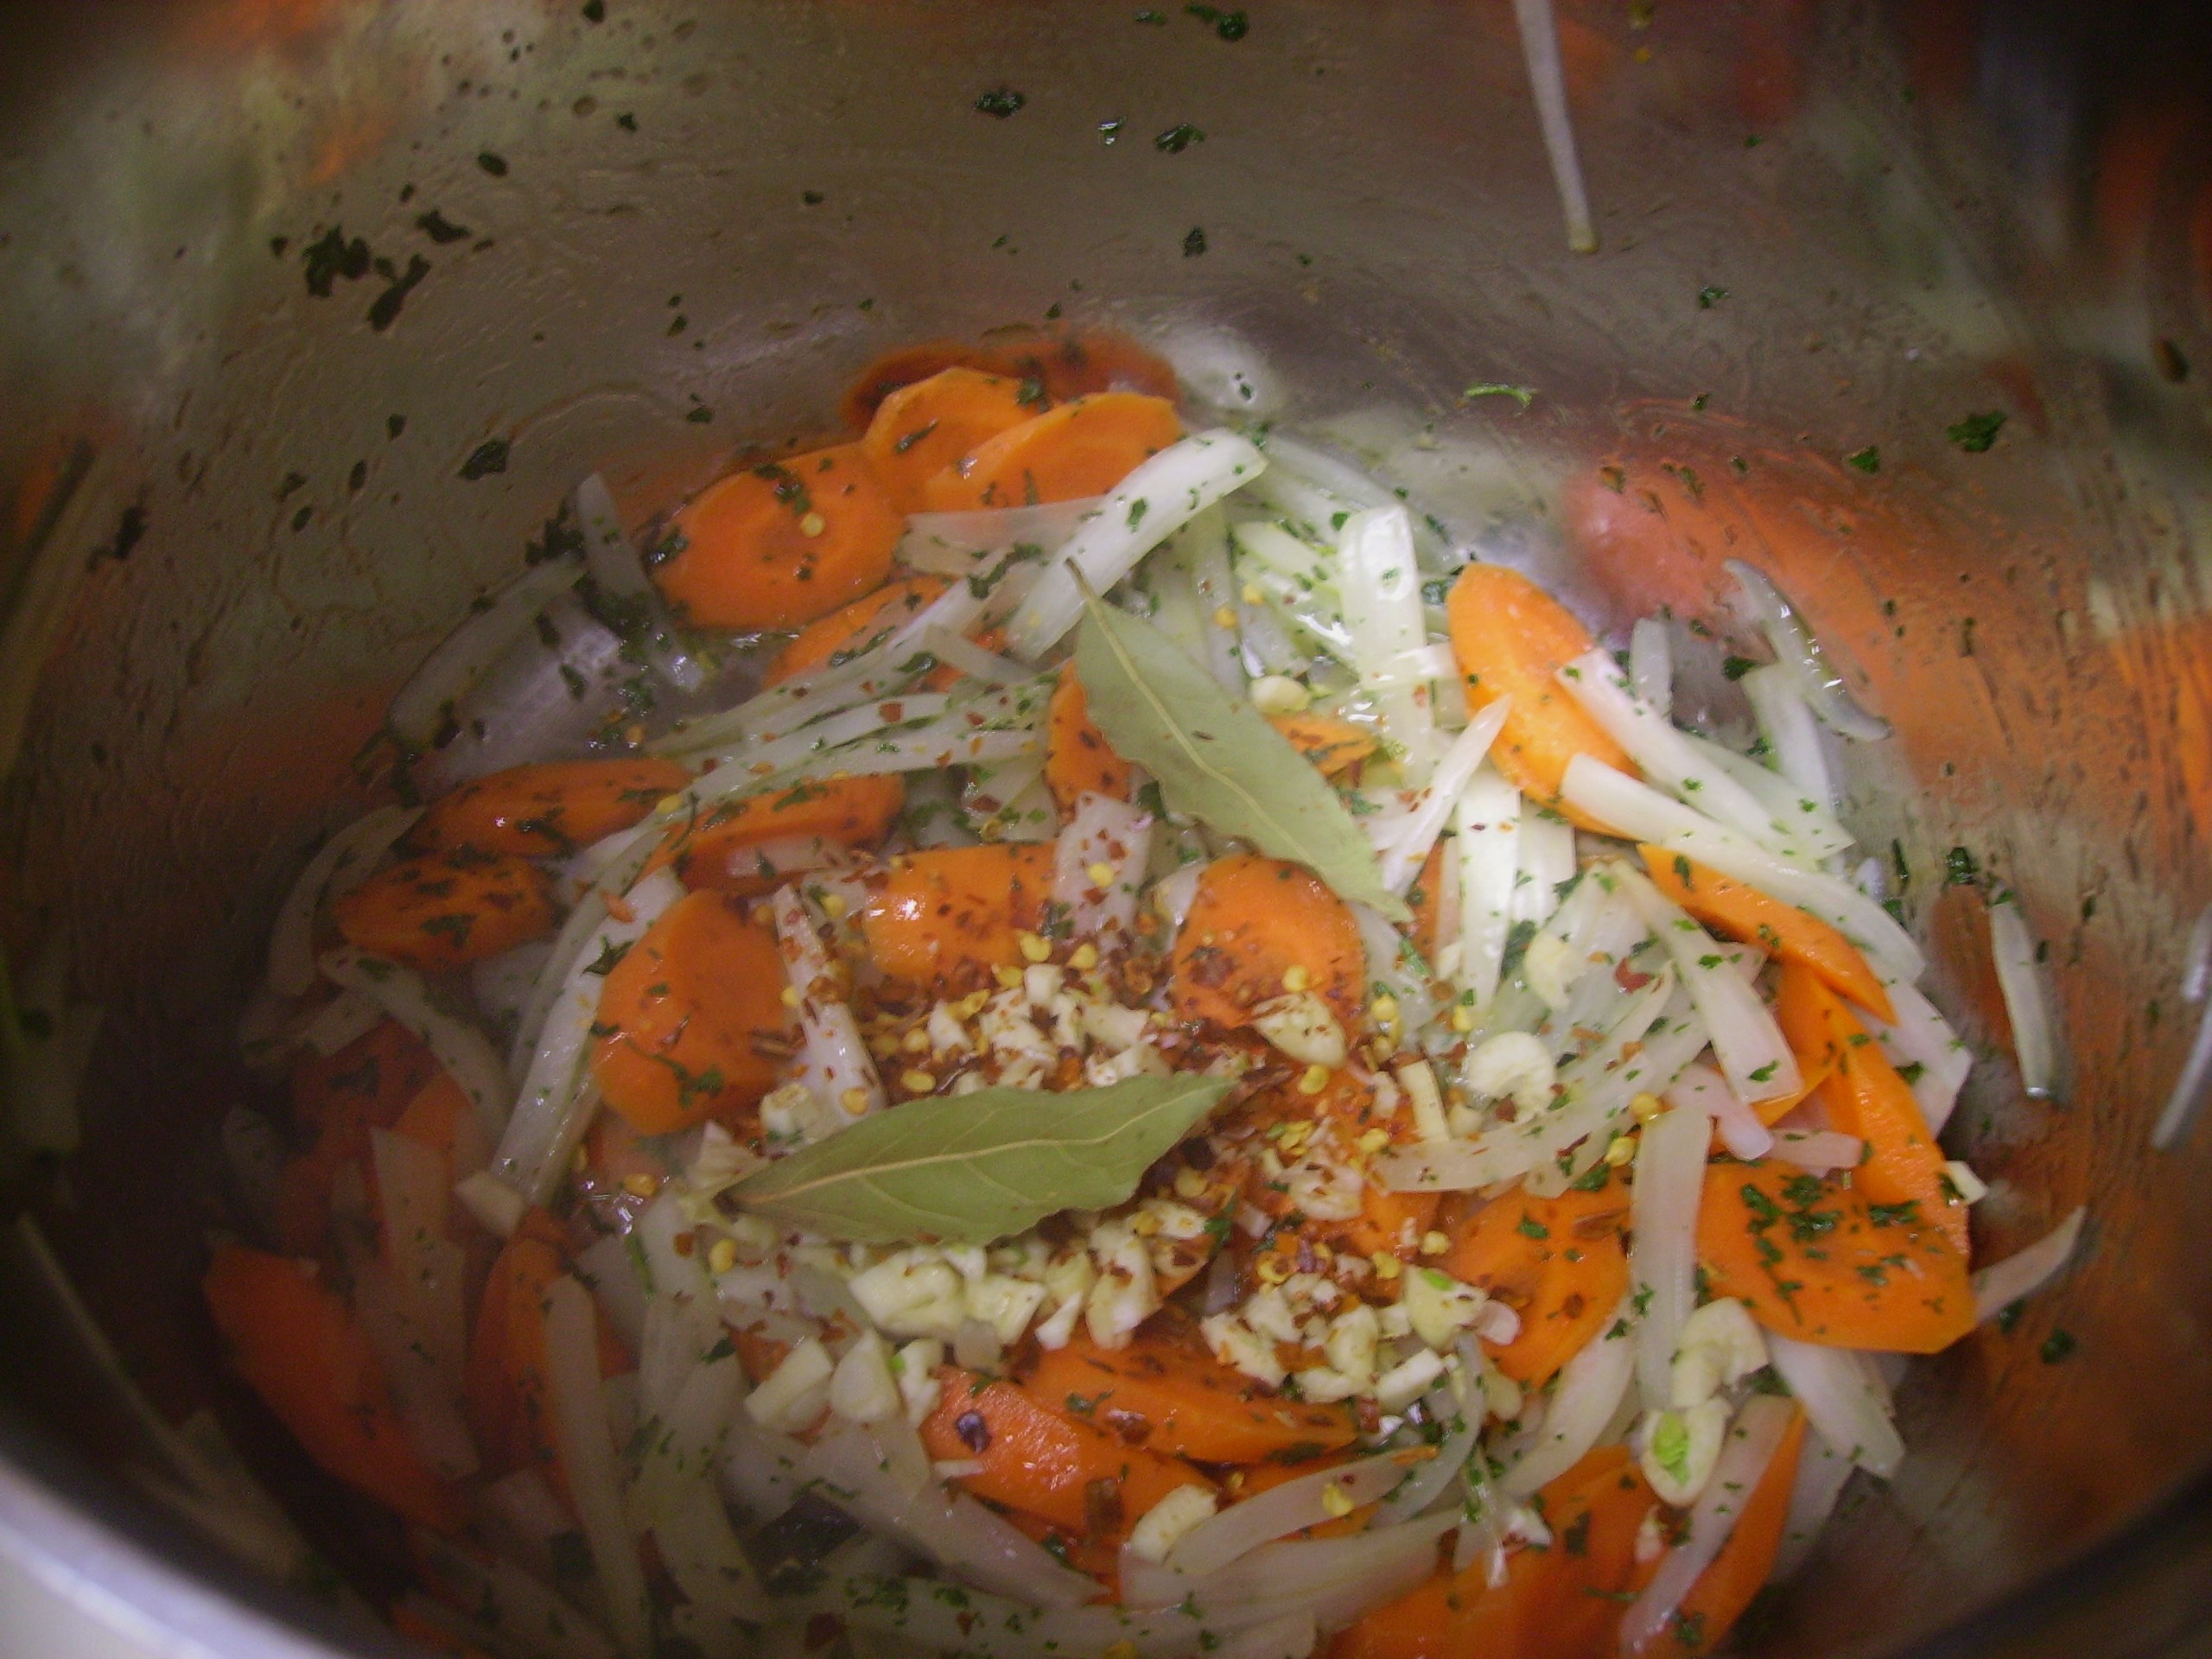
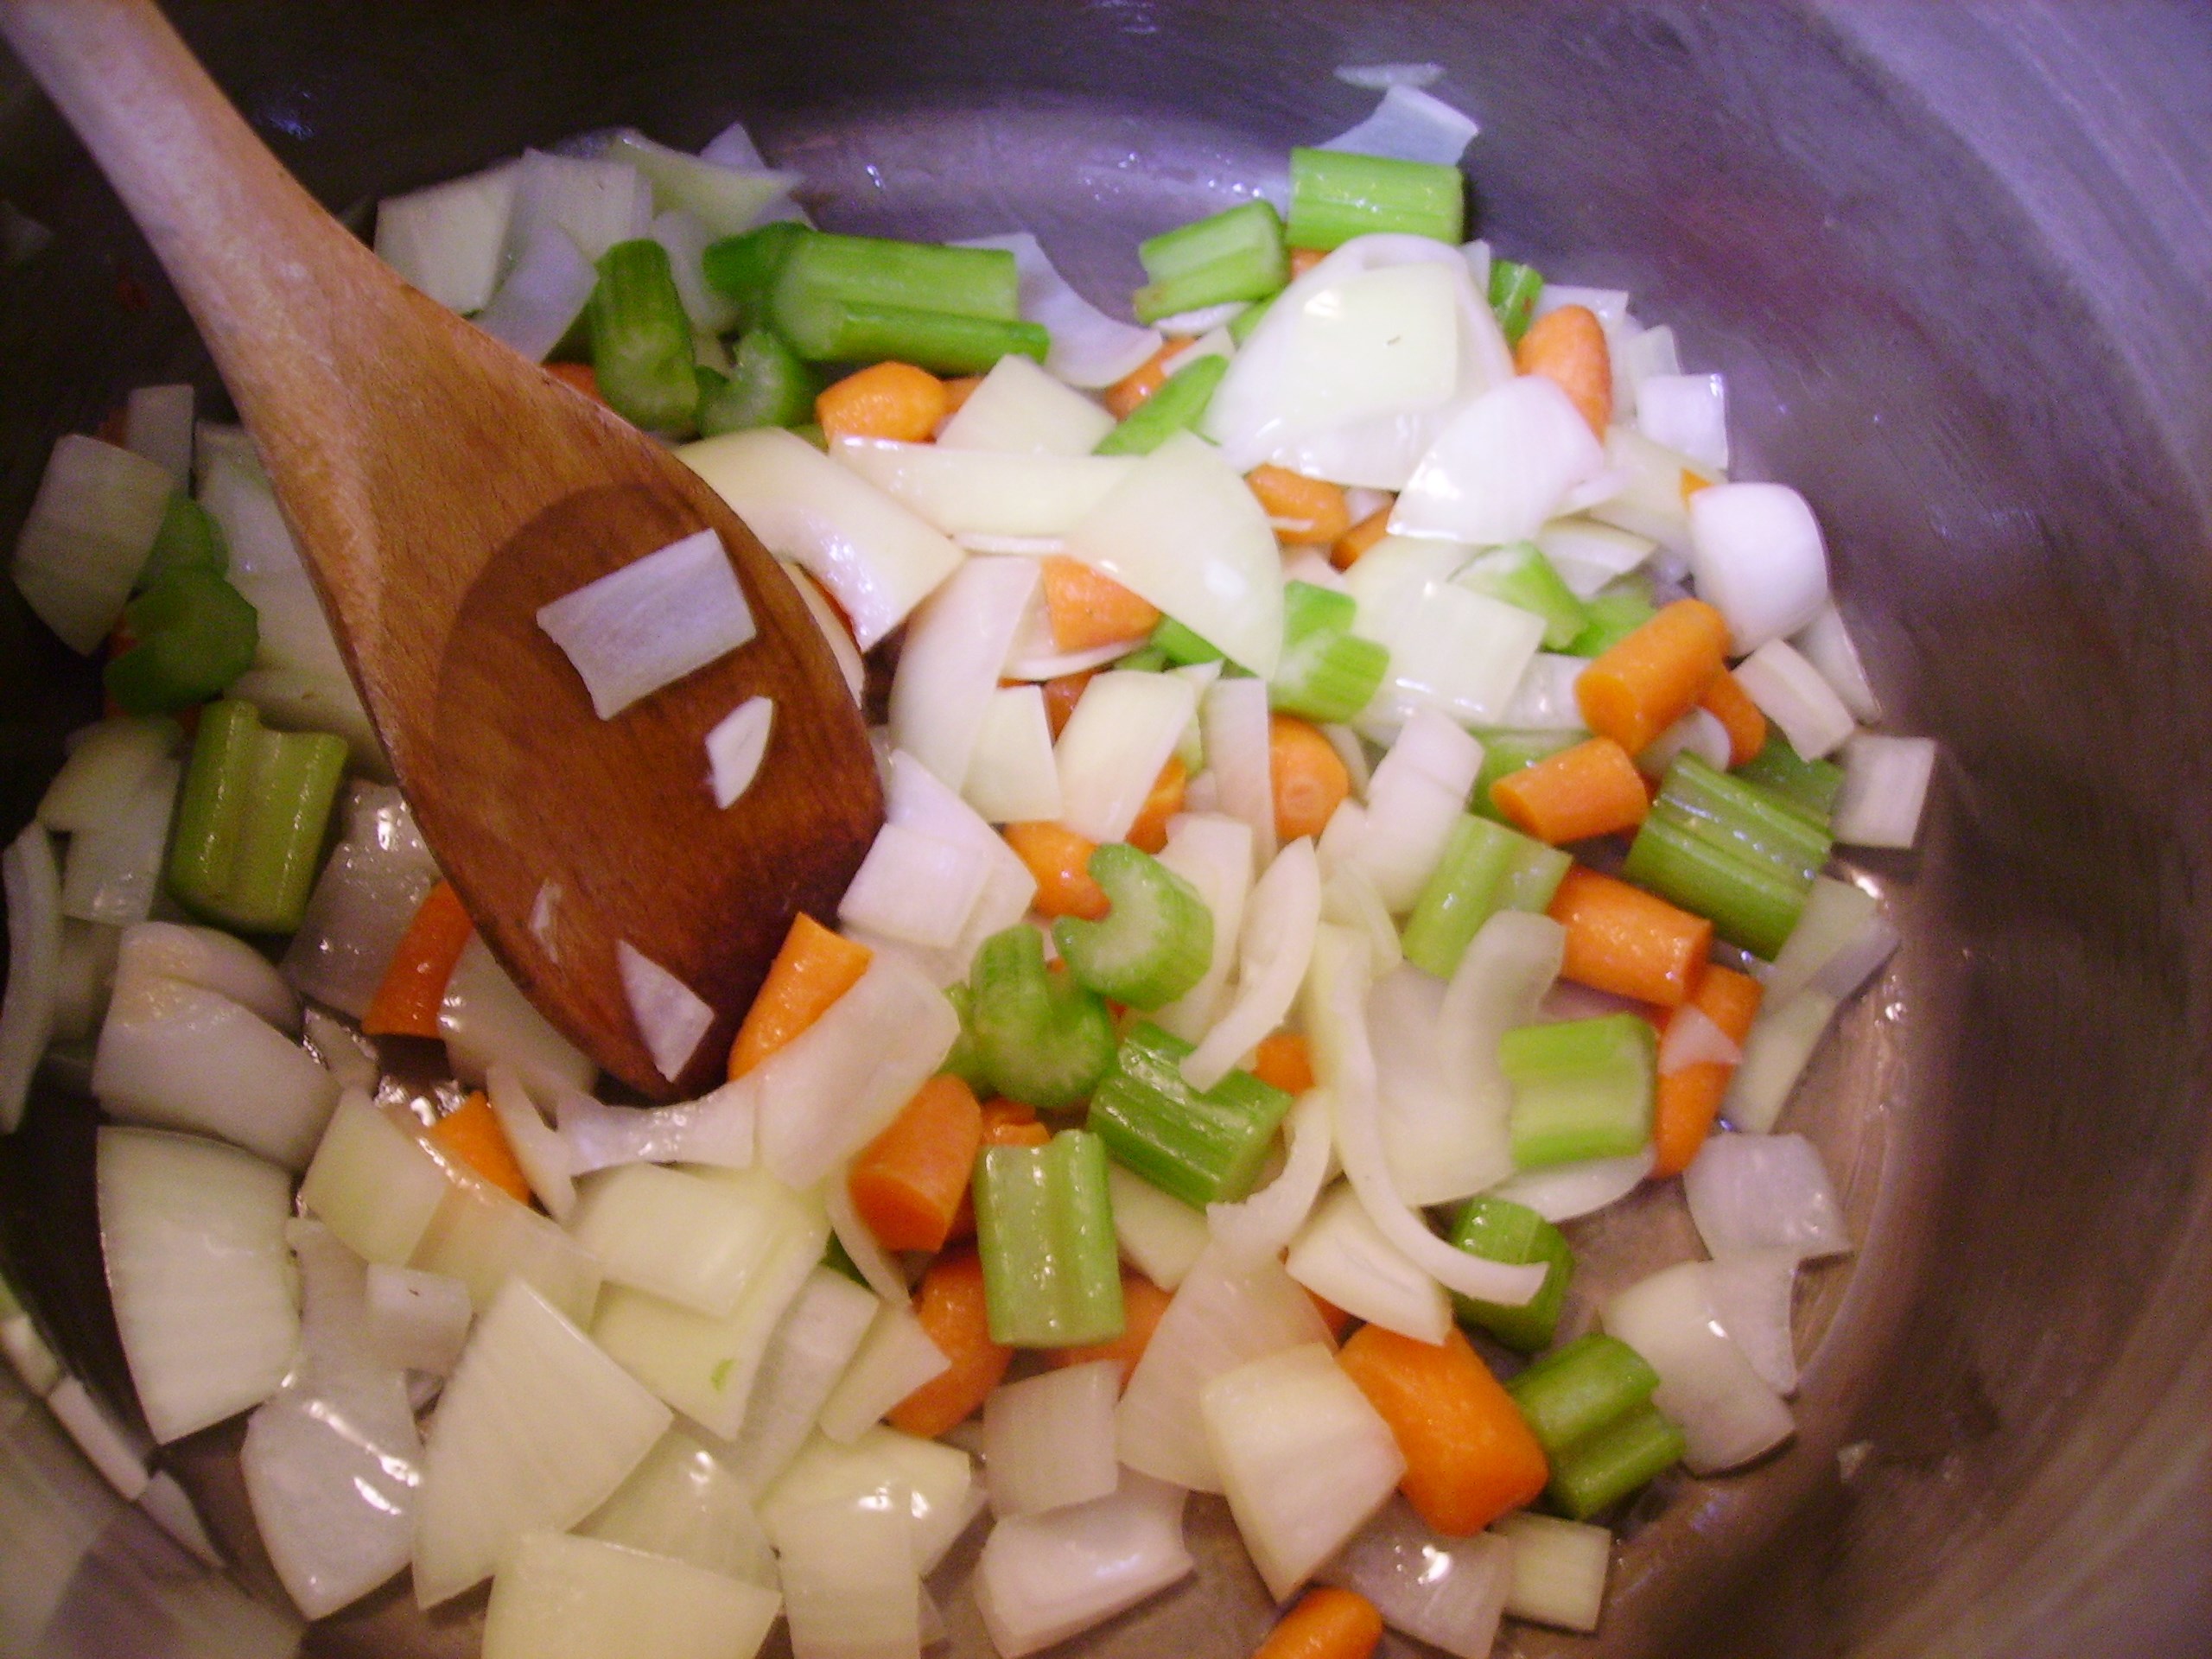
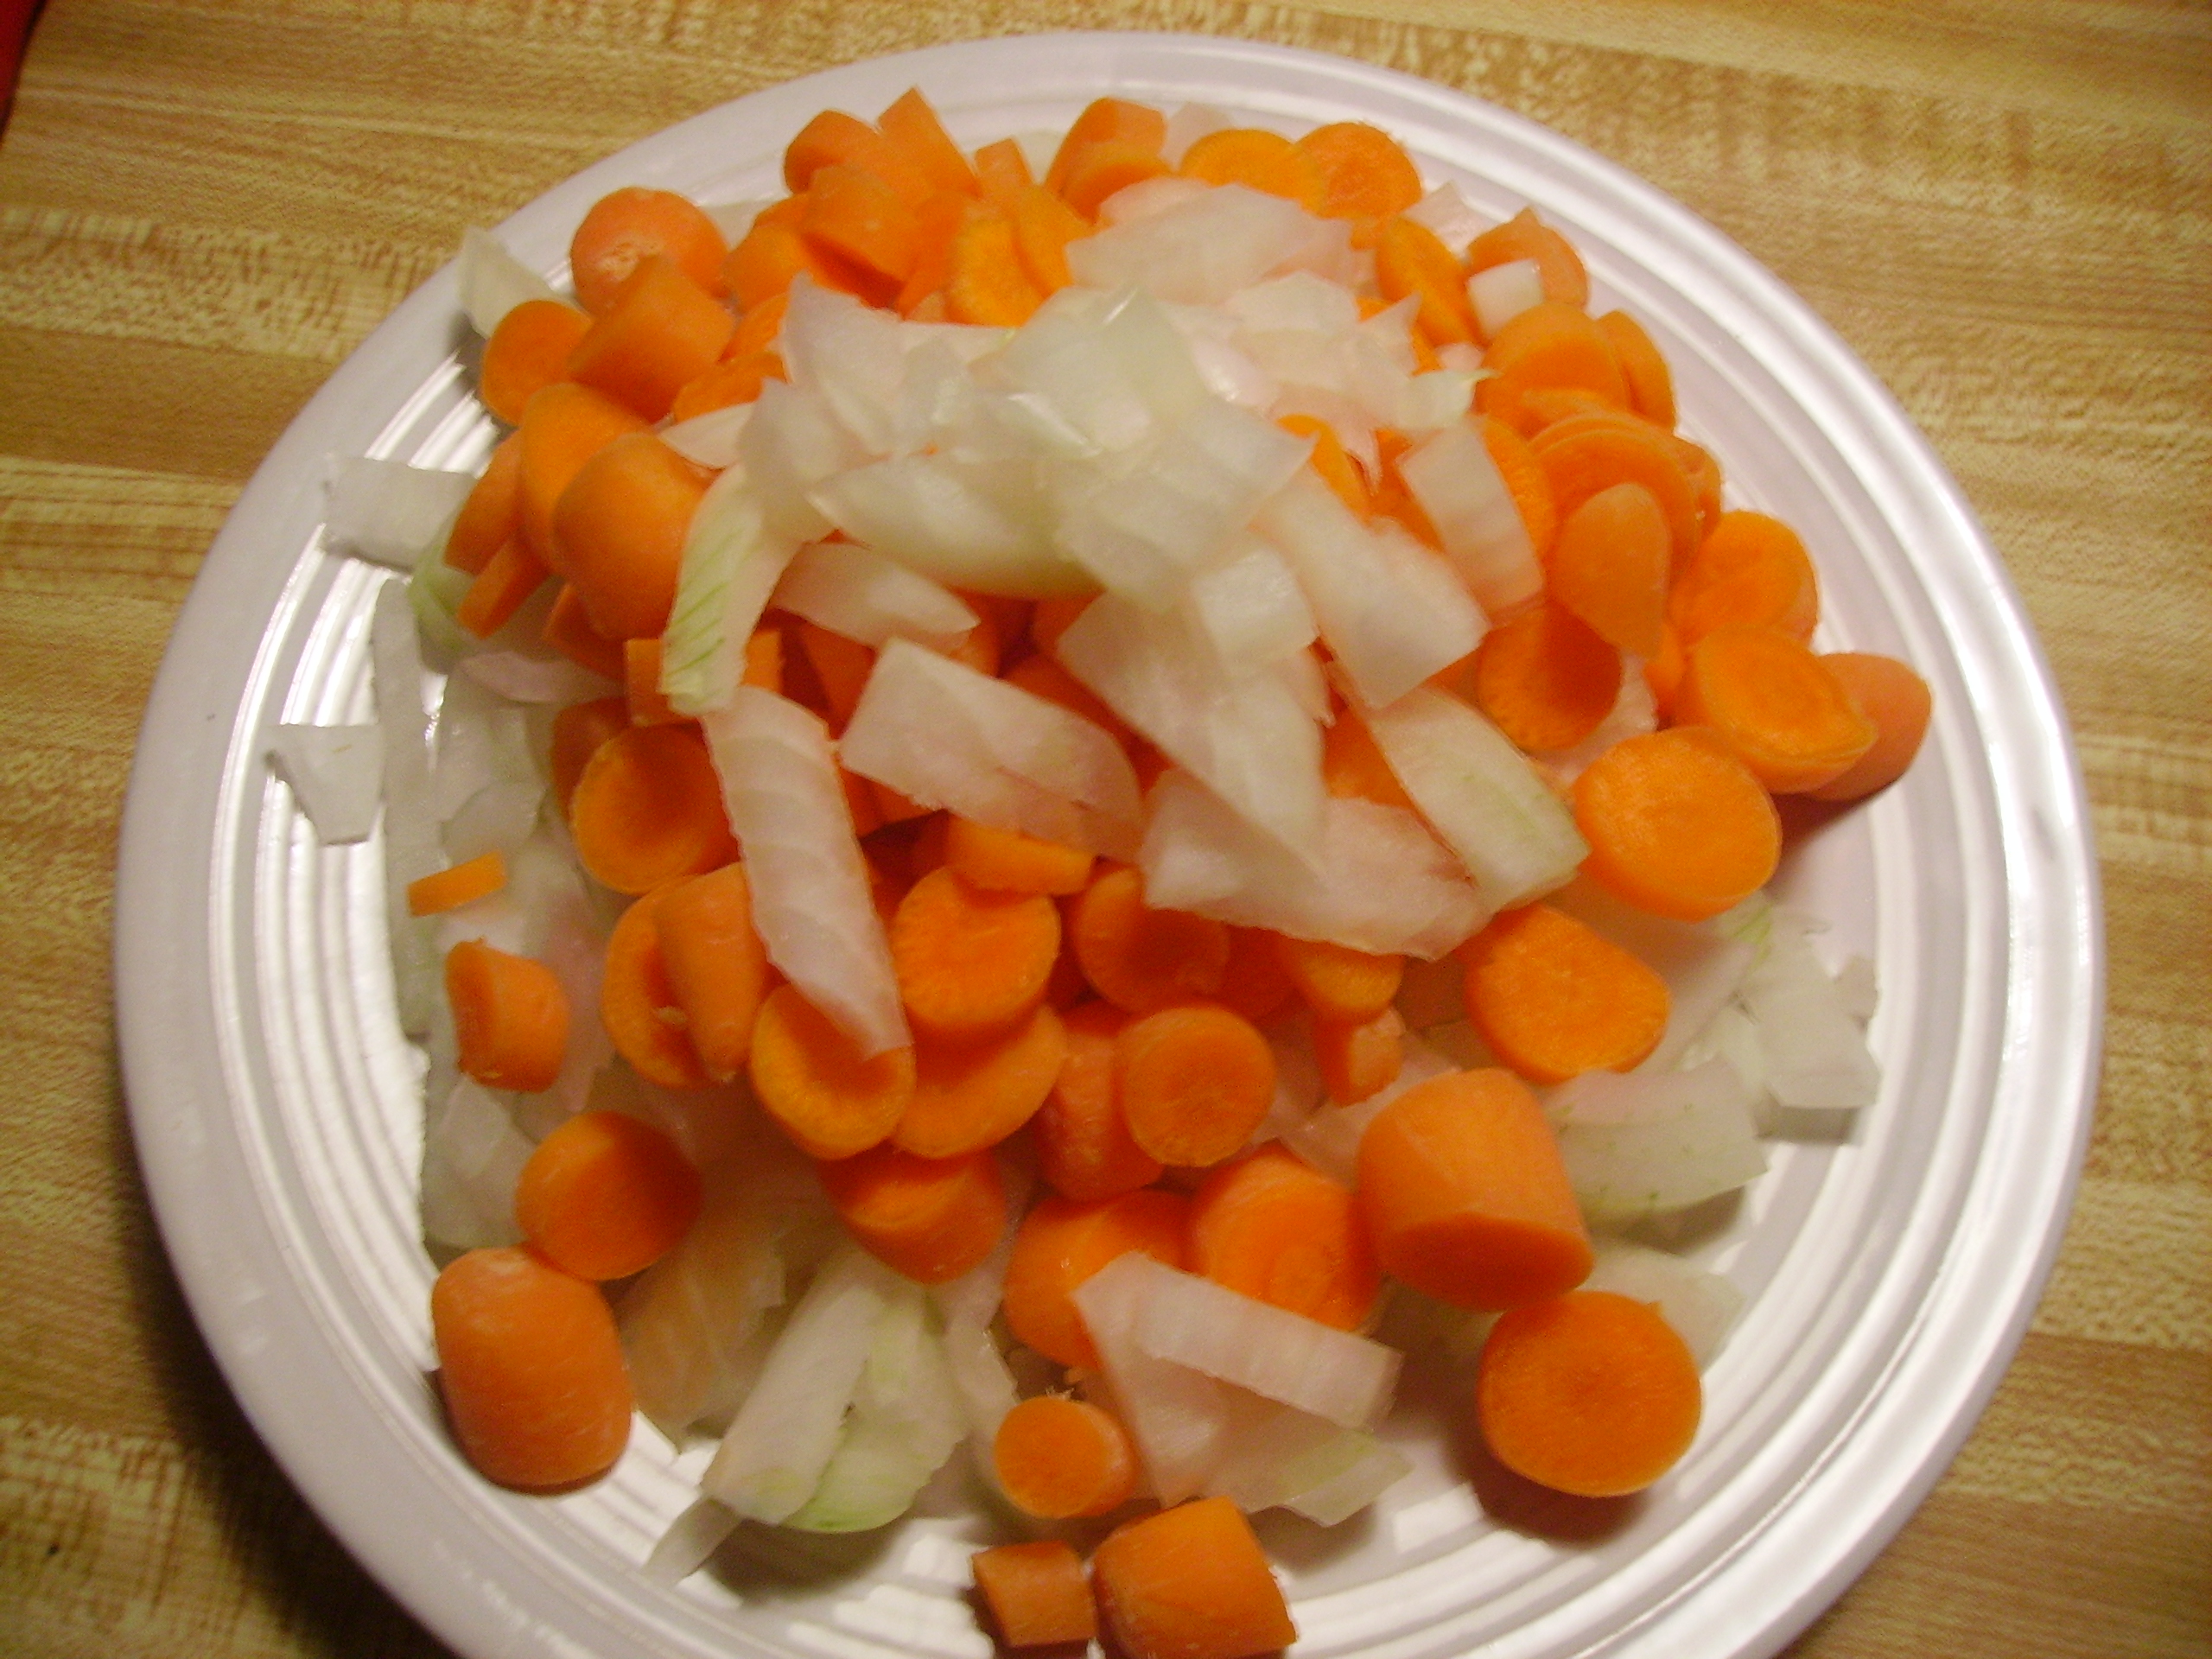
It starts with vegetable stock. I always have bags of it in the freezer for just this kind of occasion. Obviously there was broccoli and cauliflower along with some onion, carrots and garlic. To create a more interesting texture I chopped up half of the broccoli and cauliflower including the stems and ends and let them sweat it out with the onion, carrots and garlic. I reserved the rest of the veggies to cut into bite size florets. More about them later.

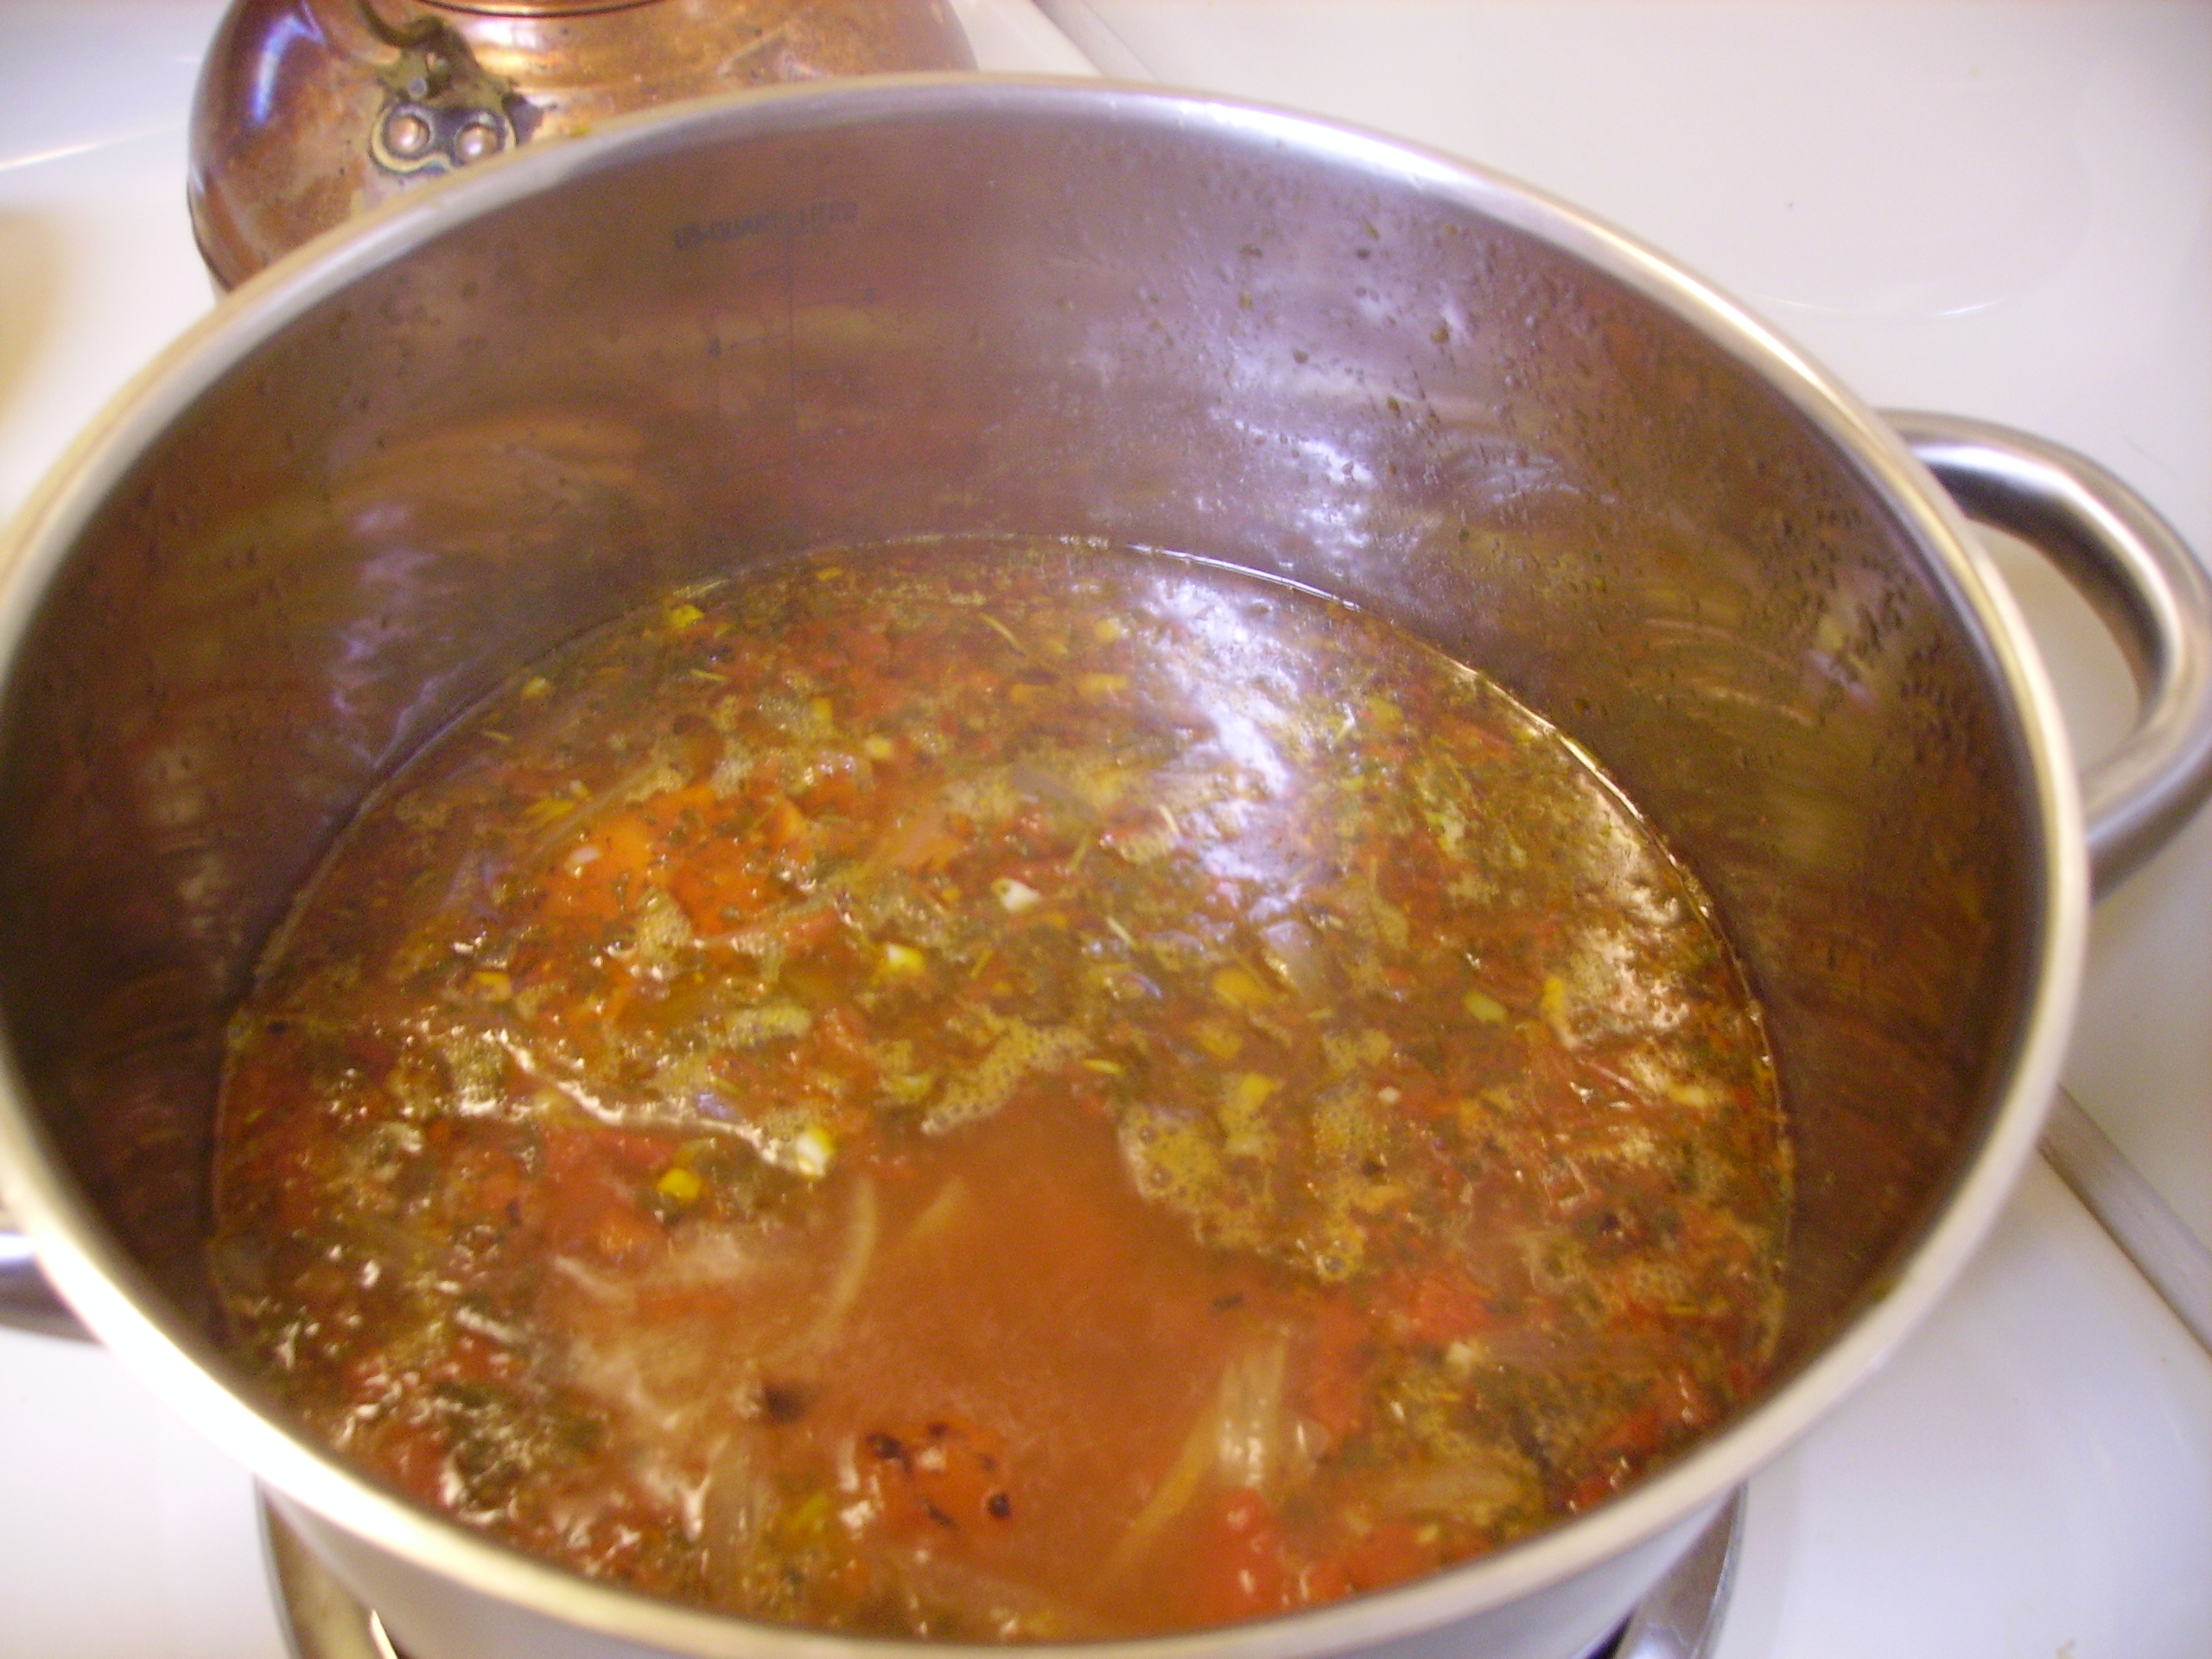
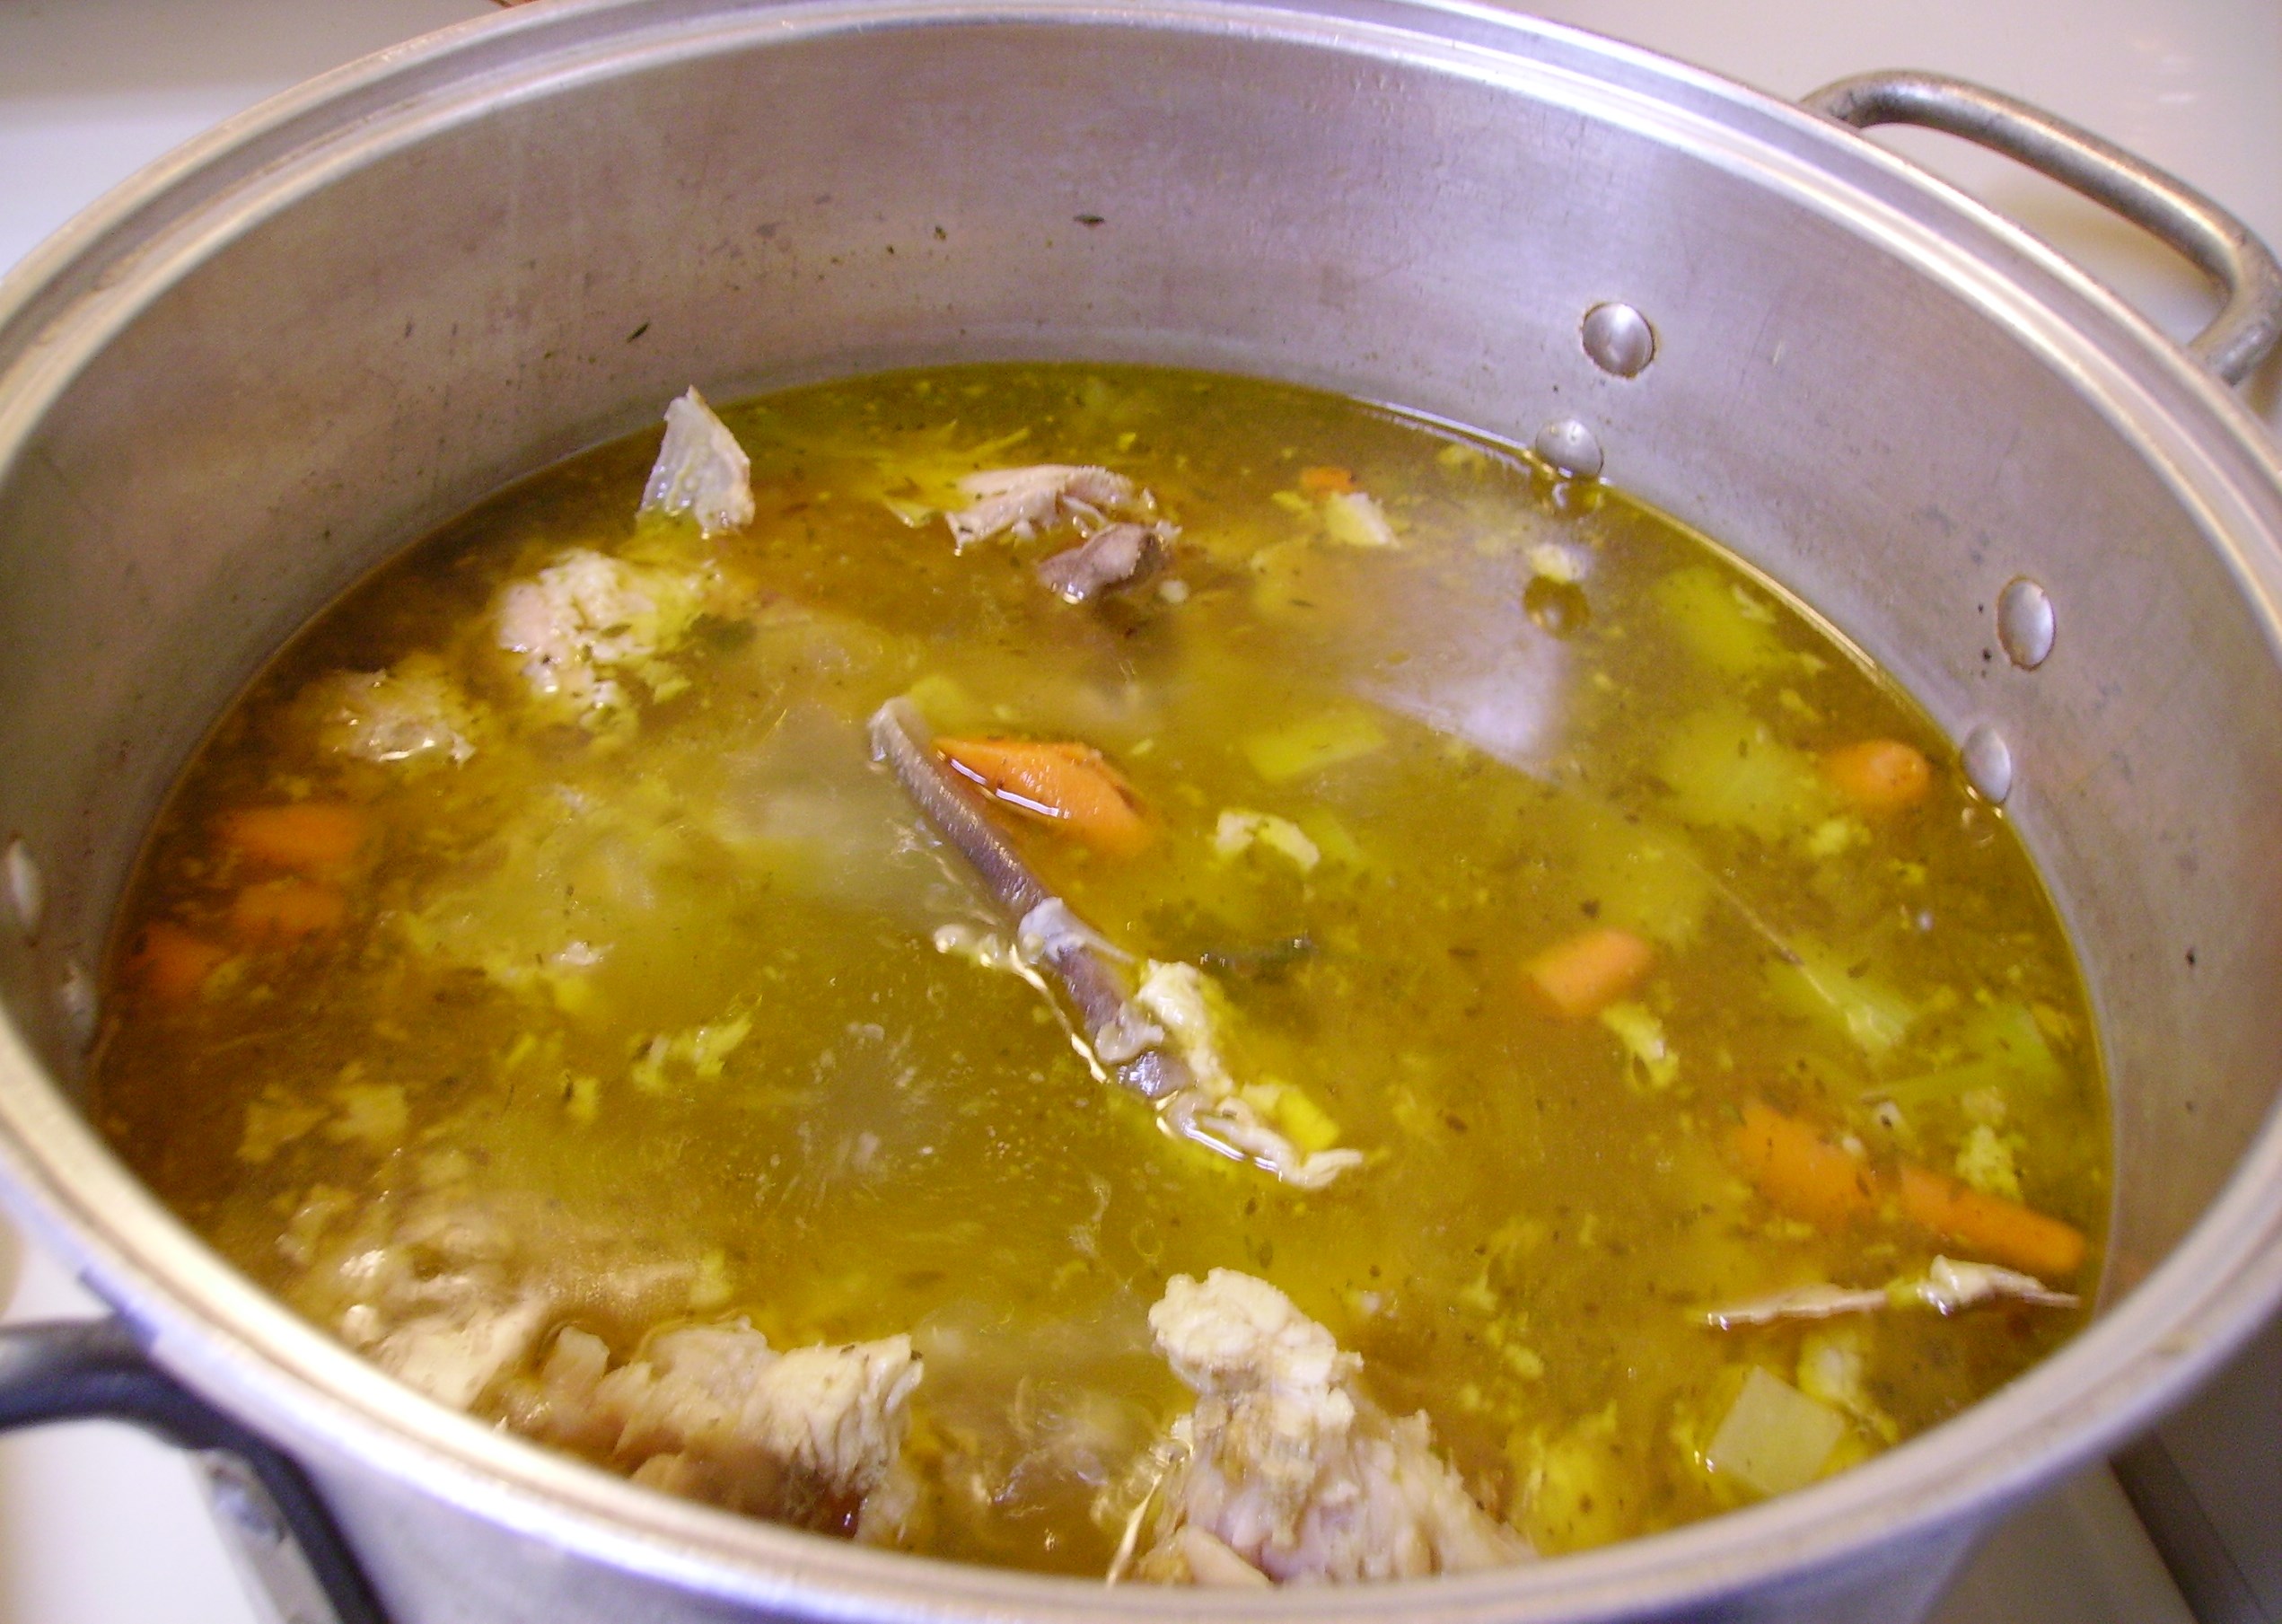
I added the stock to the now sweaty veggies and allowed everything to come to a boil. I added a big 
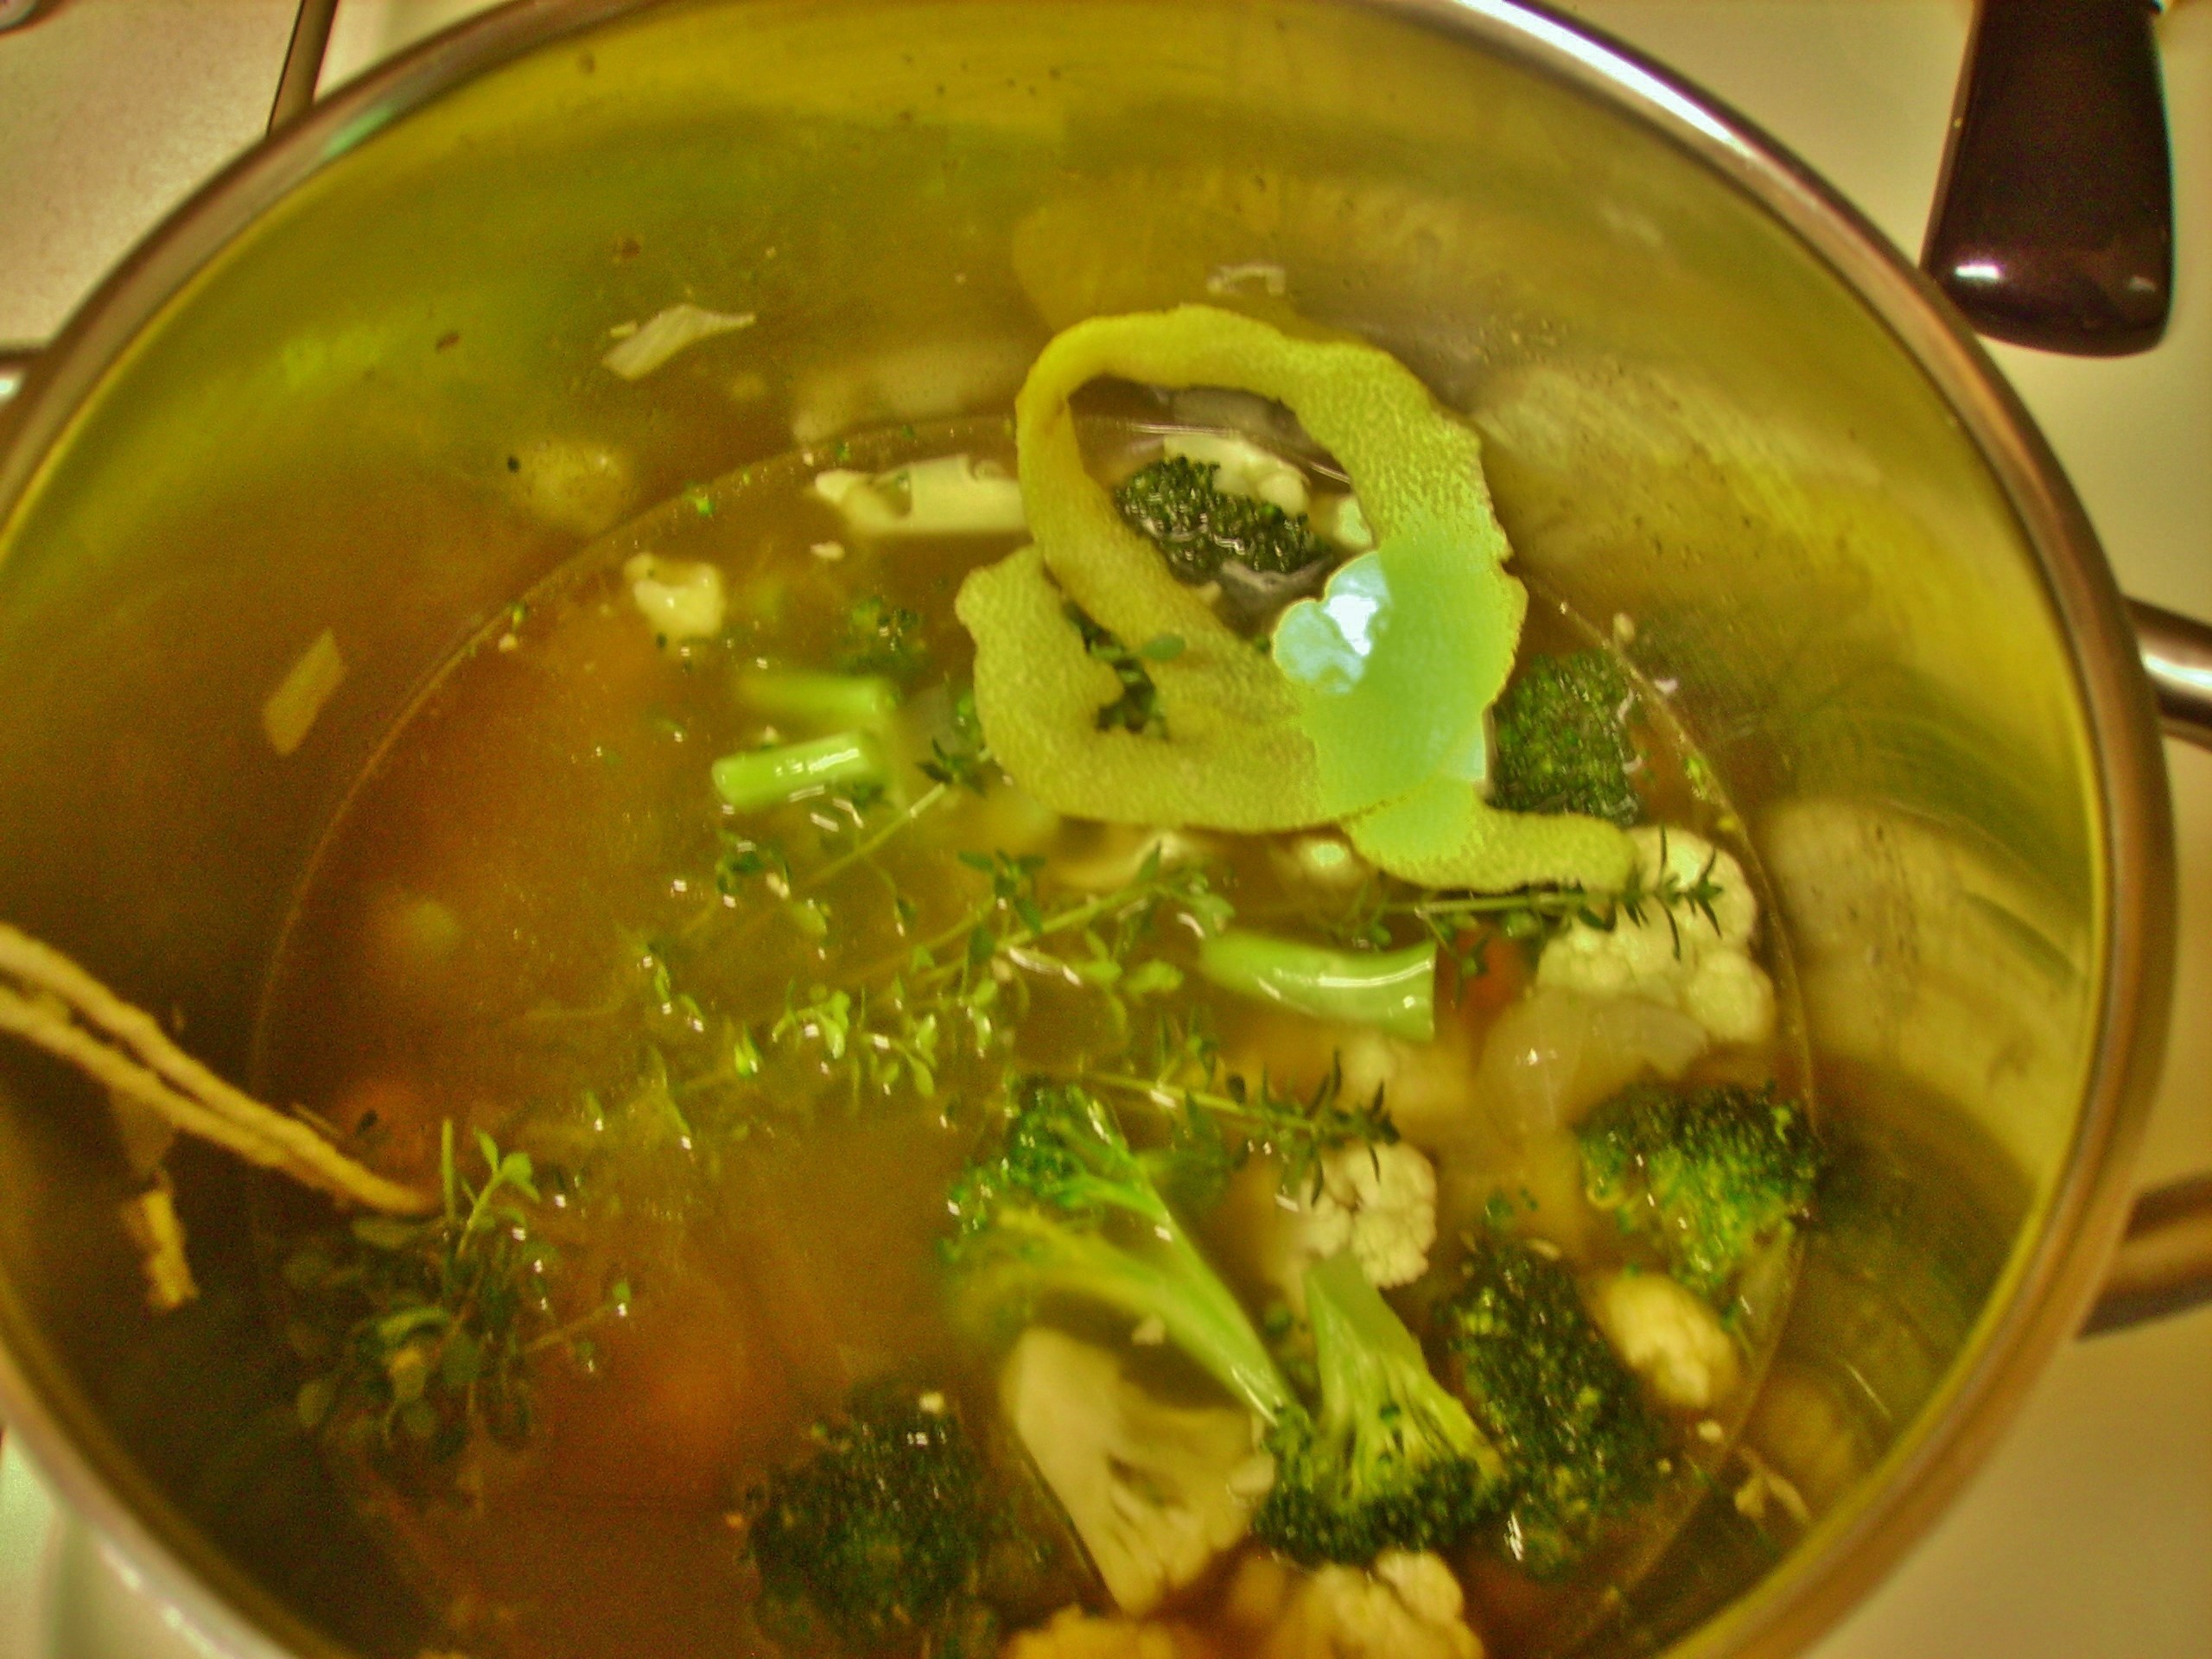
bunch of lemon thyme as well as the peel of a lemon to the pot. I left the thyme sprigs whole and tied them to the handle of the pot. The leaves fall off during the cooking process and the stems get untied and put into the compost bin. I used a peeler to remove just the yellow part of the lemon peel. I kept it in one long piece that was easy to remove at the end of the simmer. I may have left a little in the pot, but it would soon become one with the soup.

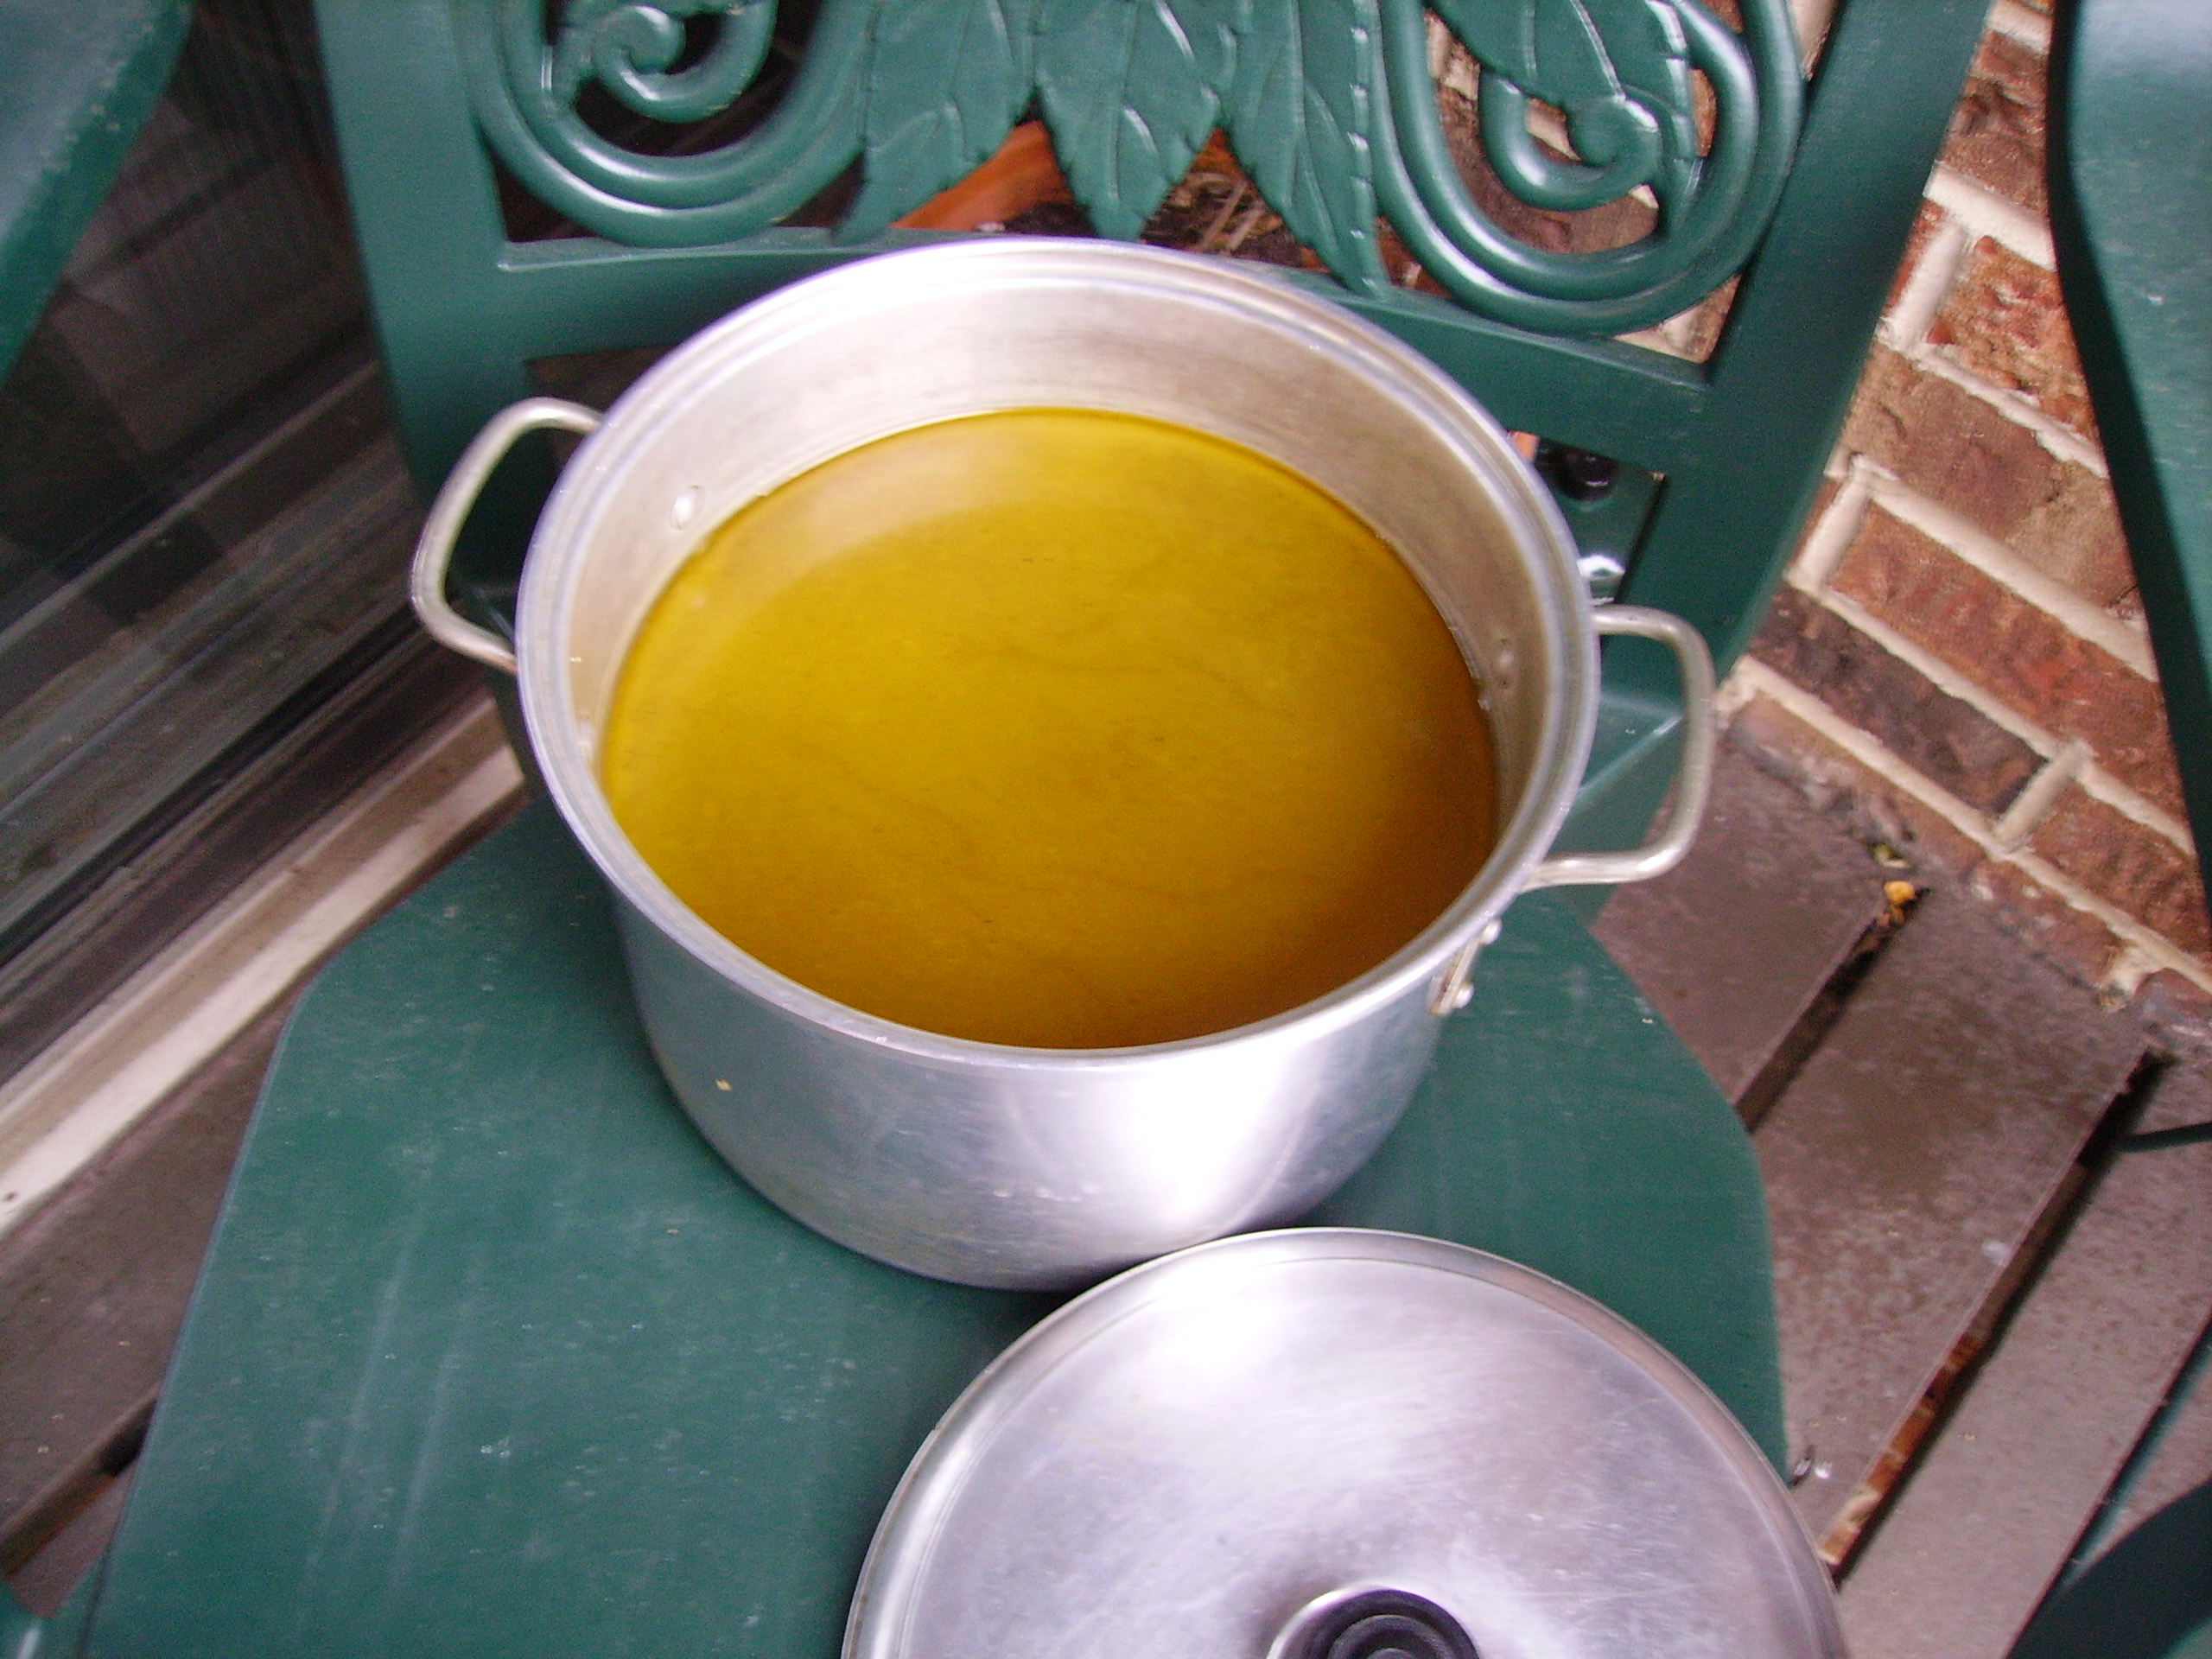
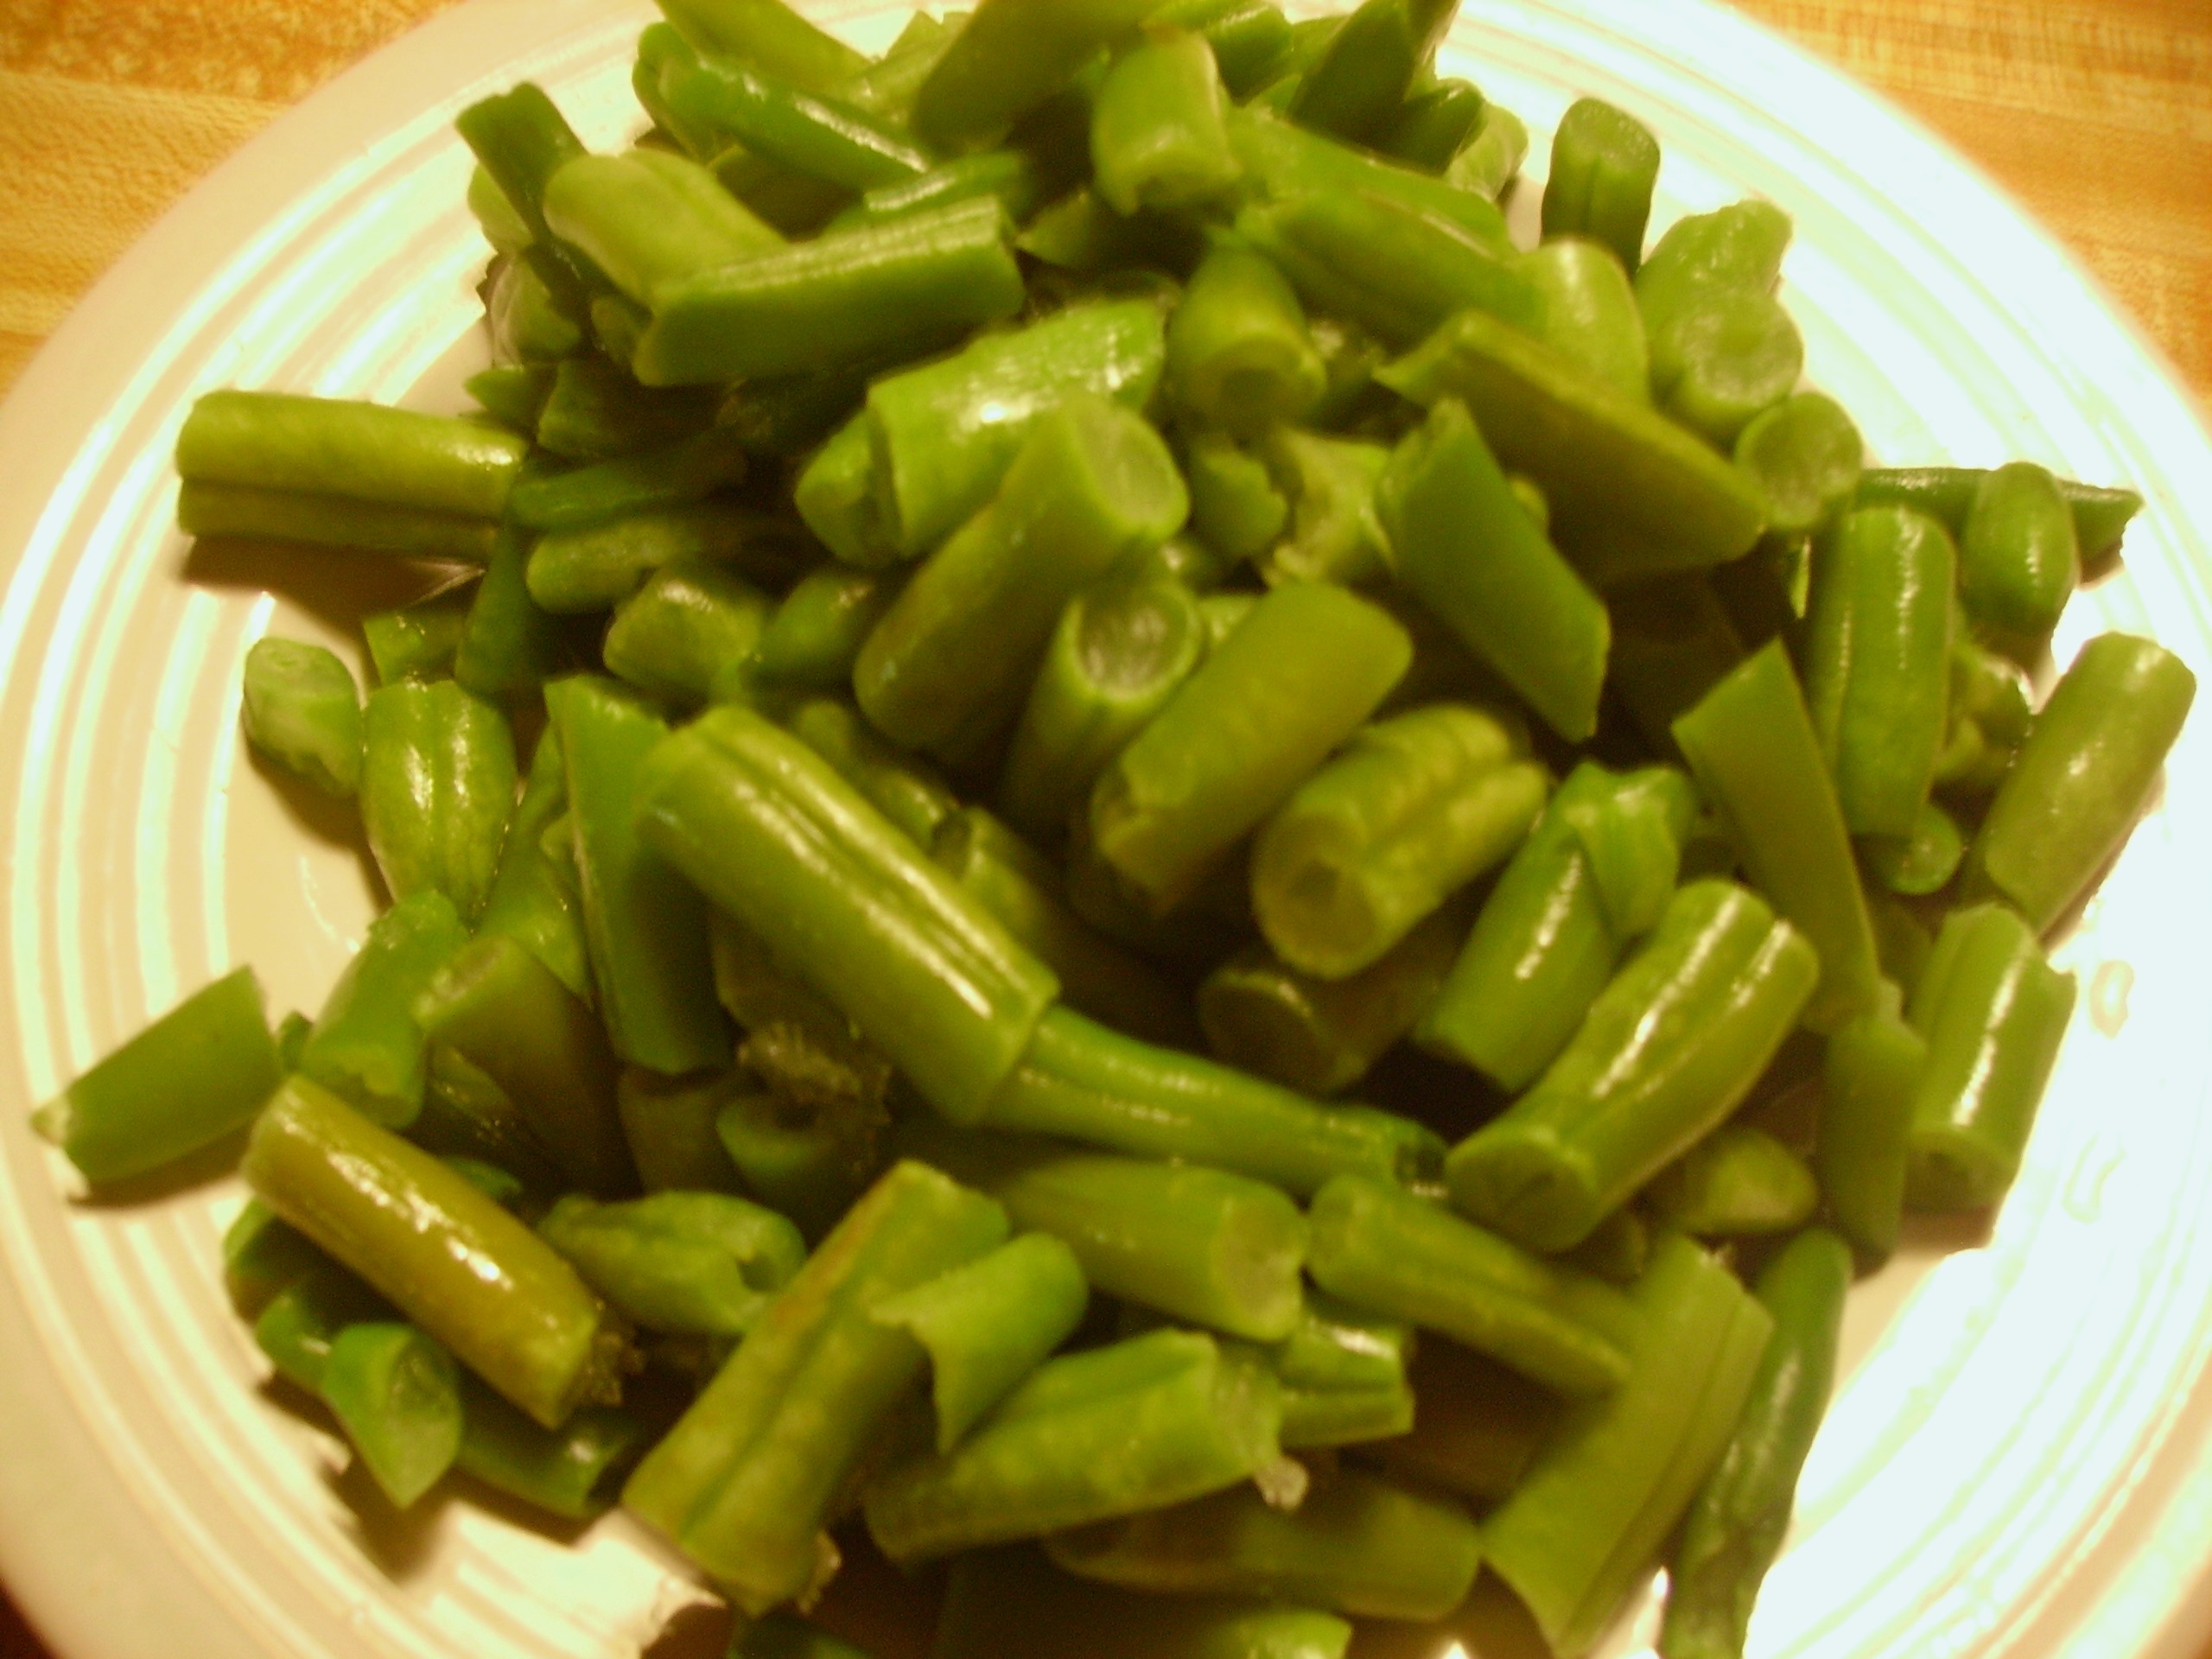
The immersion blender did its magic and my soup base, beautifully thick, was ready. Salt, pepper and a touch of Worcestershire and hot sauce gave it a little more dimension. What to do with the remaining broccoli and cauliflower? Summer and the grill go hand in hand so I popped my reserved veggies in a grill basket along with some sweet onion and a drizzle of olive oil.

DIGITAL CAMERA

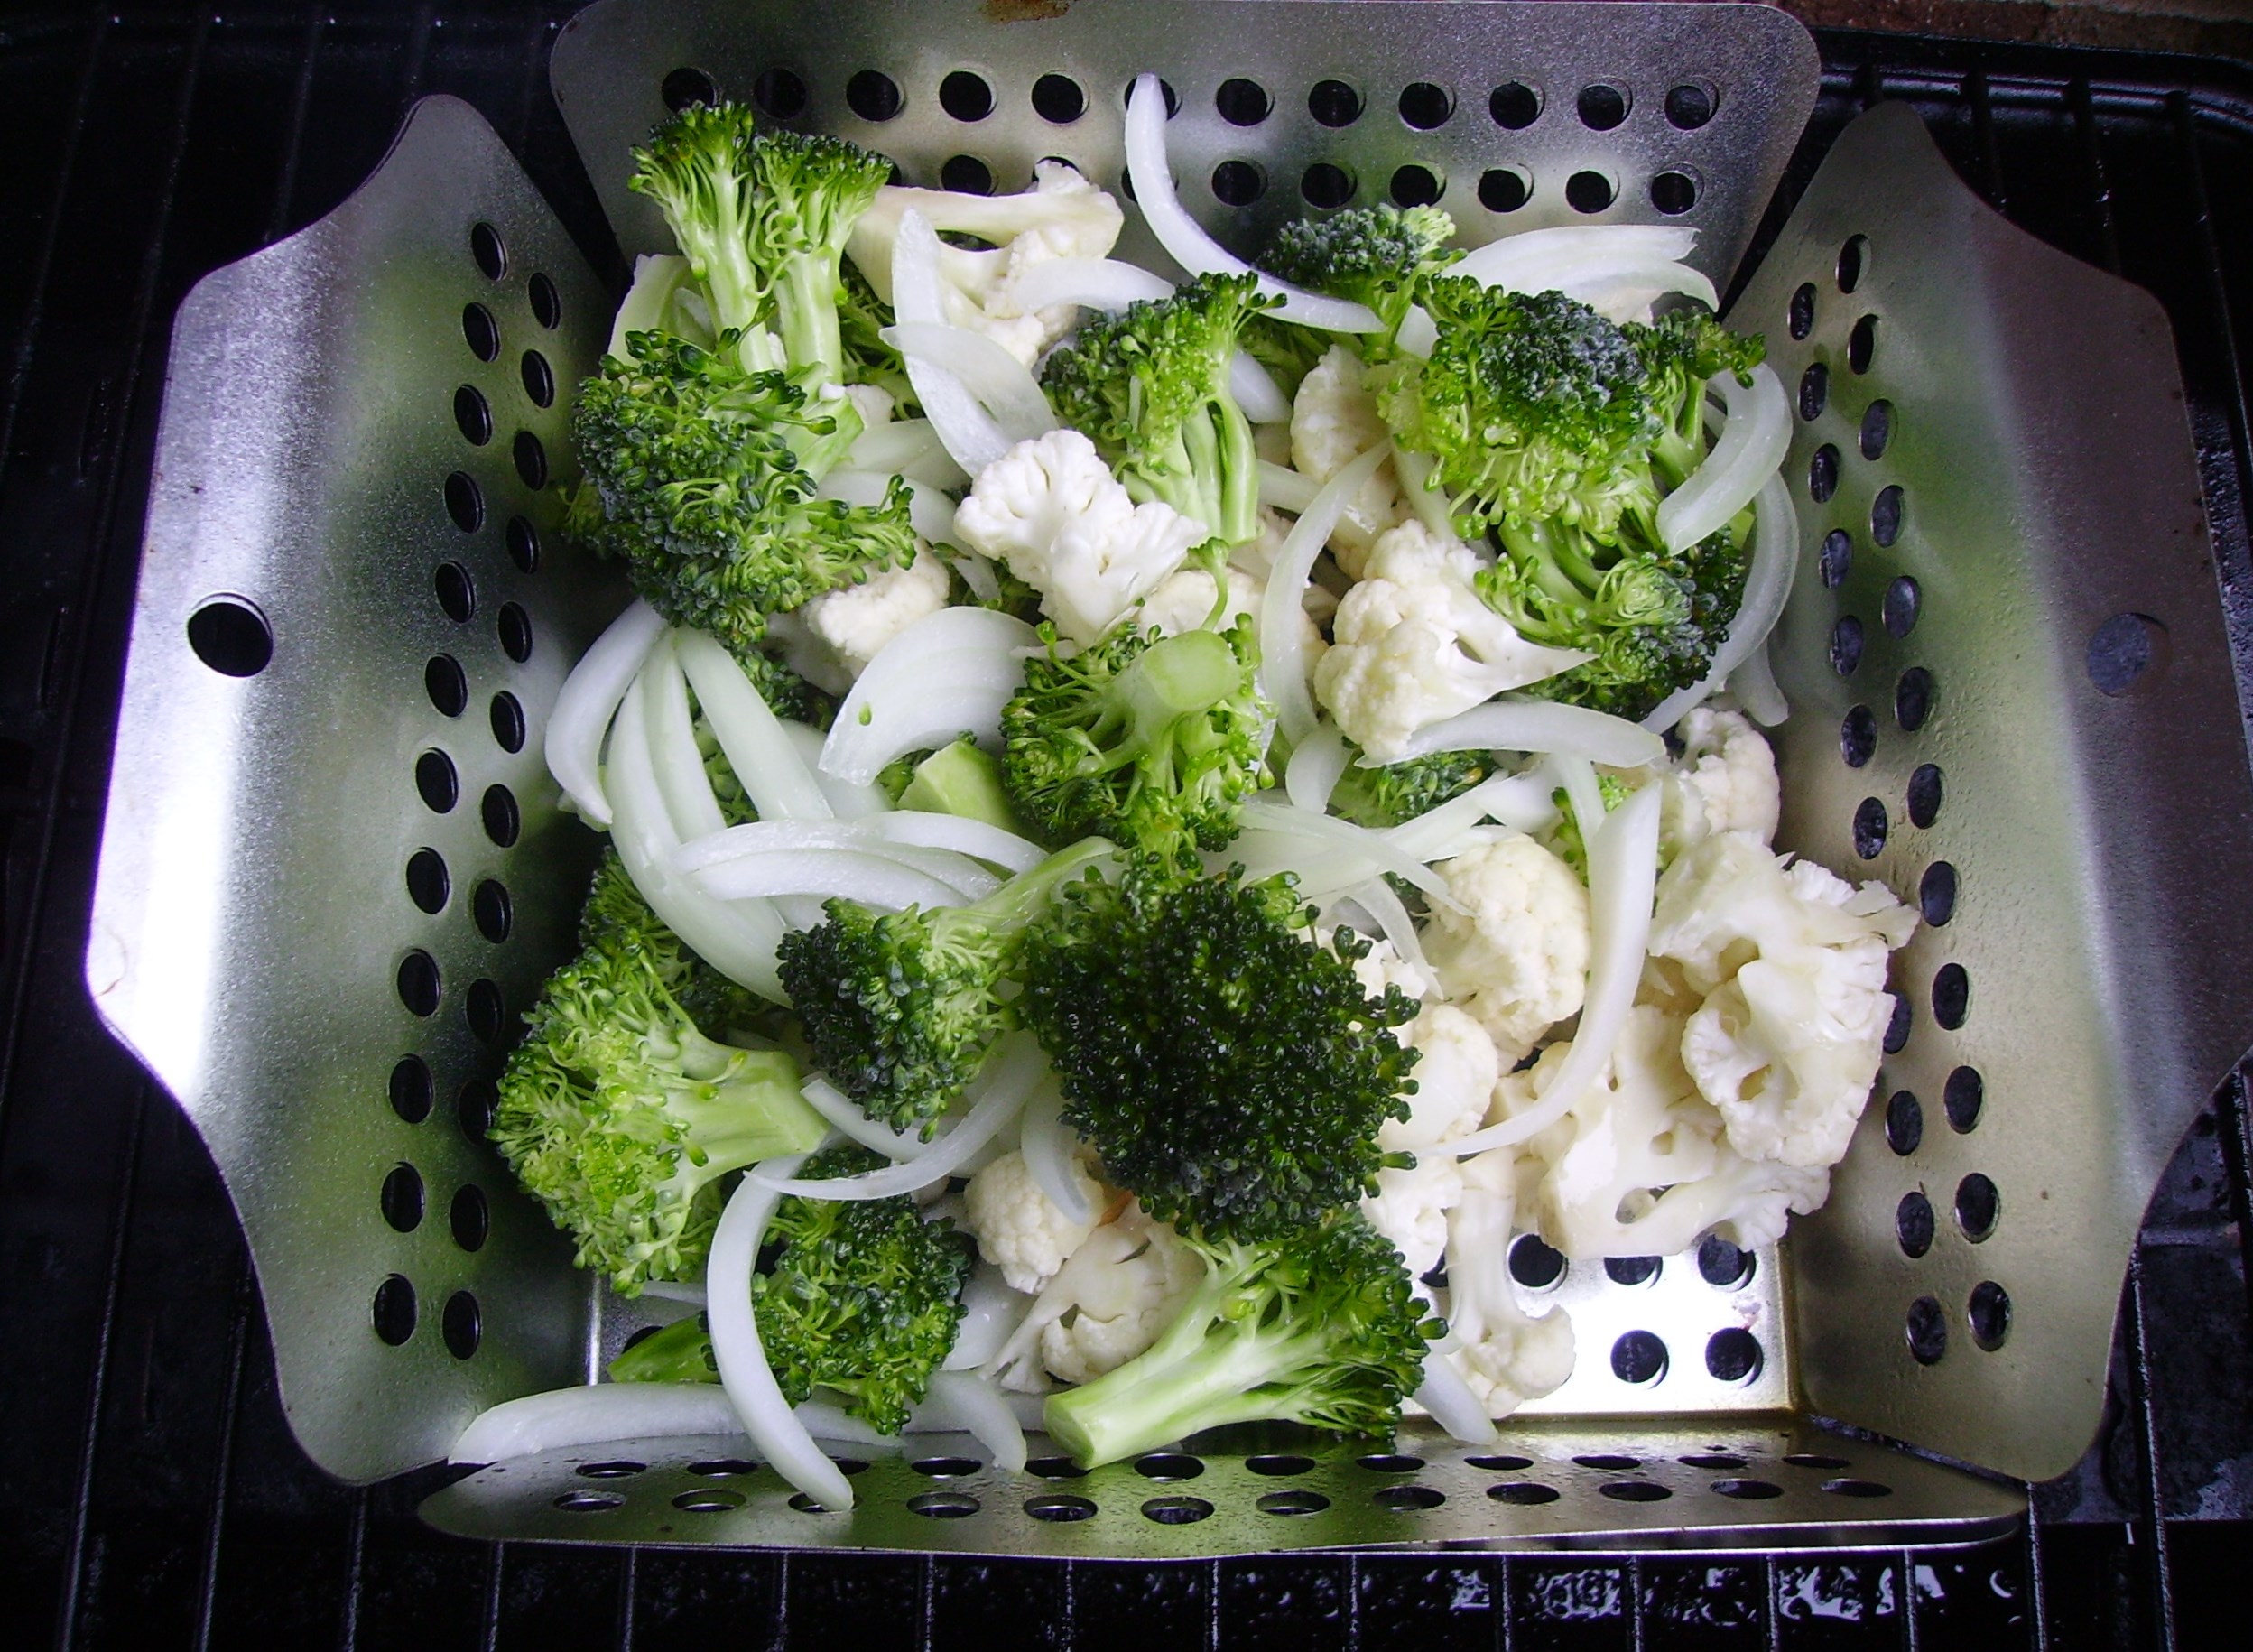
I grilled them covered for maximum smokieness and in about 7 minutes they were ready to plunge into the soup base.

DIGITAL CAMERA

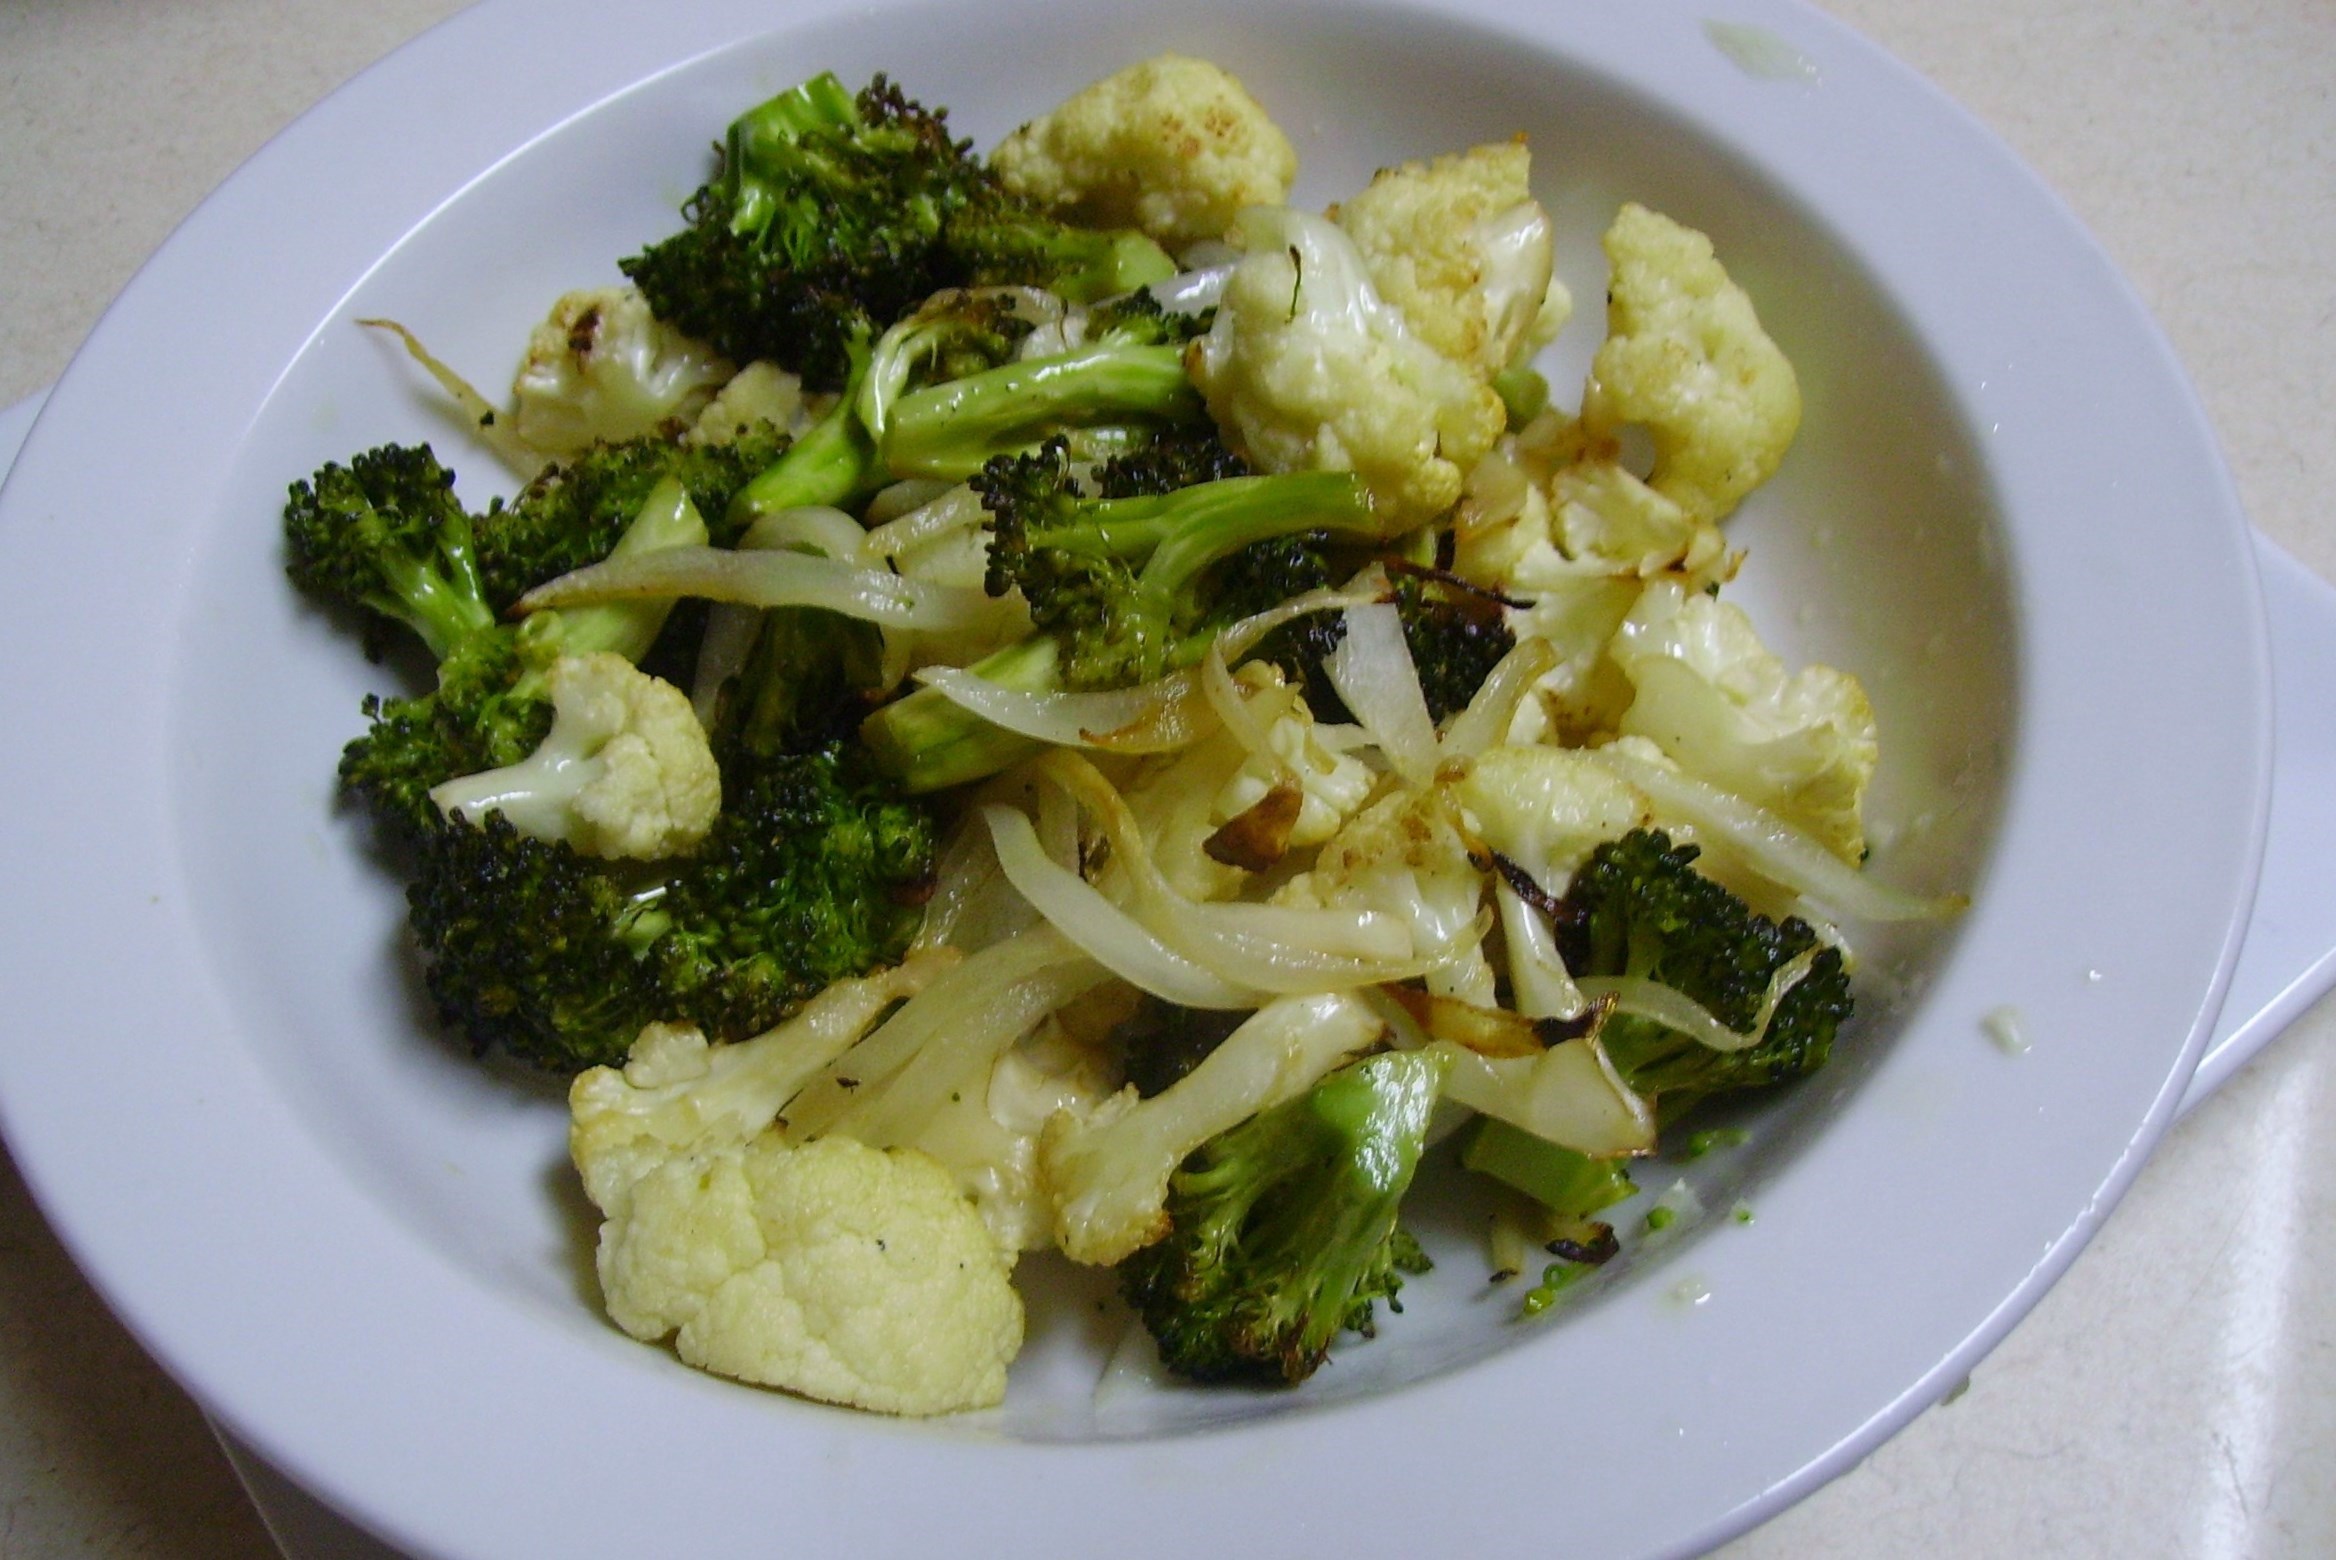
The resulting soup was a perfect marriage of a hearty main dish soup with the smokey flavor of tender crisp veggies from the grill. We didn’t miss the bacon or the cheese. What could I add? Some sliced green onions were perfect, but a dollop of Greek yogurt or sour cream for the non-vegans would be nice as well.

DIGITAL CAMERAThis recipe would work beautifully with only one or the other of the cruciferous vegetables. As with most any soup, it freezes beautifully and is even tastier re-heated the next day.

Grilled Broccoli and Cauliflower Soup
Print Recipe
Servings
4
Servings
4
Grilled Broccoli and Cauliflower Soup
Print Recipe
Servings
4
Servings
4
Ingredients
Servings:
Instructions
  1. Chop one of the onions. Heat 1 tablespoon of the olive oil in a soup pot. Add the chopped onions, garlic and carrots to the pot and sweat over medium heat for 5 - 7 minutes. The vegetables should be softened and fragrant.
  2. Add one cup of each the broccoli and cauliflower to the pot using as many of the stems as possible. Cook for 3 minutes or so.
  3. Pour the vegetable stock into the pot and increase the heat to high. Bring the mixture to a boil.
  4. Tie the bunch of thyme together with kitchen twine. Leave enough string to allow the thyme to be submerged in the soup and the twine to be tied to the pot handle.
  5. Using a potato peeler, cut the yellow skin off the lemon. You want the yellow part, not the white pith. Drop it into the pot.
  6. Reduce the heat to medium and cover the pot. Simmer for 45 minutes. The vegetables should be very soft, the leaves should be off of the thyme sprigs and everything should smell delicious.
  7. Remove the soup from the heat and remove the thyme bundle and the lemon peel.Using an immersion blender, puree the soup until it is almost smooth. Add the Worcestershire and hot sauces and stir. Taste and add salt and pepper to taste.
  8. While the soup is simmering, slice the remaining onion lengthwise into the strips. Toss with the rest of the broccoli and cauliflower. Drizzle with the remaining olive oil and toss to combine.
  9. Coat a grill basket with cooking spray and heat on the grill. Add the broccoli/cauliflower/onion mixture to the pan. Put the lid down on the grill and cook the vegetables for 7 minutes or so, stirring occasionally. Everything should be tender crisp and slightly browned.
  10. Add the grilled vegetables to the pureed soup and cook for a few minutes until everything is heated through.
  11. Ladle into bowls and top with a sprinkling of green onions.
Share this Recipe
Powered byWP Ultimate Recipe

So another summertime soup is born. Give this a try. I think you’ll find the smokey taste delightful.

Weeknight Wonderland – a Meatless Minestrone for Mondays and Beyond

Even though our nest is now empty, sitting down at the end of a day with good food,  good wine and good company is the best. I’ve shared my crazy split shift life before and how it impacts everything, even cooking. Just as I’ve learned to create in a small kitchen, I am learning to create dinner in stages, and weekends are my favorite secret weapon. A little time spent cooking ahead on the weekend eases the time crunch Monday through Friday.

This soup was a Meatless Monday dinner, but it got its start on Sunday. That’s when I thawed out some of my homemade vegetable stock. I heated my trusty soup pot and used  it to sweat onions and carrots in a little olive oil.DIGITAL CAMERASome Italian seasoning, red pepper flakes, lots of garlic and a couple of bay leaves livened things up.DIGITAL CAMERAI added the thawed stock along with a can of fire roasted tomatoes and let everything get happy for twenty minutes or so.DIGITAL CAMERAOnce it cooled a bit, I stored it in the refrigerator until Monday night when I got home from work, An extra bonus here, the flavors had plenty of time to get well acquainted with each other at their sleepover in the fridge.

The vegetable medley that I chose included zucchini, green beans, and artichoke hearts. I decided to give the squash and hearts a little extra color so I lightly browned them. I liked the color it added and there was a richer depth of flavor that the quick saute imparted. I actually did this during my mid-day break so that they would be ready when I got home. The other late arrivals were a can of chickpeas and a little orzo pasta.DIGITAL CAMERAThe final cooking was easy peasy. Once the stock base came back to a simmer, I added the beans and pasta, followed shortly by the green beans, then the zucchini and artichokes. The whole process took about 20 minutes or so. I toasted slices of multigrain French bread and topped them with a blend of Italian cheeses. They made a lovely topping  for the soup.DIGITAL CAMERA

The short cooking time of the veggies kept them nice and crisp. I opted to cook the pasta directly in the soup. It added just the right amount of pasta to the soup. DIGITAL CAMERAIf you are going to make this farther ahead or plan on reheating it the next day, you may want to cook the pasta al dente in water, drain it and refrigerate it to add as the soup heats.  Pasta has a strong inclination to soak up as much liquid as it can hold, which is an amazingly large amount. What was soup the first time around becomes a much more pasta-centric dish after a day or two. I’m a “cook the pasta separately” kind of gal, but once in a while, I like to eat soup with a fork, but that’s me.


Meatless Minestrone for Mondays and Beyond
Print Recipe
Servings
4
Servings
4
Meatless Minestrone for Mondays and Beyond
Print Recipe
Servings
4
Servings
4
Ingredients
Servings:
Instructions
  1. Heat a large soup pot over medium high heat. Add the tablespoon of olive oil and swirl to coat the bottom of the pan. Add the onions and carrots and a pinch of salt. Cook for several minutes until the vegetables begin to soften.
  2. Add the garlic, red pepper flakes and the bay leaves to the pot and cook another minute or two, stirring frequently.
  3. Pour in the can of tomatoes, juice and all and the vegetable stock. Bring up to a boil over high heat. Reduce the heat to a simmer and cook covered for 20 minutes or so, stirring occasionally. At this point you can cool the stock and refrigerate until the next day. You can also complete the recipe at this time if you want.
  4. Coat a non-stick pan with olive oil cooking spray and heat over medium heat. Add the artichoke hearts and cook for 5 - 6 minutes or so turning once until lightly browned on both sides. Remove from pan and set aside.
  5. Repeat the above process with the zucchini slices.
  6. When you are ready to complete cooking the soup, (re)heat the stock to a simmer. Add the chickpeas ans pasta and cook for 5 minutes, stirring it once or twice.
  7. Add the green beans and cook for 4 minutes or until they are the amount of tender crisp you like.
  8. Add the browned artichokes and zucchini and simmer everything gently until it is all heated through. This should only take a couple of minutes. Taste and add salt and pepper as needed.
  9. Ladle into four soup bowls and top each with two of the toasted bead slices (recipe follows) and a drizzle of olive oil.
Cheese Toasts
  1. Heat oven to 375 degrees. Lightly coat the bread slices on both sides with olive oil cooking spray and place them on a foil lined baking sheet. Toast for 8 minutes, turning once. Top with the cheese and return to the oven set on broil and cook until the cheese is melted and slightly brown.
Share this Recipe
Powered byWP Ultimate Recipe

By now you should know that this recipe is just a guideline. Change up the beans, the pasta, and the vegetables too, for that matter. If you have the time, the whole soup can be made in one day…just continue the cooking steps once the stock is done. Monday will be here before you know it (damn it), so give this a try. Hey, live on the edge and make it on Tuesday or Thursday.


Turkey, The Gift That Keeps On Giving

Back around Thanksgiving, the bus company that I work for gave me (and every other employee) a frozen turkey. This kind gesture is a throwback to another era when employees were given a token of appreciation at the holidays for the work they did. That turkey or ham might have meant that a family could have a real holiday dinner. Today we are more jaded and some of us are better off so that a small turkey seems like small potatoes (sorry, odd analogy) to some. Still, it is 12 pounds more  turkey than I have ever received from any other company I’ve worked for.

The gift turkey had resided in my rather small freezer since then and the time had come to allow it to do more than take up space. So, not long ago, I thawed it and prepared it to give my family the gift of roast turkey. I prepared it simply stuffing it with lemons and onions fresh thyme and garlic. I rubbed it inside, outside and under the skin with smoked paprika herb butter. It emerged golden brown and yielded moist meat that our family enjoyed casually in shifts. This was definitely not a traditional turkey dinner. Twice Baked Potatoes and Broccoli Slaw were the only accompaniments. More than a little “picking” took place and I personally enjoyed my share standing next to the stove.

The thing about turkey is there is a lot of it. Even a small bird offers many meals. While we have enjoyed the sandwiches, pot pie, and continued “picking,” the carcass, those skeletal remains, is perhaps the best gift of all. A bit of meat, some skin, and of course those bones wherein the flavor lies are waiting to transform on the stove.DIGITAL CAMERA That’s why Mama D made turkey stock. I’ve shared recipes for chicken and vegetable stock before and the process for turkey stock isn’t all that different except maybe for needing a bigger pot. A mirepoix is sweat in a soup pot.DIGITAL CAMERA Then water, heat, and time work their magic and stock is born.DIGITAL CAMERAWhile the straining process isn’t pretty, it is necessary as is a cool down, to allow the fat to rise leaving golden goodness. To accomplish this, I used my large “walk out” refrigerator.DIGITAL CAMERAThe resulting stock was divided into manageable portions, and the next layer of the gift of turkey began.

One gift that I particularly enjoyed was a wonderful Turkey Sausage Soup. I was in the mood for something with a little spicy Southwestern feel, so I started with some spicy smoked turkey sausageDIGITAL CAMERA and added a bit of jalapeno and the requisite onions and garlic. Black beans and red bell peppers further enhanced the flavor profile. For a little twist on ingredients, I added some roasted sweet potato. I roasted it and added it to the soup near the end of cooking so that it would keep more of its flavor and texture.DIGITAL CAMERAI relied on a good bit of cumin and a modest amount of ancho chili powder to season the soup. This would be great with any chili powder that you like and you can make it as spicy (or not) as you want. That’s the beauty of soup. some aromatic vegetables, good stock and your imagination result in a pot of goodness that warms the body, soul, and heart. DIGITAL CAMERA I finished the soup with lime juice and topped it with a few home-baked tortilla strips (Cut corn tortillas in strips and lay on a baking sheet coat lightly with olive oil cooking spray and sprinkle with salt. Bake 7 minutes at 325 degrees, turn, repeat the spray and salt routine and bake for 7 minutes more.) and some avocado. This was good lovin’ in a bowl that was even better the next day.

Spicy Turkey Sausage Soup
Print Recipe
Servings
4
Servings
4
Spicy Turkey Sausage Soup
Print Recipe
Servings
4
Servings
4
Ingredients
Servings:
Instructions
  1. Spray a small baking pan with cooking spray and add the sweet potato cubes. Spray the cubes lightly with cooking spray and roast in a pre-heated 375 degree oven for 15 - 20 minutes, until the cubes are lightly browned and tender. Set aside.
  2. While the potatoes are cooking, cut the sausage in half lengthwise then slice into 1/2 inch half moons. Heat a large soup pot over medium high heat. Add the olive oil and swirl to cover the bottom of the pan.
  3. Add the sausage moons and toss to coat. Cook for 7 minutes or so until the sausage begins to brown. Transfer to a plate using a slotted spoon leaving the drippings in the pan.
  4. Add the onions to the pan and stir to coat with the drippings. Cook for 5 minutes until the onion begins to soften and brown.
  5. Add the peppers and garlic to the pan and cook, stirring occasionally for another 5 minutes or so. The peppers should begin to soften and the garlic should be fragrant. Use a very small amount of the stock if things get too dry.
  6. Return the sausage to the pan. Add the cumin and chili powder. Cook and stir for 2 - 3 minutes. Pour in the stock. Bring just to a boil. Reduce the heat to medium and simmer for 30 minutes or so.
  7. Add the reserved sweet potato and the drained beans to the pot and cook over low heat another 10 minutes. Squeeze the juice of the lime into the soup. Stir and taste to adjust the seasonings.
  8. Ladle into four soup bowls. Top with a few tortilla chips and some avocado cubes and serve.
Share this Recipe
Powered byWP Ultimate Recipe

The turkey will live on to bestow more gifts of love since there are several more bags of stock in the freezer. I don’t know what they will turn into, but I will think of that kind gesture of the gift of turkey when I use them.


Downsizing the Freezer and Stuffed Peppers

Our efforts to downsize are paying off. One garage sale has been held with respectable success. Closets are devoid of useless clothes and there are spaces were small pieces of furniture used to be. One of the tasks as we prepare to move is using up what is in the freezer and pantry. Of course our new digs will have a freezer and if I’m creative in space usage, a pantry, but it’s a good excuse to clean things out a bit. A recent exploration of the freezer revealed a small portion of Italian Meatloaf and a quart bag of Vegetable Stock. The recipes for both of these have appeared in earlier posts  You can access them on the RECIPES  page. Just search by the recipe title.

There wasn’t enough meatloaf (this made of ground turkey and turkey Italian sausage) to star in a meal, but it could become an integral part of an ensemble cast. This was my protein of choice/necessity. Any other protein you have on hand would be equally wonderful.DIGITAL CAMERAAs I pondered the contents of my vegetable bins, I found 2 lovely colored bell peppers and the inspiration to stuff them came to me. But to stuff them with, what? I had a few mushrooms that were a bit past their prime and a zucchini with more than a little life left in it.  In the back corner of the butter keeper I found a package of Sun-Dried Tomatoes. It is Mama D’s Kitchen, so of course there were onions and garlic on the counter. The cast, or most of it, was in place…DIGITAL CAMERARice is the traditional ingredient in stuffed peppers and I decided it was  a tradition that I liked, so Brown Rice cooked in some of my Vegetable Stock and was ready to join the players.DIGITAL CAMERAThe gathering was almost complete. There is usually a tomato sauce component to most stuffed peppers and a further search of the freezer turned up a small container of Marinara Sauce. Again, too little for a major role, but just enough to top the peppers once they were stuffed.

I sautéed the onions, mushrooms, zucchini, and garlic in a little olive oil before I added them to the rice and meatloaf. I raided my garden herbs and added a generous handful to the bowl.DIGITAL CAMERAThe sun-dried tomatoes were the dry kind so they were just snipped and added to the mixture. I moistened everything with more Vegetable Stock and let it sit in the refrigerator for several hours. An added bonus as the mixture got happy in the frig, the tomatoes plumped up and became tender and juicy.DIGITAL CAMERAFinally, it was time to stuff the peppers. I opted to cut them in half lengthwise to make four pepper boats. I filled them liberally since I had a lot of filling and liberally is how I roll. I topped them with some of the tomato sauce, covered them with foil and baked them for about 35 minutes.DIGITAL CAMERAI removed the foil and added some Romano Cheese. A few more minutes in the oven and they were ready to enjoy.DIGITAL CAMERAThey were delicious and a perfect meal for an evening that strongly hinted of Fall. They were a far cry from the 50’s stuffed peppers my mother made and a welcome addition to Mama D’s recipe collection.

Stuffed Peppers
Print Recipe
Servings
4
Servings
4
Stuffed Peppers
Print Recipe
Servings
4
Servings
4
Ingredients
Servings:
Instructions
  1. Heat the 1-3/4 cups of vegetable stock to boiling in a small sauce pan. Add the rice and stir. Return to boil and cover. Reduce heat and simmer for 35 - 45 minutes. Stock should be absorbed and rice should be fairly tender. Cool slightly and place in a large bowl.
  2. Quarter the zucchini lengthwise and slice thinly. Coarsely chop onion and mushrooms. Set aside with the minced garlic.
  3. Heat a medium fry pan and add the olive oil. Swirl to cover the bottom of the pan. Add the onion and cook and stir for about 3 minutes. Add the mushrooms and cook and stir for 2 minutes more.
  4. Add the zucchini and garlic to the pan and cook for 4 minutes or so. The vegetables should be slightly soft and just beginning to brown. Remove from the heat and add to the rice in the bowl.
  5. Slice the tomatoes into small pieces and add to the bowl.
  6. Roughly chop or crumble the meatloaf and add to the bowl. If you are using another protein, chop it into small bite-sized pieces. Add to the bowl. Stir the ingredients to mix. Add the 1/2 cup of stock and stir once more. Cover and refrigerate for at least 1 hour.
  7. Slice the peppers in half lengthwise. Remove the seeds and white membranes. Spray a medium casserole with non-stick spray. Place the pepper halves in the pan cut side up. Preheat the oven to 375 degrees.
  8. Divide the mixture between the 4 pepper halves, packing lightly. Spoon approximately 1 tablespoon of the marinara on top of each filled pepper. Cover tightly with foil and place in the oven. Bake for 35 minutes.
  9. Remove the pan from the oven and remove the foil. Add another tablespoon or so of the marinara to each pepper and sprinkle with the cheese. Spoon any remaining marinara into the pan to coat the bottom,
  10. Return the pan to the oven uncovered and bake for 10 - 15 minutes until the cheese is melted and the peppers are a little brown. Serve.
Share this Recipe
Powered byWP Ultimate Recipe

We continue to sort through an astounding quantity of things that we have collected over the years. Closets and cabinets hold as much extra stuff as the freezer. At times the process is painful…we’ve become attached to many things. They are, as we are beginning to realize, just things. They represent memories that we can hold onto without a tangible souvenir. Our next chapter has plenty of room for those memories and newly found space for the memories and souvenirs to come.    Love, Mama D

Mama D’s Minestrone Adventure

MInestrone, every cook seems to have a recipe. Mama D has one, too. In fact over the years she’s made various kinds of Minestrone. I must confess this one is new. My old go-to recipe was kind of boring so I decided to reinvent it. I also wanted to find out a little more about where it came from and see what other people put in their soup. Inspiration is a good thing, after all.

Minestrone has lots of different versions. Even Italians can’t agree (no surprise there). Every recipe I looked at had a slightly different ingredient list. Some featured meat, others didn’t. Vegetables varied from a few onions and tomatoes to an entire produce market. The only constant seems to be that it is a vegetable soup with beans. Historically, it is considered “cucina povera” food of the poor because the ingredients are accessible to all and usually change seasonally. Anyway you cook it it’s cheap.

DIGITAL CAMERAThere are two inspirations for this recipe. One is the vegetable DIGITAL CAMERAstock that I recently made. The other is an article from “Fine Cooking” magazine about dried garbanzo beans. Pot O’ Gold by Melissa Pellegrino. These have become the basis for the soup I’m sharing today.

DIGITAL CAMERAI would call this recipe a Winter Minestrone. It is winter (snow on the ground and single digit temperatures). I steadfastly like to use what I have in the house so the ingredients are quite basic. The soup starts with a medley of vegetables with onion being in the majority. Carrots and garlic round out the aromatics. These are sweated in some olive oil along with a little potato. Canned tomatoes are added for color and flavor. I went with a modest amount of tomatoes, but feel free to use the big can.

I used a combination of vegetable stock and garbanzo cooking water (this adds a little more DIGITAL CAMERAbean flavor and also thickens things a bit), and added a small Parmesan rind because I had one. I added lots of garbanzo beans There really is a difference with garbanzos home cooked, They are creamier and oh, so flavorful.  I would probably go with fresh green beans in this, but I couldn’t find any that looked like they would actually taste like green beans so I opted for frozen cut green beans that I thawed. That rounded out the main ingredients.

I like most of my soups a little on the thick side. To create a little more body in many of my soups, including this one, I add potato flakes. I’m using them as an ingredient so I won’t call them by their real name, Instant Mashed Potatoes. I know what you’re thinking, and no, I don’t use them in their traditional way. They incorporate almost instantly, and because they are used in small quantities they don’t impart much flavor. Give it a try…you’ll be surprised.

DIGITAL CAMERAPesto is green goodness. It adds that slap you in the face flavor DIGITAL CAMERAand takes whatever you put it in to another level. I always have this in my freezer for just his kind of occasion. It is a wonderful addition to the soup. I like my pesto subtle so I make it with roasted garlic. I freeze it in 1/4 cup portions. it sounds like a small amount, but it goes a long way. If you choose to add more, I won’t be offended. i won’t even mind if you leave it out. That goes for anything in this recipe. I will probably make this soup differently the next time depending on my mood and my pantry. That’s the beauty of cooking…what rules there are, can usually be broken or at least bent a little.

Mama D's Minestrone
Print Recipe
Mama D's take on an Italian classic..
Servings
6
Servings
6
Mama D's Minestrone
Print Recipe
Mama D's take on an Italian classic..
Servings
6
Servings
6
Ingredients
Servings:
Instructions
  1. Heat a large soup pot over medium heat. Add the olive oil. Add the onions, carrots, and potatoes. Cook 5 minutes until the onion begins to soften. Add the garlic and cook stirring often until the garlic becomes fragrant, 2 minutes or so.
  2. Add the tomatoes and stir to combine everything. Cook over medium high heat for 5 minutes stirring often. Add the garbanzo water, vegetable stock, and cheese rind. Bring to a boil. Reduce the heat and simmer, uncovered 30 minutes.
  3. Add the garbanzo beans and the herbs. Cook for 5 minutes or so. if you like a thicker soup add the instant potato flakes and stir to combine. Cook for 3 minutes or until you notice things beginning to thicken. Add the green beans and heat for another 5 minutes.
  4. Lower the heat and add the pesto. Sir to combine. Taste at this point and add salt and pepper to your preference. Continue to heat until everything is beautifully steamy.
  5. Divide the cooked pasta into 6 soup bowls. Ladle the soup on top of the pasta. Top with the Parmesan shavings and garnish with more pesto if desired.
Share this Recipe
Powered byWP Ultimate Recipe

Winter has only just begun. There’s plenty of time for a hearty bowl of Minestrone.           Enjoy – Mama D