
“Omne trium perfectum.” Latin scholars know that this means that three makes a perfect set. That may or may not always be the case, but in Mama D’s Kitchen a set of three makes a very nice gift.
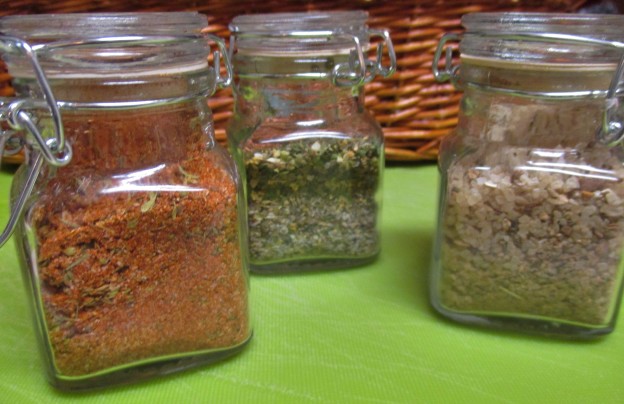
I love to bake and cook at the holidays…giving homemade gifts is something that I have done for years. It never gets old, though the variety and quantity changes from year to year. As I planned out what to make this year, things kept coming up in groups of three. Cookies, chocolate bark, and savory snack mixes all came out in threes. I hope to share many of these “perfect sets” with you and I’m starting with a trio of seasoning blends.
I love lemon. It is bright in taste, its acidity brings out the best in many dishes, and it just looks pretty. This Lemon and Herb blend uses dried fresh lemon zest at center stage. 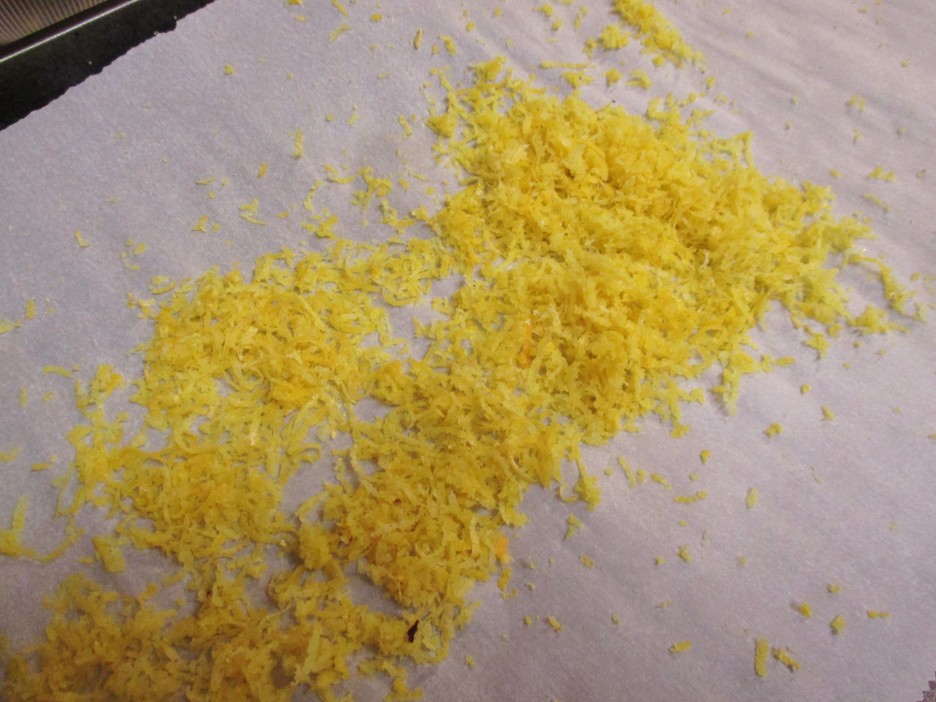 Six large lemon gave up their vivid yellow dresses to make enough zest for the recipe. The naked lemons then were squeezed to yield a hefty cup of juice that thanks to the freezer will be flavoring many a dish to come. Once the lemon peel was dry, it joined a fragrant array of herbs to become a wonderful seasoning.

Cajun flavors are always a spicy boost to many dishes whether they come from New Orleans or not. I like a Cajun blend that features plenty of the pepper trio; white, black, and red (a.k.a. cayenne) and lots of dried thyme. This delivers on both of those fronts with more than a token dose of onion and garlic. You know that you can always play with the amounts here to suit your own taste. Try it on fish or chicken to bring a bold taste to a simple protein.
Last, but not least, Porcini Rosemary Salt is making a return appearance. It’s divine on steak, but is wonderful in soups and pasta sauces as well.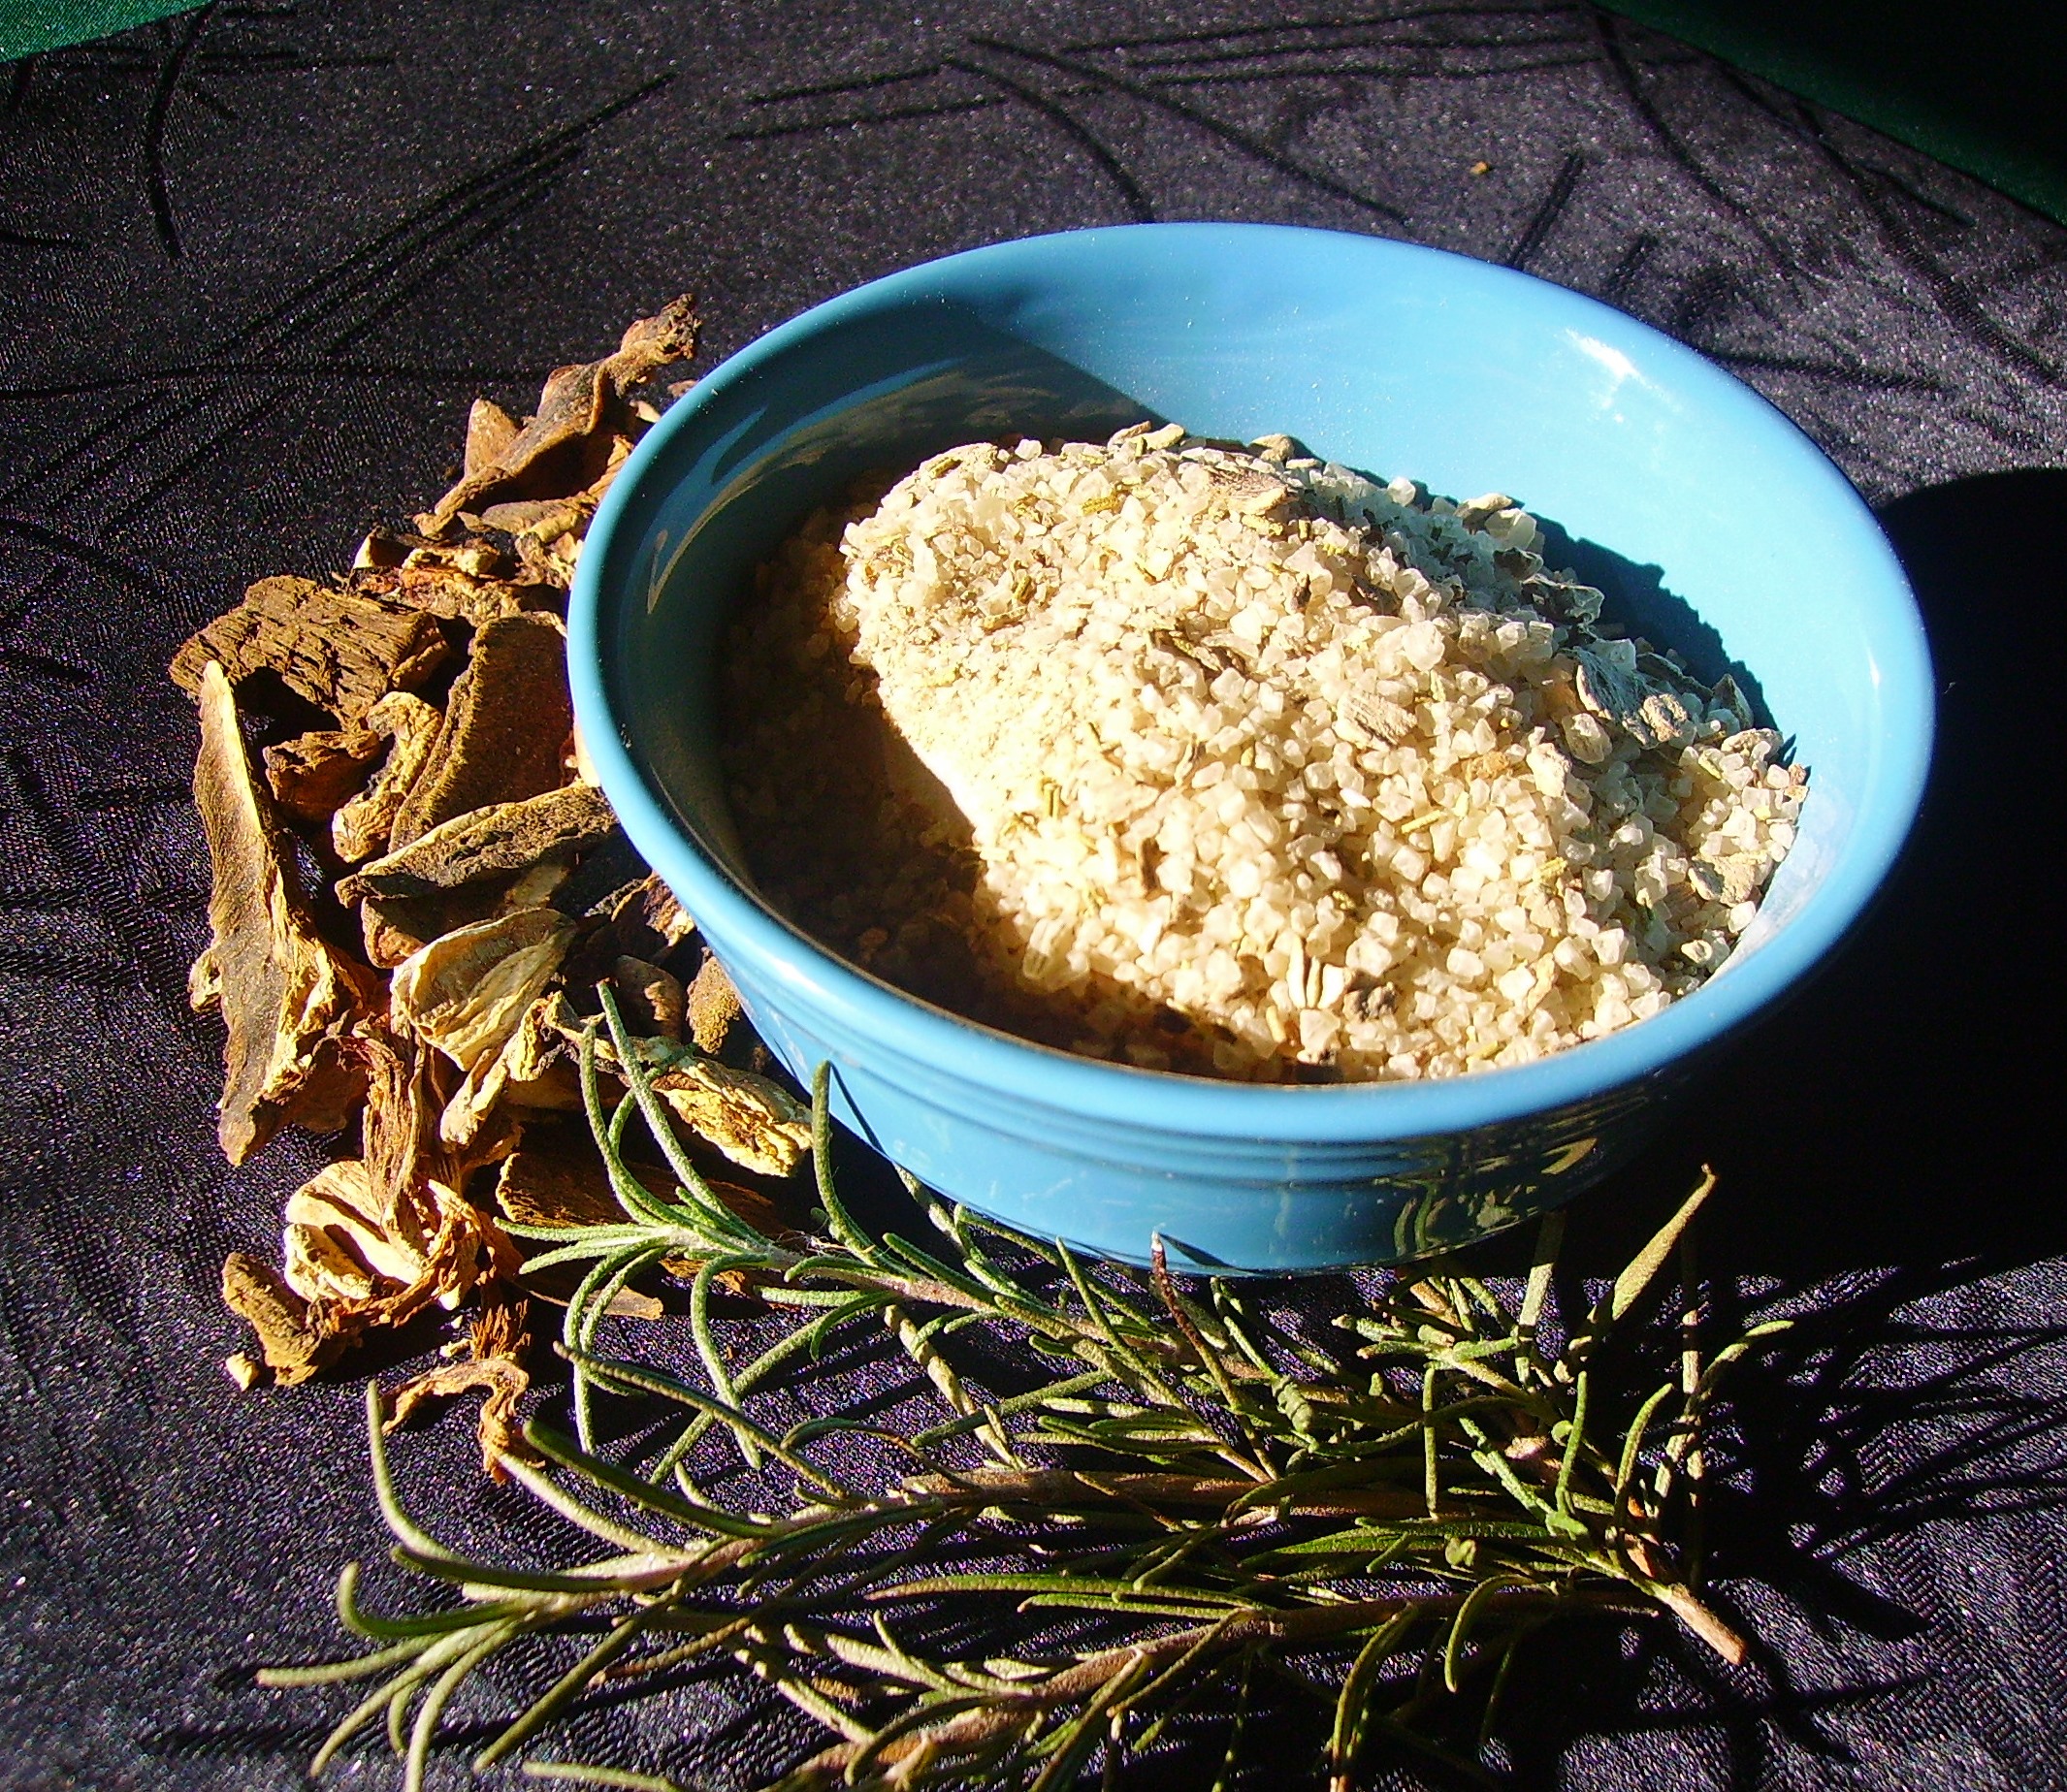
These three seasoning blends make a wonderful gift for anyone who spends time in the kitchen, and don’t forget to save a jar of each for yourself.
Share this: