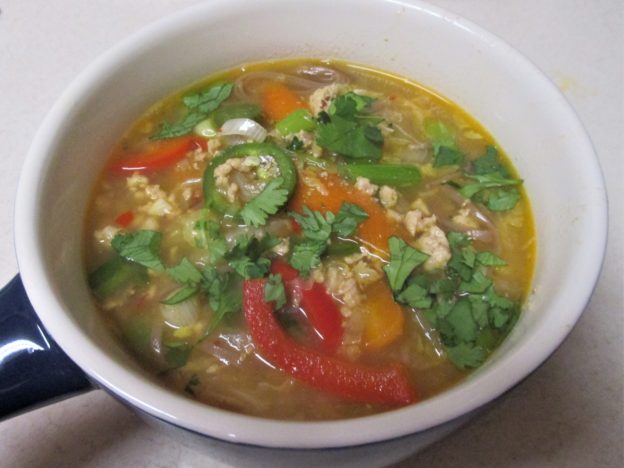

This easy soup uses Asian ingredients from several different countries. Soba Noodles from Japan, Fish Sauce from Vietnam, Soy Sauce from China and broth in a box that is Thai inspired. It’s rounded out with American Pork, and vegetables that are available in most any grocery store.
Since this soup is literally all over the map it is fair game to any kind of modification you would like. Change the meat, change the noodles (rice or ramen noodles would be good) to whatever you have or like. The same goes for the vegetables.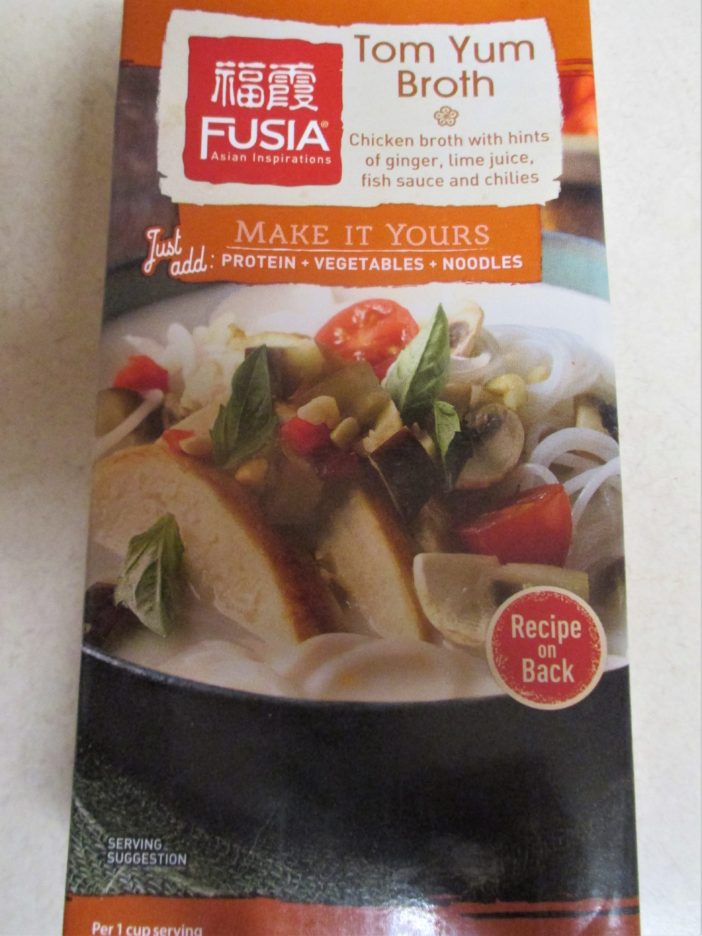
I found this broth at Aldi. It is not one of their regular items so it may not be there when you go. Take a hint from the label and you can probably add ginger, lime juice, fish sauce, and chili to chicken broth and get a similar result. (Yes, I did taste all of those flavors in the broth.)
The cooking times in the recipe will result in tender crisp vegetables. Adjust the time to your preference.

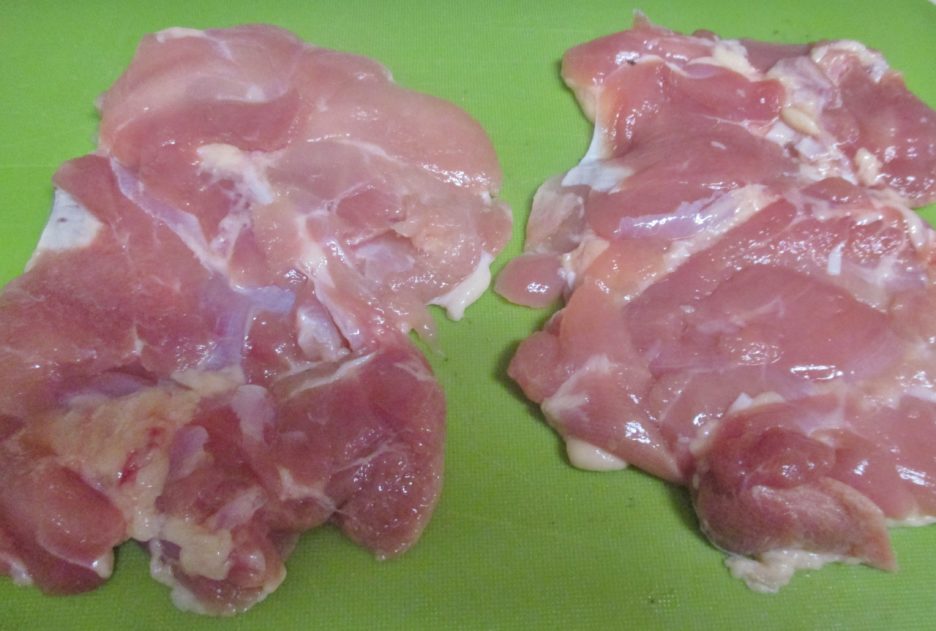
- 1 Pound Ground Pork Chicken or Turkey would work, too.
- 1/2 Cup Sliced Yellow Onions Vertical and thin
- 1/2 Cup Sliced Carrots Diagonal and thin
- 3 Cloves Garlic Finely chopped
- 1 Tbsp. Grated Ginger Or to taste
- 1 Quart Chicken broth Asian flavored if you can find it.
- 2 Tsp. Fish Sauce Or to taste
- 1 Tbsp. Soy Sauce Reduced sodium
- Juice of 1 Lime
- 3 Cups Shredded Napa Cabbage
- 1/2 Red Bell Pepper Thinly sliced
- 6 Green Onions Sliced
- 1-2 Chilis Jalapeno or Thai
- 2 Ounces Asian Noodles Your choice
- 1/4 Cup Chopped Cilantro
- 1 Tbsp. Oil Coconut or Canola, divided
- Heat 1/2 tablespoon oil in a soup pot. Add the ground pork and cook until it is no longer pink. Remove with a slotted spoon and set aside.
- Add the remaining oil to the pan and add the onions and carrots to the pan and cook for a few minutes until they are fragrant. Add the garlic and ginger and cook 2 minutes longer.
- Return the pork to the pan and add the broth, fish & soy sauce and lime juice. simmer for 15 minutes to allow the flavors to blend.
- Give the soup a taste and add whatever you think it needs. Add the cabbage, red pepper, chilis and green onions. s\Simmer for 5 minutes or so.
- While the soup is cooking, prepare the noodles per the package directions. Add the cooked noodles to the soup and let everything get acquainted for another 5 minutes.
- Serve with a sprinkle of chopped cilantro and a squeeze of lime. You could also add a splash of Sriracha if you like.
Share this:


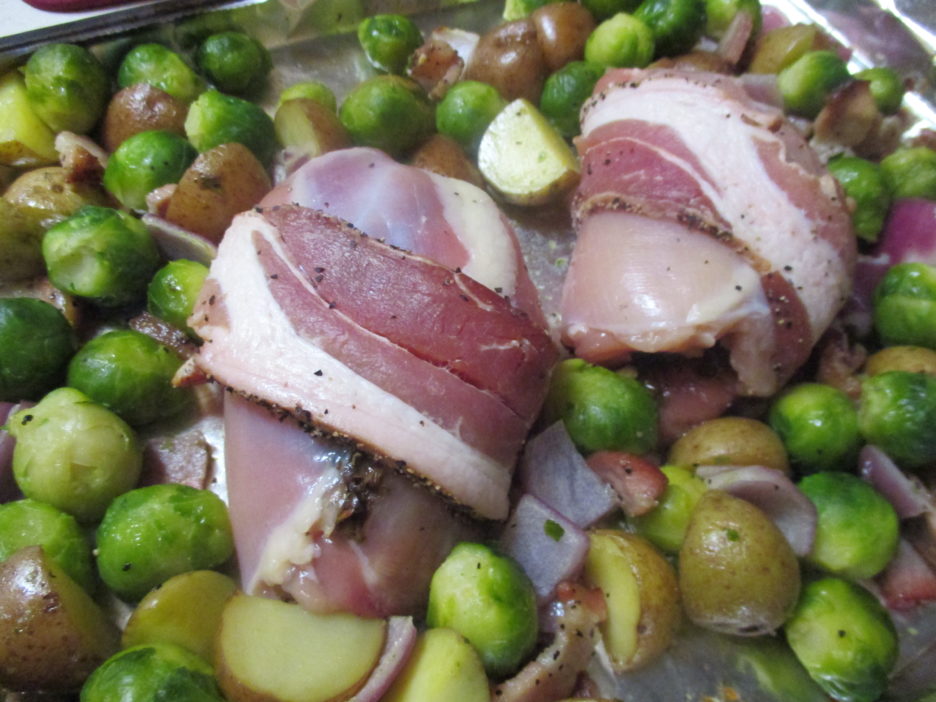
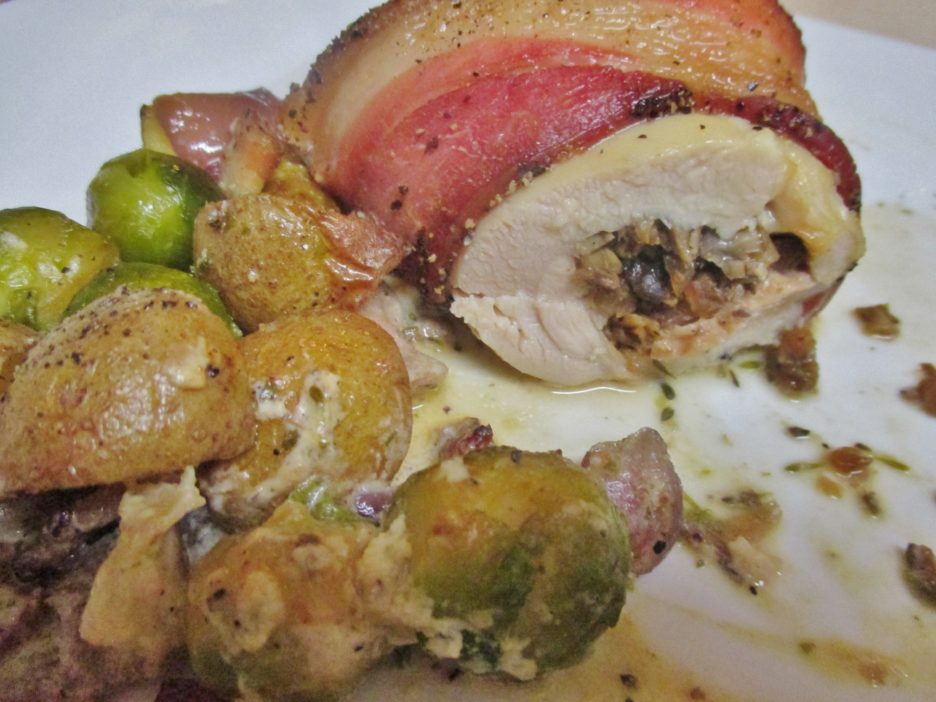
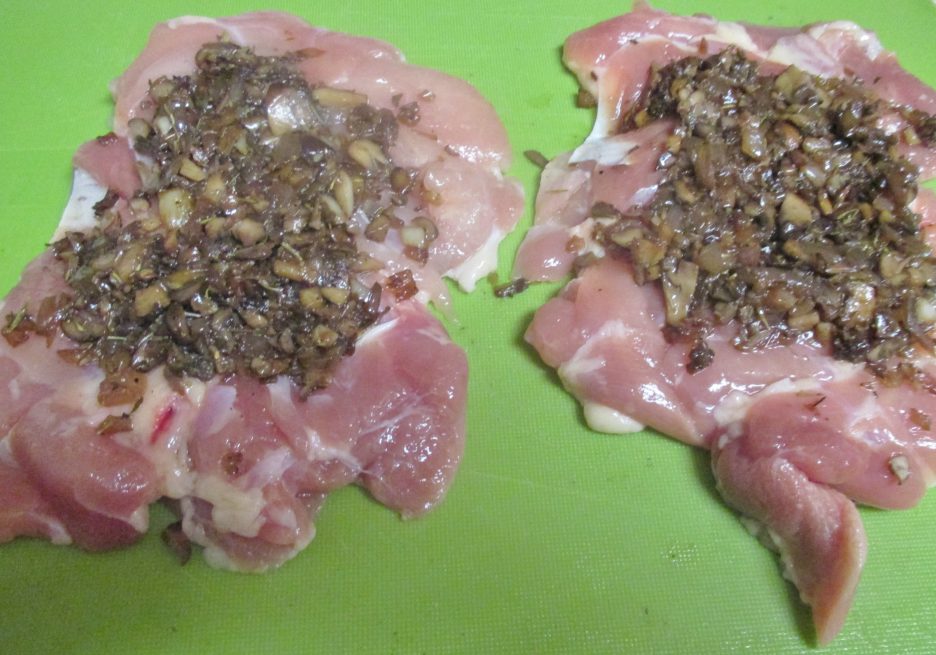 Here is where the healthy train derailed a bit. I added a modest pat of Garlic Herb Cheese before rolling the thighs into plump torpedos. To help them stay rolled, I wrapped them in a strip of bacon.
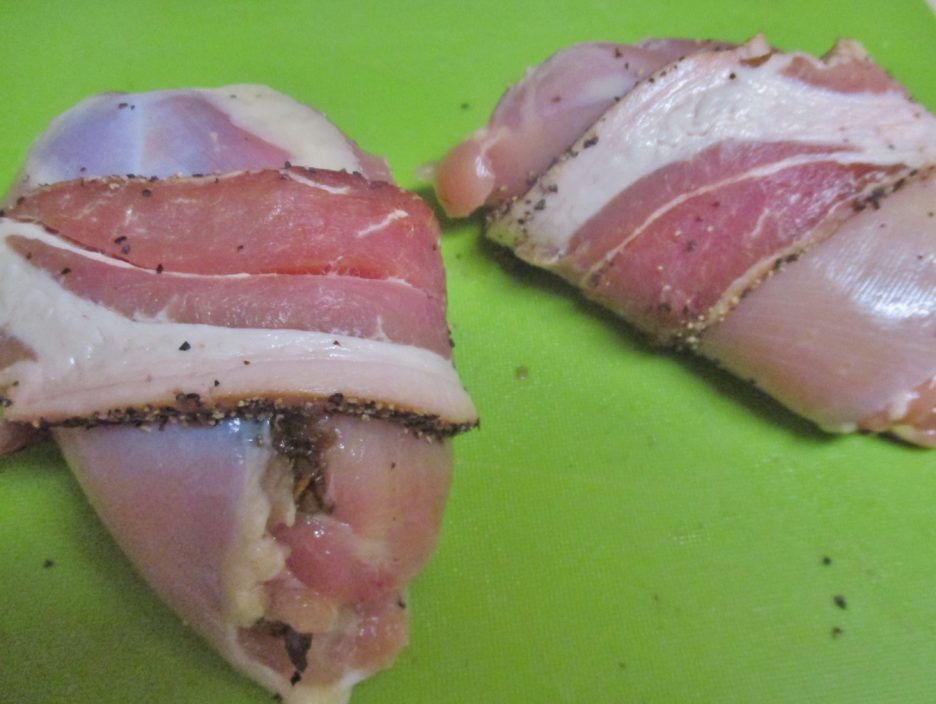


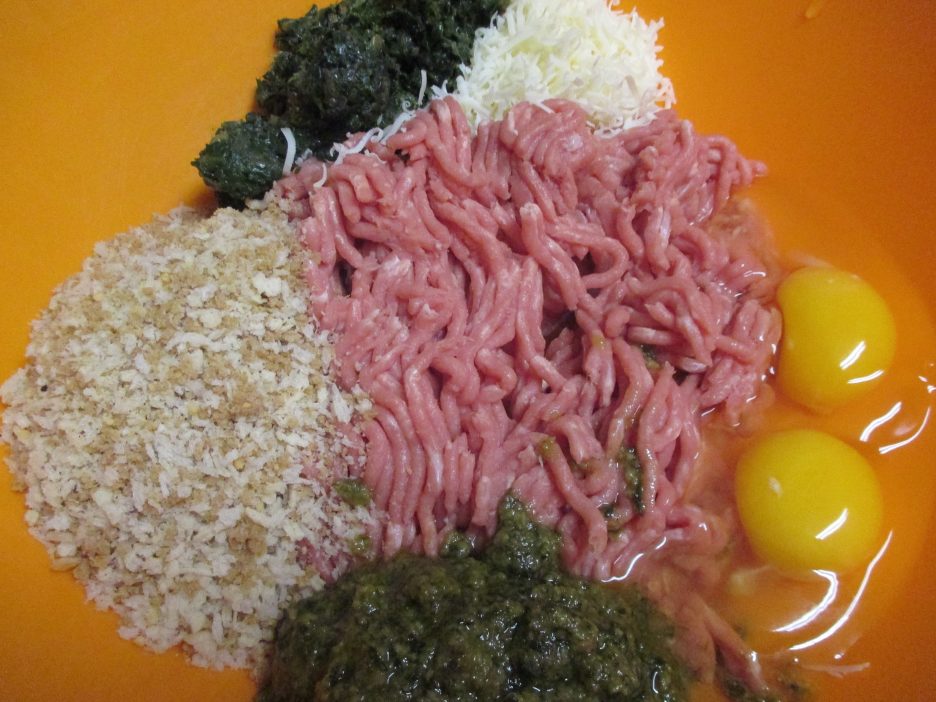 My ground meat of choice was turkey, but this would work with any ground meat that you desire. Eggs and bread crumbs were there of course because I wanted the meatloaf to remain a loaf and these two ingredients make the perfect glue. Onions are an absolute necessity and for this rendition I added some fresh spinach. Before they went into the bowl, I cooked them in a little olive oil. I like my meatloaf to have a smooth consistency and this seemed to do the trick. The last ingredients were grated Pecorino Romano and some Pesto
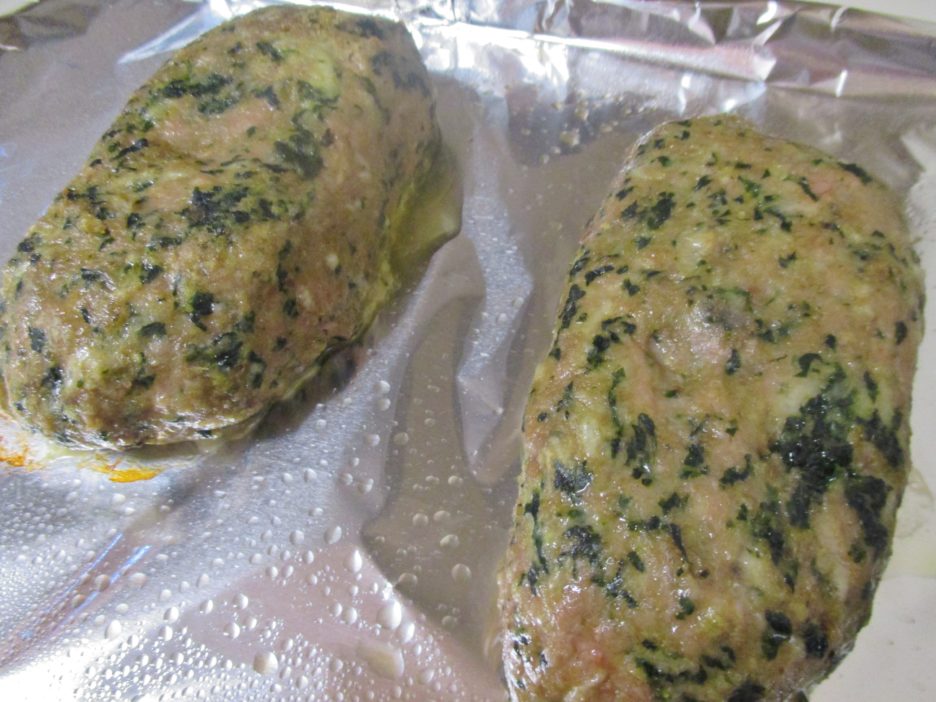
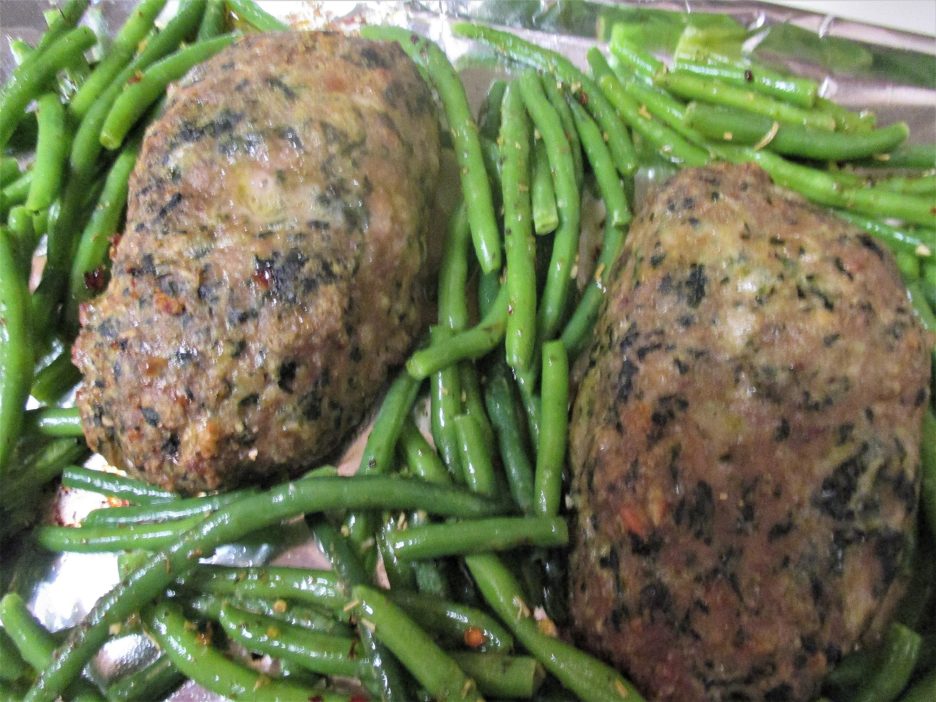 Another 15-20 minutes in the oven and my loaves and beans were ready for plating. Rounding out the dish and making this a comfort food classic was a scoop of creamy mashed potatoes.
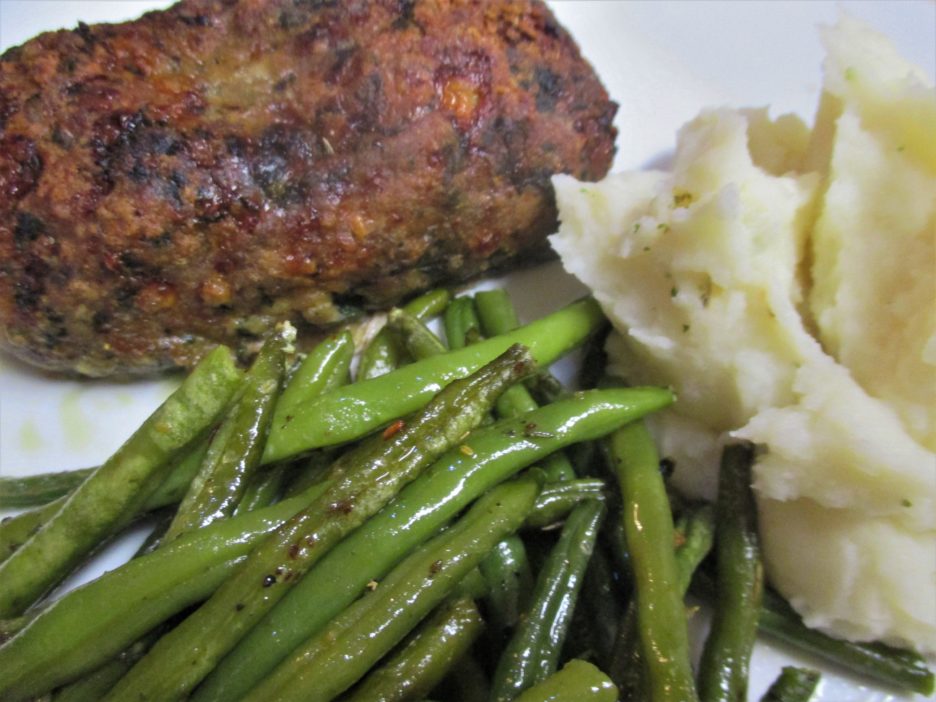 This was a plate of pure love and comfort and really took very little immediate effort on my part. Best of all, there are more little loaves in the freezer to bring tasty joy to the holidays.


 This Rose is a blend of Landot Noir, Vignoles, and Chambourcin grapes all grown in Illinois. The result is a dry rose with a lot of body and just the right amount of fruitiness. Paired with a modest cheese plate and enjoyed on the patio it was a delightful lunch. Even though the winery sits on the edge of a semi-busy highway, the lush hedges and beautiful surroundings make it easy to tune out the occasional road noise. When the colder weather does arrive, we will move inside to enjoy another wine, Petite Pearl, in front of the massive fireplace.


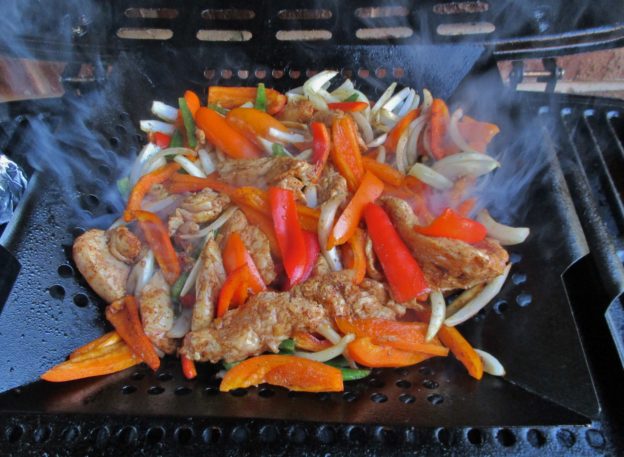

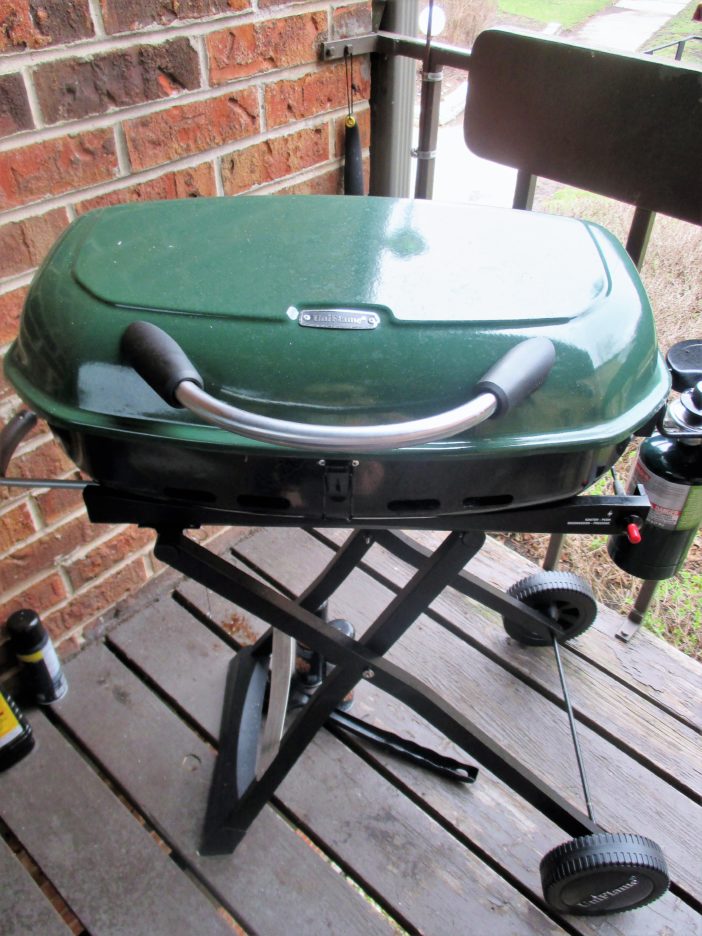 We continue to discover new things that cook beautifully on the grill, as this post will show. We’ve done a one dish meal, grilled chicken (and an array of other proteins), and even a single ingredient for a recipe. This last being easy on a small grill that can be ready in 5 minutes.
 I was inspired by a plethora of Sheet Pan Fajita Recipes. So, I decided to move my ingredients from the oven to the grill. This will work with any fajita recipe with just a bit of adaptation. My protein of choice was chicken breast. A Bag-o-Bits was in the freezer and this seemed like the perfect use for it. Marinating helps flavor the meat and amends the too long in the freezer time. This marinade would work for any protein that you want to give a citrusy southwestern flavor to.
 continue to use) dried onions and garlic in this marinade. Time saving was my first reason to use them. Yes, it doesn’t take much time to chop up onions and garlic, but it takes even less time to toss in their dried counterparts. I think they also impart more flavor, especially in long marinating. These are not new ingredients; they have been around forever, If you have relegated them to the back of the spice cabinet, throw them away and buy new jars. As with any spice they lose flavor as they age. They are relatively inexpensive so this is not a big waste.

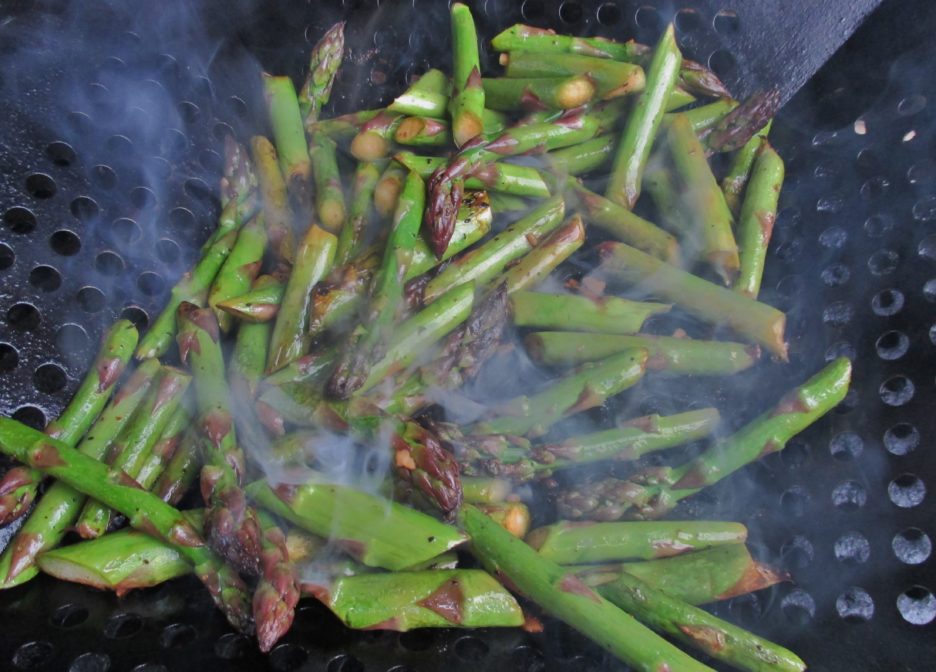
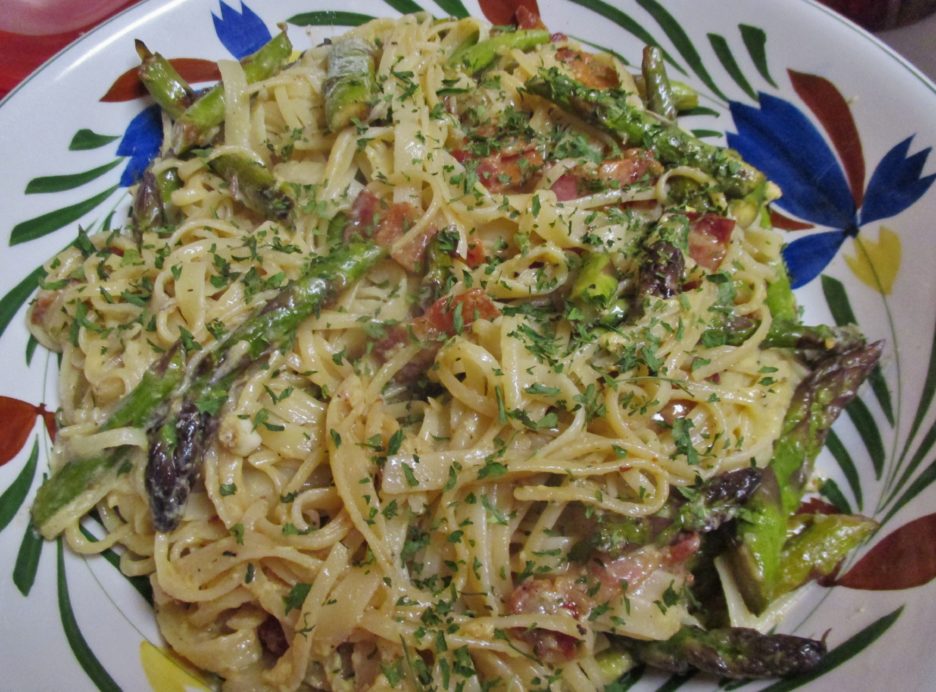 I made a not so heavy Carbonara recently that featured asparagus. Most vegetables have an affinity for the grill and asparagus is one of my favorites. I usually marinate it in olive oil, balsamic, and Italian herbs and grill the lovely spears until they have that perfect amount of char. The only difference was the spears were sliced into more pasta friendly pieces. (Pencil asparagus would work well whole in this dish.)