Pasta isn’t food that takes very kindly to the grill. It does however, make a wonderful base for sauce ingredients that can be grilled. This easy and delicious dish features sausage and artichoke hearts grilled to perfection and tossed together to create a sauce that any plate of linguine would be proud to wear.
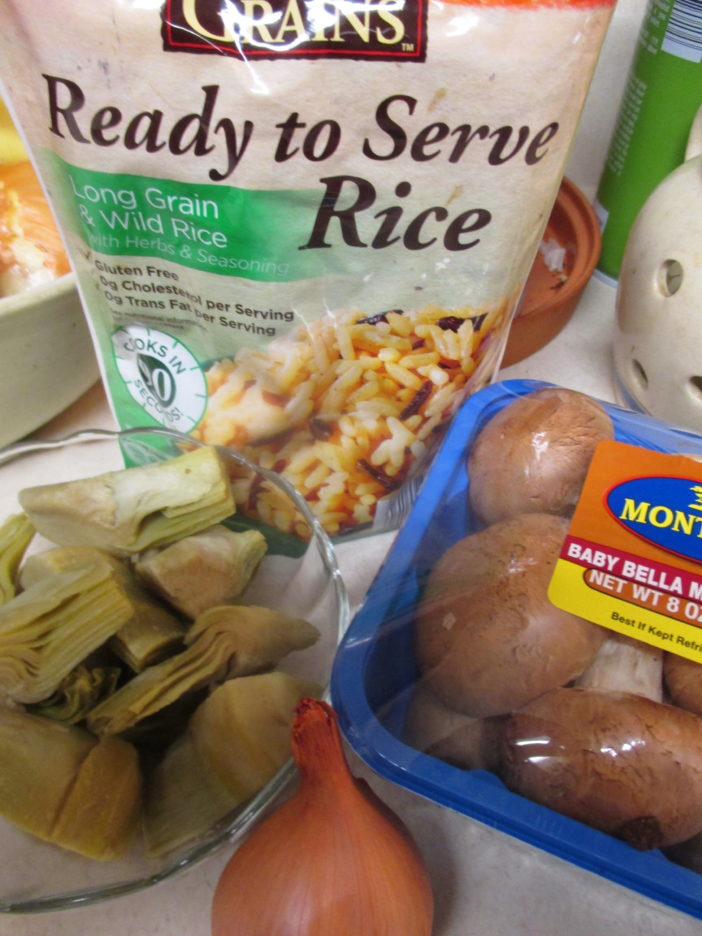
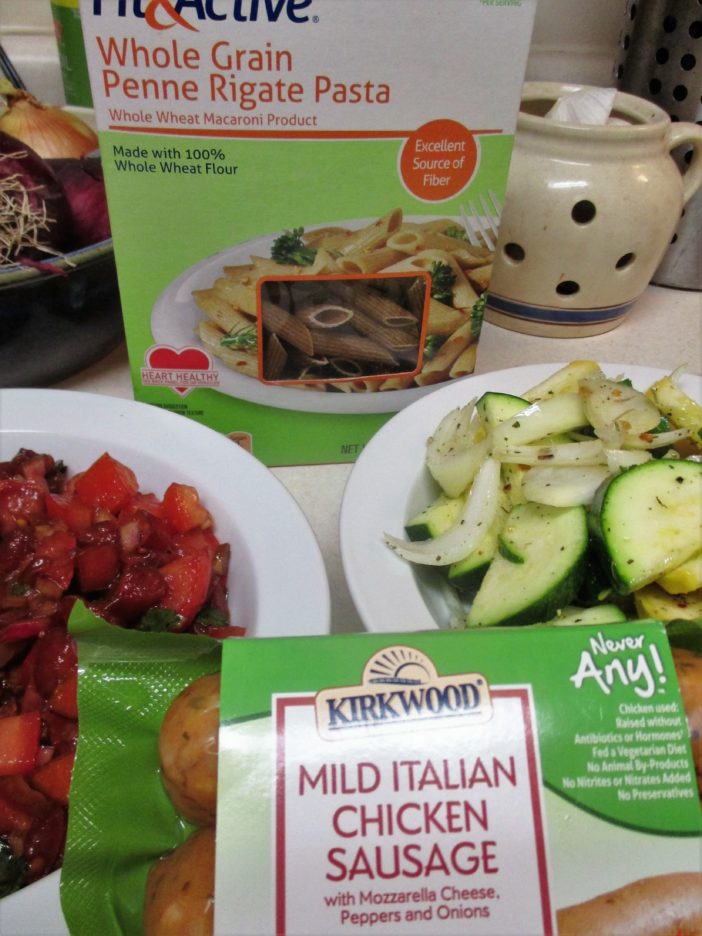
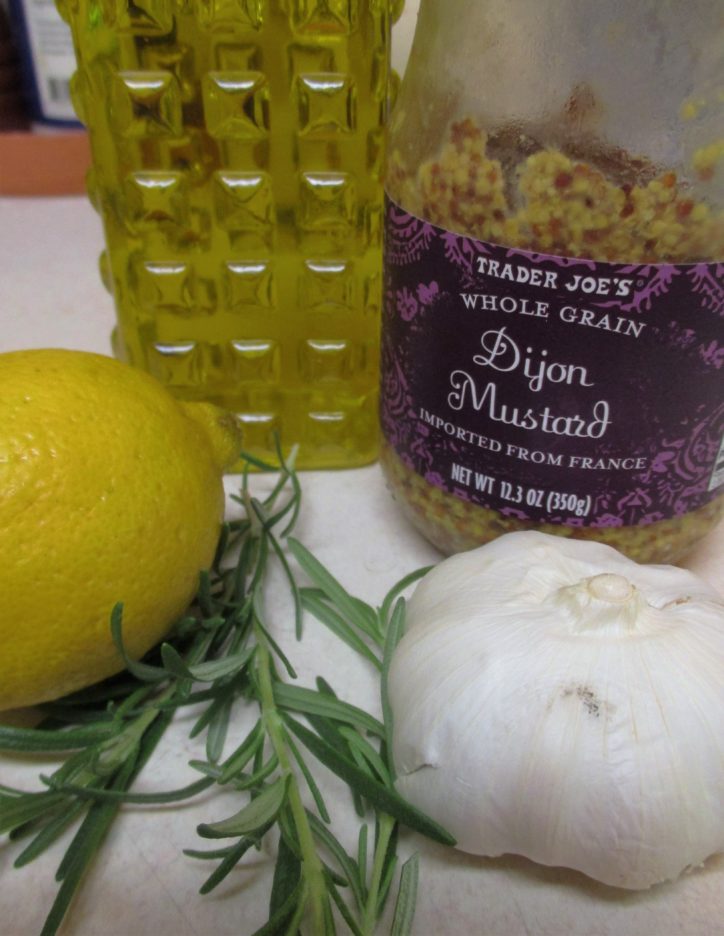
The ingredient list isn’t long or exotic. Just a few quality items that are relatively easy to procure.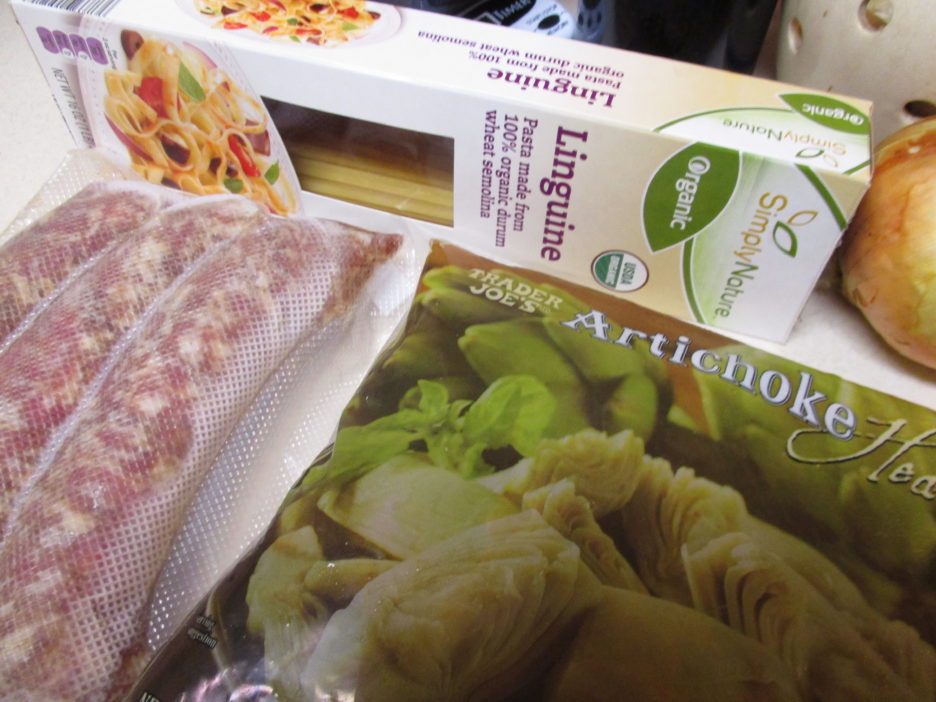
I love linguine. I love how it cooks up, I love how it twirls on my fork and I love how when perfectly cooked “al dente” it feels in my mouth. I used an Italian Sausage from Ream’s, a local meat market and butcher shop known for its sausages of distinction. The artichoke hearts came from Trader Joe’s. If you don’t have fresh baby artichokes or the time to prepare them, this is a great alternative. The rest of the ingredients have appeared so often in Mama D’s Kitchen that they need no introduction. Onions, garlic, olive oil (Mama D’s Trinity), and red pepper flakes all make their presence known.
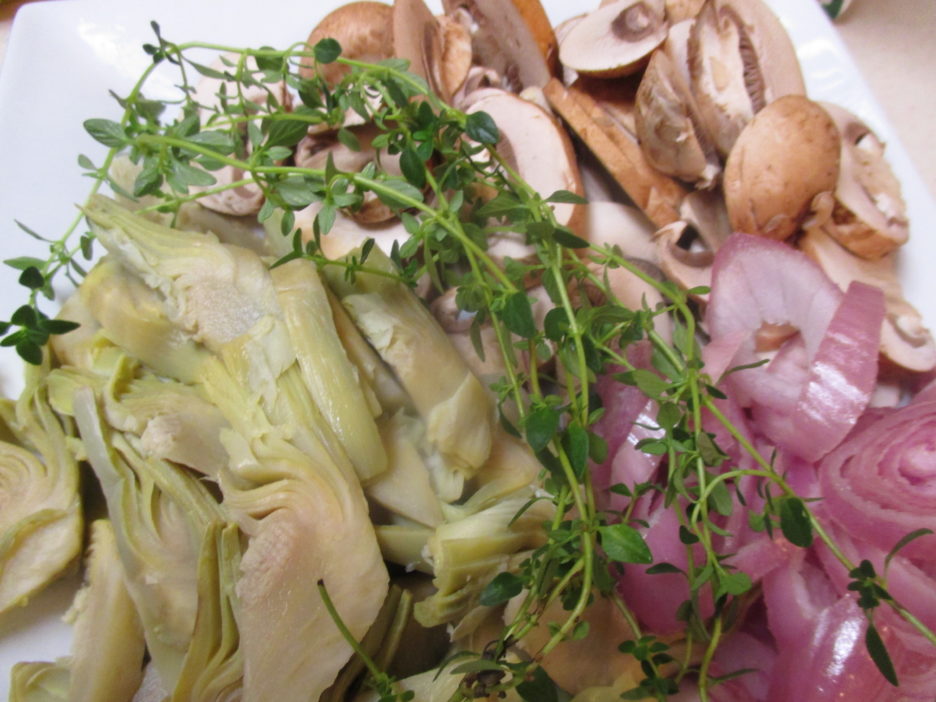
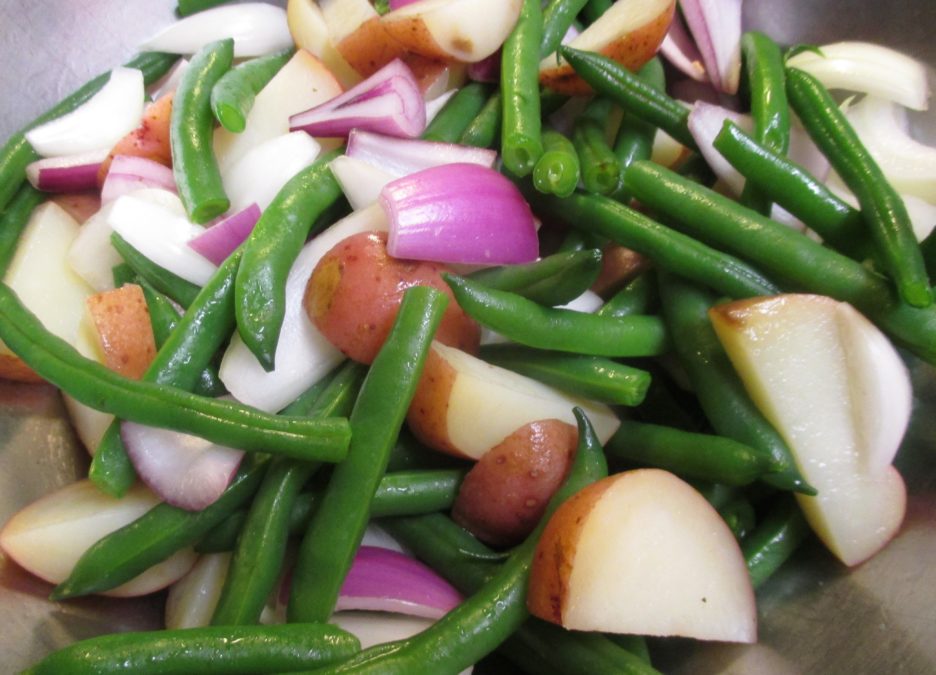
We all love those marinated artichoke hearts. You know the ones. They come in those cute little jars and are perfect on a relish tray or in a salad. Tasty as they are, they would fail the “Can you grill it?” test woefully. Frozen artichoke hearts, especially the ones that T. J’s. sells, are nice, big, firm, quarters that can be cooked and will still be identifiable as artichokes. So, I went about making my own marinated artichoke hearts, I added some sliced onion and red pepper flakes along with garlic, white balsamic, and olive oil. I once again called on my trusty McCormick Italian Herb grinder to lend an air of herbal authenticity. Once everything was tossed together, I let them get happy in the refrigerator for the better part of a day.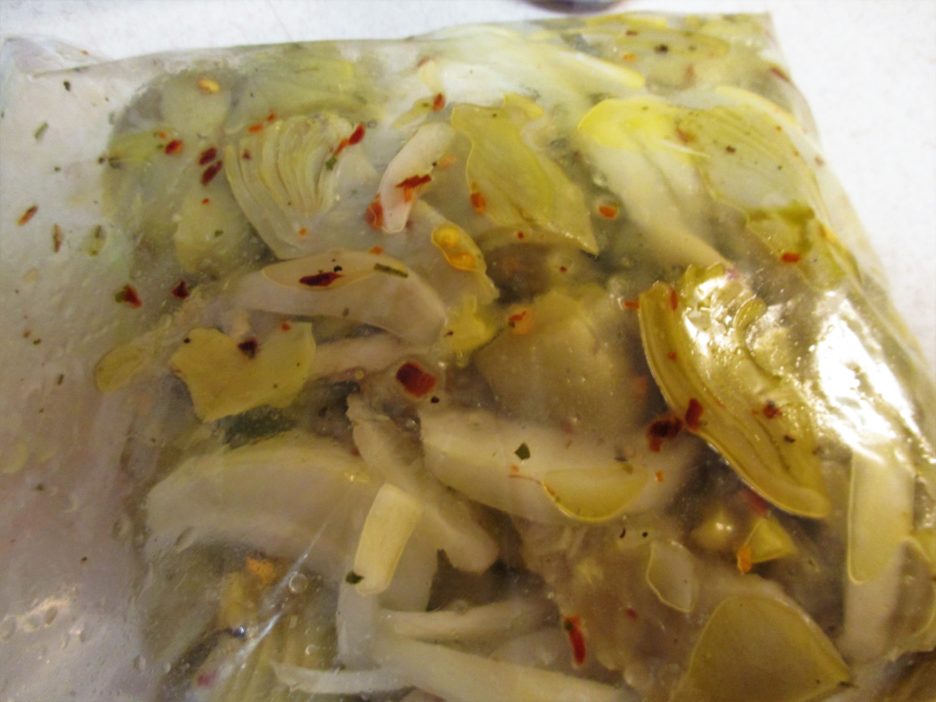
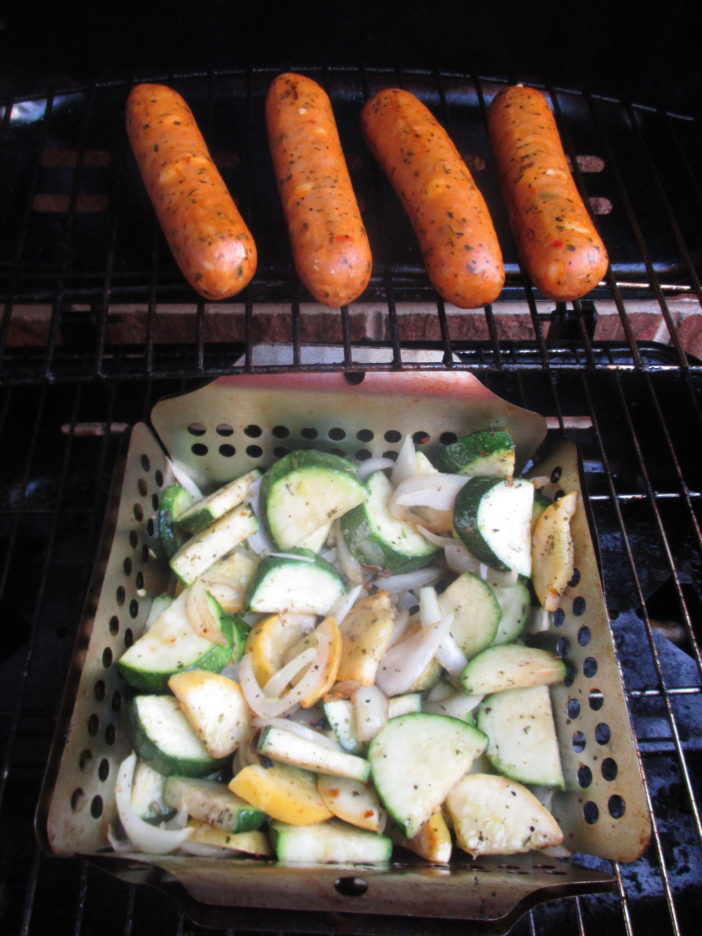
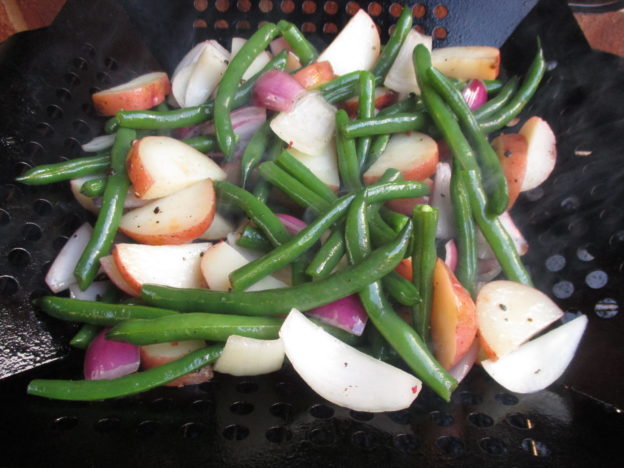
A nice thing about this sauce is that the main components can be cooked ahead of time. A nice thing about having a small grill on a small balcony, is that I can sit and enjoy the sights and sounds of summer while I grill. I can even enjoy a glass of wine and pleasant conversation with Papa D . 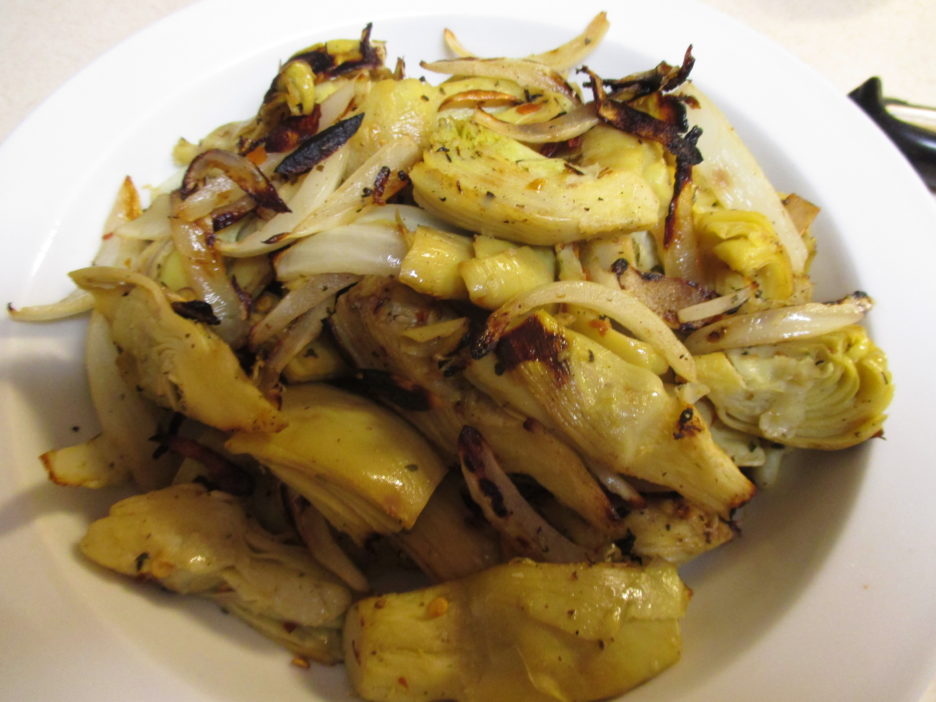 My marinated artichokes became something magical in the grill basket. Lightly charred and completely recognizable they waited for their moment of glory. The sausage also came to life on the grill. They had just the right balance of fat to stay plump and juicy without the aid of a fire extinguisher. Sometimes there is no substitute for quality.
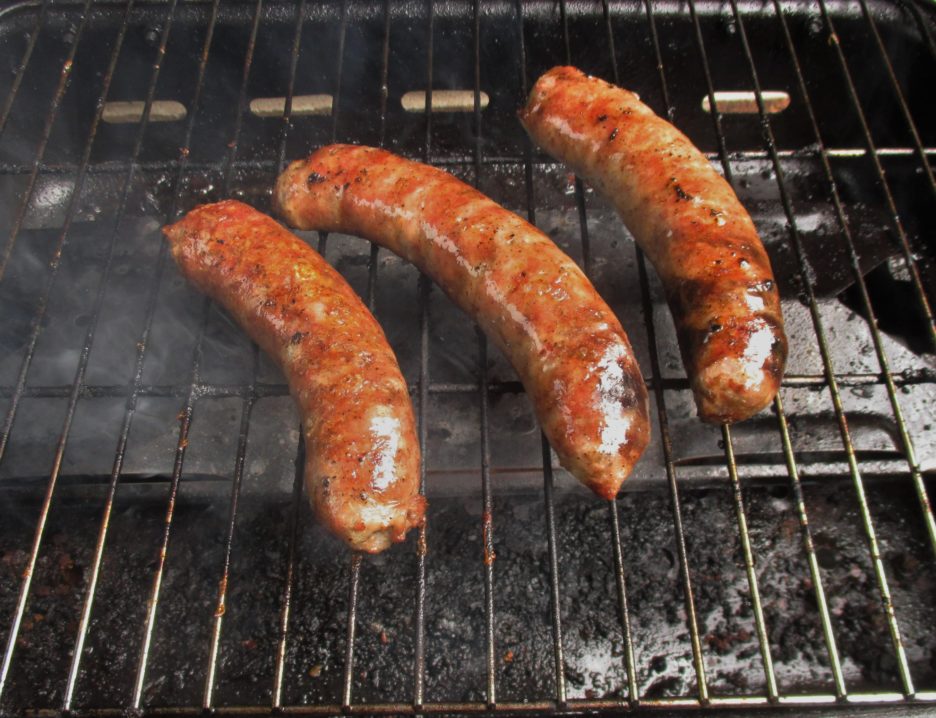
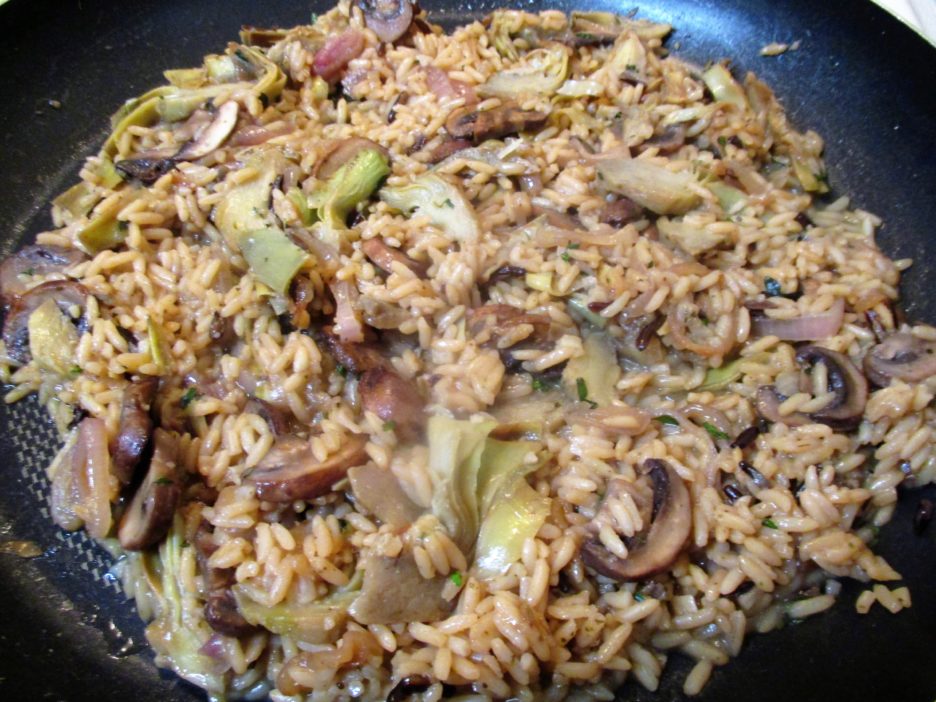
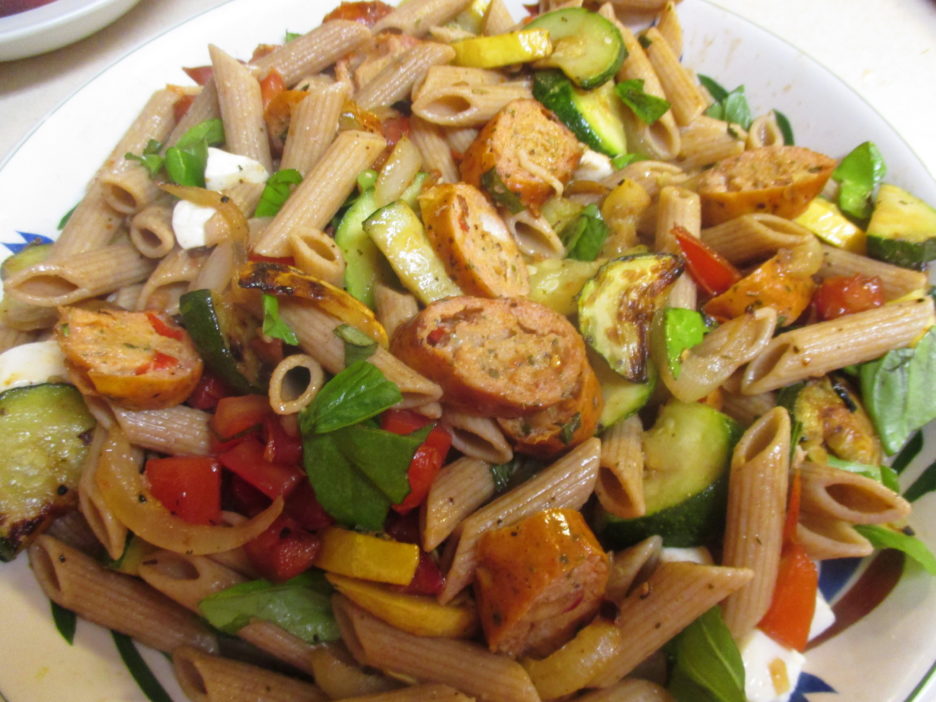
While the pasta cooked, I sliced up the sausage and added it to an olive oil coated skillet along with the artichoke hearts. Everything developed a little more golden goodness before a splash of dry vermouth and several ladles of pasta water made just the right amount of “sauce”. 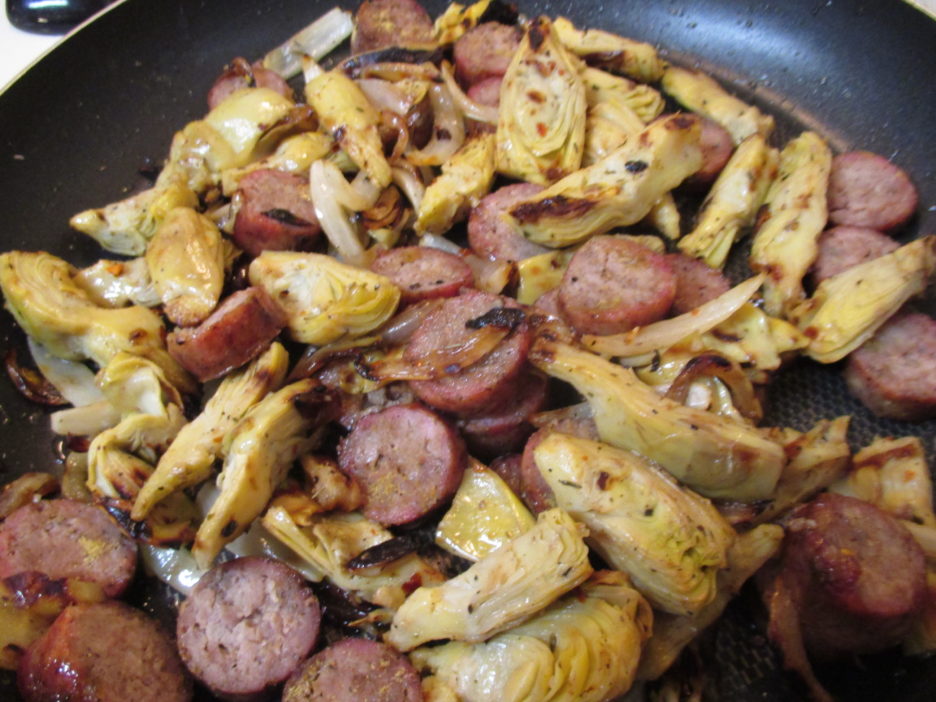 All that was left to do was add the pasta and some torn fresh basil. Moments later it was ready to grace our bowls.
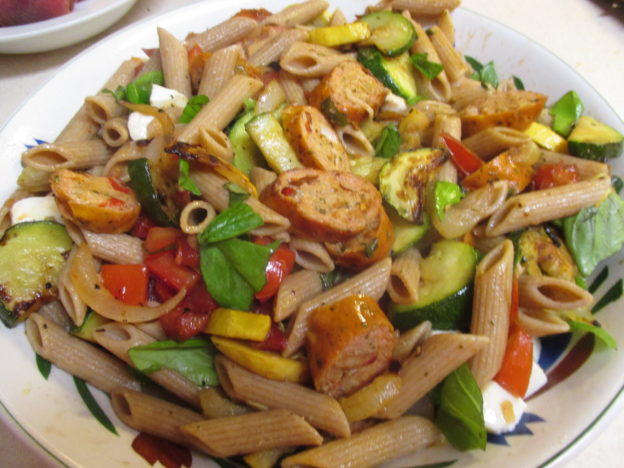
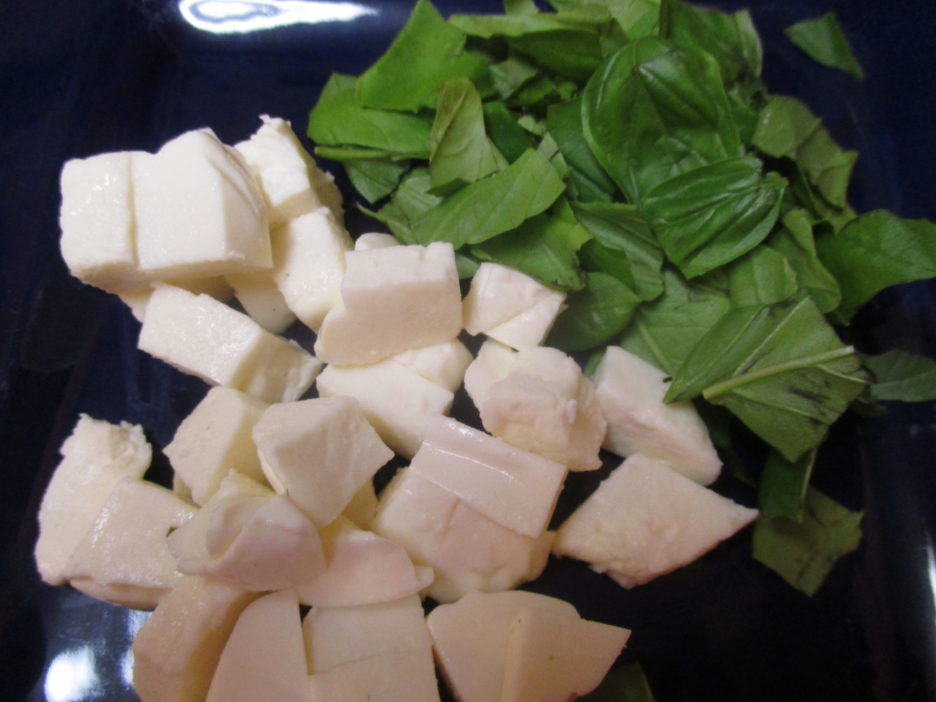
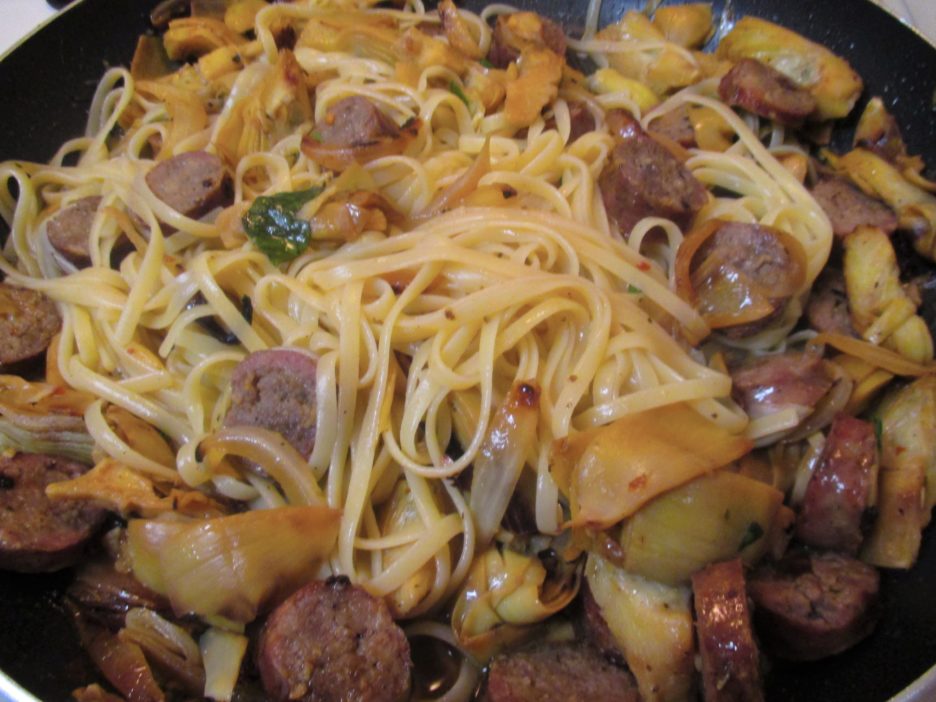
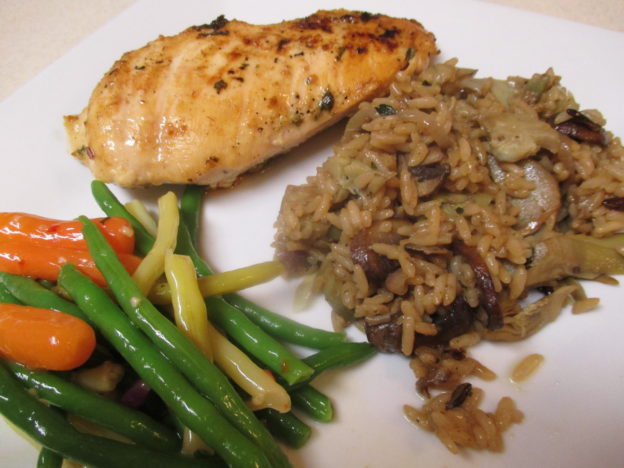
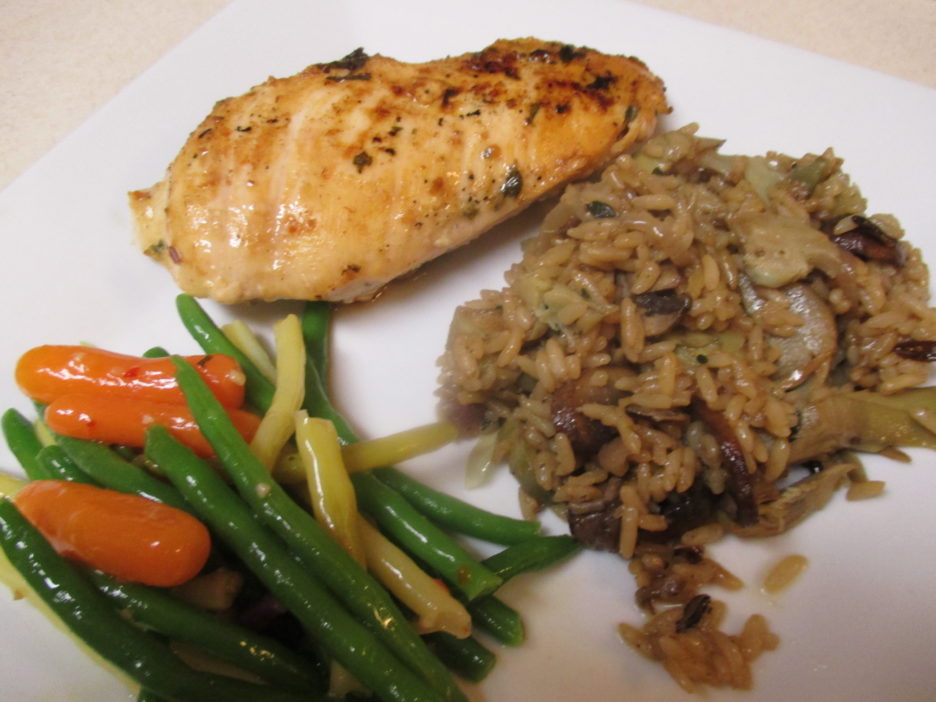
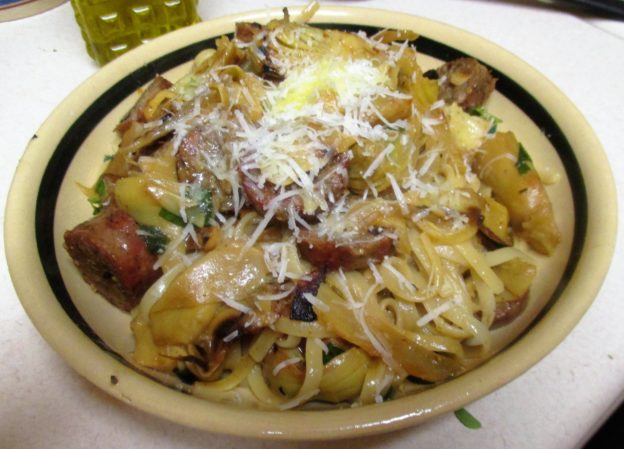
The bowls of goodness were garnished with a little Pecorino Romano and the lightest drizzle of olive oil. This was a supper fit for company, but we were the lucky ones who got to partake. And that we did. We ate it all and didn’t even feel guilty.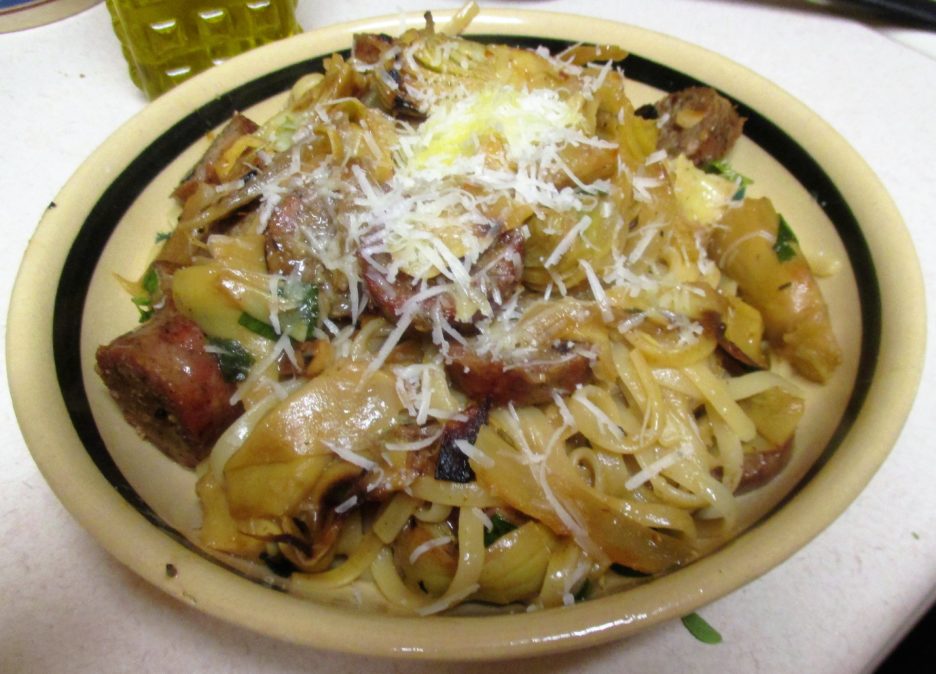
Linguine with Grilled Sausage and Artichokes
|
|
|
Linguine with Grilled Sausage and Artichokes
|
Instructions
Combine the artichokes, onion, and garlic. Place the olive oil, vinegar, pepper flakes, and Italian herb blend in a container with a tight fitting lid. Cover and shake until well blended. Pour over the artichoke mixture toss well. Refrigerate, covered for at least 4 hours.
Heat a grill to medium high heat. Add the sausage links and cook, turning frequently until well browned and cooked through. Remove from grill and allow to cool before slicing .
Heat a grill basket over medium high heat. Spray well with cooking spray. Add the artichoke mixture . Grill, tossing frequently until the mixture is golden brown. This should take about 10 minutes or so. Remove from grill.
Cook the pasta according to the package directions reducing the time by a minute or two. Prepare the sauce while the pasta cooks.
Heat a large skillet over medium high heat. Add enough olive oil to lightly coat the bottom of the pan. Add the sliced sausage and the artichoke mixture to the pan. Cook tossing occasionally until everything is heated through and has become a little more golden.
Add the vermouth to the pan and stir to deglaze. Add several ladles of the pasta water to the skillet and stir to combine. Season with salt and pepper to taste.
Drain the pasta and add it to the skillet along with the basil, tossing to combine with the sauce. Cook for another minute or two and remove from the heat.
Place the mixture in pasta bowls and sprinkle with the Pecorino. Drizzle each serving with a little olive oil and it is ready to eat.
There you have it. Easy, kind of quick, and ever so tasty…give this one a try before grilling season is but a memory. If you’re anything like Mama D’s Kitchen however, that grilling season never ends.
Like this:
Like Loading...