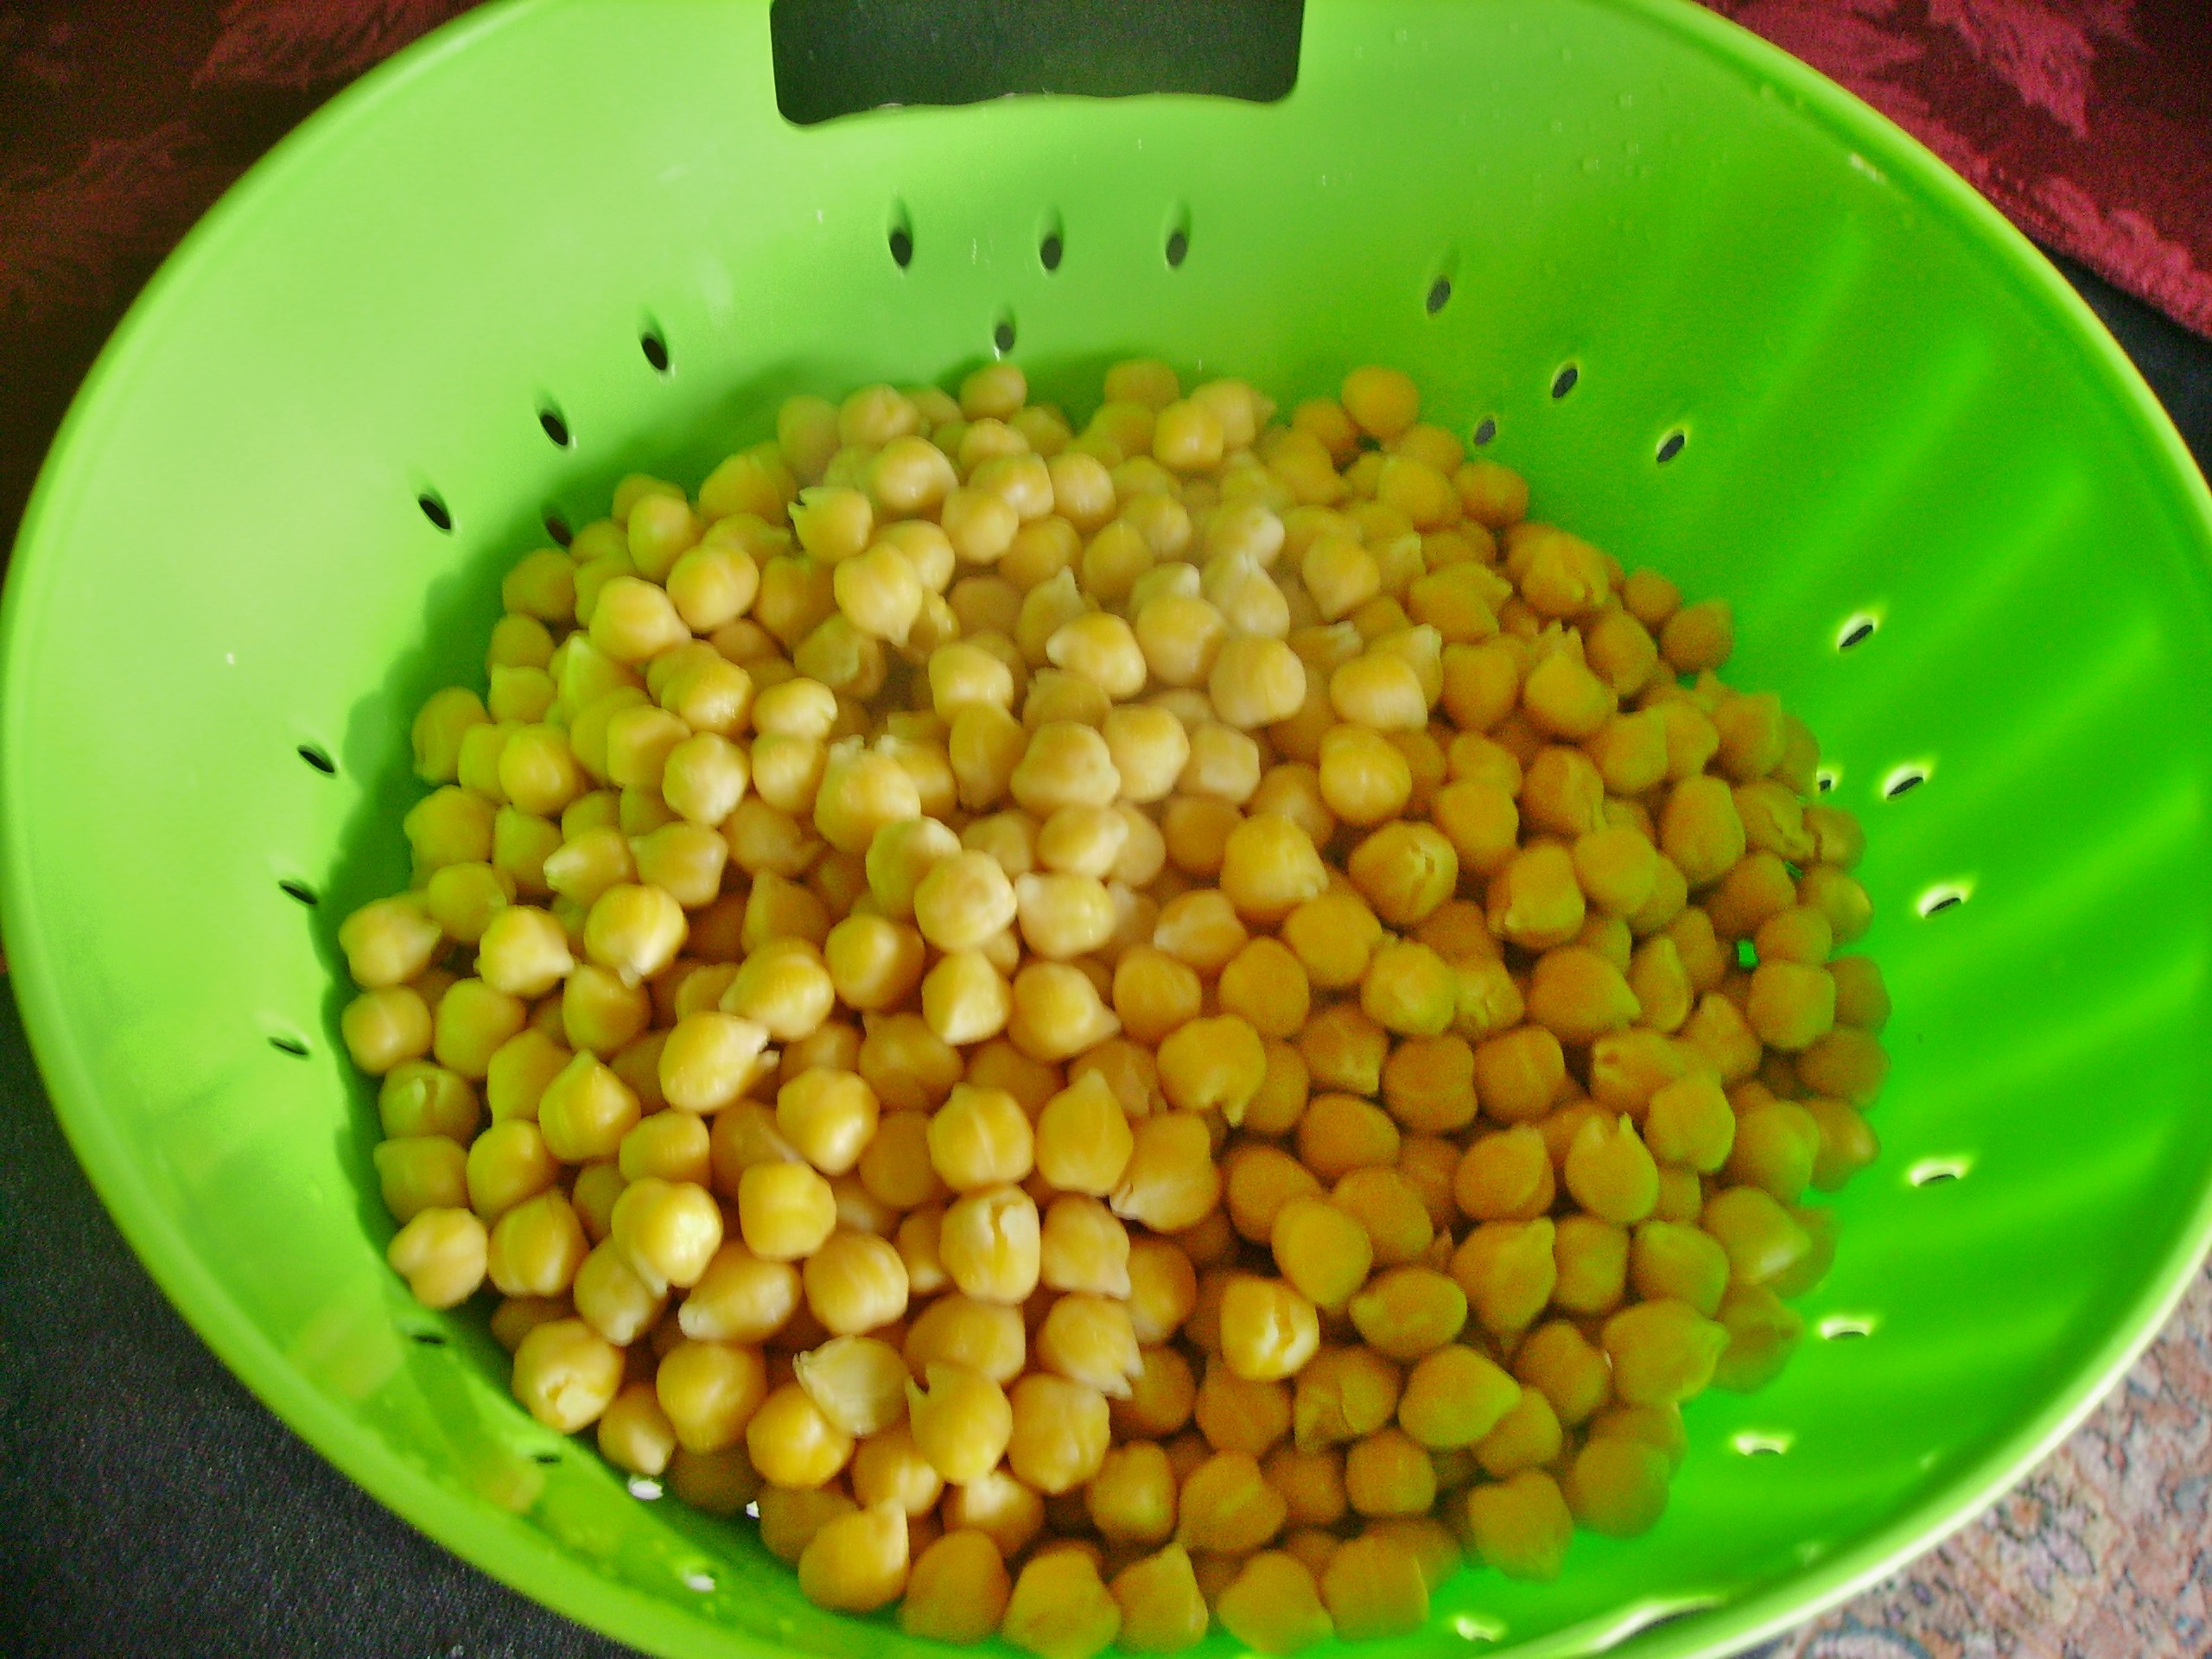
There’s been a natural progression in my posts lately. The Vegetable Stock led to Minestrone and now the Minestrone has resulted in the need to revisit Garbanzo Beans. I made a large batch of beans and I was bound and determined to use them all. Mama D owed it to herself to be frugal and creative. So the fiber rich adventure continues.
The article from Fine Cooking Magazine featured a number of recipes. The pasta recipe inspired me to come up with my own pasta and chickpeas dish.
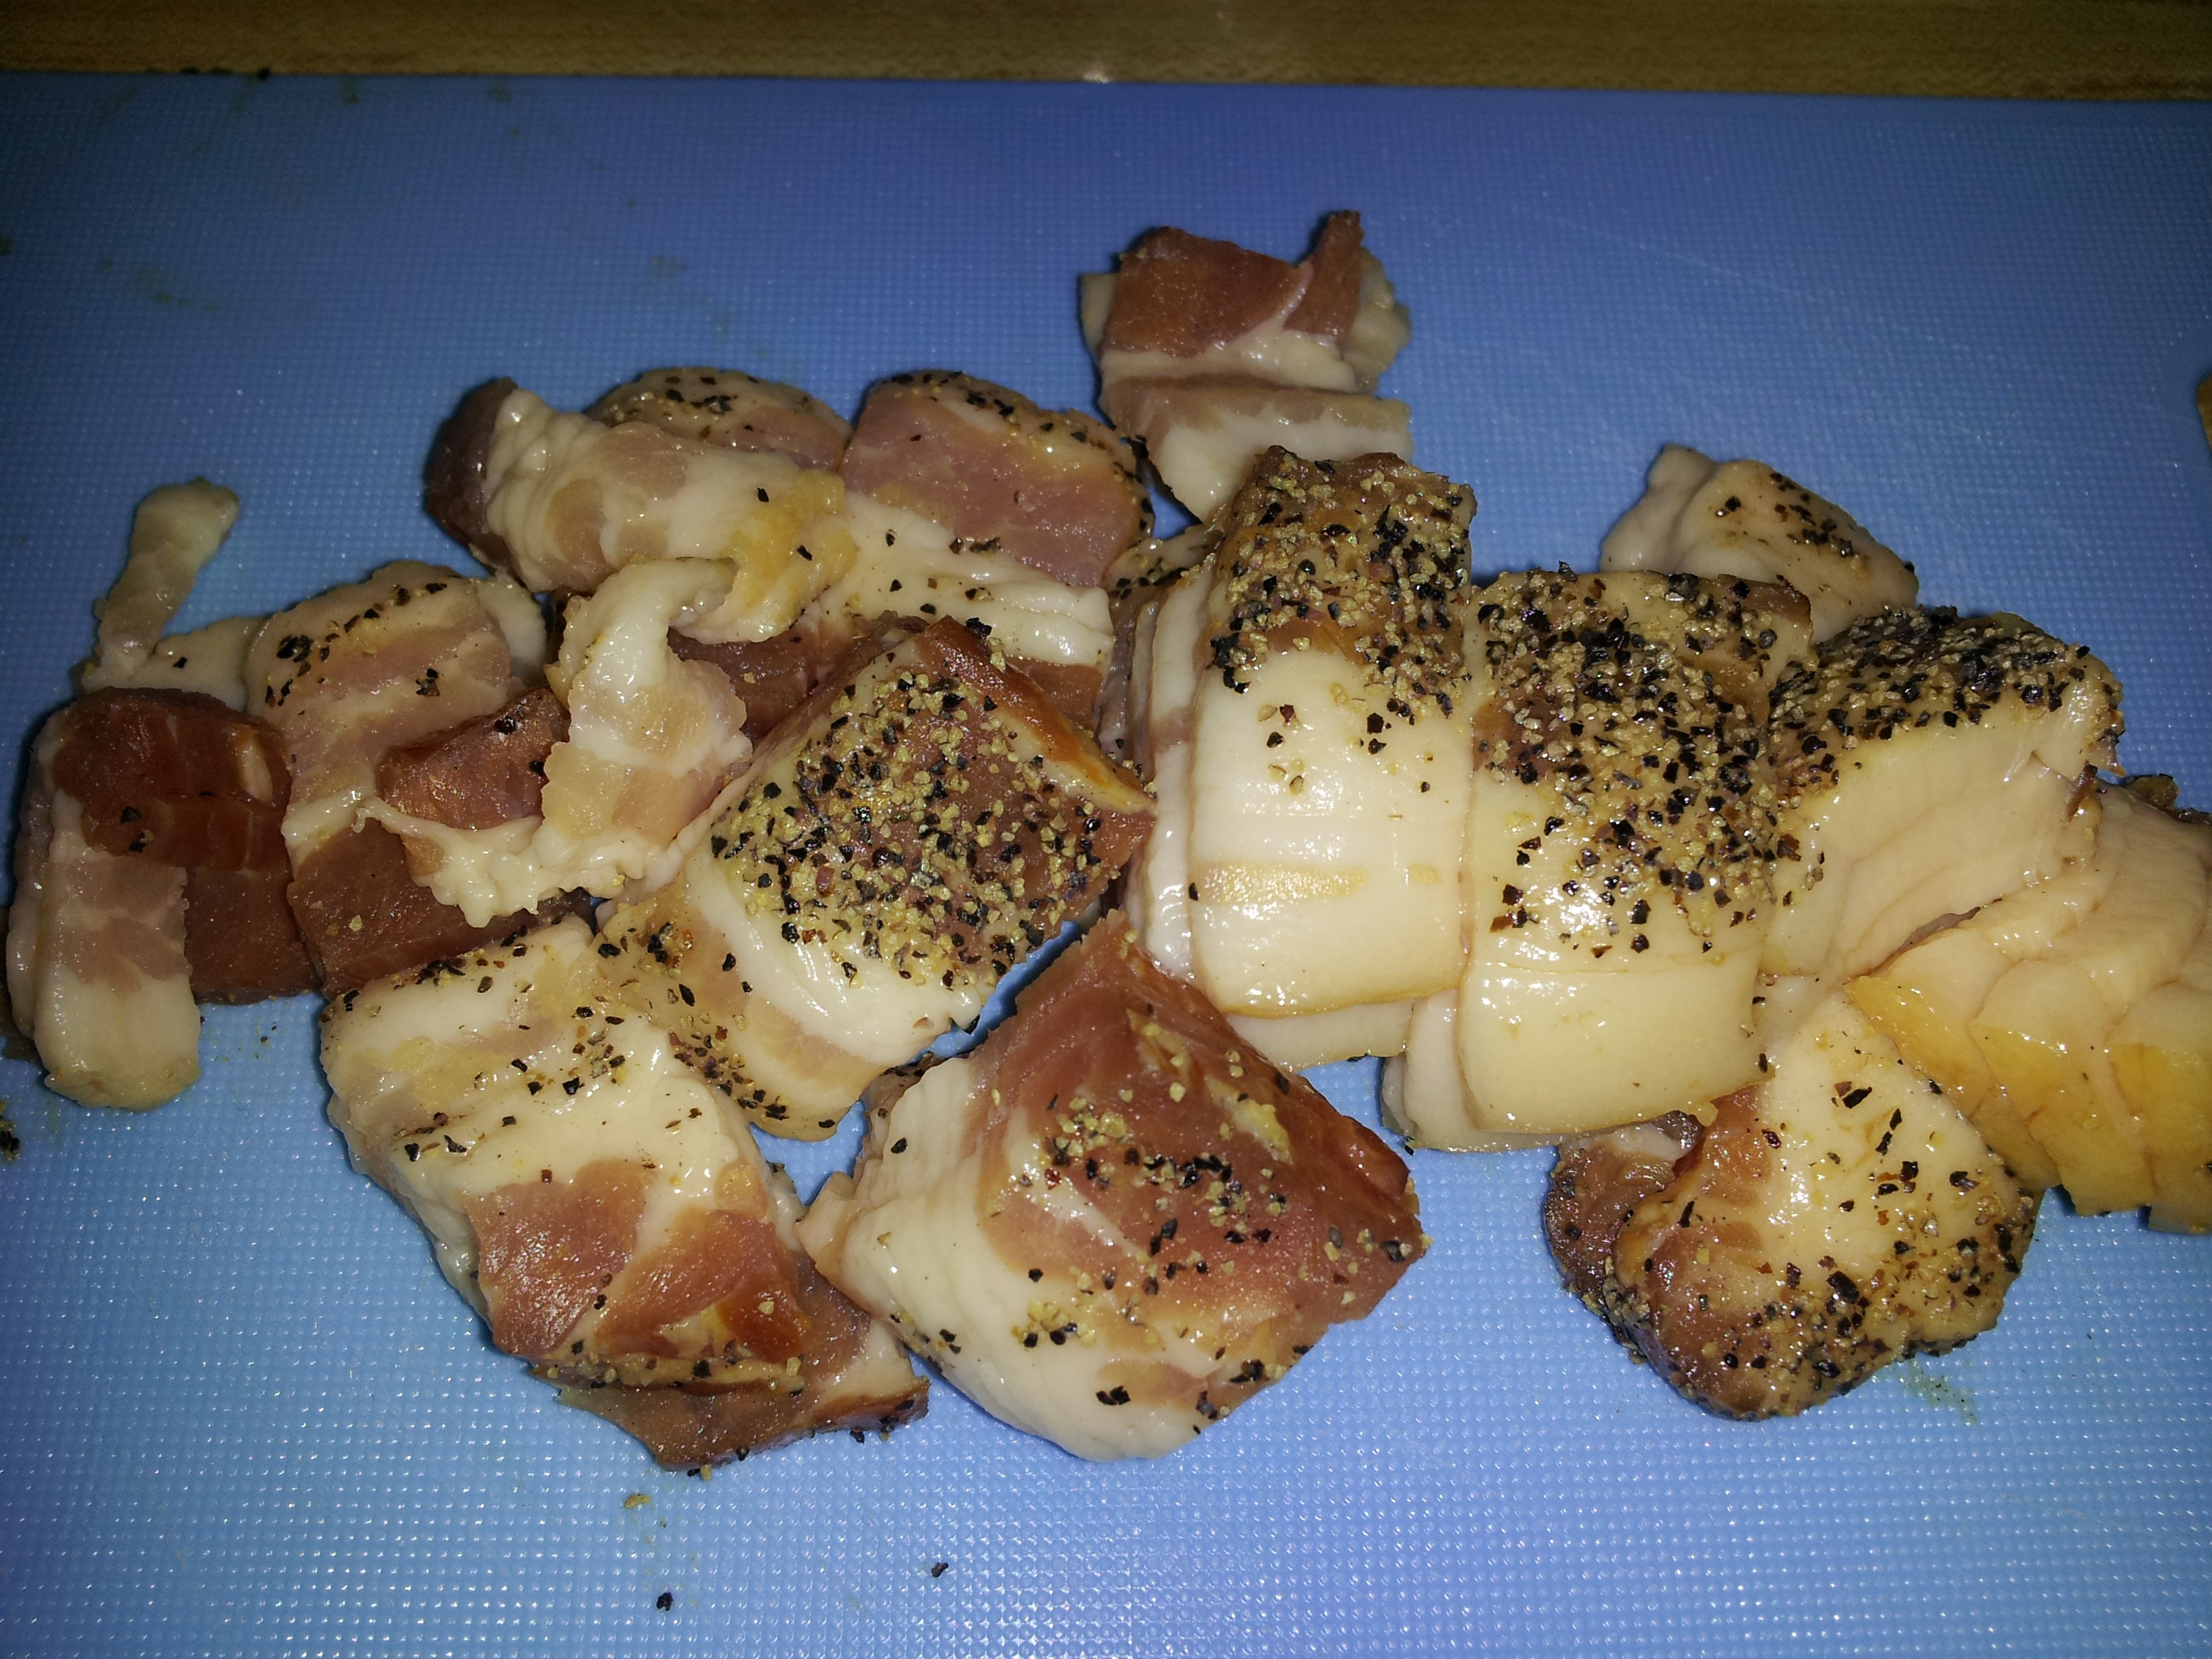
I love bacon. I love it on its own and in the company of other ingredients. Lately my favorite is thick cut pepper bacon. I’ve been using it in many savory recipes. There are all kinds of dishes that benefit from this peppery pork product and pasta is a great canvas.
The magazine article used the liquid that the garbanzos were cooked in and I had saved my cooking water, so I used it too. A word about the cooking water. It was gelatinous and a lovely amber color. Quite different from the slightly slimy water in the canned variety. So this liquid would be the base of my pasta sauce. Onions and garlic had to join in the fun along with some red pepper flakes and spinach. Penne pasta seemed like the perfect partner with its ridges to hold what was sure to be a tasty sauce and a size that was geometrically complimentary to the chickpeas. So, here’s Mama D’s newest pasta creation.
Heat the olive oil in a large fry pan, Add the bacon and cook until it is lightly browned. Remove all but 1 tablespoon of the drippings, then add the onion, red pepper flakes, and garlic. Cook over medium heat until onions begin to soften and the garlic is fragrant. Add the chickpeas and continue to cook, stirring occasionally until they begin to pick up some color,about 5 minutes Add the spinach and cook until it wilts 3 minutes or so.
Add the chickpea cooking water and raise the heat to medium high. Simmer for 5 -7 minutes. The sauce should thicken and reduce slightly. Bring the heat back down to medium and add half of the Romano cheese and stir until it melts.
Add the cooked pasta to the pan and toss to coat it with the sauce. If it seems a little dry, add some of the reserved pasta water. Check the seasonings and add salt and pepper to taste.
Top each serving with the grated cheese and a drizzle of olive oil.
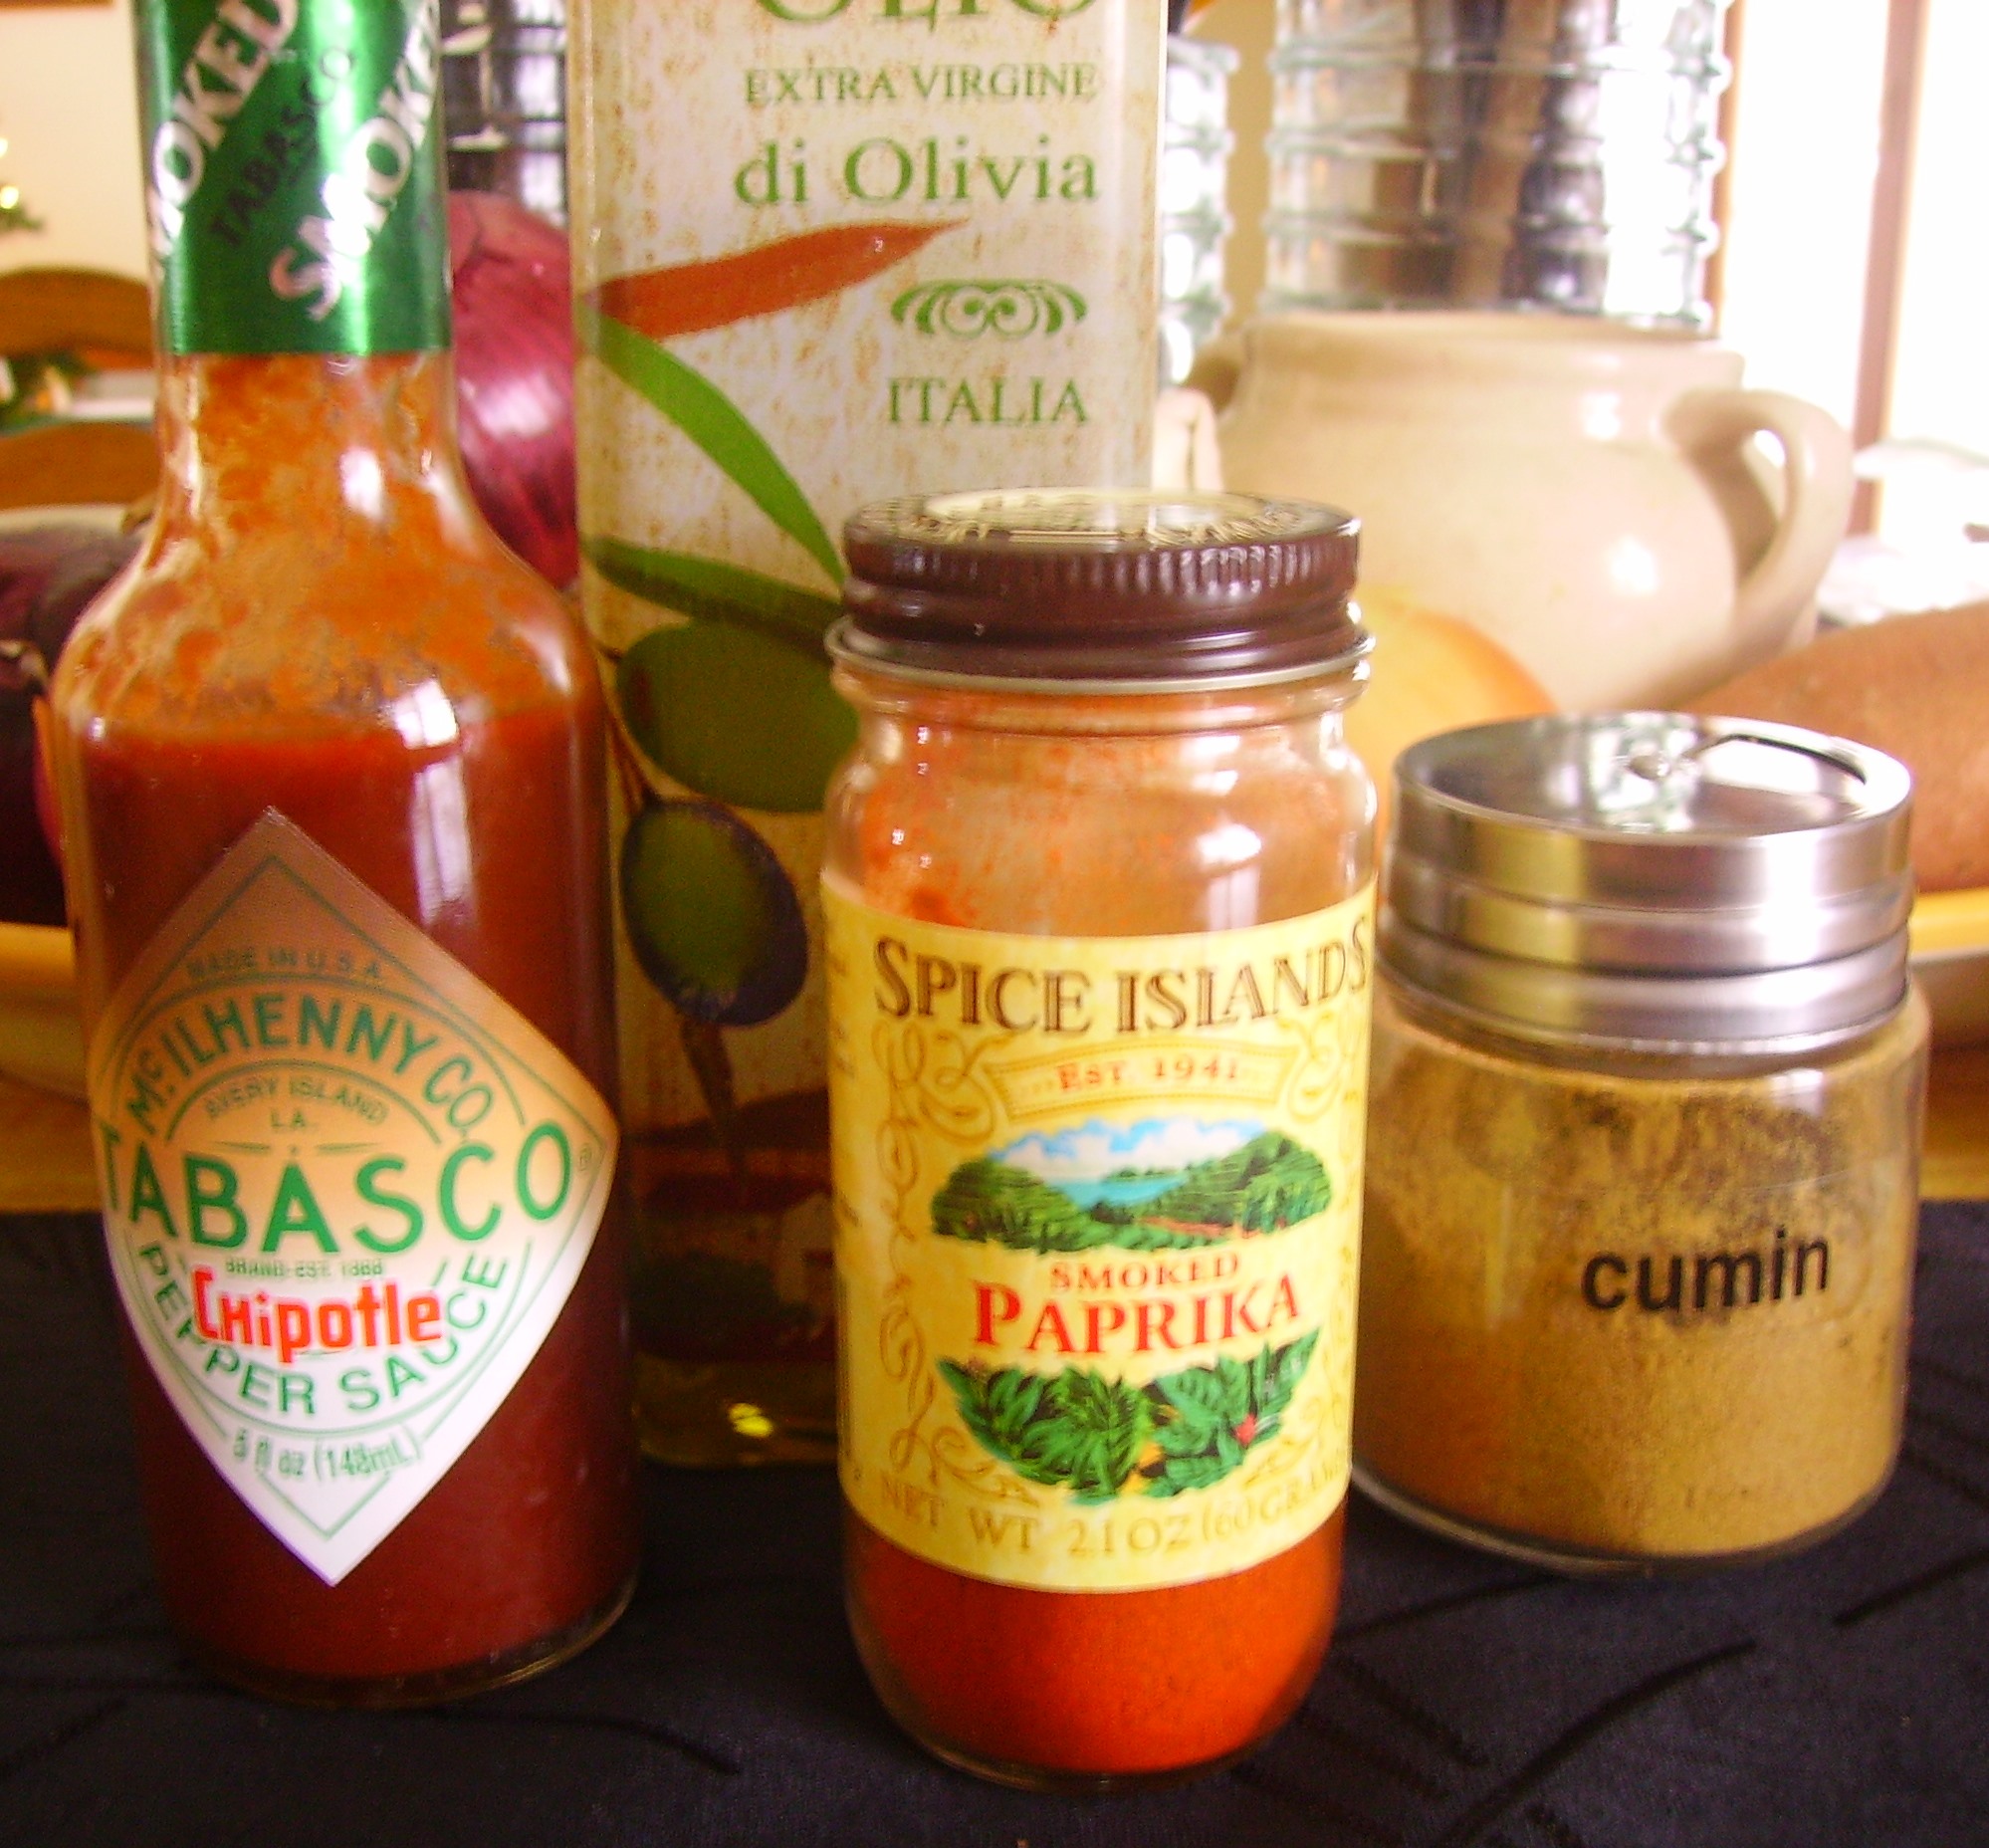
I had more chickpeas left and wanting to waste not, there was one more recipe to try, Hummus. Hummus is so versatile. We all know it as a party appetizer, but it is also great as a sandwich spread instead of mayonaise or as my friend Dave suggested, on your morning bagel. The basic recipe uses chickpeas, tahini which is sesame paste, and olive oil. There is usually lemon and garlic in the mix as well. Herbs, spices and any other additions that tickle the cooks fancy are welcome to the party. For this go around, I opted for Cumin, Smoked Paprika, and Chipotle Tabasco Sauce.
Place the chickpeas, garlic, lemon juice, water, tahini, and olive oil in the bowl of the processor. Pulse until everything is combined, then process steadily until the hummus is as smooth as you like.
Add the measured amounts of cumin, smoked paprika, and chipotle sauce. Process long enough for the spices to be incorporated.
Taste and add salt and pepper to your taste. Process again.
Taste and add more of the seasonings to you preference.
Chill for at least several hours. Serve with home baked salted tortilla or pita chips. It is also good with fresh vegetables.
The garbanzo beans, having provided several delicious meals, are gone. They will not be forgotten. They will grace the stove in Mama D’s Kitchen, again soon. They really are a pot of golden love.
MInestrone, every cook seems to have a recipe. Mama D has one, too. In fact over the years she’s made various kinds of Minestrone. I must confess this one is new. My old go-to recipe was kind of boring so I decided to reinvent it. I also wanted to find out a little more about where it came from and see what other people put in their soup. Inspiration is a good thing, after all.
Minestrone has lots of different versions. Even Italians can’t agree (no surprise there). Every recipe I looked at had a slightly different ingredient list. Some featured meat, others didn’t. Vegetables varied from a few onions and tomatoes to an entire produce market. The only constant seems to be that it is a vegetable soup with beans. Historically, it is considered “cucina povera” food of the poor because the ingredients are accessible to all and usually change seasonally. Anyway you cook it it’s cheap.
There are two inspirations for this recipe. One is the vegetable stock that I recently made. The other is an article from “Fine Cooking” magazine about dried garbanzo beans. Pot O’ Gold by Melissa Pellegrino. These have become the basis for the soup I’m sharing today.
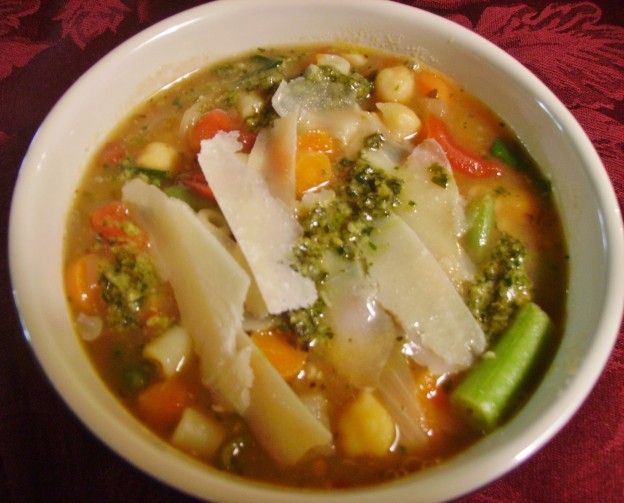
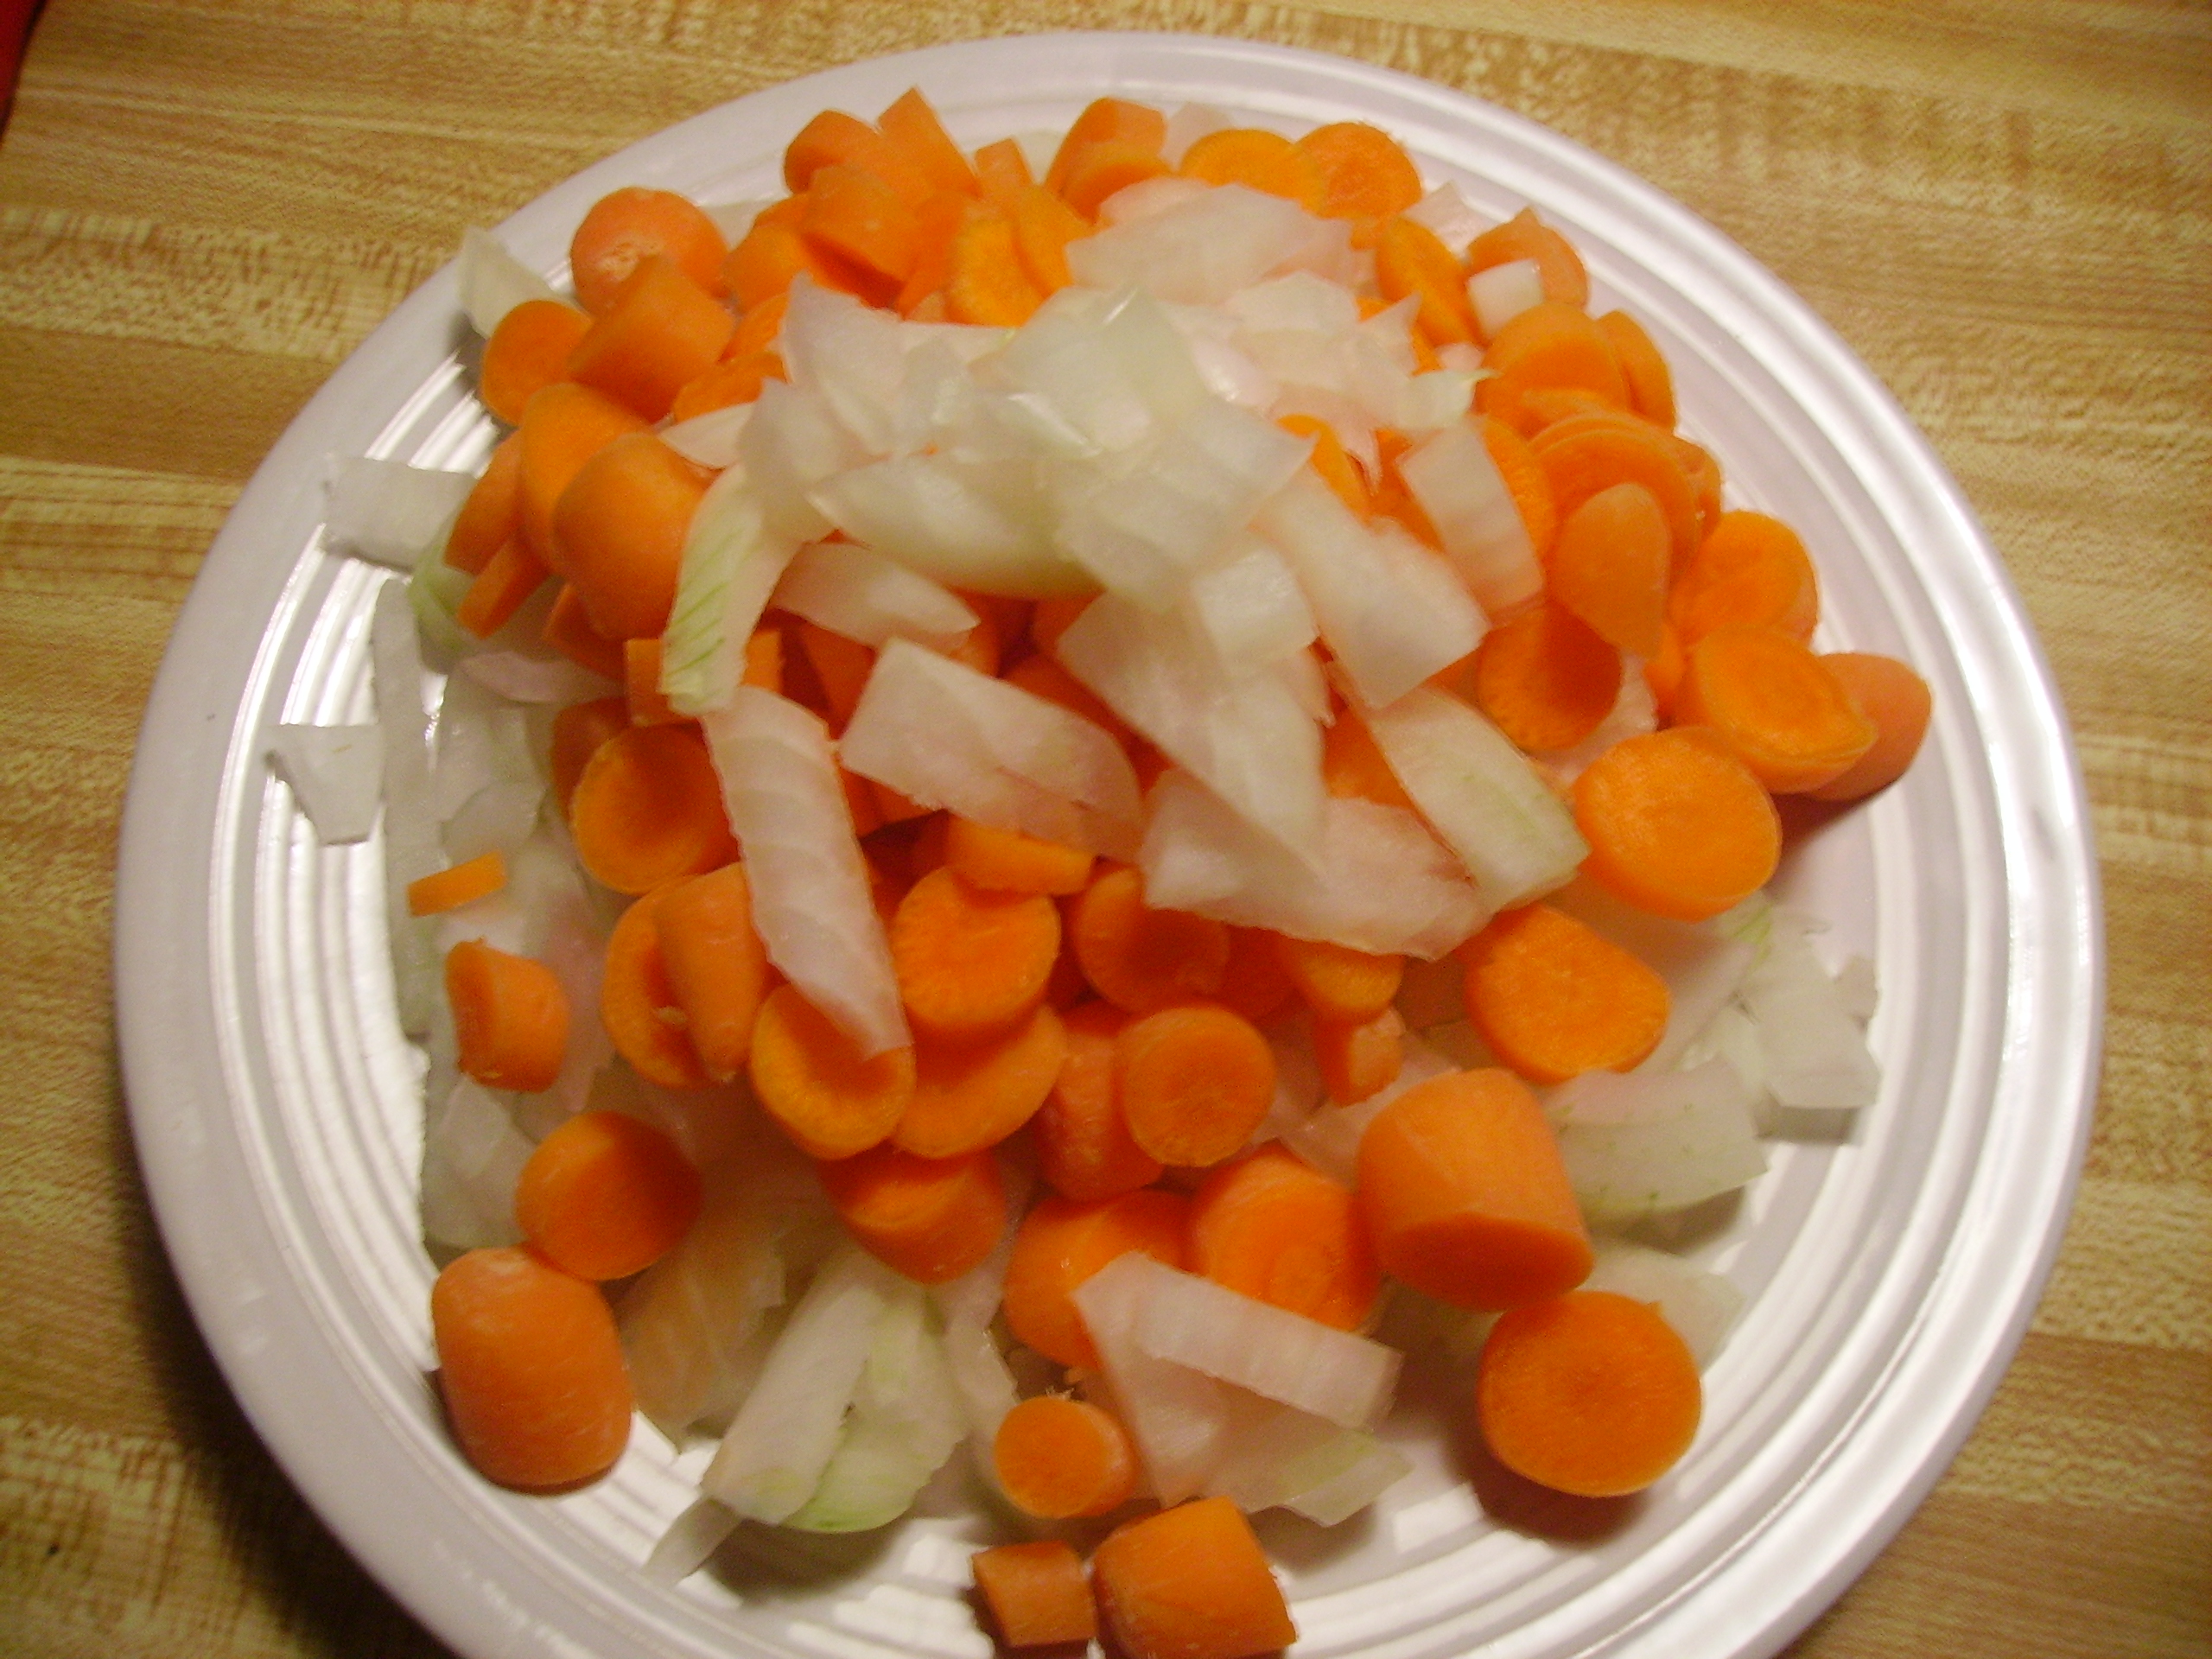
I would call this recipe a Winter Minestrone. It is winter (snow on the ground and single digit temperatures). I steadfastly like to use what I have in the house so the ingredients are quite basic. The soup starts with a medley of vegetables with onion being in the majority. Carrots and garlic round out the aromatics. These are sweated in some olive oil along with a little potato. Canned tomatoes are added for color and flavor. I went with a modest amount of tomatoes, but feel free to use the big can.
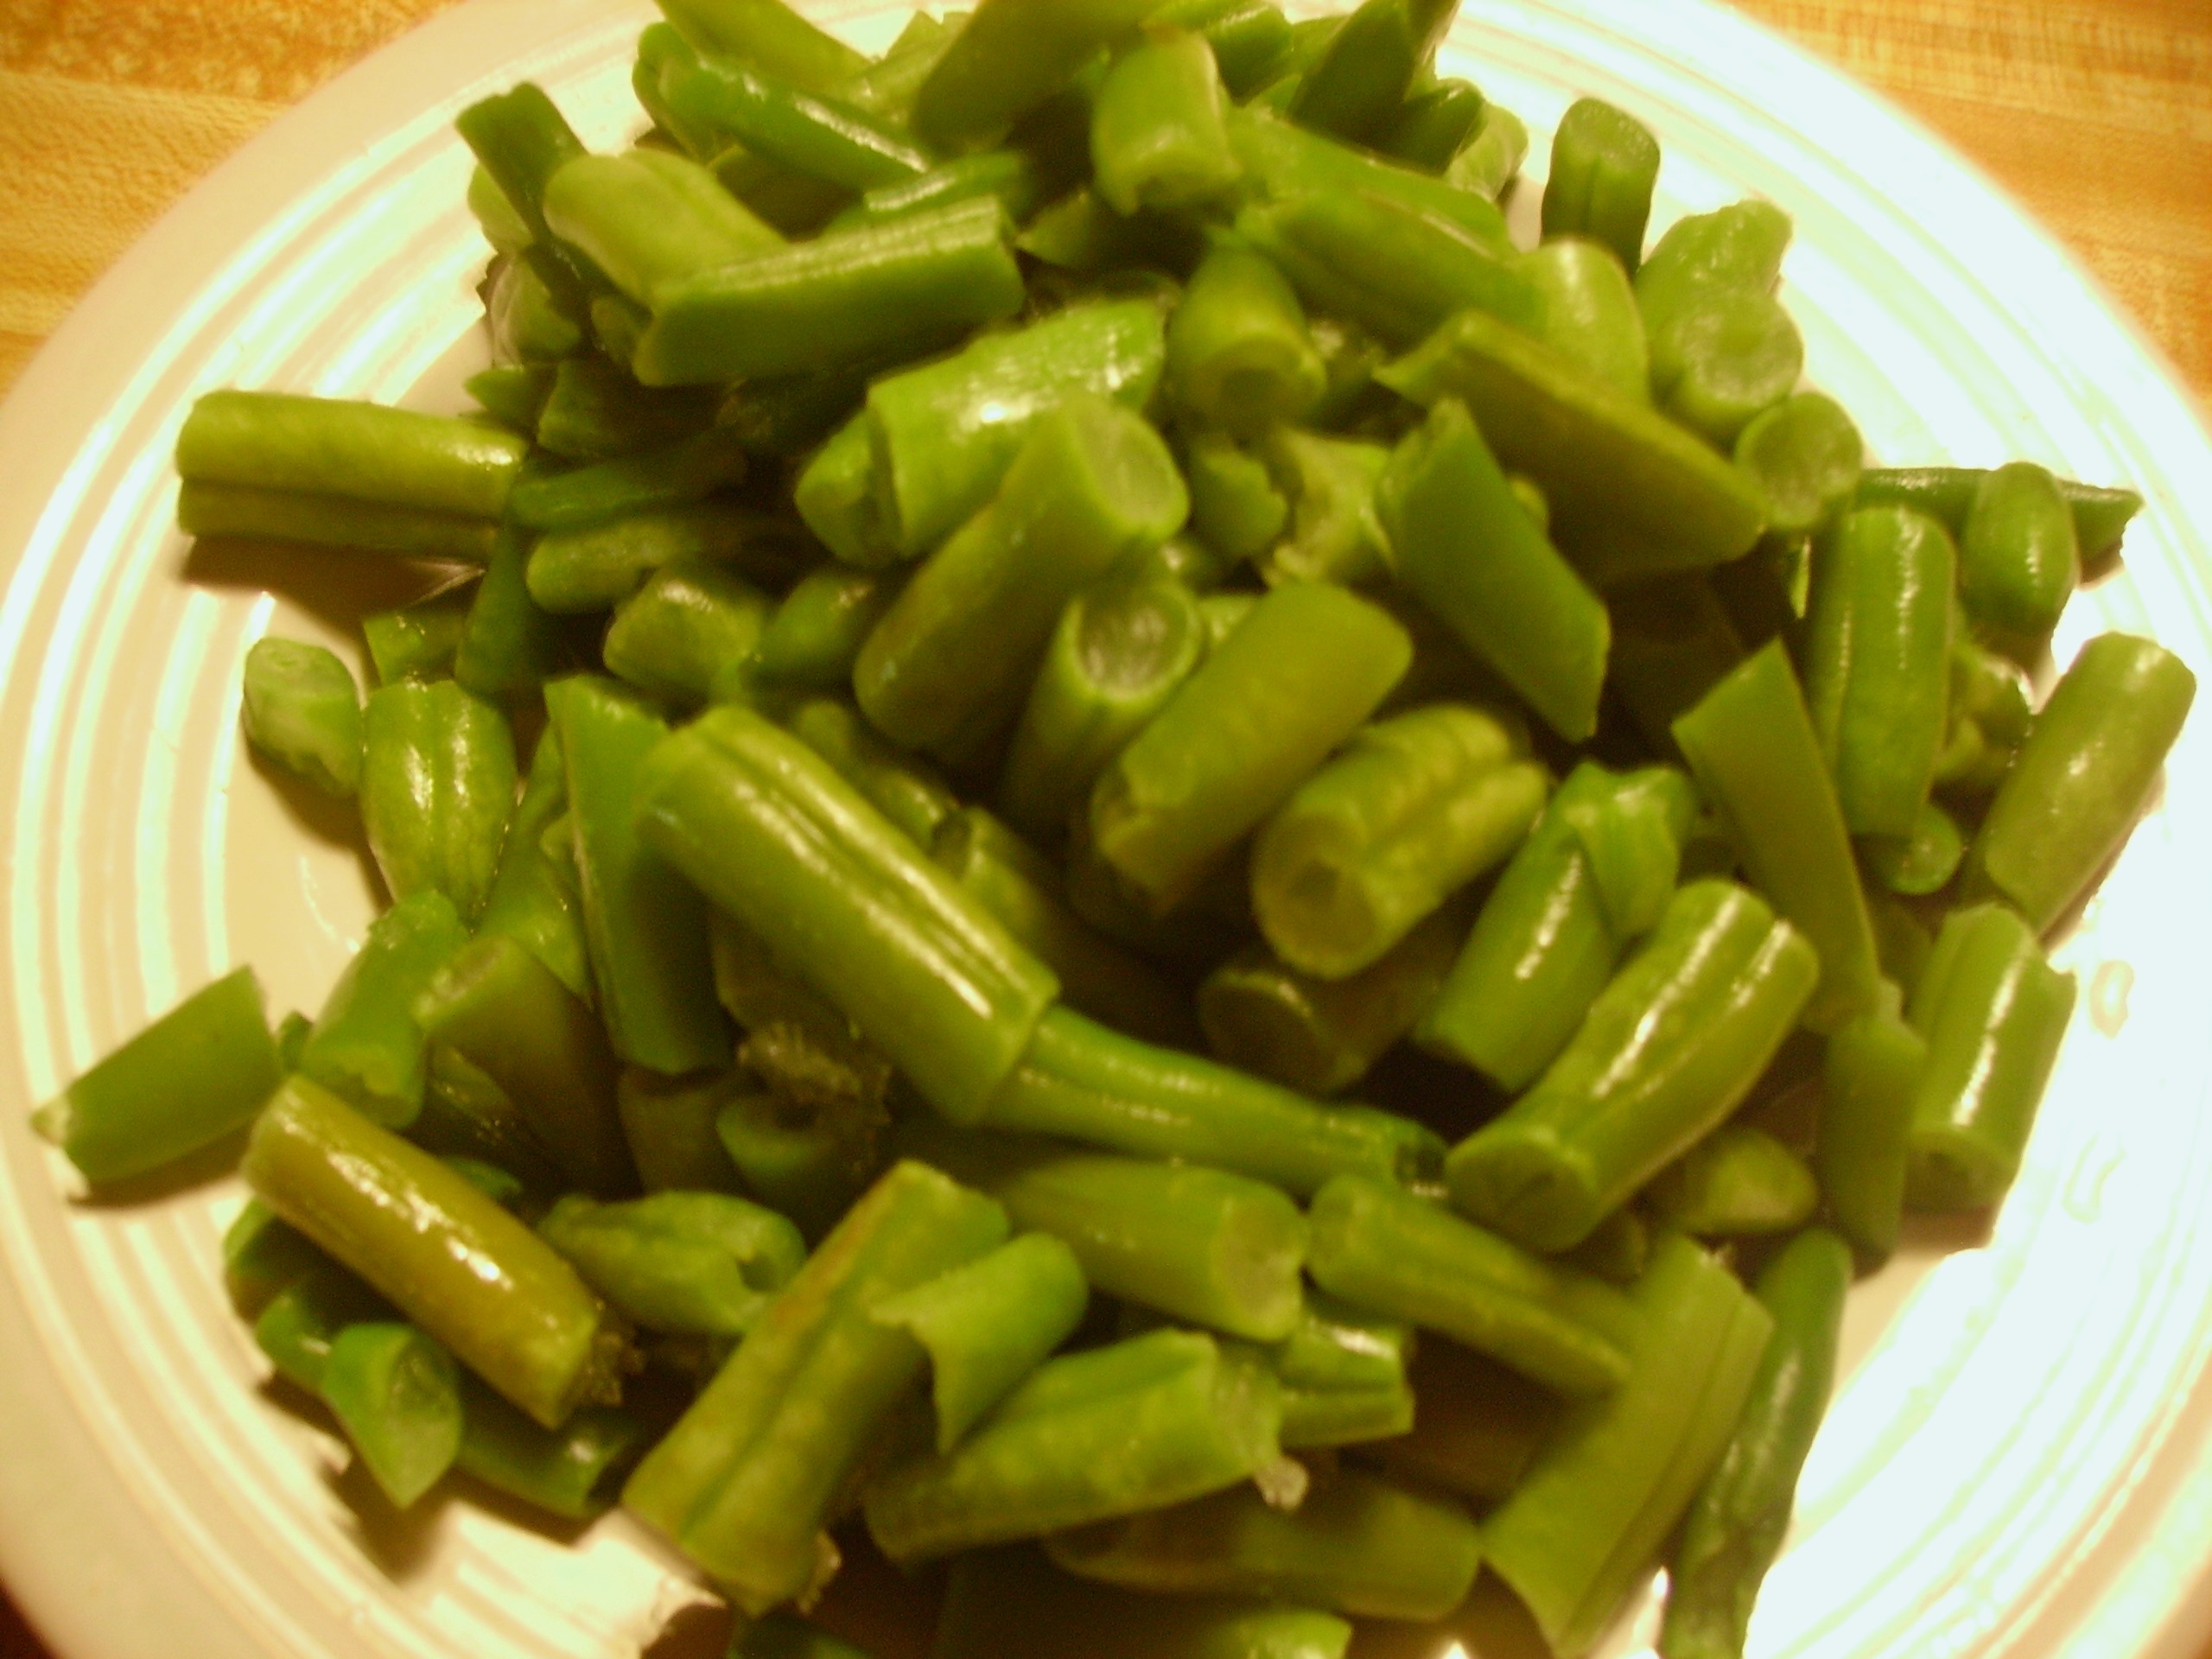
I used a combination of vegetable stock and garbanzo cooking water (this adds a little more bean flavor and also thickens things a bit), and added a small Parmesan rind because I had one. I added lots of garbanzo beans There really is a difference with garbanzos home cooked, They are creamier and oh, so flavorful. I would probably go with fresh green beans in this, but I couldn’t find any that looked like they would actually taste like green beans so I opted for frozen cut green beans that I thawed. That rounded out the main ingredients.
I like most of my soups a little on the thick side. To create a little more body in many of my soups, including this one, I add potato flakes. I’m using them as an ingredient so I won’t call them by their real name, Instant Mashed Potatoes. I know what you’re thinking, and no, I don’t use them in their traditional way. They incorporate almost instantly, and because they are used in small quantities they don’t impart much flavor. Give it a try…you’ll be surprised.
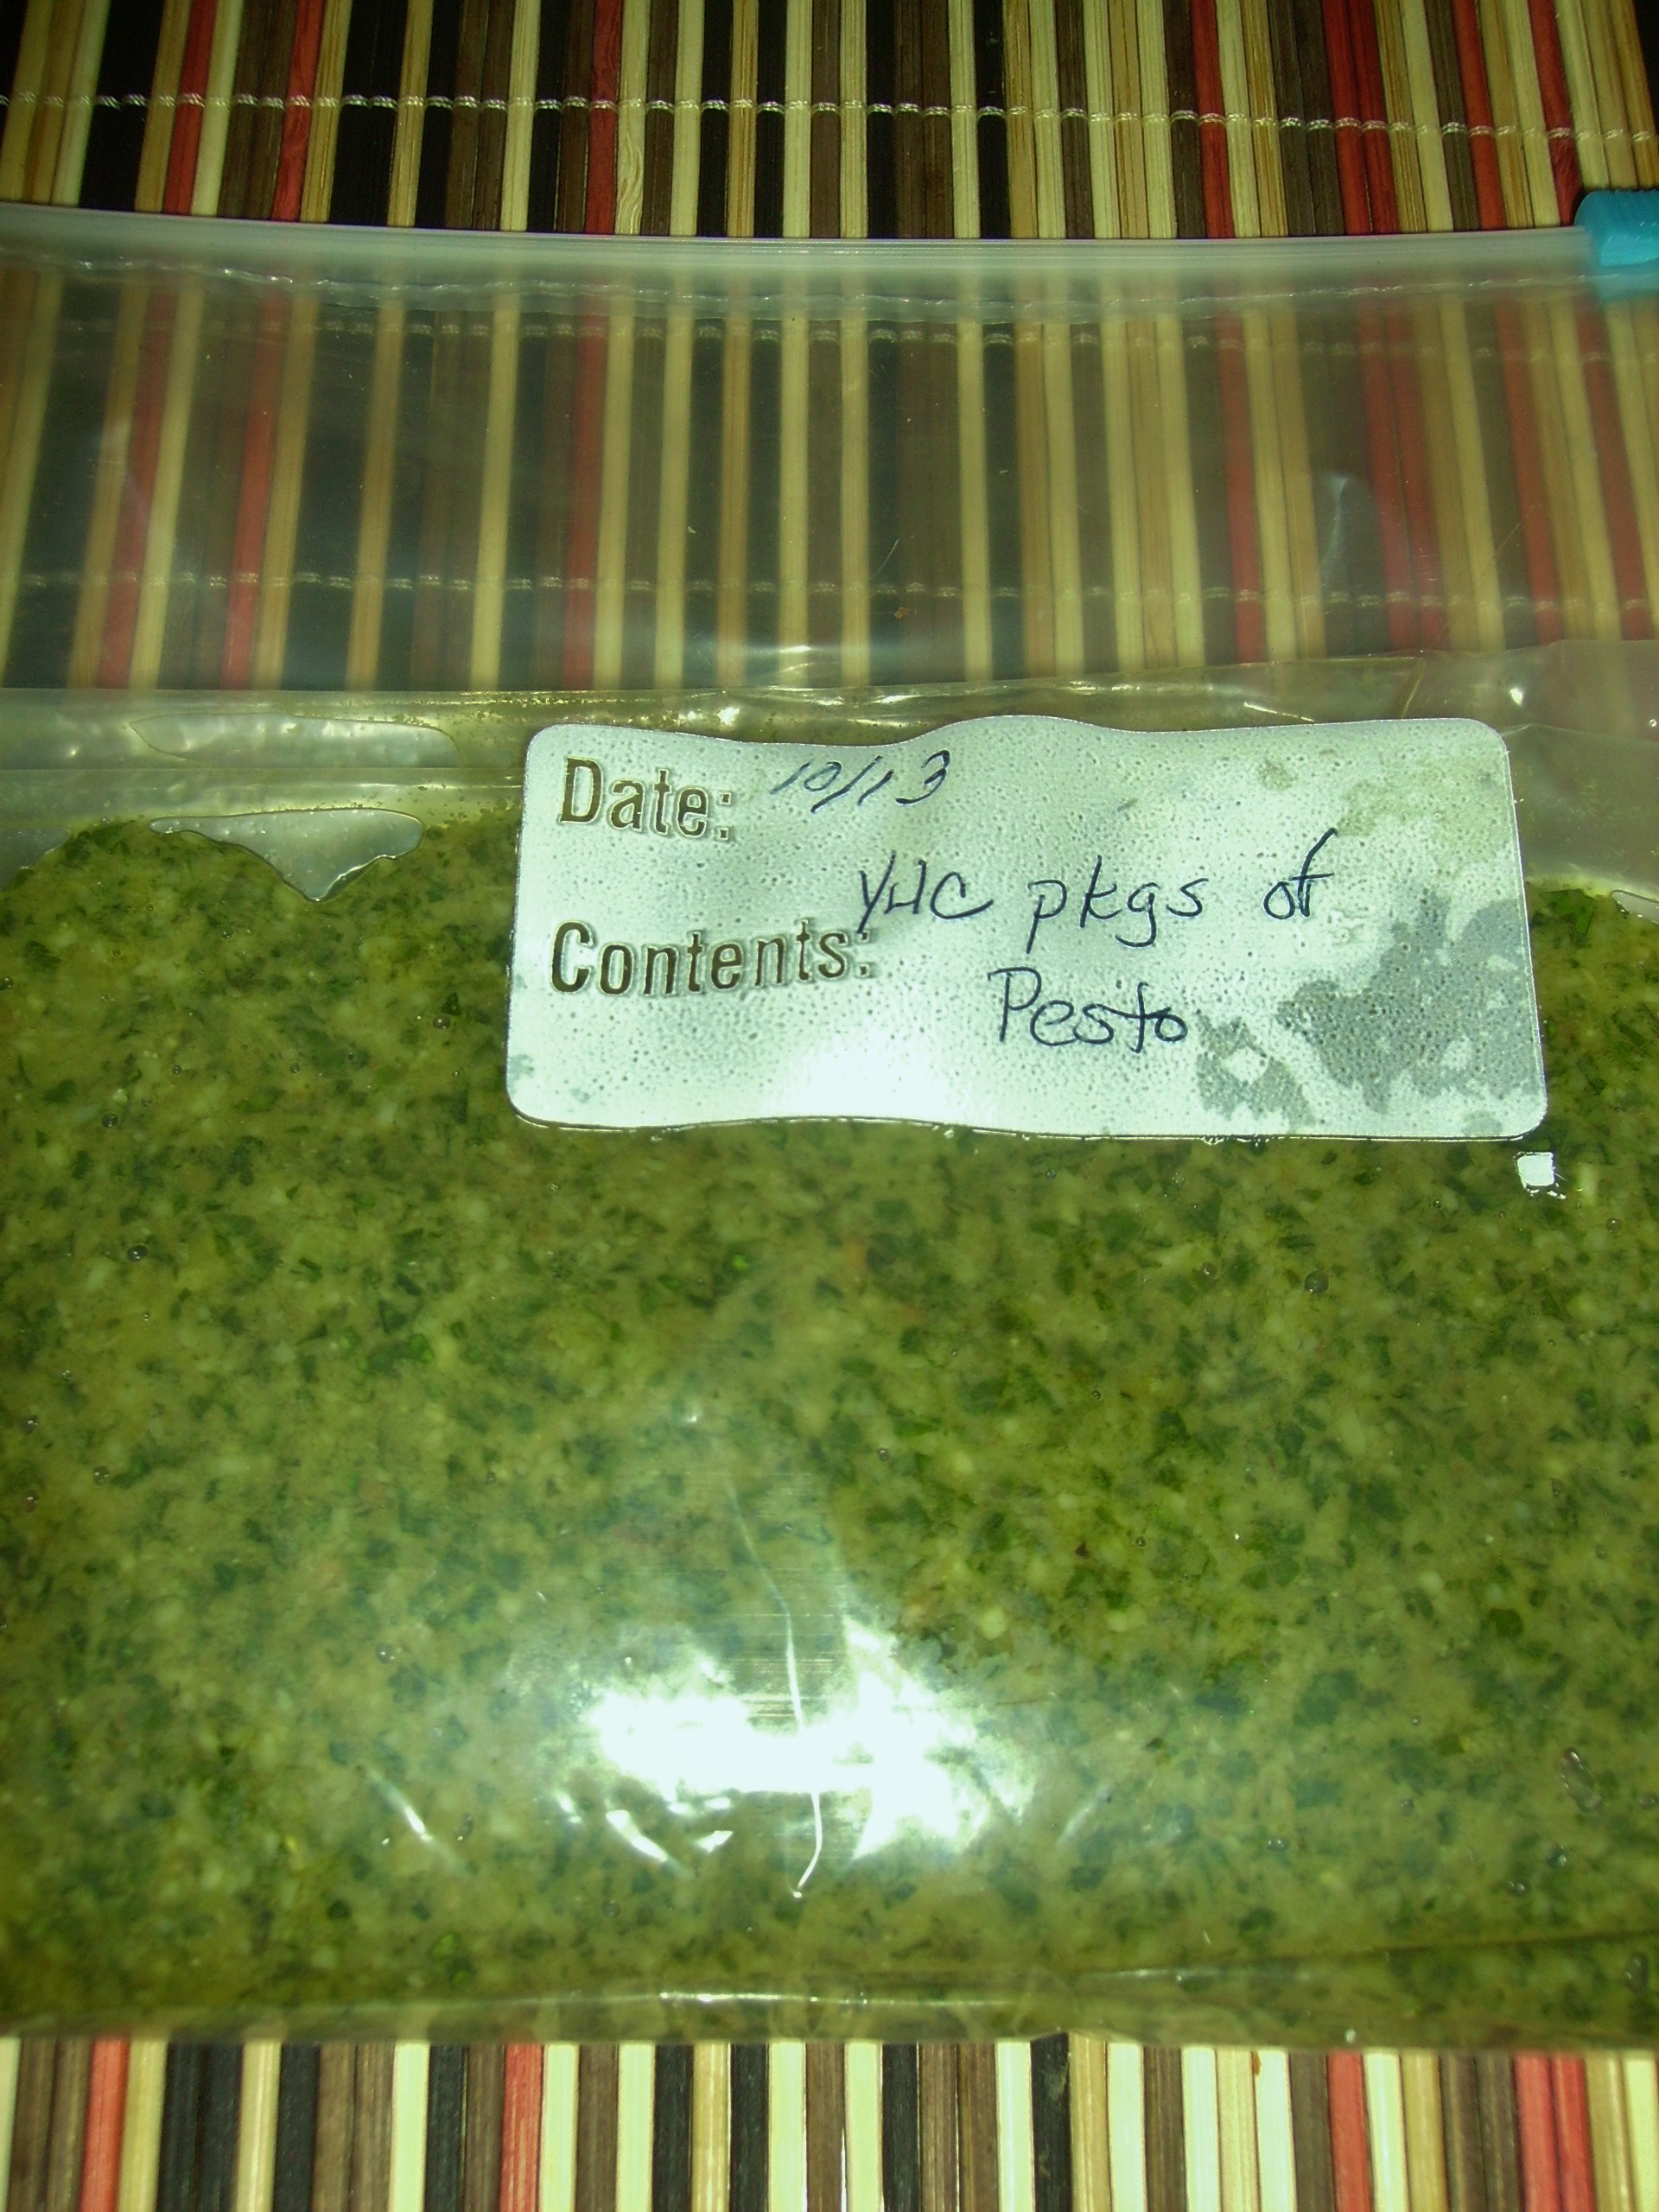
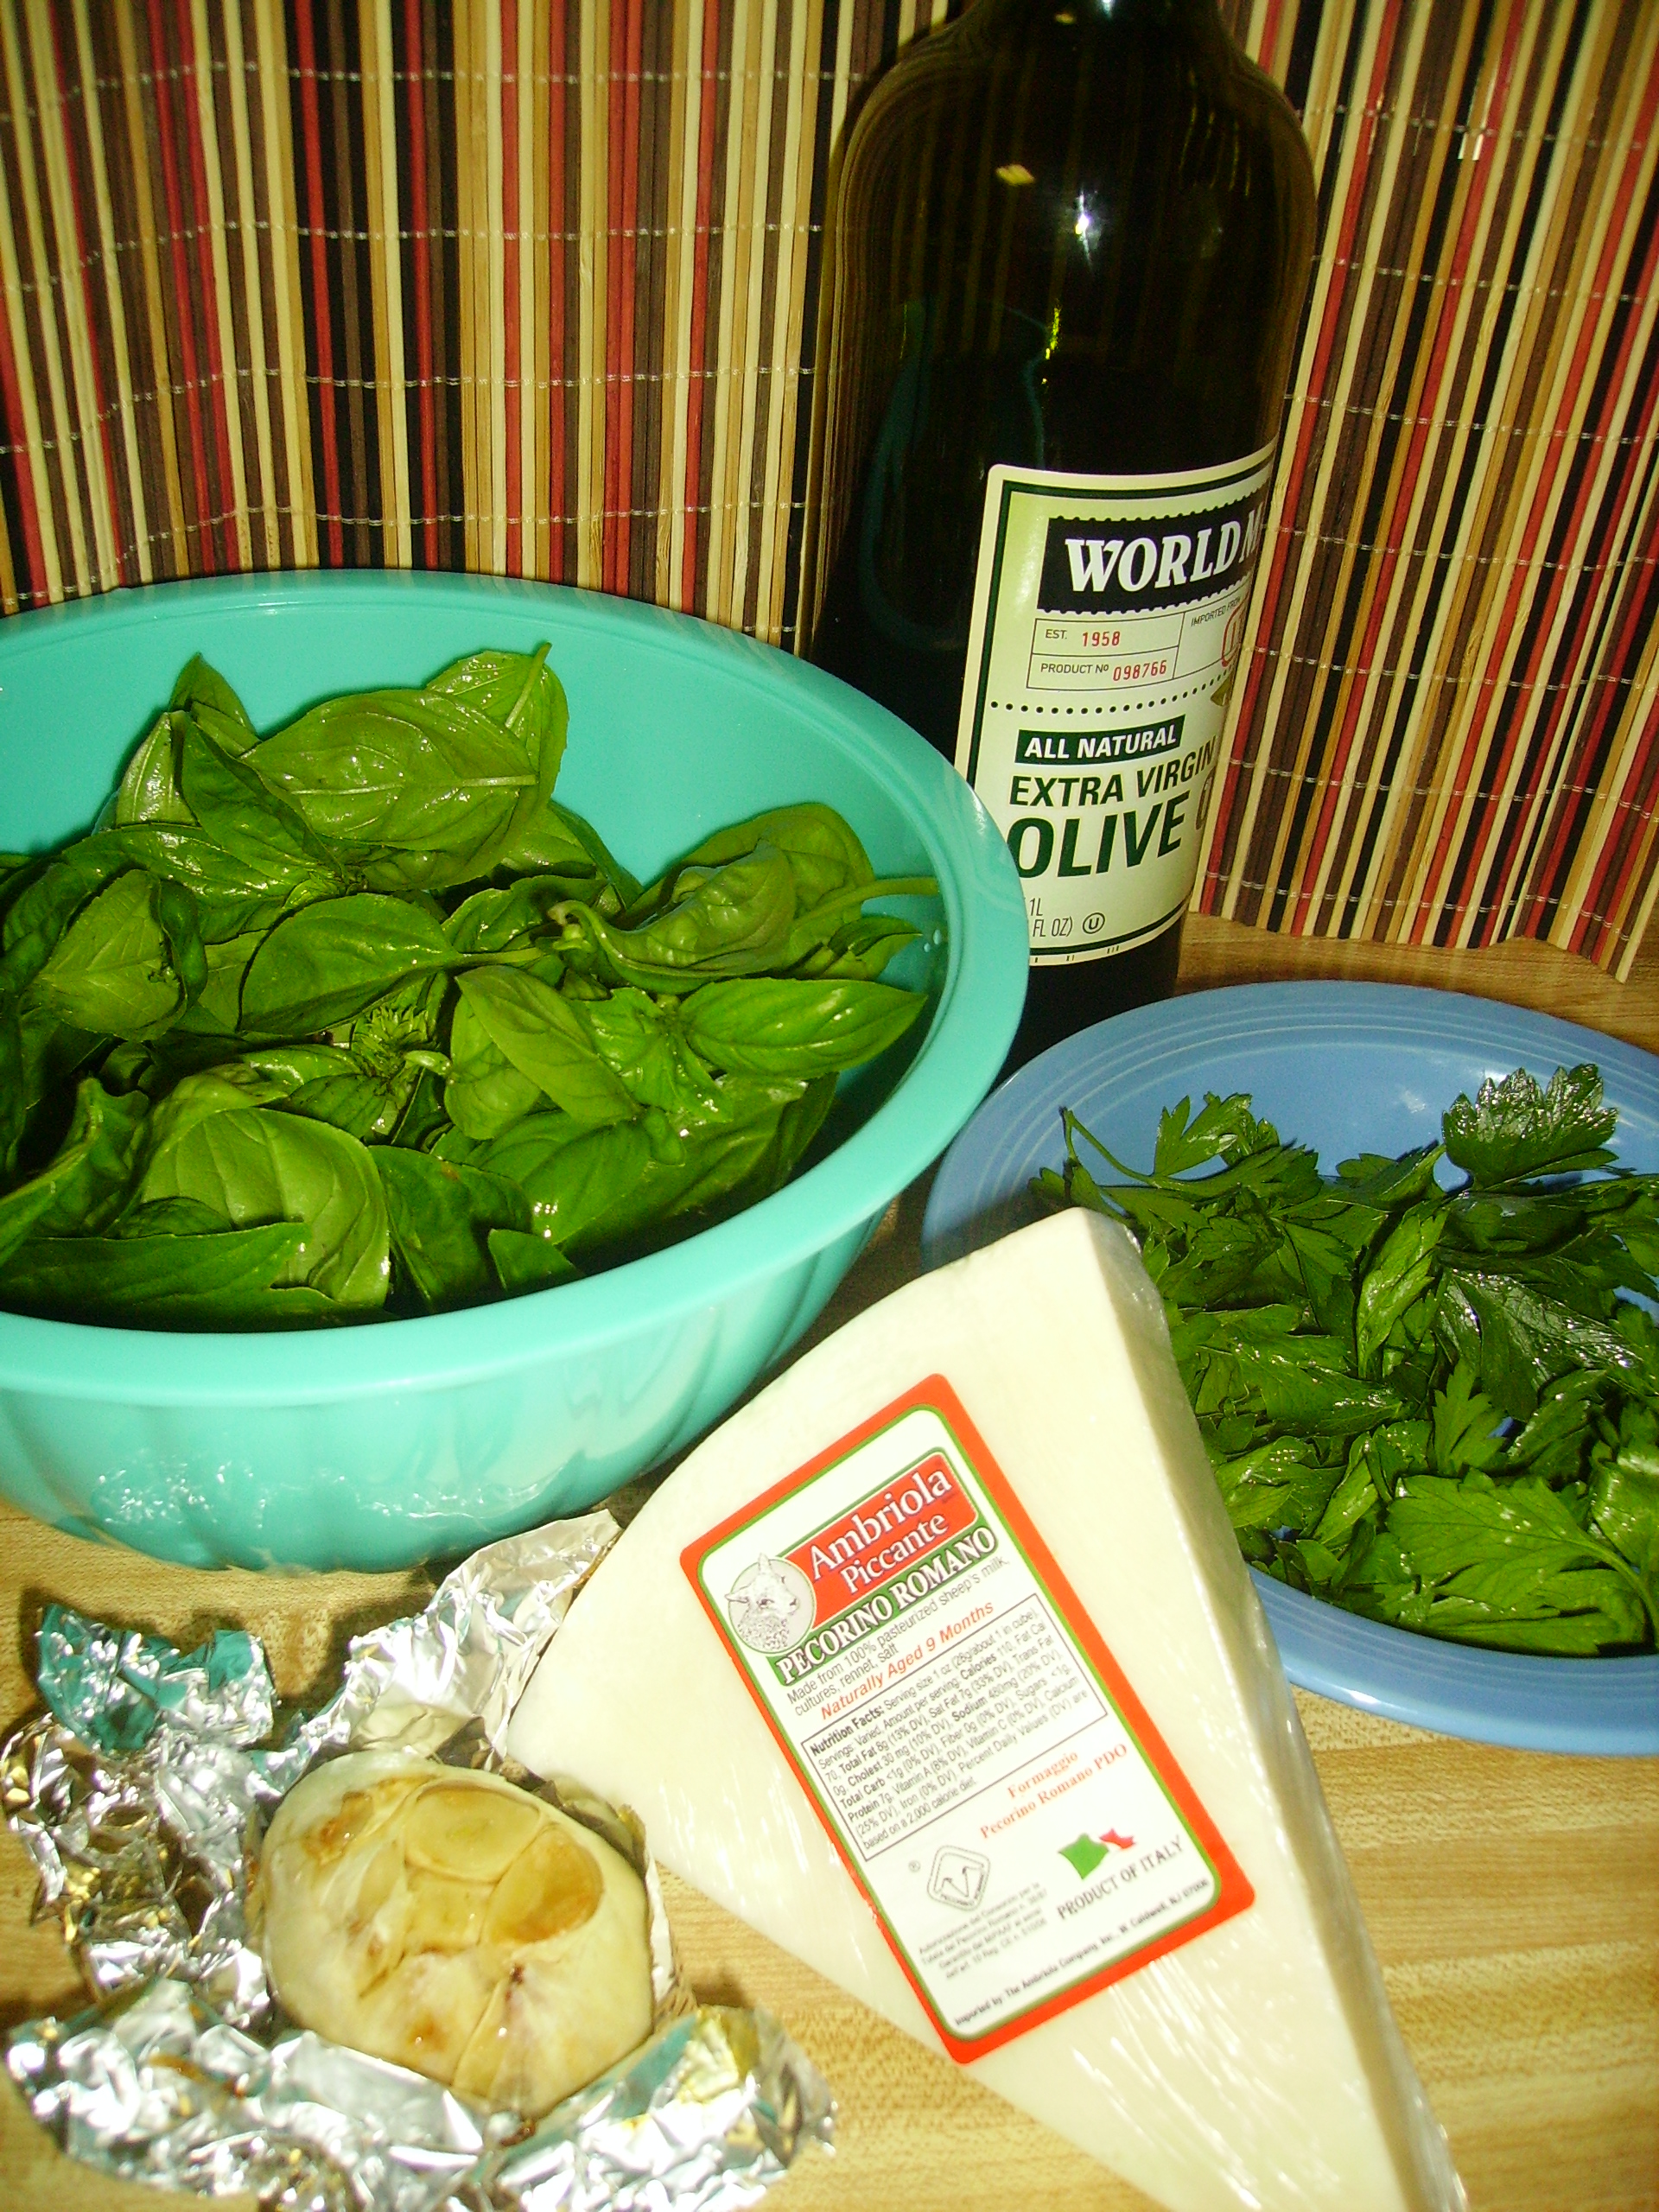
Pesto is green goodness. It adds that slap you in the face flavor and takes whatever you put it in to another level. I always have this in my freezer for just his kind of occasion. It is a wonderful addition to the soup. I like my pesto subtle so I make it with roasted garlic. I freeze it in 1/4 cup portions. it sounds like a small amount, but it goes a long way. If you choose to add more, I won’t be offended. i won’t even mind if you leave it out. That goes for anything in this recipe. I will probably make this soup differently the next time depending on my mood and my pantry. That’s the beauty of cooking…what rules there are, can usually be broken or at least bent a little.
Heat a large soup pot over medium heat. Add the olive oil. Add the onions, carrots, and potatoes. Cook 5 minutes until the onion begins to soften. Add the garlic and cook stirring often until the garlic becomes fragrant, 2 minutes or so.
Add the tomatoes and stir to combine everything. Cook over medium high heat for 5 minutes stirring often. Add the garbanzo water, vegetable stock, and cheese rind. Bring to a boil. Reduce the heat and simmer, uncovered 30 minutes.
Add the garbanzo beans and the herbs. Cook for 5 minutes or so. if you like a thicker soup add the instant potato flakes and stir to combine. Cook for 3 minutes or until you notice things beginning to thicken. Add the green beans and heat for another 5 minutes.
Lower the heat and add the pesto. Sir to combine. Taste at this point and add salt and pepper to your preference. Continue to heat until everything is beautifully steamy.
Divide the cooked pasta into 6 soup bowls. Ladle the soup on top of the pasta. Top with the Parmesan shavings and garnish with more pesto if desired.
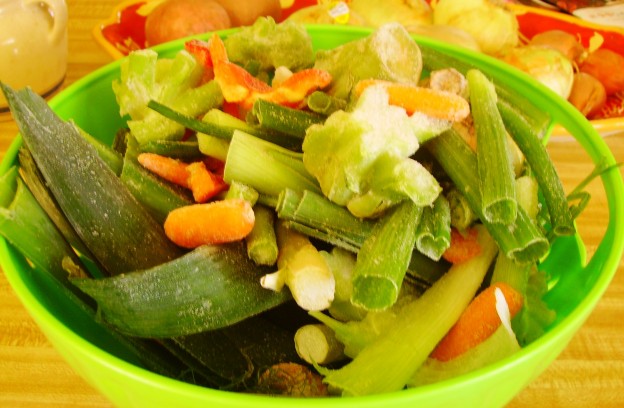
If chicken stock is “liquid gold” then Vegetable Stock could be called “liquid green”. Not only are many of the ingredients green in color (though the stock will be a lovely yellow), making it can be somewhat of a “green” activity. Vegetable stock in Mama D’s Kitchen (and many other kitchens I’m sure) is made from scraps. The ends of asparagus, broccoli and mushroom stems, scallion and leek tops can all go into this stock. “That’s a lot of vegetable scraps, Mama D,” you may be saying to yourself. “Have you gone vegan?”
No, I’m still an unashamed omnivore, just a frugal one. When I’m prepping vegetables, I save the clean parts that aren’t worthy of being part of the dish. There’s always a large zip top bag in my freezer door (that way I see it every time I open the freezer) that is home to many odds and ends of the vegetable world. Once the bag is full, usually in a month or so, I’m ready to make stock.
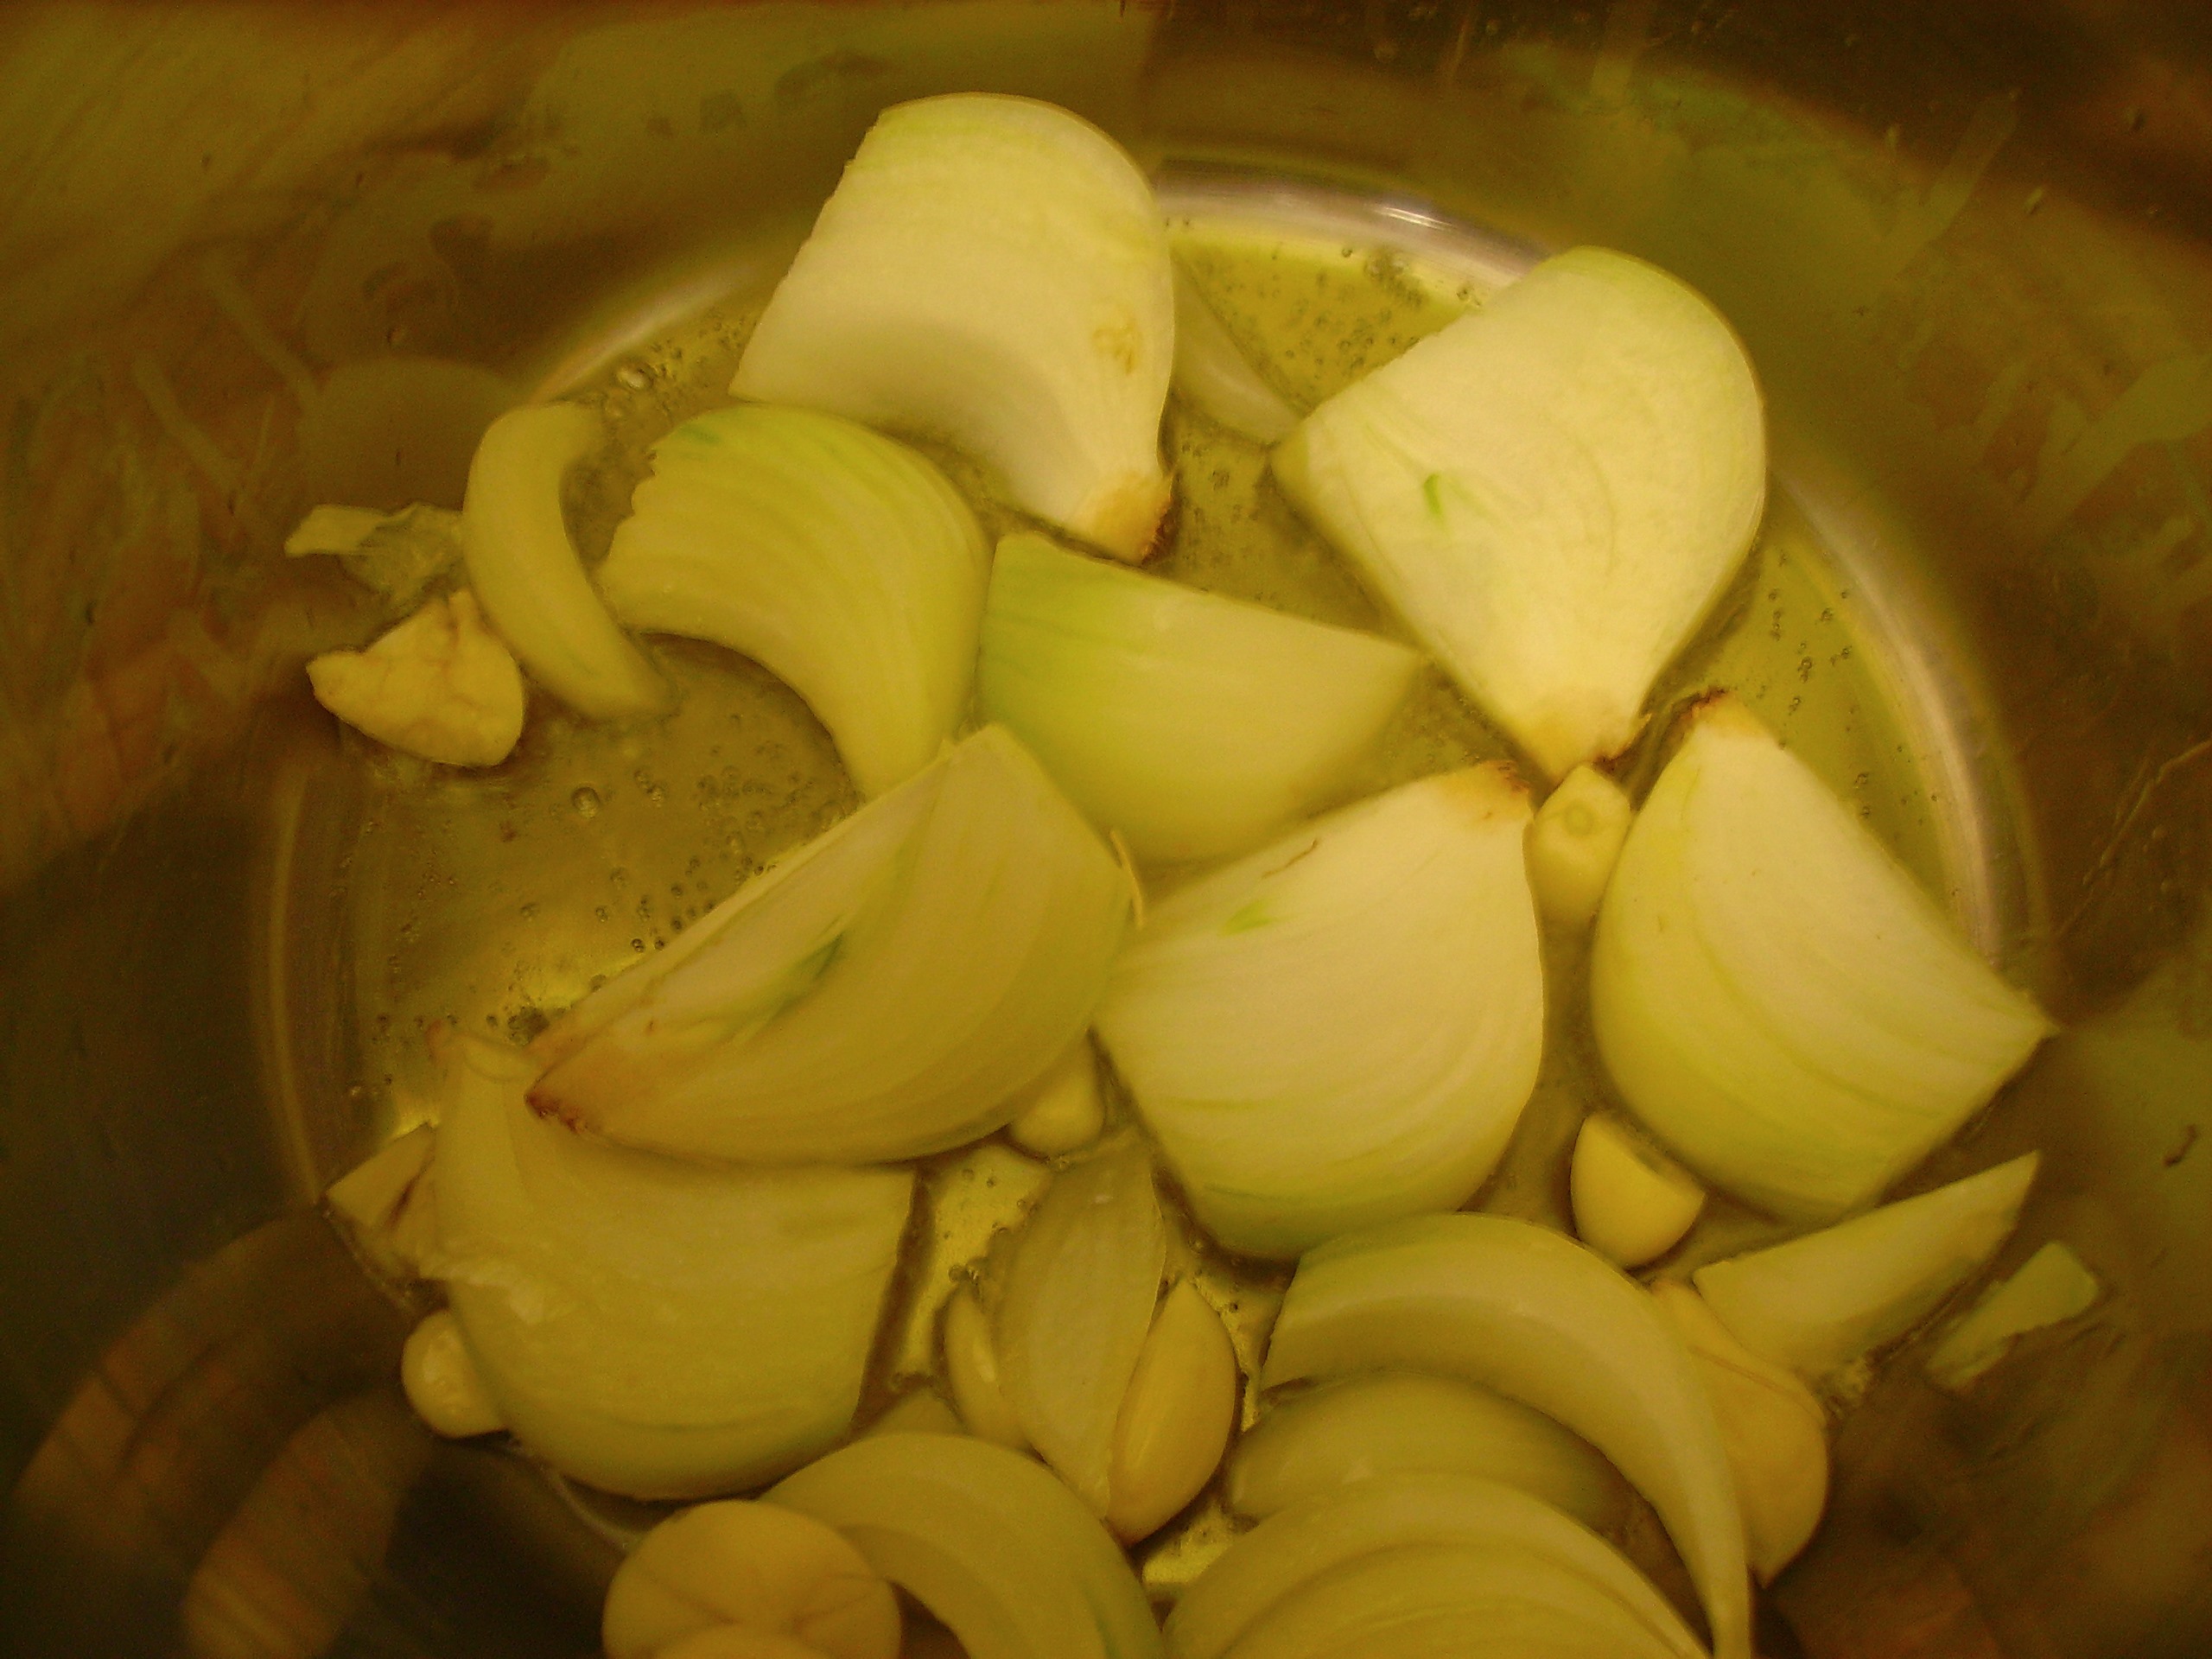
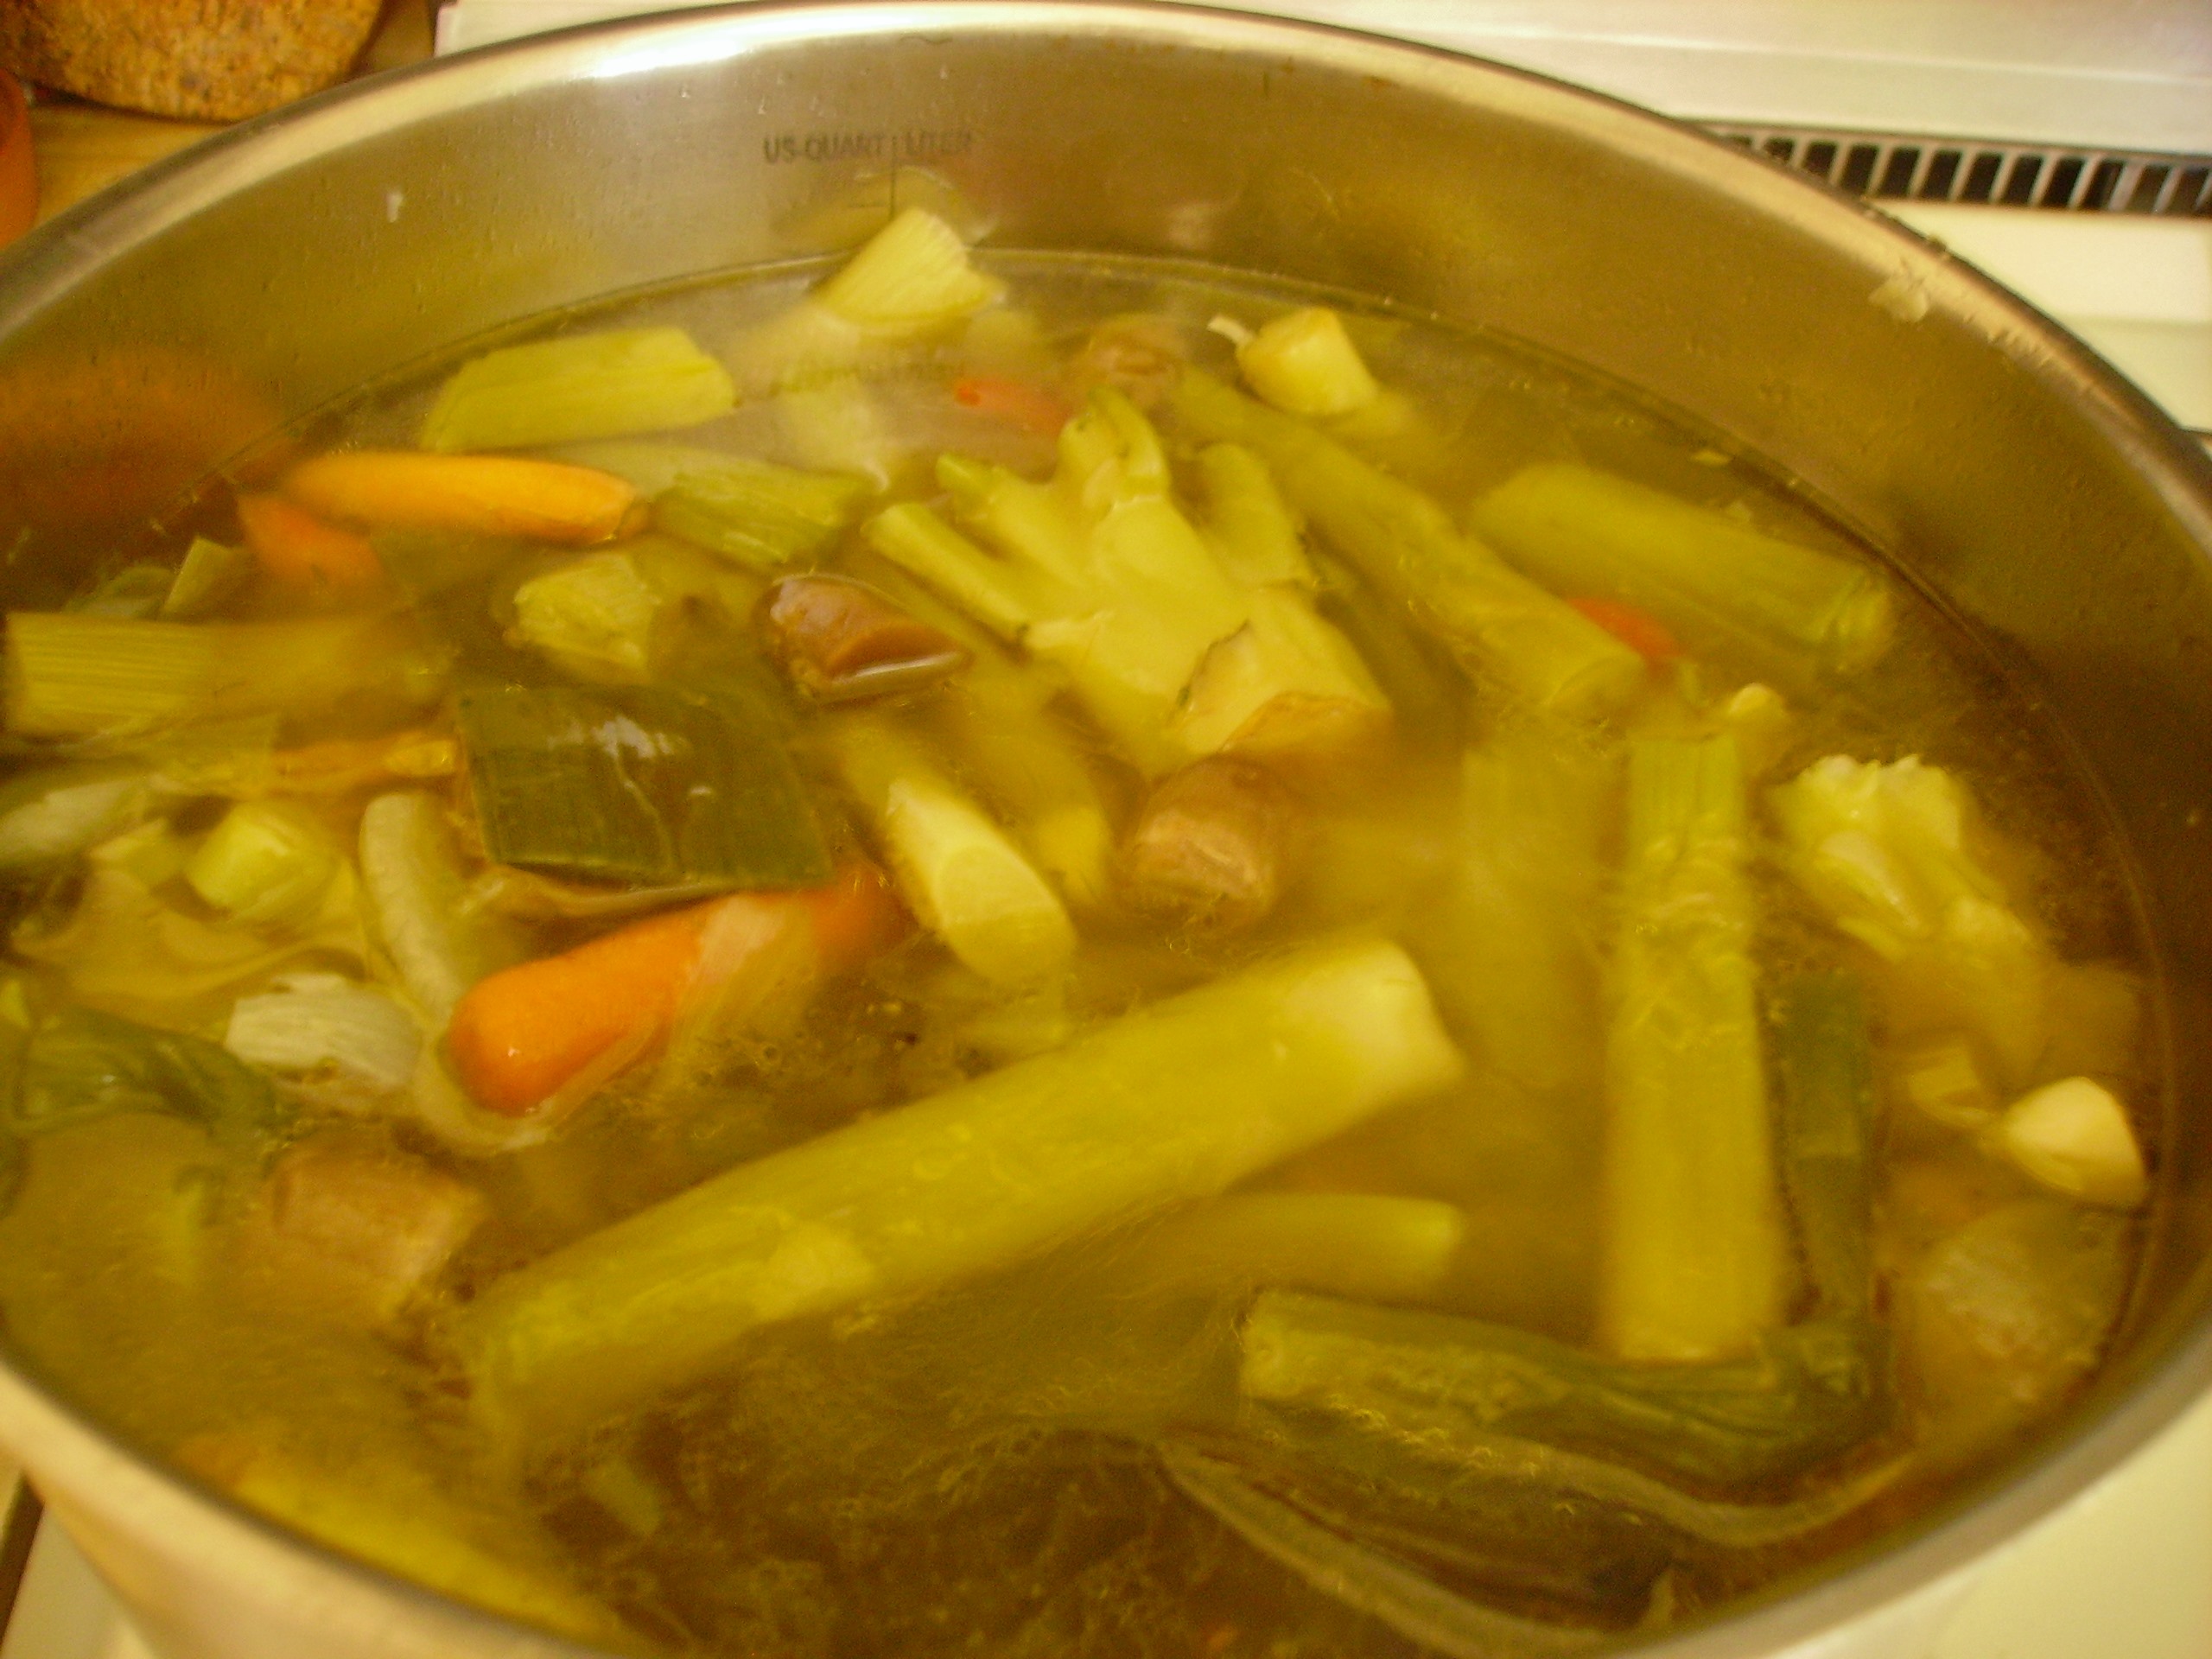
I start with fresh onions and garlic that I sweat in the soup pot. Then I add the vegetables (still frozen) a little salt and let them sweat, wilt,, etc covered for 15 minutes or so. It’s time for water, lots of it… As with any great stock, time and the stove do the rest of the work. Once the stock comes to a boil, it gets covered and the heat gets turned down low. The love simmers in and the intriguing fragrance of vegetables that you can’t quite identify fills the kitchen.
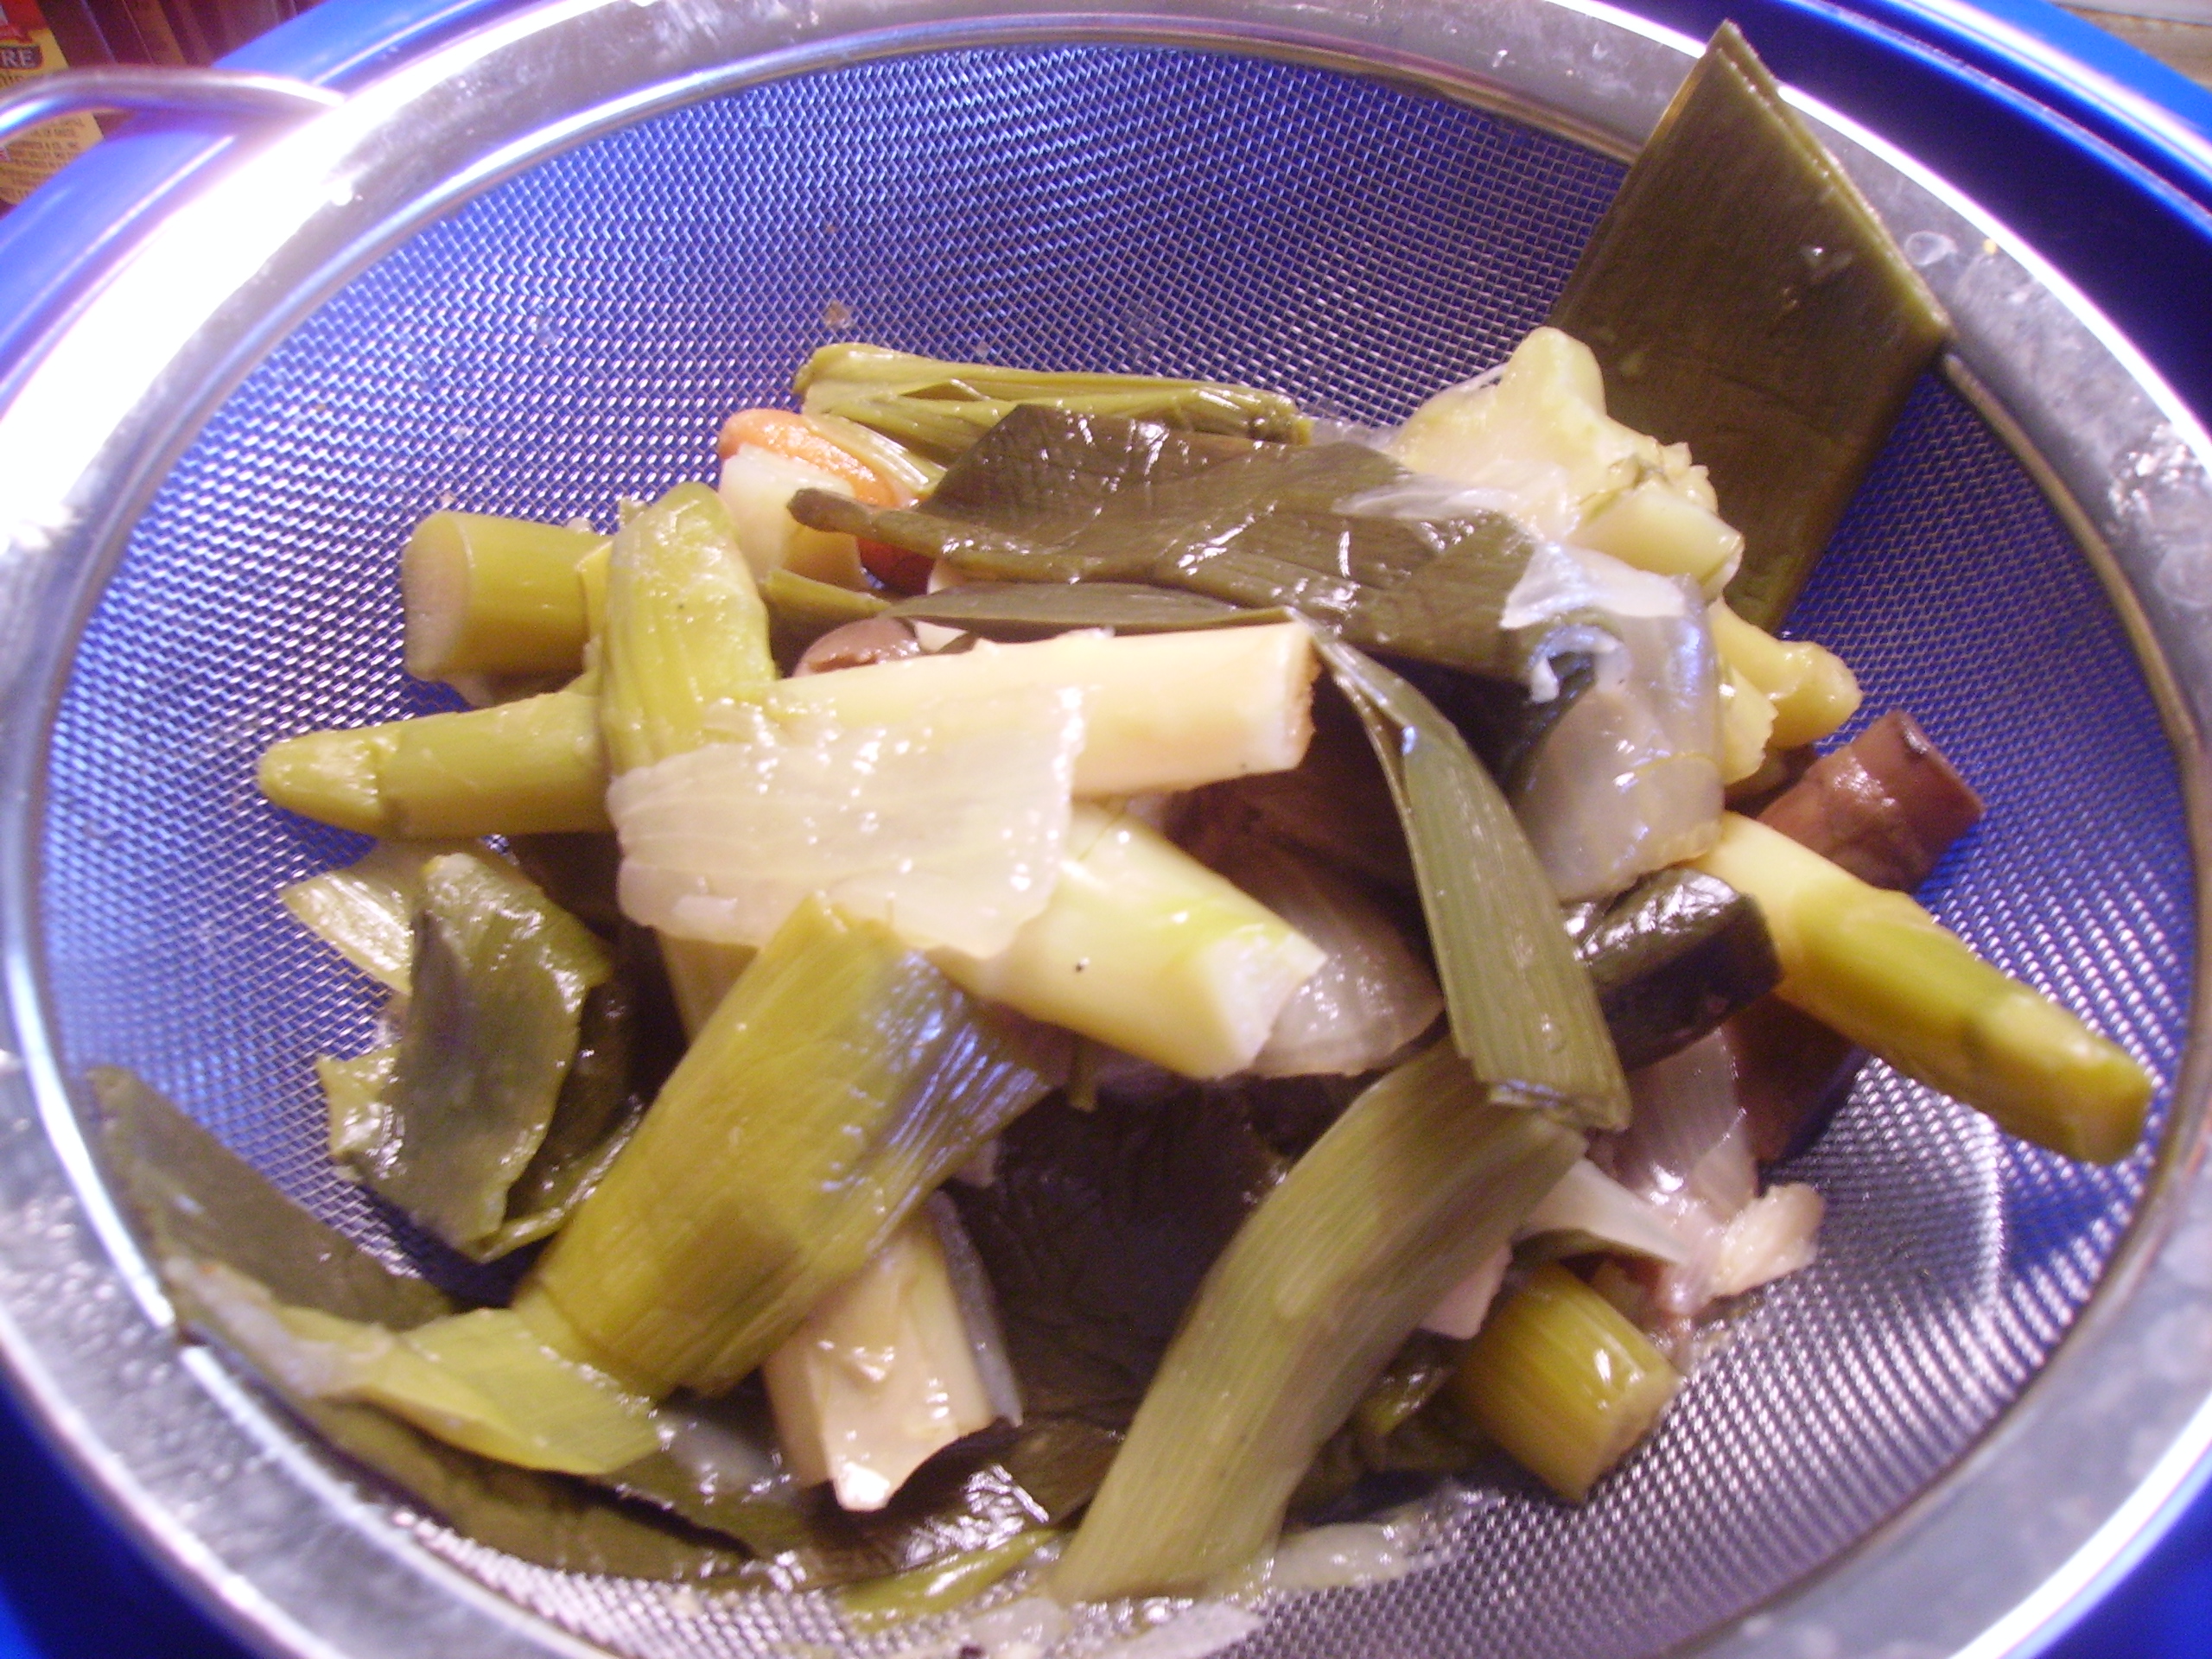
After two hours or so of covered simmering the stock is ready to strain and store. This process is a little time-consuming, but worth the effort and it’s much less, shall we say, “gross” than straining chicken stock. I usually strain it twice. Once in a fine mesh strainer then again in the same strainer lined with cheesecloth. This leaves the clear goodness that is ready to grace many dishes and get rid of any less desirable matter. Like all of the basic stock recipes this one has no seasoning except for a little salt in the sweating step. This and any stock should be a blank canvas ready to take on the nuances of whatever recipe it goes into.
What kinds of dishes can vegetable stock be used in? Well, soup of course, but it is great for cooking rice, quinoa, and other grains. It makes a nice sauce base for pasta and vegetable dishes. It can be thickened for a gravy or a casserole base. This stock will keep in the freezer for several months. I store it in varying sizes of containers so that I can use just the amount I need. It also makes it easier to fit into the odd nooks and crannies that seem to be the only space I have in my freezer.
Vegetable Stock
Print Recipe
This stock is simple yet versatile . Made from vegetable scraps that you can save in the freezer instead of throwing away.
Servings
2Quarts
Servings
2Quarts
Vegetable Stock
Print Recipe
This stock is simple yet versatile . Made from vegetable scraps that you can save in the freezer instead of throwing away.
Heat a large soup pot, Add the olive oil and let it heat a bit. Add the onion and garlic and cook over medium heat until the onion softens slightly and the garlic becomes fragrant, 8 minutes or so.
Add the vegetable scraps (it's fine if they are still frozen) and salt to the pan. Toss to mix with onions, garlic, and oil. Cover and let the vegetables sweat, steam and thaw. This takes 15 minutes or so depending on the amount of vegetables you have.
Add the water to the vegetables in the pot. Cover and bring to a boil. Reduce the heat to a simmer and continue to cook covered stirring occasionally 2 hours or so.
Strain the soup through a fine mesh strainer,then strain again, this time through a cheesecloth lined mesh strainer.
Fill recipe sized containers with the stock. Store in the freezer for up to 3 months or so. The stock can be kept in the refrigerator for 4 days
Food love comes in many shapes and sizes. Coming off Thanksgiving dinner where each dish was beauty unto itself while being part of the whole, it’s time to get back to basics. For Mama D cooking is designed to fill the stomach and the soul with love. That it be easy, straight forward, and economical is also a given. If you’ve been following my musings, you know that I do a lot of recipes that are created in one vessel. The time has come to devote a few more words and share a couple of recipes that cook in one pot.
What kind of love can you create in one vessel? Soup immediately comes to mind and Mama D does a lot of soup. It is perhaps the consummate one pot meal. I’ve shared many Soup Adventures so I will head in a completely different direction.
I’m a fan of the Bar Cookie. While not a meal, at least for most of us, it is created in a single vessel. As the holidays thunder towards us, cookie baking will be a common occurrence. i usually don’t make bar cookies at Christmas, but the rest of the year they are my go to sweet. They mix quickly and there’s only one pan to bake. It’s sweet perfection.
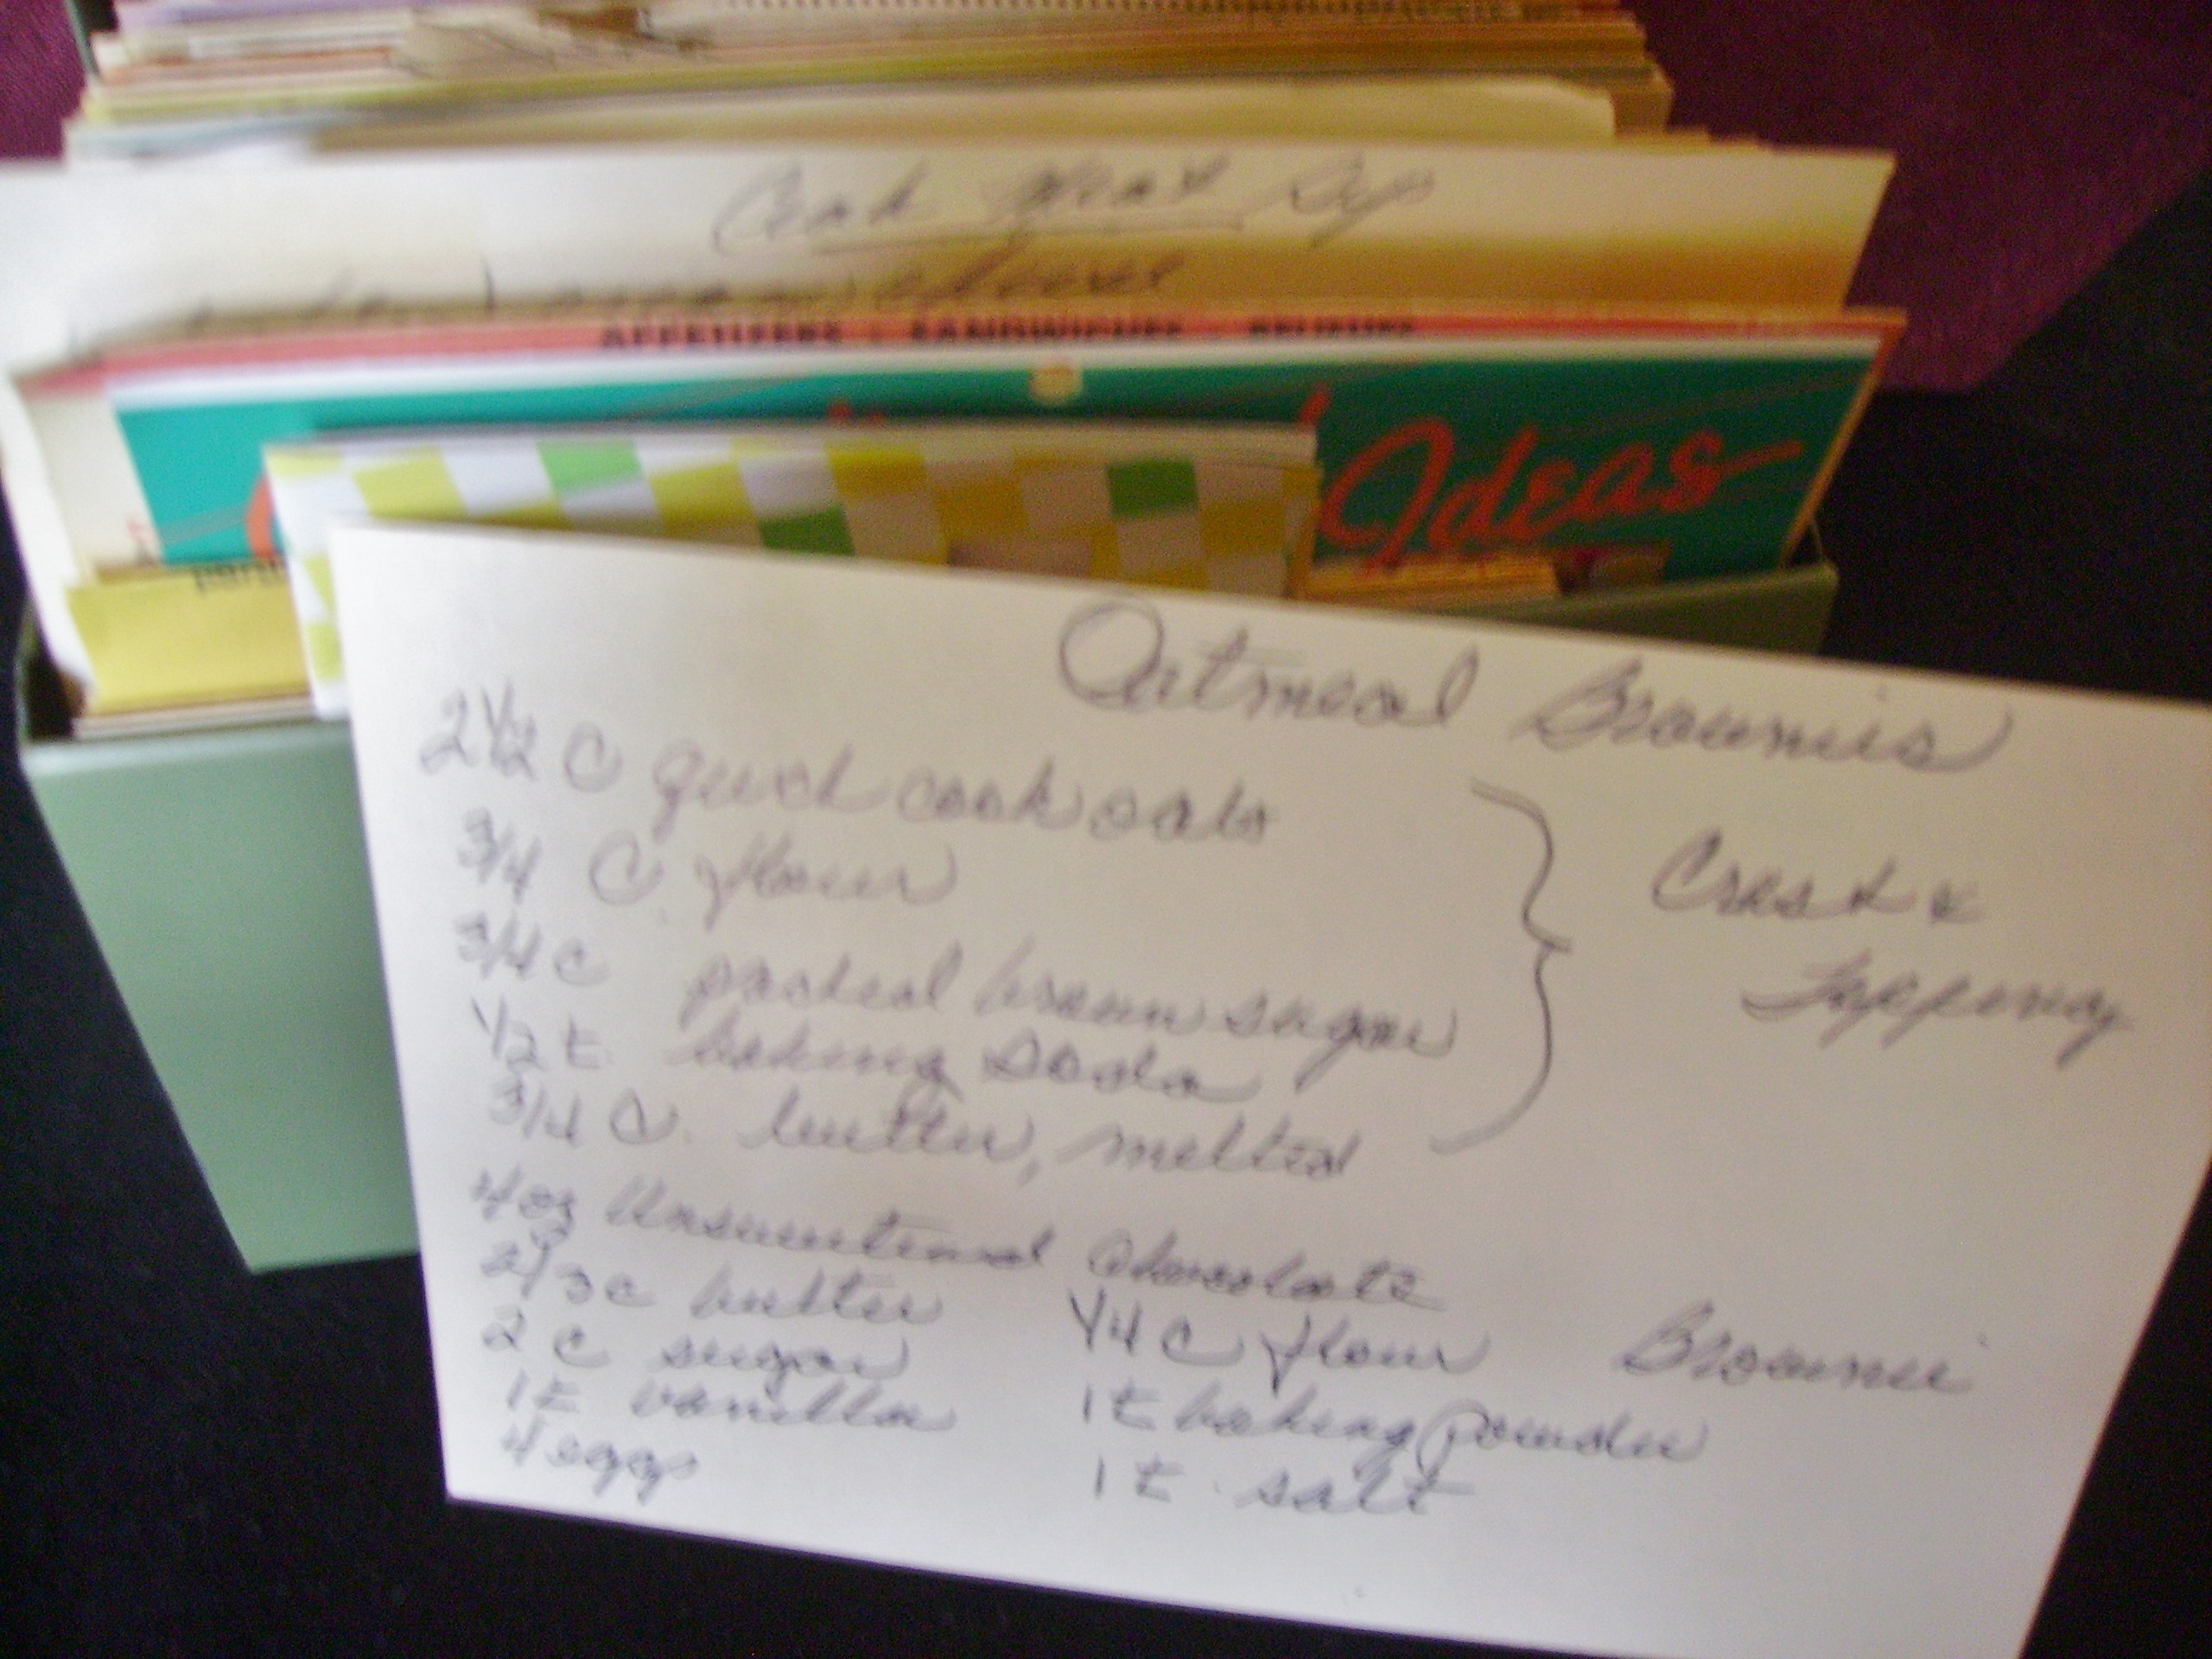
This recipe came from a woman’s magazine sometime in the mid 70’s. I made it several times back then and relegated it to my metal recipe box. Low and behold on a recent flip through the box I found it again. I had all the ingredients on hand and felt the need for homemade brownies, so I dusted it off and popped it in the oven. Though it was made using two mixing bowls, it qualifies as one pan, because that’s how it bakes. (Mama D Rule)
Oatmeal Brownies
Print Recipe
This is a brownie with a bit of crust, in a good way. Rich brownie is sandwiched between a buttery oatmeal crust. The ingredients are for two parts of the recipe. The first five are the crust; the rest are the brownie.
This is a brownie with a bit of crust, in a good way. Rich brownie is sandwiched between a buttery oatmeal crust. The ingredients are for two parts of the recipe. The first five are the crust; the rest are the brownie.
Heat oven to 350 degrees. Spray a 13 X 9 pan with cooking spray.
In a large bowl, mix the first 5 ingredients until blended. This will be very crumbly. Set aside 3/4 Cup of the mixture. Press the rest of the mixture into the bottom of the prepared pan.. Press this down firmly. Use wax paper to help get an even layer. Bake for 10 minutes. Let cool for 5 minutes.
Meanwhile, heat chocolate and 2/3 cup butter in a saucepan over low heat until melted, stirring occasionally. Remove from heat and cool slightly. Stir in Granulated sugar, eggs and vanilla.
Combine the 1-1/4 cup flour, baking powder, and salt with a wire whisk to aerate and mix. Add these dry ingredients to the chocolate mixture. Stir until blended.
Spread the batter over the oatmeal base, spreading to create an even layer. Sprinkle the reserved oatmeal mixture on top of batter. Bake 30 minutes or until the center is set. (toothpick test does not work) and the oat topping is golden brown.
Cool completely, at least 2 hours. Cut into bars as large or small as you desire.
Store covered for up to 4 days. They won't last that long.
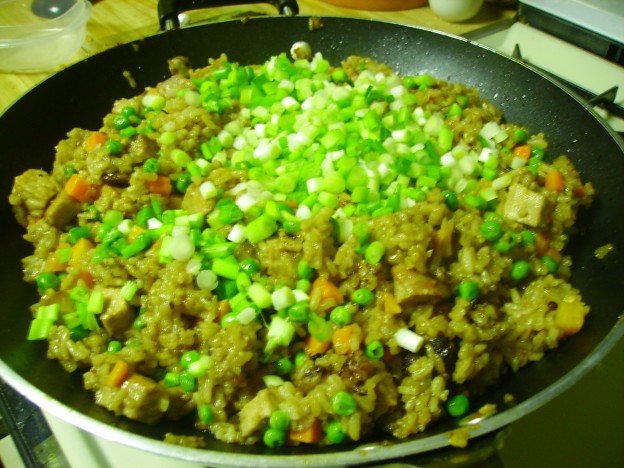
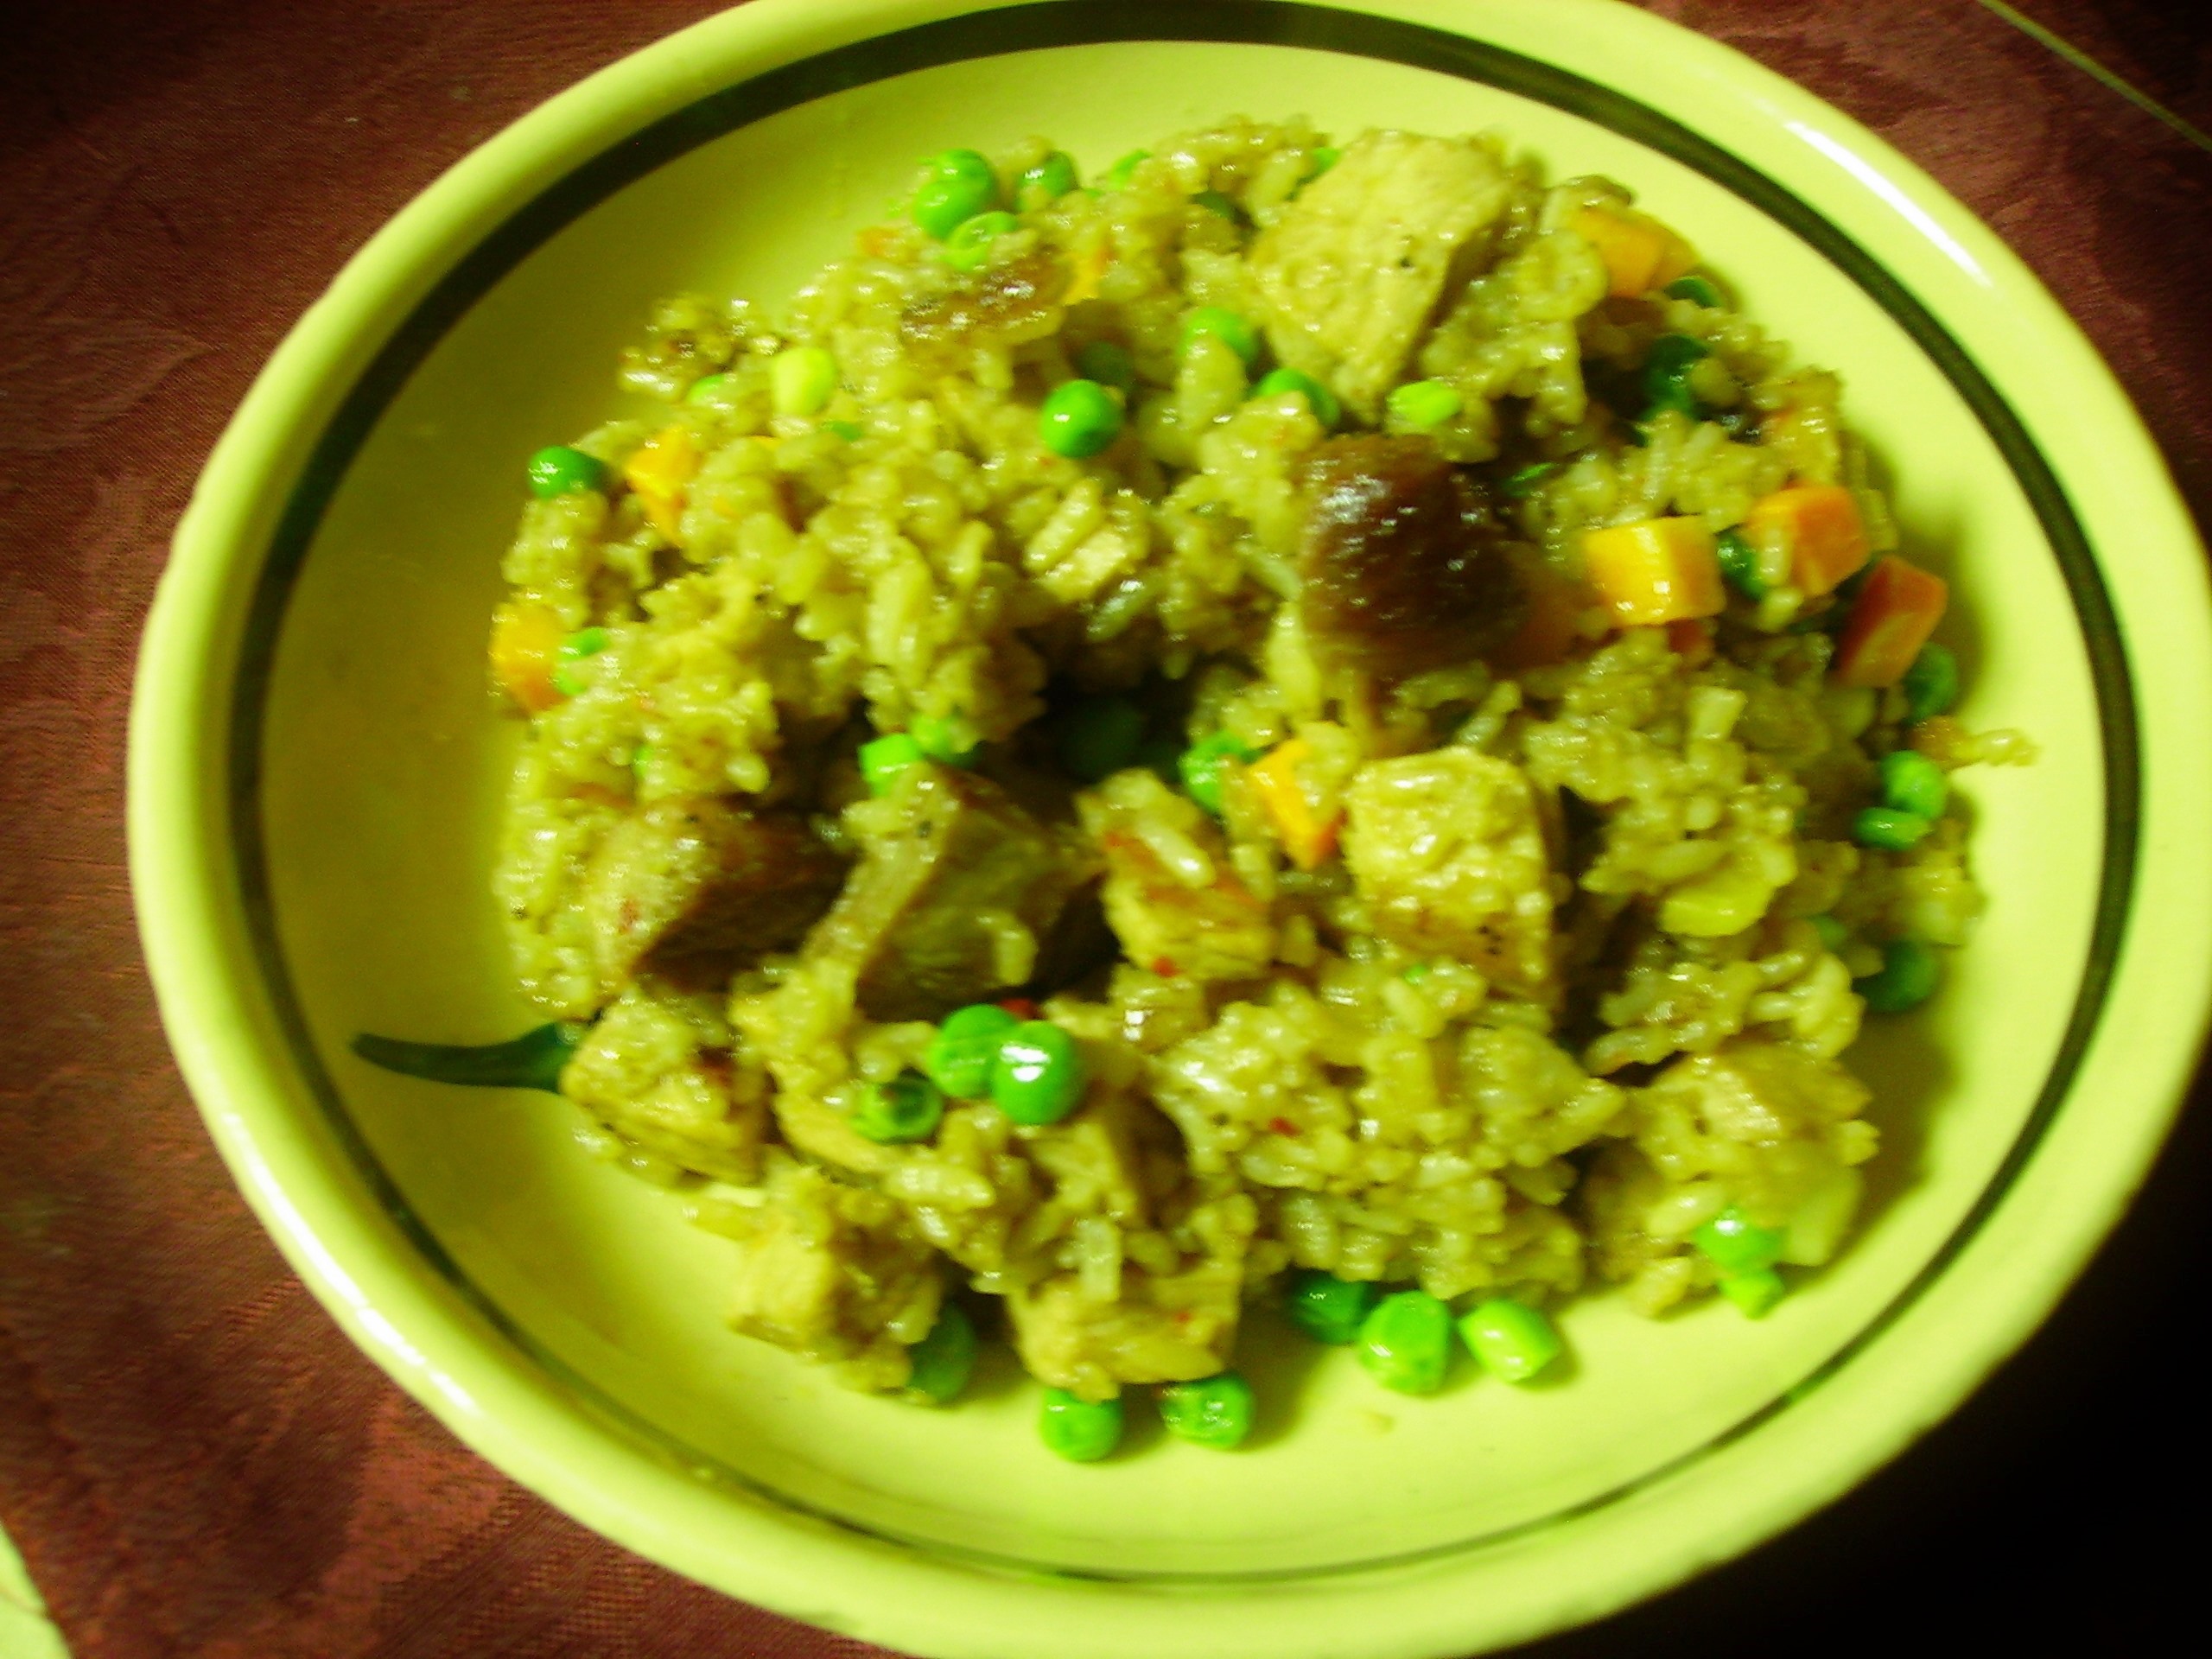
Over the years One Dish Meals have been a staple in Mama D’s Kitchen. Stews, Casseroles, Skillets, and who can forget Slumgullion? There are a handful of dishes in my arsenal that result in ultimate kudos from my family. Surprisingly the number one dish in my sons’ eyes is Barbecue (or not) Pork Fried Rice. Being almost fatally Italian, that hurts a little, but I have to admit I like it too. It has a number of comfort food qualities. It has a significant starch factor with the rice. The savory flavor of the sauce creates that Umami sensation that is so intriguing. Finally the slightly chewy rice, crusted bits of pork, and the crunch of the green onions make each bite a perfect mouthful.
This recipe takes a little extra time for preparation. The rice needs to be cooked al dente the night before. This is to insure that the grains stay separate in the frying. The meat which is leftover pork of one cut or another, gets marinated overnight in Asian goodness. When the final preparation happens it’s about 30 minutes. Just enough time to have a glass of wine as you stir.
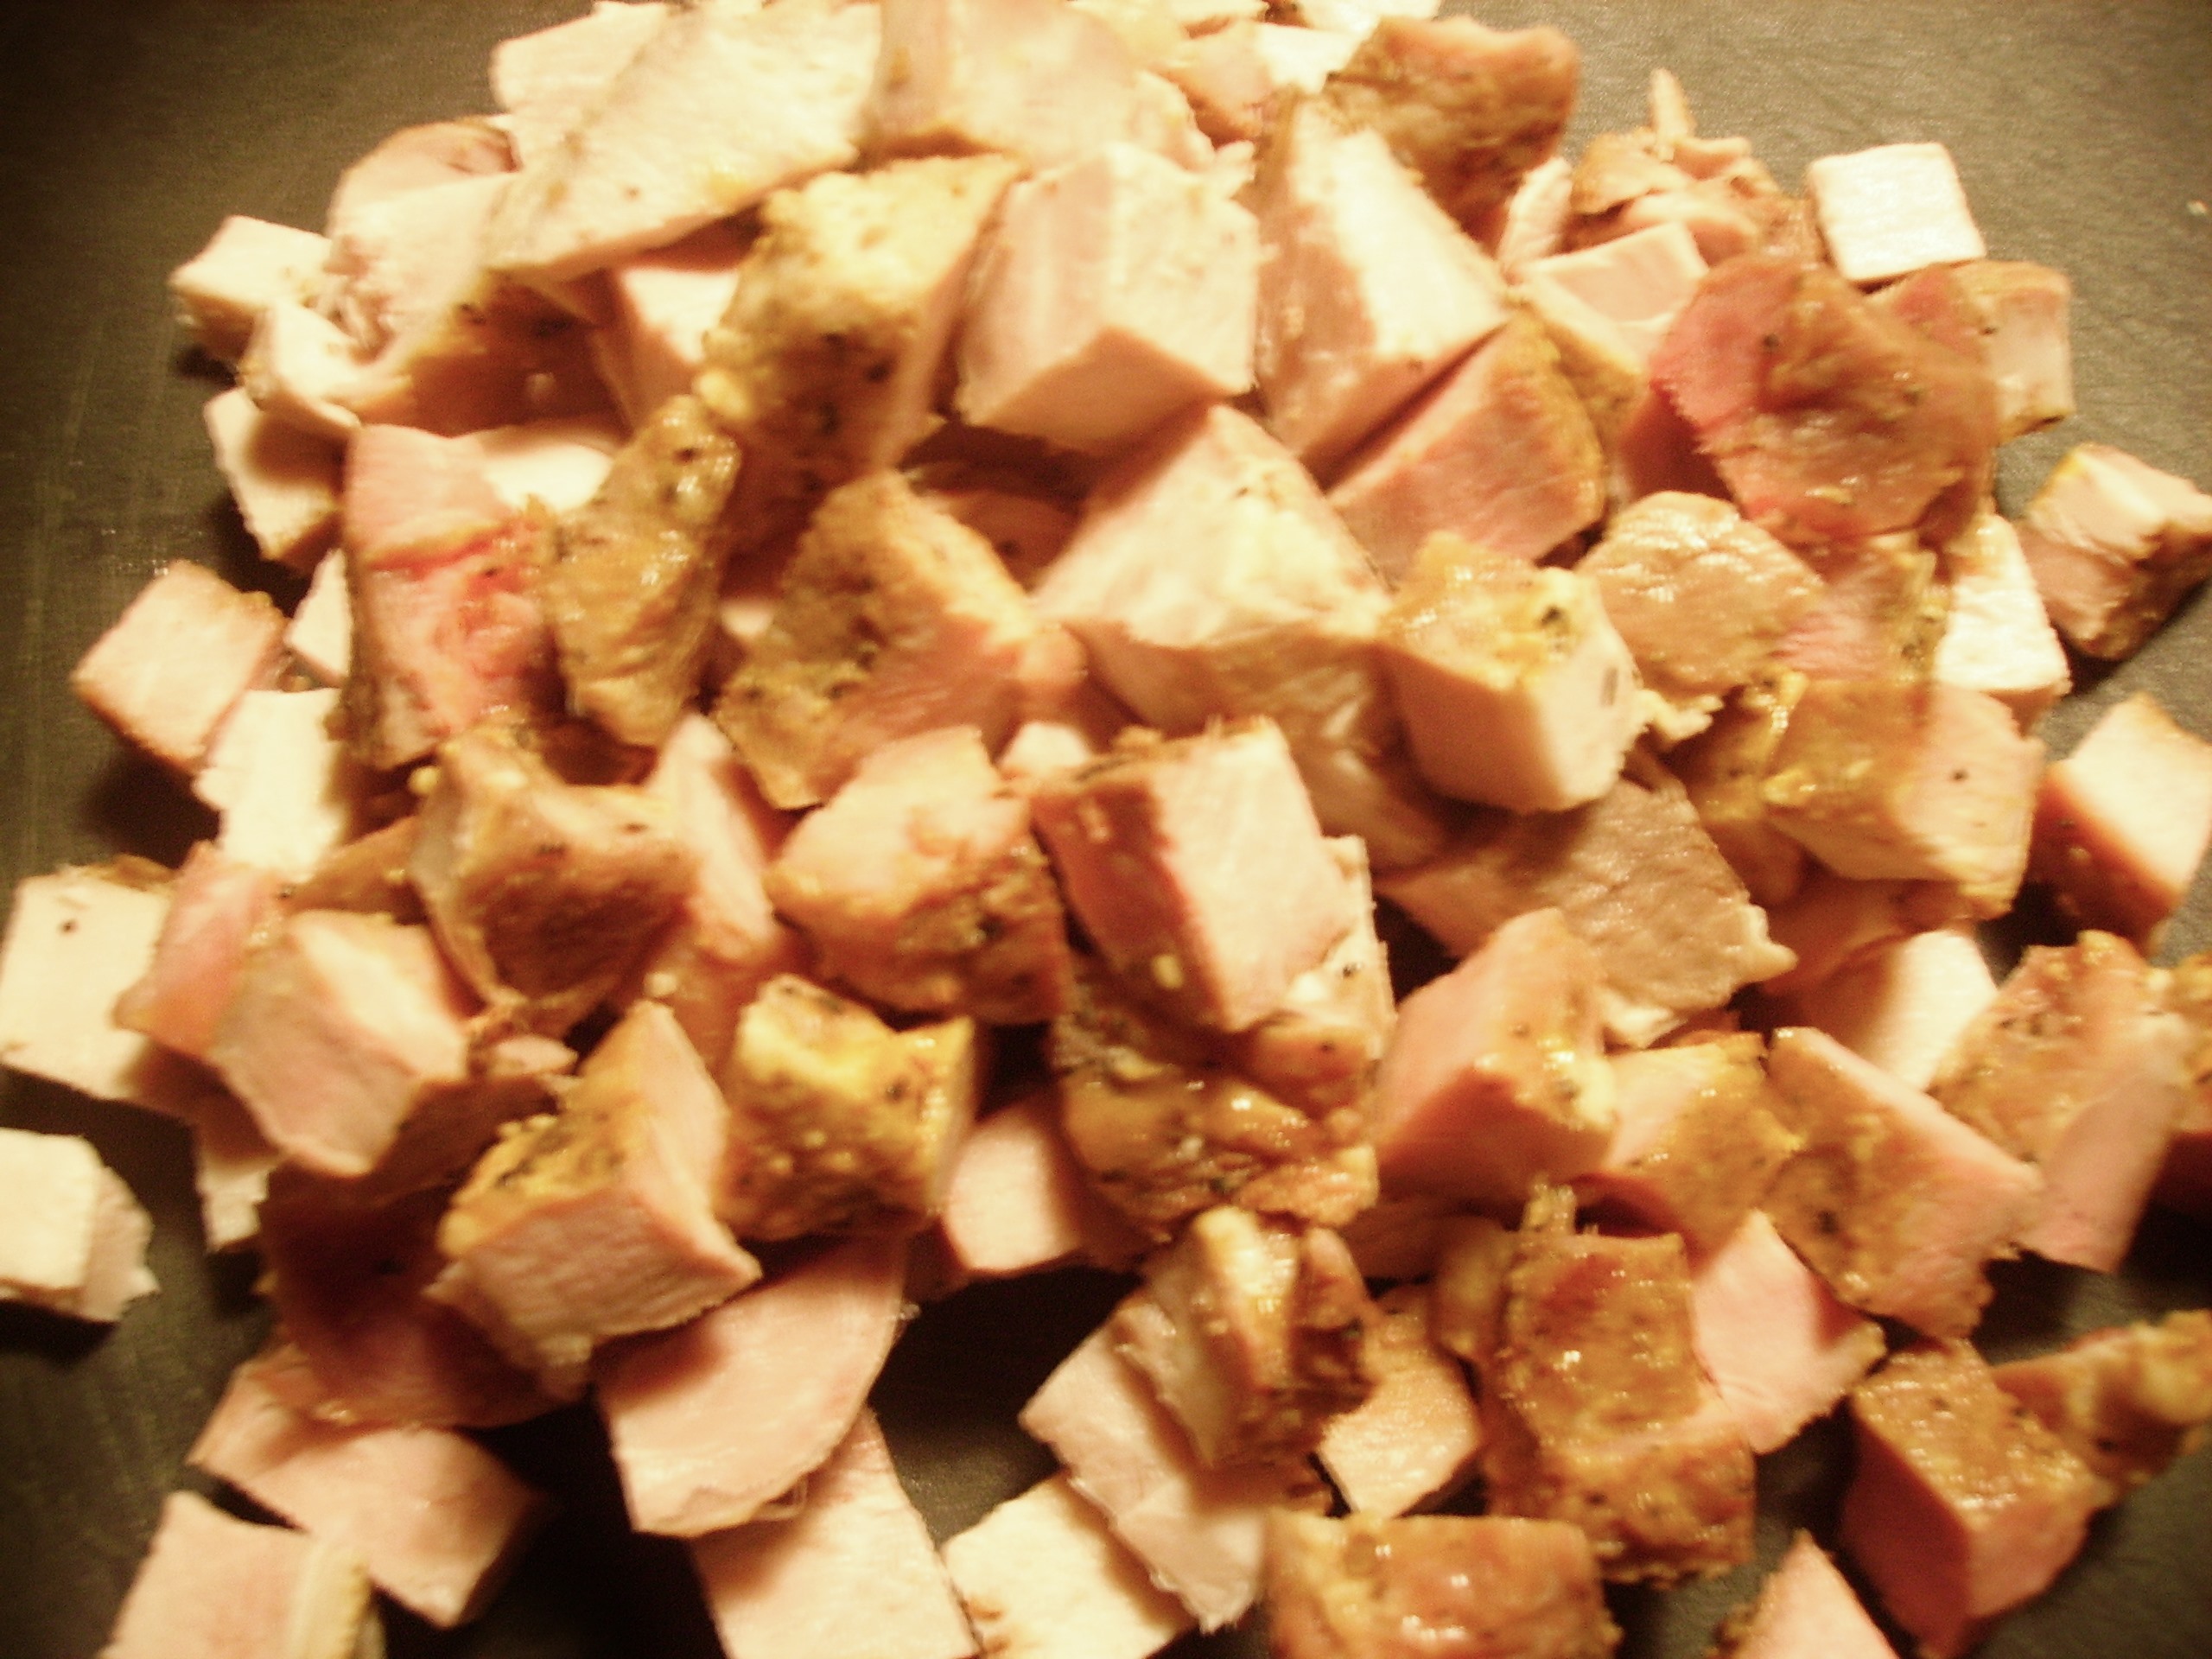
I originally made this dish with leftover barbecued pork steak or country ribs (hence the name). That is still my first choice but, any leftover cooked pork will work. Pork Loin roast is a great alternative. It’s lean, cubes easily and holds up to what will be a fairly hot and long cook. Whatever seasonings were in the original cooking of the pork will virtually disappear in the marinating process.
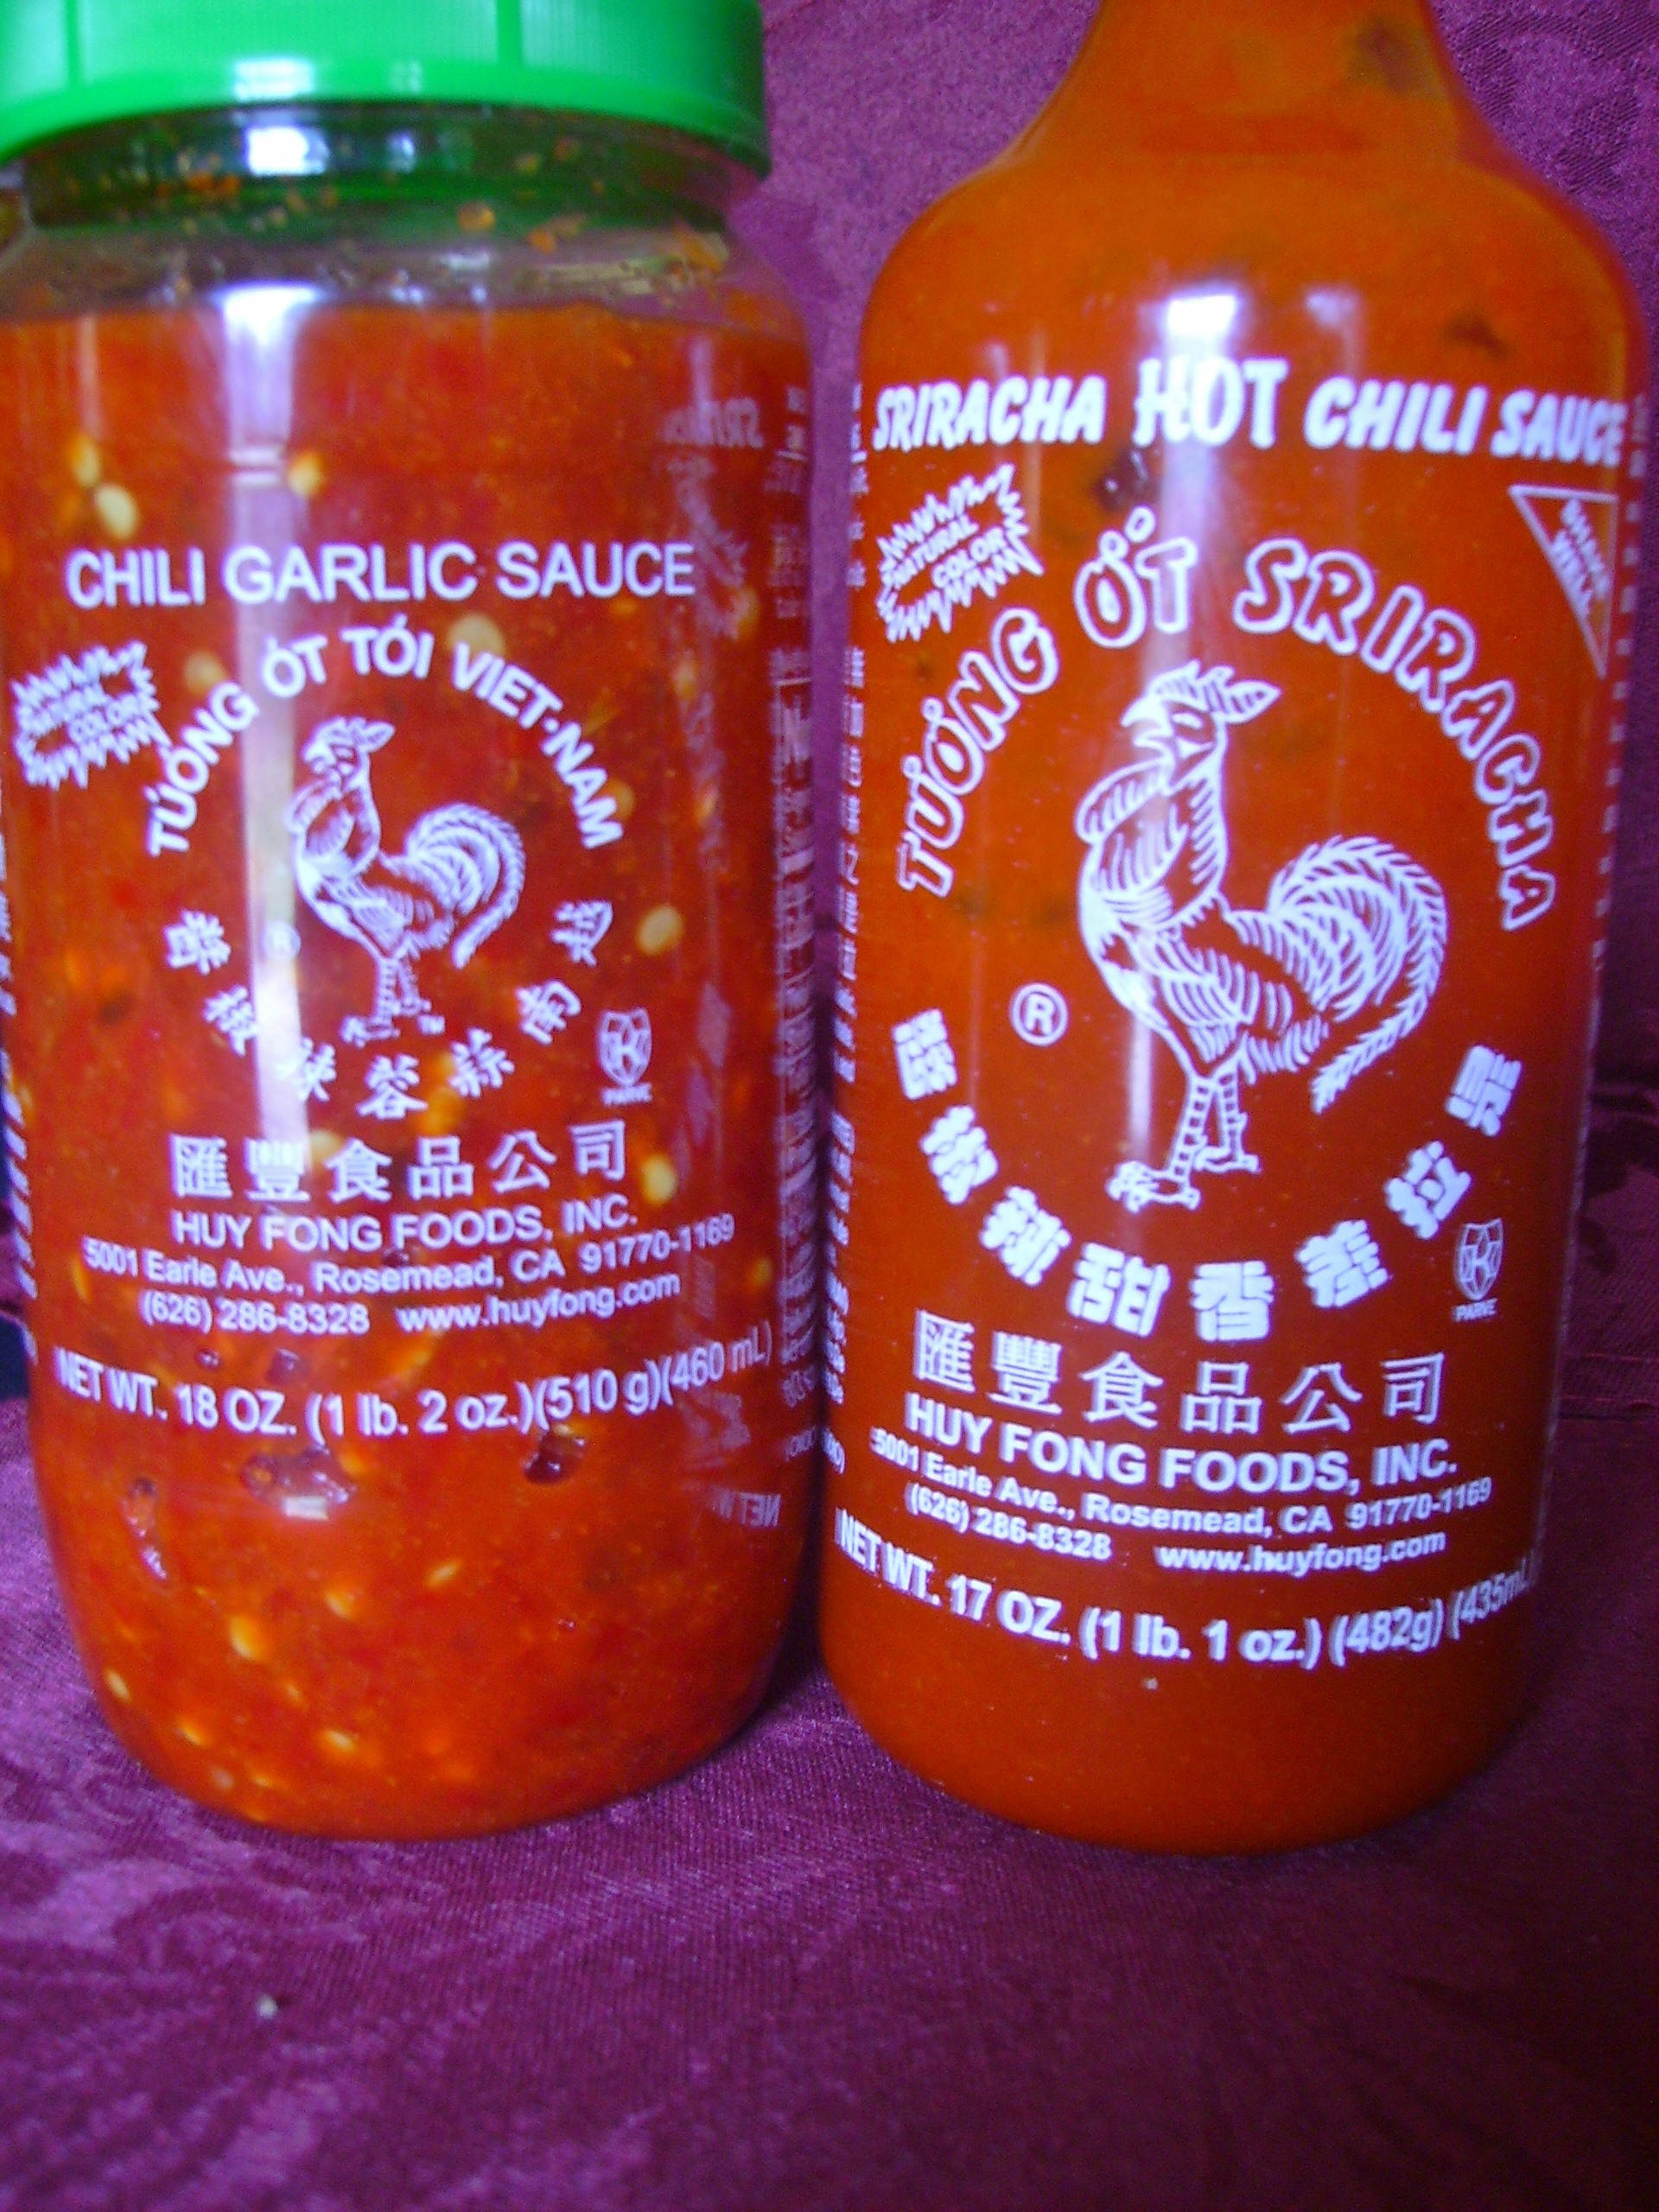
This Fried Rice packs some heat. The spice is provided by Fresh Chili and Garlic Sauce, It is the chunky cousin of Sriracha Sauce and the step brother of Sambal. It is available in most grocery stores and can be used anywhere you want to kick the heat up. Use as much or as little of this as you like. Five Spice Powder gives that Asian flavor to the dish. This spice blend is made of Star Anise, Cloves, Chinese Cinnamon, Sichuan Peppercorns, and Fennel Seeds. You can find it in most spice sections or you can make it yourself. I actually prefer the store-bought. These are joined by Hoisin Sauce which is also readily available. It has a sweet, salty, slightly earthy taste and is occasionally called “Chinese Ketchup”. These ingredients are where we get Umami ( the fifth basic taste that can be translated as “pleasant savory taste”) in this dish.
Barbecue Pork Freid Rice
Print Recipe
A hearty and savory one dish meal. It's a great way to use leftover pork (or any other leftover meat).
Mix the Asian Dressing, 1 Tablespoon Chili Garlic Sauce,1 Tablespoon Sesame Oil, 1/4 Cup Hoisin Sauce, and 1 Teaspoon 5 Spice Powder together. Place Pork cubes in a zip top bag. Add the combined marinade ingredients. Seal the bag and toss and knead to coat the the pork with marinade. Marinate in refrigerator overnight.
When you are ready to prepare the rice, heat a wok or very large fryi pan over medium high heat. Add the canola oil and the remaining tablespoon of sesame oil to the pan. Heat for 1 minute then add the rice. Toss until all of the rice grains are coated. Fry tossing occasionally 5 minutes. or until rice is just taking on some color.
Add soy sauce and remaining 5 Spice Powder to the rice. Toss to mix and continue to cook 5 minutes or so, stirring occasionally. The rice should become light golden and have some crusty bits.
Add the pork and marinade to the pan and toss to combine. (It is okay to add the marinade since the meat is already cooked and has been in the refrigerator.) Add the remaining Chili Garlic Sauce and Hoisin sauce to the pan. Cook the rice and meat 5 - 8 minutes more tossing frequently The rice should get a little darker and the pork should begin to caramelize.
Add the thawed peas and carrots to the pan. Stir to incorporate. Heat for 2-3 minutes. Add the green onions and heat for 1 - 2 minutes more.
Serve in pasta or soup bowls as you wish.
As this blog grows, I’m sure that more one dish adventures will be continue to show up from time to time. I’m guessing that there are more single vessel fans out there. I’d love to hear about your One Pan Wonder. Love, Mama D
As Thanksgiving approaches, we all reflect on what we have. I wanted to spend this week reflecting on all the things that I’m grateful for; my family, food; cooking it and enjoying it, and the future, still not clear but always bright. This is a food blog and there will be recipes, but first things first…
This has been a life changing year for me, and it has had an impact on my family. I’m grateful for all the support they’ve given me as I’ve worked on creating my next chapter. I have four men in my life. One bought a house, one moved out (for I think the last time), one makes me proud as I watch him grow into a fine young man and the fourth shows me everyday why I made the right decision to marry him. Thanks guys
Food has always been an important part of my life. Learning to cook from my parents, cooking for my own family, and cooking for friends. There’s so much love there, my mind boggles and I’m filled with gratitude.
Nothing warms the heart like soup (Liquid Love). I make soup at least once a week. This week it was White Bean and Kale Soup. Cannellini Beans and Tuscan Kale in a rich chicken stock. Quick, easy, and delicious.
White Bean and Kale Soup
Print Recipe
This is a soothing soup that could be the new Italian Penicillin.
You can add more pasta if you like lots of noodles in your soup,
You can add more kale, if you want more greens, or
Spice it up with red pepper flakes ...it's all up to you.
Servings
Prep Time
4
10minutes
Cook Time
30minutes
Servings
Prep Time
4
10minutes
Cook Time
30minutes
White Bean and Kale Soup
Print Recipe
This is a soothing soup that could be the new Italian Penicillin.
You can add more pasta if you like lots of noodles in your soup,
You can add more kale, if you want more greens, or
Spice it up with red pepper flakes ...it's all up to you.
Heat a soup pot over medium heat. Add the olive oil and let it get hot. Add the bacon and cook stirring often until it is just crisp. Remove the bacon from the pan with a slotted spoon and drain on paper towels. Set this aside for later.
Add the onions and garlic to the pot and cook until the onions begin to soften and the garlic is fragrant, stirring frequently. This should take 5 minutes or so.
Add the kale and thyme and cook until the kale is wilted, another 5 minutes.
Add the chicken stock, cover and bring to a boil. Remove the cover, add the cannellini beans and reduce the heat to simmer. Continue to simmer (about 20 minutes).
Meanwhile cook the the pasta.
In a seperate pot, bring 4 quarts of water to a boil. Salt the water and add the linguini. Stir occassionally as it returns to a boil. Cook the pasta until it is al dente, about 6 - 7 minutes. Drain the pasta, rinse it in cold water to stop the cooking and set it aside.
Remove the thyme sprig (it should just be a stem) and the garlic cloves from the soup. Add salt and pepper to taste.
To serve, divide the linguini into 4 bowls Ladel the soup on top of the pasta. Garnish each serving with the reserved bacon and the shaved cheese. Sprinkle with a few red pepper flakes if you'd like.
Enjoy
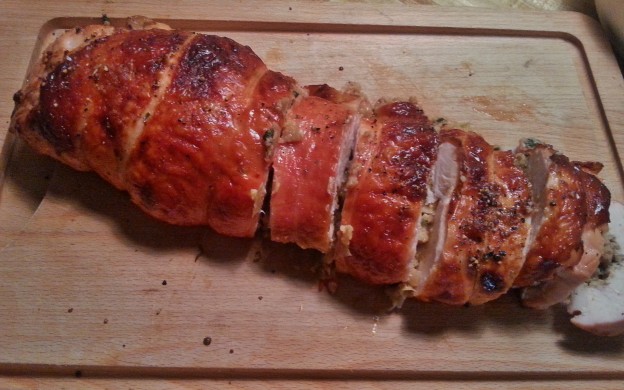
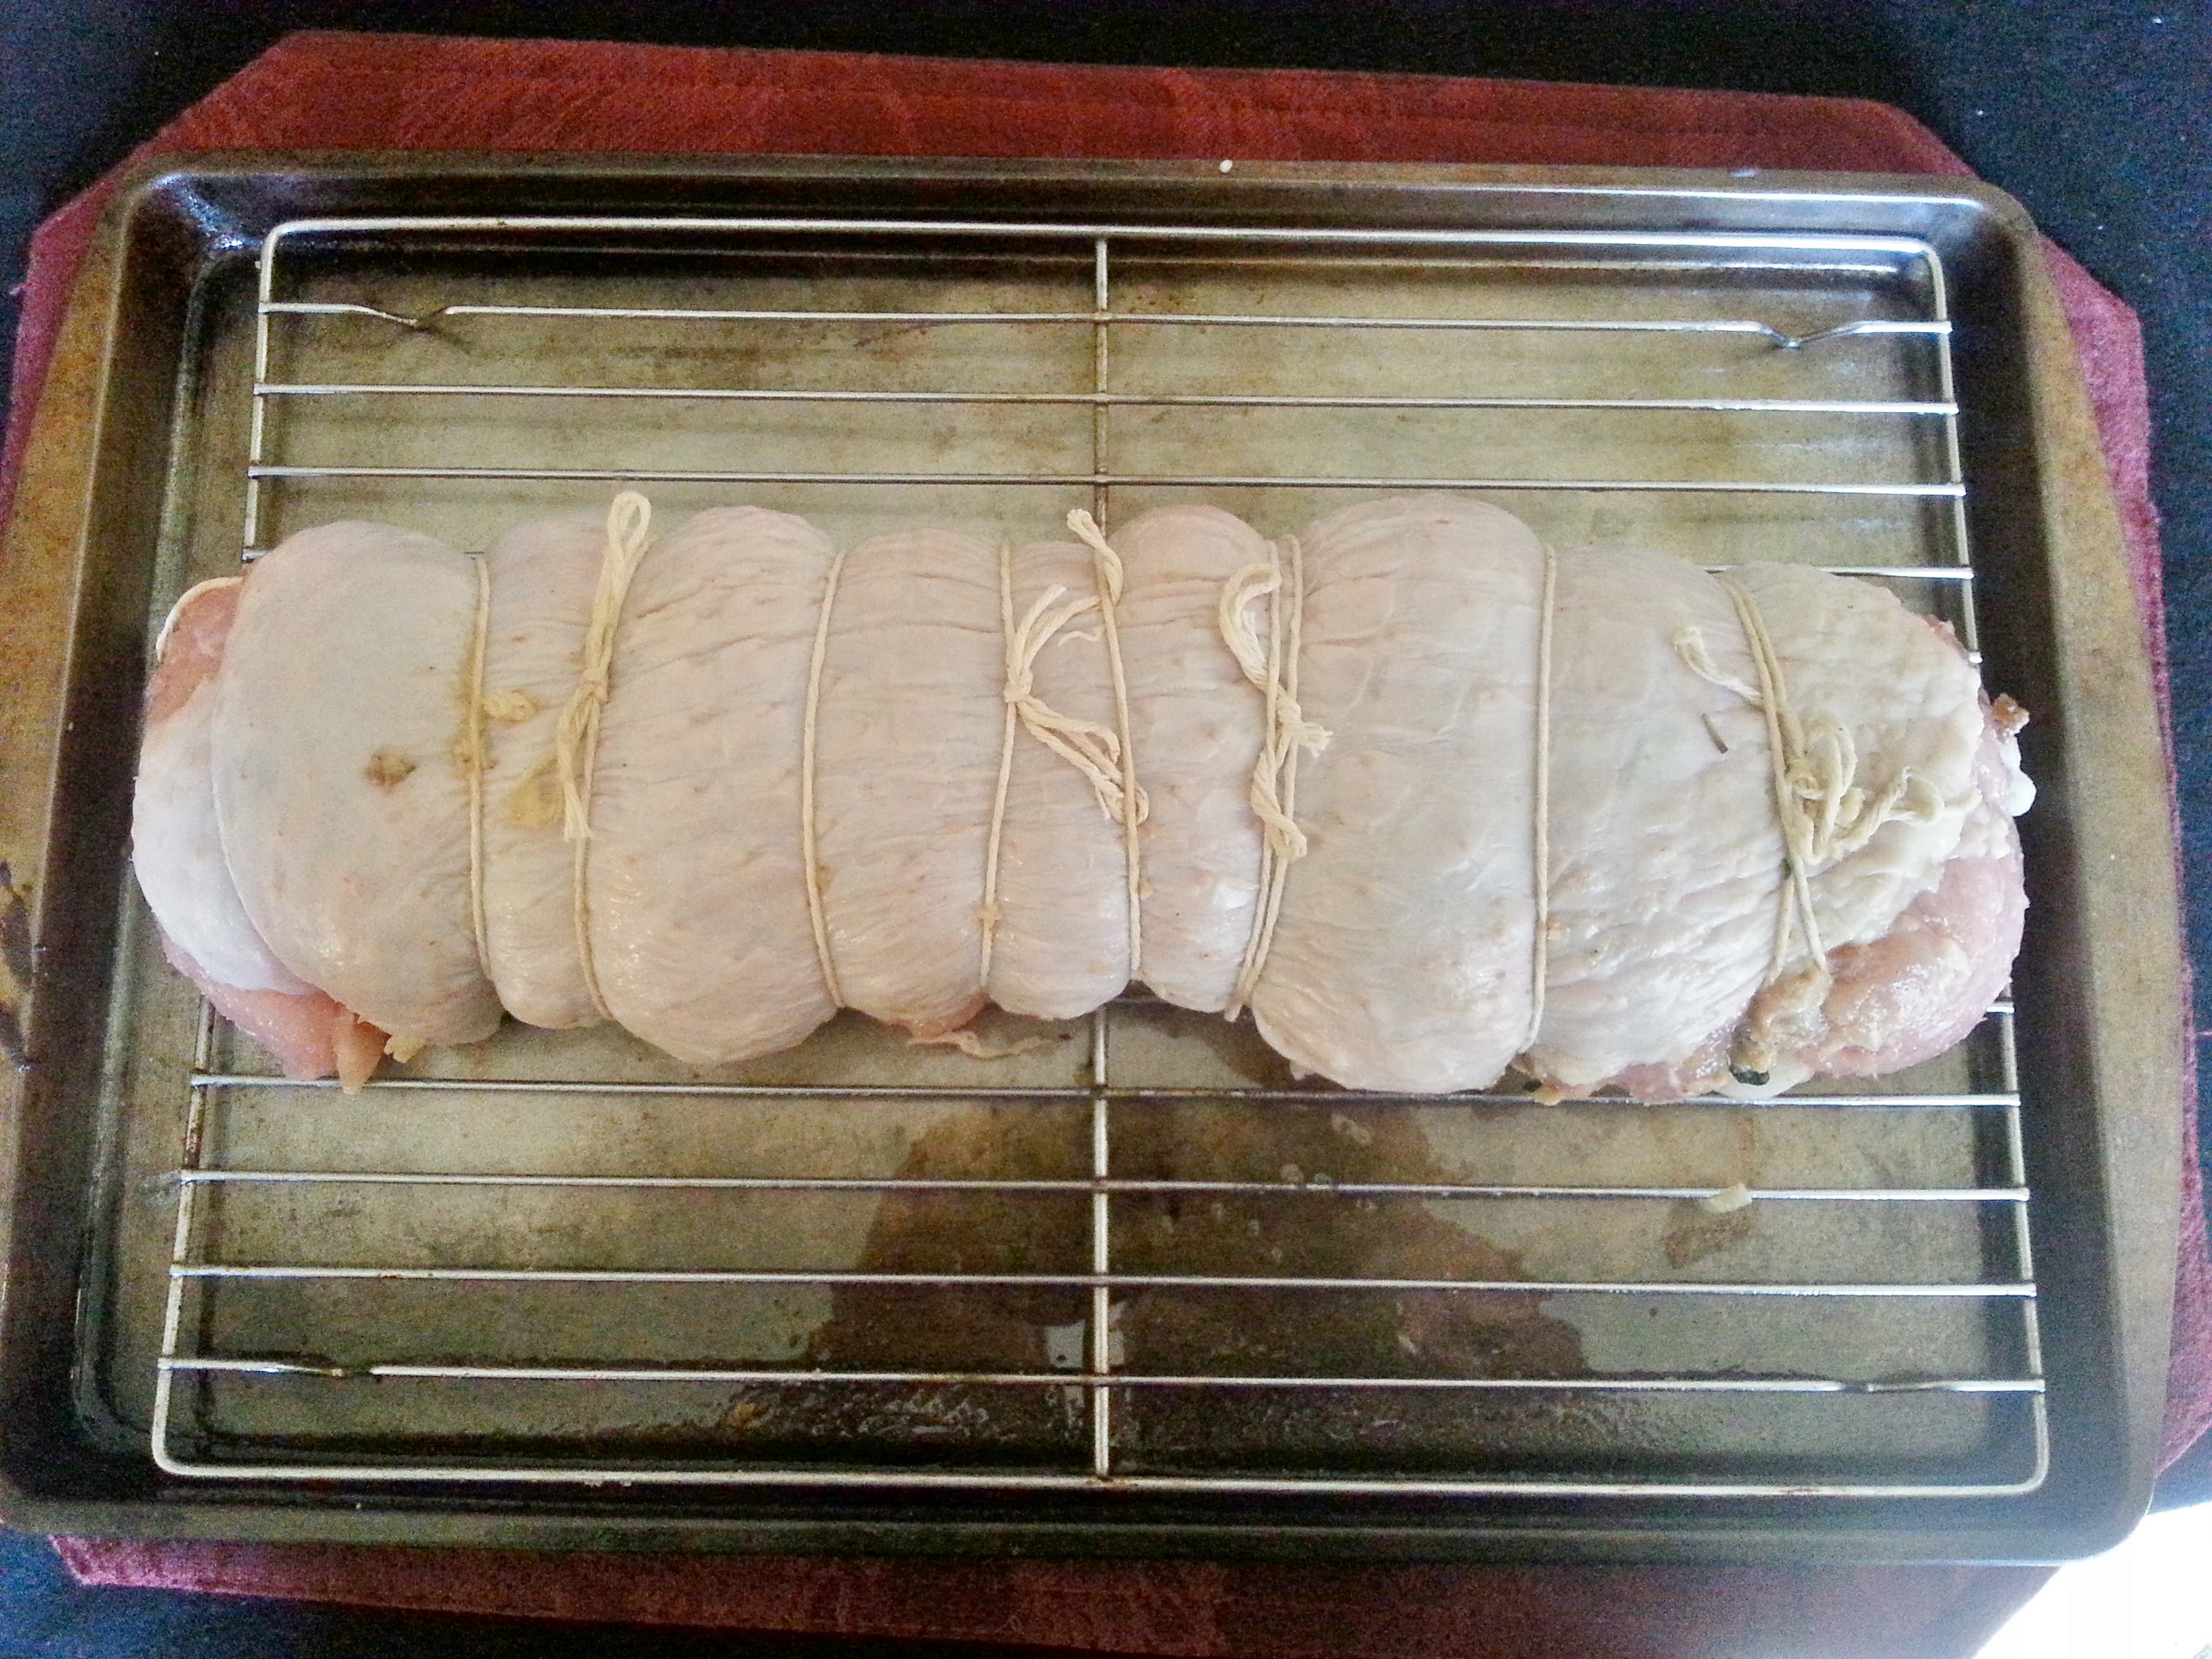
This Thanksgiving marks the first time there will be just two of us at the table. It will feel a little strange, but it has also been a chance to re-think the Feast. There is no whole bird this year. I’ve opted for a boneless turkey breast that I’m going to stuff and roll. The stuffing (correct term as it’ in the bird more or less) is Sausage and Artichoke.
Artichokes always appear in my stuffing, an homage to our years in California. This year the Sour Dough is being replaced by Herbed Focaccia that I made earlier this week. I had it on hand, and not to sound like a snob, but I haven’t found a good sour dough here. It is complimented by lots of onions and garlic, hot Italian sausage, some roasted red peppers for color and a bit of sautéed Baby Kale for a small dose of healthy.
As with all my recipes this one is open to suggestions. Change the bread, though I believe hearty or artisan breads work best. I use a relatively small amount of bread, but that’s just me. Add more bread and increase the chicken stock or add eggs and cream to get enough moisture. I find this dressing flavorful enough, but salt, pepper, herbs and even a little lemon zest can be added to make it your own.
Artichoke and Italian Sausage Dressing/Stuffing
Print Recipe
A versatile and flavorful stuffing. Perfect with turkey or chicken. Ingredients can easily be changed to your taste. Bake it in a casserole to create a crisp top and almost creamy interior. it could even be a one dish meal...if your a stuffing fan like me.
Servings
8
Servings
8
Artichoke and Italian Sausage Dressing/Stuffing
Print Recipe
A versatile and flavorful stuffing. Perfect with turkey or chicken. Ingredients can easily be changed to your taste. Bake it in a casserole to create a crisp top and almost creamy interior. it could even be a one dish meal...if your a stuffing fan like me.
Heat olive oil in a large skillet. Crumble the sausage into the pan and cook until the sausage is no longer pink. Remove the sausage from the pan and drain on paper towels. Leave the drippings in the pan.
Add the onion to the pan and cook over medium - low heat until the onions are turning golden (About 10 minutes). Add the garlic and artichokes, raise the temperature to medium and saute until everything is golden. (about 5 minutes). If things are getting too dry, add a little chicken stock.
Add the kale and saute until it is wilted (3 - 4 minutes). Add the red pepper toss to combine and continue to cook for 5 minutes longer adding chicken stock to keep things moving. Remove from heat and let cool.
In a large bowl combine the bread cubes, cooled vegetables, and the cheese. add the 2 cups of chicken stock and toss to combine everything The mixture will be quite wet.. Cover and refrigerate overnight. This will allow the bread to absorb the stock and the flavors to meld.
Use this as a stuffing for a turkey breast, a casserole side dish or just a guilty pleasure.
That leaves the Future. Five months of not working has felt odd. It’s the first time in forty years I haven’t gone off to work everyday. I have however, learned that I love cooking and writing about it. It is a job without a name (other than Mama D’s Kitchen of Love). I’m reflecting on the direction I want to go with food. Catering? Food Writing or Cookbooks? Fry cook on Venus? Thanks to a wonderful husband who has given me the gift of following my passion, I can take my time figuring it out. I love you, Jeff.
As you sit down to your Thanksgiving dinner this year be thankful for the people you’re sharing it with, the food on your plate, and what tomorrow holds.