Waiting (Impatiently) on a Garden and Pesto Pasta Salad

I love our community garden. Ever since I put my tomatoes, peppers, and squash in the ground I’ve been excited to reap the rewards. Here’s the problem. Gardens take time. The whole sunshine, rain, and TLC thing is not an overnight process. Our weather has been far from cooperative. It got a little too cold right after we planted. Then it got really hot and we were watering everyday. We of course wished for rain and guess what? You know the saying, “when it rains, it pours”? Yeah, that’s what’s been going here for a few too many days. In spite of all that, the garden is flourishing. The plants seem to enjoy the constant precipitation with little sunny interludes. They are bigger everyday and I can even see growth from morning until evening.049

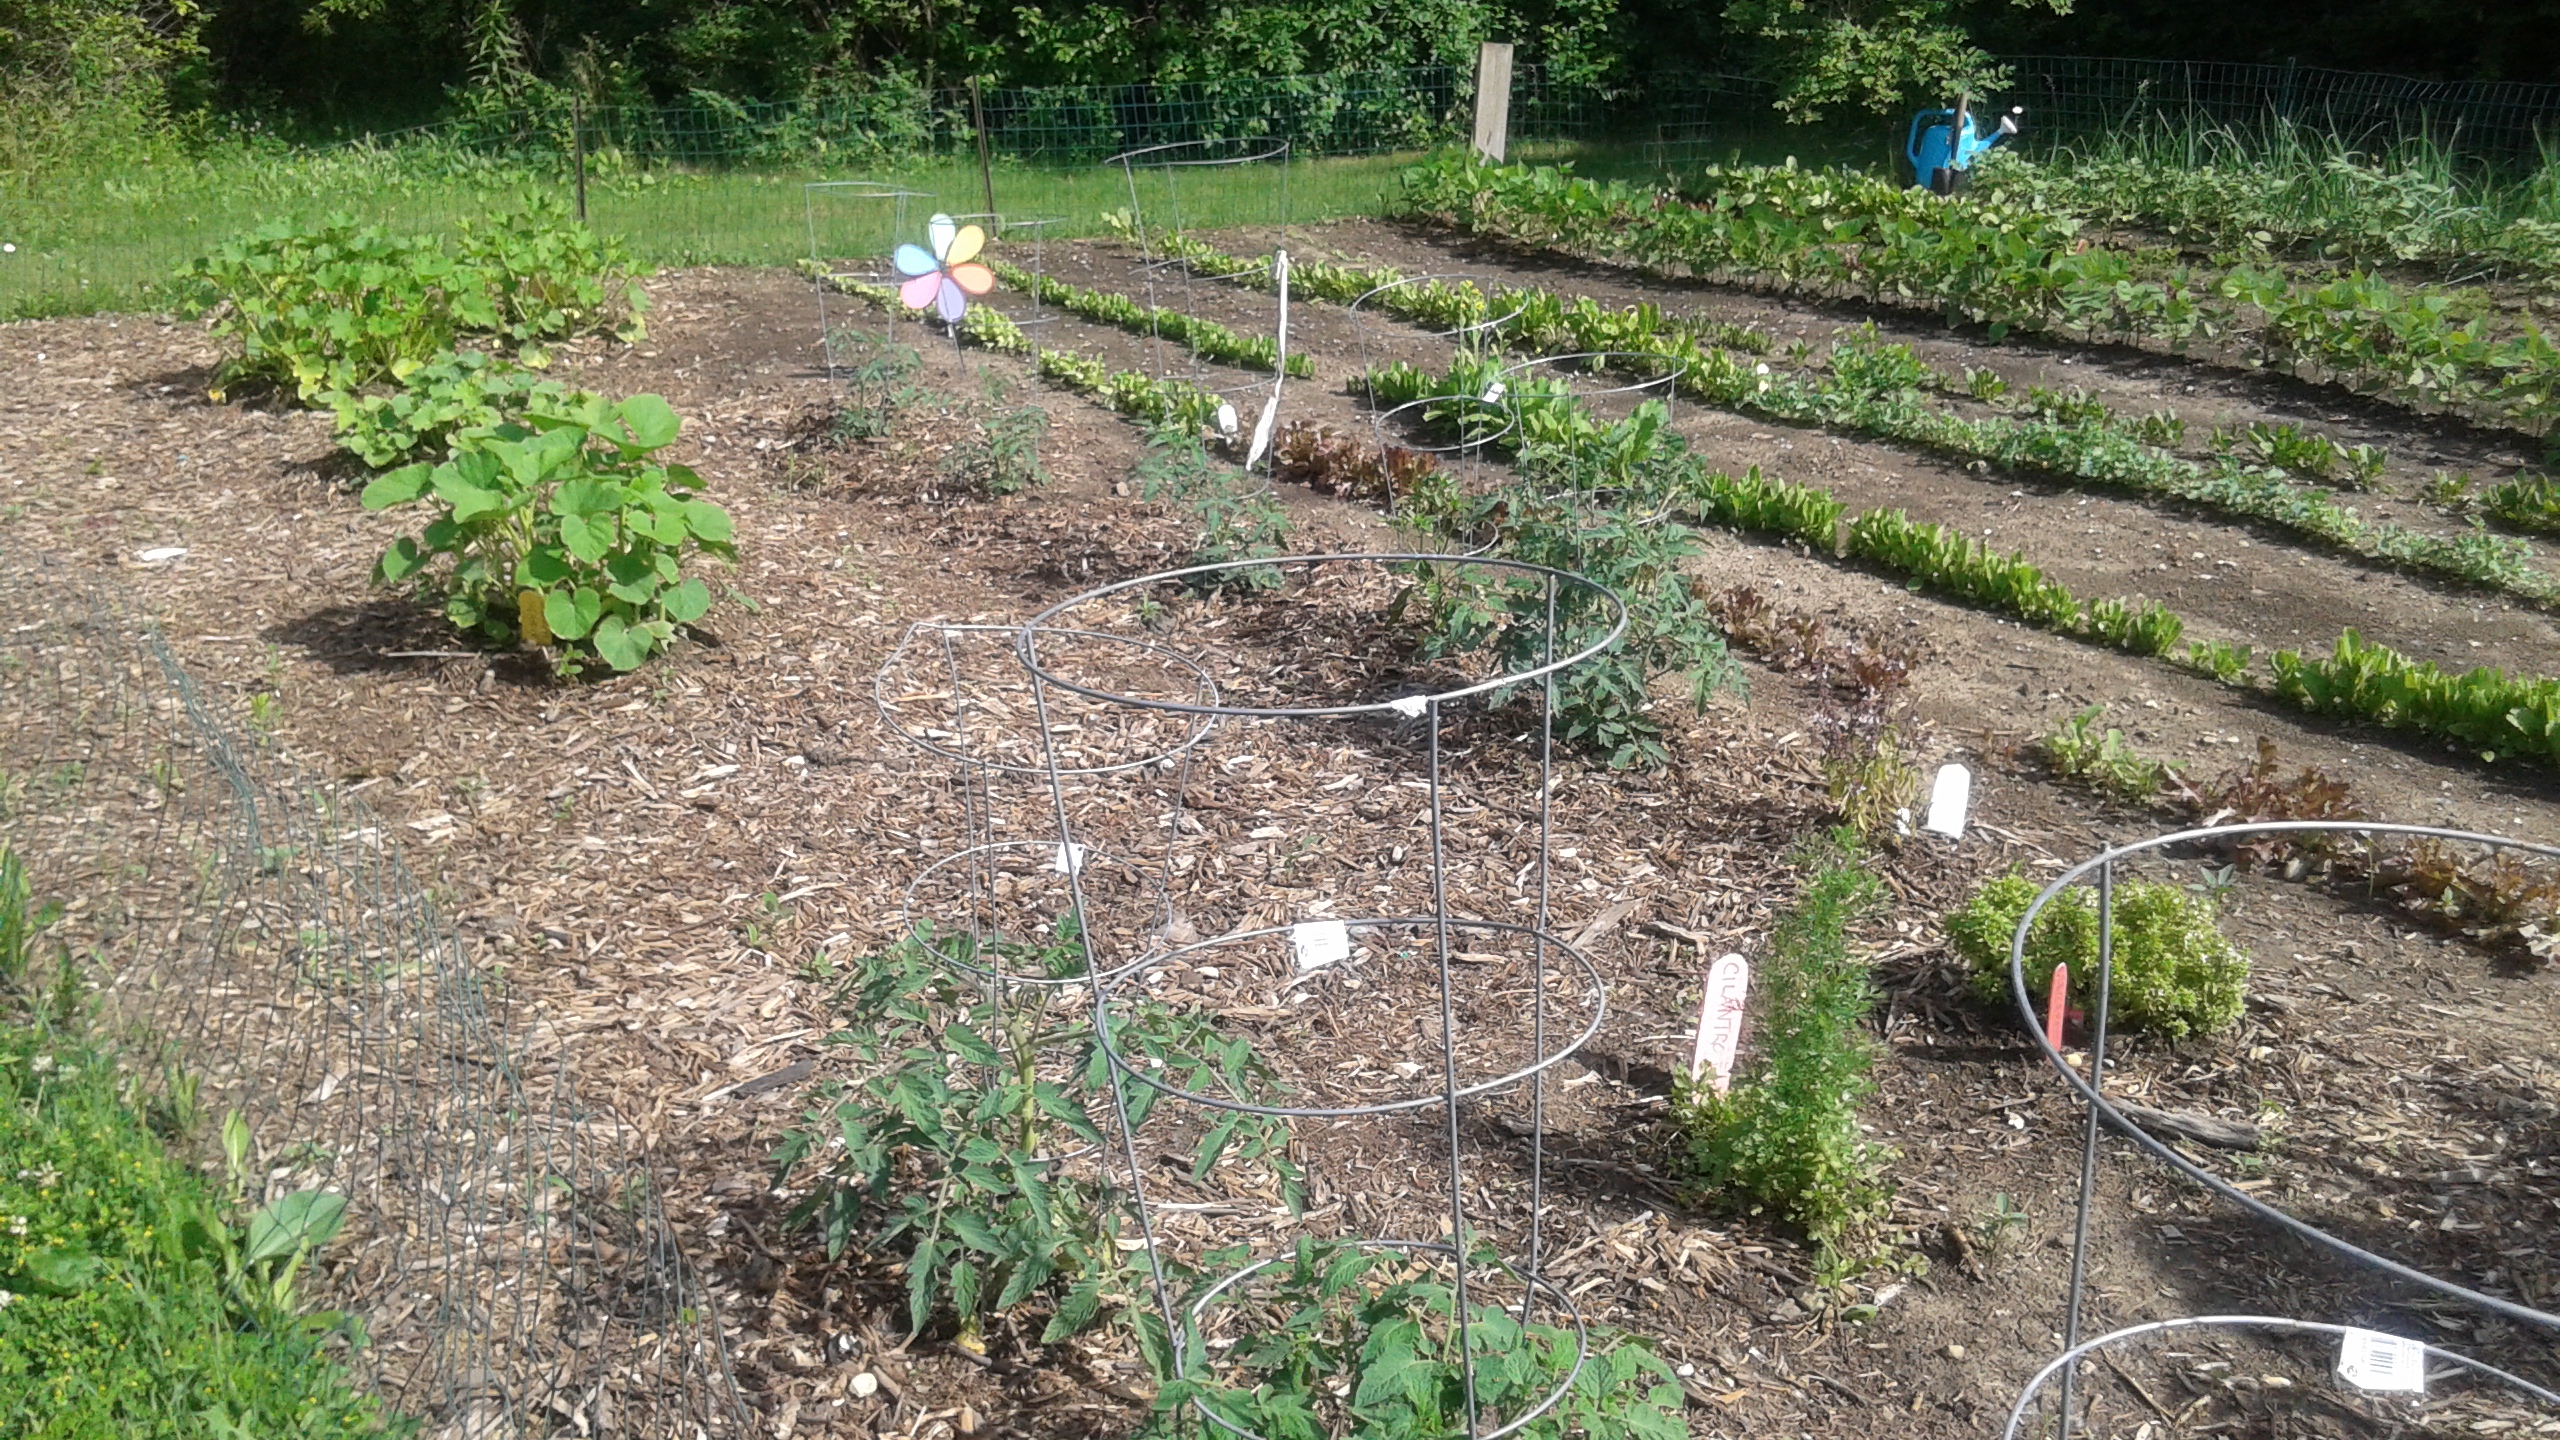
While there is an abundance of baby lettuce, some tender young kale, and lovely radishes, the big-ticket items have yet to set fruit (an industry term). I’m like a child waiting for Christmas. I’ve been good and my proverbial stocking has been hung, so where is the big payoff? This is where patience comes into play. Mama D’s summer kitchen (and imagination) is swimming with ideas for healthy summer dishes bursting with garden fresh produce. Until my very local thing comes along, grocery store produce will have to do. Not that there’s anything wrong with that…

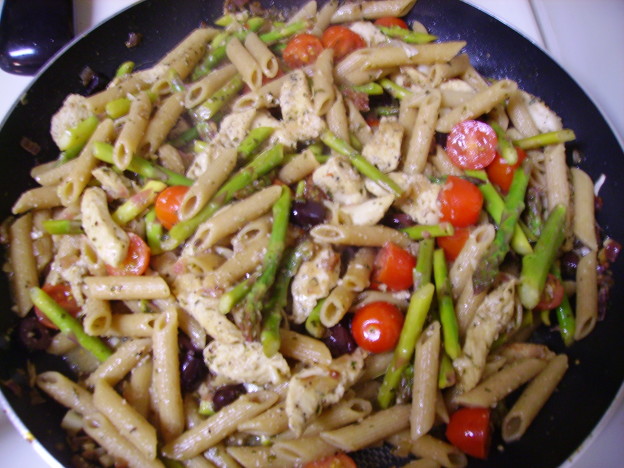
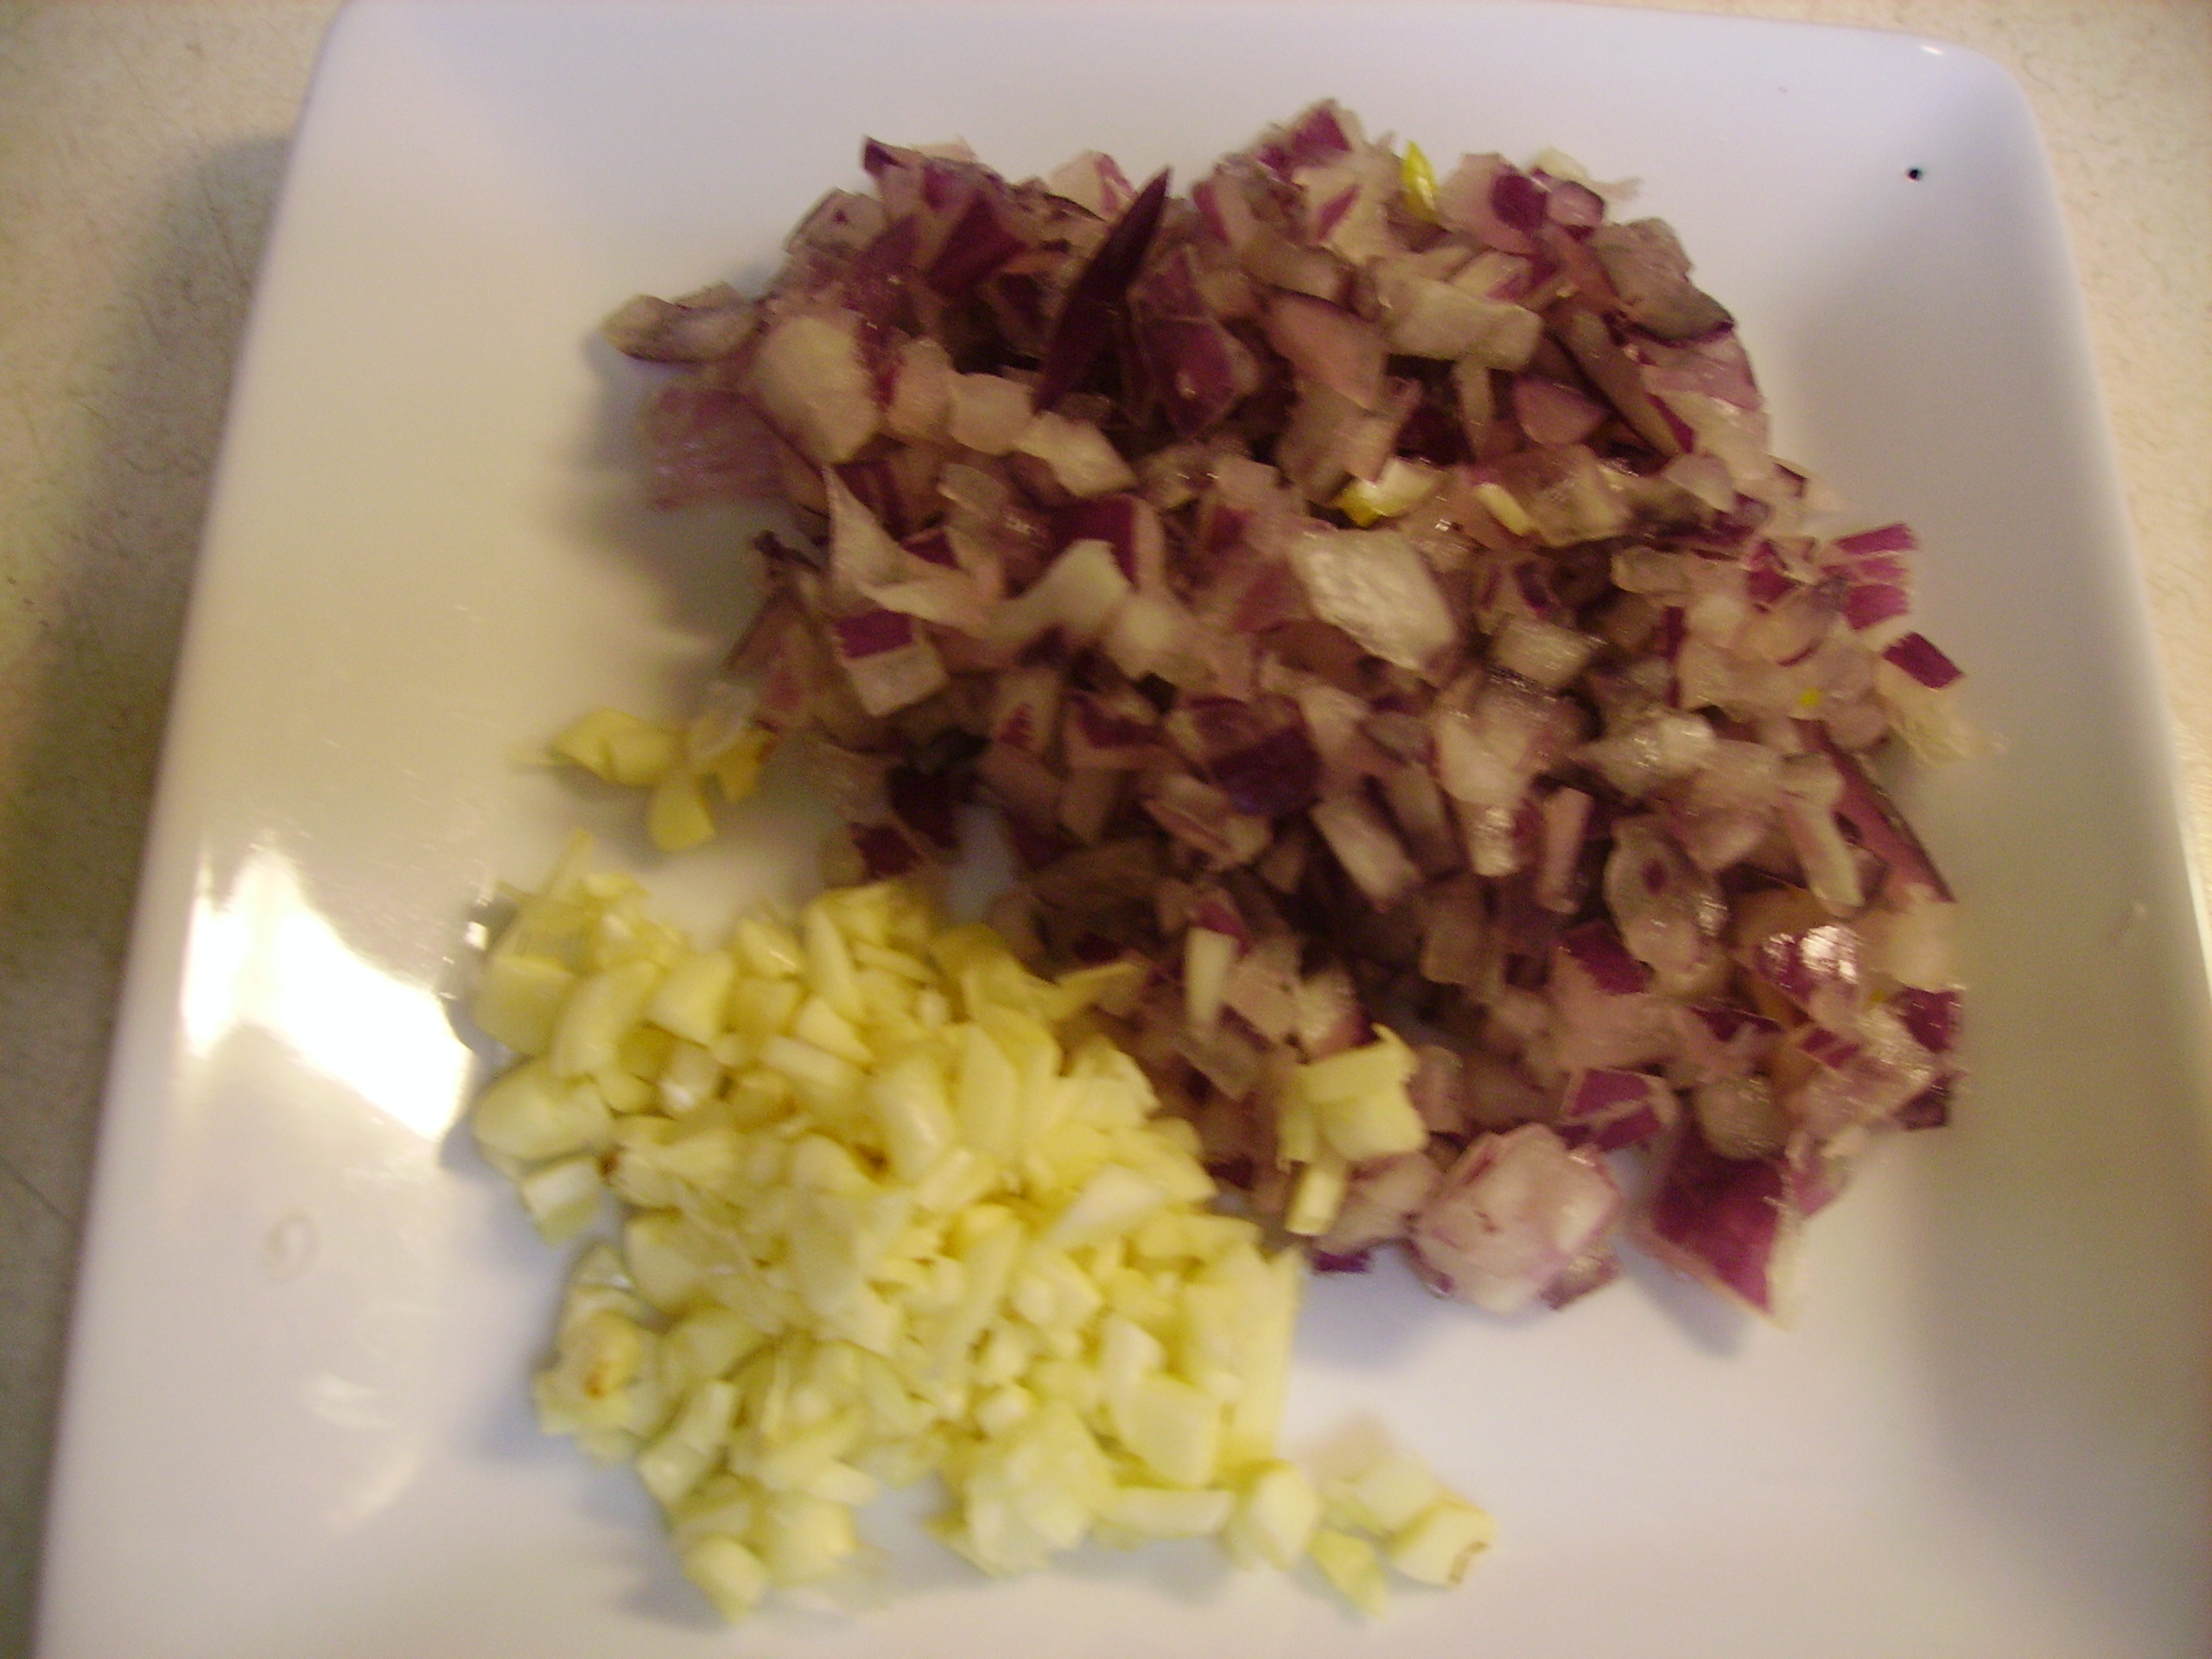
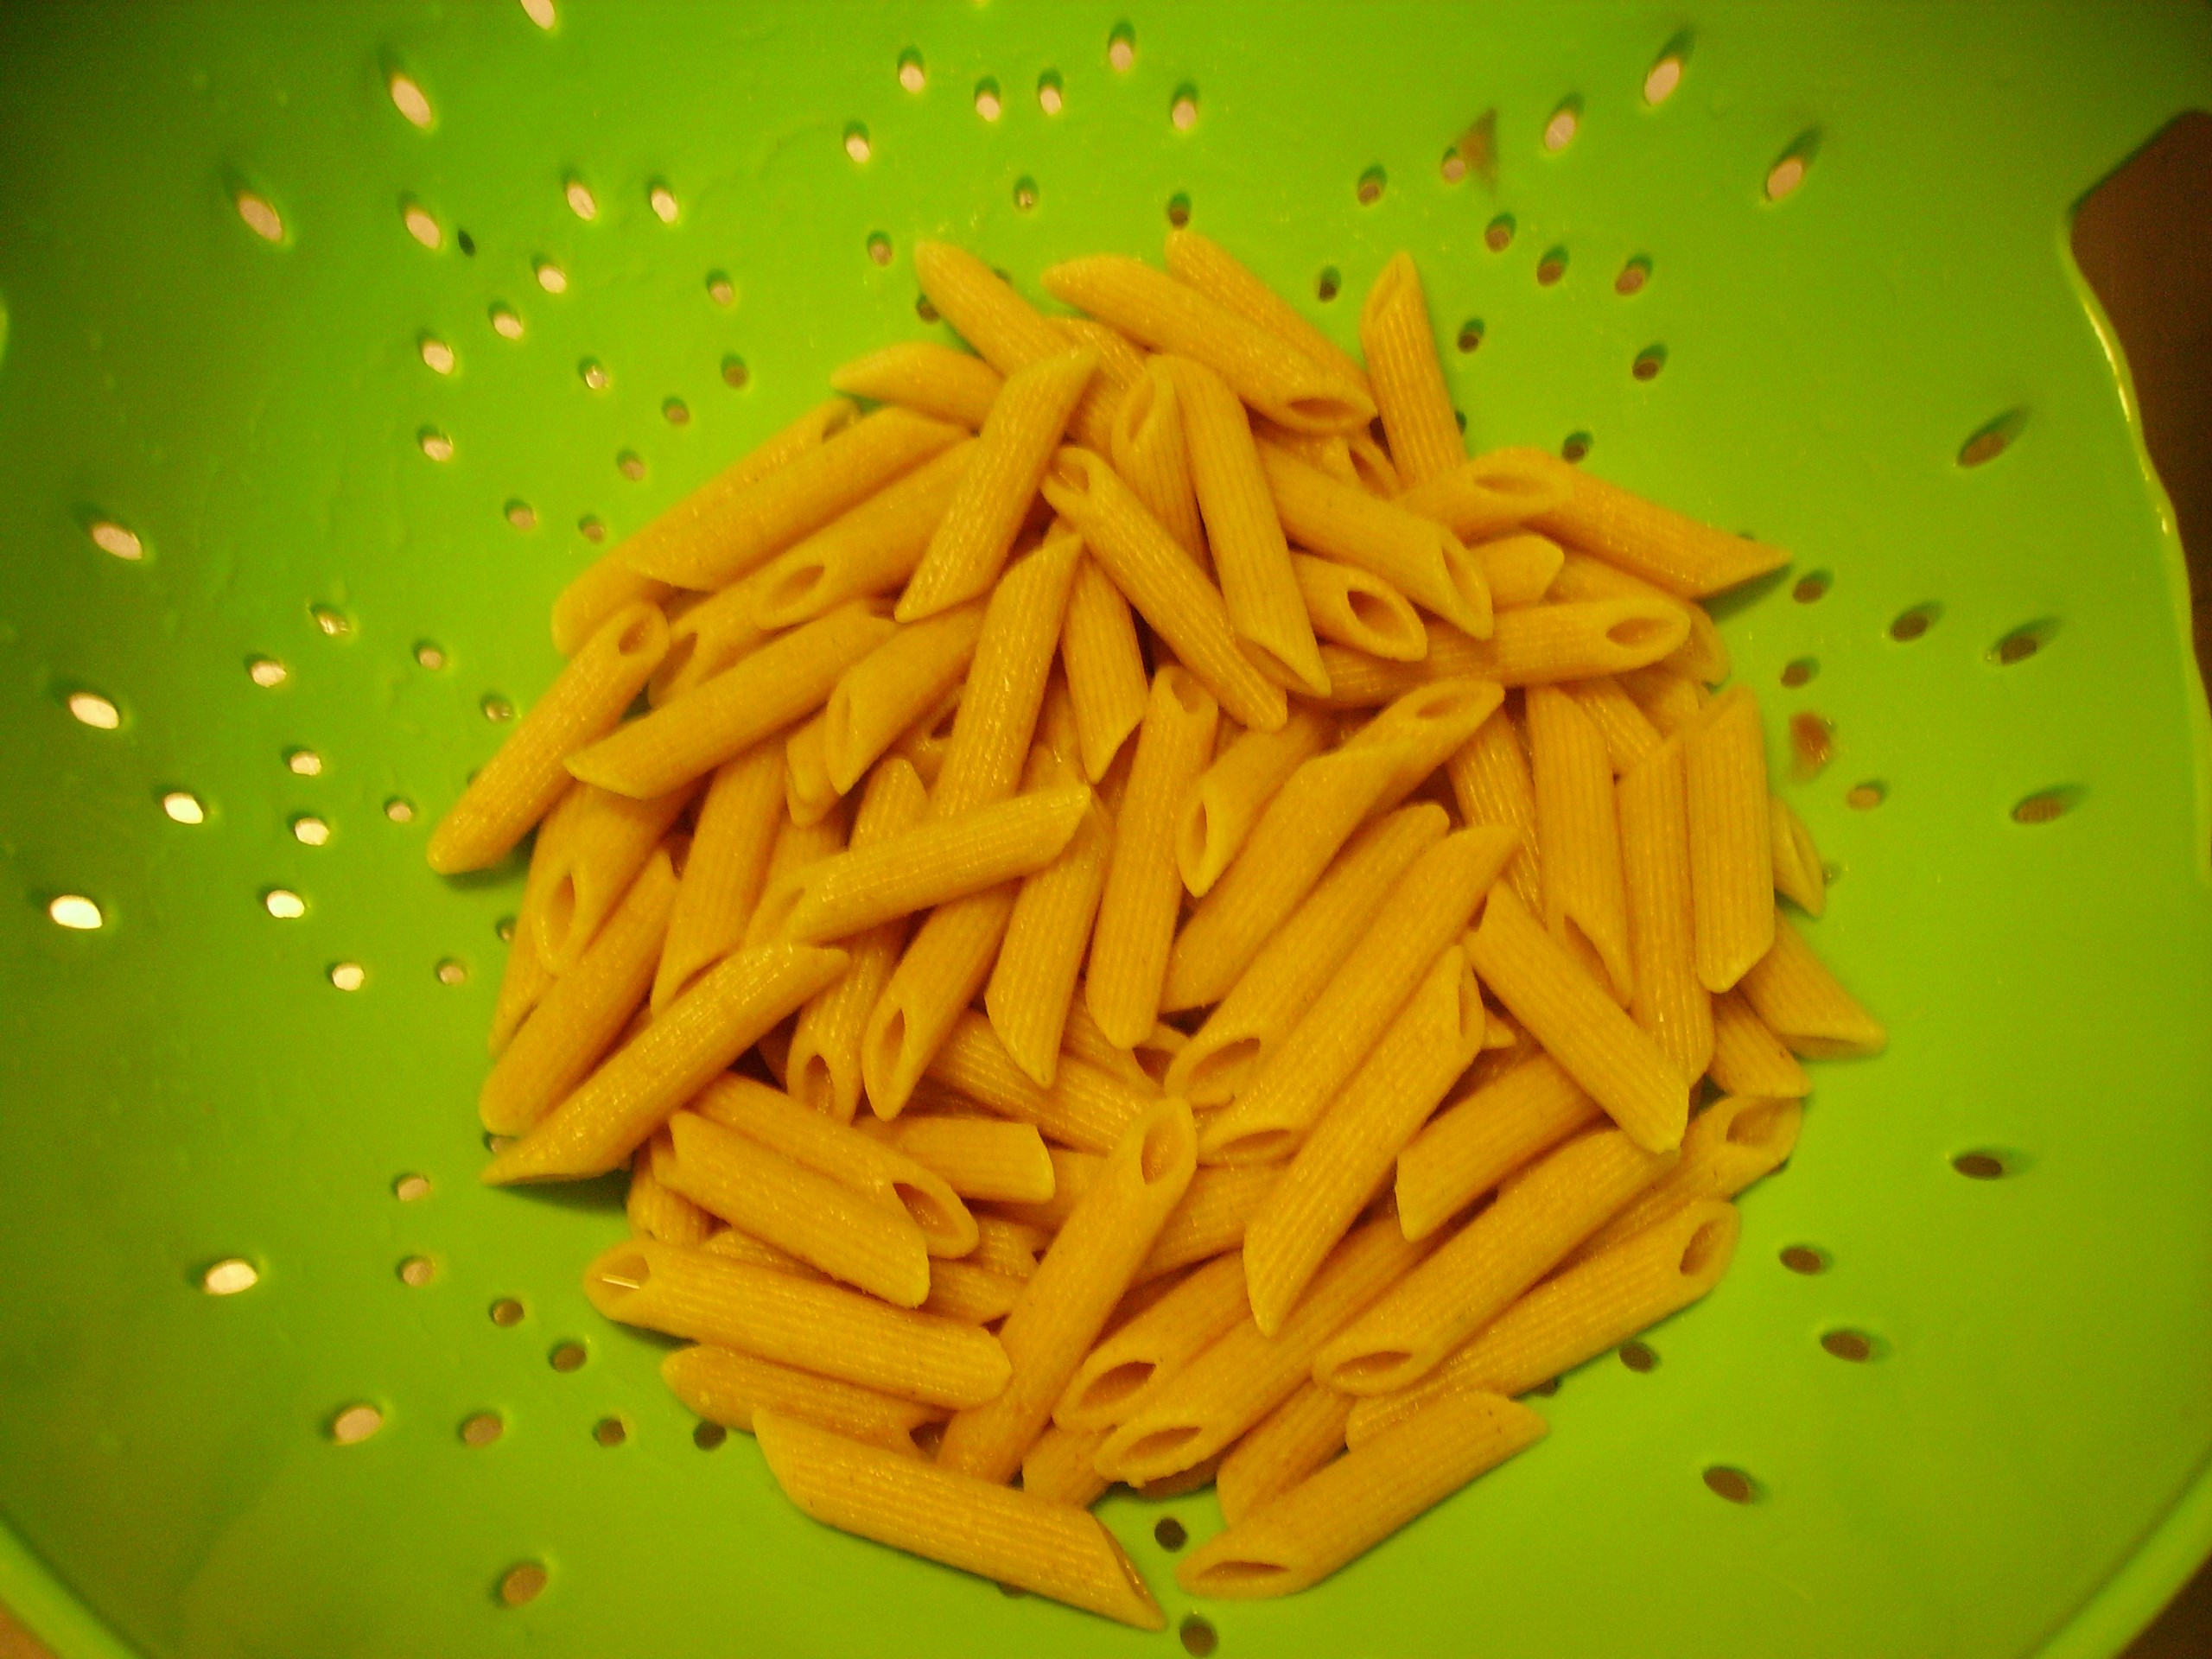
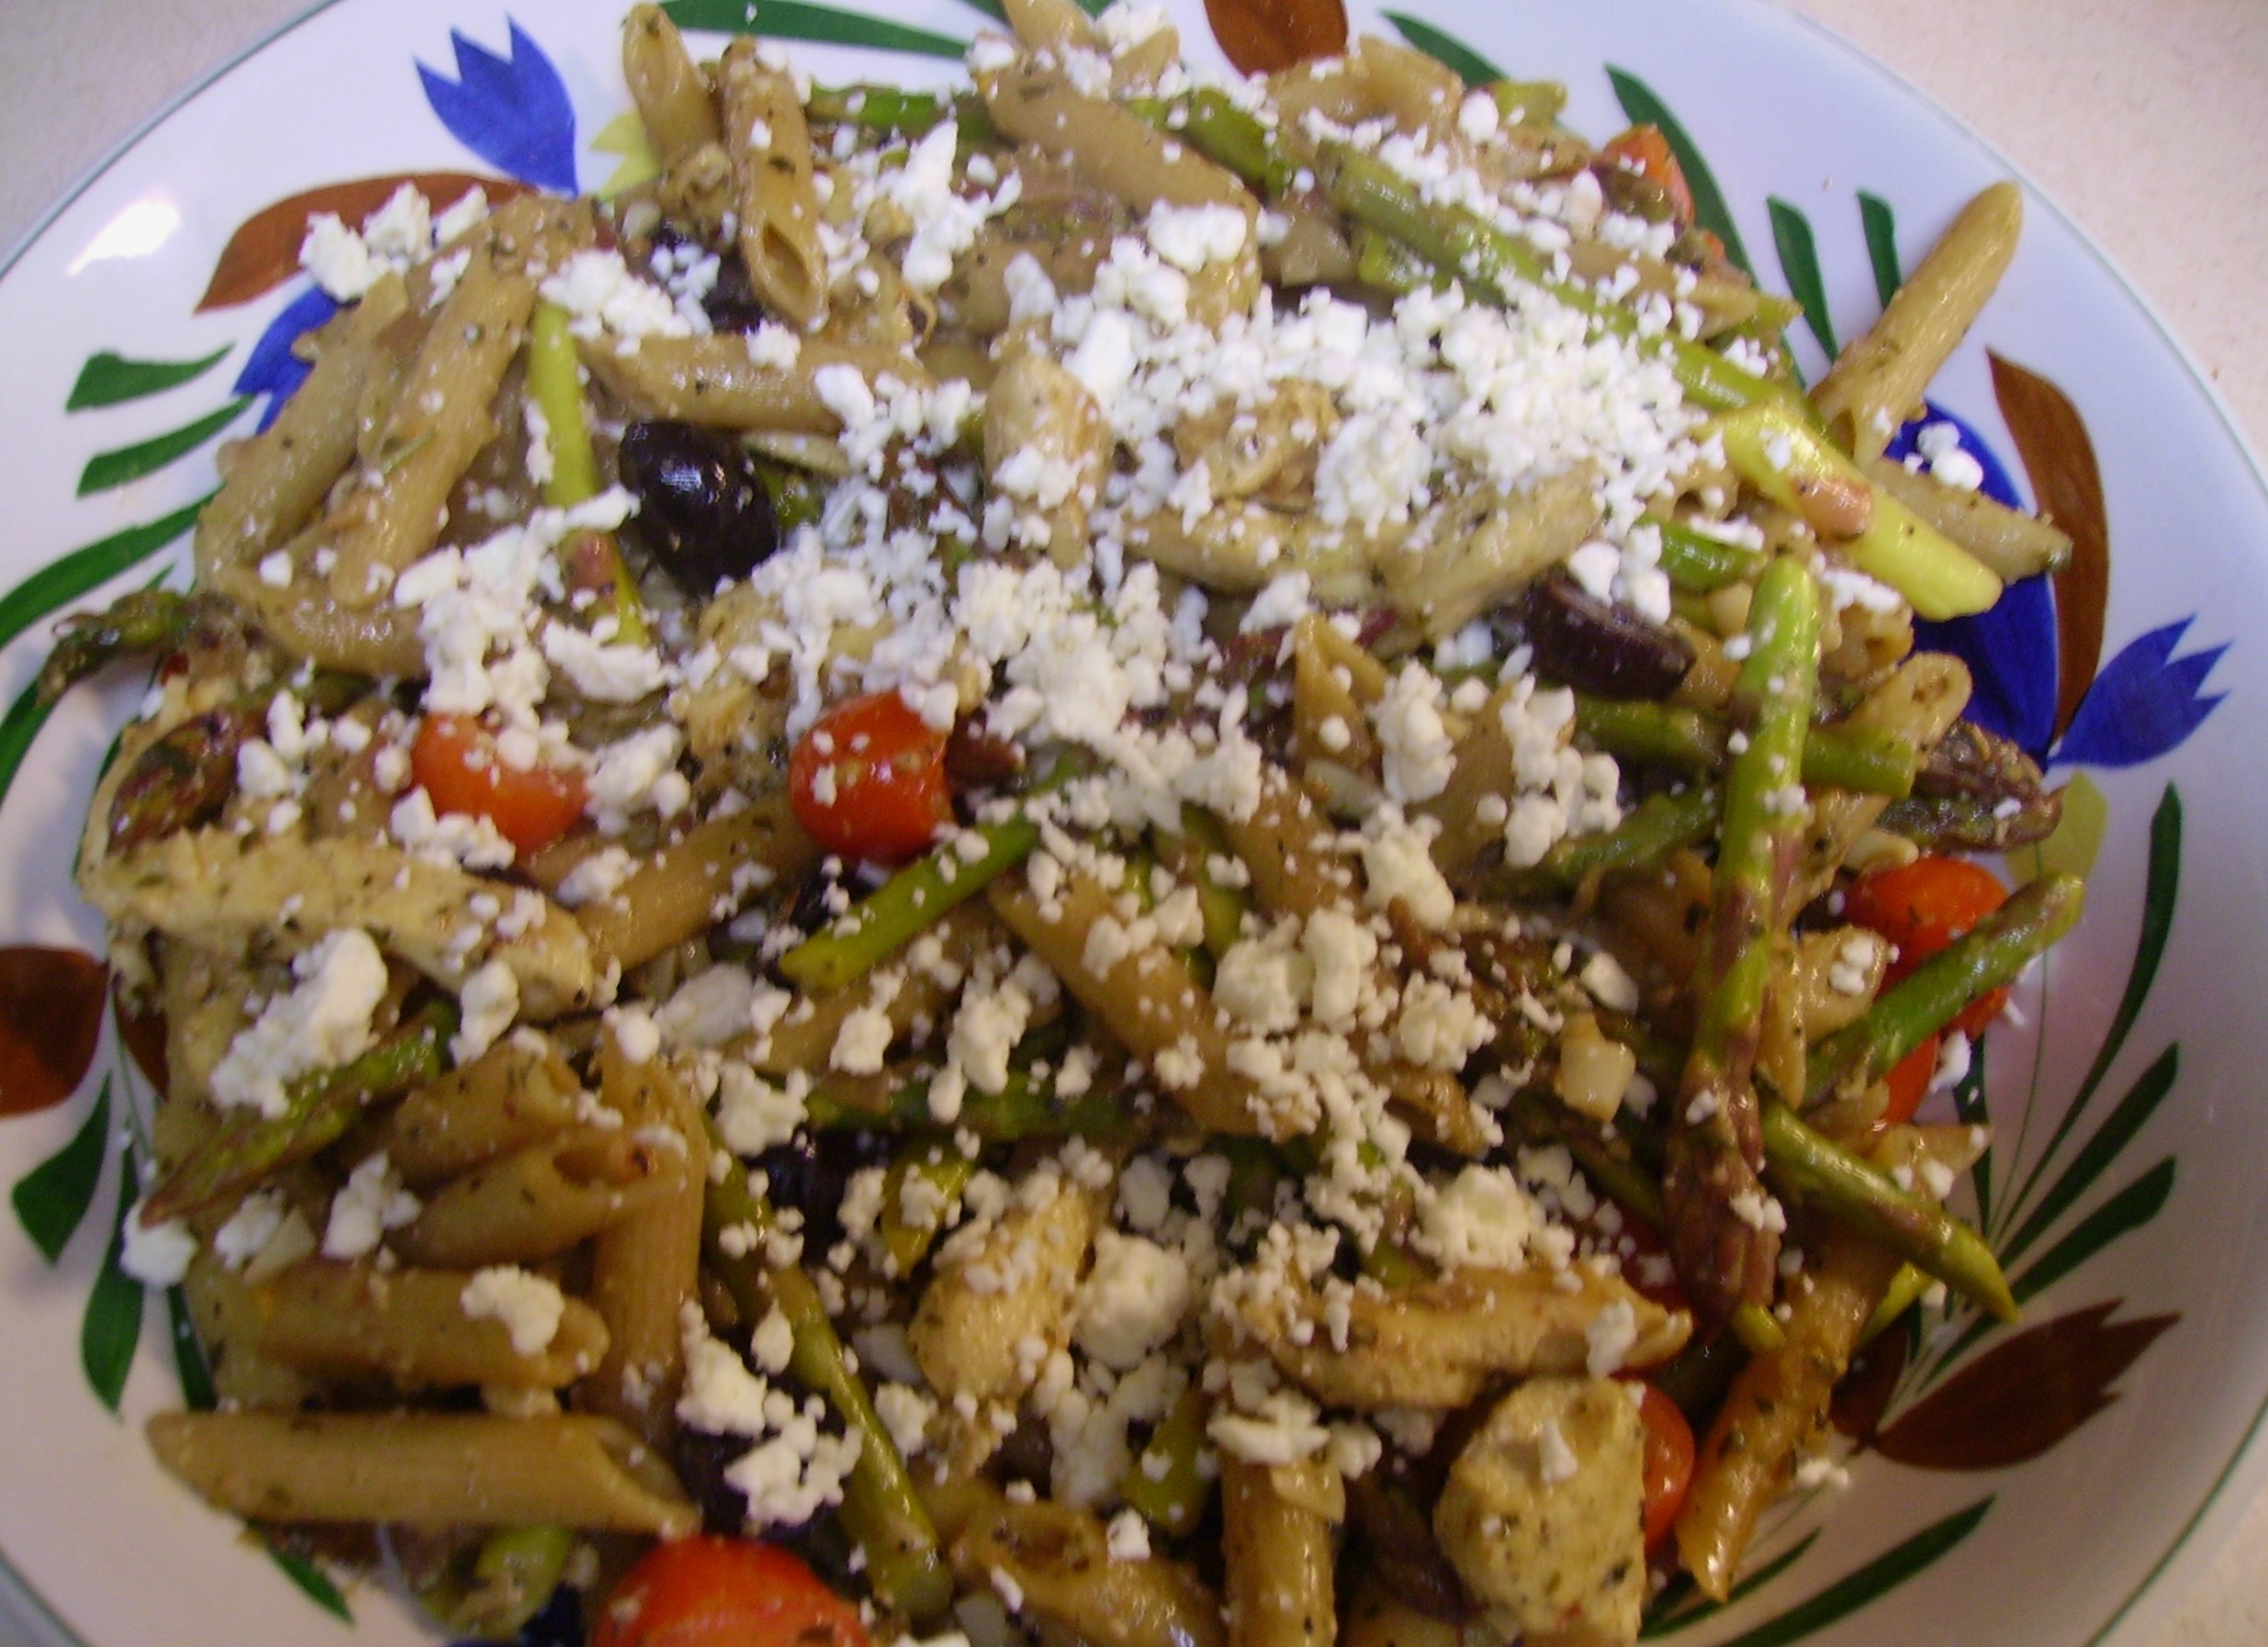
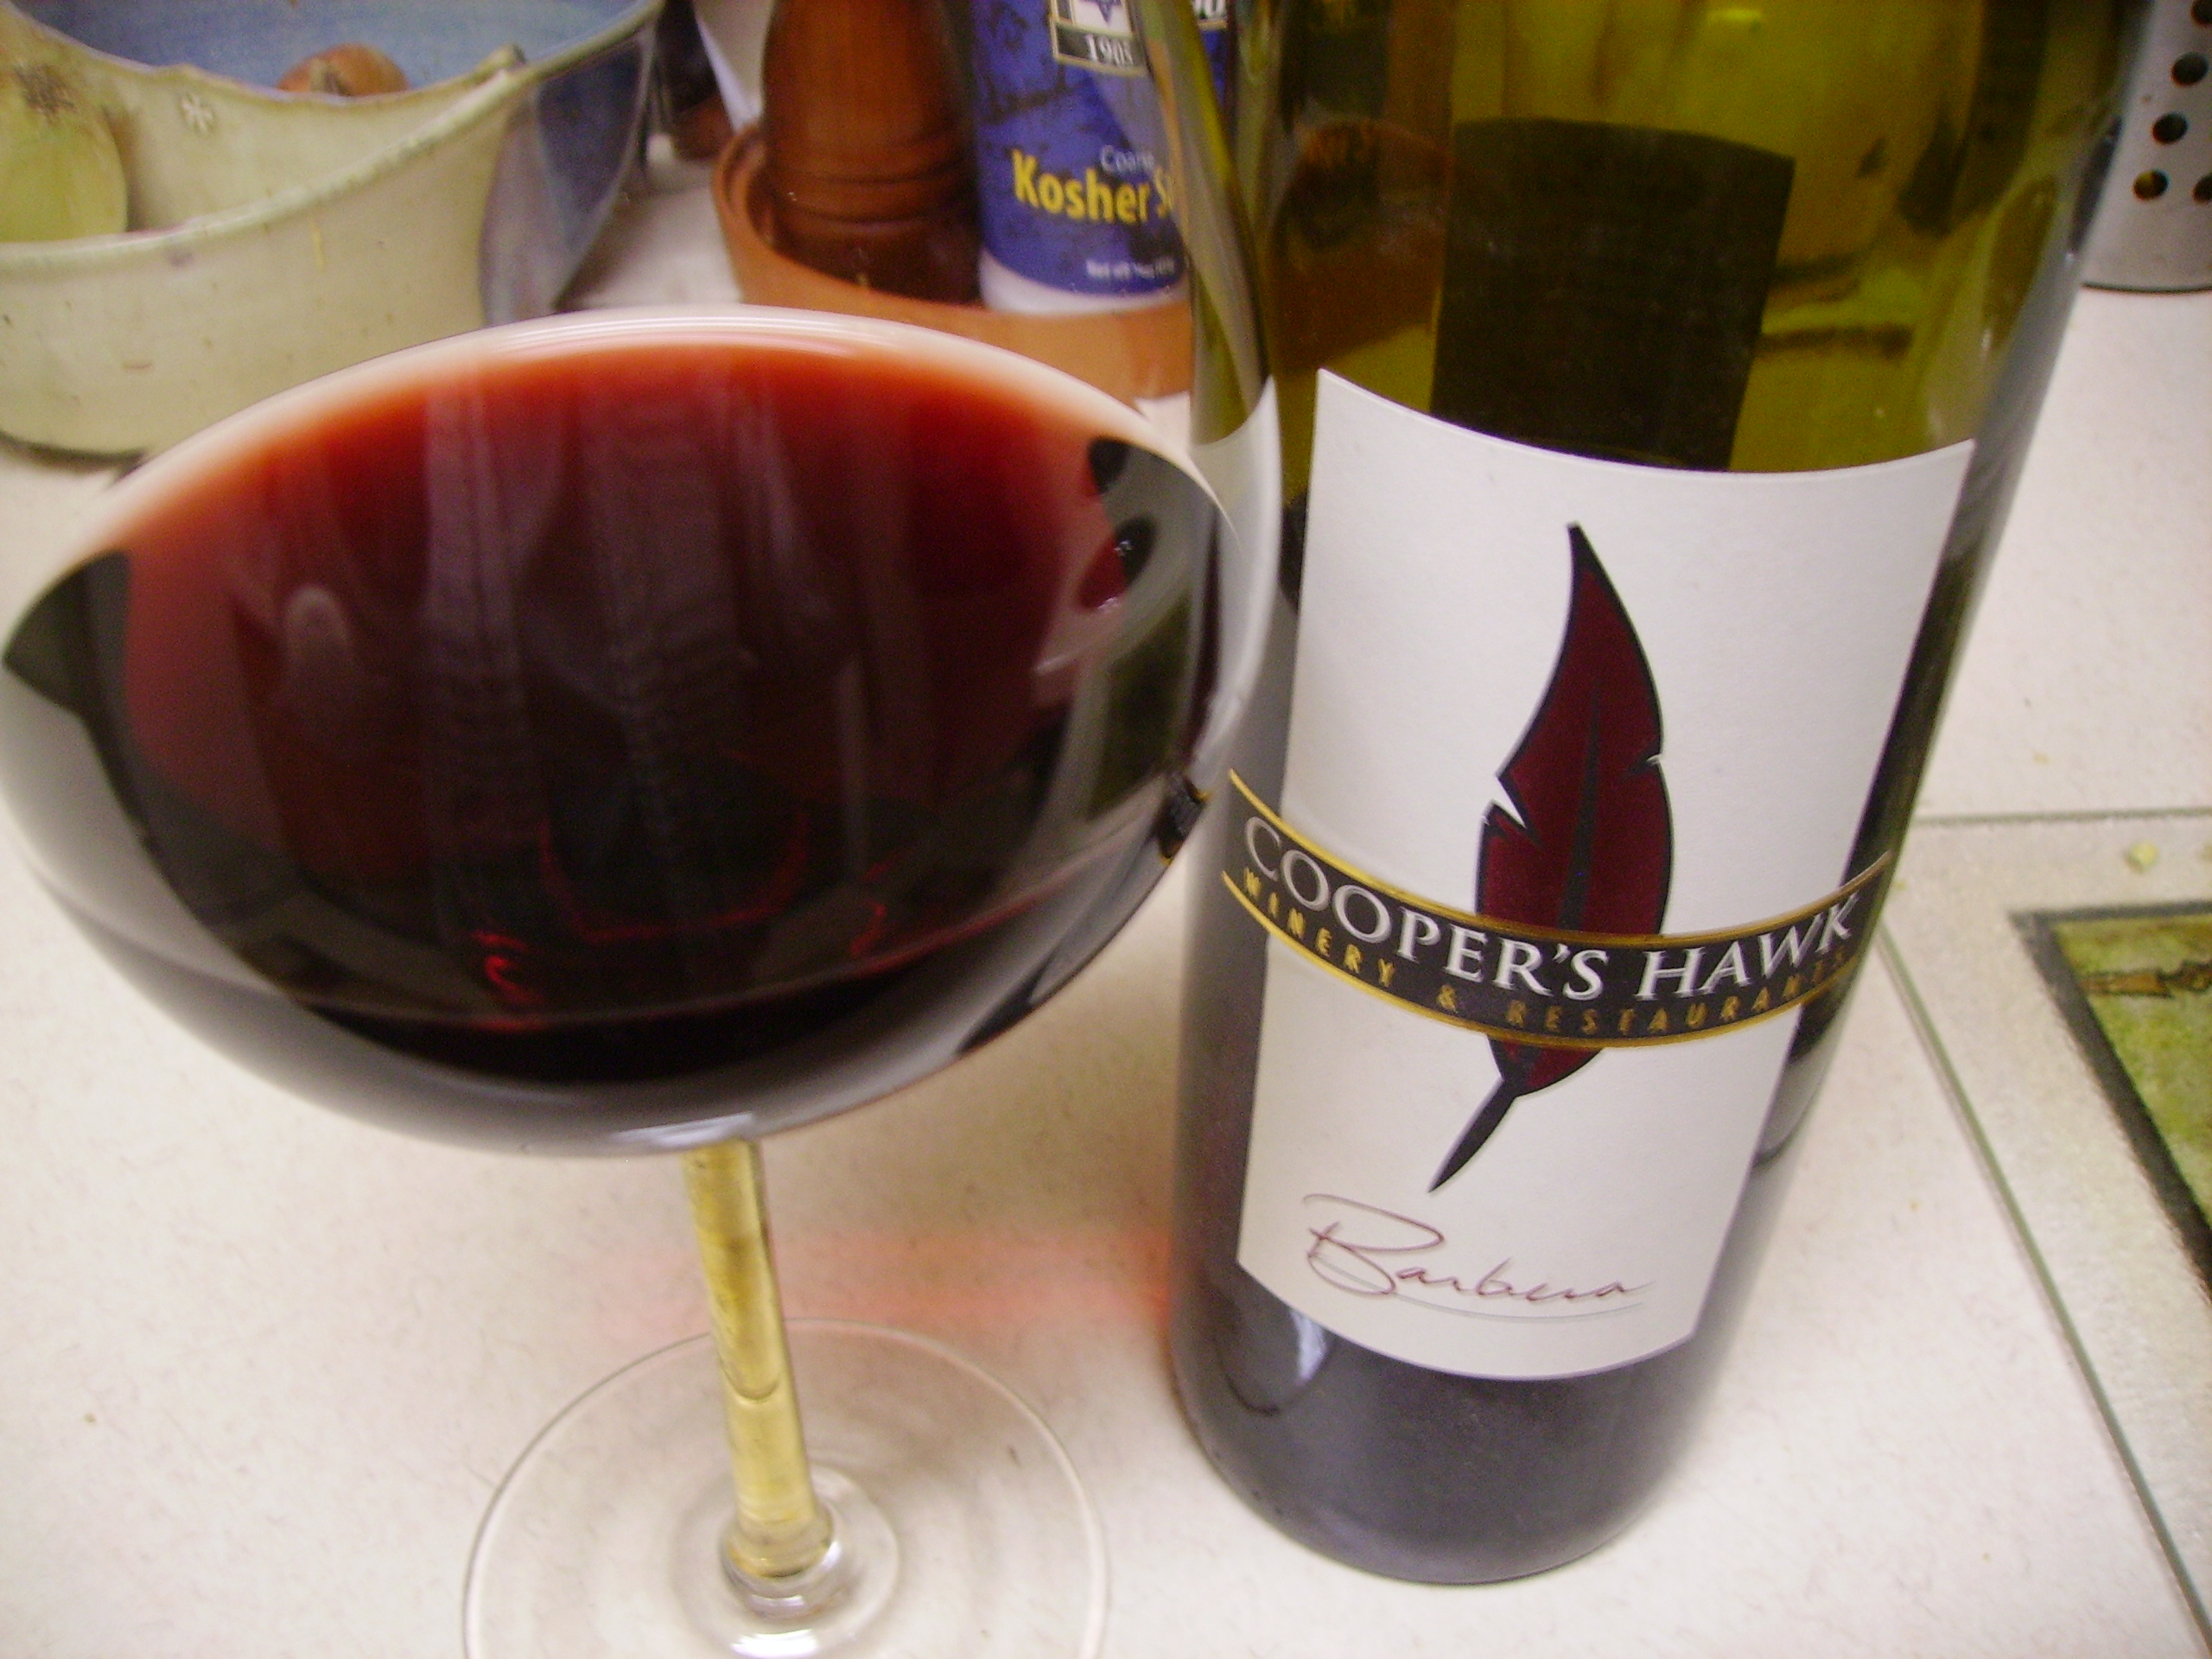
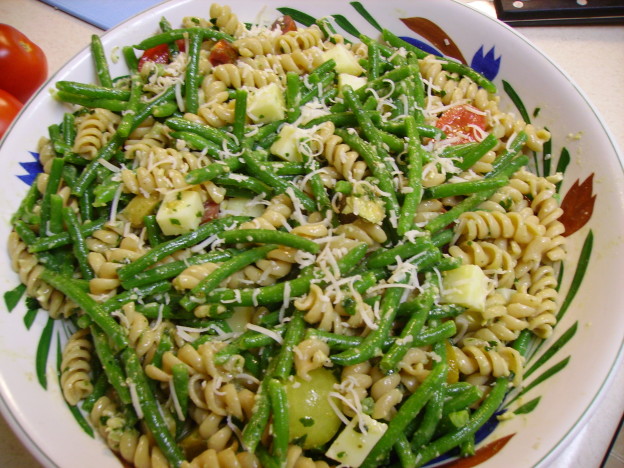
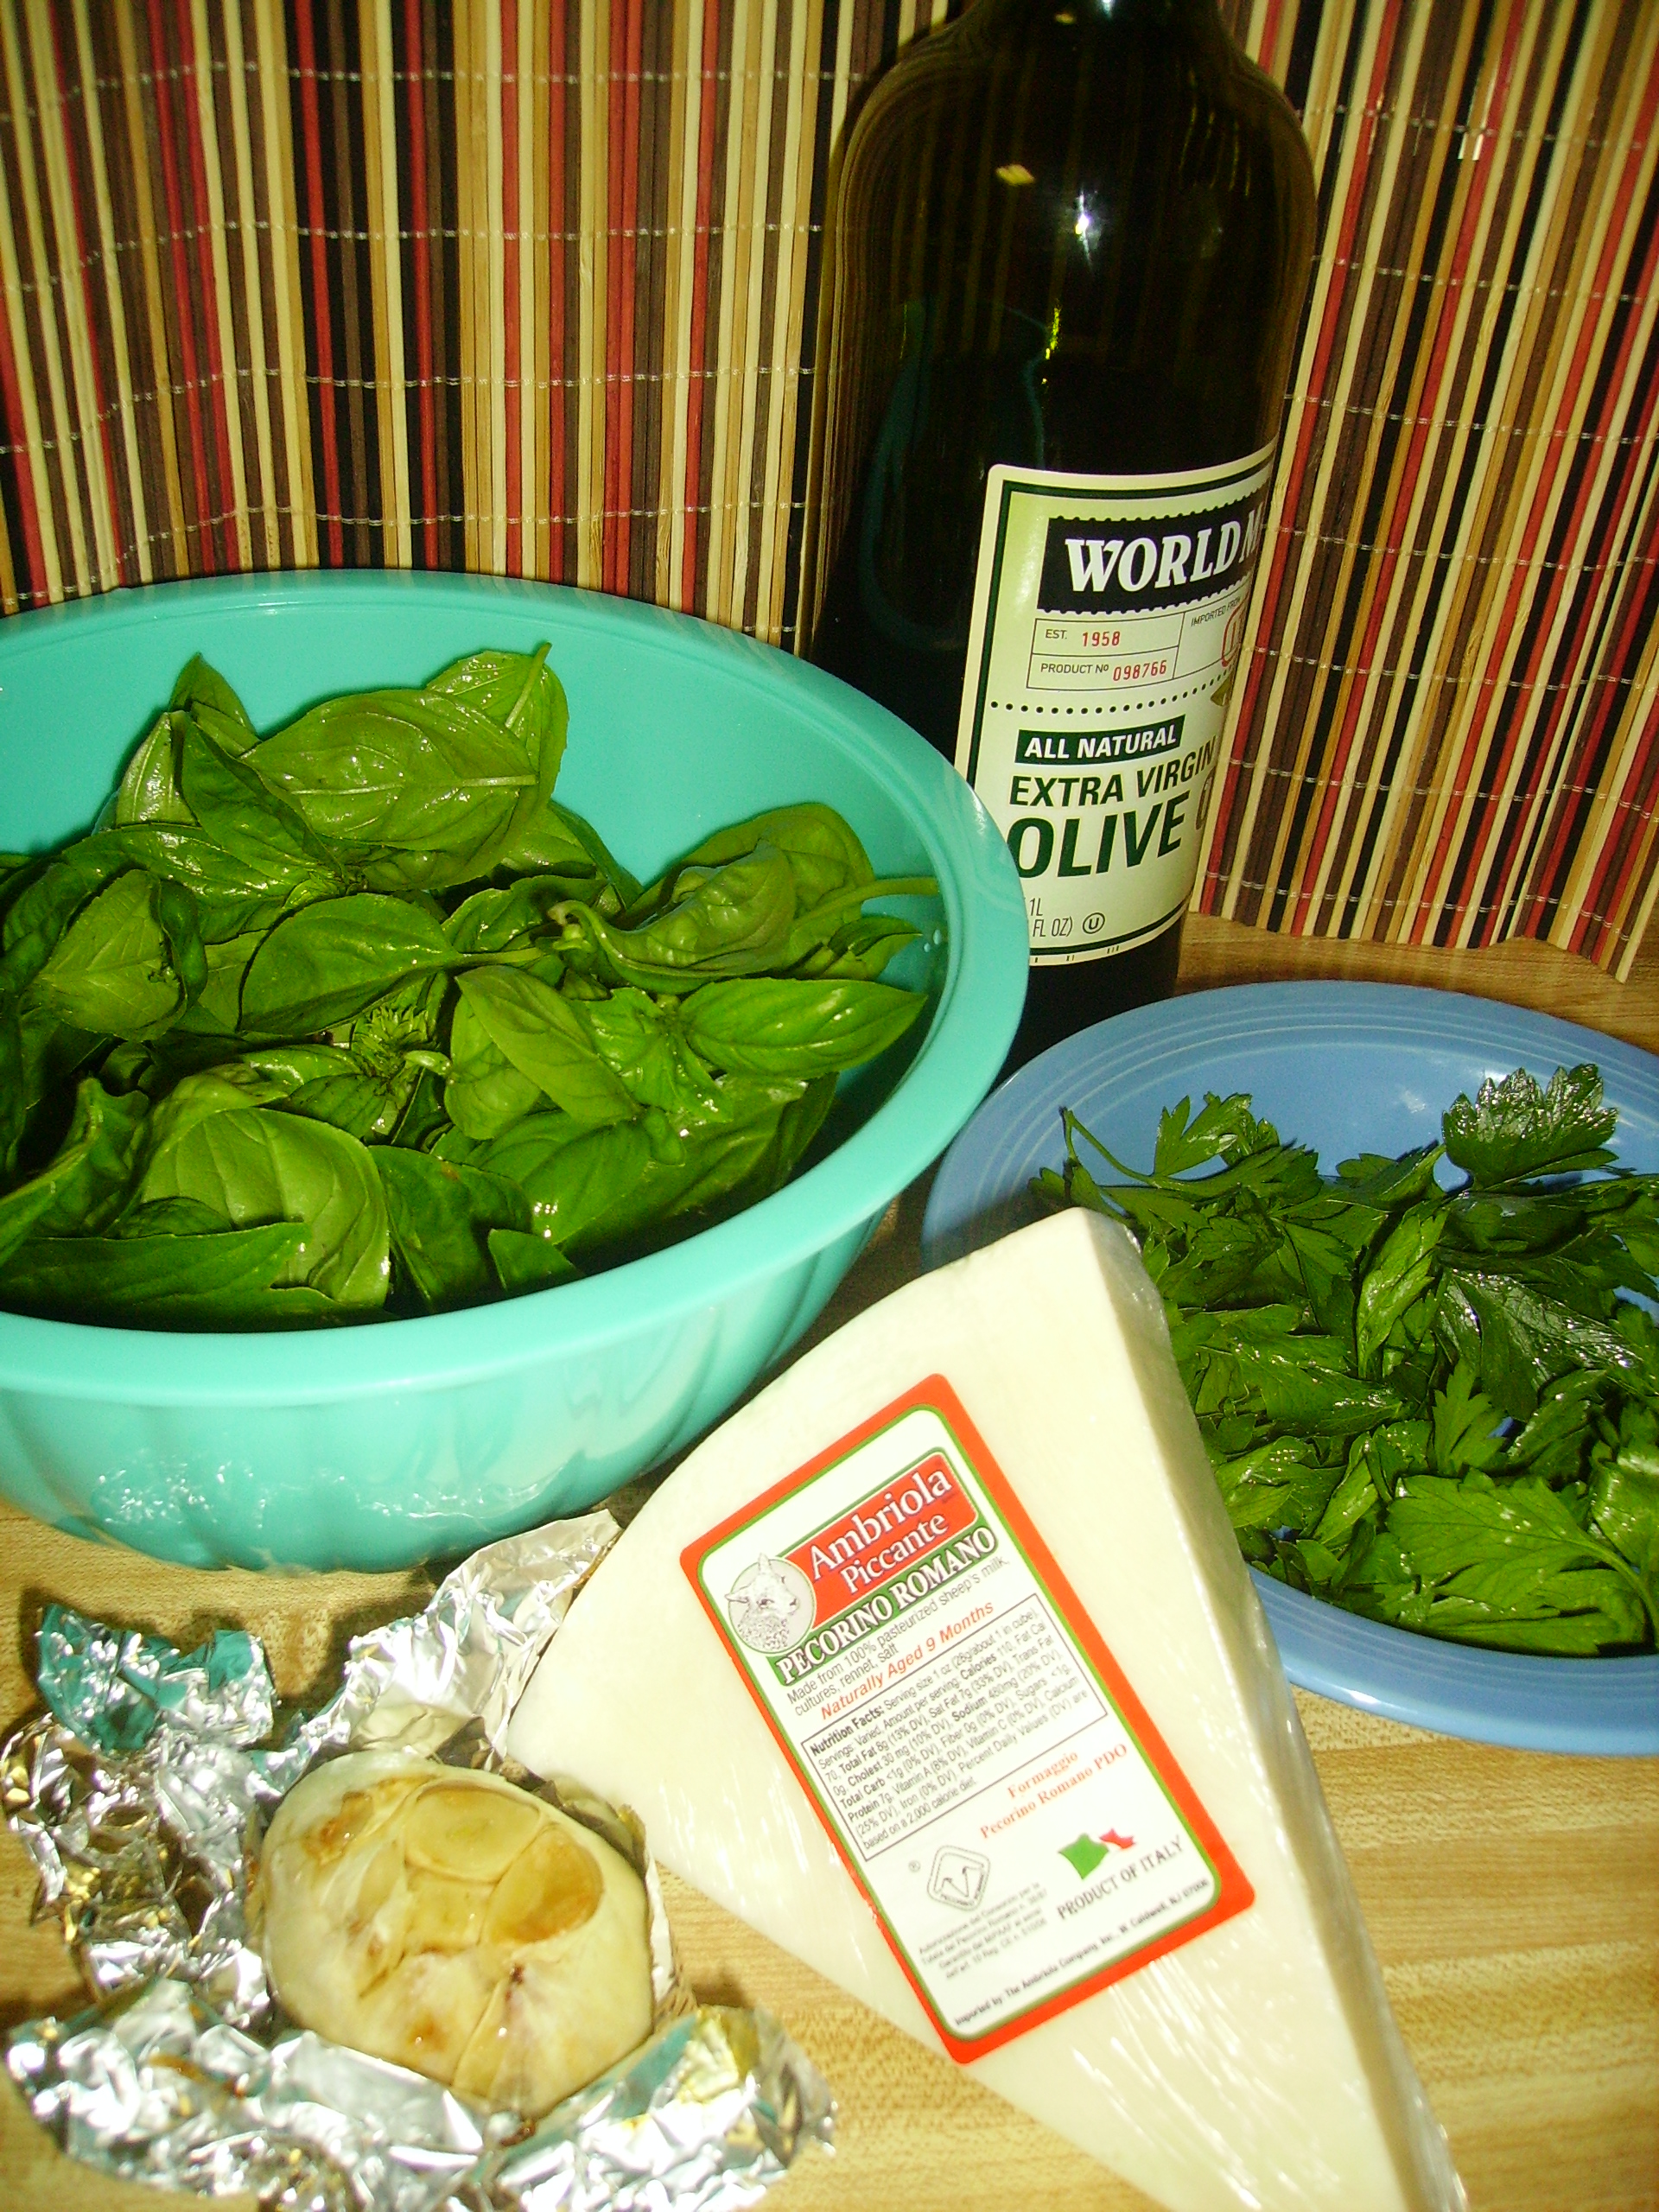
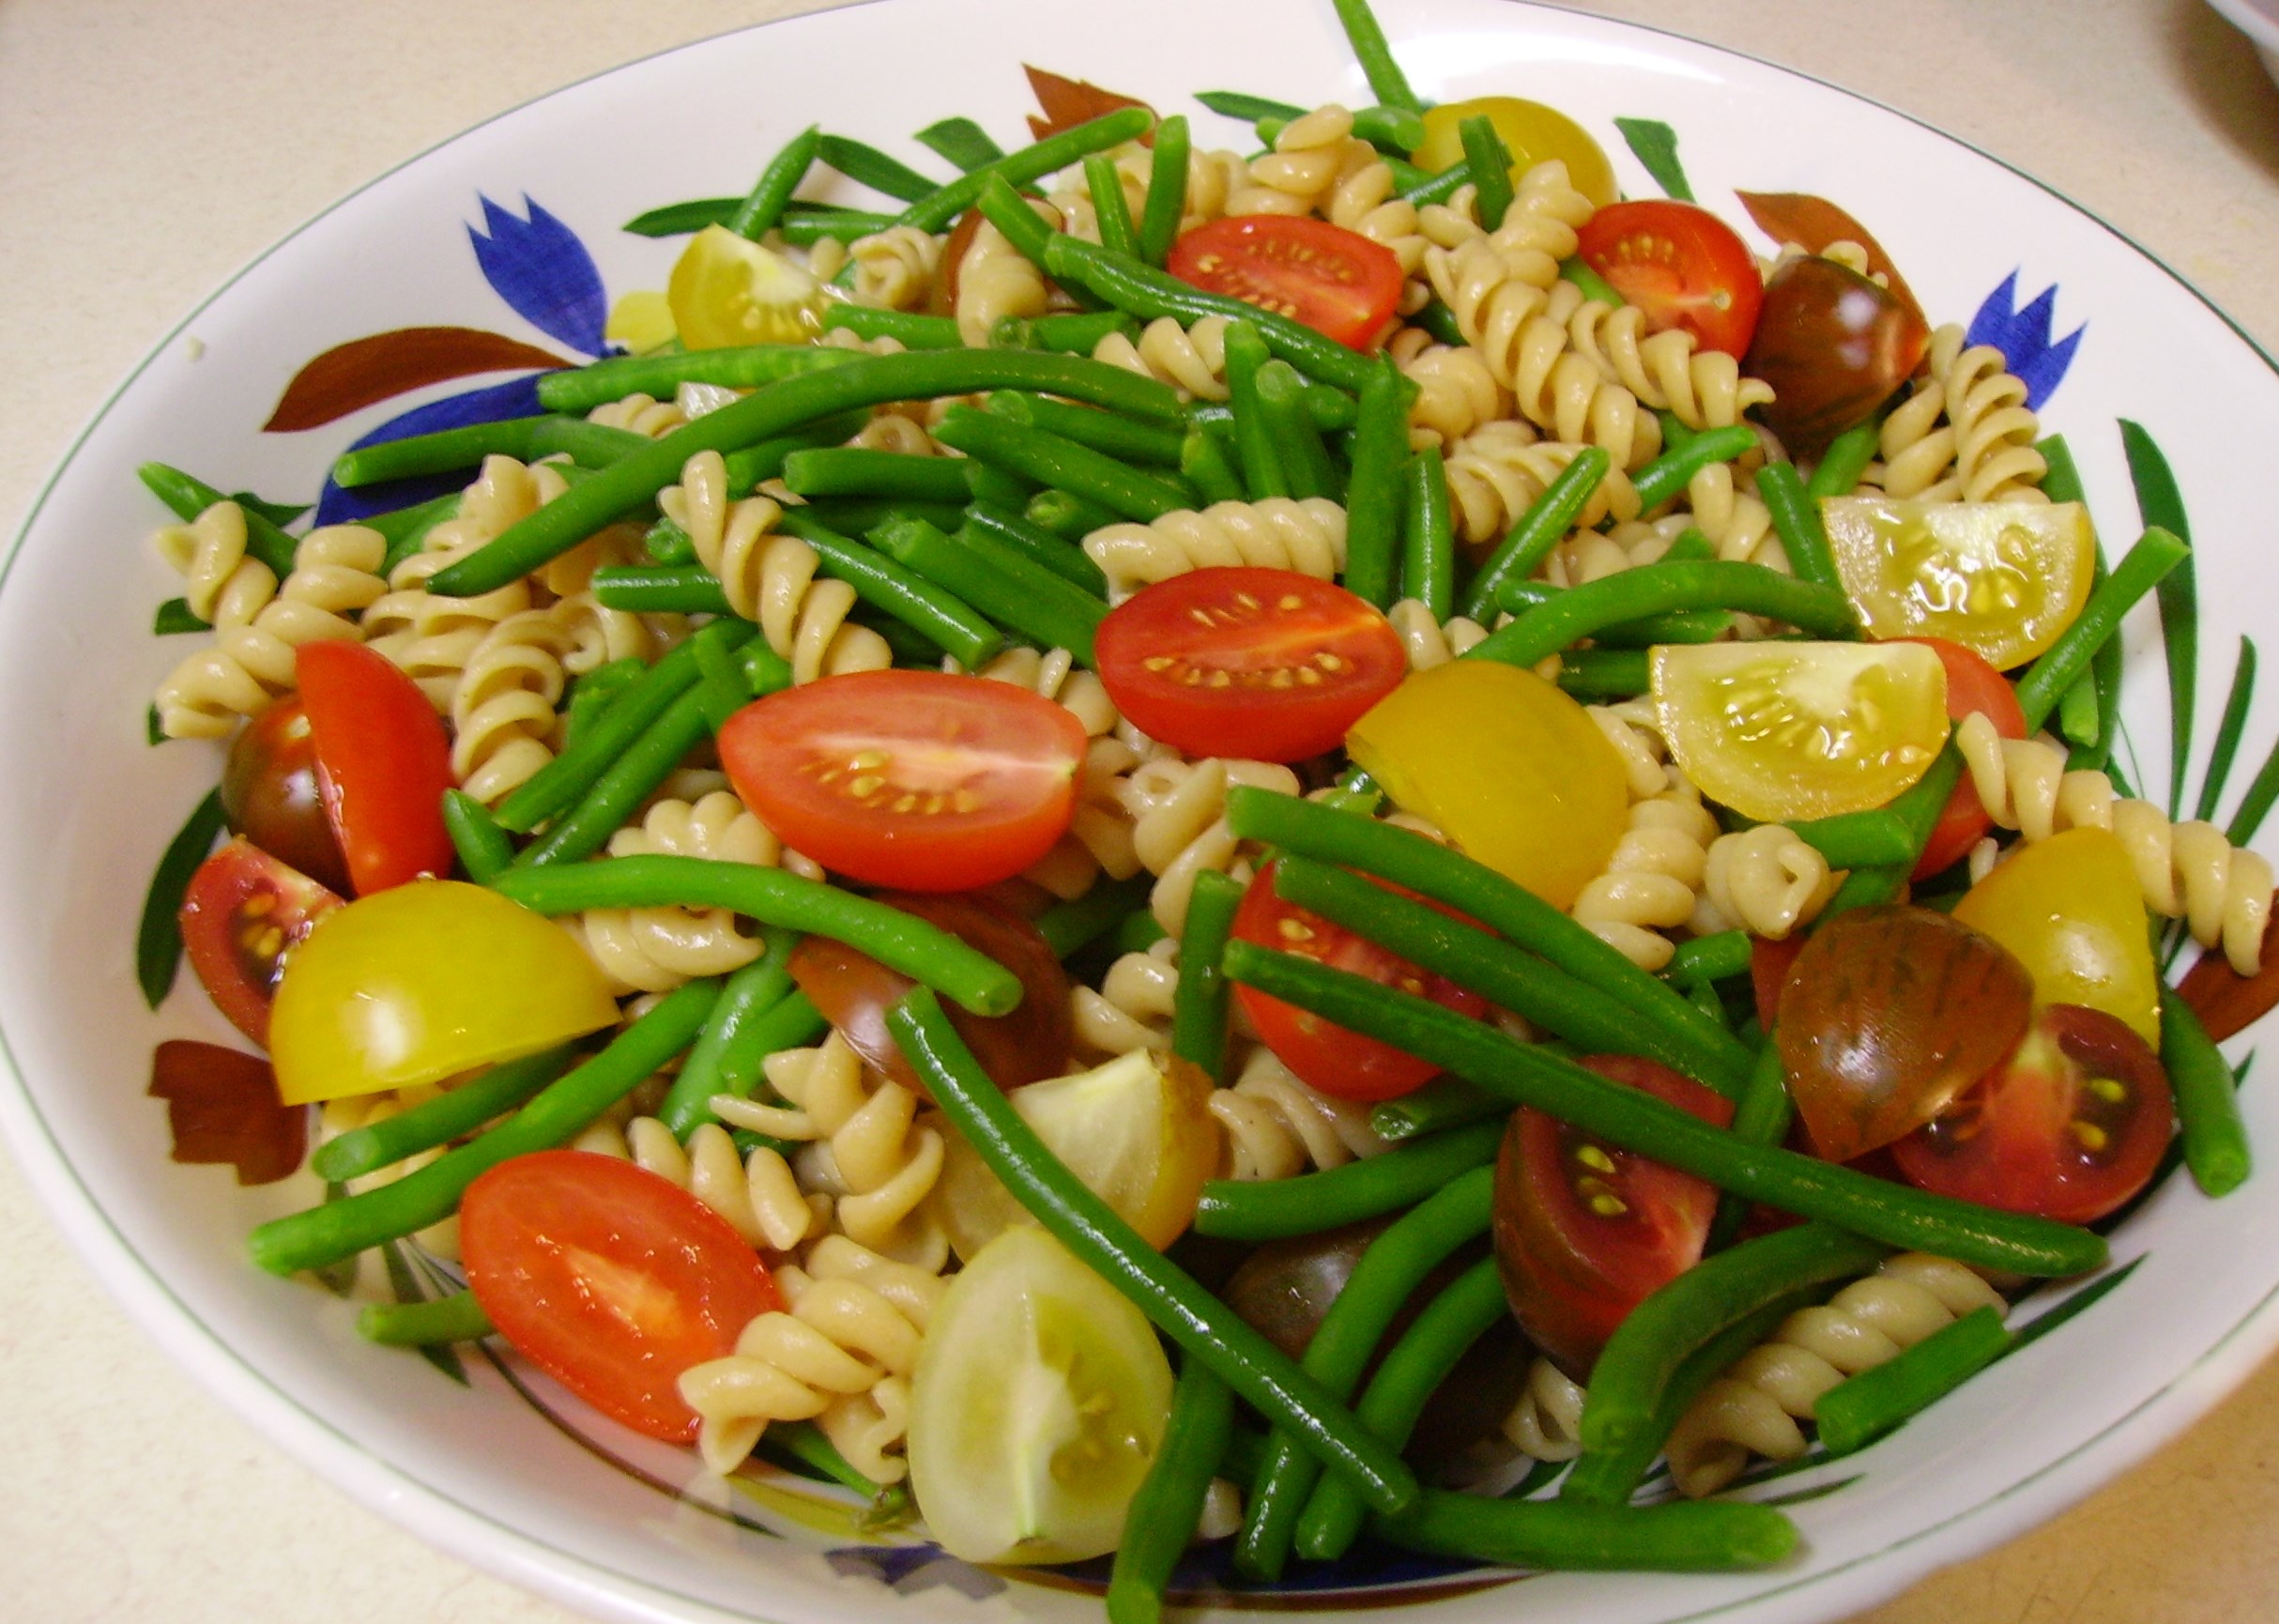
A recent supper was a one dish wonder, Pesto Pasta Salad. Multigrain rotini joined green beans and tomatoes in a homemade pesto dressing. Smoked Mozzarella added a bit of protein and a dusting of Pecorino Romano topped it all. It is easy to make and lends itself to all kinds of variations. It all began with my Roasted Garlic Pesto. This is a recipe that I have revised and tweaked over the years until it is perfection, at least in my eyes. It involves the usual suspects; basil (from the pot on my balcony),

DIGITAL CAMERA

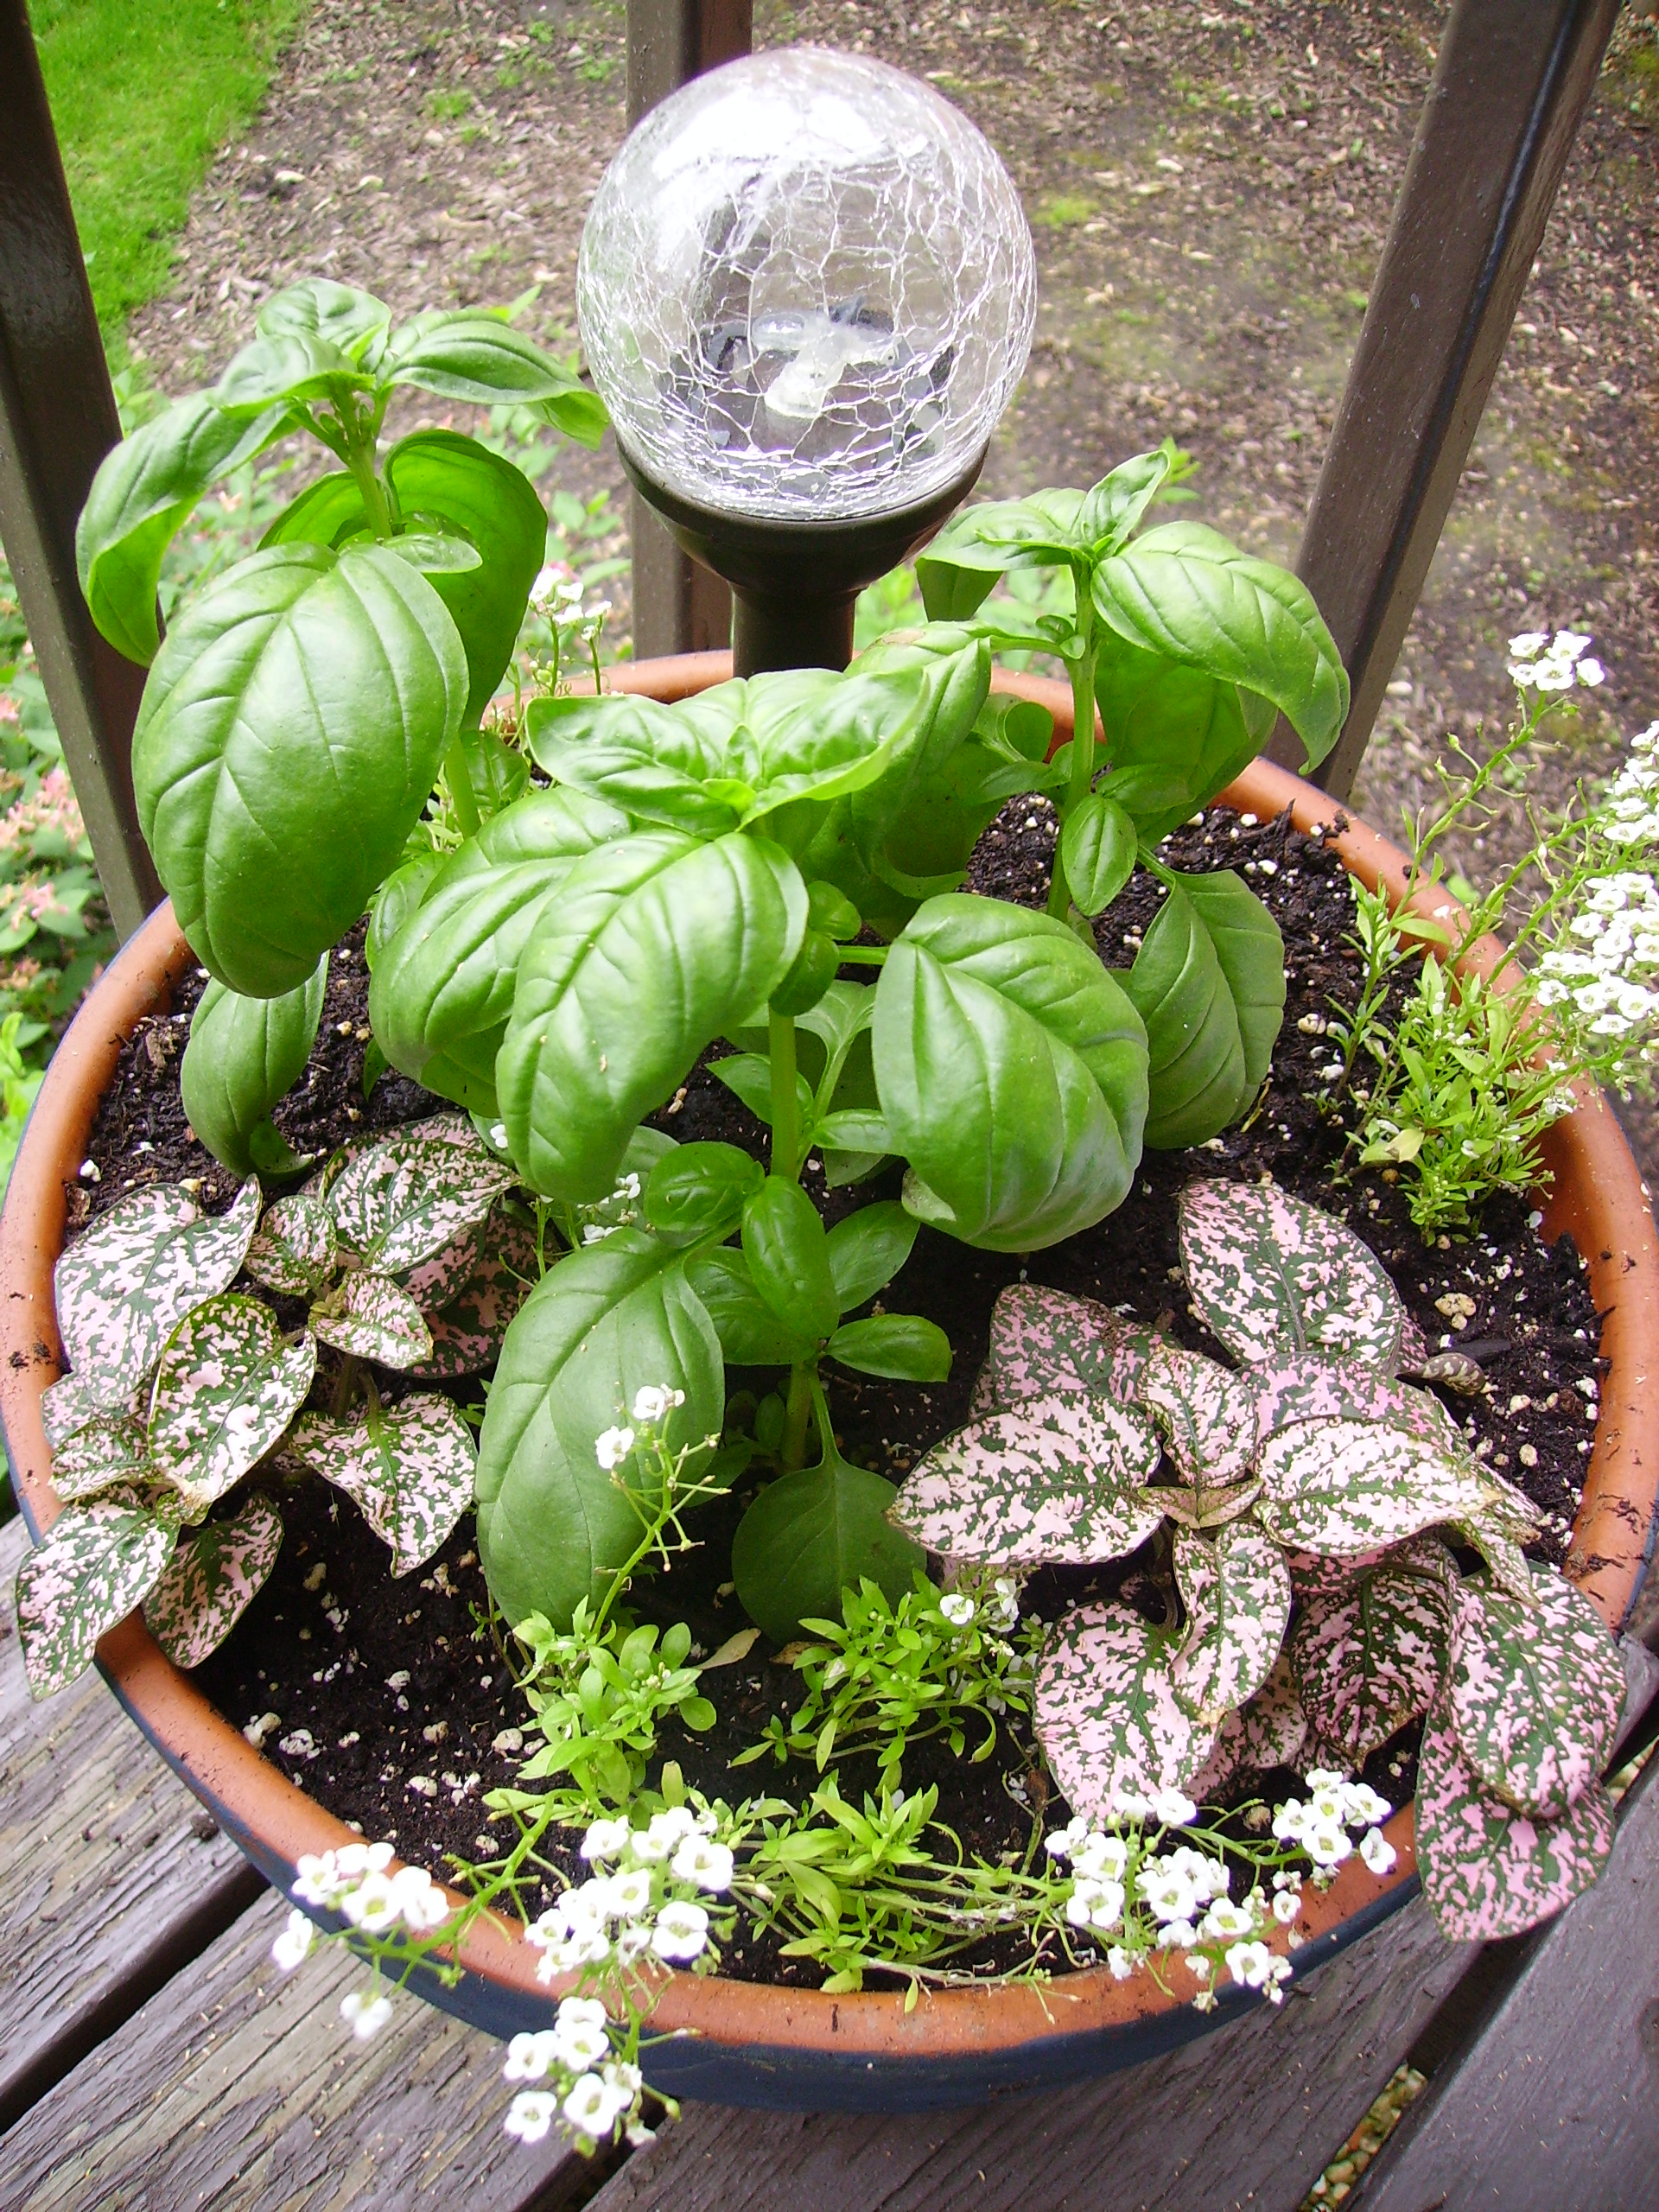
parsley, olive oil, pine nuts, and of course garlic. This is where my version takes a right turn from the traditional recipe. I roast the garlic. Forty minutes or so in the oven and the bitter edge of garlic-ness is mellowed into something more subtle, slightly sweet and dare I say it, more complex. I also give the pine nuts a quick toast to enhance their flavor as well.

DIGITAL CAMERA

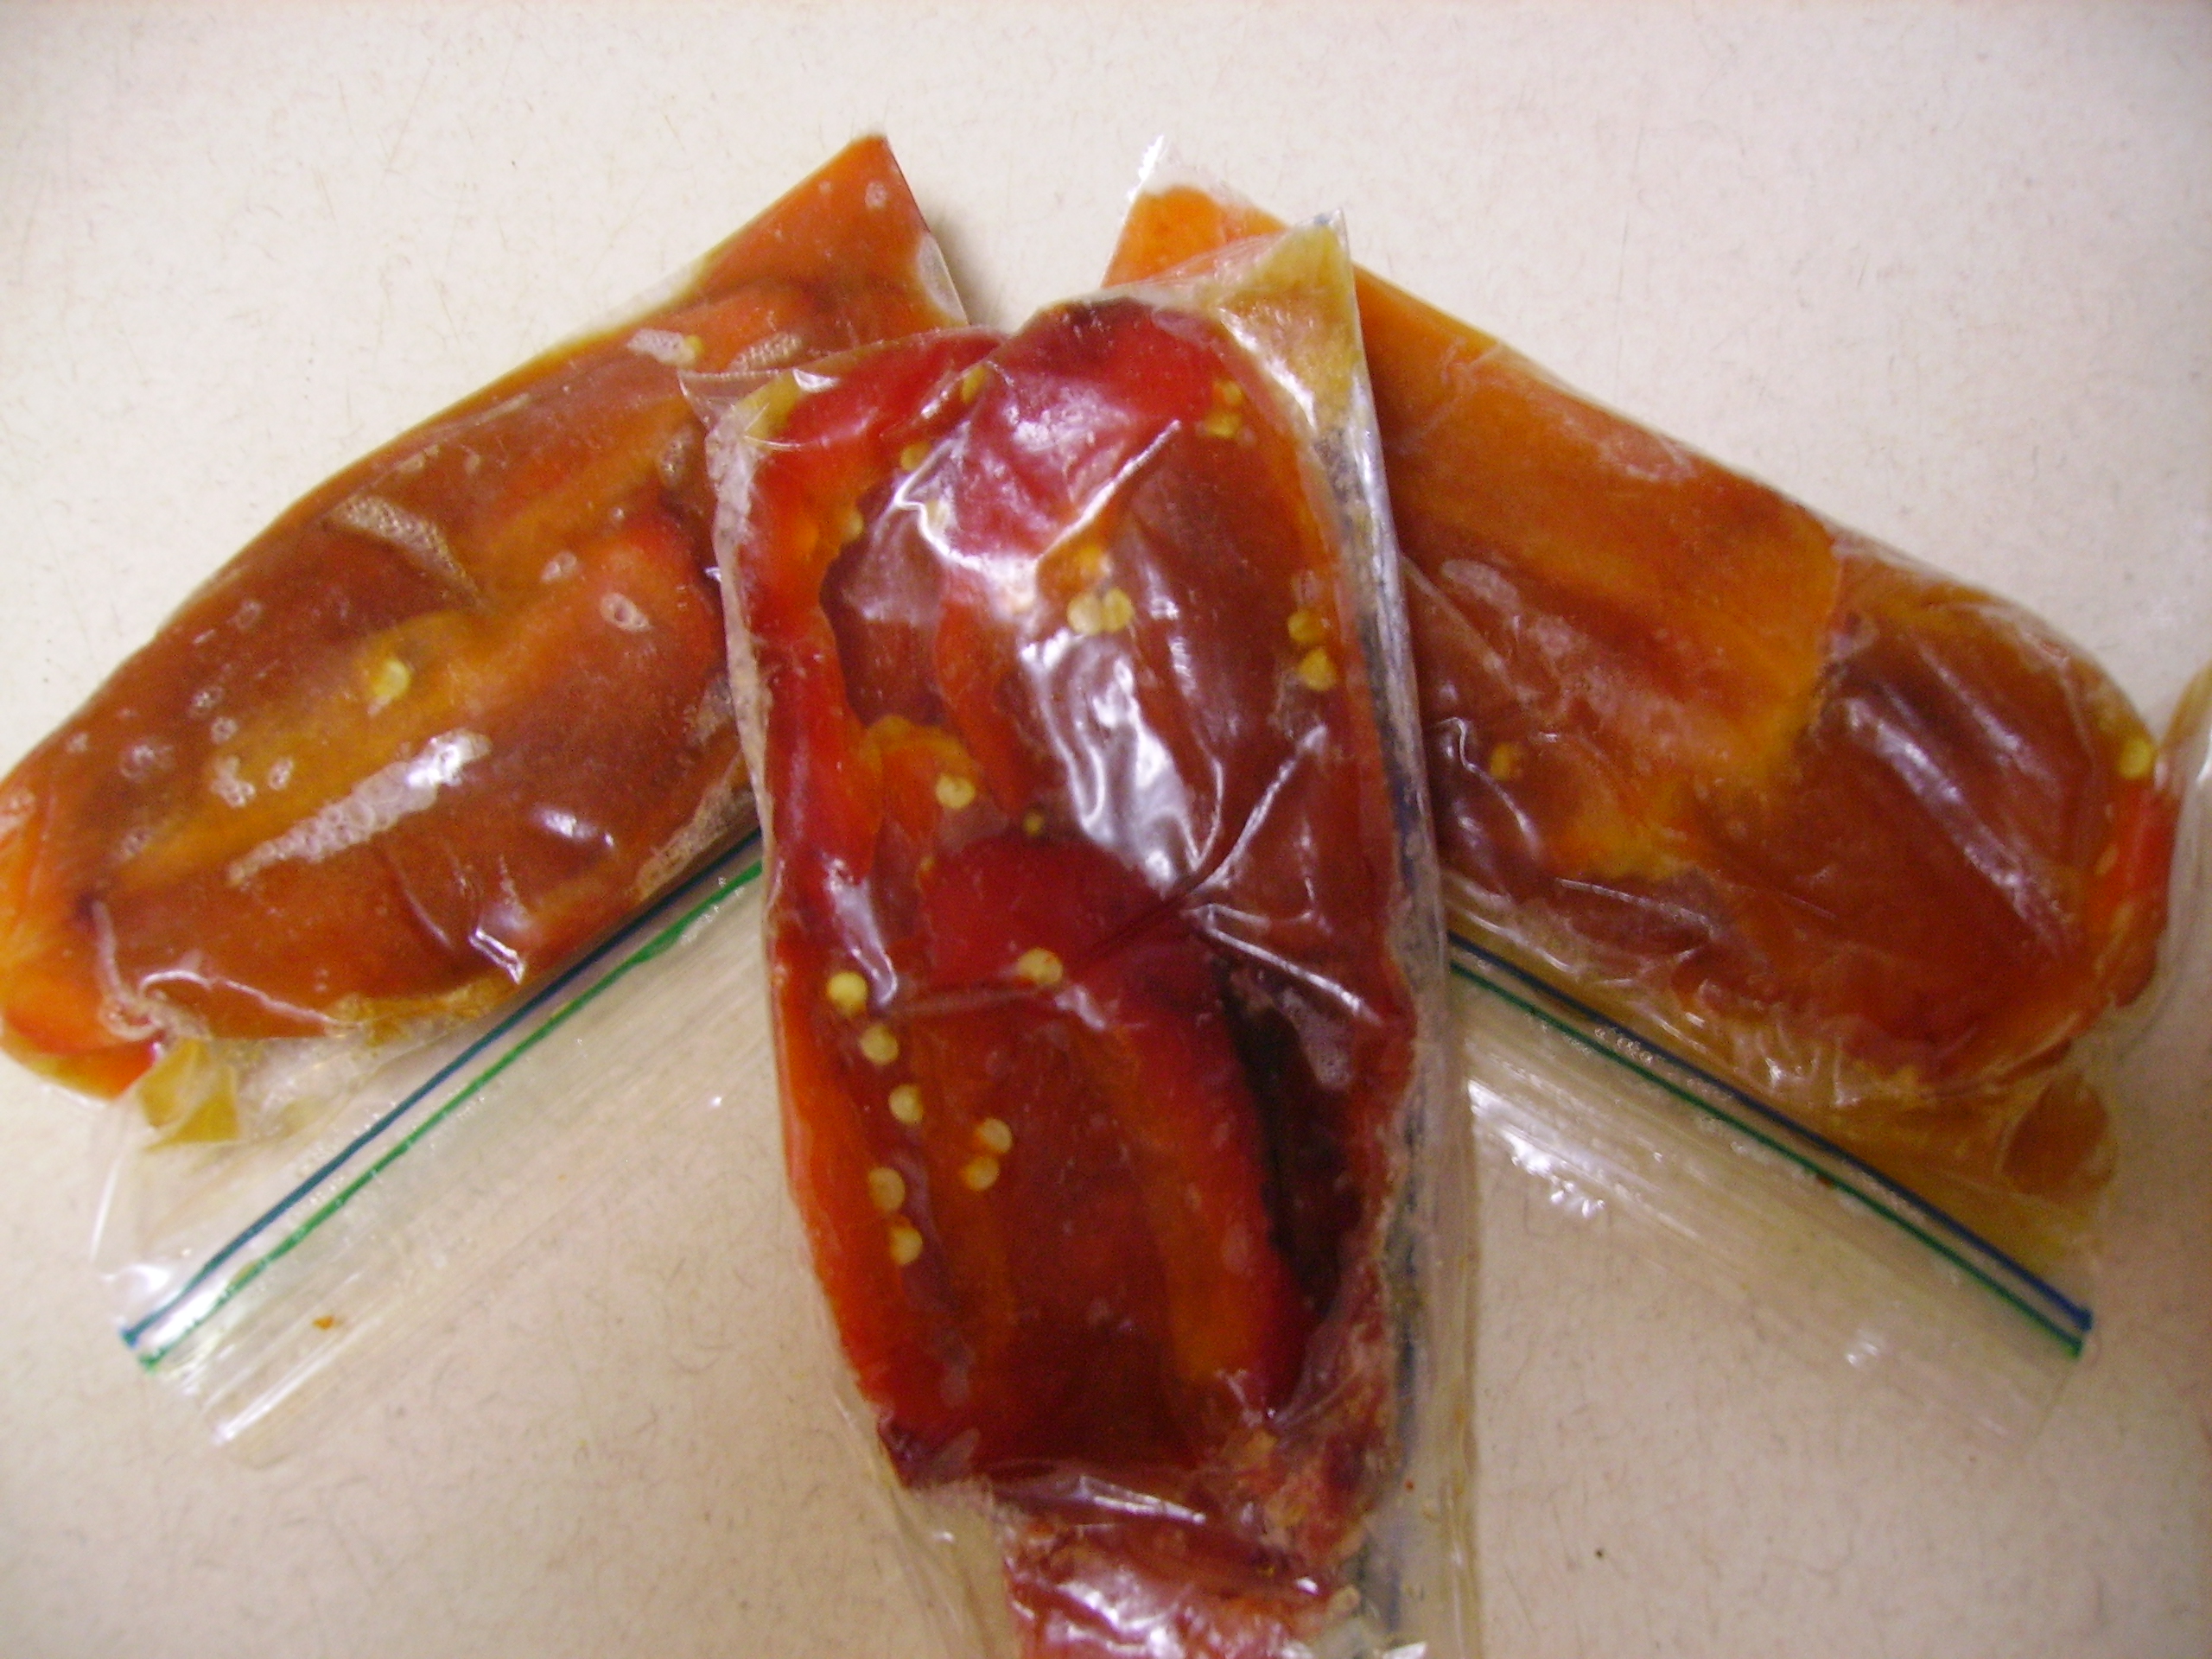
Everything gets blended in the processor to create a rich and savory paste that improves anything it touches. For this recipe, I made just what I needed, but when the basil is plentiful, a big batch is just as easy to make and it freezes beautifully. I usually measure 1/4 cup portions into individual zip top sandwich bags. The small bags go into a larger freezer bag and can live happily for several months in the freezer ready to ad that yummy touch to soup, pasta, or grilled meats.

Roasted Garlic Pesto
Print Recipe
Servings
1-1/2 Cups
Servings
1-1/2 Cups
Roasted Garlic Pesto
Print Recipe
Servings
1-1/2 Cups
Servings
1-1/2 Cups
Ingredients
Servings: Cups
Instructions
  1. Cut the top off the head of garlic (just enough to expose the cloves a bit). Place in the center of a square of heavy duty foil. Drizzle with a little olive oil and wrap sealing completely but leaving a little breathing room. Place in a 350 degree oven and bake for 40 minutes or until the kitchen smells wonderful and the garlic feels soft. Unwrap and allow to cool.
  2. Toast the pine nuts on top of the stove. Place them in a dry non-stick pan and toast over low heat shaking frequently to prevent burning. This should take 6 or 7 minutes.
  3. Place the basil and parsley leaves in the bowl of a processor. Squeeze the cooled garlic into the bowl. Add the pine nuts. Pulse to coarsely chop the ingredients.
  4. Add the grated cheese and pulse to combine.
  5. With the motor of the processor running, stream the olive oil into the feed tube. Stop as soon as the mixture is the texture that you like. (Do not process until smooth).
  6. Scrape the pesto into a bowl. Check for seasoning Add some ground pepper and a pinch of salt if you want.
  7. It is now ready to use. It can be frozen in 1/4 cup (or whatever amount you like) packages. It will keep in the refrigerator for a week. Pour a thin layer of olive oil on the pesto before you put it in the refrigerator to help preserve color and flavor.
Share this Recipe
Powered byWP Ultimate Recipe

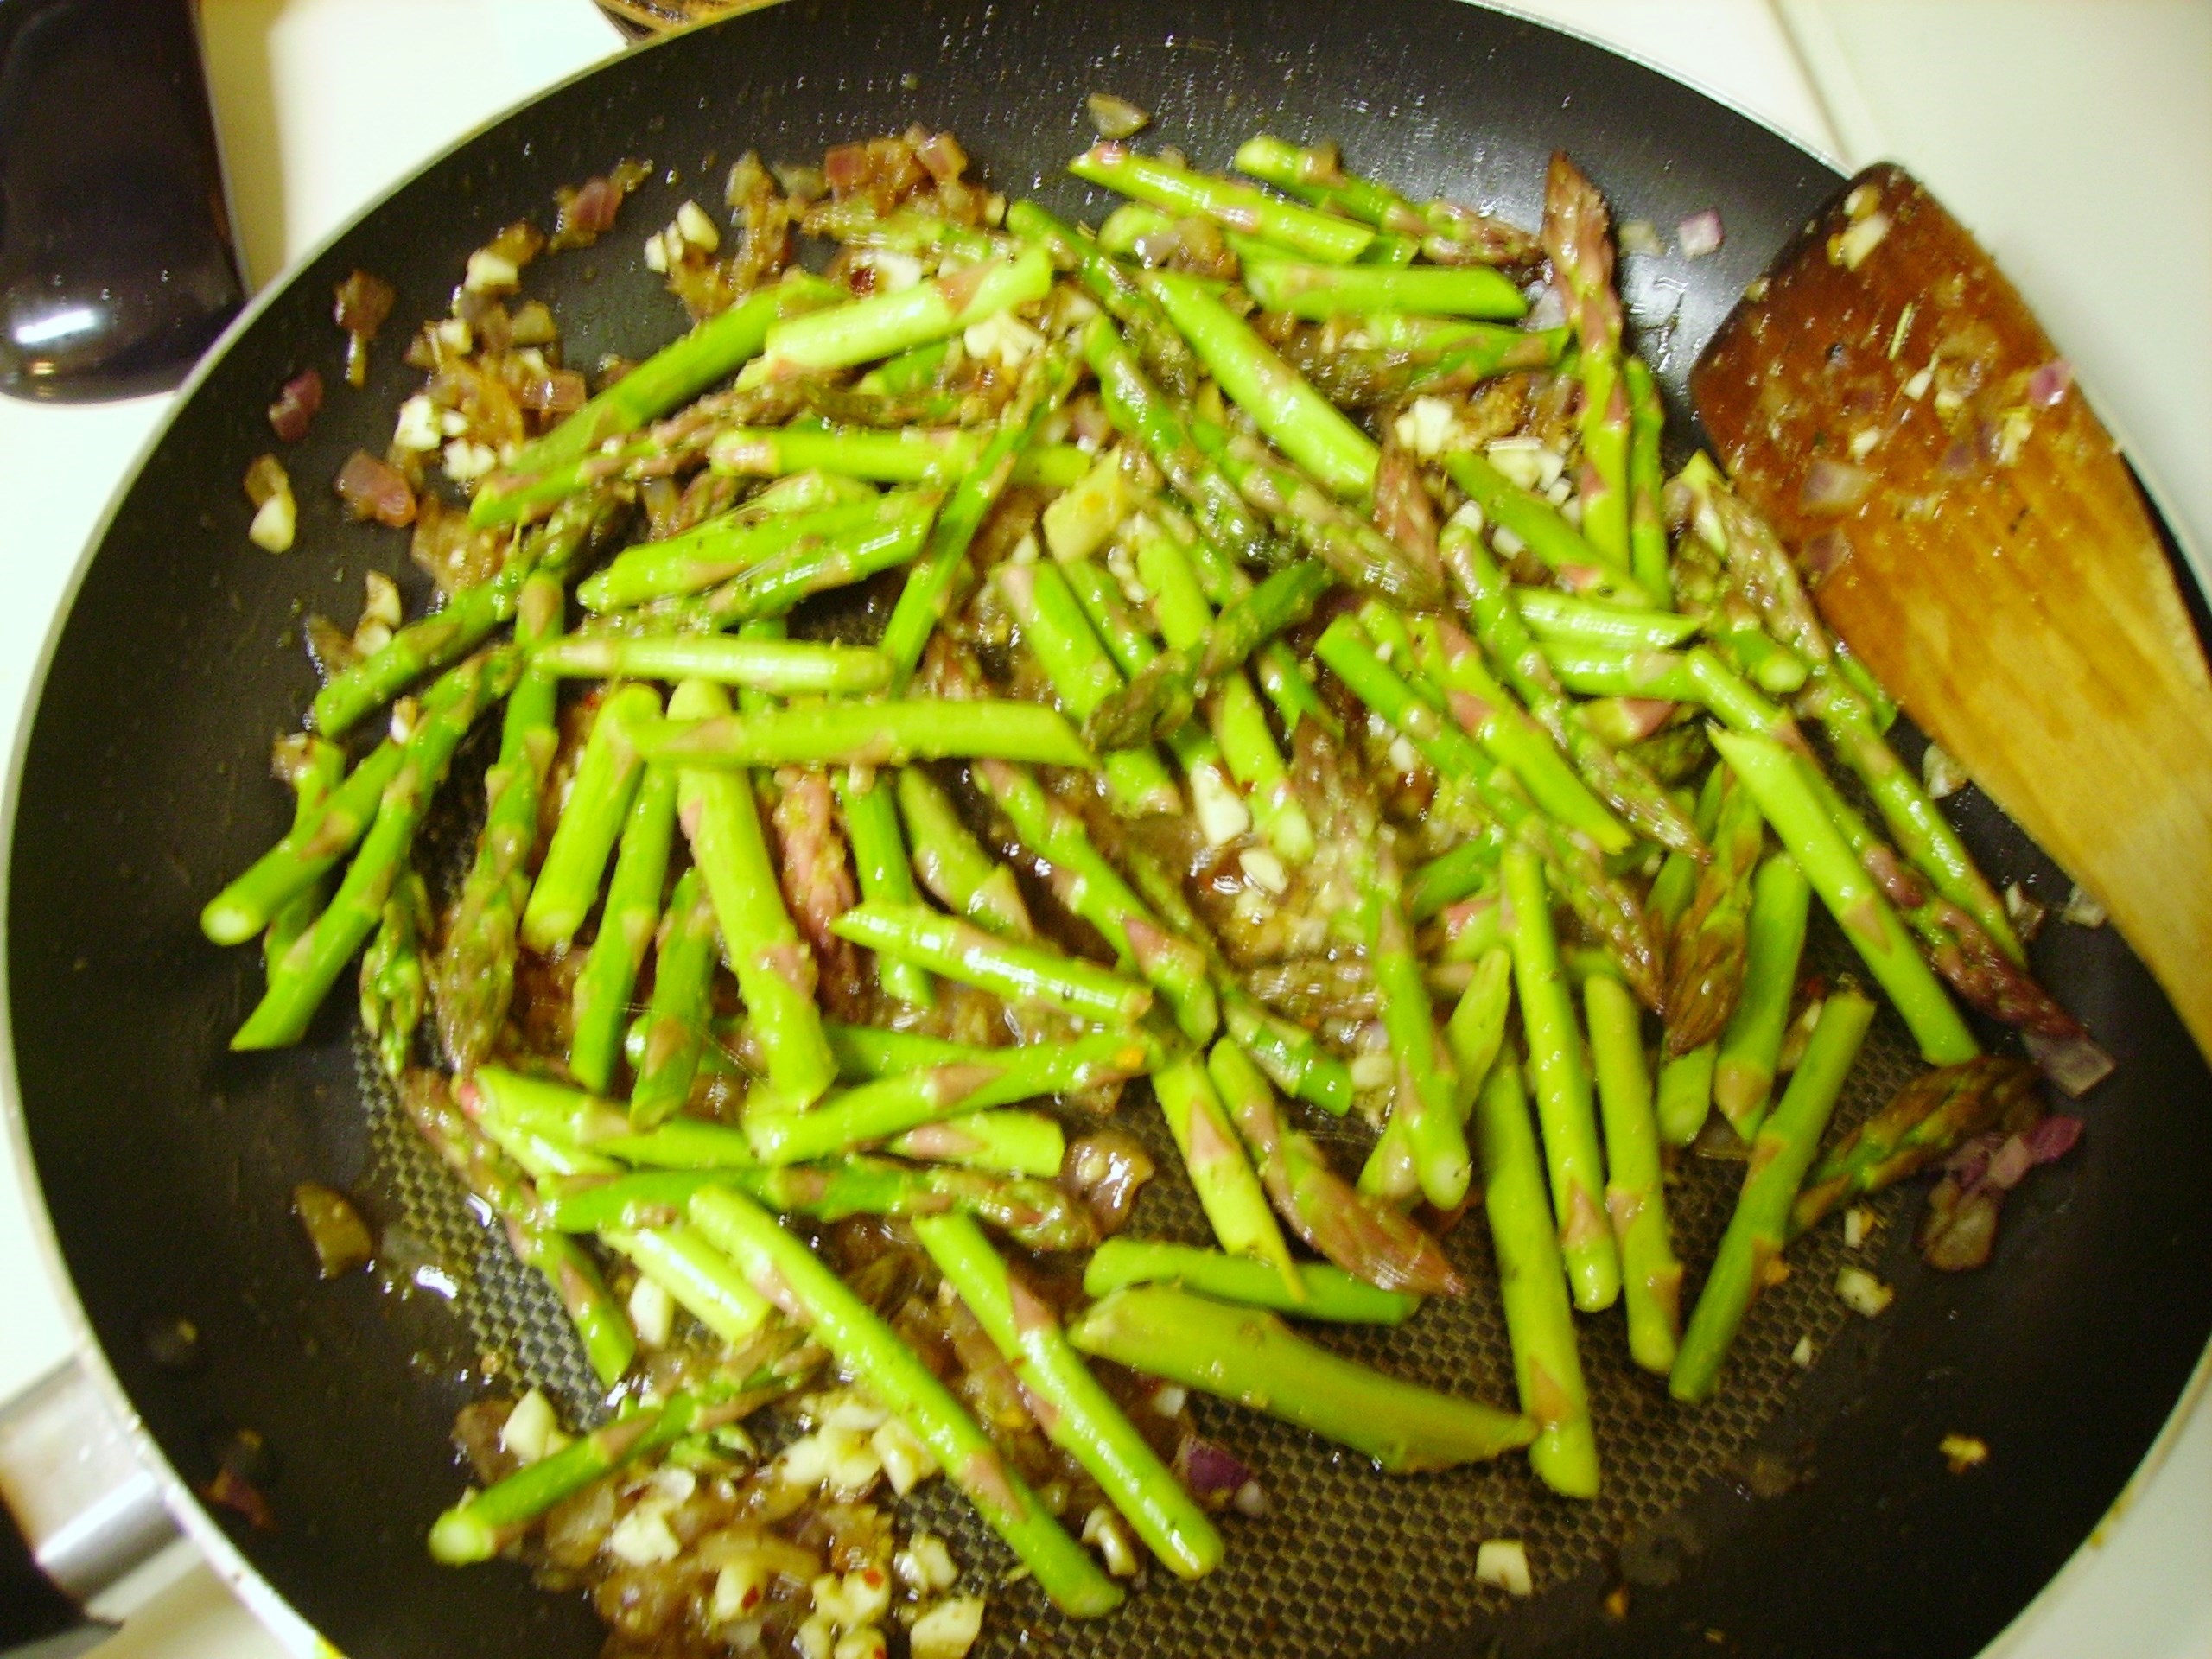
This pesto was transformed into a dressing for my pasta salad. Multigrain rotini was my pasta of choice. I like how the dressing clings to the spiral ridges. My vegetable additions, alas, came from the refrigerator instead of the garden. In spite of all of  my coaxing, the beans aren’t even a glimmer in the plants’ eyes and the tomato plants are bearing some tiny yellow blossoms, but nothing more. While the mini heirloom tomatoes and haricot vert made a delightful salad, I look forward to making this again in a few weeks with my own homegrown bounty.

DIGITAL CAMERA

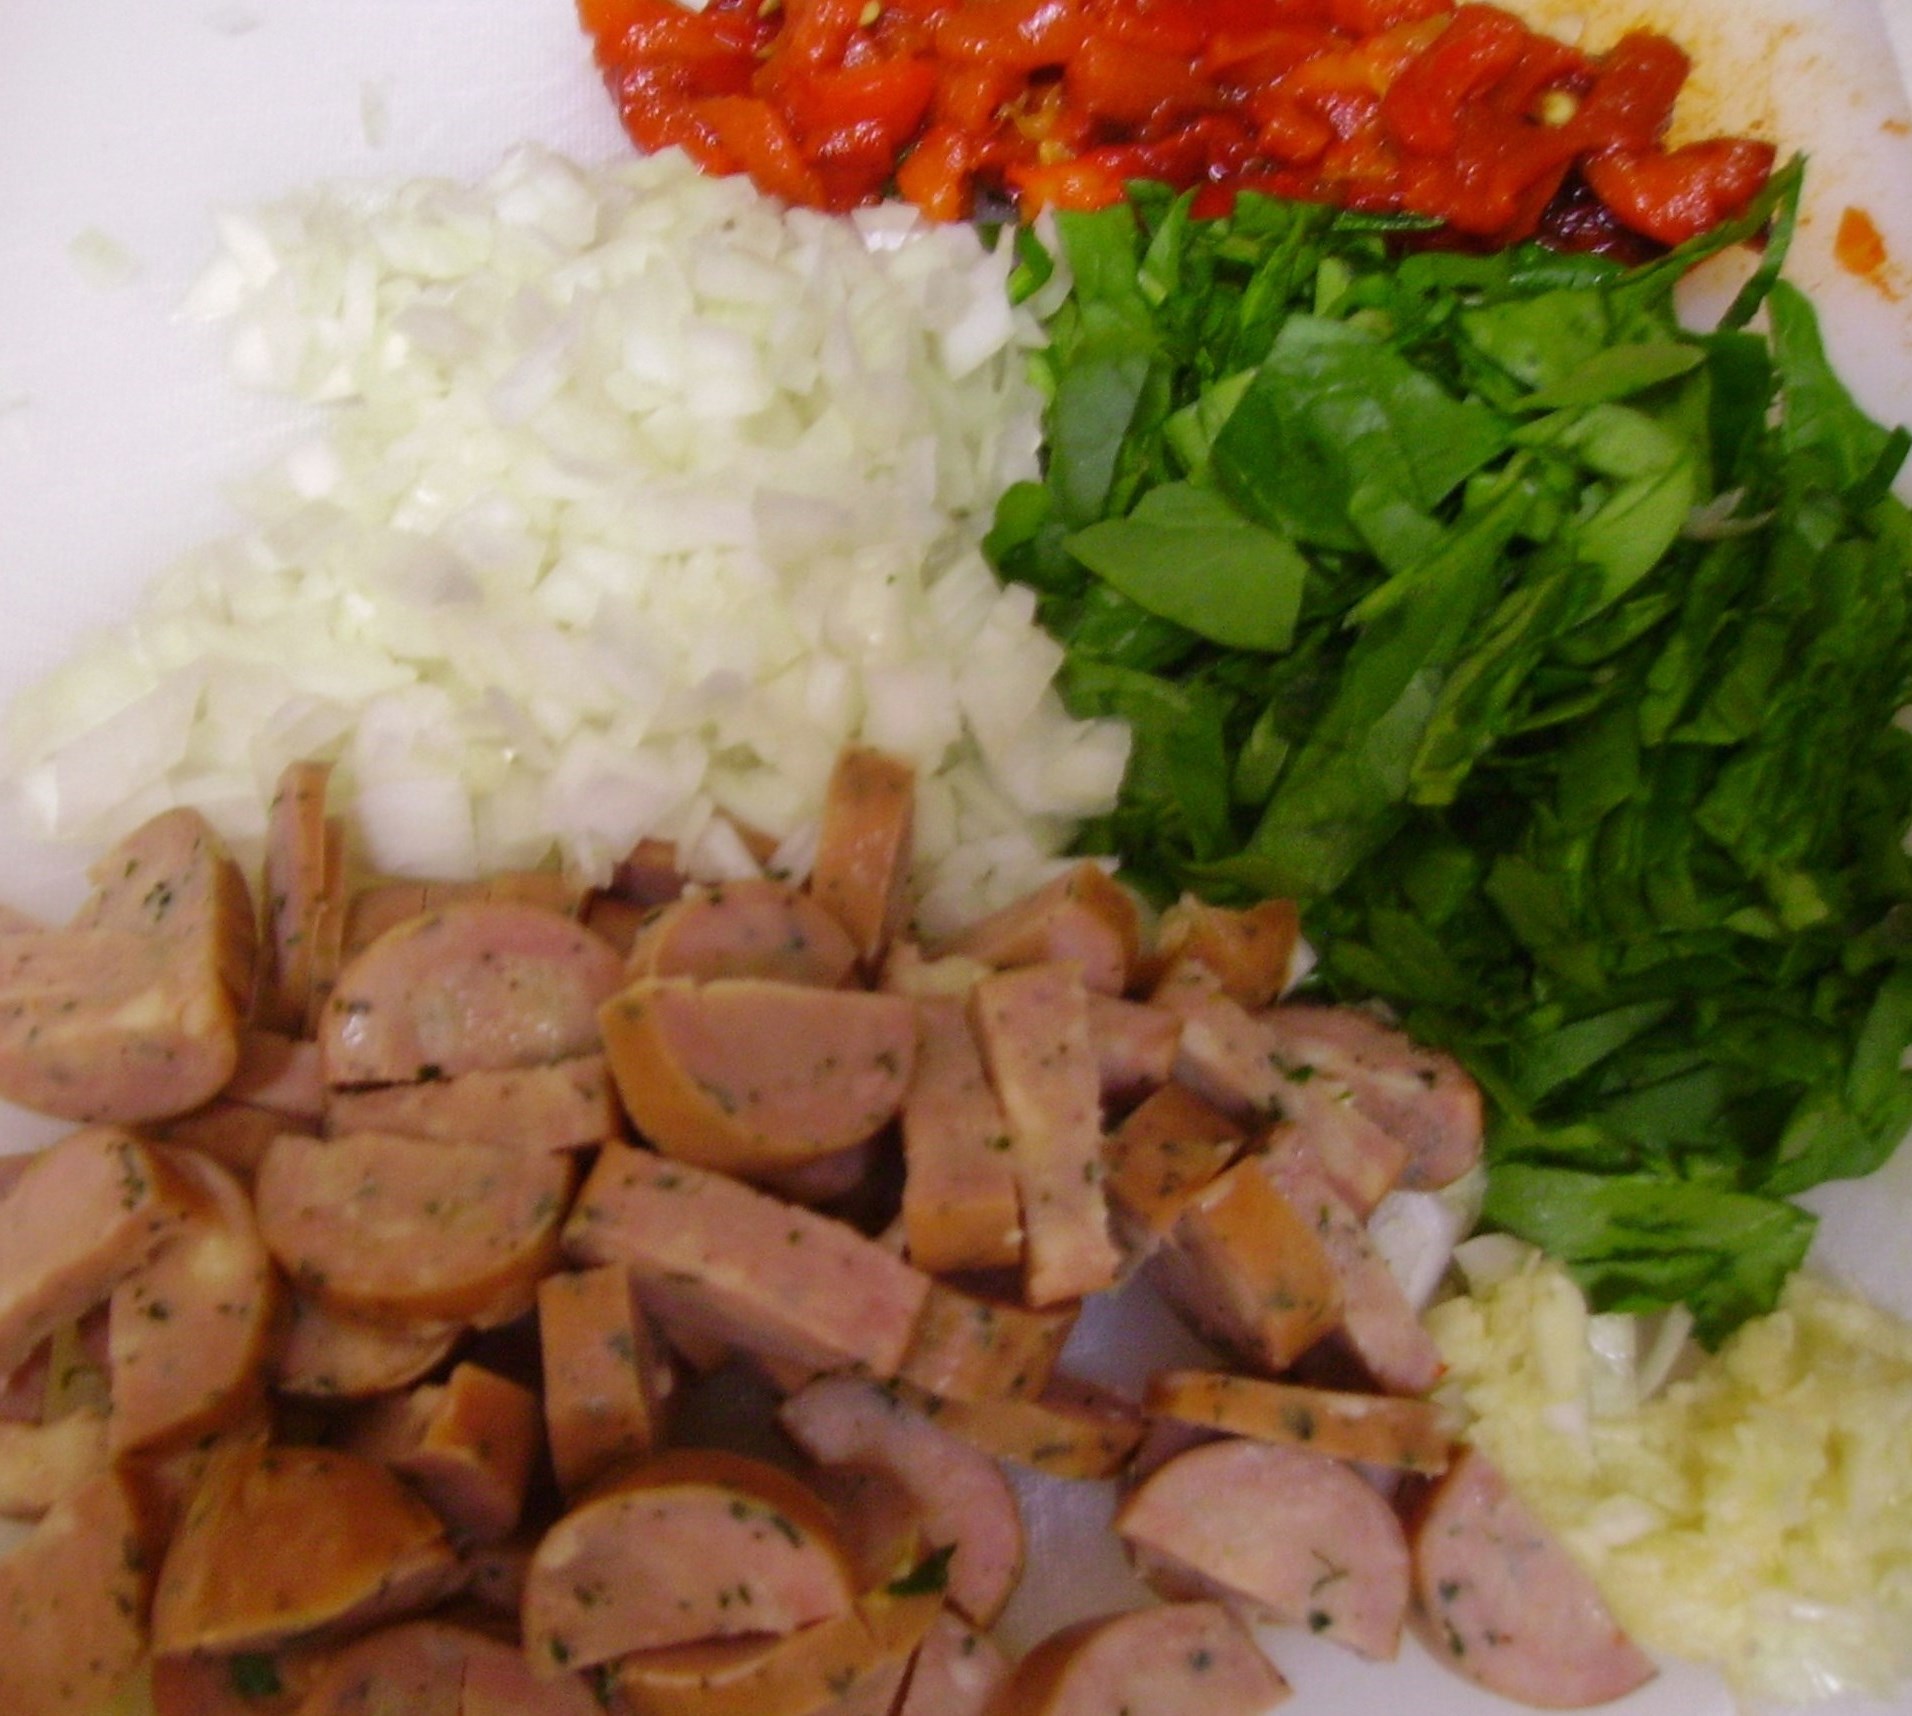
I turned my pesto into a lighter dressing by adding some vegetable stock and a shot of white balsamic vinegar. I used a Smoked Mozzarella because I had it on hand (this may be becoming my new mantra), but any cheese with a bold flavor would work. Some grilled chicken would also make for a wonderful main dish salad. Prepare this salad the day ahead to give the flavors some time to get to know each other better, just take it out about an hour before serving for maximum flavor.

Pesto Pasta Salad
Print Recipe
Servings
4
Servings
4
Pesto Pasta Salad
Print Recipe
Servings
4
Servings
4
Ingredients
Servings:
Instructions
  1. Cook the pasta according to the package directions. About 3 minutes before the cooking time is over add the green beans.
  2. At the end of the cooking time drain the pasta and beans and rinse well with cold water. Pour the beans and pasta into a large bowl.
  3. Cut the tomatoes in half and add them to the bowl.
  4. Whisk the pesto, stock, and vinegar together until well blended. Pour the dressing over the ingredients and toss to coat well. Taste and add salt and/or pepper if needed.
  5. Cover and refrigerate for at least 2 hours. Overnight is better.
  6. When you are ready to serve, toss well and check for seasoning. If the salad seems dry add a little more vegetable stock or a splash of olive oil. Sprinkle the Romano cheese on top and serve.
Share this Recipe
Powered byWP Ultimate Recipe

So, the garden keeps on growing in spite of a visit from some hungry deer last night. I’ve waited this long, I guess a little longer won’t hurt.  Love, Mama D


Cleaning Out the Fridge Quiche

The refrigerator is a wonderful invention. It allows us to keep a supply of fresh food at the ready. It provides a safe haven for the treasures we find at the store, keeping them safe until we are ready to turn them into something wonderful. I confess that sometimes I buy a little more than I can chew and open the refrigerator to find an array of food that has begun to lose its luster.

What’s Mama D to do? I don’t have the heart or the budget to throw it all away, and it is still quite usable. The time has come to combine things into a delicious meal and quiche is a perfect solution. Flaky pie crust and creamy custard are the blank canvas that will hold the vegetables and meats that the fridge has to offer.

This adventure included some crimini mushrooms and asparagus along with some thyme and onion. They were a bit past their prime, but perfect for this quiche.

DIGITAL CAMERAMy protein of choice was peppered bacon.  I found three lonely slices that I chopped up and browned on the stove.

The veggies were chopped and cooked in the same pan (minus the drippings, but with the yummy brown bits) to give them a little extra love before they jumped into my “not home-made” crust. Yes, the crust came out of the fridge, too. Would homemade pastry make this dish better? Maybe, but I had a box of the pre-made variety and it needed to be used,too.

Whatever pastry crust you use always “blind bake” it before you add the fillings. Once the dough has been fit into your vessel of choice, line it with some parchment paper and fill it with dried beans. Bake it in the oven until it is nice and golden. A clear glass pan allows you to check the bottom as well. Remove the beans and paper and add your fillings. No soggy bottom crust here.I topped the sautéed goodies with some grated Swiss cheese. Any cheese will work here. Use what you love or what you have on hand. Only use about a cup. The custard is rich enough and you want the veggies to be the star here.

DIGITAL CAMERAEggs, cream, and milk create a luscious custard that only requires a little salt and coarse ground pepper. I’m not a fan of nutmeg, a traditional ingredient here, but add some if it floats your boat. In fact you can add any herb, spice, etc. It’s your quiche after all.

When you are ready to add the custard to the quiche, put it on a rimmed baking sheet. This too, is a required step. The pie will be very full and eggs being eggs, it will grow before it sets. A baking sheet is much easier to clean than an oven. I speak from experience.

DIGITAL CAMERAThe quiche needs to bake for 30 – 40 minutes then it needs to set for at least 20 minutes more. Add the blind baking step and you are approaching the 2 hour mark on prep time. If you like a late supper (and this is the perfect dish for that) make it part of your weeknight wonderland. I think it’s a delightful Sunday night supper that puts a delicious topper on the weekend.

DIGITAL CAMERA

Cleaning Out the Fridge Quiche
Print Recipe
This is my version of quiche. Feel free to use whatever fillings you want.
Servings
6
Servings
6
Cleaning Out the Fridge Quiche
Print Recipe
This is my version of quiche. Feel free to use whatever fillings you want.
Servings
6
Servings
6
Ingredients
Servings:
Instructions
Blind Bake the Crust
  1. Fit the pie crust into a pie or quiche pan. Use a fork to poke small holes all over the crust. Place a sheet of parchment paper into the crust (crumple it a bit to allow it to fit better). Pour dried beans onto the parchment paper. A pound of dried beans will fill a 9 inch pie plate nicely.
  1. Bake the crust in a preheated 350 degree oven for 20 - 30 minutes. The crust should be light golden all over. Do not rush this step; the non-sogginess of the crust depends on it. Remove the crust from the oven. Carefully remove the parchment paper and beans (these will become your official "blind baking" beans). Set the crust aside.
Filling
  1. Chop the bacon into thin pieces and cook in a medium fry pan over medium high heat. The bacon should be crisp. Transfer the bacon to paper towels to drain. Remove the drippings from the pan but leave the brown bits of deliciousness.
  2. Add the onions to the fry pan and cook for 4 minutes or so until they begin to soften.
  3. Add the mushrooms and continue to cook another 5 minutes until the mushrooms begin to brown. Add the asparagus and cook for a few more minutes until the asparagus is tender crisp.
  4. Add the reserved bacon bits back to the pan along with the thyme leaves and cook for 2 - 3 minutes more.
  5. Pour the vegetable/bacon filling into the pie crust. Sprinkle the grated cheese on top.
  6. Beat the eggs until the are very thick. Add the cream and milk and beat with a whisk until the mixture is light and fluffy. Add salt and pepper and any other spices or herbs you like.
  7. Place the filled pie crust on a rimmed baking sheet. Carefully pour the custard into the crust stopping when it is filled to the top. You may have a little custard left, but not much.
  8. Place in a 350 degree oven and bake for 30 - 40 minutes. The filling should be puffed and golden and a knife should come out clean when poked in the center.
  9. Remove the quiche from the oven and allow to cool for at least 20 minutes before cutting.
Share this Recipe
Powered byWP Ultimate Recipe

This is far from the traditional preparation for a quiche. It doesn’t however, make it any less delicious. This is a versatile recipe that can be adapted any number of ways. Have some fun with it and come up with your own fridge cleaning masterpiece.


Thoughts of Spring and Lemony Asparagus, Chicken, and Penne

The Midwest has seasons. Four very distinct ones to be exact. Here changes aren’t subtle, they are sudden and intense. Humidity shows up one day unannounced and it’s summer. The leaves change color seemingly overnight and it’s fall. The first frost comes out of nowhere and winter is upon us, Then one day you wake up to puddles where piles of snow used to be and it’s spring.

The Vernal Equinox is a few days away, but here, in my part of the Midwest, spring arrived last week. A week that started with down coats and scarves, ended with light sweaters. Early in the week outdoor activities involved scraping ice off windshields and brisk walks to get out of the cold. Was that Monday? By week’s end there were bicyclists peddling their spandex covered butts down the road. People were outside walking in shirtsleeves and enjoying it. Children were playing outside joyously unbundled. That’s how spring starts here and after a tough winter we all revel in it.

Everyday on the bus, I ride by fields of corn-stalk stubs that are hosting nothing but the bold Canada Geese and brave Mallards. These optimistic fowl nibble at the few corn kernels missed at harvest or bob in puddles of melted snow for some forgotten morsel. There are tastier things Spring has to offer with its own menu of foods. Eating fresh and local is now a fine art. While nothing is actually sprouting in our still slightly frozen Illinois ground, foods like strawberries, beans, and peas are being sourced closer to home. As the saying could go, it’s always spring somewhere. This is true of that iconic harbinger of spring, asparagus. DIGITAL CAMERADIGITAL CAMERAI must confess that I do eat it in the non-spring months, but it alwaysDIGITAL CAMERA begins to taste wonderful as the air starts to warm up. It is a delicious and nutritious vegetable that lends itself to so many preparations. I’ve extolled its virtues here many times. Sharing adventures in grilling, roasting, and even pickling. I usually allow this magnificent spear to stand alone as the perfect side dish to enhance a meal, but sometimes, especially when it comes from far away, it is the perfect addition to a main dish. That’s how Lemony Asparagus with Chicken and Penne came to be.

DIGITAL CAMERALemon is a wonderful flavoring agent. It adds zing, acid and a fresh DIGITAL CAMERAfruity taste of sunshine to everything it touches. I carried this flavor into several levels of this dish. it started with some chicken breast bits that I let chill out with some lemon pepper seasoning. This was the salt free variety so there was no danger of the chicken “cooking” before its time. A quick saute in a large fry pan and it was ready to go. It sat on the sidelines while the vegetables took over. A good amount of red onion and slightly more than a little garlic joined in. A touch of olive oil kept everything moving and when things got a little tight some chicken broth loosened it up. Finally it was time to add the asparagus and I added a lot of it. This dish is about spring after all.DIGITAL CAMERA

My pasta of choice was a whole grain penne and I used just over a cup of dry to serve two.DIGITAL CAMERAI wanted to continue on that lemony sunshine theme, so the sauce included the zest and juice of a whole lemon. The complimenting sauce flavor came from dry vermouth though chicken broth could also fill the bill.  A generous grinding of Italian Herb Seasoning (McCormick Grinder once again), some grape tomatoes, and kalamata olives rounded things out.DIGITAL CAMERA

When it was time to serve, I added a sprinkling of feta cheese. The result was a dish that felt like spring in the Mediterranean.  Lots of fresh vegetables, a little lean protein and some whole grains to tie it together made this a poster child for the diet that bears the name. Give this one a try while asparagus is having its heyday.DIGITAL CAMERA


Lemony Asparagus and Chicken with Penne
Print Recipe
Servings
2
Servings
2
Lemony Asparagus and Chicken with Penne
Print Recipe
Servings
2
Servings
2
Ingredients
Servings:
Instructions
  1. Toss the chicken with the lemon pepper seasoning. Cover and let marinate for at least 30 minutes or up to 4 hours in the refrigerator.
  2. Heat a large skillet over medium high heat. Add the olive oil and swirl to coat the bottom of the pan. Add the chicken and cook for 4 minutes or so. The chicken should be light golden. Remove the chicken from the pan and reserve. Leave the drippings in the pan.
  3. Add the onions to the pan and saute for 3 minutes or until the onions begin to become translucent. Add the garlic and cook for another minute or so.
  4. While you prepare the vegetables, cook the pasta in boiling salted water for 2 minutes less than the package directs. Drain and set aside.
  5. Add the asparagus to the pan and cook for 3 - 4 minutes. Toss frequently to insure even cooking. Add a little chicken broth if things seem dry.
  6. Add the vermouth (or broth) and the juice of the lemon to the pan. Lower the heat slightly and allow to cook for 3 minutes or so.
  7. Add the Italian seasoning and the lemon zest, stirring to combine. Return the chicken to the pan. Toss to mix evenly.
  8. Add the olives, tomatoes, and pasta to the pan and continue to cook 3 minutes or so until everything is heated through. Taste for seasoning and add salt and pepper if needed.
  9. Spoon the mixture into a serving bowl and sprinkle with the feta cheese and serve.
Share this Recipe
Powered byWP Ultimate Recipe

The weather is back in the 40’s this week. Nights are cool and mornings are chilly but, I believe we’ve made the leap and spring is not just around the corner but right next door.


Frittata For Two and Other Thoughts

This is a story about making a frittata for dinner, but there’s more to it than that. Let me start by saying we have been feeling a little under the weather. Call it a cold…call it the flu…whatever, we have been struggling to stay upright for several days. I wanted to fix something for dinner, but I wanted it to be light and easy. Eggs are always a good choice when it comes to filling that particular bill, and a frittata is a simple way to prepare them. It also is a good way to clean out the refrigerator.

Frittata starts on the stove and is finished in the oven. This requires an oven proof cooking DIGITAL CAMERAvessel. Enter the cast iron skillet. I discovered my mother’s old skillet when we moved and it was the perfect size for a two person frittata. There was just one problem. My mother was a dish washing fanatic and the skillet was no exception to that rule. While it had seen its fair share of eggs, it had also seen a lot of dish soap. I gave it a quick seasoning in the oven that helped the sticking factor a bit. It is getting a formal seasoning as I write this and it should be ready for its next close-up soon; that is to say, now.DIGITAL CAMERA

I decided to go for an Italian flavor profile with a nod to healthy choices. The key ingredients would be chicken sausage and baby spinach. Things couldn’t be Italian without  a fair amount of onion and garlic.DIGITAL CAMERAI’m a big fan of the Chicken Sausage that Meijer sells. They have several varieties. The Garlic and Asiago is my favorite, but they have a spinach and mozzarella as well as a chipotle pepper version. They are lower in fat but big on flavor. They are also pre-cooked so prep time shrinks while the sausage doesn’t.

I added a roasted red pepper for a little color. A week or so ago I scored a huge bag of red bell peppers for 99 cents. I sliced and froze some and roasted a few more. I created little roasted pepper packets each holding a whole roasted pepper (peeled, skinned and quartered, of course).DIGITAL CAMERA It was just the amount I needed for color and flavor in my frittata. So, I chopped everything and threw the skillet on the stove with a good dose of olive oil.DIGITAL CAMERAI started with the onion since it needs a little more love.DIGITAL CAMERAThen I added the sausage, garlic, roasted pepper, and eventually, the spinach. Since a little olive oil is a good thing, I opted to add a bit of chicken broth to keep things moving and the fat content in check.DIGITAL CAMERAWhile all this deliciousness was going on, I cracked some eggs and beat them with some low-fat half & half and a shredded Italian cheese blend.DIGITAL CAMERAWhen the time was right I added the eggs to the pan and began the shimmy shake and lift process that is the basis for any omelet, Italian or not.DIGITAL CAMERAOnce everything was beginning to set up, I topped it with a bit more of the cheese blend along with some sliced tomatoes.DIGITAL CAMERAIt spent some time in the oven and a brief interlude under the broiler. The result was golden goodness that received a sprinkle of fresh basil before coming to the table.DIGITAL CAMERAI served it with some toasted  Rosemary Soda Bread that I made earlier in the week. A quick drizzle of olive oil and it was ready to eat.DIGITAL CAMERA

I chose a Barbera wine from Cooper’s Hawk that complimented the dinner beautifully. It had just the right body and flavor to bring out the best in the food.DIGITAL CAMERA

So here’s how Mama D does Frittata. It more or less follows the traditional process. I opted to let it bake in the oven before turning on the broiler. You know the drill by now…use this as a starting point and make it your own with the ingredients you love.

Frittata with Spinach and Chicken Sausage
Print Recipe
Servings
2
Servings
2
Frittata with Spinach and Chicken Sausage
Print Recipe
Servings
2
Servings
2
Ingredients
Servings:
Instructions
  1. Pre-heat oven to 350 degrees. Heat the olive oil in a small oven proof skillet. Add the chopped onion and cook, stirring occasionally 5 minutes or until the onion begins to soften.
  2. Slice the sausage links in half lengthwise then slice into thin half moons. Add these to the onions in the pan and cook for another minute or two.
  3. Add the garlic and roasted red peppers and cook for several minutes until the garlic becomes fragrant.
  4. If things seem dry, add the chicken broth and toss to coat. You could add a little more olive oil instead of the broth if you like.
  5. Add the chopped spinach and cook until the spinach is wilted.
  6. While the vegetables cook, crack the eggs into a bowl. Beat well. Add the milk and beat to combine. Add half of the cheese and stir to blend.
  7. Pour the egg mixture into the pan and reduce the heat to medium low. Give it a good shake to begin the setting and minimize the sticking.
  8. Continue to cook the eggs gently lifting and shaking to maintain even cooking.
  9. When the eggs are almost set, sprinkle a little of the remaining cheese on the top. Cover the top with the sliced tomatoes and the rest of the cheese.
  10. Place in oven and bake for 10 minutes or so. Turn on the broiler and cook for another 2 minutes until the cheese is lightly browned. Remove the pan from the oven and let it to rest for 5 minutes.
  11. Sprinkle with the basil and drizzle with a little olive oil. Divide between two plates and serve.
Share this Recipe
Powered byWP Ultimate Recipe

The frittata was wonderful, the bread and wine were a perfect compliment and we really did feel much better after we ate. Healing is another wonderful result of cooking with love.