
It seems like it’s been years since I shared my thoughts and recipes here. I just checked and it has been just about 2 years. I haven’t stopped cooking, far from it, and I have shared a bit on Facebook, but even with all the time retirement and the pandemic gave me I never made it here. It does feel odd, and I am definitely a bit out of my comfort zone. Years ago, my Mary Kay director instilled the philosophy in me to “Feel the fear and do it anyway.” So, I am going to do just that (Thank you, Sarah Belle).
While I cook many different types of food, I am an Italian girl at heart, and as a good Italian girl I love Caputo’s,. (Check them out by clicking on the link above. )This small local chain of stores has been bringing a traditional taste of Italy to the Chicago suburbs since the 1950’s. The products and produce are marvelous with selections for every cuisine. Many have cafes that serve the best Calamari (among other items) and reasonably priced Italian wines. You can even sip and shop while listening to Italian music from opera to the Rat Pack They also feature imported pastas, tomato products and a variety of homemade sausages. This little story is about how they came together to make a wonderful dinner.
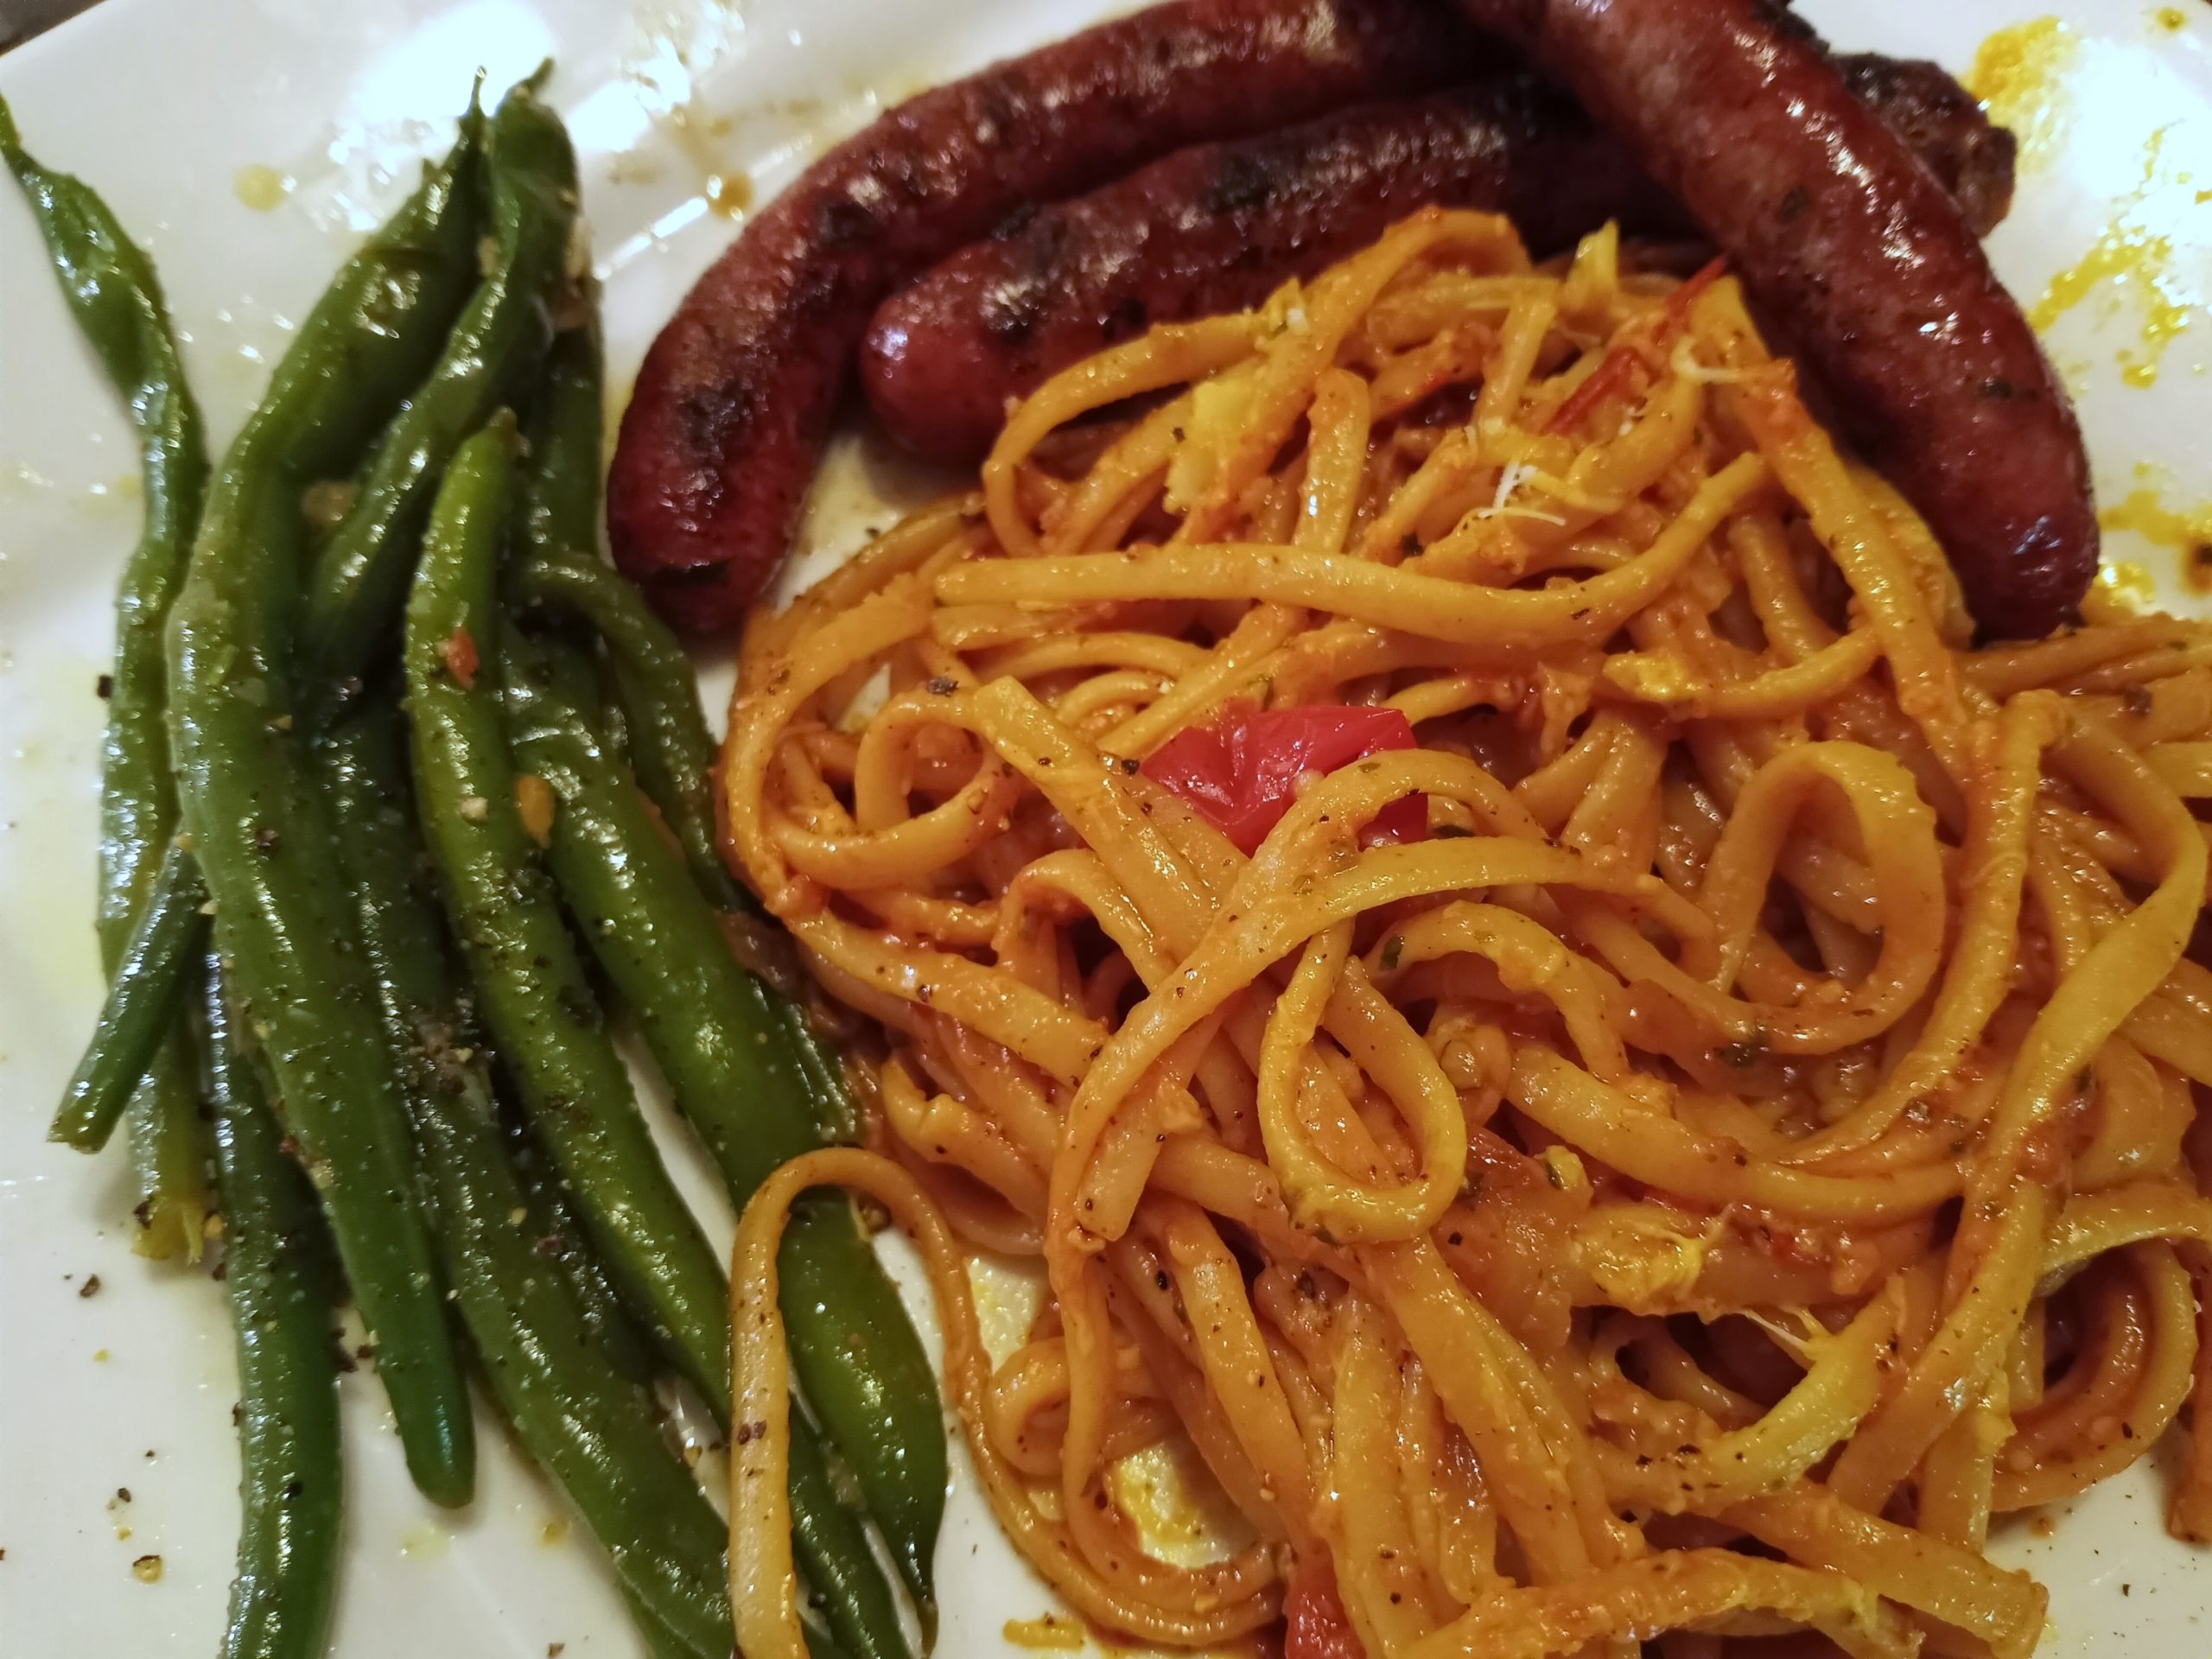
 It started with Barese Sausage. These finger size sausages are made of beef, lamb, and pork, flavored with parsley, garlic, and pecorino cheese. They come linked together which makes them easier to grill, and this is my favorite way to cook them. They have a complex flavor that is not at all spicy, but still delights the palate.
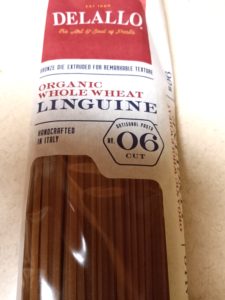
I chose imported whole wheat linguine for the pasta portion of this meal. In a very small nod to healthier options I have been using whole wheat pastas more often. The taste Is a bit heartier and stands up well to bigger flavors.
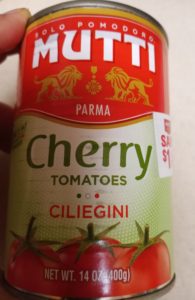 Finally, I used canned Italian Cherry tomatoes for the sauce. These sweet little nuggets are packed in tomato puree and have a convenient pop top can and the “just right for two” 14 ounce size. So, the starring players were in place and needed to meet their supporting actors. Onions and garlic of course, sauteed in olive oil laid the foundation. Once they were lightly caramelized the tomatoes went in. I gave them a gentle squish and let them simmer until they came together in a thick sauce.
It would have been wonderful to add some fresh basil and parsley, but my balcony herbs are having a slow start, so I used some of my homemade pesto, always ready in the freezer for just such occasions. Once the pasta had cooked to al dente, I added a ladle or two of the pasta water to the sauce and finished with freshly grated Pecorino. I chose to serve the Barese along with the pasta so that we could fully enjoy its unique flavor. 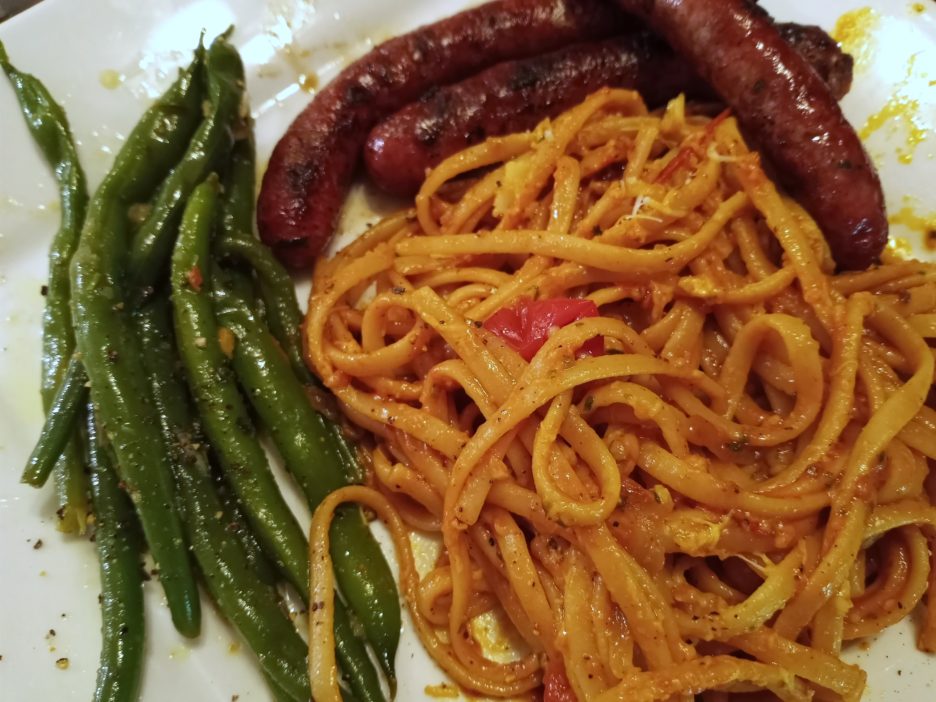
This is what I call a “No recipe, recipe.” The description above and these few notes are all you need.
I used one small onion sliced lengthwise and two cloves of finely chopped garlic. Use as much olive oil as you like (1 Tbsp or more) and one can of tomatoes to serve 2 with a little left over.
I cooked about 4 ounces of pasta in salted water. I saved about 3/4 cup of the water for the sauce. I added 1/4 cup of pesto, but more or less would be fine. I like a lot of grated Pecorino (1/3cup), but use as much or as little as you want.
The final touch was a Green Bean Salad. I made a variation of my Mom’s salad. Since I have returned to the blog, I feel the need to share an actual recipe. While my Mom’s used basil or mint and garlic, this time I used lemon zest, rosemary, and lemon thyme. I used a bit of lemon juice and some rosemary infused vinegar. Every recipe can be tweaked to suit any cooks whim.

- 1 Pound Green Beans Blanched
- 2-3 Cloves Garlic Thinly sliced
- 3 Tbsp. Olive Oil
- 2 Tsp. Red Wine Vinegar
- 2 Tsp. Balsamic Vinegar
- 2 Tbsp. Chopped Fresh Basil You can also use Mint
- Kosher Salt To taste
- Fresh Ground Pepper To taste
- Blanch the green beans in salted boiling water for 3-4 minutes (until they are the tender crisp that you love.) Plunge in ice water to stop cooking and drain well.
- In a salad bowl combine the vinegars and olive oil. Stir in the garlic and add the drained green beans and basil (or mint).
- Toss to combine and season to taste with salt and pepper. Chill for at least an hour before serving.
It feels good to be back and much like riding a bicycle, I remembered how to do it, more or less.
![]()
Share this:


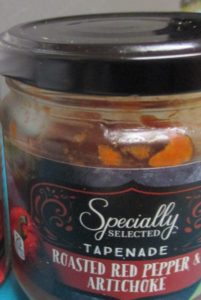 I chose the dried version of each and reconstituted it with time and water. Note to self: Forget your childhood aversion and use the fresh stuff next time. I had some Sourdough bread cubes that I crushed up and added to the mix along with some finely grated Romano and a couple of eggs. Since I had a started jar of Roasted Red Pepper and Artichoke Tapenade on hand I threw that in as well. If the stars align, and I have it on hand again, I would use more. Still the flavor it gave to the meatloaf was delightful if a bit subtle. (Another note to self…)
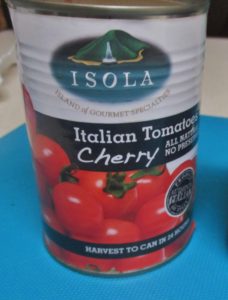 couple of hours. While that was happening, I made a a tomato sauce to go on top. Let me tell you how much I love canned Italian Cherry Tomatoes. They are so sweet and tender and just bursting with flavor that they are the perfect addition to almost anything. Given a little time and some garlic, onion, and olive oil, they make a slightly chunky and flavorful sauce that is anything’s crowning glory. Thankfully, they must be an up and coming new darling in the marketplace, because I can find them in more stores now and I always like to have a can or two on hand.
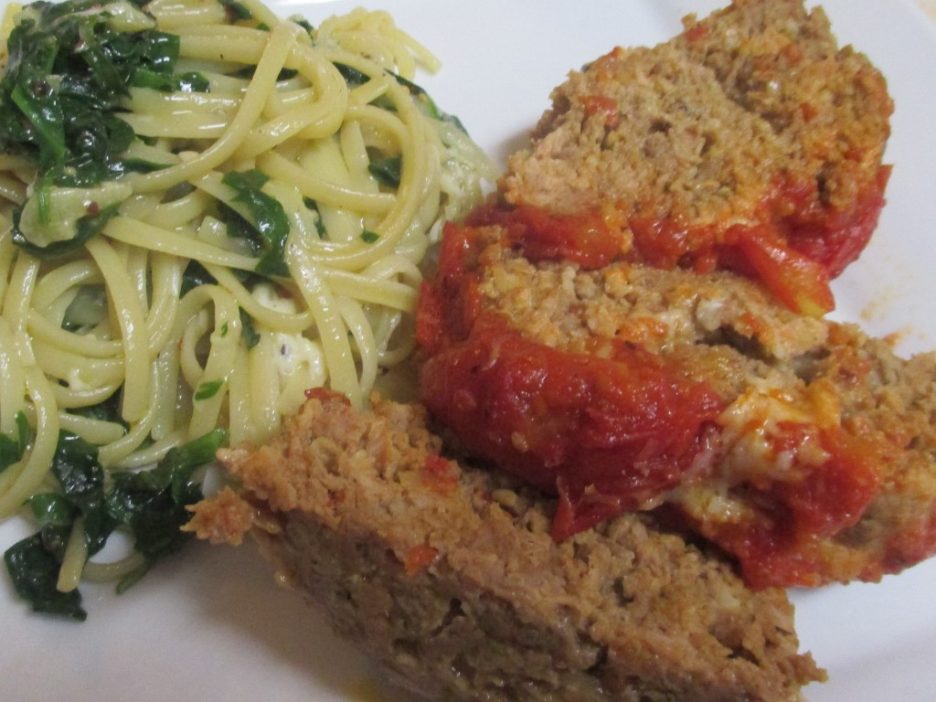


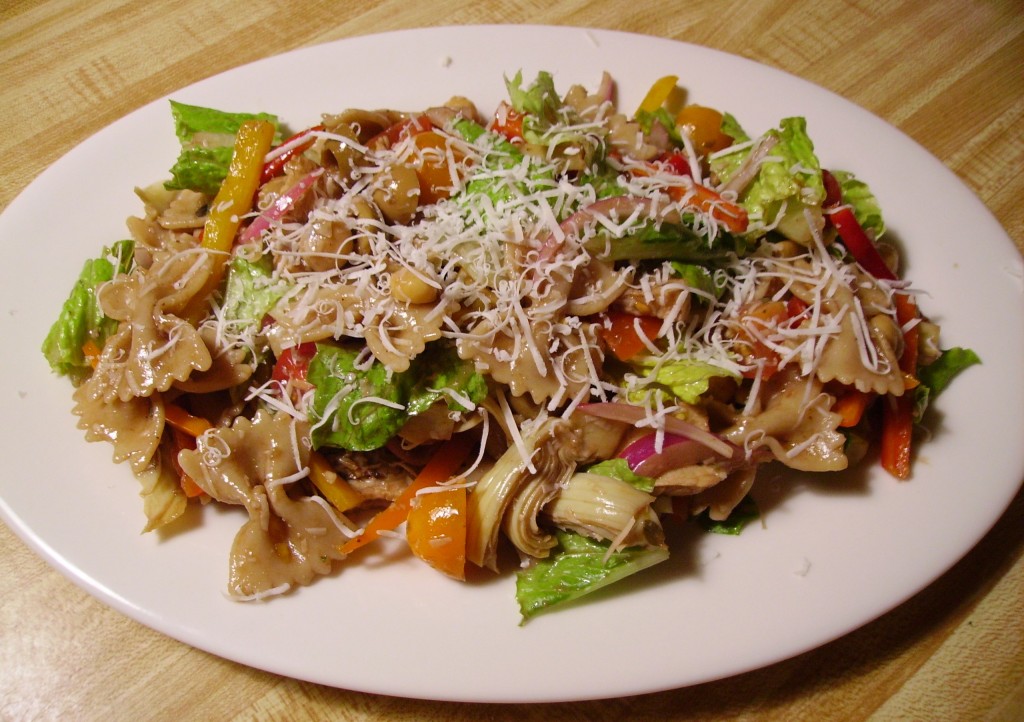
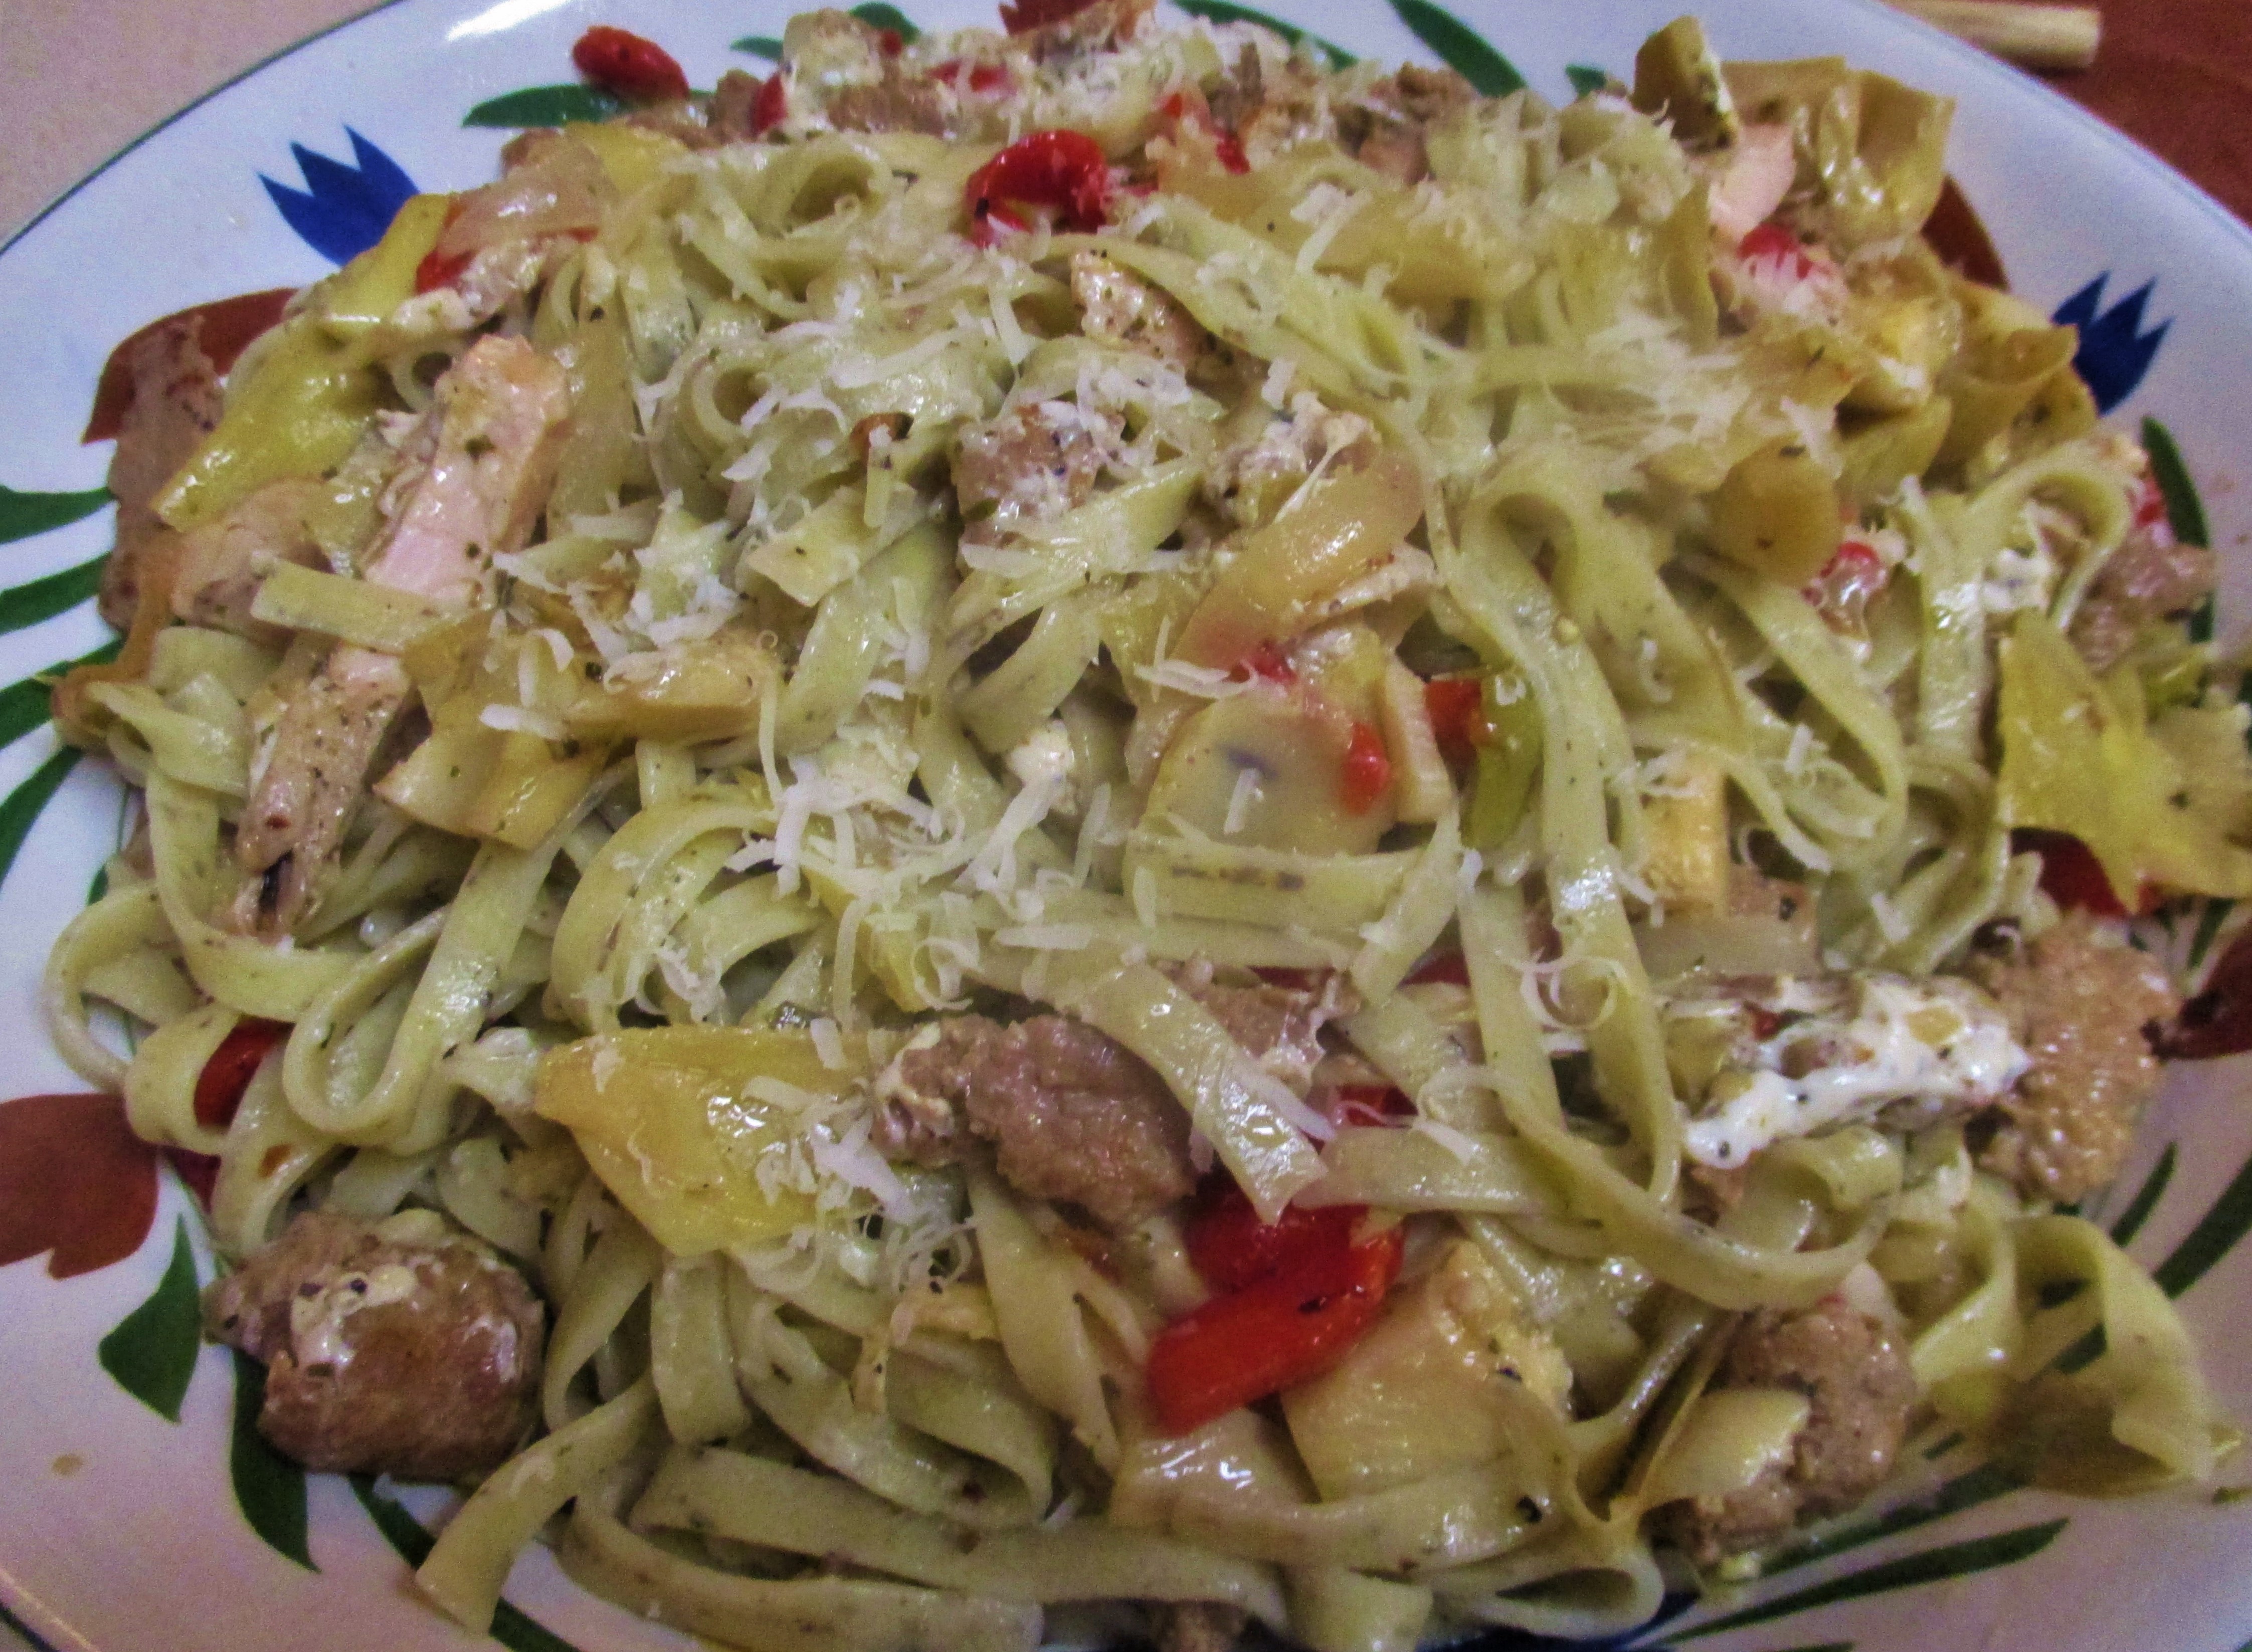
 upon a jar of Artichoke Salad. I bought it on a whim one day and knew that I could use it for something eventually. If you haven’t seen this before; it is marinated artichoke hearts with roasted red peppers, olives, and some fairly decent seasonings. Quick sauce in a jar. Of course I couldn’t just leave it at that. Onions and garlic had to come along, and I added a few more marinated artichokes (also in the pantry) to fill in the spaces a bit.
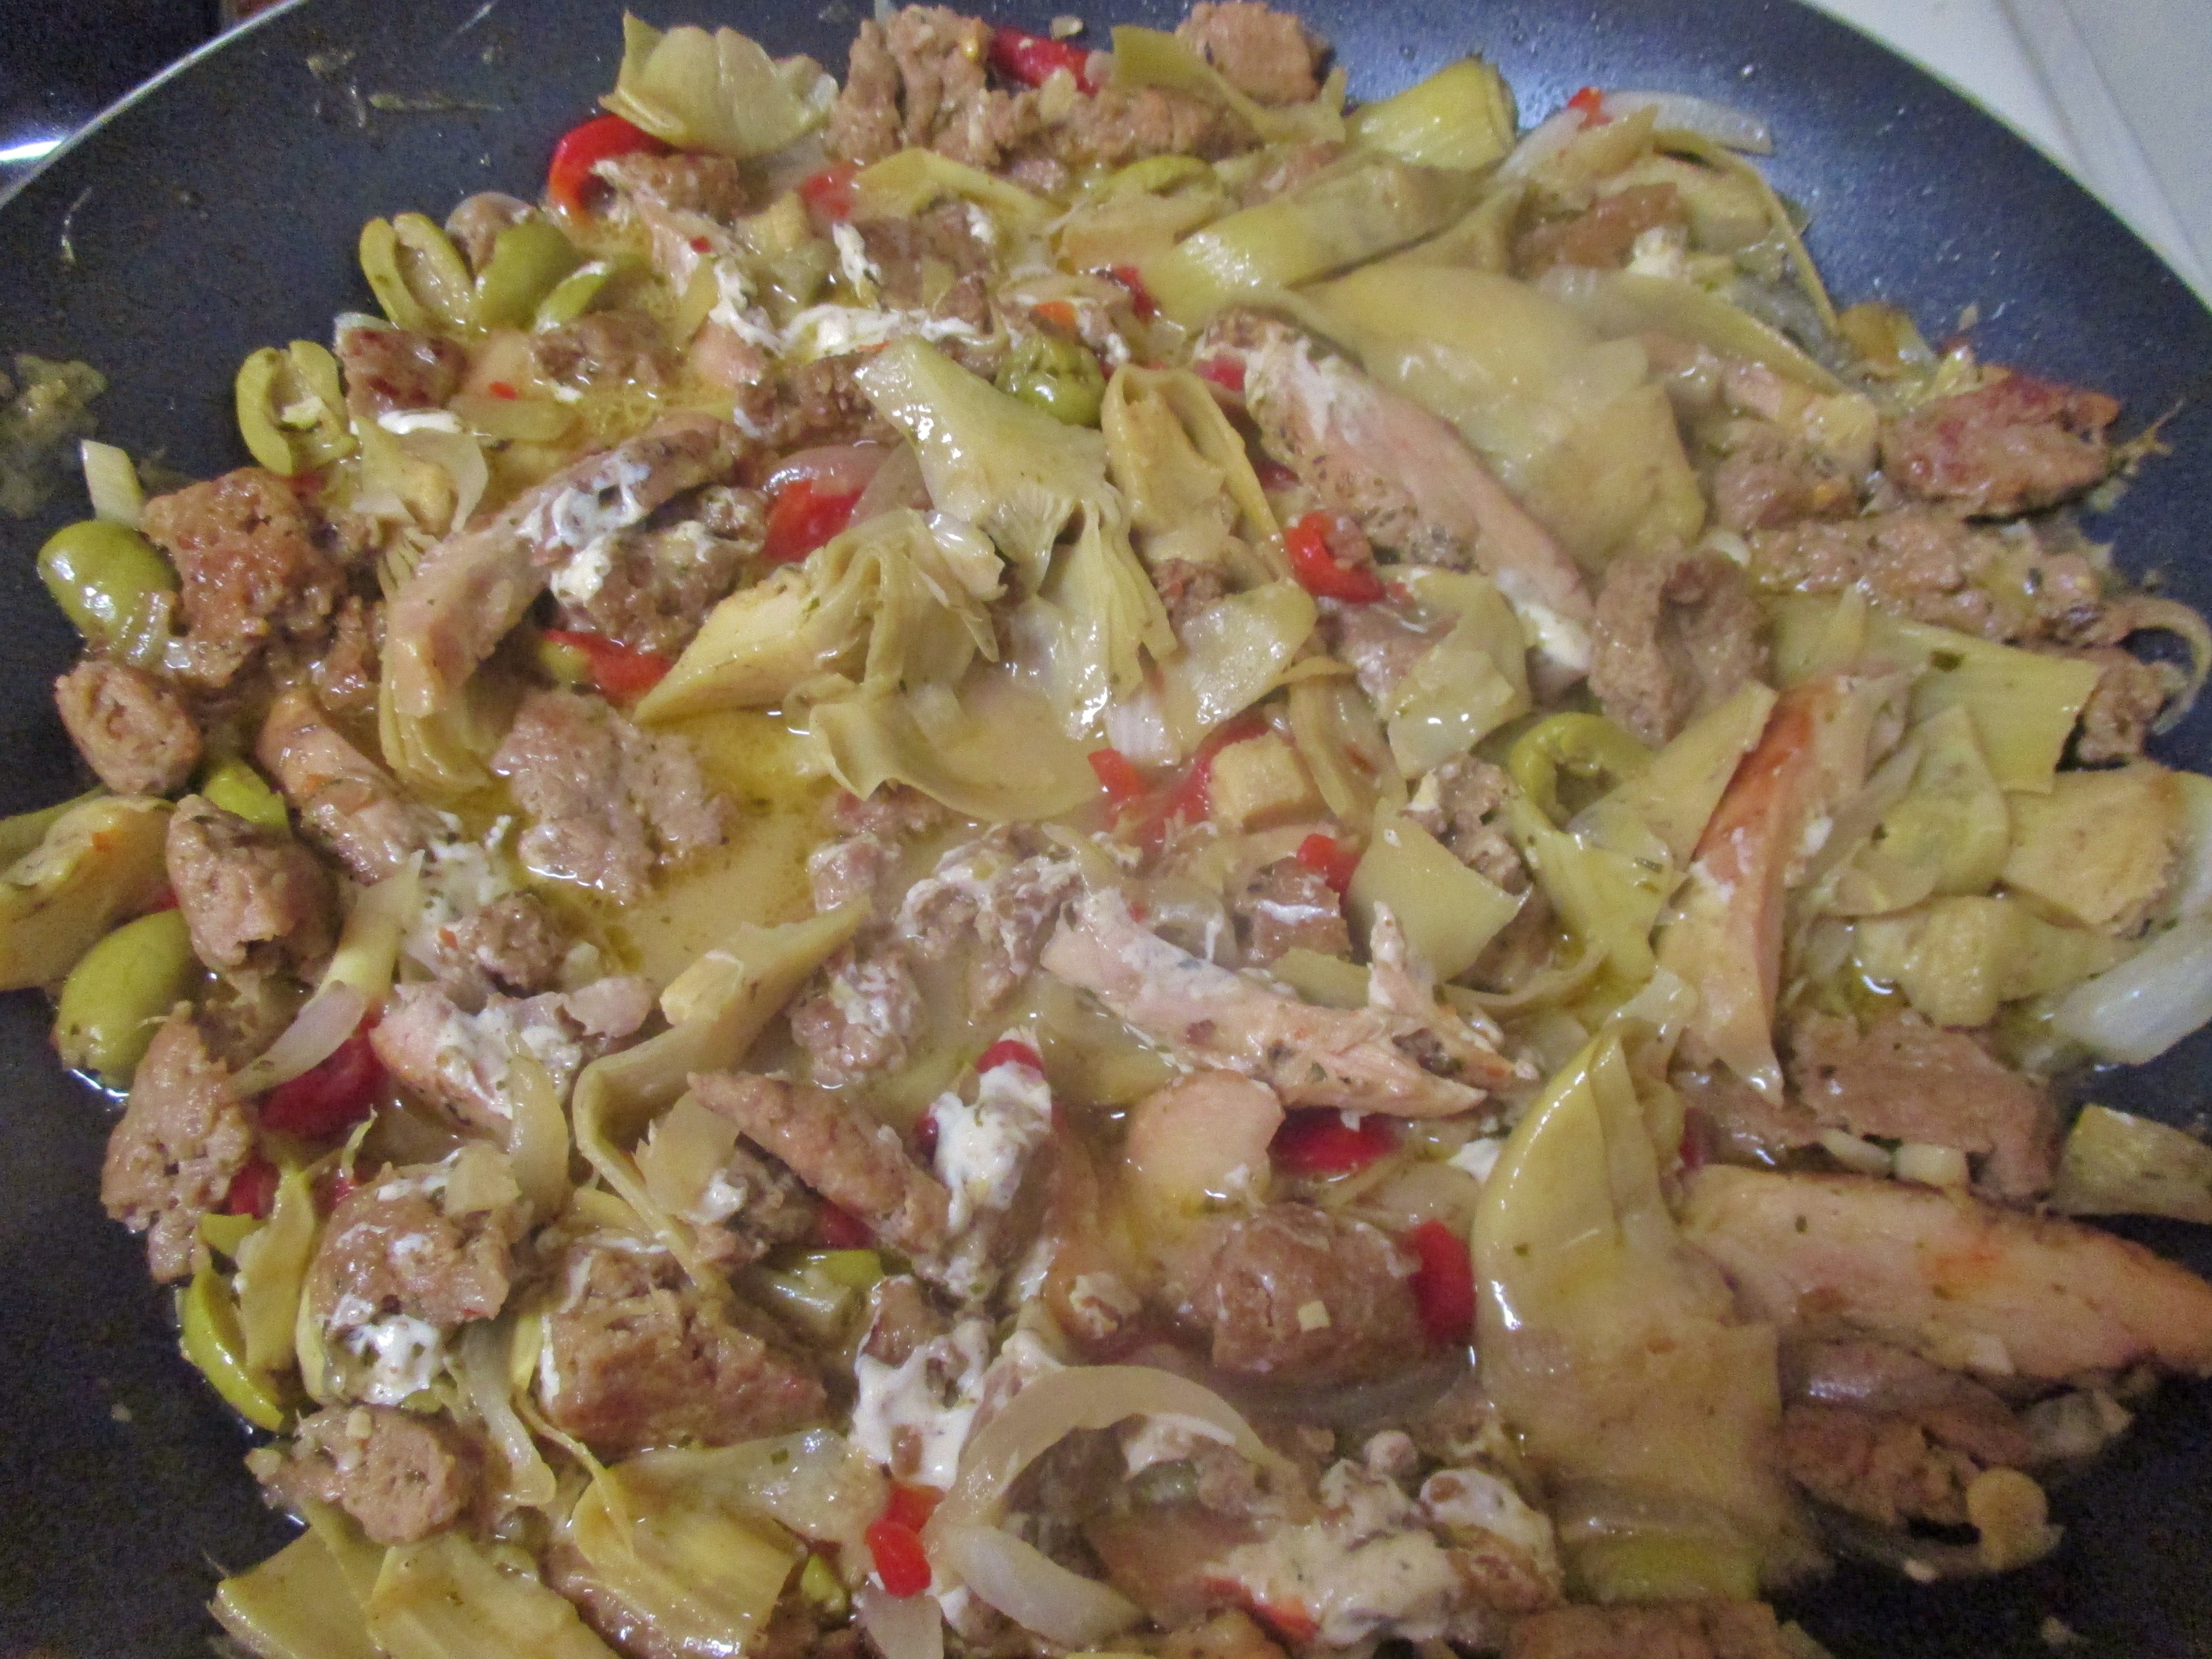 The mozzarella pearls went in next. This required a lot of stirring but they finally kind of melted leaving just a few intriguing stringy ribbons that I think added some texture and interest to the sauce (sticking to that story).
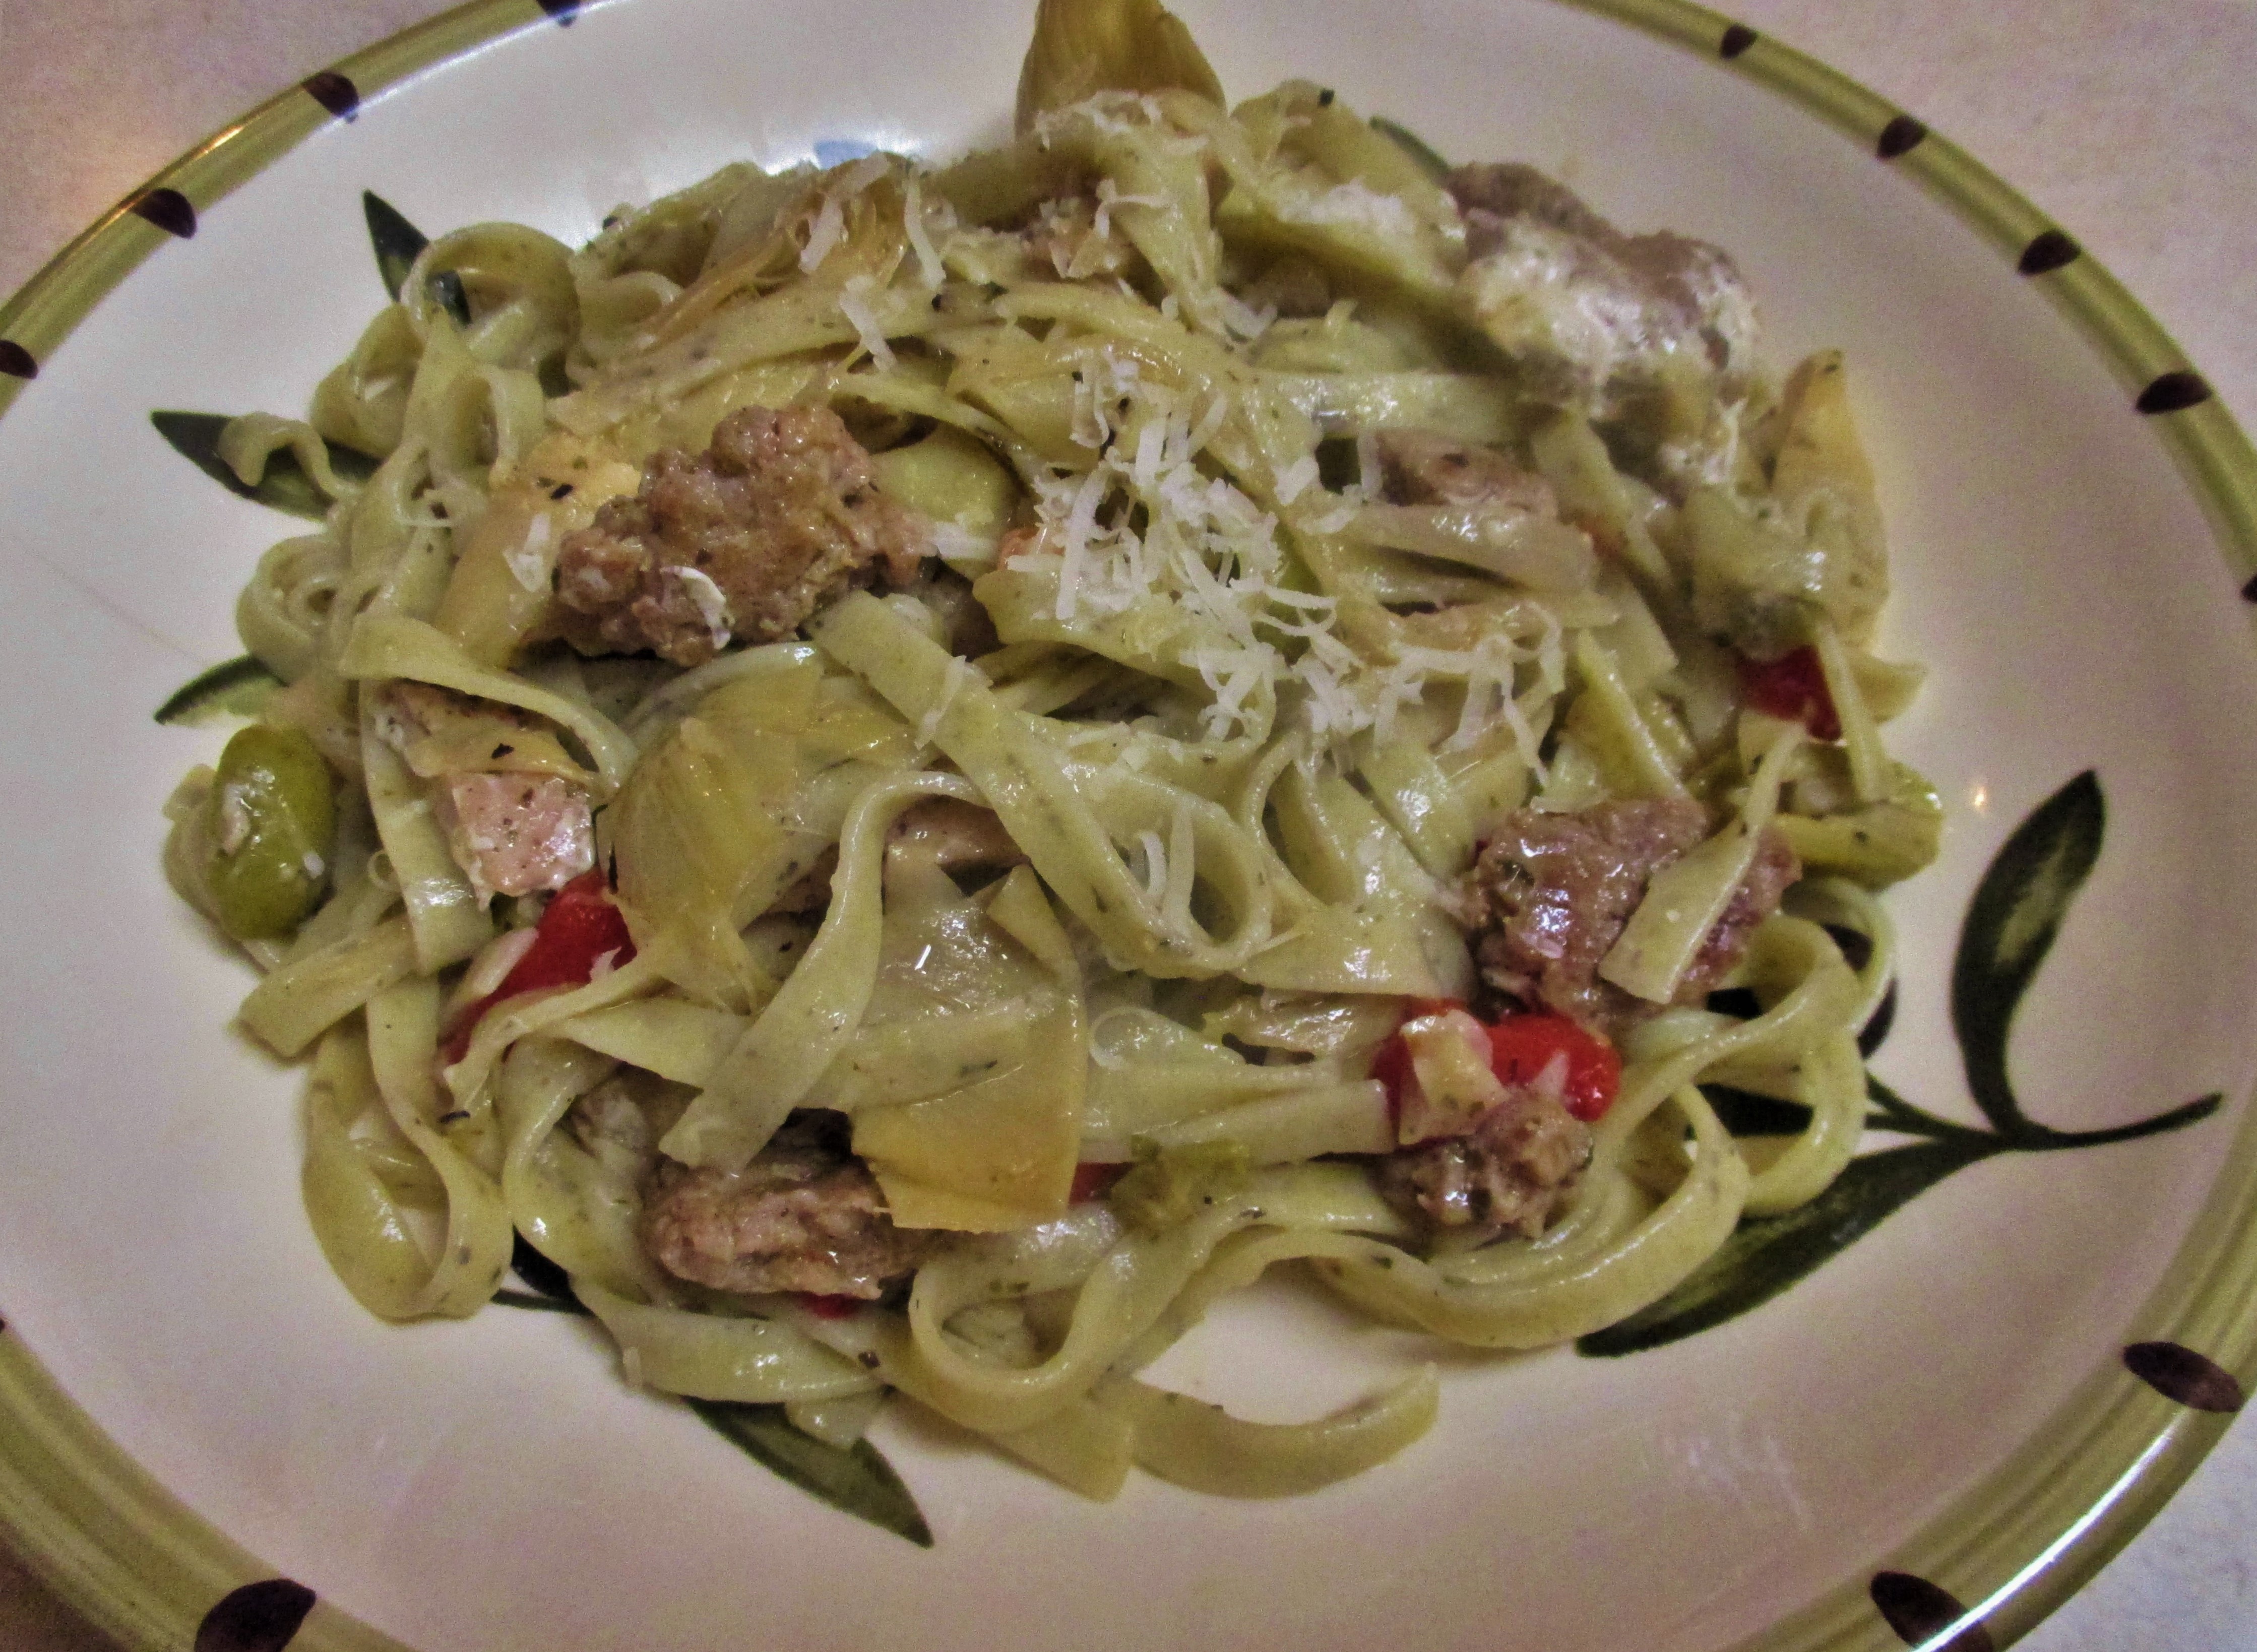

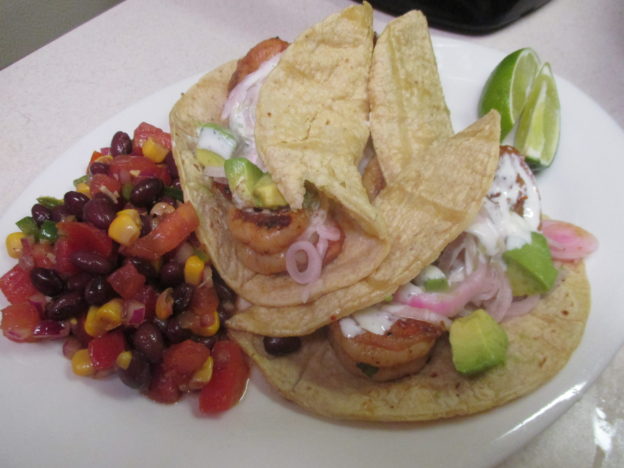

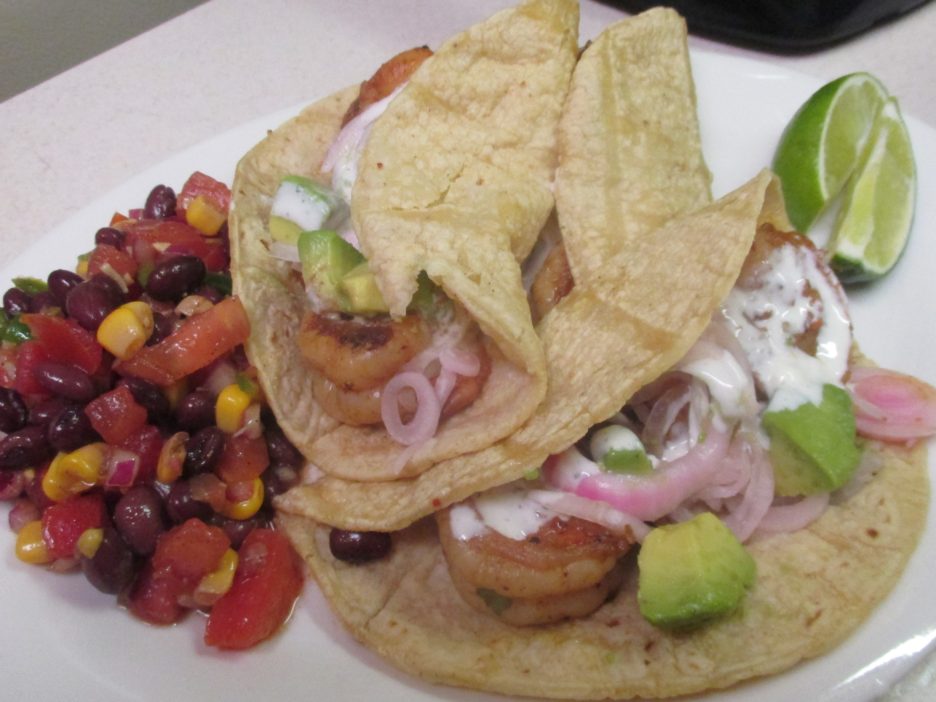
 Grilling gives them wonderful flavor that works well in many dishes. Pasta is always at the top of my list followed by serving them on their own as a scrumptious finger food. For something entirely different this time, we decided to have them in tacos. Then, because we were feeling a little adventurous, we thought that having them spend some time in the Smoking Cloche would be an interesting touch.
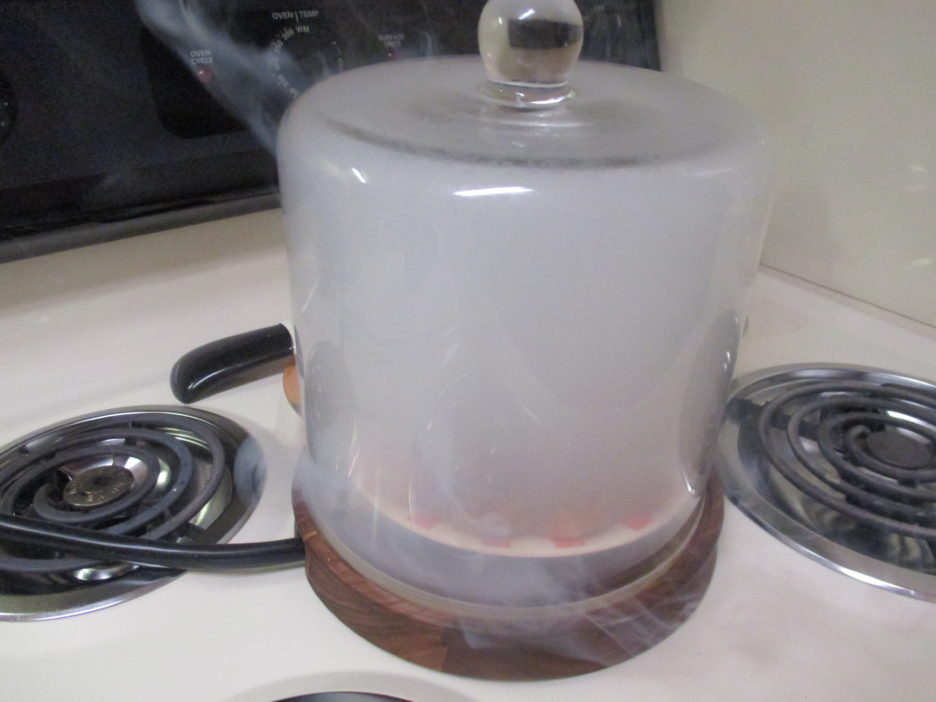
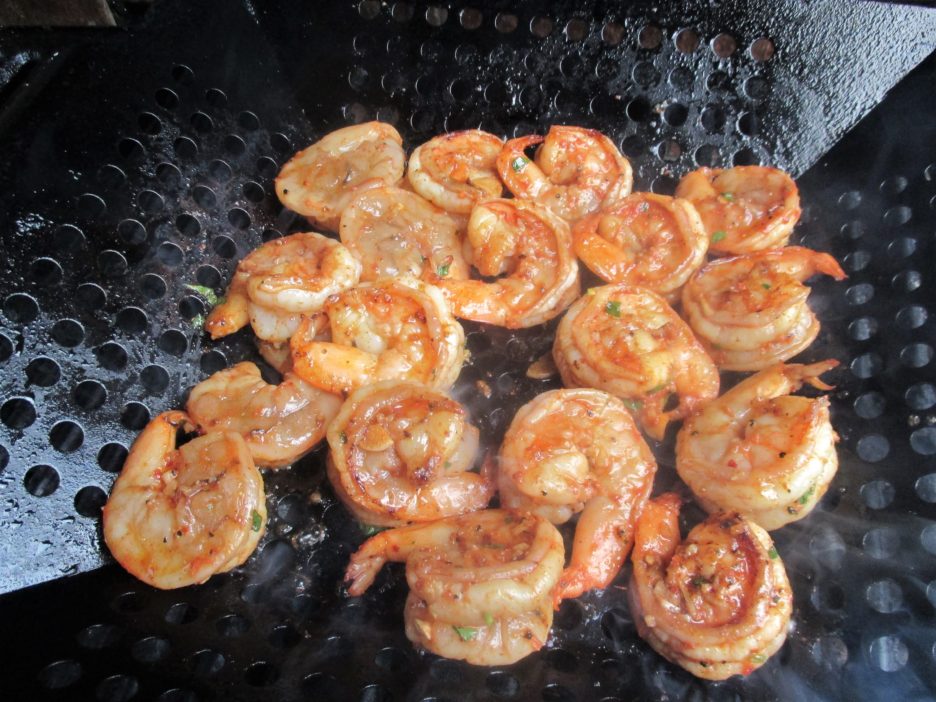
 I did give them a little help by marinating them in a mixture of garlic, chili flakes, smoked paprika, cumin, and a touch of lime.