
I’m an impulse buyer. Sometimes something calls to me like a Siren. I’m drawn to it, my reason somehow clouded by its alluring song. The temptress isn’t a designer bag or a beautiful pair of earrings; far from it. Quite often it is a jar of imported olives or an intriguing blend of ancient grains. Grocery stores and markets are my weakness, and I’m forever a sucker for the new and unusual.
Many a routine shopping trip meant to replenish our staples finds me coming home with some culinary treasure or another. My need to have whatever it is doesn’t care if there is little room to store it. So much so, that I’ve converted an entire closet in our minuscule apartment into a pantry. (Thank you Papa D for humoring me).
From time to time I pull myself out of my gastronomic reverie and take stock of my larder. I repentantly vow to use what is on hand before I buy anything else that could be considered non-essential. The time has come to take stock, take a vow, and start getting creative.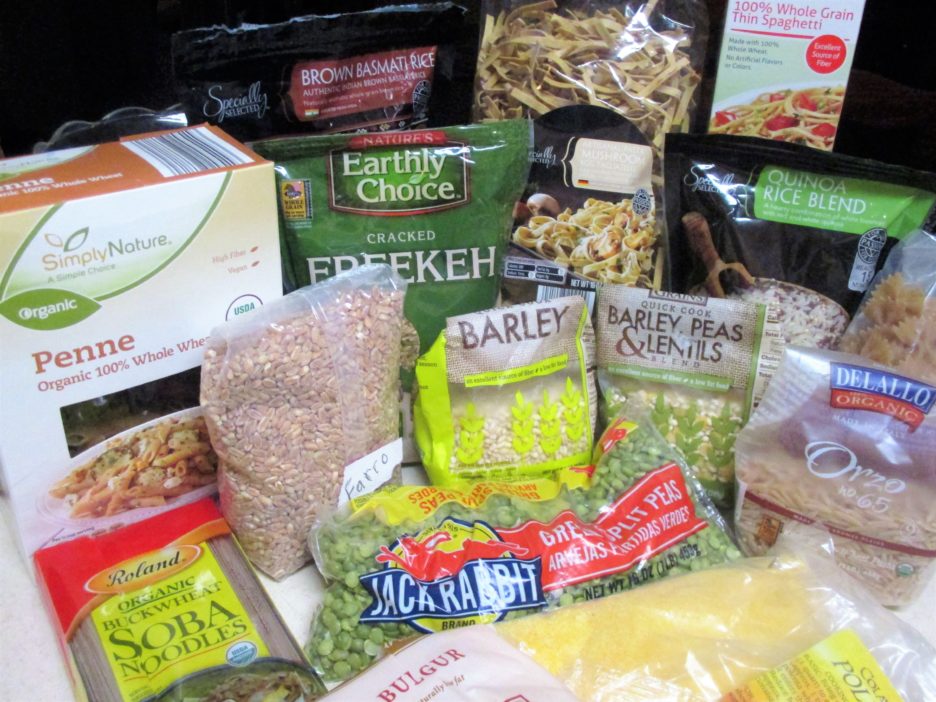 Here is my counter of shame…yes all of these came out of my pantry. Sadly, this isn’t everything, I left the more plebian things out; actually I ran out of room. Some were actually purchased for a specific recipe, but many were acquired just to have. What’s Mama D to do?
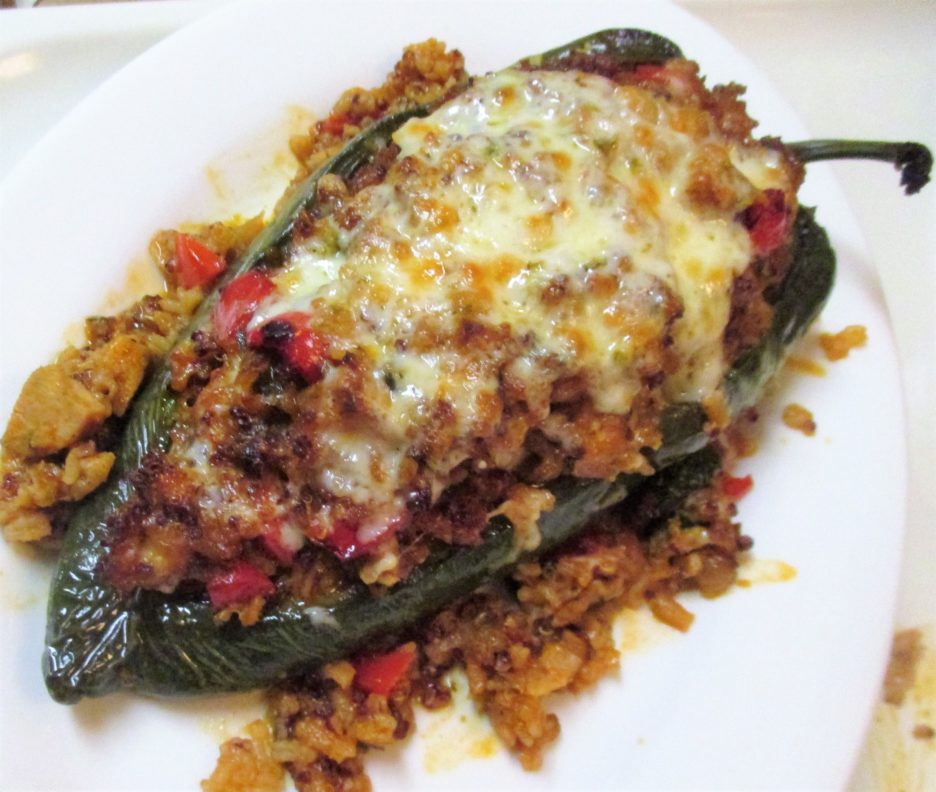 She made Stuffed Peppers for starters. Poblano peppers were stuffed with a quinoa rice blend that was good the first time around, but has been languishing in the dark ever since. Since we were in a “South of the Border” kind of vibe, I started with a Sofrito of sorts. In this case it was poblano, onion, garlic, and cilantro chopped finely and sautéed in a bit of olive oil. The liquid was predominantly Guajillo Chili Sauce (click here for the recipe). This gave the grain a hearty depth of flavor. I created lovely Poblano boats by cutting a large oval out of their sides. This also gave them great stability in the oven.
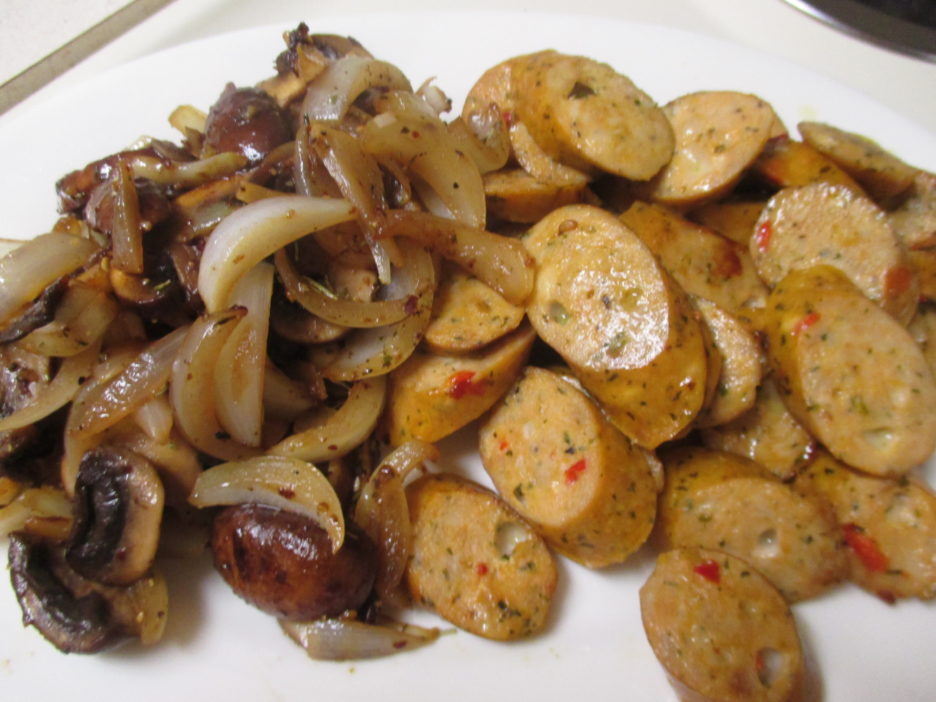
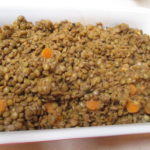
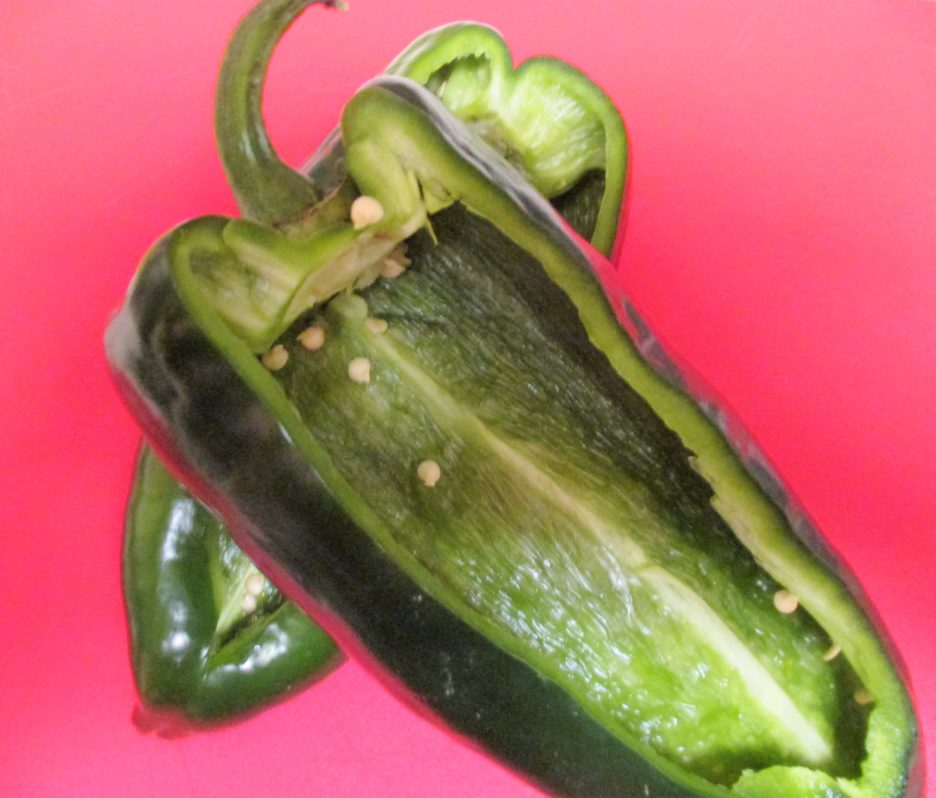 The chopped up pepper scraps, some red bell pepper, onion, and Chipotle Chicken Sausage.Sauteed in a bit more olive oil, they gave the filling substantial substance.
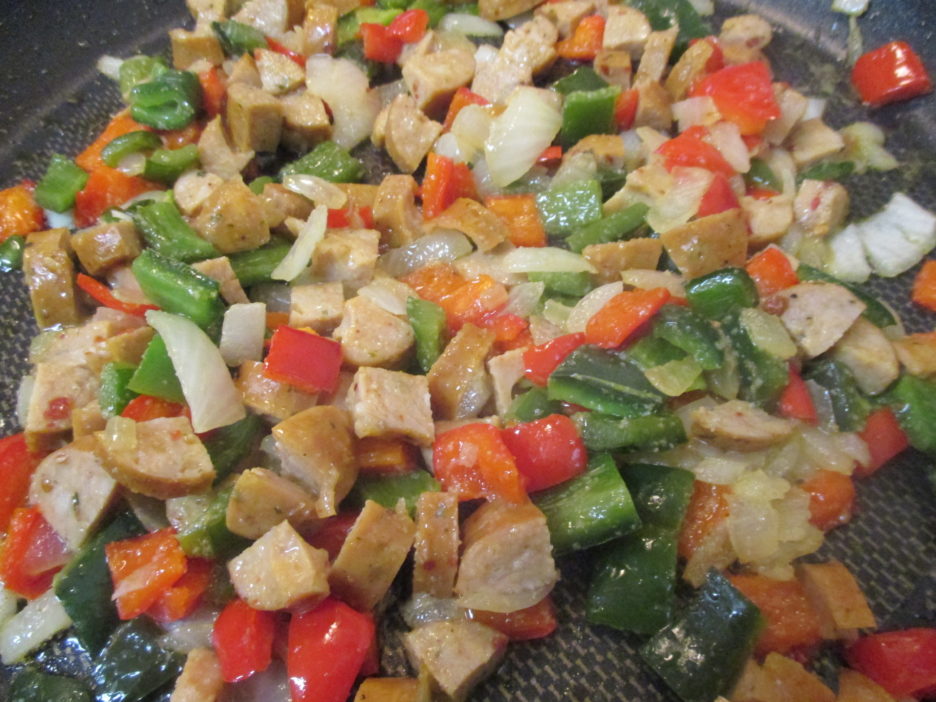
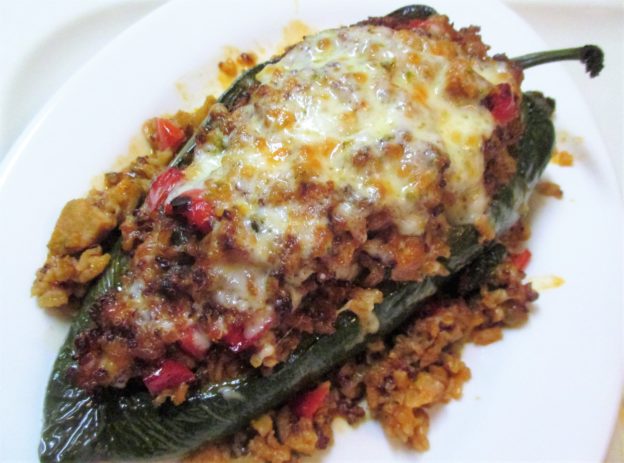
I added the rice to the above mixture and tossed everything together. I also added some Pepper Jack Cheese because I was feeling the need for an even bigger comfort food sensation ( nothing says comfort to me like adding some cheese). 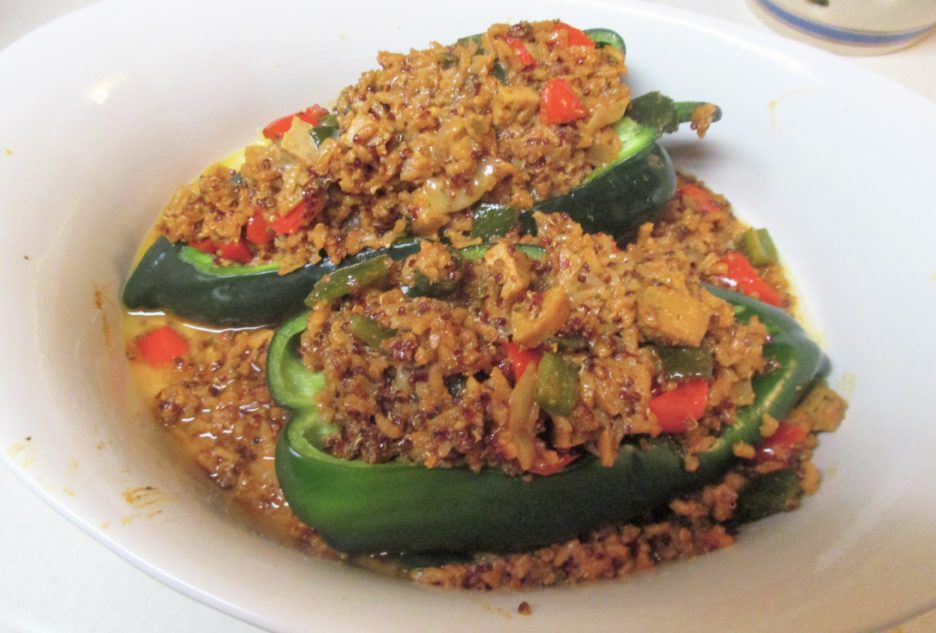 I over – filled the pepper boats because that’s how I roll. I even put some of the filling in the pan to act as a tasty platform for the peppers. They spent some time in the oven under a foil tent, when they were almost ready, I topped them with more cheese and let the broiler work its magic.
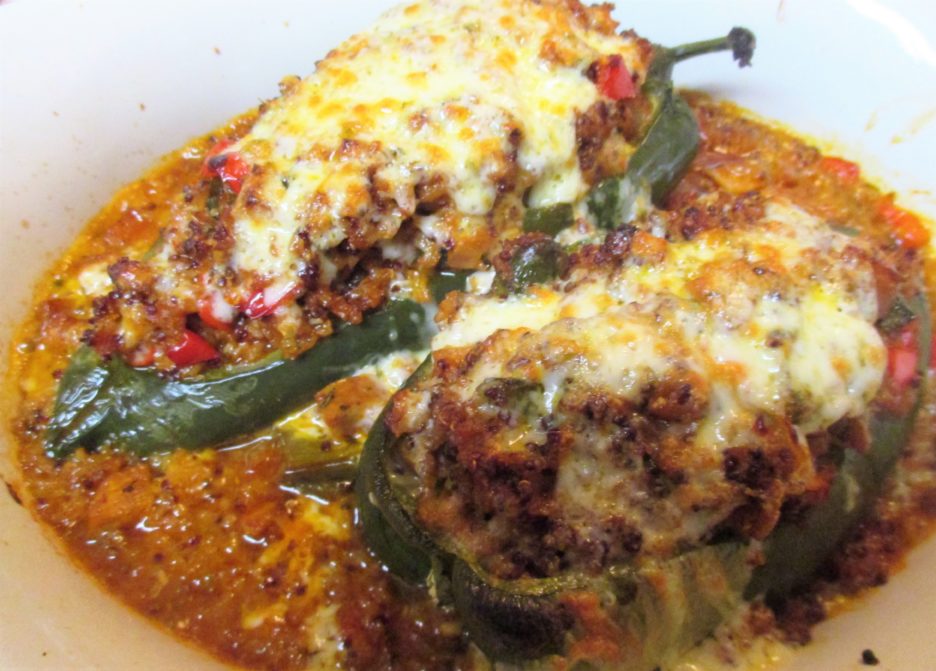
These were very tasty. The flavor was rich but surprisingly not too spicy. If you wanted to turn up the heat, you could add some chopped jalapenos or use a spicier chili sauce. By the way, if you don’t have the time or inclination to make scratch chili sauce, canned enchilada sauce would work as well.

- 2 Tblsp Sofrito
- 2 Tblsp Olive Oil Divided
- 1 Cup Chili Sauce
- 1/2 Cup Water
- 2 Tsp Cumin
- 2/3 Cup Brown Rice Or other grain blend
- 2 Large Poblano Peppers
- 1/2 Cup Chopped Red Bell Pepper
- 3/4 Cup Chopped Onion
- 1/2 Cup Chicken Broth More or less as needed
- 2 Links Chipotle Chicken Sausage Quartered lengthwise and chopped
- 3/4 Cup Shredded Pepper Jack Cheese divided
-
Heat a saucepan over medium heat. Add 1 tablespoon of olive oil and swirl to coat the bottom of the pan. Add the Sofrito and cook for 3 - 4 minutes until it is fragrant.
-
Add the rice or grain blend and stir to mix in the sofrito. Cook another 3-4 minutes, stirring often.
-
Add the chili sauce, water, and cumin and stir to combine. Bring to a boil. Reduce the heat to simmer, cover and cook 15 minutes, or until the liquid is absorbed. Set aside.
-
Cut a large oval out of the side of each pepper. Carefully remove the seeds and membranes. Each pepper should look like a little boat when you are finished. Chop the pieces that were cut out and add them to the onions and red peppers. Set the pepper boats aside.
-
In a large skillet, heat the remaining olive oil and swirl to coat the bottom of the pan. Add the onions, red peppers, and chopped poblano pieces. Cook, stirring occasionally until everything softens and browns slightly. Add the chopped sausage to the pan and cook for several minutes more
-
Add the reserved grain mixture to the pan. Add enough broth to loosen the mixture slightly. It should be moist but not soggy. Cook for a few minutes then remove from the heat. Stir in 1/2 cup of the grated cheese.
-
Spray a casserole pan with cooking spray. spoon a little of the ric mixture into the pan. Fill the pepper boats generously with the rice mixture. Place the pepper in the casserole.
-
Cover with foil and bake in a preheated 350 degree oven for 30 minutes. Remove the foil and sprinkle the remaining cheese on top of the peppers. Set the oven to broil return the pan to the oven and broil for 3 -5 minutes until the cheese is melted and golden.
-
Remove the peppers from the oven and serve.
So, there is one less bag of grain in the pantry and finding the bag of gajillo chilies was a surprise that lightened the load a little more. I can say with pride that my last two forays at the grocery store were essentially only essentials…except for the Fish Sauce (I was almost out) and the Anchovy Paste (it was on sale). Baby steps….
Share this:


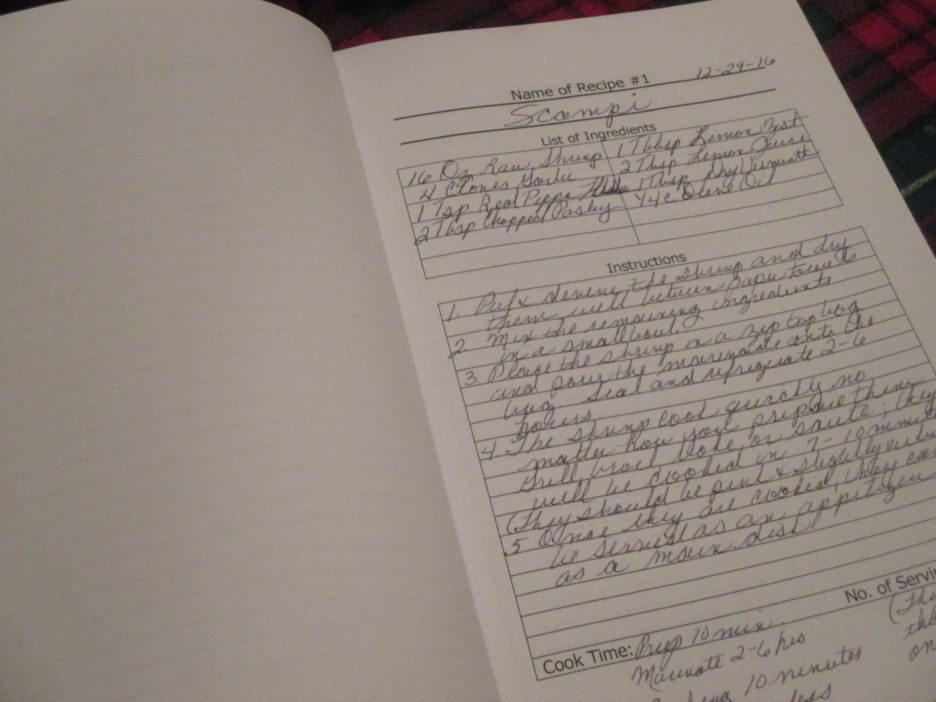
 For the first entry in my cookbook I’m sharing my Scampi recipe. I’ve learned that the word Scampi in Italian means prawn (a.k.a. a large shrimp) thus making “Shrimp Scampi” somewhat redundant. Translations notwithstanding, this is my favorite way to make shrimp, no matter where they are going to wind up. In this recipe, the magic is in the marinade. The ingredients are simple and always available in Mama D’s Kitchen.
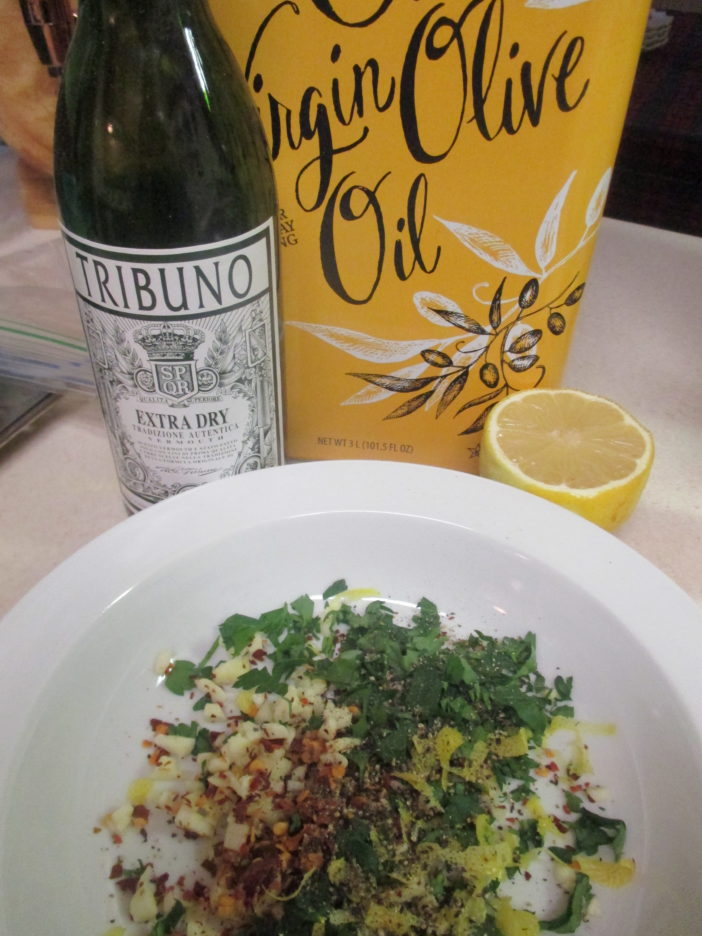 Lots of garlic, red pepper flakes, lemon zest, and parsley mingle with lemon juice, dry vermouth, and quite a bit more than a little extra virgin olive oil. This mixture gives the sweetly bland shrimp a culinary pair of big girl panties and prepares them for any kind of introduction to heat.
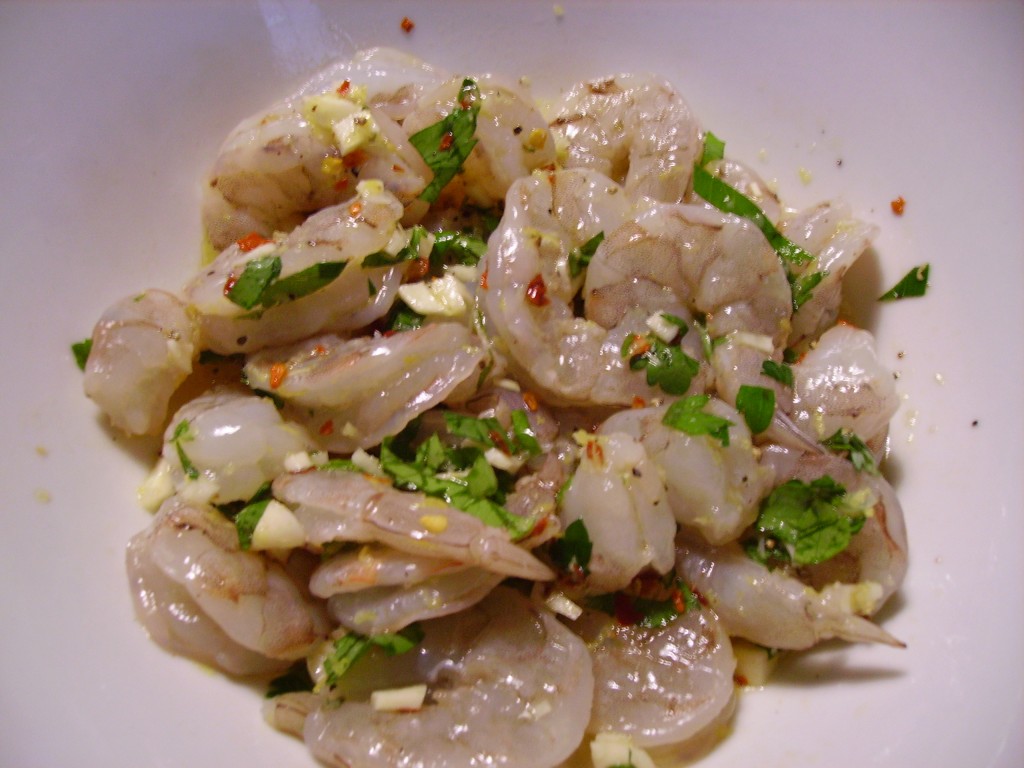 After a few hours resting in-robed in plastic within the cool confines of the refrigerator, they are ready for anything; a hot grill basket, a quick bake in the oven, a turn in a skillet, or a brief visit under the broiler. Where they go after that is up to the cook’s imagination, but it is always delicious and never results in left overs.
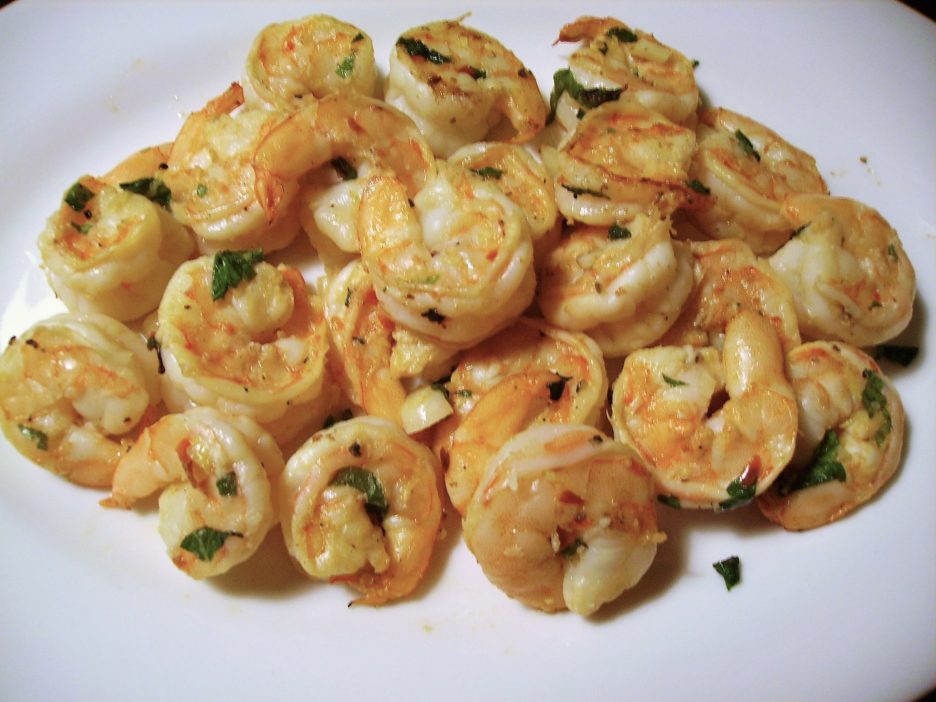


 Magazine. Dubbed