School is out and Summer Vacation is here. Working in a school related industry means that for the next few weeks I have copious amounts of free time. While my furlough will allow for lots of time in the kitchen, there will also be room for adventures outside of said kitchen. That’s what happened recently.
We decided to kick off the summer with a long weekend in Milwaukee. Many of you are saying, “Milwaukee, why?” Well, because it’s a really great city. If Chicago had a “Mini Me” it would be Milwaukee. They are both on Lake Michigan, each has a lakefront rimmed with statue laden parks and impressive museums. There are many other comparisons and I will be touching on some of them in this post. There will not be a recipe, in fact there won’t be a lot about food (though we had some great meals and spectacular dishes), but there will be a bit of beer, and even a distilled spirit or two. Yes, Milwaukee is a drinker’s city, but it is also a whole lot more. (You can explore the places we visited by clicking on the red links in this post.)
Let me start at the beginning. We stayed at the Plaza Hotel, a residence/ hotel, which meant that our room came with a complete kitchen. This little Art Deco gem is located in East Town, an area that is, of course, east of the Milwaukee River. While still considered “Downtown”, it is a grand old residential neighborhood with turn of the century houses and apartments. The housing atmosphere was reminiscent of the Gold Coast in Chicago. This was definitely a walk-able area. Short strolls took us to the lake, museums, and many lovely dining choices. It was the perfect headquarters for our adventure. We never go anywhere to just hang around our hotel however, we had places to go and sights to see.
We are Frank Lloyd Wright geeks. While I don’t like how he chose to live his life, there is no denying that the man was an architectural genius. We have been to some very interesting places in search of his work. This time we went to see his American System Built Houses which were in, for lack of a better word, the seamier side of town.
He designed these as housing for the average family. There were bungalows, duplexes, and four flats that were delivered to the site as do it yourself kits. This was pre-WWI, folks. Sadly, very few still exist. F.L.W.’s differences with the contractor resulted in the project stalling and ultimately the war made materials unavailable.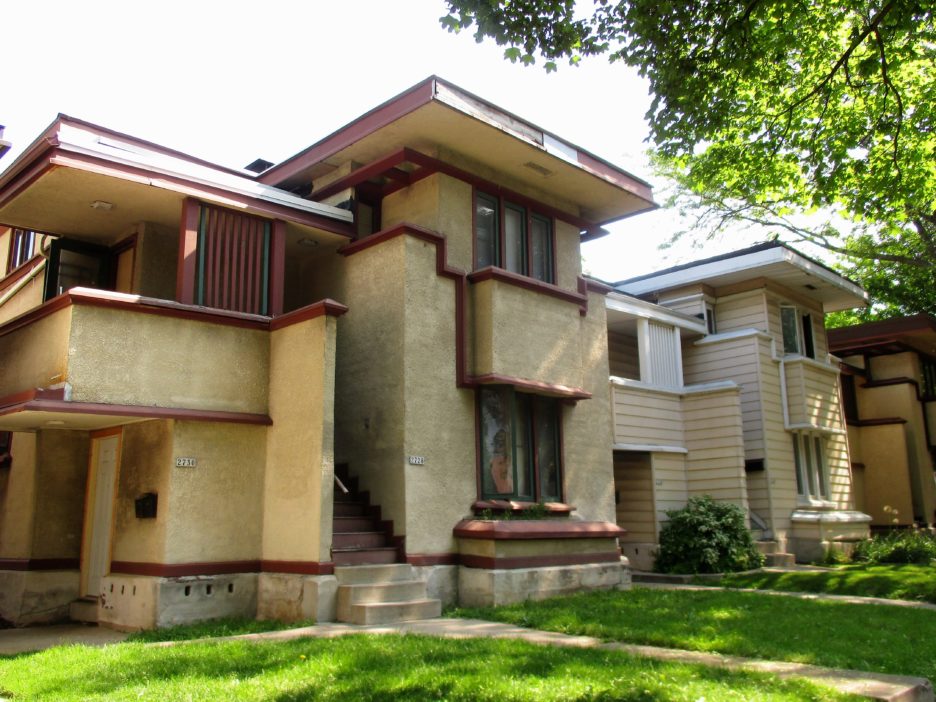 The block long row of models ran the gambit from hideously sided to beautifully restored. Still the Prairie Style Architecture shone through.
Milwaukee may be know as the Beer Capitol of America, but they have taken a leap into the distilling business as well. Long established Great Lakes Distillery paved the way, but there’s a new kid on the block (actually, a few blocks away) that is raising the standard, (no pun intended…well maybe a little), Central Standard Craft Distillery.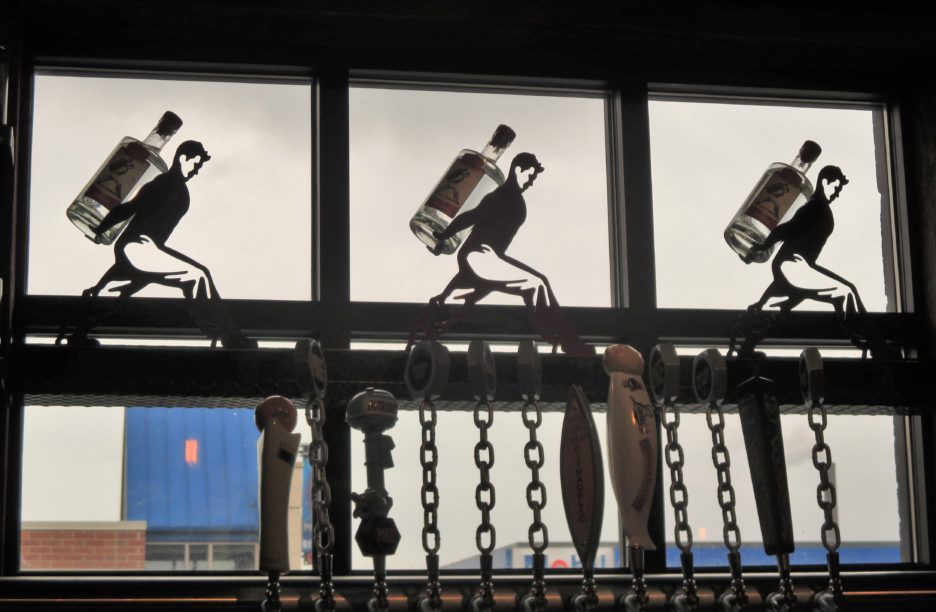 This place is just coming up on its second anniversary and they make some darn good spirits. The best is their vodka which is made from rye. This makes it dangerously smooth and a little fruity. They take it one step further with a Coffee Vodka that is fantastic. A collaboration with the Anodyne Coffee Company (that is just around the corner), the ingredient list is rye vodka and coffee. No artificial flavors or sweeteners involved. The Eye Opener, a concoction of this vodka, oatmeal stout, caramel, and cream was wonderful.
The crown jewel in the skyline is the Milwaukee Art Museum. It is so iconic to the city that it appears in their official logo. 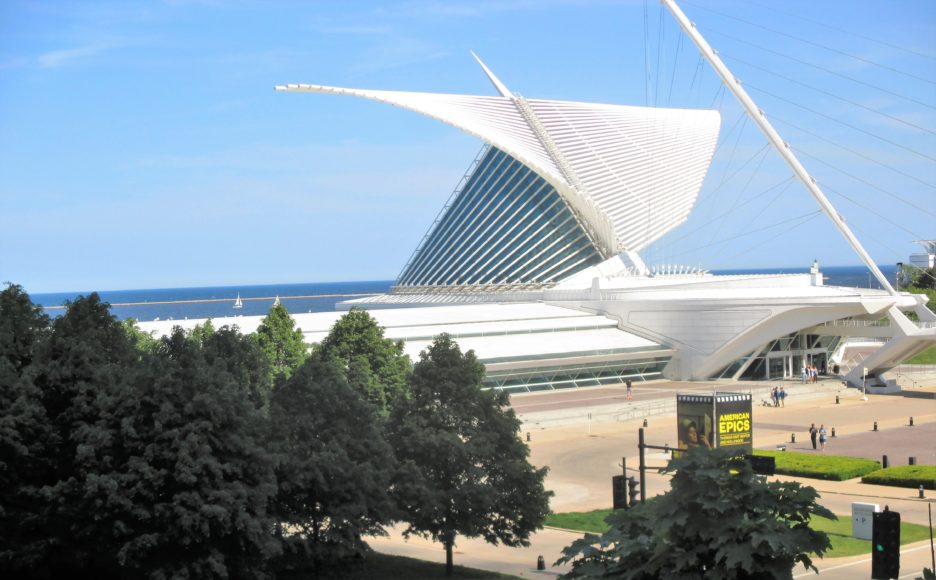 The building was designed by Santiago Calatrava and for lack of a better word, looks remarkably like a bird or maybe a sailboat (depending on your vantage point). The building itself is a work of art, but it houses a respectable collection of paintings and sculpture. The collection is decidedly American, Modern, and very approachable. Galleries are softly lit and almost intimate. There were many works by lesser known artists, but there was an entire gallery of Georgia O’Keefe, several Joan Miro paintings, and ten Marilyn’s by Warhol.
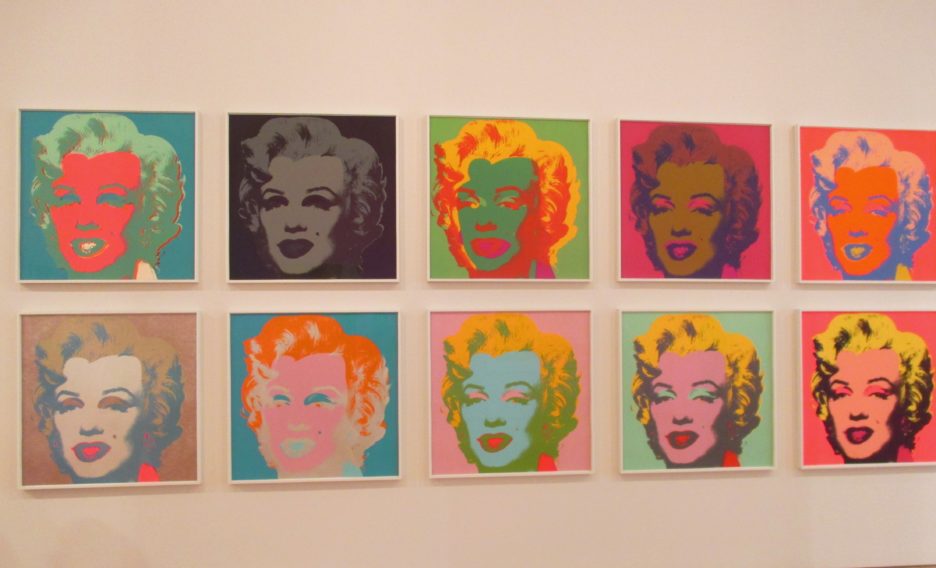
Picture taking was allowed and as luck would have it, admission was free thanks to Meijer’s Free First Friday.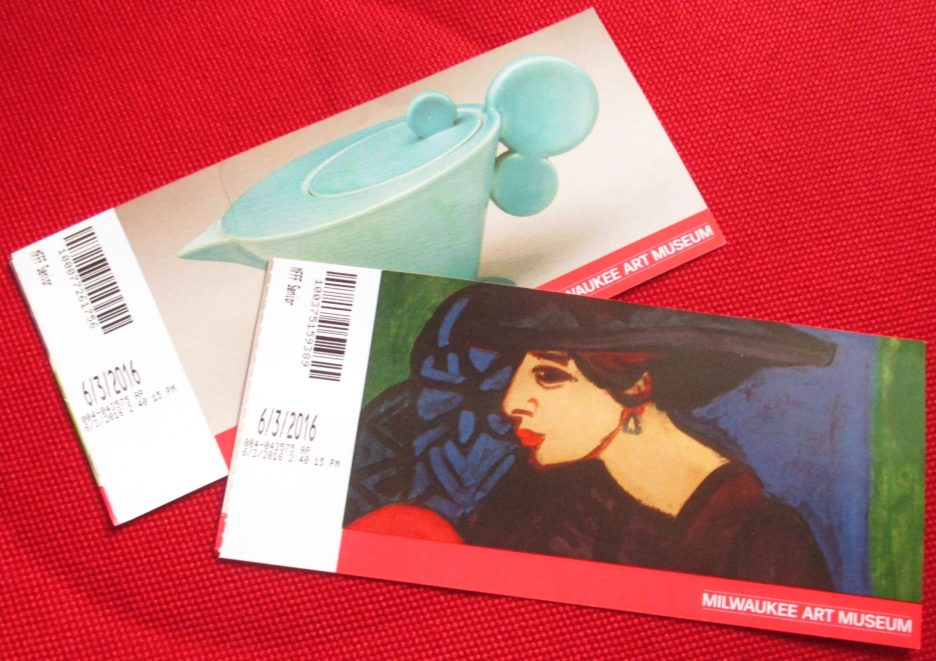 In numerous trips to Milwaukee, this was our first visit to the museum…it won’t be our last (even if it isn’t free).
Milwaukee is often called “Brew Town” and rightly so. Some of the earliest breweries were founded here. Our adventure took us to the original Pabst Blue Ribbon Brewery. Pabst isn’t made there any more, production happens in Los Angeles (odd isn’t it?). 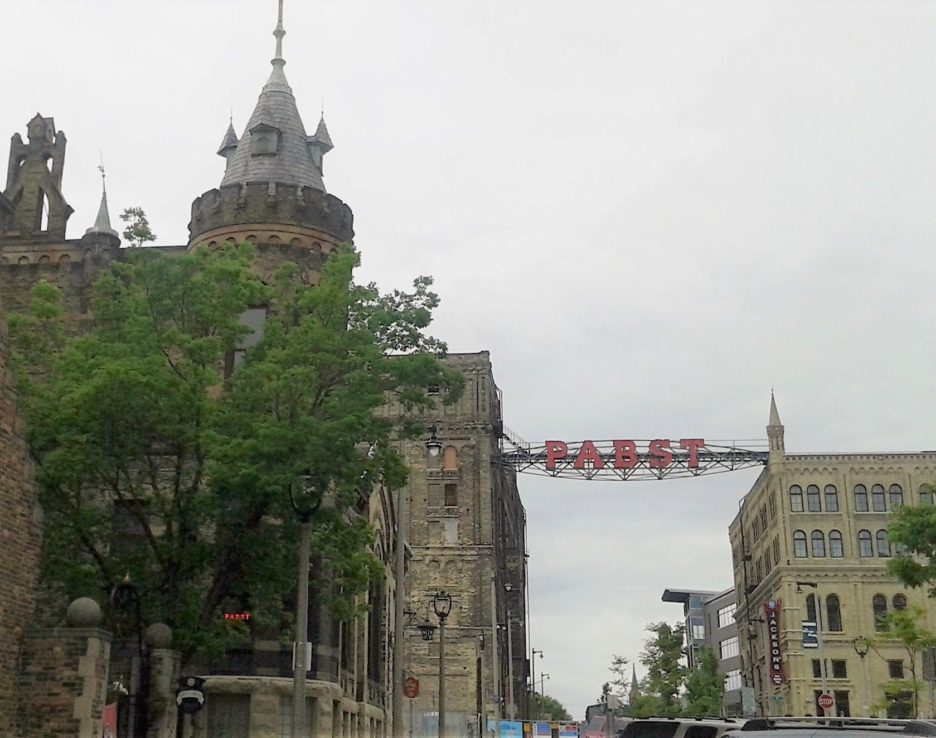 The old brewery operation which took up several city blocks, is going through a lot of development. The brew house is now a suite hotel called, what else, the Brew House. A number of buildings have been torn down and have been replaced with apartments and lofts. The area is a major work in progress. The original corporate office building however, is still much as it was when Frederick Pabst went to work there everyday. It’s now called “The Best Place” and it is a beautifully restored tavern and beer hall that gives a very entertaining and informative history lesson along with a cold one. We were fortunate to have a former employee on the tour whose insight into working there was wonderful (“I could drink beer any time I wanted”). Actually, back then, a beer break was built into the work day.
There were many other wonderful adventures and the food is outstanding. In spite of what I do in my spare time, I do not take pictures of the food that I eat in restaurants, so here’s a brief description of the best thing I ate in Milwaukee. It was a breathtaking Lemon and Pistachio Semifreddo at Onesto, a small Italian bistro in the Historic Third Ward. My taste buds remember it very clearly. Cold, creamy and perfectly balanced with lemony goodness and pistachio crunch. If you are ever in Milwaukee check it out, the pasta is homemade and the wine list is impressive as well.
See, I did manage to get something about food into this post after all. Mama D is never too far away from a great meal, a great adult beverage, or a great city.
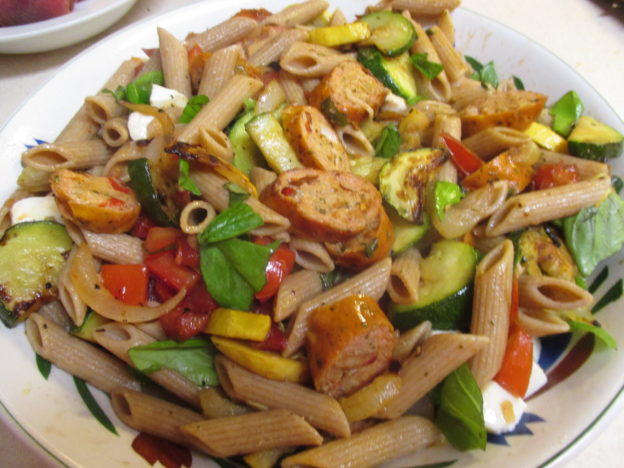

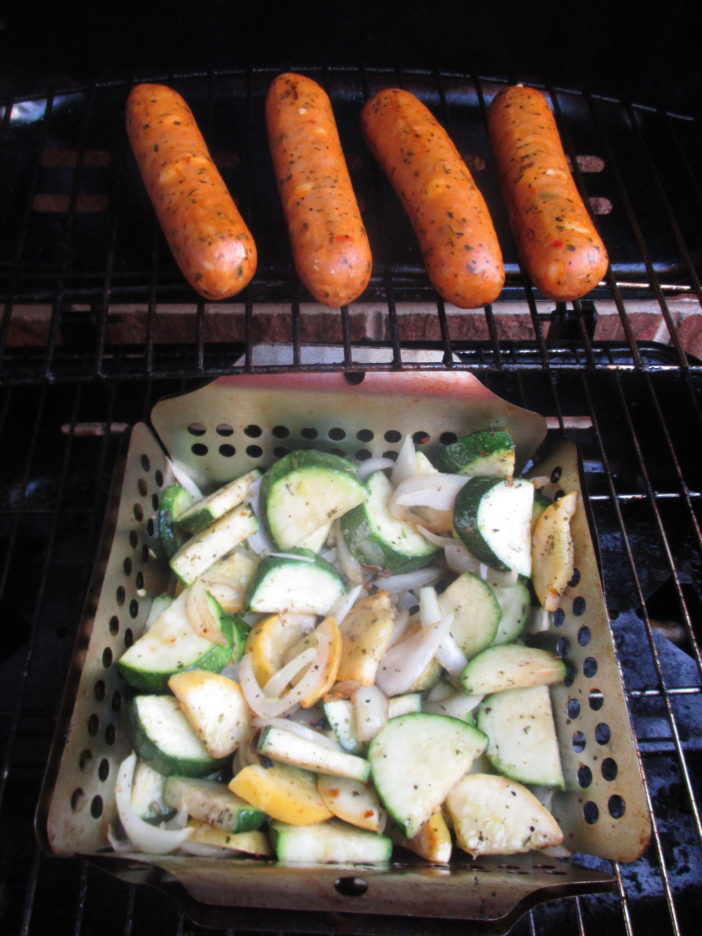


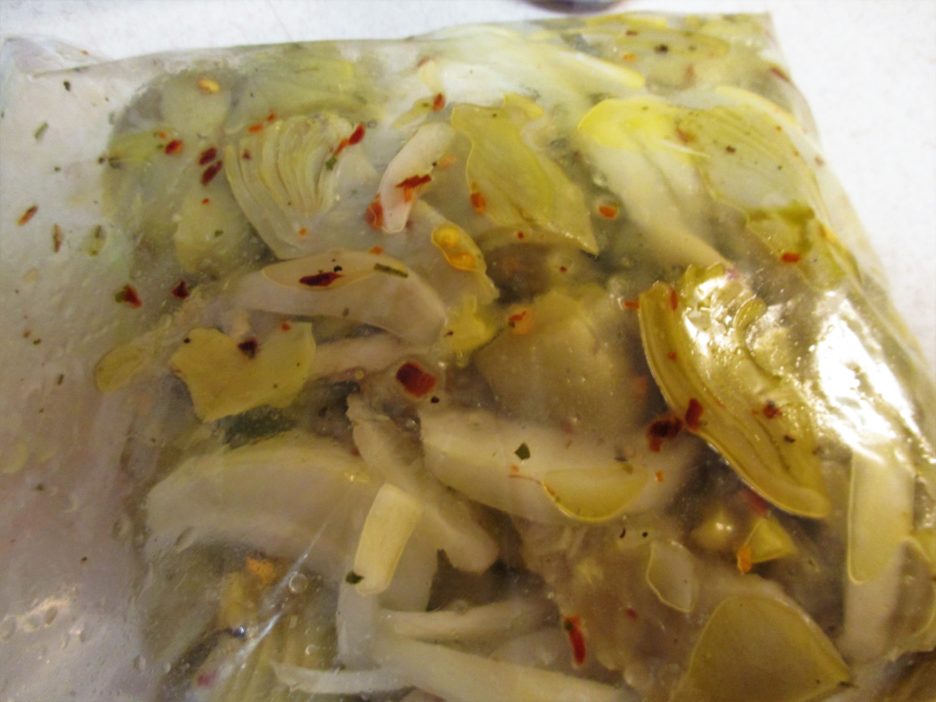
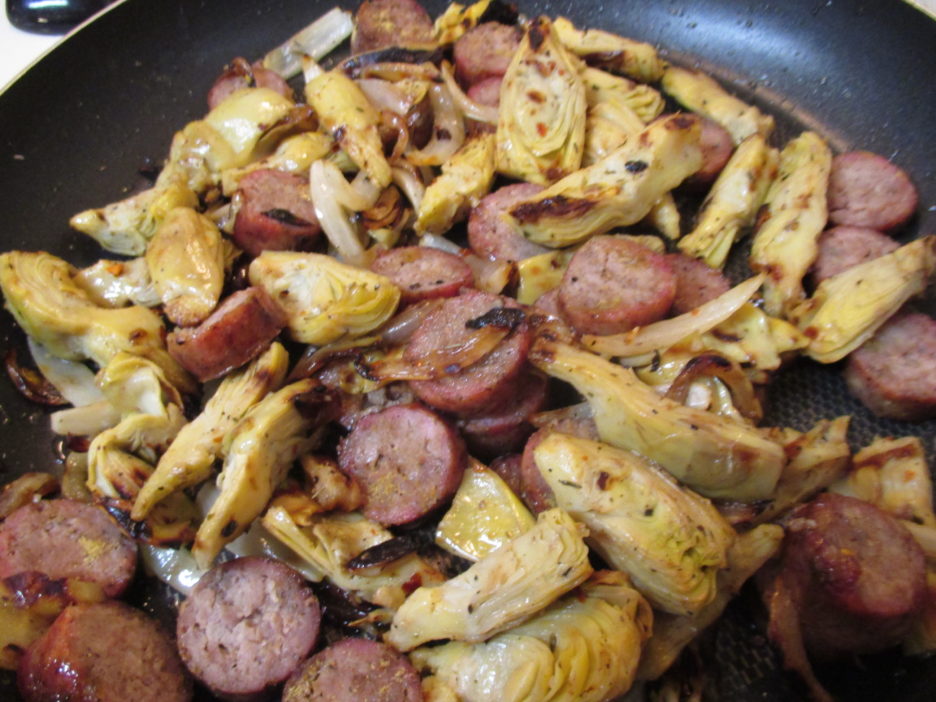
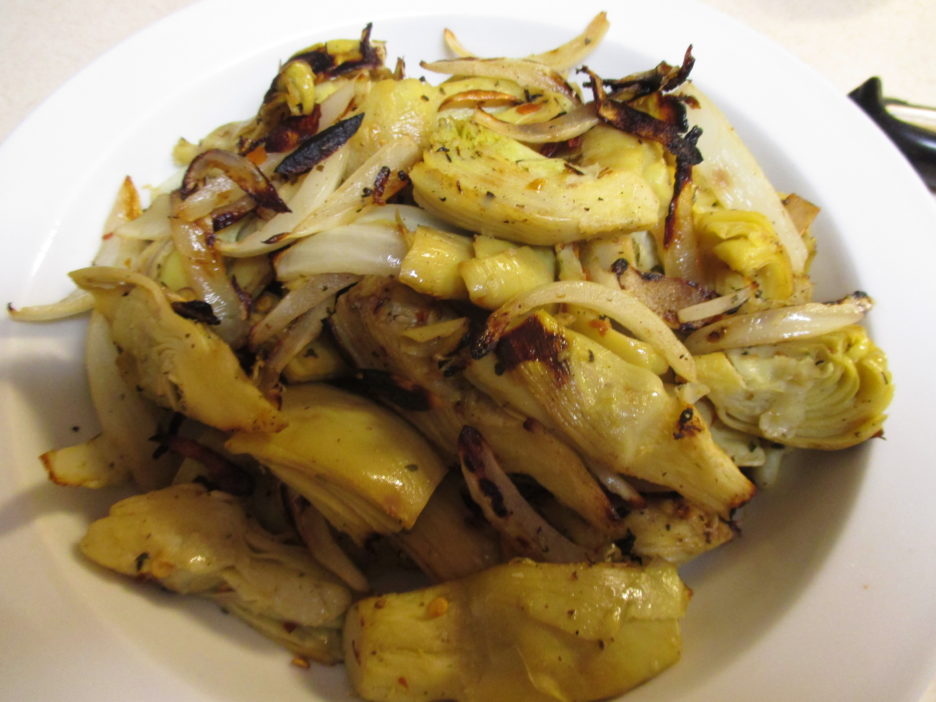 My marinated artichokes became something magical in the grill basket. Lightly charred and completely recognizable they waited for their moment of glory. The sausage also came to life on the grill. They had just the right balance of fat to stay plump and juicy without the aid of a fire extinguisher. Sometimes there is no substitute for quality.
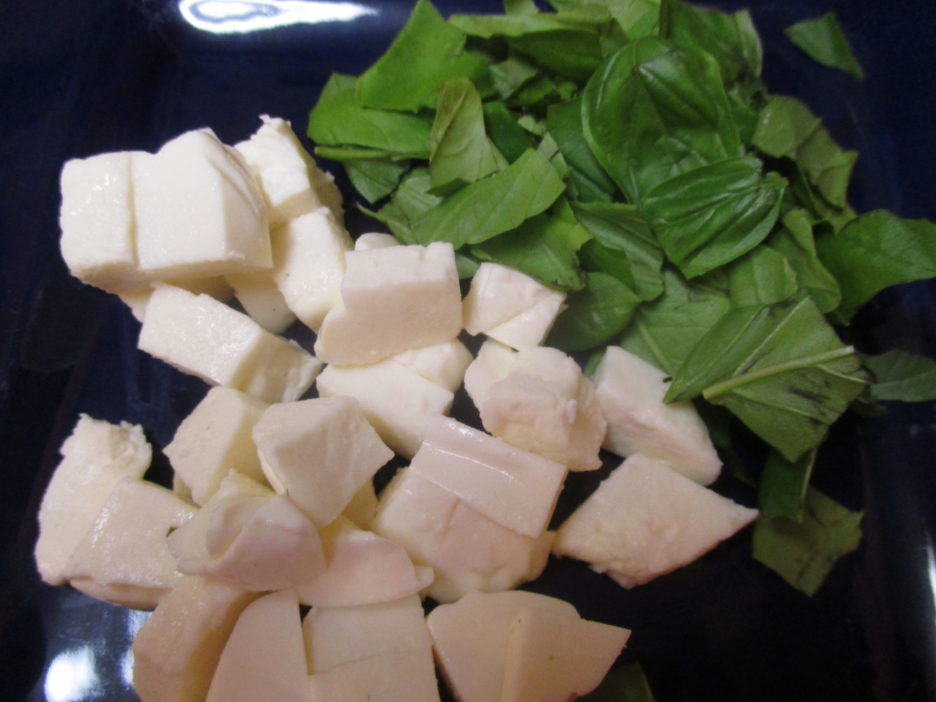
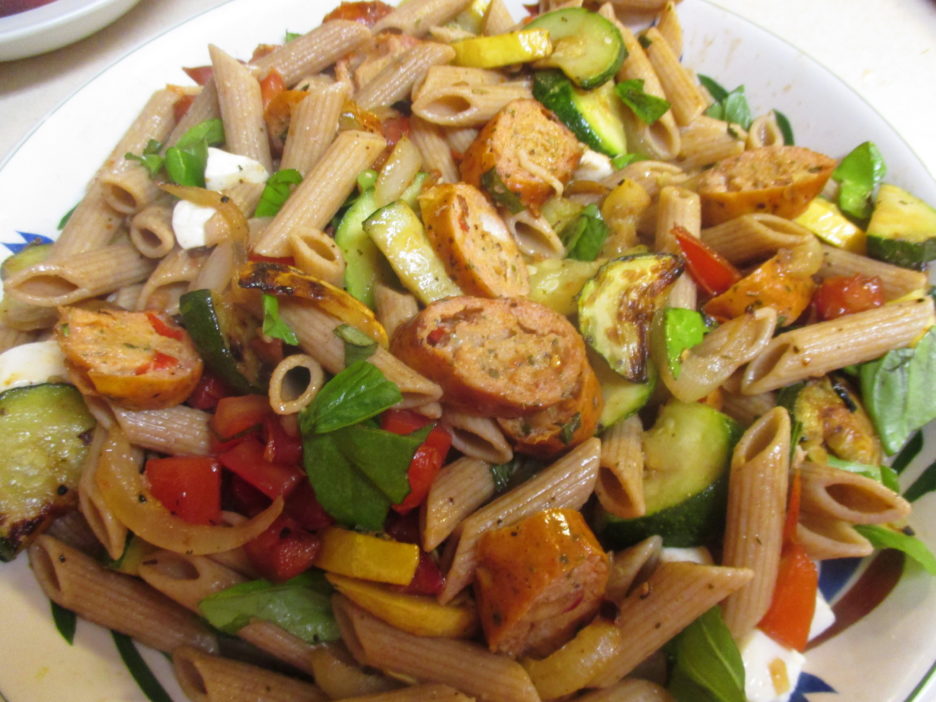
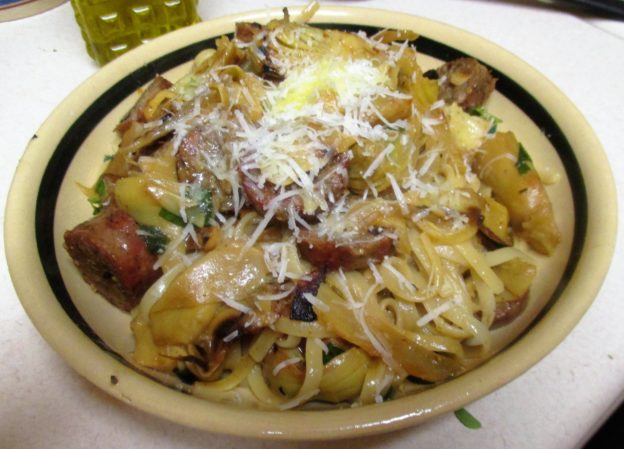
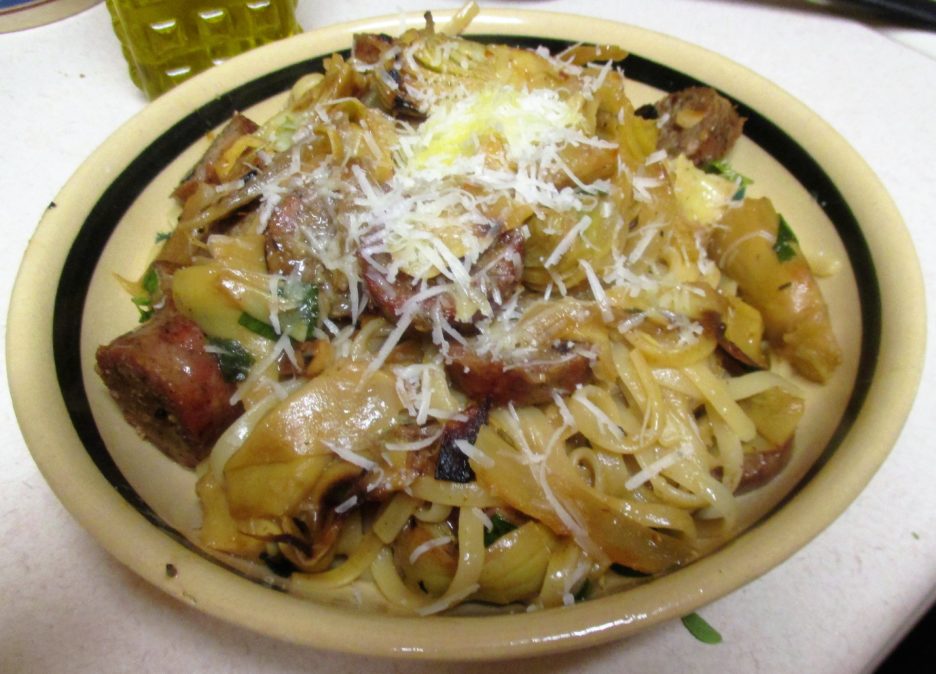
 All that was left to do was add the pasta and some torn fresh basil. Moments later it was ready to grace our bowls.
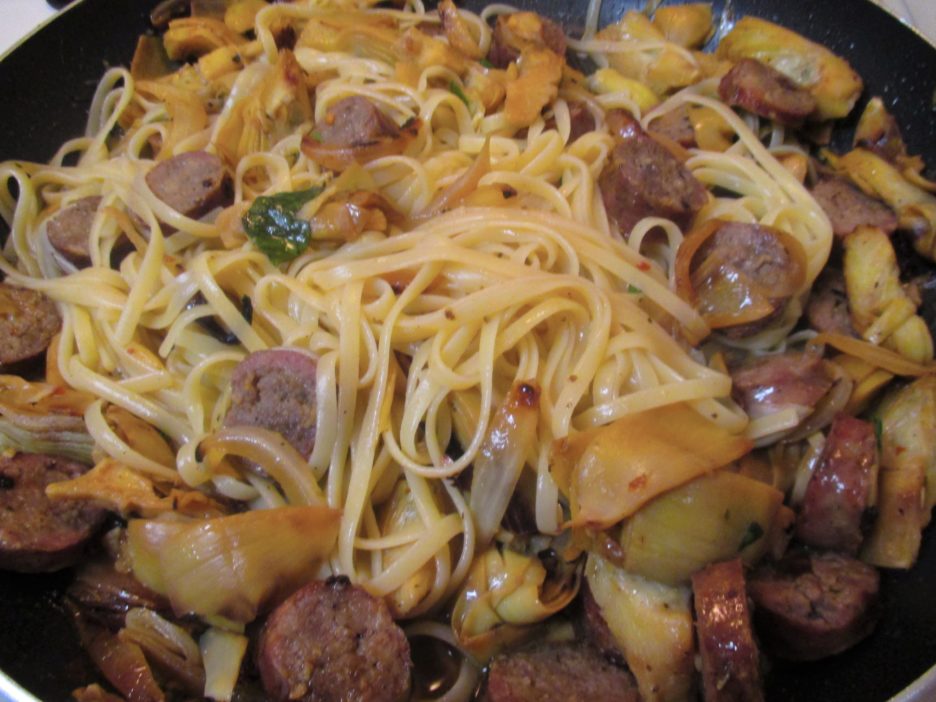


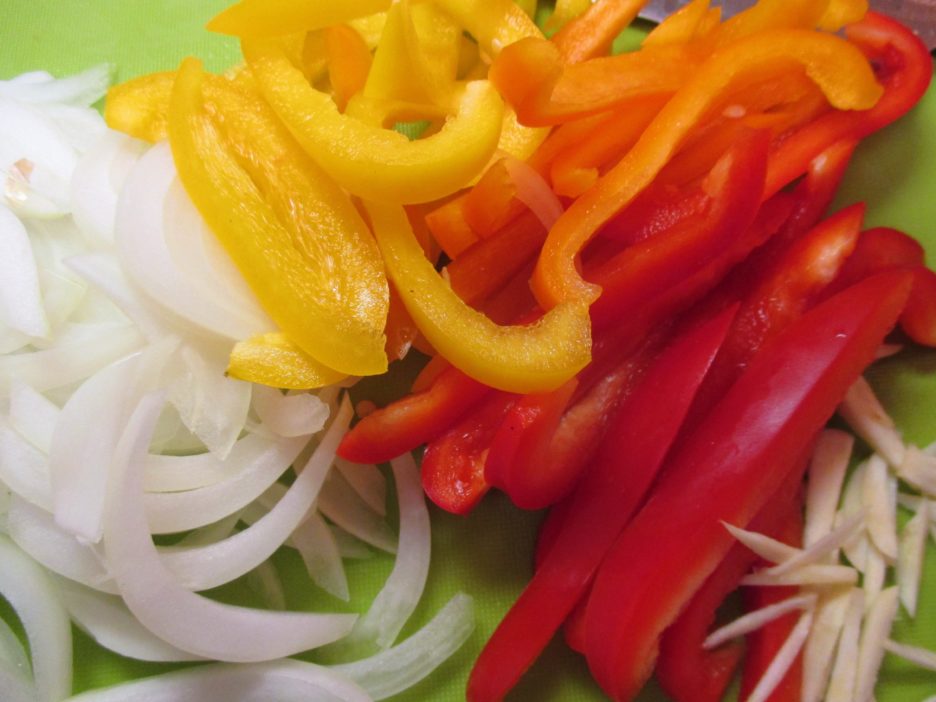
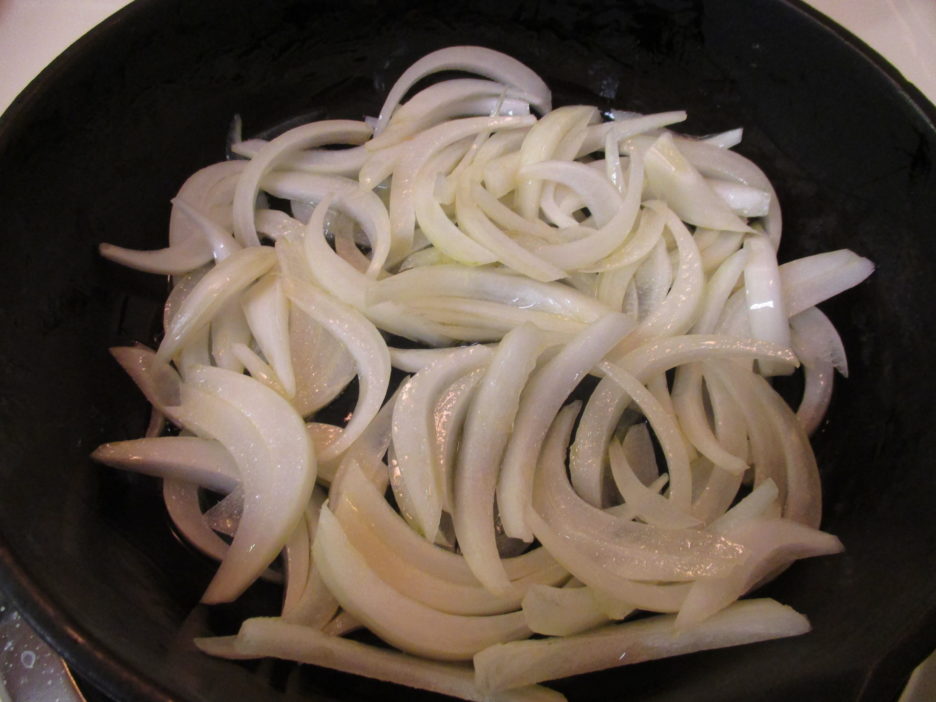 I wanted them to caramelize a bit before the peppers and garlic joined them. Once everyone was happily co-mingling, I added the red pepper flakes and ground fennel. A quick note on ground fennel; it is not necessary. Crushed fennel seeds will work. You could go even more rustic and use the seeds whole, just give them a rub between your hands to release the fragrance (and a beautiful one it is).
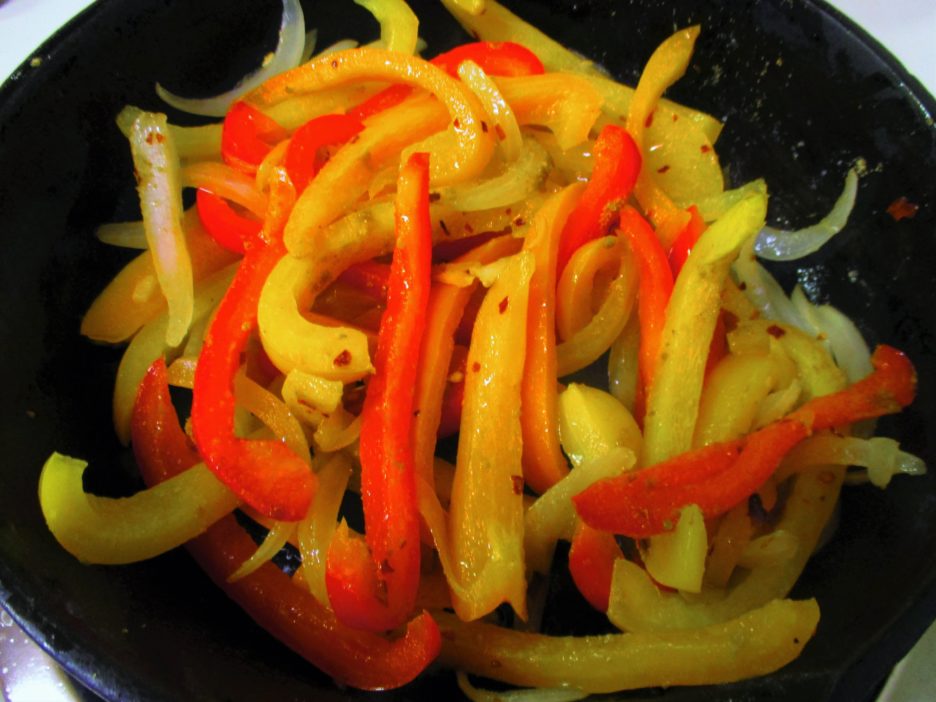 Every frittata needs eggs and I used 5. Yes, four would have worked, but I was feeling a bit generous and hungry so five it was. I beat them well and added some fat free half & half along with grated Romano cheese and Italian Herb Blend. The eggs waited stove side with some sliced tomatoes and fresh cilegine that would become the final toppings.
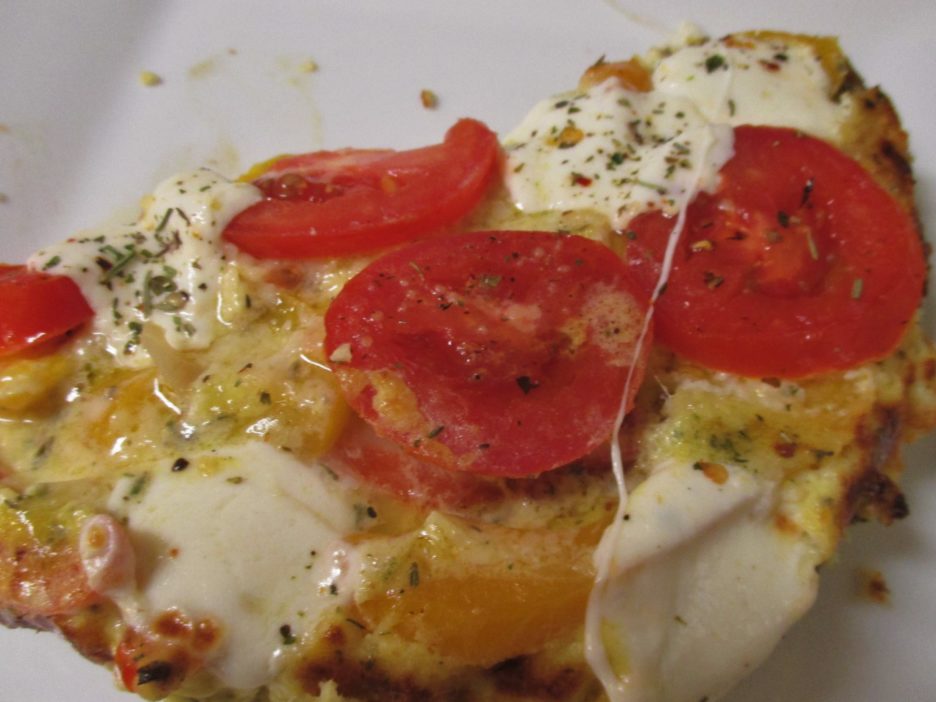
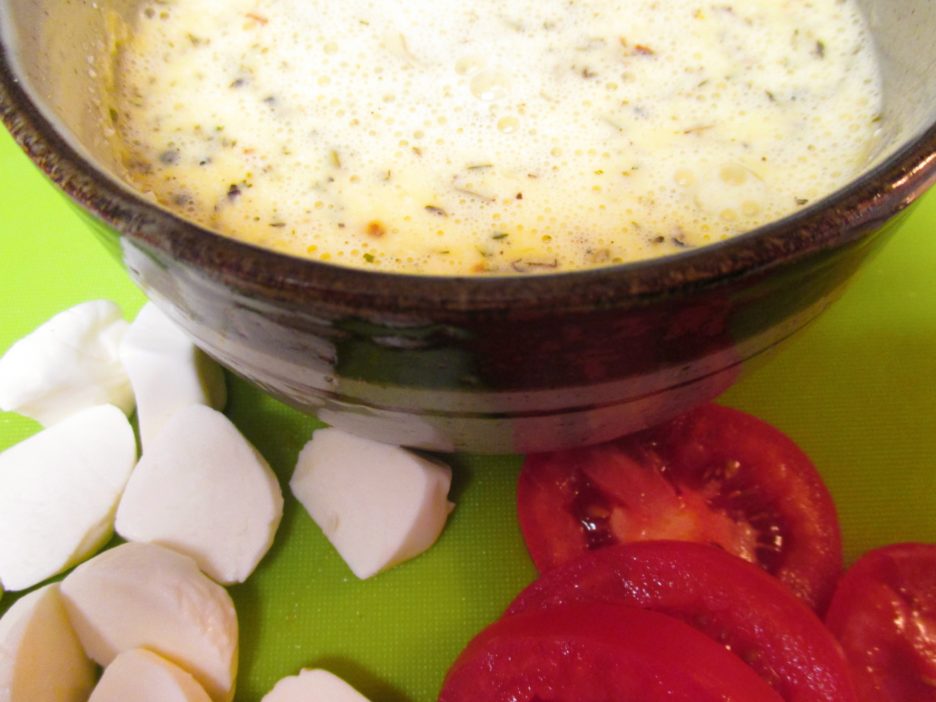
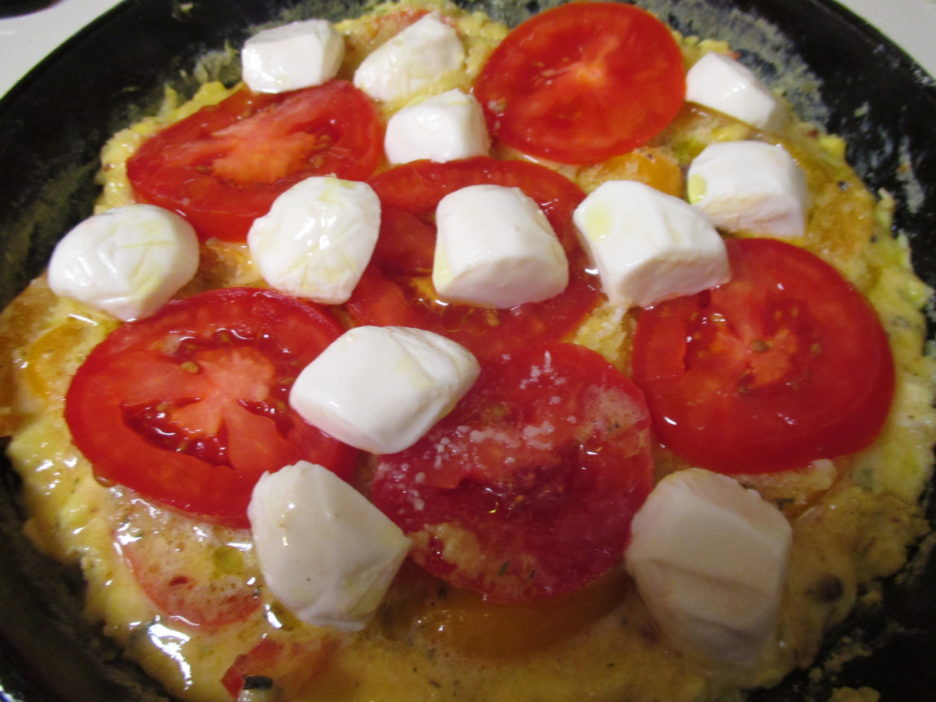 A little more Italian herb blend and a drizzle of olive oil and under the broiler it went. This step doesn’t take long and should be closely monitored as beautifully golden can become horribly charred in a matter of seconds. I was vigilant and the frittata came out perfectly browned.
 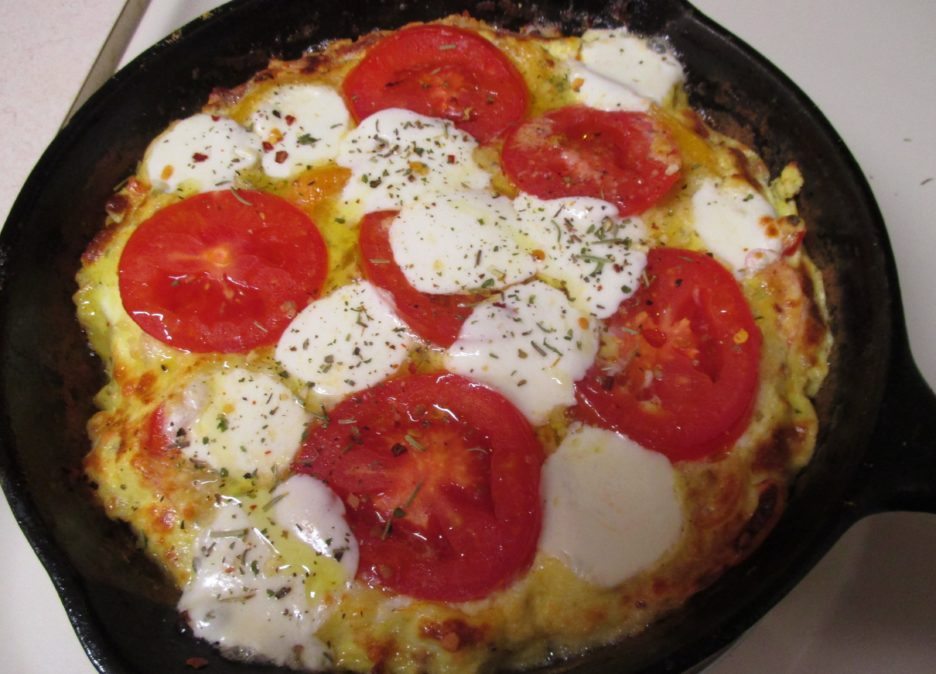 It rested for 5 minutes and could sit even longer if needed. We were hungry, so we went with the 5 minutes. This was wonderful on its own, but as with any good Italian meal, a little crusty bread and a salad would be great.