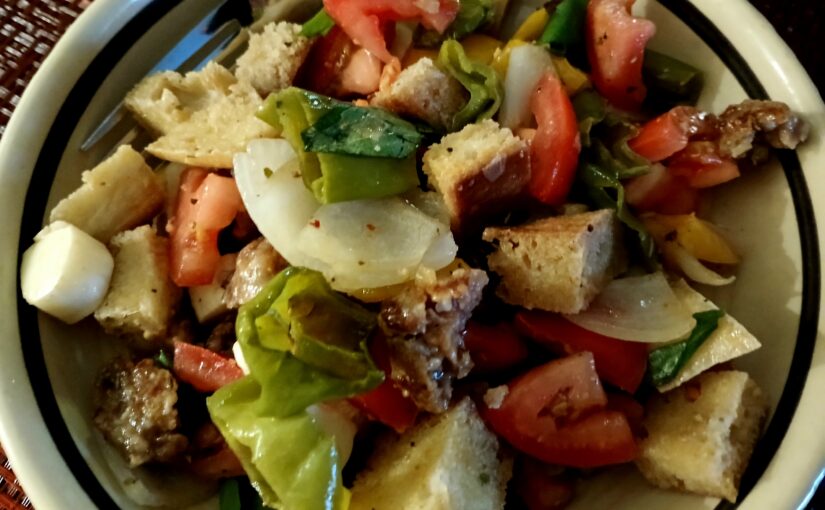

If you have followed along with my kitchen adventures over the years, you know that some foods pop up every Summer. This is all about the combination of two of my favorite summer foods, Melrose Peppers and Panzanella Salad. I’m not sure why I haven’t thought of them together before, but it has been hot and humid enough to make my brain take strange detours and this recipe is the result.
There have many entries here that have involved Melrose Peppers: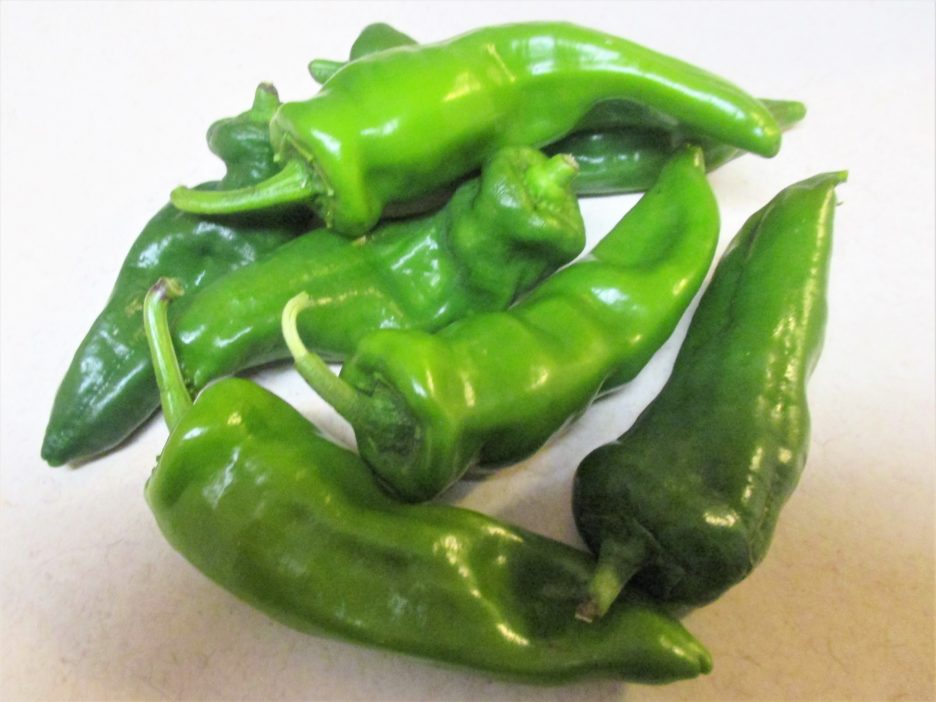
https://mamadskitchen.net/2022/08/23/melrose-peppers-a-most-wonderful-time-of-the-year/
There have also been a few entries about panzanella salad:
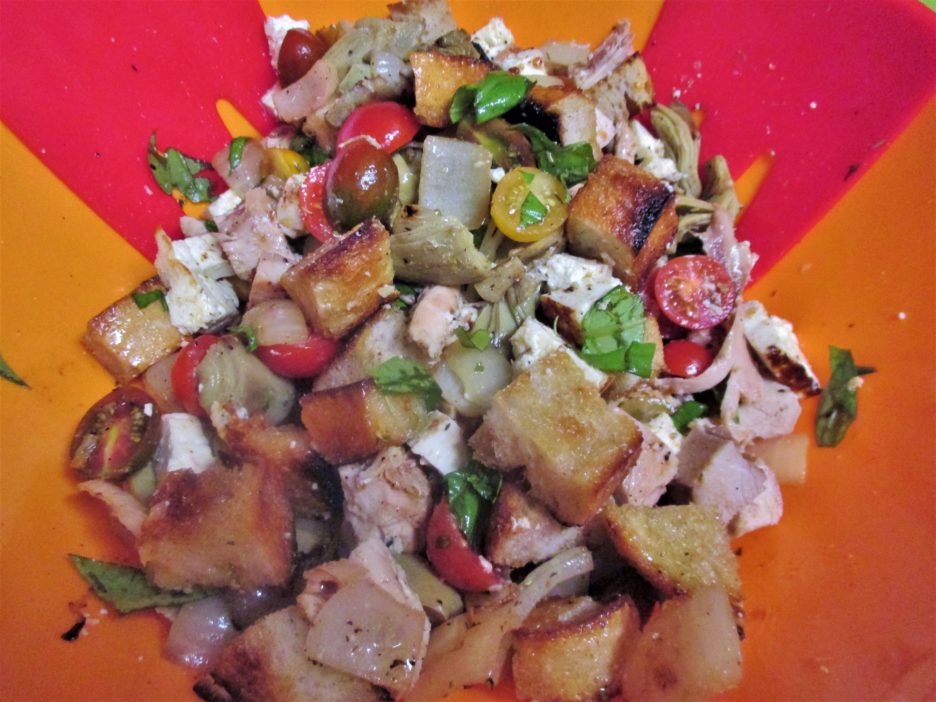
https://mamadskitchen.net/2018/07/21/panzanella-palooza-the-summer-edition/
These posts give a fairly nice overview of my love for these two summer favorites. There are more that you can peruse by searching both topics on my website, but this is something a bit new.
It all began, as it always does, with a trip to Caputo’s Fresh Market. This is the one store in our area that I can be sure to find Melrose Peppers. These thin skinned frying peppers have a close connection with my hometown of Melrose Park where they are said to have been brought from Italy by the many Italian immigrants that settled there. Panzanella Salad originated in Tuscany and is a simple bread salad that is tossed with vegetables. So, here goes the mash up.
Usually tomatoes are the star of traditional panzanella, but they are taking a supporting roll to the Melrose peppers this time. These peppers sing sweetly when they are fried, but they are also wonderful when roasted, and I did just that.
A note about Melrose Peppers: I know they are not available everywhere and a substitution could be Cubanelle or even the mini bell peppers that are in most every store’s produce department. Harder to find but a good swap are “Ancient Peppers,” Multi-colored, long, thin, and wavy, they are thin skinned and are great roasted. I added a yellow “Ancient Pepper” for some contrast because I had one on hand. Since I decided that this would be a main dish I added some Italian Sausage and Mozzarella Cheese.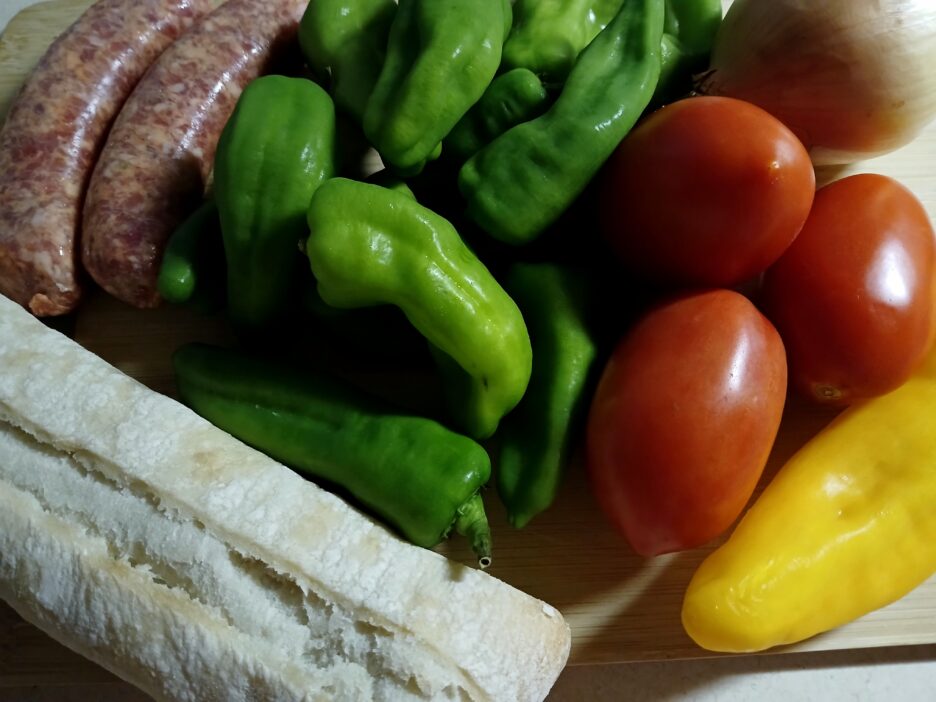
While the peppers and onions roasted, I prepped the other ingredients: The sausage was squeezed out of its casing and cooked in a fry pan over medium heat. I broke it up into bite size pieces as it cooked. The bread was cut into cubes and toasted, and the cheese was cut into cubes. The tomatoes also got sliced into bite size pieces.
Once everything was ready there was nothing left to do but put it all together. The order is important but not crucial, however the bread cubes should go in first. The bread is dry and crunchy at this point and you want it to get softer and let it absorb all the wonderful flavors that will be filling the bowl.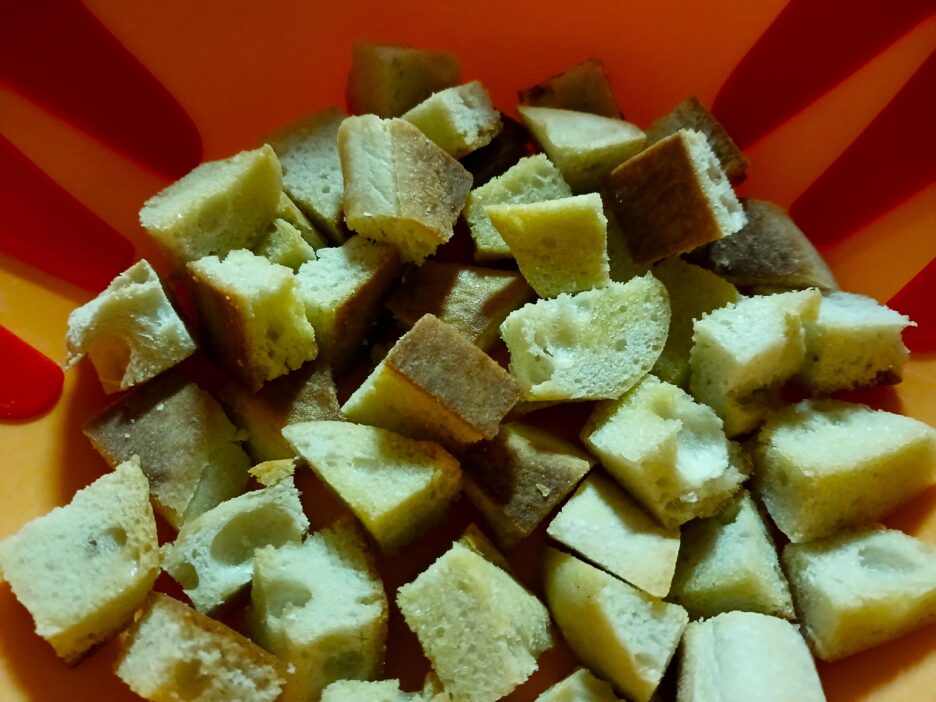
So in went the roasted peppers and onions along with their roasting juices, the cooked sausage, the tomatoes and the cheese. Now what did we need to bring it all together? A dressing of course. I used a very simple vinaigrette that works with all kinds of salads. That recipe will follow the recipe for the salad itself.
Now let’s talk about Basil. My plant on the balcony is still doing well and I snipped a few leaves to add to the salad. Roughly torn they were tossed with the salad and a few more were sprinkled on top. I love that deep herby flavor they empart.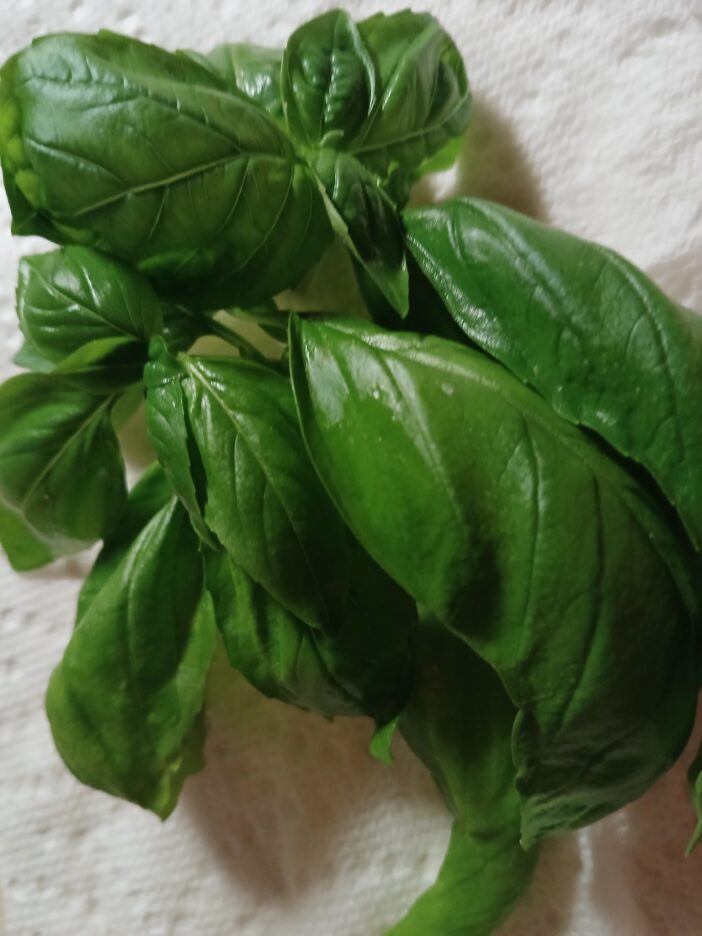
So that is the newest entry into my Panzanella and Melrose Pepper collections. Here is the recipe for you to try. Tweek and play with it, but make it before the summer is gone.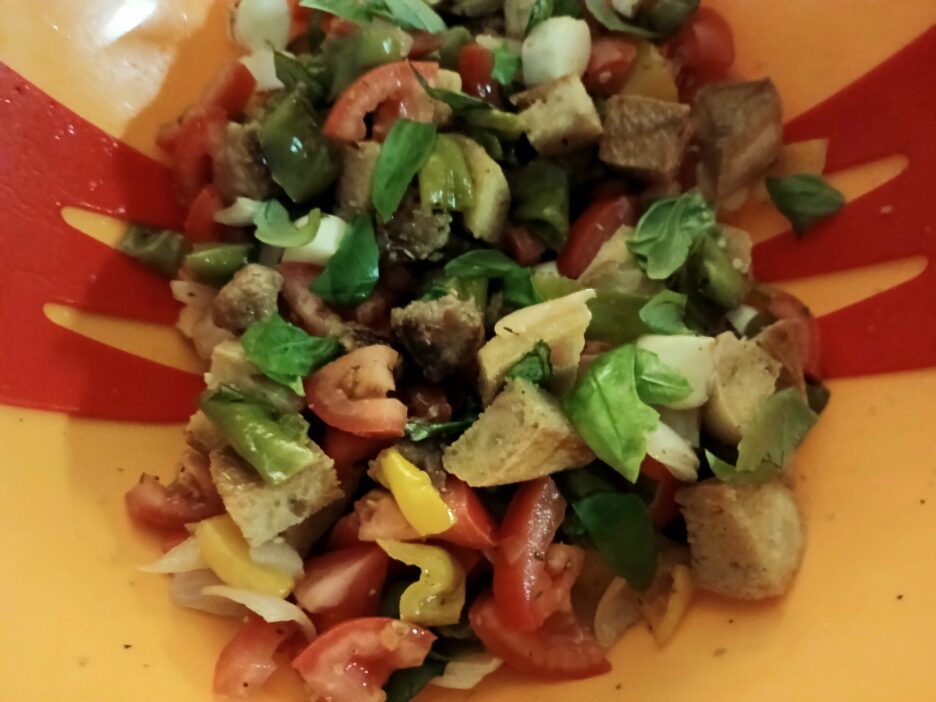
This is the basic recipe. You are invited to adapt and play with it as you like.
- 6 Ounces Crusty Bread, slightly stale is best
- 2 Links Italian Sausage
- 8-10 Ounces Melrose Peppers (or another sweet frying pepper)
- 1/2 Medium Onion
- 3-4 Roma Tomatoes
- 3 Ounces Mozzarella Cheese
- Olive Oil
- Salt & Pepper
- 1/2 -3/4 Cup Basil, roughly torn Save a few leaves for garnish
- 1/2 Cup Italian Vinaigrette homemade or store bought. You may need more.
-
Squeeze the sausage out of its casing into a fry pan. Cook the sausage over medium heat, breaking it into bite size pieces, until it is cooked through. Remove from pan and set aside.
-
Slice the peppers into rings about an inch wide. Cut the onions vertically into 3/4 inch crescent moons . Combine them and toss with olive oil, salt and pepper. Spread them out on a cookie sheet and roast 20 minutes or so in a 375 degree oven. They should be soft but not mushy. Let them cool in the pan.
-
Cut the bread into 1 inch cubes and lay them in a single layer on a baking sheet. You can spray them lightly with cooking spray if you want. Toast in a 375 degree oven until they just begin to turn golden. Watch them carefully!
Cut the tomatoes and Mozzarella into bite size chunks
-
Place the toasted bread cube into a large deep bowl.
-
Add the roasted onions and peppers including any roasting juices.
Add the sausage, tomatoes and mozzarella.
-
Add the dressing of your choice or use the recipe that follows. Start with about 1/2 cup. Toss well and add a little more dressing if you feel it needs it. Add the torn basil and gently toss again. Taste and add more salt and pepper if needed. Allow the salad to sit for 15-20 minutes to get everything well acquainted.
-
Toss once more, check your easonings and dressing, then garnish with the reserved basil leaves. Serve.
Any vinaigrette that you love will work in this recipe. Here is one that I love. It is lemony, garlicky and bursting with herbs.
A twist on the classic vinaigrette with plenty of lemon and more than a hint of garlic. Add any fresh herbs of your choice. This is wonderful on a Greek salad, but it would be equally delightful as a dressing for grilled vegetable or a pasta salad. It makes a great marinade as well.
- 1 Medium Lemon Juice and zest
- 2 Cloves Garlic Grated
- 2 Tbsp. White Balsamic Vinegar
- 1/2 Tsp. Red Pepper Flakes Optional, to taste
- 3 Tbsp. Chopped Fresh Herbs Parsley, thyme, basil, or you choice
- Kosher Salt and Pepper To taste
- 1 Tsp. Dijon Mustard
- 1/3-1/2 Cup Olive oil
-
Combine all of the ingredients in a jar with a tight fitting lid. Shake until completely blended. Allow to rest in the refrigerator for at least one hour.
Here’s to the end of summer and to peppers and panzanella.
Share this:

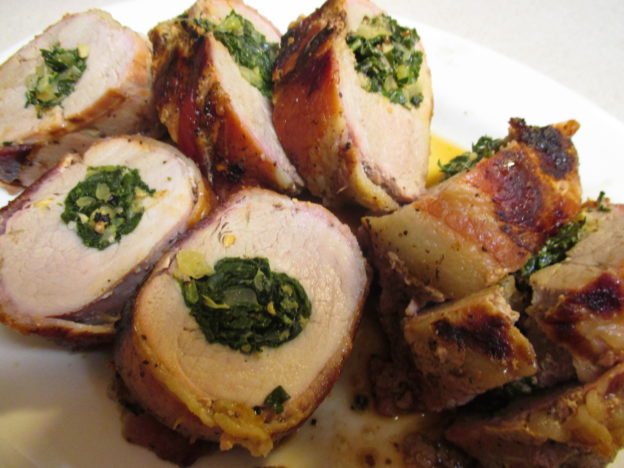

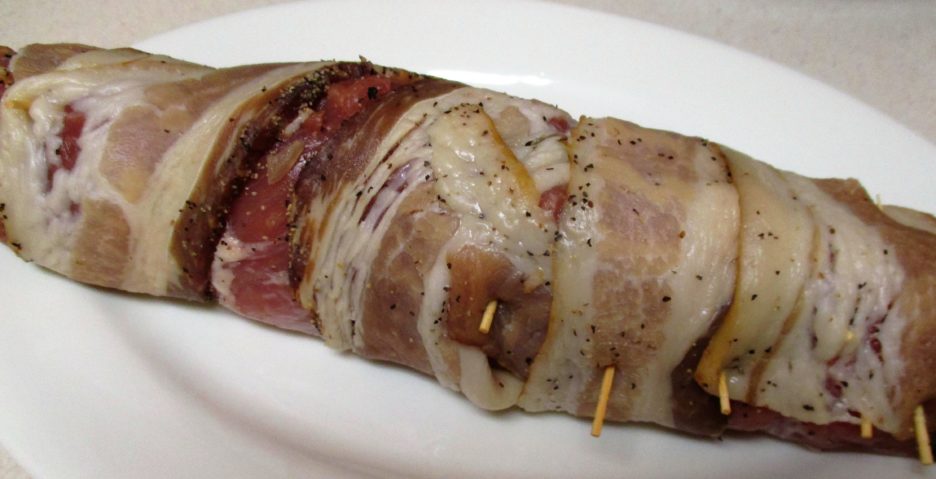
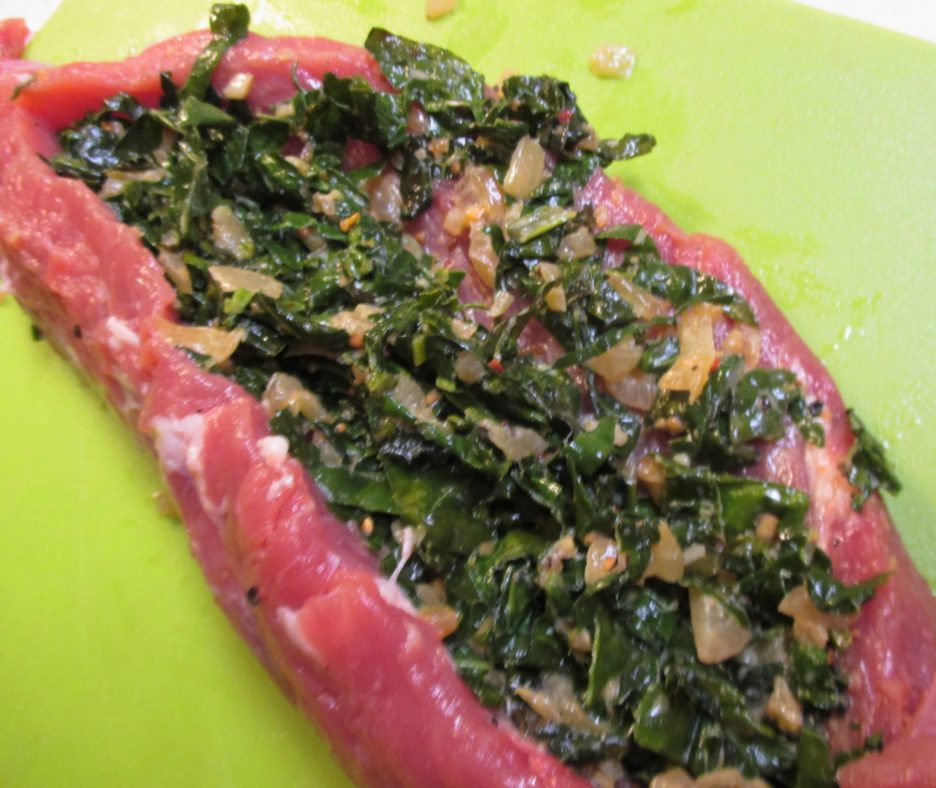 How to securely enclose this lovely filling? There is always butcher’s twine, but since the little torpedo was going on the grill, something that could provide a bit of protection seemed like a better choice. Enter Thick Cut Peppered Bacon. I precooked it a little before inrobing the tenderloin. It rendered a bit of the fat and ensured both of the porks would be ready at the same time. Again, butcher’s twine could have and probably should have come into service. Instead I used toothpicks, eight to be exact. Knowing the exact number is actually pretty important; it prevents someone getting an unexpected surprise.
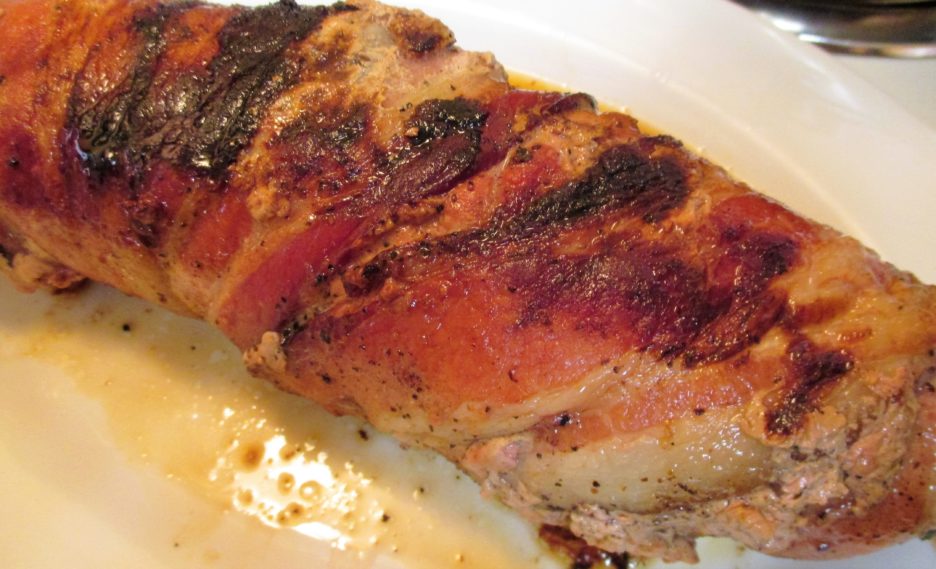
 Off to the grill it went. The wonderful thing about Pork Tenderloin is that it cooks very quickly making it a perfect weeknight meal. This was average size, weighing in at around a pound and it was ready in about 25 minutes. It rested for a few minutes while the rest of the dinner came together (in this case, steamed broccoli).
  Not to brag, but the slices looked beautiful. The filling created a perfect green bullseye on each slice.