
Note: This is a post from 9 years ago. I brought it up because I made the recipe this week and as it is almost Mothers Day, this dish reminds me of my sons. As the pictures show they were young, They are grown up now with homes and sons of their own ( about the ages they were in these pictures). When I made this I felt that I had to share it with them, photographically speaking. So as any good mother would I sent them a picture. They remembered it all, the trips, the good times, and the dish. A perfect Mother’s Day gift, in my opinion.
Another Note: I must give credit for this recipe to one of my favorite cookbooks, The Frugal Gourmet by Jeff Smith. His recipes featured on the television show of the same name were always tasty, easy, and yes, frugal.
Finally: Happy Mother’s Day to all the women who proudly share the title and job description of Mother. Hope you enjoy this post and your special day.
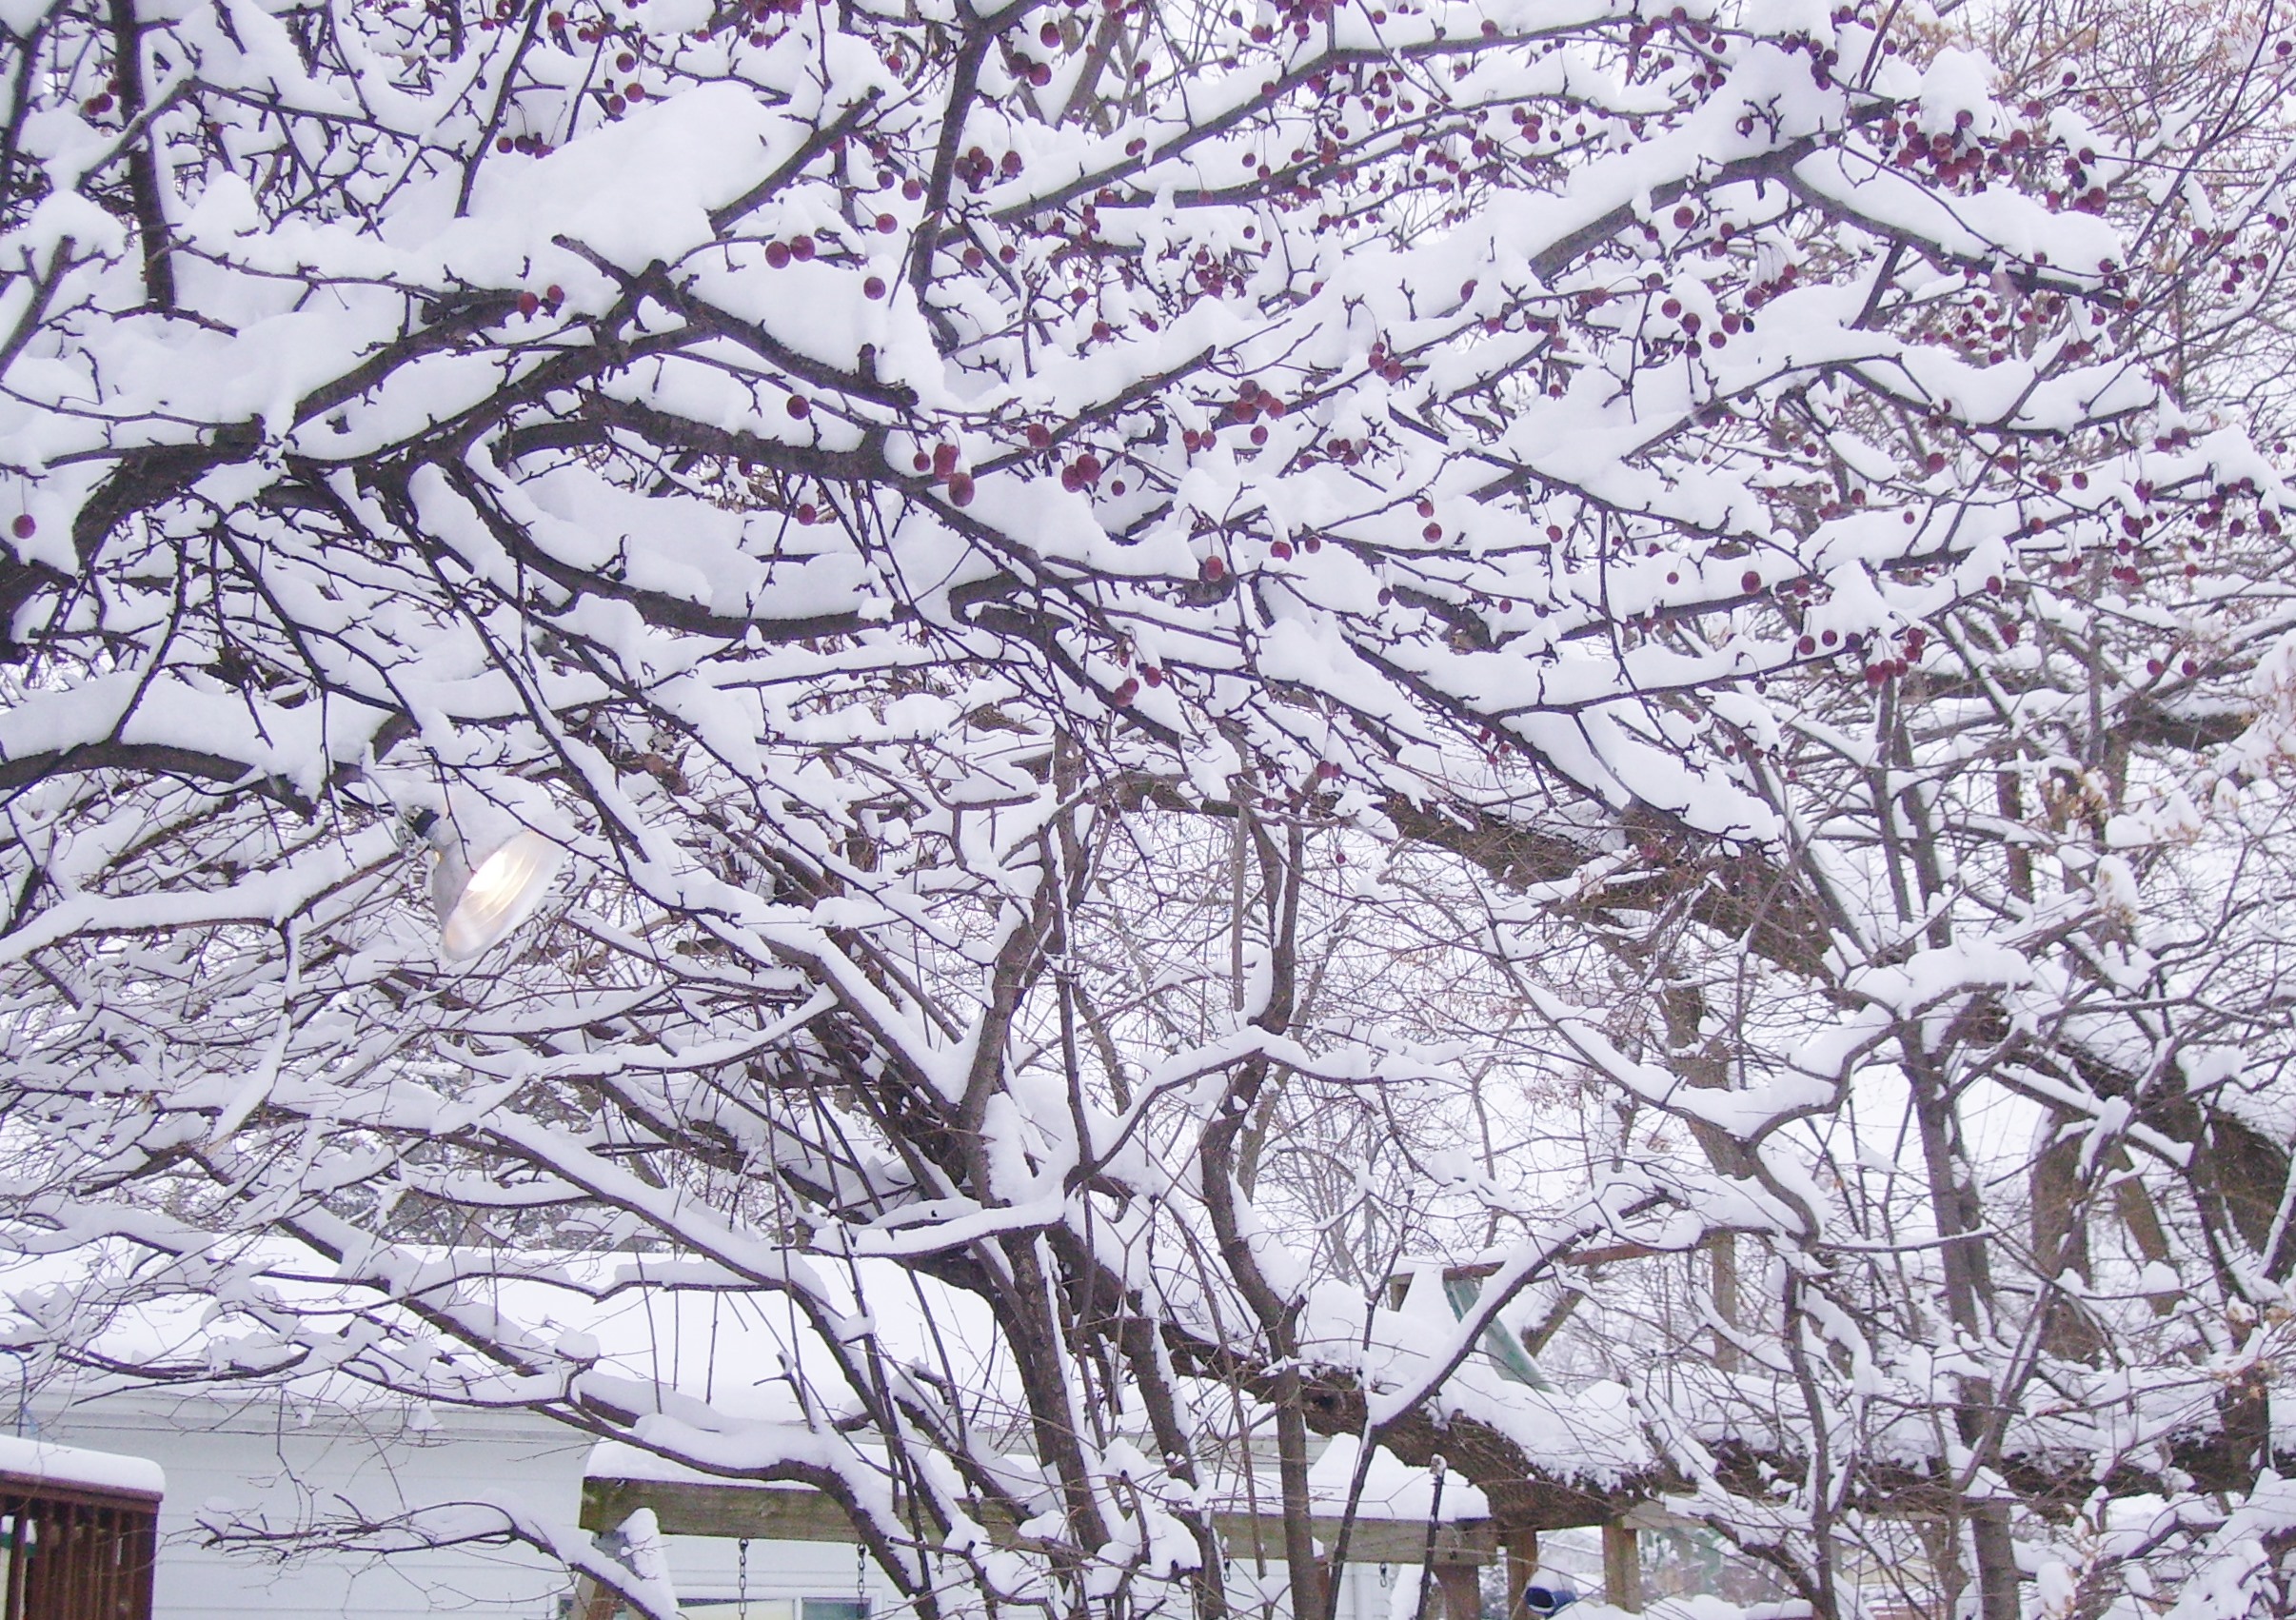
We were fortunate to live in Northern California for almost 20 years. We took advantage of all the things that the area offered, Trips into San Francisco, camping in the Redwoods, exploring tide pools and of course the Wine Country. All of this, and there was no snow to shovel…Why we came back to the Midwest is complicated. Suffice to say we had our reasons and we have not regretted it.
My sons were born and raised in California. We had no family around so our adventures were always immediate family affairs and that included trips to the Wine Country.  Sonoma County was about an hour and a half away. It was a great day trip destination. Back in the 80’s Sonoma was pretty rural. There were a few big wineries and lots of small ones. The small wineries were more like family run farms with the crop being grapes. That actually makes them vineyards, and Sonoma still has some of the best.
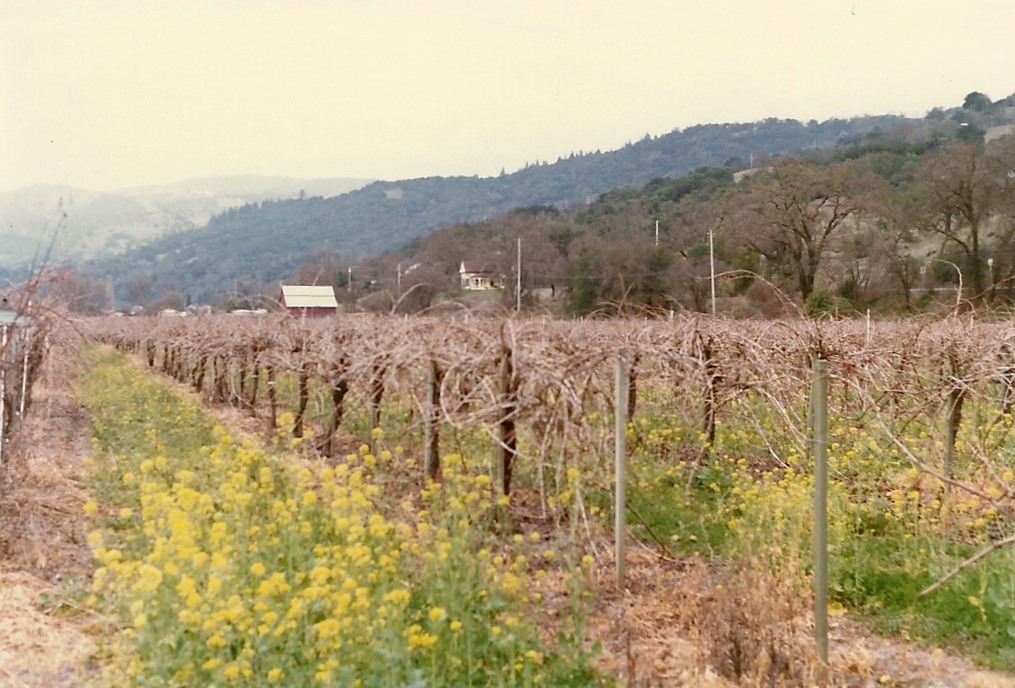
Every few months we would take a day trip up to Wine Country. We always did this on the cheap. Back then tastings were free and a bottle of wine was under $10.00 (if we splurged and bought one). We would visit 3 or 4 wineries and have a picnic lunch overlooking the vineyards. Lunch was often salami, cheese and crackers; some fruit and cookies for dessert (parent and child friendly and easy to carry in a cooler).
Our sons always found something to do on these trips. They were very adaptable and quickly learned to make their own adventures. Sometimes we even joined in their fun. The time we rented a canoe and paddled the Russian River was memorable for all of us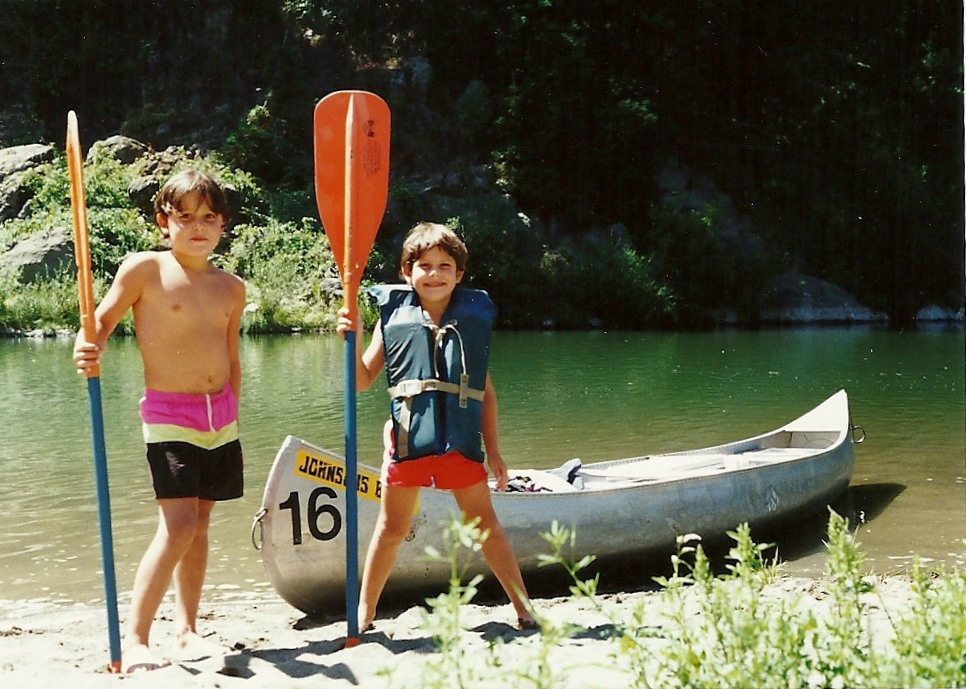
Left to their own devices they always seemed to find something to do. Being treated to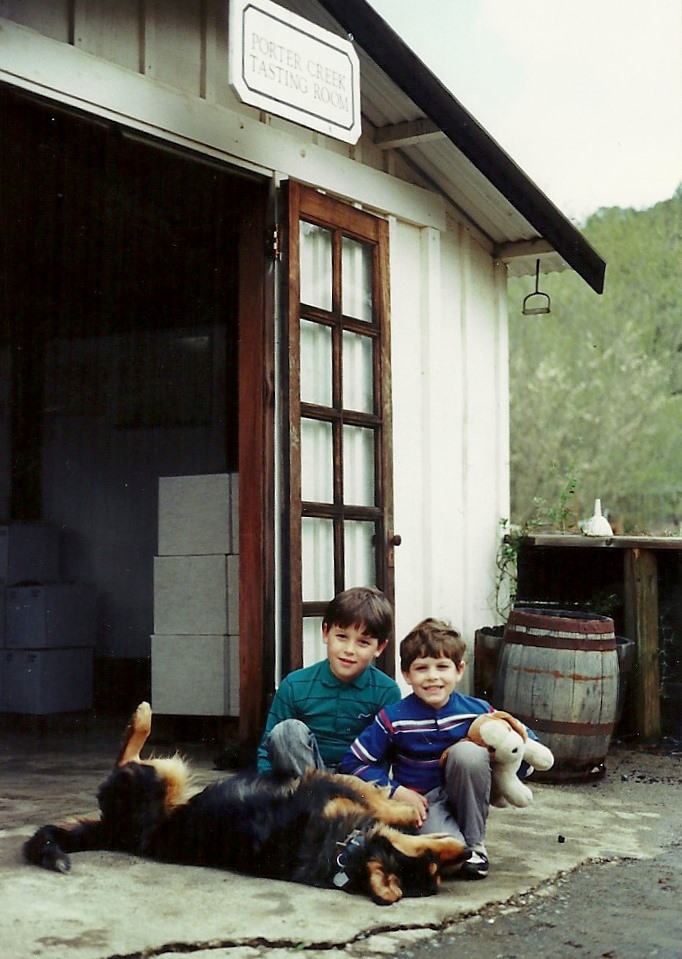 some fresh grape juice, skipping stones, playing with the wine maker’s children or playing with the requisite “Vineyard Dog” that seemed to hold court at every winery. Looking back, they mostly remember the adventures and not the waiting for Mom and Dad to finish their wine. At least that’s the way I prefer to remember it; they may have a slightly different take.
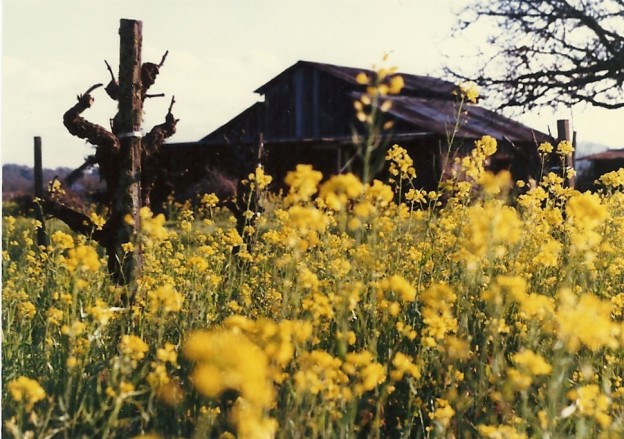
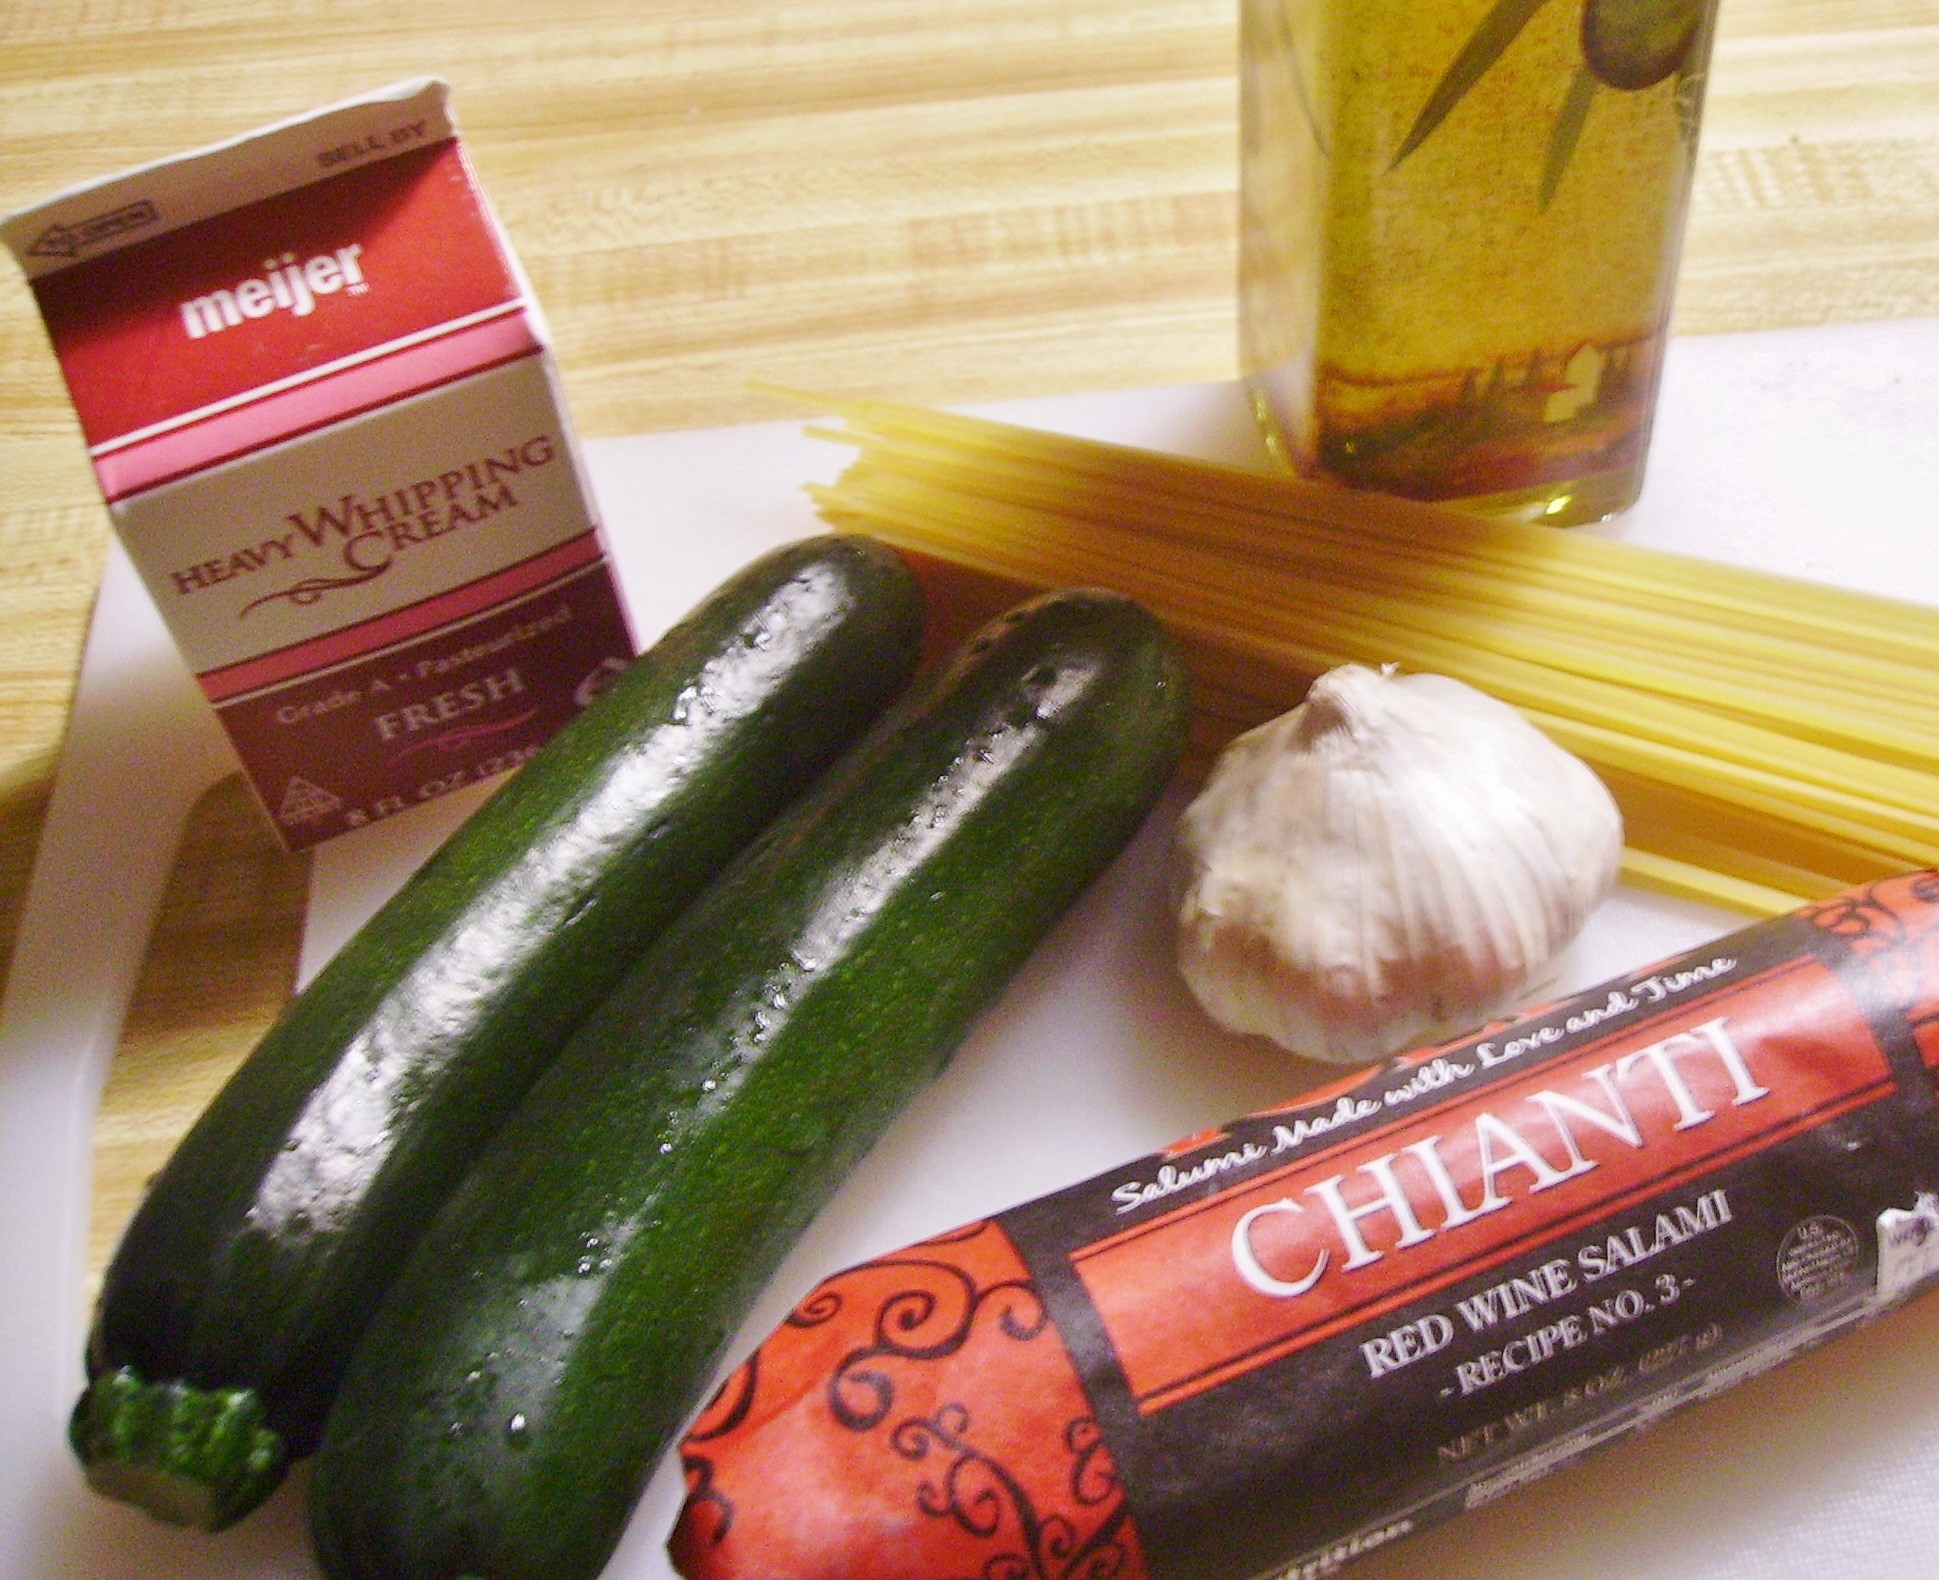
The trip home was quiet. The boys would sleep and I would most likely doze off, Jeff, ever the good husband and father got us back across the bridge in one piece (He also took these amazing pictures of the Wine Country). Once home everyone was hungry and getting supper on the table was job number one. That’s how Salami and Zucchini Pasta came to be. It was quick, hearty and everyone liked it. The salami was left over from lunch and the zucchini was usually in the fridge. Pasta, olive oil and garlic…I’m Italian, of course it was in the house.
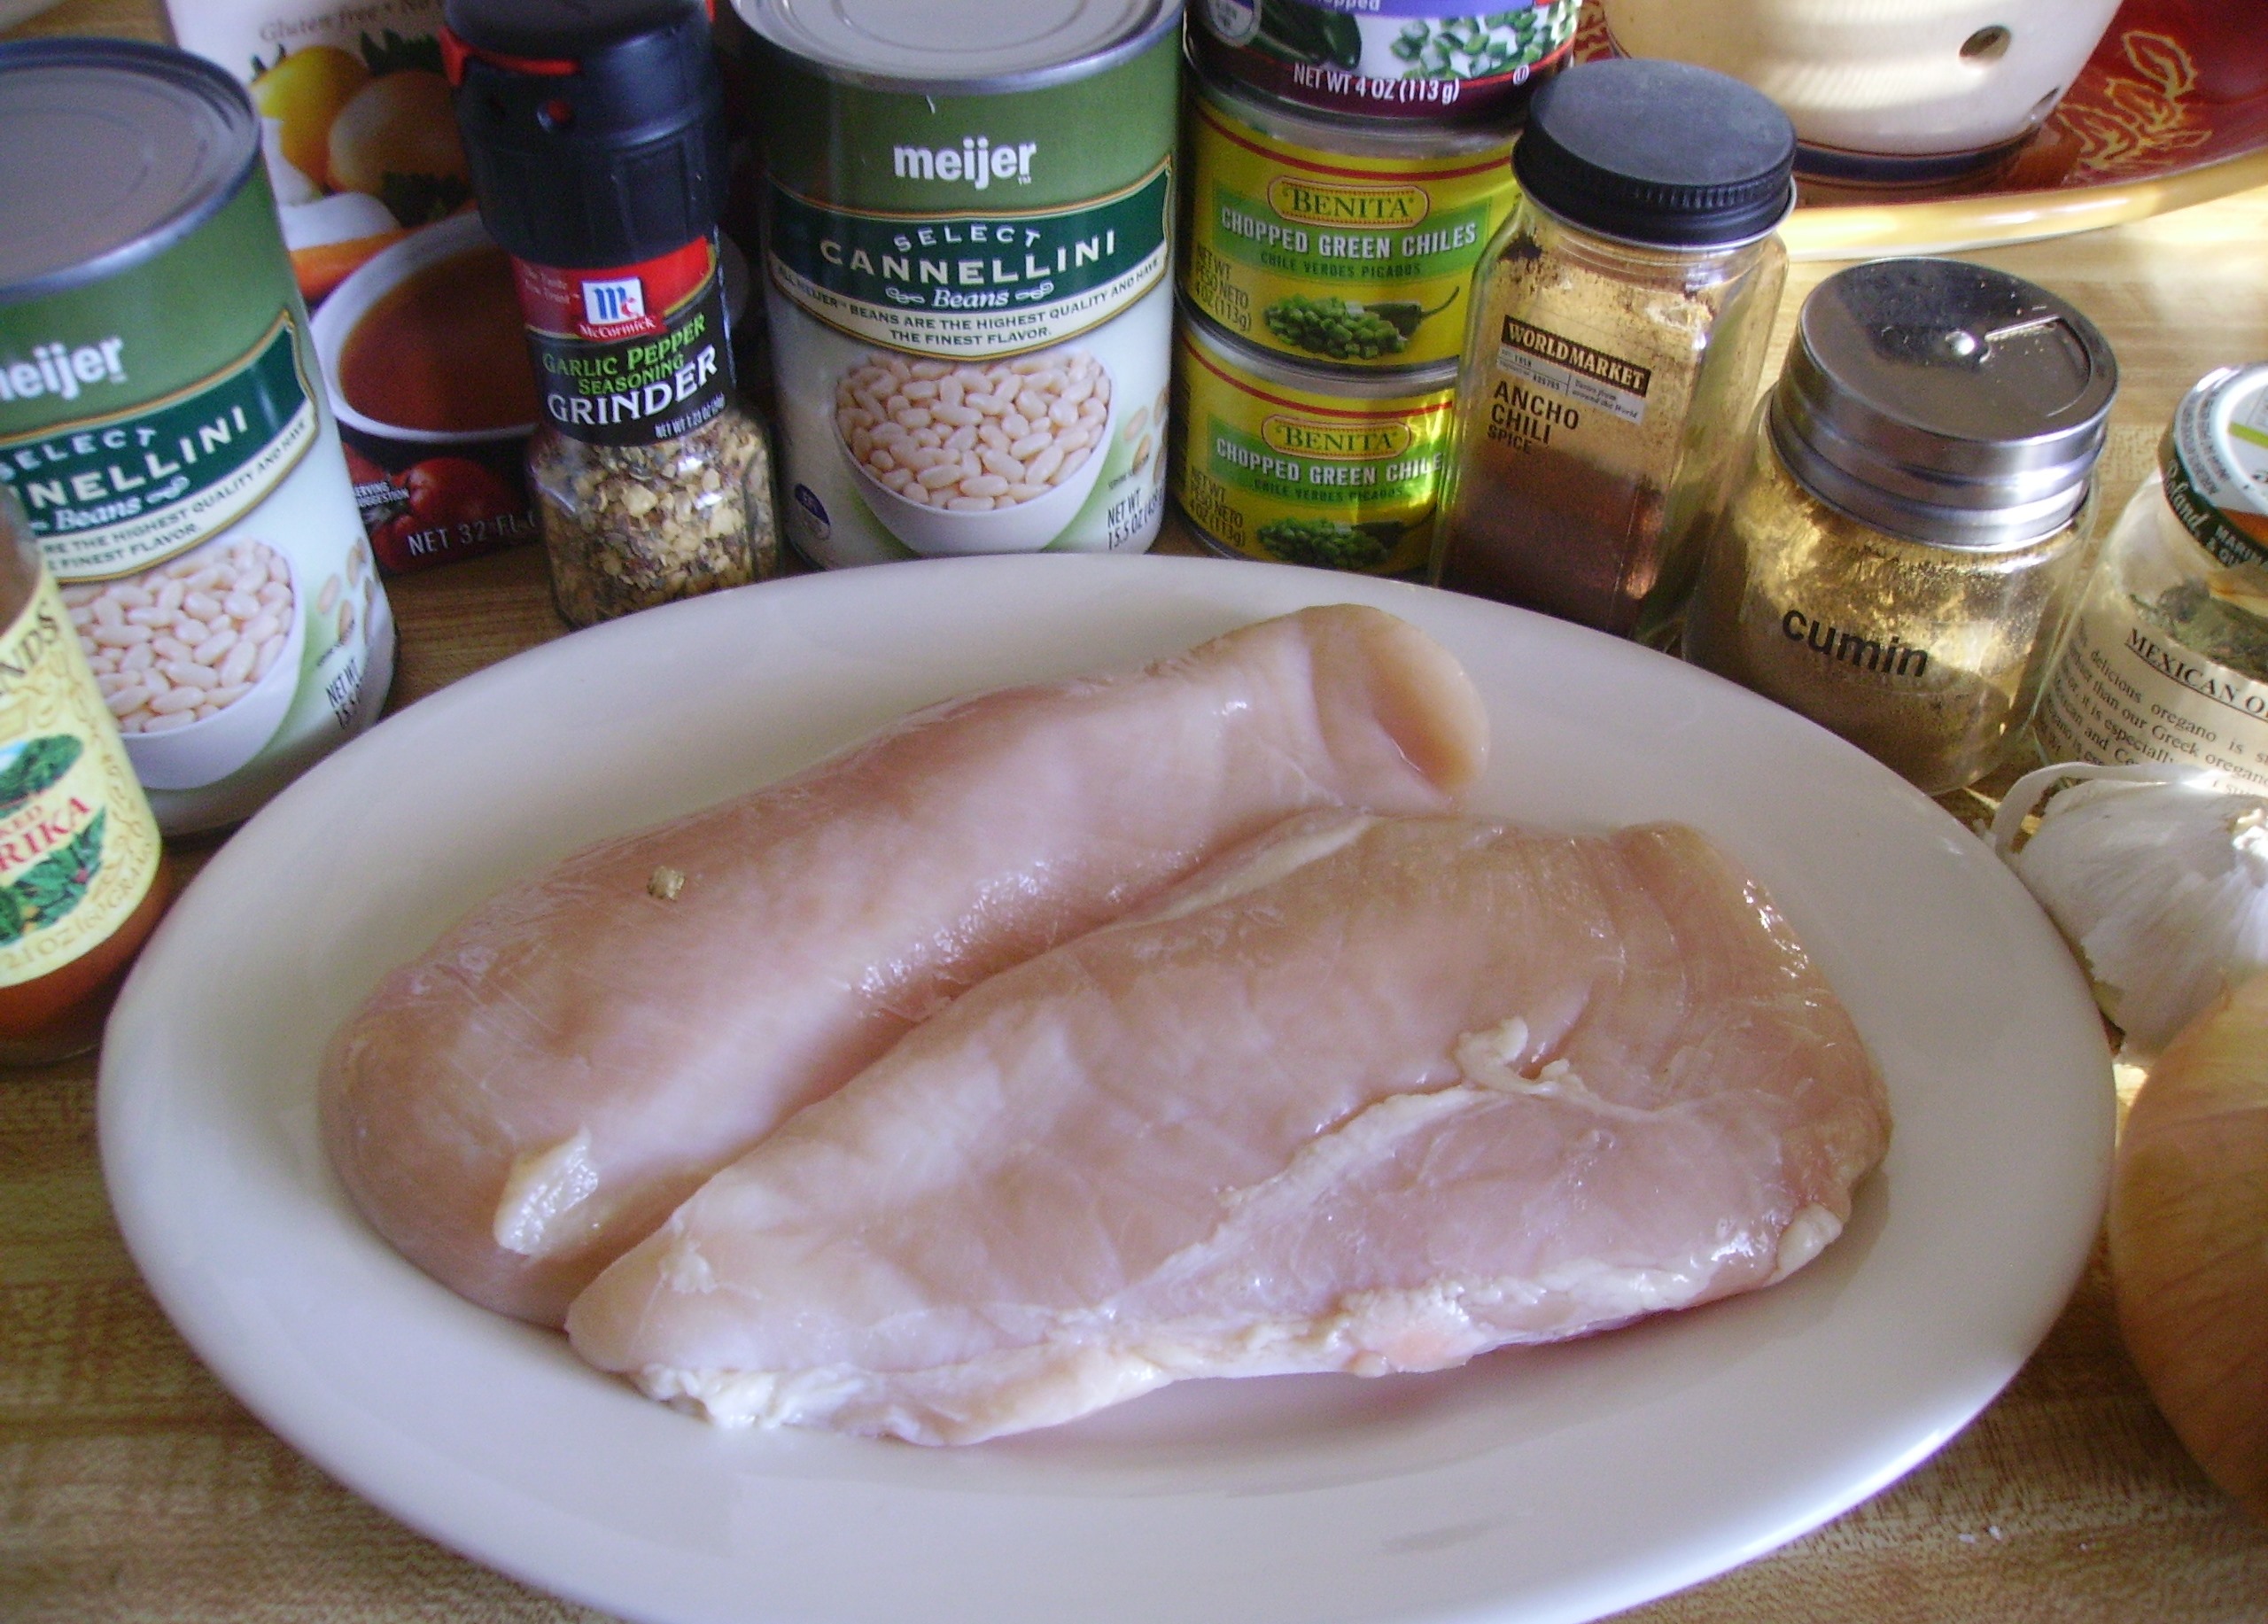
The most recent time that I made this dish we had been out running “errands” that included picking up our wine at Cooper’s Hawk Winery, so the wine tasting component was there. I used salami that I received in a gift basket from my son. It was made with Chianti so it seemed to fit right in with my the wine tasting memories. Still being Italian, the rest of the ingredients were, once again, already in the house.
The salami and zucchini get cut into match sticks, the garlic gets minced and it all goes into the pan with the olive oil.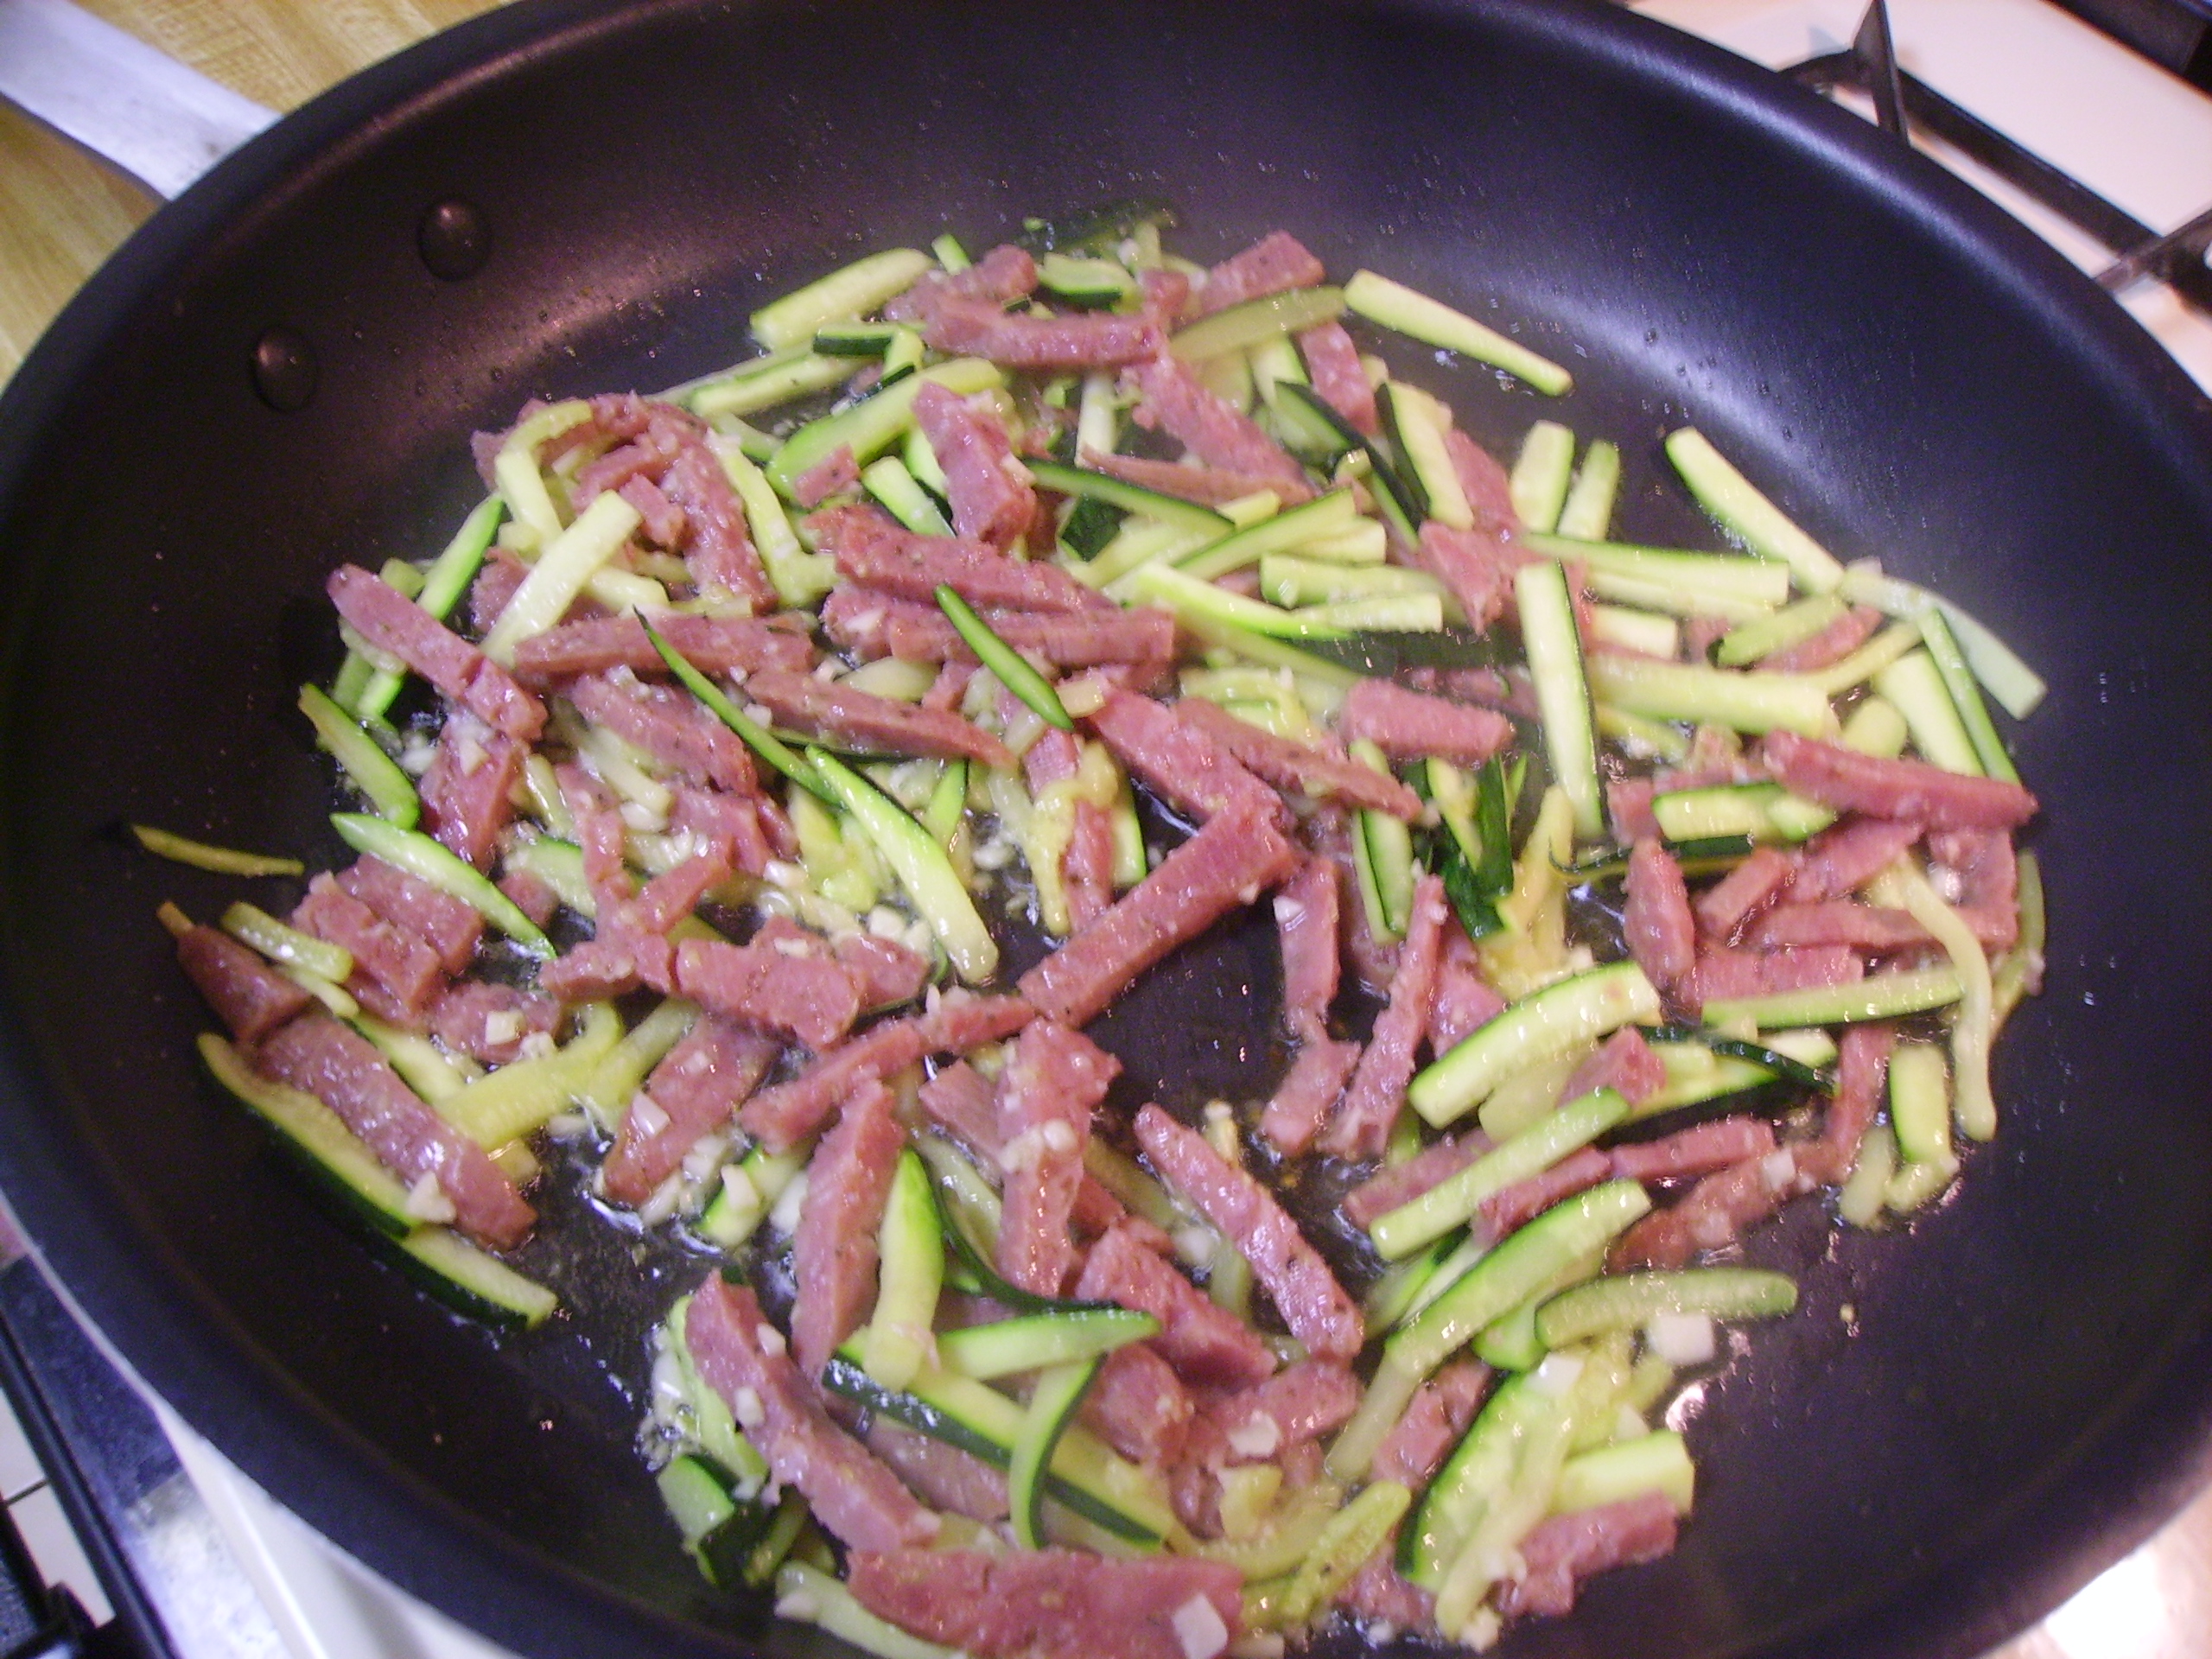
While the pasta is cooking the cream gets added to the pan, simmering to velvety thickness. 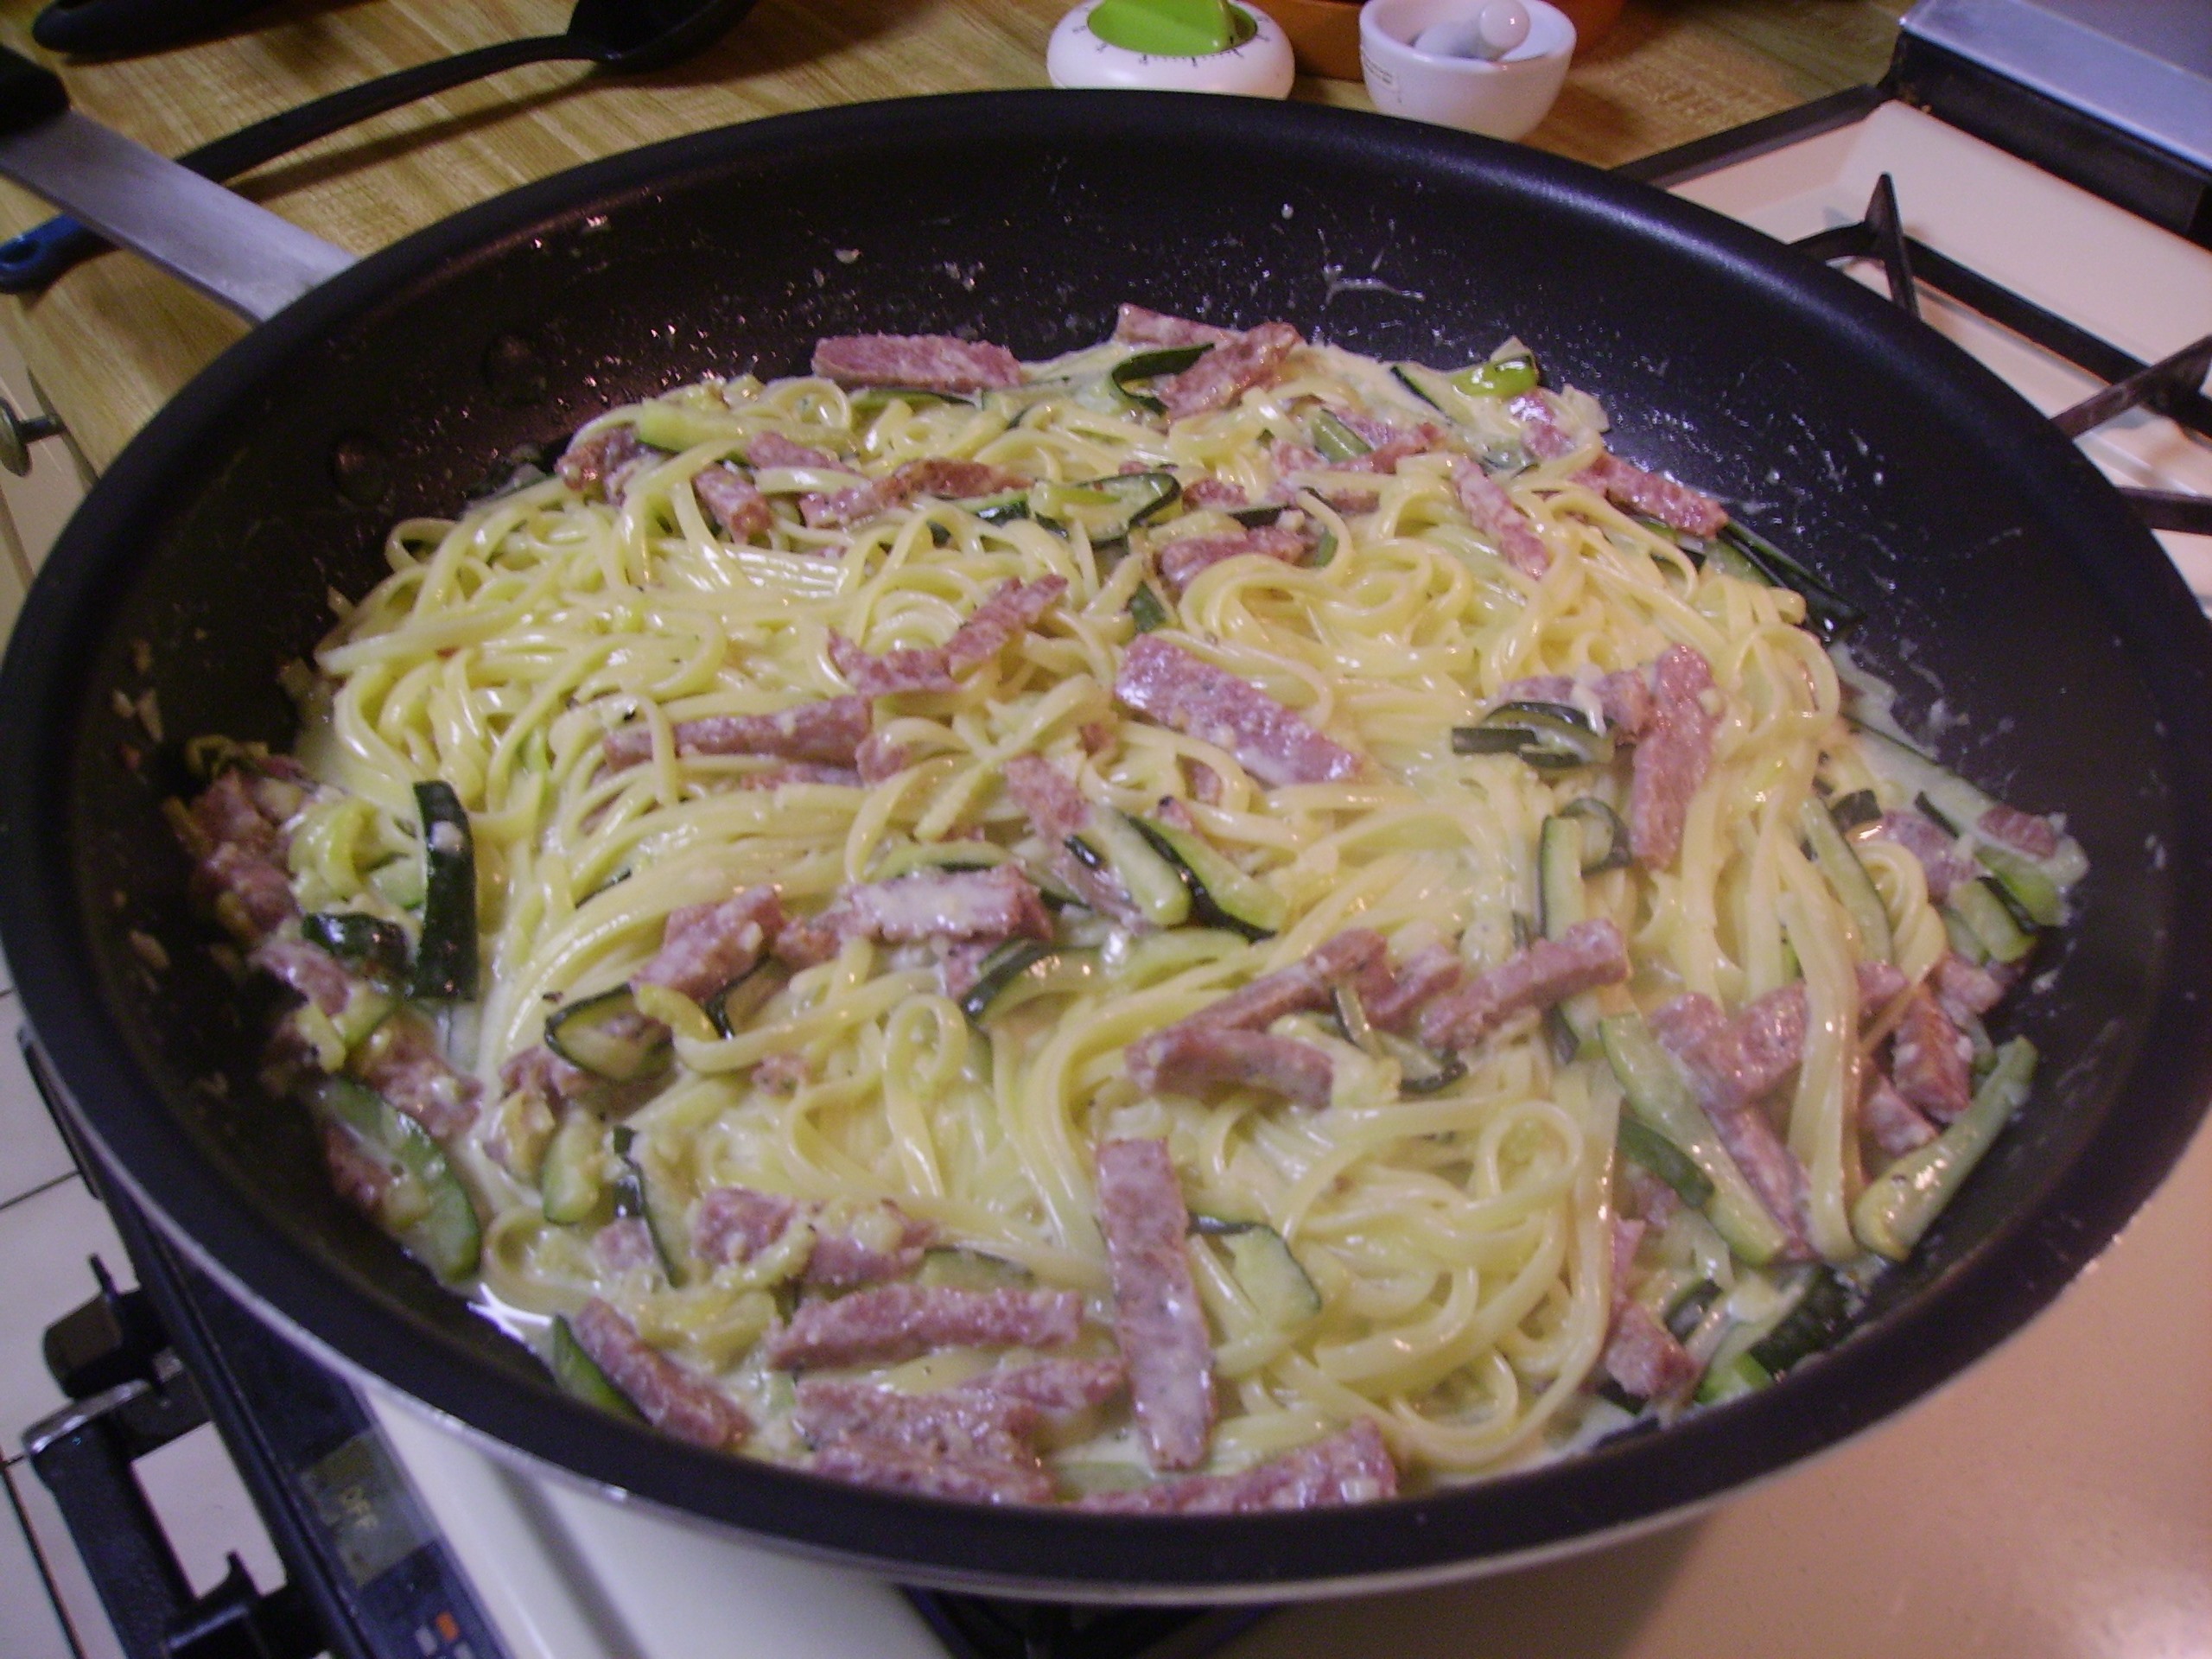 This coats the pasta, salami and veggies, resulting in a rich and tasty supper. A little freshly ground pepper and some Romano cheese are all that it needs. We may be far from the Wine Country, but this pasta dish always brings back memories. It also is still a favorite and fast way to create a delicious ending to any busy day.

The past holds so much for us. It got us to where we are now and in some small way it colors where we will go next. Reflecting on the memories leads to rediscovering good things, like pictures of happy times and pasta that still tastes like love. Mama D
Share this: