
Butternut Squash is delicious, nutritious, and versatile. It’s in its heyday in fall and winter, so the time for Butternut Squash adventures is now. I must confess, I’m fairly new to the winter squash scene. It’s only been in Mama D’s Kitchen for about 5 years (except for Spaghetti Squash which has been in the kitchen for decades). It’s time to make up for lost time.
![]()
![]()

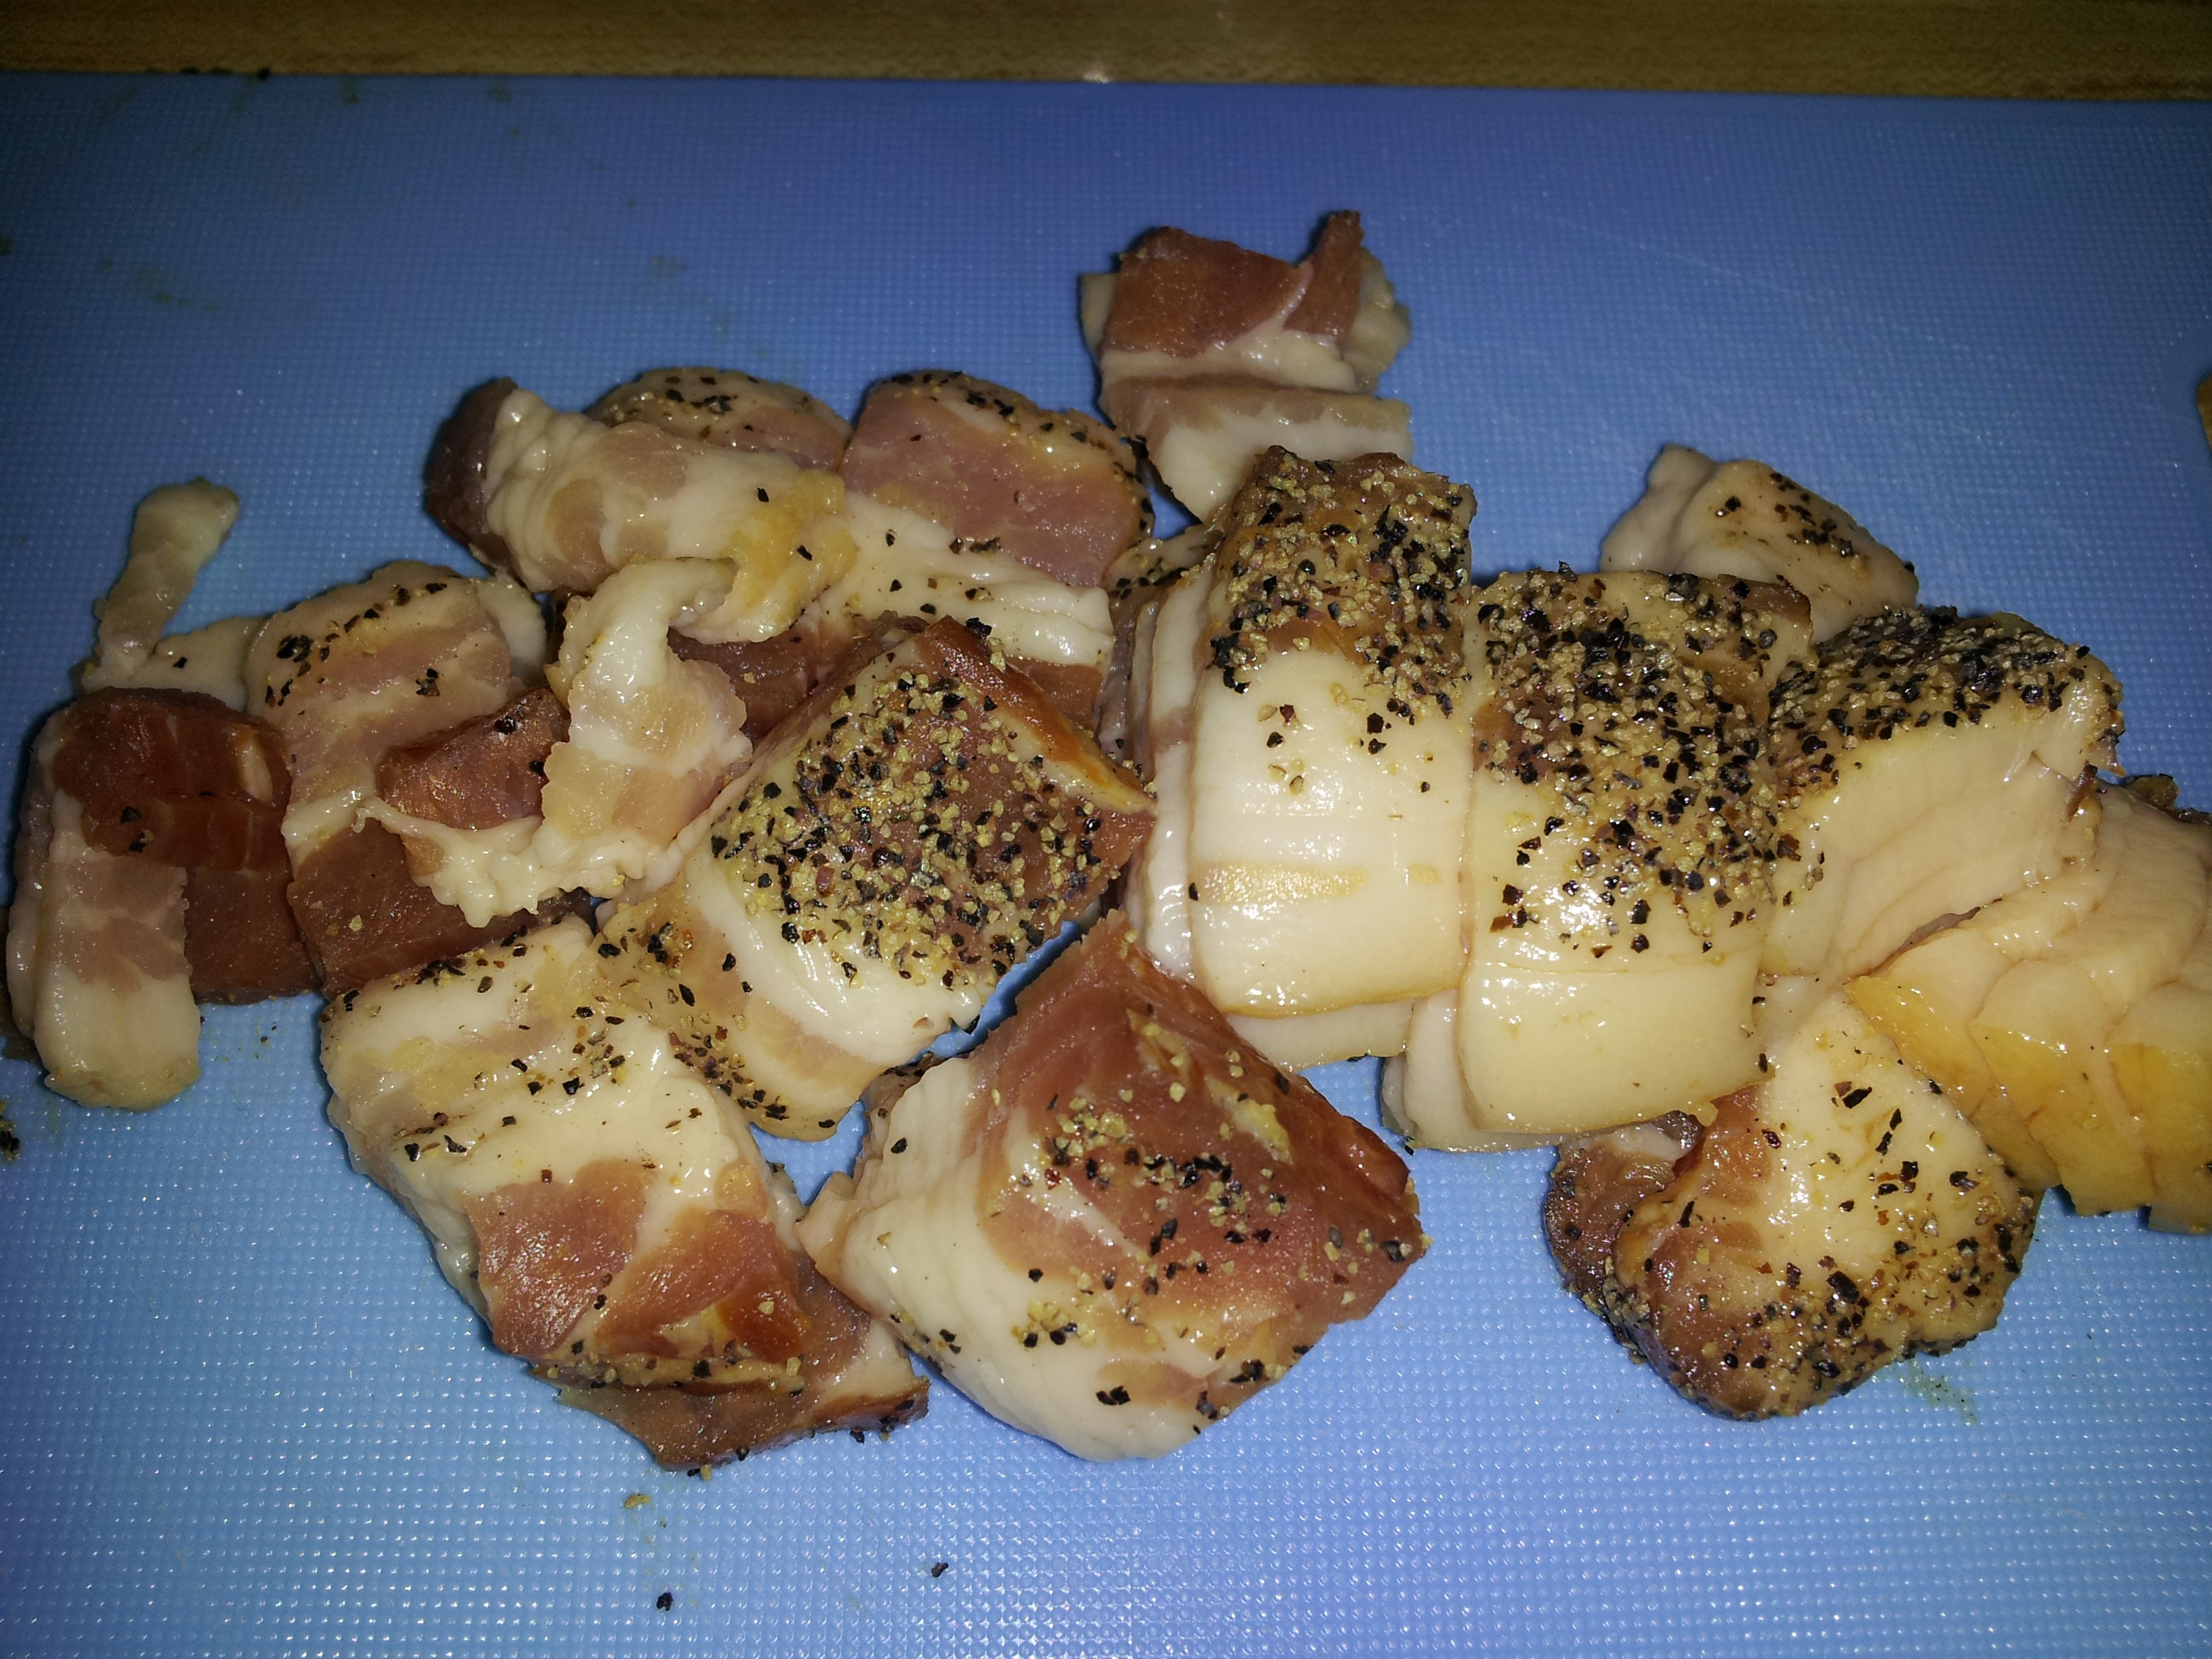
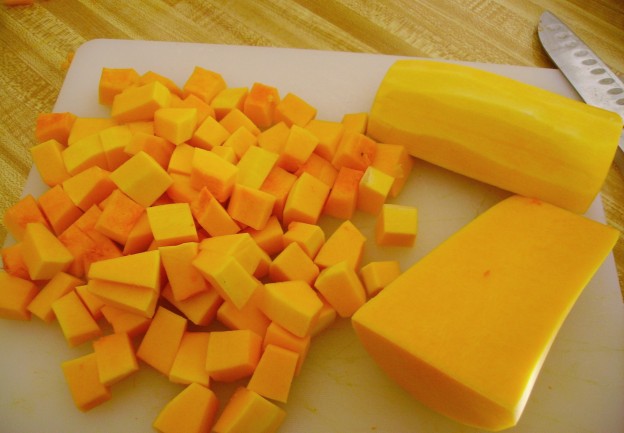
I’ve been using this oddly (?) shaped squash quite often and it always surprises me with its adaptability. It also has certain affinities with other foods. It stands up to all kinds of onions. From leeks to shallots and every type in between, squash takes them on and still keeps its identity. Bacon seems to have been put on earth, for among other things to compliment squash. Something in the smokiness of the bacon goes well with the sweet earthiness of the squash. Besides that, “ Mama D do love her bacon”.
Many people are fond of the sweet notes of squash and expand on them. Personally, I like to keep the sugar sweetness in dessert and let the squash display its innate sweetness in the main part of the meal.
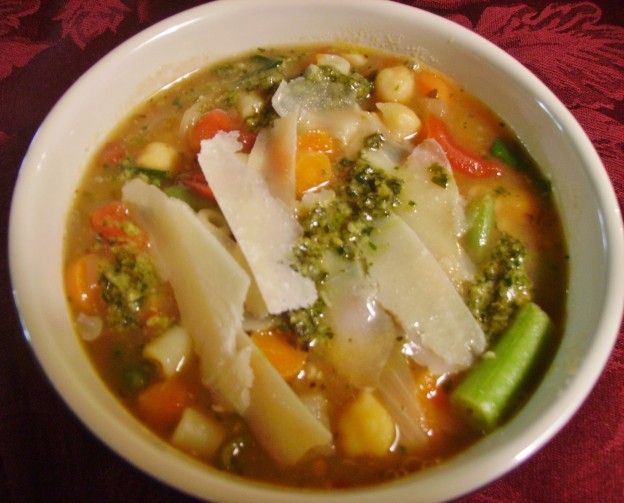
Without further ado, allow me to introduce you to Mama D’s Butternut Squash & Apple Soup. This recipe was born in a cooking class I took several years ago. It’s gotten some Mama D lovin’ and has become what I like to call ” Autumn in a Bowl.”

Butternut Squash makes a wonderful side dish. Roasting seems to bring out the nutty flavor and provides enough of a reason to coat it ever so lightly in olive oil. While olive oil is the healthier alternative, I’ve come up with a recipe that uses bacon drippings as the lubricant (so to speak). It also repeats some of the same flavors found in the above soup. What can possibly be wrong with bacon, shallots and sage? Nothing, I say!!


This is a wonderful accompaniment to pork, be it chops, tenderloin or roast. It also compliments any poultry dish you may be serving.
I love visiting other food blog sites. One of my favorites is Proud Italian Cook. Marie has lots of wonderful recipes. I took some inspiration from her Polenta and Squash dish and came up with Chicken and Squash Risotto. It started with Butternut Squash roasted with leeks and garlic.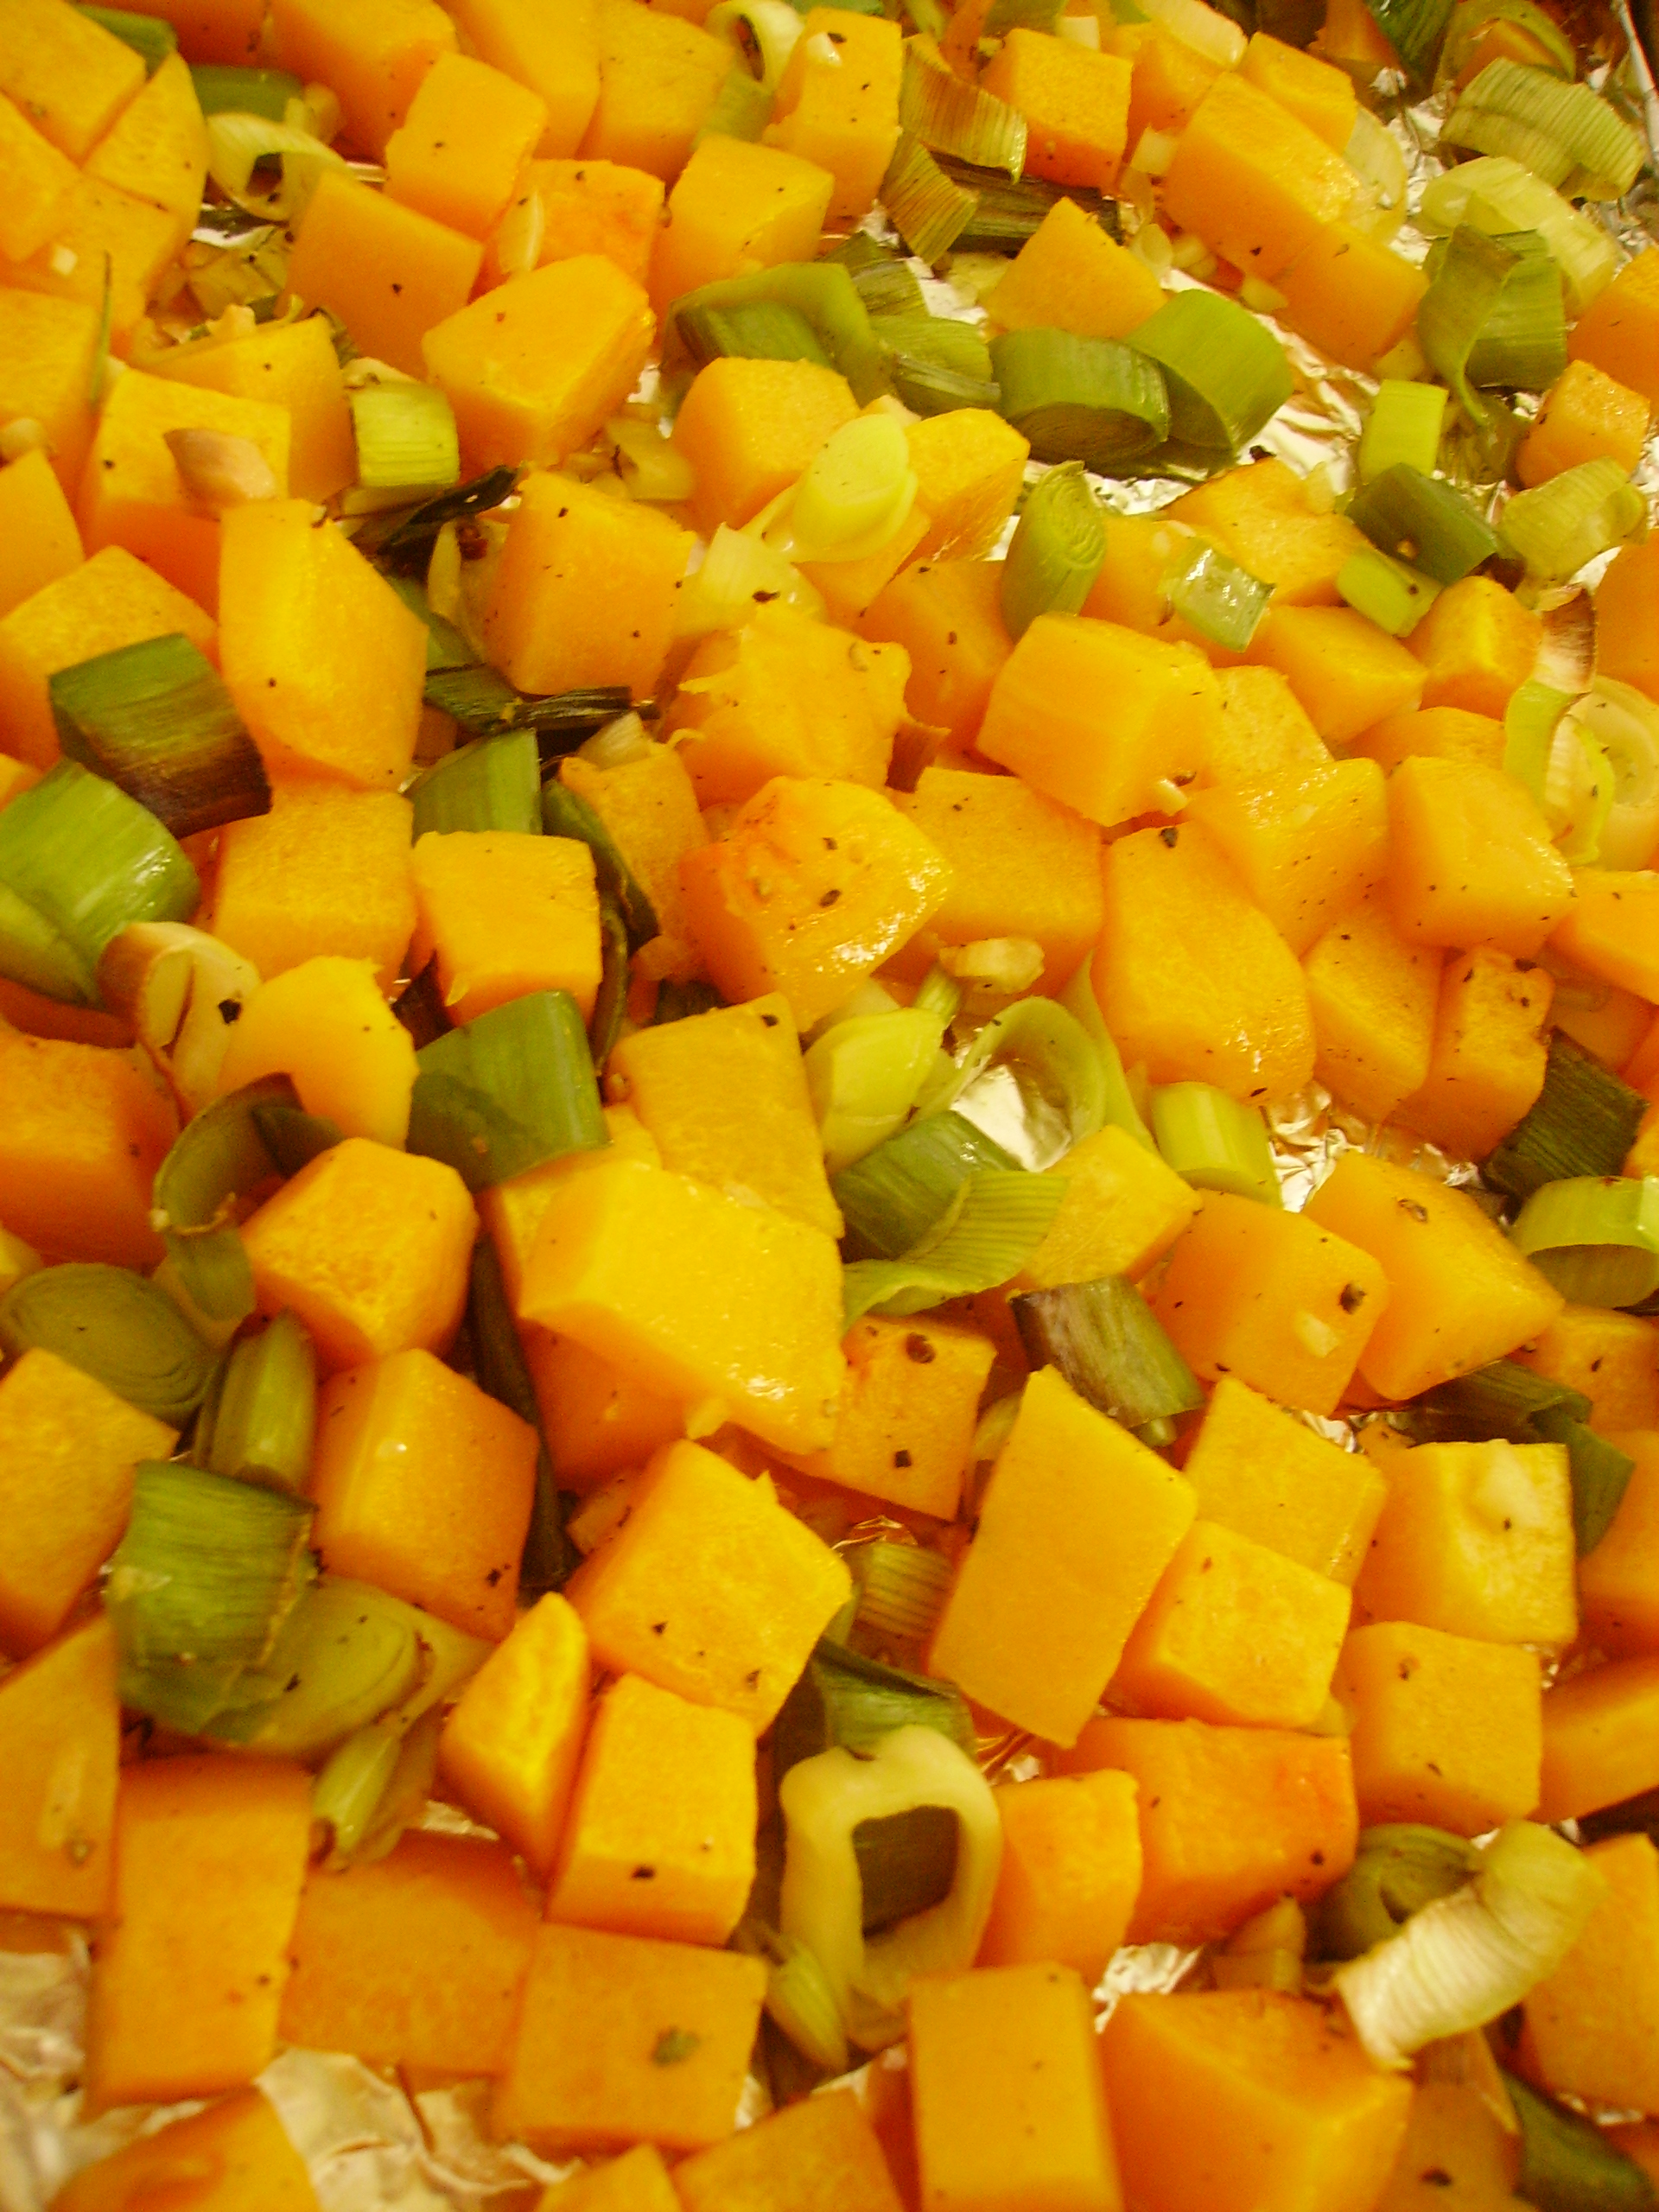
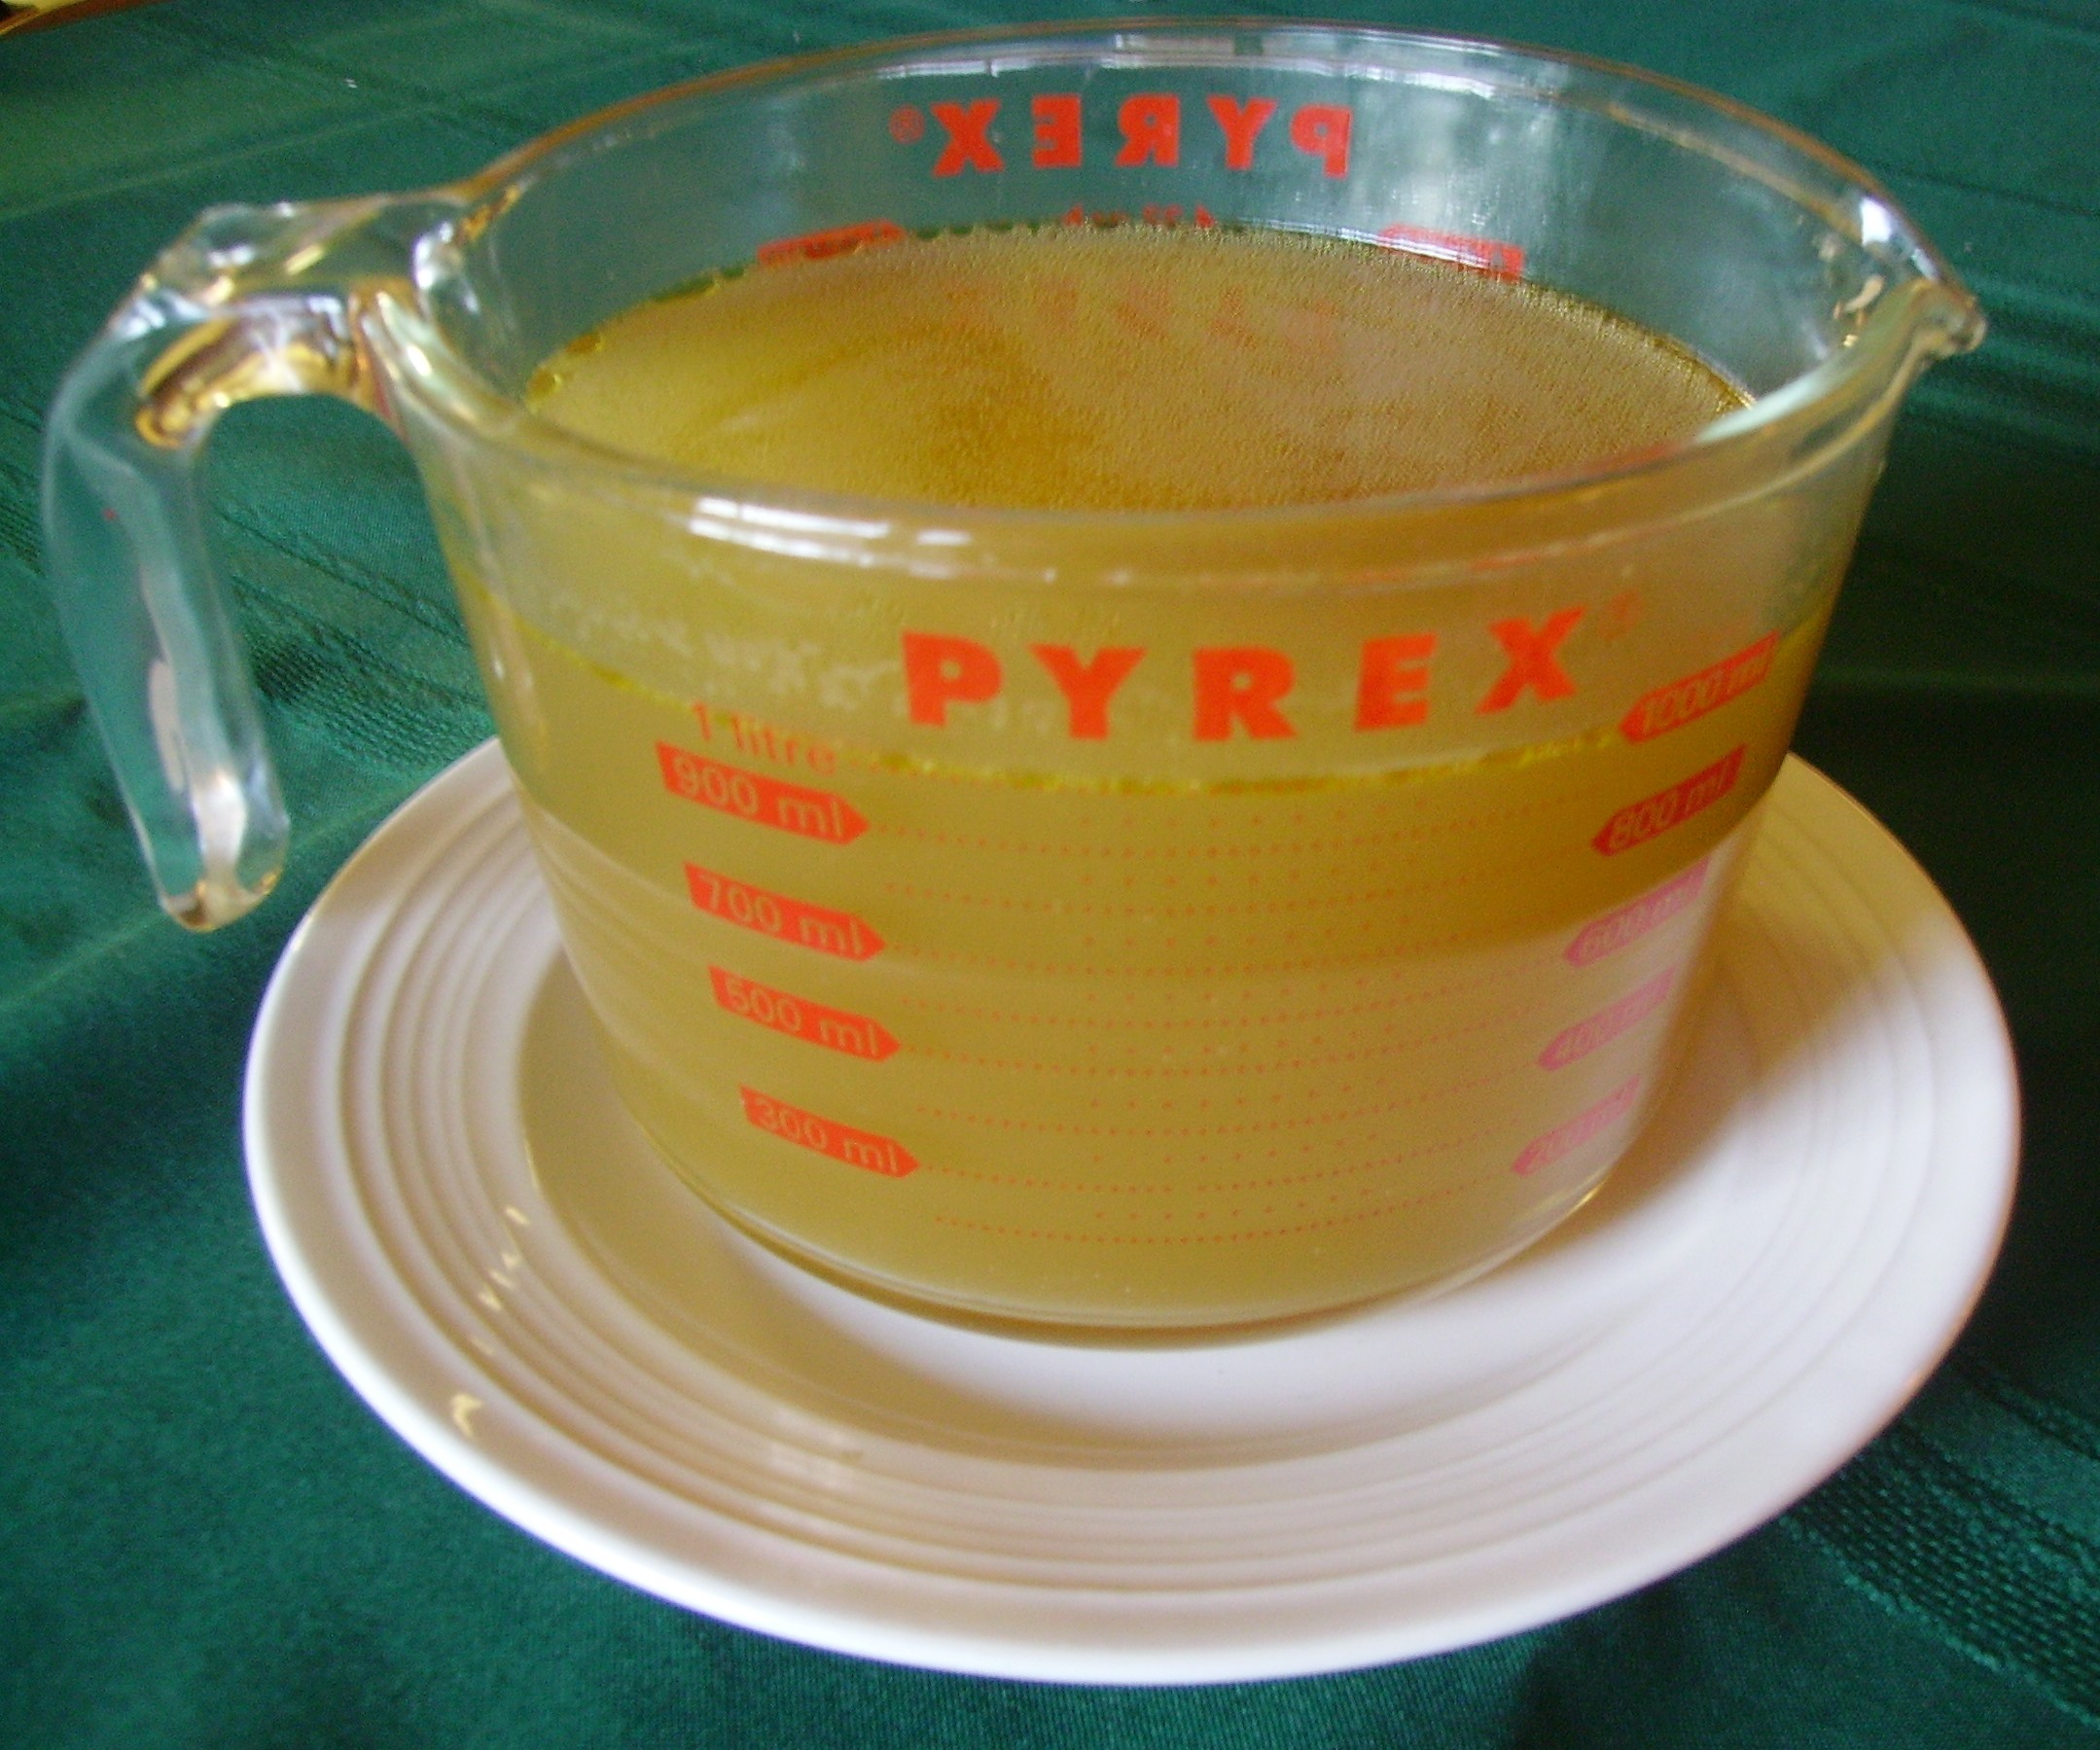
I made risotto using red onions, chicken stock and some leftover roast chicken. The squash and leek mixture joined in the fun.
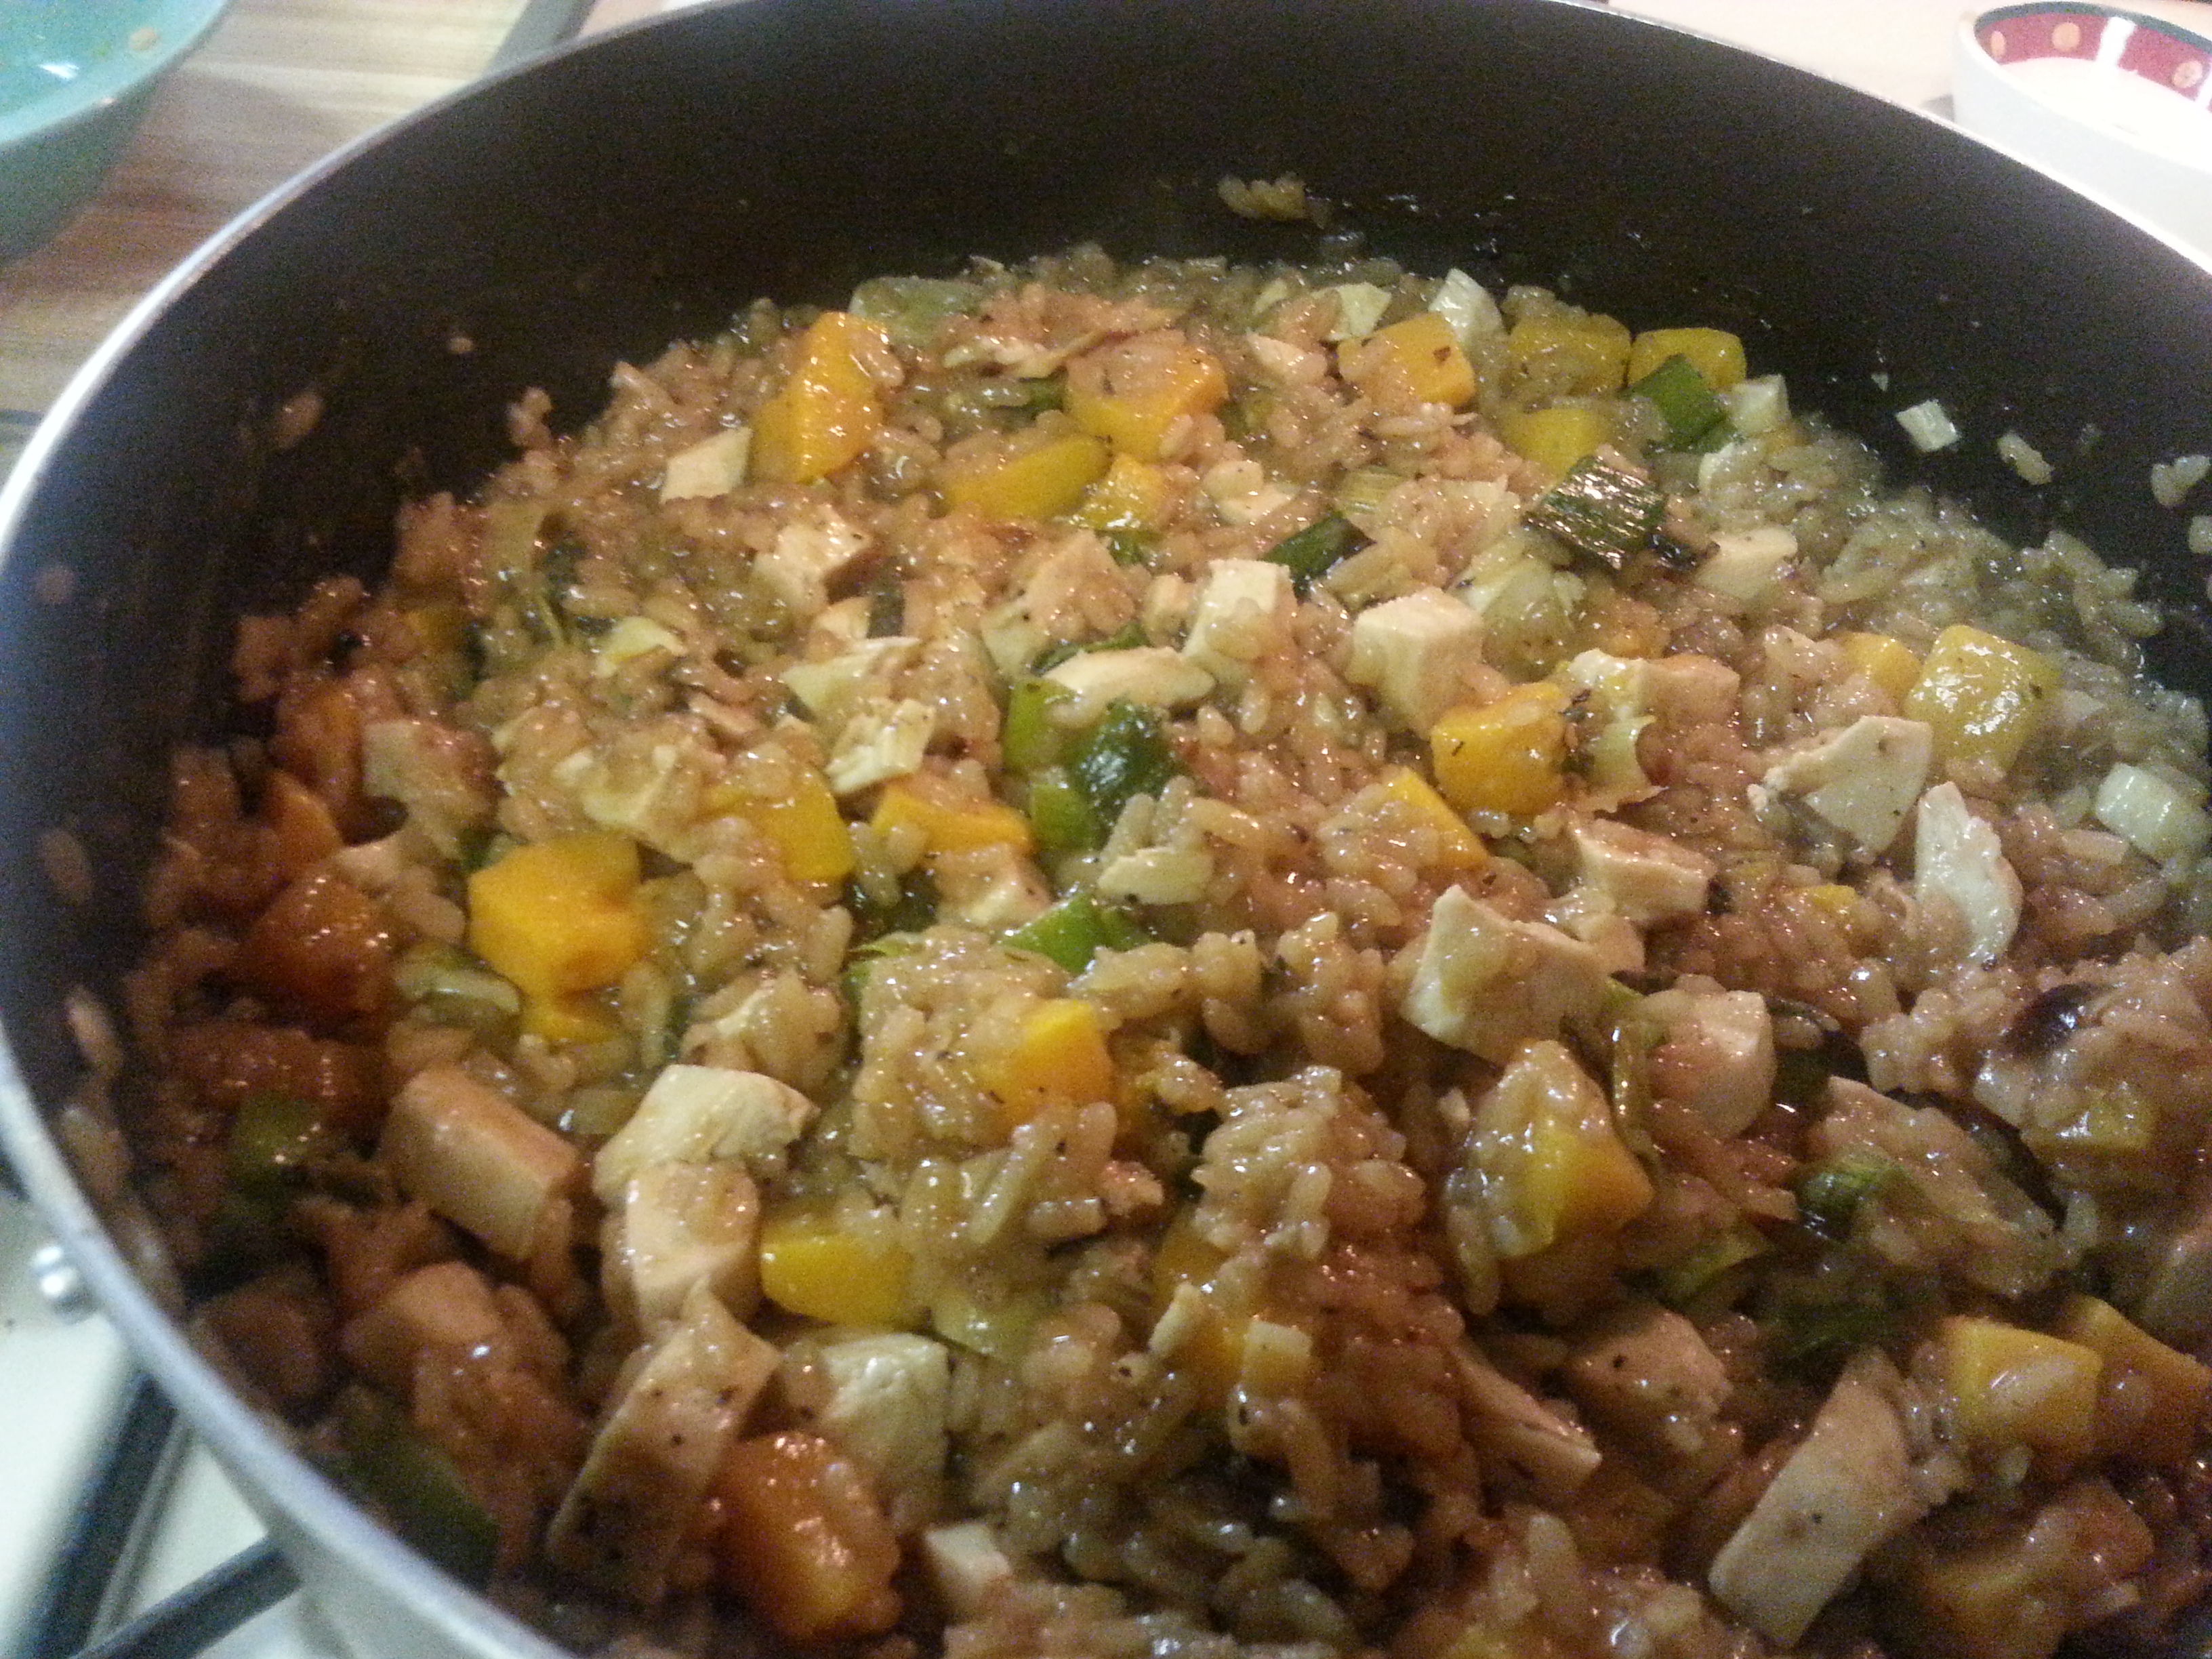
The result was a comfort food that satisfied the need for the creamy, slightly chewy and savory flavor that is risotto.

So the answer to the question in the title is, “A lot”. These recipes just scratch the surface of Butternut Squash. There are lots of other squash varieties out there as well and without too much adjustment, they can be substituted in any of these recipes. If you haven’t cooked these odd-shaped, nutrient dense vegetables, give it a try. There’s plenty of squash love to go around.
Happy New Year, Mama D
Share this: