Homemade Ricotta

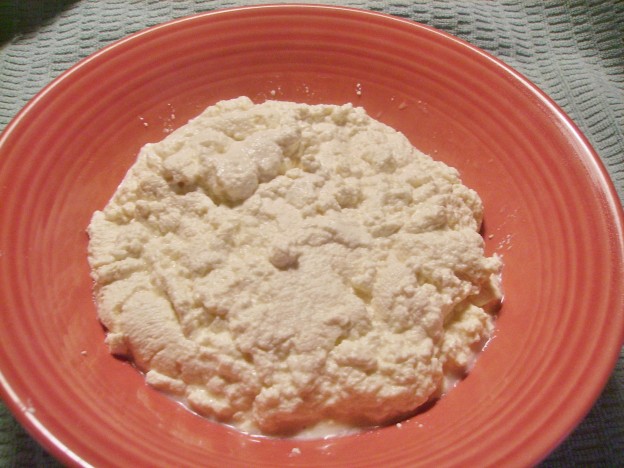
Ricotta, that creamy cheese in lasagna and ravioli is a staple in many kitchens Italian or otherwise. You can buy it in any grocery store, but it is so easy to make that it seems silly to do so. The biggest reason to make homemade ricotta is that it just tastes better.

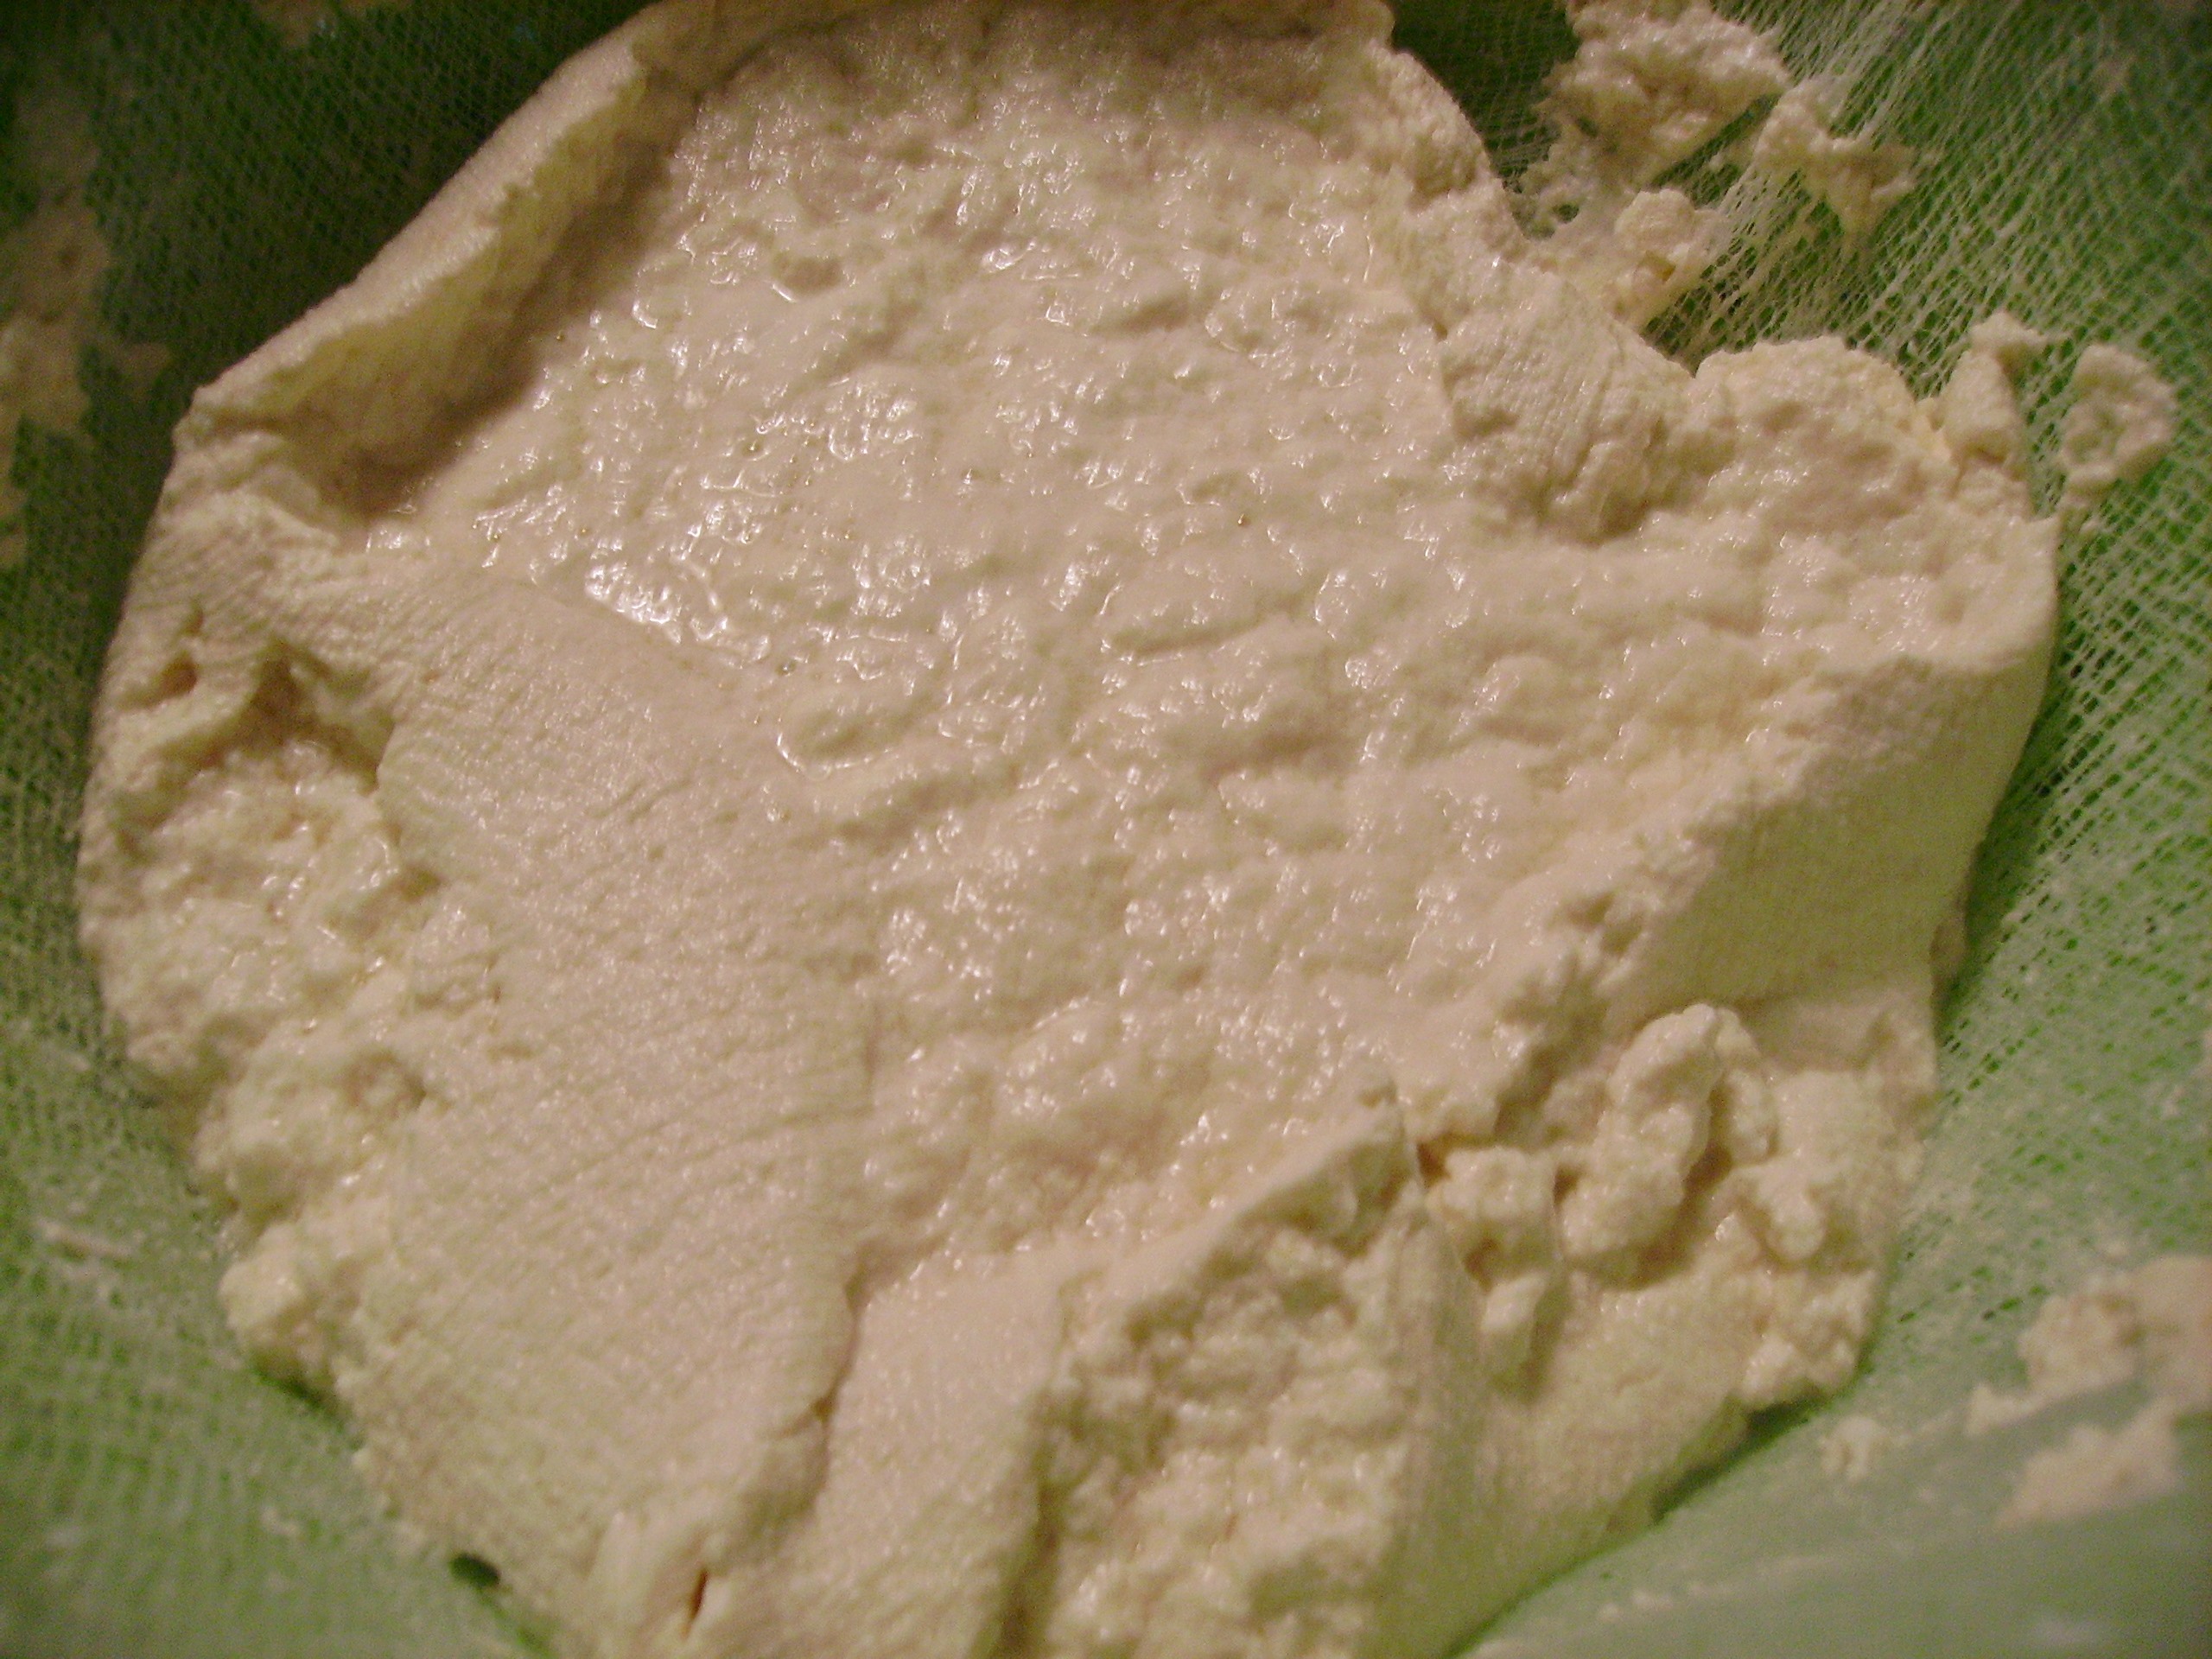
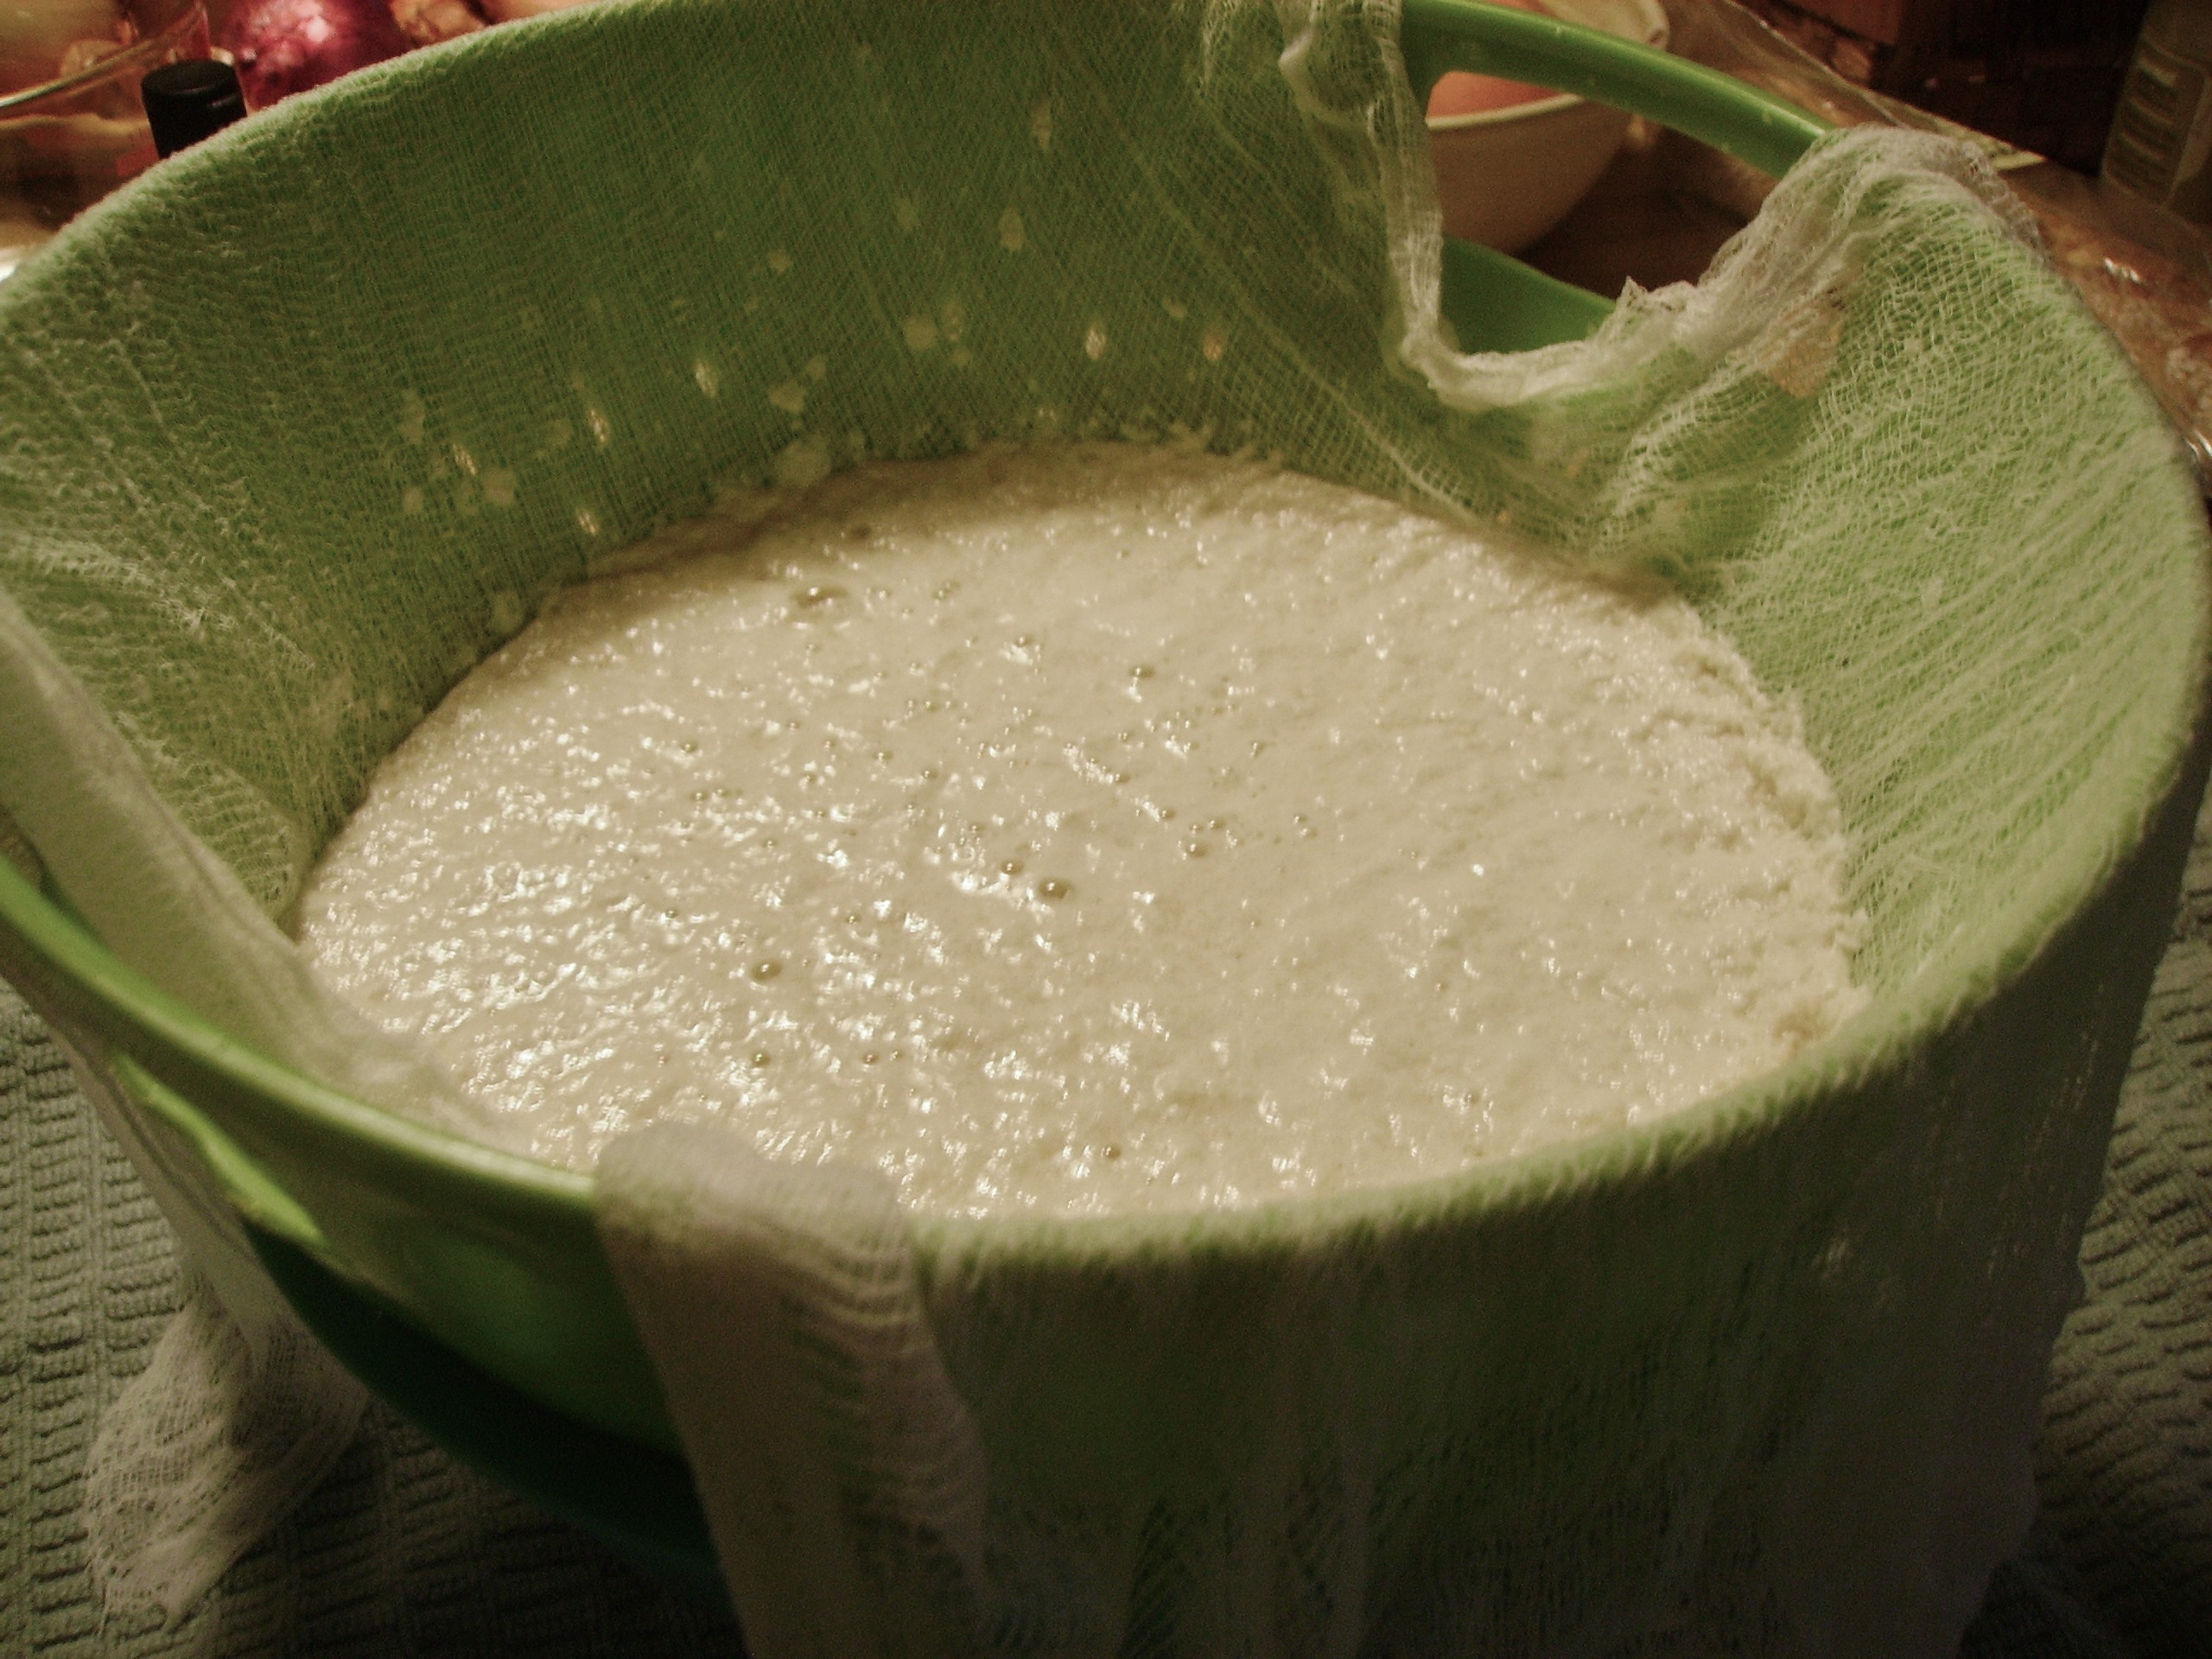
Ricotta may be the easiest cheese to make. It takes 3 or 4 easily available ingredients. A large DIGITAL CAMERAnon-reactive pan. cheese cloth, and a strainer are the only tools you need. Time wise you’ll DIGITAL CAMERAhave cheese in a little over half an hour. Small investment for such a delicious indulgence.

I used to buy ricotta. It worked well in recipes and it tasted pretty good. Then one day I tasted homemade. The difference was night and day. Homemade was light and creamy. The taste was sweet with tart cheesy undertones. It made the pre-packaged grocery store ricotta taste heavy and bland.

Once I tasted the difference I set out to find a recipe for ricotta. For the simple ingredients needed there were lots of variations. Some used just milk, others used lots of milk and a little cream, I tried them all and the one I like the best comes from Ina Garten, the Barefoot ContessaThis recipe uses milk and cream in a 2:1 ratio. The resulting cheese is creamy and sweet with a light almost fluffy texture.

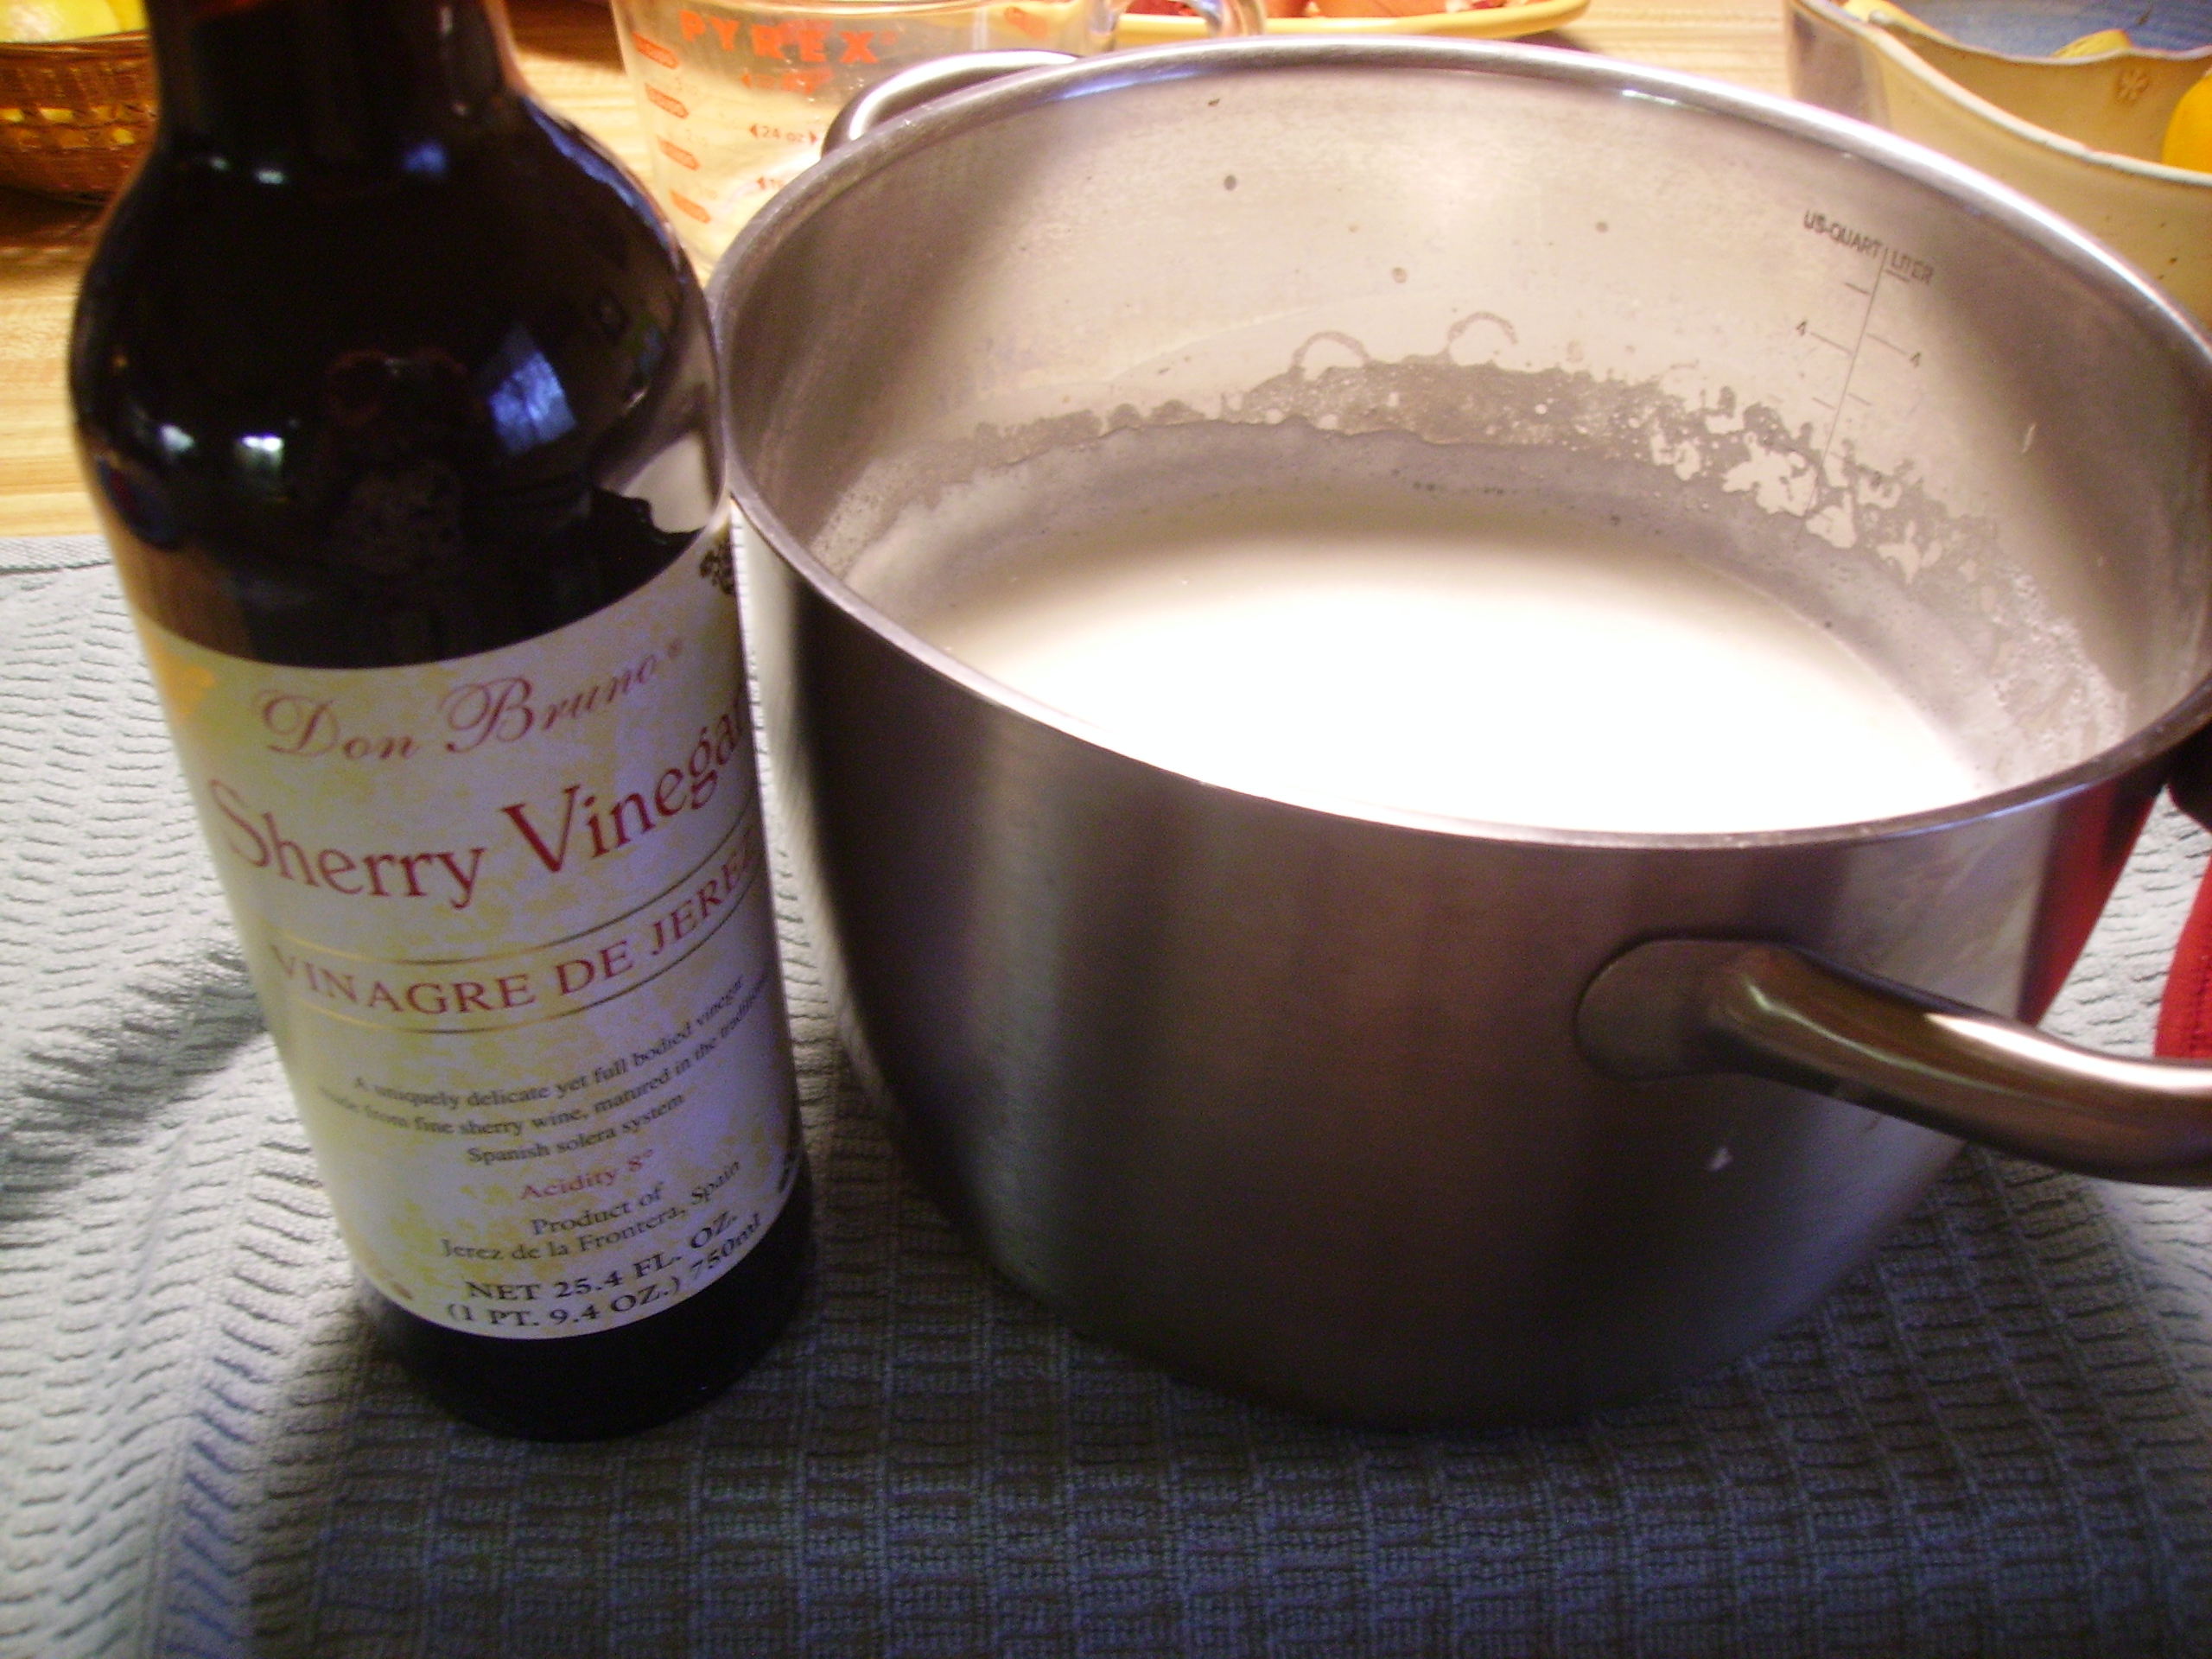
The original recipe uses White Wine Vinegar, I’ve substituted Lemon Juice and the taste is light and refreshing perfect for cheesecake and other sweet recipes. Champagne Vinegar imparts elegant yet fruity flavors perfect for spreads and as a garnish for pastas and soups. The current batch that I used in these recipes was made with Sherry Vinegar. This imparted a toasty oak flavor that was quite unique. It tasted like fall .DIGITAL CAMERA


The following recipe lets the ricotta shine and makes a versatile appetizer.

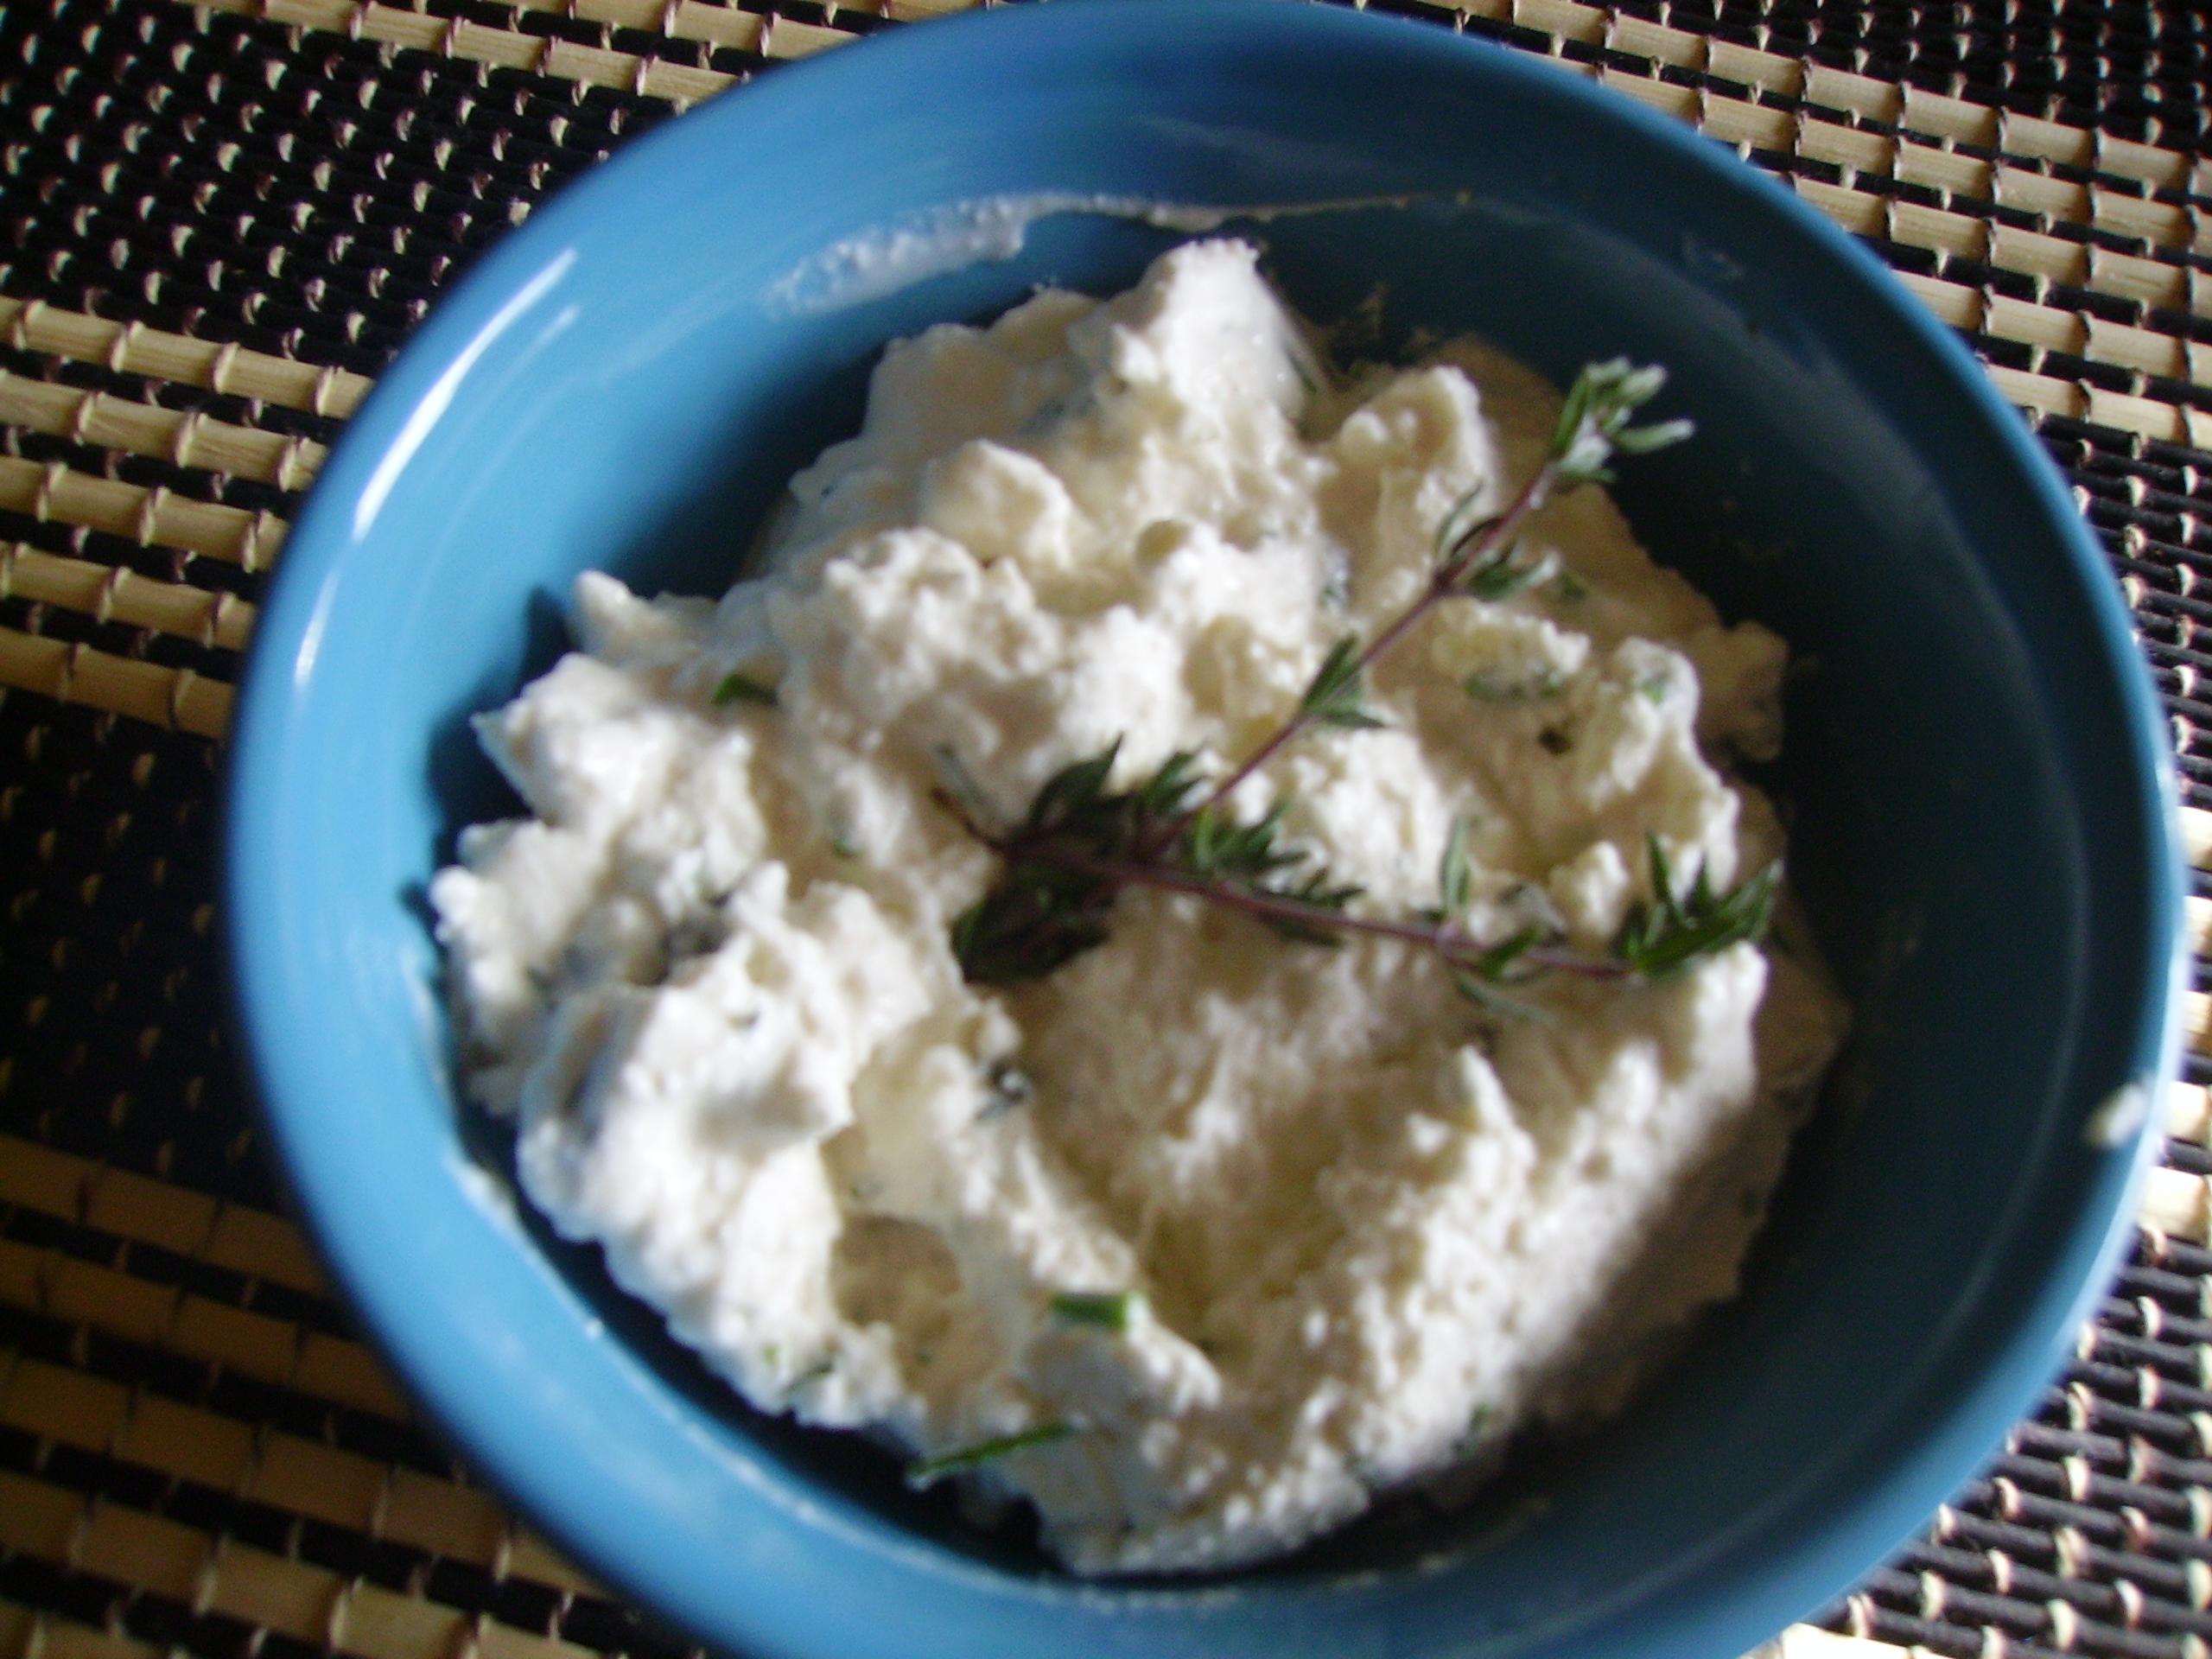
Homemade Ricotta with Fresh Herbs
Print Recipe
This creamy spread is wonderful on crostini and works well in savory recipes like Canneloni. This basic recipe has endless variations. Make it your own...
Prep Time
30 minutes
Prep Time
30 minutes
Homemade Ricotta with Fresh Herbs
Print Recipe
This creamy spread is wonderful on crostini and works well in savory recipes like Canneloni. This basic recipe has endless variations. Make it your own...
Prep Time
30 minutes
Prep Time
30 minutes
Ingredients
Servings: Approximately 2 Cups
Instructions
  1. Place ricotta in medium size bowl and add the ingredients of your choice. Stir gently to blend everything together.
  2. Store in a covered container in refrigerator for at least 2 hours. The longer it gets happy, the better it tastes.
  3. Serve with Bruchetta as part of a Crostini Bar Use in your favorite filled pasta recipe. Just eat it with a spoon. Any leftovers will keep in the refrigerator for up to 4 days.
Share this Recipe
Powered byWP Ultimate Recipe

While I love this ricotta as it is, I wanted to use it in a recipe but one that would showcase the lovely ricotta not hide it under a rich tomato blanket or smother it in a silky layer of cheese. Not that there’s anything wrong with that.

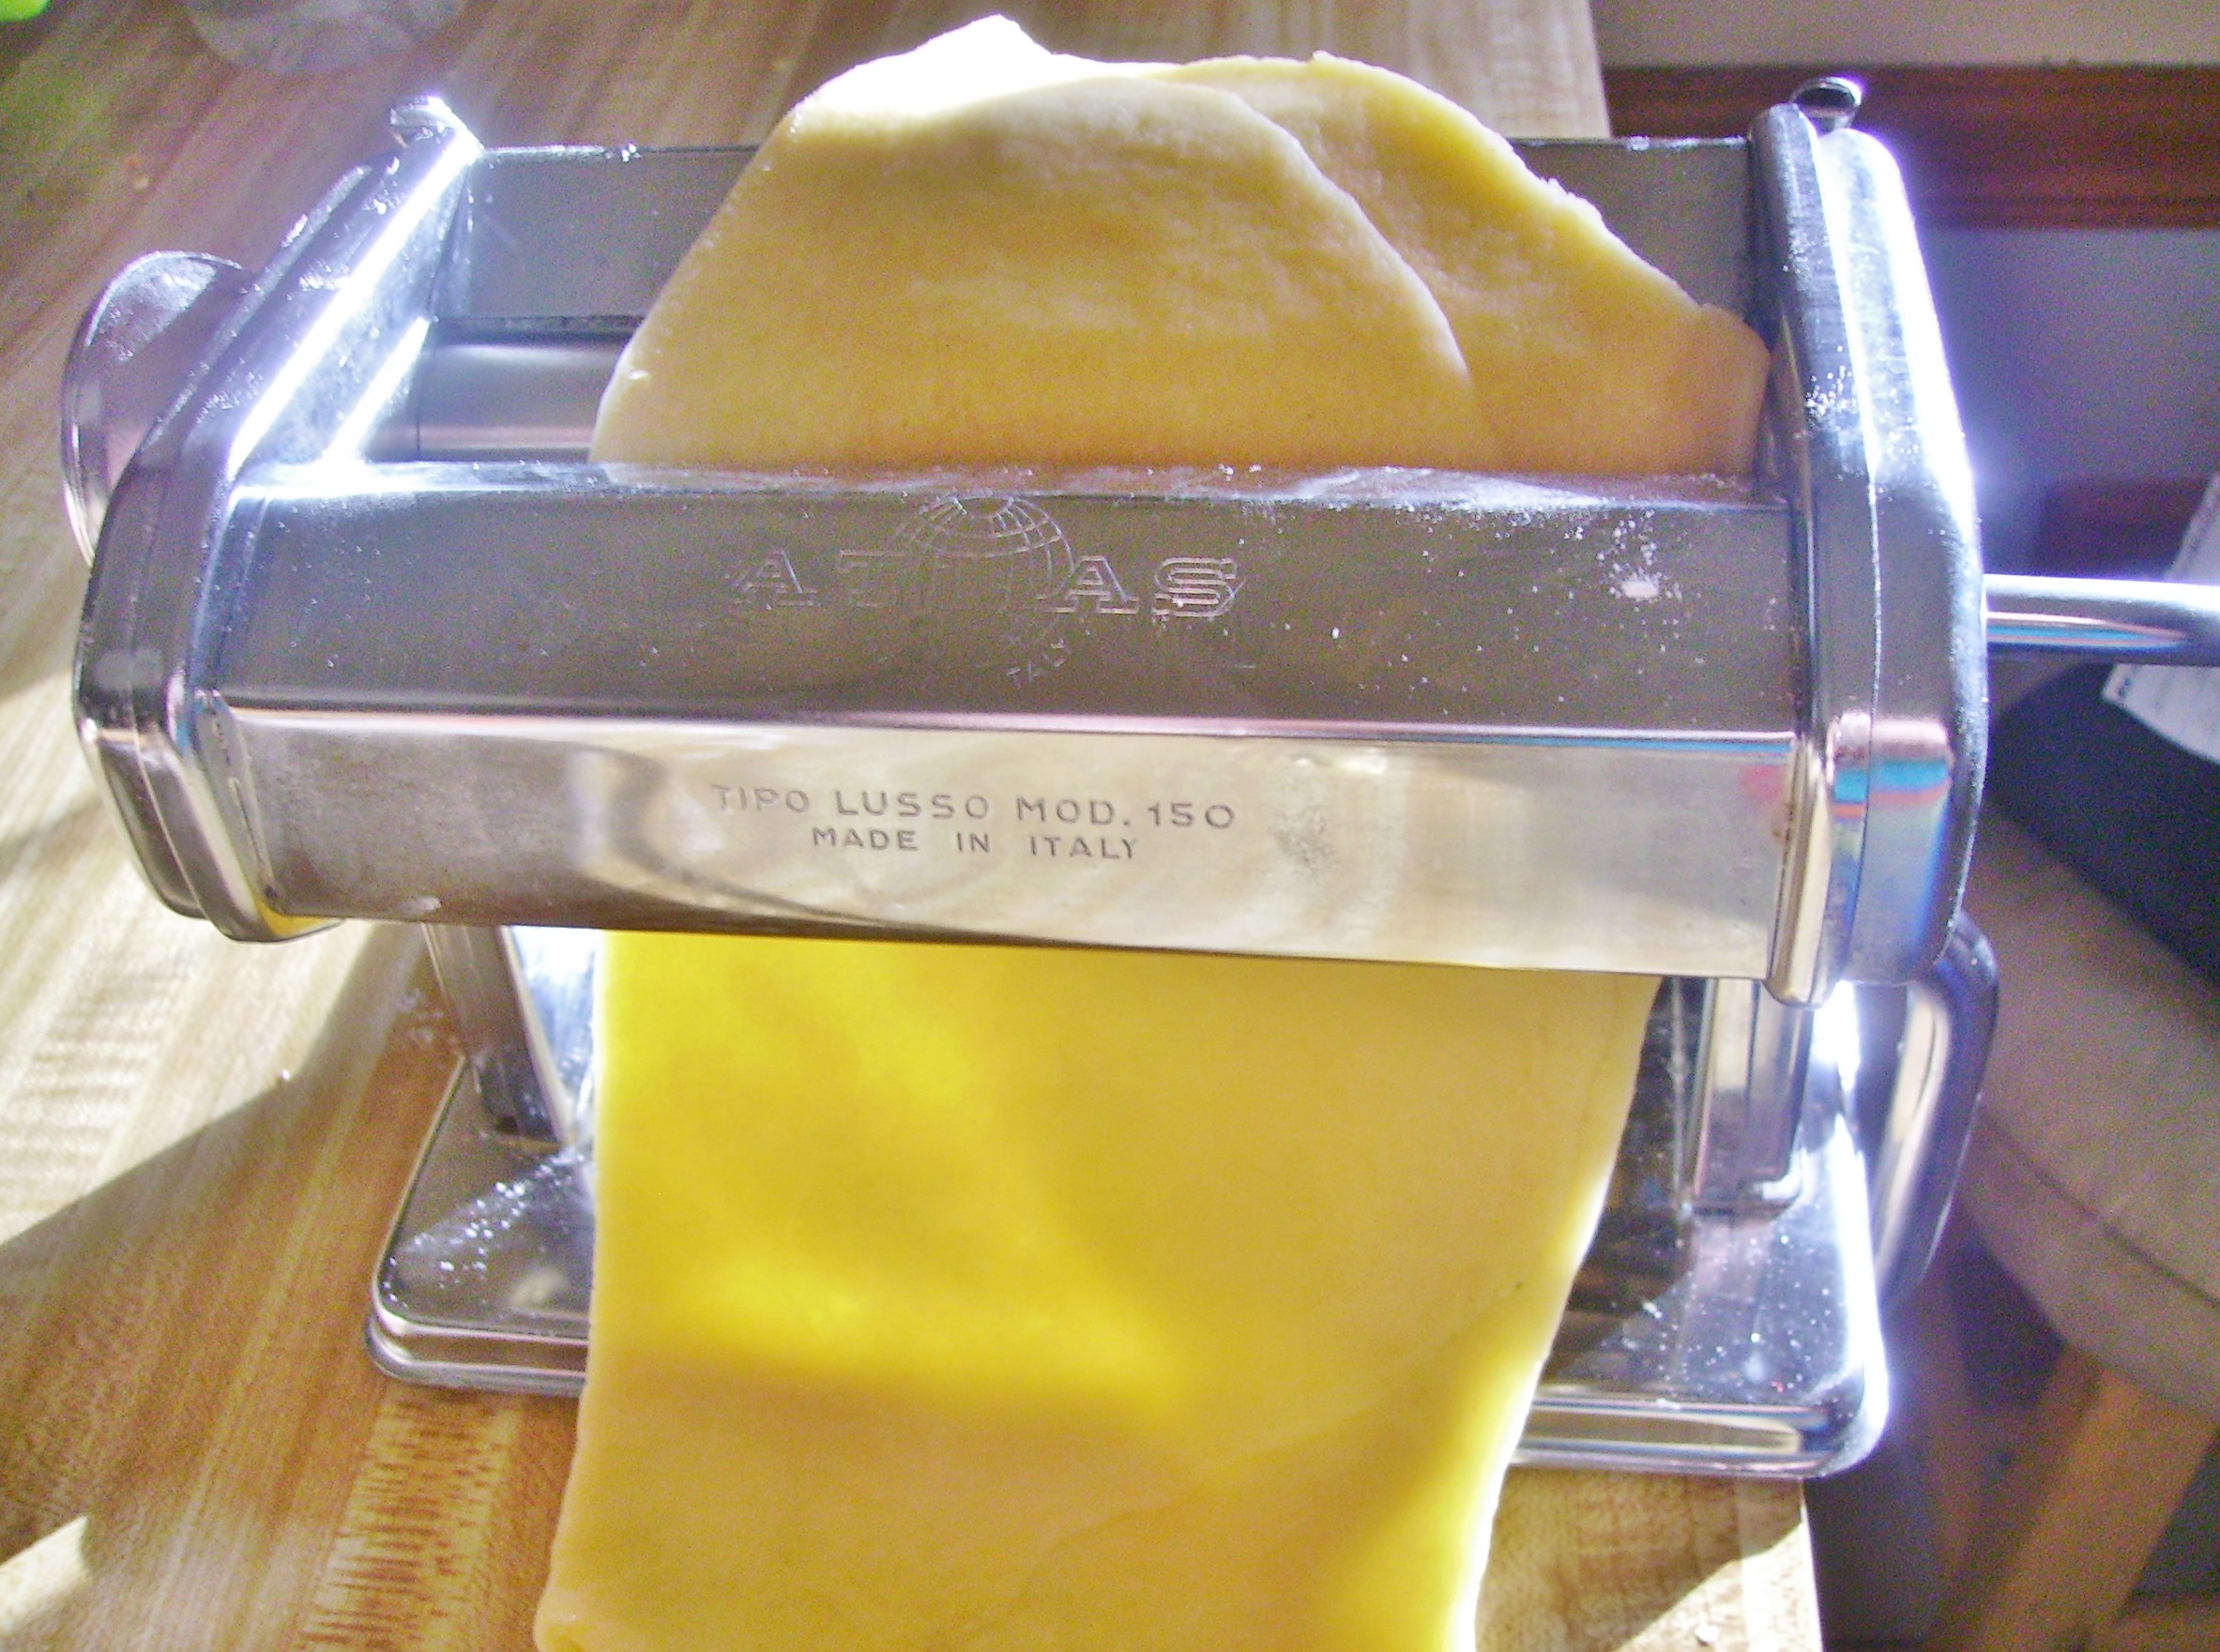
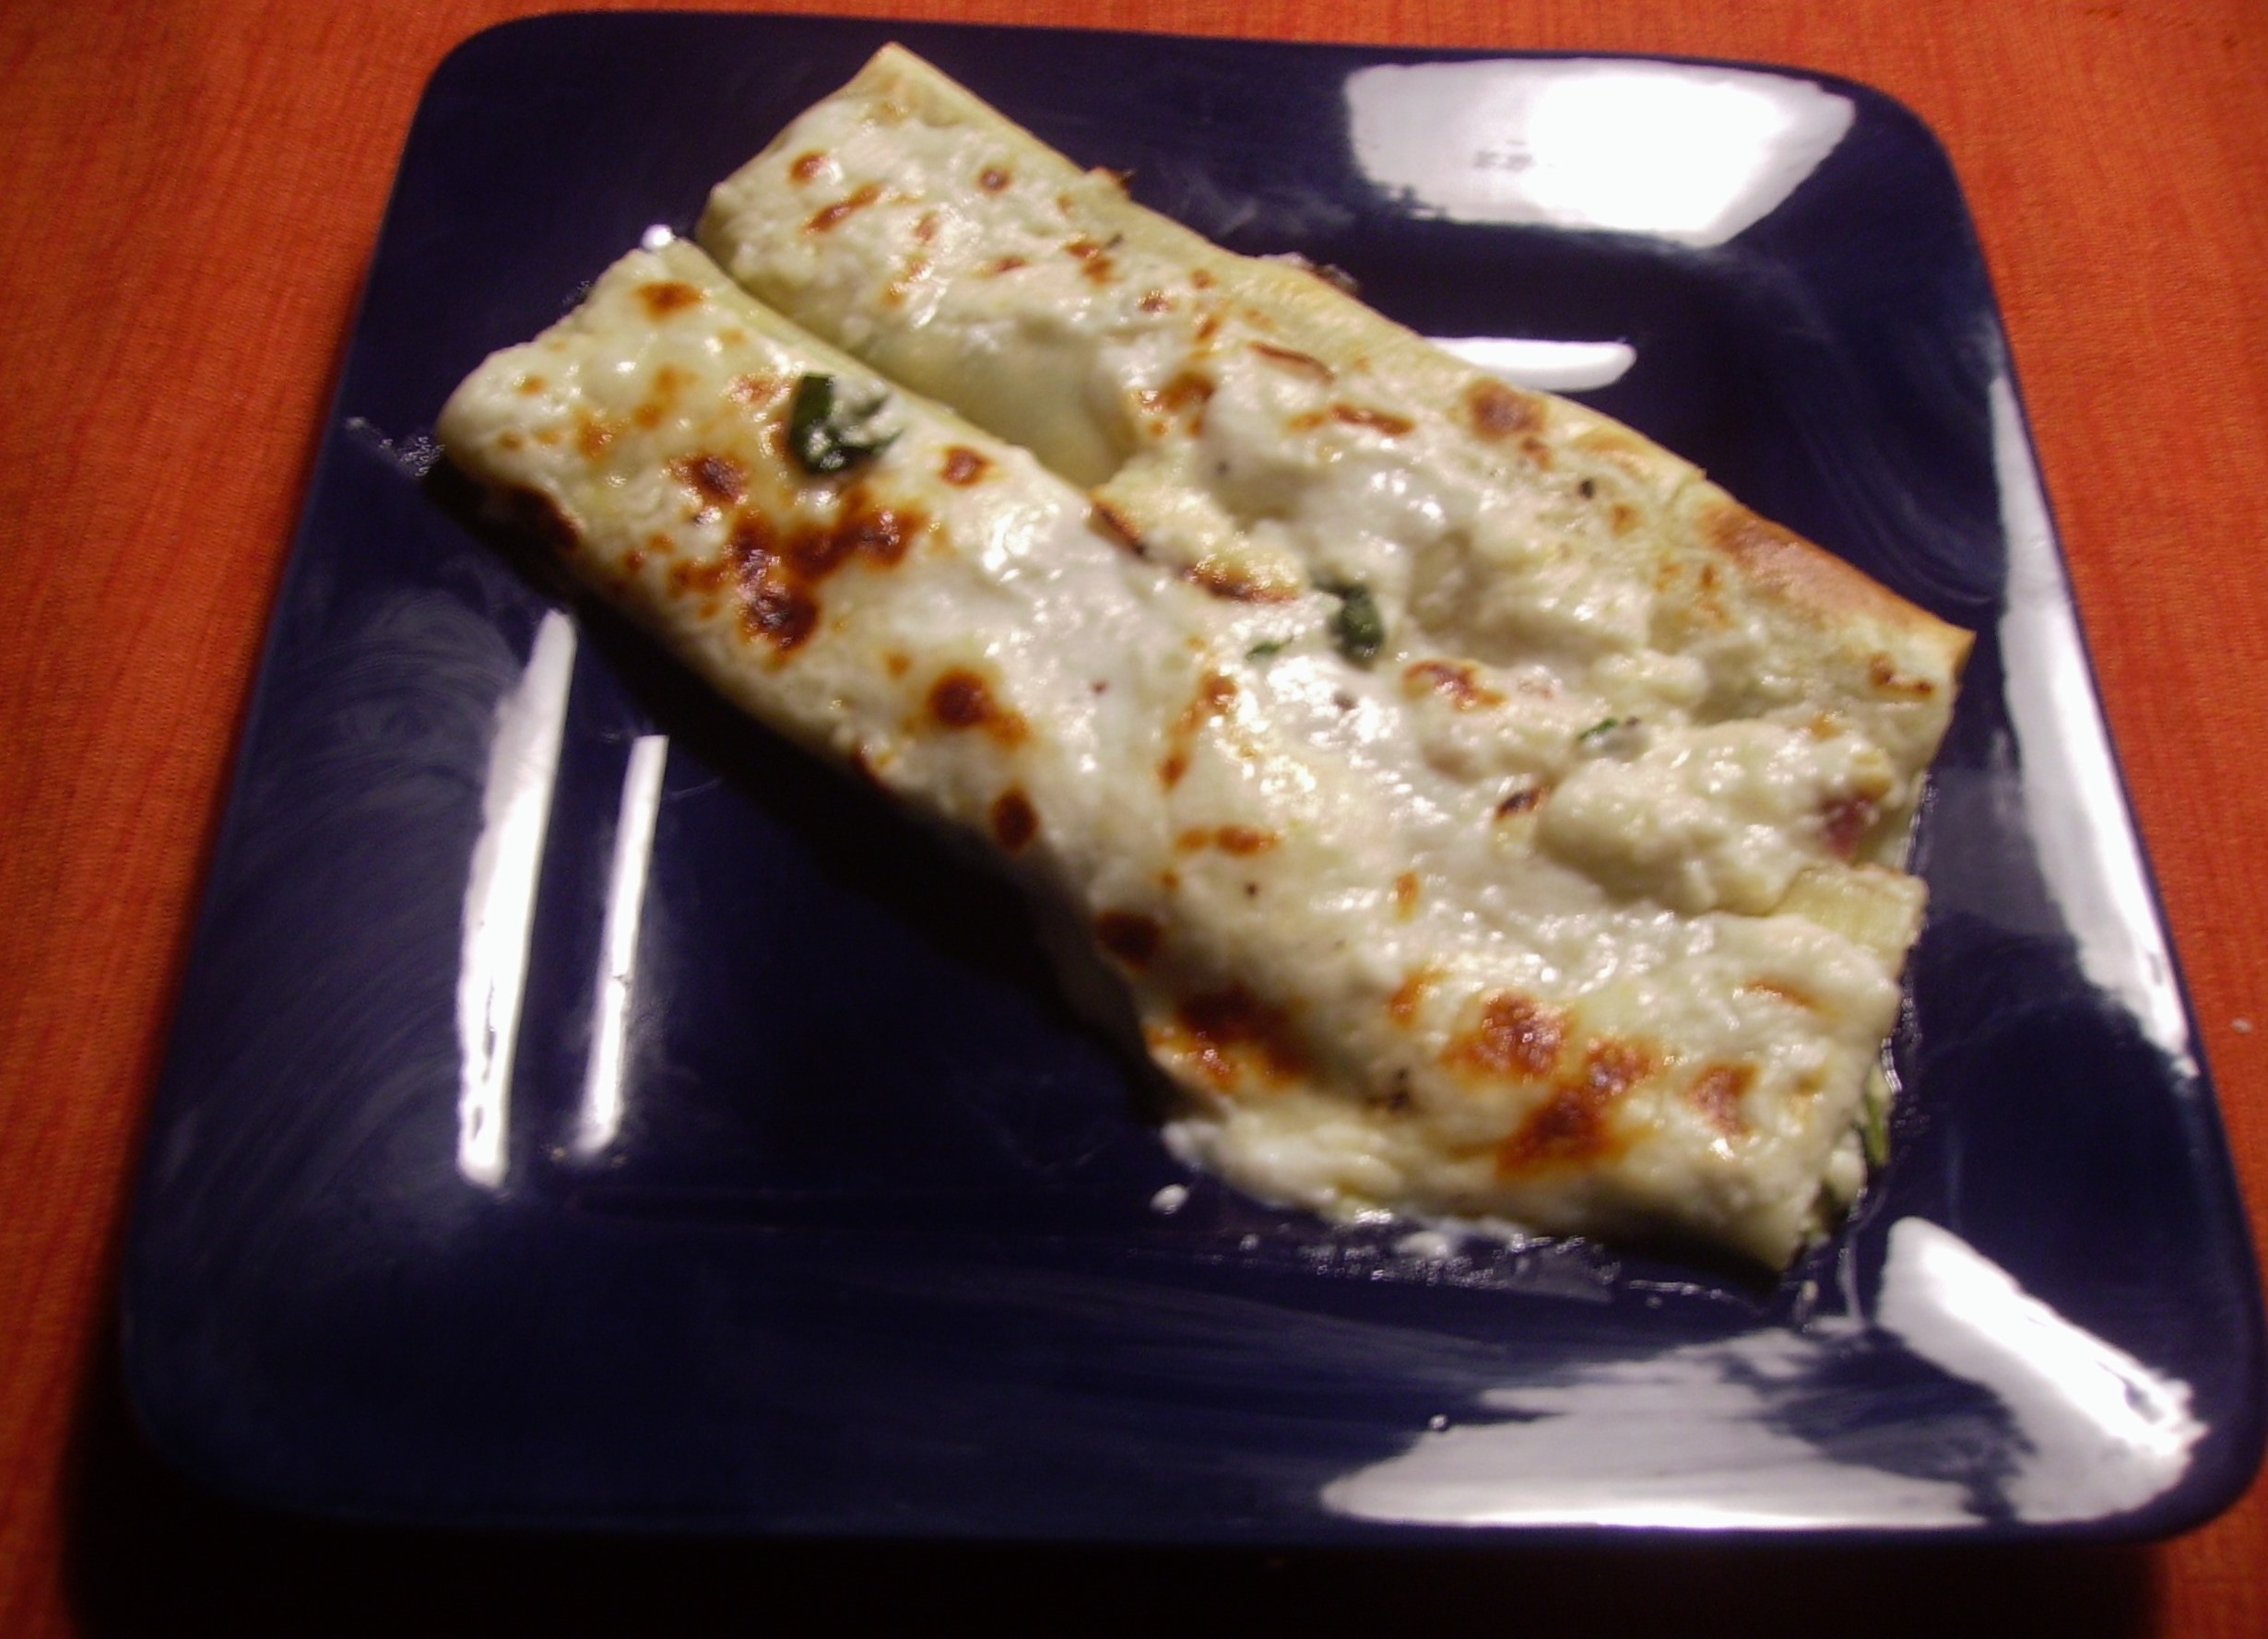
And so I embarked on cannelloni. Currently being a stay at home cook, I opted to make the pasta from scratch. Being super old school, I made the flour nest and kneaded the dough by hand. (My favorite pasta recipe is Ann Burell’s.) Then using my trusty Atlas Pasta Machine, I made the pasta strips.DIGITAL CAMERA

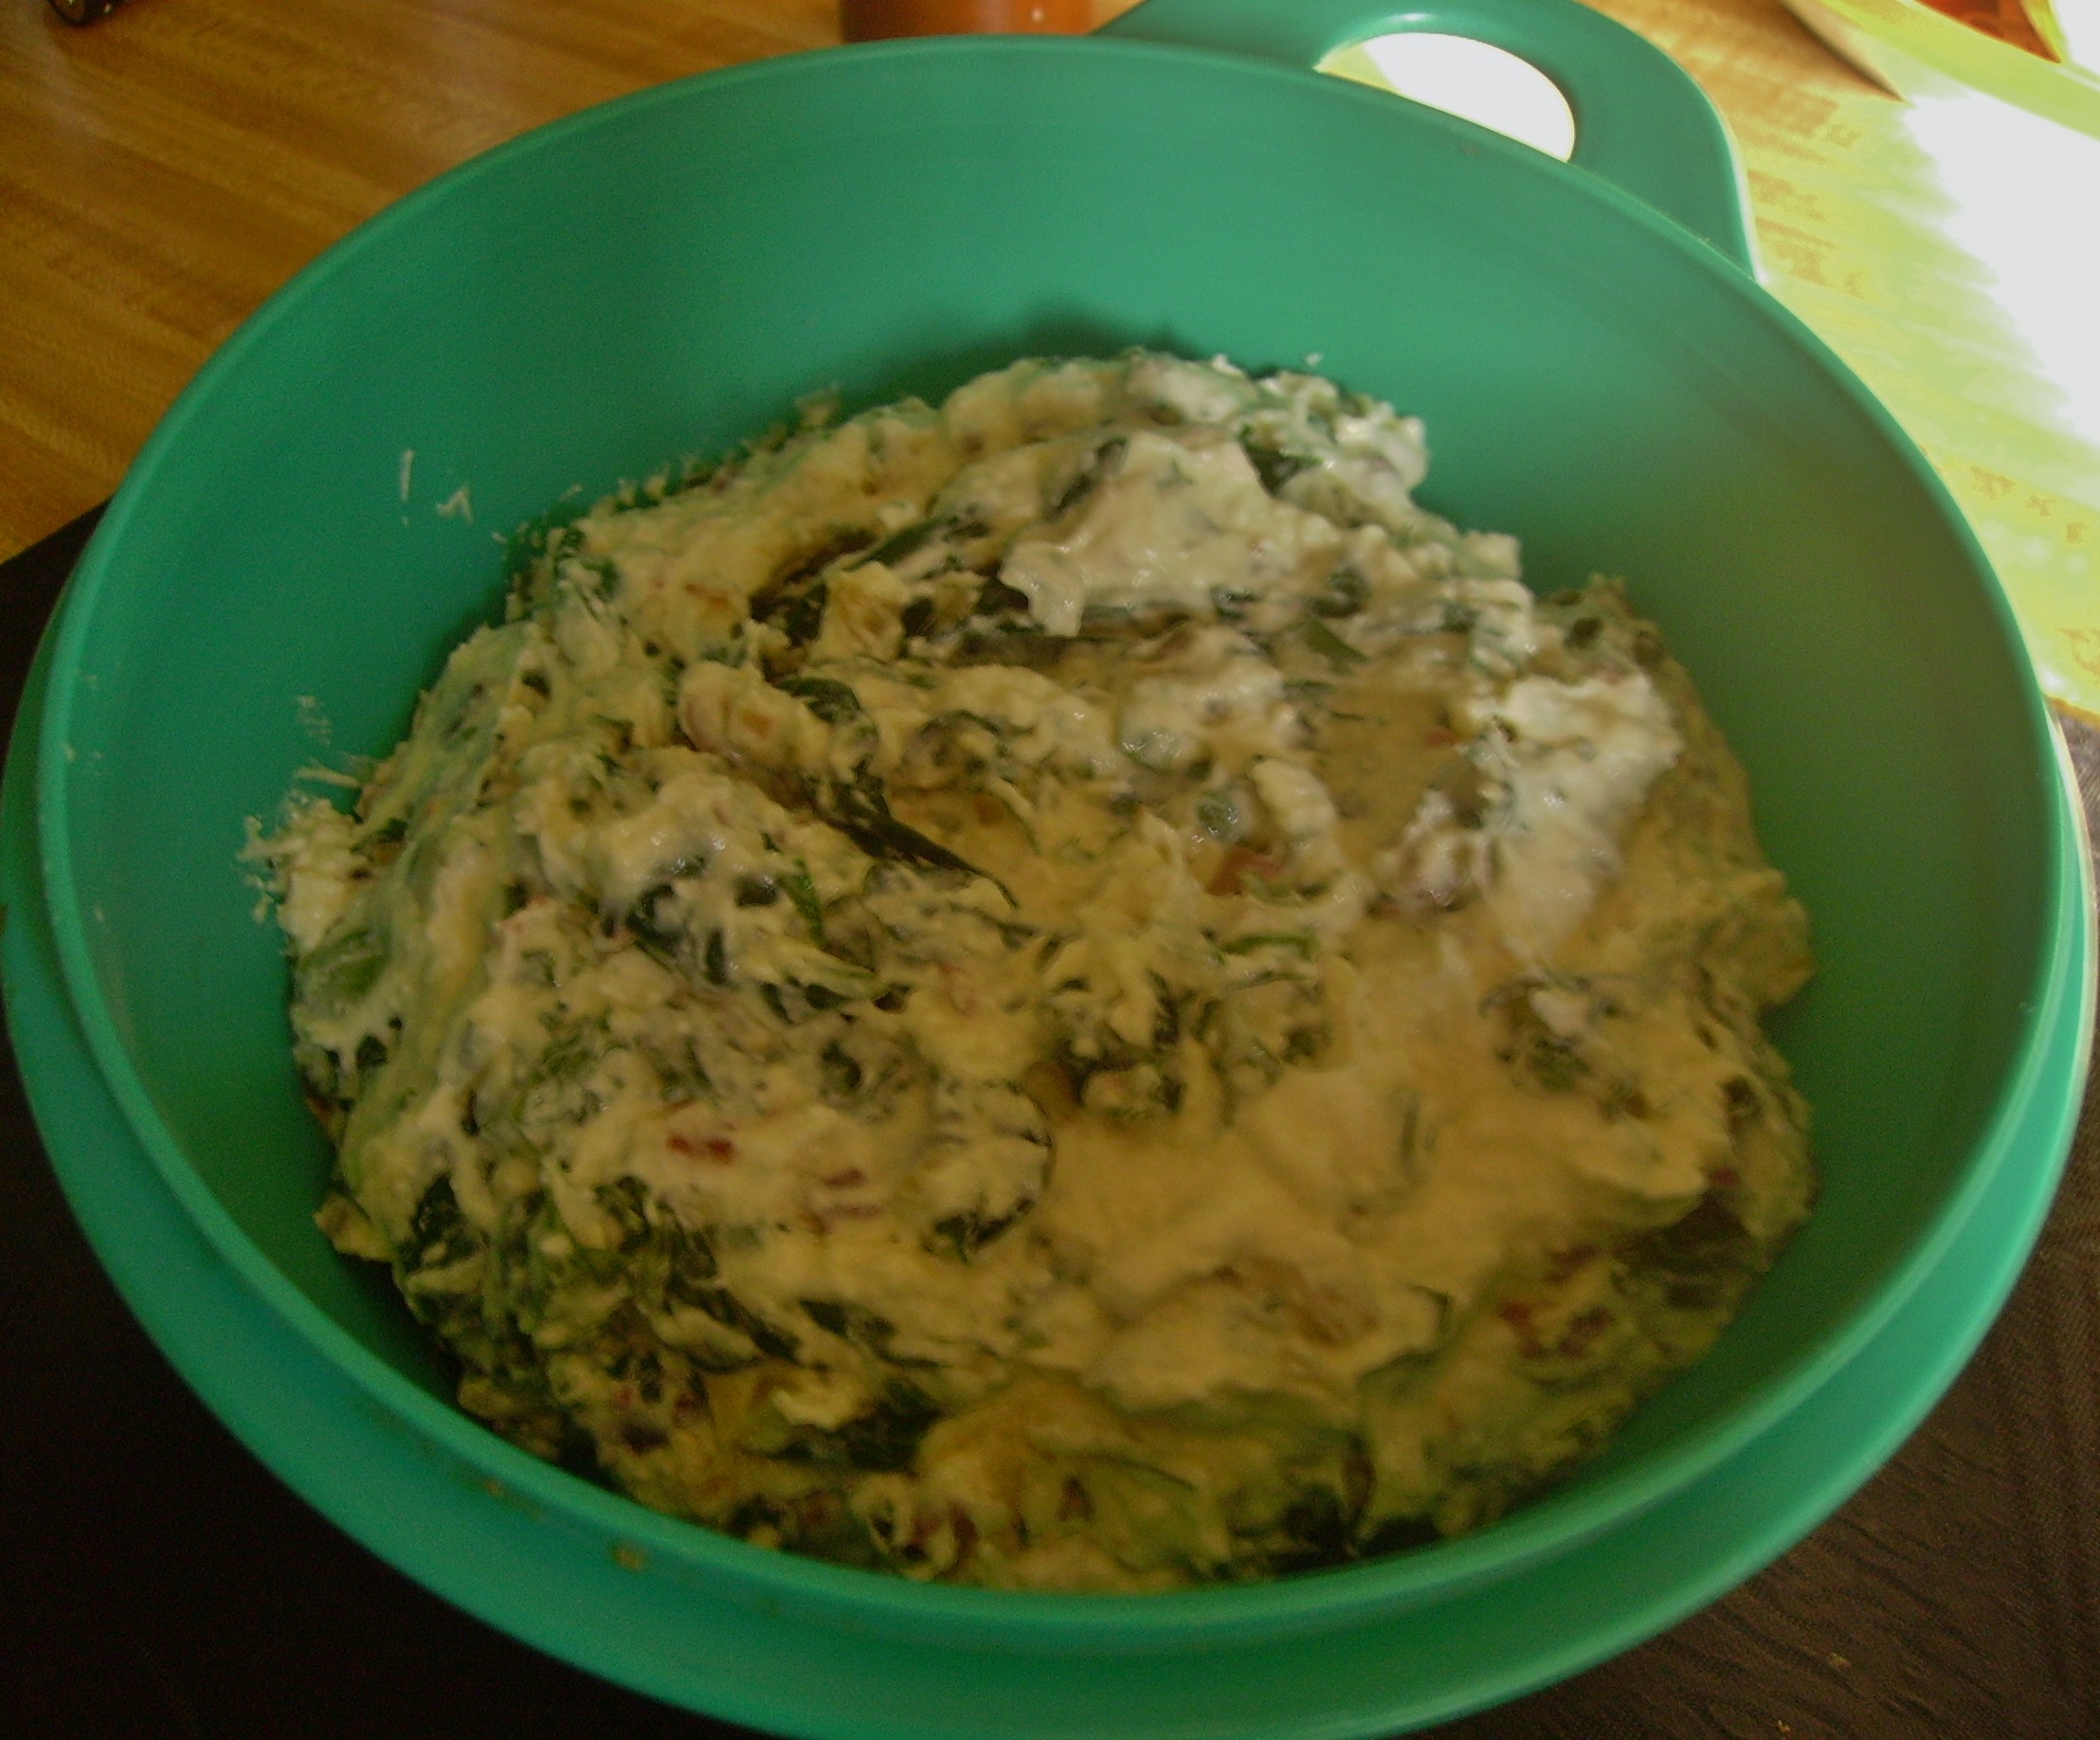
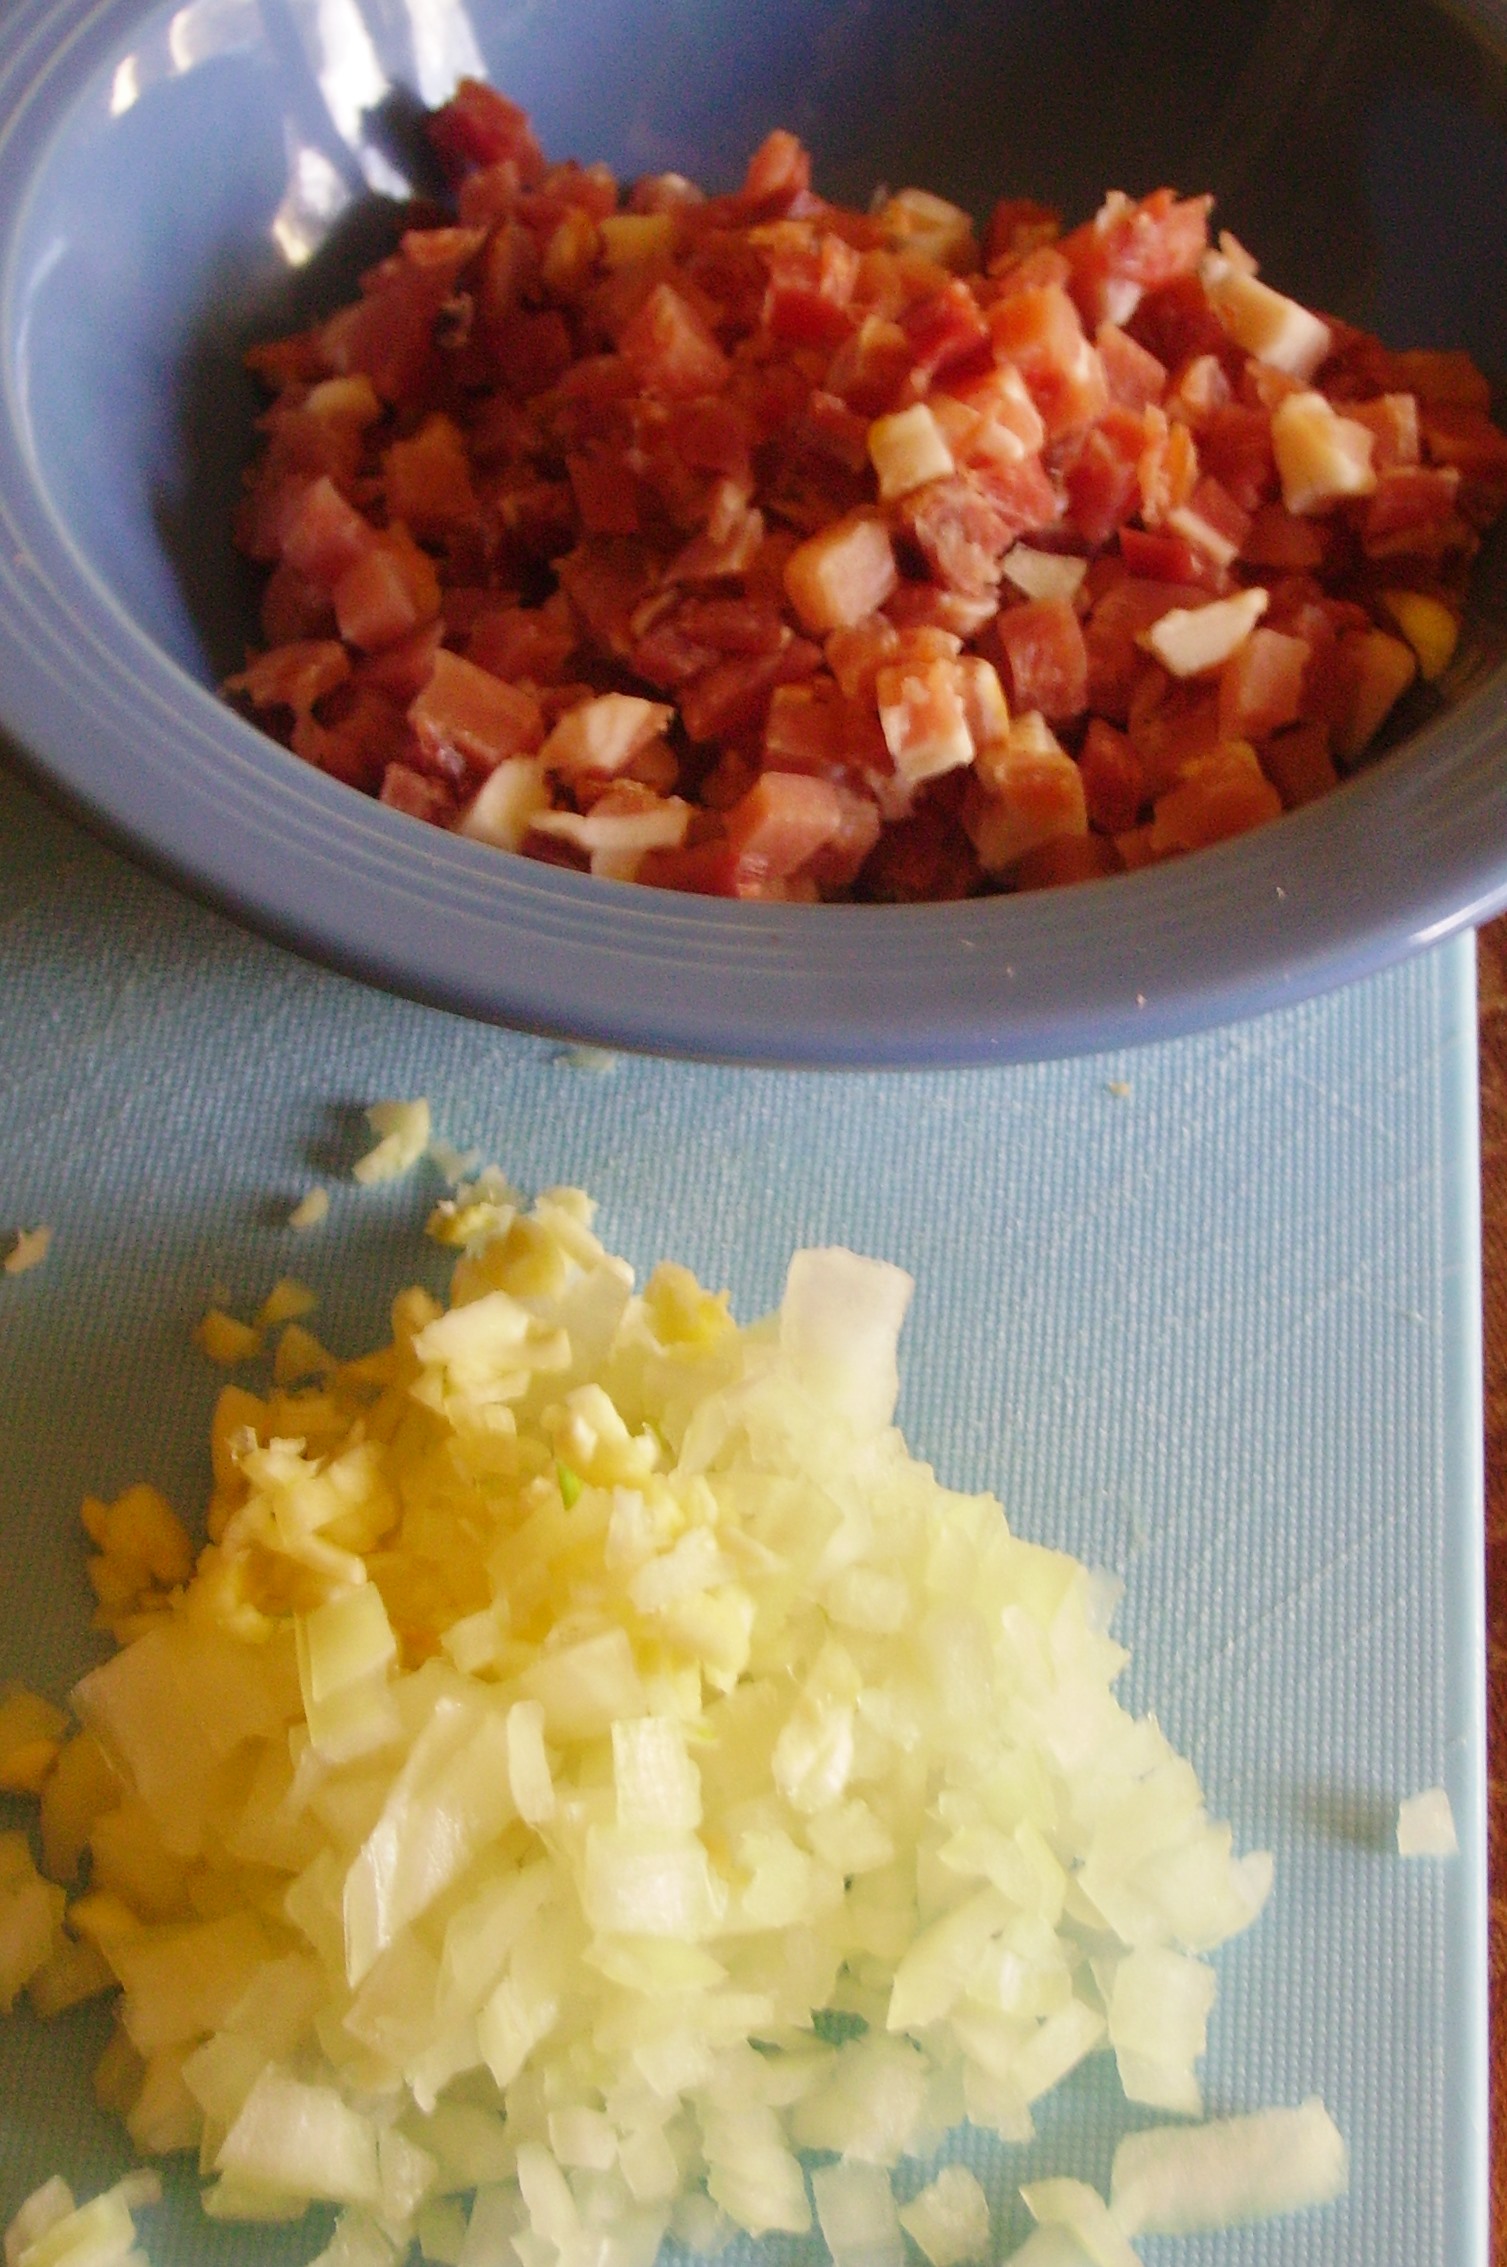
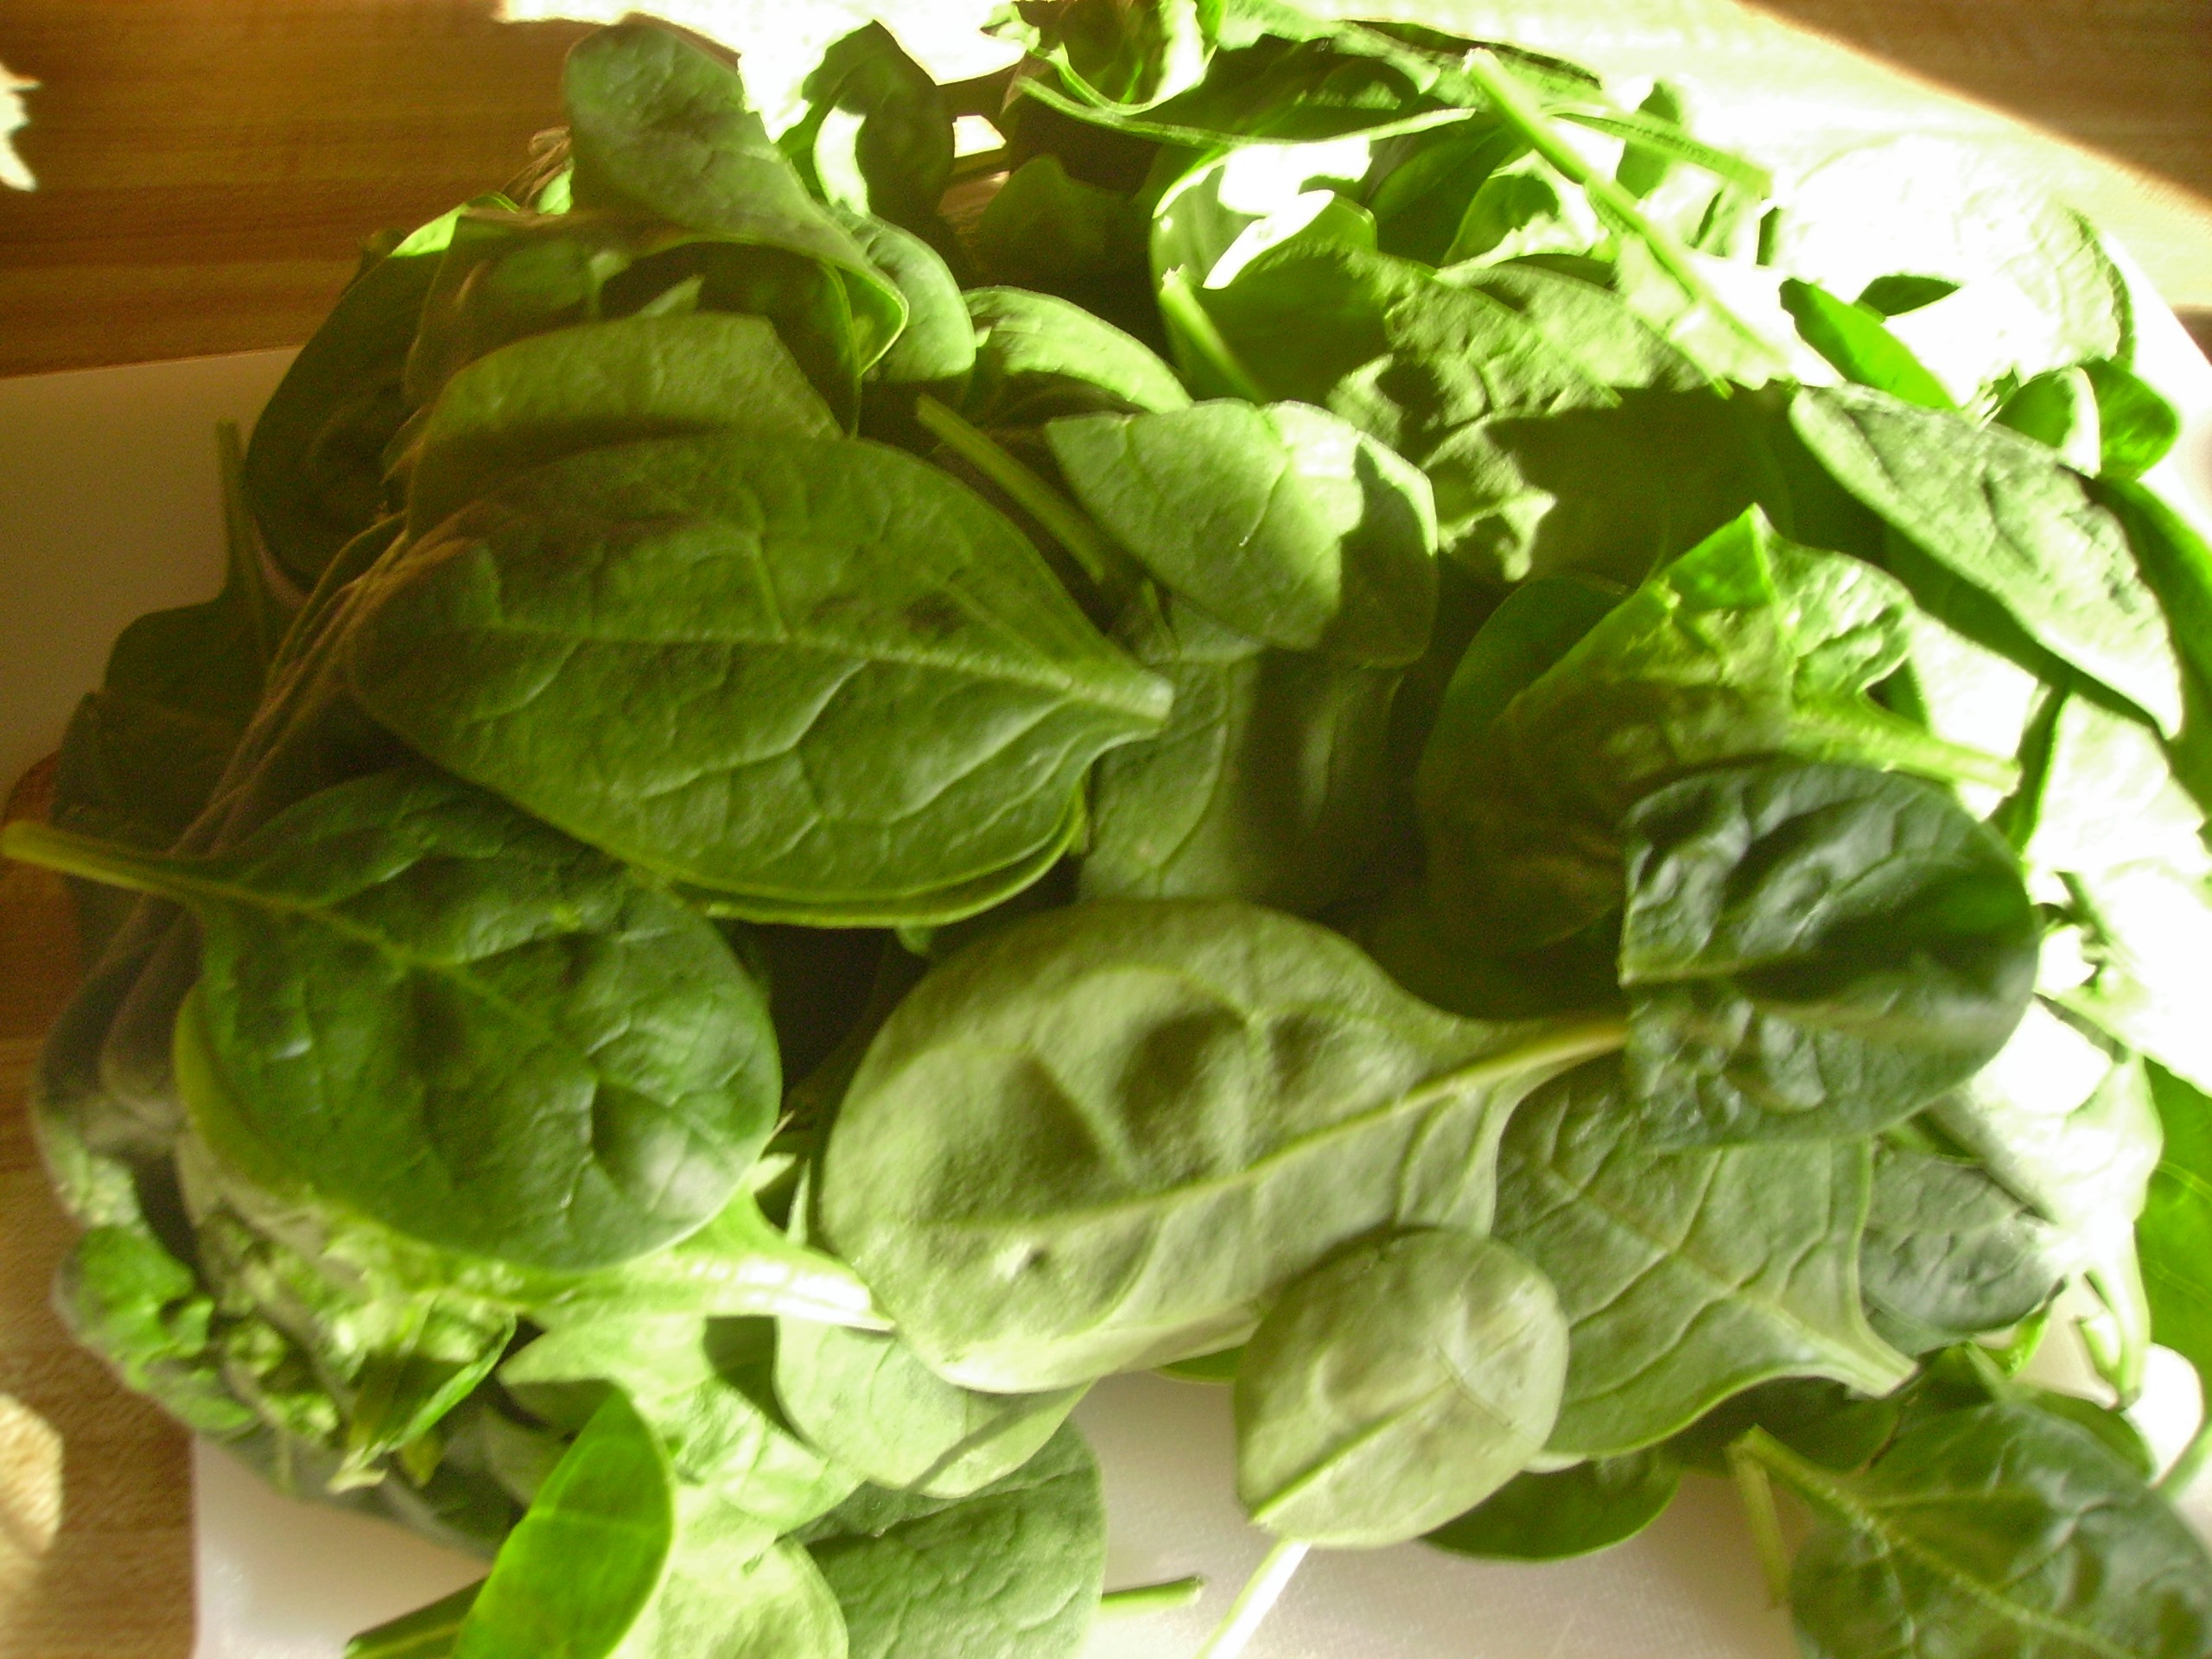
The filling begins with Pancetta, Onion and Garlic sautéed in Olive Oil. Baby Spinach joins the party in the pan. The party then moves to a mixing bowl where it gets friendly with Ricotta, Eggs, and Parmigiano – Reggiano.

The cannelloni is assembled and is covered with a Besciamella. Just a light sprinkling of Parmigiano and a bake in the oven, a quick stint in the broiler and it’s ready to eat.

You can use your favorite pasta recipe. You will only be using about half of the dough, so either cut your recipe in half or save the rest for something else. The recipe that follows is for the filing. This would be good in any filled pasta recipe.

A Lovely Filling for Canneloni
Print Recipe
This filling features homemade ricotta. It can be used for any filled pasta, but it's delicious in canneloni.
Servings Prep Time
8 Canneloni 15 minutes
Cook Time
30 minutes
Servings Prep Time
8 Canneloni 15 minutes
Cook Time
30 minutes
A Lovely Filling for Canneloni
Print Recipe
This filling features homemade ricotta. It can be used for any filled pasta, but it's delicious in canneloni.
Servings Prep Time
8 Canneloni 15 minutes
Cook Time
30 minutes
Servings Prep Time
8 Canneloni 15 minutes
Cook Time
30 minutes
Ingredients
Servings: Canneloni
Instructions
  1. Heat olive oil in large pan. Add Pancetta and saute until it is slightly brown. Add the onions and garlic and continue to cook stirring occasionally until the onion begins to turn translucent and the garlic is fragrent.
  2. Add Spinach to pan and toss and cook until the spinach is just wilted. Remove from heat and allow to cool completely.
  3. Mix Egg, Ricotta, and Parmigiano in a medium bowl. Add the cooled Spinach mixture and stir to combine. Set aside
  4. Use this filling to stuff your favorite" stuffable" pasta. Canneloni, Manicotti, Ravioli or Lasagna all would love to have this filling between their sheets.
Share this Recipe
Powered byWP Ultimate Recipe


Mama D & The Bean…A Love Story

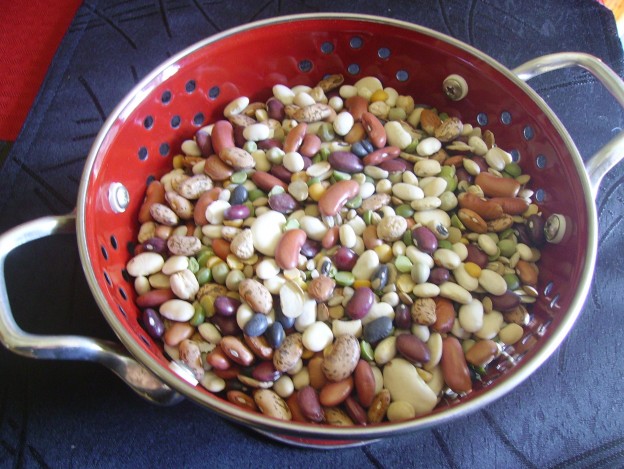
Once upon a time there was a little girl growing up in Melrose Park. Her mother was a very good cook and the little girl liked everything her mother made. Everything that is, except Pasta Fagioli. The little girl dreaded Fridays when Pasta Fagioli was on the menu. What was it about this bean and pasta soup? It was probably the celery, but the little girl was sure it was the beans. So beans became the food she wouldn’t eat. She wouldn’t eat celery either, but that’s another story.

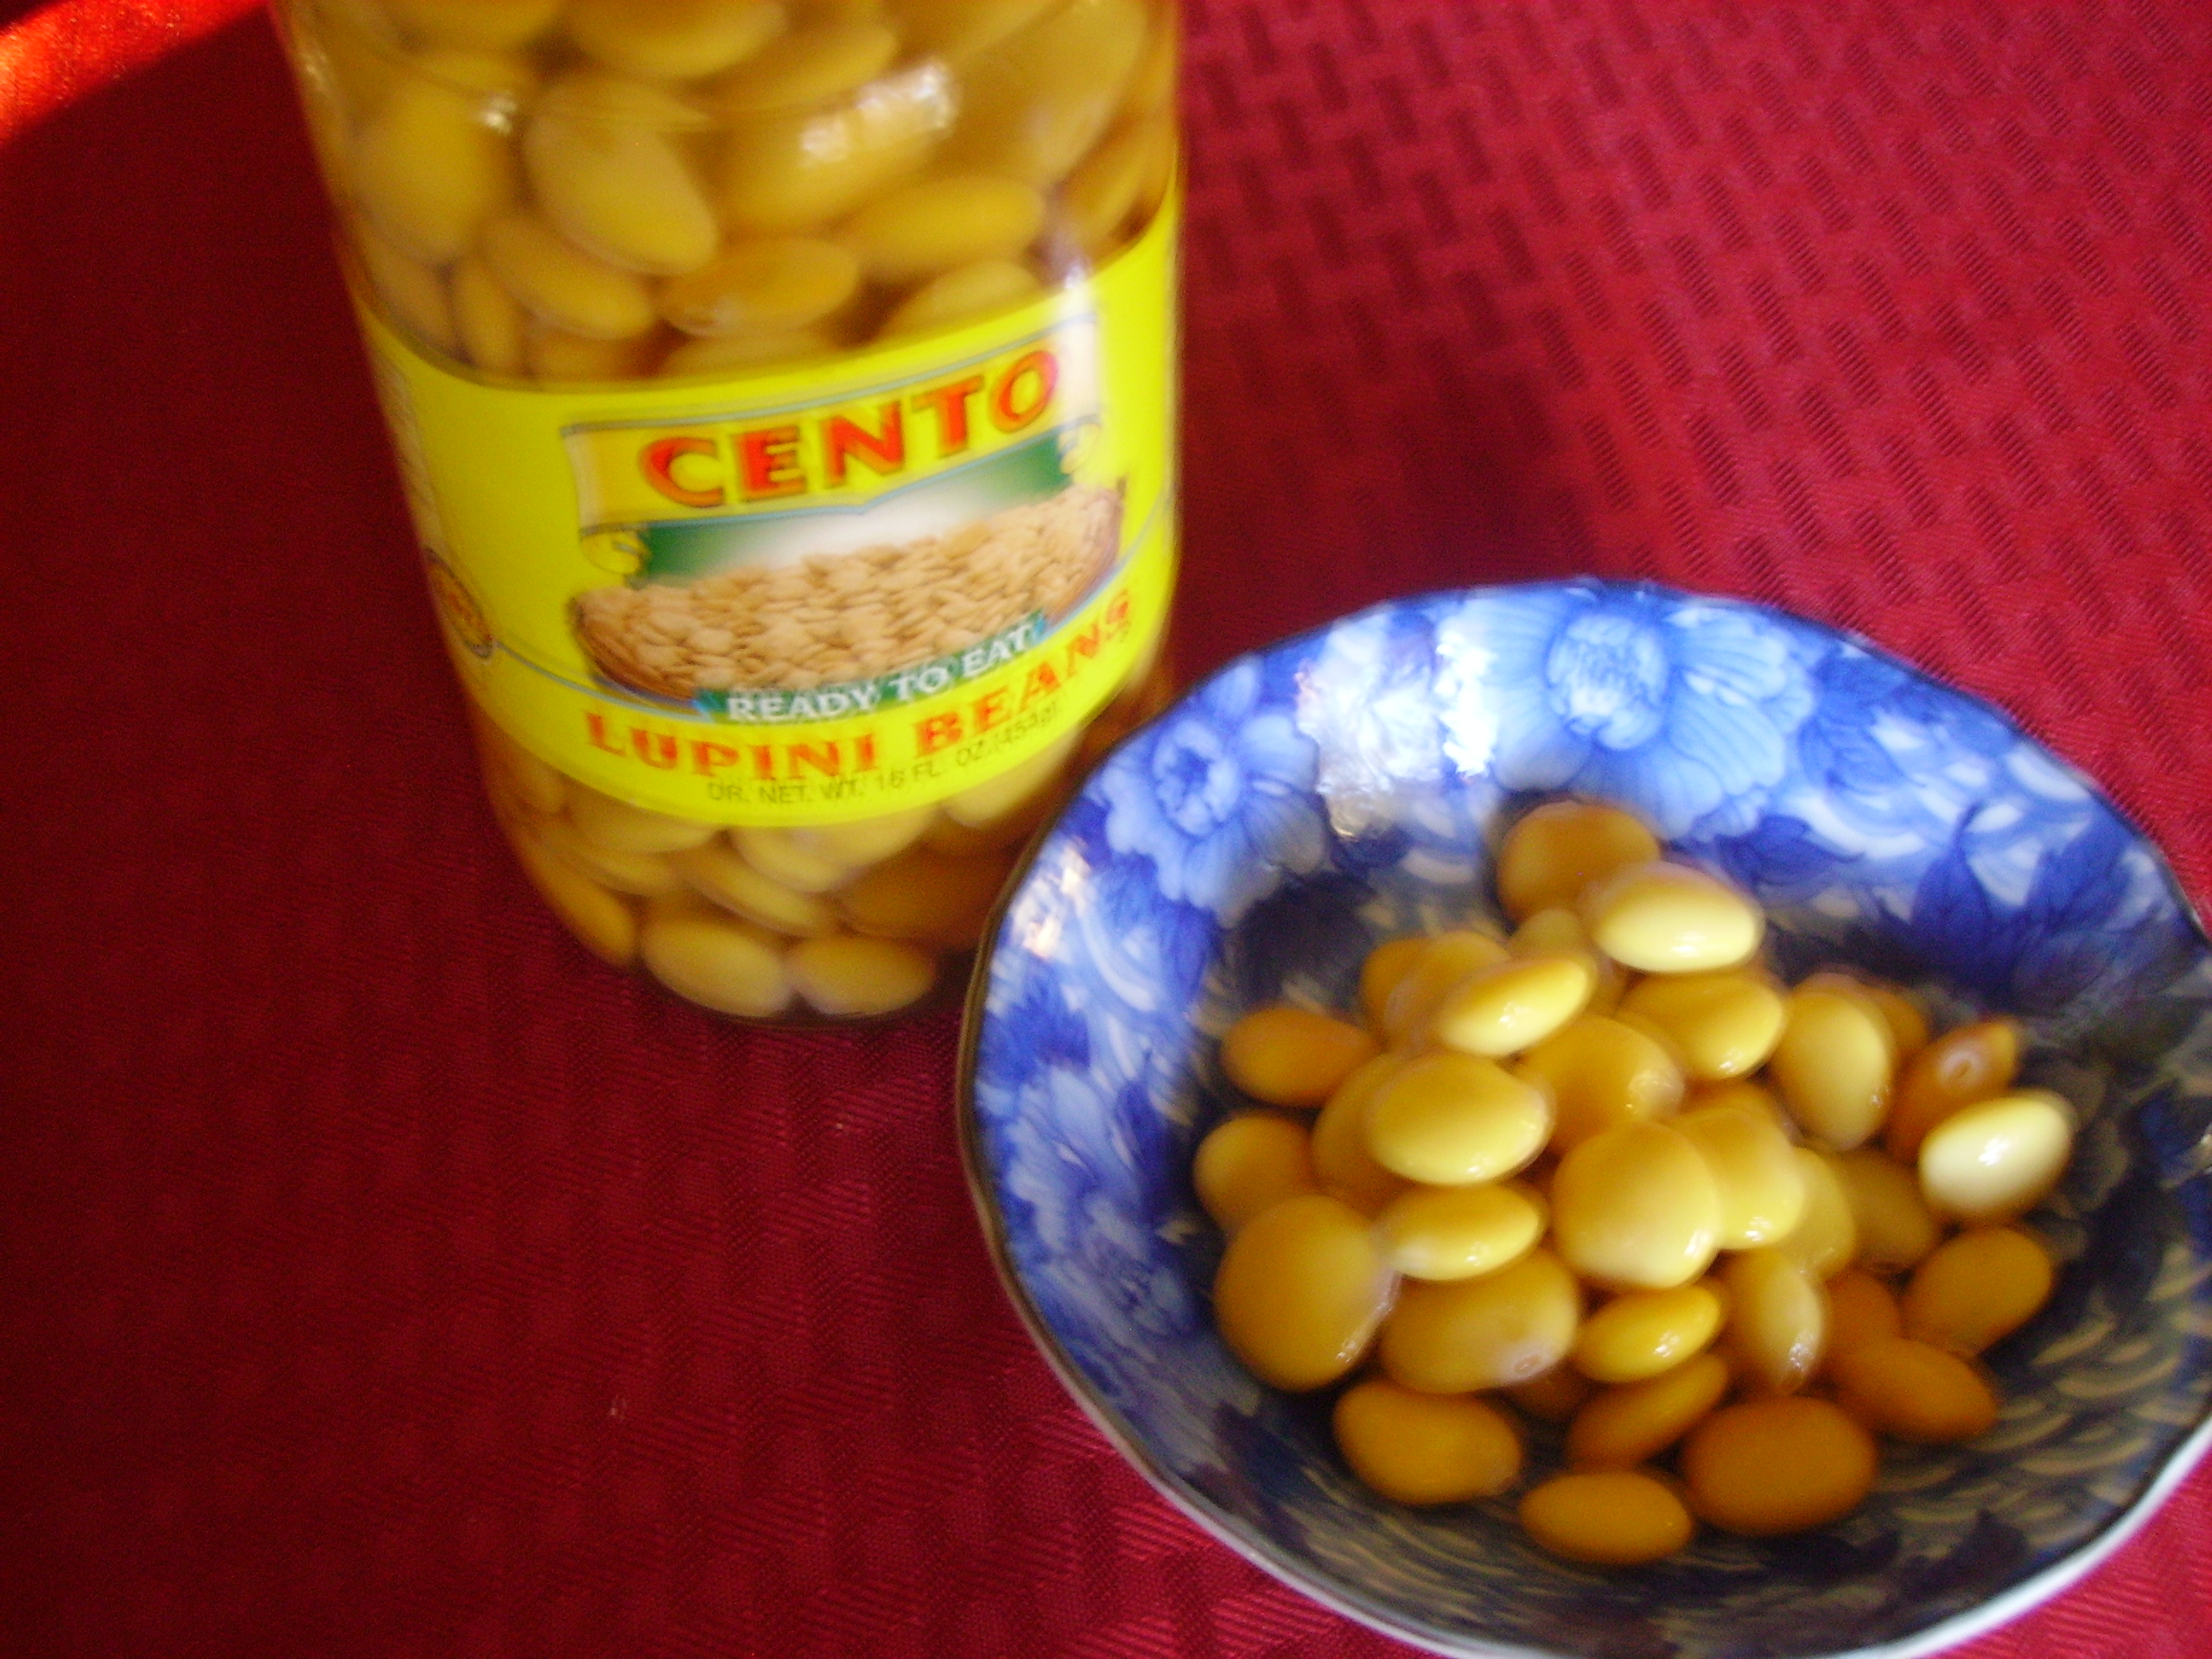
The little girl made some exceptions as little girls were apt to do. She loved Lupini, brined beans that you bit open and DIGITAL CAMERAsqueezed  into your mouth. She also liked Ceci, Garbanzos roasted until crunchy and salted liberally. These were really “snack beans” that she had when “The Feast” was going on. The Feast of Our Lady of Mount Carmel was a week-long religious celebration that happened every mid-July (120 years this past July). The Novena, Procession and Outdoor Mass were the stars, but for the little girl the carnival and the wonderful street foods were the highlights. Since she lived just a block away from the festivities she would walk down every night ride the rides, play the Mouse Game, and come home with a paper bag of Ceci or Lupini and occasionally Red pistachios ( she was almost an adult before she learned they weren’t red everywhere).

Well, the little girl grew up. She still didn’t like celery, but she started to like beans. First there was Chili; the creamy/chewy texture the beans added were pleasant. Then came Split Pea Soup; the earthy taste of the peas combined with the smokiness of the ham were also satisfying. And she even came to love Pasta Fagioli. This isn’t about Pasta Fagioli, but it is about Legumes.

Now the little girl is more than all grown up and she eats beans at least once a week. Usually it’s in soup or a side dish, occasionally it’s in chili and quite often it’s as an appetizer. She’s learned how good beans are for her. They’re  low in fat,  high in fiber, and they are also cheap. What’s not to love about that?  Beans are versatile, and are available everywhere.

DIGITAL CAMERA

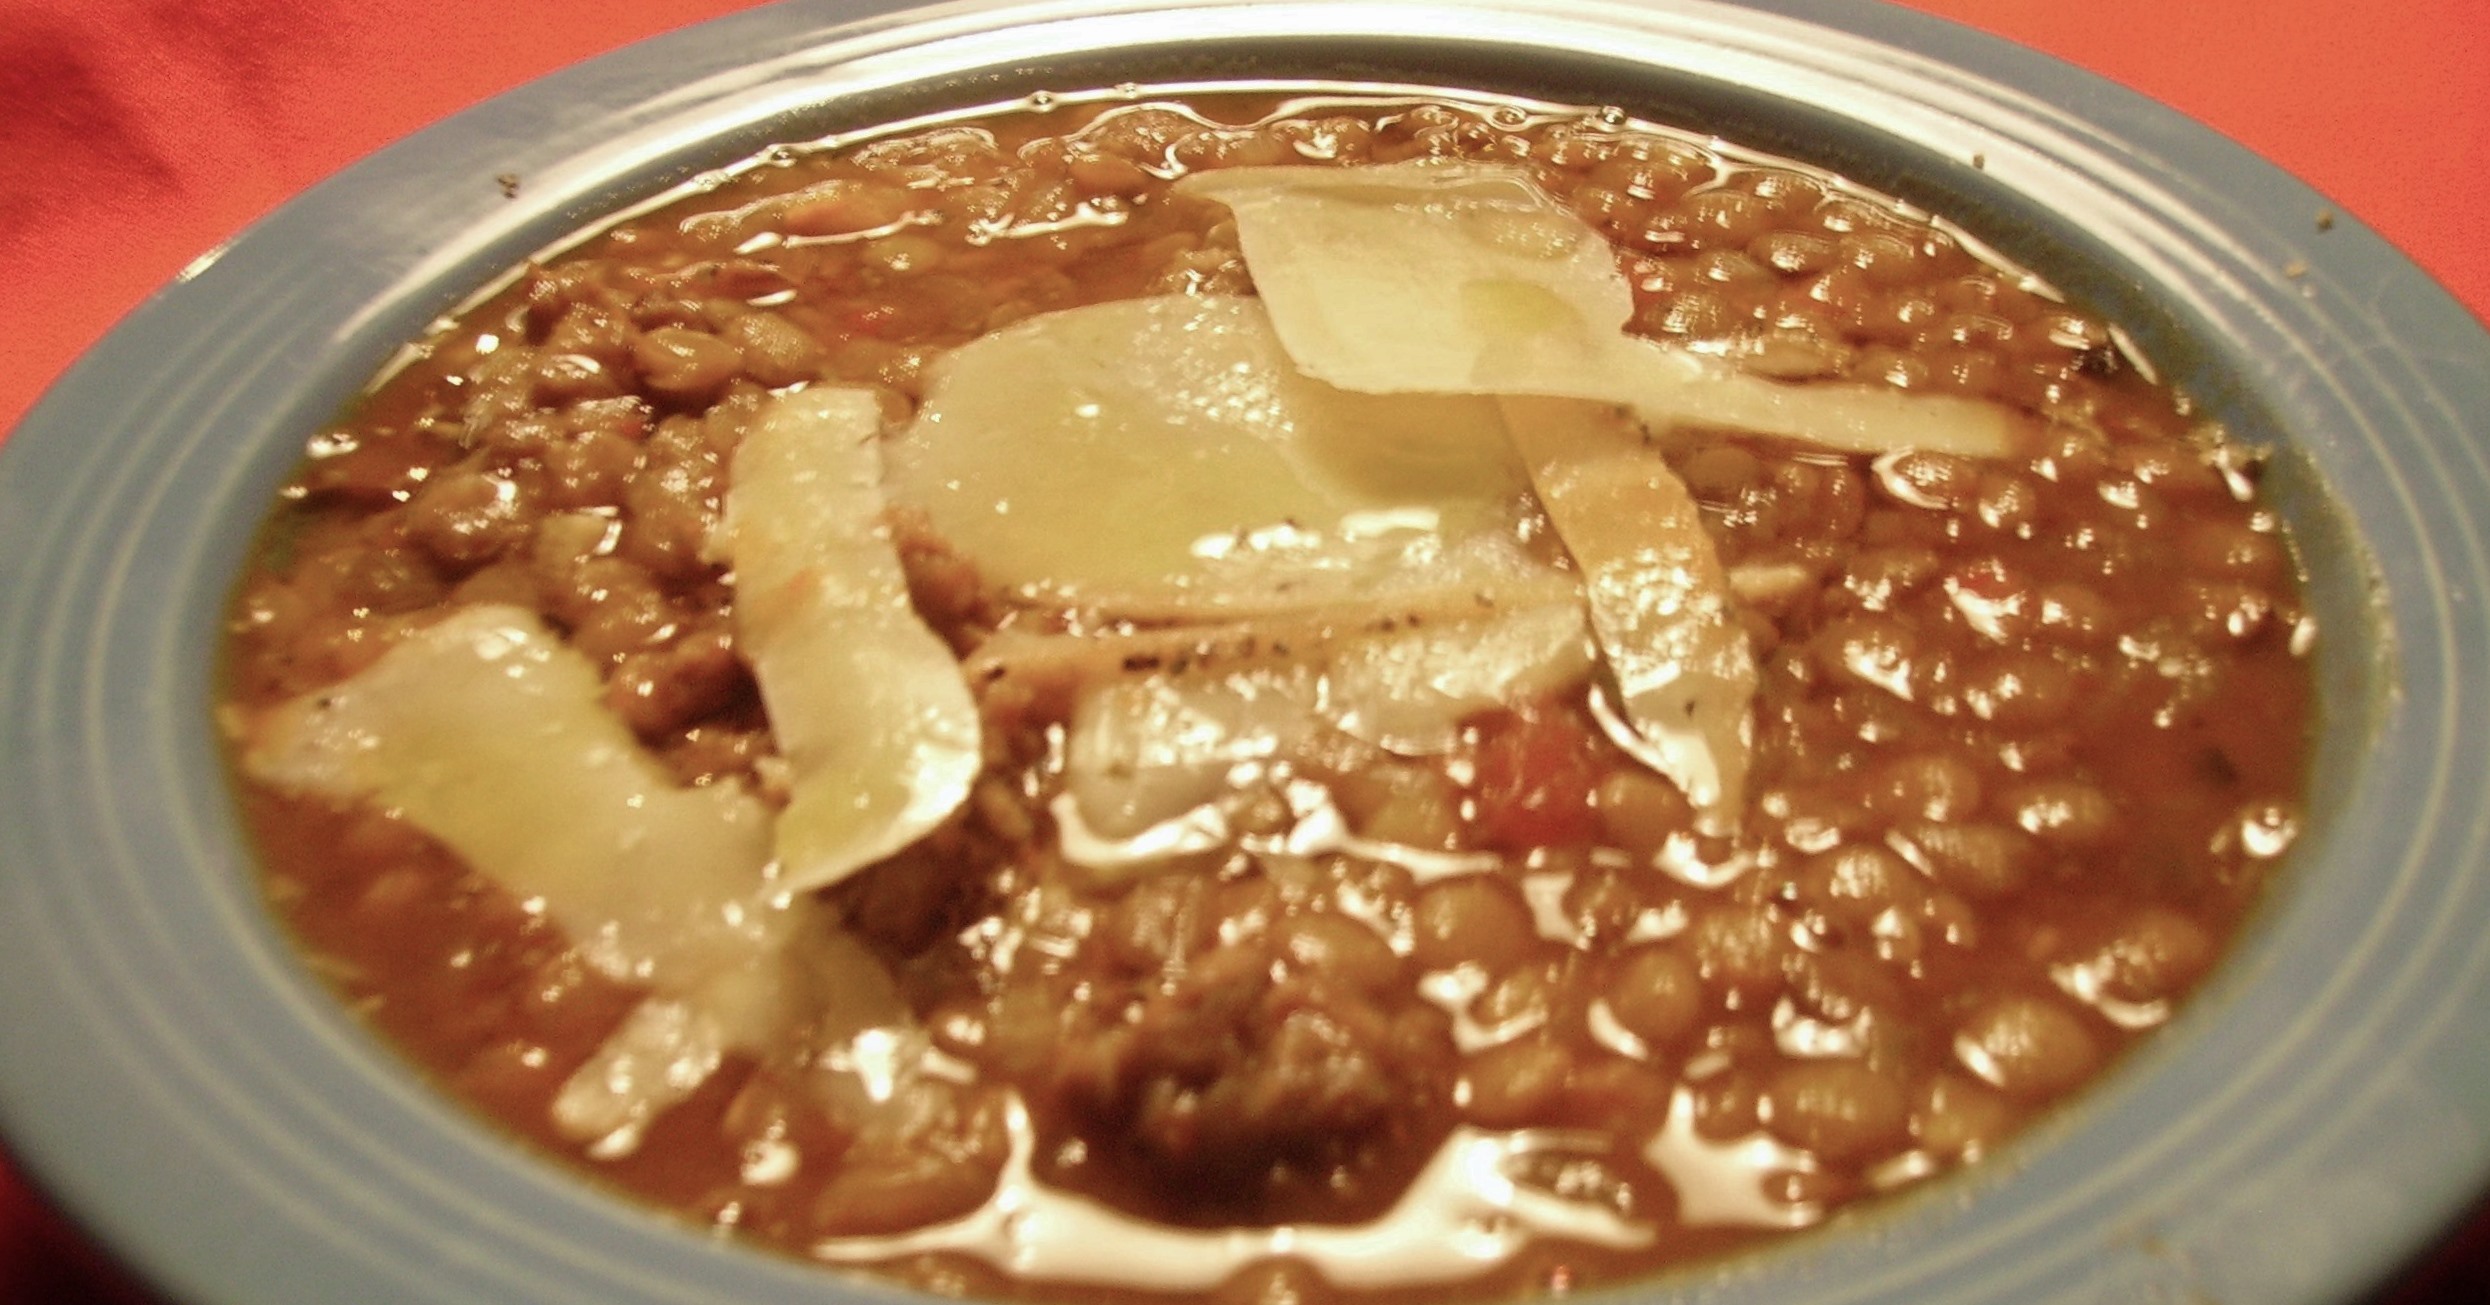
While beans are the go to protein for many vegetarians, I like mine with meat; usually a pork product. I’ve recently made two Legume driven soups with Italian Sausage as the co-star. I DIGITAL CAMERAmade the Sausage and Lentil Soup that I found on Proud Italian Cook’s Blog site. It was a simple blend of Lentils, Fennel (I REALLY don’t like celery), and Tomatoes that were combined with Sausage and the requisite Onions, Carrots, and Garlic. Lentils are the quickest cooking legume, so this soup was ready in less than an hour. The lentils became almost creamy and the spiciness of the sausage was a great counterpoint.

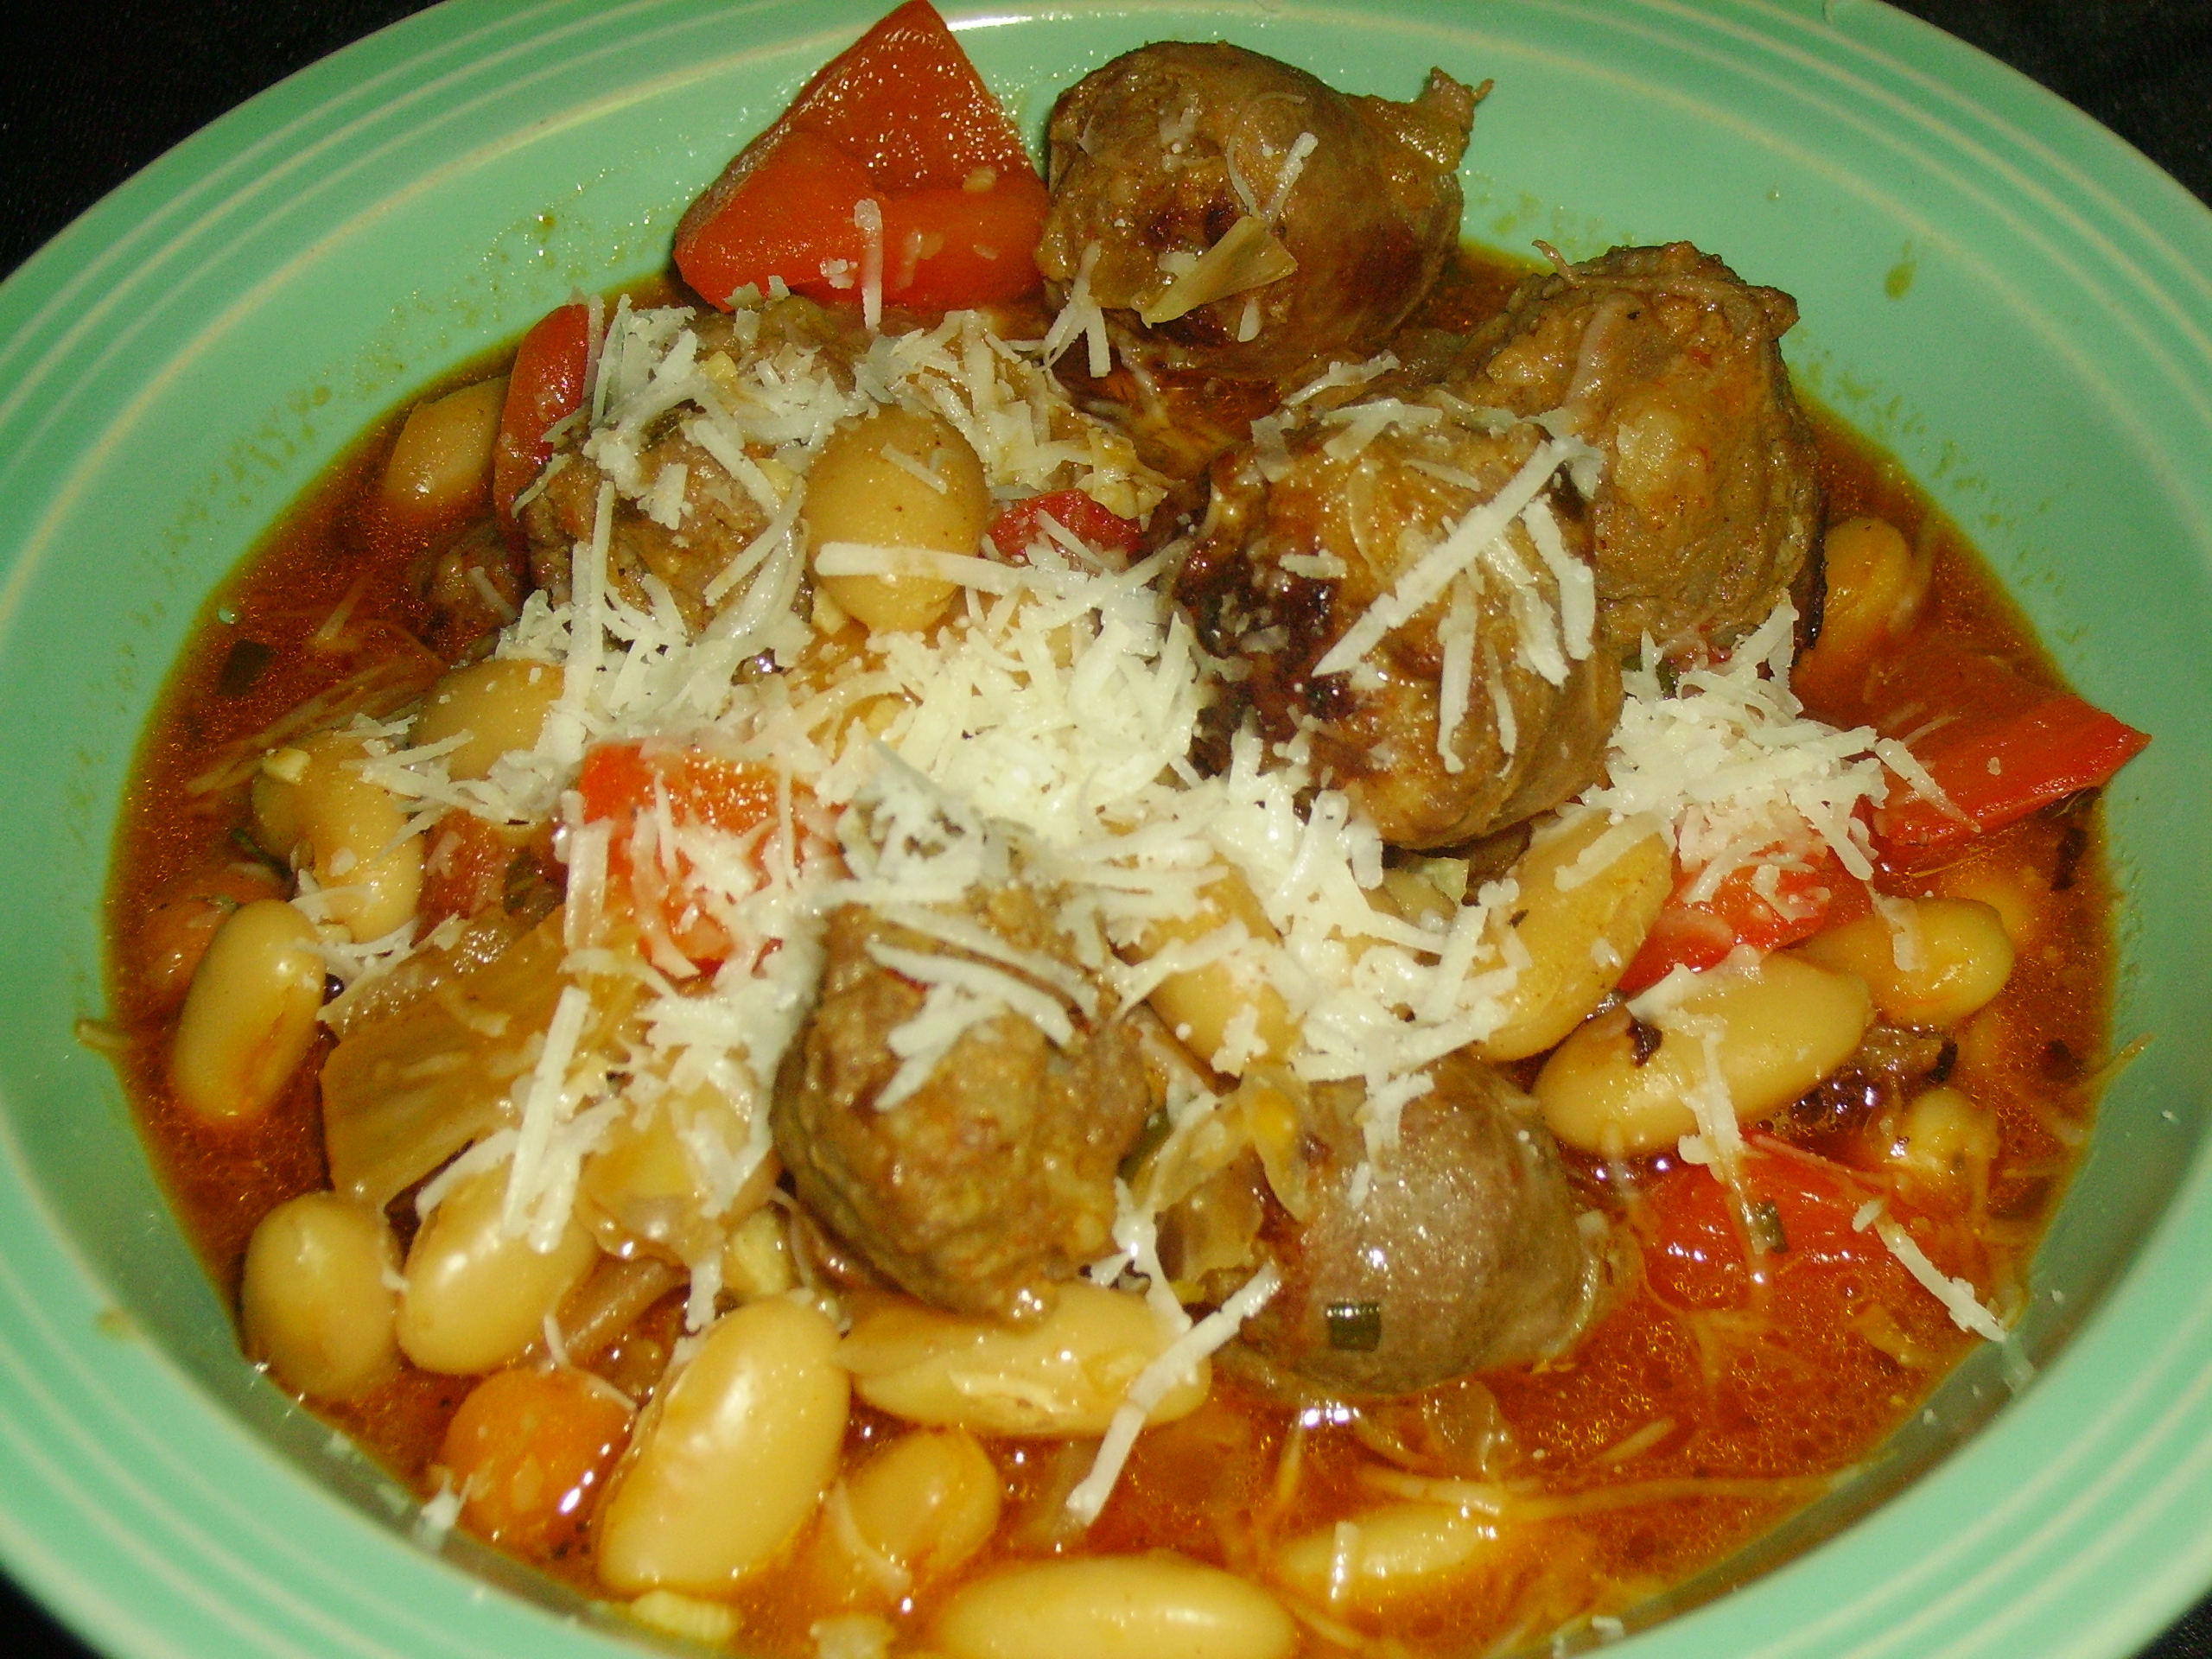
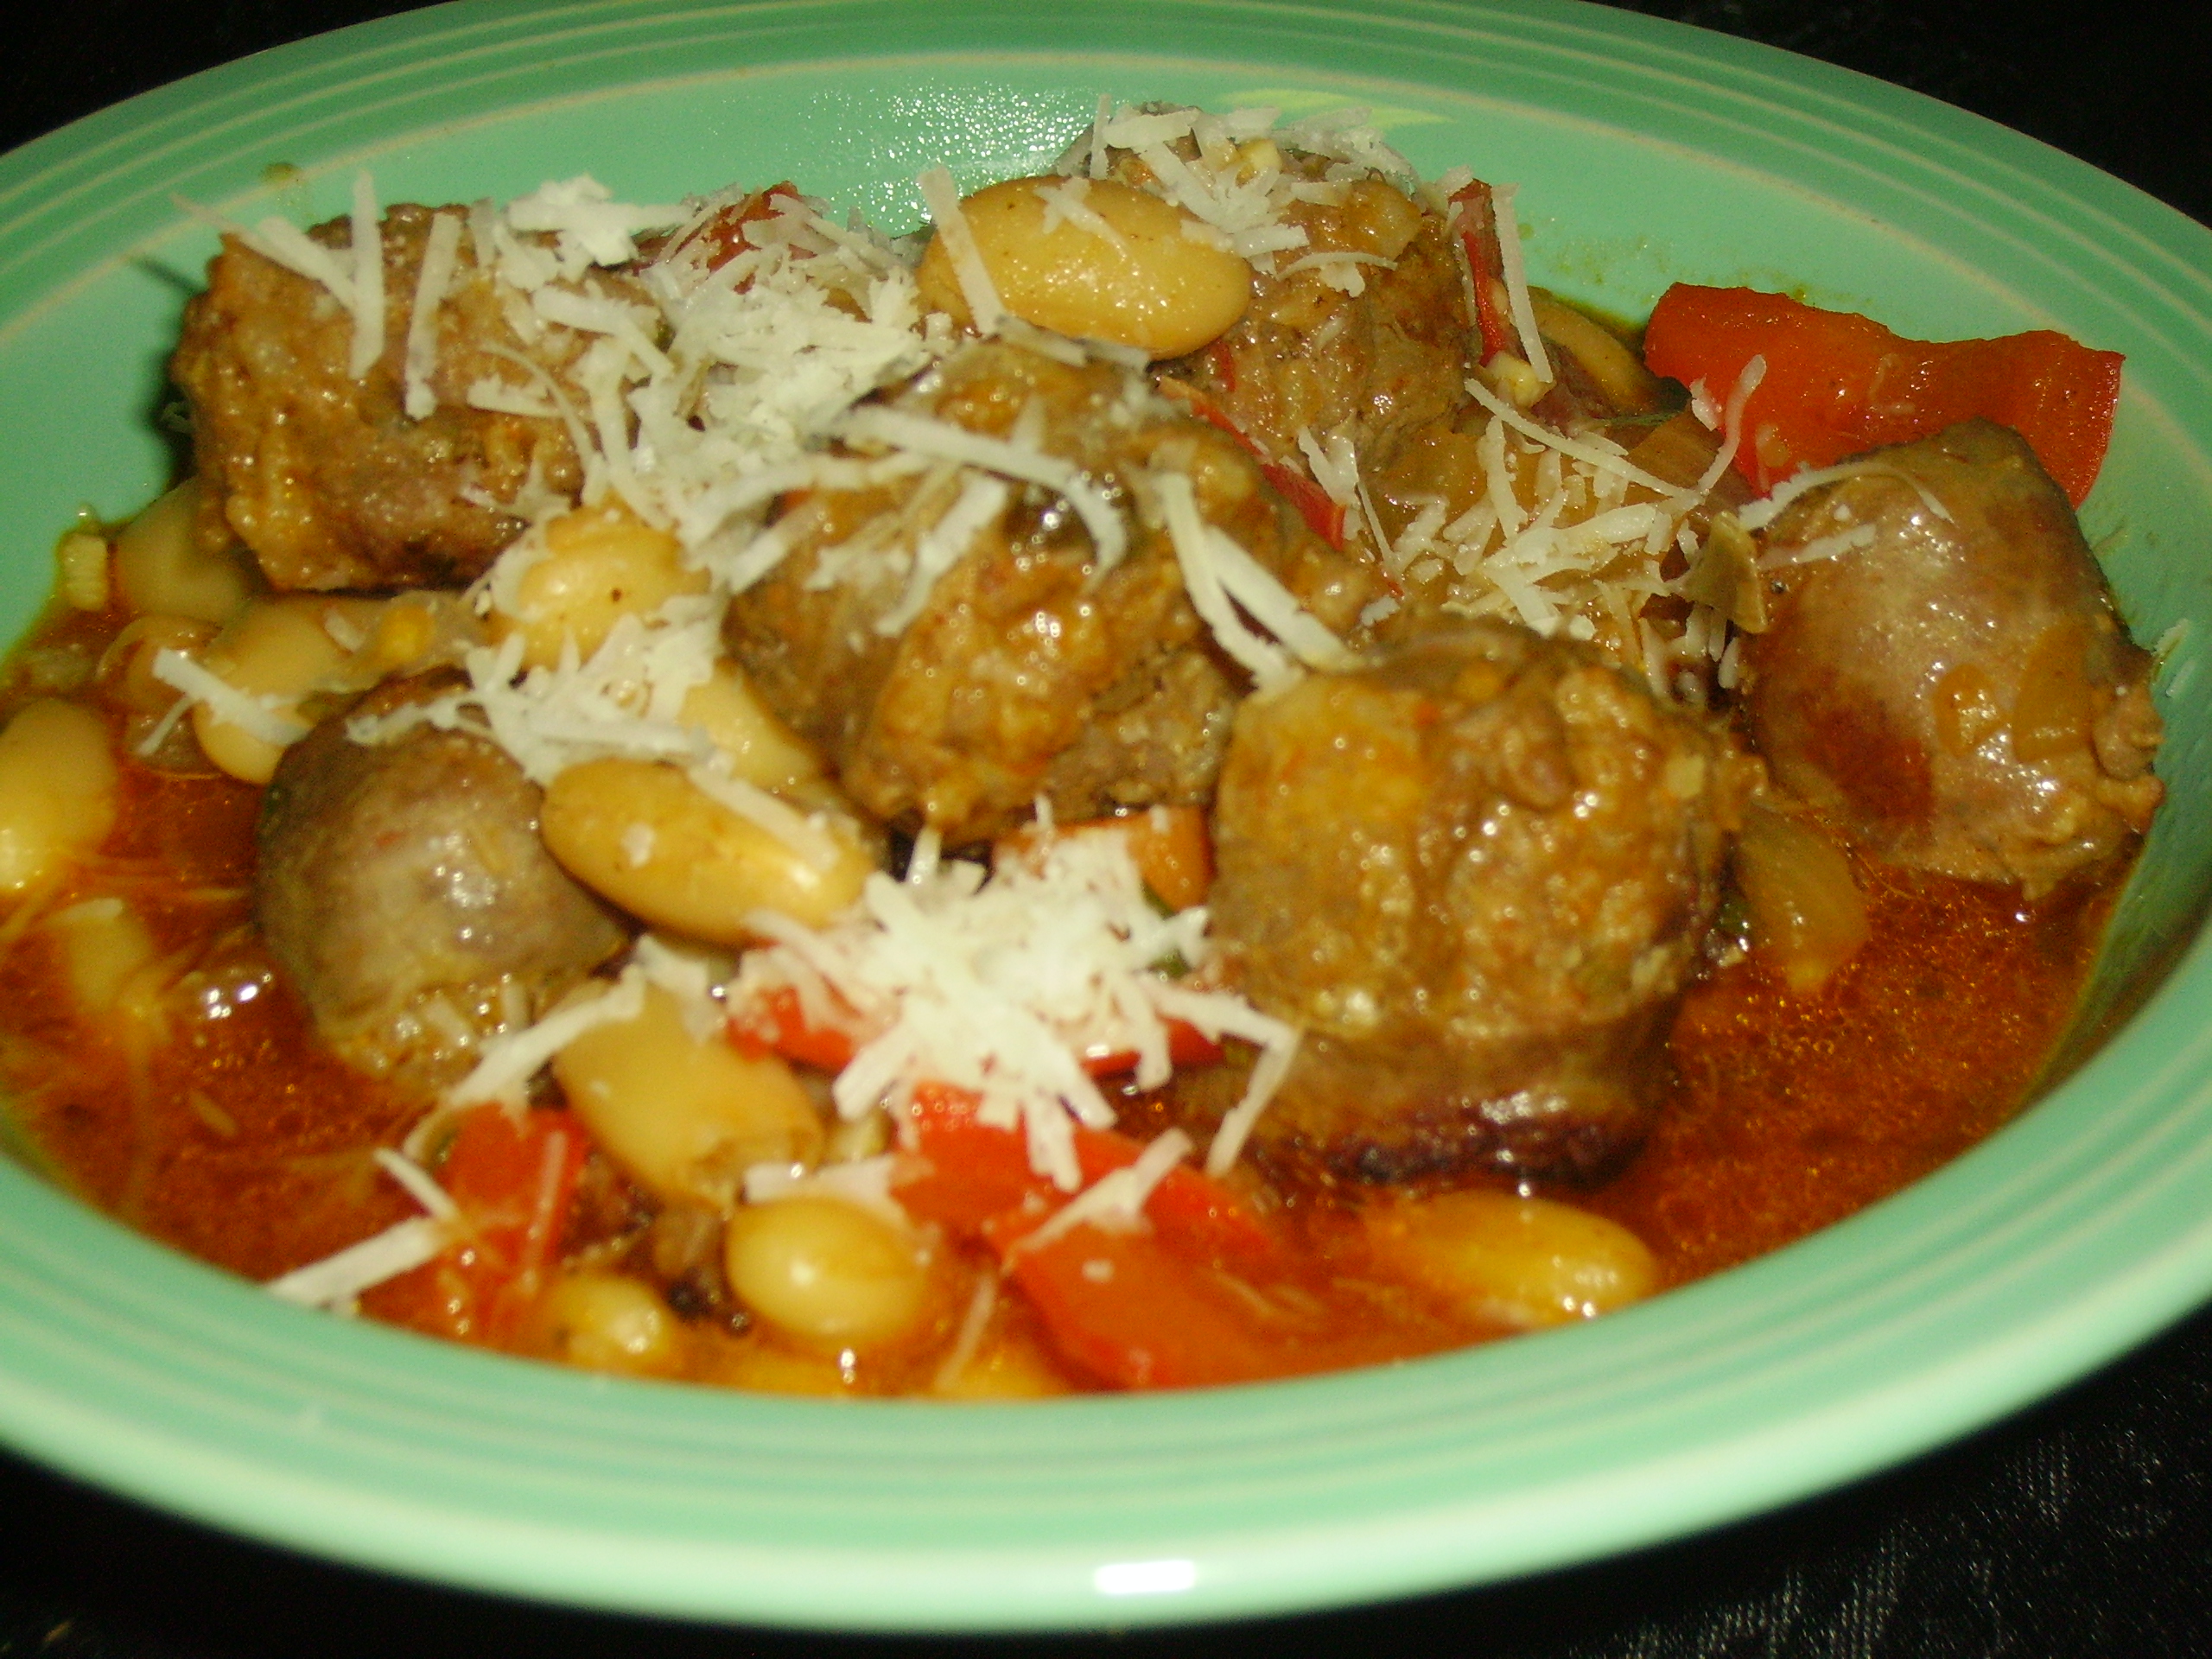
I also made a White Bean and Sausage Soup. This used canned Cannellini Beans and sliced sausage. Using canned beans has it on the table in about half an hour. It was almost thick enough call it a stew and was so satisfying that it is now part of Mama D’s soup arsenal.

Sausage and Cannellini Soup
Print Recipe
Quick Easy and Delicious. This hearty soup only needs some crusty bread.
Servings Prep Time
4 10 minutes
Cook Time
20 minutes
Servings Prep Time
4 10 minutes
Cook Time
20 minutes
Sausage and Cannellini Soup
Print Recipe
Quick Easy and Delicious. This hearty soup only needs some crusty bread.
Servings Prep Time
4 10 minutes
Cook Time
20 minutes
Servings Prep Time
4 10 minutes
Cook Time
20 minutes
Ingredients
Servings:
Instructions
  1. In a large skillet, heat olive oil until hot. Add the sausage and cook 5 minutes or so, until browned on all sides.
  2. Add carrots and peppers to the sausage and cook stirring often for 2 - 3 minutes Add the garlic and cook 1 minute more until ii is fragrent. Be careful to not let the garlic burn.
  3. Stir in the remaining ingredients into the pan and bring to a boil. Reduce the heat to low and simmer approximately 15 minutes. The soup should thicken slightly and the sausage should be cooked through completely.
  4. Serve with a generous sprinkling of Peccorino Romano cheese.
Share this Recipe
Powered byWP Ultimate Recipe

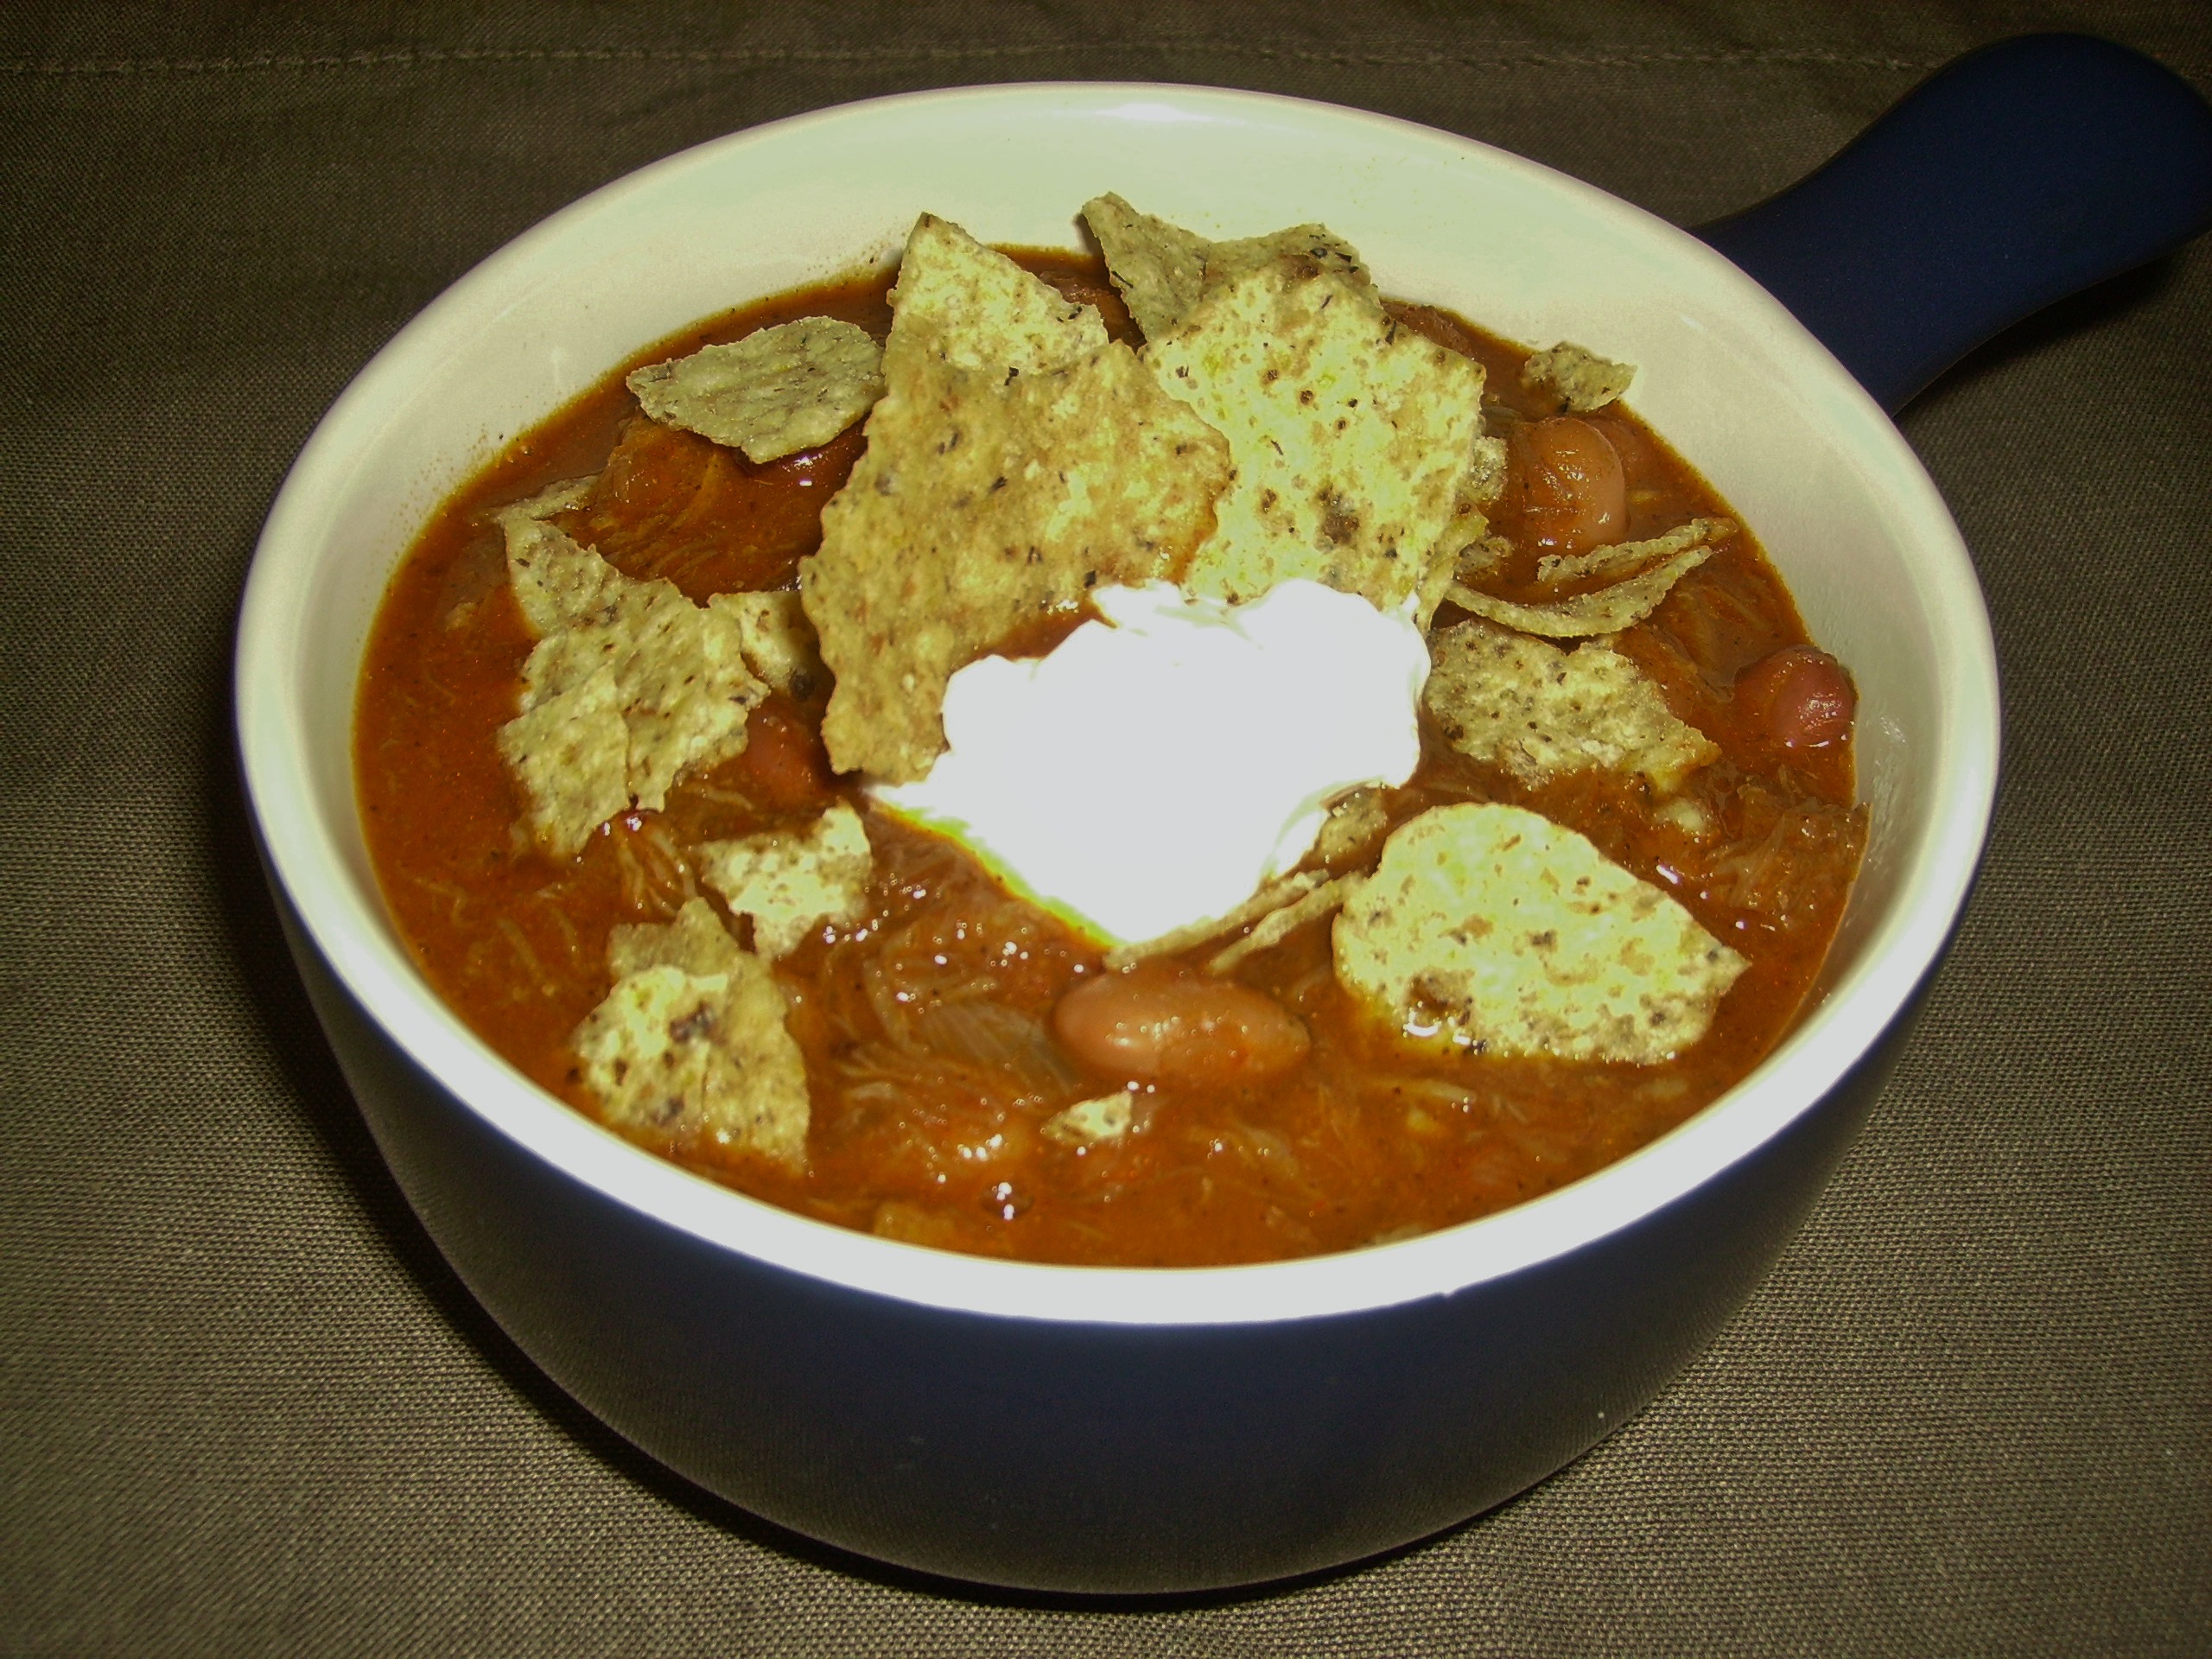
DIGITAL CAMERAI added Red and Pinto Beans to  Pulled Pork and created a wonderful Pulled Pork Chili. The liquid was chili based, and was fired up with chipotle and jalapeno. The richness of the pulled pork and the heat of the chili were mellowed by the beans.

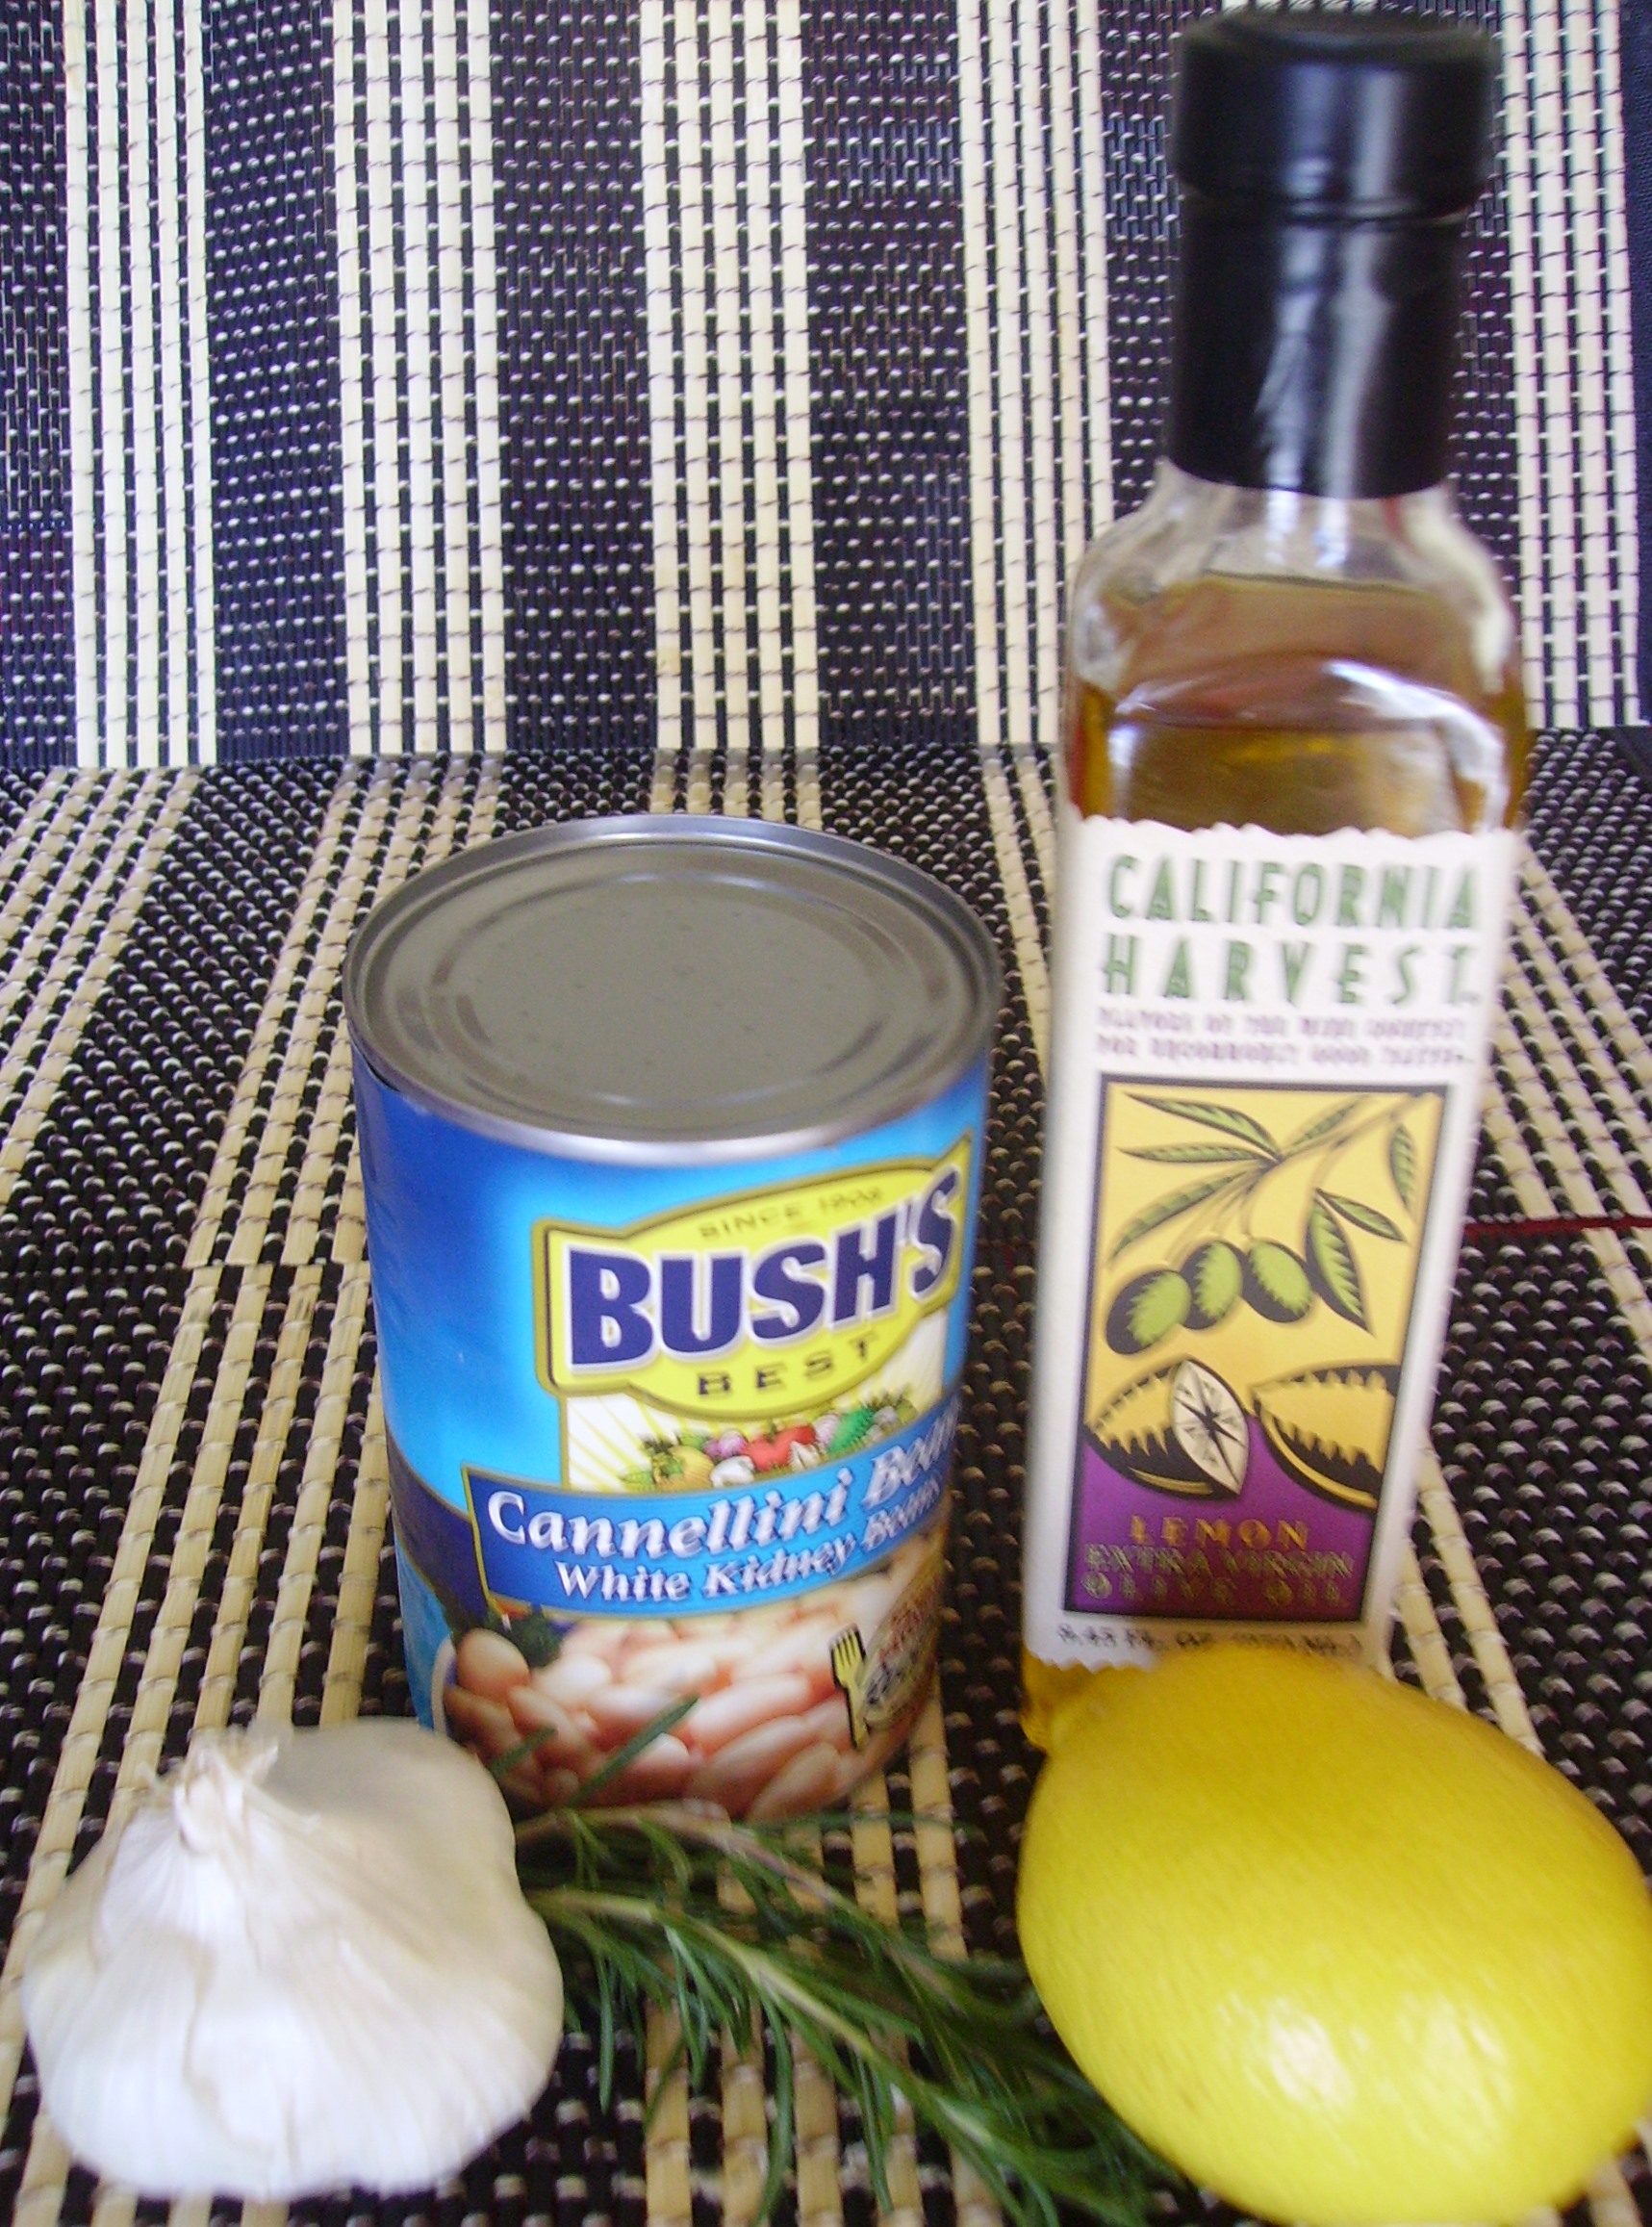
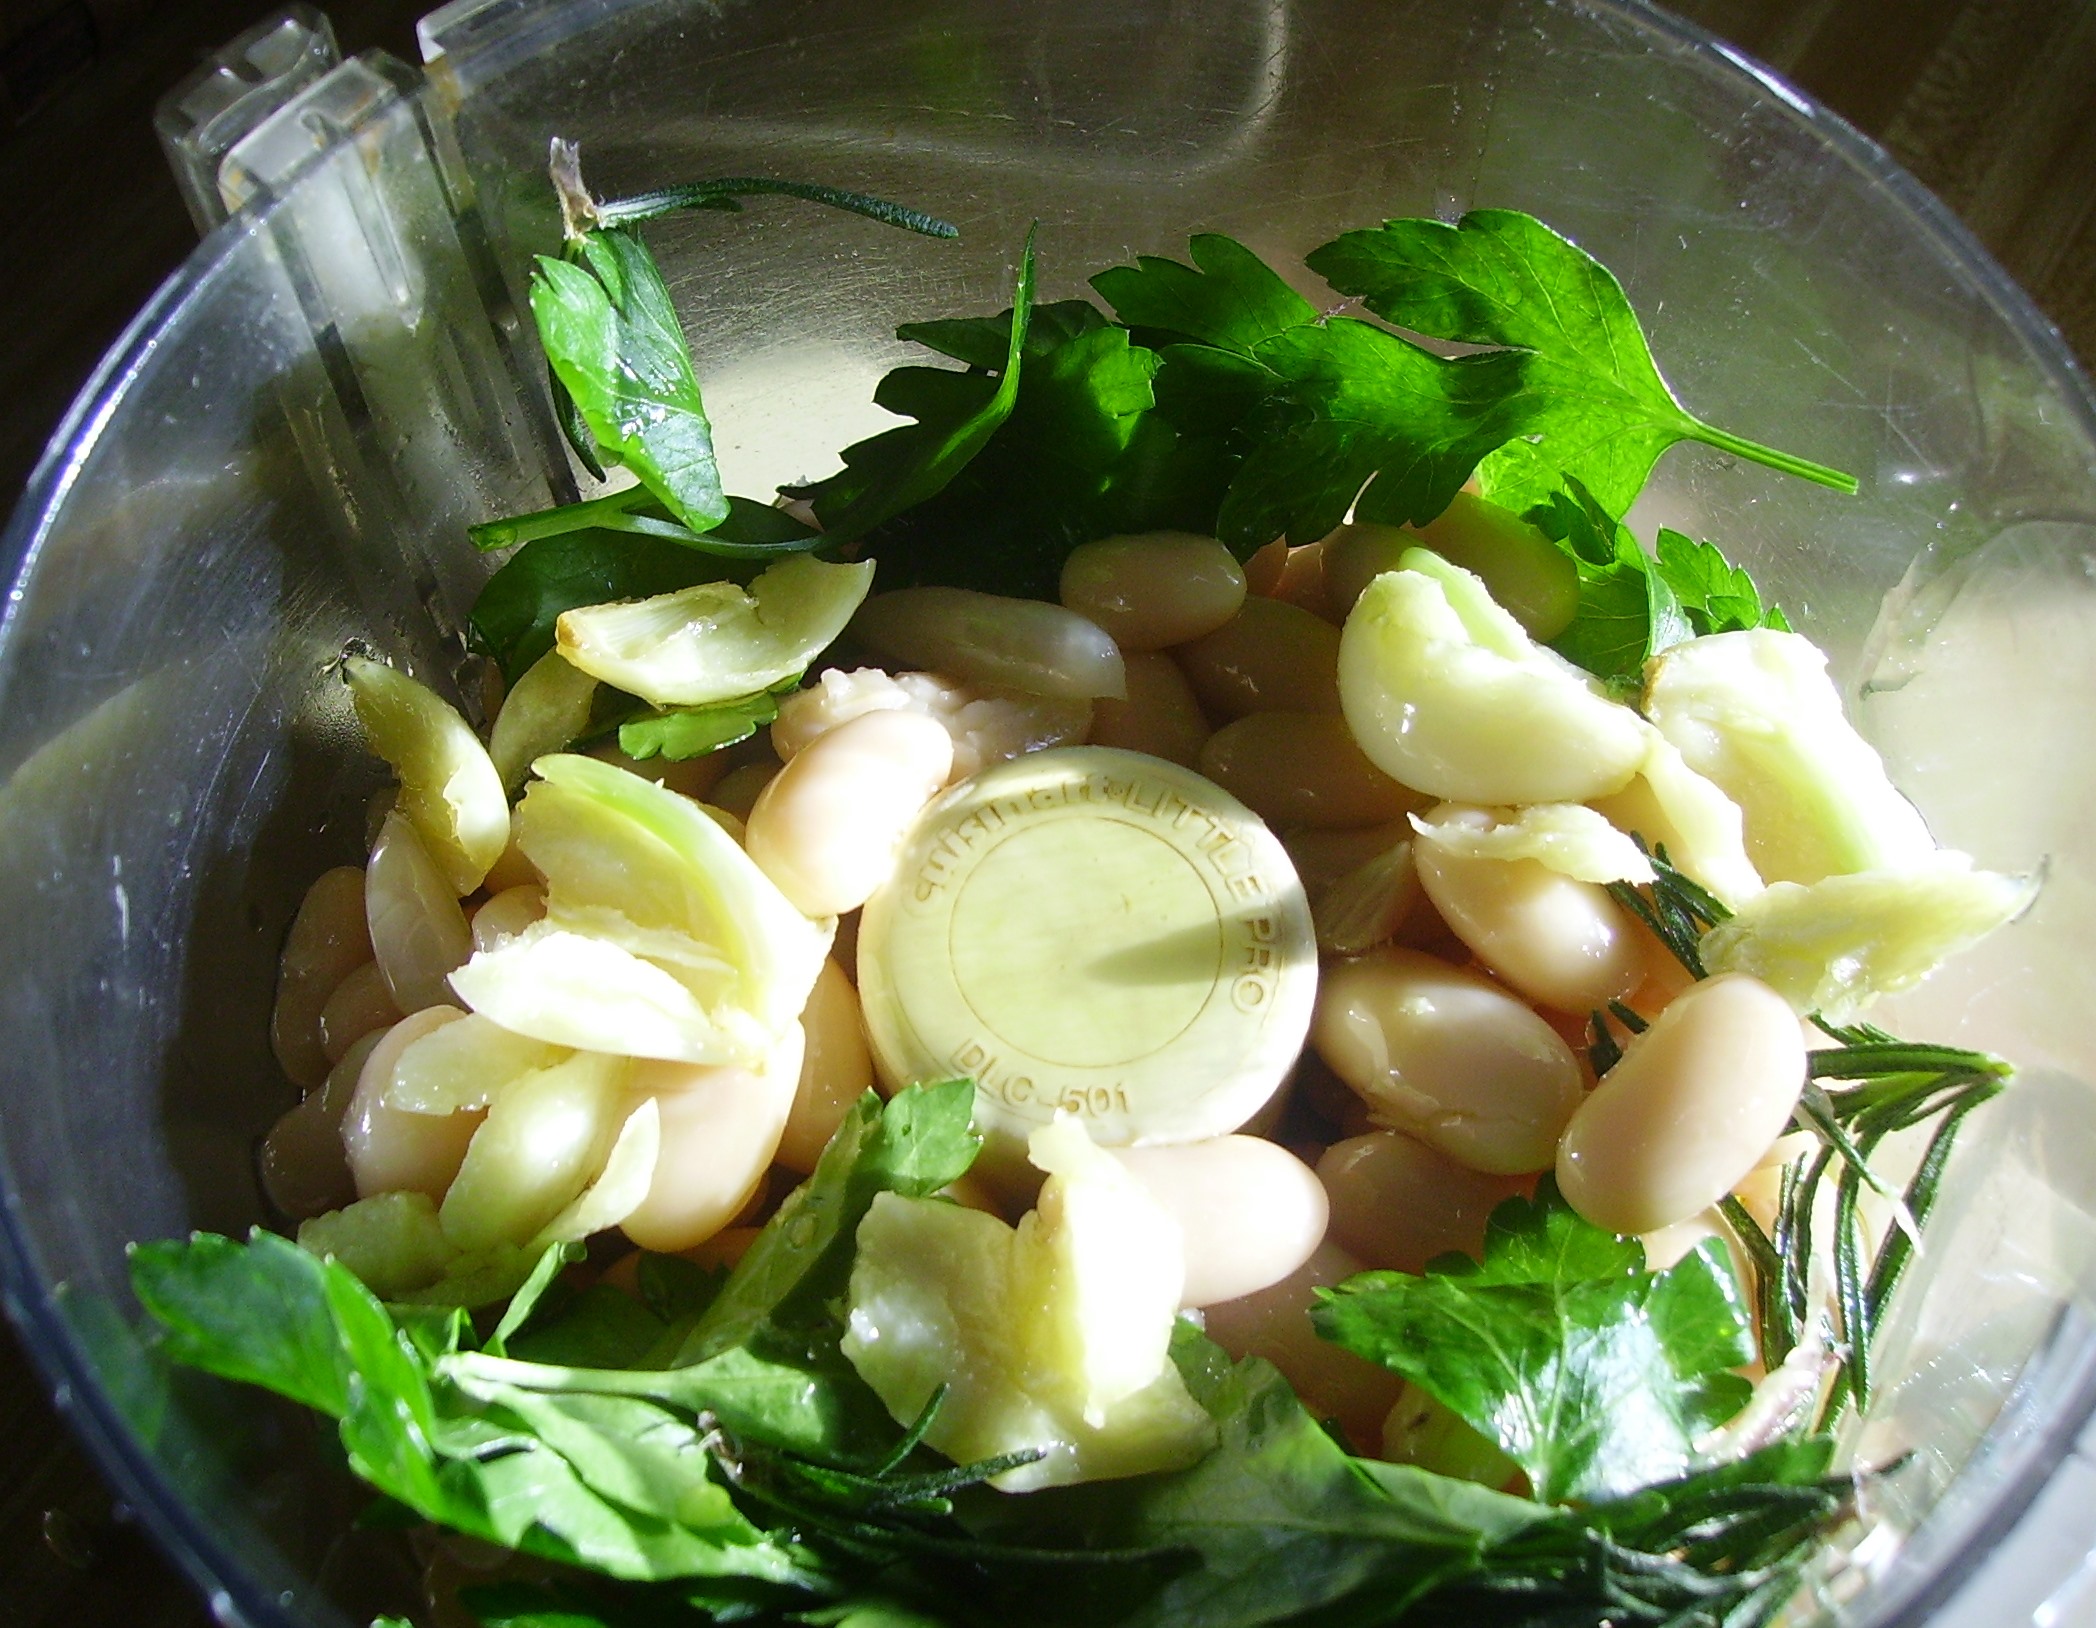
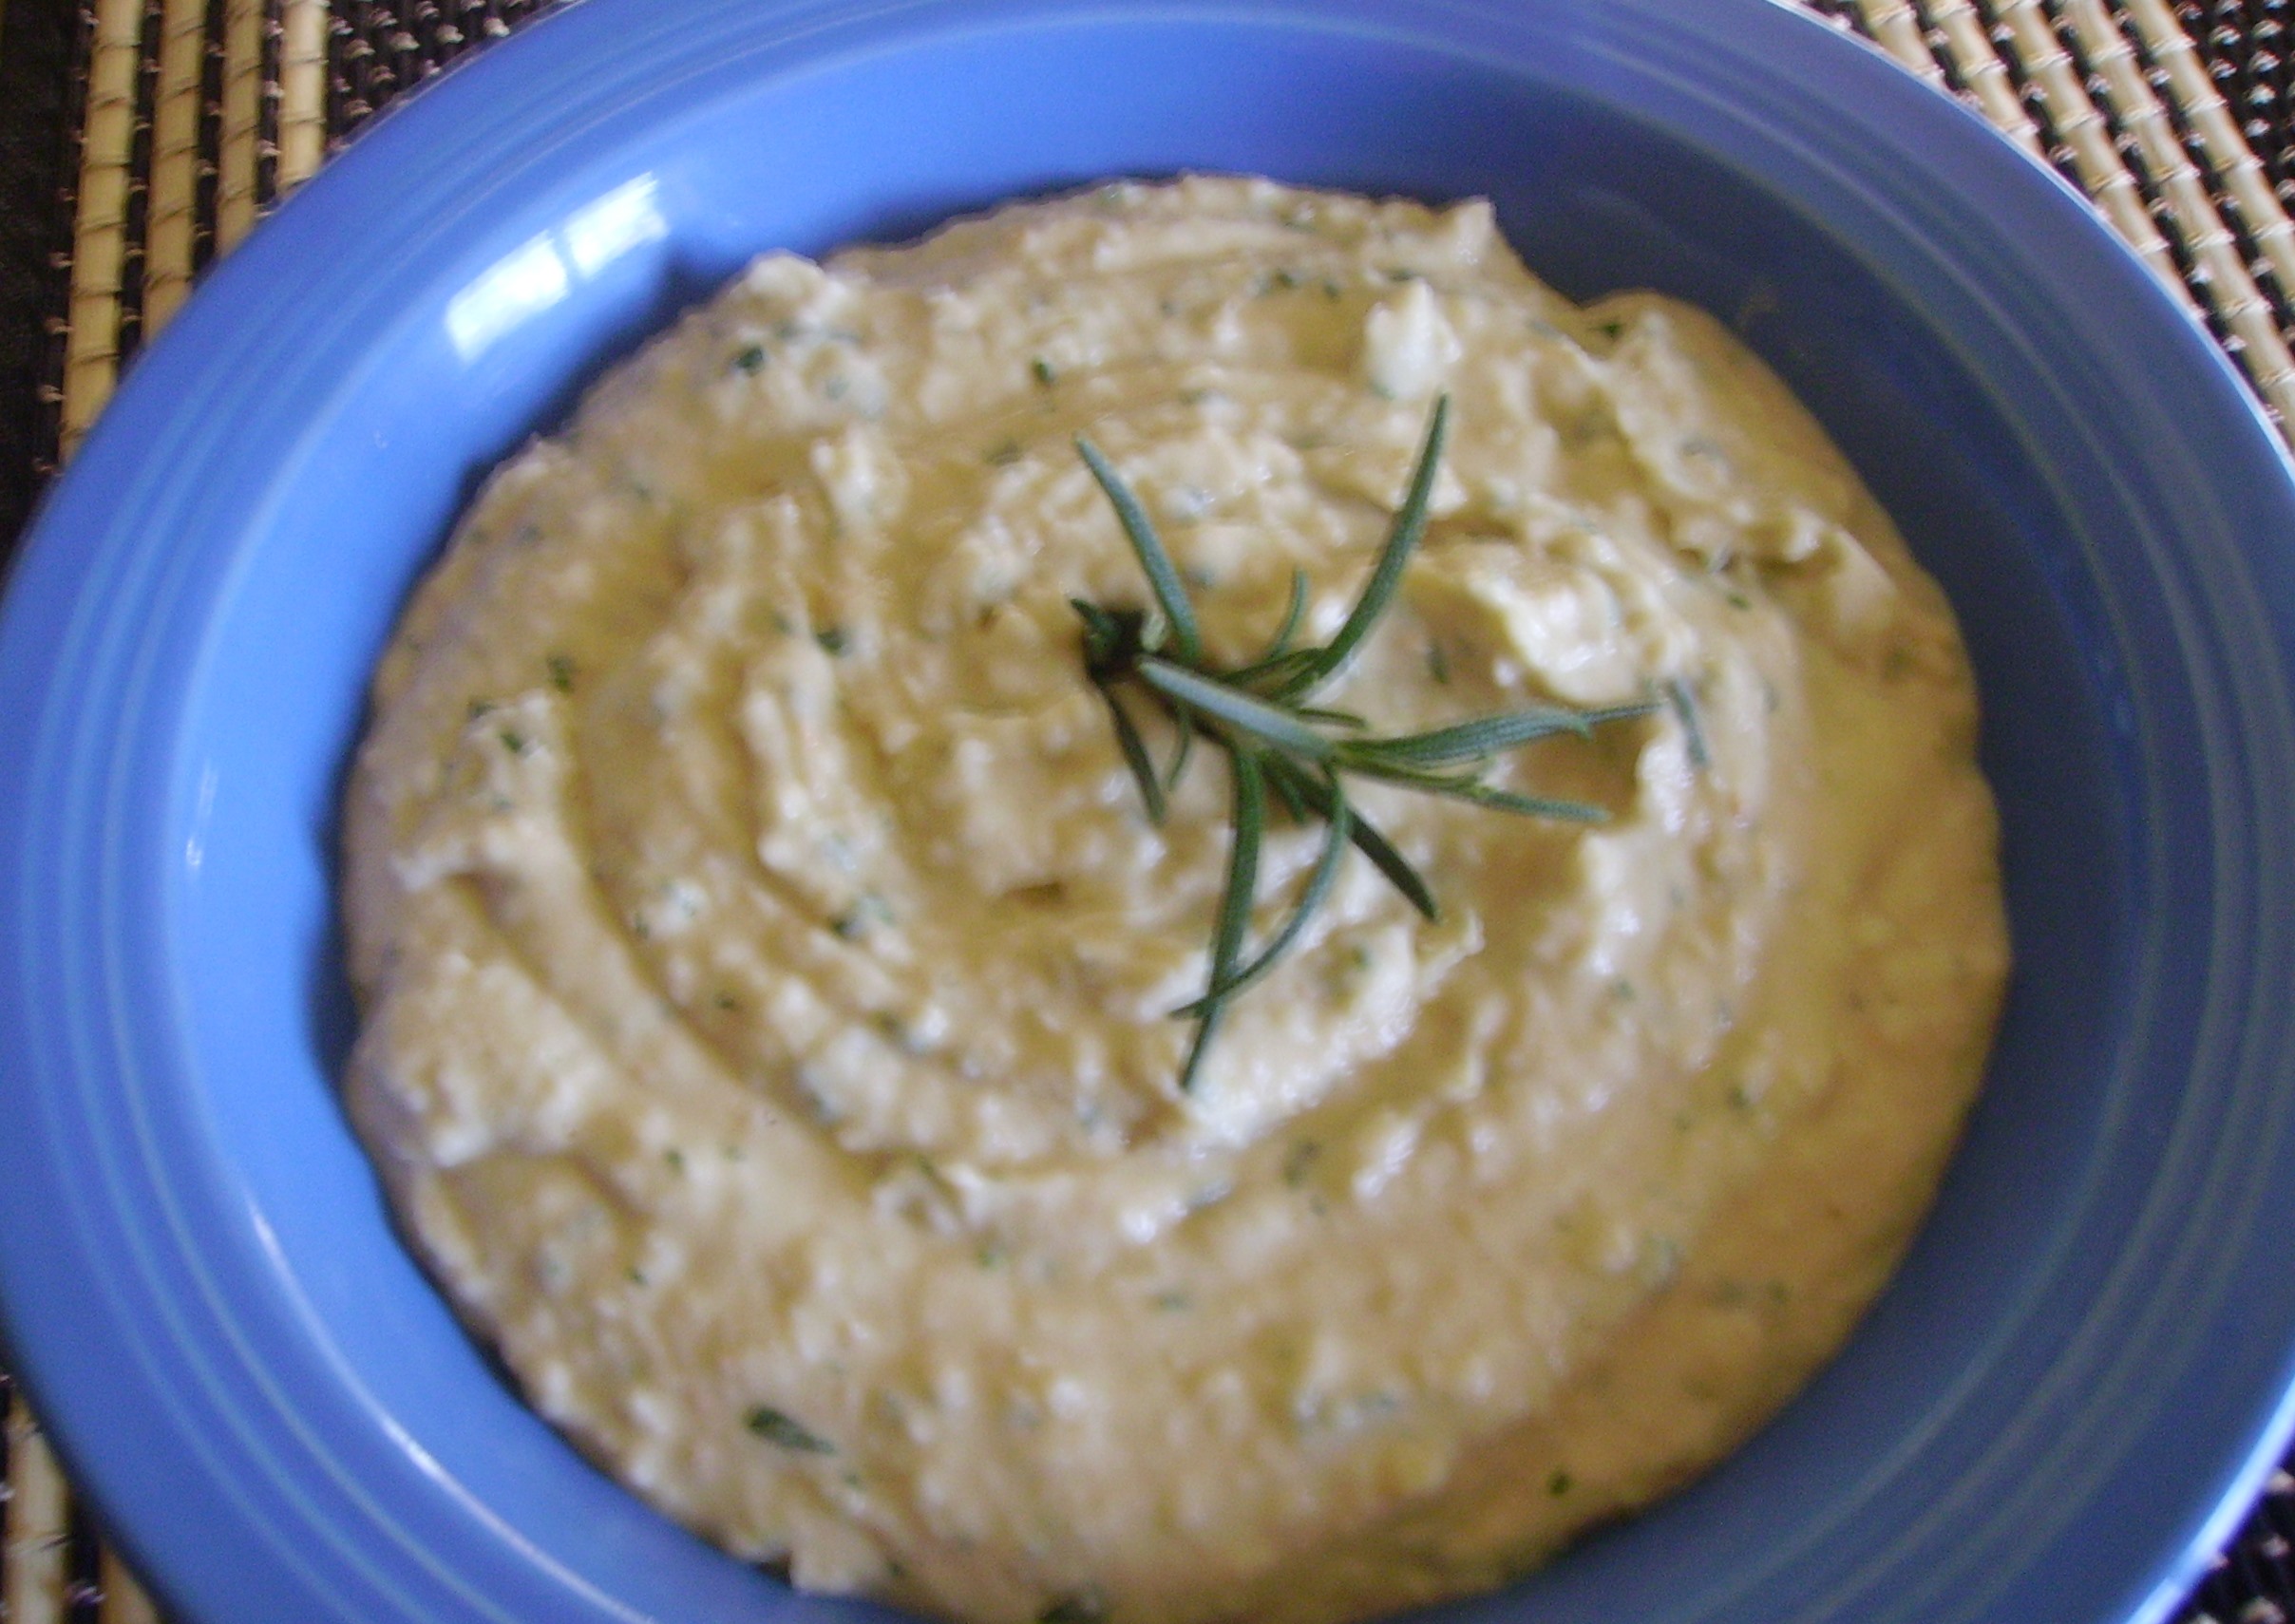
We’ve all had Humus; Garbanzo Beans and Tahini blended with lemon. garlic and herbs that is wonderful with pita chips or crudites.  I’ve come up with another bean dip that uses Cannellini Beans blended with lemon juice, garlic, rosemary and parsley. If you use lemon infused olive oil you’ll have a deeper and richer lemon flavor.

Tuscan Bean Dip
Print Recipe
Quick easy and oh so yummy.
Servings
6
Cook Time
15 minutes
Servings
6
Cook Time
15 minutes
Tuscan Bean Dip
Print Recipe
Quick easy and oh so yummy.
Servings
6
Cook Time
15 minutes
Servings
6
Cook Time
15 minutes
Ingredients
Servings:
Instructions
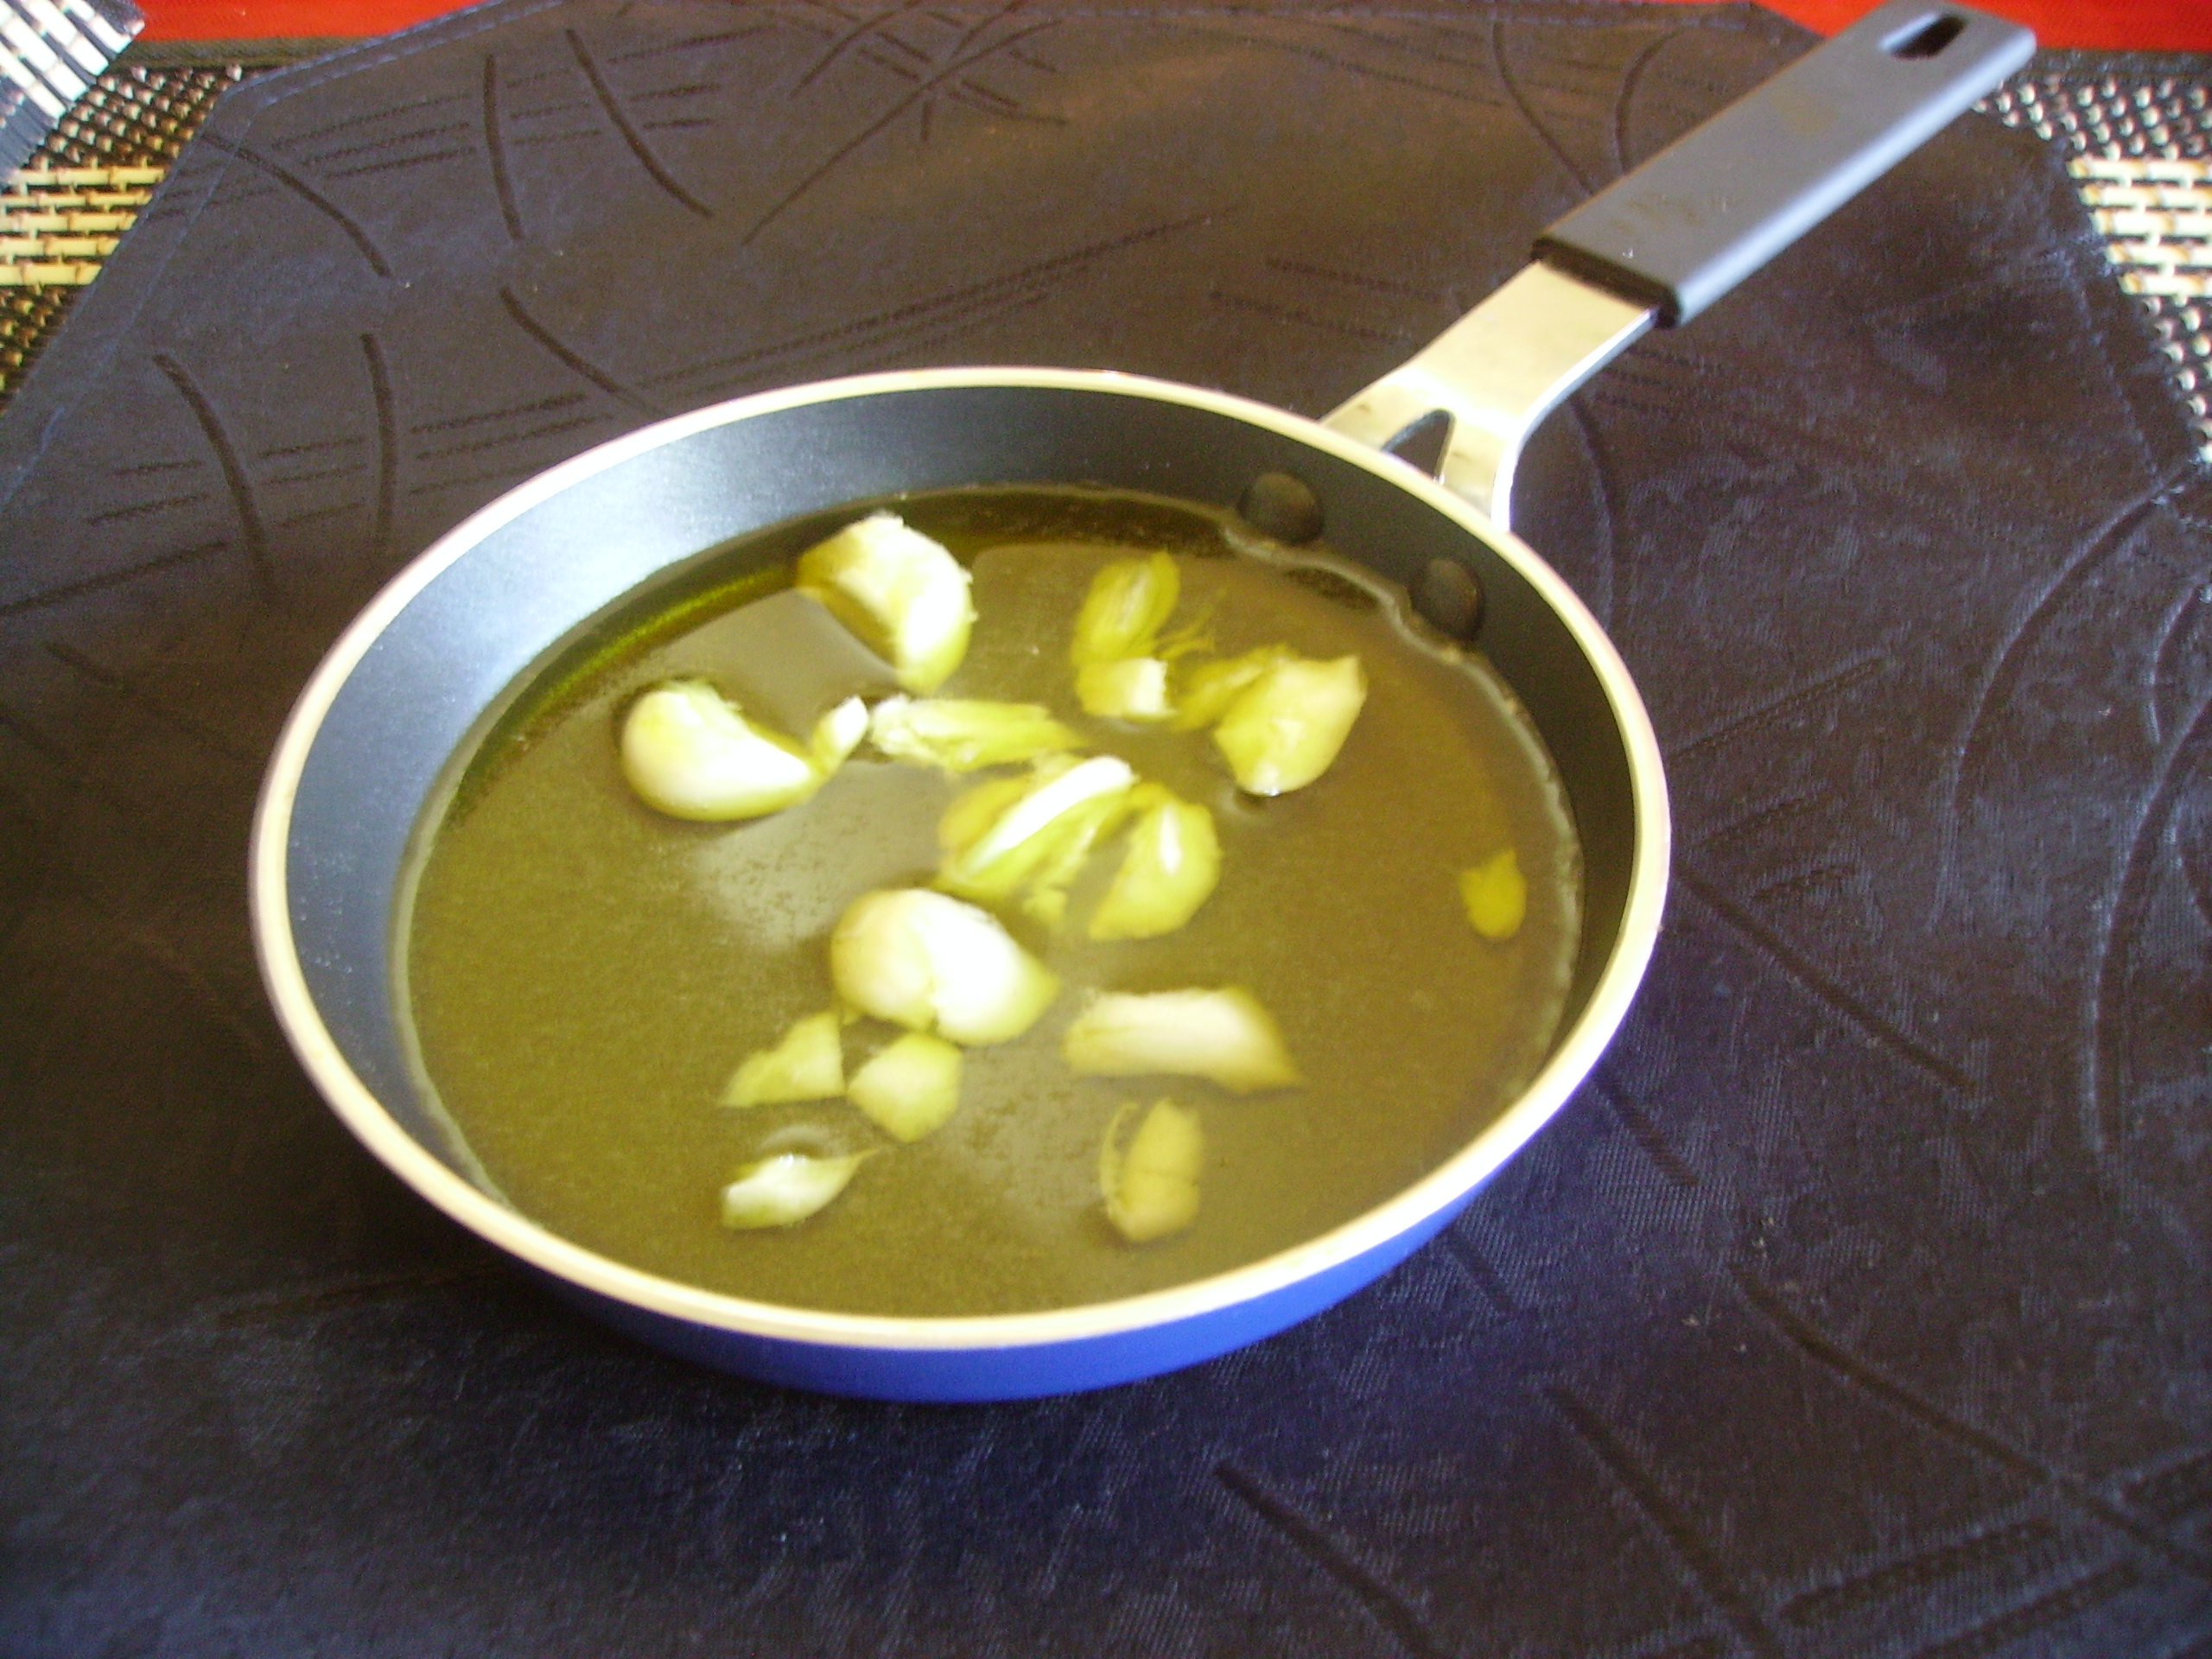
  1. Combine oil and smashed garlic cloves in a small pan.. Heat for 2 minutes or so over low heat until garlic just becomes fragrent. Remove from heat and allow to cool.
  2. Put all of the ingredients in a food processor. Pulse until mixture is coarsley chopped. Scrape down bowl and process until fairly smooth or the texture you want.
  3. Serve with crudites, chips or crostini
Share this Recipe
Powered byWP Ultimate Recipe

What’s the moral of this story? Everyone grows up eventually and so does their taste in foods. Trying new foods and ways to prepare them continues the growing up process. The adventure never ends and therein lies the happily ever after.

Love, Mama D


Bread Baked in a Pot…Imagine That

Cooking is all about creativity. I love coming up with a new recipe; putting ingredients together to create a one of a kind eating experience. Sometimes creativity comes from the inspiration that an existing recipe creates. Truth be told, most recipes that are created got some kind of inspiration from another recipe. It might be a recipe you saw in a magazine, cookbook or online. It could be a dish you had in a restaurant. Sometimes it might even be a mosh up of several recipes.

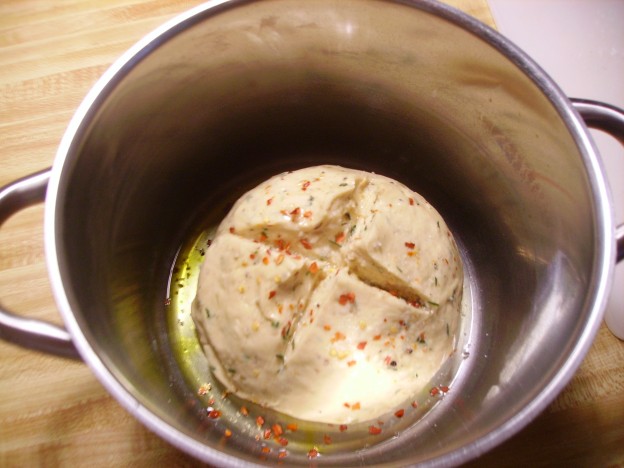
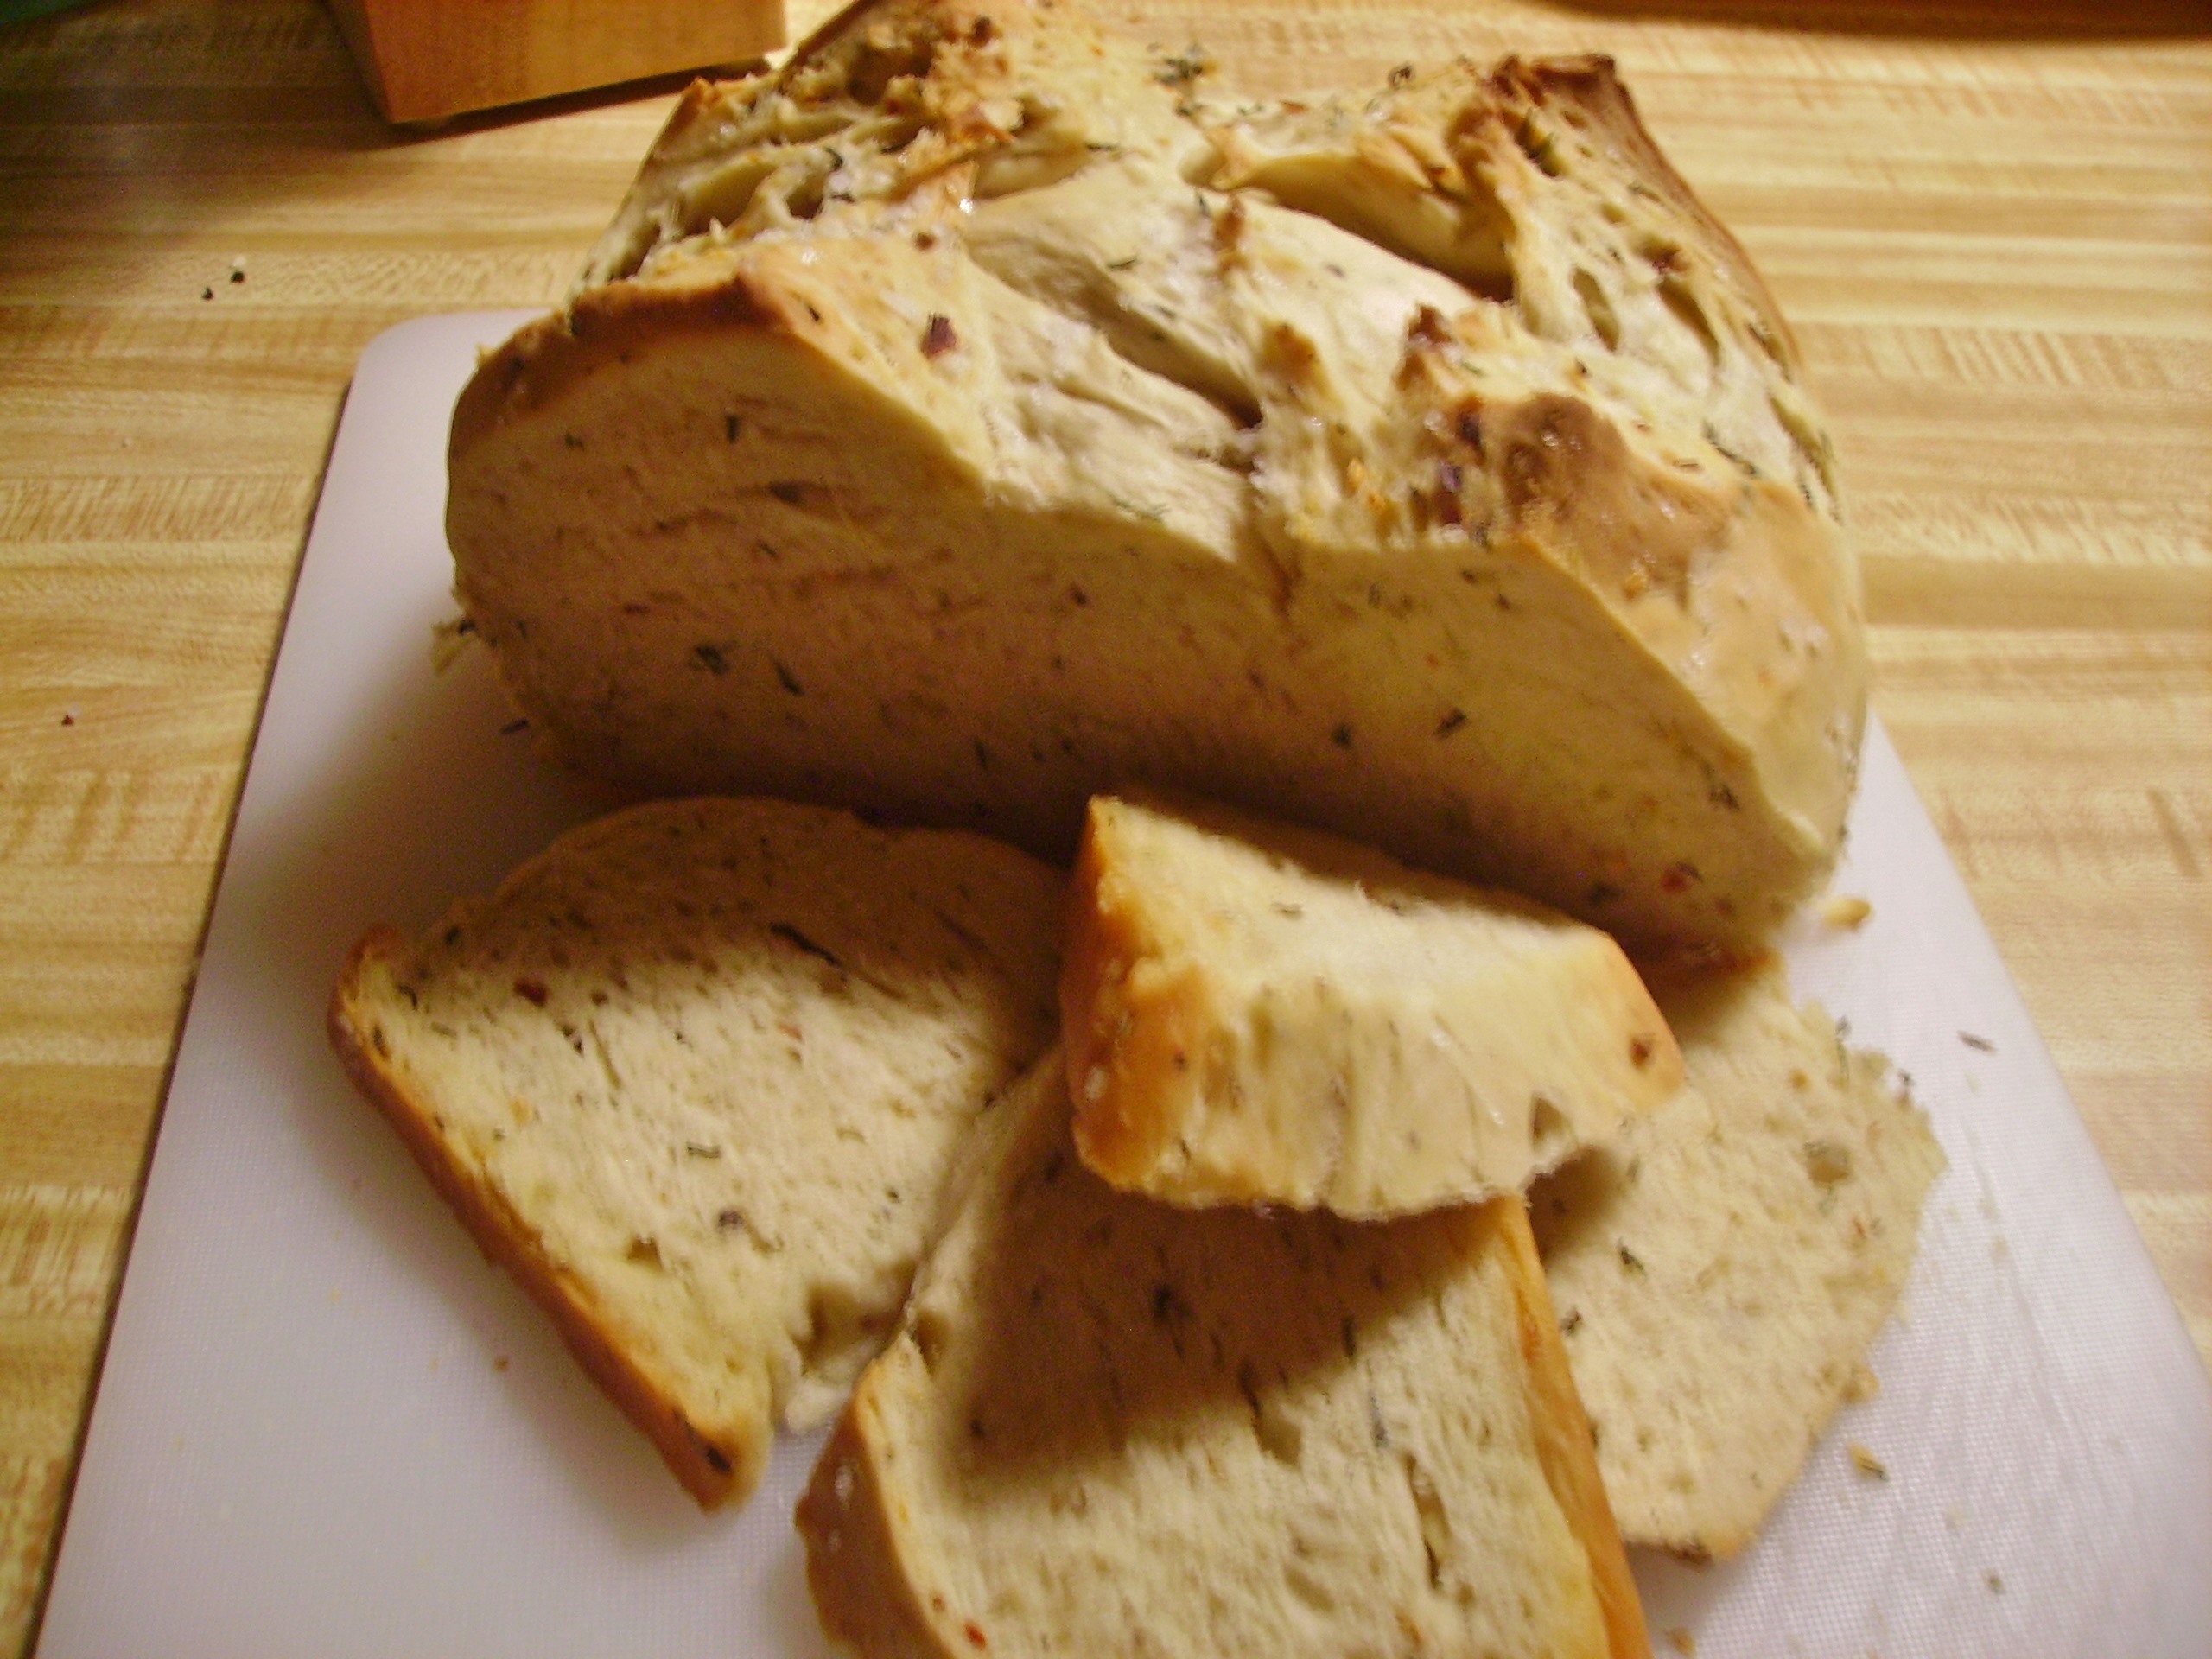
This bread recipe has somewhat of a history. I wish I had come up with it, but I didn’t. I found the recipe at the Food.com website. The recipe was by Joy the Baker. She adapted the recipe from The Pioneer Woman Blog site. I took the recipe and tweaked the herbs and garlic to make it my own. I also added directions for kneading by hand because that’s how I knead.  You may make this recipe and add or subtract something to make it your own, too. And so it goes…everyone can create their own recipe for Bread Baked in a Pot.

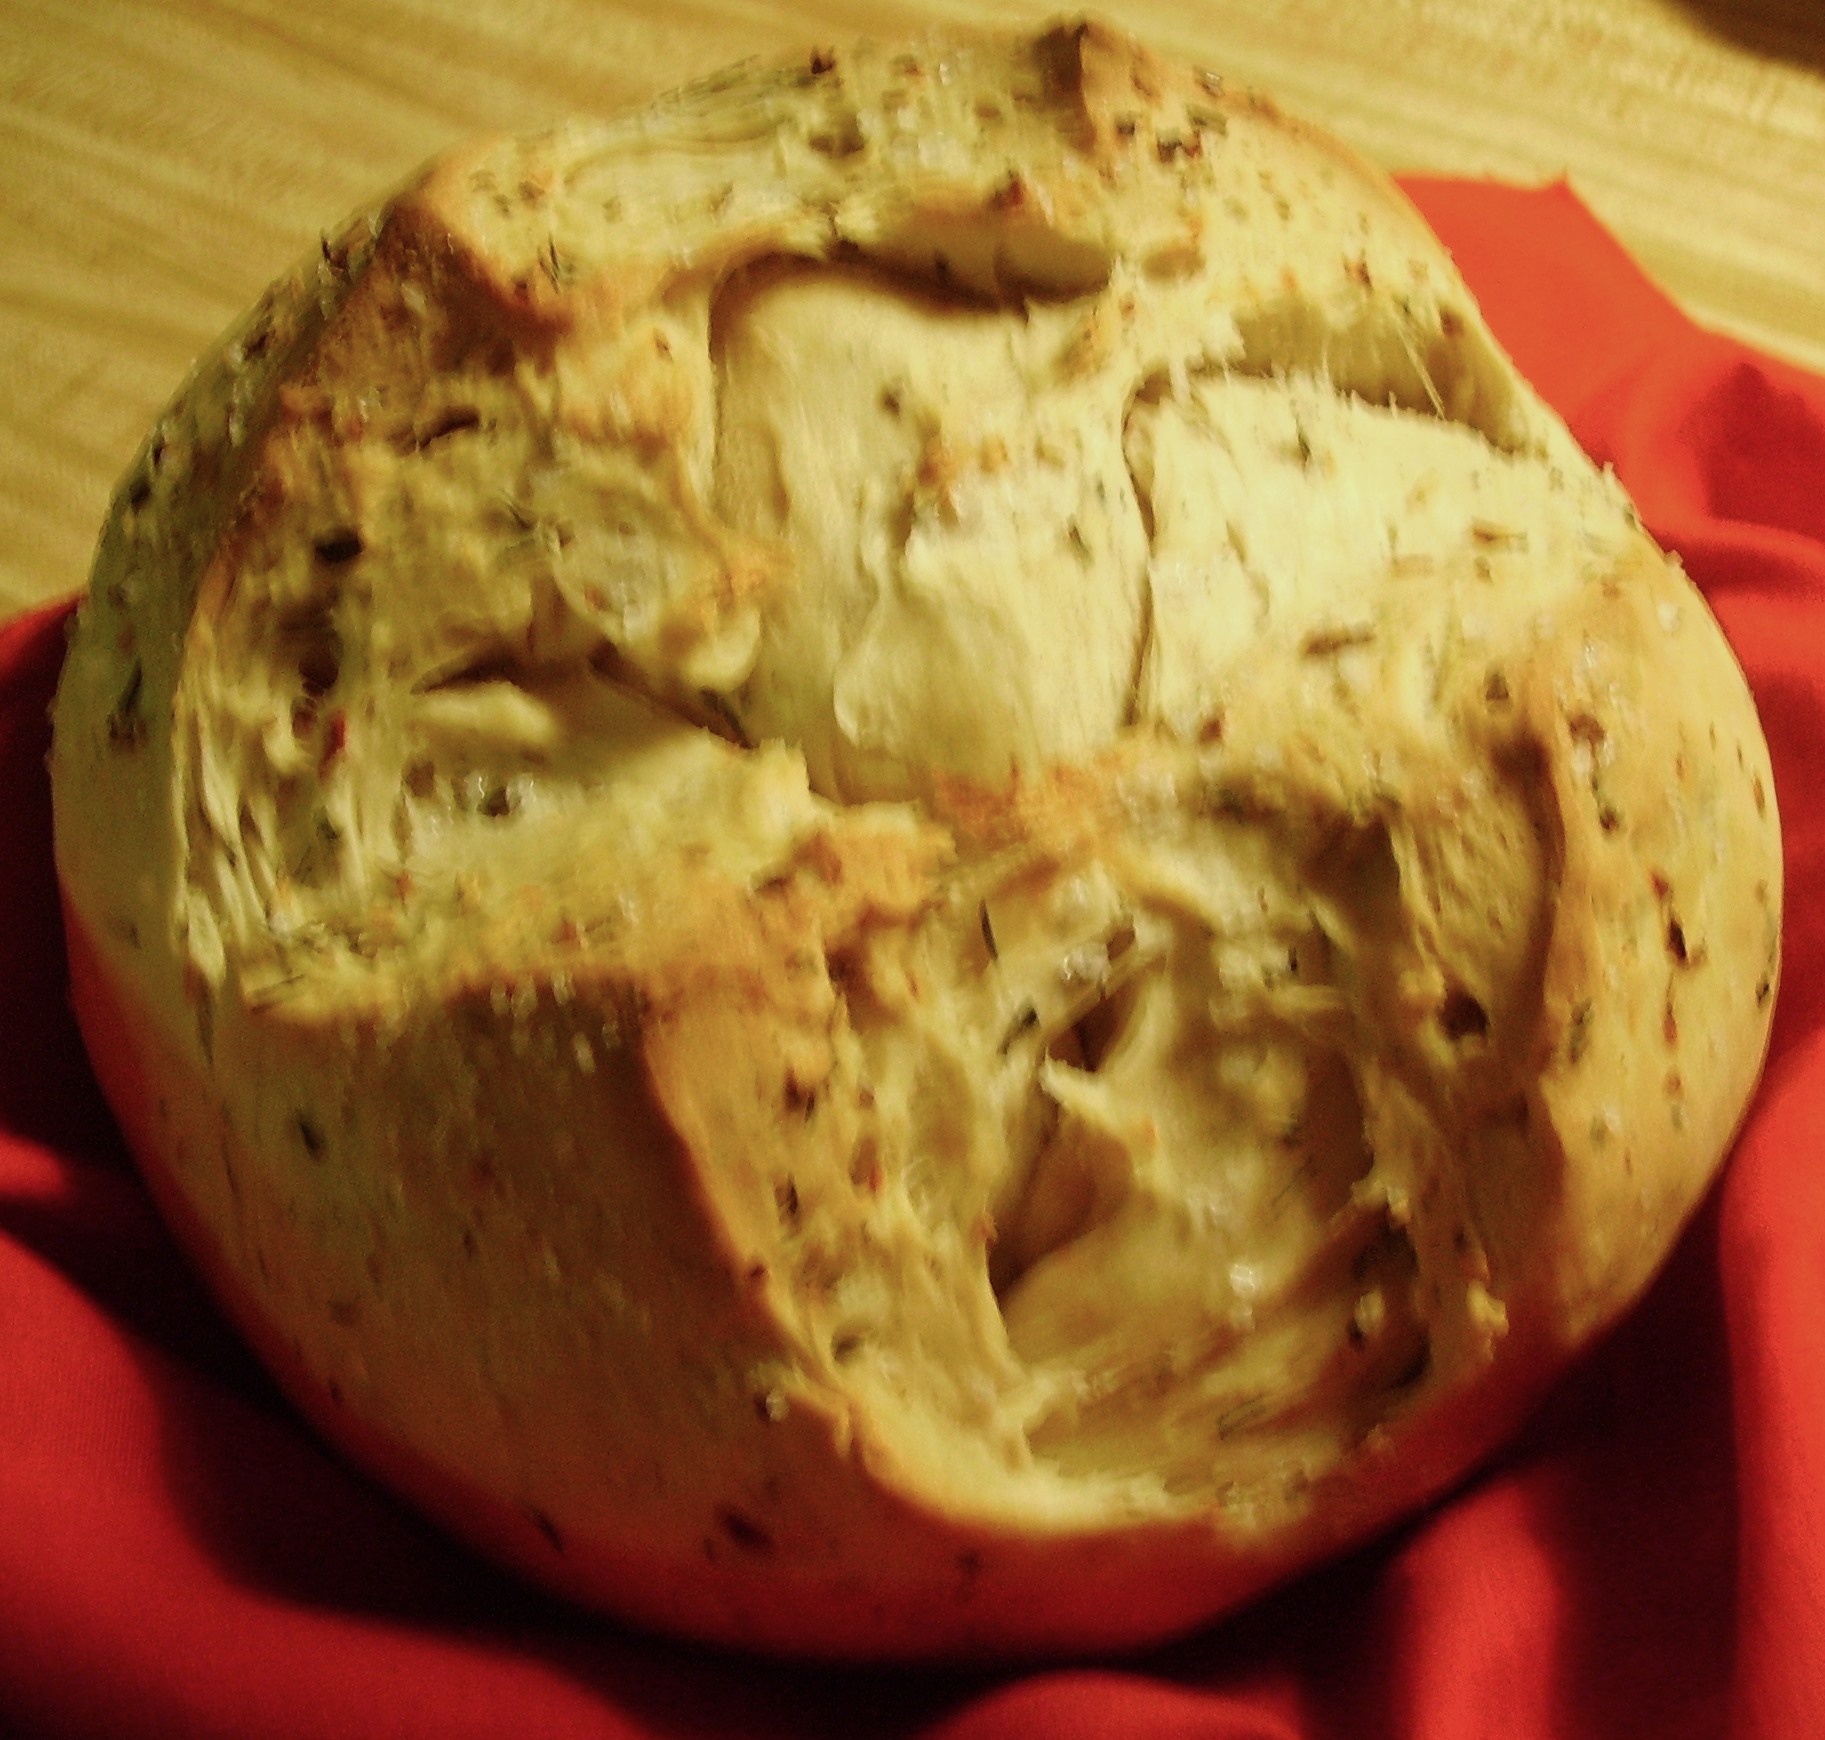
DIGITAL CAMERAThis is a fantastic bread recipe! The texture is almost creamy. Aroma-wise it immediately makes your mouth water, and once you taste it you are in food ecstasy. I baked it to go with a Lentil and Sausage Soup that I adapted from The Proud Italian Cook Blog. I substitued fennel for celery. And so it goes…

The baking technique intrigued me and I had to try it. Now that I know that it creates a moist and tender bread, I’ll try it with other bread recipes. The next time I make it, I may use different herbs or add cheese. The possibilities are endless and it may never be exactly the same two times in a row. That’s the nature of cooking. It’s a creative and ever changing expression of love.

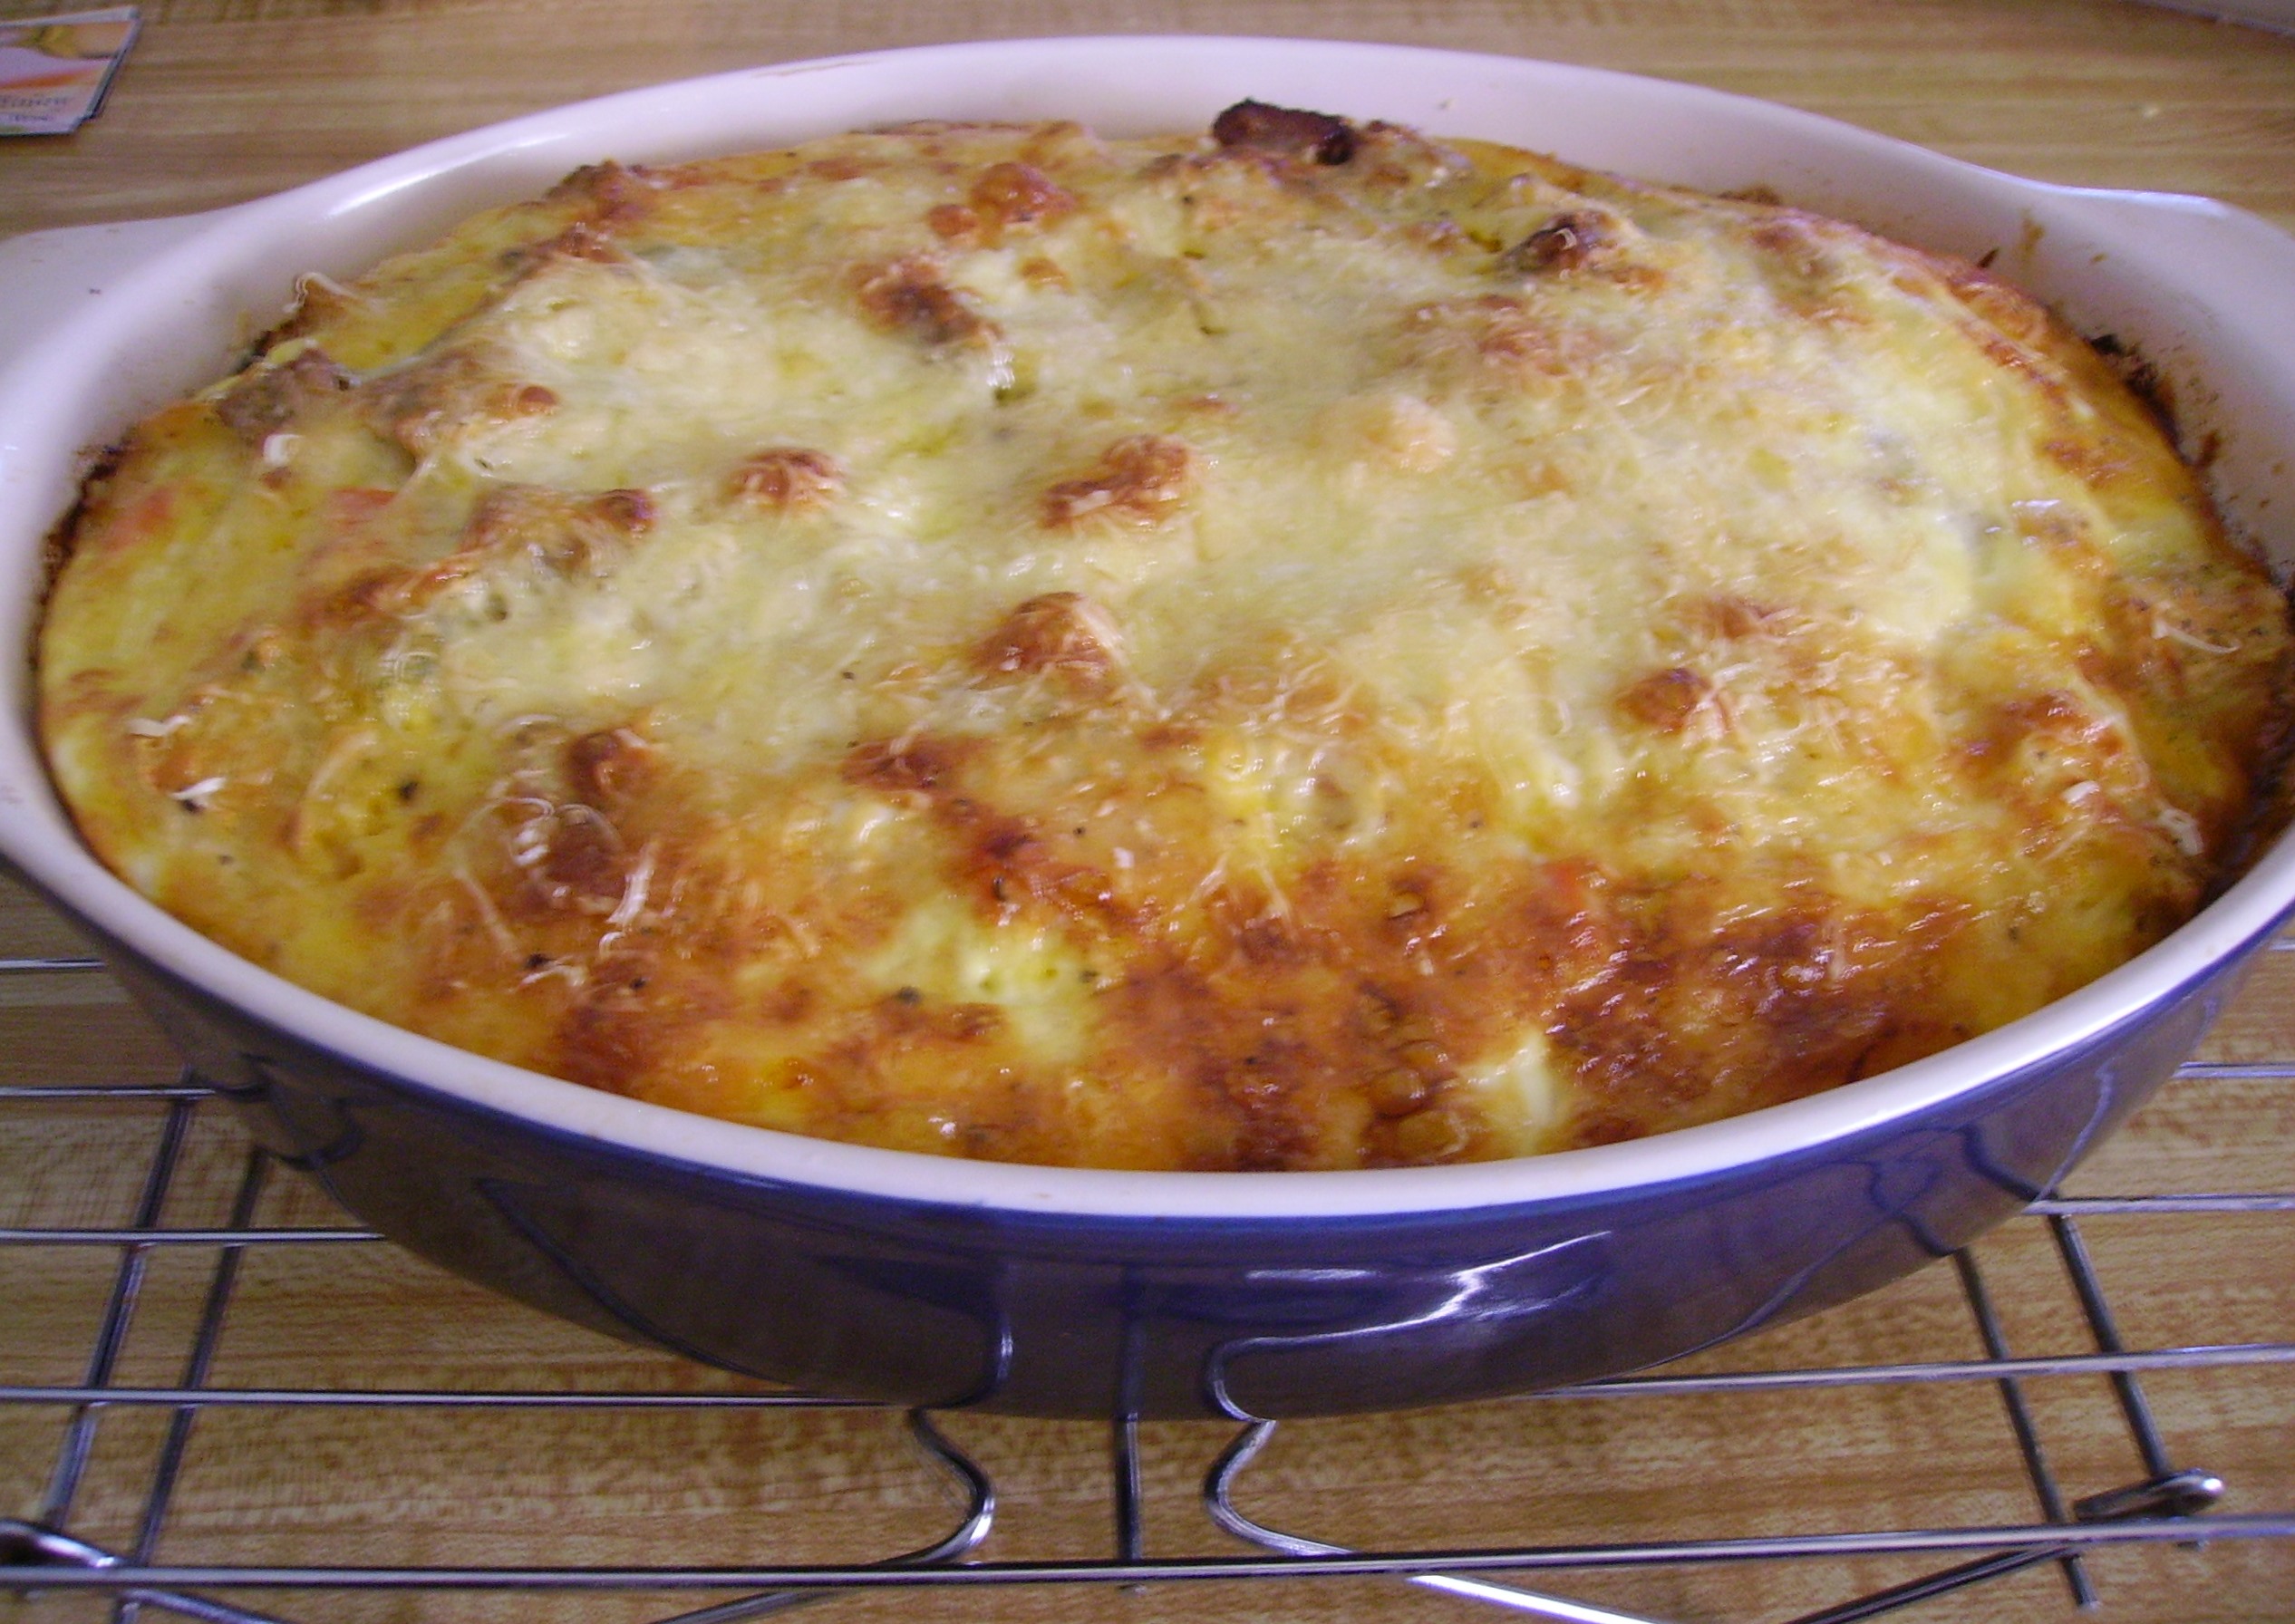
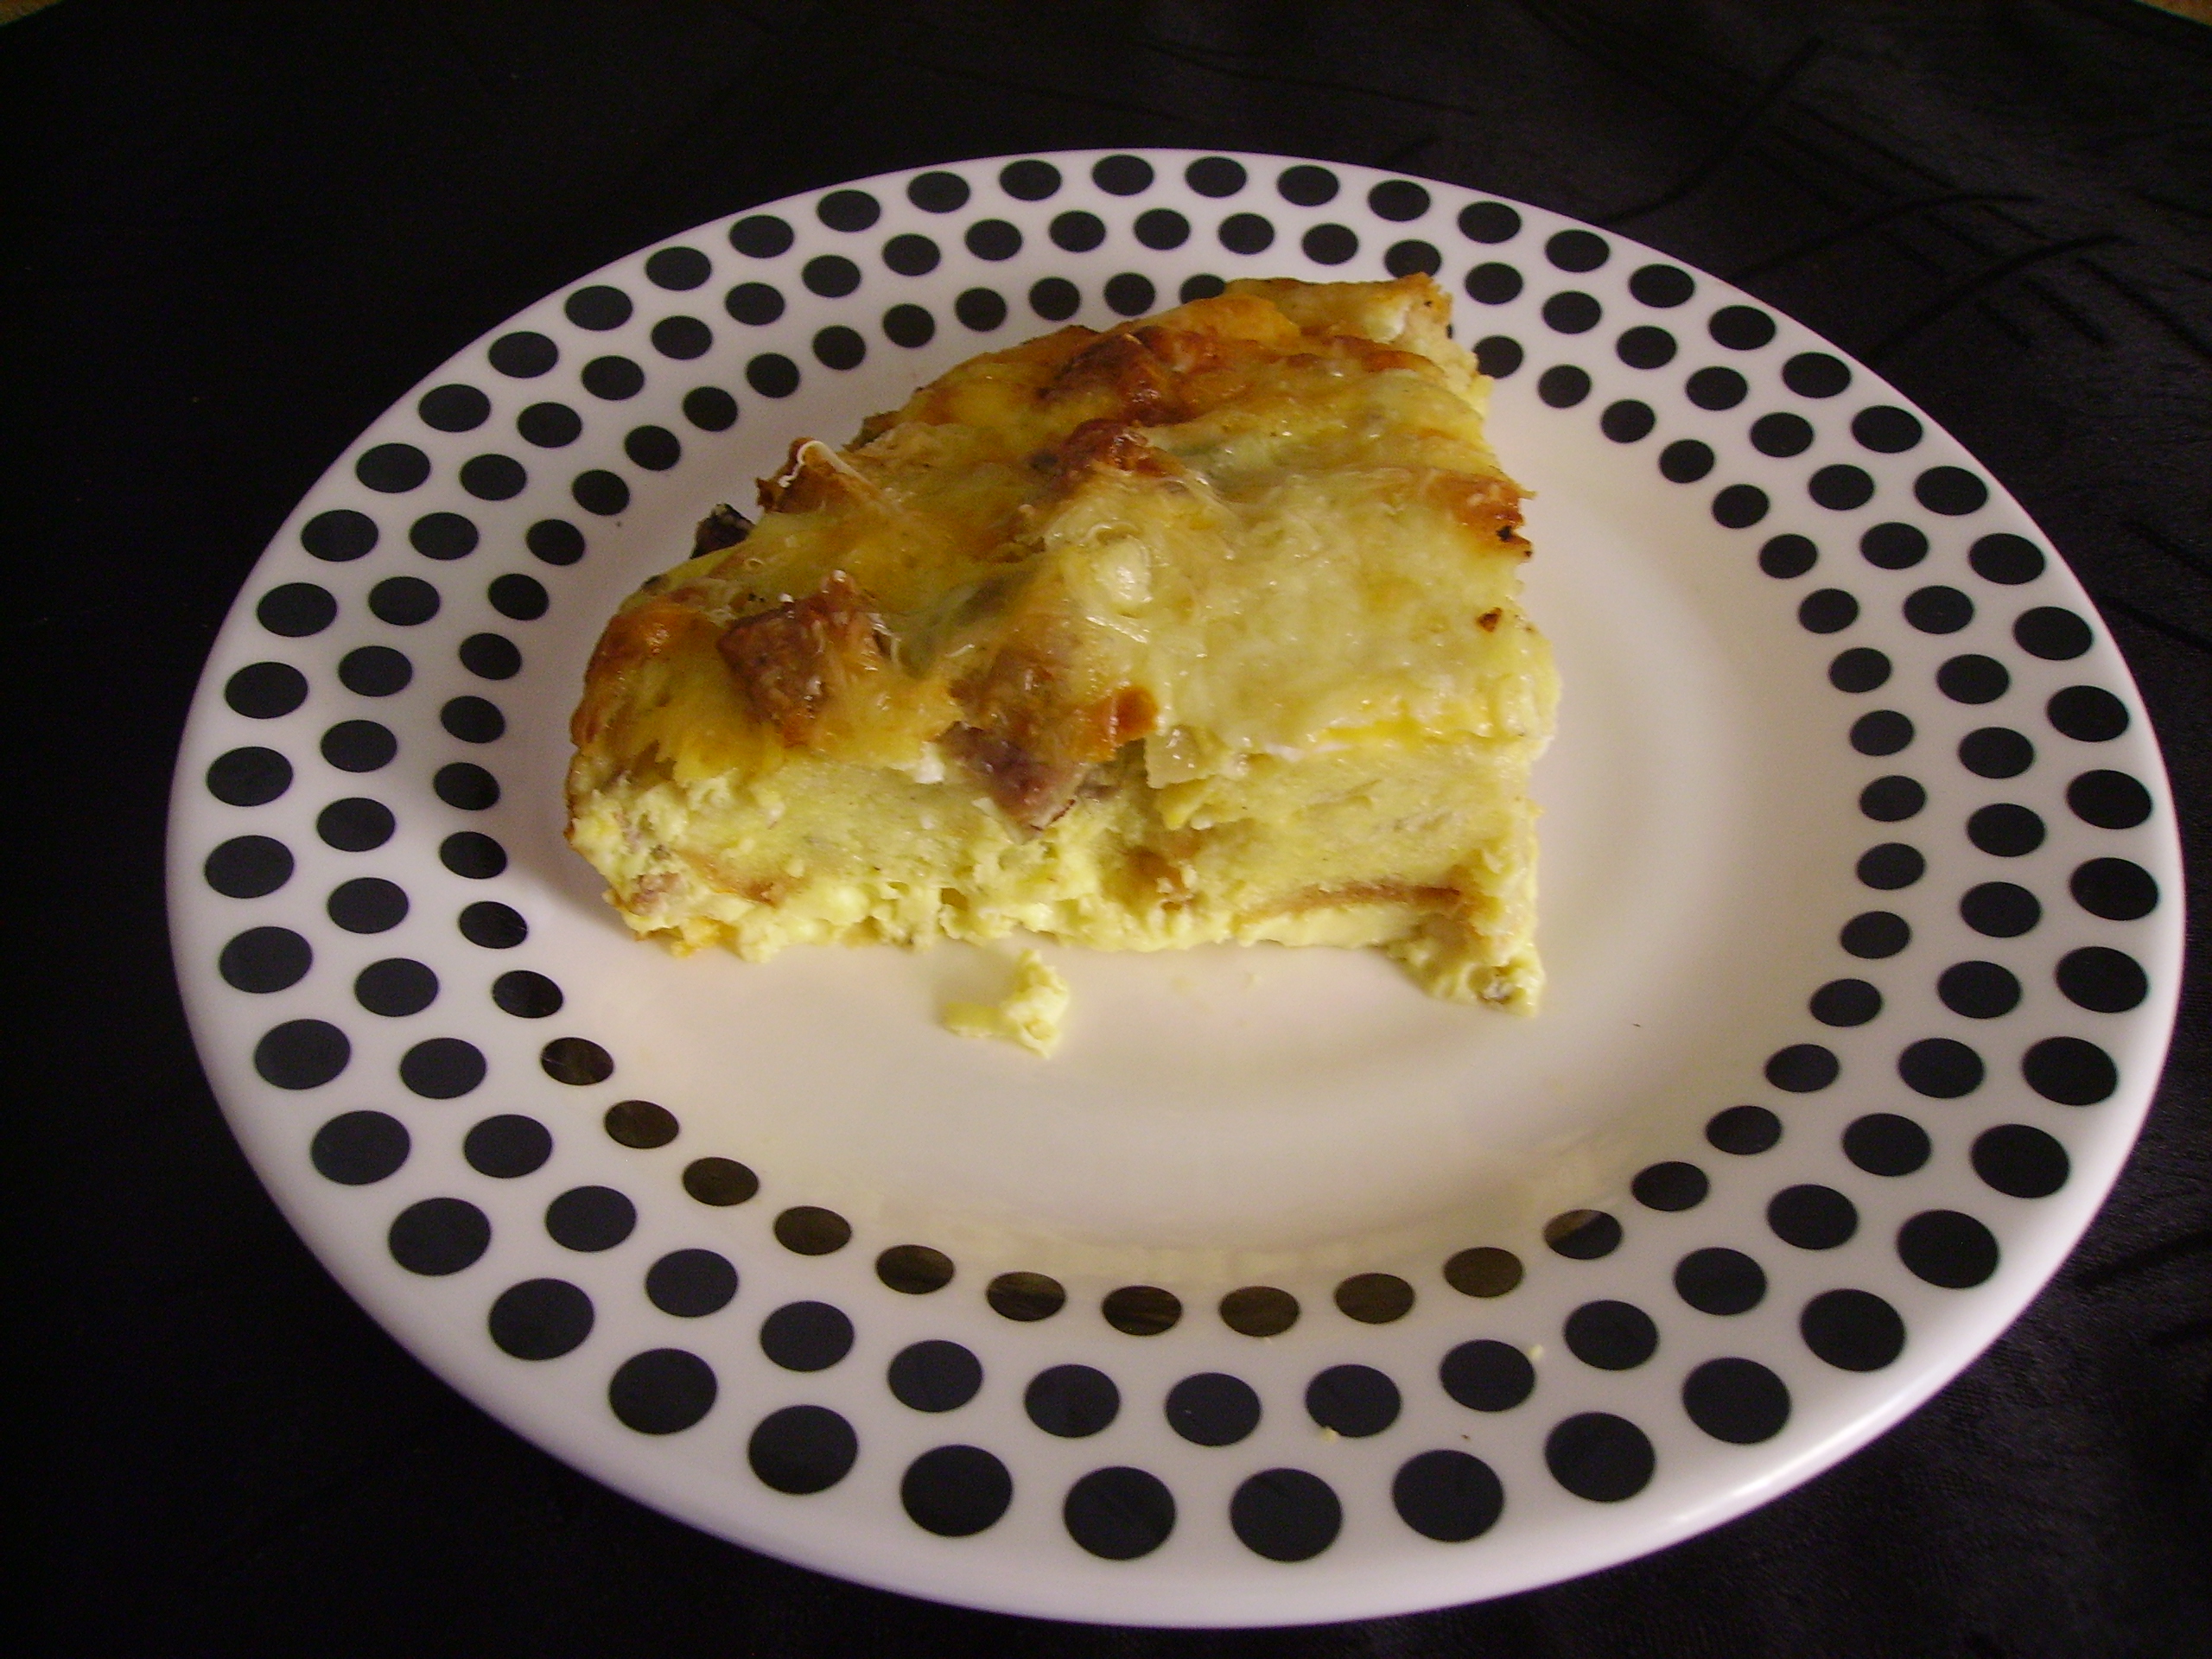
Back to the bread. I ate this bread with the soup (and by itself, and toasted and with homemade Chive Butter, etc.). I used the last few pieces in a Strata. DIGITAL CAMERAThe bread soaked up the custard overnight and the flavors of the bread enhanced the other ingredients. What a marvelous breakfast! Peppers, onions, and sausage in a Smoked Gouda laced custard were perfect.DIGITAL CAMERAThat gave me even more ideas. How about this bread in Savory French Toast or a Stuffing for Turkey or Chicken? Imagine how wonderful it would be as the base for Grilled Cheese Sandwiches or Panini’s. See what I mean? Every recipe can be many things to many cooks.

So, in the spirit of creativity and sharing, here’s the recipe for Spicy Herb and Garlic Bread Baked in a Pot. Make it your own.

Love, Mama D

Spicy Garlic & Herb Bread Baked in a Pot
Print Recipe
Bread baked in a pot...Imagine that.
Servings Prep Time
1 Loaf 80 minutes
Cook Time
40 minutes
Servings Prep Time
1 Loaf 80 minutes
Cook Time
40 minutes
Spicy Garlic & Herb Bread Baked in a Pot
Print Recipe
Bread baked in a pot...Imagine that.
Servings Prep Time
1 Loaf 80 minutes
Cook Time
40 minutes
Servings Prep Time
1 Loaf 80 minutes
Cook Time
40 minutes
Ingredients
Servings: Loaf
Instructions
  1. Sprinkle yeast over warm water, add the pinch of sugar and stir gently. Allow the mixture to rest and foam for about 5 minutes.
  2. Melt the butter in a saucepan. Remove from heat and add the herbs, pepper flakes and garlic. Set Aside.
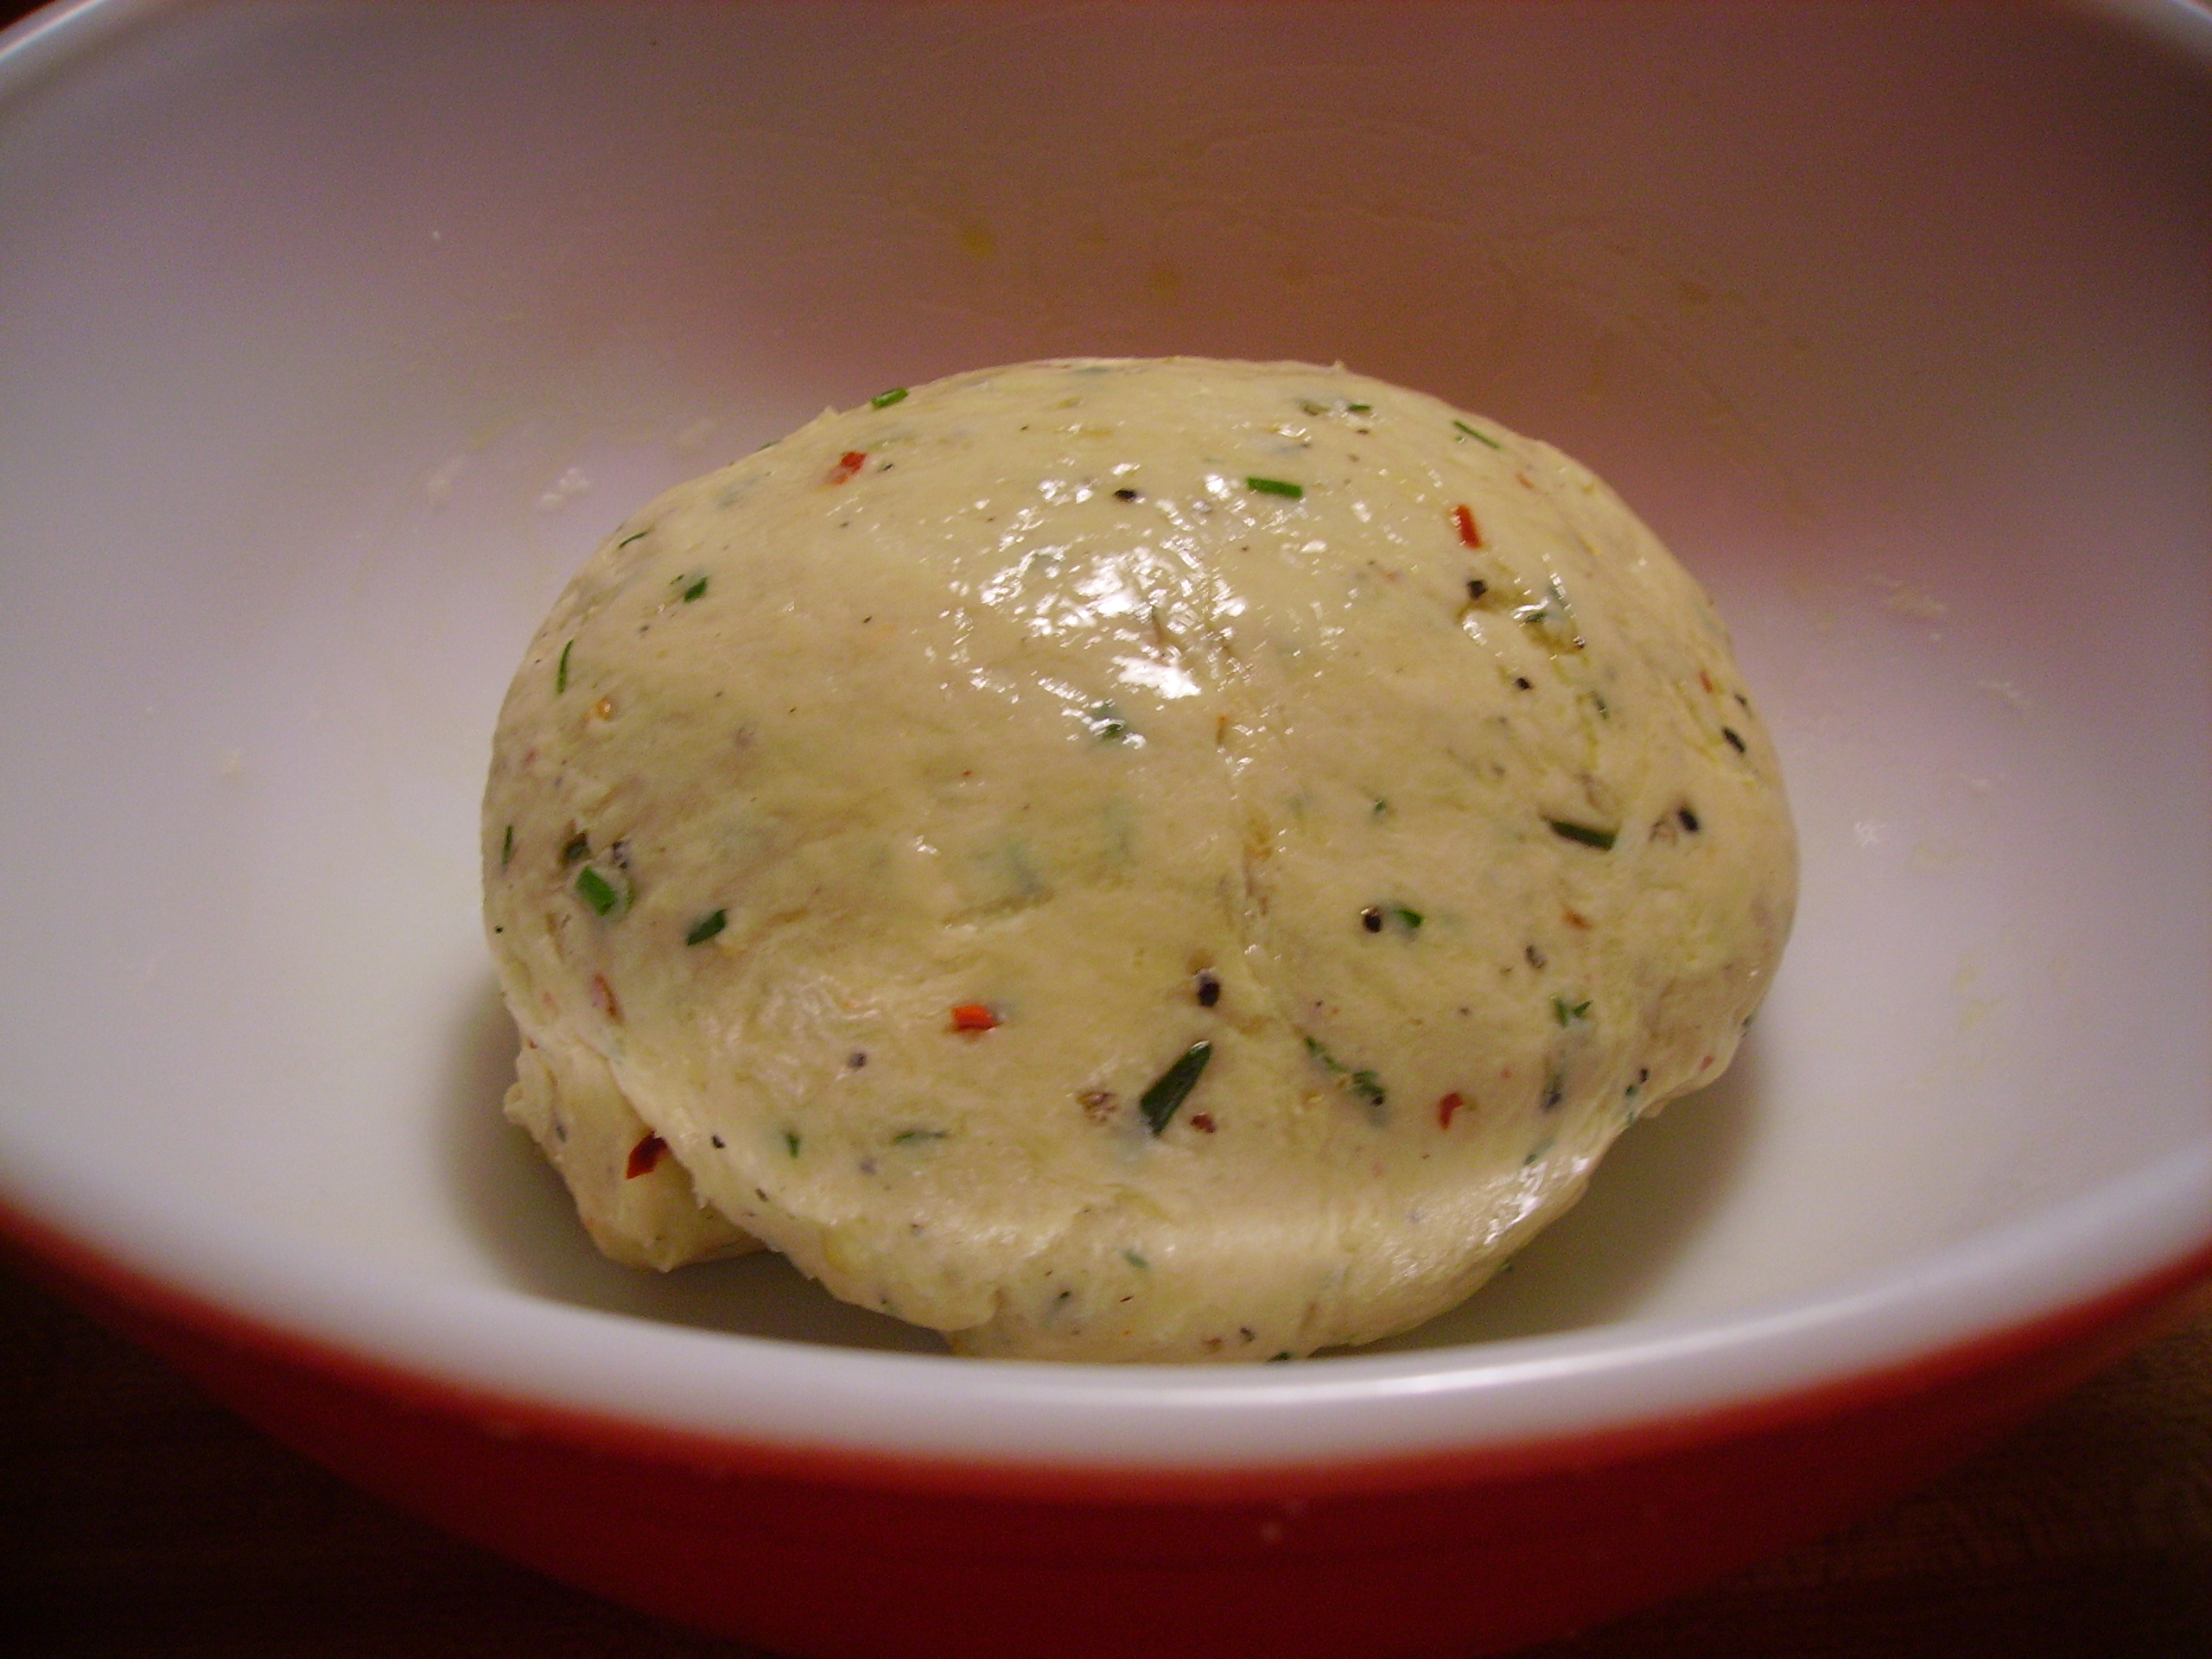
  3. Put flour in a large bowl. Add salt, pepper,yeast mixture, and butter mixture. If you have a stand mixer: Fit it with the dough hook and stir at low speed 10 - 12 minutes until dough cleans the sides of the bowl. If you do not have a stand mixer: Mix ingredients in bowl until combined. Turn onto floured surface and knead by hand about 15 minutes. Whichever method you use the dough should be smooth, supple yet firm.
  4. Place the dough in a large oiled bowl, turning to coat dough. Cover with plastic wrap and allow to rest in a warm place until doubled in bulk, Approximately 1 hour.
  5. When doubled in size, place on a floured surface and knead by hand about 2 minutes. Form into a "Boule" shape (flat bottom rounded ball). Preheat oven to 450 degrees.
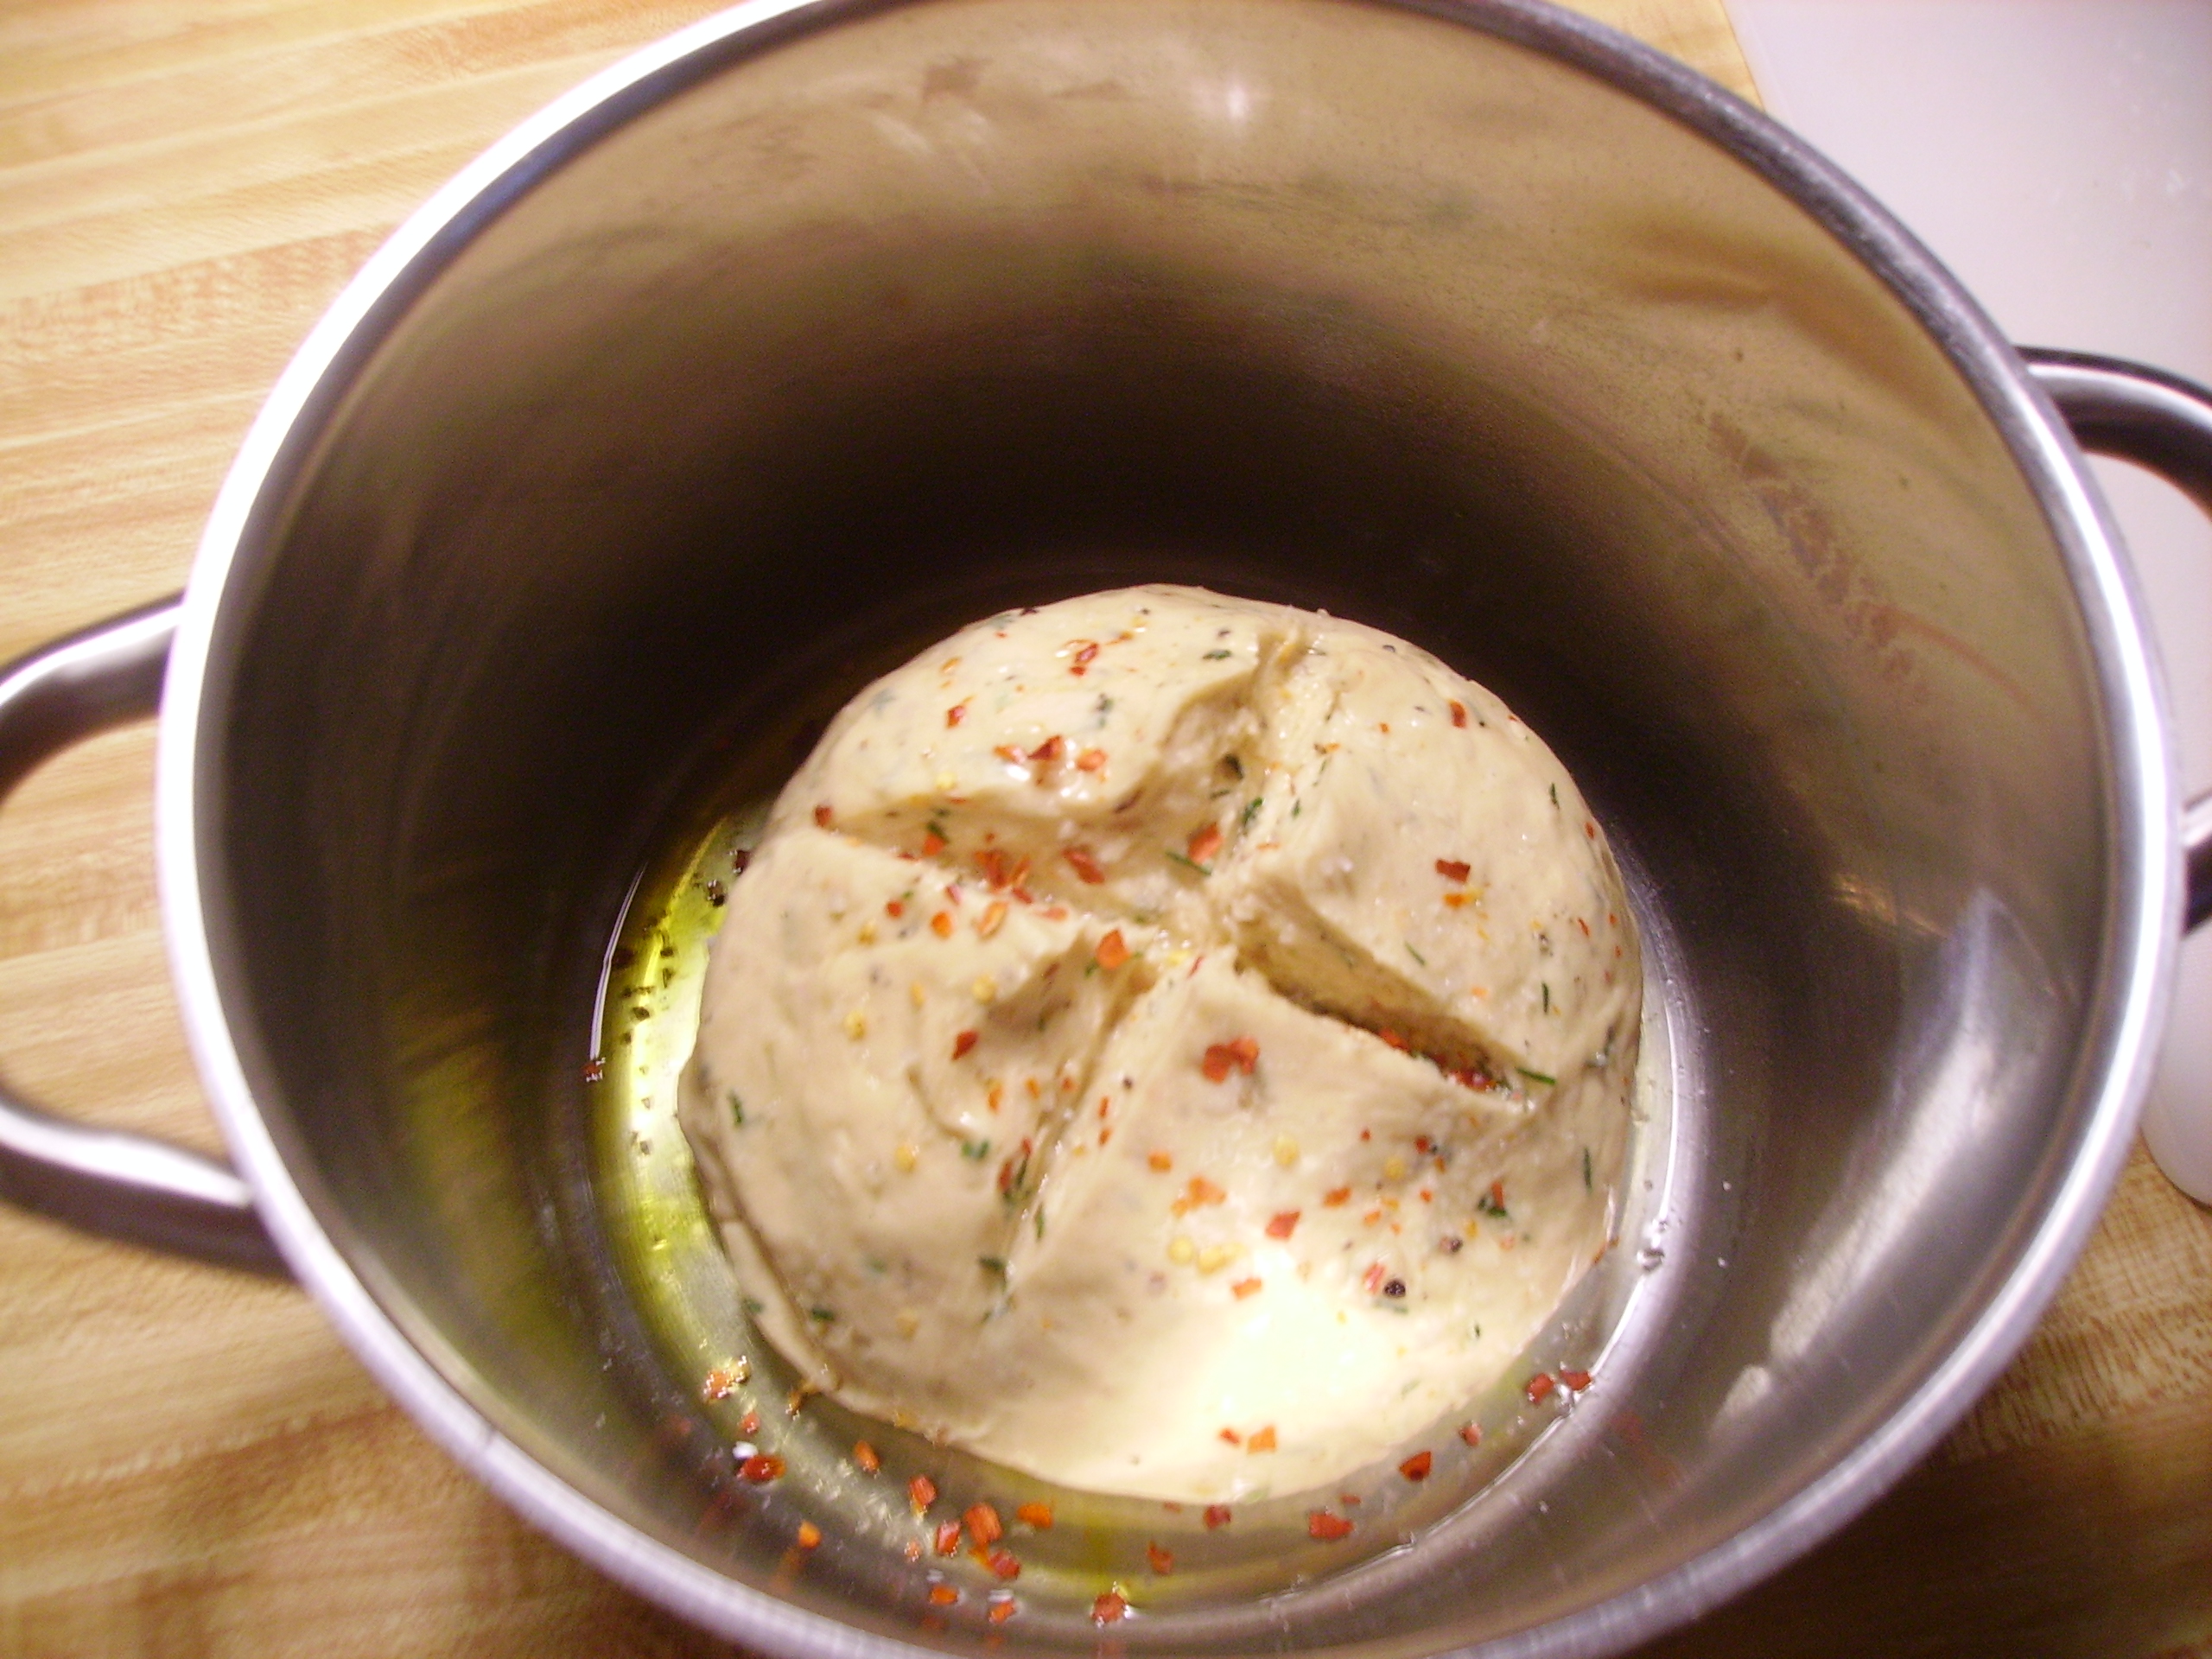
  6. In a large Dutch Oven or Heavy Soup Pot, add 2 Tablespoons of Olive Oil to coat the bottom. Put the dough ball in the pan. Cut a fairly deep cross in the top using a sharp thin bladed knife. Drizzle with 2 -3 more Tablespoons of olive oil on top of dough. Sprinkle generously with Coarse Sea Salt and Red Pepper Flakes.
  7. Cover with a tight fitting lid and bake for 30 minutes. Reduce oven heat to 400 degrees, remove the lid and bake for an additional 15 - 20 minutes. Remove from oven and allow to cool until it can be easily removed for the pot. Bread can be served warm or cool and will keep up to 3 days if wrapped tightly. Provided it lasts that long!
Share this Recipe
Powered byWP Ultimate Recipe


Smothered Chicken – a Lovely Comfort Food

We all love Chicken dinners. This economical and versatile protein appears on tables everywhere. Mama D’s Kitchen turns out a lot of Chicken Dinners as I’ve shared in previous posts, but there’s always room for another dish, especially one as sinfully delicious and full of love as this.

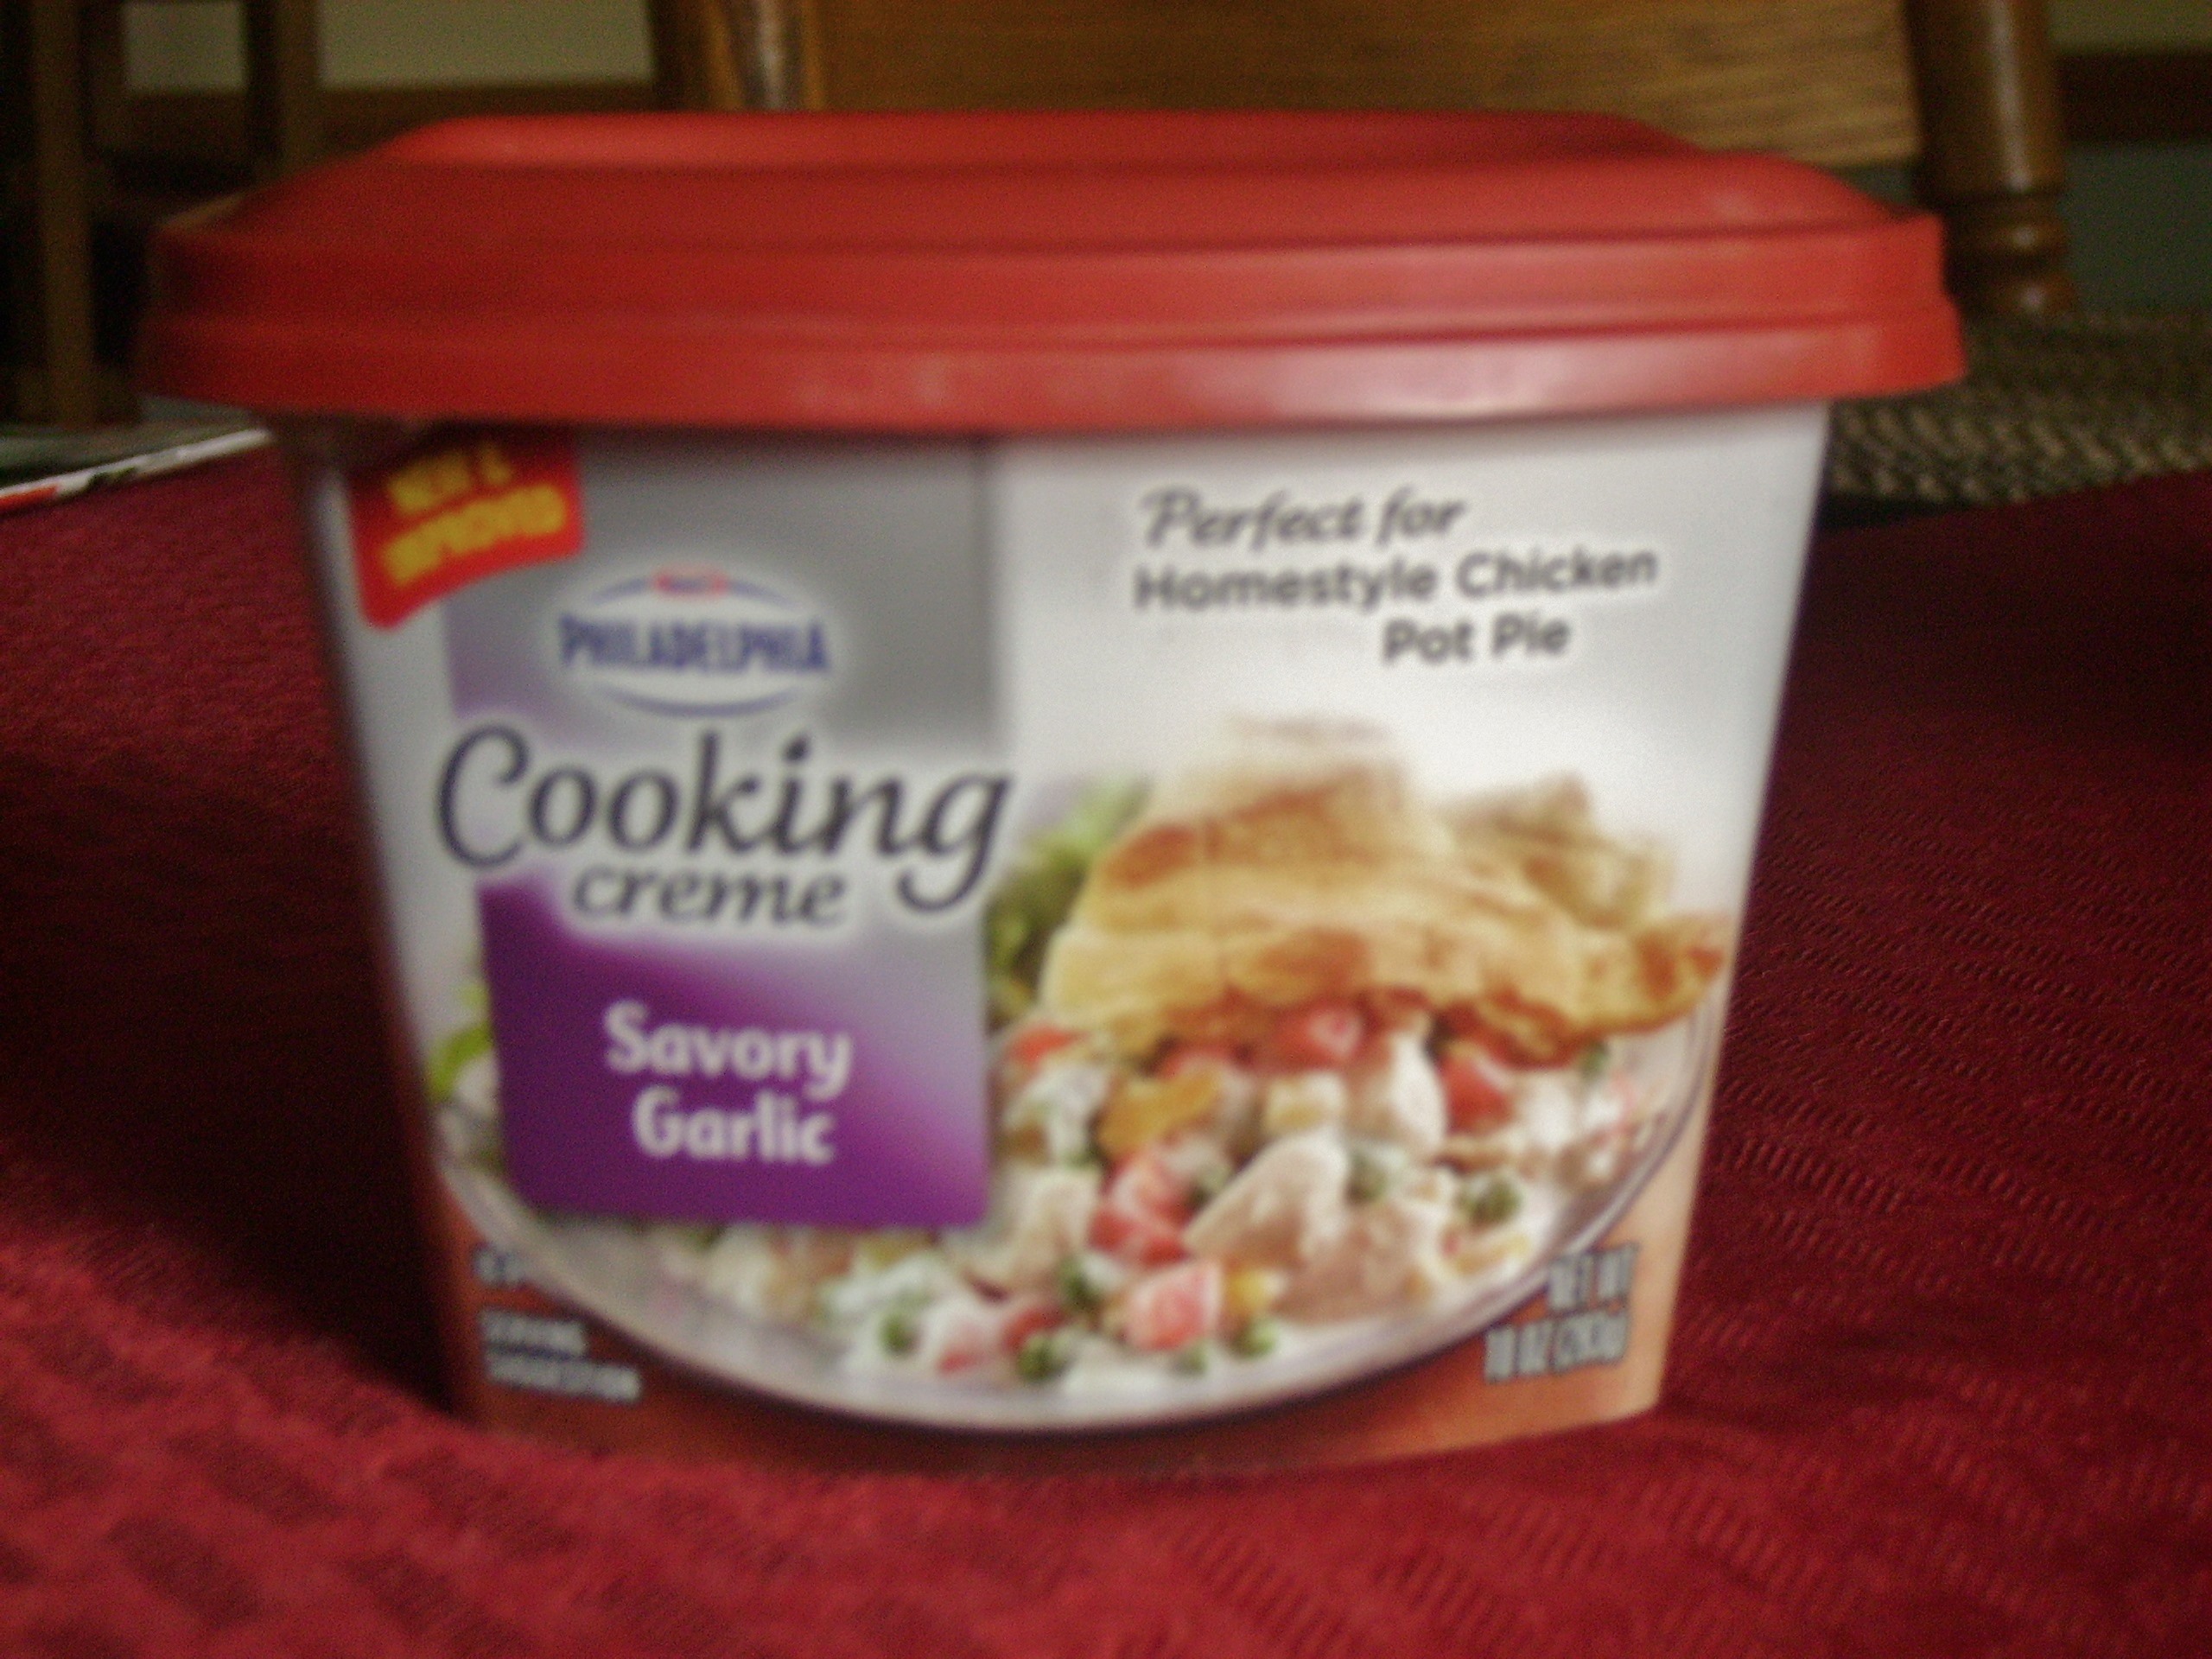
I adapted this from a Crock Pot recipe that used bone in chicken thighs. This skillet dish is far removed from that, but it uses many of the same ingredients from the original recipe which includes:  Kraft Savory Garlic Cooking Cream.

DIGITAL CAMERA

Yes, Mama D will use something pre-packaged if it is good quality and enhances the recipe. Do you ever use cream cheese thinned with a little milk to create a sauce? That’s basically what Cooking Cream is. The mixing is done for you and there’s some serious garlic flavor going on. It comes in various flavors but, the Savory Garlic is the best, in my opinion.

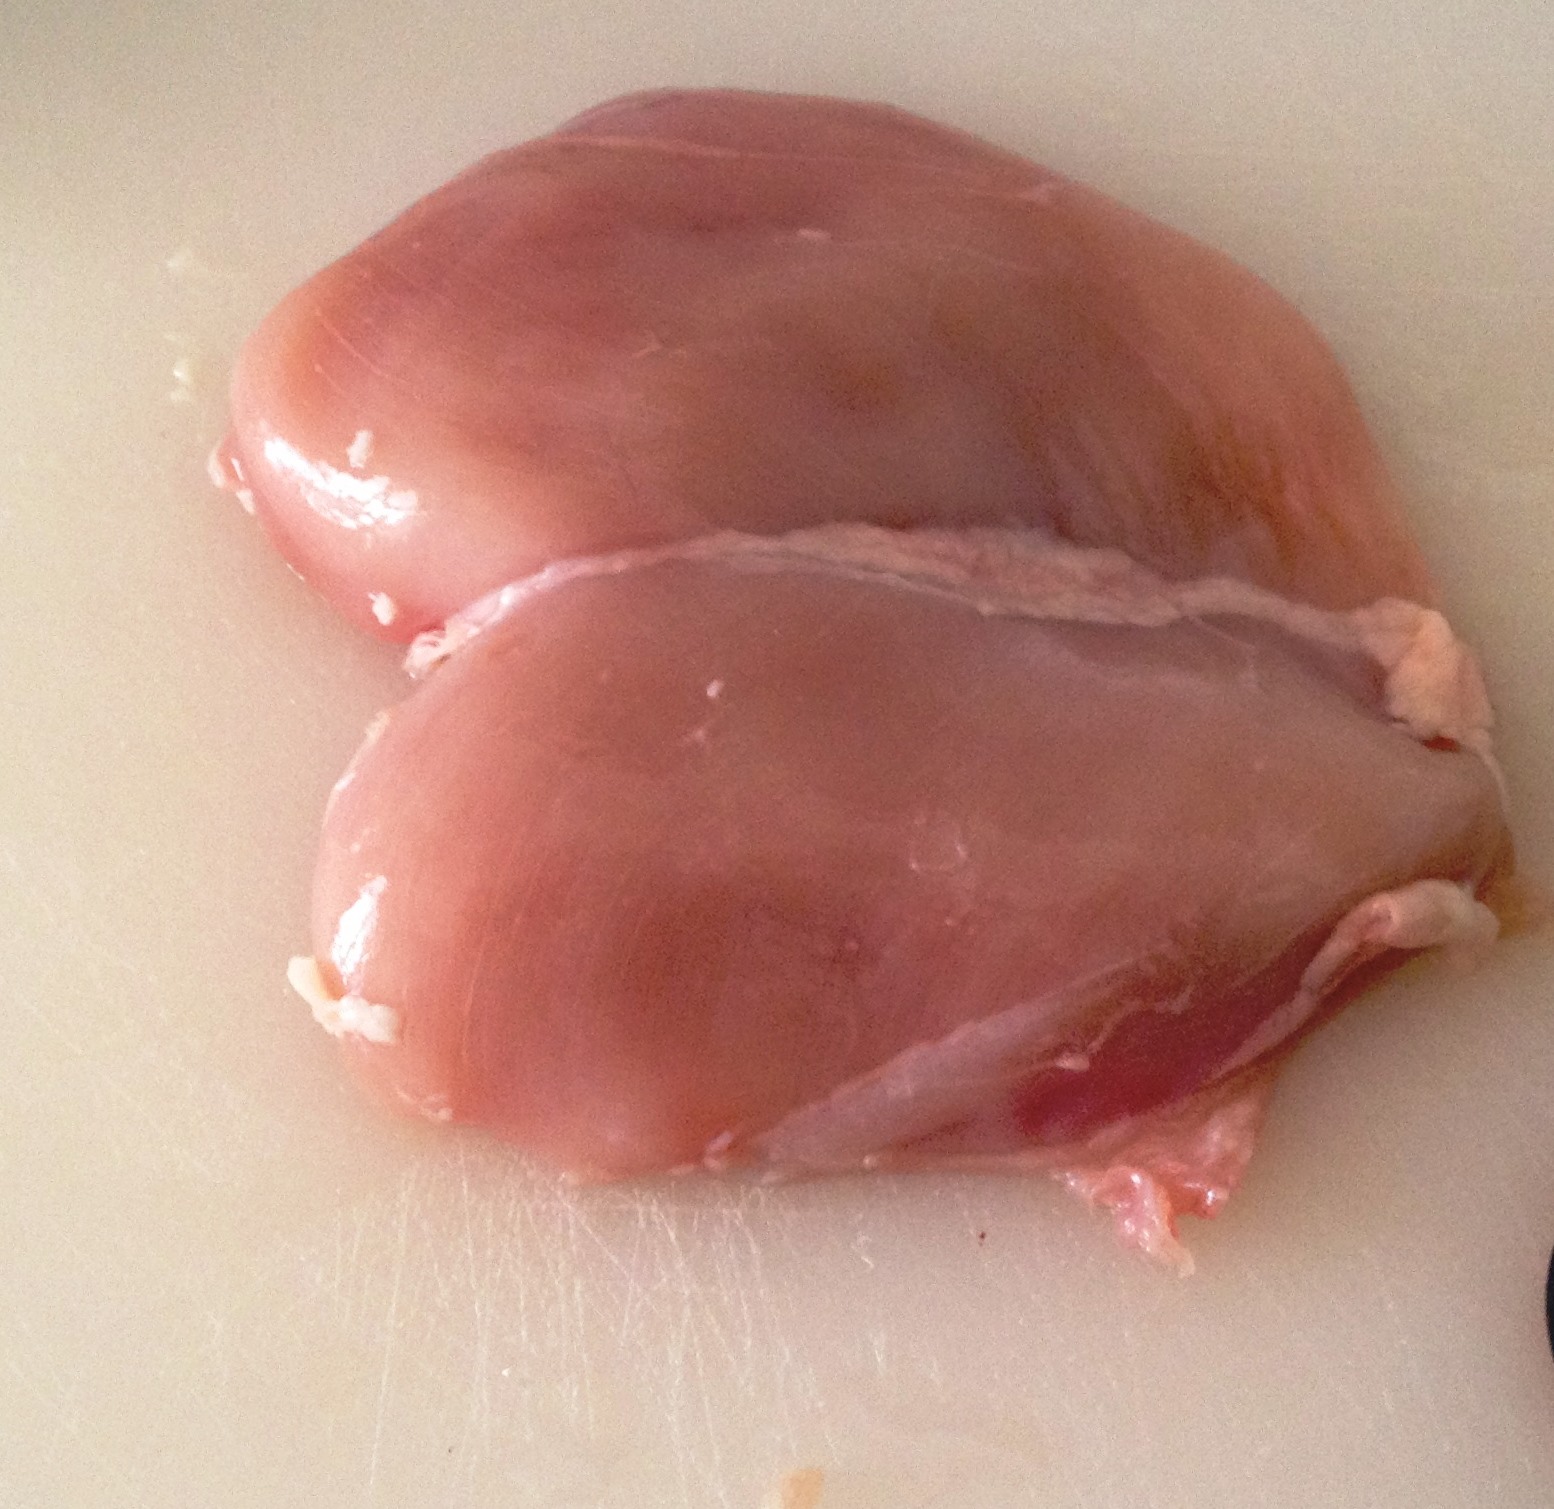
I used chicken tenders in this recipe. These are available in most stores both fresh and frozen. These slender little morsels are pricey, but you can create your own tenders from whole chicken breasts.file5191339581170

Buy whole boneless – skinless chicken breasts when they are on sale (several small local chains sell them this way).  A few simple cuts with a good boning knife will give you tenders, filets and some chicken bits for casseroles, all at a much lower price. Cut the breast in half along its cleavage. Remove the tenderloin that runs along the underside. Cut some meat off the underside to give the filet an even playing field and you don’t need no stinkin’ pre-packaged tenders.

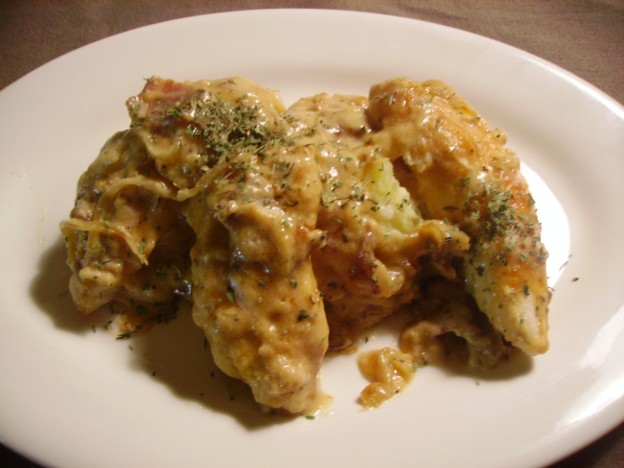
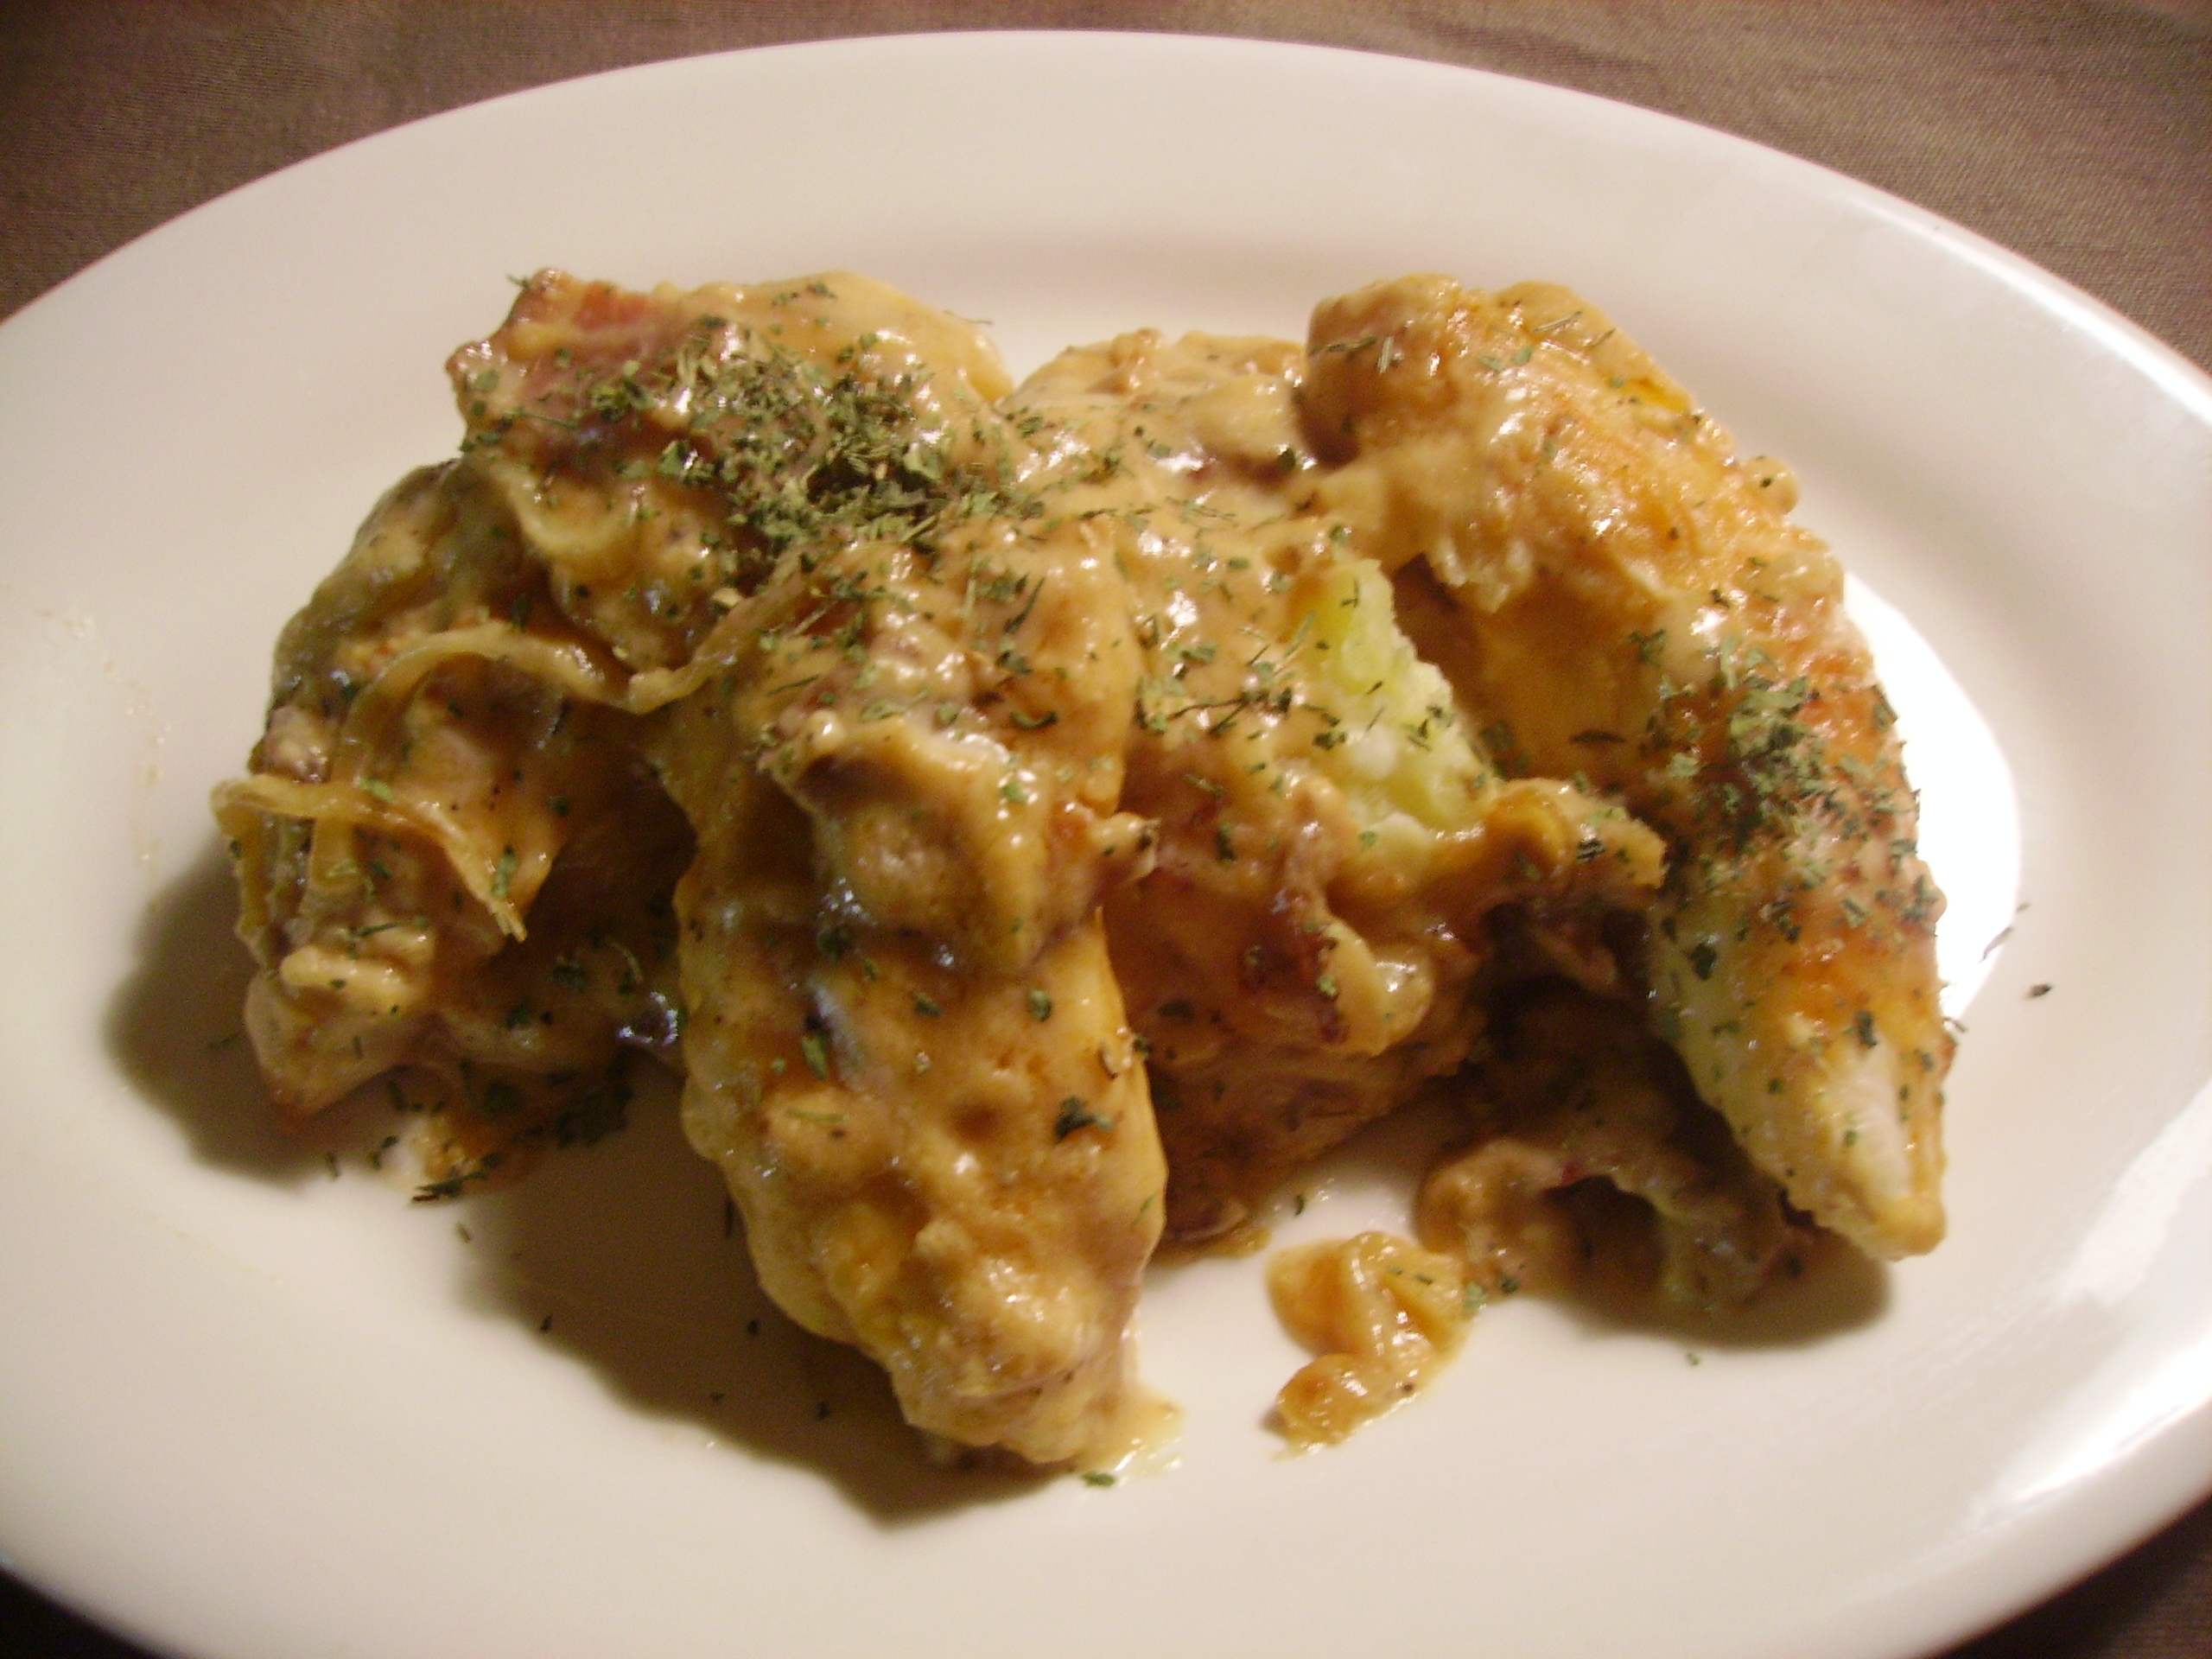
The sauce makes this recipe. Bacon, Onions and the Cooking Cream blend together into a velvety blanket for the Chicken. The Smashed Potatoes are a great base to hold the chicken and soak up the gravy. Add a salad or some sautéed green beans so that you have a balanced meal and can feel a little less guilty about the main dish. It can be on the table in relatively short order for a comforting weeknight dinner, but it would also dazzle company.

The season for “stick to your ribs” food is here. So give this recipe a try.

Love, Mama D

Smothered Chicken
Print Recipe
Decadent and creamy, chicken tenders become a satisfying weeknight dinner that would even impress company. Serve with sauteed green beans or a salad.
Servings Prep Time
4 10 minutes
Cook Time
40 minutes
Servings Prep Time
4 10 minutes
Cook Time
40 minutes
Smothered Chicken
Print Recipe
Decadent and creamy, chicken tenders become a satisfying weeknight dinner that would even impress company. Serve with sauteed green beans or a salad.
Servings Prep Time
4 10 minutes
Cook Time
40 minutes
Servings Prep Time
4 10 minutes
Cook Time
40 minutes
Ingredients
Servings:
Instructions
  1. Place the potatoes and the smashed garlic in a pot. Add water to cover the potatoes by about an inch. Add salt and bring to a boil over high heat. Reduce the heat to medium and simmer the potatoes while you prepare the chicken and gravy. These can take care of themselves save a stir every now and then.
  2. In a large skillet cook bacon until it is lightly browned and has rendered some fat. Remove from pan and drain on paper towels.The bacon will cook more later when it is combined with the onions. Leave 2 Tablespoons of drippings in pan.
  3. In a shallow bowl, mix 1/2 cup flour with the Paprika and Bacon Salt. Dredge chicken tenders in flour and transfer to the hot frying pan. Do not crowd the tenders. Brown in batches if they can't brown without touching. Turn to brown on all sides. This should take 7 -10 minutes or so. Remove from pan when browned and set aside.
  4. Return bacon to hot pan and add the onions. Toss to combine and coat with drippings. If the pan seems a little dry, add 1 - 2 tablespoons butter. Cook until onions are golden brown. Add remaining flour to pan and stir to incorporate the flour. Continue to cook 3 minutes or so stirrring often.
  5. Add the Chicken Broth and stir constantly until mixture begins to thicken and bubble. Reduce heat to low and stir in 3/4 cup of the Savory Garlic Cooking Cream. Return the chicken tenders to the pan along with any juices that have accumulated, stirring and turning the chcken until it is evenly coated with the gravy. Continue to cook over medium/low heat until chicken is cooked through, about 5 minutes.
  6. When potatoes are cooked, drain and return to pan. Combine remaining cooking cream and milk and add to potatoes. Smash, leaving more than a few lumps . Keep warm until ready to plate.
  7. Spoon the potatoes onto four plates. Divede the tenders evenly on top of the potatoes. Spoon the rest of the gravy over everything. Garnish with parsely if desired.
Share this Recipe
 
Powered byWP Ultimate Recipe


Mama D’s Florida Adventures of Love

I just got back from a long weekend in Florida, specifically Sarasota and Bradenton on the Gulf Coast. We went down for our niece Kelly’s wedding, which by the way was absolutely beautiful. Besides the festivities it was the first time in many years that the clan was together. 053

Grandma and her wonderful Grandchildren

In between visiting, we got to experience several local restaurants and one incredible 022gourmet shop,  Vom Fass. I’ve been to many Olive Oil and Gourmet Shops and I know my way around Wine Shops and Liquor Stores, 021but Vom Fass has a little of all of those displayed in a beautiful environment.

Vom Fass is a franchise that is fairly new to America, but common in Europe. The company is headquartered in Germany and has received awards for their franchises. Debbie and John Kay have had their franchise for a little over 6 months and are rapidly building a loyal following in upscale Downtown Sarasota. They are proud of their products and very knowledgeable about their origins and uses.

019Products come from all over the world and are stylishly displayed. I counted no less than twelve Scotches and an assortment of Whiskeys. Rum, Vodka and Gin were there, too. These came from023 Yahara Bay Distillery in Madison Wisconsin. Fruit LIqueurs, Grappa and the mystical French Absinthe were also available. While all this marvelous liquor isn’t cheap, it is unique and would be 025perfect for a special occasion.

This shop doesn’t live on liquor alone. It offers an amazing array of oils and vinegars. Besides the usual Olive Oils and Balsamic Vinegars they offer Pine Nut, Pistachio, Pumpkin Seed, and Argan Oil which is used in Moroccan cooking and has recently become a health and beauty darling.

Everything is available for tasting which helps in making the right decision. Oils and vinegars 024are sold in 100ml increments. The bottles which range from whimsical stars and shoes to no-nonsense  litres are sold separately.

Since I was traveling light, I stuck to the 100ml bottles (these are 020within the allowed amount for the plastic bag in a carry on.) I sacrificed shampoo, conditioner, body lotion, and bath gel and brought home a lovely Tuscan Olive Oil and Maletti Balsamico.

Sarasota has literally hundreds of restaurants. It is a very cosmopolitan city. We visited two restaurants that have been mainstays for many years.

Lunch one day were amazing hamburgers cooked perfectly to order at Patrick’s 1481. These were accompanied by well made martinis. Don’t judge me, I was on vacation.  Another evening we opted for an appetizer dinner at Mattison’s City GrillEven though it was Sunday evening we were able to take advantage of the $4.00 Appetizers and $5.00 Martinis (vacation, remember?). The price was tiny but the flavors were big; Grilled Artichokes, Thai Lettuce Wraps, and Bruschetta all were well prepared and beautifully presented.

My niece’s wedding was in Bradenton and we found ourselves in need of sustenance, so off we went to The YachtSea Grille. When my brother-in-law told us about this place I thought he said the Yahtzee Grill and I was expecting dice and those little pencils. Instead it was a charming outdoor cafe that naturally specialized in seafood. We had Calamari served with a Spicy Remoulade that my have been the best we’ve ever had. It was just the right amount to tide us over.

So that about wraps up my weekend. It was nice to discover new places to eat, to walk along the beach, soak up the sun and play tag with the surf. Most of all, it was nice to be with family and friends to celebrate a joyous occasion.

Congratulations Kelly & Kenny. Have a beautiful life.