Cleaning Out the Fridge Quiche

The refrigerator is a wonderful invention. It allows us to keep a supply of fresh food at the ready. It provides a safe haven for the treasures we find at the store, keeping them safe until we are ready to turn them into something wonderful. I confess that sometimes I buy a little more than I can chew and open the refrigerator to find an array of food that has begun to lose its luster.

What’s Mama D to do? I don’t have the heart or the budget to throw it all away, and it is still quite usable. The time has come to combine things into a delicious meal and quiche is a perfect solution. Flaky pie crust and creamy custard are the blank canvas that will hold the vegetables and meats that the fridge has to offer.

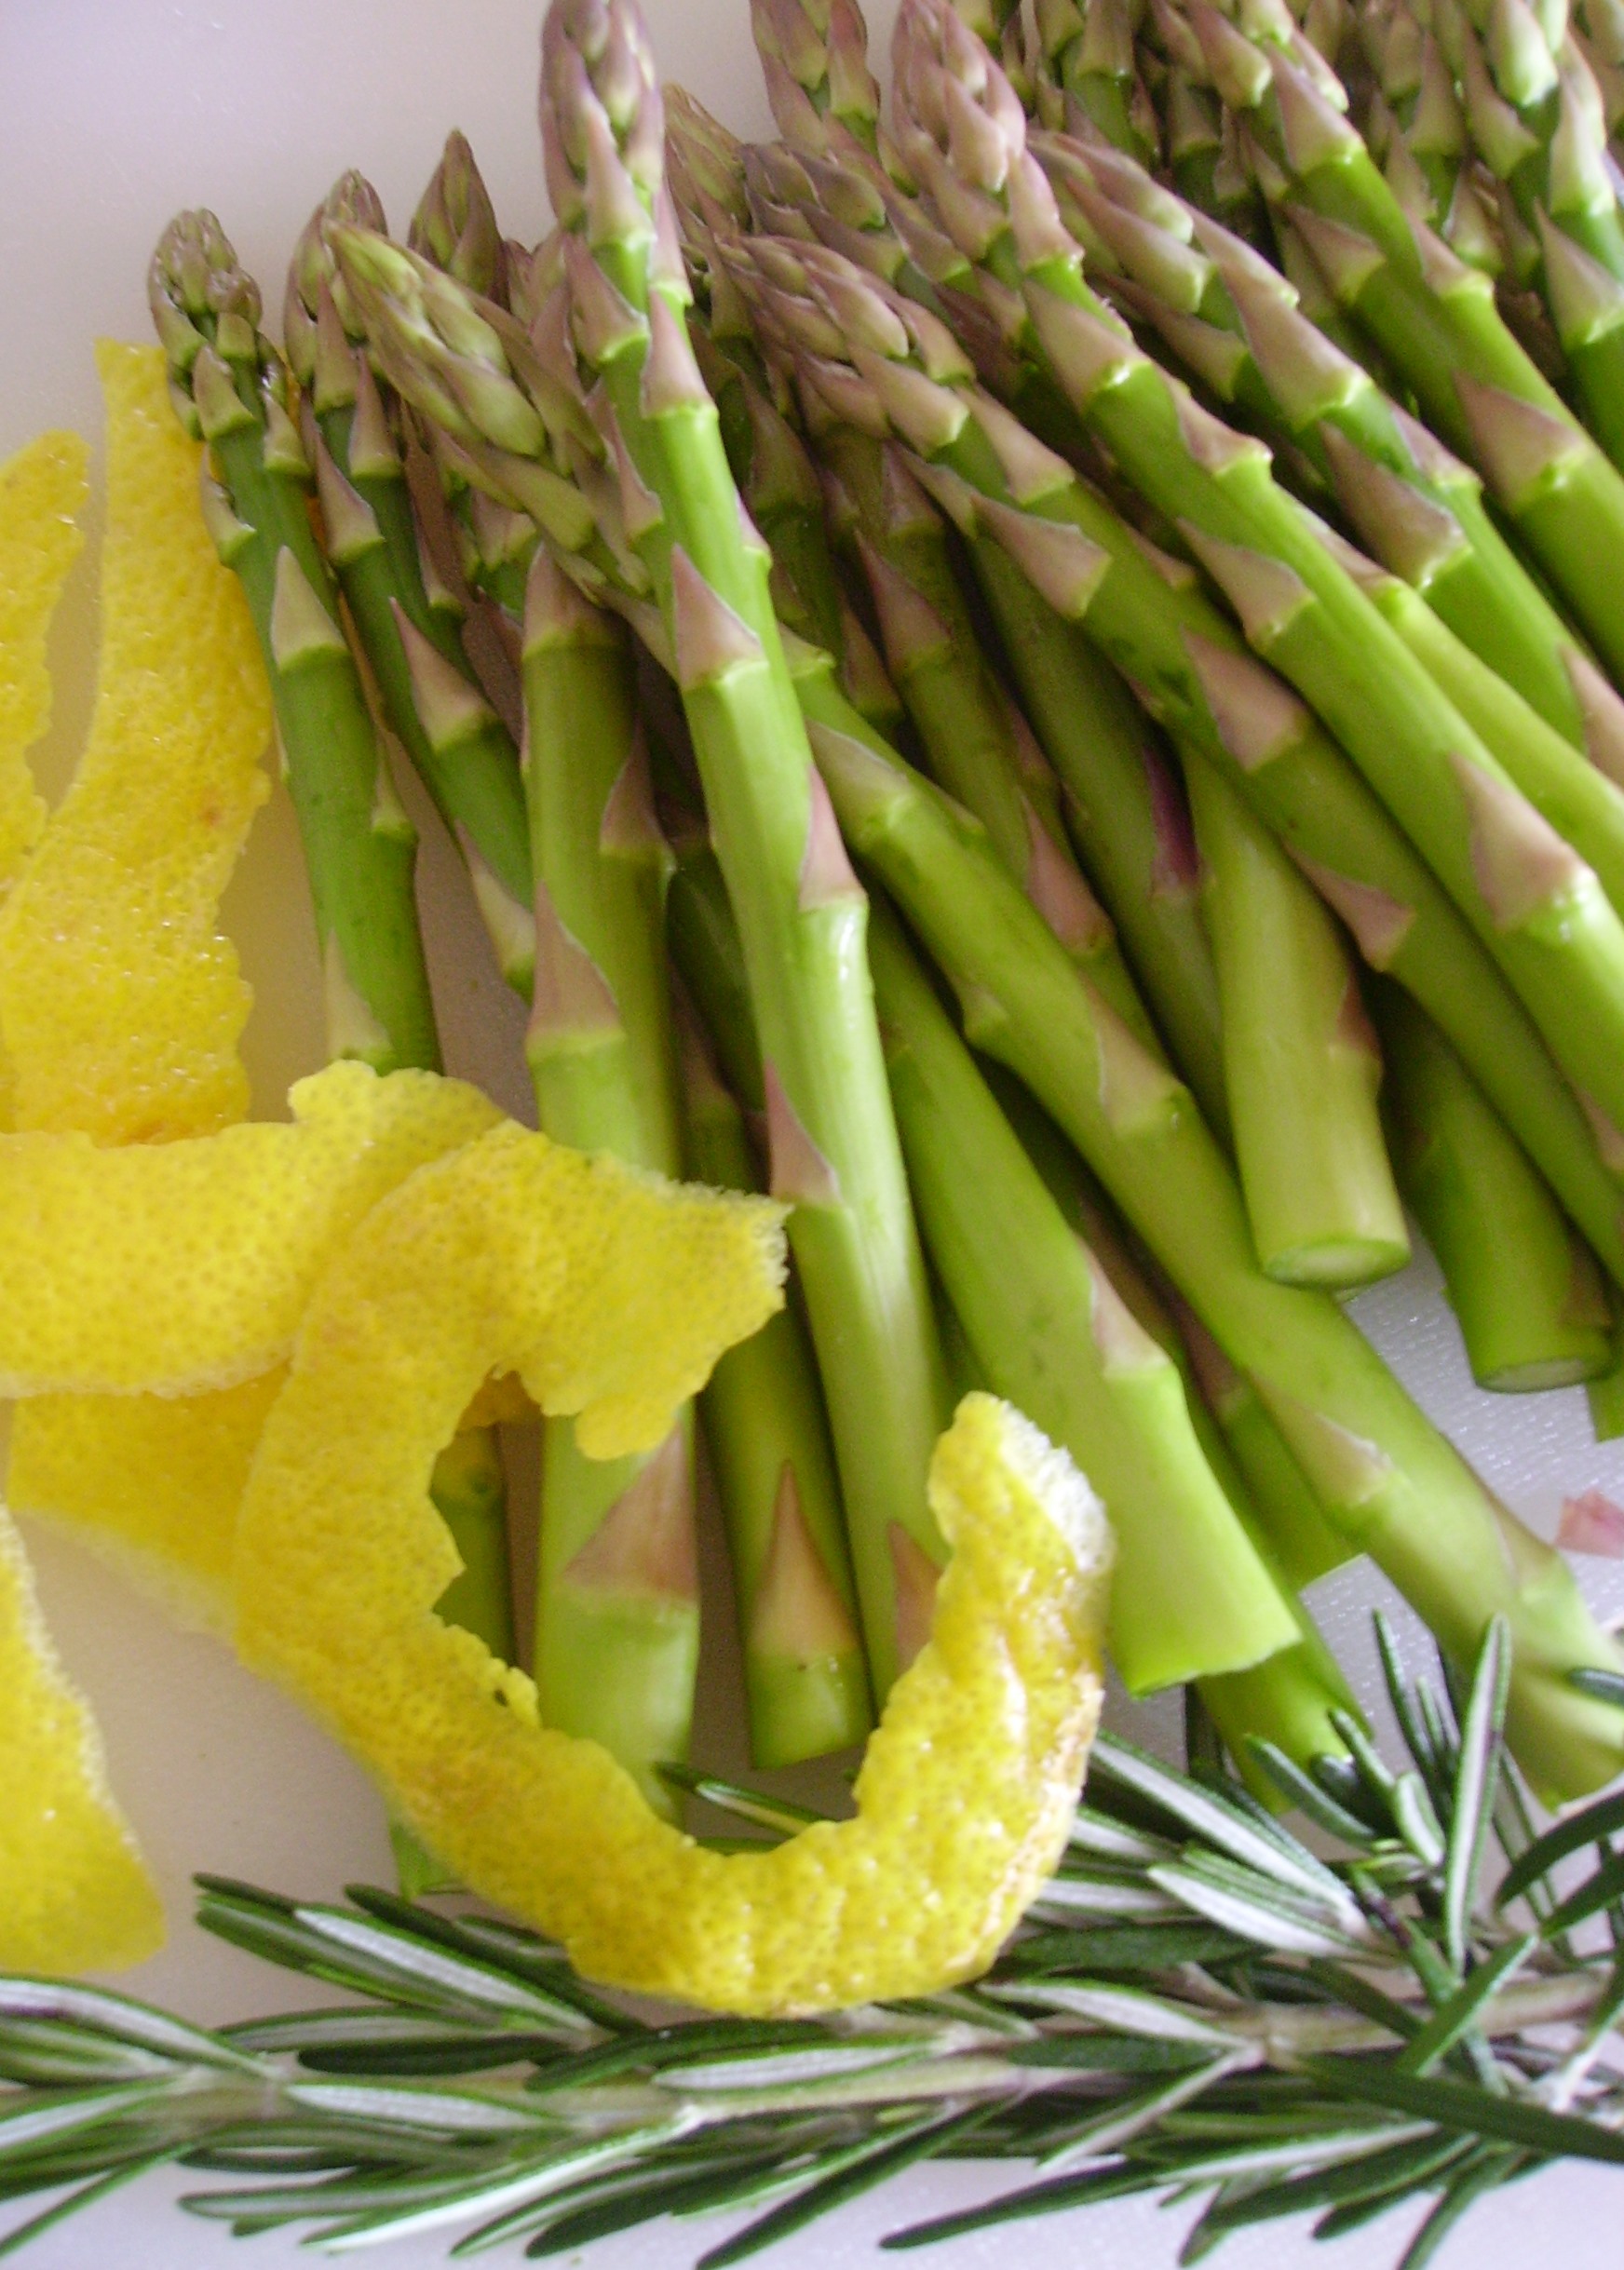
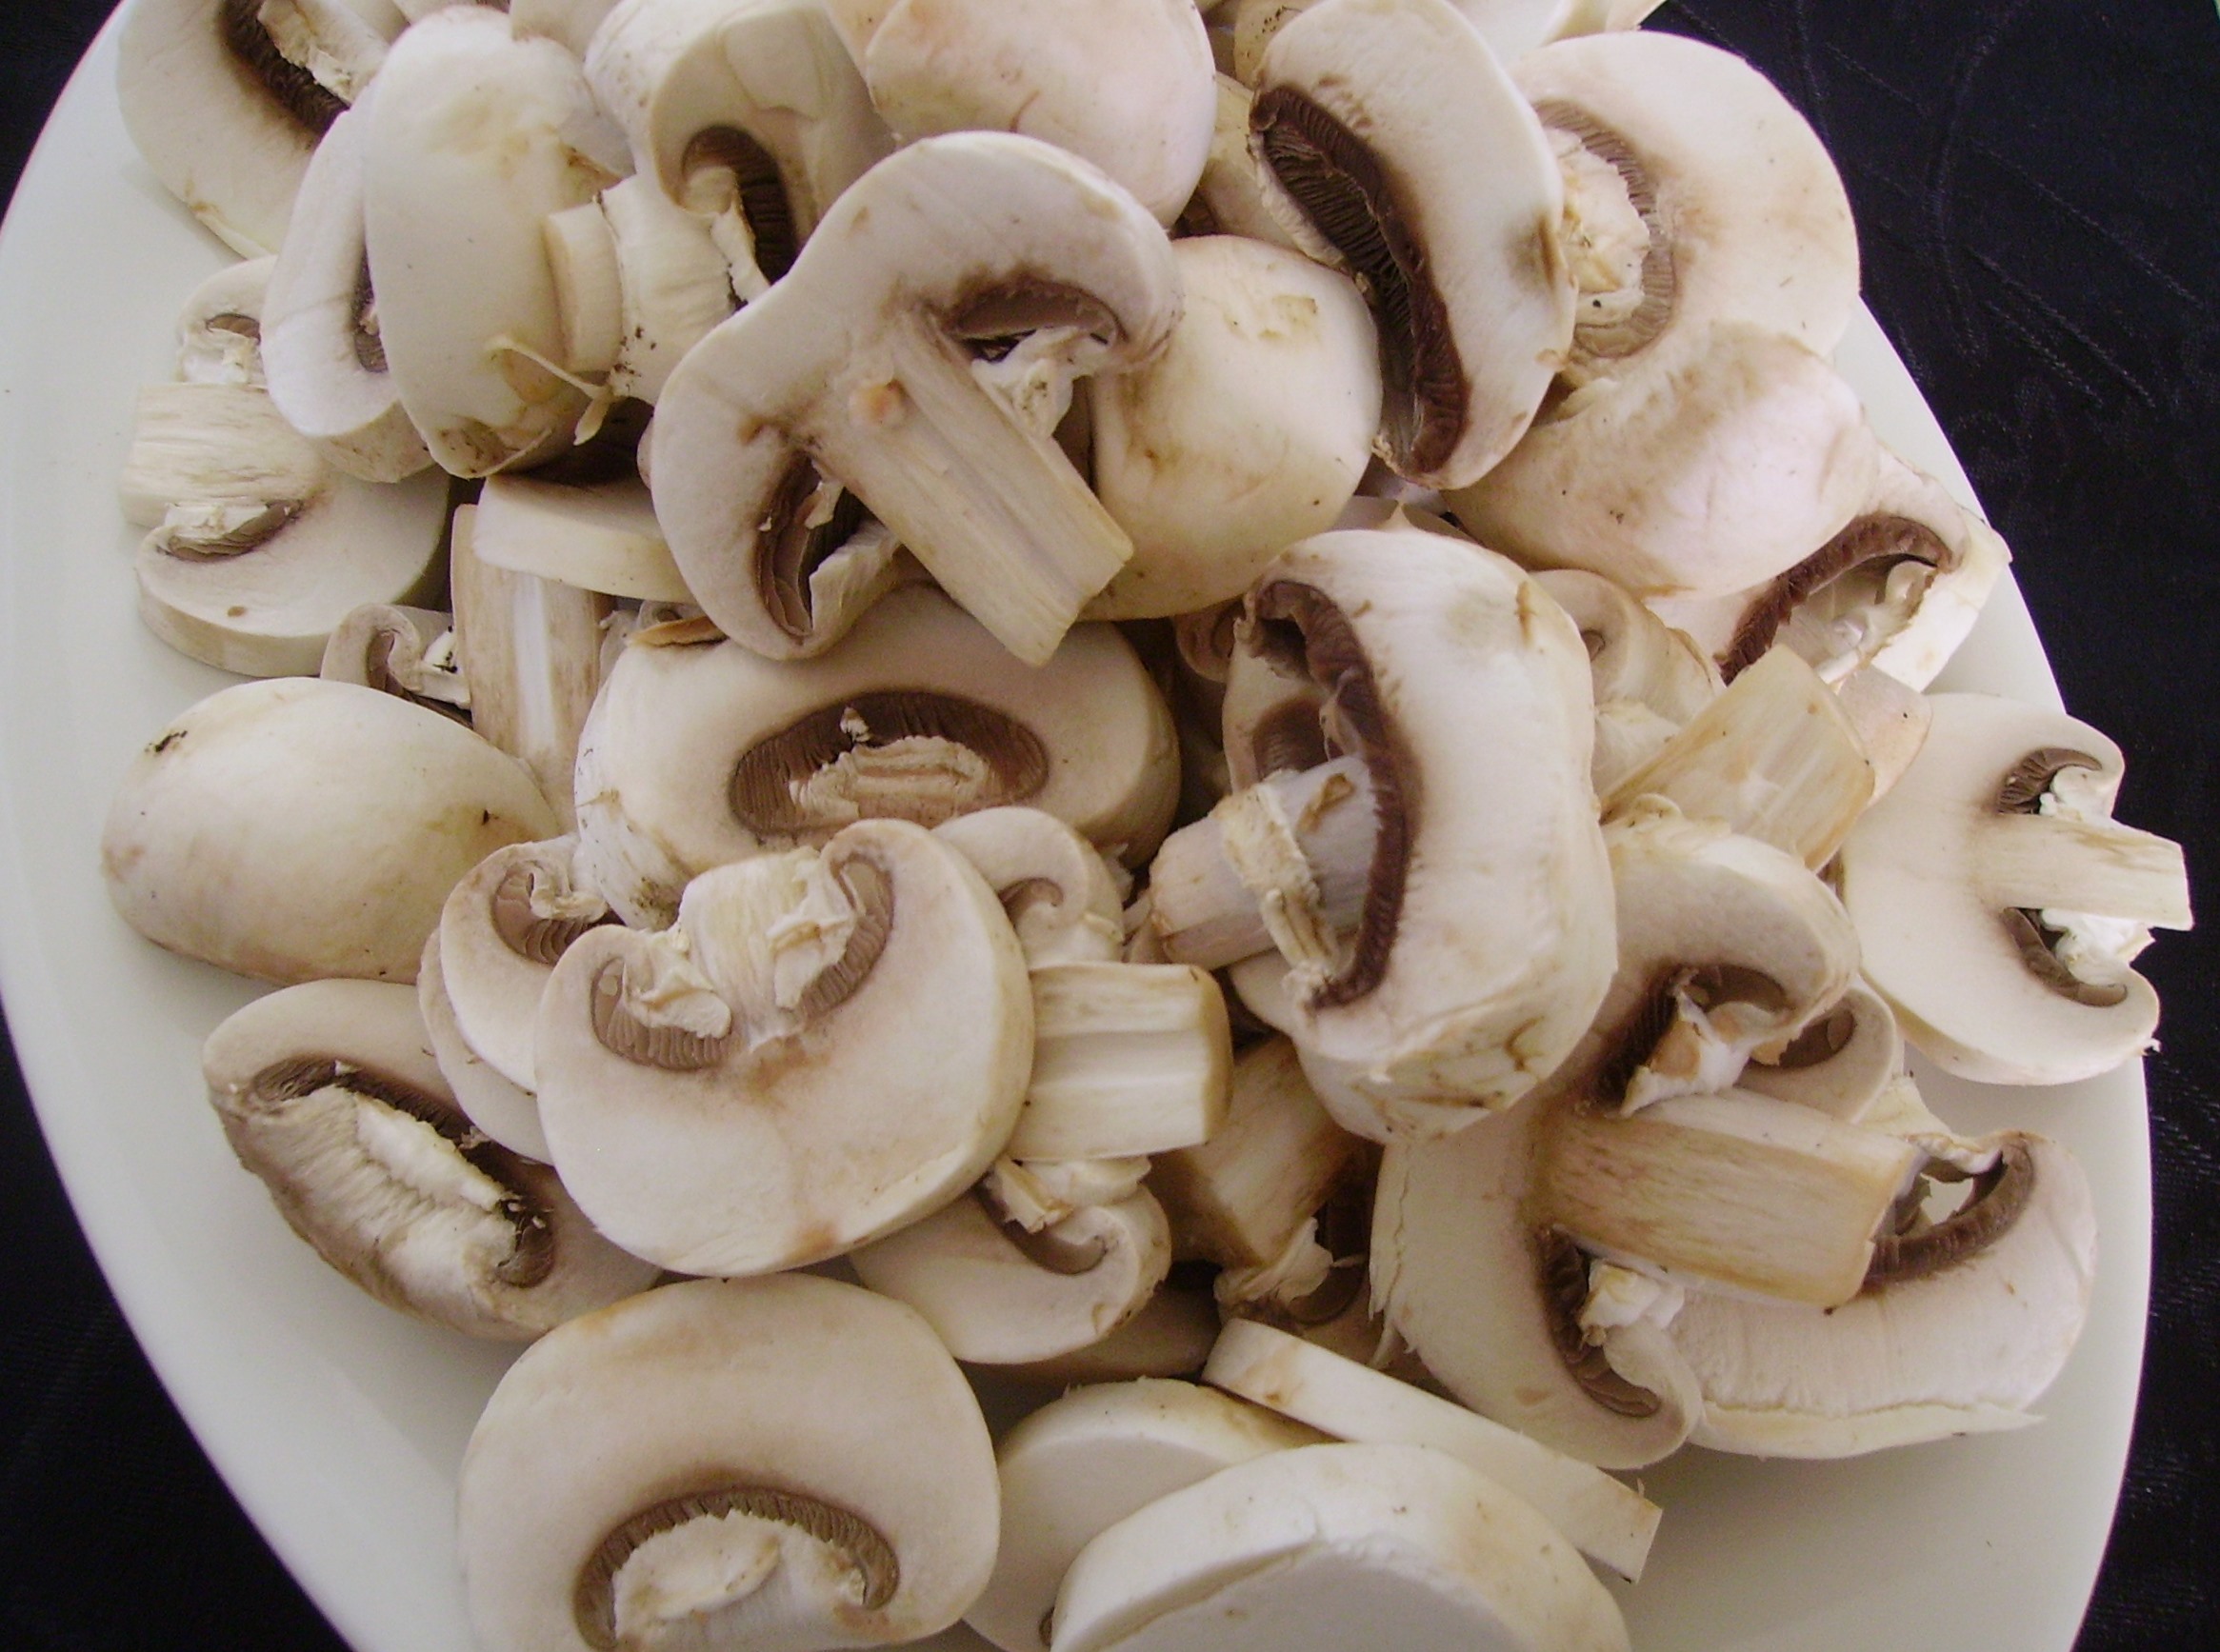
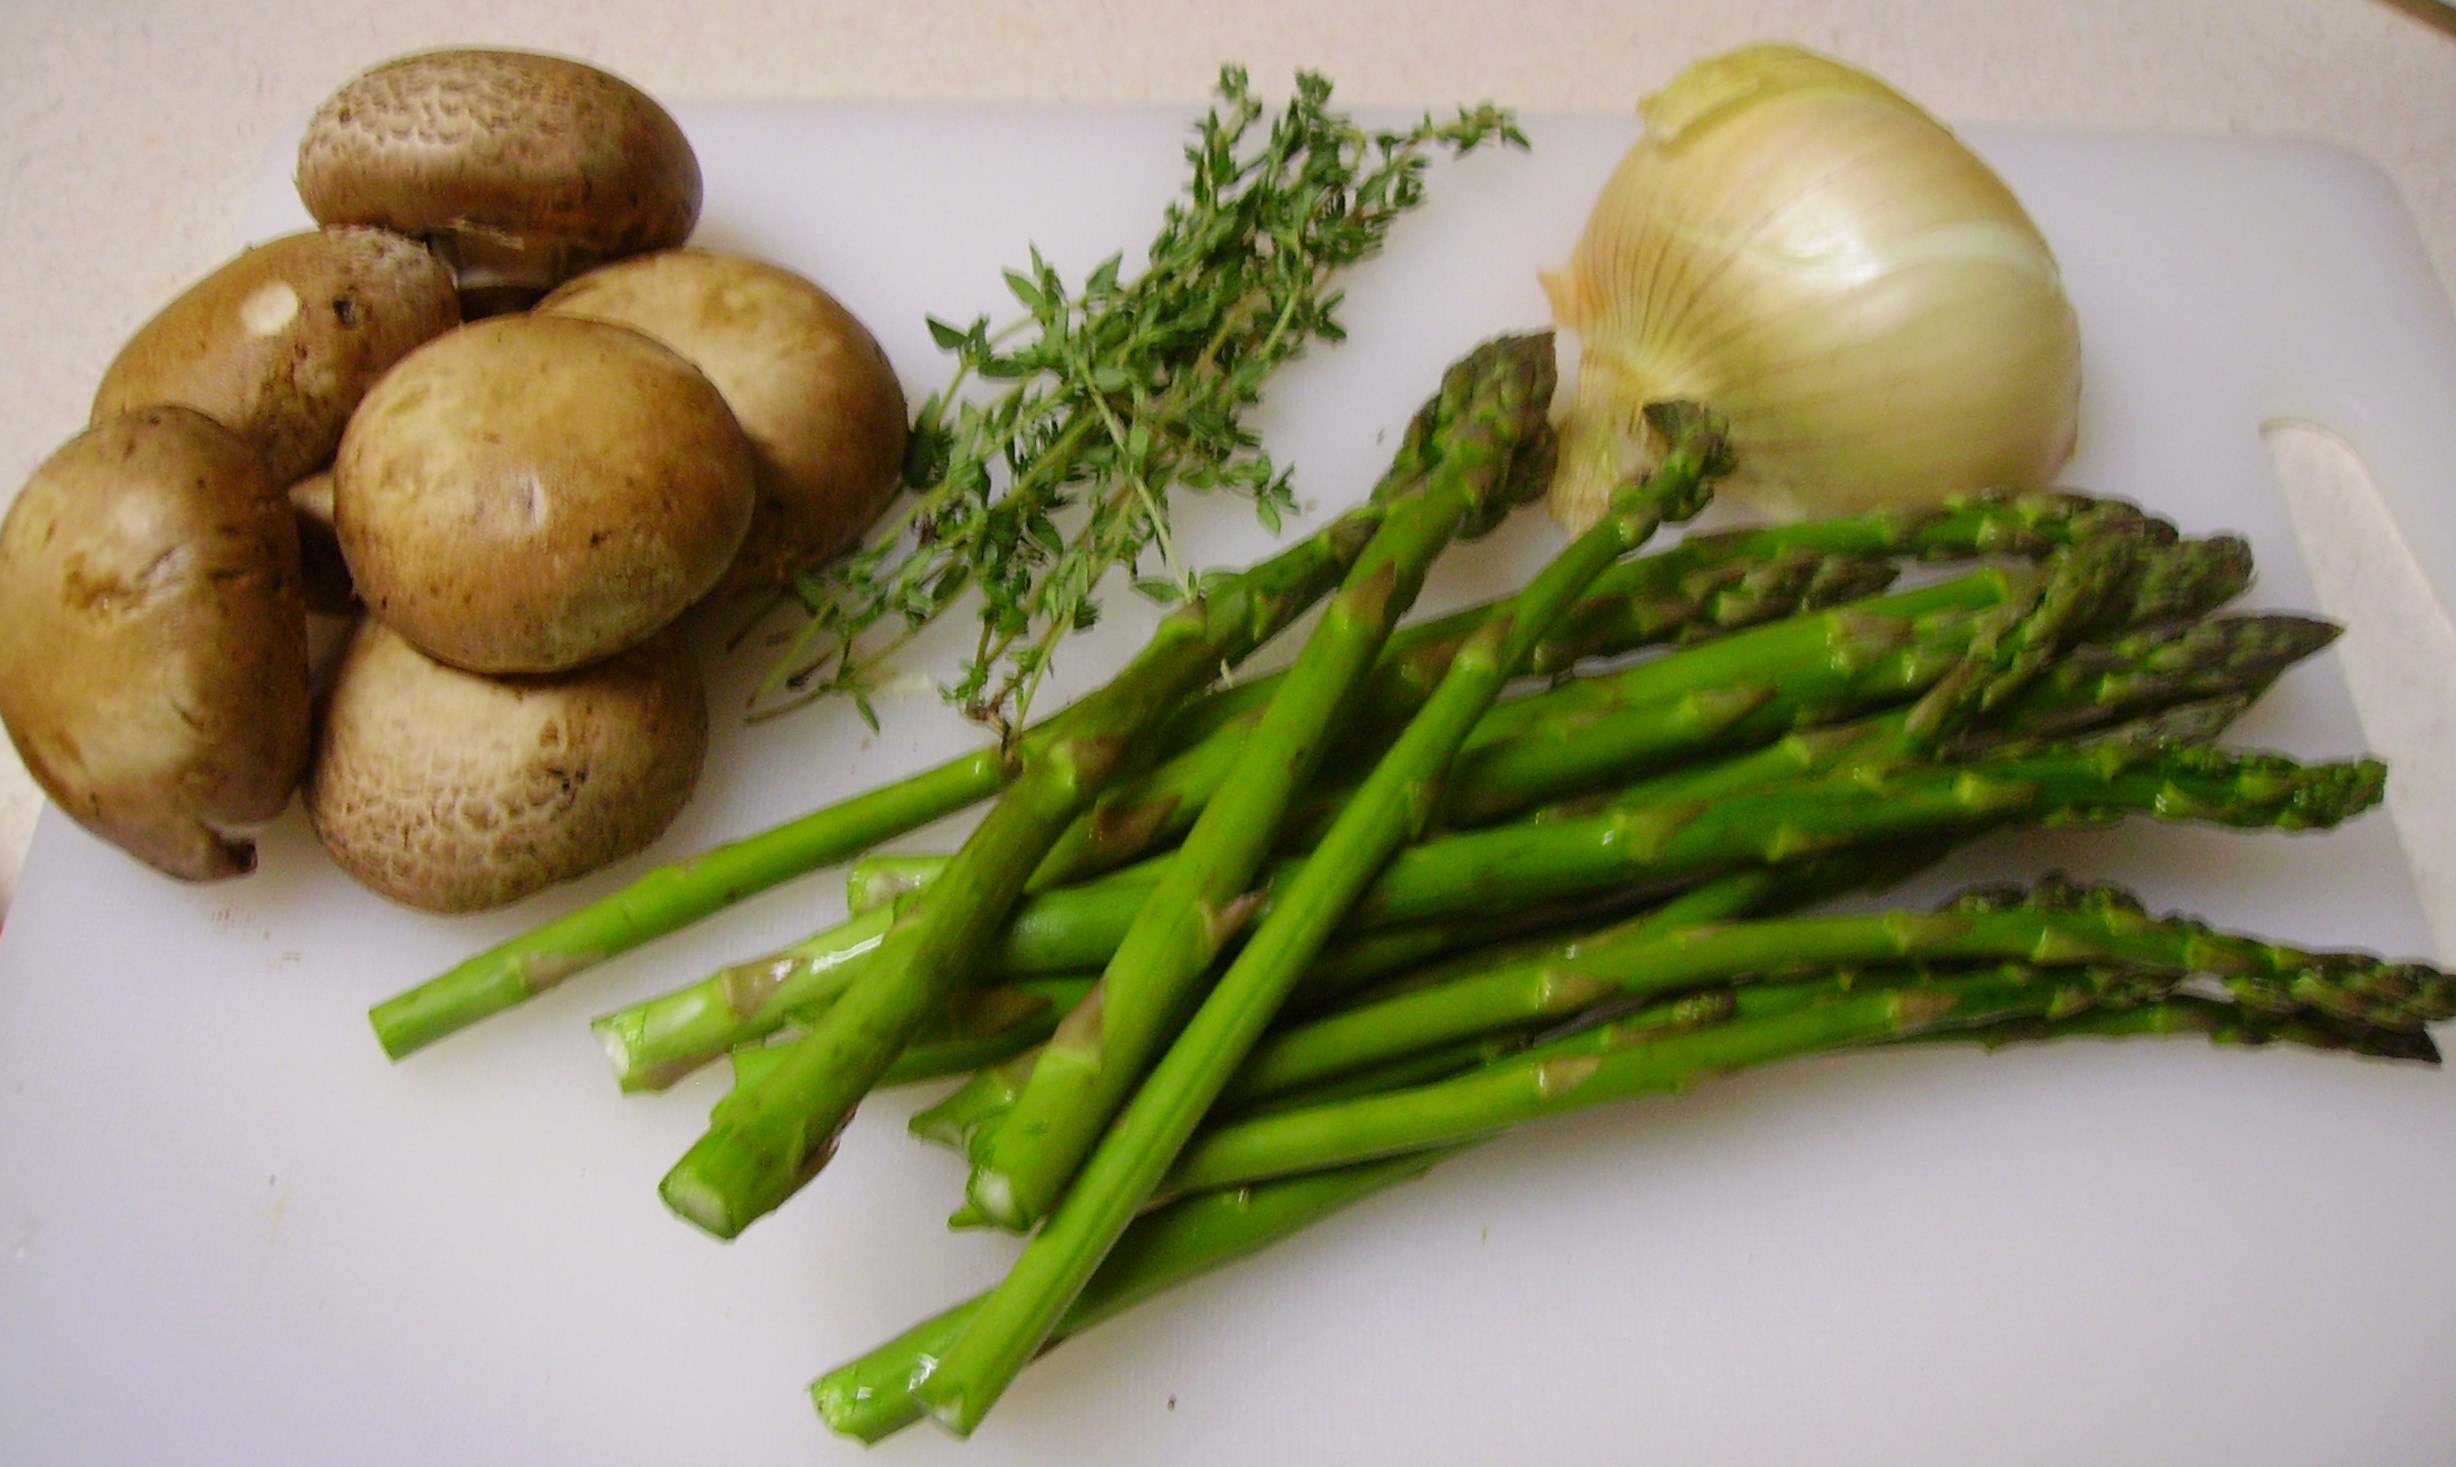
This adventure included some crimini mushrooms and asparagus along with some thyme and onion. They were a bit past their prime, but perfect for this quiche.

DIGITAL CAMERAMy protein of choice was peppered bacon.  I found three lonely slices that I chopped up and browned on the stove.

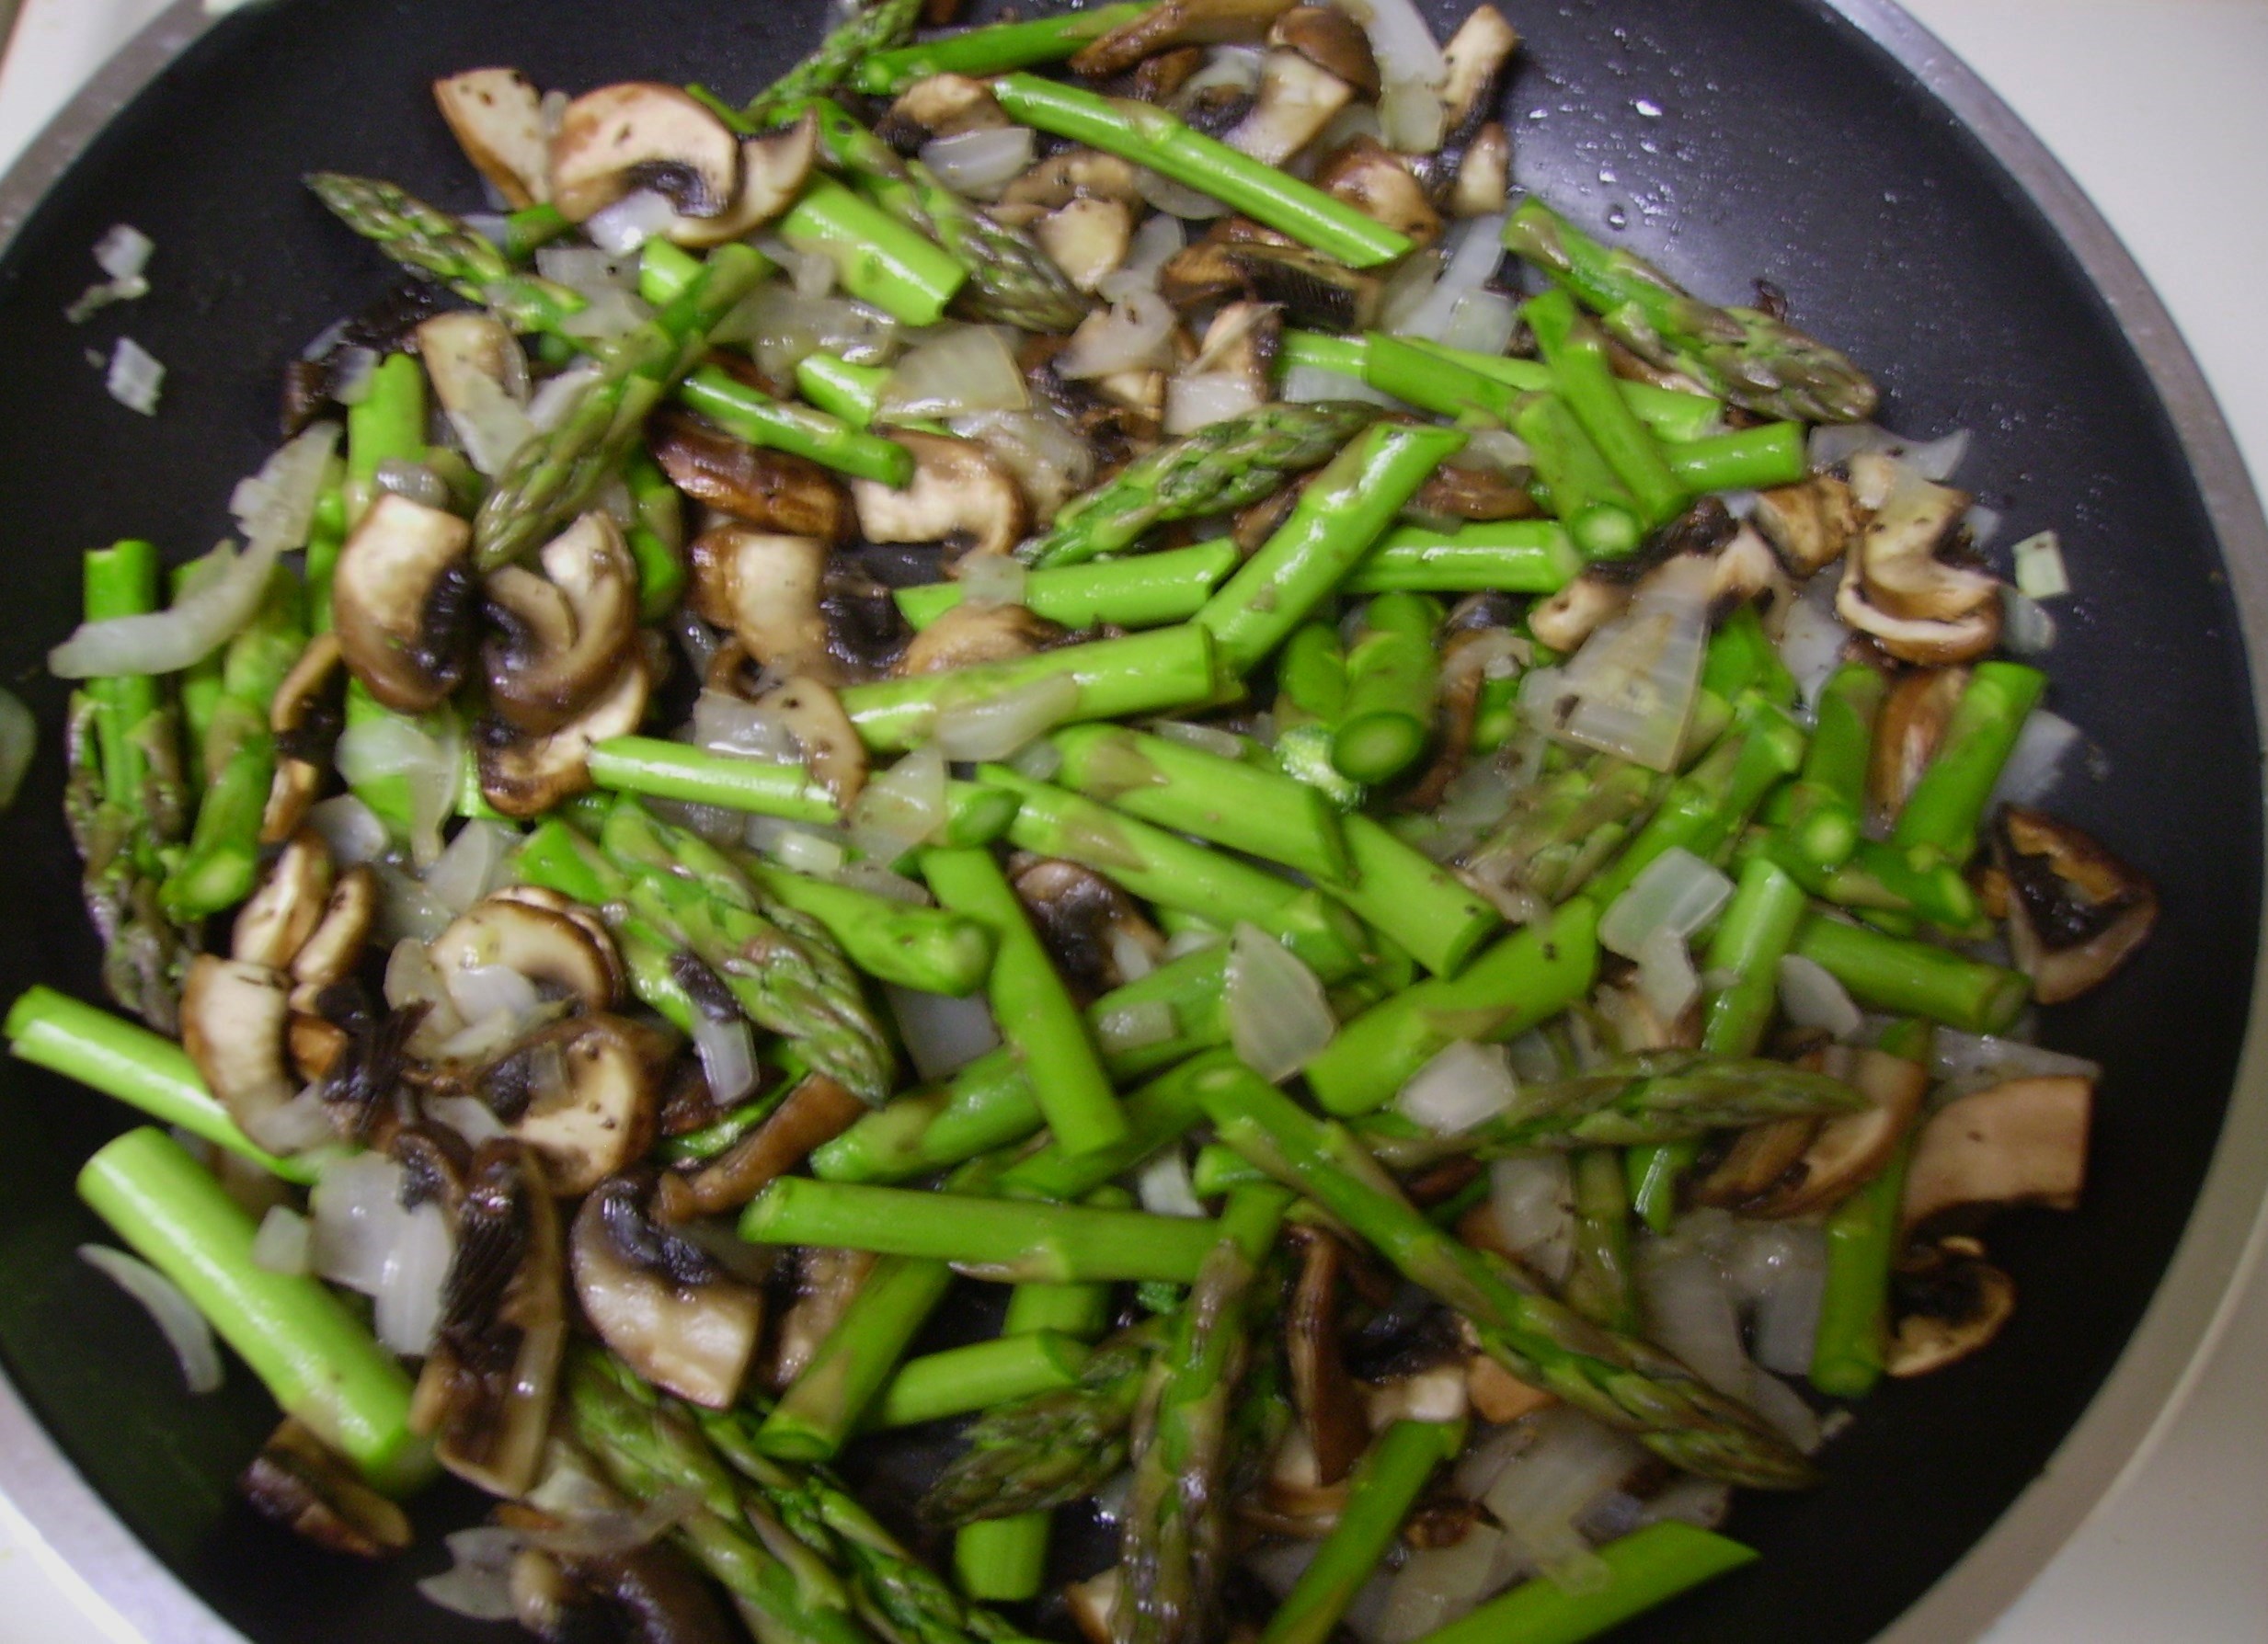
The veggies were chopped and cooked in the same pan (minus the drippings, but with the yummy brown bits) to give them a little extra love before they jumped into my “not home-made” crust. Yes, the crust came out of the fridge, too. Would homemade pastry make this dish better? Maybe, but I had a box of the pre-made variety and it needed to be used,too.

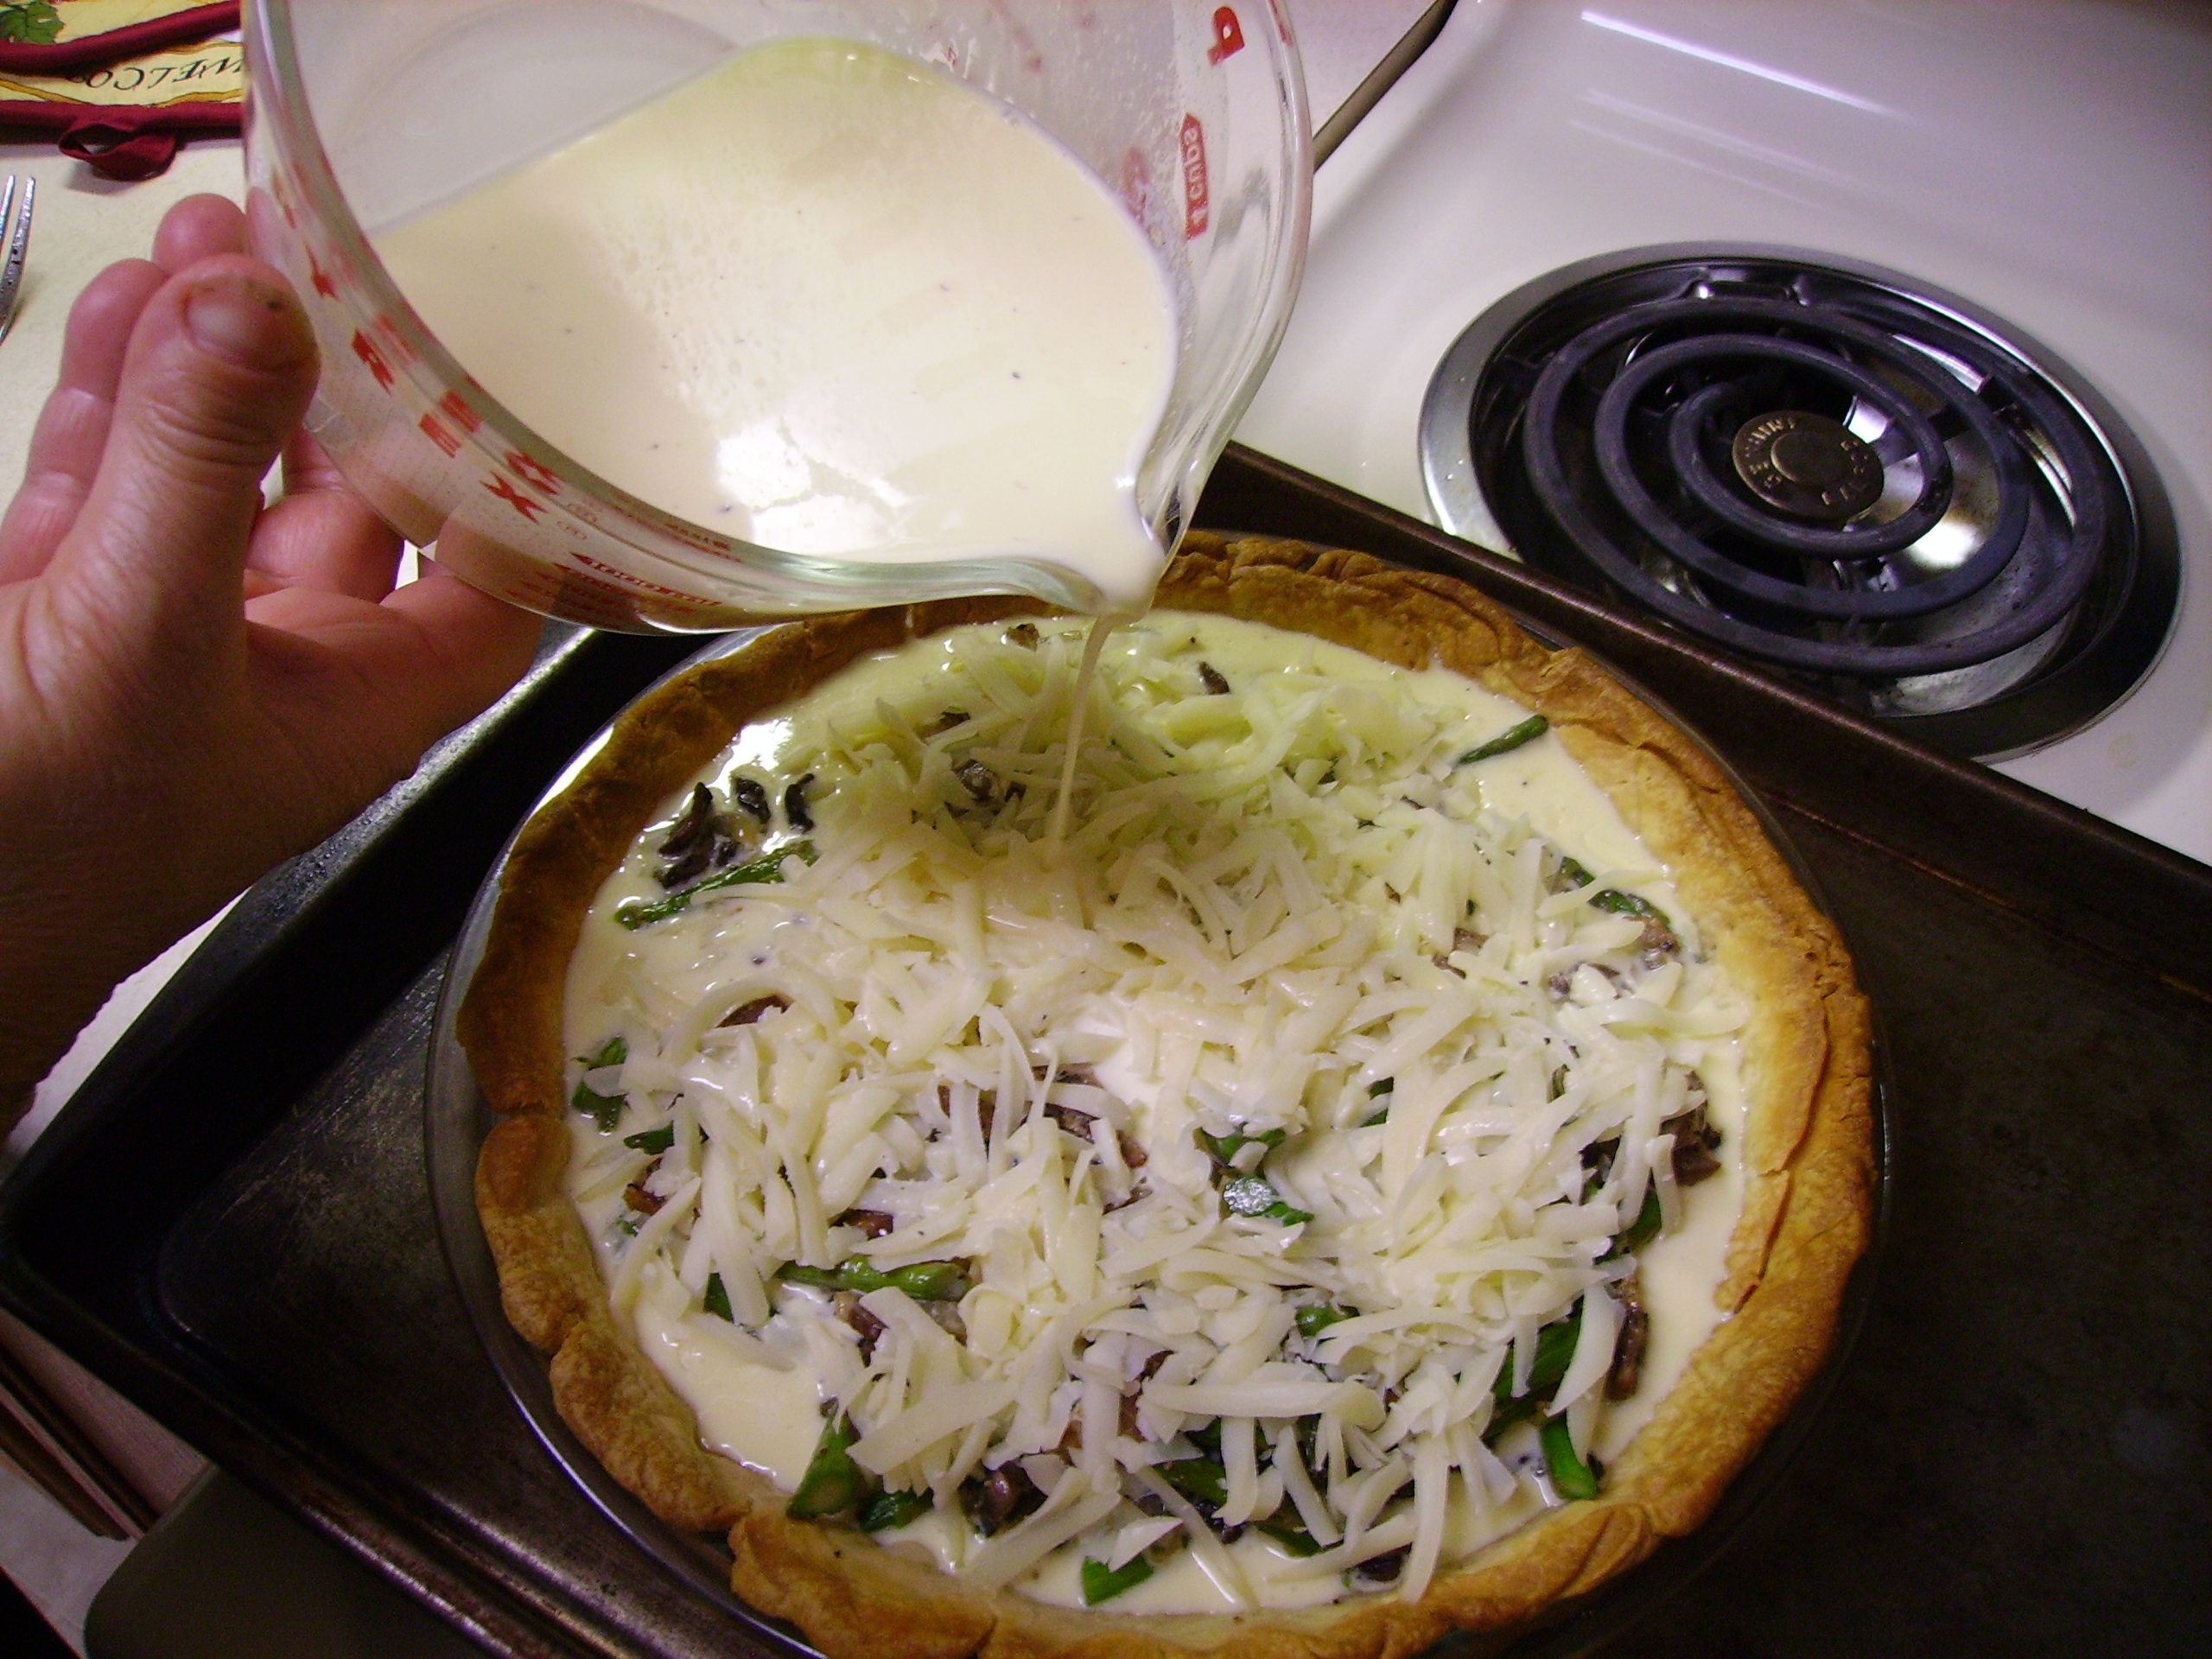
Whatever pastry crust you use always “blind bake” it before you add the fillings. Once the dough has been fit into your vessel of choice, line it with some parchment paper and fill it with dried beans. Bake it in the oven until it is nice and golden. A clear glass pan allows you to check the bottom as well. Remove the beans and paper and add your fillings. No soggy bottom crust here.
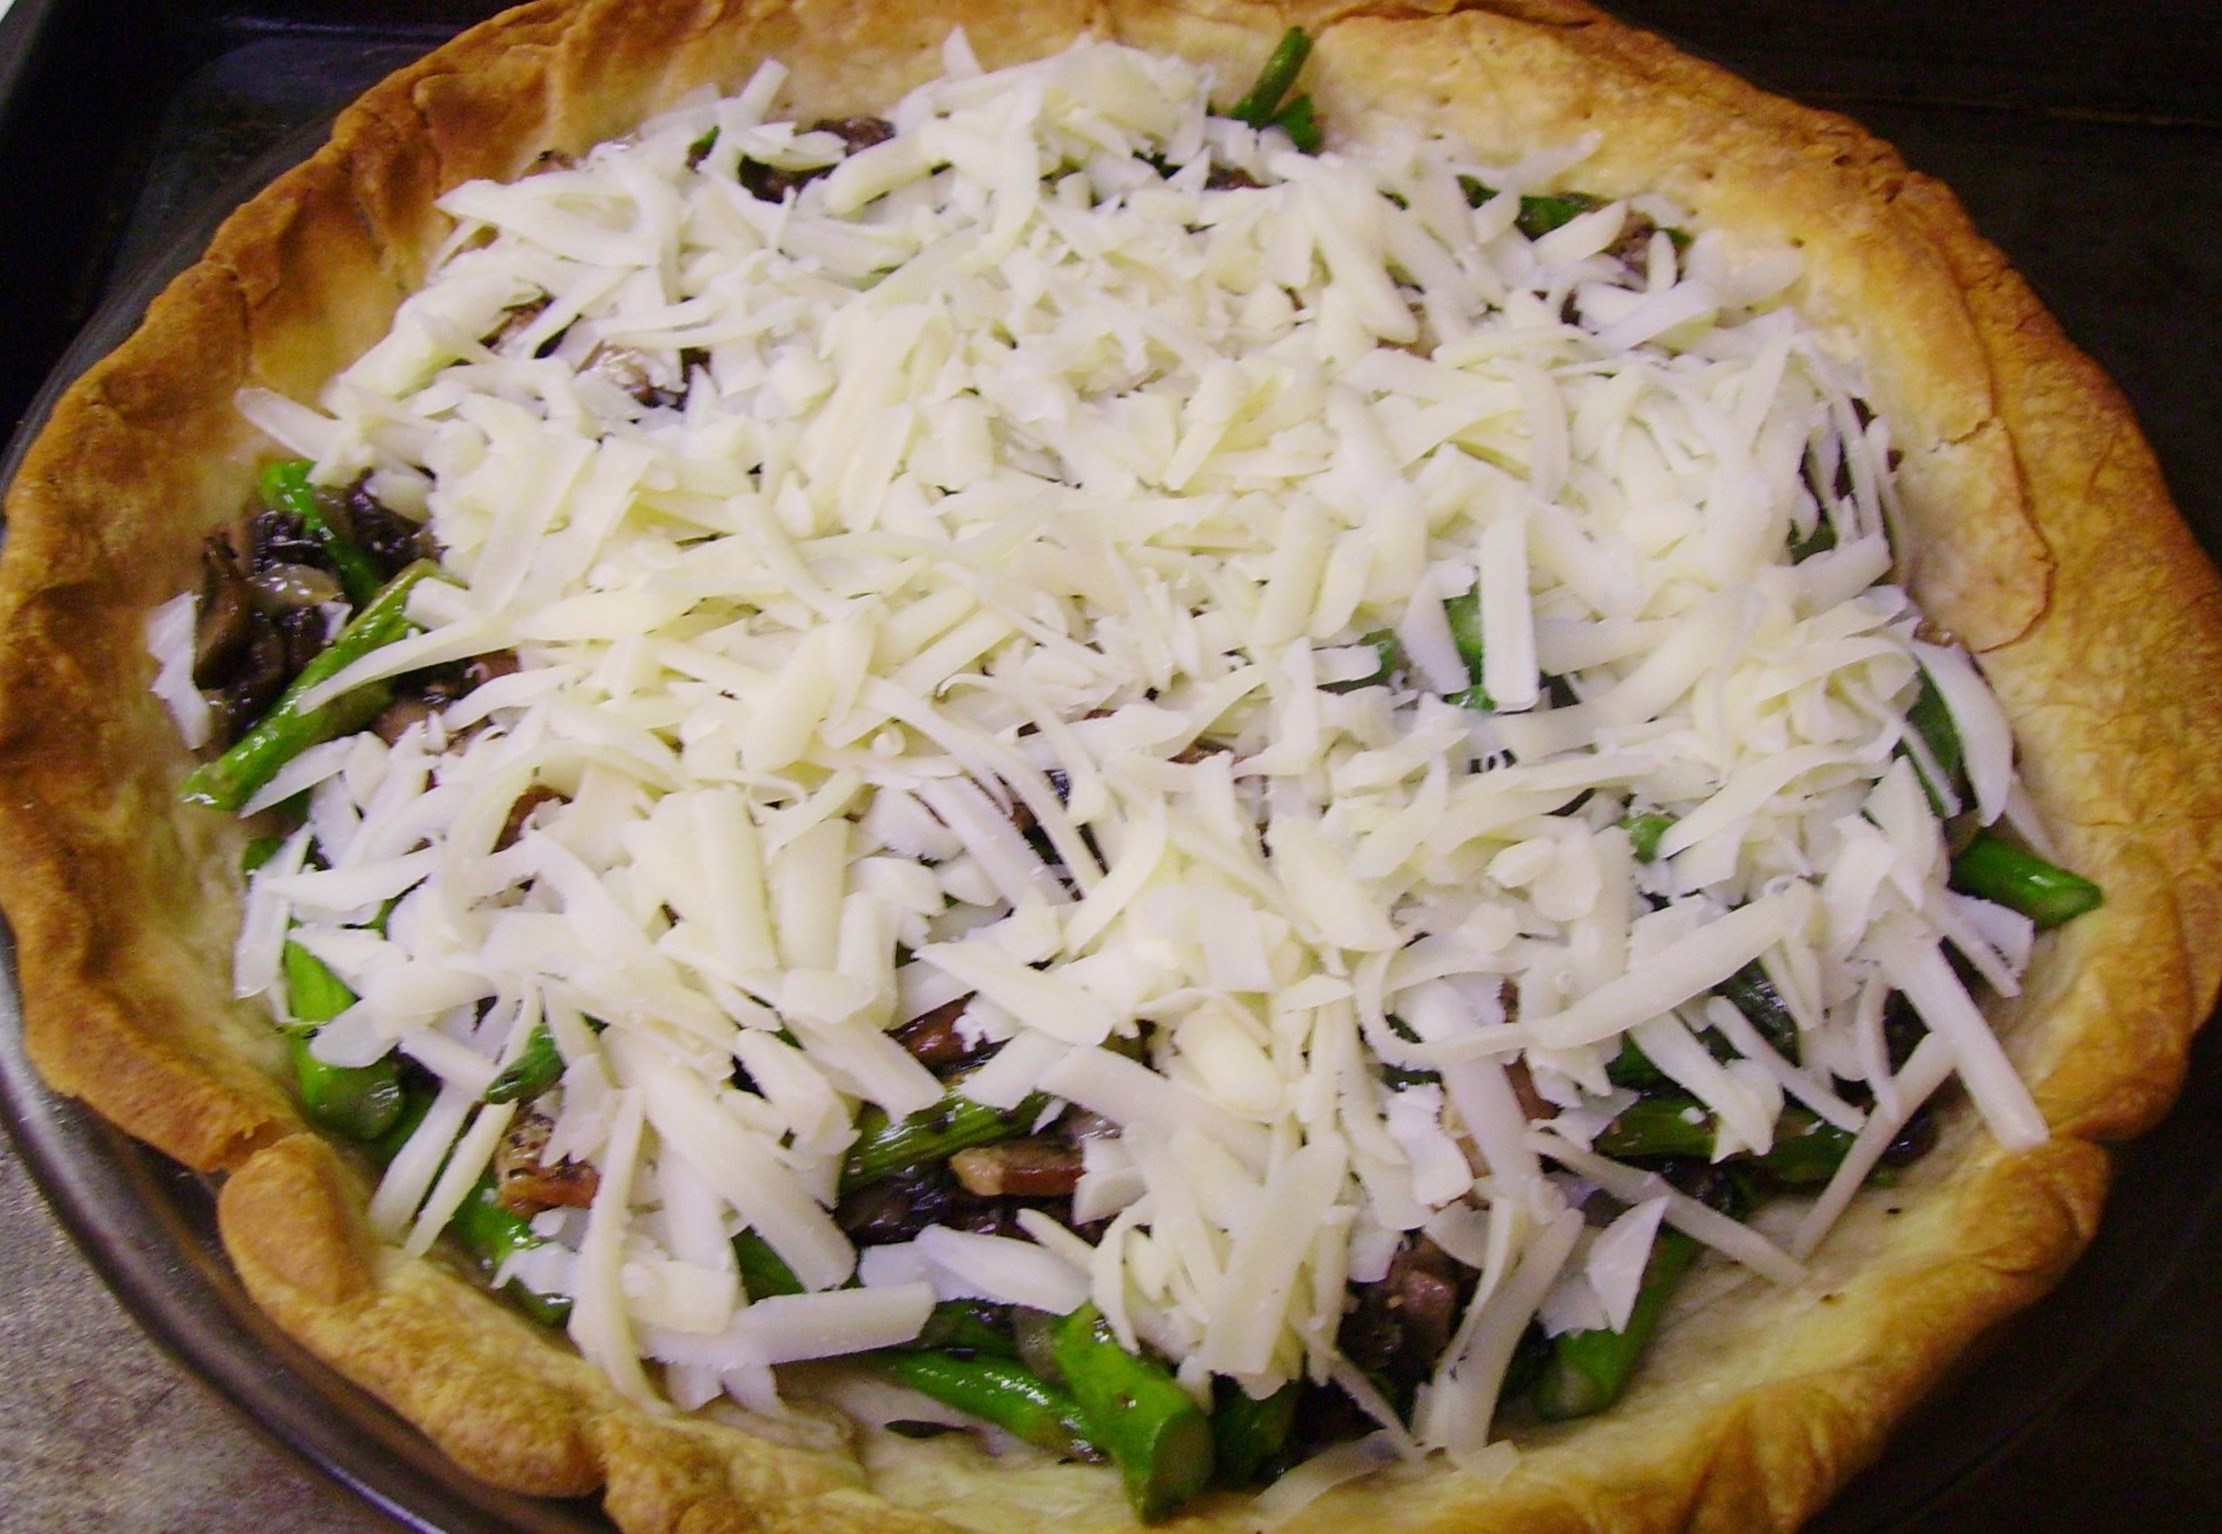
I topped the sautéed goodies with some grated Swiss cheese. Any cheese will work here. Use what you love or what you have on hand. Only use about a cup. The custard is rich enough and you want the veggies to be the star here.

DIGITAL CAMERA
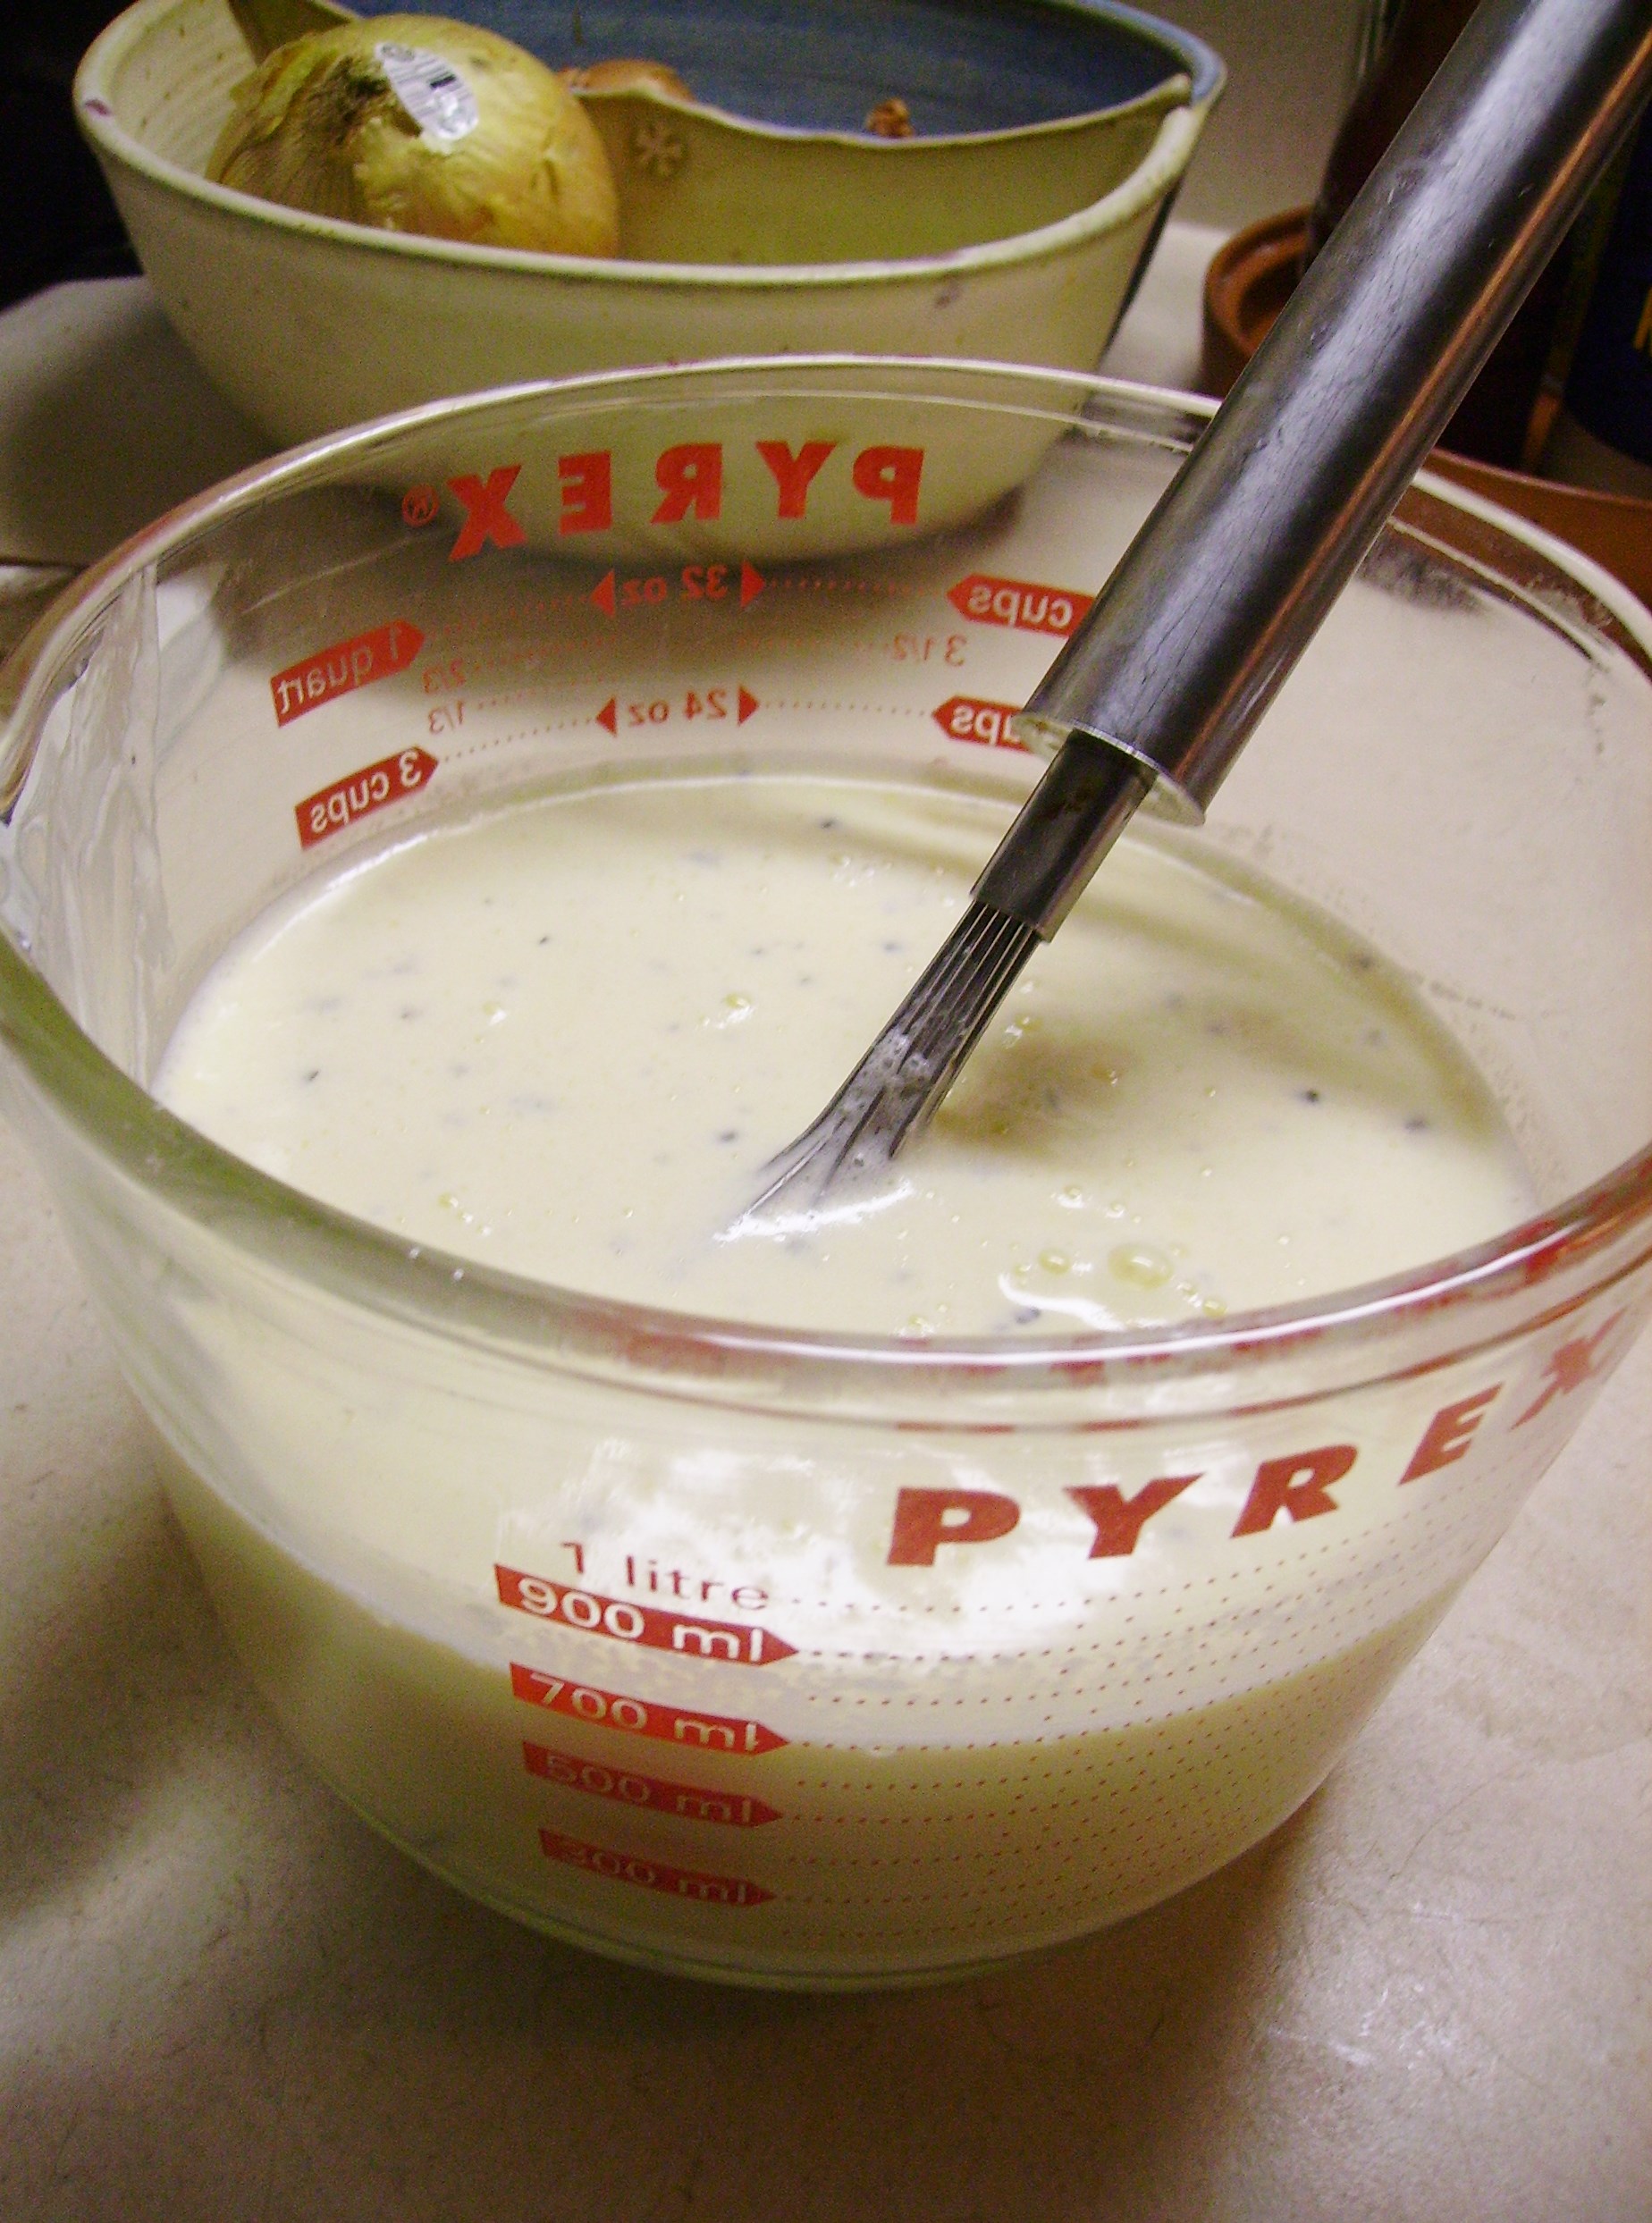
Eggs, cream, and milk create a luscious custard that only requires a little salt and coarse ground pepper. I’m not a fan of nutmeg, a traditional ingredient here, but add some if it floats your boat. In fact you can add any herb, spice, etc. It’s your quiche after all.

When you are ready to add the custard to the quiche, put it on a rimmed baking sheet. This too, is a required step. The pie will be very full and eggs being eggs, it will grow before it sets. A baking sheet is much easier to clean than an oven. I speak from experience.

DIGITAL CAMERAThe quiche needs to bake for 30 – 40 minutes then it needs to set for at least 20 minutes more. Add the blind baking step and you are approaching the 2 hour mark on prep time. If you like a late supper (and this is the perfect dish for that) make it part of your weeknight wonderland. I think it’s a delightful Sunday night supper that puts a delicious topper on the weekend.

DIGITAL CAMERA

Cleaning Out the Fridge Quiche
Print Recipe
This is my version of quiche. Feel free to use whatever fillings you want.
Servings
6
Servings
6
Cleaning Out the Fridge Quiche
Print Recipe
This is my version of quiche. Feel free to use whatever fillings you want.
Servings
6
Servings
6
Ingredients
Servings:
Instructions
Blind Bake the Crust
  1. Fit the pie crust into a pie or quiche pan. Use a fork to poke small holes all over the crust. Place a sheet of parchment paper into the crust (crumple it a bit to allow it to fit better). Pour dried beans onto the parchment paper. A pound of dried beans will fill a 9 inch pie plate nicely.
  1. Bake the crust in a preheated 350 degree oven for 20 - 30 minutes. The crust should be light golden all over. Do not rush this step; the non-sogginess of the crust depends on it. Remove the crust from the oven. Carefully remove the parchment paper and beans (these will become your official "blind baking" beans). Set the crust aside.
Filling
  1. Chop the bacon into thin pieces and cook in a medium fry pan over medium high heat. The bacon should be crisp. Transfer the bacon to paper towels to drain. Remove the drippings from the pan but leave the brown bits of deliciousness.
  2. Add the onions to the fry pan and cook for 4 minutes or so until they begin to soften.
  3. Add the mushrooms and continue to cook another 5 minutes until the mushrooms begin to brown. Add the asparagus and cook for a few more minutes until the asparagus is tender crisp.
  4. Add the reserved bacon bits back to the pan along with the thyme leaves and cook for 2 - 3 minutes more.
  5. Pour the vegetable/bacon filling into the pie crust. Sprinkle the grated cheese on top.
  6. Beat the eggs until the are very thick. Add the cream and milk and beat with a whisk until the mixture is light and fluffy. Add salt and pepper and any other spices or herbs you like.
  7. Place the filled pie crust on a rimmed baking sheet. Carefully pour the custard into the crust stopping when it is filled to the top. You may have a little custard left, but not much.
  8. Place in a 350 degree oven and bake for 30 - 40 minutes. The filling should be puffed and golden and a knife should come out clean when poked in the center.
  9. Remove the quiche from the oven and allow to cool for at least 20 minutes before cutting.
Share this Recipe
Powered byWP Ultimate Recipe

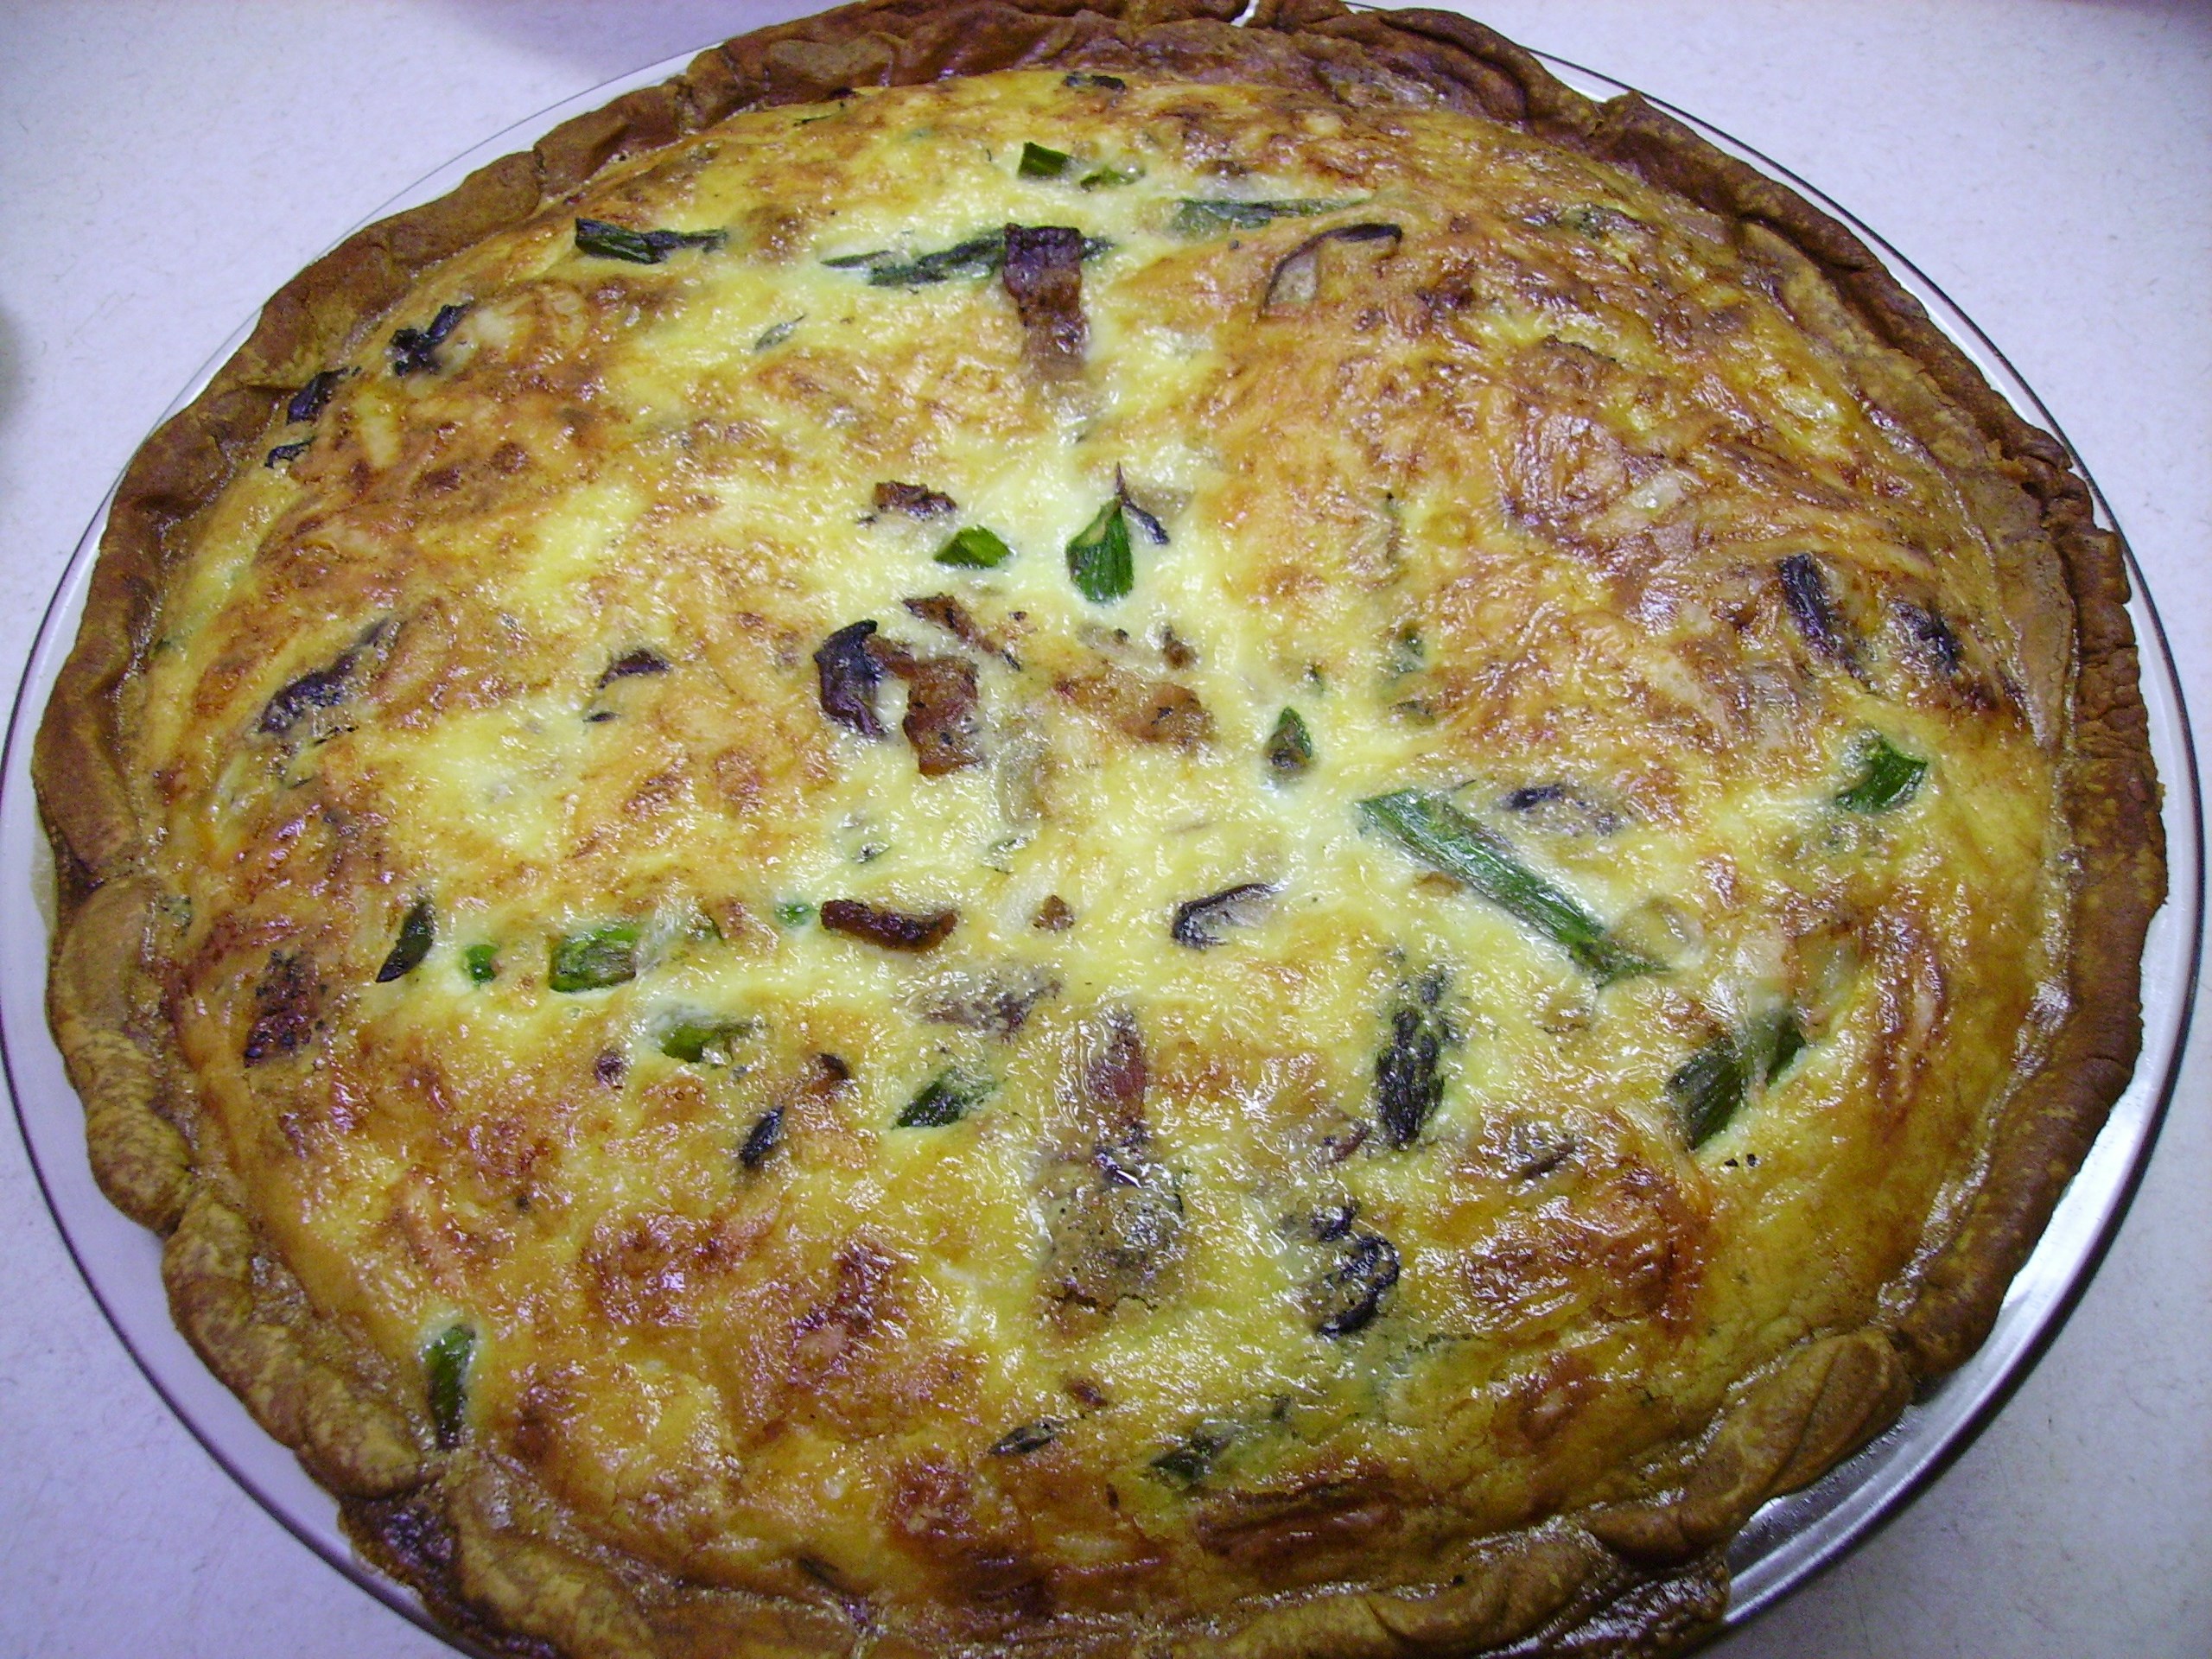
This is far from the traditional preparation for a quiche. It doesn’t however, make it any less delicious. This is a versatile recipe that can be adapted any number of ways. Have some fun with it and come up with your own fridge cleaning masterpiece.


Memories of Relish Trays…and Marinated Vegetables.

When I was a little girl, I loved to go out to dinner with my parents. I got to get dressed up, there was always a Kiddie Cocktail, and while my parents enjoyed their martinis, I’d have the relish tray to myself. I was mainly interested in the olives, carrots, and pickled peppers, but the celery, green onions and radishes all contributed to an edible still life on a metal tray that made me feel like a grown-up. That is, until my mother scolded me for eating the black olives off my fingers.IMG_2813Relish trays appeared at every family gathering that I remember. All my aunts had a cut glass relish tray. Every tray was different and every aunt filled it differently. This is my mother’s plate. It is one of many treasures from her kitchen that I still lovingly use.DIGITAL CAMERAradishroseThere were always green onions on the tray with salt, and pepper near by. Green and black olives, pits and all, were mounded or used as a garnish. Then there was the ubiquitous radish rose. These weren’t the exquisite beauties that now qualify as food porn, but the “rustic” four quick cuts variety that “bloomed” in cold water. This was probably my first knife skill. I was given a dull paring knife and I’m sure my mother held her breath the entire time. $(KGrHqVHJE4FGBKnjsr)BRjlt7OJU!~~60_12

Occasionally a marinated vegetable or two would show up on the plate. If it was my mother’s tray there would be Aunt Nellie’s Pickled Beets. This was her required element and no other brand would do. Back then I thought that Aunt Nellie was as real as Betty Crocker. Her picture was on the jar and in the ads, so she had to be a real person.

I have a relish tray at most gatherings and because I am a huge fan of “vinegary” sweet & sour flavors, there are marinated vegetables. If a veggie is a little less than perfect or not really in season, marinating can elevate them to tastier heights. Each vegetable has it’s own preparation and flavor profile. The recipes that follow are only suggestions and are therefore open to anyone’s interpretation or variation. Another note. These are not pickled or processed. Once made, they must live in the refrigerator until they are eaten which should happen within a week.DIGITAL CAMERA

Lets start the party with Marinated Zucchini. Sliced zucchini is salt brined for an hour or two to remove some of the water so that more of the marinating liquid is absorbed. Red onions, garlic, and red pepper flakes, and lemon zest enhance the White Balsamic Vinegar and Olive Oil Dressing.

Marinated Zucchini
Print Recipe
Marinated Zucchini
Print Recipe
Ingredients
Servings:
Instructions
  1. Layer zucchini slices in a colander. Sprinkle each layer liberally with salt. Let sit for 1 to 2 hours to draw out some of the liquid. Rinse and pat dry. Put in a large non reactive bowl.
  2. Add the onion and garlic to the bowl and toss to combine. Mix the remaining ingredients together and pour over the vegetables. Toss to combine.
  3. Pack into a clean wide mouth jar or pour into a quart size zip top bag. Refrigerate at least overnight and up to three days. Serve as part of a relish tray, on a salad, or as a side dish.
Share this Recipe
Powered byWP Ultimate Recipe

DIGITAL CAMERAAsparagus is another outstanding marinating candidate. Well trimmed spears are blanched and shocked before being bathed in a lemon and dry vermouth vinegrette. Garlic, rosemary, lemon zest, and peppercorns round out the flavors.

Marinated Asparagus
Print Recipe
Marinated Asparagus
Print Recipe
Ingredients
Servings:
Instructions
  1. Bring a large pot of salted water to a boil. Add the asparagus and boil for two minutes. Remove from pan and immediately put into a bowl of ice water. Drain and allow to dry on papaer towels.
  2. Place the asparagus, lemon zest, rosemary, and peppercorns into a zip top bag.
  3. Mix the remaining ingredients together and pour over the ingredients in the bag. Seal tightly and turn several times to distribute the dressing.
  4. Refrigerate at least overnight and up to two days. Serve as part of a relish tray, in a salad or as a side dish.
Share this Recipe
Powered byWP Ultimate Recipe

DIGITAL CAMERAMushrooms marinate beautifully. This works equally well with White Button or Crimini Mushrooms. I like Tarragon with mushrooms, but you could leave it out if you’re not a fan. I saute the onions and garlic first then add the other ingredients. Cooking the mushrooms until the liquid reduces slightly will insure the best flavor.

Marinated Mushrooms
Print Recipe
Marinated Mushrooms
Print Recipe
Ingredients
Servings:
Instructions
  1. Wipe the mushrooms clean with a damp cloth. Slice 1/4 inch thick. Set aside.
  2. Heat olive oil in a large skillet and add the onion and garlic. Saute until the onion is softened and the garlic is fragrant, 3-4 minutes.
  3. Add the vinegar, brown sugar, lemon pepper and tarragon. Simmer mixture for a few minutes. Add the mushrooms and continue to cook 7-10 minutes, stirring frequently. The liquid should reduce and thicken slightly.
  4. Put in a glass jar or zip top bag and refrigerate overnight or for up to 3 days. Serve as part of a relish tray, on a salad, or as a side dish.
Share this Recipe
Powered byWP Ultimate Recipe

DIGITAL CAMERALast but not least are Mama D’s Pickled Beets. Unlike Aunt Nellie’s, these beets are roasted before being joined by a mixture of cider vinegar, cinnamon, cloves, coriander and mustard seed. Light brown sugar adds the necessary sweetness.

Mama D's Pickled Beets
Print Recipe
Mama D's Pickled Beets
Print Recipe
Ingredients
Servings:
Instructions
  1. Preheat oven to 400 degrees Wash the beets well and dry. Lay on a sheet of foil that has been lightly coated with non-stick spray. Roast in oven for 45 minutes to an hour. The beets should feel tender when pierced with a knife. Remove from oven and allow to cool enough to be handled.
  2. Peel the beets and slice 1/4 inch thick. Place in glass jar or zip top bag and set aside. You can prepare the liquid while the beets are roasting.
  3. Combine the remaining ingredients in a small saucepan. Bring to a boil over medium heat. Reduce heat and simmer for 5 minutes or so. Remove from heat and allow to steep for 30 minutes or so.
  4. Strain the liquid and pour it over the beets. Seal the jar or bag and marinate in refrigerator at least overnight and up to 3 days. Serve as part of a relish tray, in a salad, or as a side dish.
Share this Recipe
Powered byWP Ultimate Recipe

Think of including one or two of these recipes for your next party. You’ll get to play the homemade card while saving money by not using “store bought”. Relish trays may be dated, but they are a delicious expression of a kitchen of love. Mama D