Greenie Beanie Salad with Warm Bacon, Shallot, and Garlic Dressing

Don’t laugh at the title of this post. Greenie beanies was how we always referred to this vegetable when my kids were growing up. Maybe it helped them eat them more willingly, maybe I just made up silly words because I was that kind of mom. Whatever the reason, we still refer to those lovely green spears as greenie beanies. They are still a family favorite and if you took a poll, half the family would like them as a salad and the other half would like them as a warm side dish, though everyone would eat them both ways.

The garden has given us a veritable bounty of beans. The beans have survived being nibbled down to almost nothing by deer, shivering through cold beginnings, basking in very warm sunshine and way more than enough rain. Thanks to care by many residents especially wonderful Lois, the beans are sweet and tender and just beg to be eaten simply. Green Bean Salad in Mama D’s Kitchen consists of blanched green beans in a dressing of olive oil, garlic, fresh basil, and balsamic vinegar. This is how my mother made it except that the beans were more than blanched and  the dressing usually featured mint as the herb of choice. I think she used mint because it was very plentiful in our backyard. Anyone who has grown mint knows that it knows no boundaries, so there was always a steady supply for bean salad and the requisite summer iced tea.

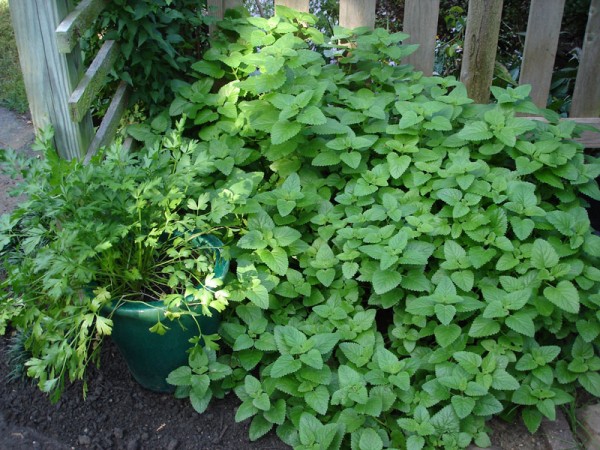
When I fix green beans as a side dish I fry up some bacon and add shallots. Then I toss the blanched beans in this deletable bath and heat until everything is happy. Green beans and bacon have a natural affinity and the shallots add a subtly onion-y flavor that is perfect with almost anything.

DIGITAL CAMERA

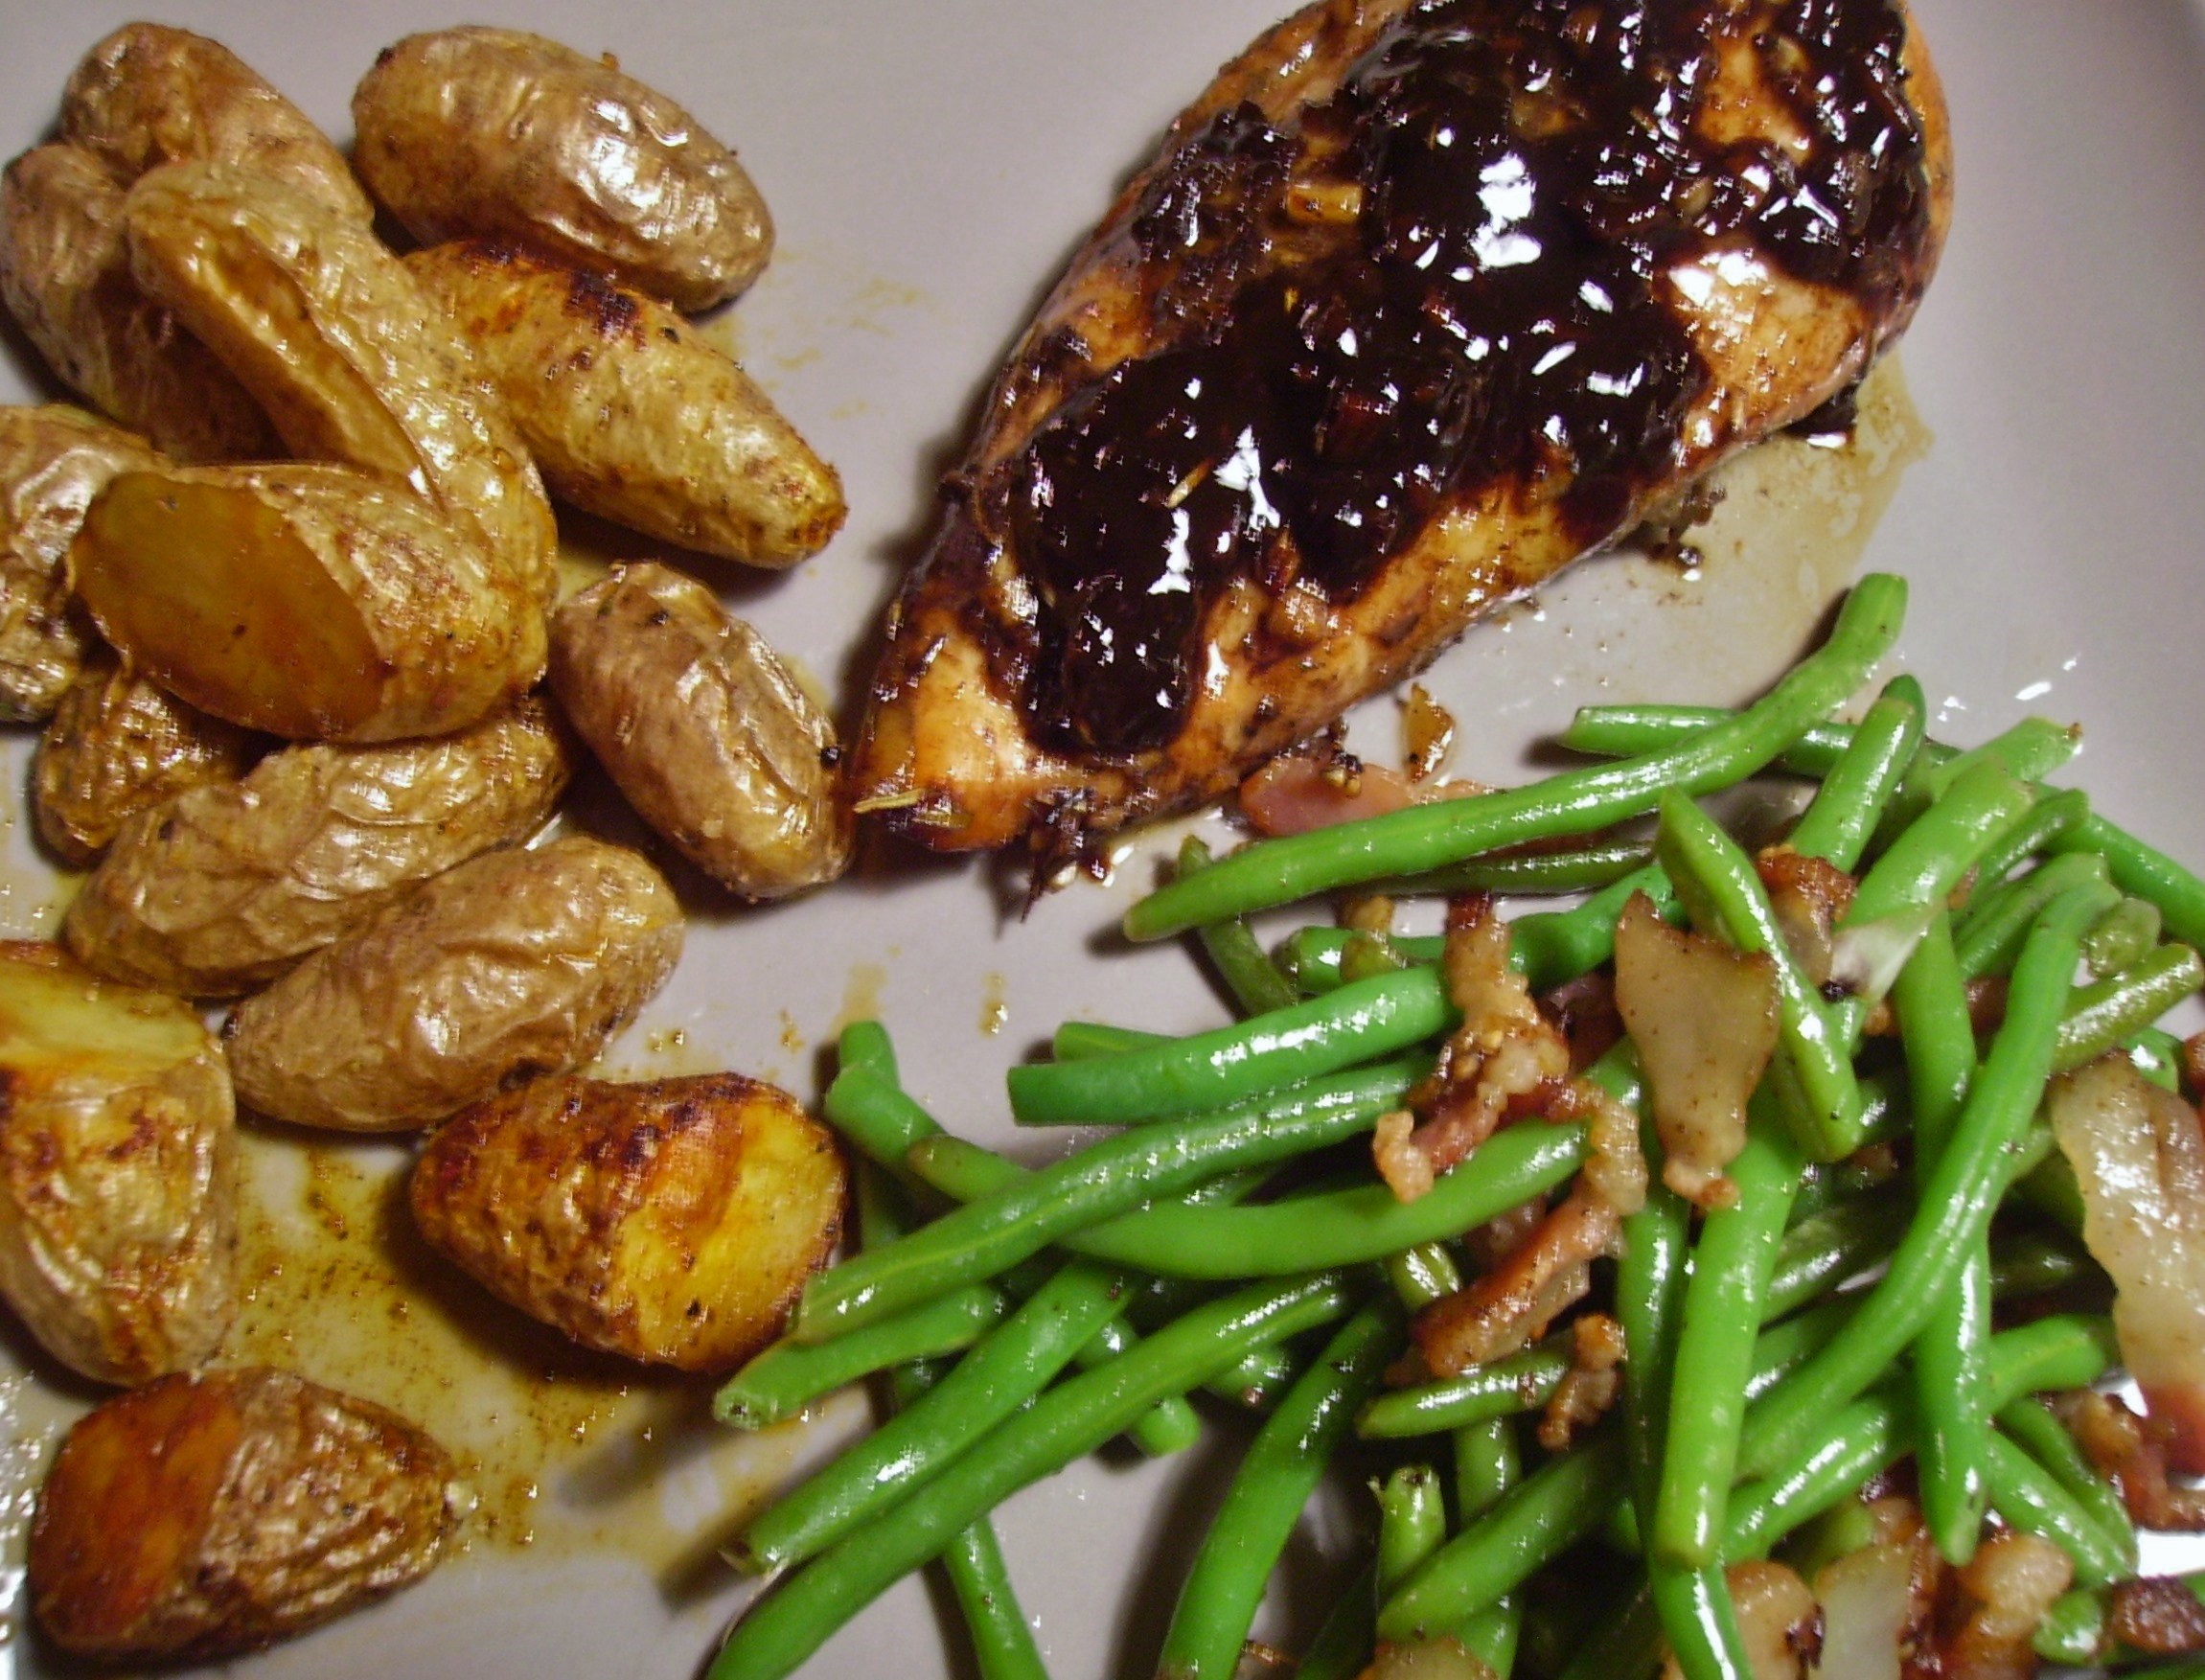
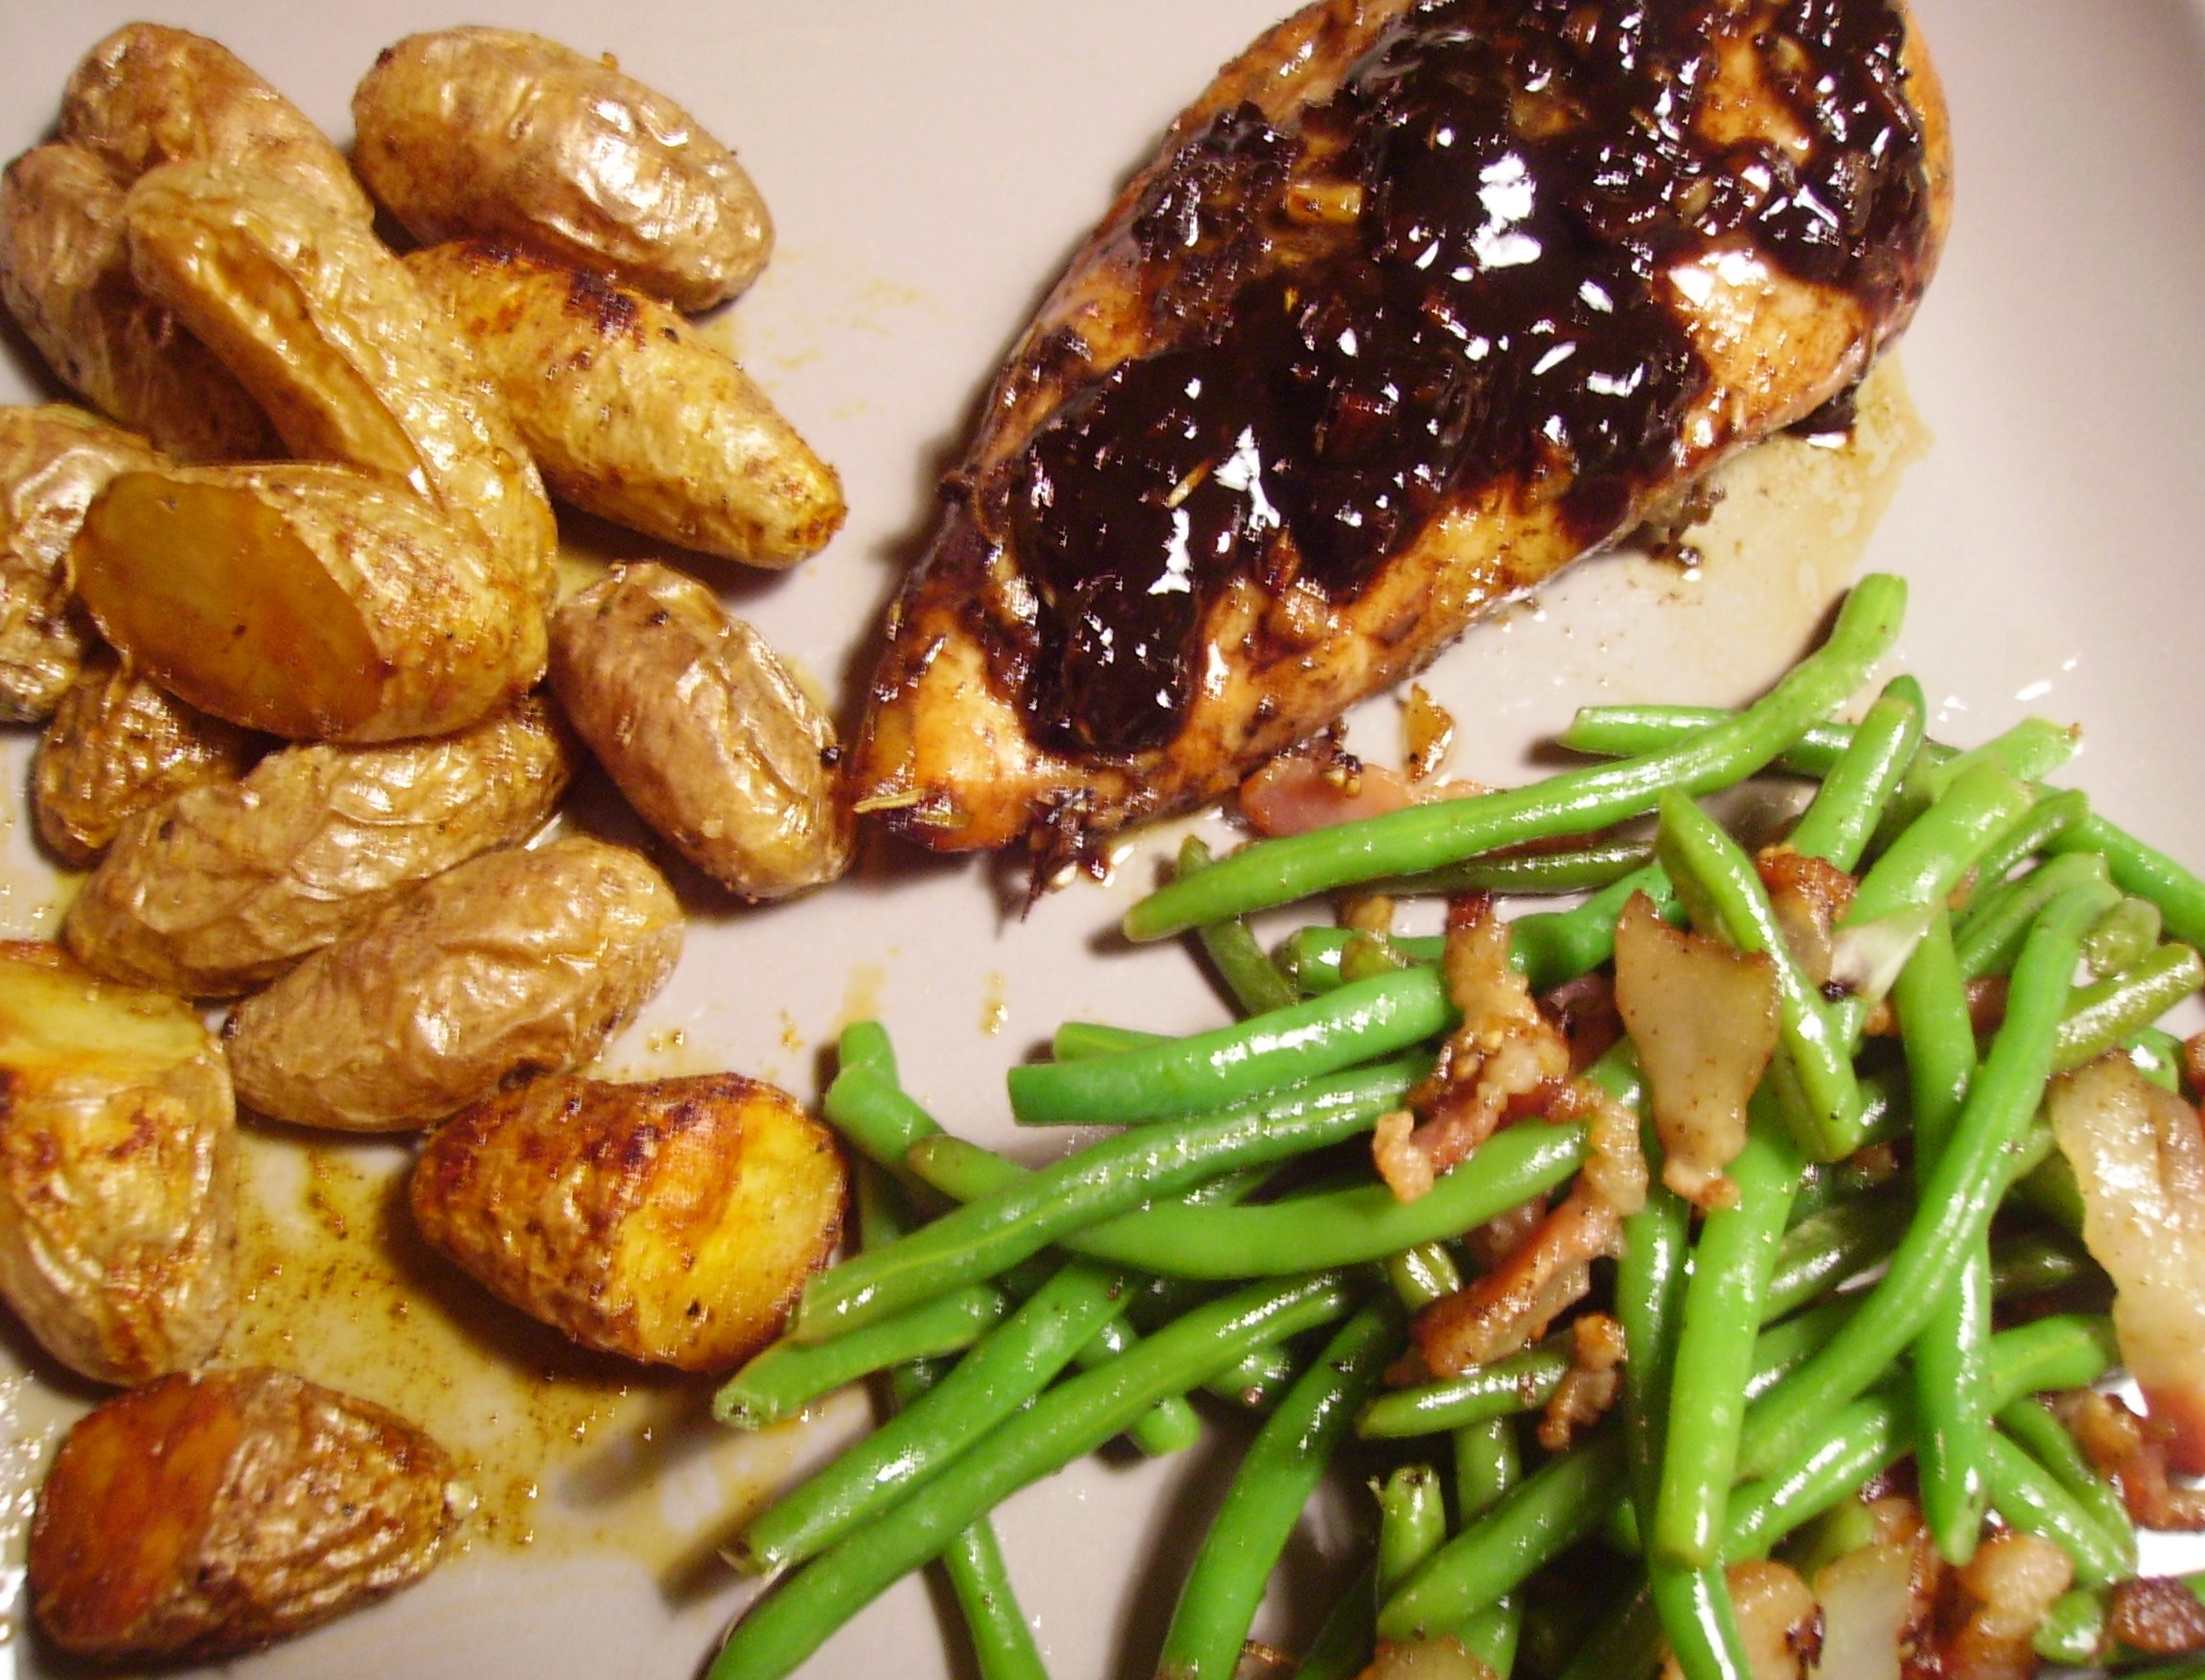
I couldn’t decide which of my preferred preparations to make so I opted for a mash-up of the two.The beautiful beanies would be lightly cooked to the perfect tender crispness and dressed with a vinaigrette of garlic, olive oil and balsamic. The dressing would be further enhanced with shallots and bacon. While I decided to chill the beans slightly, the dressing would be warm.

Blanching green beans seems to work the best for me. Cooking them briefly in boiling water then plunging them into an ice bath, while seeming cruel and unusual punishment, results in bright green beans that crunch ever so gently when you bite into them. It sets the stage for whatever they will become.

DIGITAL CAMERA

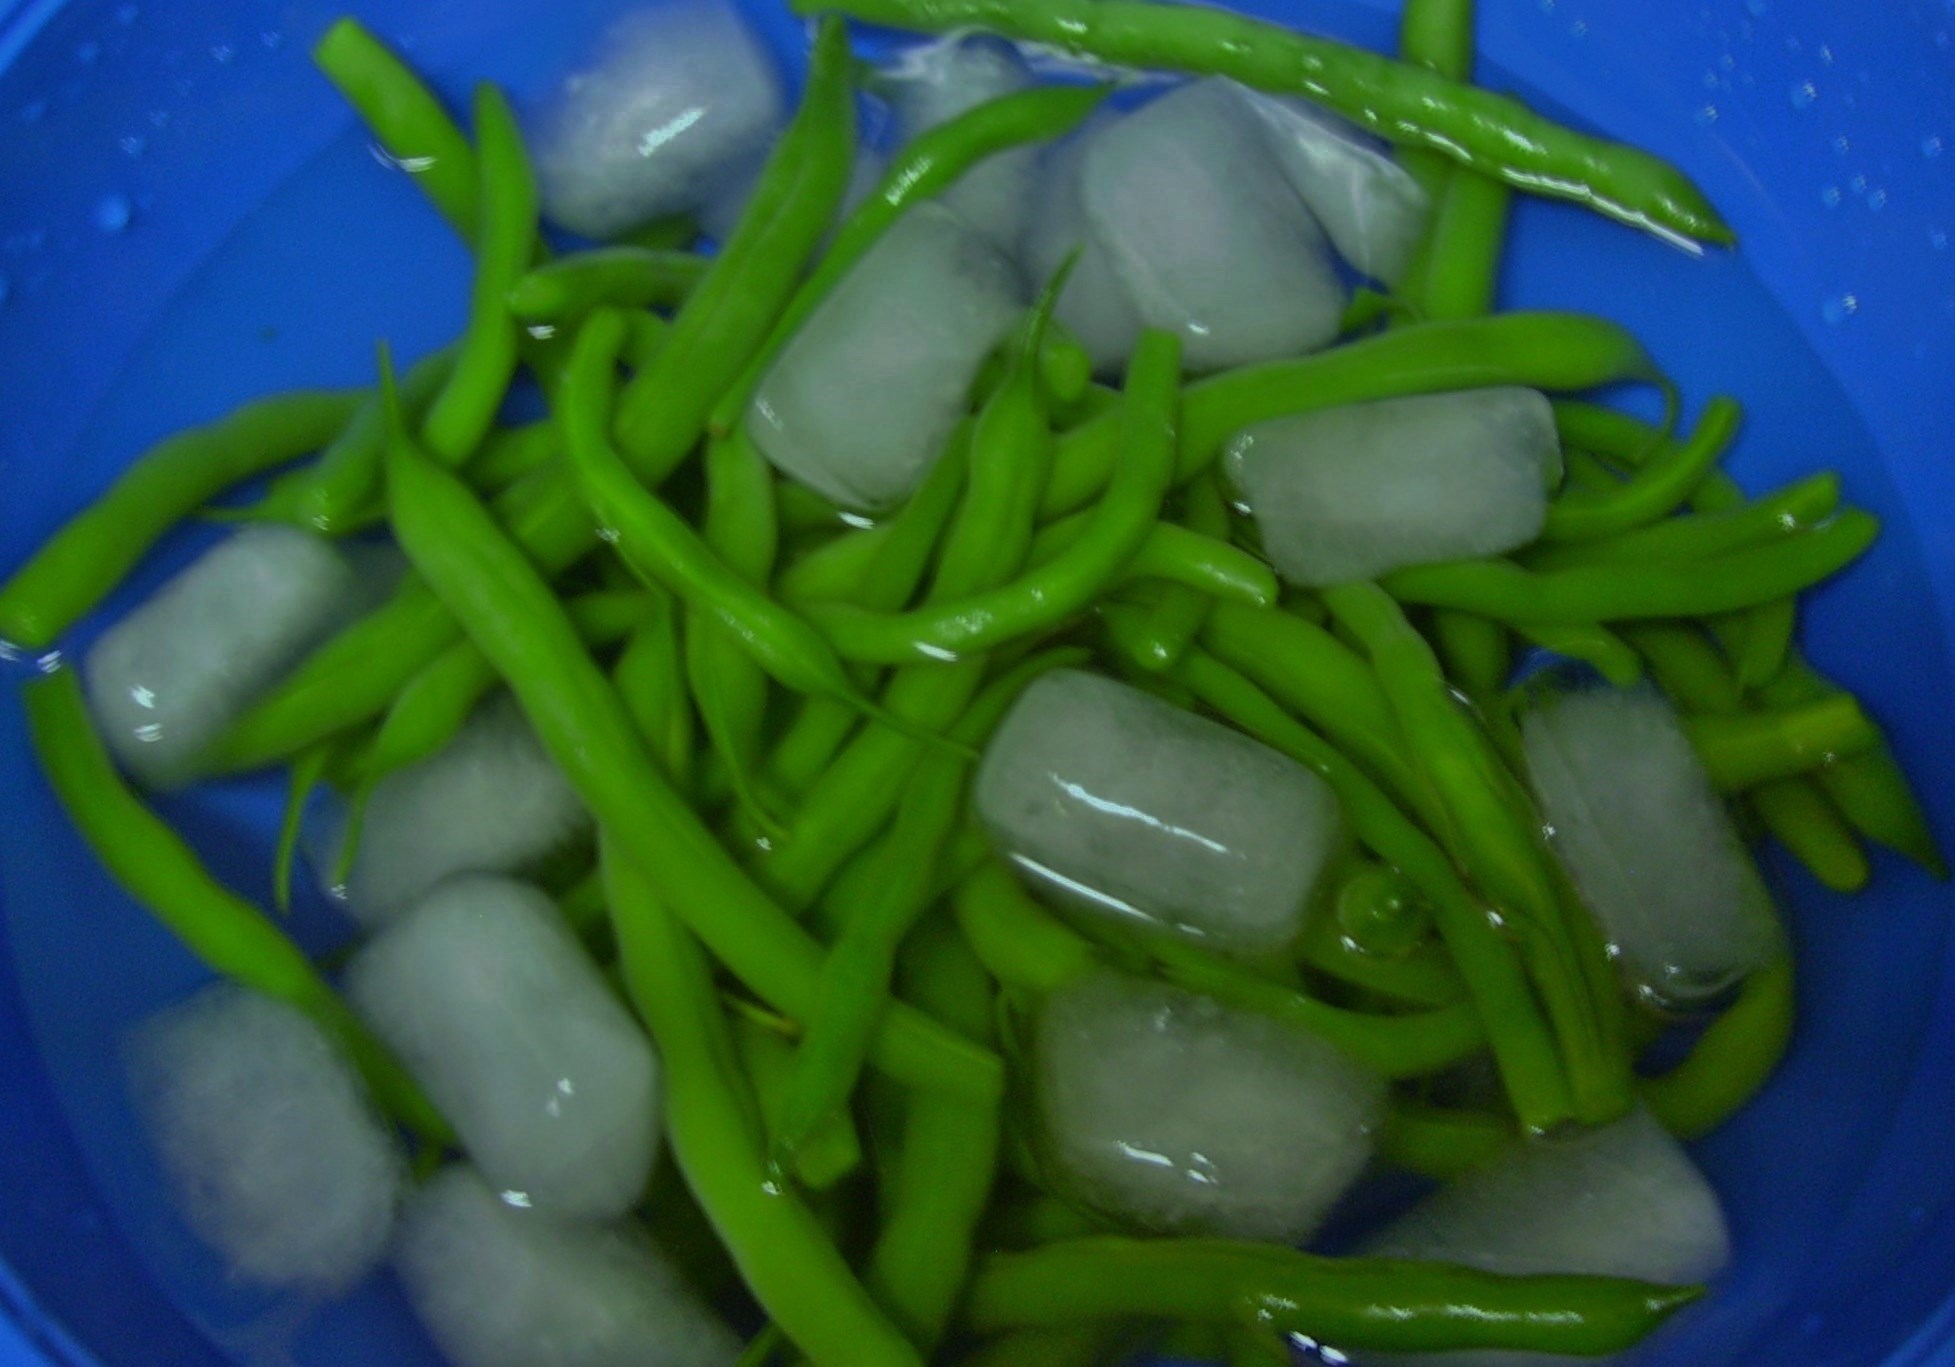
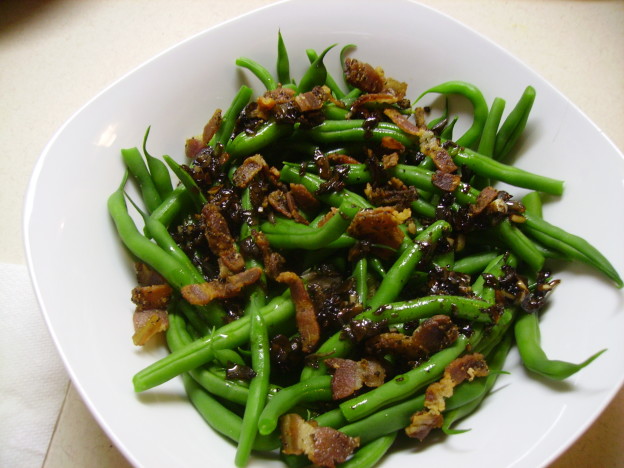
On this occasion, they chilled briefly  while I prepared the dressing. Two slices of chopped peppered bacon crisped up in a pan. Out came the bacon and away went the drippings. The pan was left with all those beautiful brown bits. They weren’t alone for long. I added some olive oil followed by some diced shallots. Once they were soft and fragrant I added some garlic and let them cook long enough to become really good friends. Then a bit more olive oil and some balsamic vinegar and the dressing was perfect.

By this time the beans were slightly chilled and ready to welcome their rich brown dressing. The bacon crowned the dish and a new family favorite was born.

Green Bean Salad with Warm Bacon Shallot and Garlic Dressing
Print Recipe
Servings
4
Servings
4
Green Bean Salad with Warm Bacon Shallot and Garlic Dressing
Print Recipe
Servings
4
Servings
4
Ingredients
Servings:
Instructions
  1. In a large pot, bring a good amount of salted water to boil. Add the green beans and cook for 3 - 4 minutes (they should be just barely tender and quite crisp).
  2. Drain the beans and place in a bowl of ice water. Stir to cool as quickly as possible. Drain well and store in the refrigerator while you make the dressing.
  3. Chop the bacon and cook it in a small skillet until it is crisp. Remove the bacon and drain on a paper towel. Pour off all of the drippings but leave the browned bits.
  4. Add the olive oil to the pan and let it get hot. Add the shallots and cook for 3 minutes or so until they begin to turn golden.
  5. Add the garlic and cook another 2 minutes, stirring often.
  6. Add the vinegar and reduce the heat to low. Let the dressing simmer for a few minutes. Check the flavor and add salt and pepper if needed.
  7. Put the beans in a serving bowl. Add the dressing and toss to coat. Sprinkle the reserved bacon on the top and serve.
Share this Recipe
Powered byWP Ultimate Recipe

It looks as though there will be more beans to come as well as tomatoes and peppers (as long as the squirrels don’t sample too much).  In spite of everything our community garden is giving us lots of food and a different perspective on apartment living.


For the Love of Bruschetta

Bruschetta is a wonderful dish. Born in Italy it has taken over this country like wildfire or should I say grill-fire since the bread is traditionally toasted over a flame. The original recipe is the essence of delicious simplicity.  Hearty, maybe slightly stale bread rubbed with a garlic clove and drizzled with olive oil and lightly charred over a fire. Simply topped with tomato it is the epitome of deliciousness. As with any wonderfully straightforward dish the ideas for variations come quickly and without reservation.

b street and vine signThe charred bread base is the perfect canvas for culinary creativity. I dined at a restaurant on my visit to Northern California that has made a successful business of serving Bruschetta as their main attraction. B Street and Vine is a small restaurant in downtown San Mateo. The menu is simple, some soups, salads and paninis, but the star(s) of the show are 14 kinds of Bruschetta that also grace the menu. It’s what most people come for and it is worth the visit. That’s why we came and we ordered all 14 of them. A good time was had by all.bruschetta b streetI’ve been playing with Bruschetta recipes for quite some time. I have to say I’m a tomato based fan, but I’ve dabbled in other toppings and have served a Bruschetta Bar on many occasions. It’s exactly what it sounds like. A big basket of beautifully charred bread and an array of toppings. Homemade ricotta, olive tapinade, and roasted pepper salsa are just a few items that can shine on a slice of bread. Better yet add sweet or savory toppings of your choice and combine them to create an infinite variety.DIGITAL CAMERA

I have two favorite recipes for Bruschetta, one fairly traditional and one not so much. They both however feature tomatoes.

Mini Gourmet tomatoes are popping up everywhere. DIGITAL CAMERAYou can get them at almost any grocery store, and Trader Joe’s often has containers of mini Heirloom tomatoes. DIGITAL CAMERAThese seem to have a sweet flavor and subtle crunch year around. The colors vary from bright yellow to deep brown.

Many Bruschetta use garlic and balsamic vinegar to make their dressing. This uses Sherry Vinegar, Shallots, Rosemary and Thyme.  Agave syrup or a touch of sugar gives a rounded flavor. 

Mini Gourmet Tomato Bruschetta
Print Recipe
Mini Gourmet Tomato Bruschetta
Print Recipe
Ingredients
Servings:
Instructions
  1. Cut the tomatoes into small bite size pieces and put into a medium sized bowl.
  2. Add the shallots and herbs and toss to mix.
  3. Put vinegar, oil, and agave (sugar) in a jar with a tight fitting lid. Shake to blend completely. Pour over the tomatoes and herbs and toss to blend.
  4. Add salt and pepper to taste. Toss again. Refrigerate for at least 4 hours or overnight. Serve on crostini.
Share this Recipe
Powered byWP Ultimate Recipe

DIGITAL CAMERA

I mention Crostini as the platform for this recipe and that is what the picture shows. The difference between this and Bruschetta is a little like hair-splitting. While Bruschetta is generally grilled and remains a little tender in the center and often names the topping as well, Crostini is usually sliced thinner and is toasted to delicate crispness. I don’t think anyone would take offence if you interchanged the names. They are both  marvelous bases for whatever you choose to top them with.

The next Bruschetta recipe uses more traditional ingredients and can be served as an appetizer or salad as you wish. It uses fresh mozzarella so you could even make it a main dish with some crusty rustic bread. My mozzarella of choice for this recipe is Ciliegine (the name means cherry in Italian) a bite size ball of mozzarella.

Grape Tomato and Ciliegine Mozzarella Bruschetta
Print Recipe
Servings
8 As an appetizer
Servings
8 As an appetizer
Grape Tomato and Ciliegine Mozzarella Bruschetta
Print Recipe
Servings
8 As an appetizer
Servings
8 As an appetizer
Ingredients
Servings: As an appetizer
Instructions
  1. Put the halved tomatoes into a medium size bowl.
  2. Place the olive oil and garlic in a small pan. Heat over very low heat until the garlic just begins to sizzle. This takes less than 5 minutes and needs to be watched carefully. DO NOT LET THE GARLIC BROWN.
  3. Remove the oil and garlic mixture from the heat and allow to cool to room temperature. Pour over the tomatoes.
  4. Add the ciliegine to the tomato mixture and toss gently to combine.
  5. Add the balsamic using the amount that tastes right to you. Gently stir in the basil. Season with salt and pepper to taste. Chill for at least 4 hours.
  6. This is great as a bruschetta on toasted bread. It also makes a wonderful salad
Share this Recipe
Powered byWP Ultimate Recipe

DIGITAL CAMERA

In the vast possibilities bruschetta offers there’s something for everyone. On a healthy note, servings of any bruschetta tend to be small and your topping choices can reflect your desire to be naughty or nice. I plan on serving Mini Gourmet Tomato Bruschetta with Multi-grain Bread for Easter “appies”. It should be a nice balance to the naughty Au Gratin Potatoes at dinner. Happy Spring. Love, Mama D

Summer Memories in Winter’s Chill and Balsamic Marinated Chicken

DIGITAL CAMERAWinter…Mother Nature’s sick joke. As most Midwesterners and from what ! hear on the news, 75 – 80 percent of the rest of the country know, Mother Nature has some kind of crazy bug up her bustle. Insane low temperatures, more snow than anyone knows what to do with, and winds that blow that snow around like a demonic snow globe, creating wind chill factors in the negative 30 degree range (Is that a real number?)

Do you remember Summer? You know that time of year when it took 20 seconds to get ready to go outside; basically shorts, a tee-shirt and flip-flops. Once outside you were treated to flowers in brilliant Technicolor bloom, green grass soft and fragrant and sunshine that actually meant something. Summer is more than 125  days away. Winter seems to have hunkered down and shows no signs of going anywhere.DIGITAL CAMERA

I for one am settling in with warm weather memories, especially the Herbs of Summer. I remember those days when I would stroll out on the deck and snip glorious handfuls of basil, chives, rosemary and thyme. Their heady aroma released as they were plucked from a plants that seemed to have an endless supply.DIGITAL CAMERA

The basil and chives are gone now. They never make it past Indian Summer. The thyme and the rosemary are made of hardier stuff. Last year they held on to a bit of green all winter long and showed up in lots of dishes. This year winter hasn’t been as kind to these plants (or anything else for that matter). but I’ve kept them in their pots because they often come back in the Spring. Today I wanted to use some of these herbs in the Balsamic Marinade for my Baked Chicken.

I pulled on my boots, put on my coat, grabbed some gloves and a hat (it took 5 minutes at least) and ventured out to the deck. My rosemary and thyme were dry and brown, but when I gently brushed them there was still the essence of their glorious aroma as the leaves fell off. So I snipped some sprigs, gathered up the fallen leaves and brought them in the house. Washed and dried they gave off a subtle memory of their Summer glory that was still more intense than their dried brothers. They became a part of the marinade.DIGITAL CAMERA

I used a Fig and Orange Balsamic in this recipe but I think that any fruit balsamic would work well. The other main ingredients beside my thyme and rosemary were garlic, olive oil, and McCormick Italian Herb Grinder.DIGITAL CAMERA A few words about this product. It is a blend of many traditional Italian herbs including rosemary, red pepper flakes, peppercorns, garlic, onion, parsley, and sea salt. The salt by the way is subtle. The grinder can be adjusted for fine, coarse or in between dispensing. It packs more punch than regular Italian Seasoning, adding a nice touch to everything from eggs to pasta sauce.DIGITAL CAMERA

This is a Baked Chicken recipe, but when Summer is here or when you feel like braving the elements and firing up the grill, it would be delicious cooked outside.  The chicken can marinate for a few hours or even overnight. I divided the marinade in half. One part for the chicken and the other half for the glaze that would enhance the finished product. DIGITAL CAMERA

It baked at 375 degrees for about 25 minutes. The glaze was the reserved marinade, carmelized shallots, some chicken stock, and a touch of honey. Served with Roasted Fingerling Potatoes and Green Beans with Bacon and Onion, it was a wonderful dinner that I got to share with my husband for a change (gotta love a snow day).

Balsamic Baked Chicken
Print Recipe
Quick and easy recipe for chicken that can be cooked in the oven or on the grill
Servings
2
Servings
2
Balsamic Baked Chicken
Print Recipe
Quick and easy recipe for chicken that can be cooked in the oven or on the grill
Servings
2
Servings
2
Ingredients
Servings:
Instructions
  1. Mix the vinegar, one tablespoon of olive oil, garlic, Italian herb blend, and dried herbs in a small bowl. Put the chicken breasts in a zip top bag and add half of the marinade. Seal the bag and refrigerate for 4 hours or overnight. Reserve the rest of the marinade for the glaze.
  2. When you are ready to cook the chicken. Heat the oven to 375 degrees. Place the breasts in a cooking sprayed shallow pan. Bake until cooked through 25 - 30 miutes.
  3. If you are grilling the chicken. Heat the grill and spray lightly with cooking spray. Add the chicken and grill over medium heat turning once until cooked through 20- 25 minutes.
  4. While the chicken is cooking, prepare the glaze. Heat the remaining olive oil in a small pan. Add the shallots and cook until golden brown, 10 minutes or so. Add the reserved marinade, chicken stock and honey. Heat to boiling. Reduce heat to medium and simmer until mixture is thick and reduced by about 1/3.
  5. Transfer the cooked chicken to the plates and drizzle with some of the glaze. Extra glaze can go in a bowl to be passed at the table.
Share this Recipe
Powered byWP Ultimate Recipe