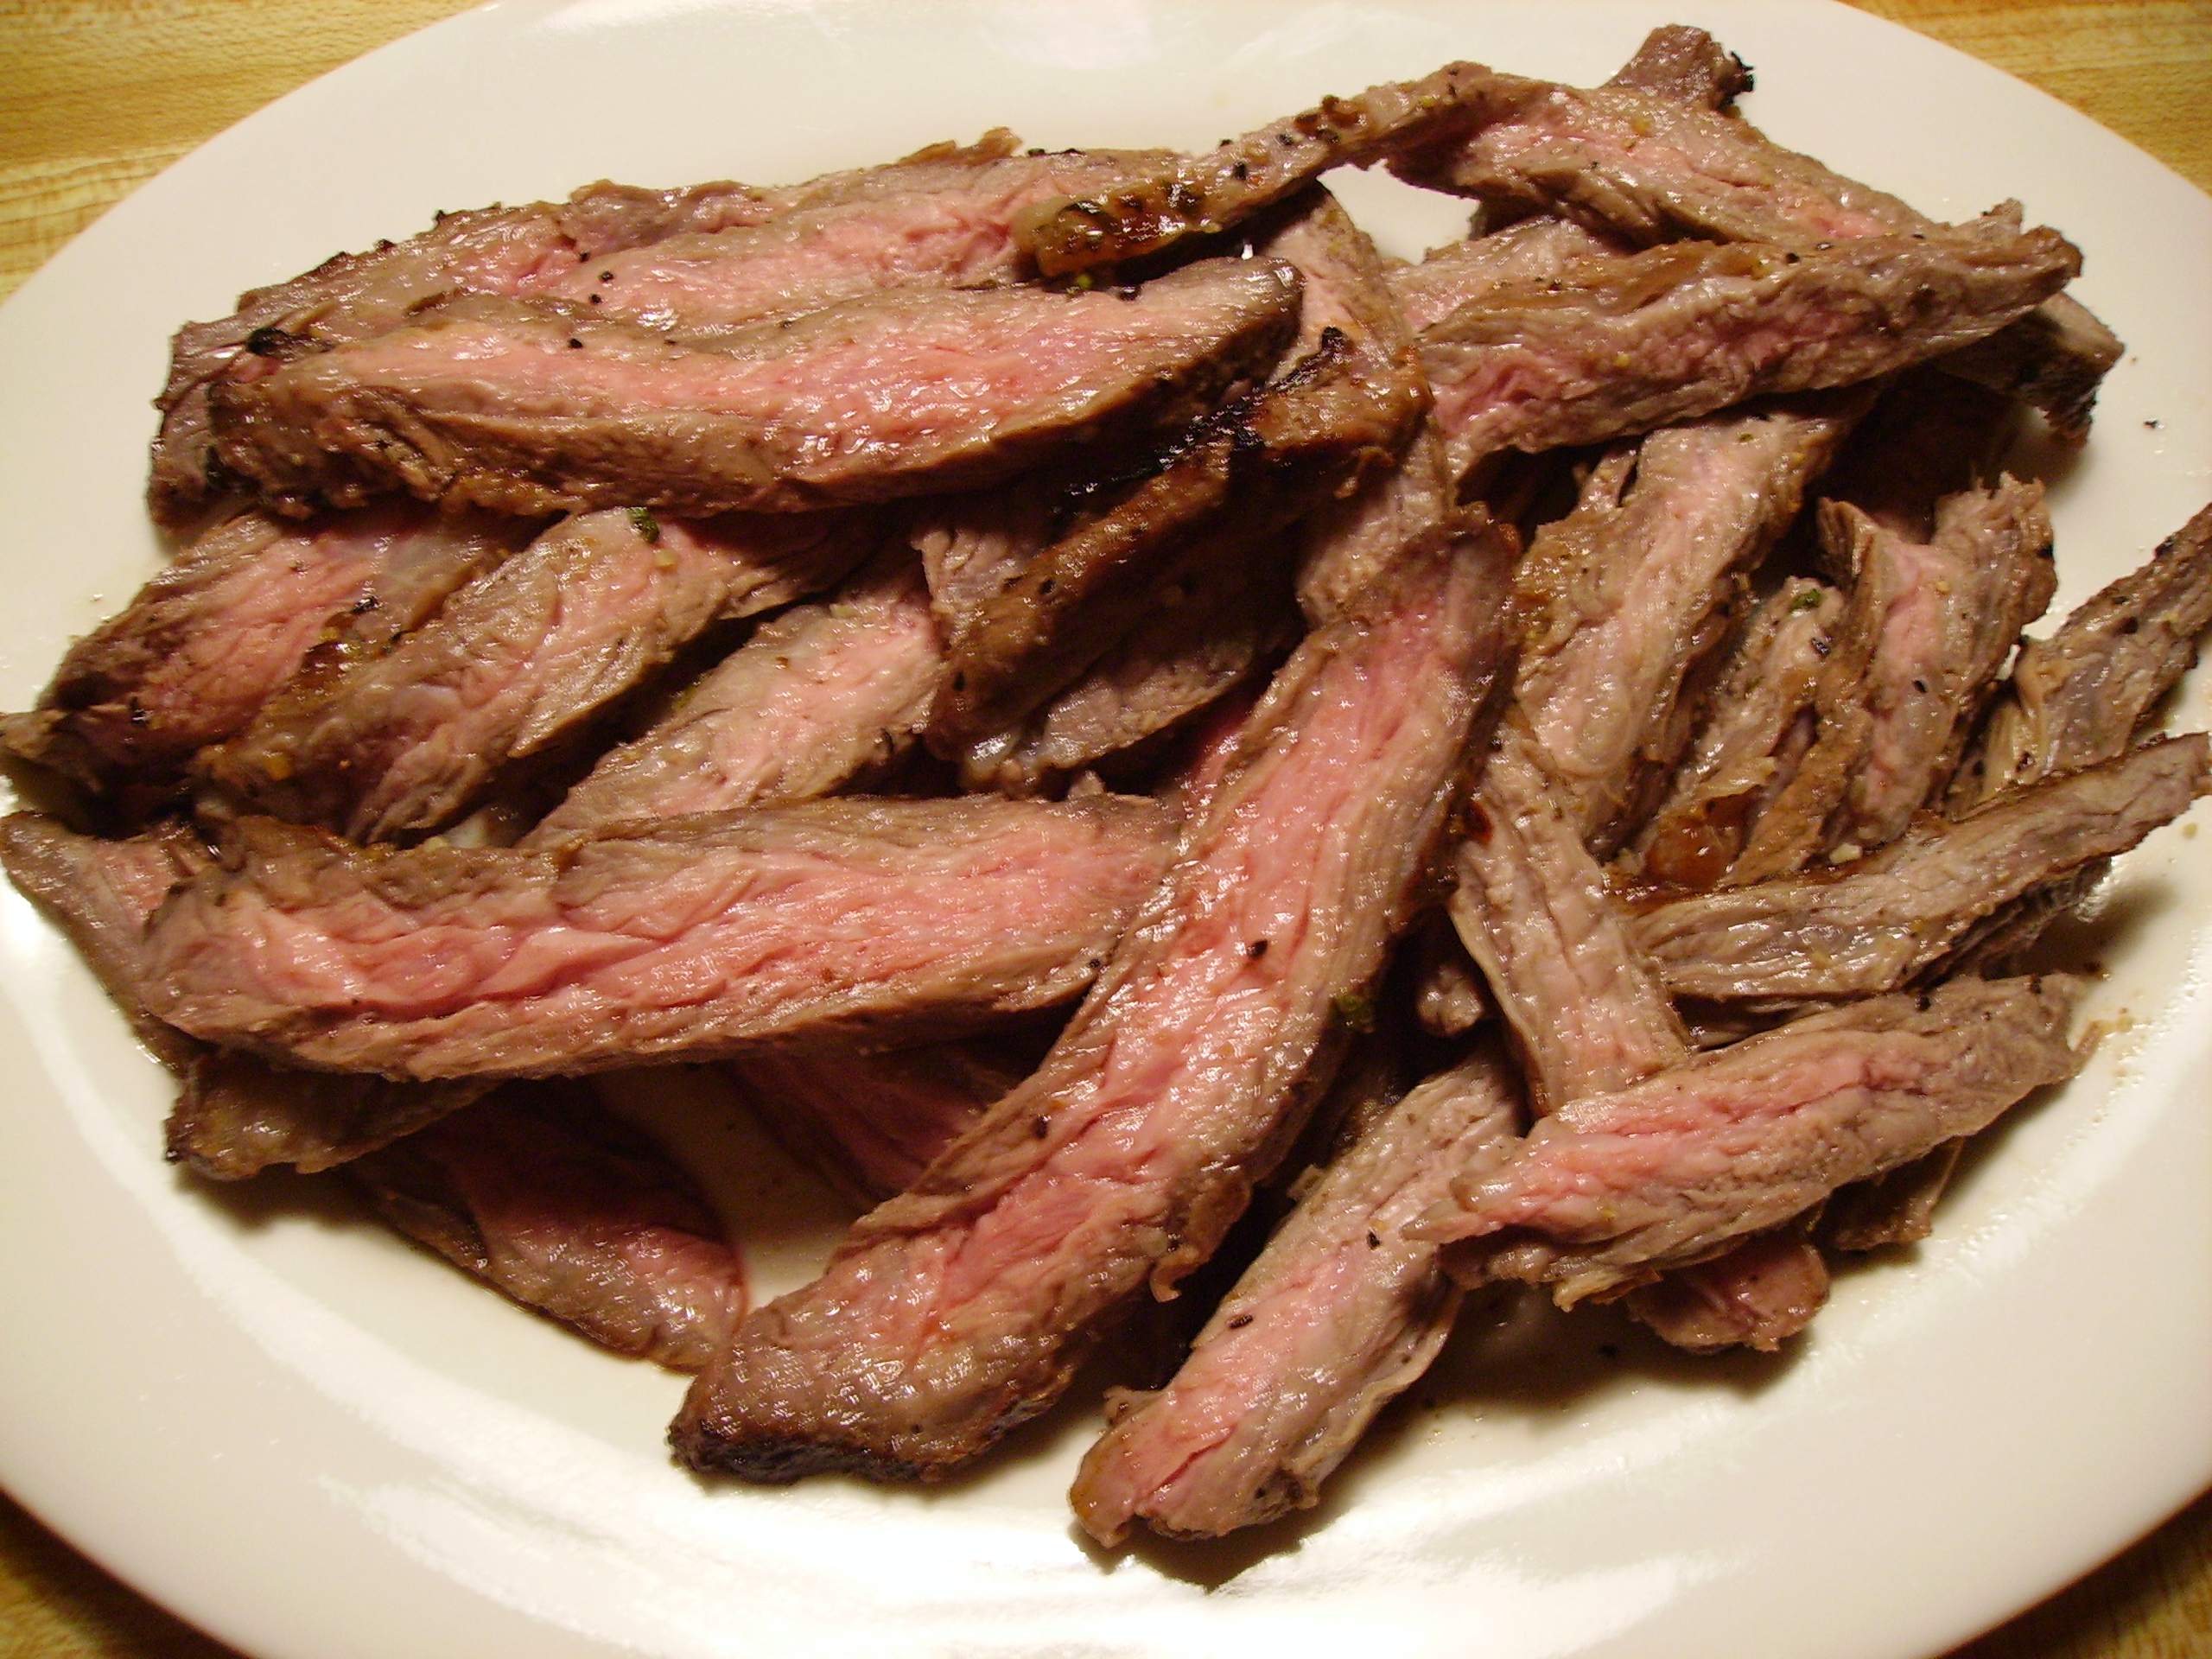

Downsizing is an exciting adventure, discovering things that had been forgotten. Looking through boxes and boxes of everything and feeling a little like Solomon making decisions on what to keep and what to part with. There are parts of the house that are virtually empty save packed boxes, empty boxes, and things to be packed in boxes.
I’ve been putting off downsizing the kitchen. Mama D has to cook/blog and Papa D has to eat, so it’s justifiable. Truth be told, the kitchen is my deepest connection to the house. When we moved in over 12 years ago, I was thrilled to have what felt like the biggest kitchen in the world. While missing a dishwasher and high-end appliances, lots of cabinets, an enormous peninsula for prep and serving, and even a space to claim as a pantry made it feel like cooking heaven.
The kitchen has been the place for celebrations big and small. In hard times it’s been a place of comfort. It gave birth to Mama D’s Kitchen of Love and that love has been shared with all who have entered. Kitchen, I think I’m going to miss you most of all…
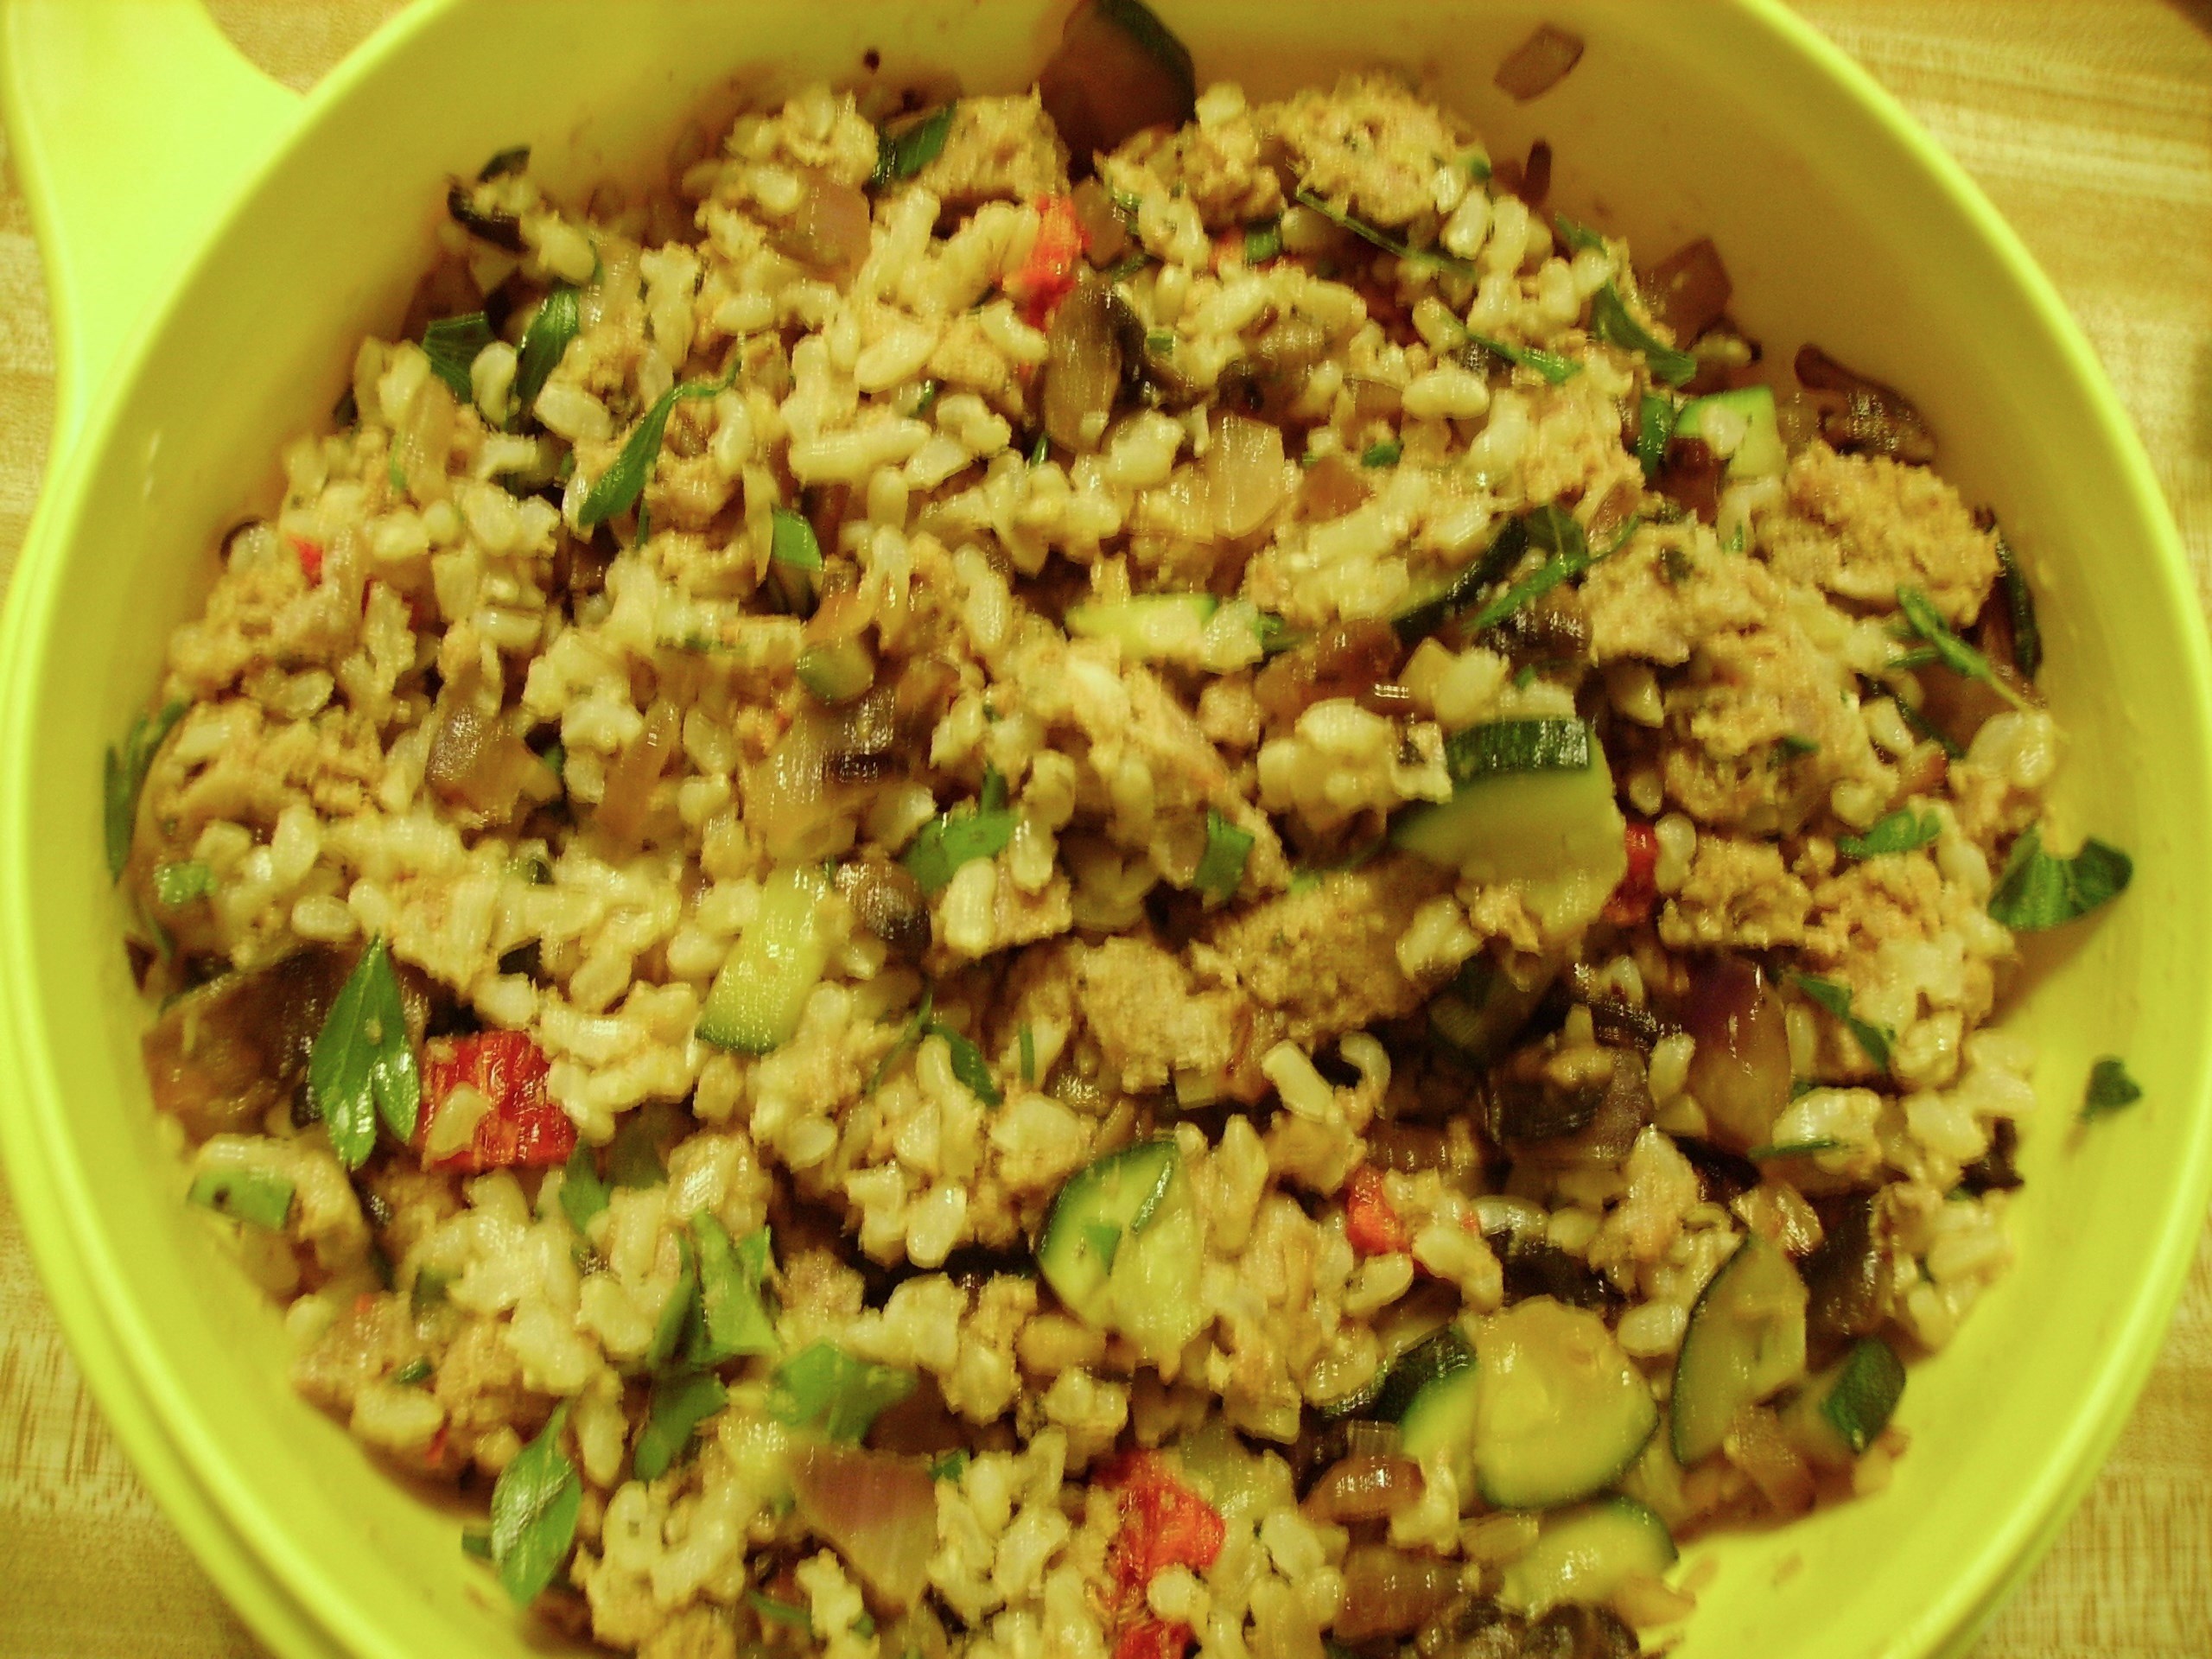
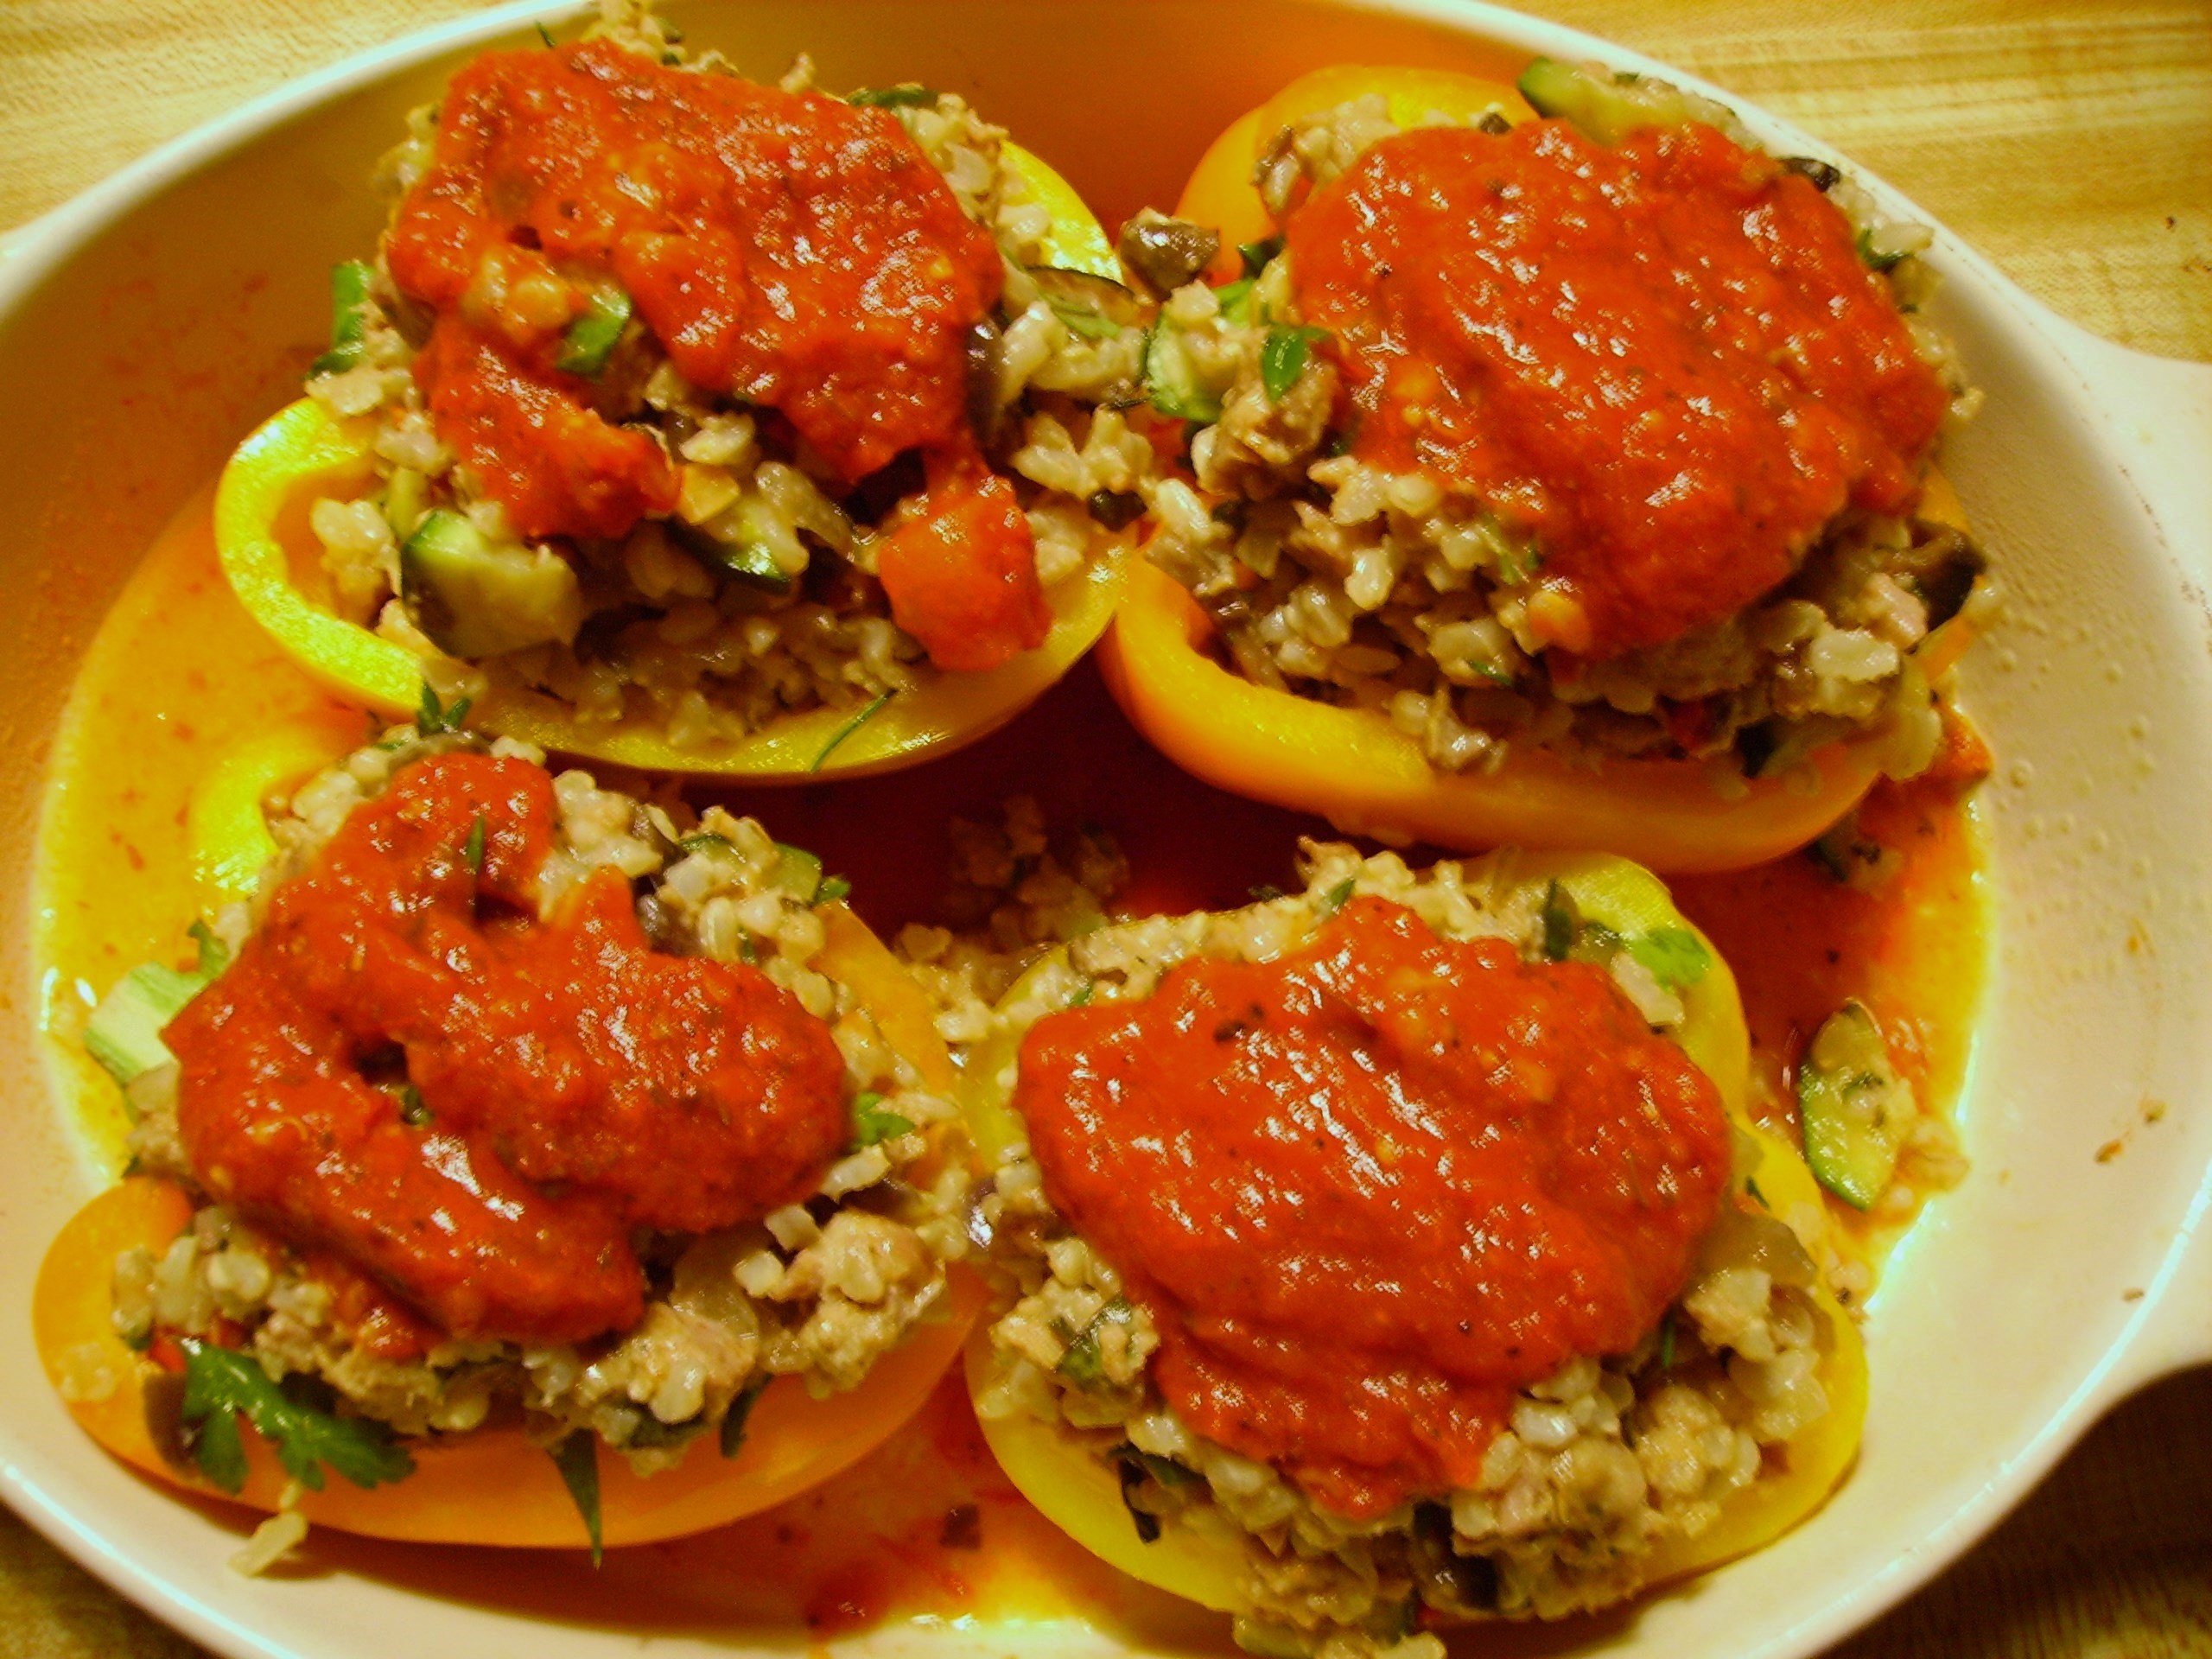
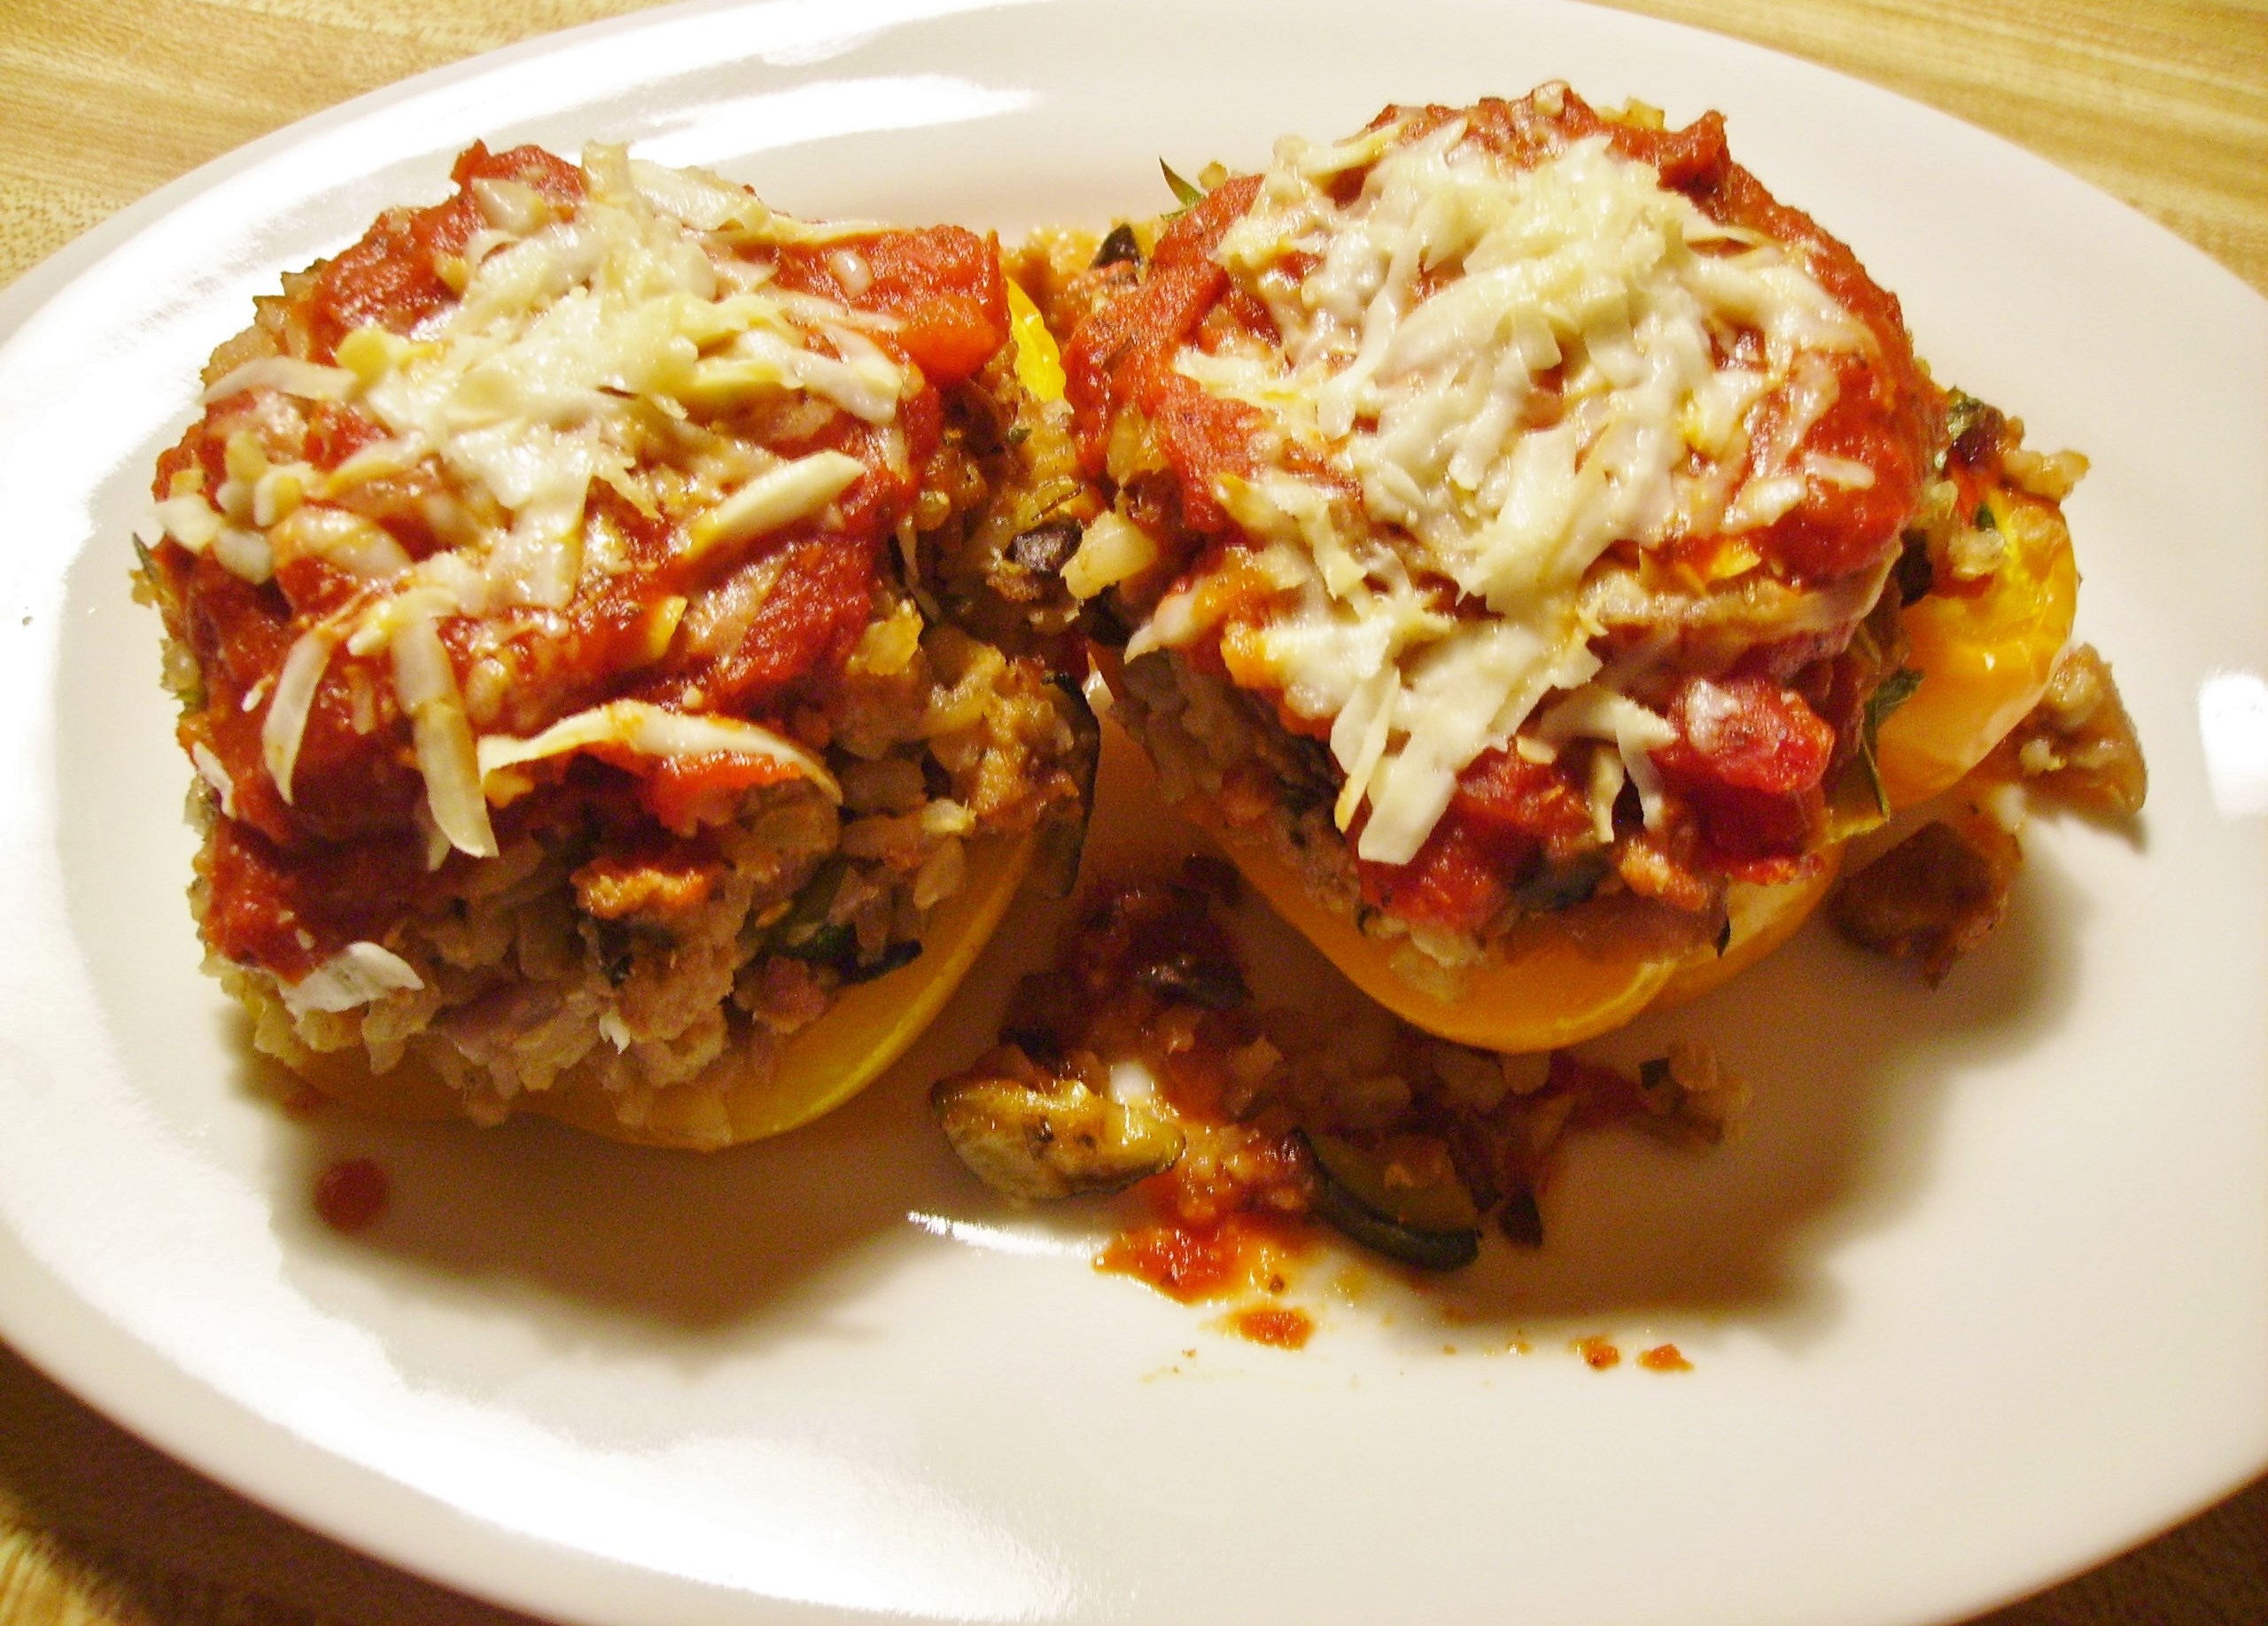
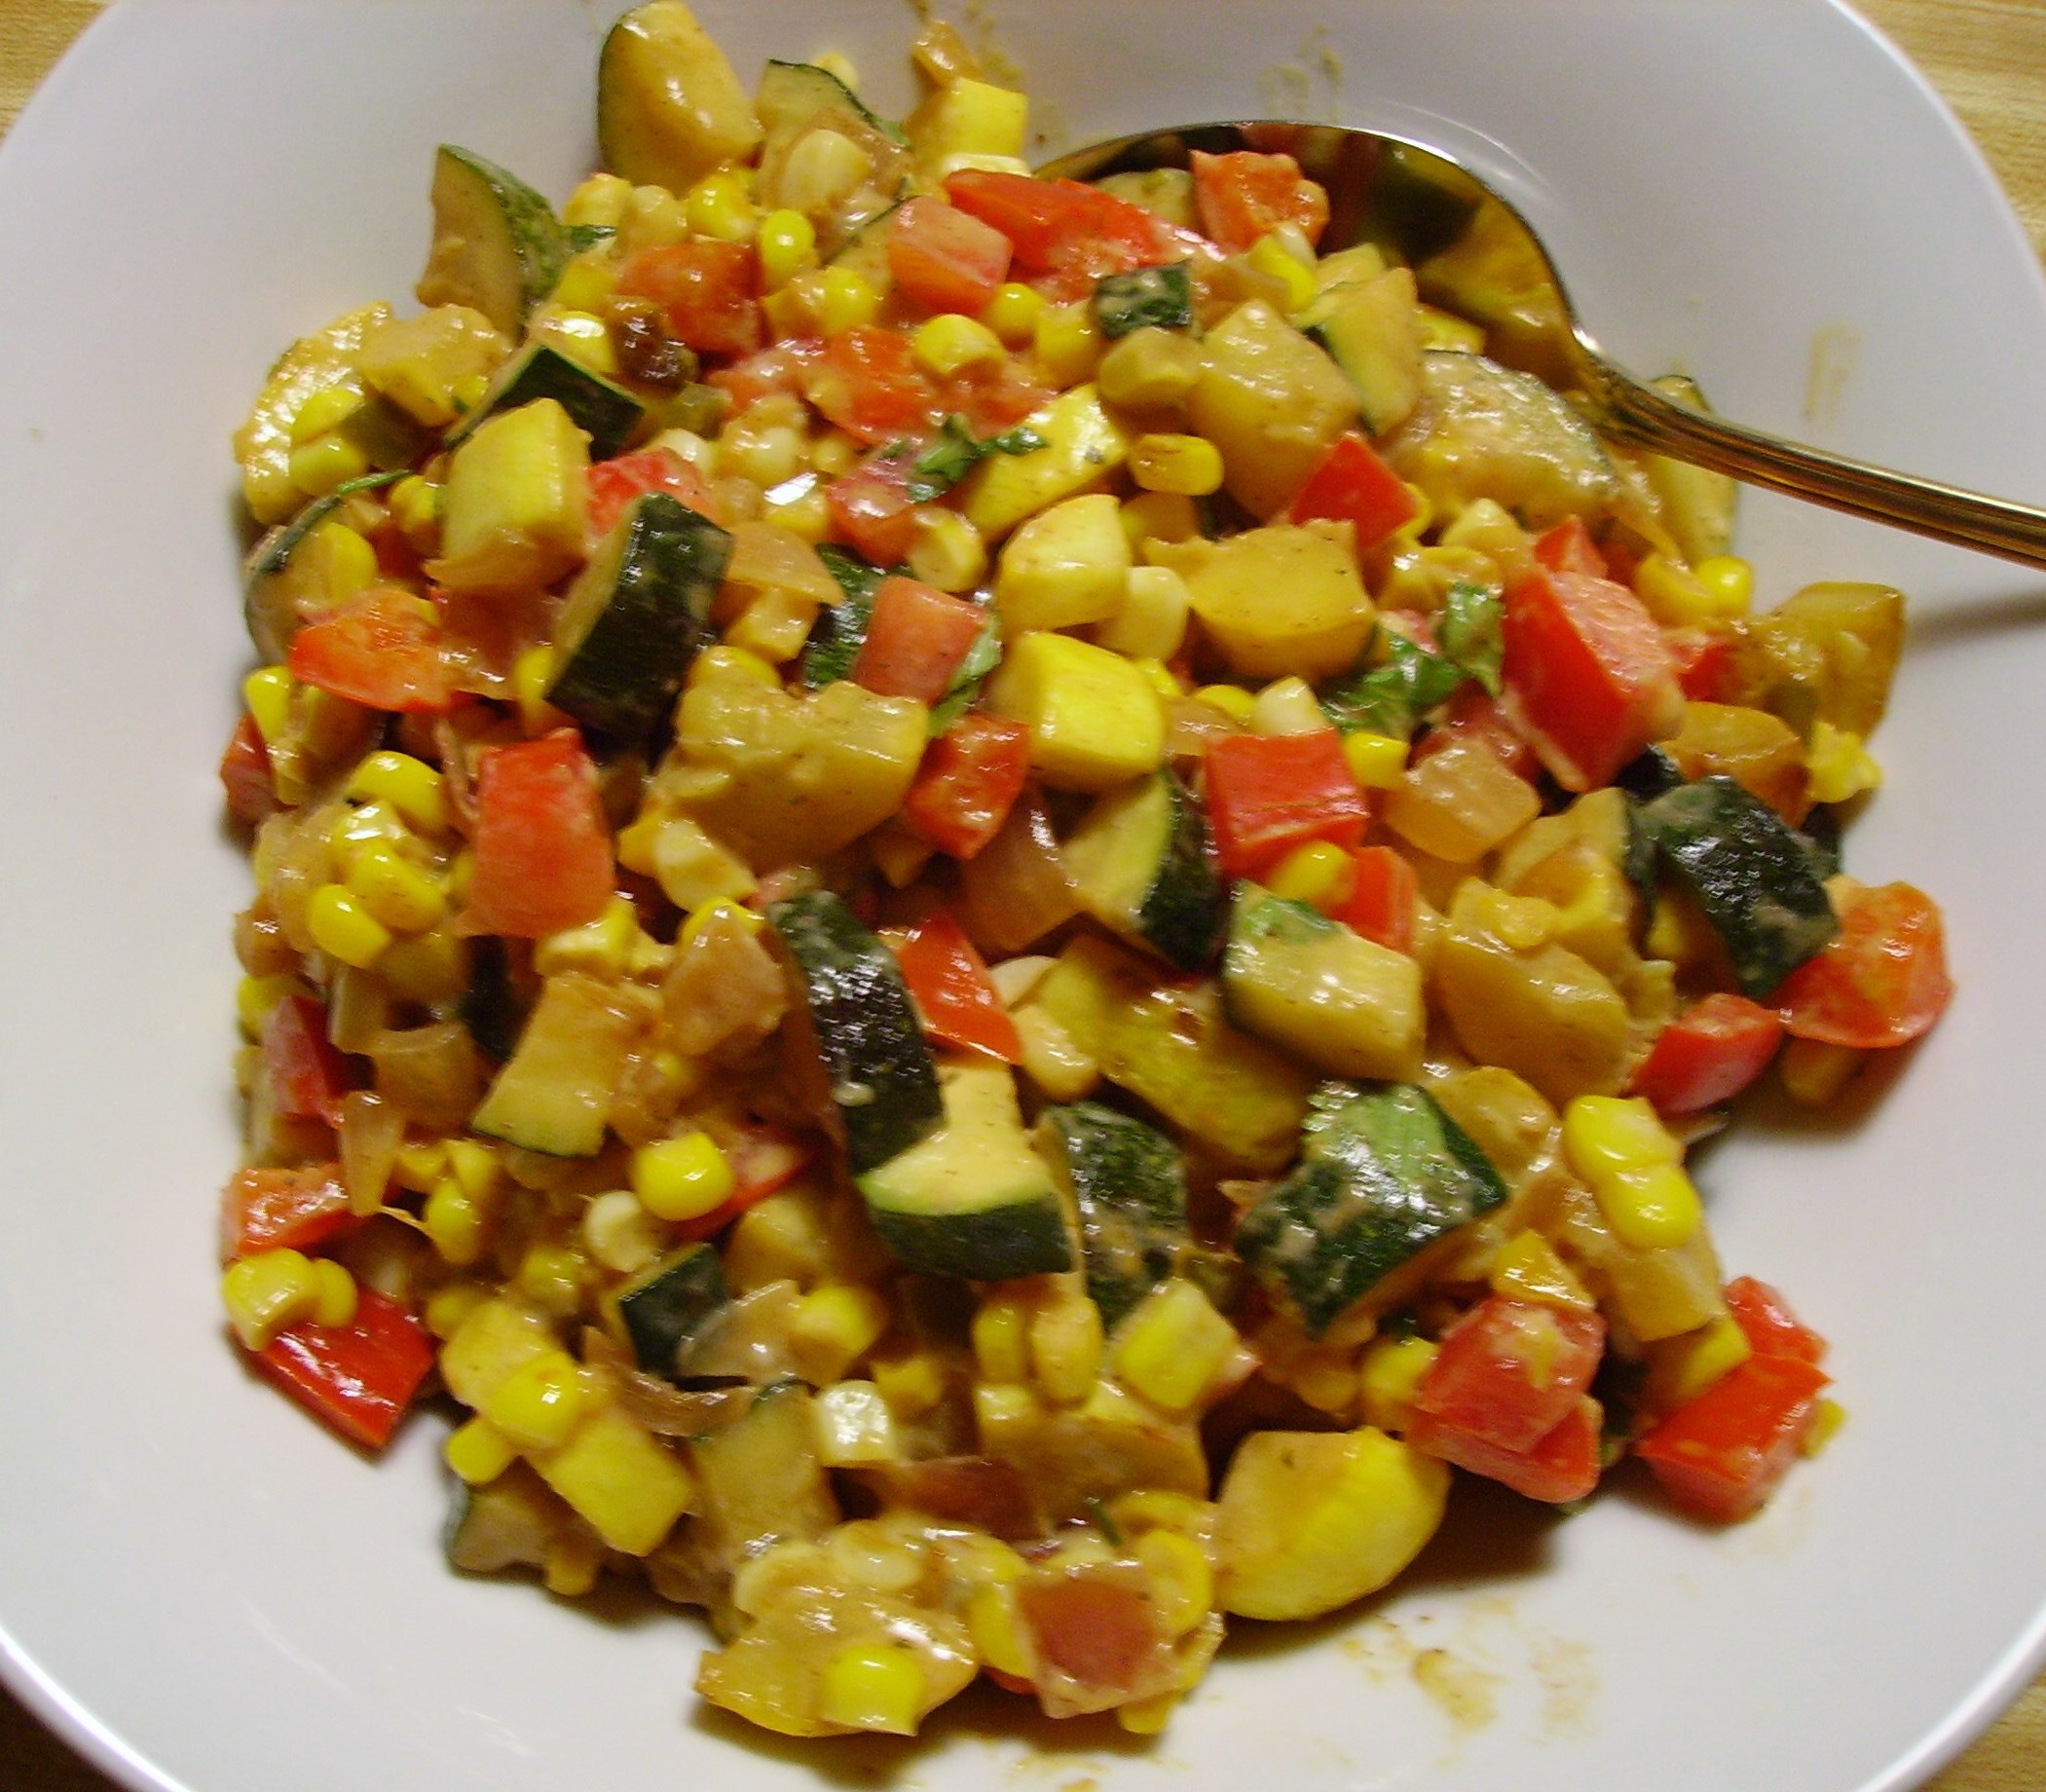
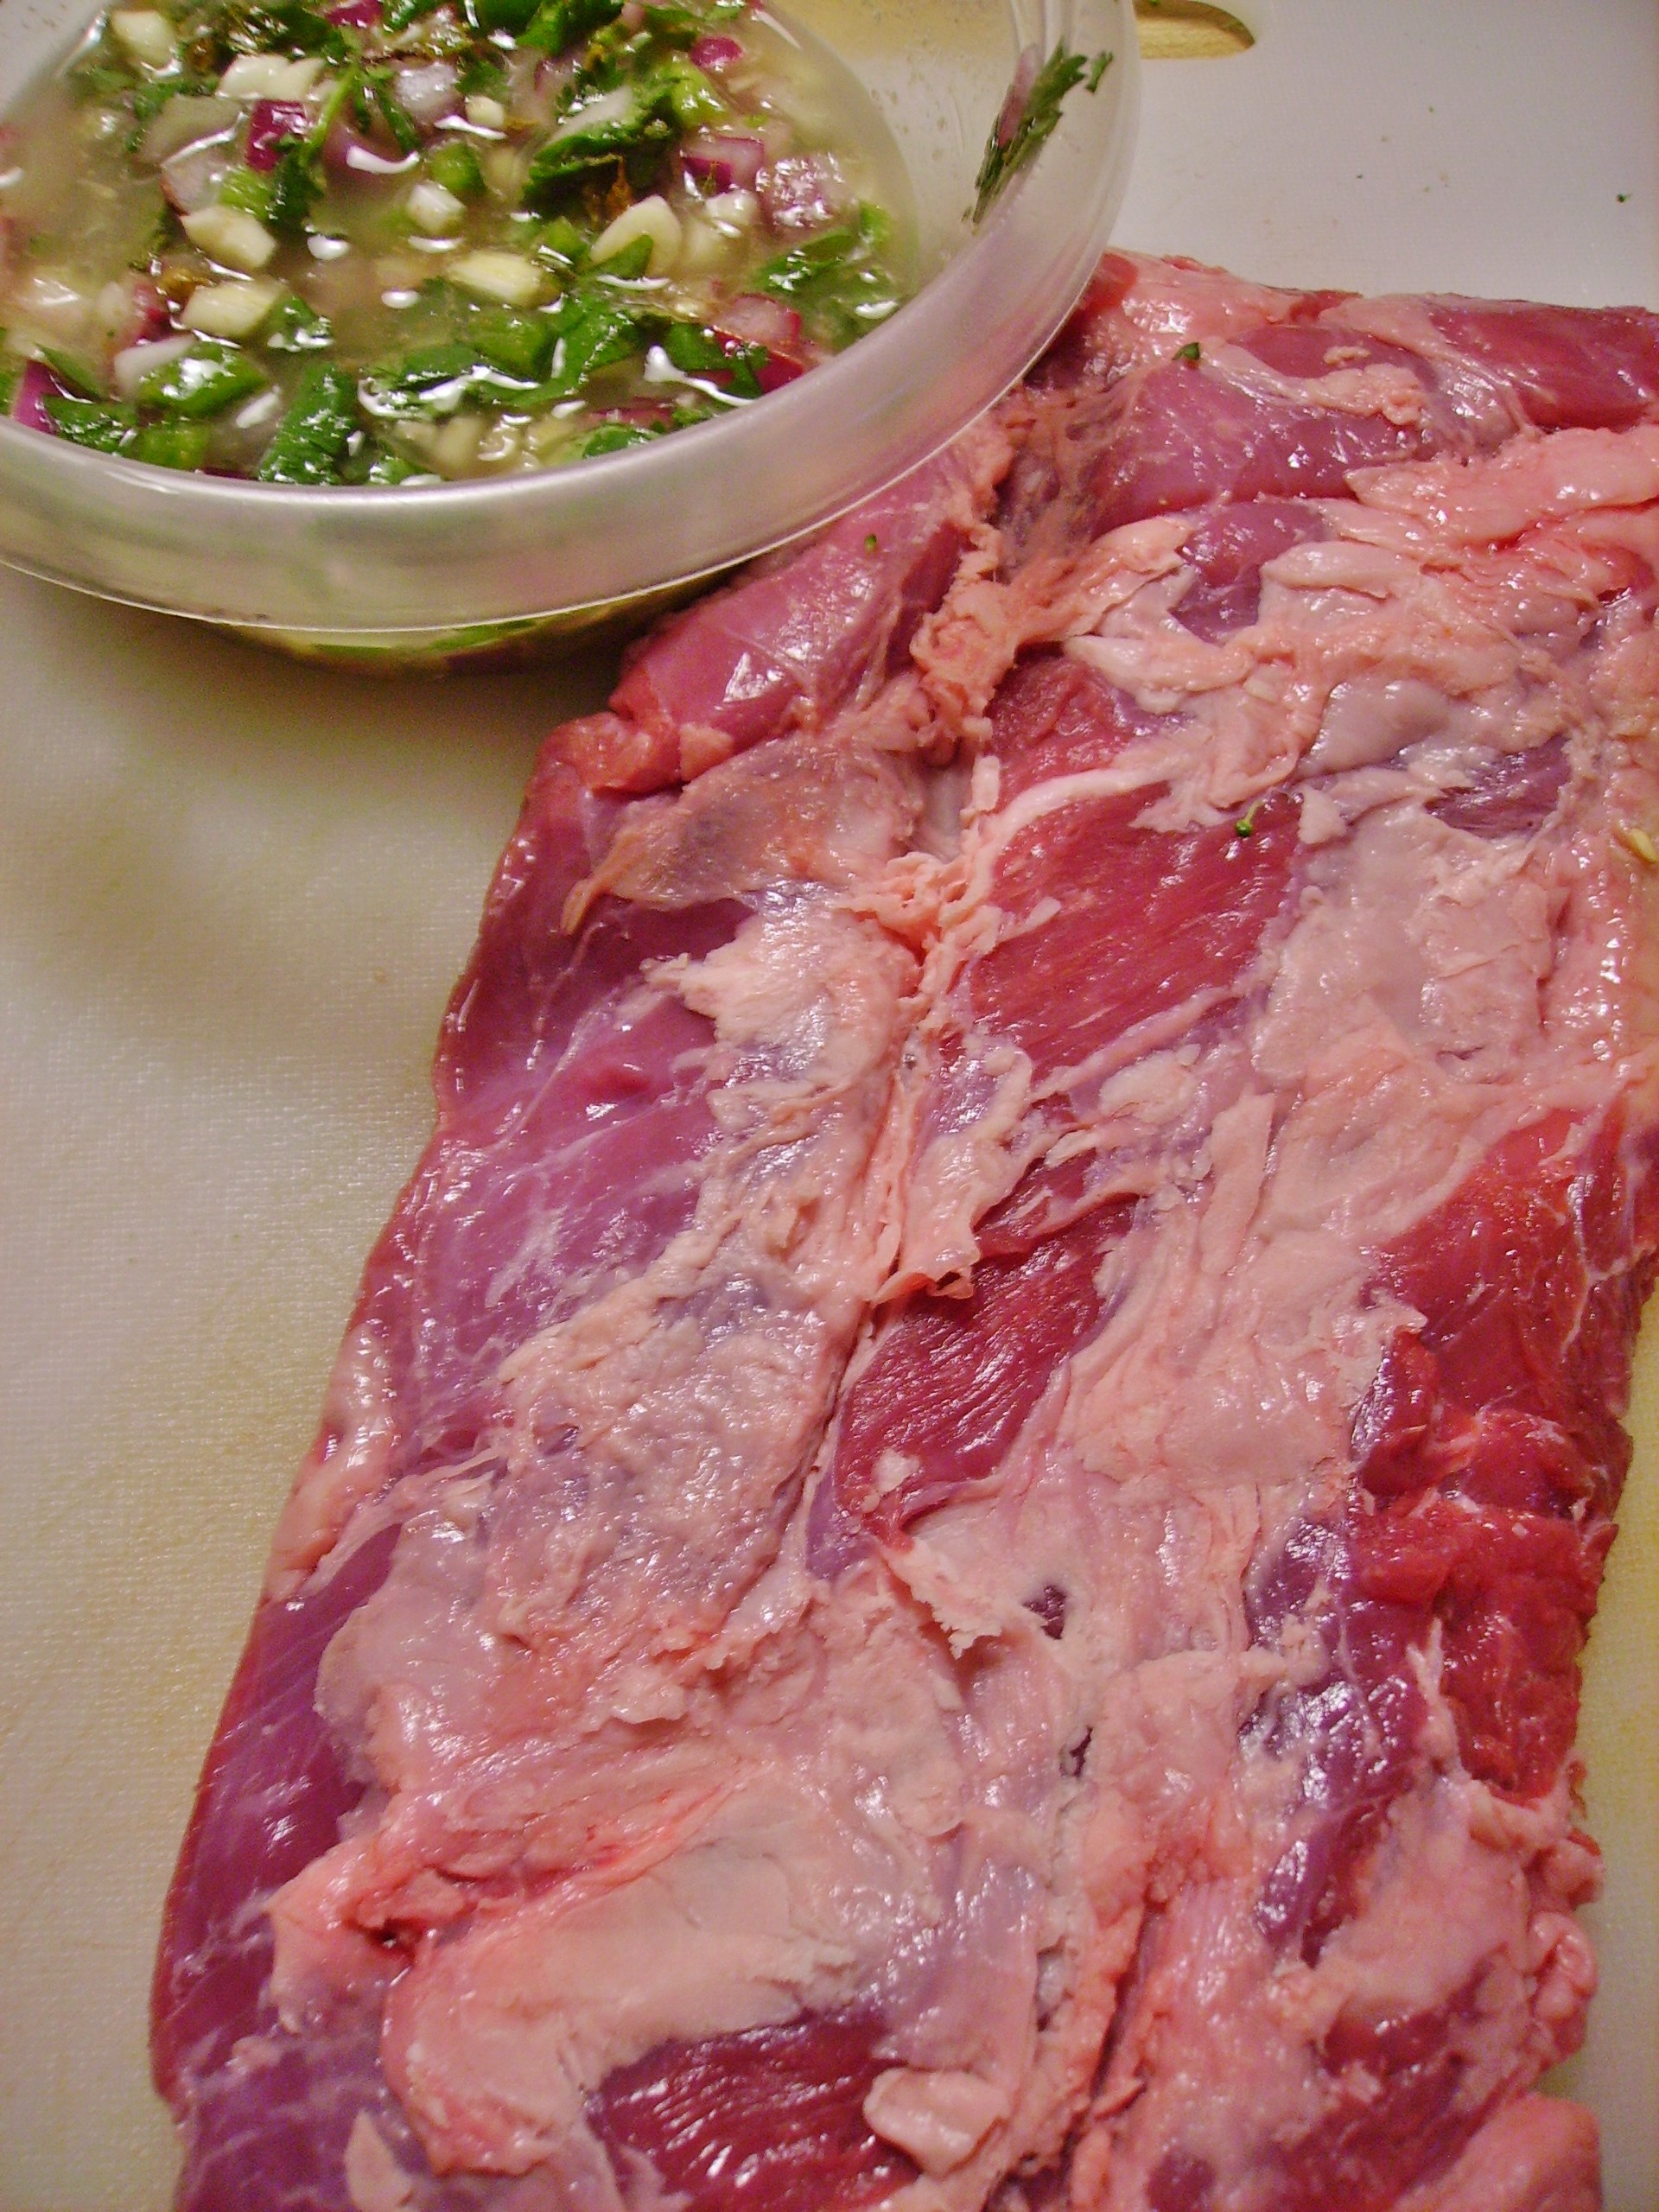
Today I began the actual process of downsizing the kitchen starting with the pantry. Like many other places in the house, I found things I didn’t know I had. Some were treasures, but many were trash. What’s left now is usable, organized and catalogued (Yup, I’m that anal). 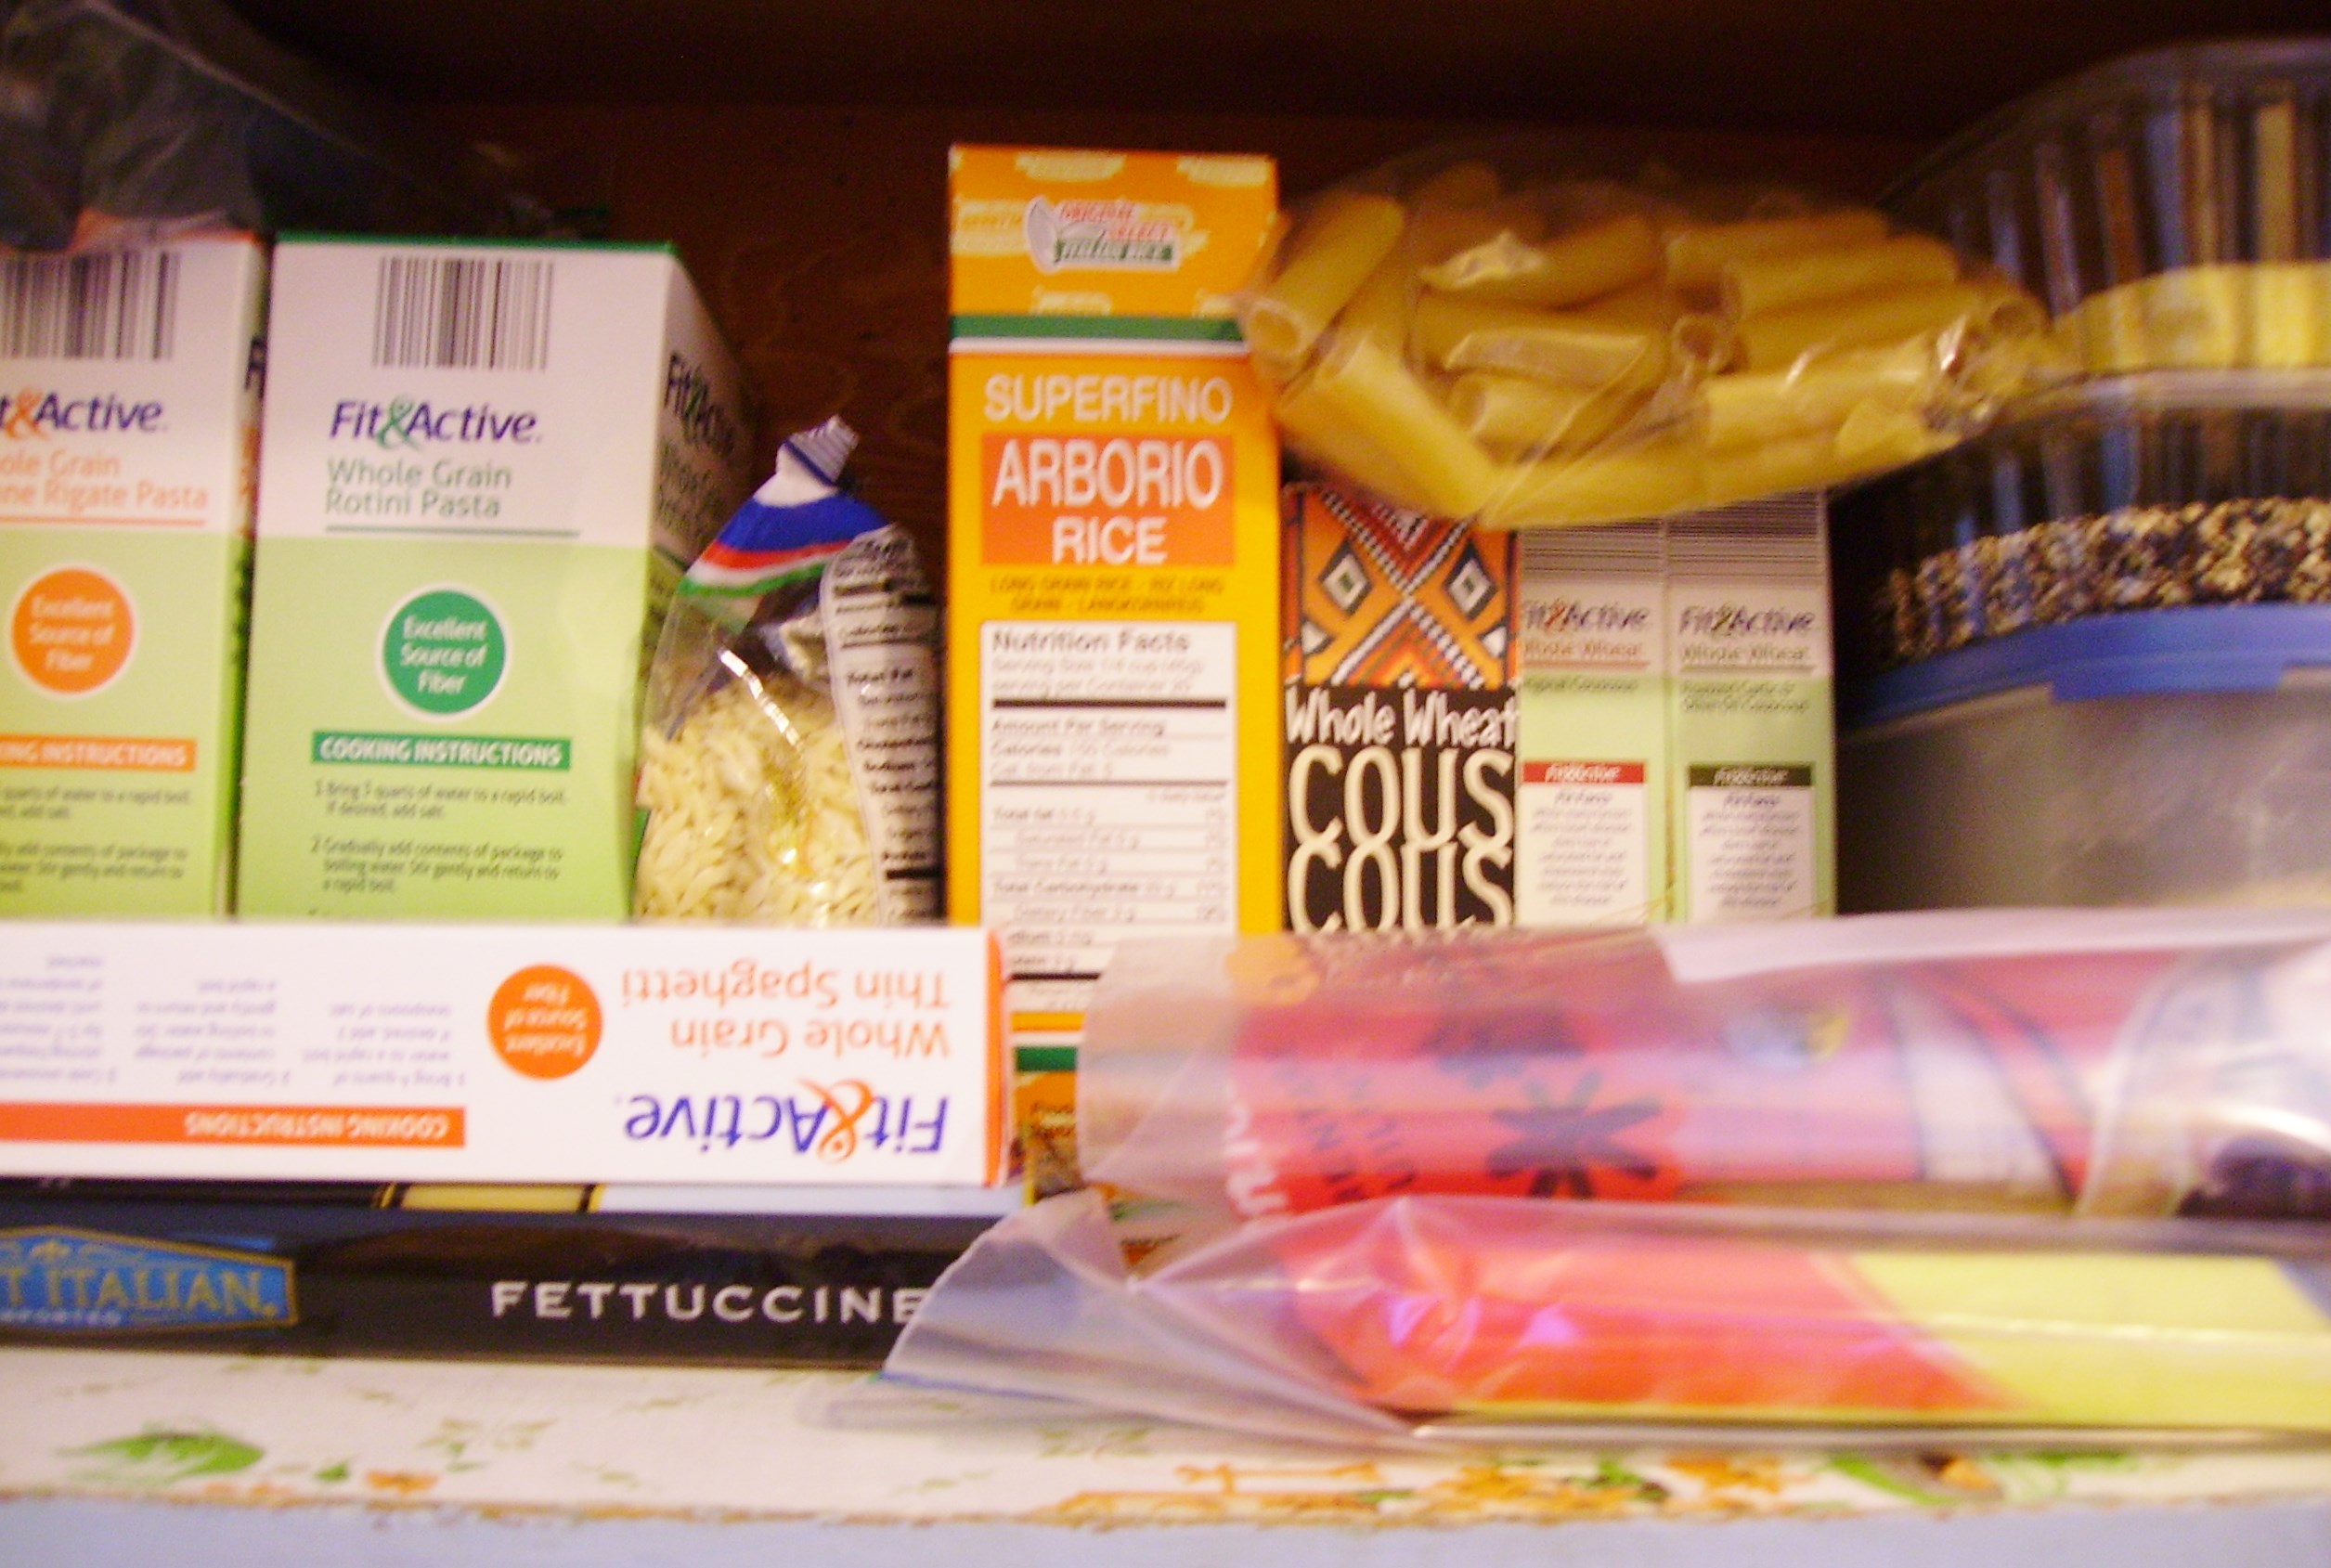 The list I created is the springboard to what I like to call “guided inspiration.” That inspiration is going to find its way into the kitchen. The best of these inspired adventures will show up here. Besides inspired recipes the goal here is to use up as many of the items as I can. It’s less to move of course, but it is also economical.
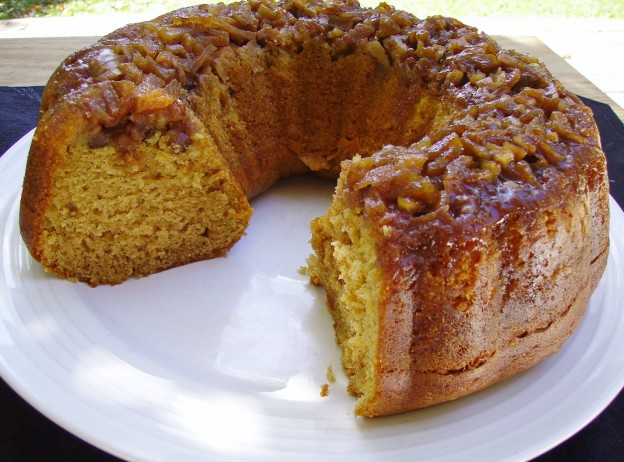
I found lots of baking ingredients including several cake mixes. These are the quintessential inspiration ingredients, ready to be adorned and enriched in so many ways. There are literally hundreds of recipes that begin with a cake mix…like this one.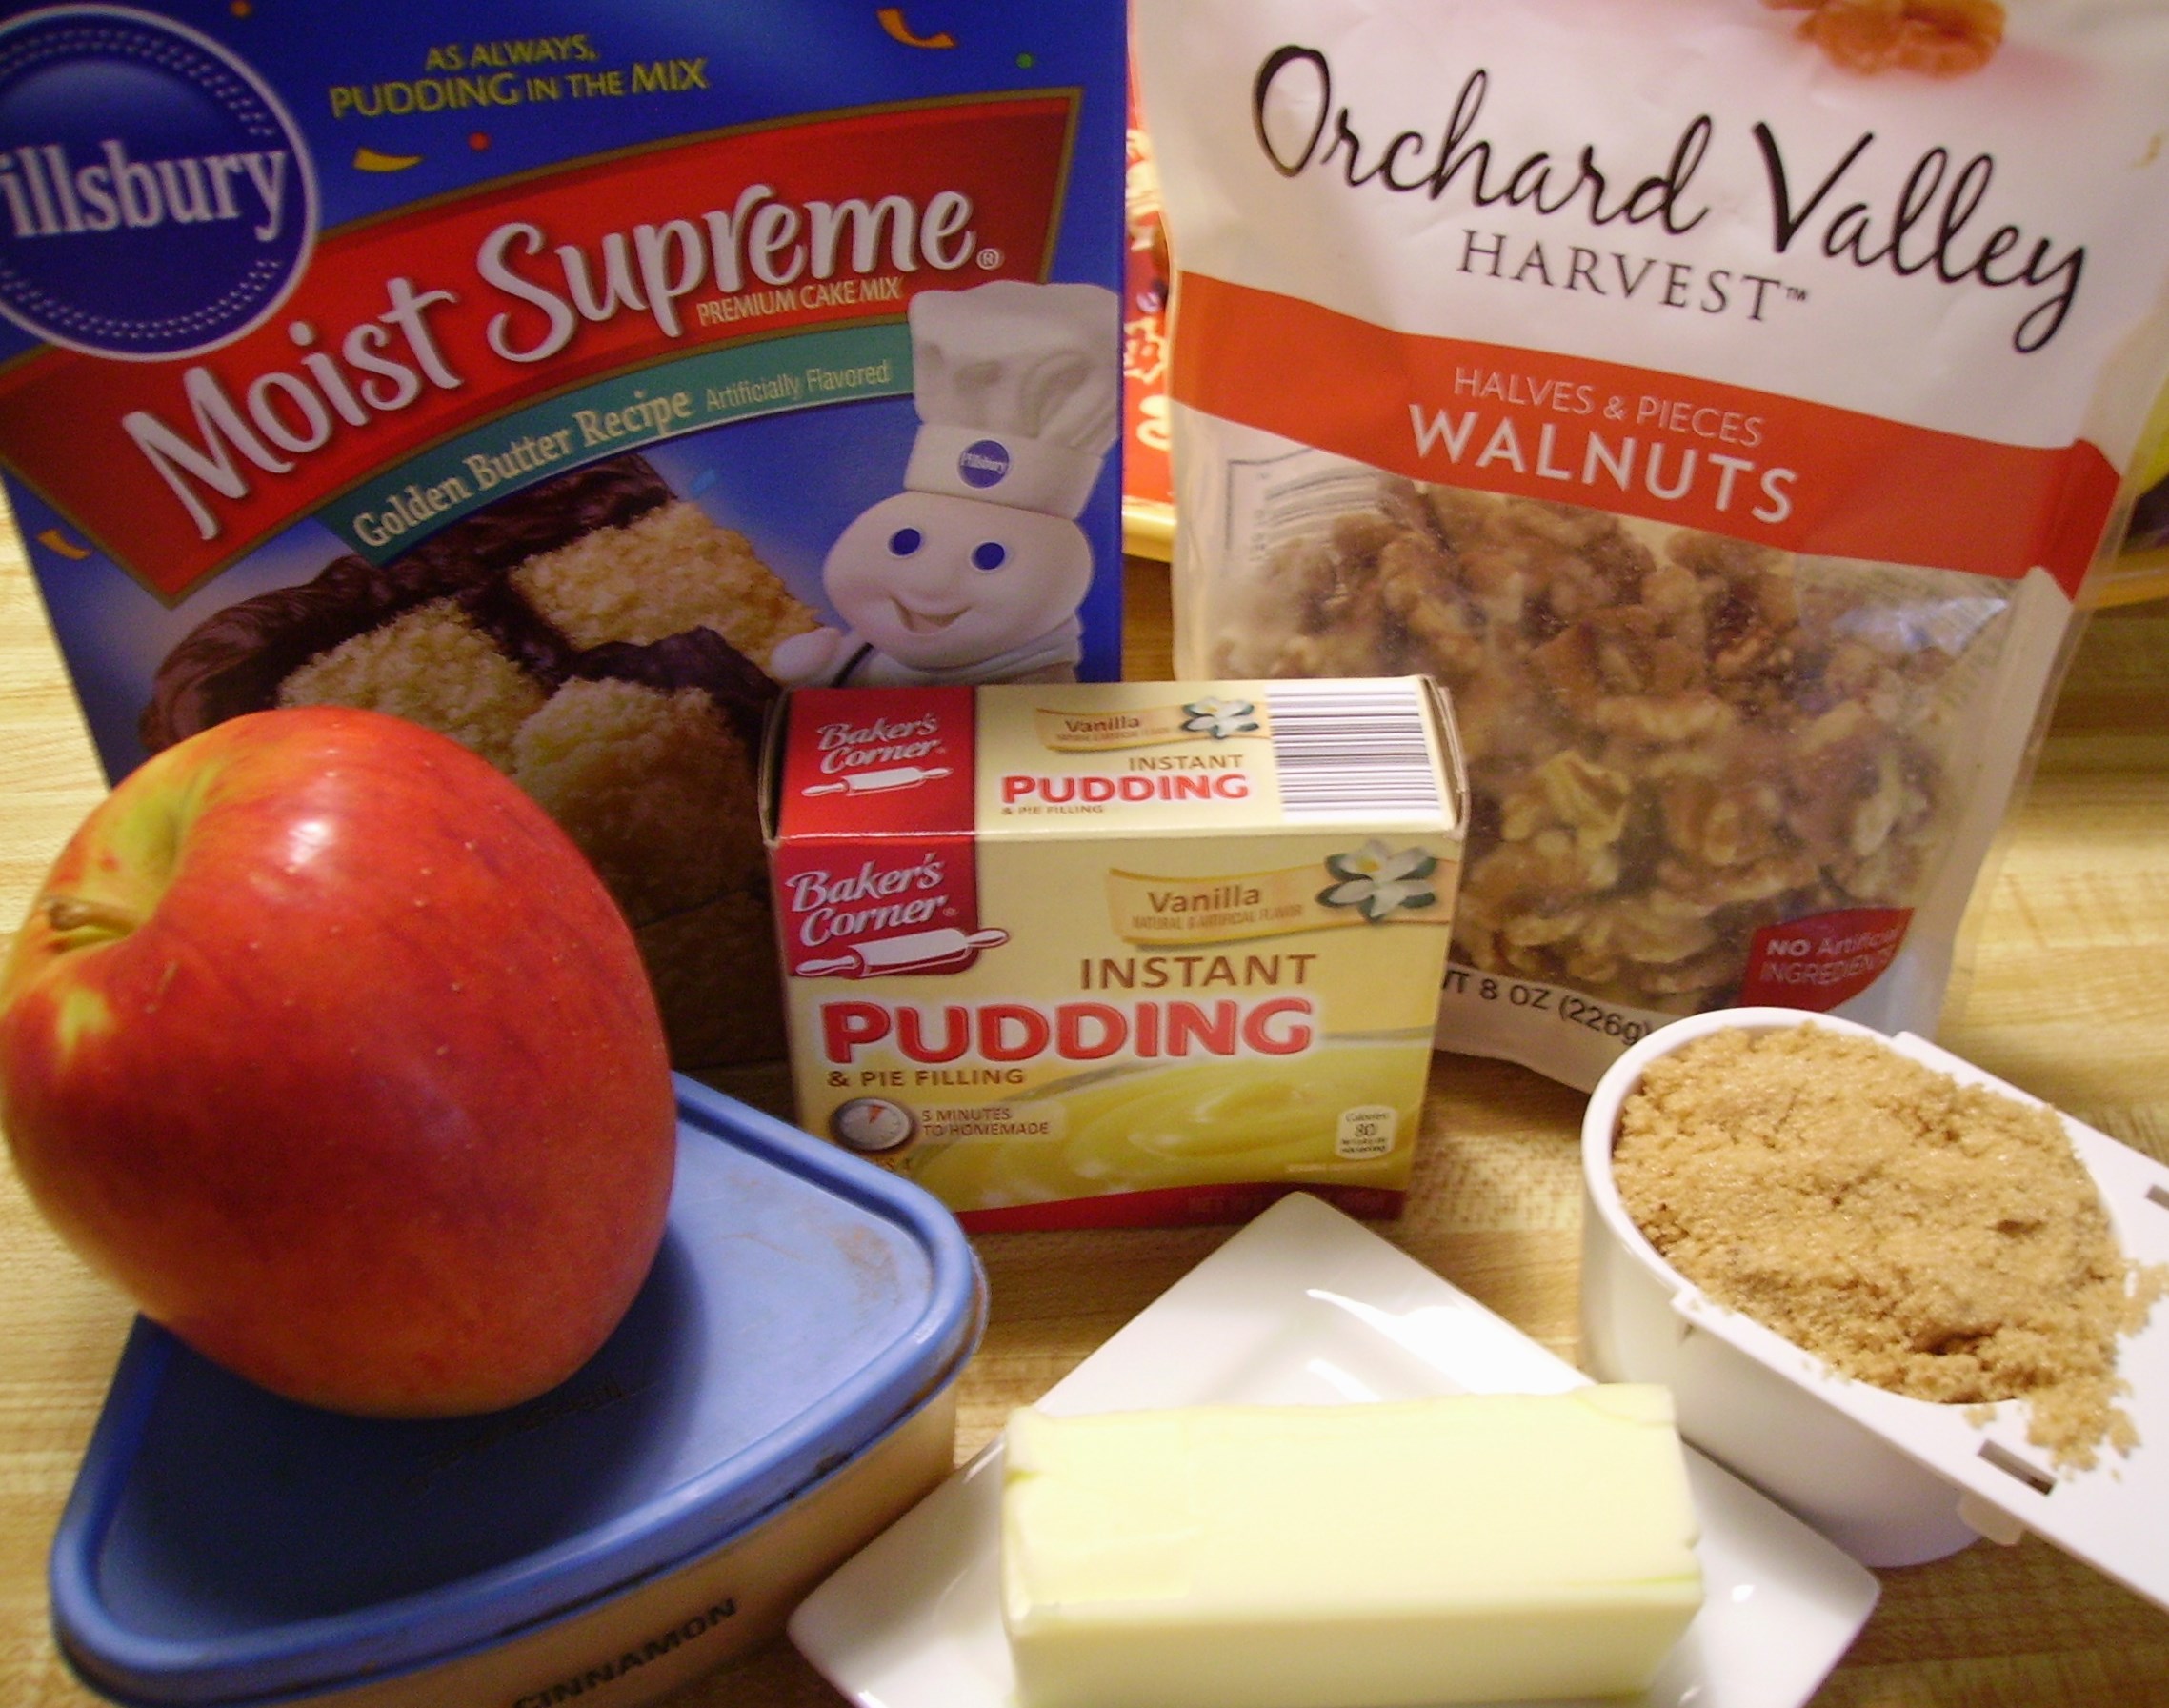 These are the raw materials for an Apple Cinnamon Bundt Cake. Yellow cake flavored with cinnamon, crowned with a caramel glaze that was loaded with apple and walnuts.
Butter, cinnamon and brown sugar melted together to make a caramel that coated the bottom of a bundt pan.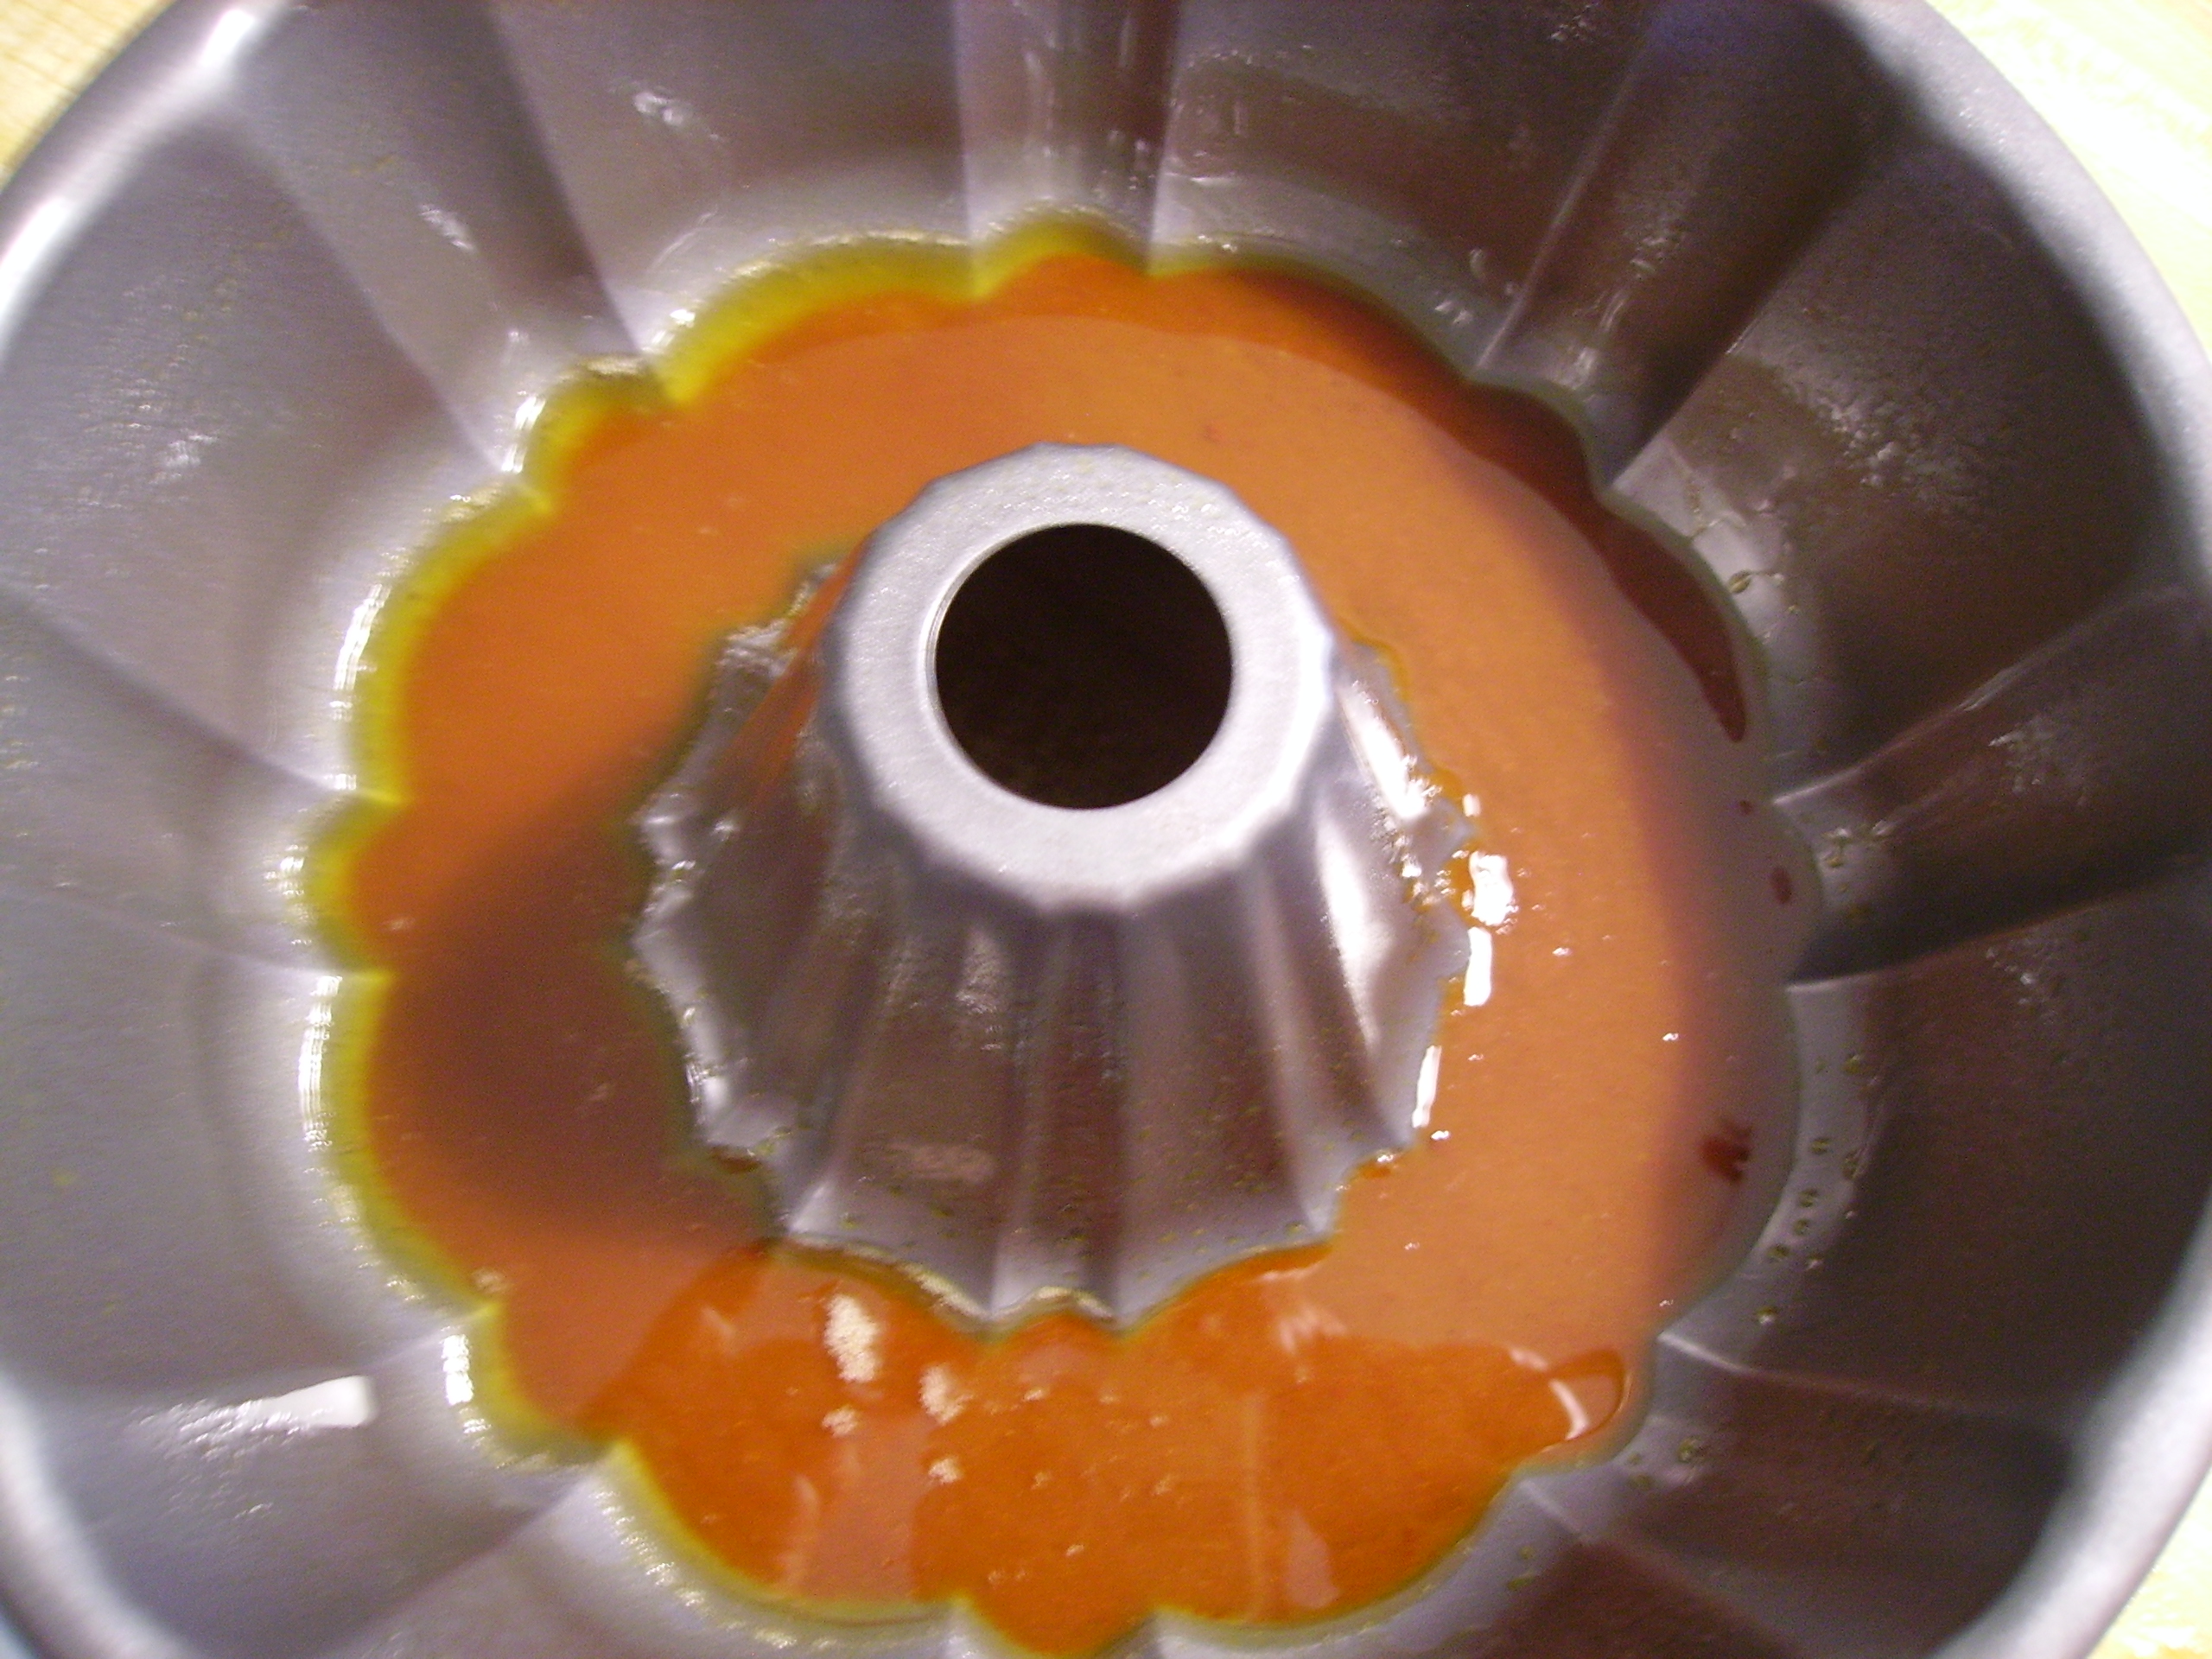
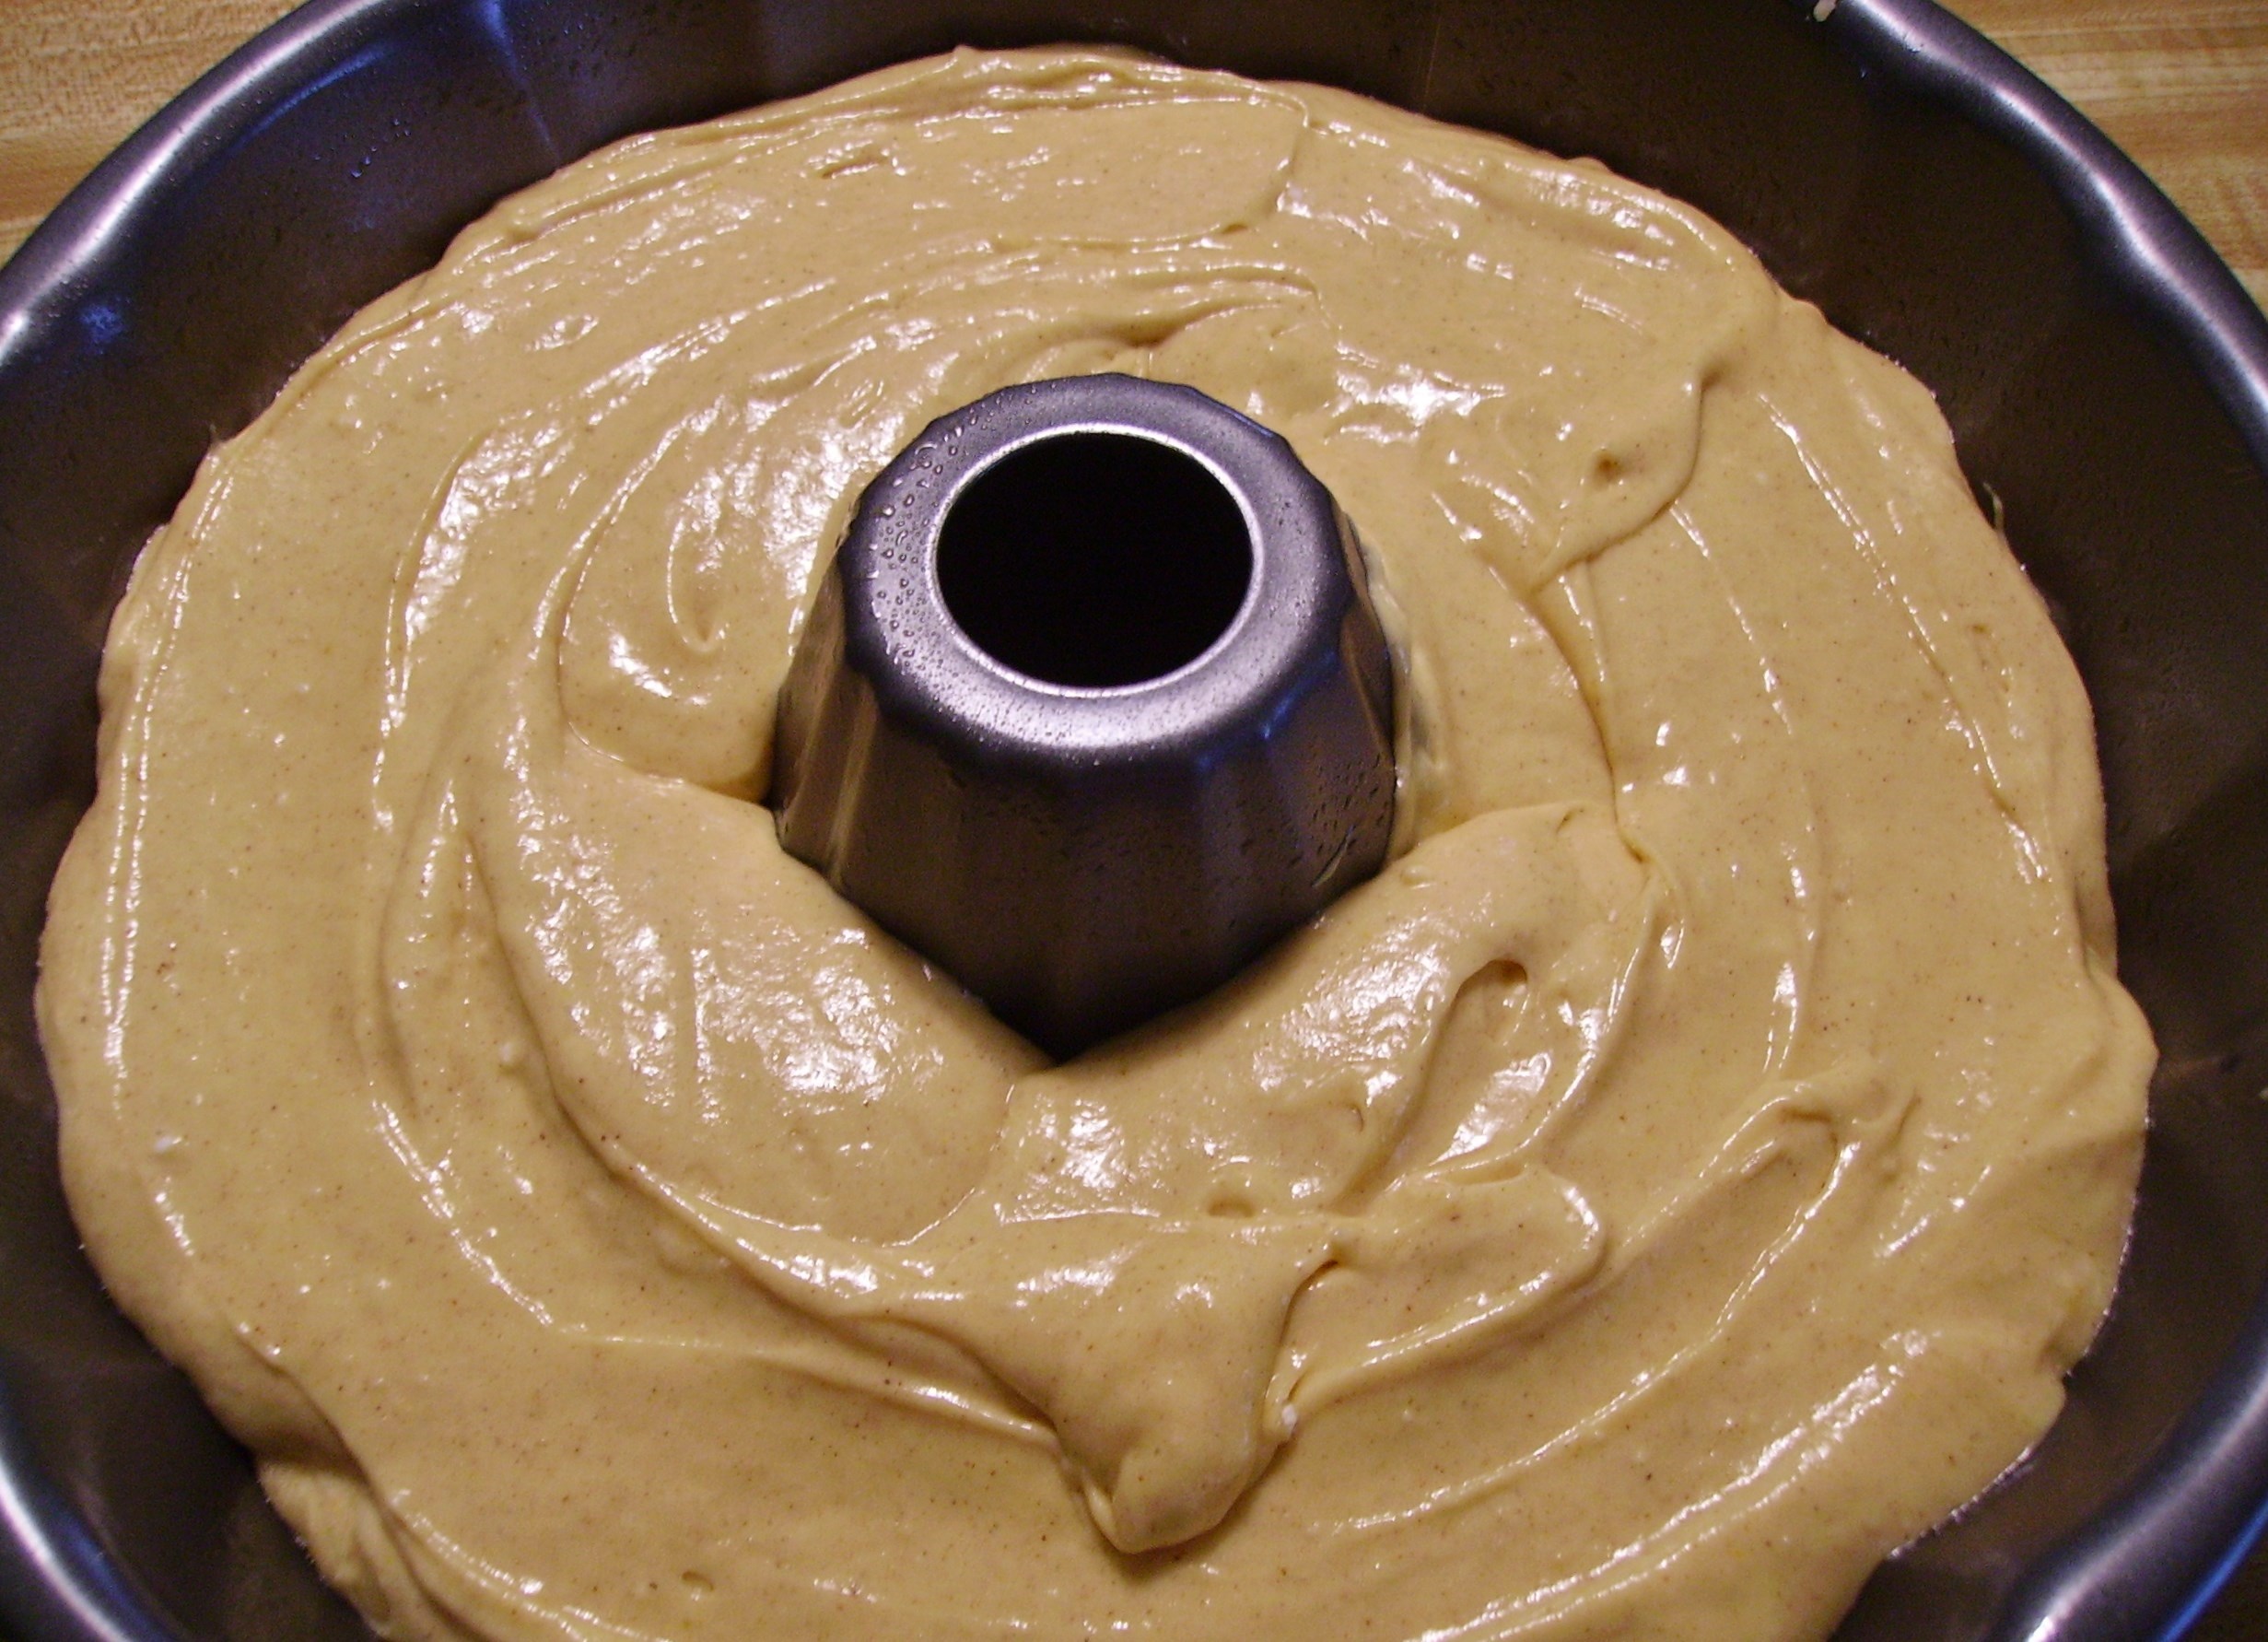
Chopped apples and walnuts nestled on top of the caramel.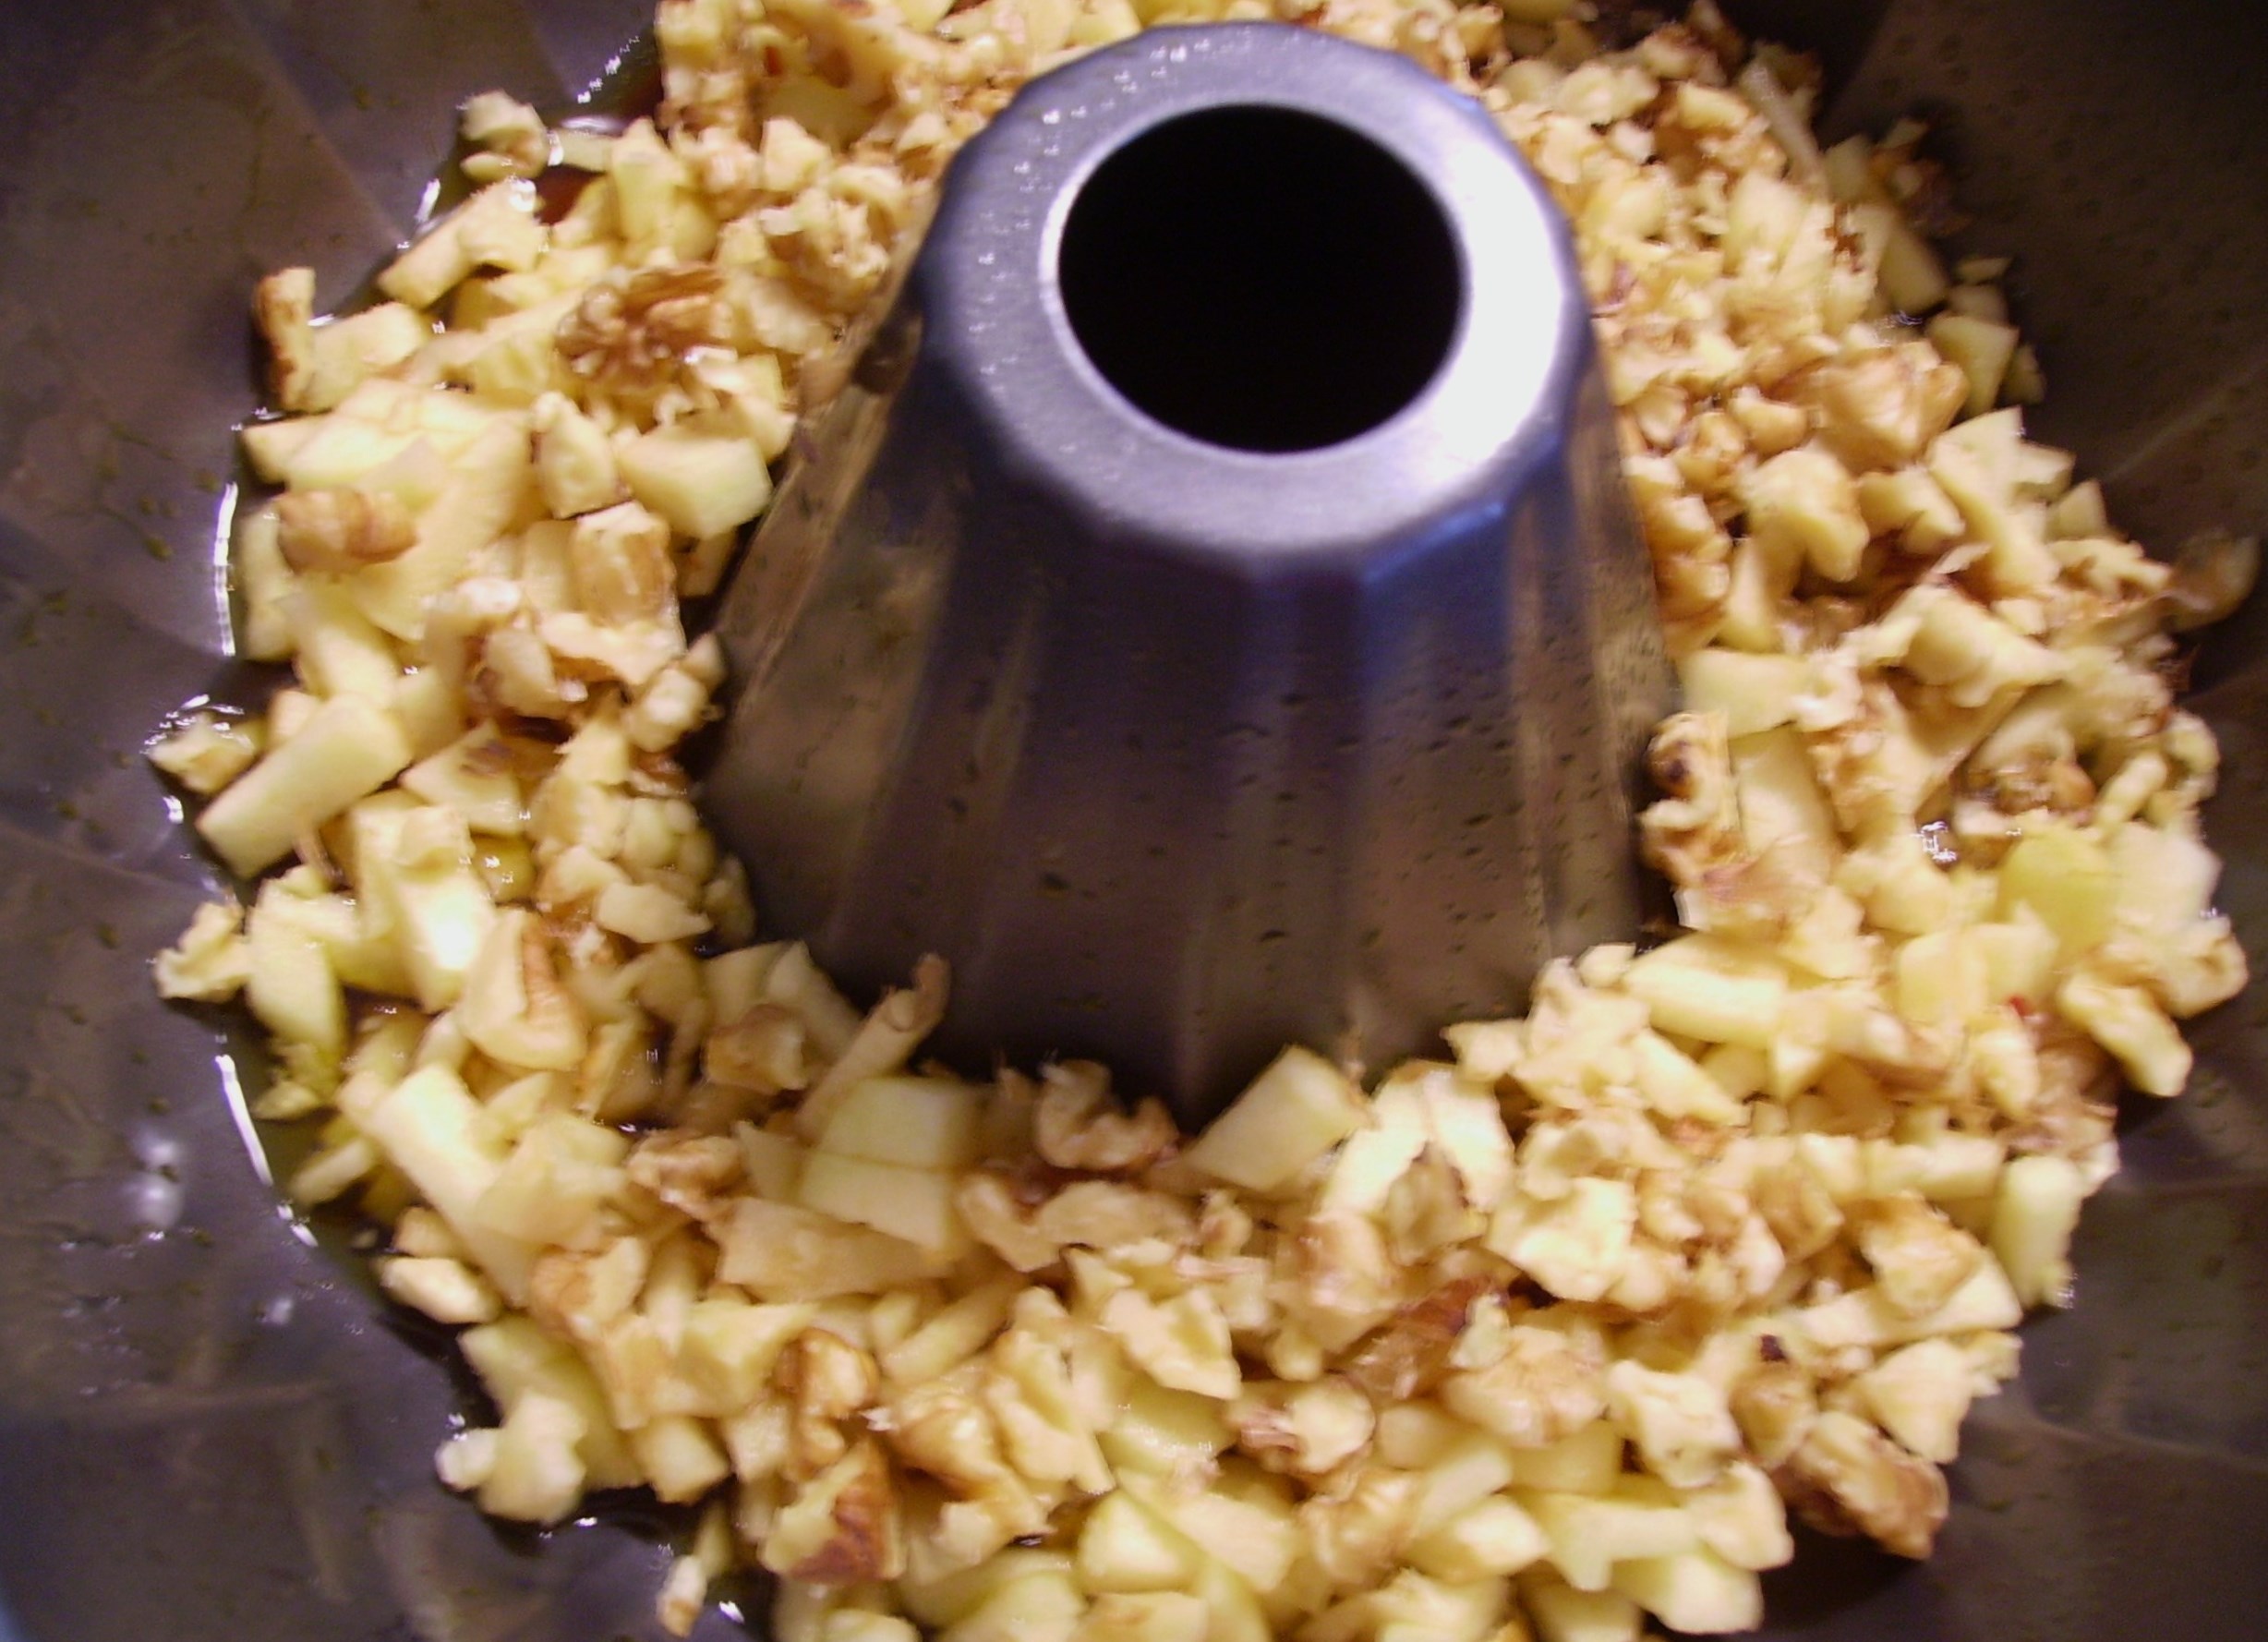 The cake came together in the usual way with pudding mix, eggs, oil, and water. The extra touch of love was a generous dose of cinnamon. Once beautifully blended it went into the pan.
 Baking for about 45 minutes, it filled the kitchen with the scent of sweet cinnamon that interlaced with the vanilla in the cake mix. It was divine. It emerged from the oven beautifully puffed and golden brown. It spent a little more time in the pan cooling and allowing everything to come together before it was freed to take its place in the cake hall of fame.
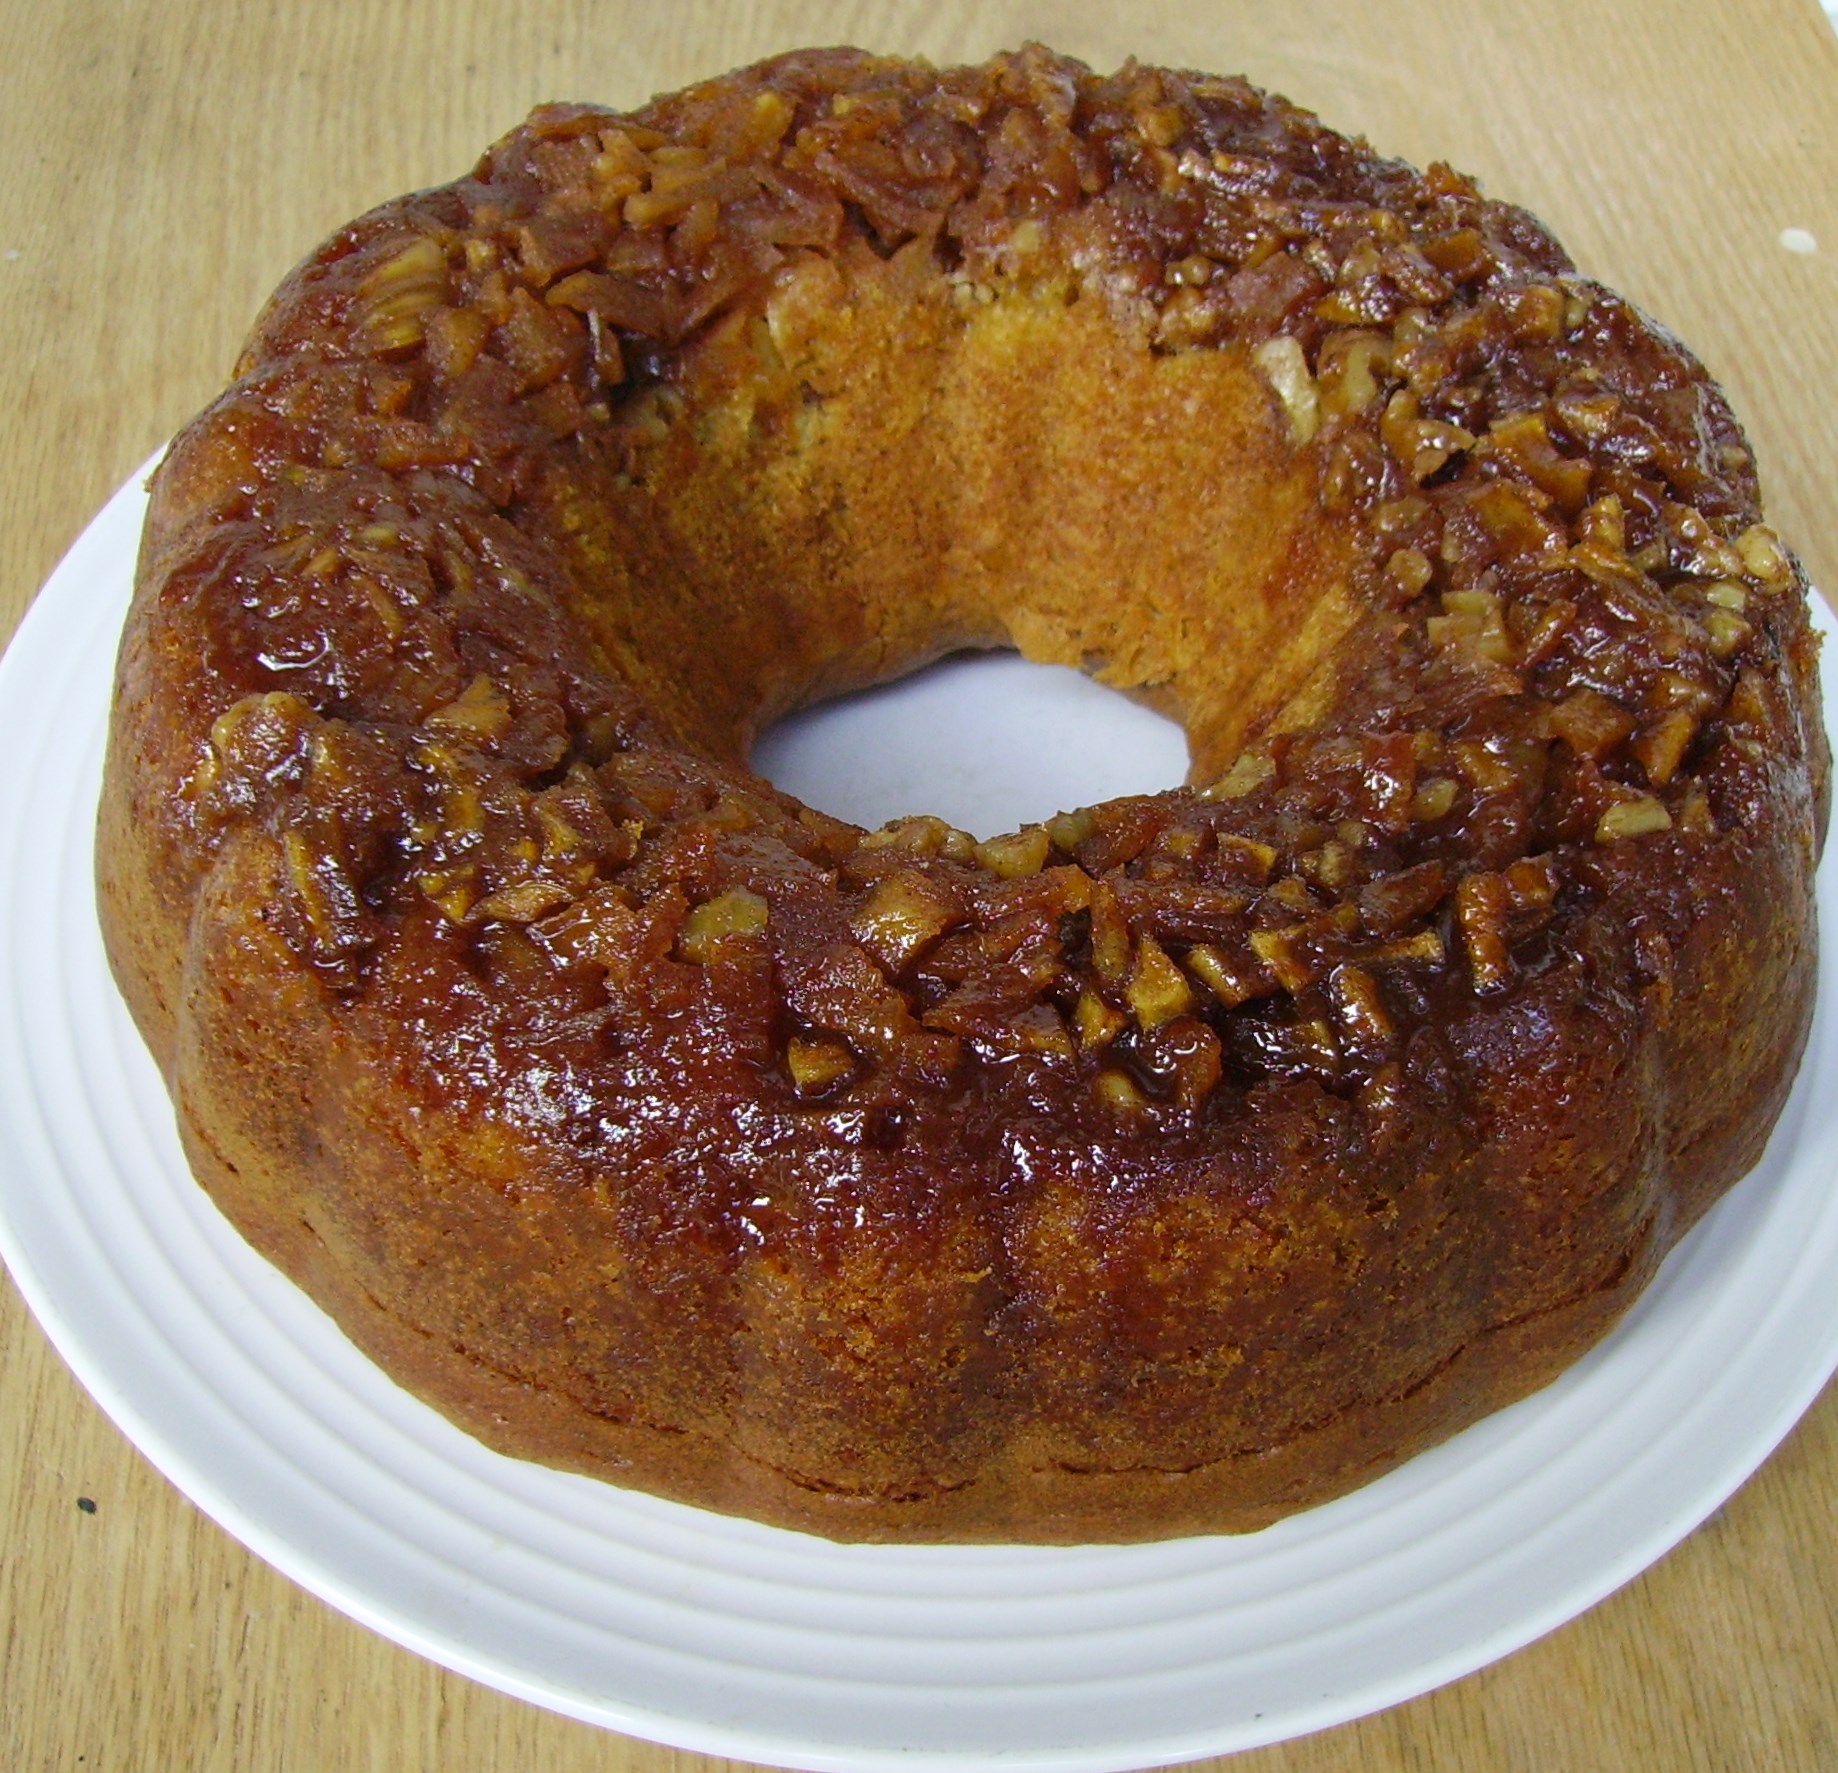 This cake is delicious! It is moist and flavorful. The caramel, apple, walnut layer creates a delicious topping that seeps into the cake just enough to elevate the overall flavor to another level. A little whipped cream or rich vanilla ice cream wouldn’t be too much, so go ahead and indulge. According to Papa D this actually makes a great breakfast. Give it a try.
So, the pantry is a few more items lighter and a new cake has been created in Mama D’s kitchen. In a few weeks the Kitchen of Love will have a new location. It will be smaller and differently equipped, but it will still be the Kitchen of Love… that will never change. Mama D
Share this: