 Winter…Mother Nature’s sick joke. As most Midwesterners and from what ! hear on the news, 75 – 80 percent of the rest of the country know, Mother Nature has some kind of crazy bug up her bustle. Insane low temperatures, more snow than anyone knows what to do with, and winds that blow that snow around like a demonic snow globe, creating wind chill factors in the negative 30 degree range (Is that a real number?)
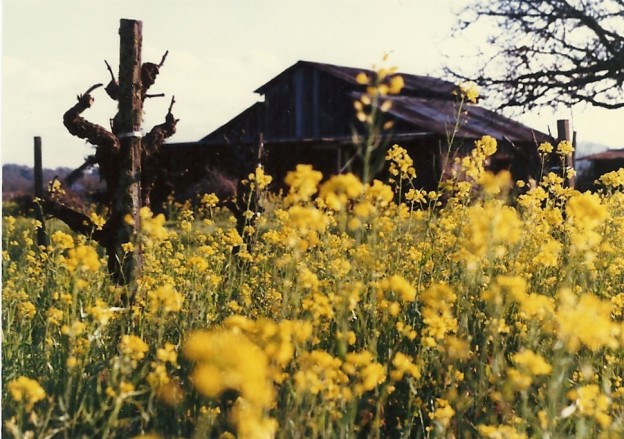
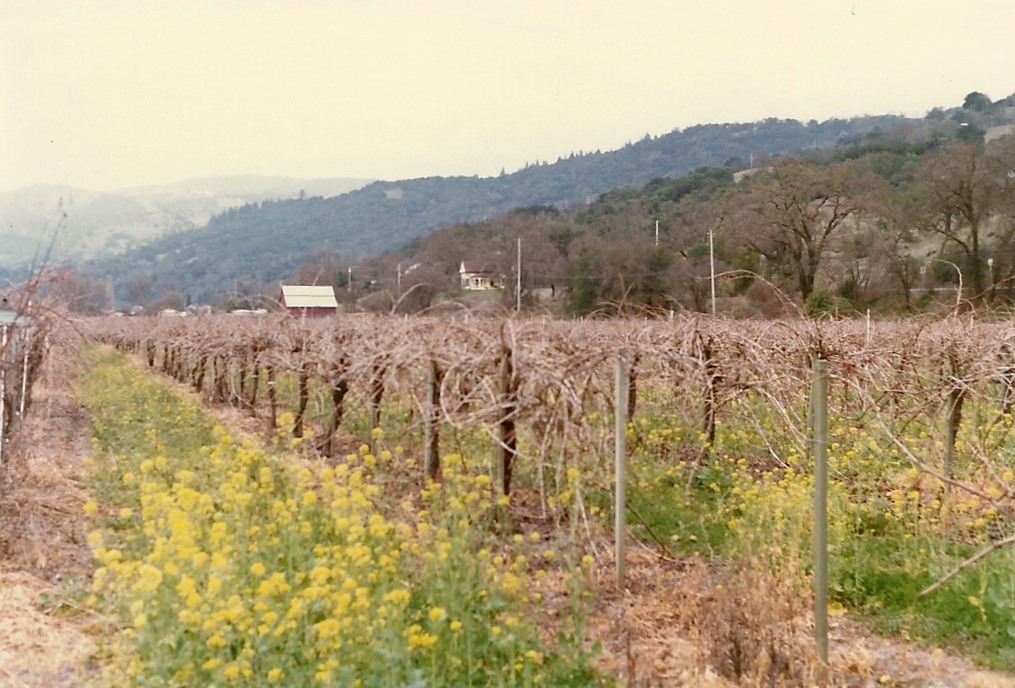
Do you remember Summer? You know that time of year when it took 20 seconds to get ready to go outside; basically shorts, a tee-shirt and flip-flops. Once outside you were treated to flowers in brilliant Technicolor bloom, green grass soft and fragrant and sunshine that actually meant something. Summer is more than 125 days away. Winter seems to have hunkered down and shows no signs of going anywhere.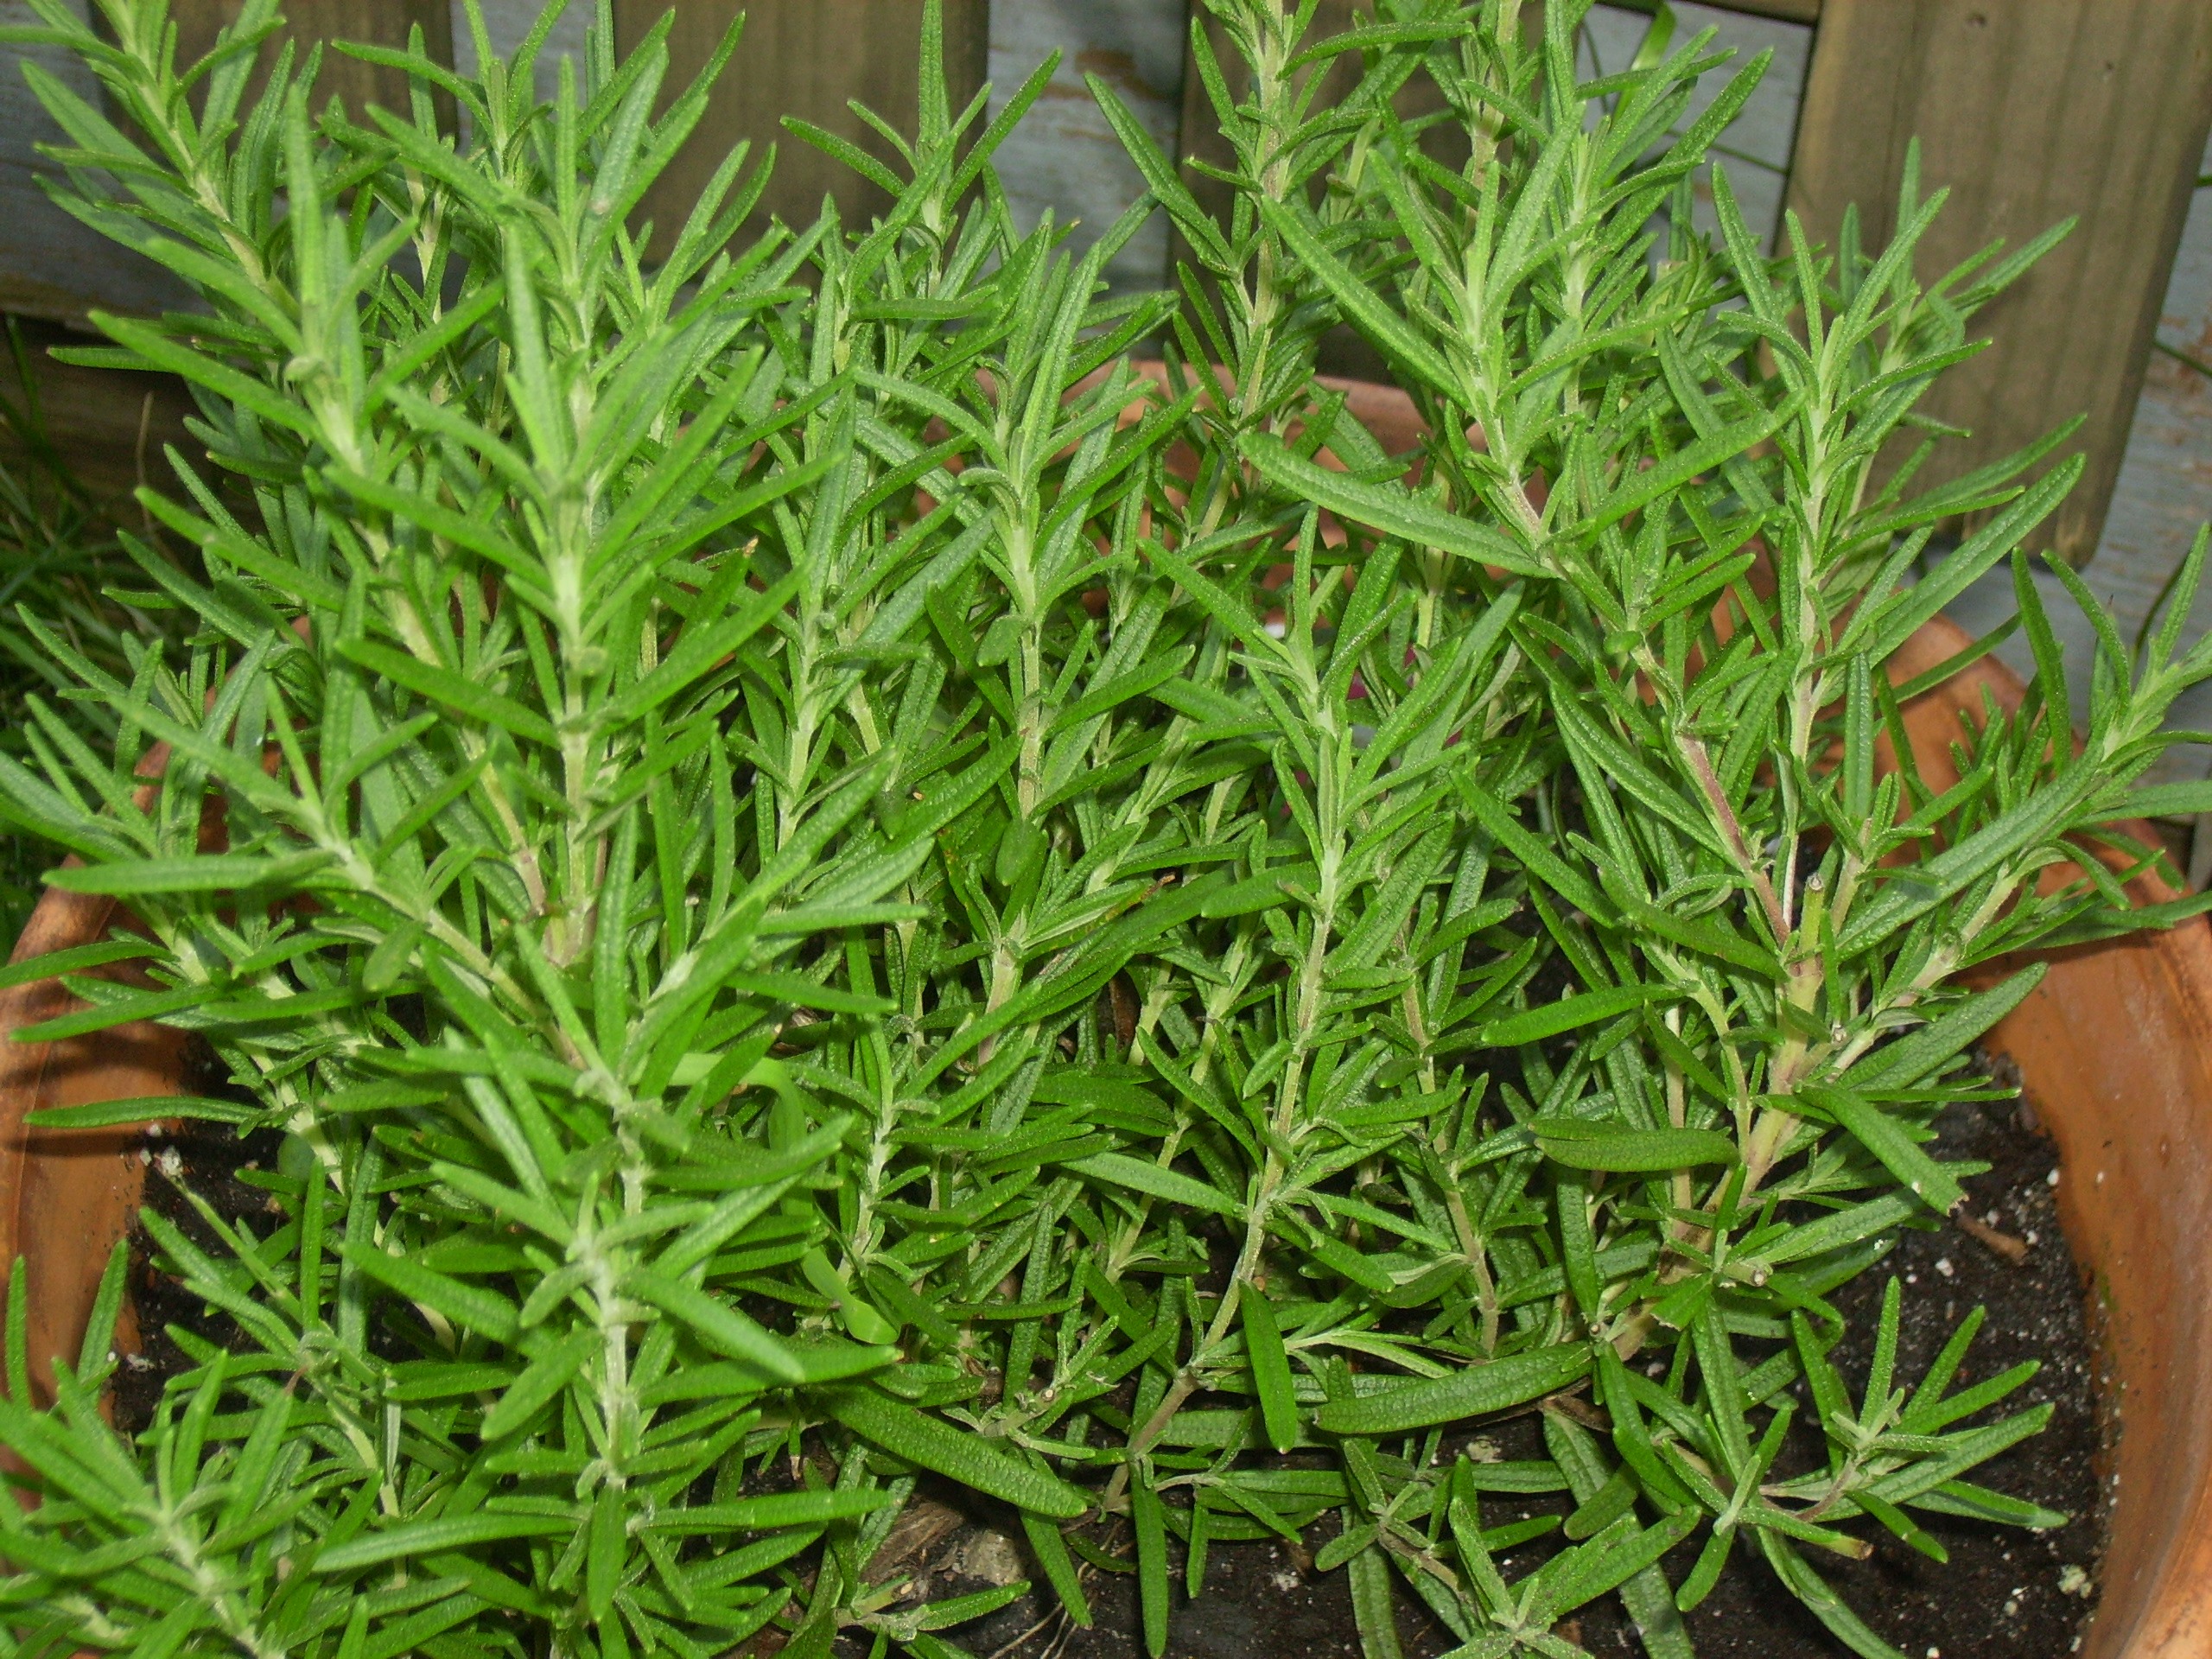
I for one am settling in with warm weather memories, especially the Herbs of Summer. I remember those days when I would stroll out on the deck and snip glorious handfuls of basil, chives, rosemary and thyme. Their heady aroma released as they were plucked from a plants that seemed to have an endless supply.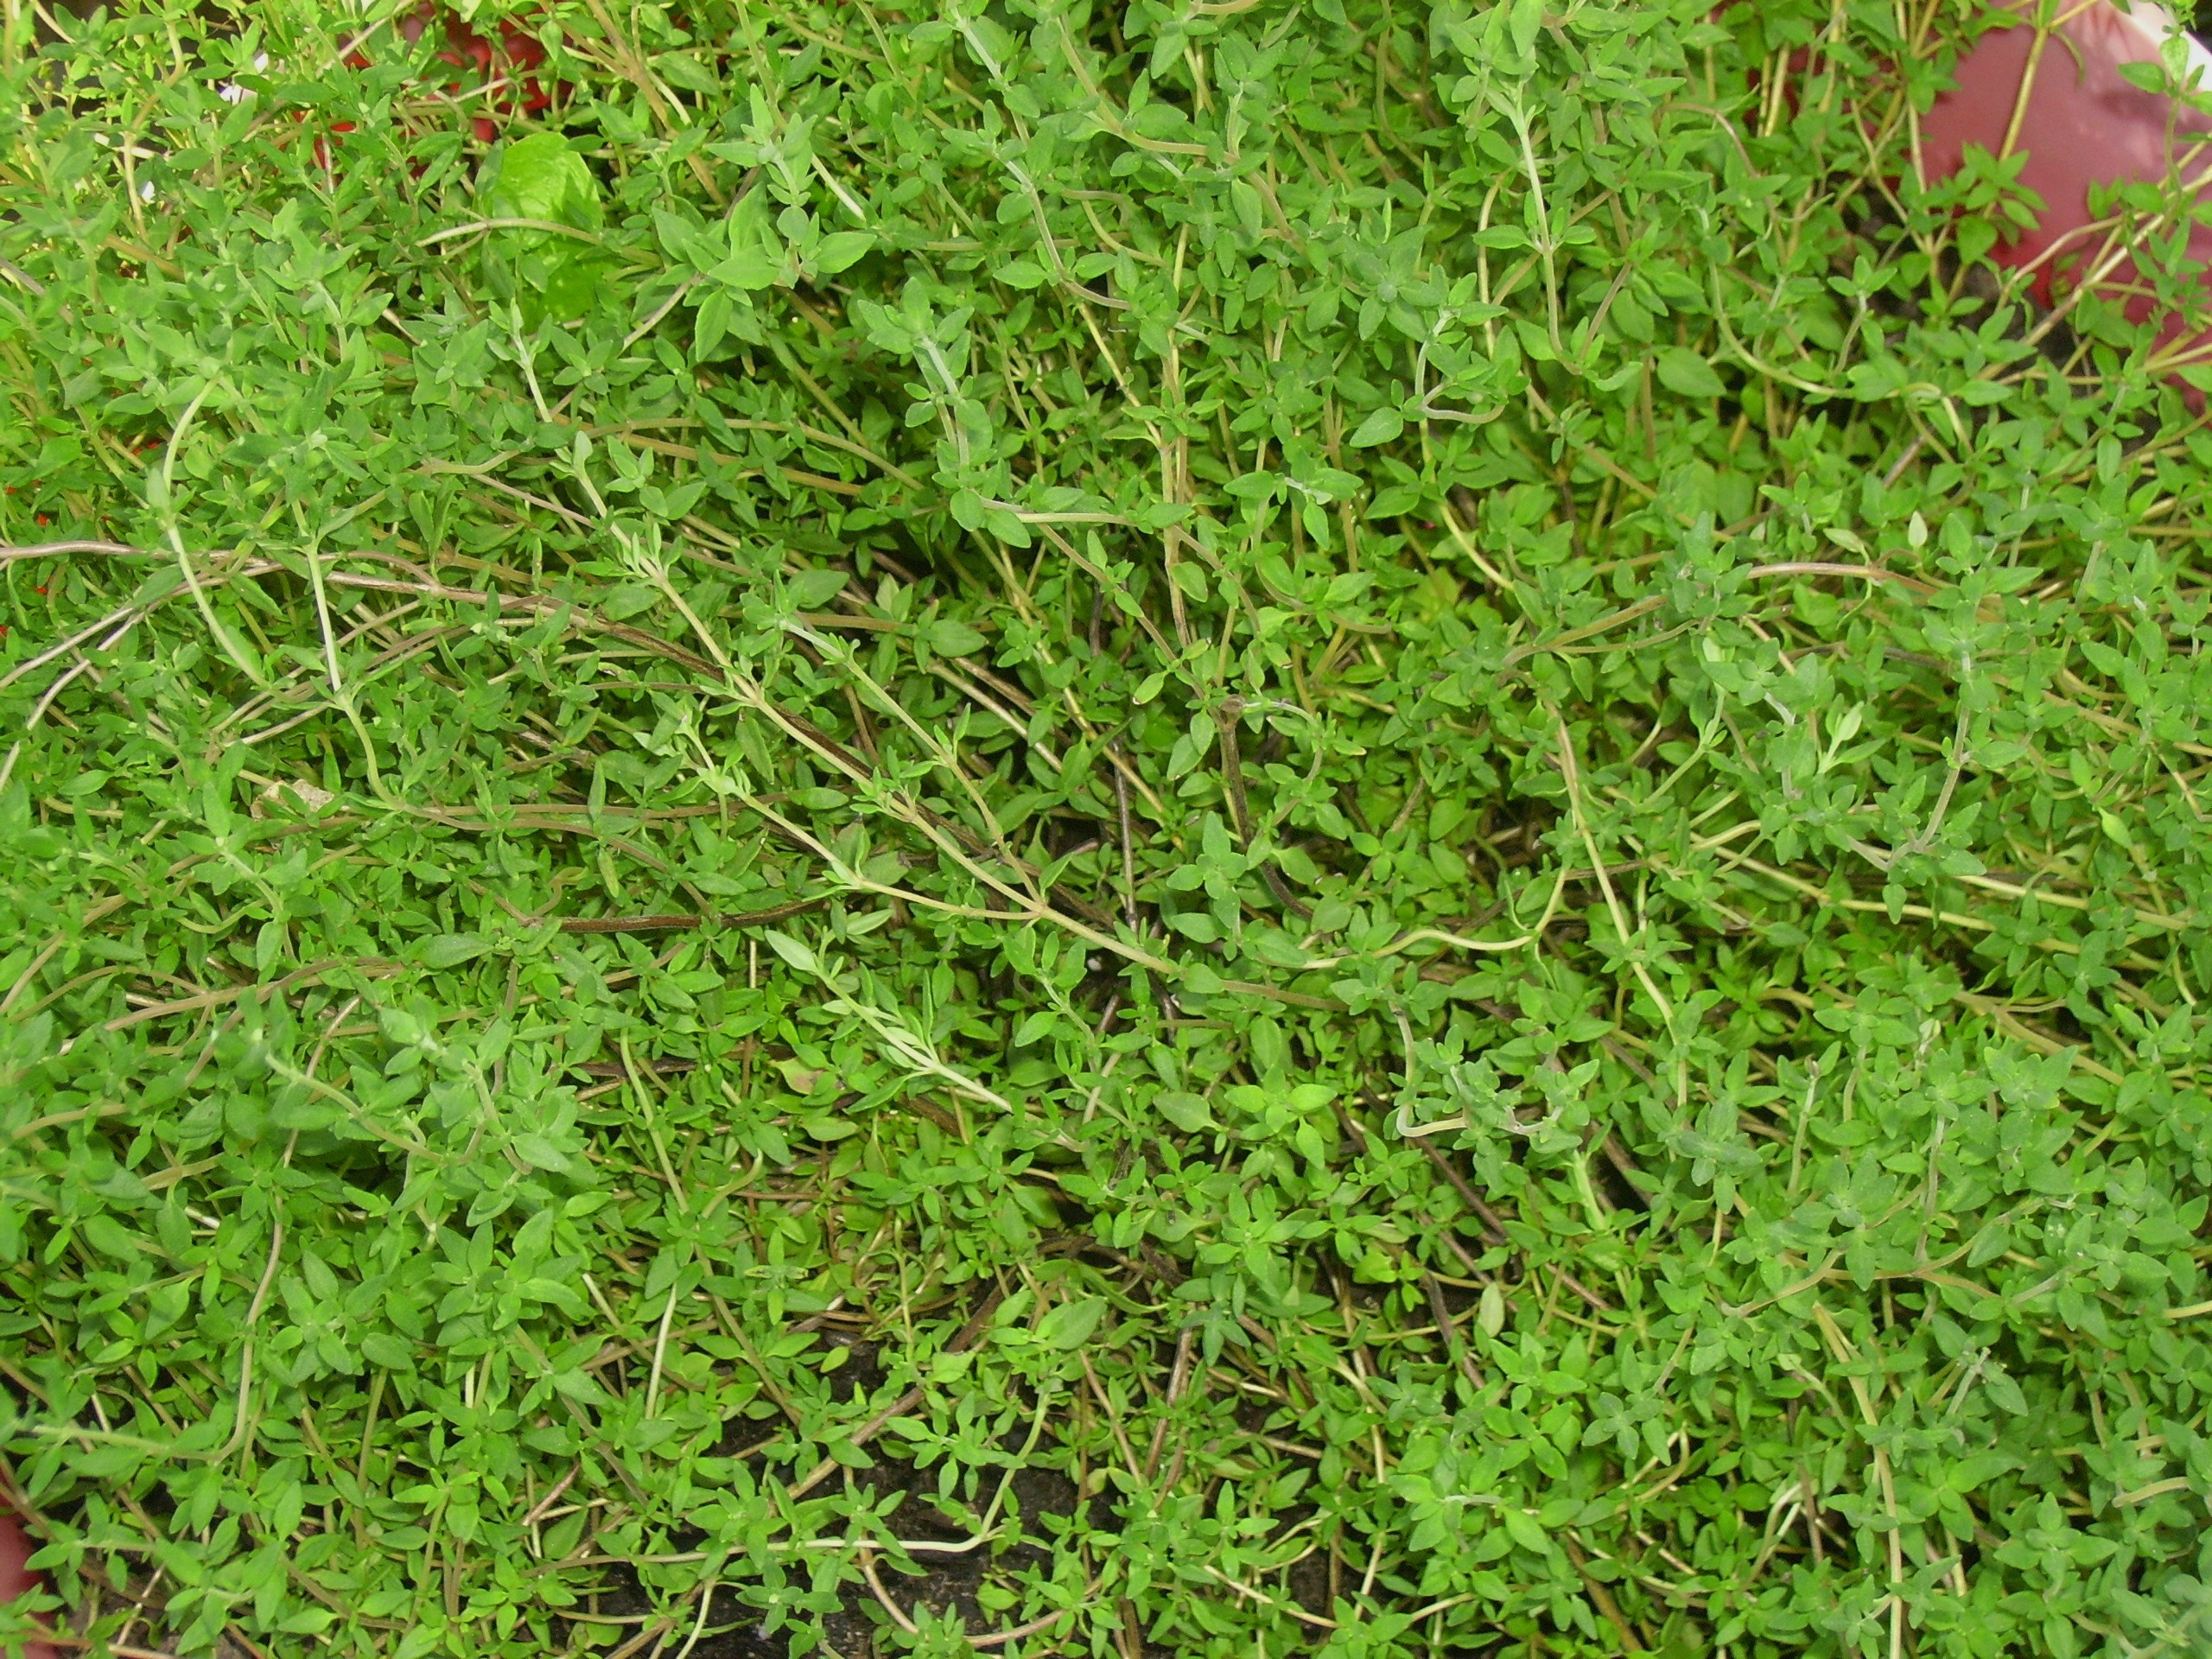
The basil and chives are gone now. They never make it past Indian Summer. The thyme and the rosemary are made of hardier stuff. Last year they held on to a bit of green all winter long and showed up in lots of dishes. This year winter hasn’t been as kind to these plants (or anything else for that matter). but I’ve kept them in their pots because they often come back in the Spring. Today I wanted to use some of these herbs in the Balsamic Marinade for my Baked Chicken.
I pulled on my boots, put on my coat, grabbed some gloves and a hat (it took 5 minutes at least) and ventured out to the deck. My rosemary and thyme were dry and brown, but when I gently brushed them there was still the essence of their glorious aroma as the leaves fell off. So I snipped some sprigs, gathered up the fallen leaves and brought them in the house. Washed and dried they gave off a subtle memory of their Summer glory that was still more intense than their dried brothers. They became a part of the marinade.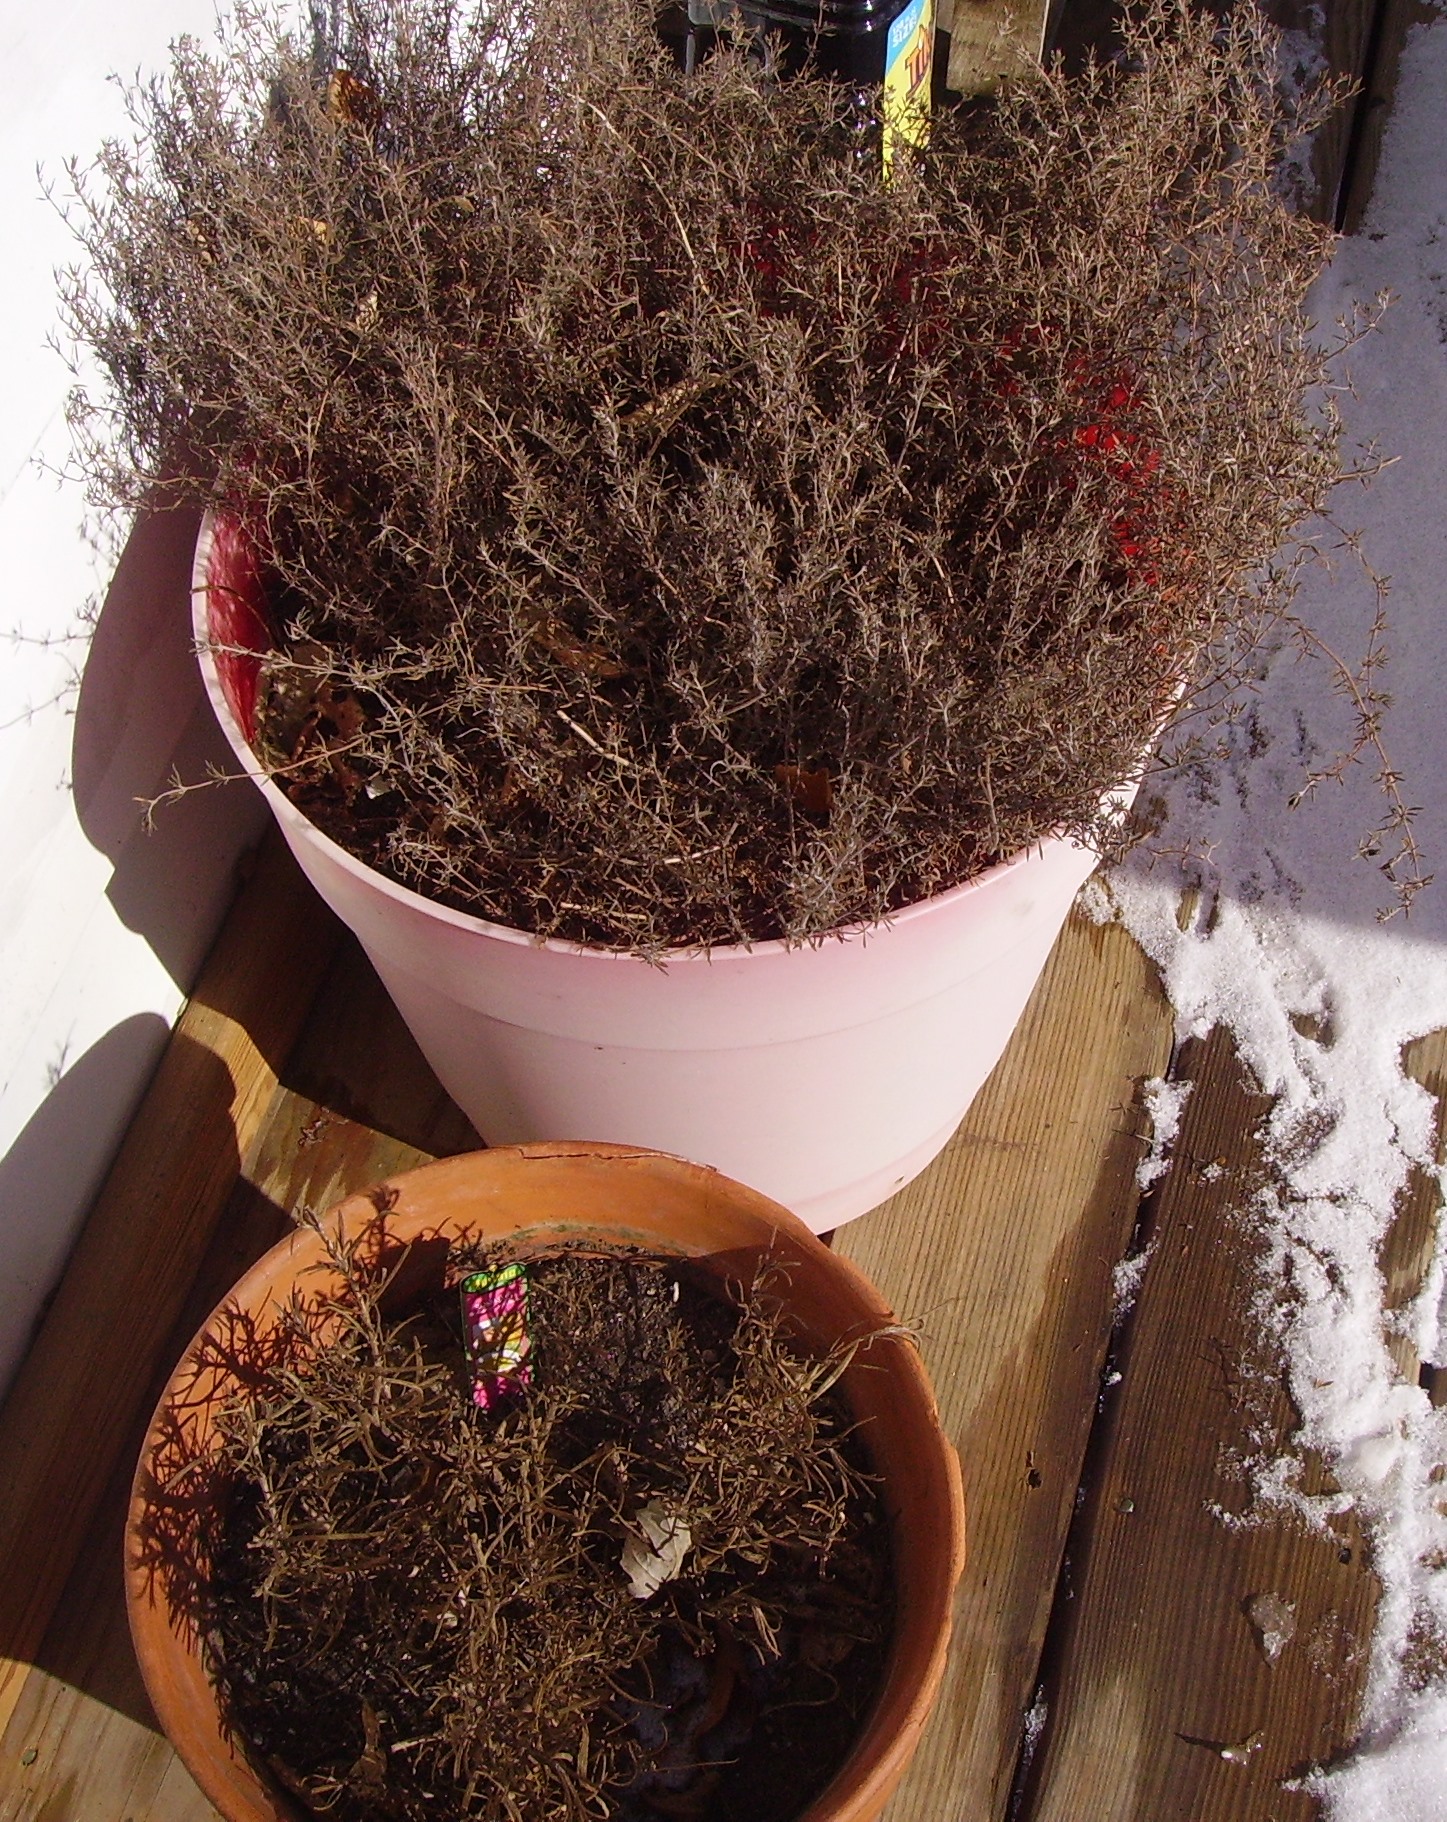
I used a Fig and Orange Balsamic in this recipe but I think that any fruit balsamic would work well. The other main ingredients beside my thyme and rosemary were garlic, olive oil, and McCormick Italian Herb Grinder.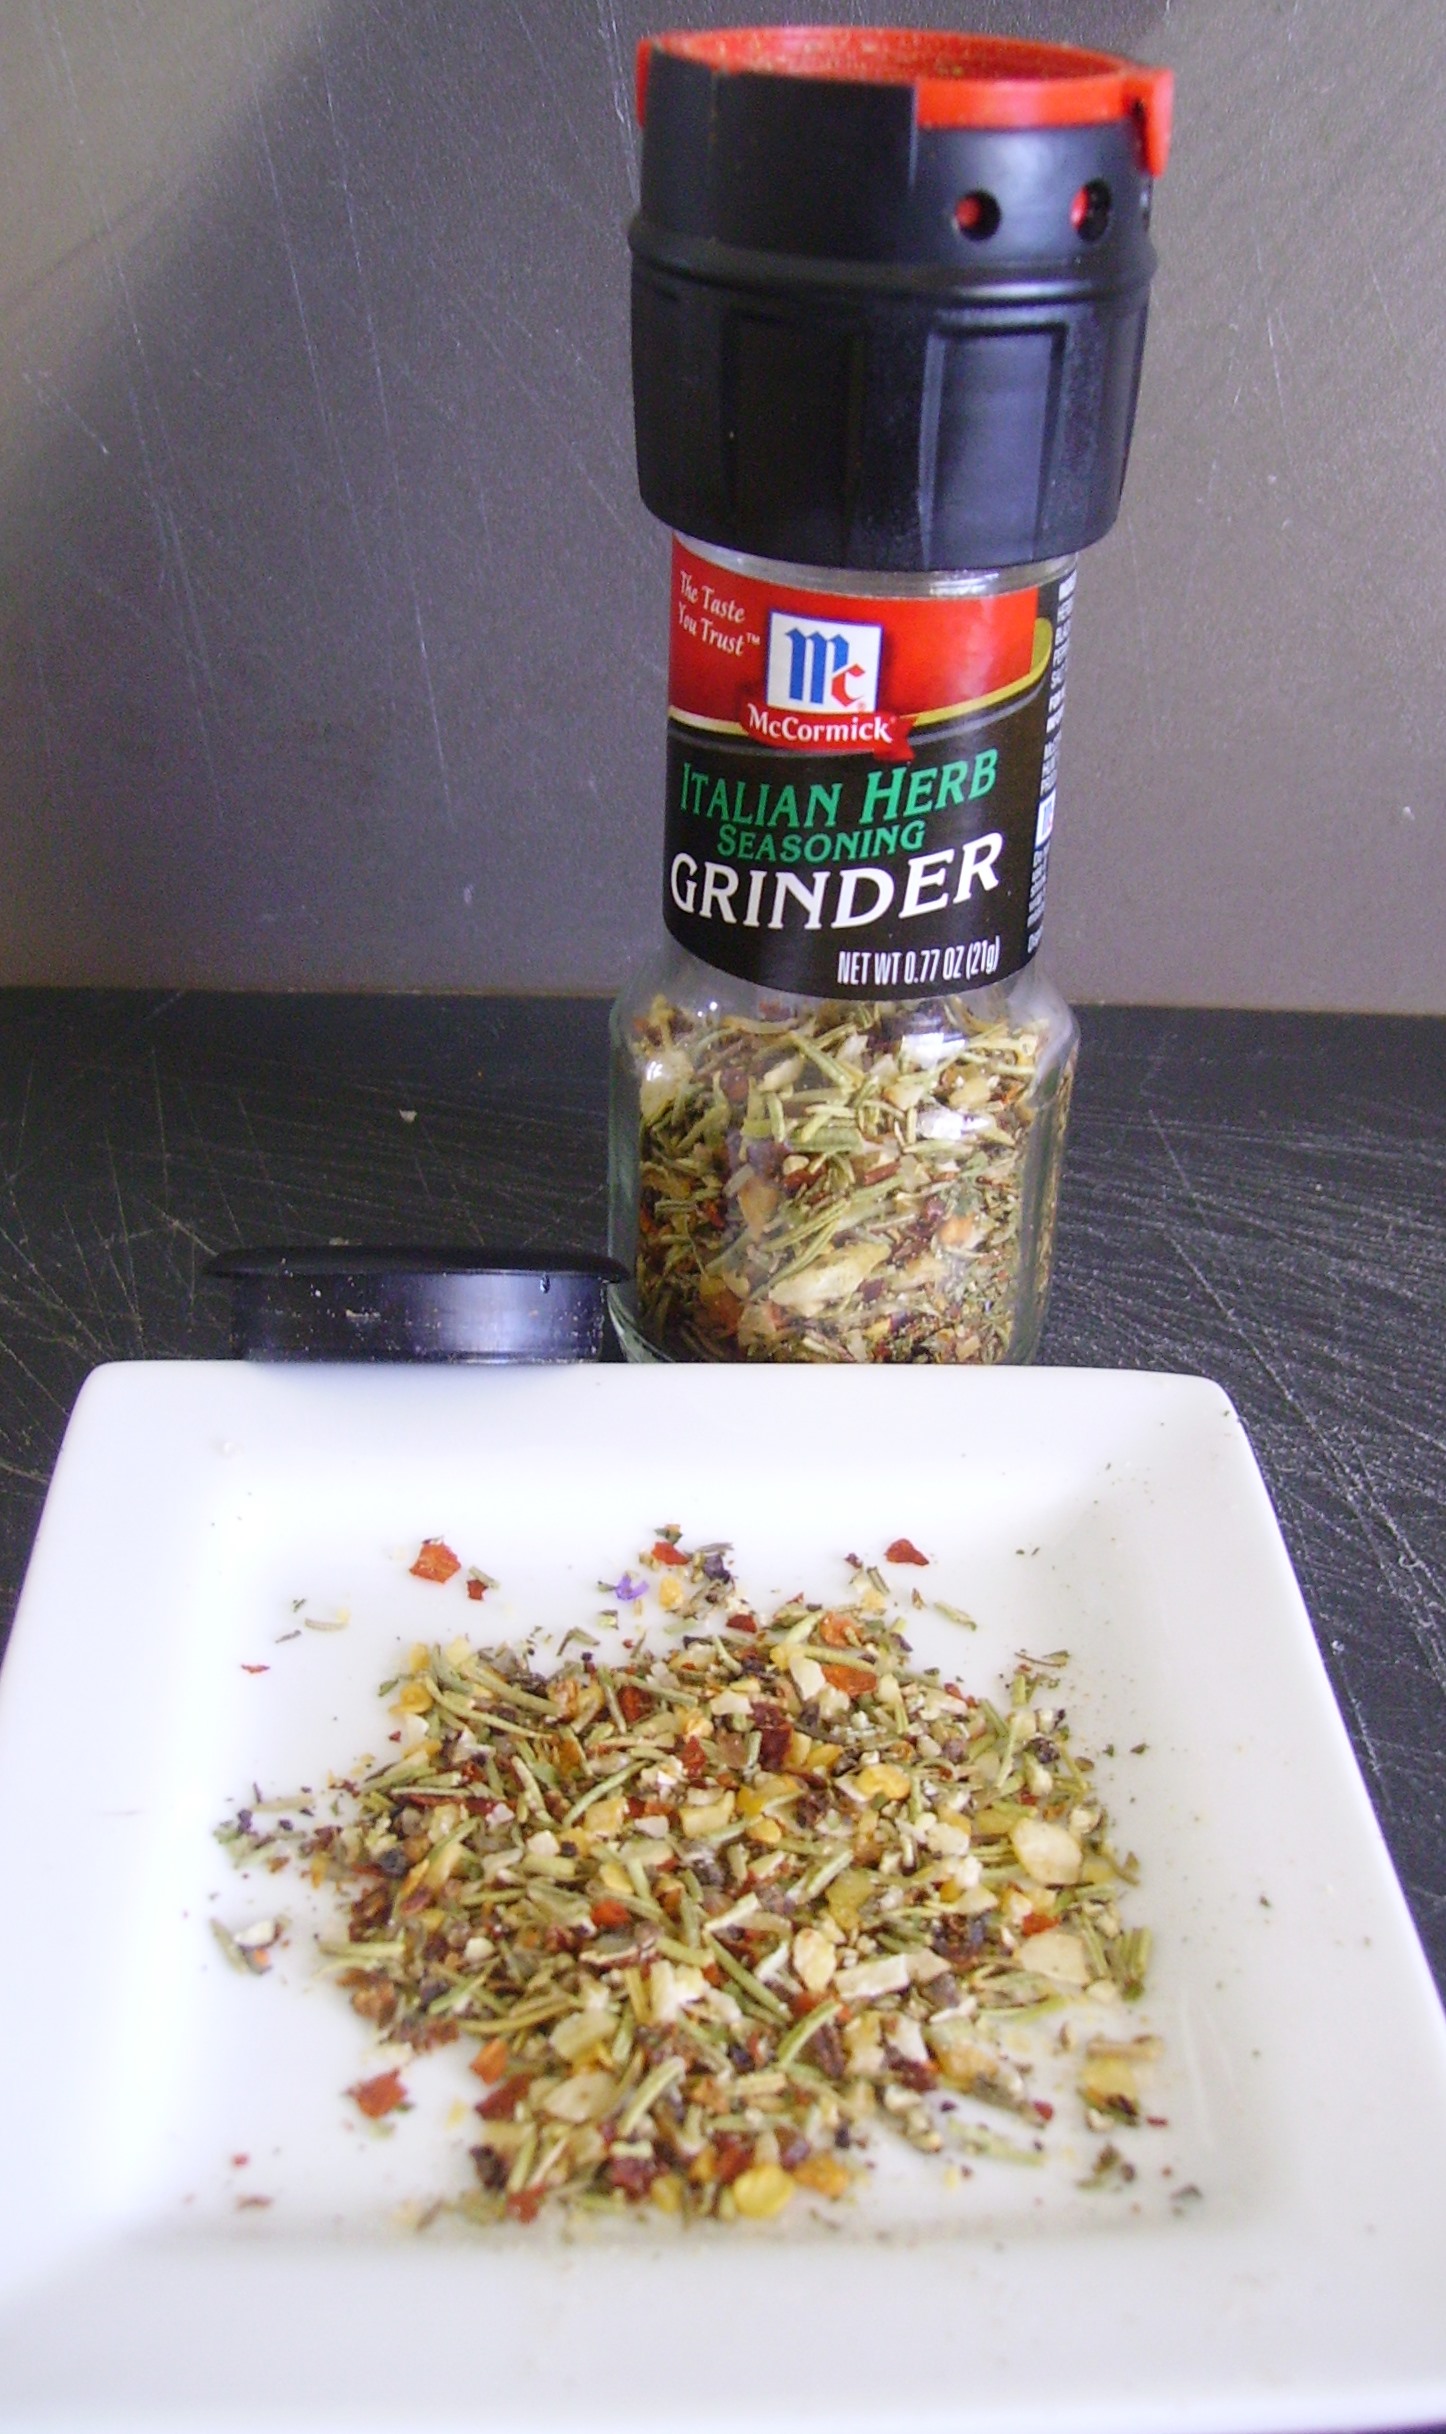 A few words about this product. It is a blend of many traditional Italian herbs including rosemary, red pepper flakes, peppercorns, garlic, onion, parsley, and sea salt. The salt by the way is subtle. The grinder can be adjusted for fine, coarse or in between dispensing. It packs more punch than regular Italian Seasoning, adding a nice touch to everything from eggs to pasta sauce.
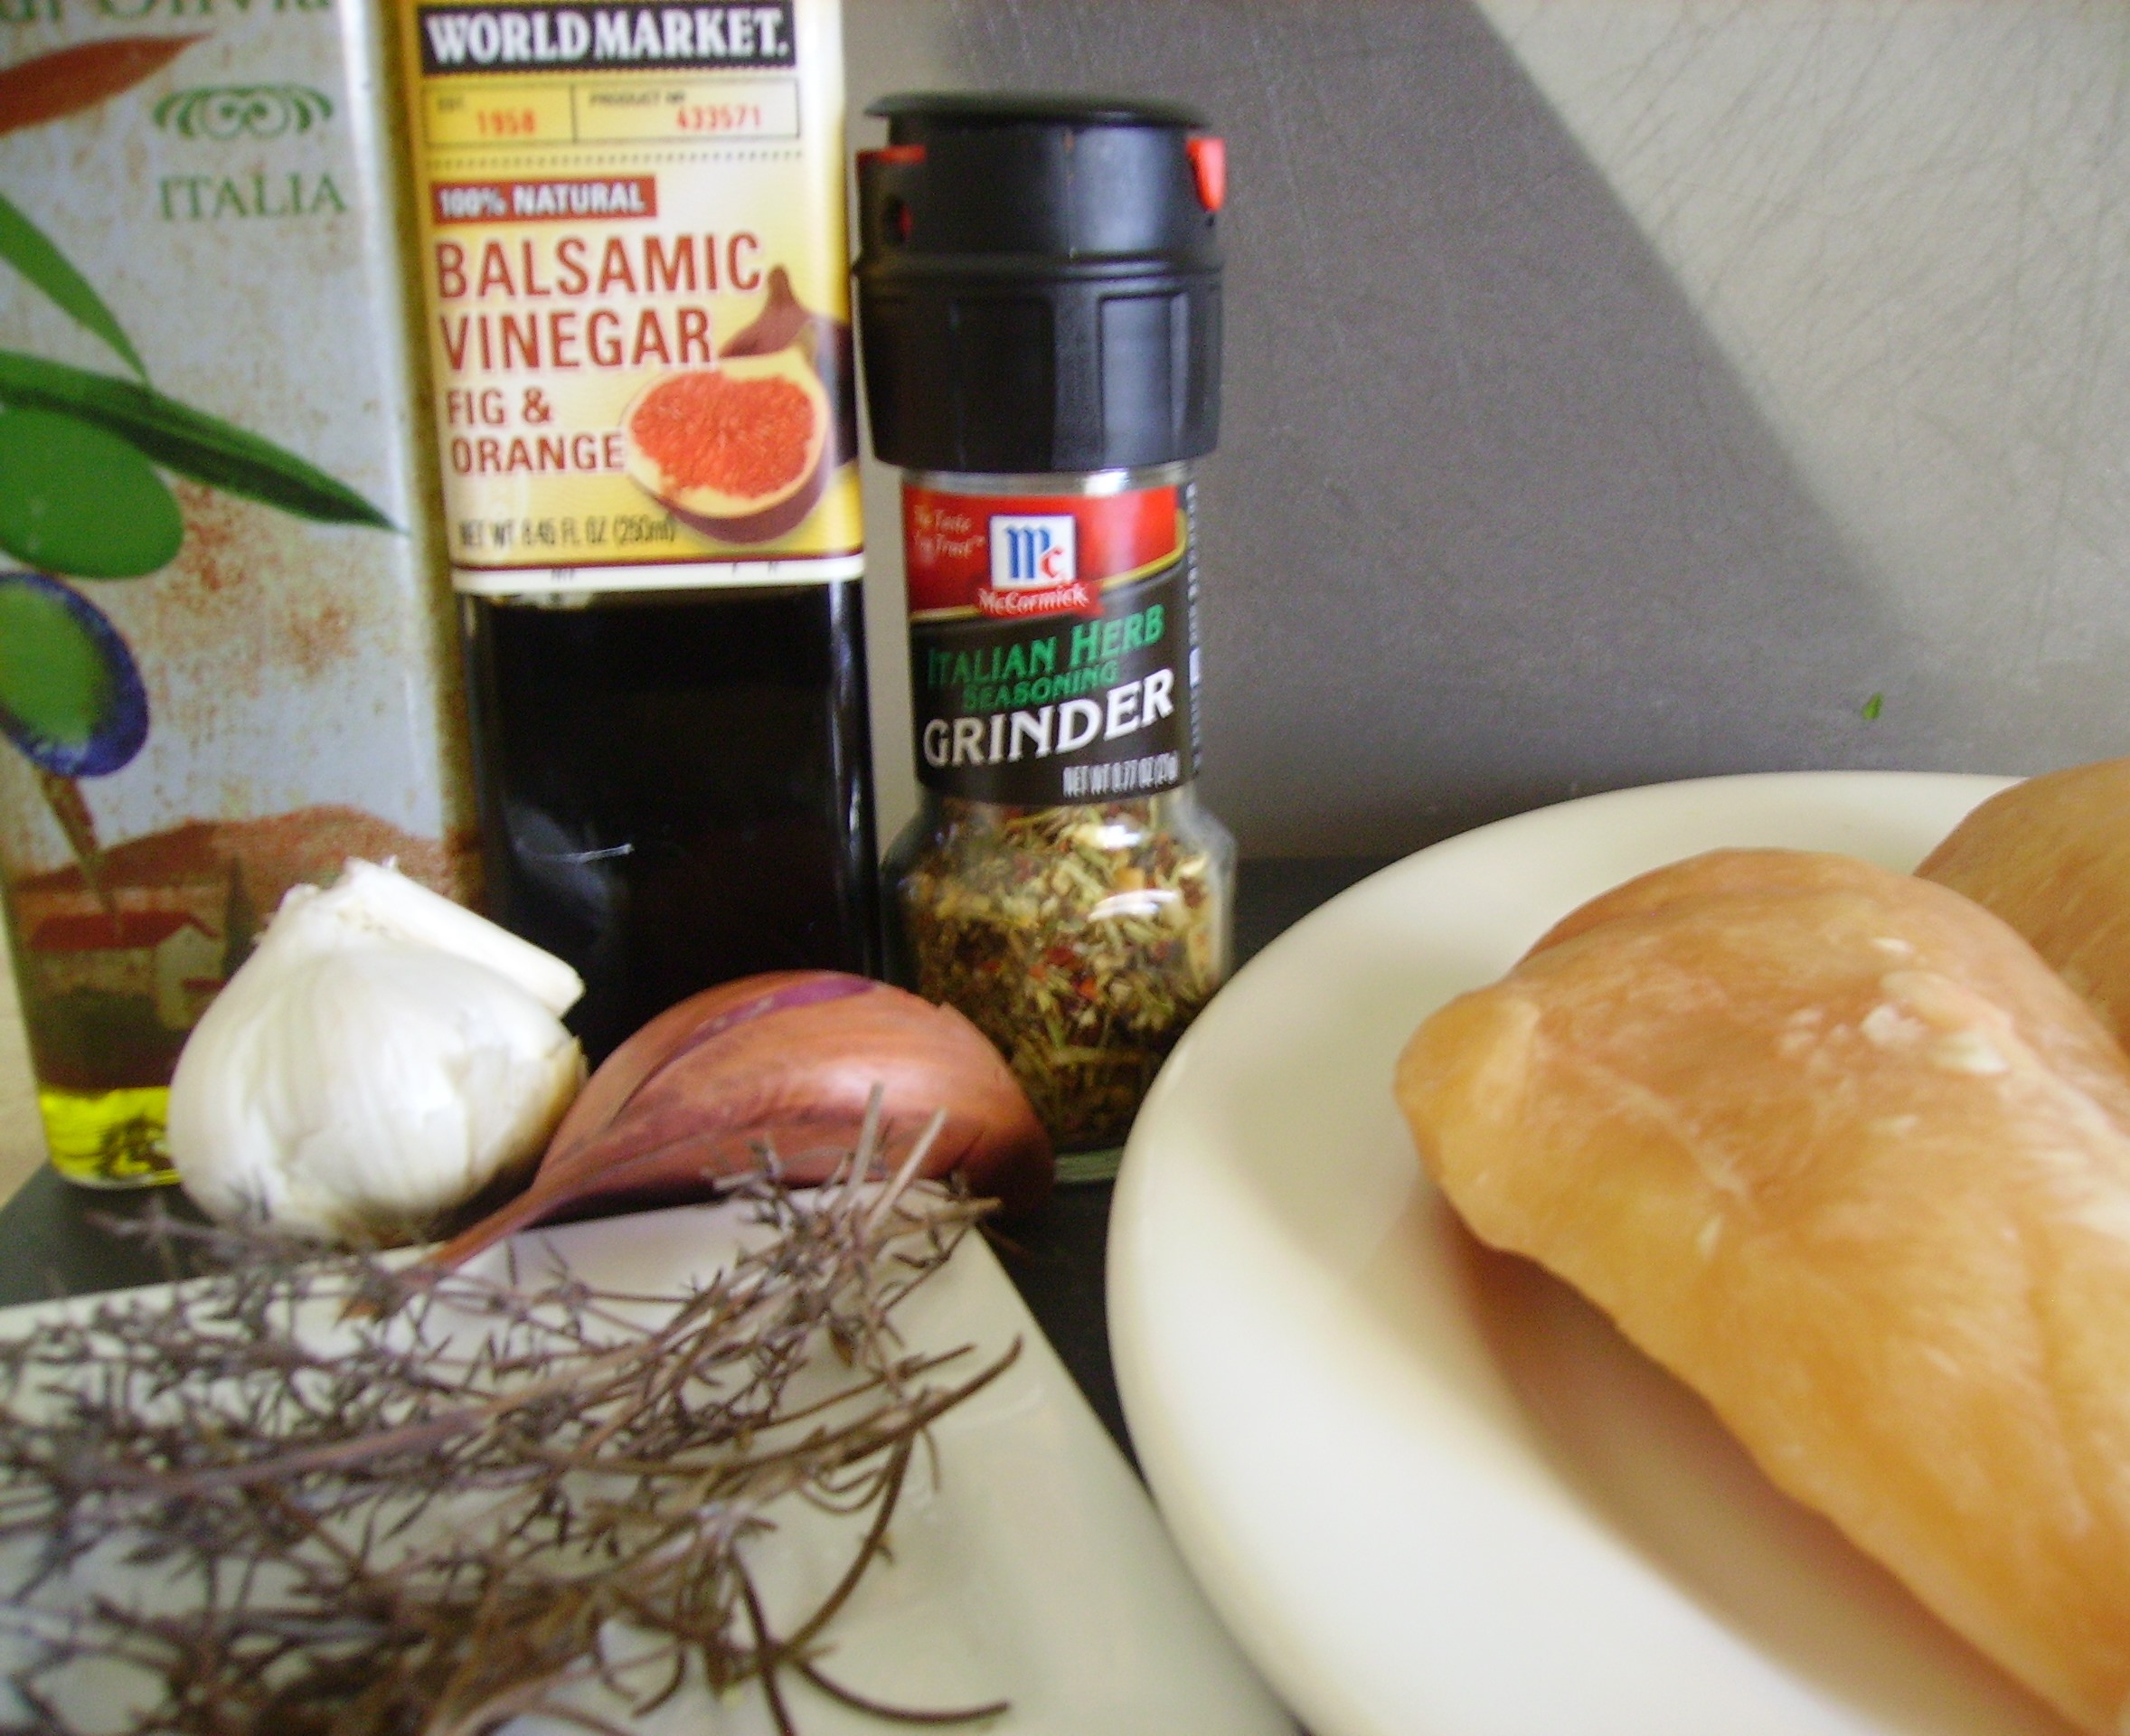
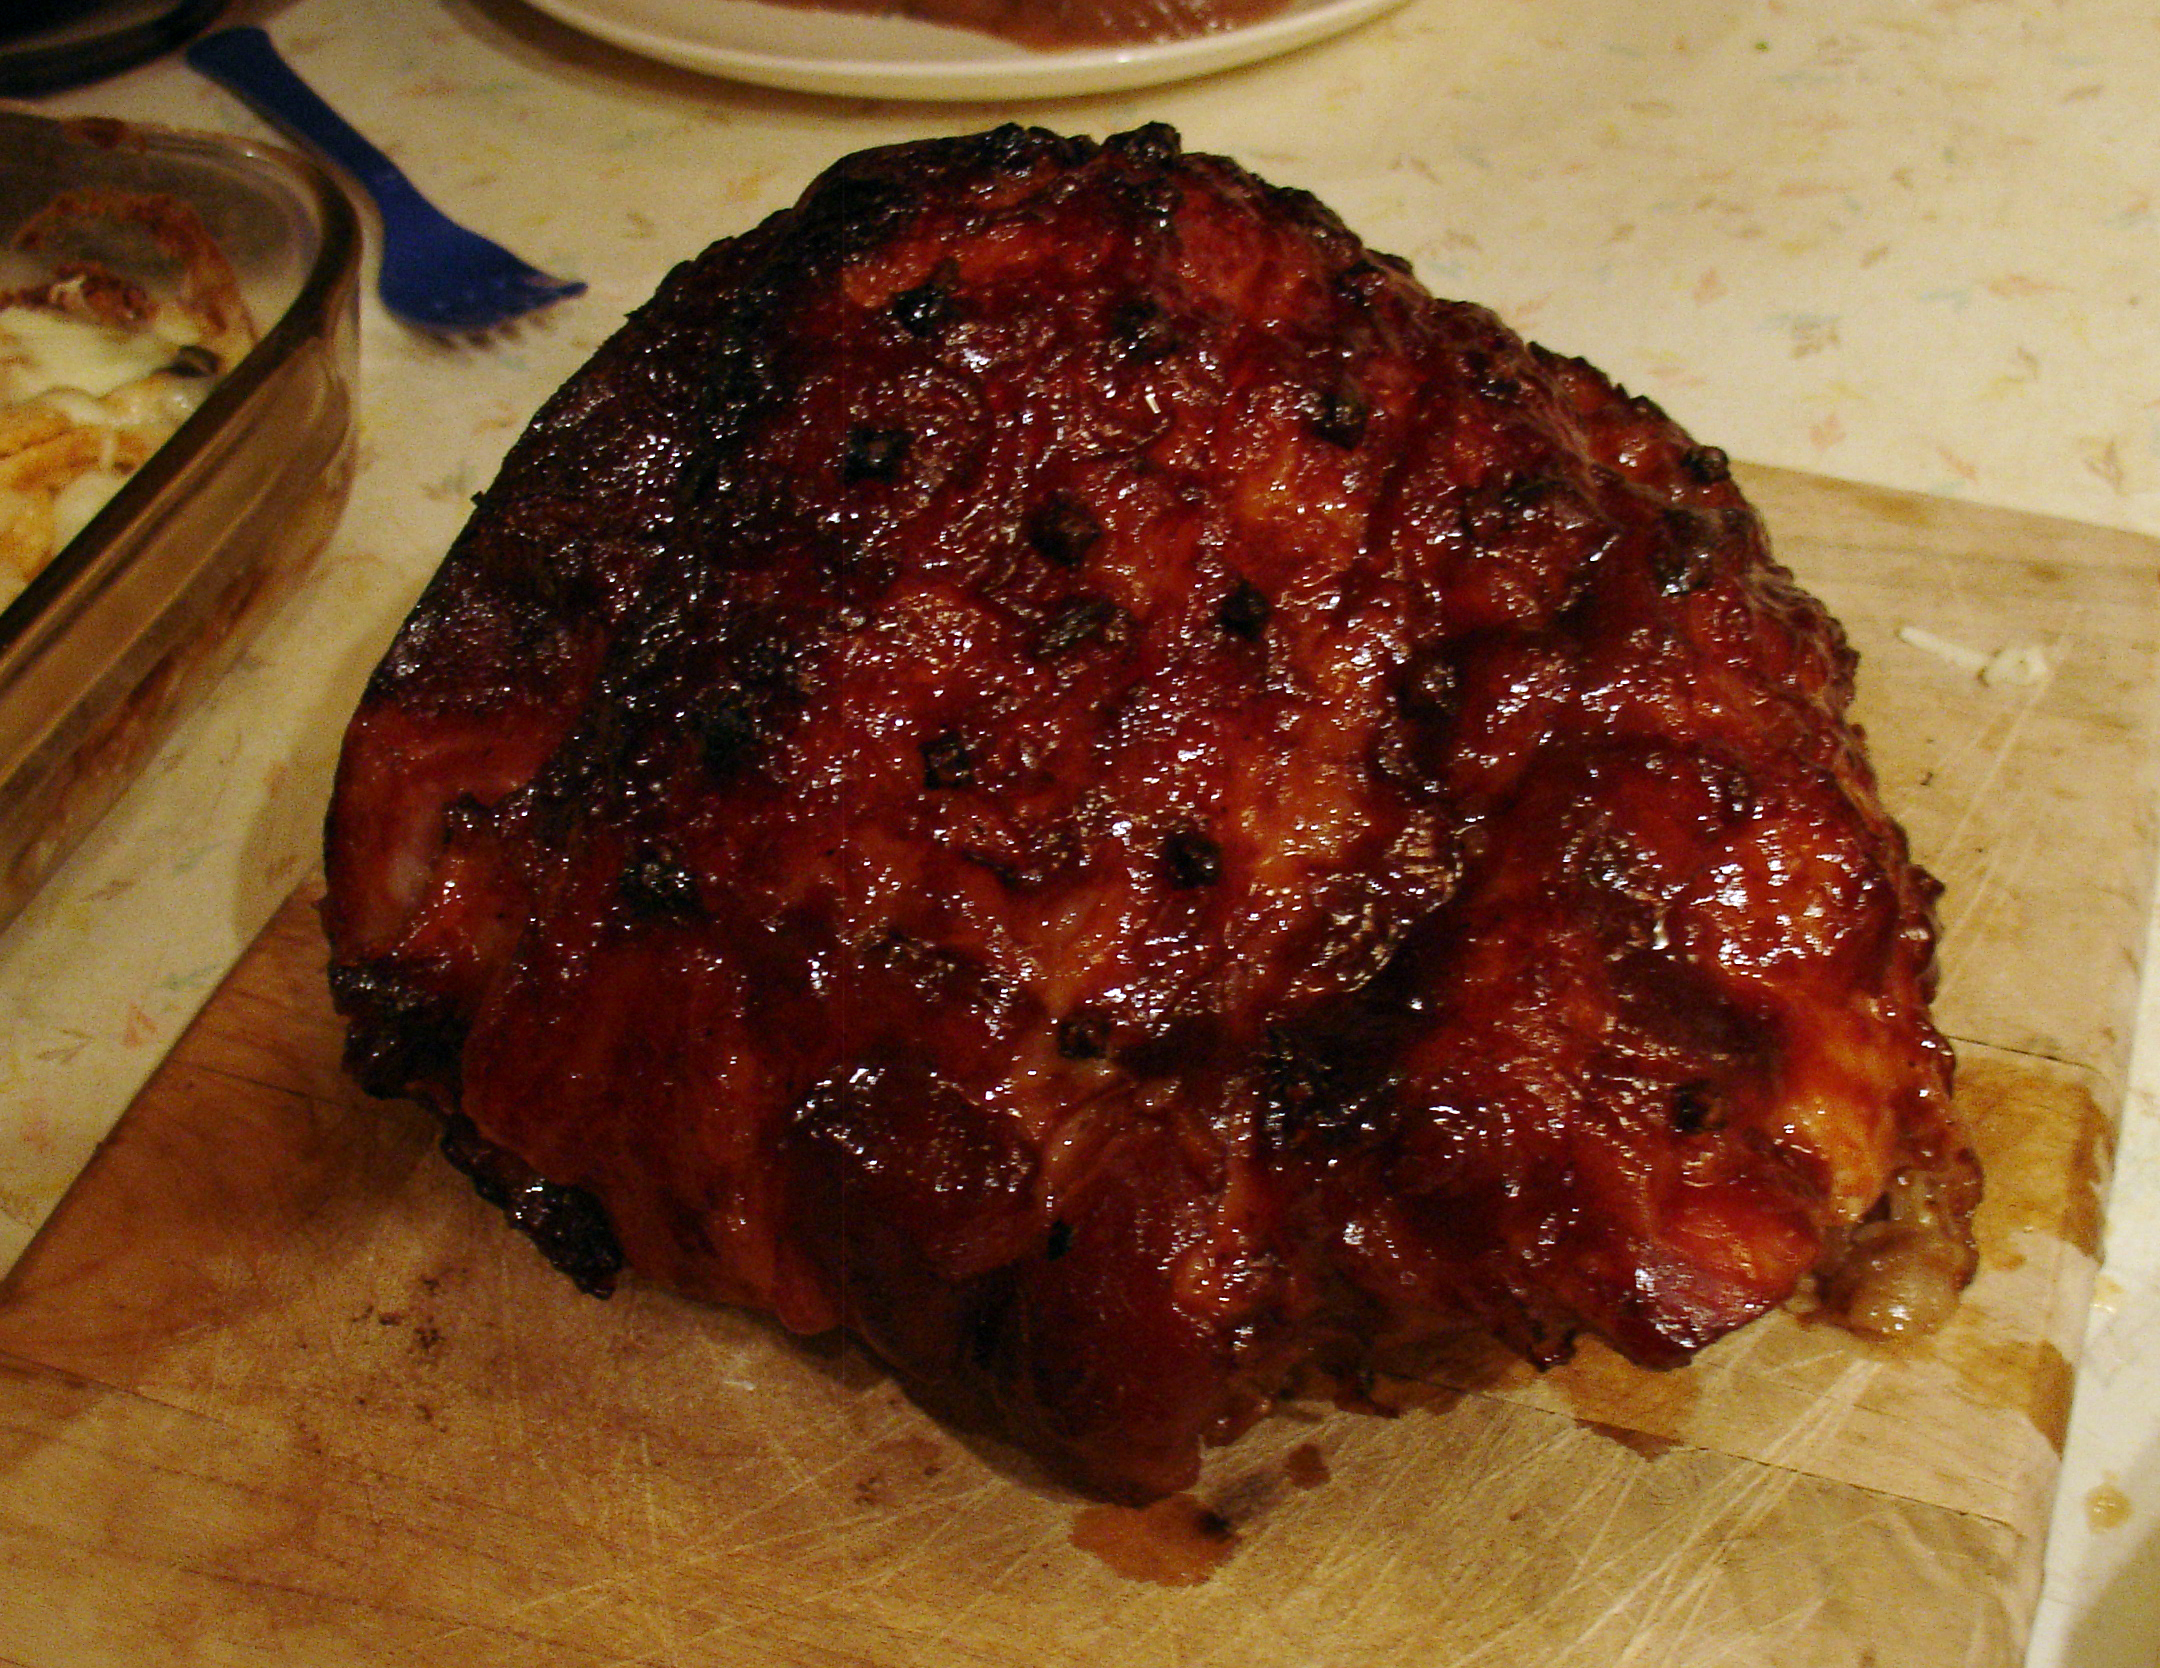
This is a Baked Chicken recipe, but when Summer is here or when you feel like braving the elements and firing up the grill, it would be delicious cooked outside. The chicken can marinate for a few hours or even overnight. I divided the marinade in half. One part for the chicken and the other half for the glaze that would enhance the finished product. 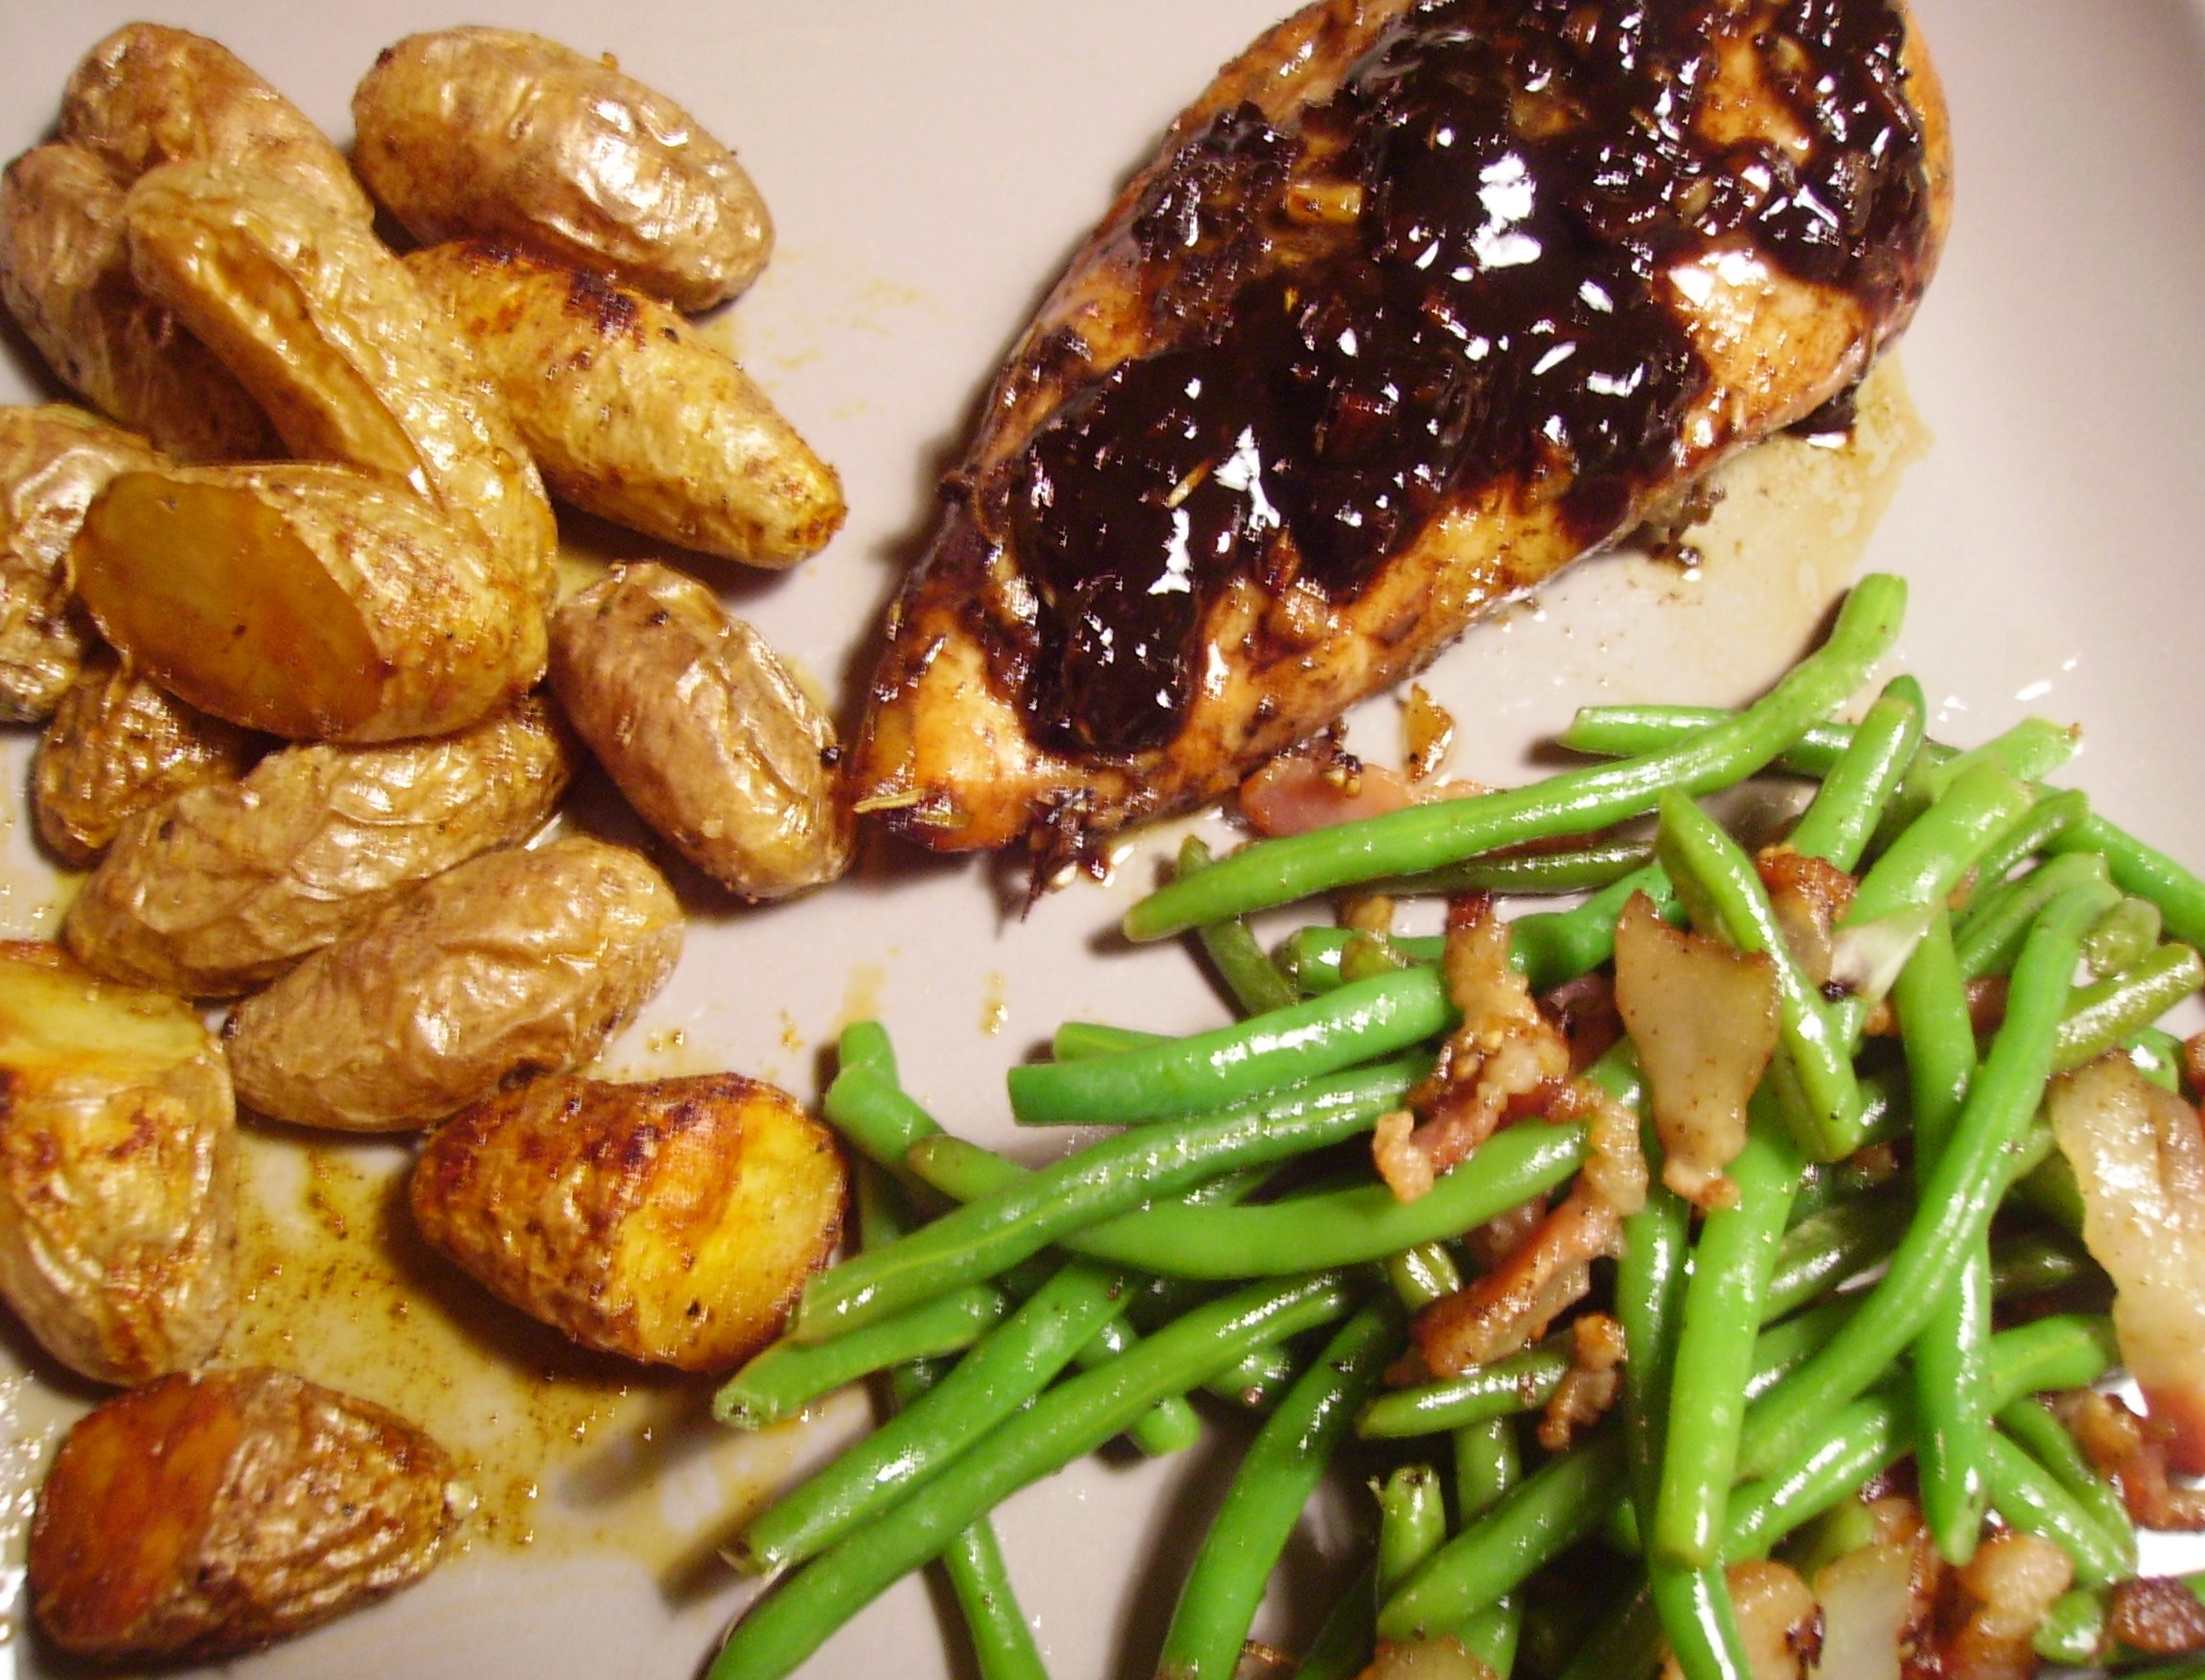
It baked at 375 degrees for about 25 minutes. The glaze was the reserved marinade, carmelized shallots, some chicken stock, and a touch of honey. Served with Roasted Fingerling Potatoes and Green Beans with Bacon and Onion, it was a wonderful dinner that I got to share with my husband for a change (gotta love a snow day).
Share this: