
I often look to memories to create many of my recipes. Childhood recollections and early cooking adventures have been inspiring me lately. As much as I love looking back and reinventing, sometimes it’s nice to be anchored in the present. The here and now is replete with inspiration in the person of the wonderful cooks who share their own cooking adventures on the internet.
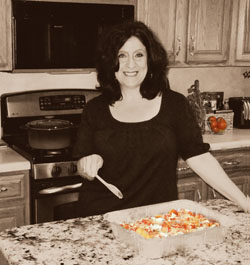 This recipe took a village of great cooks to come to fruition. Marie, the Proud Italian Cook shared the idea for a Round Lasagna on her website. Marie, with her unique Italian recipes and beautiful photos has been an inspiration to me. She’s also been very generous with her advice and encouragement about the finer points of food blogging. Thanks, Marie, and I hope I’ve done your idea justice.
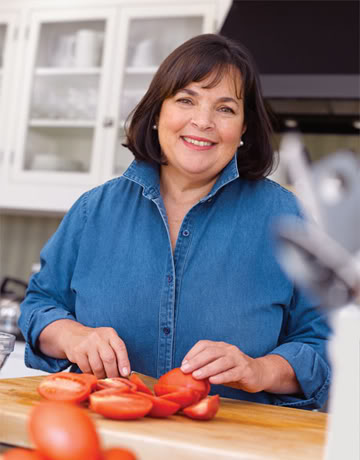
I chose to use homemade ricotta for the main filling. I love the consistency and flavor of homemade compared to store-bought. I’ve always used Ina Garten’s recipe. It’s easy, virtually foolproof, and easily adapts to variation. For this recipe I heated the milk with several smashed garlic cloves and used Champagne Vinegar to create the curds and whey.
 Homemade ricotta almost insisted on homemade pasta to cradle it’s decadent creaminess. I’ve recently started using a different pasta dough recipe. Any pasta dough starts as flour eggs and olive oil, but Lidia Bastianich’s recipe has given me the best results. Her recipe uses a processor, but I opt to do it all by hand. From flour “nest” to elastic dough ball, I’m up to my wrists in pasta dough.
The lasagna that I decided to make had some traditional elements, like the Ricotta Spinach filling but there were a few ideas that were off the traditional lasagna path. The middle layer was bacon and leeks.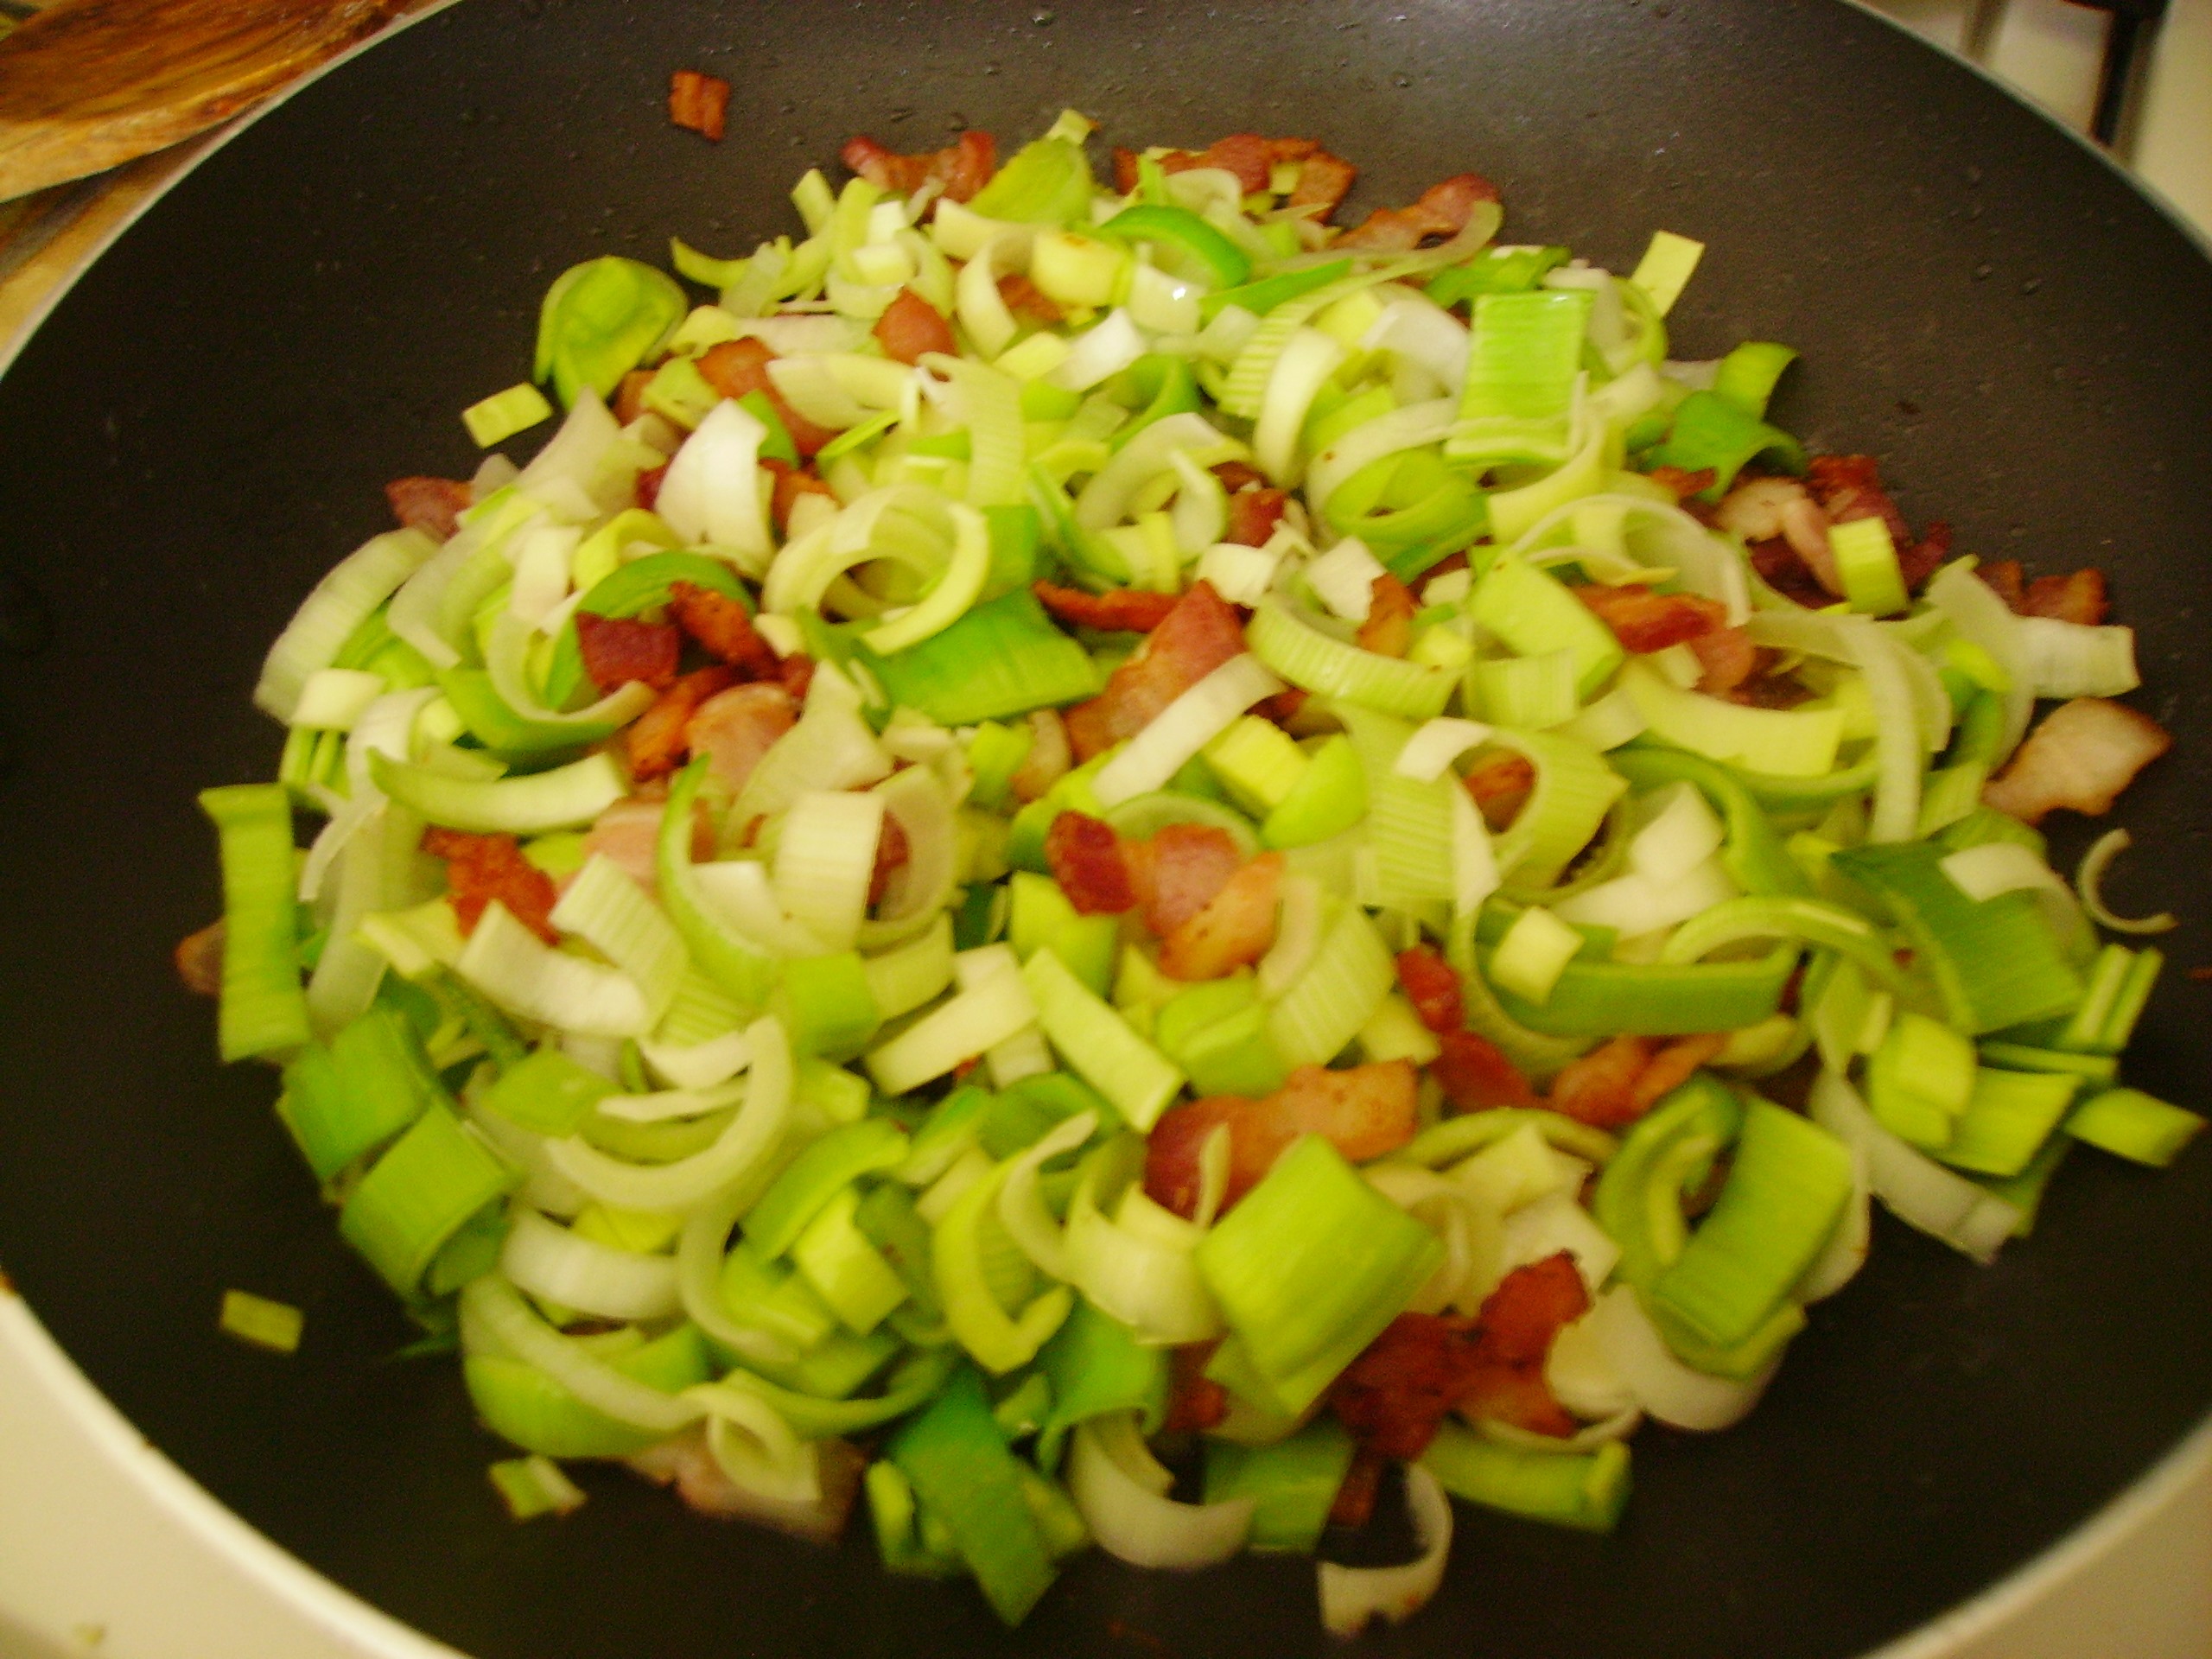 I’ve been having a serious romance with this combination lately. From potatoes to pasta to eggs …must be the season of the leek.
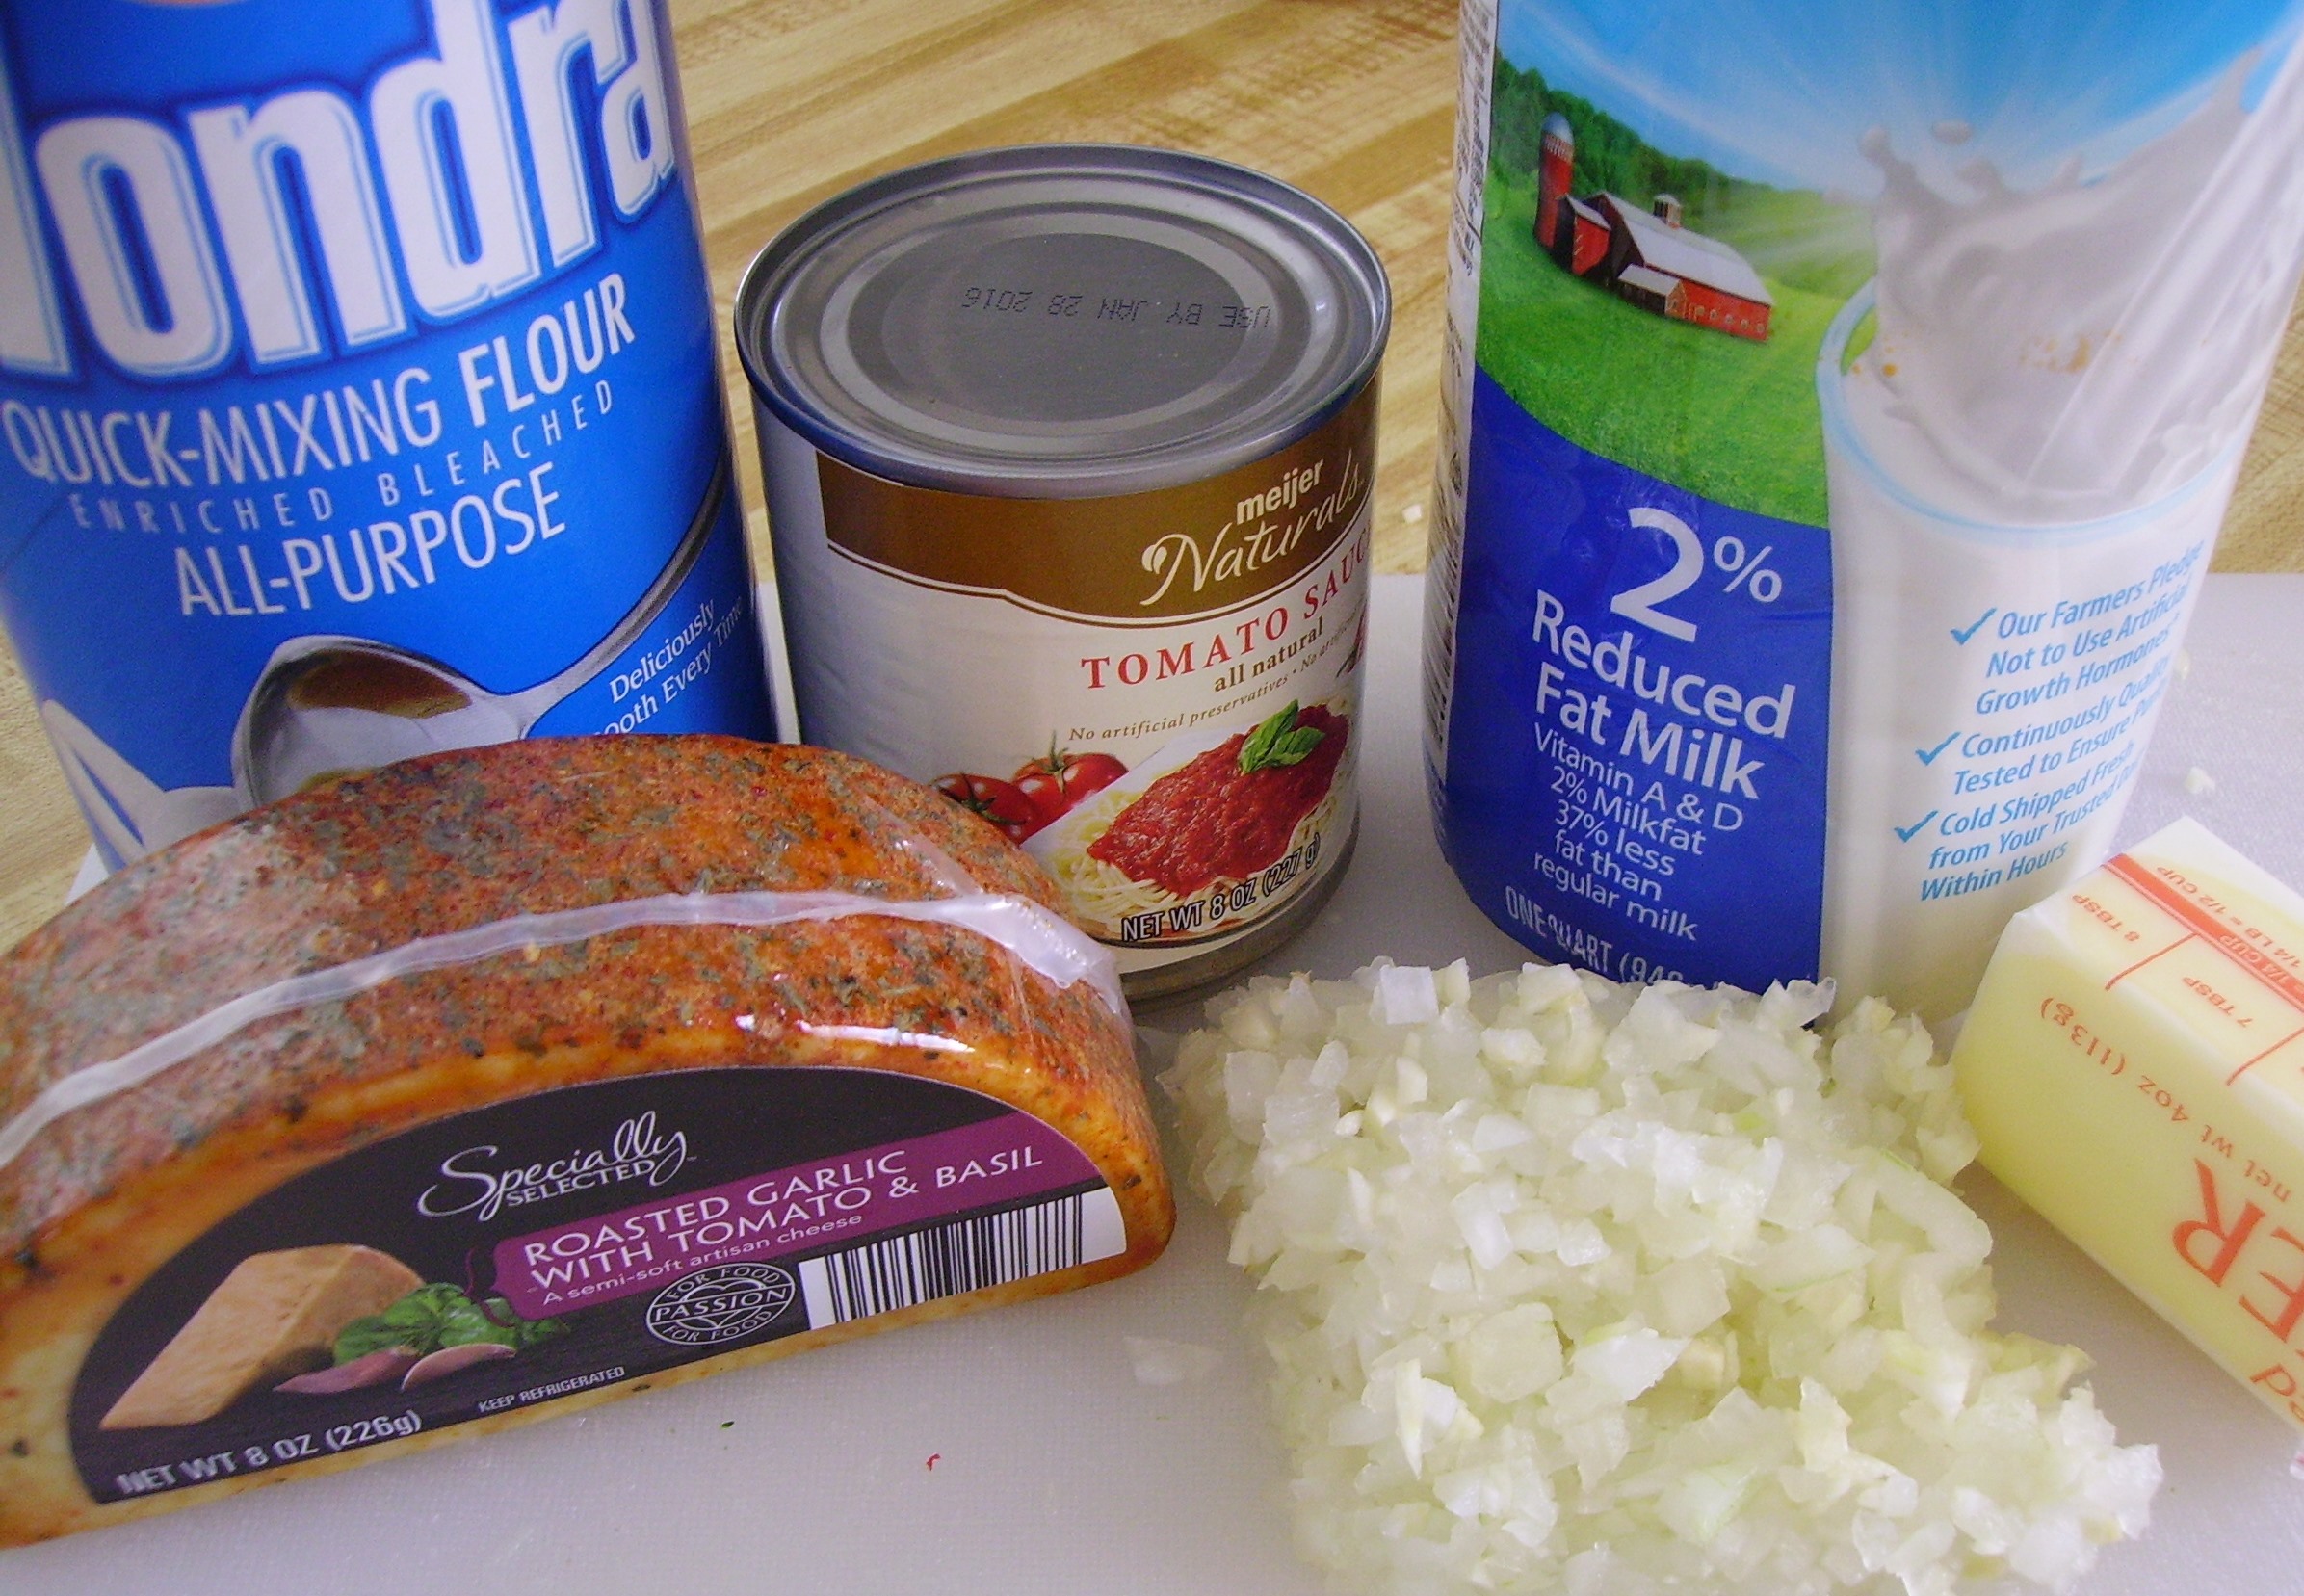
Another twist on tradition was to make the bechamel with a touch of tomato sauce. I also used a roasted garlic, tomato and basil cheese. The result was pink, creamy deliciousness.

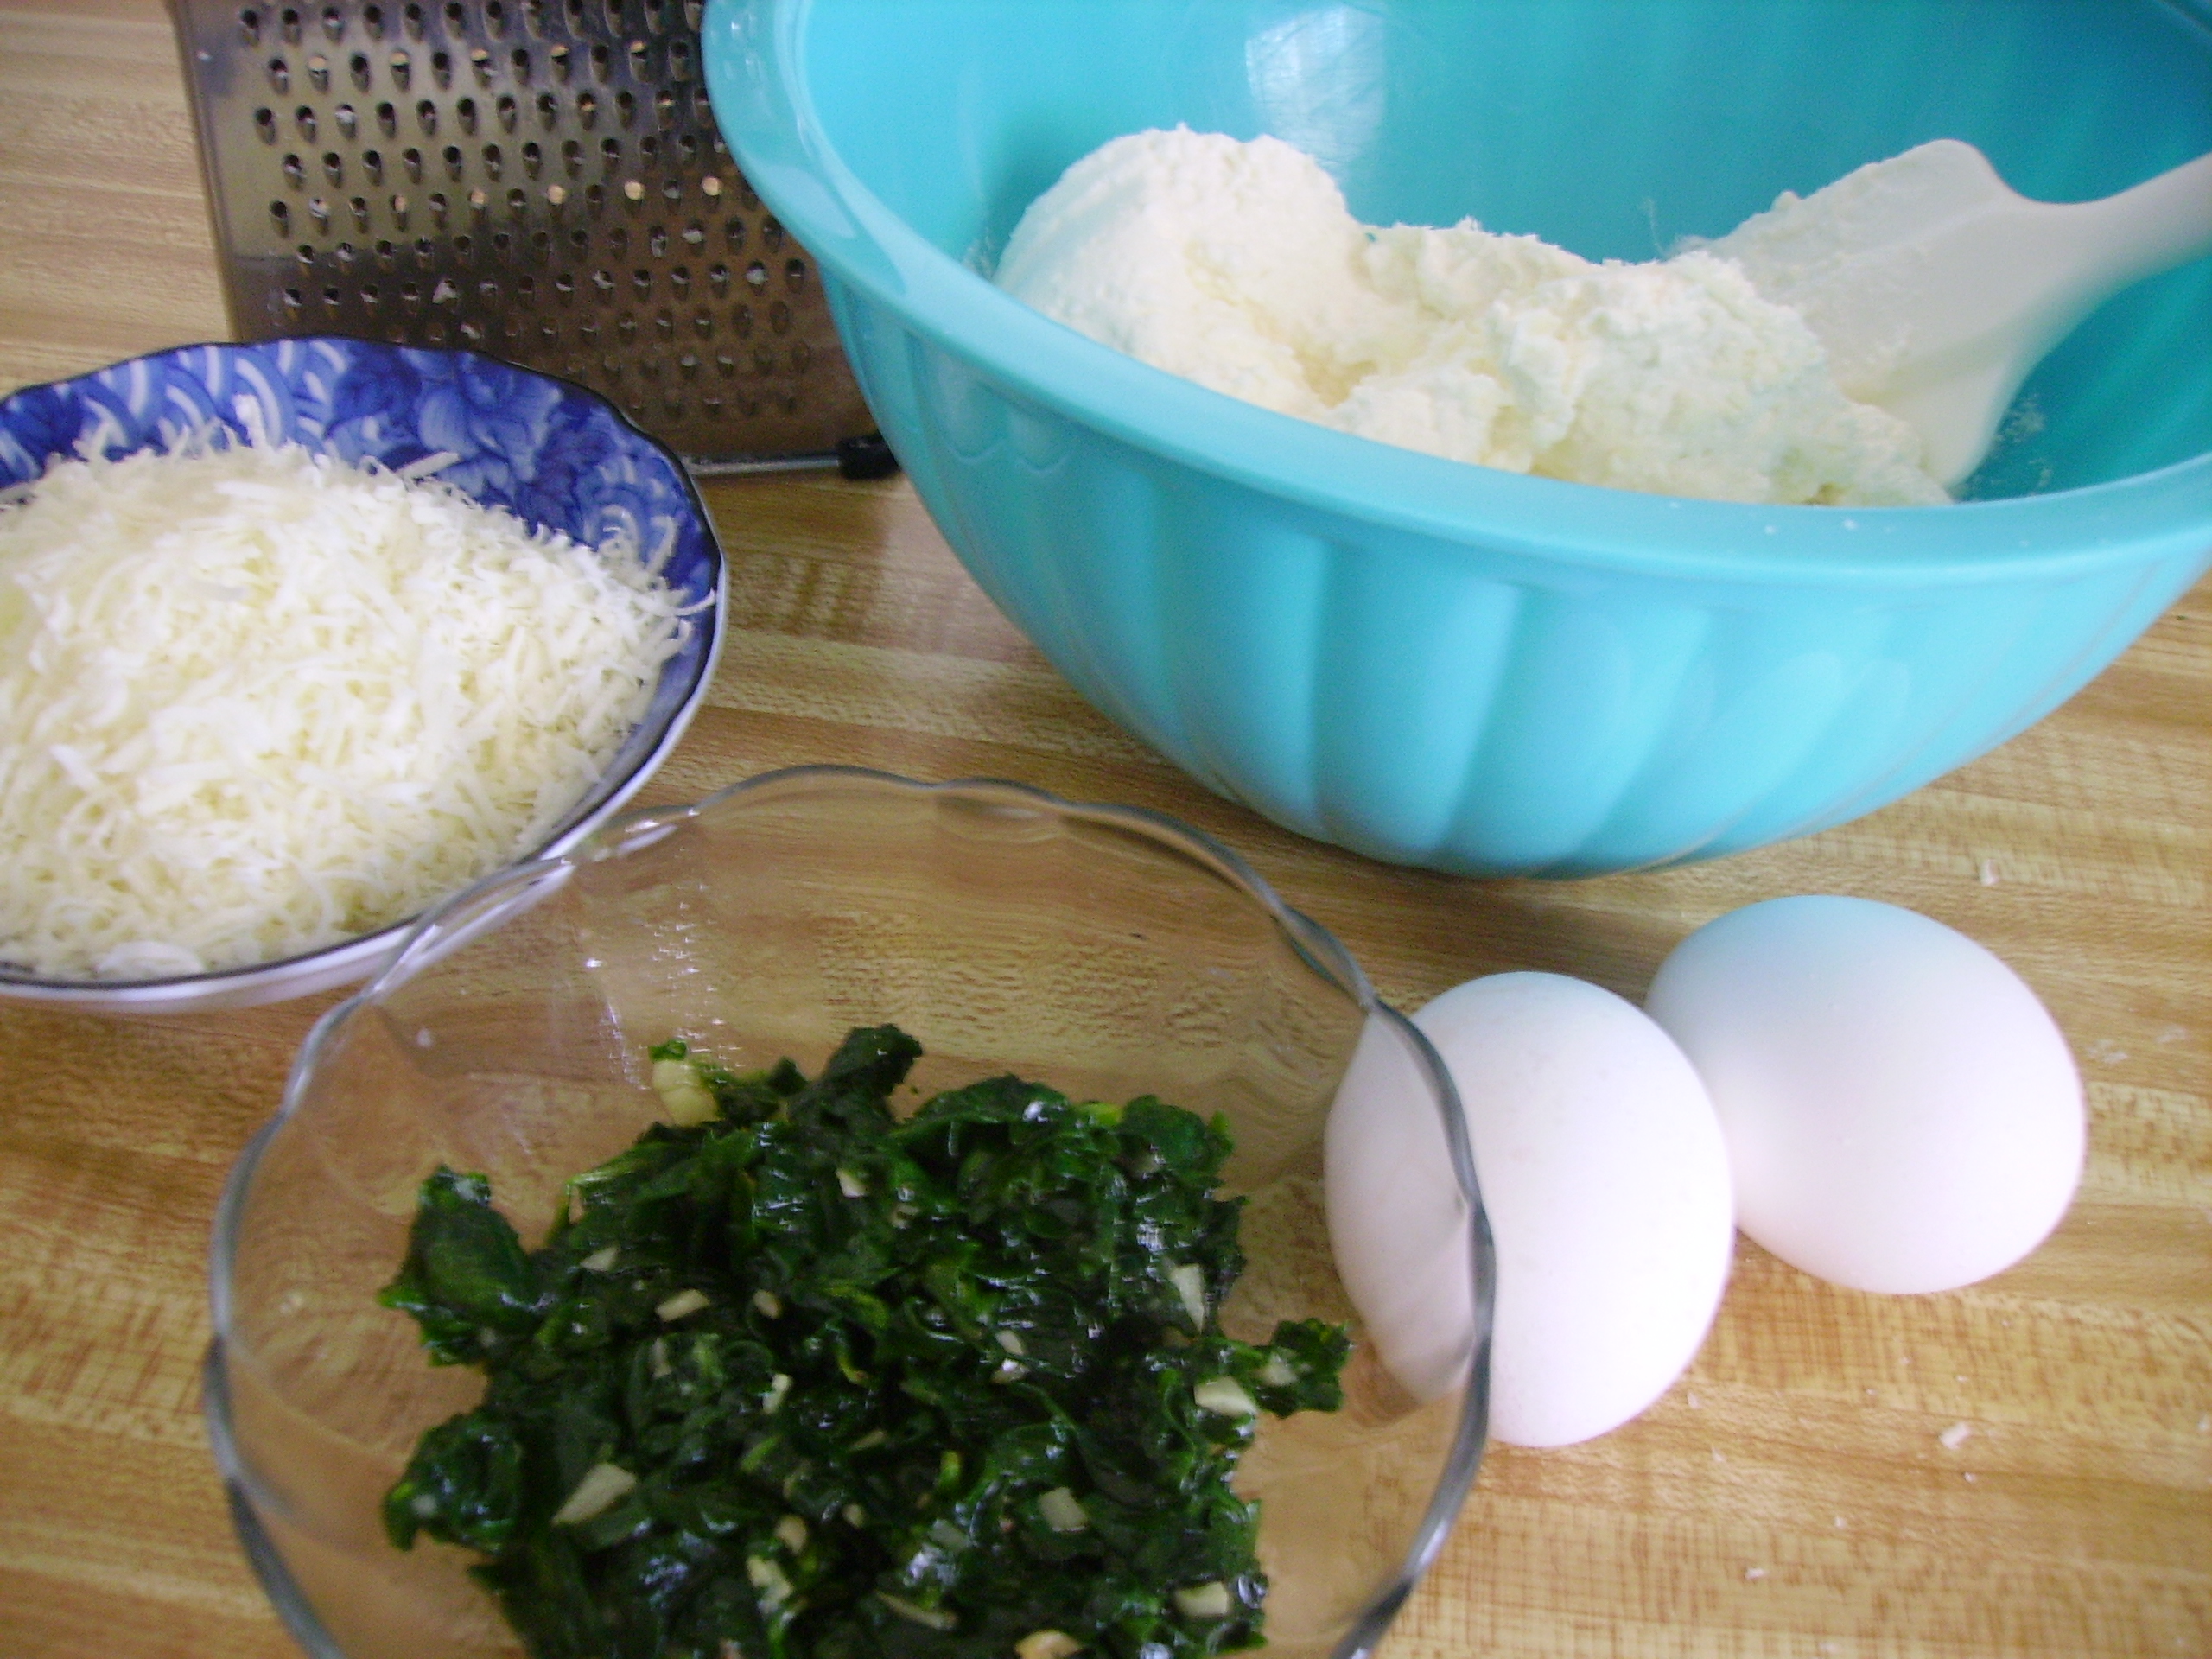
The Ricotta Filling combined baby spinach, garlic, and Romano cheese with the homemade ricotta and eggs. Pretty traditional as fillings go, but the perfect counterpoint to the other ingredients

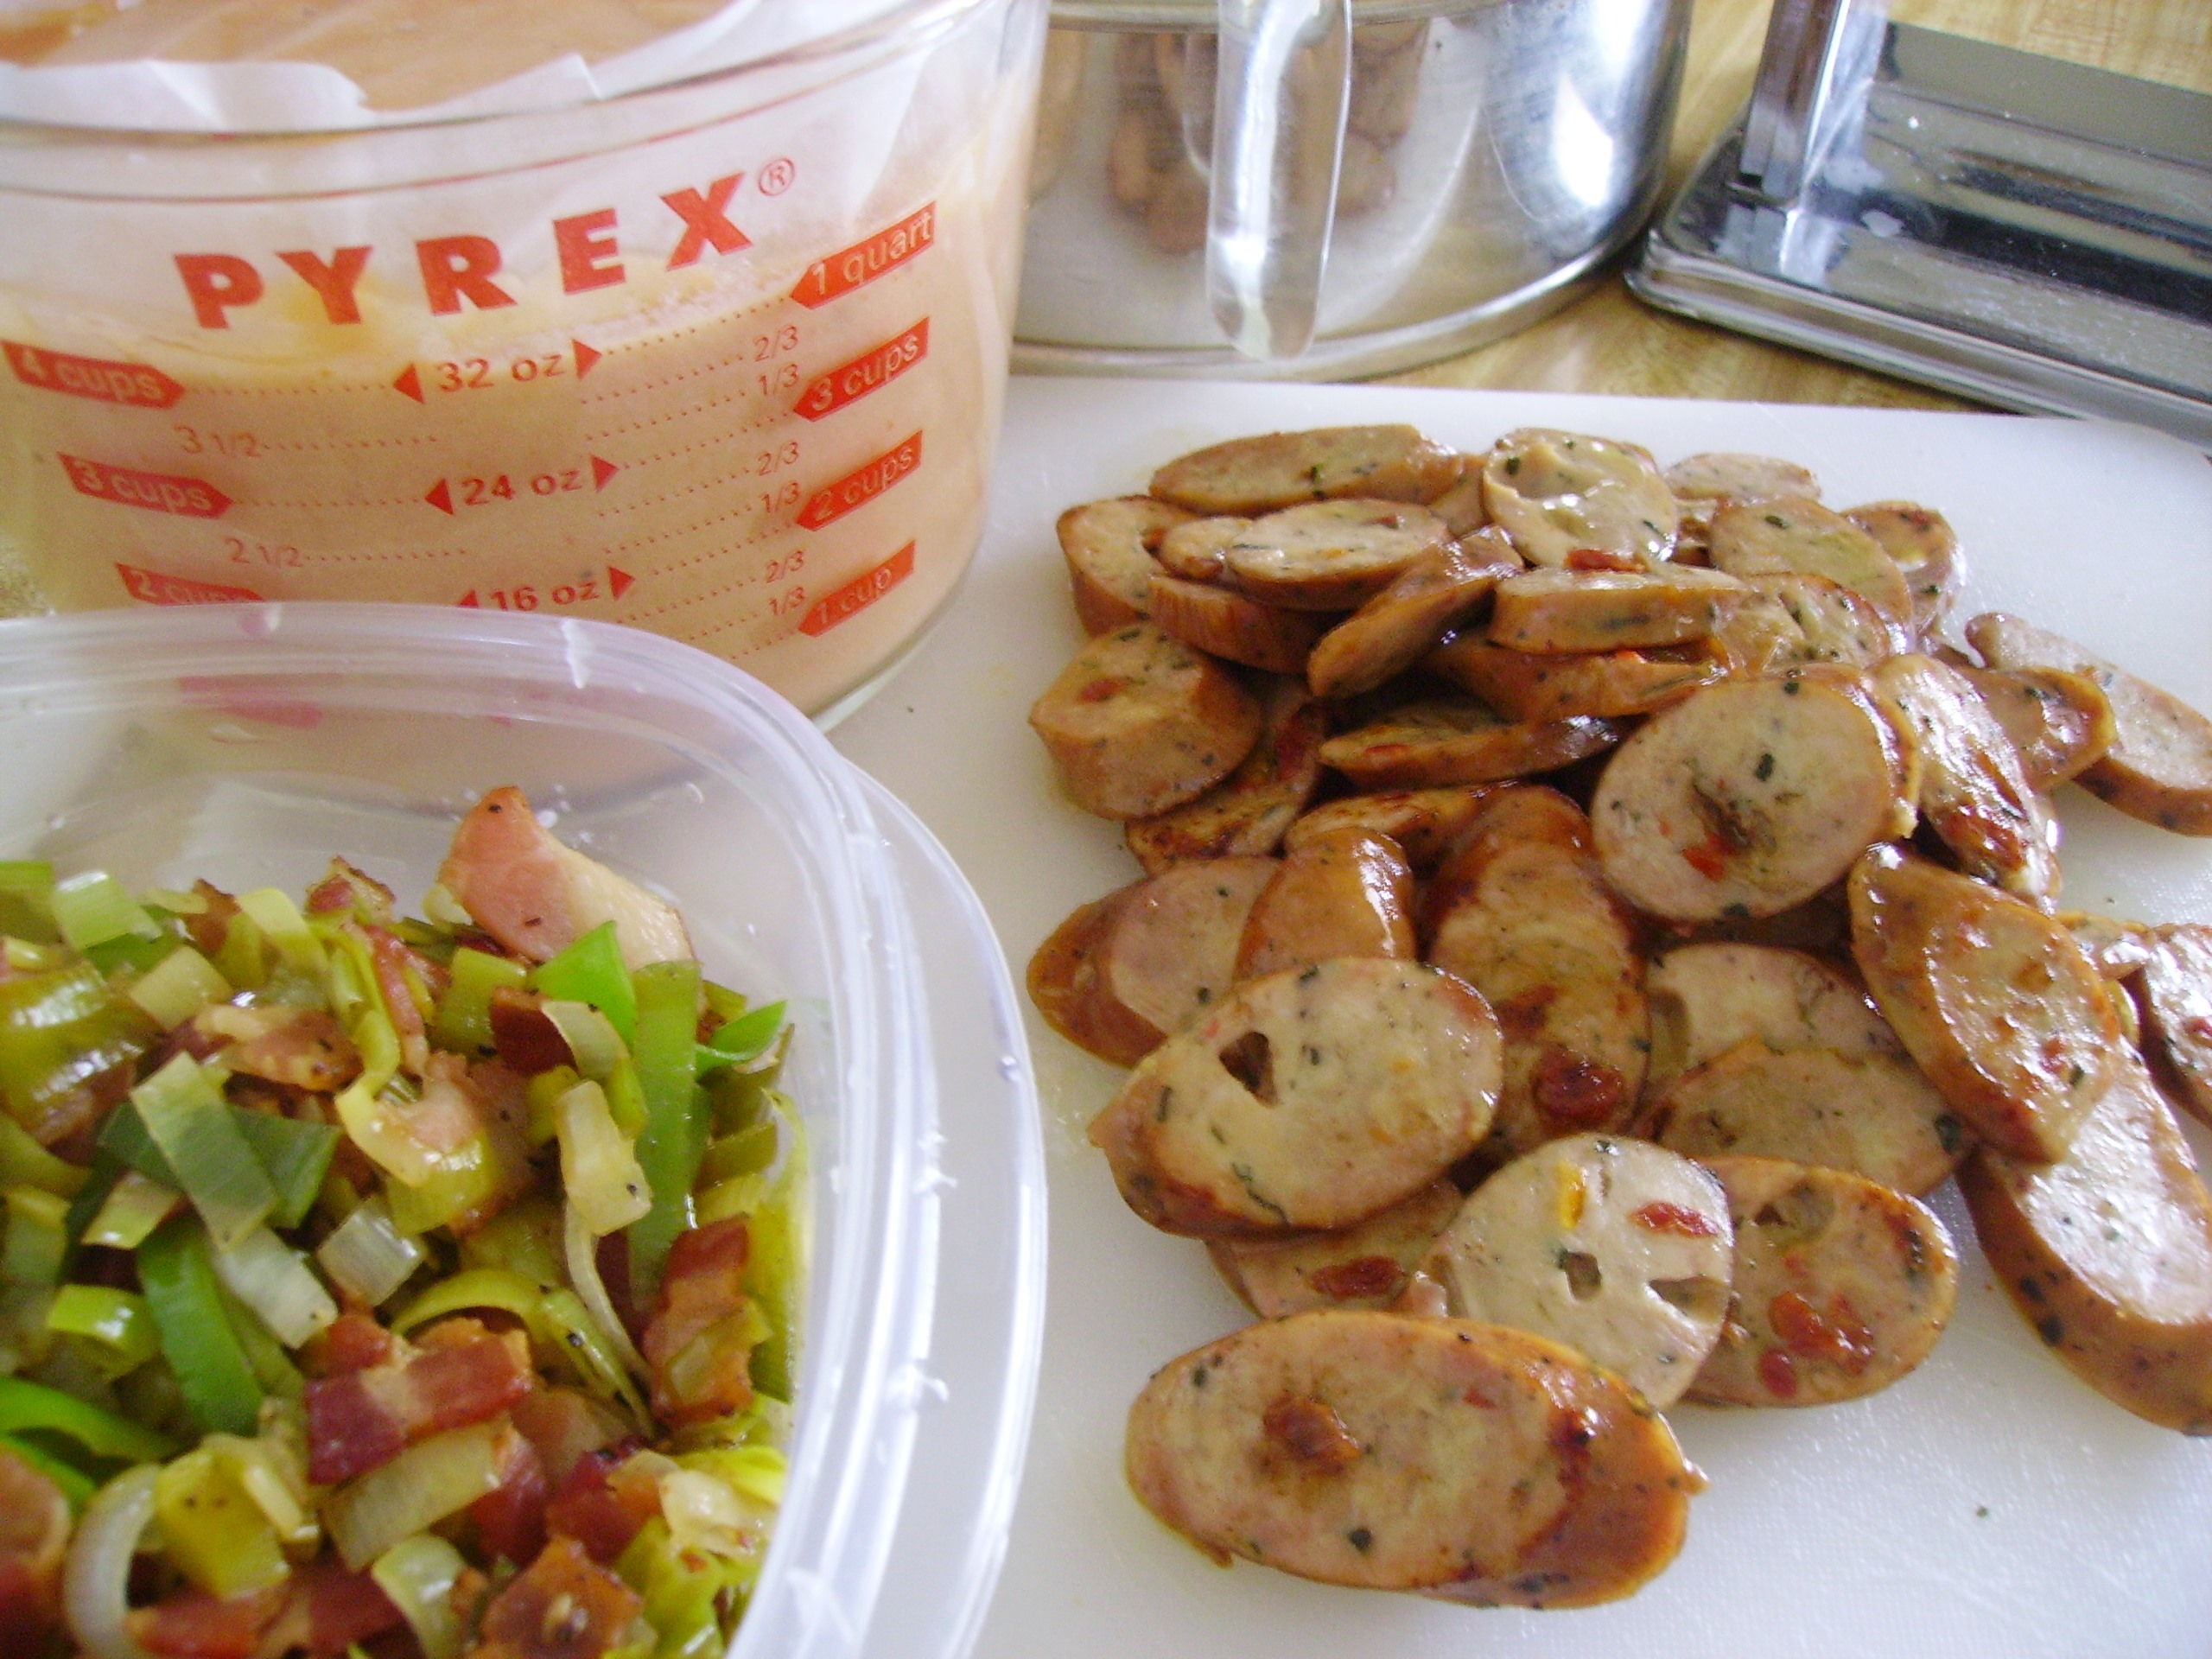
I used a Chicken Sausage the was laced with Sun-dried tomatoes and mozzarella. The echoing of the cheese flavors was completely intentional. So, the ingredients were ready, the spring-form pan was oiled…let the show begin.
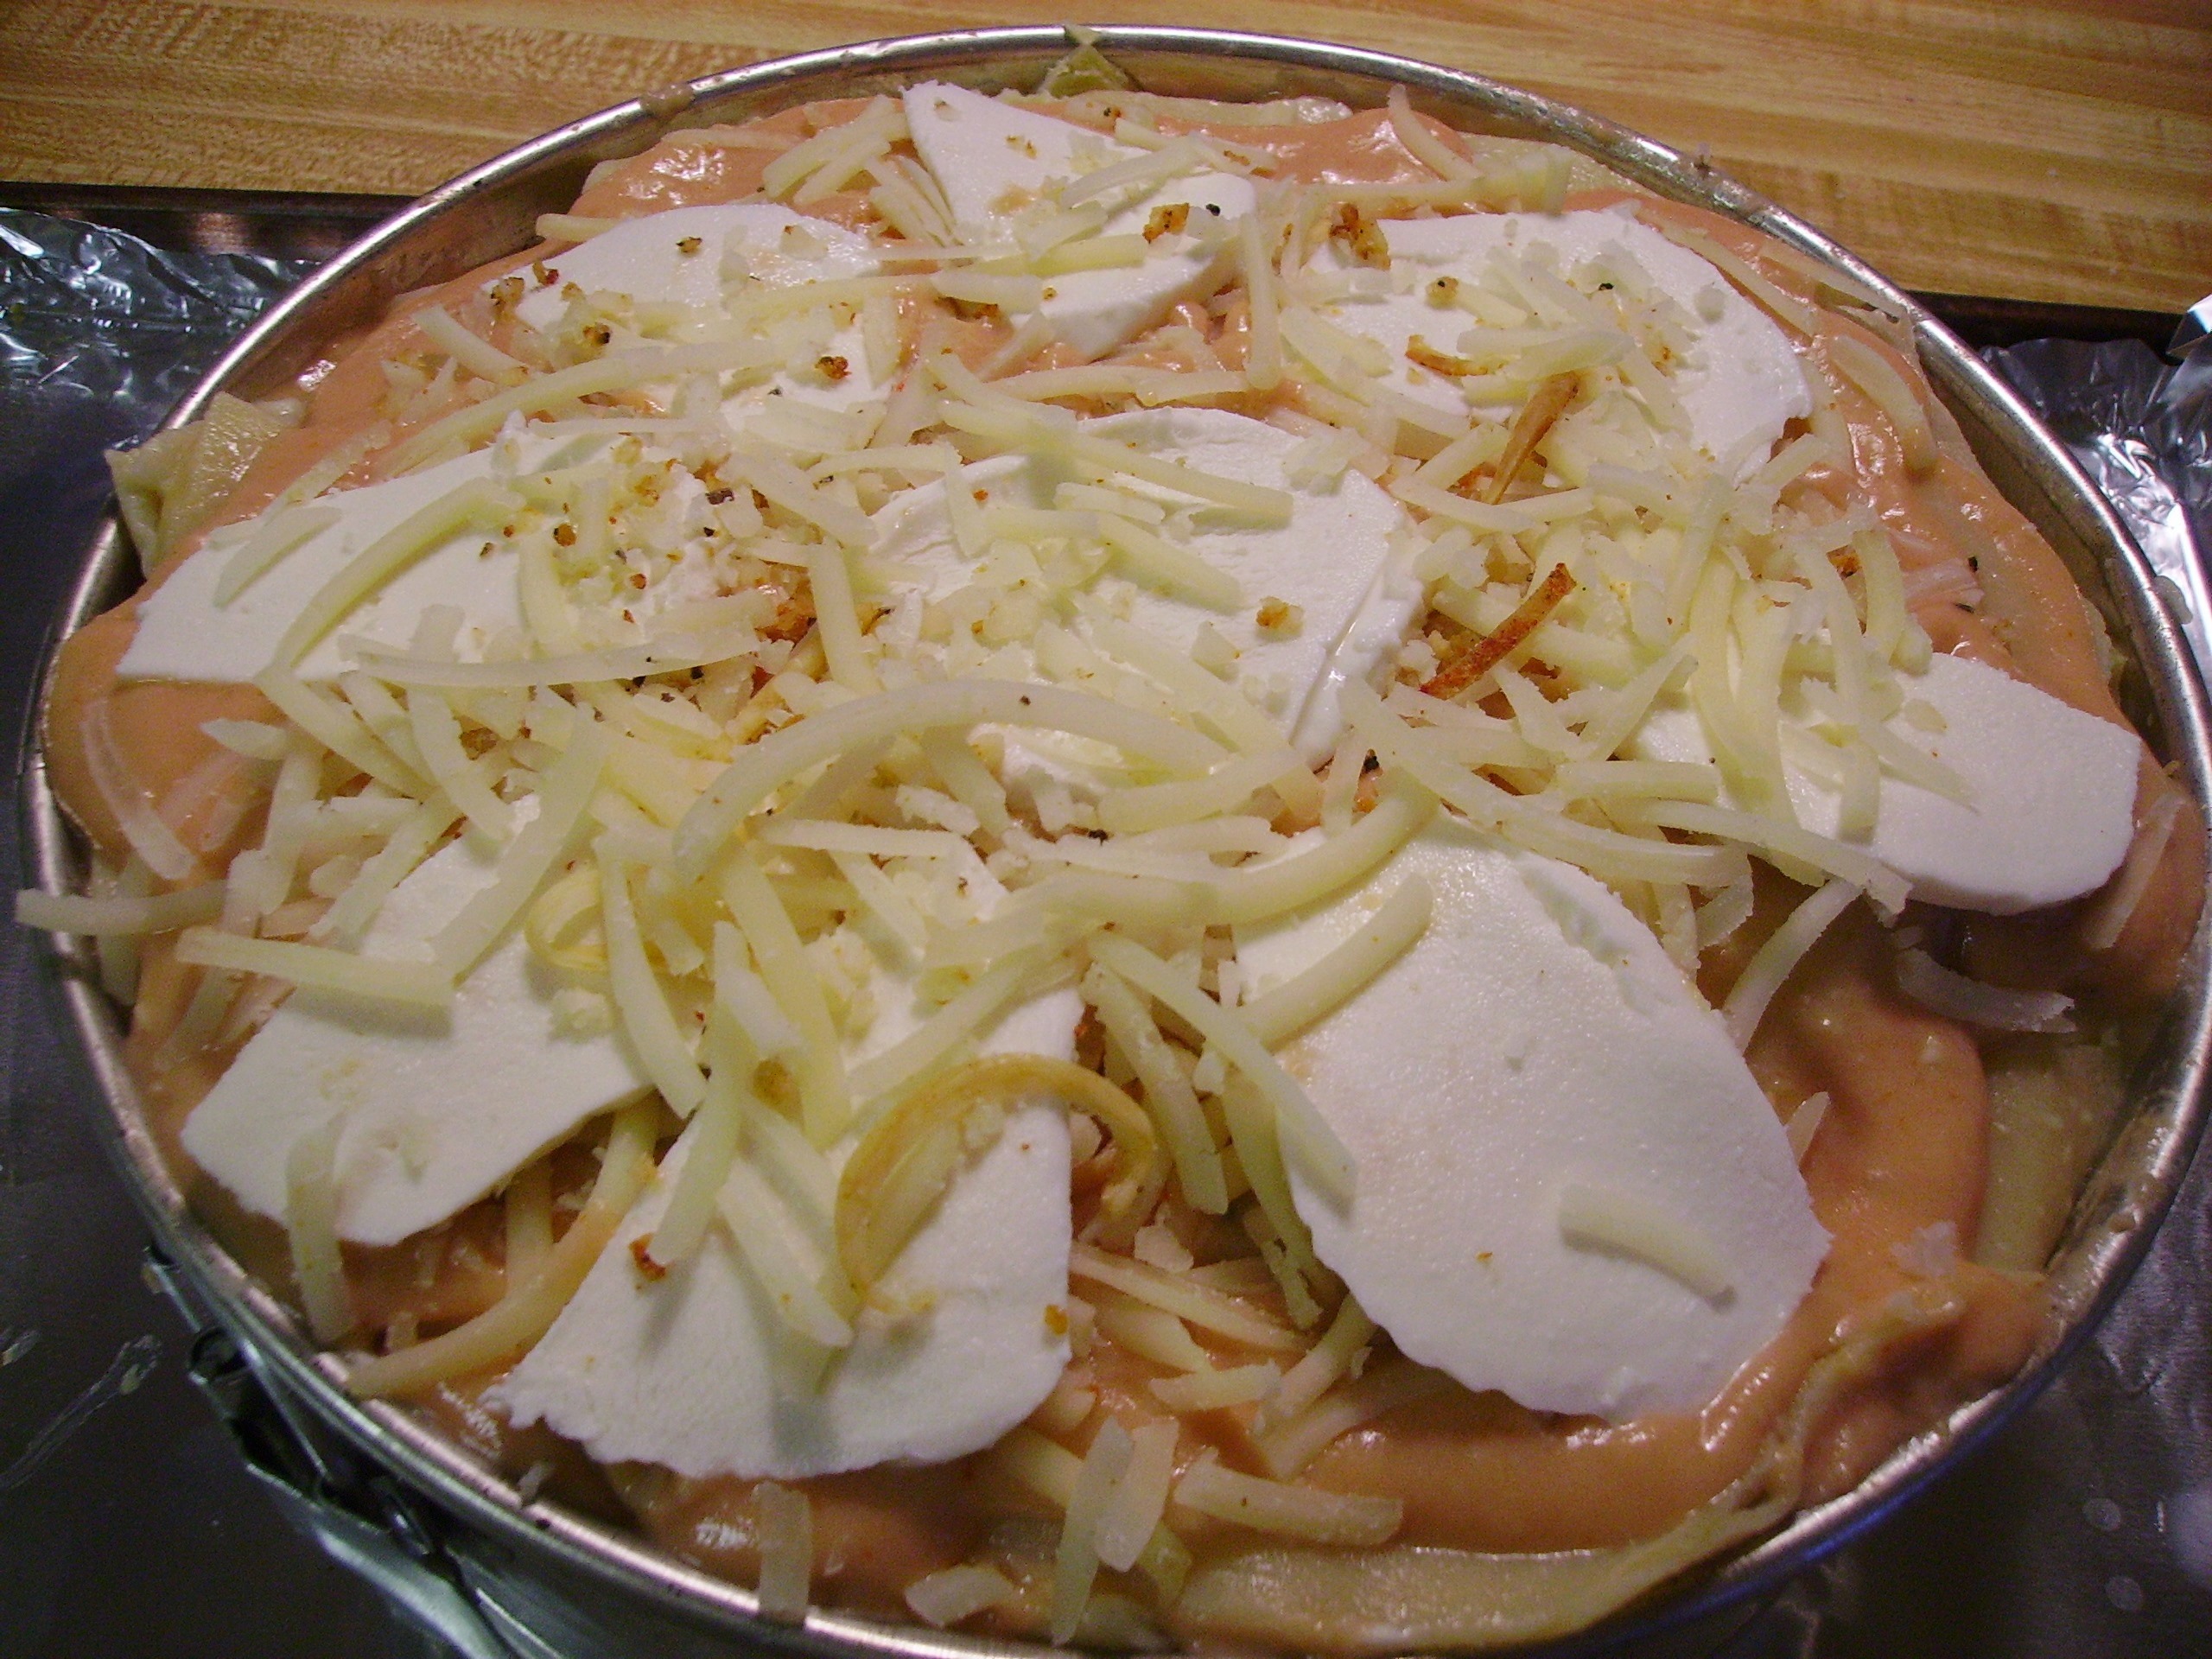
When I assembled the lasagna, I used a combination of cheeses which was actually based on what I had in the house. they included Asiago, Manchego, Romano, and Fresh Mozzarella. They all joined the Garlic, Basil & Tomato Cheese to create a cheese extravaganza that actually worked.
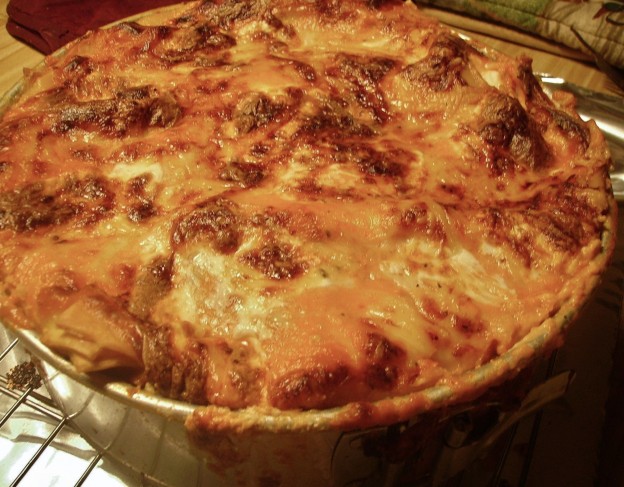
Marie, the Proud Italian Cook shared guidelines for assembly that were invaluable. Those tips made the assembly come off without a hitch. I created three layers. Two layers (top & bottom )of the Ricotta Spinach Filling topped with sausage and cheese. The Bacon and Leek mixture was the middle layer. Cheese and Sauce crowned the casserole that was destined to spend just over an hour in the oven.
The results were fantastic. The cheeses melted into the sauce, bubbling up and over the sides creating a beautiful browned crust. I allowed the pie to rest as Marie advised. I must say it looked and smelled so good that it was hard to wait, but I did and it was worth it because it un-molded and sliced beautifully. Oh, and it really tasted good, too.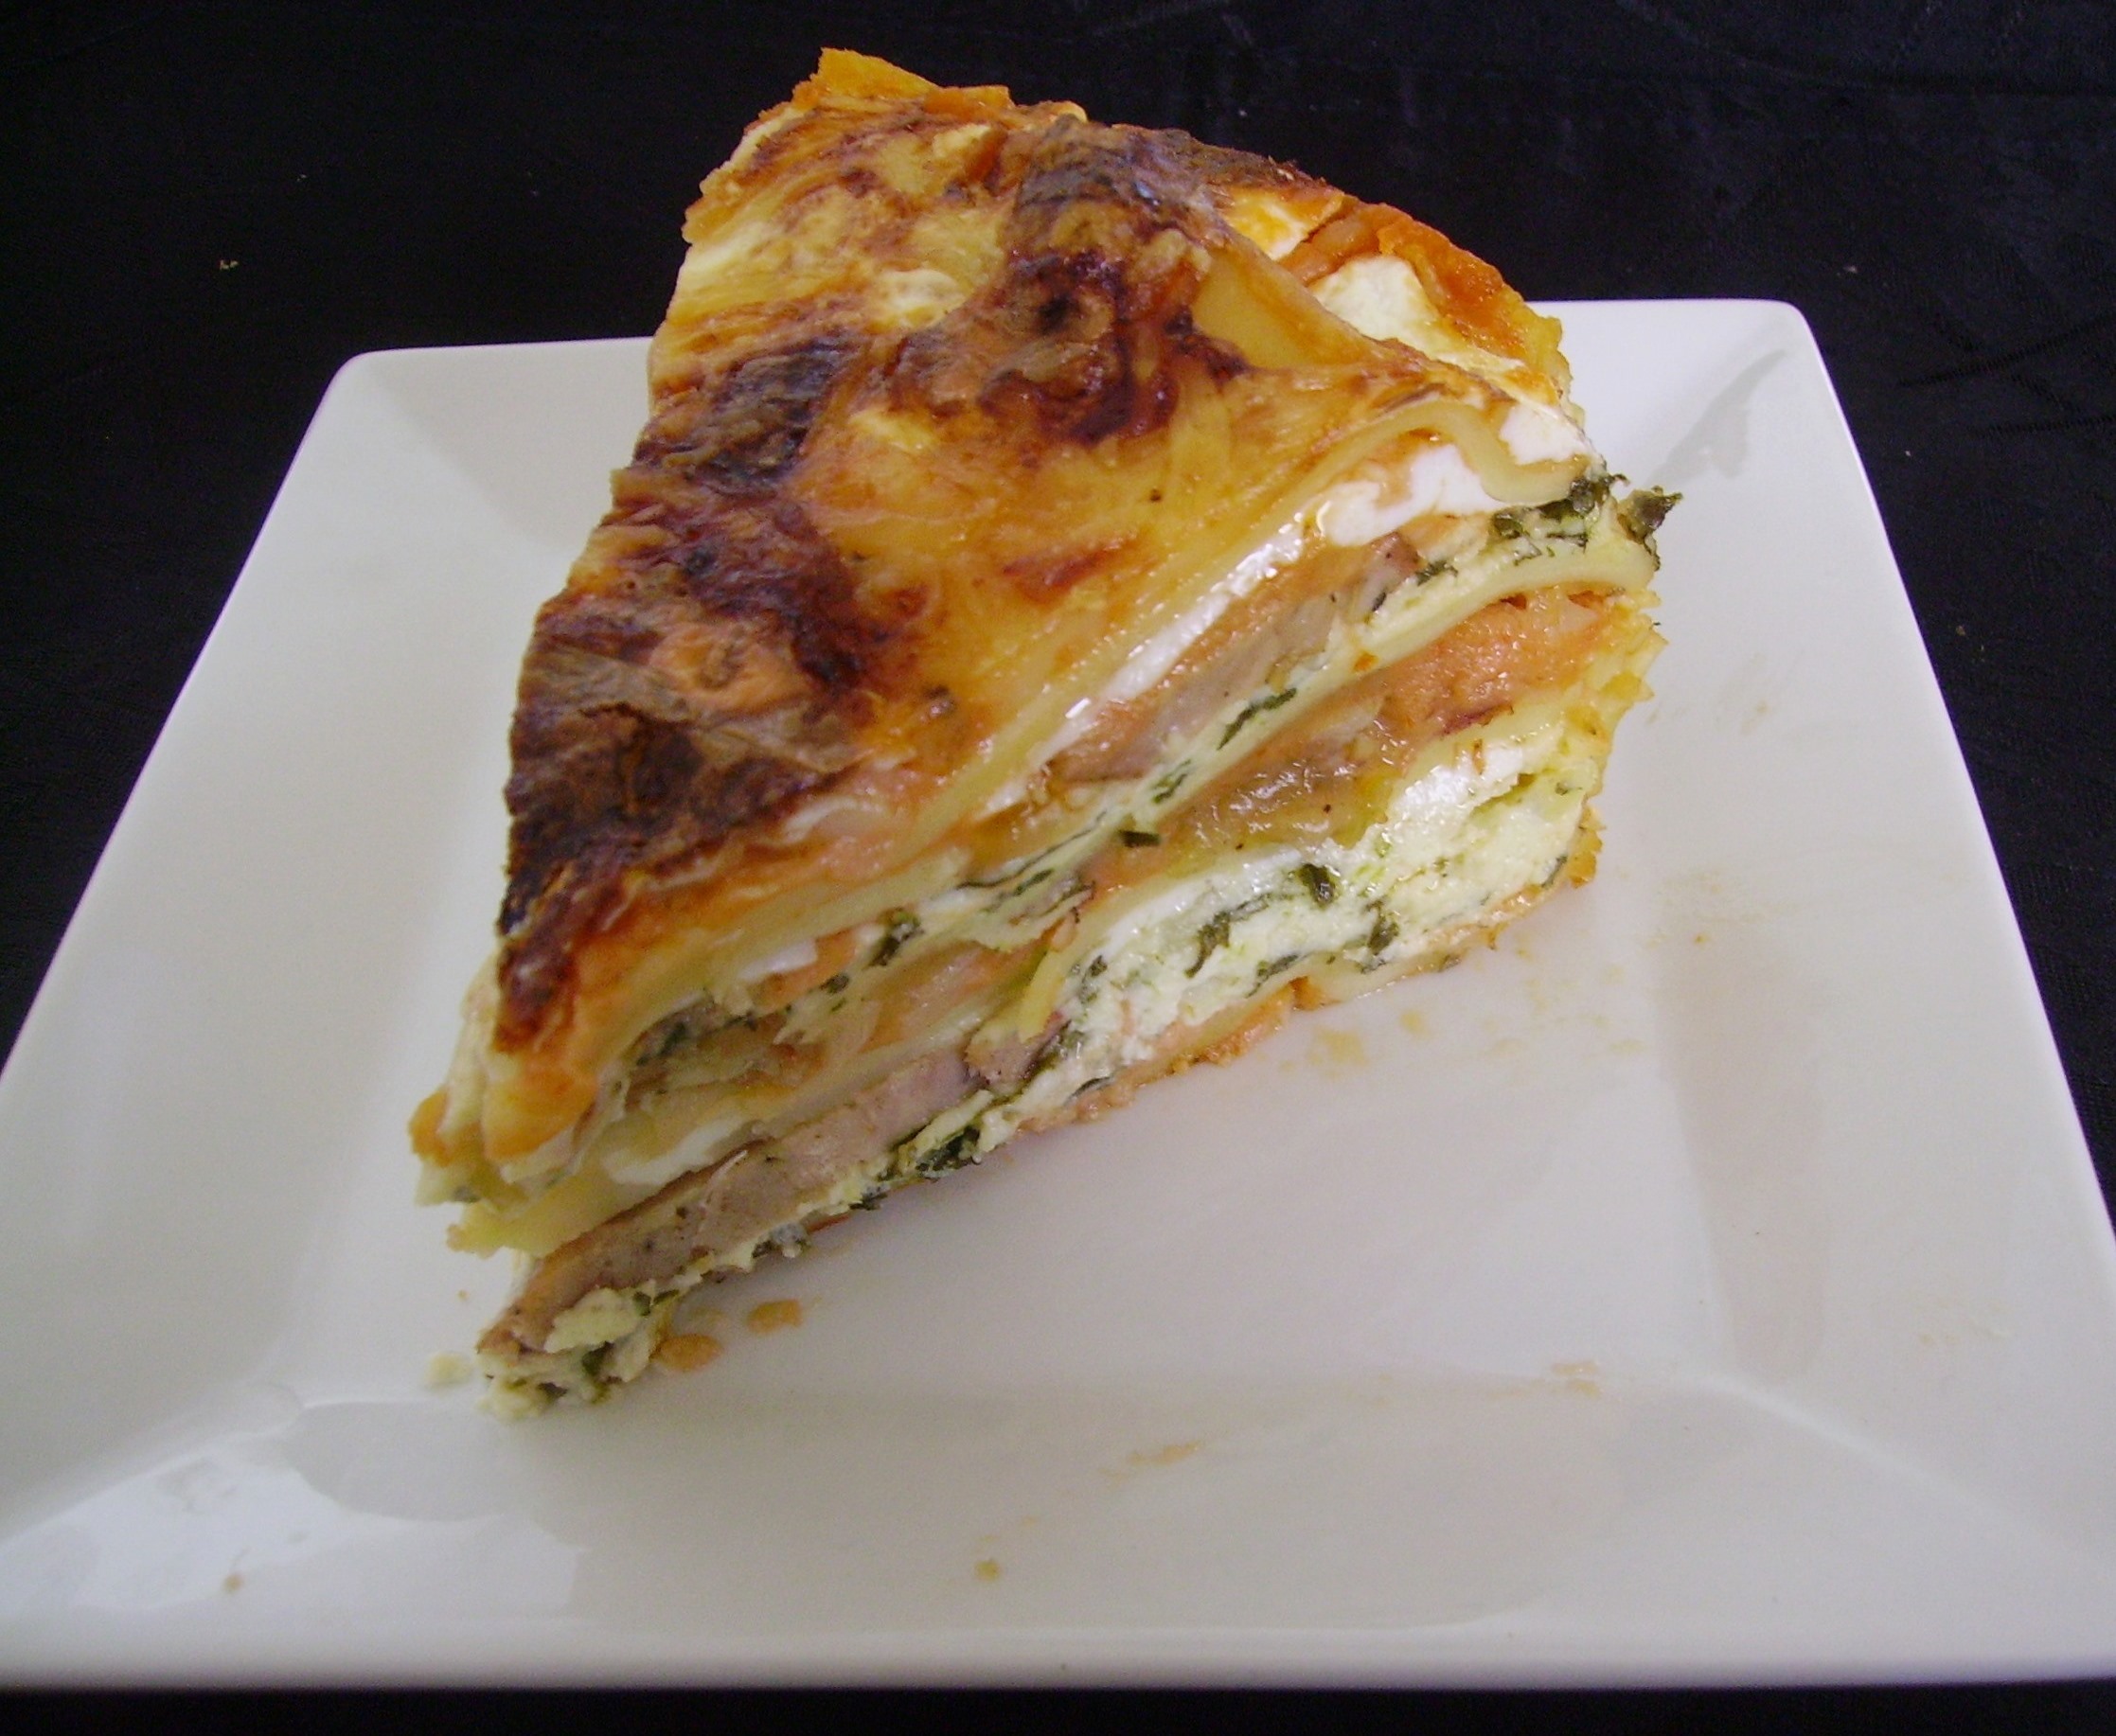 This was such a fun way to make lasagna. My family was impressed with the presentation and over the moon about how it tasted. My culinary minded son even took a picture of it.
To the wonderful cooks who inspired me and to my family who encouraged me. Thank you. Love, Mama D
Share this: