Reflections on Thanksgiving

The Thanksgiving weekend has come to a close. Looking back on it, I have to say that it has been one of the happiest I can remember. The days were filled with family, food, shopping, and most of all love. Love, you know, makes everything better. You can see it and you can definitely feel it. The holidays are resplendent in love. I’ve had five days to bask in the sunshine of love and I must say that glow does wonders for me inside and out.

Family was at the center of the weekend. Thanksgiving dinner was a delightfully blended affair that was centered on the newest addition. We all gathered at Jakob’s house to share a dinner that everyone contributed to. Turkey and Ham were the stars each prepared by a grandma. The sides were everything that tradition demands and then some. Mashed Potatoes and Green Bean Casserole shared the table with Italian Green Bean Salad and Sour Dough and Artichoke Stuffing.

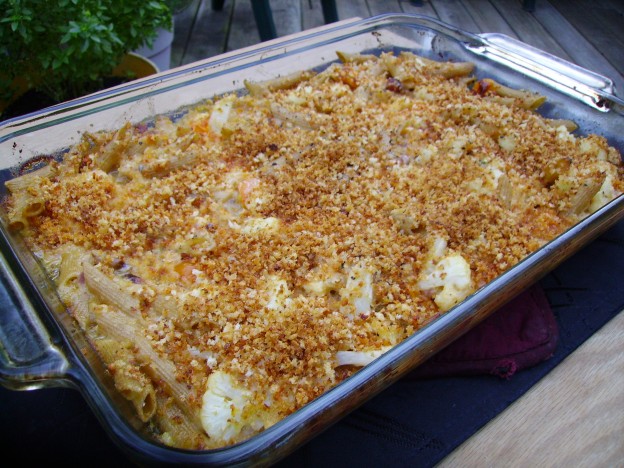
Yes, Mama D (aka Nonna) brought the California inspired stuffing that had more than a little Italian influence. The recipe actually was born during our time in California. Loosely based on recipes from Sunset Magazine and Weight Watchers it has developed over the years to become the family stuffing of choice.

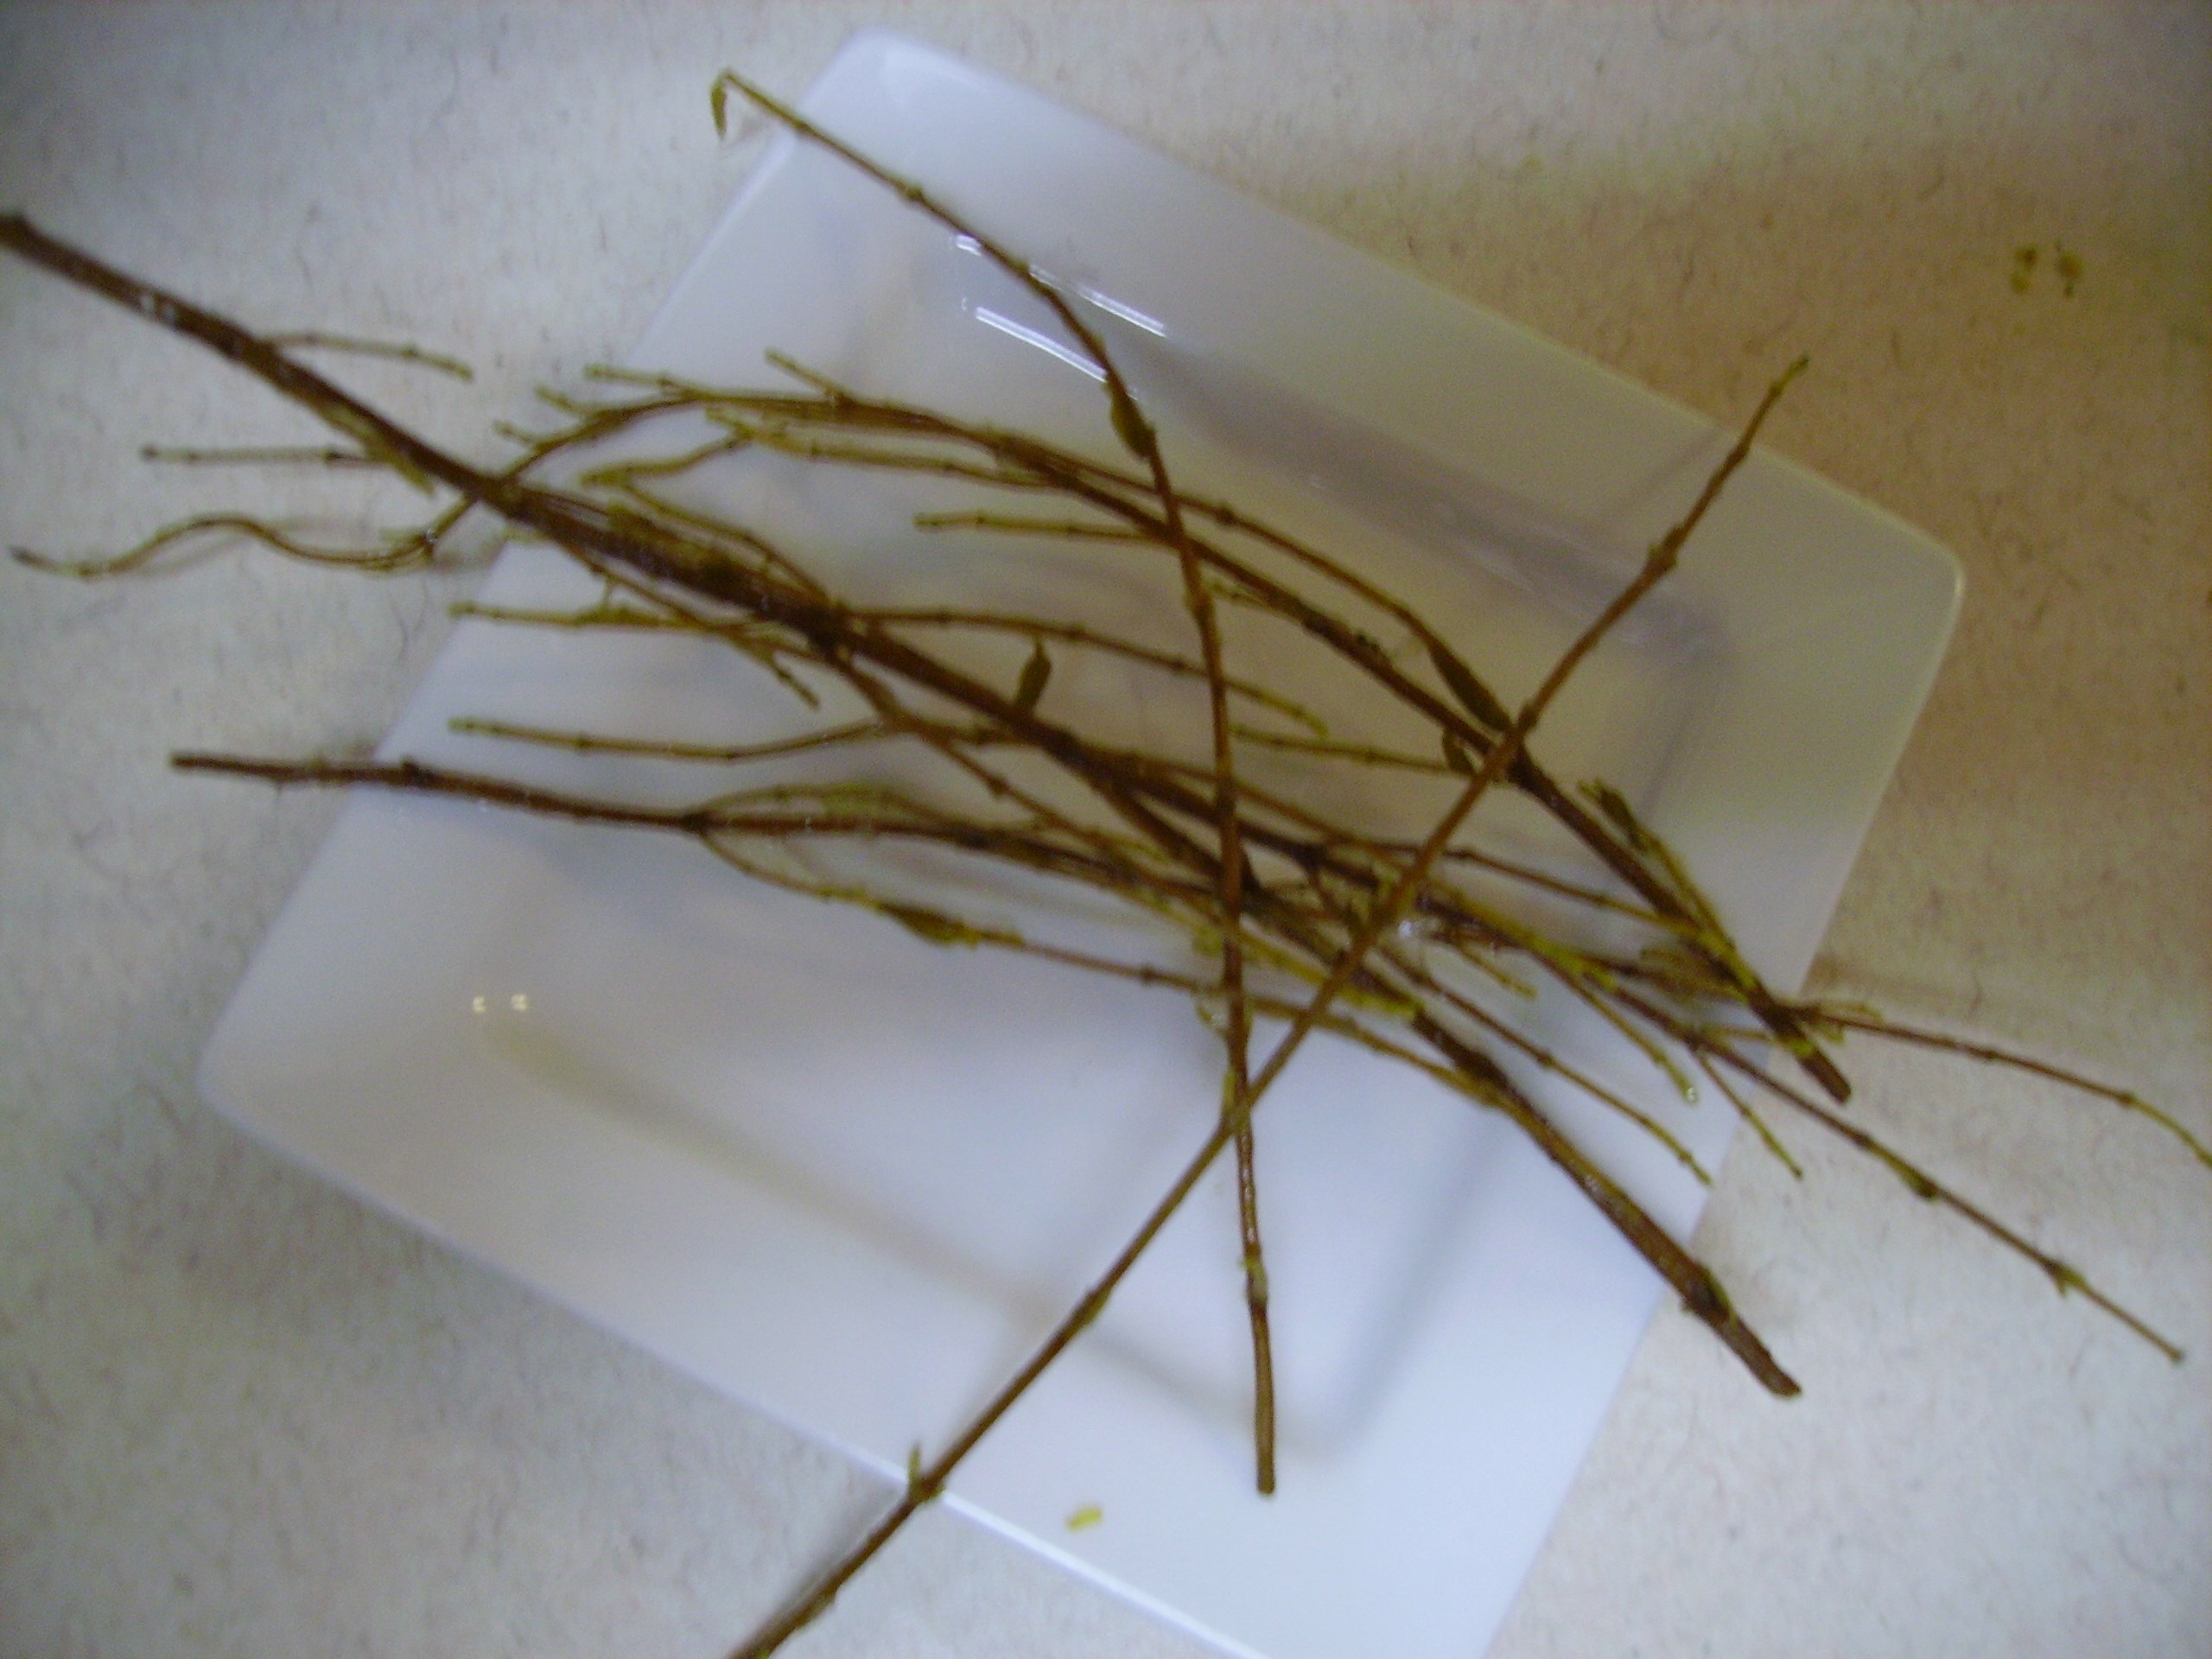
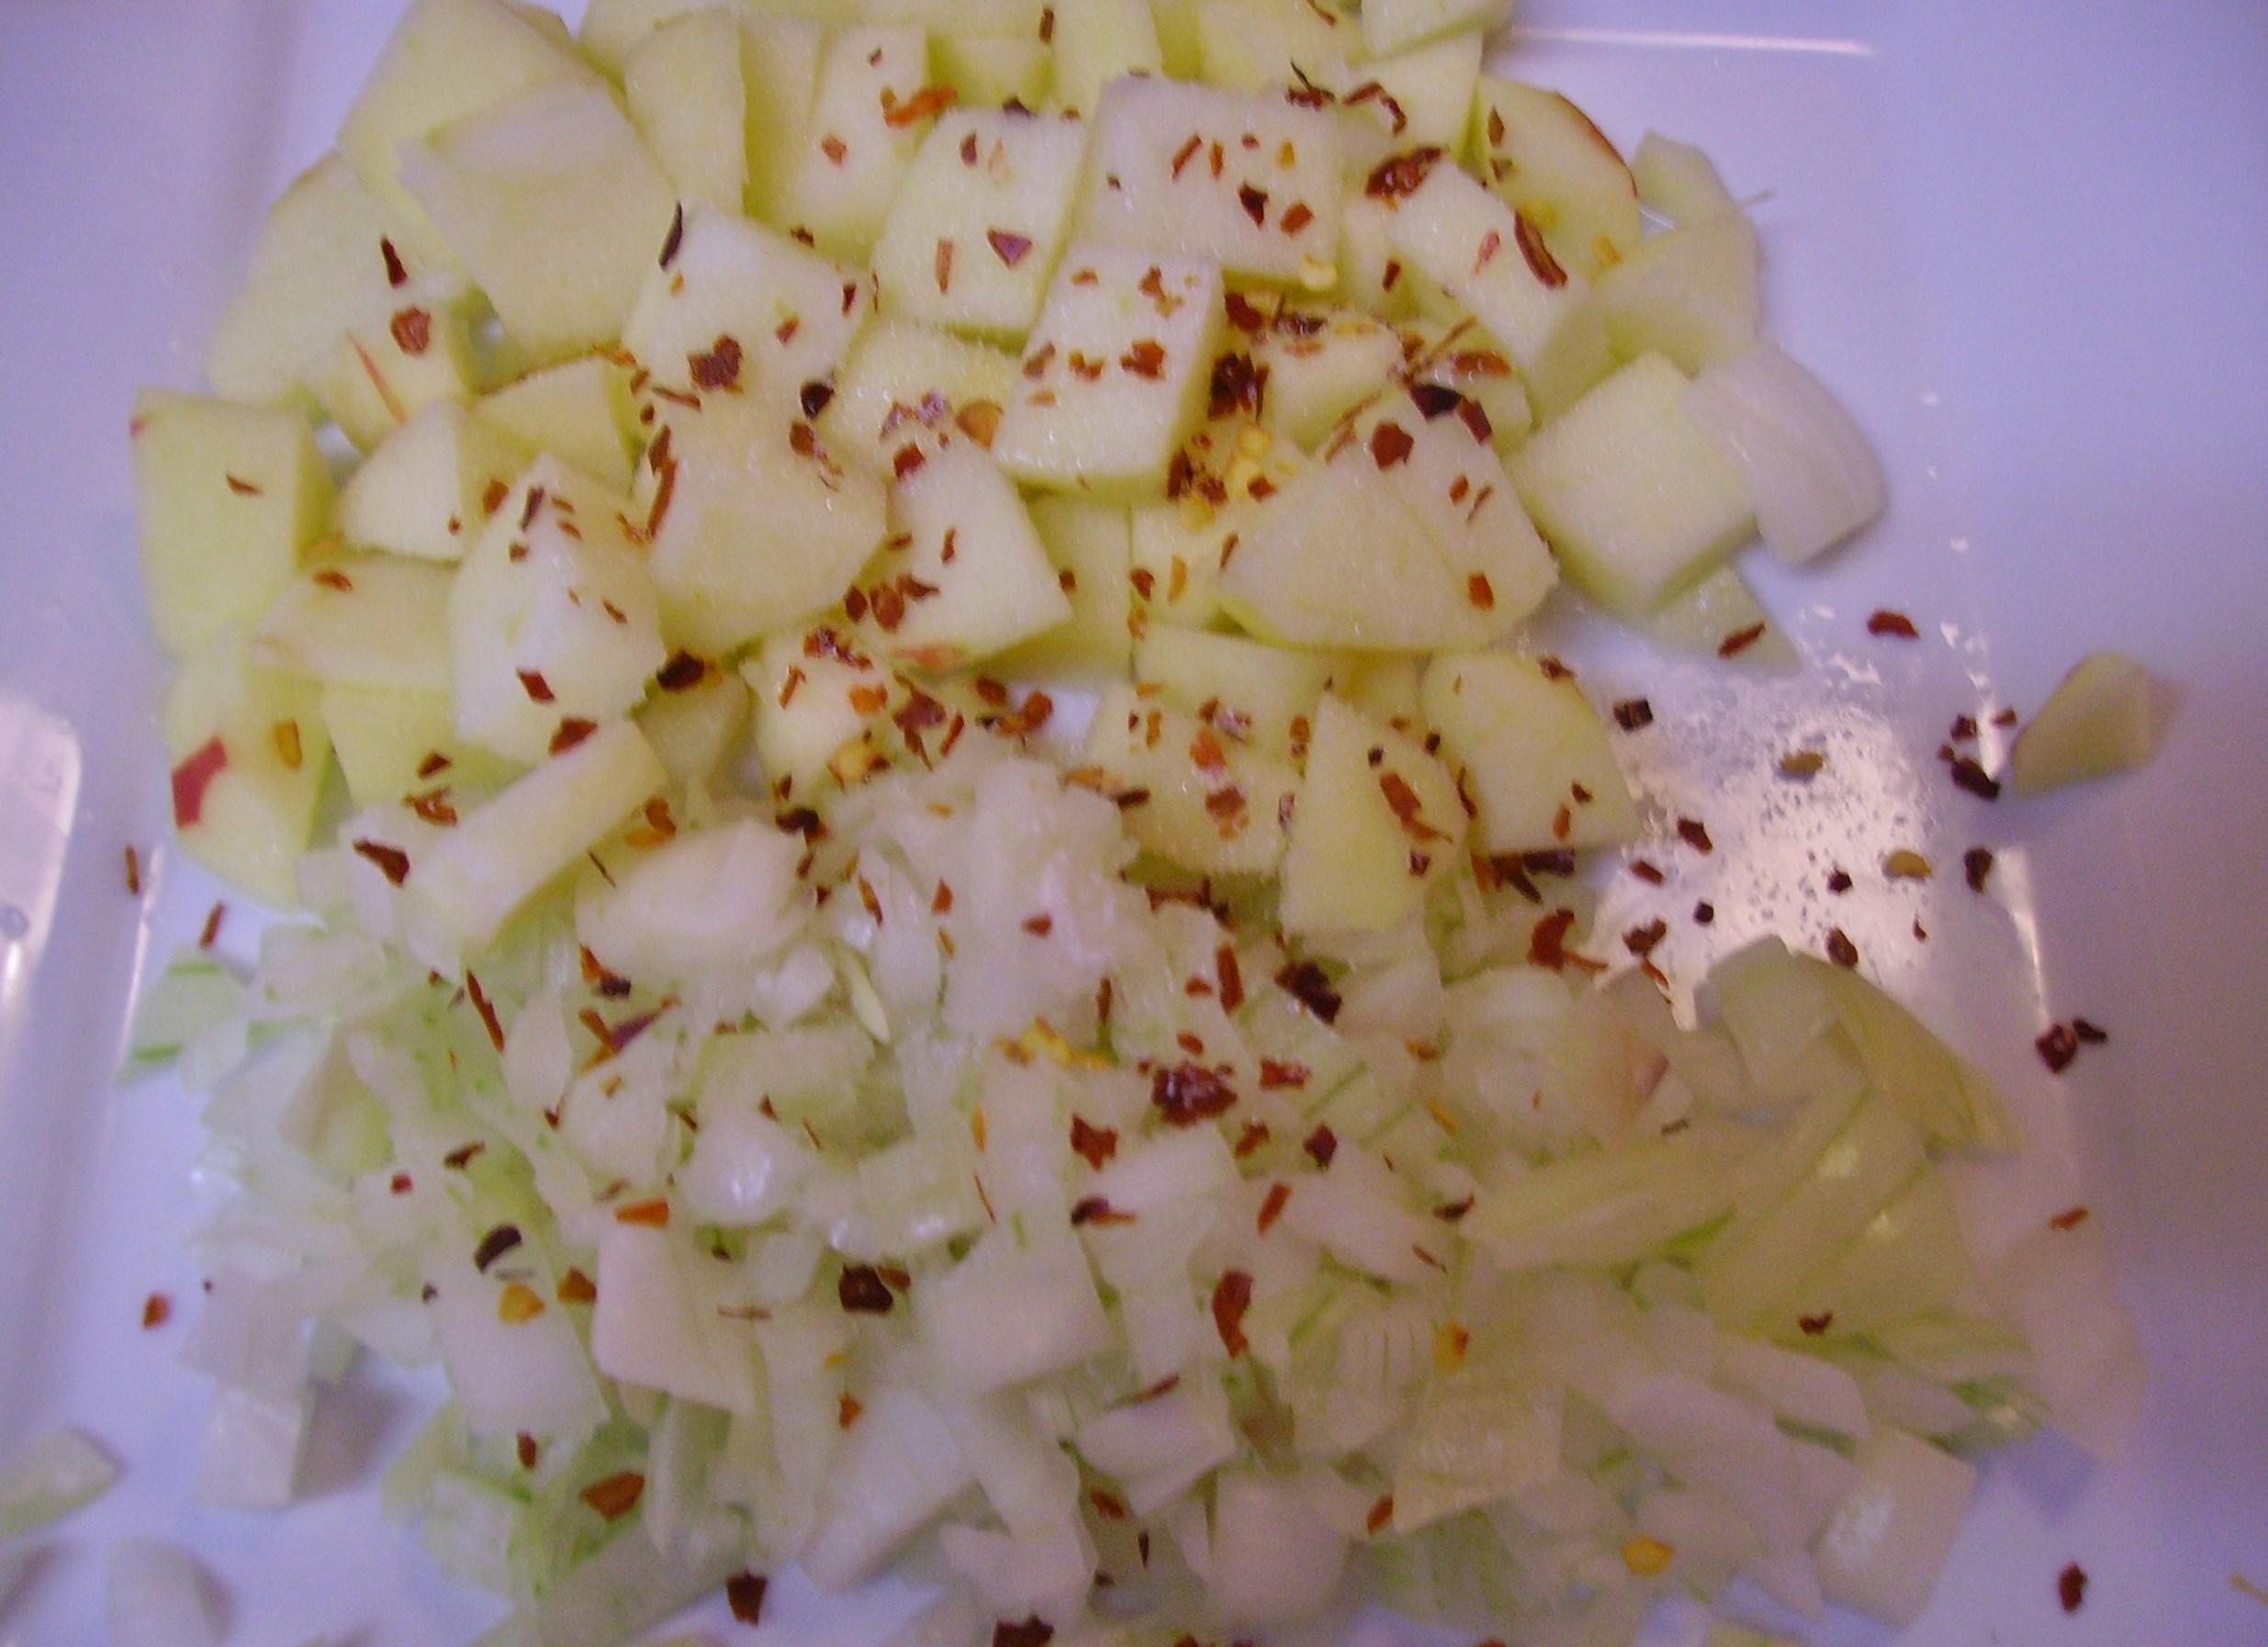
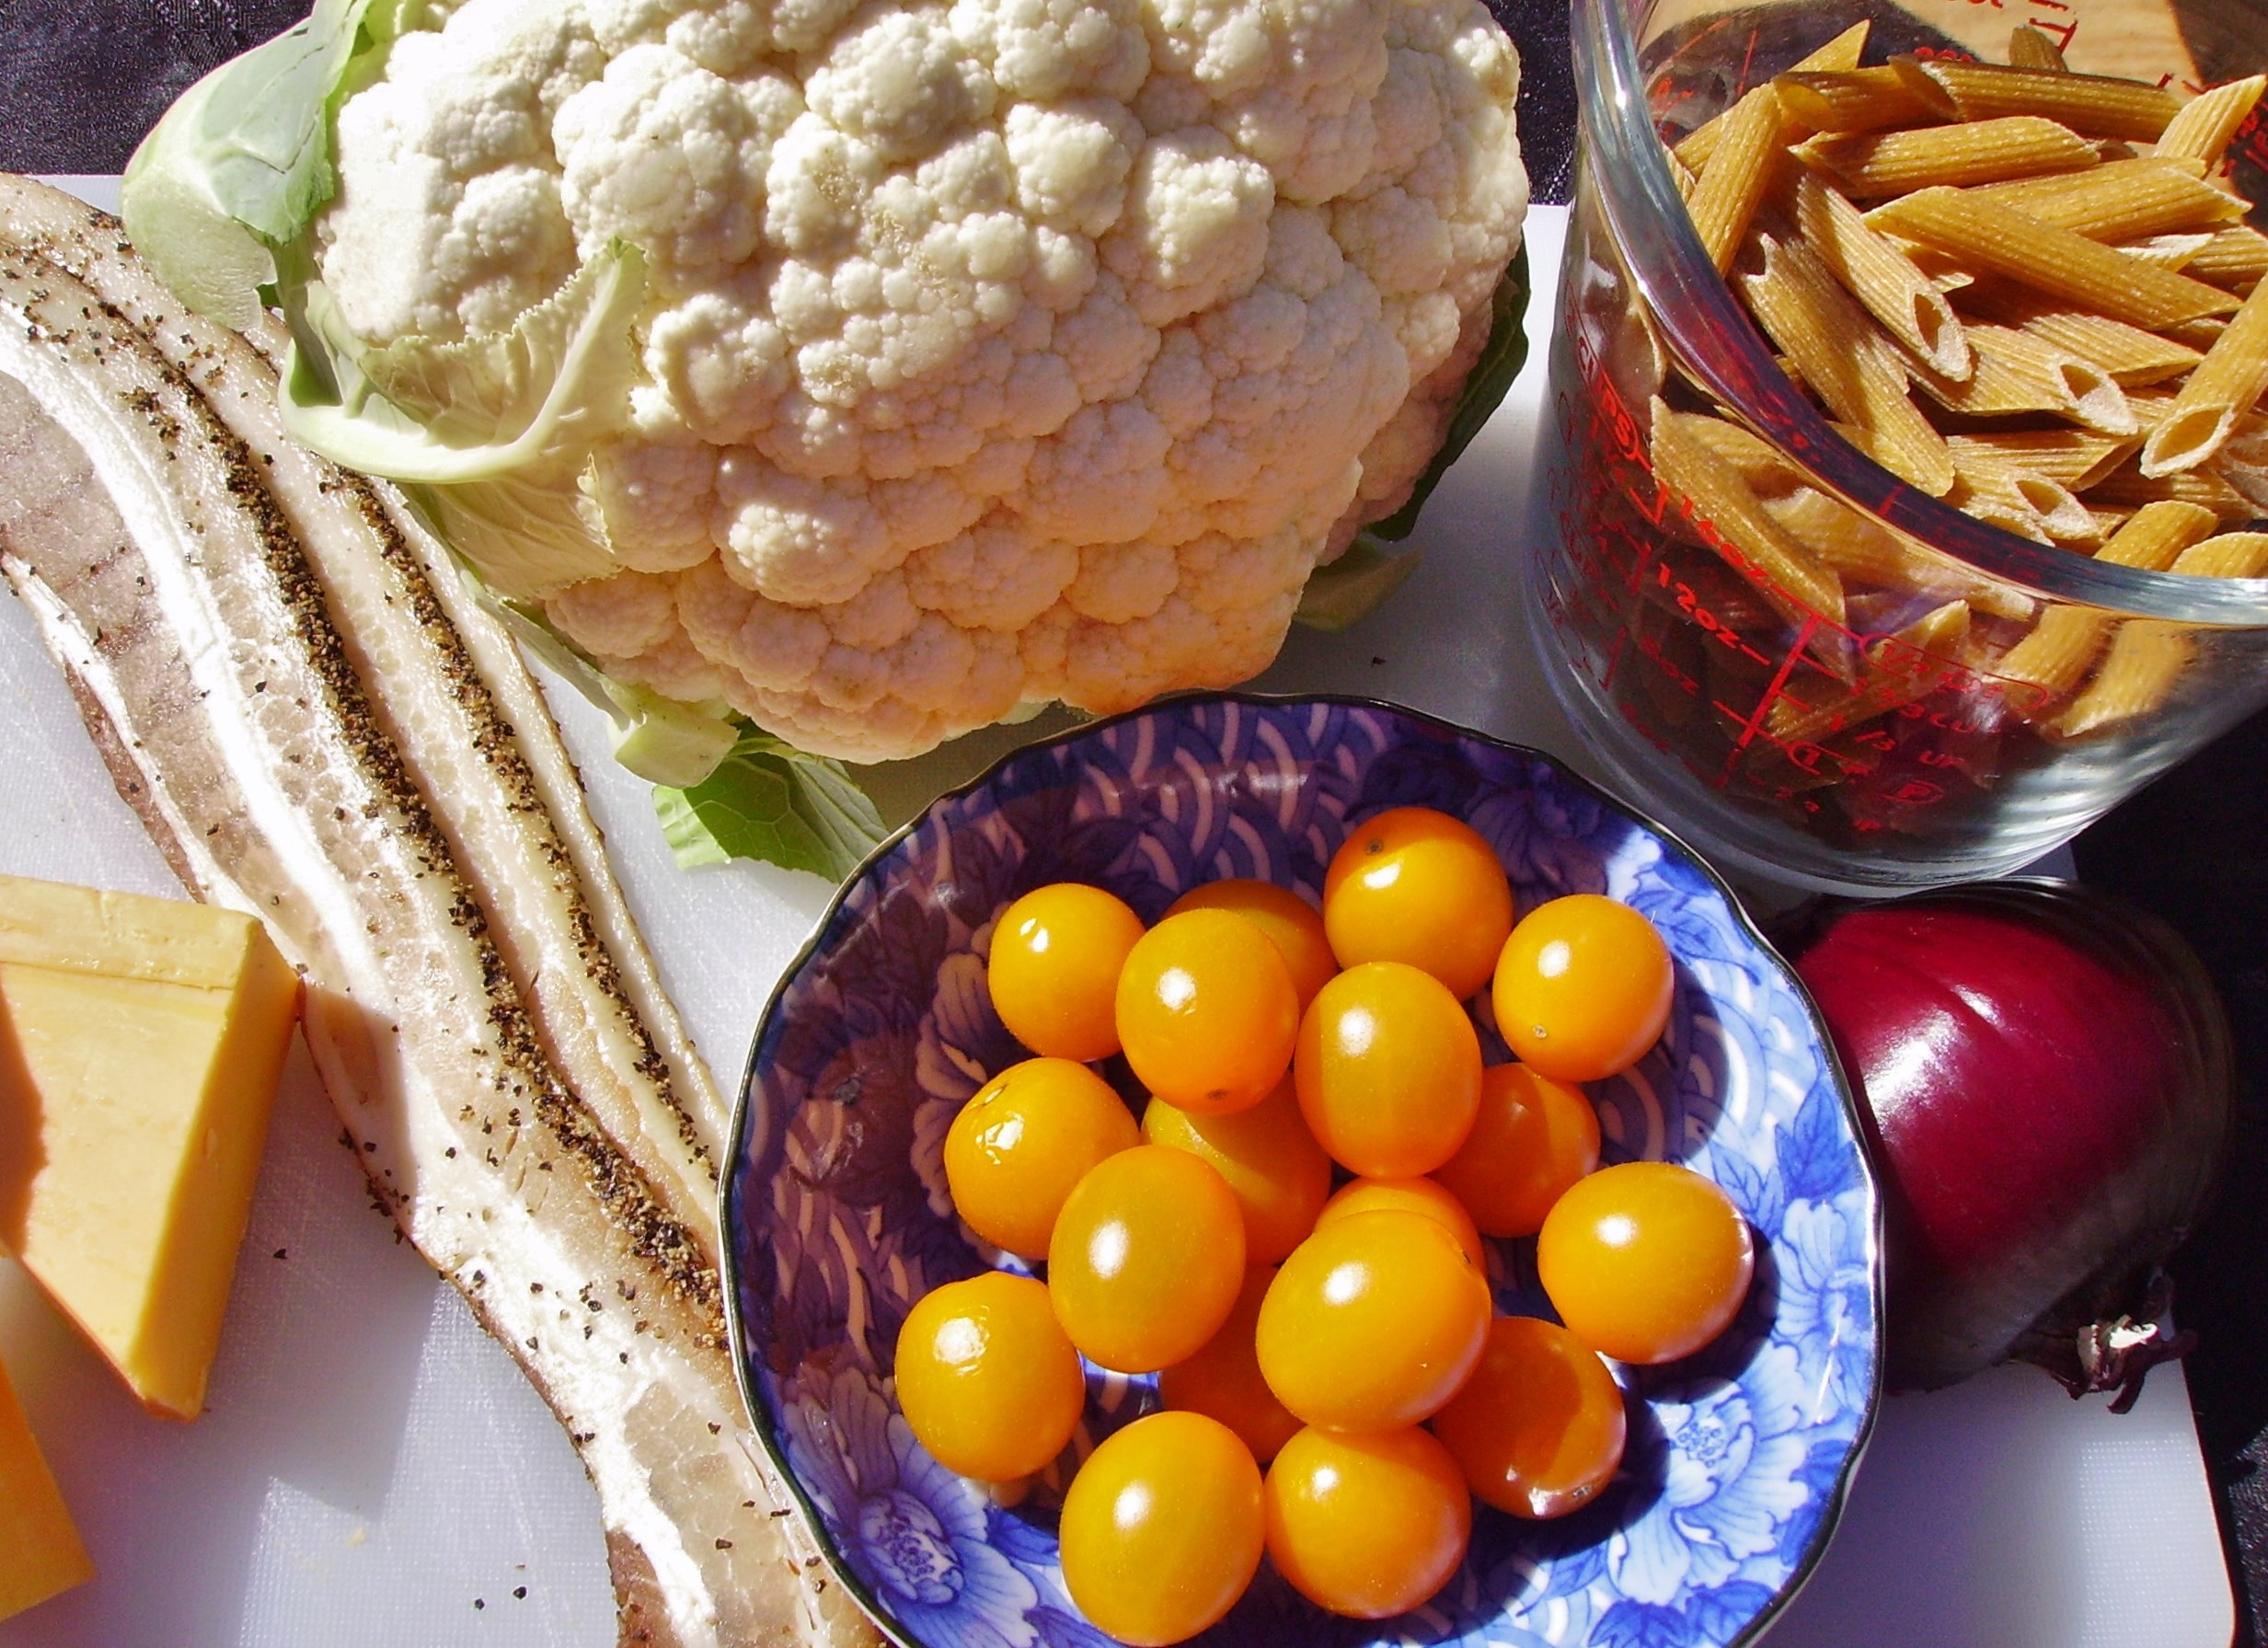
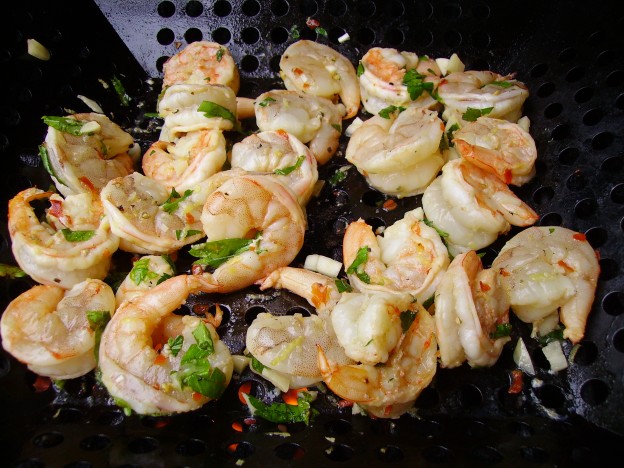
Starting with toasted sour dough bread cubes,DIGITAL CAMERA 
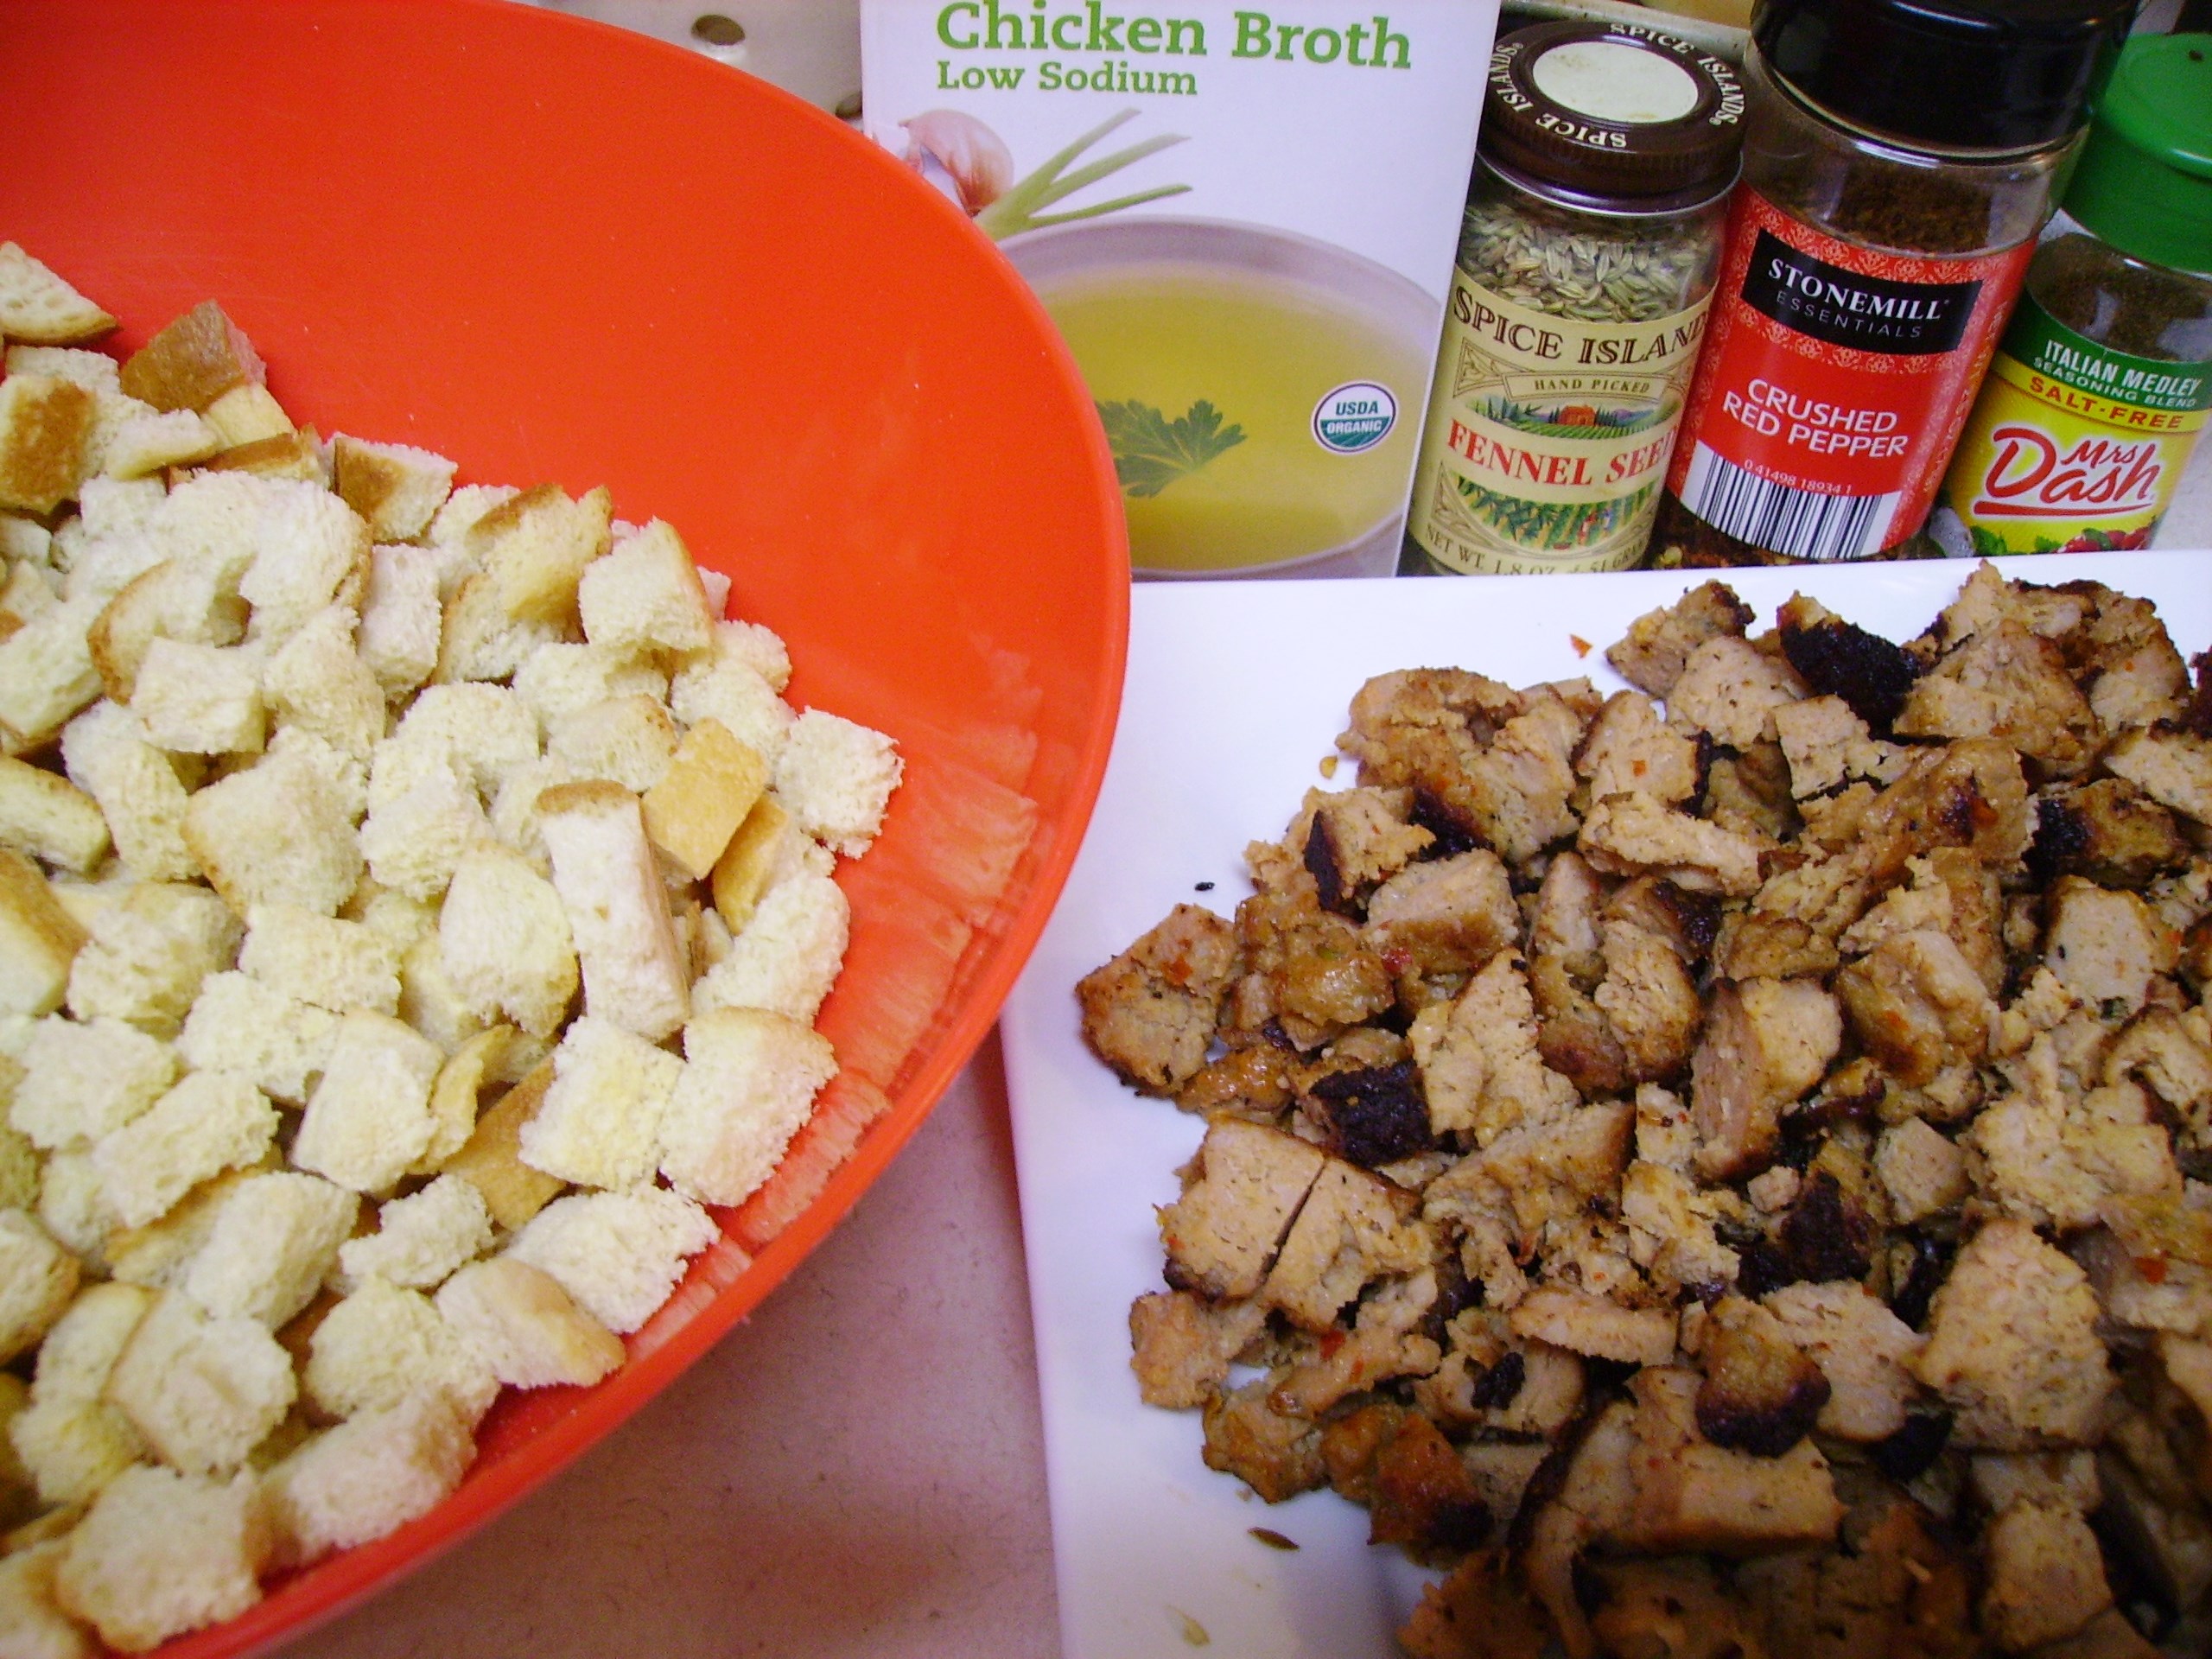
it became  a Cali-Itali creation with the addition of Italian sausage, artichokes, spinach and more than a little onion and garlic.DIGITAL CAMERA

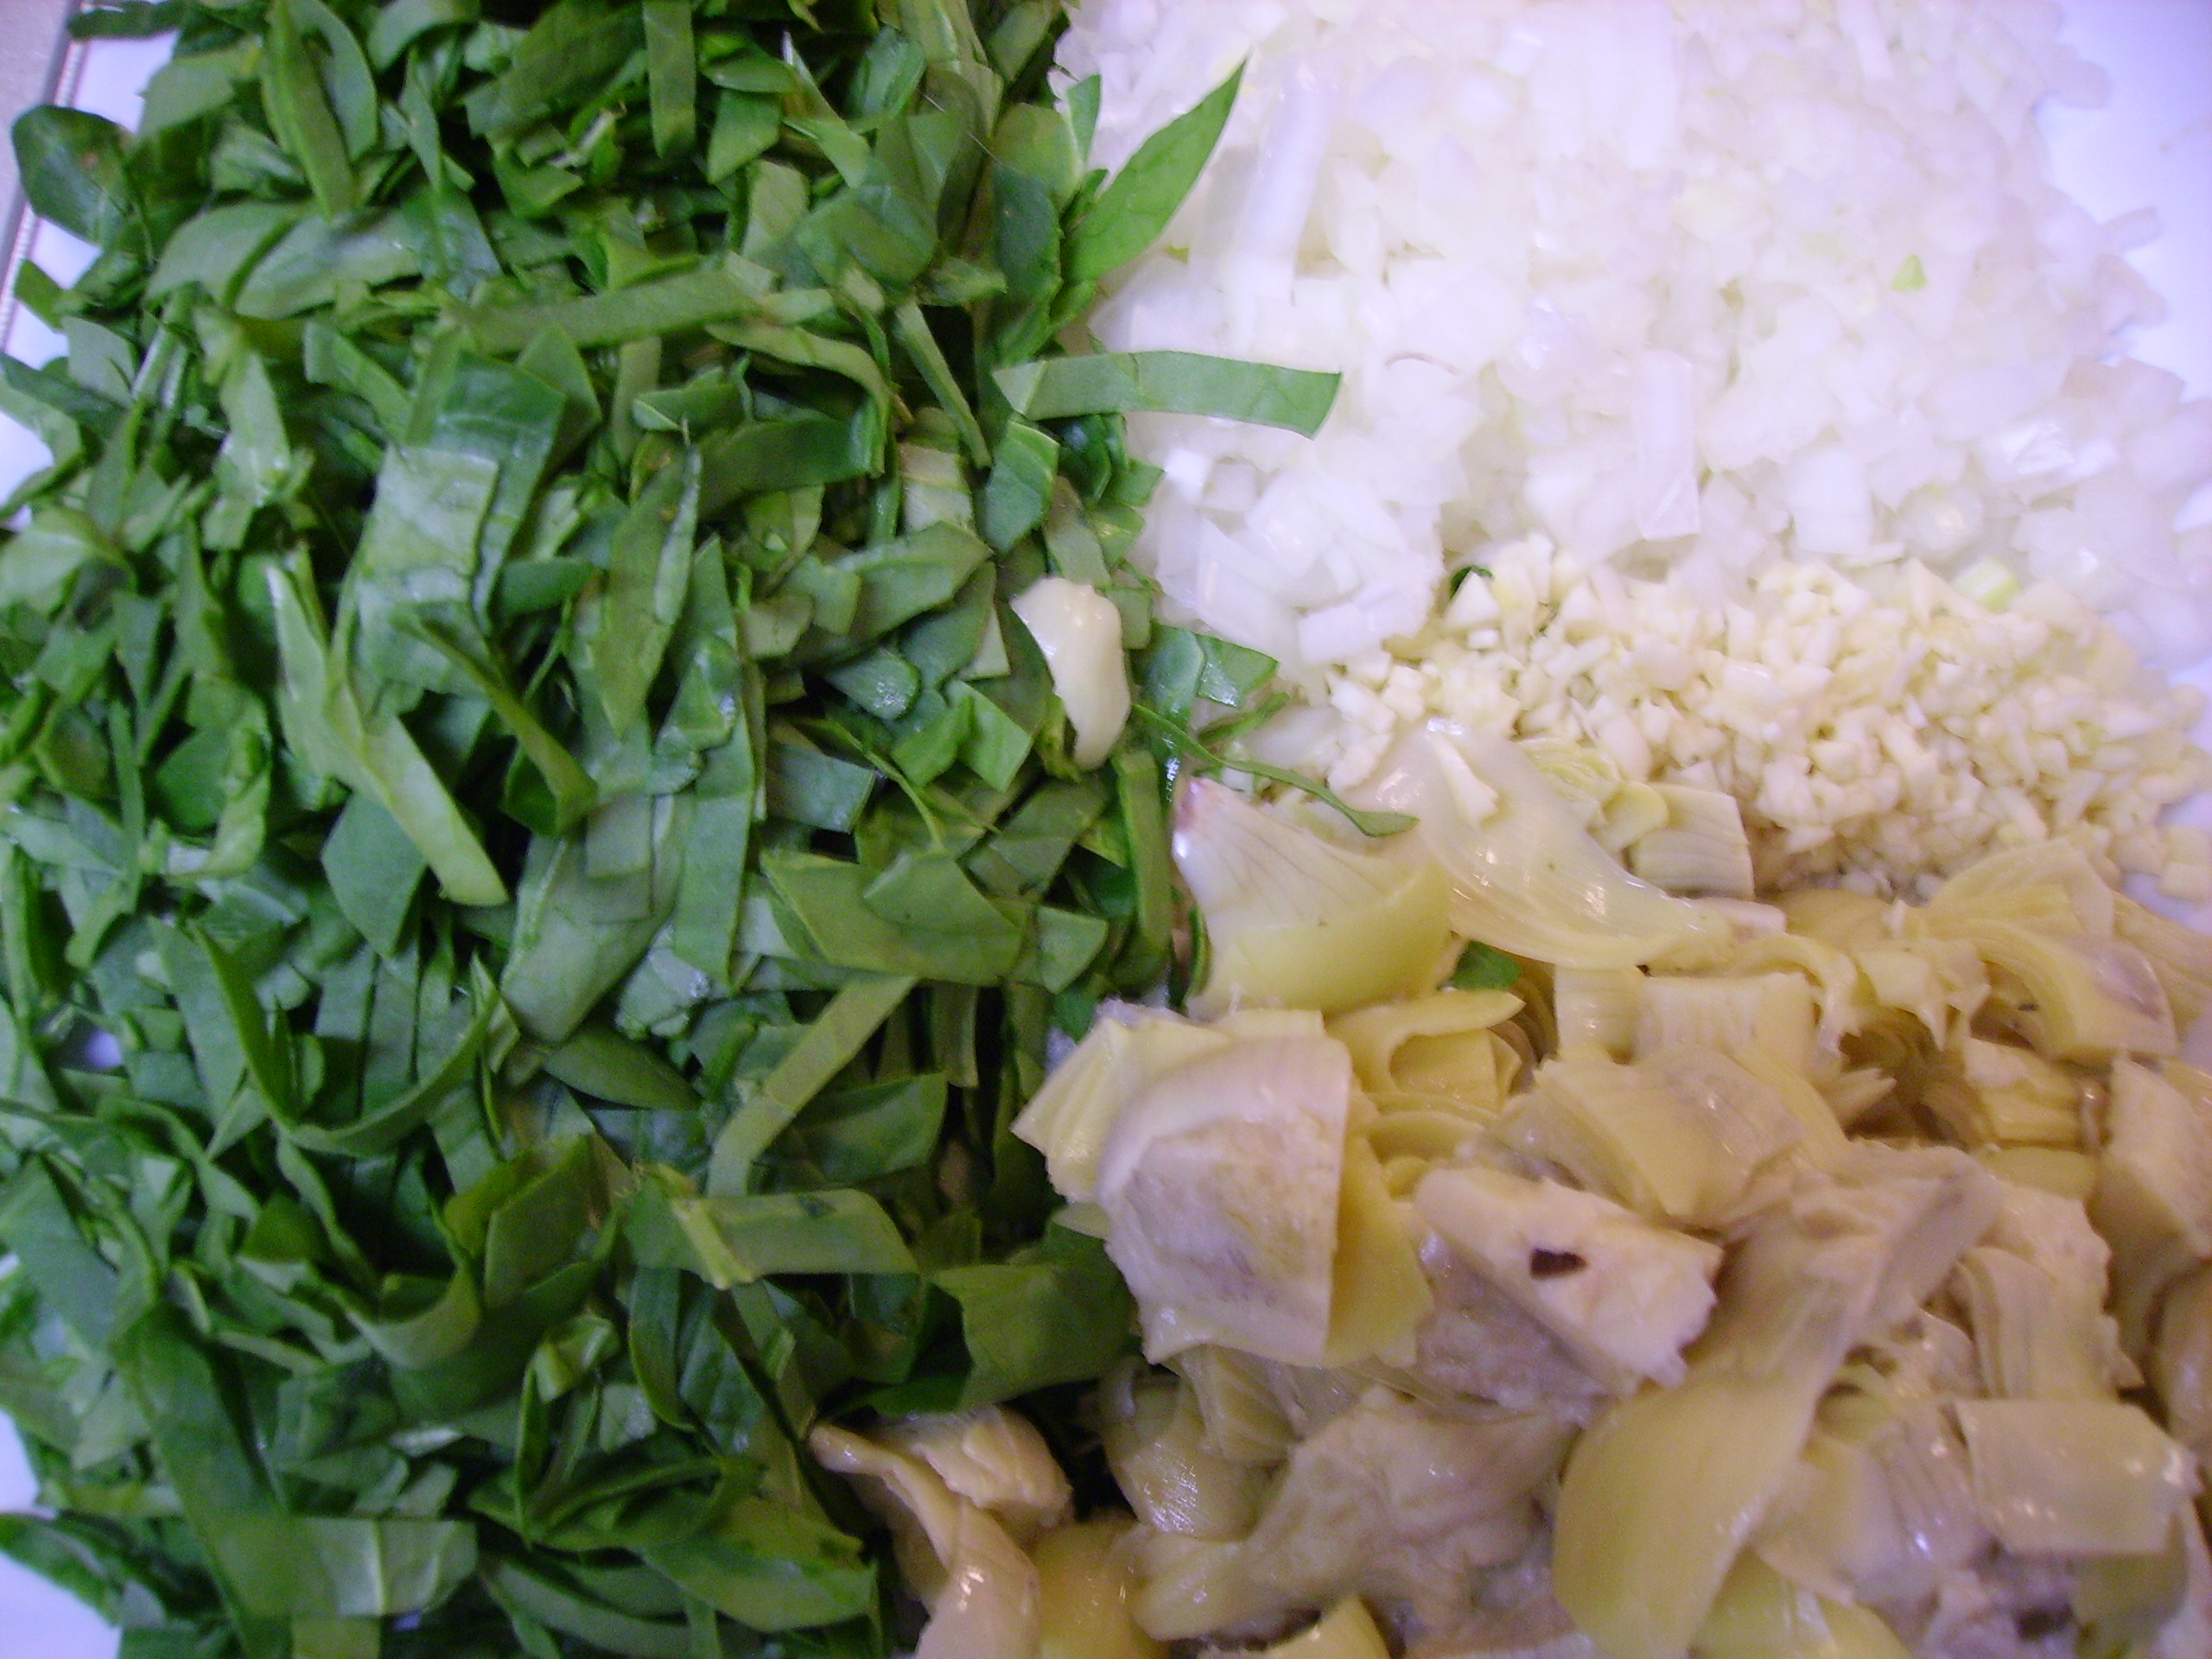
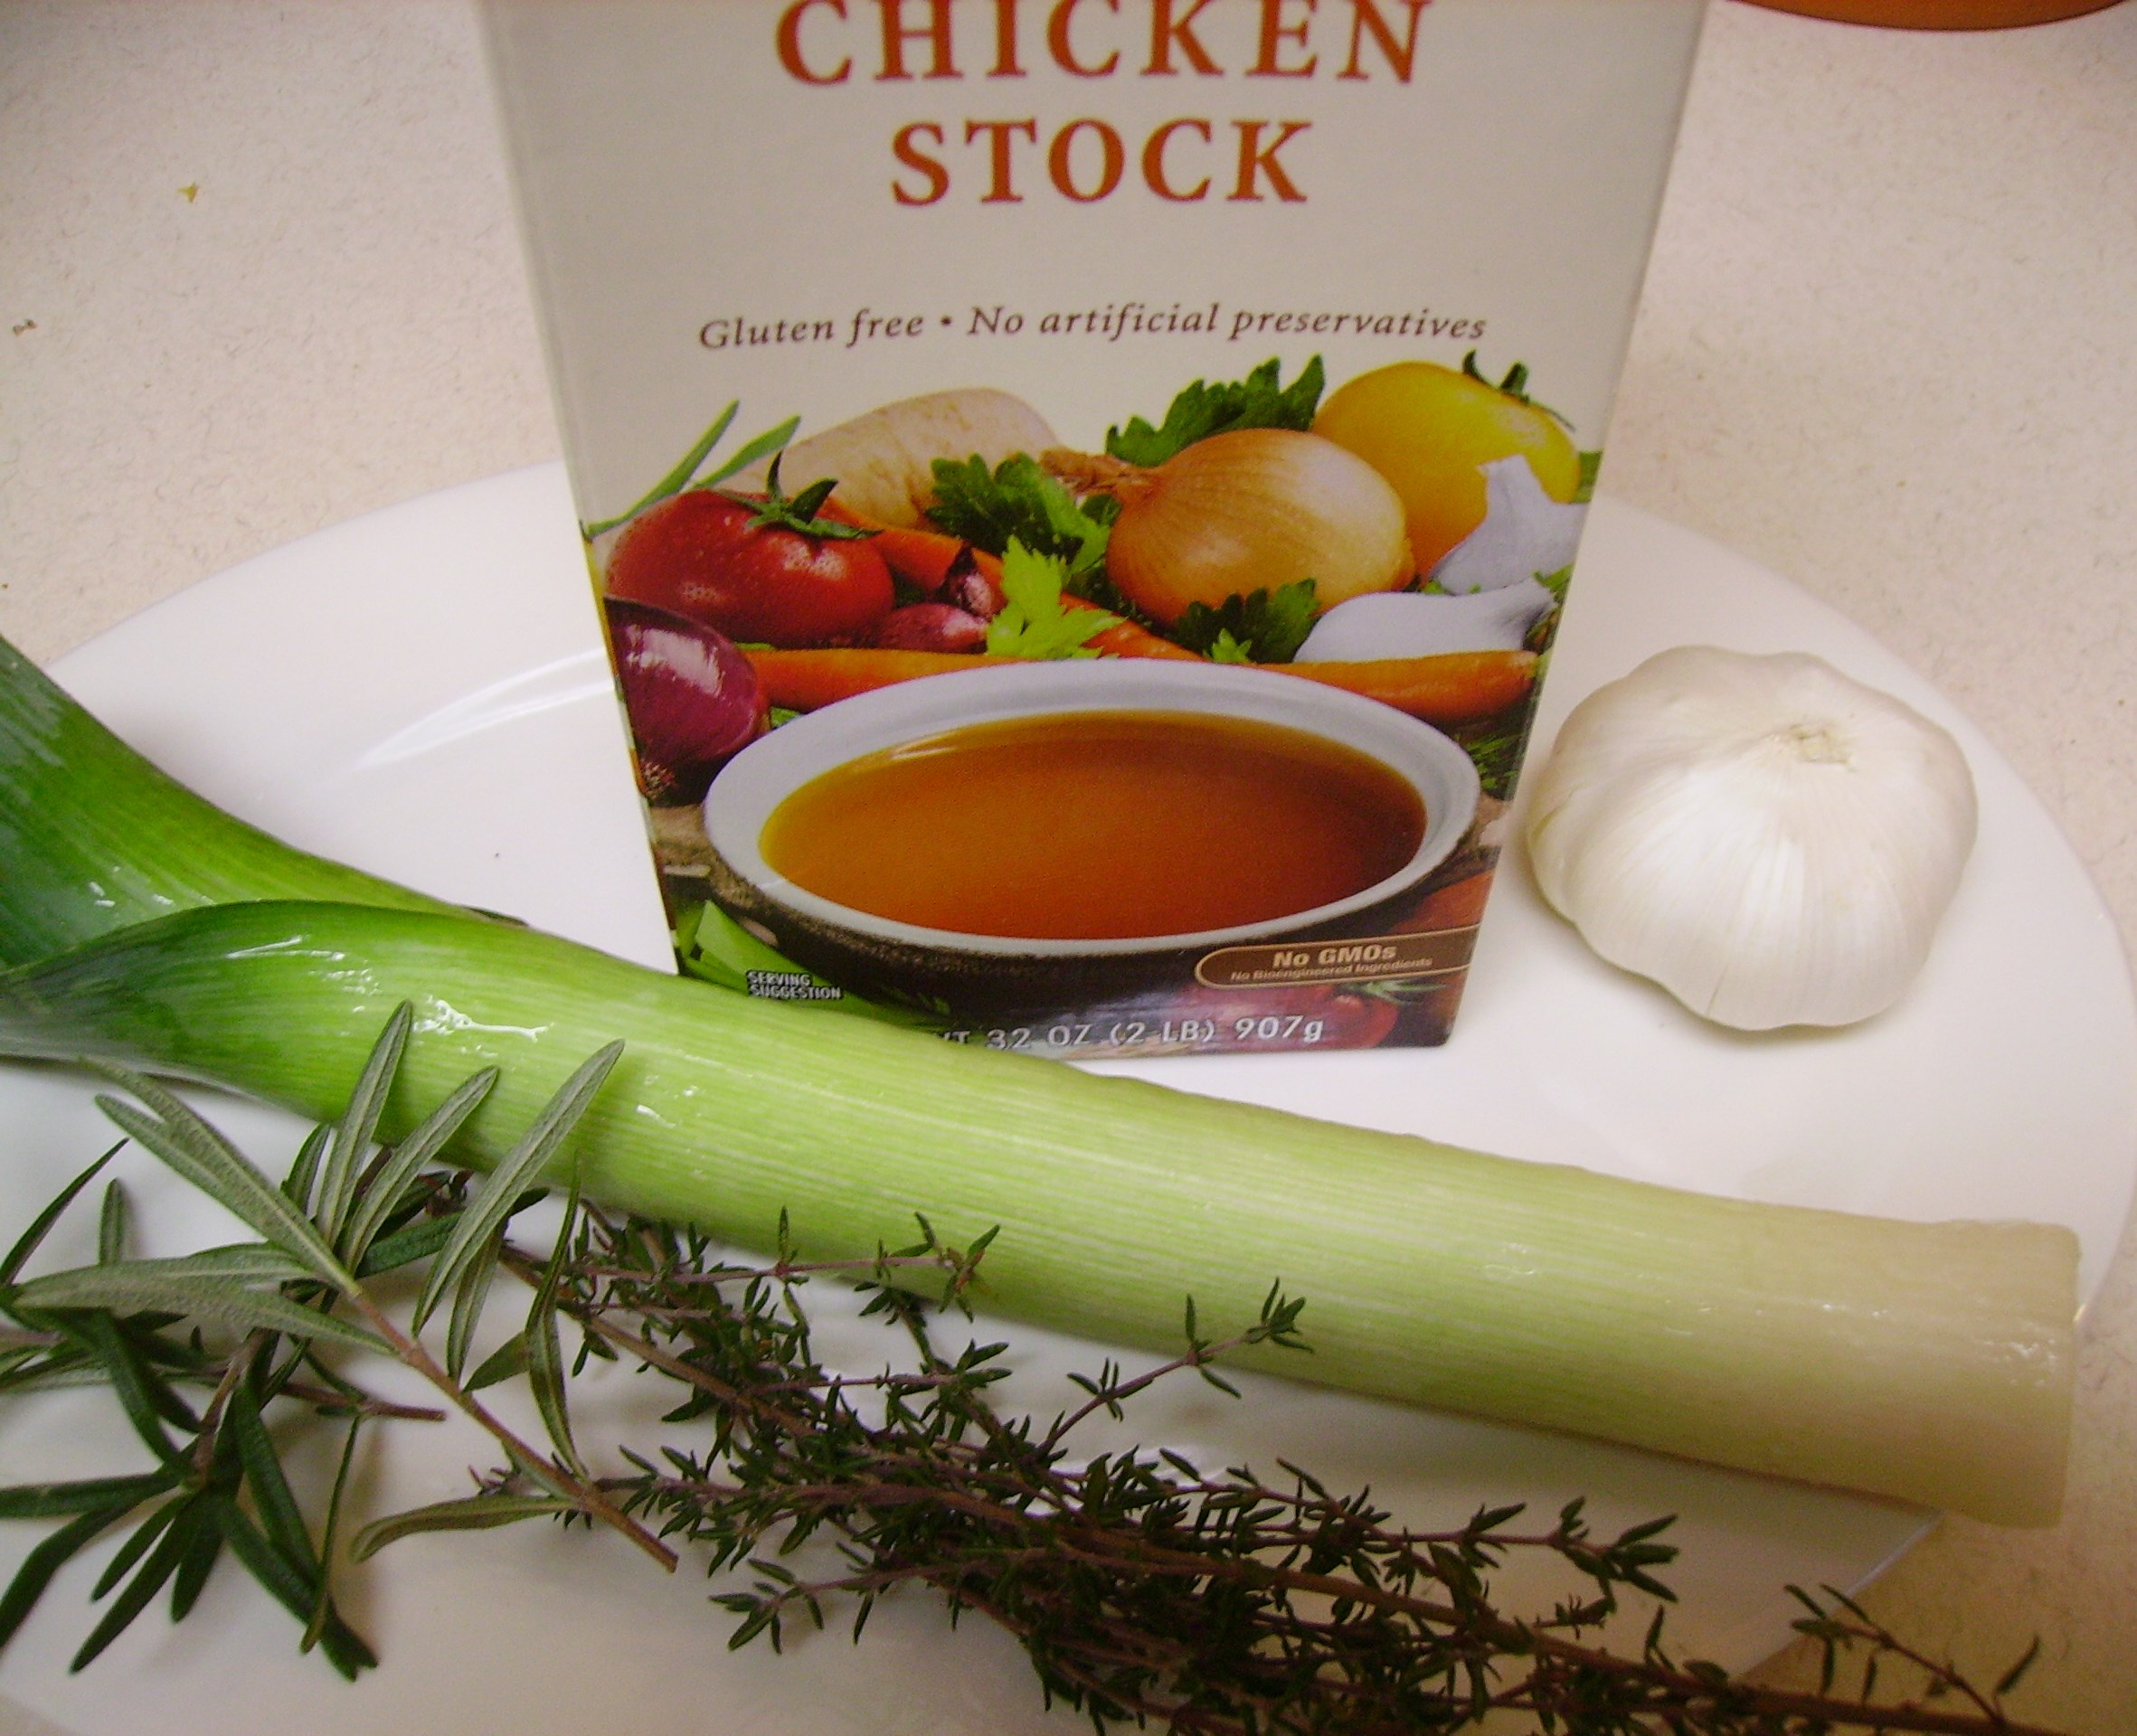
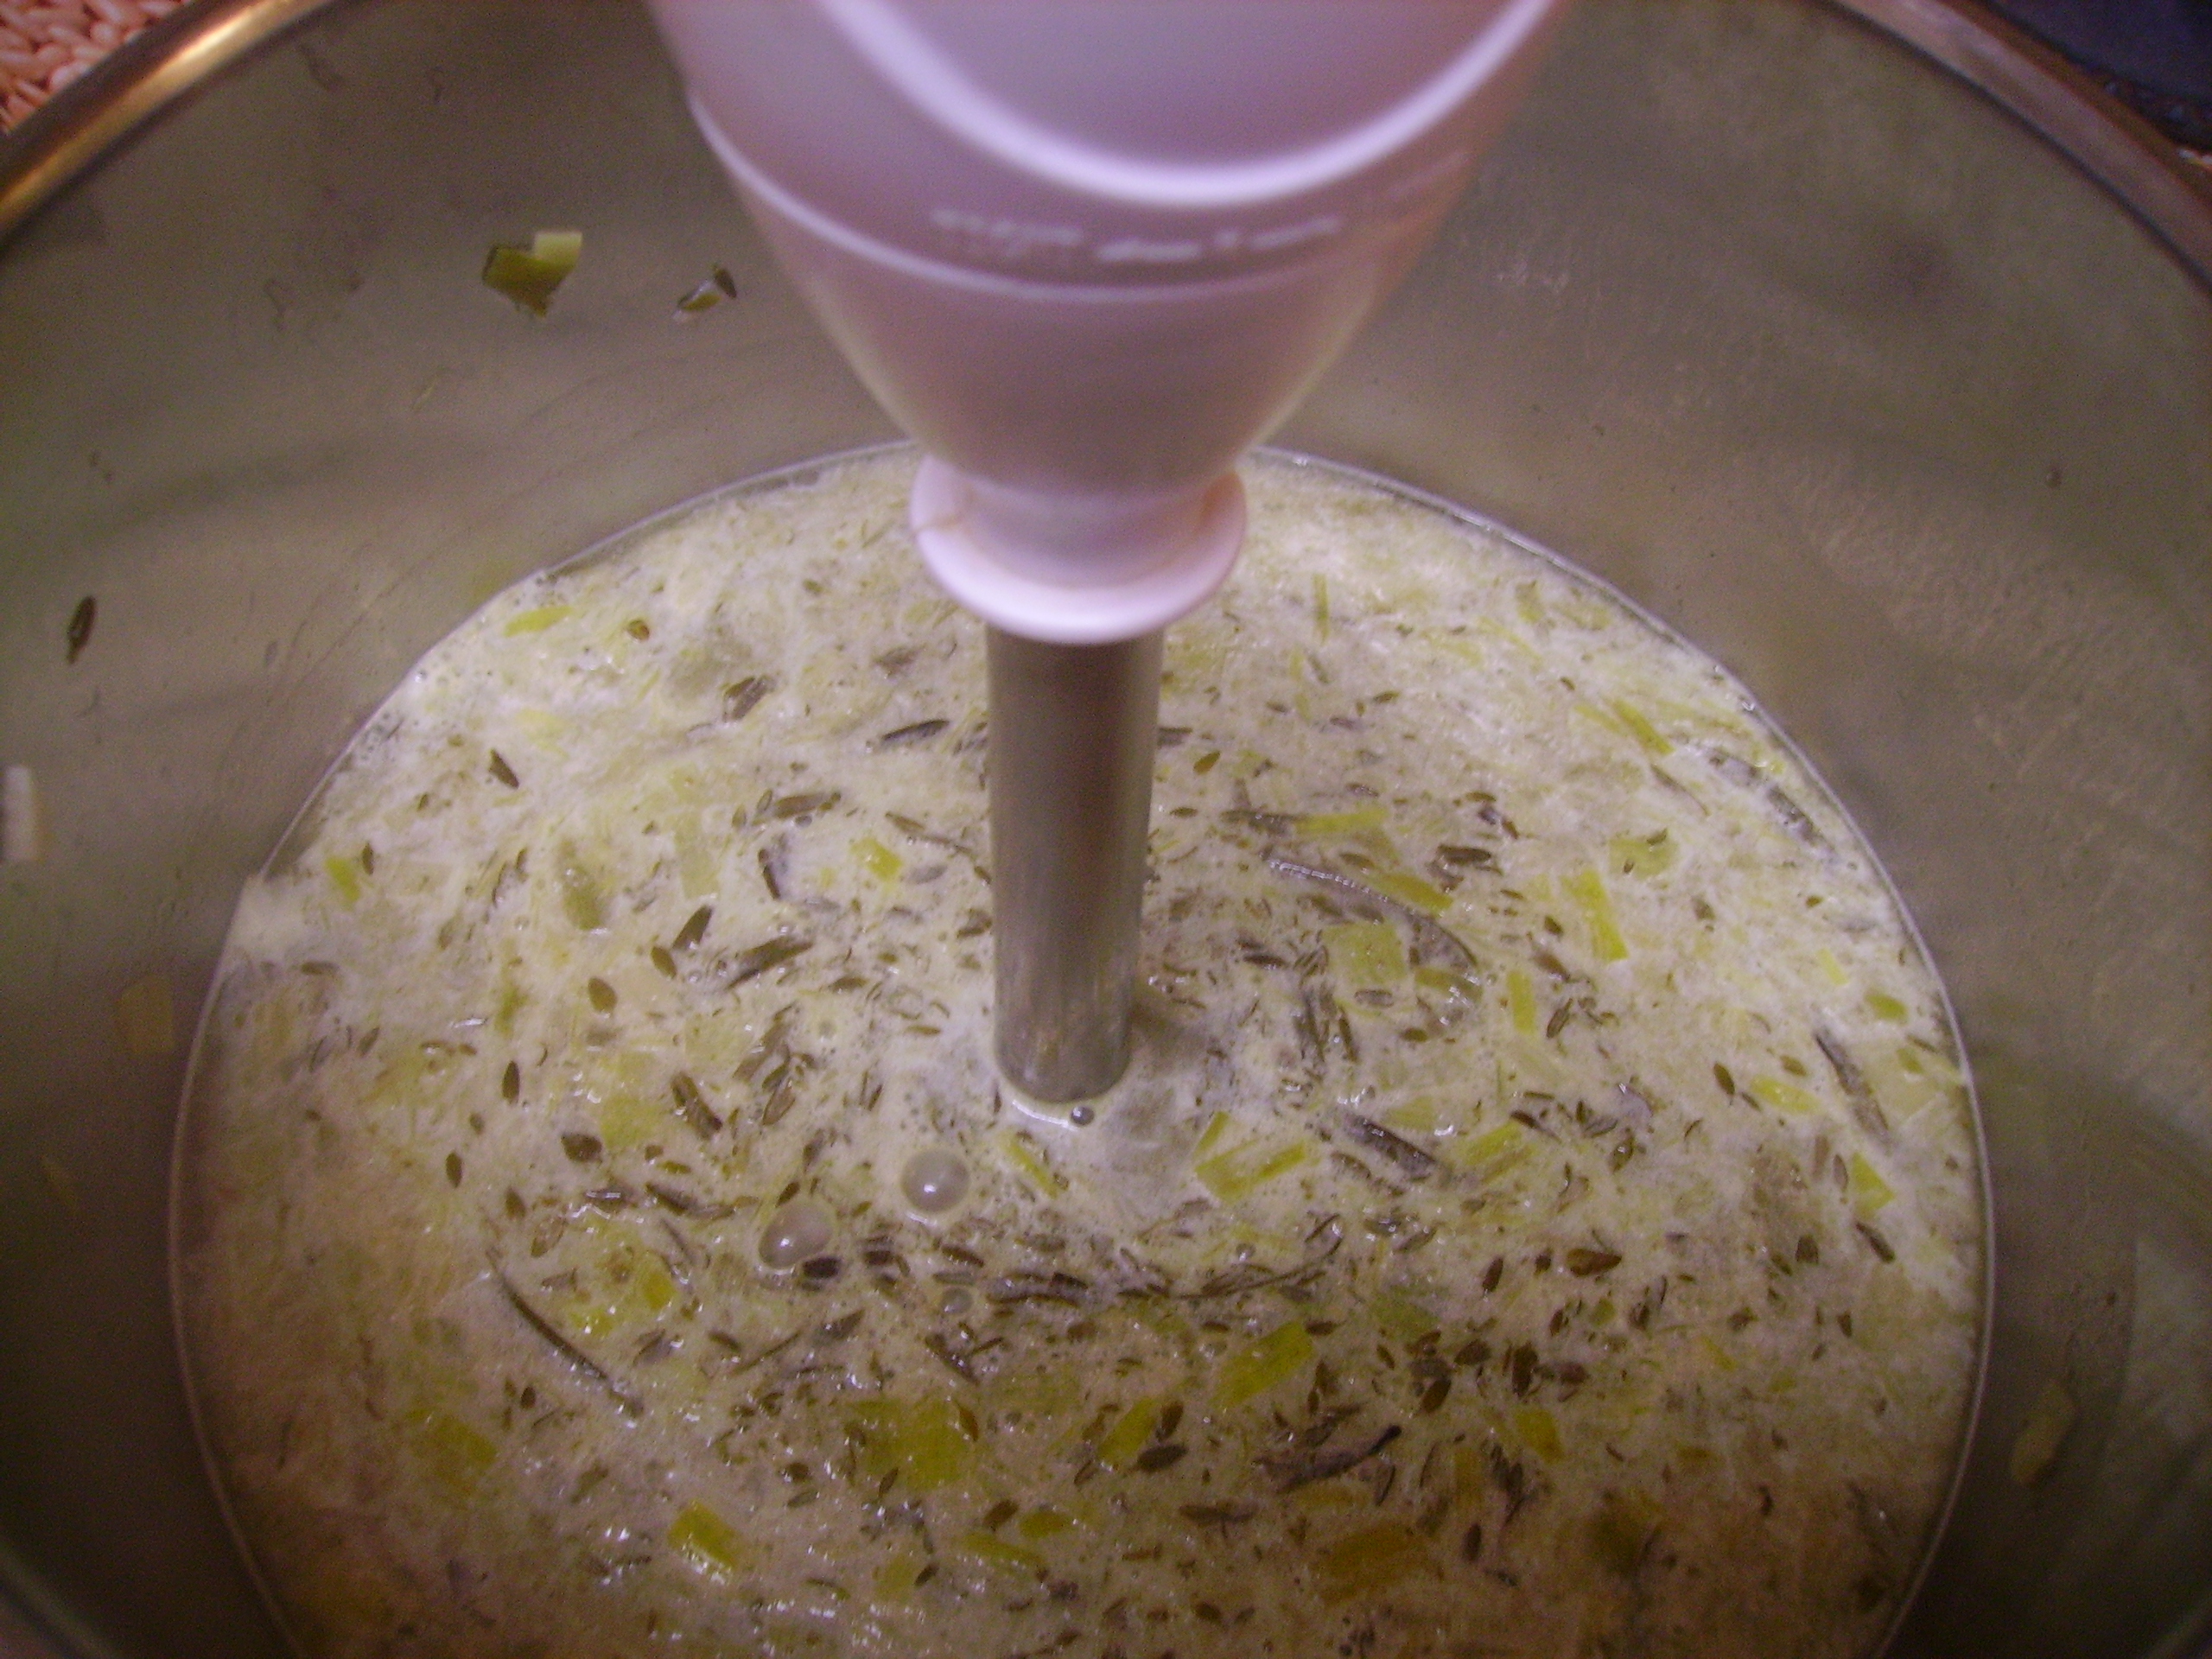
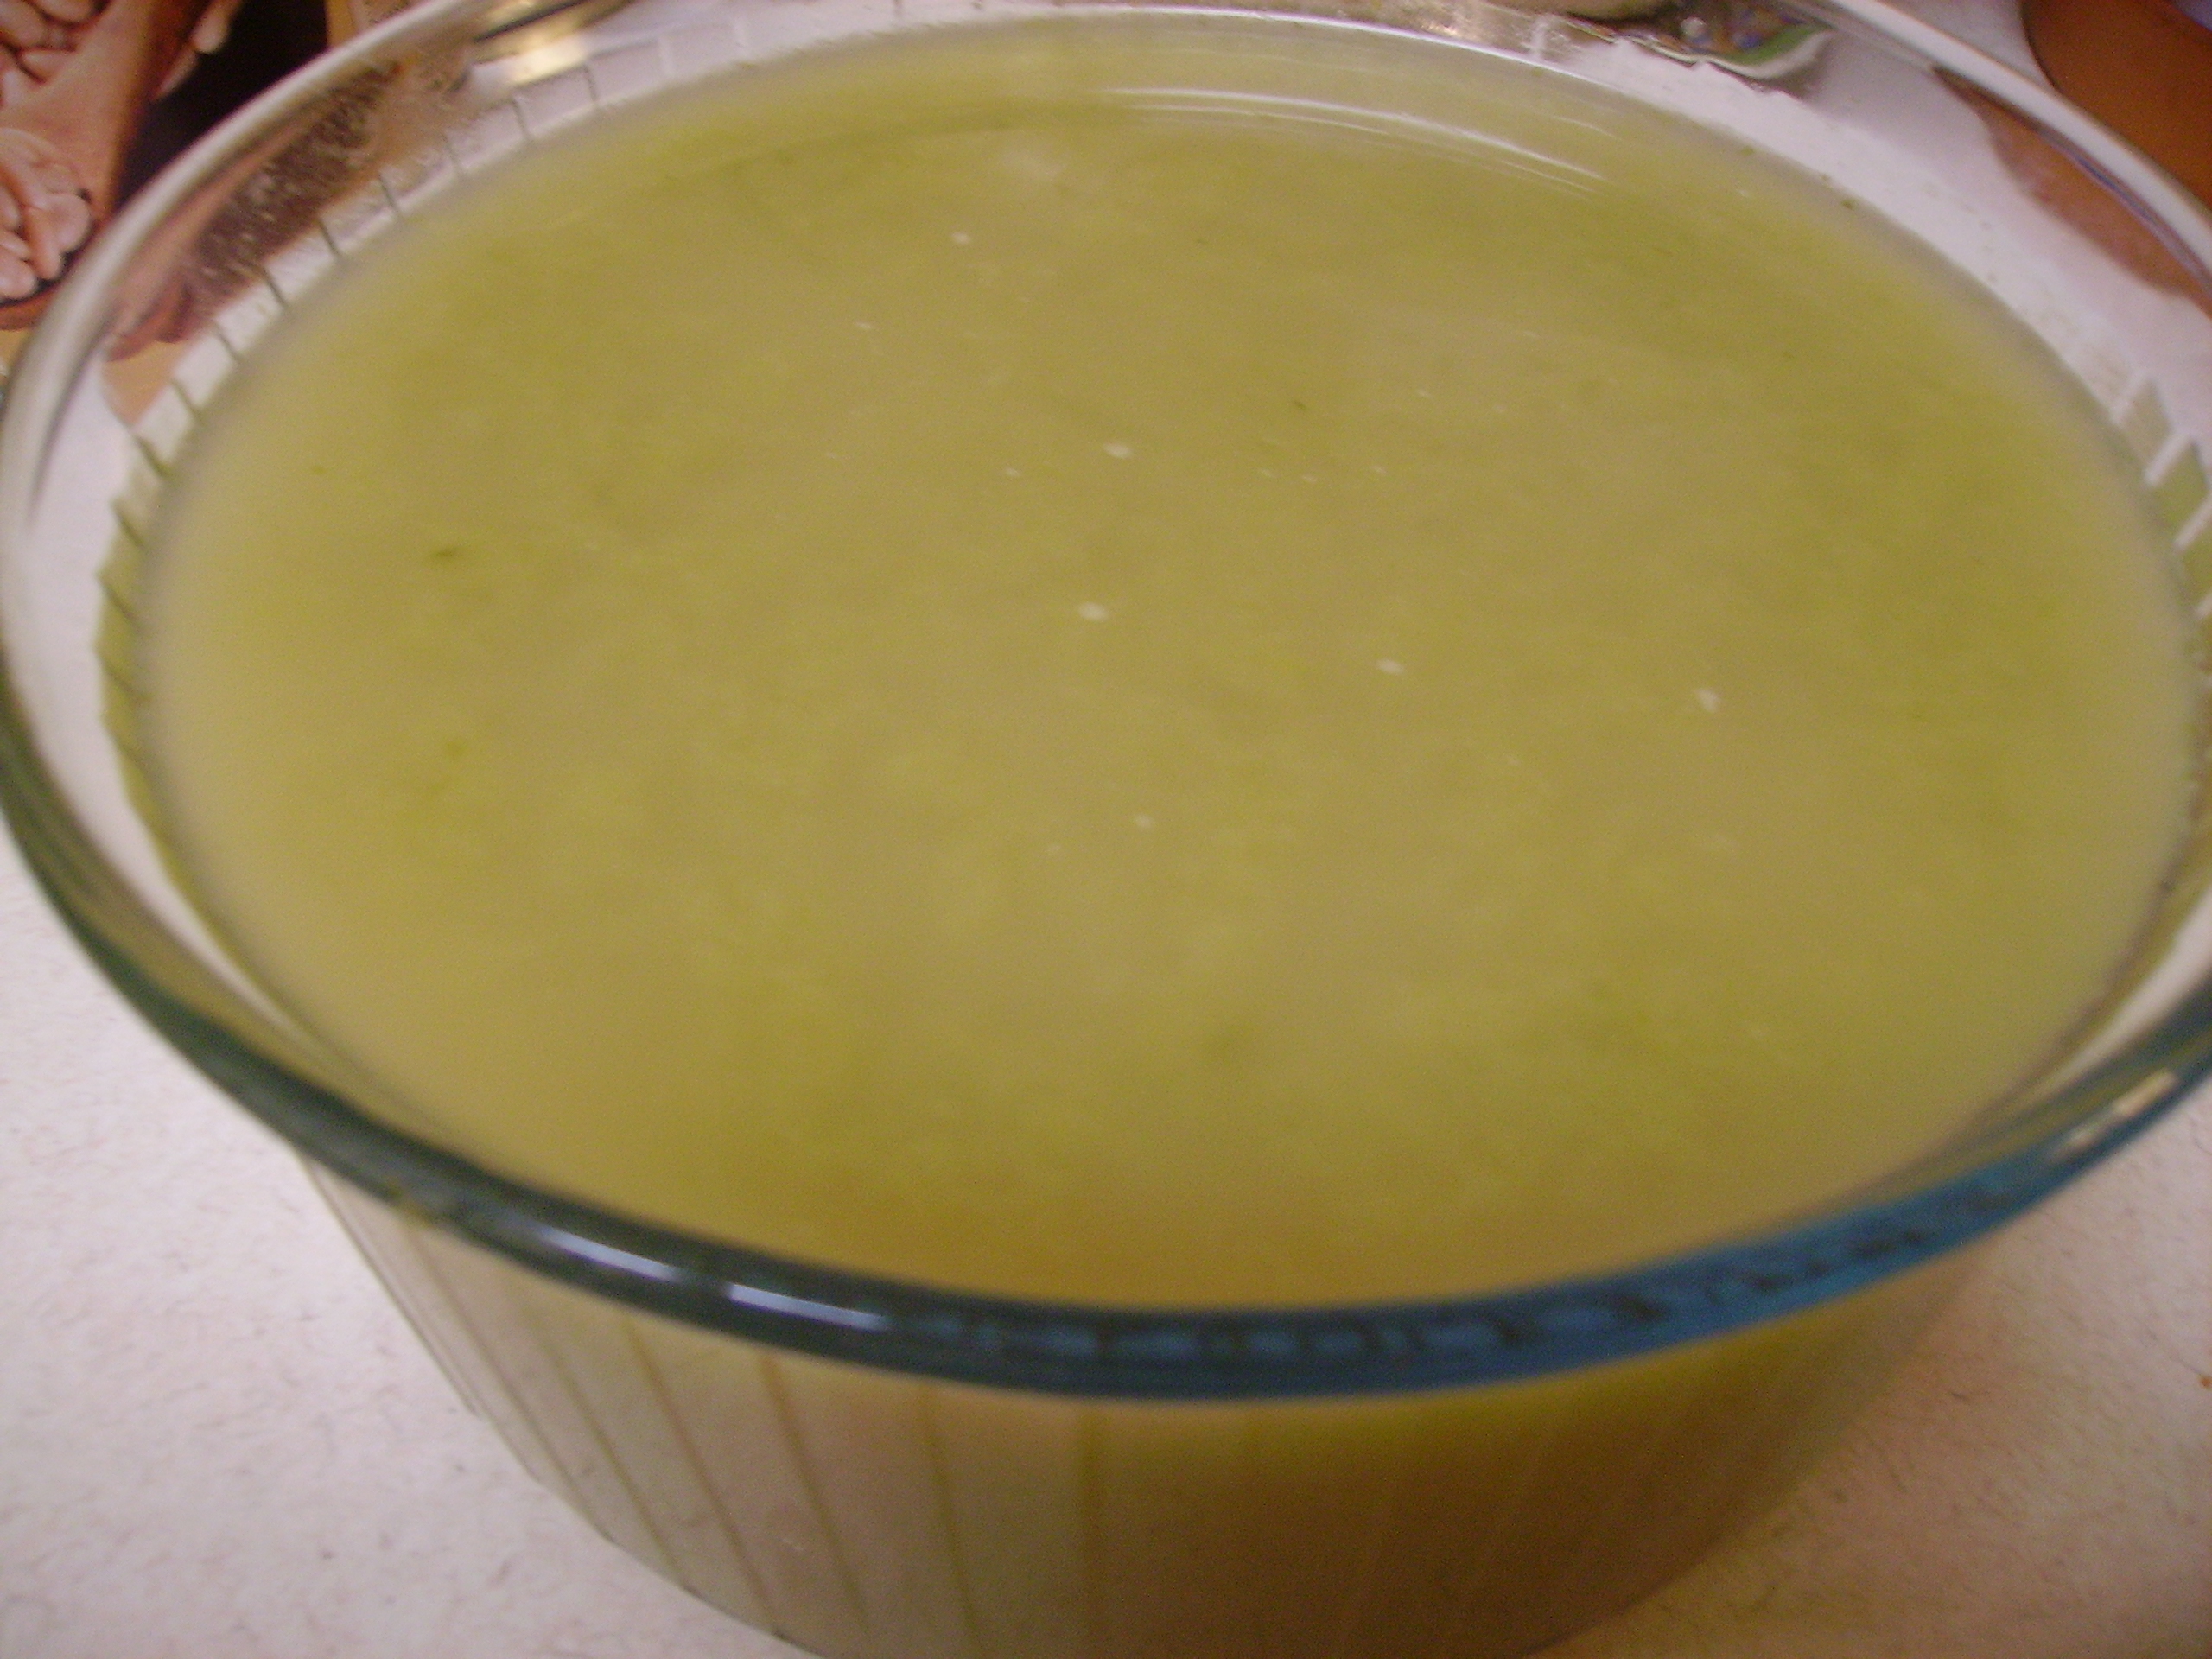
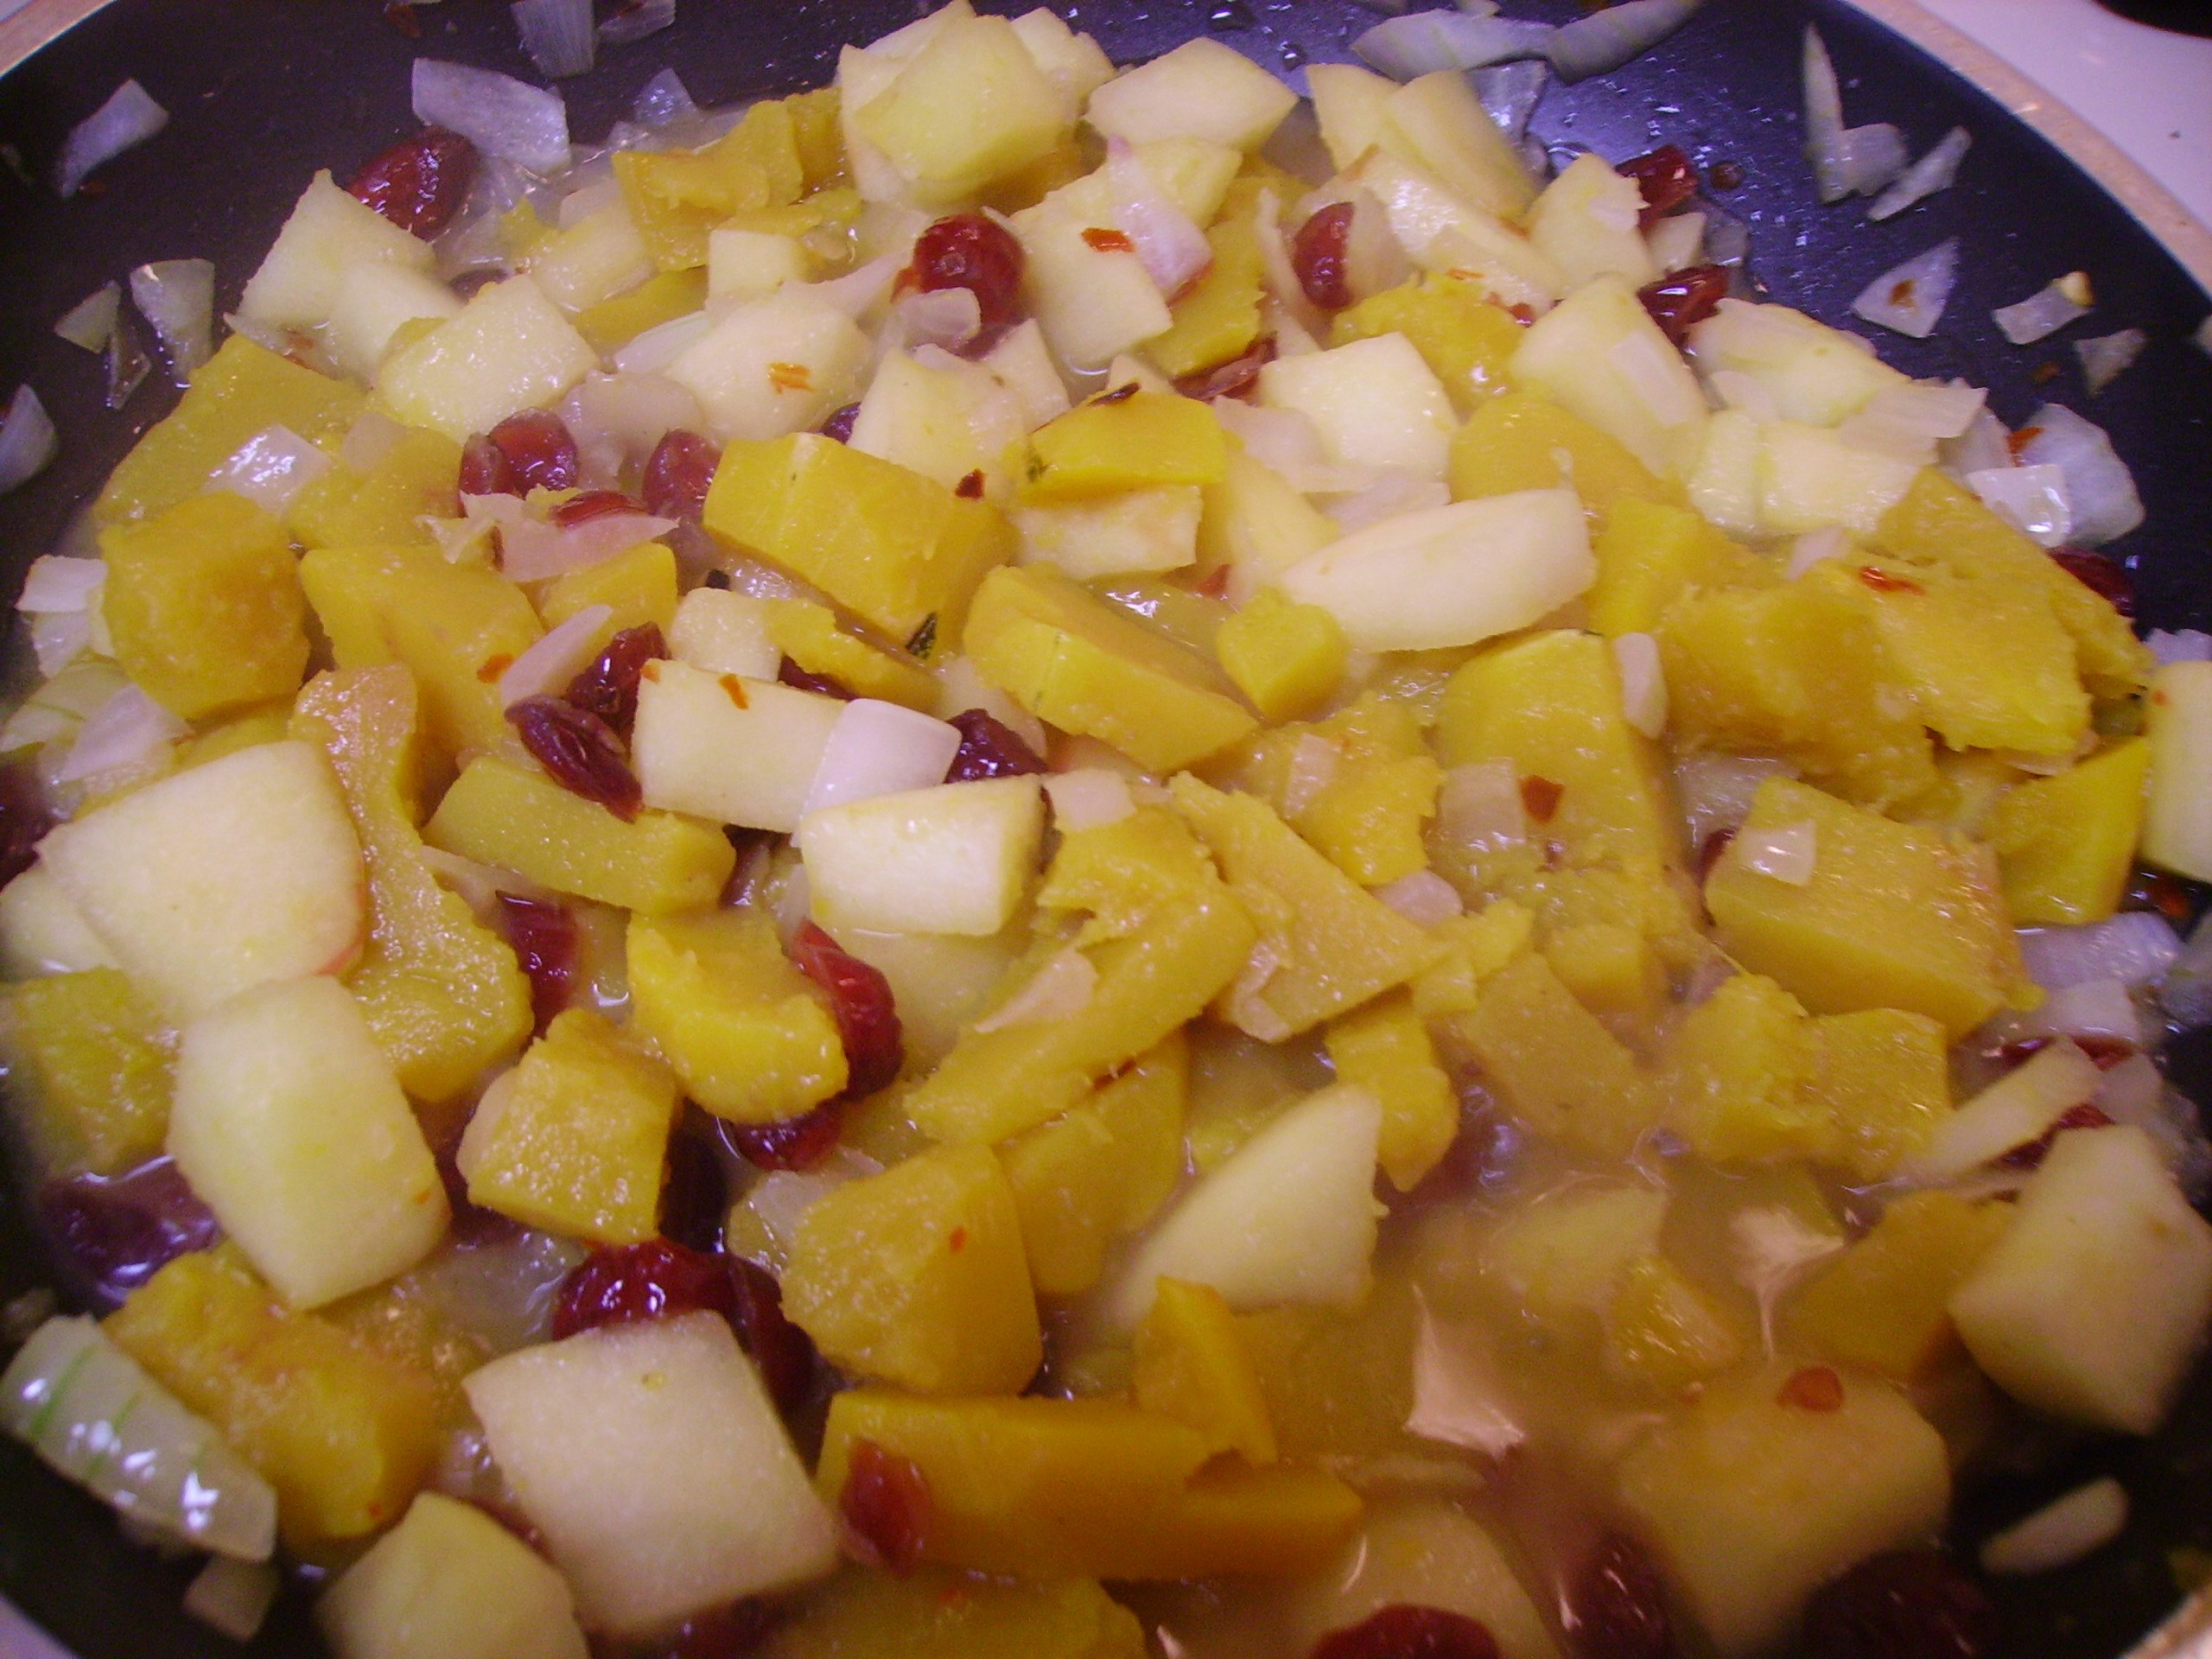
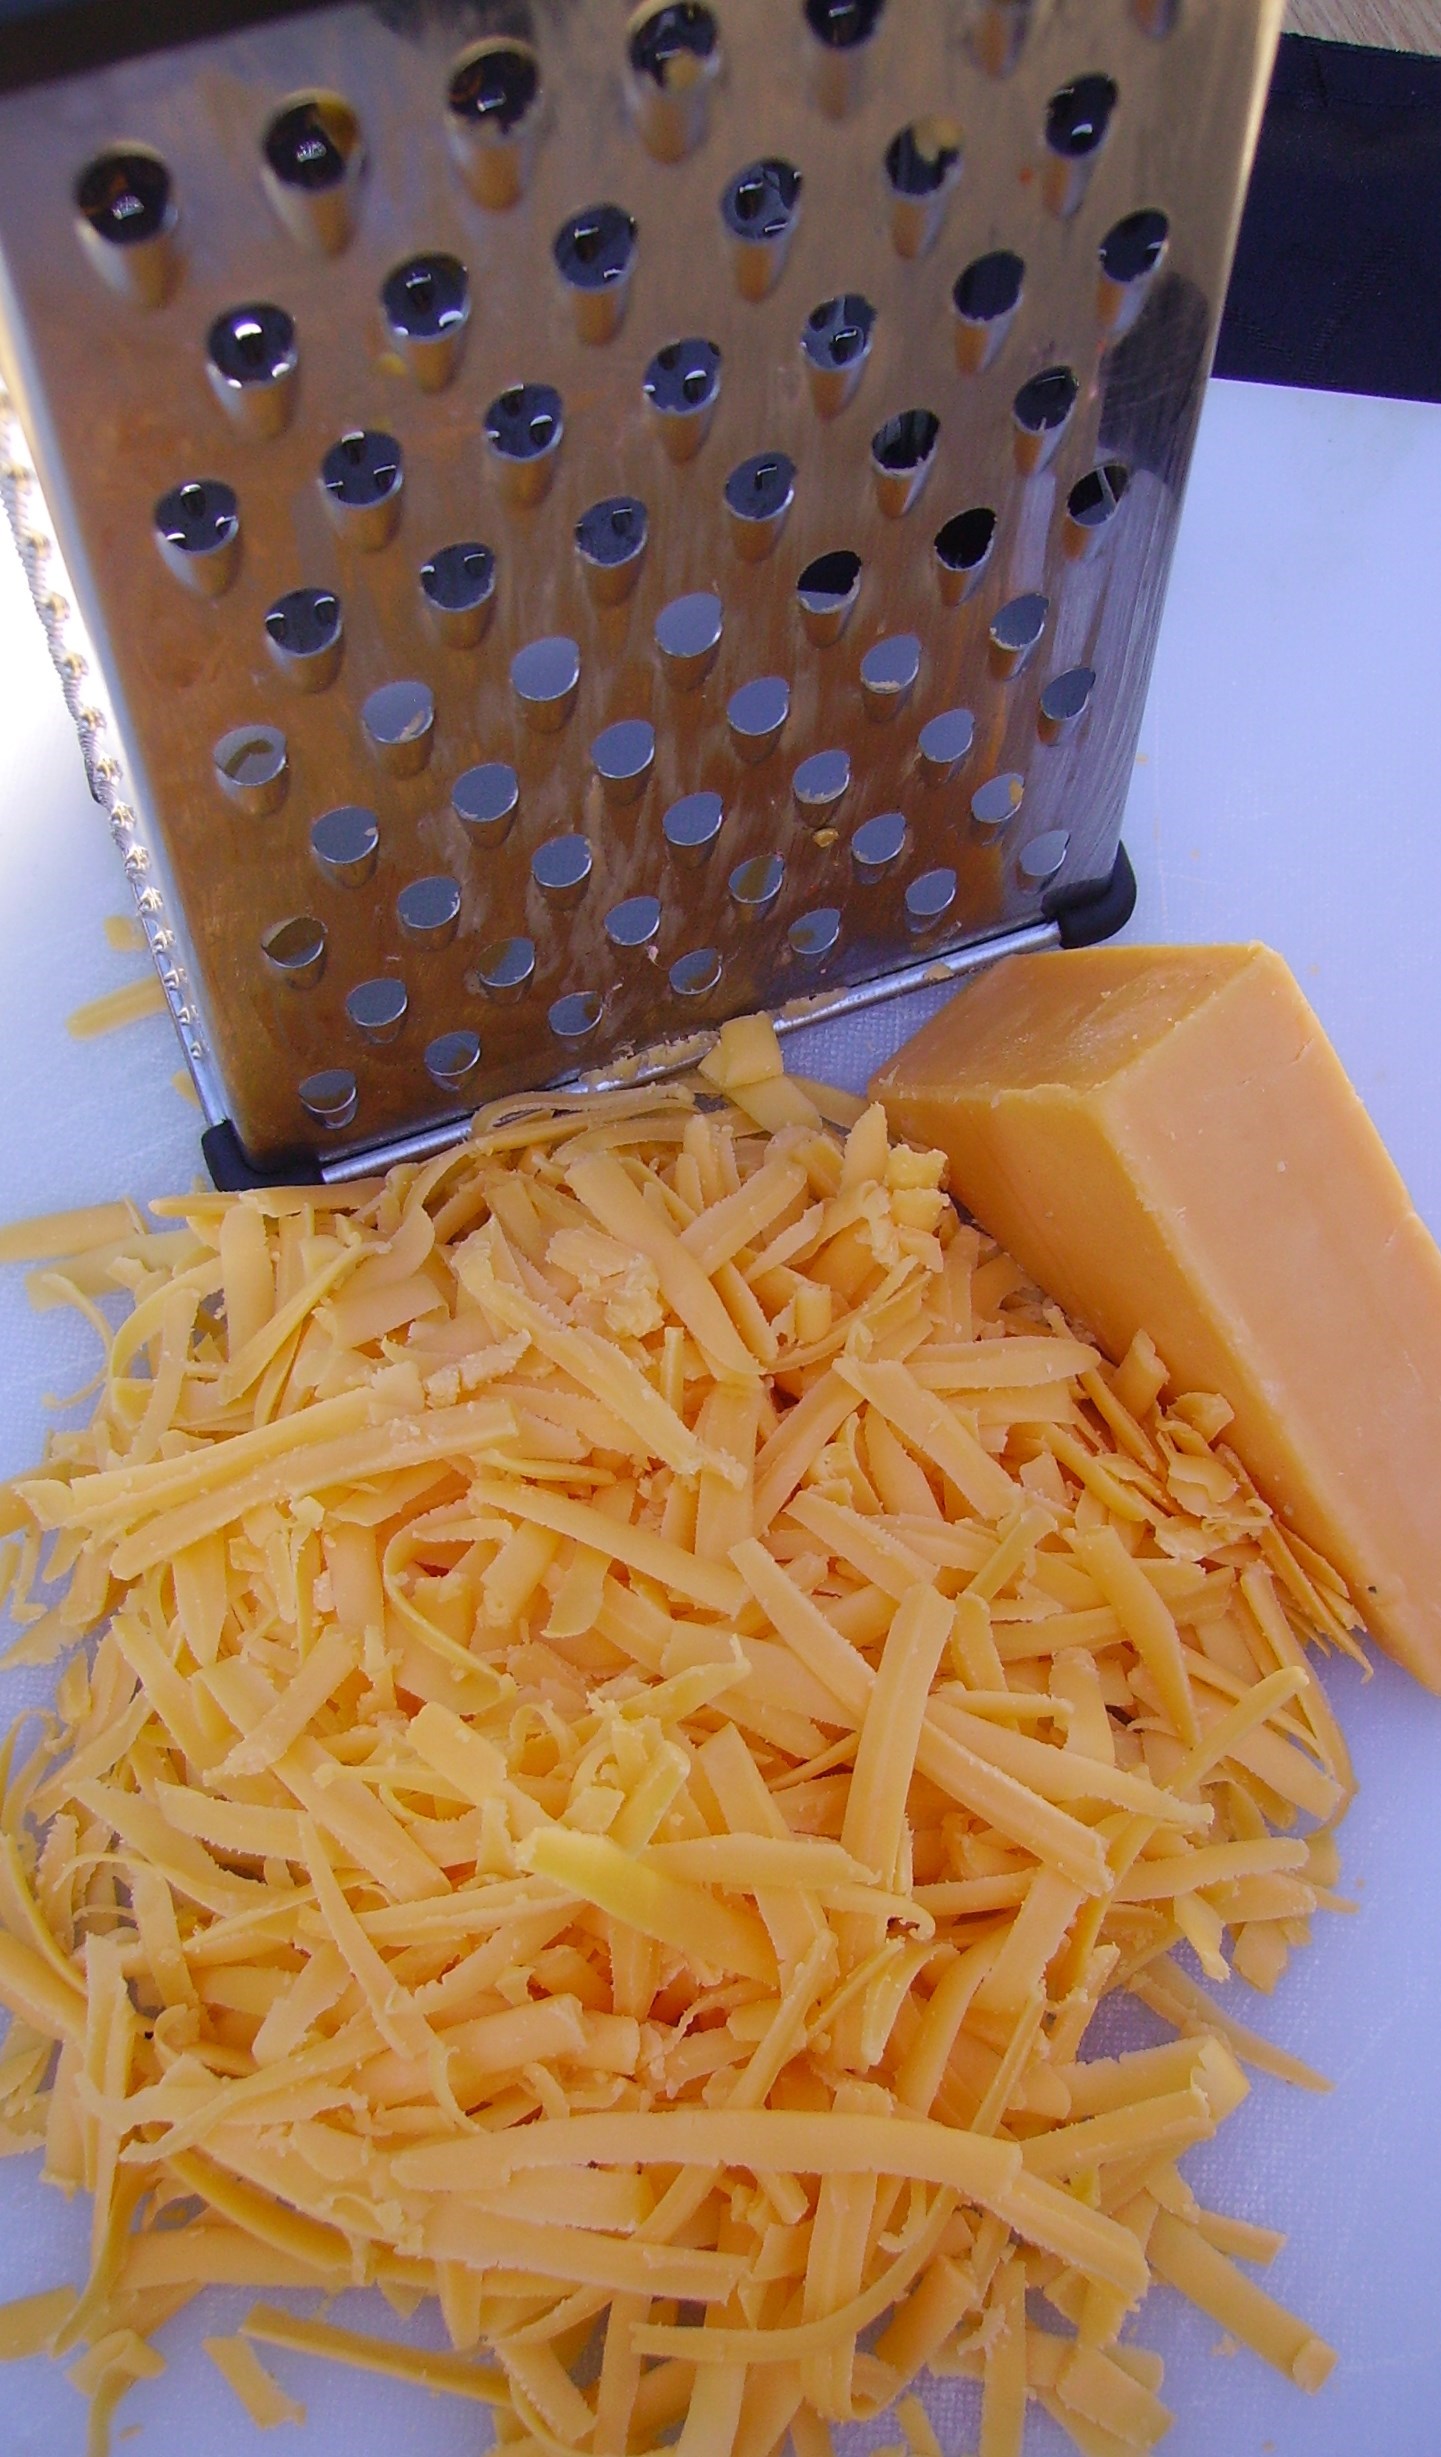
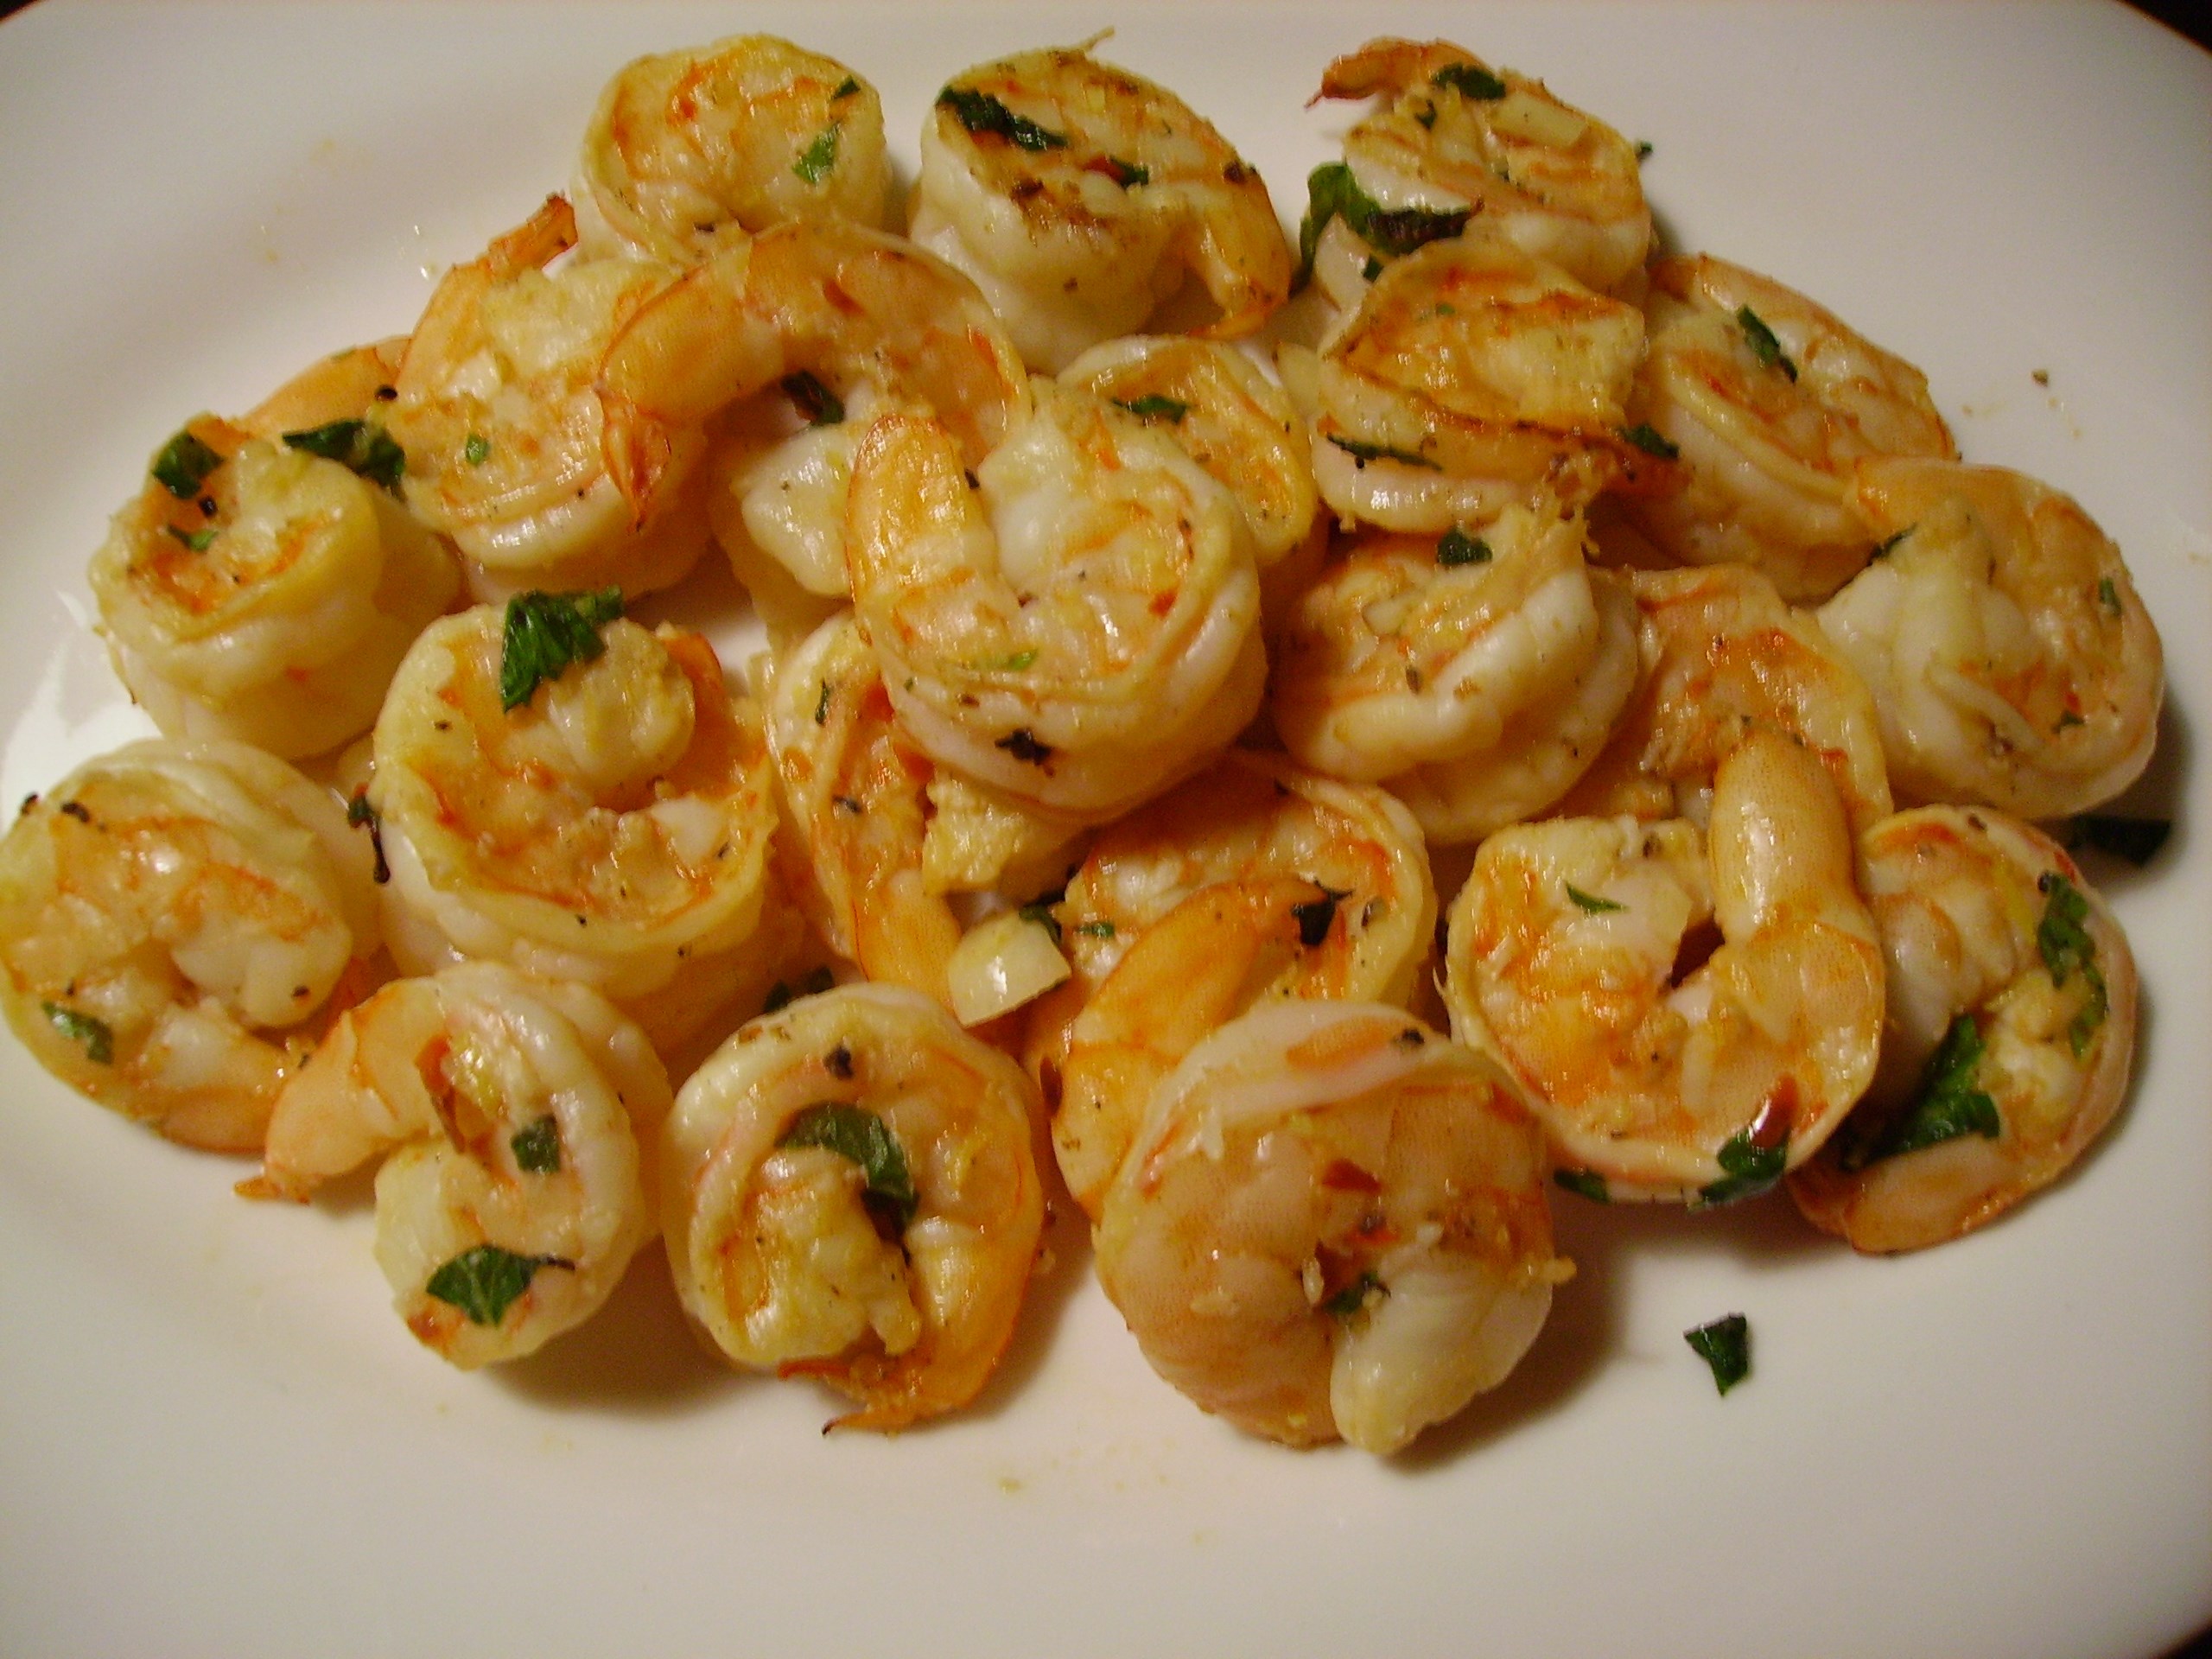
Everything came together in a health conscious manner (turkey sausage, low sodium chicken, etc). until it donned its gay holiday apparel of some grated Asiago Cheese

DIGITAL CAMERA 
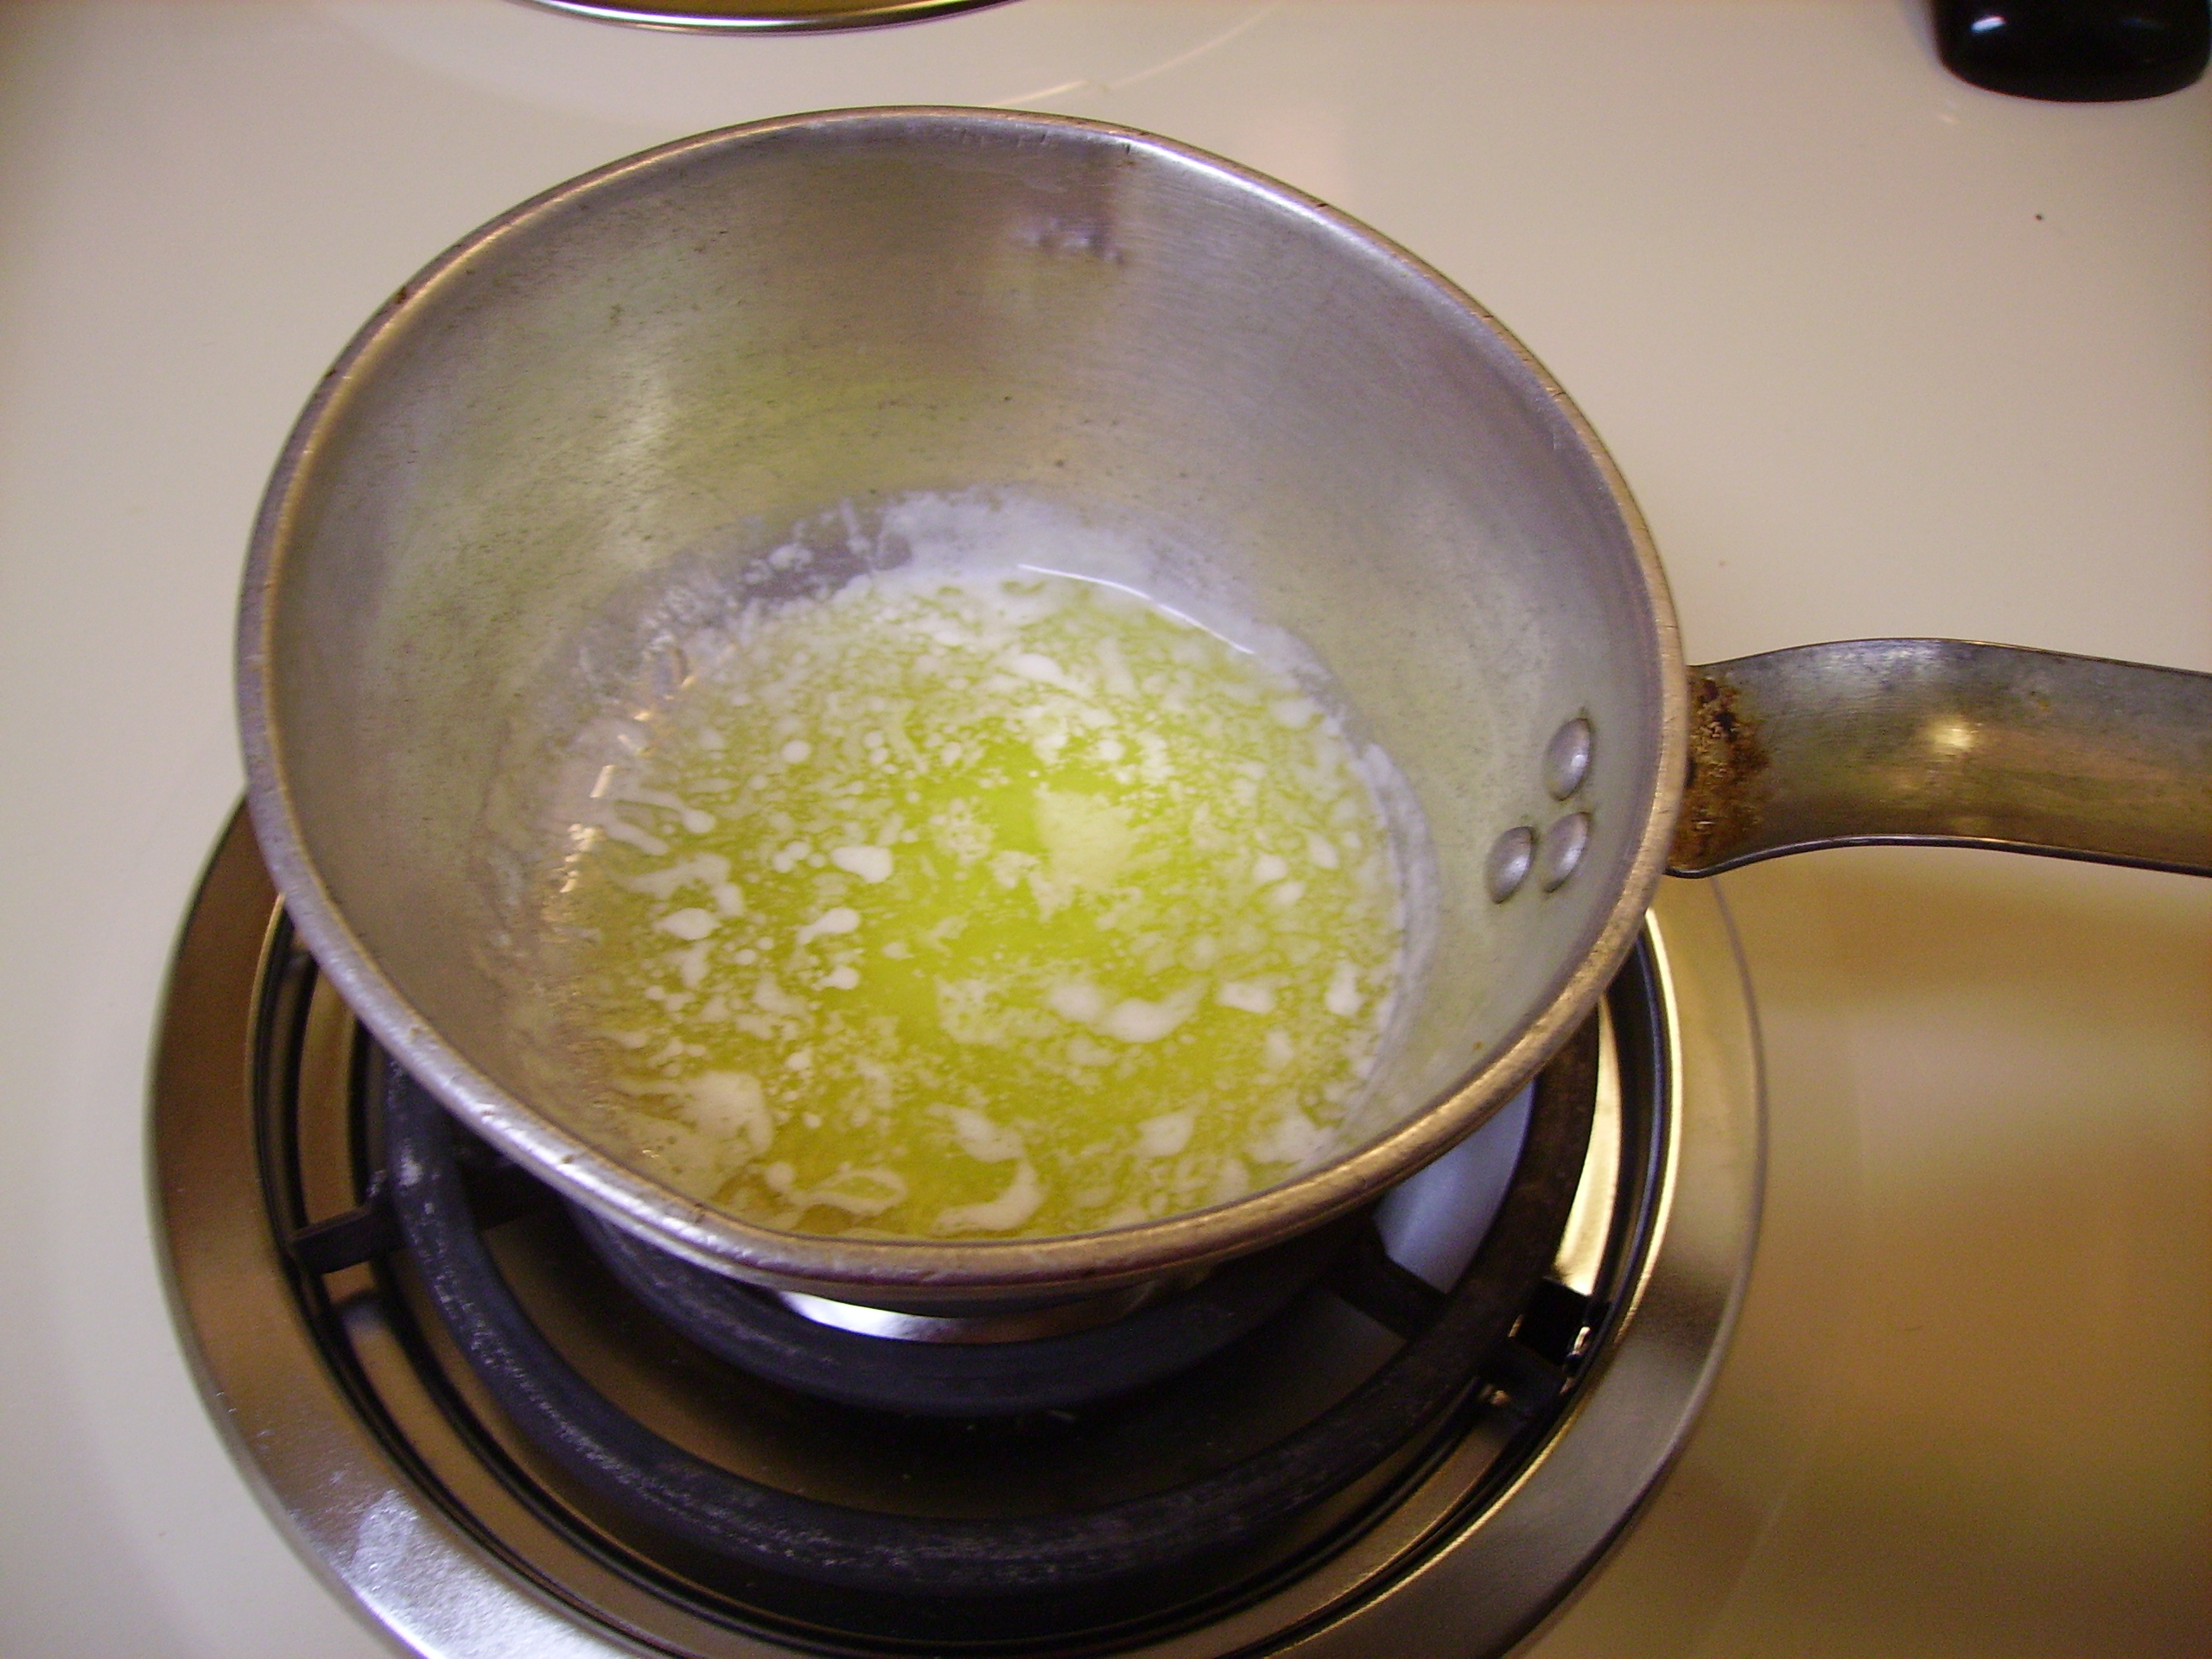
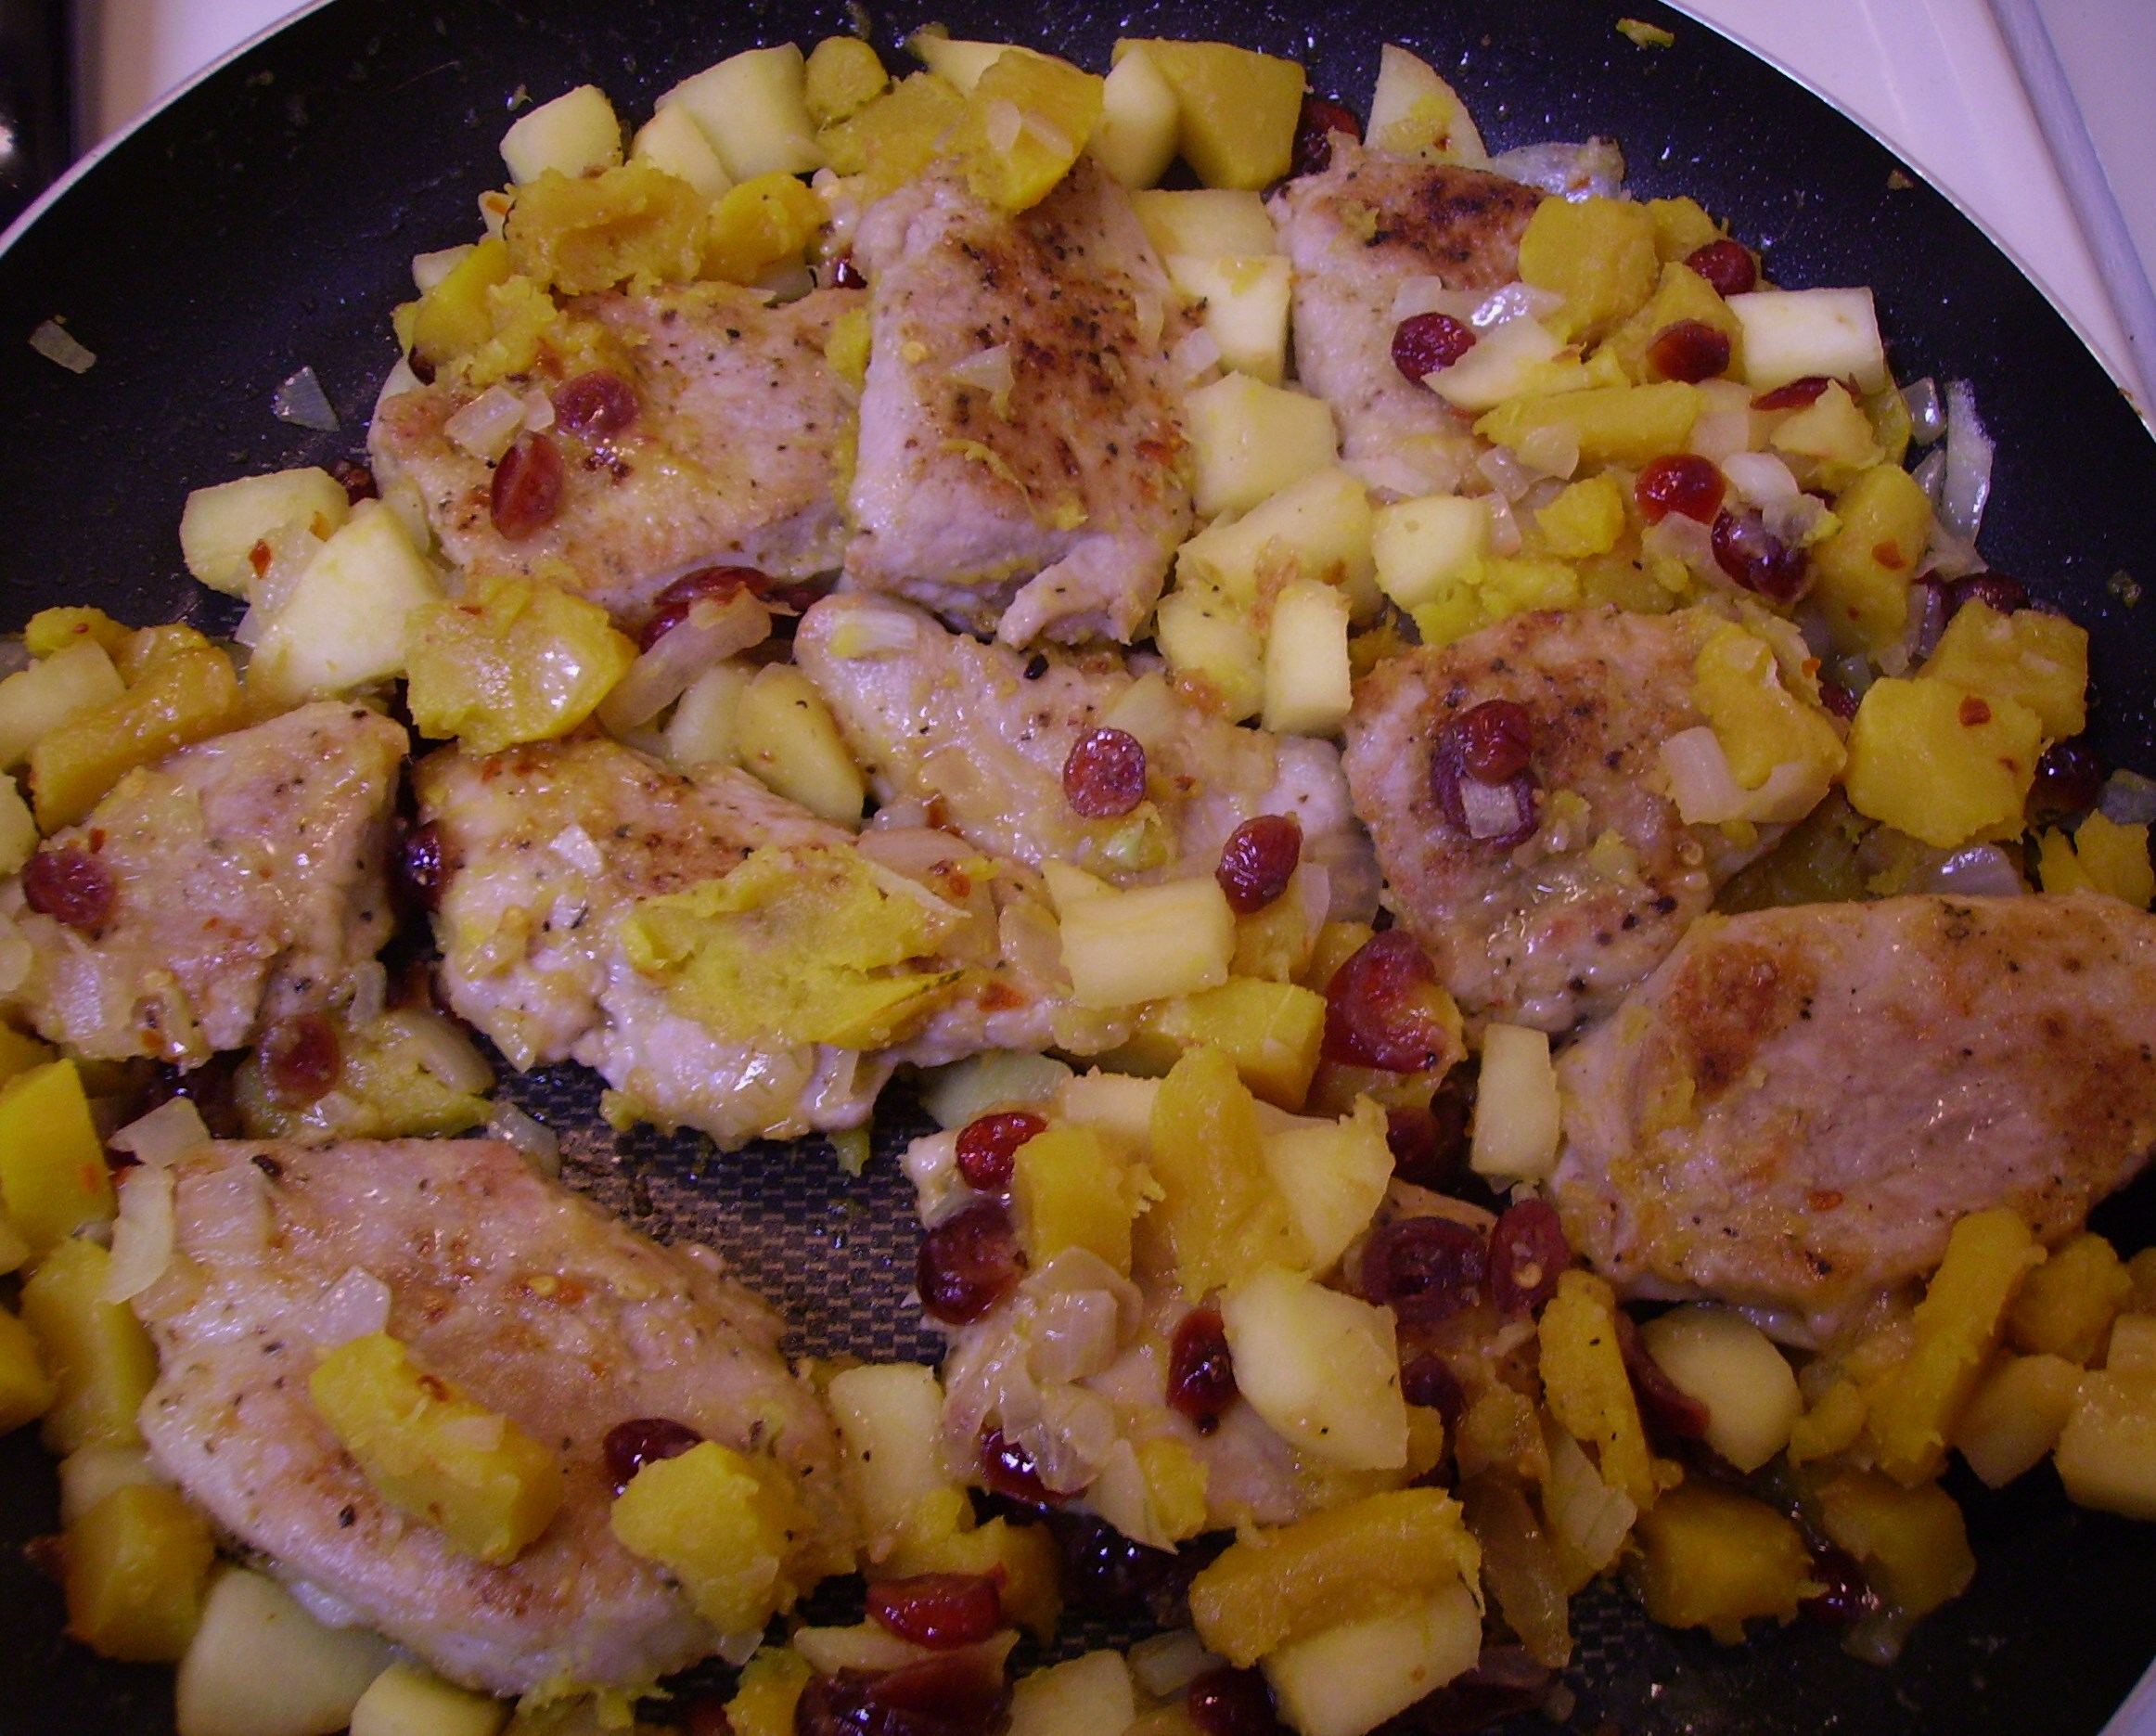
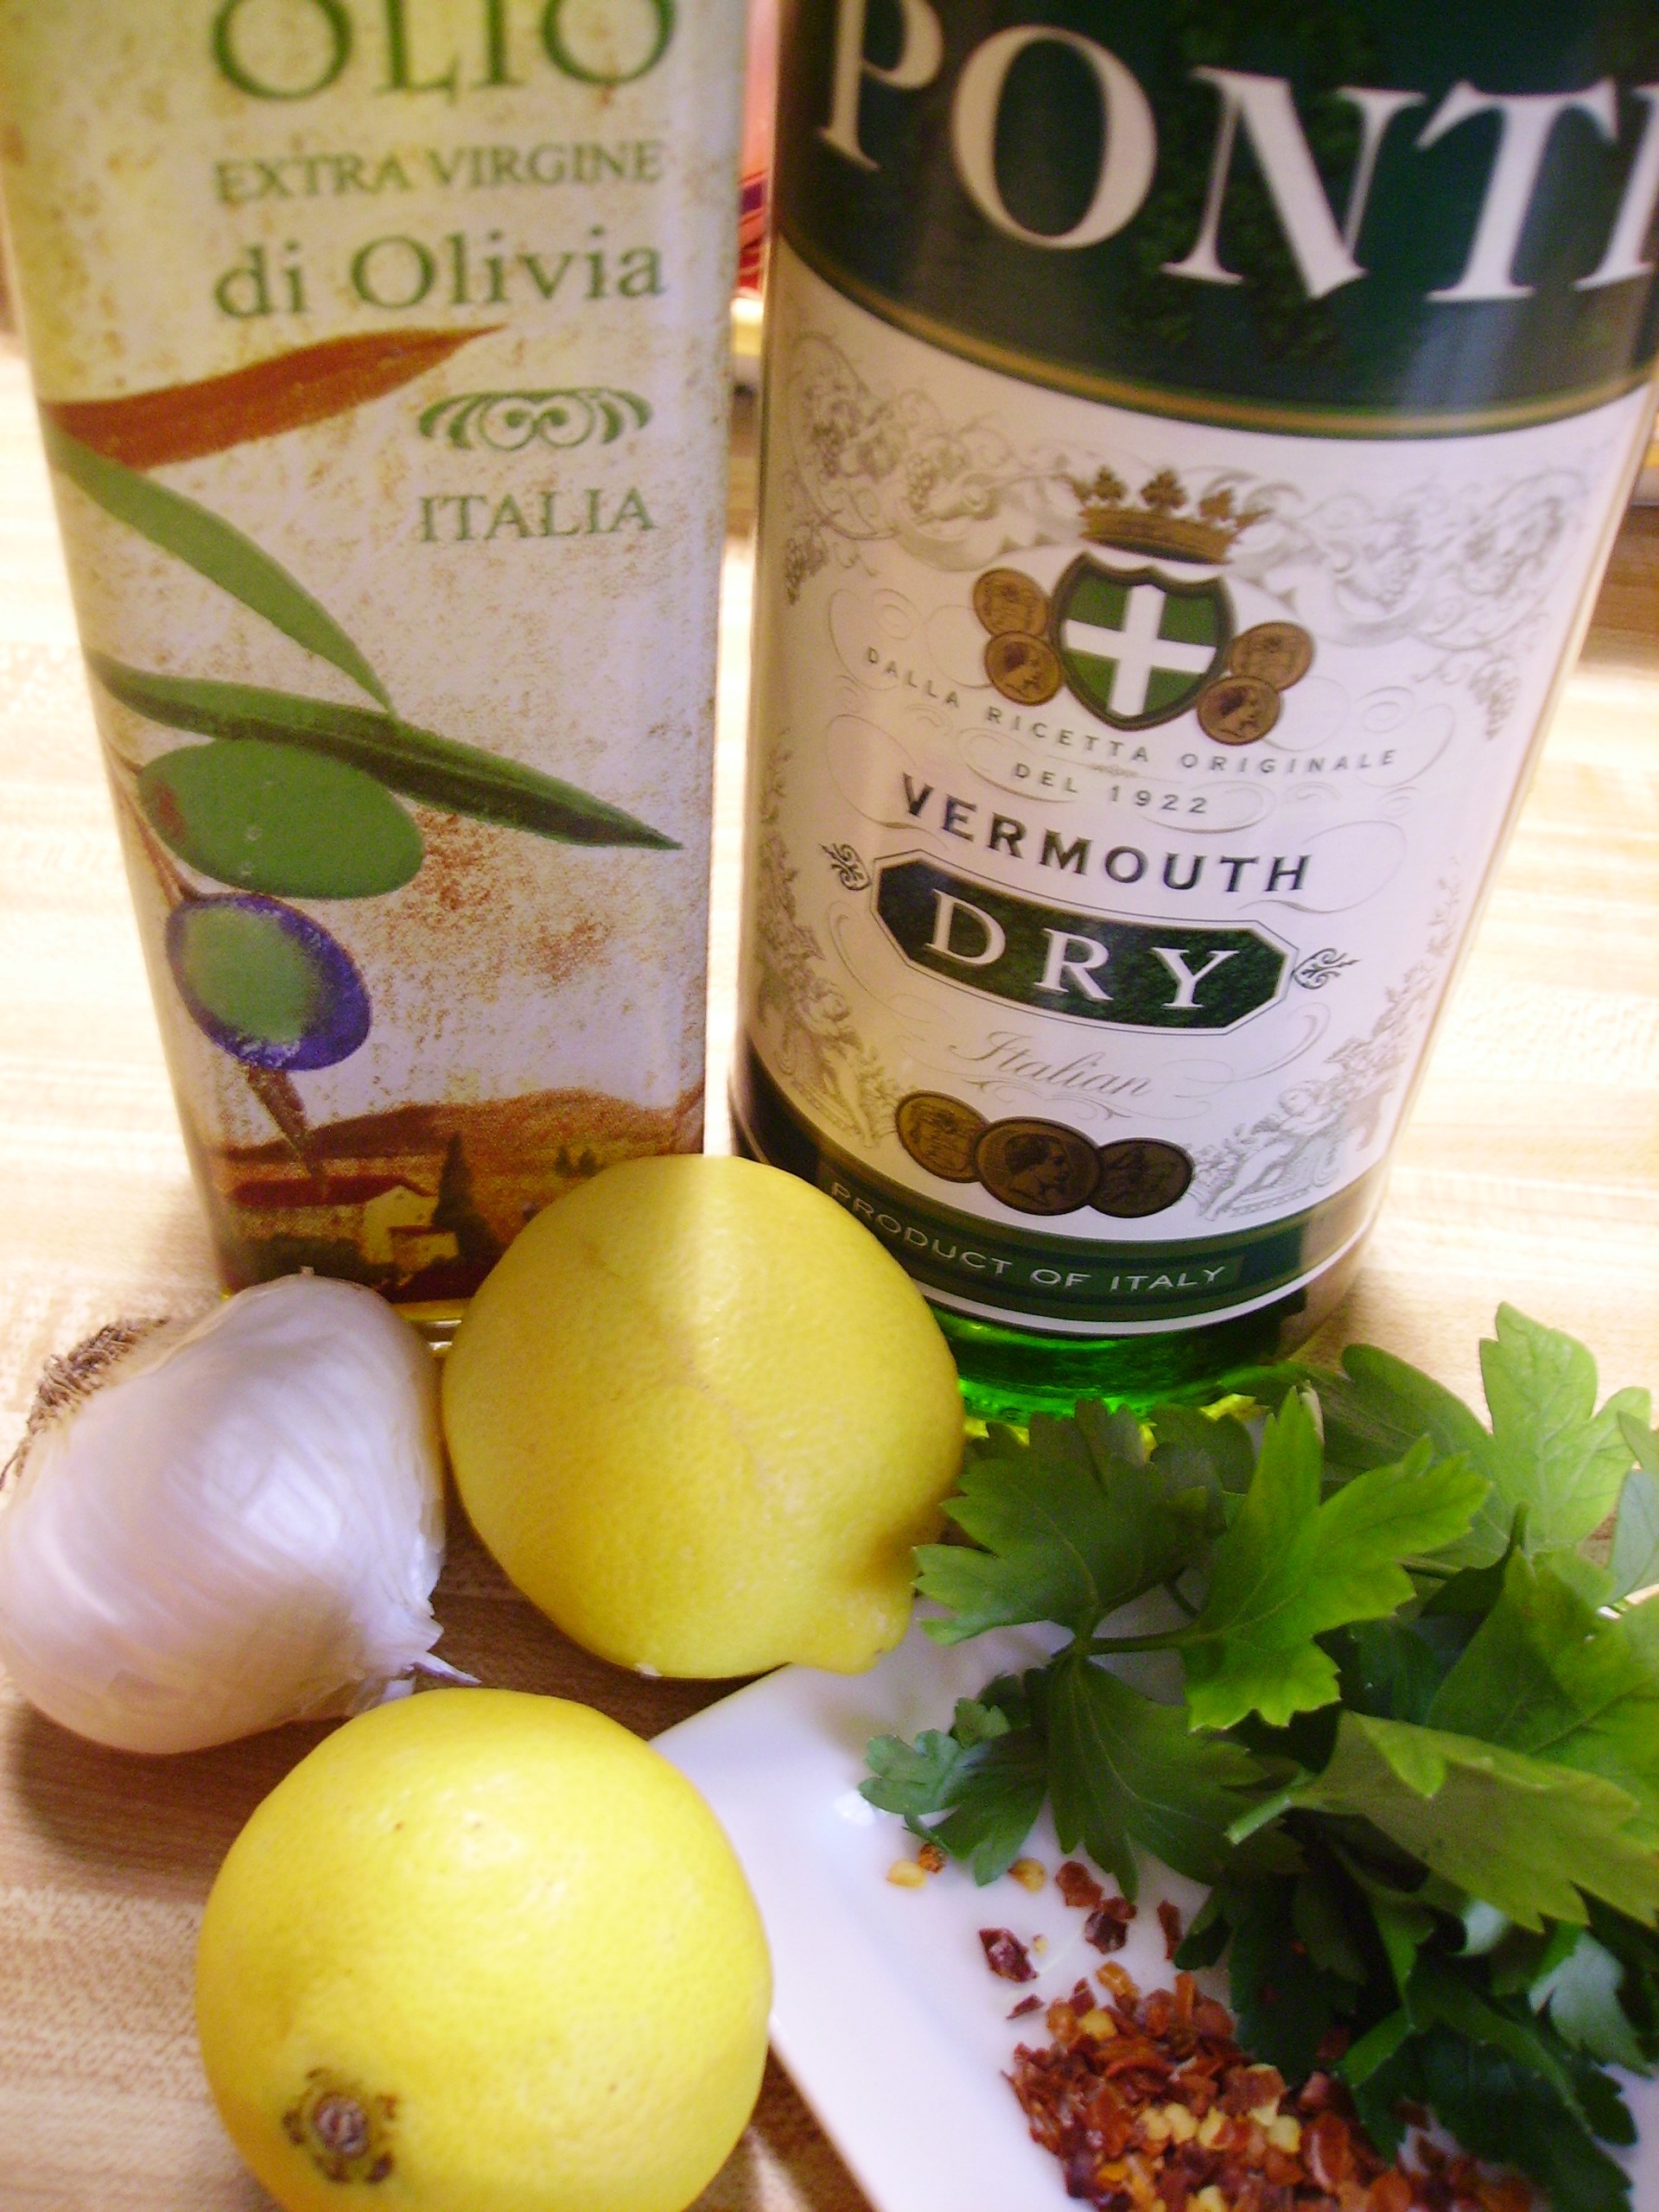
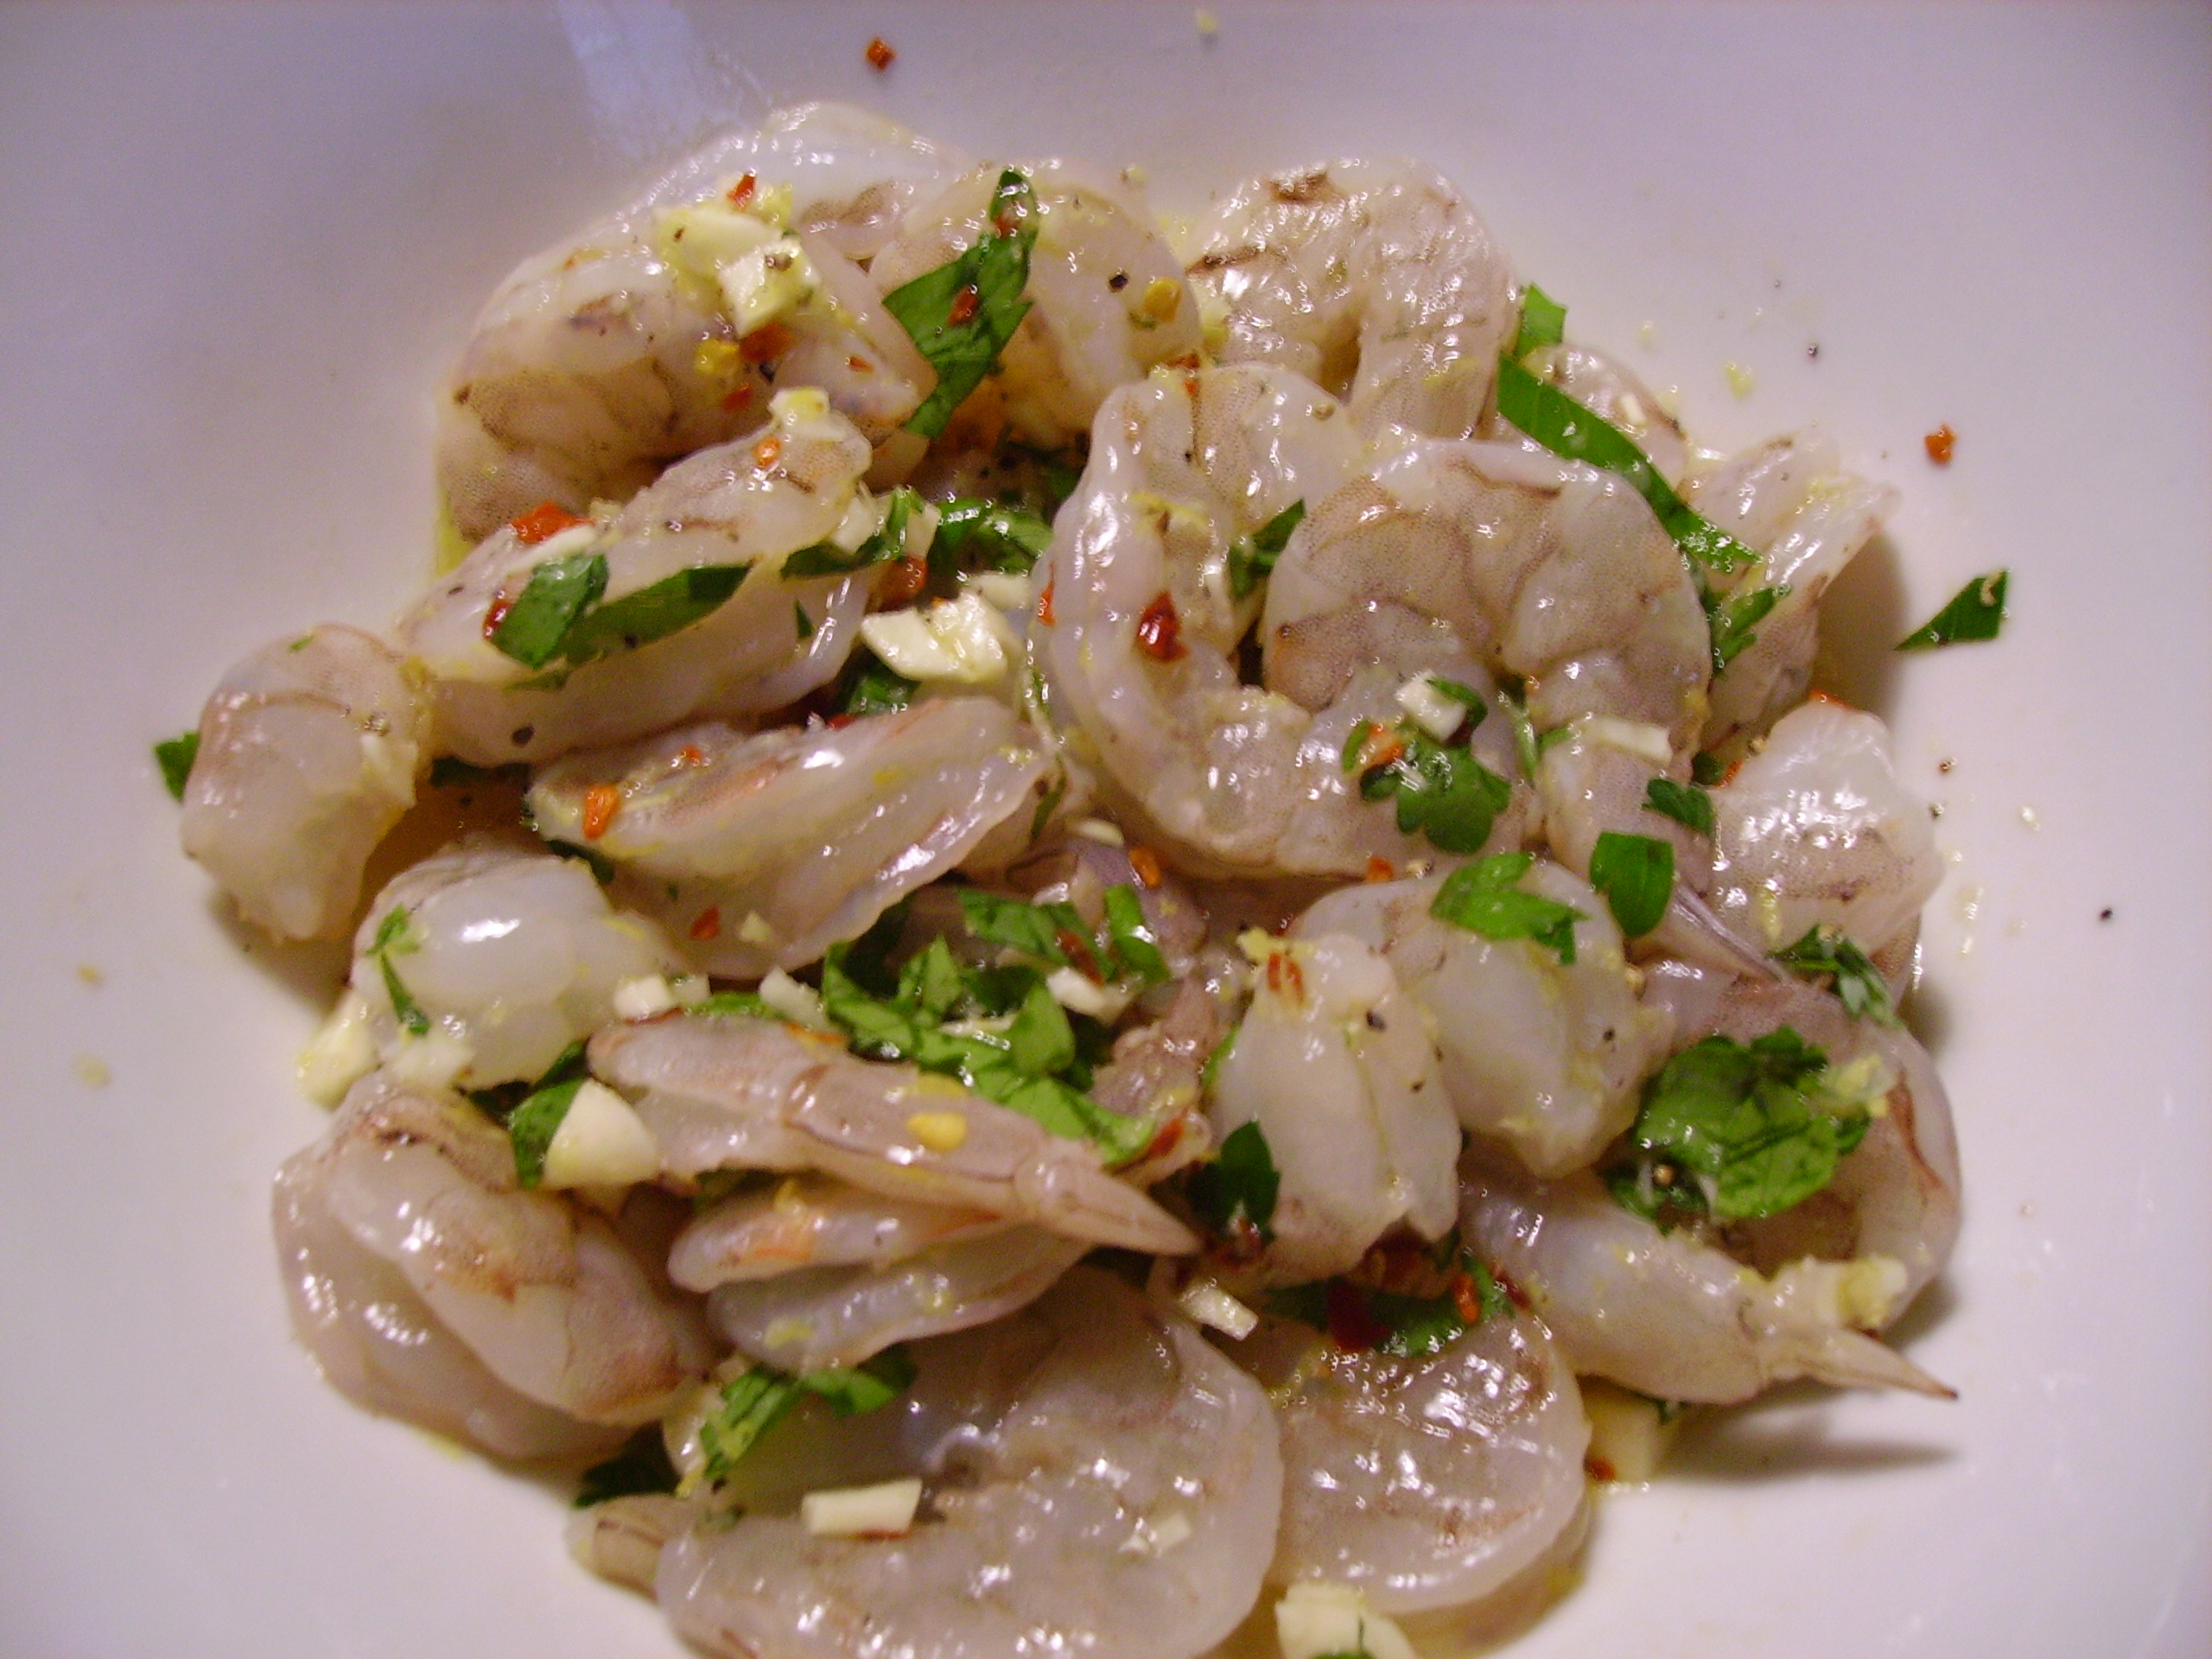
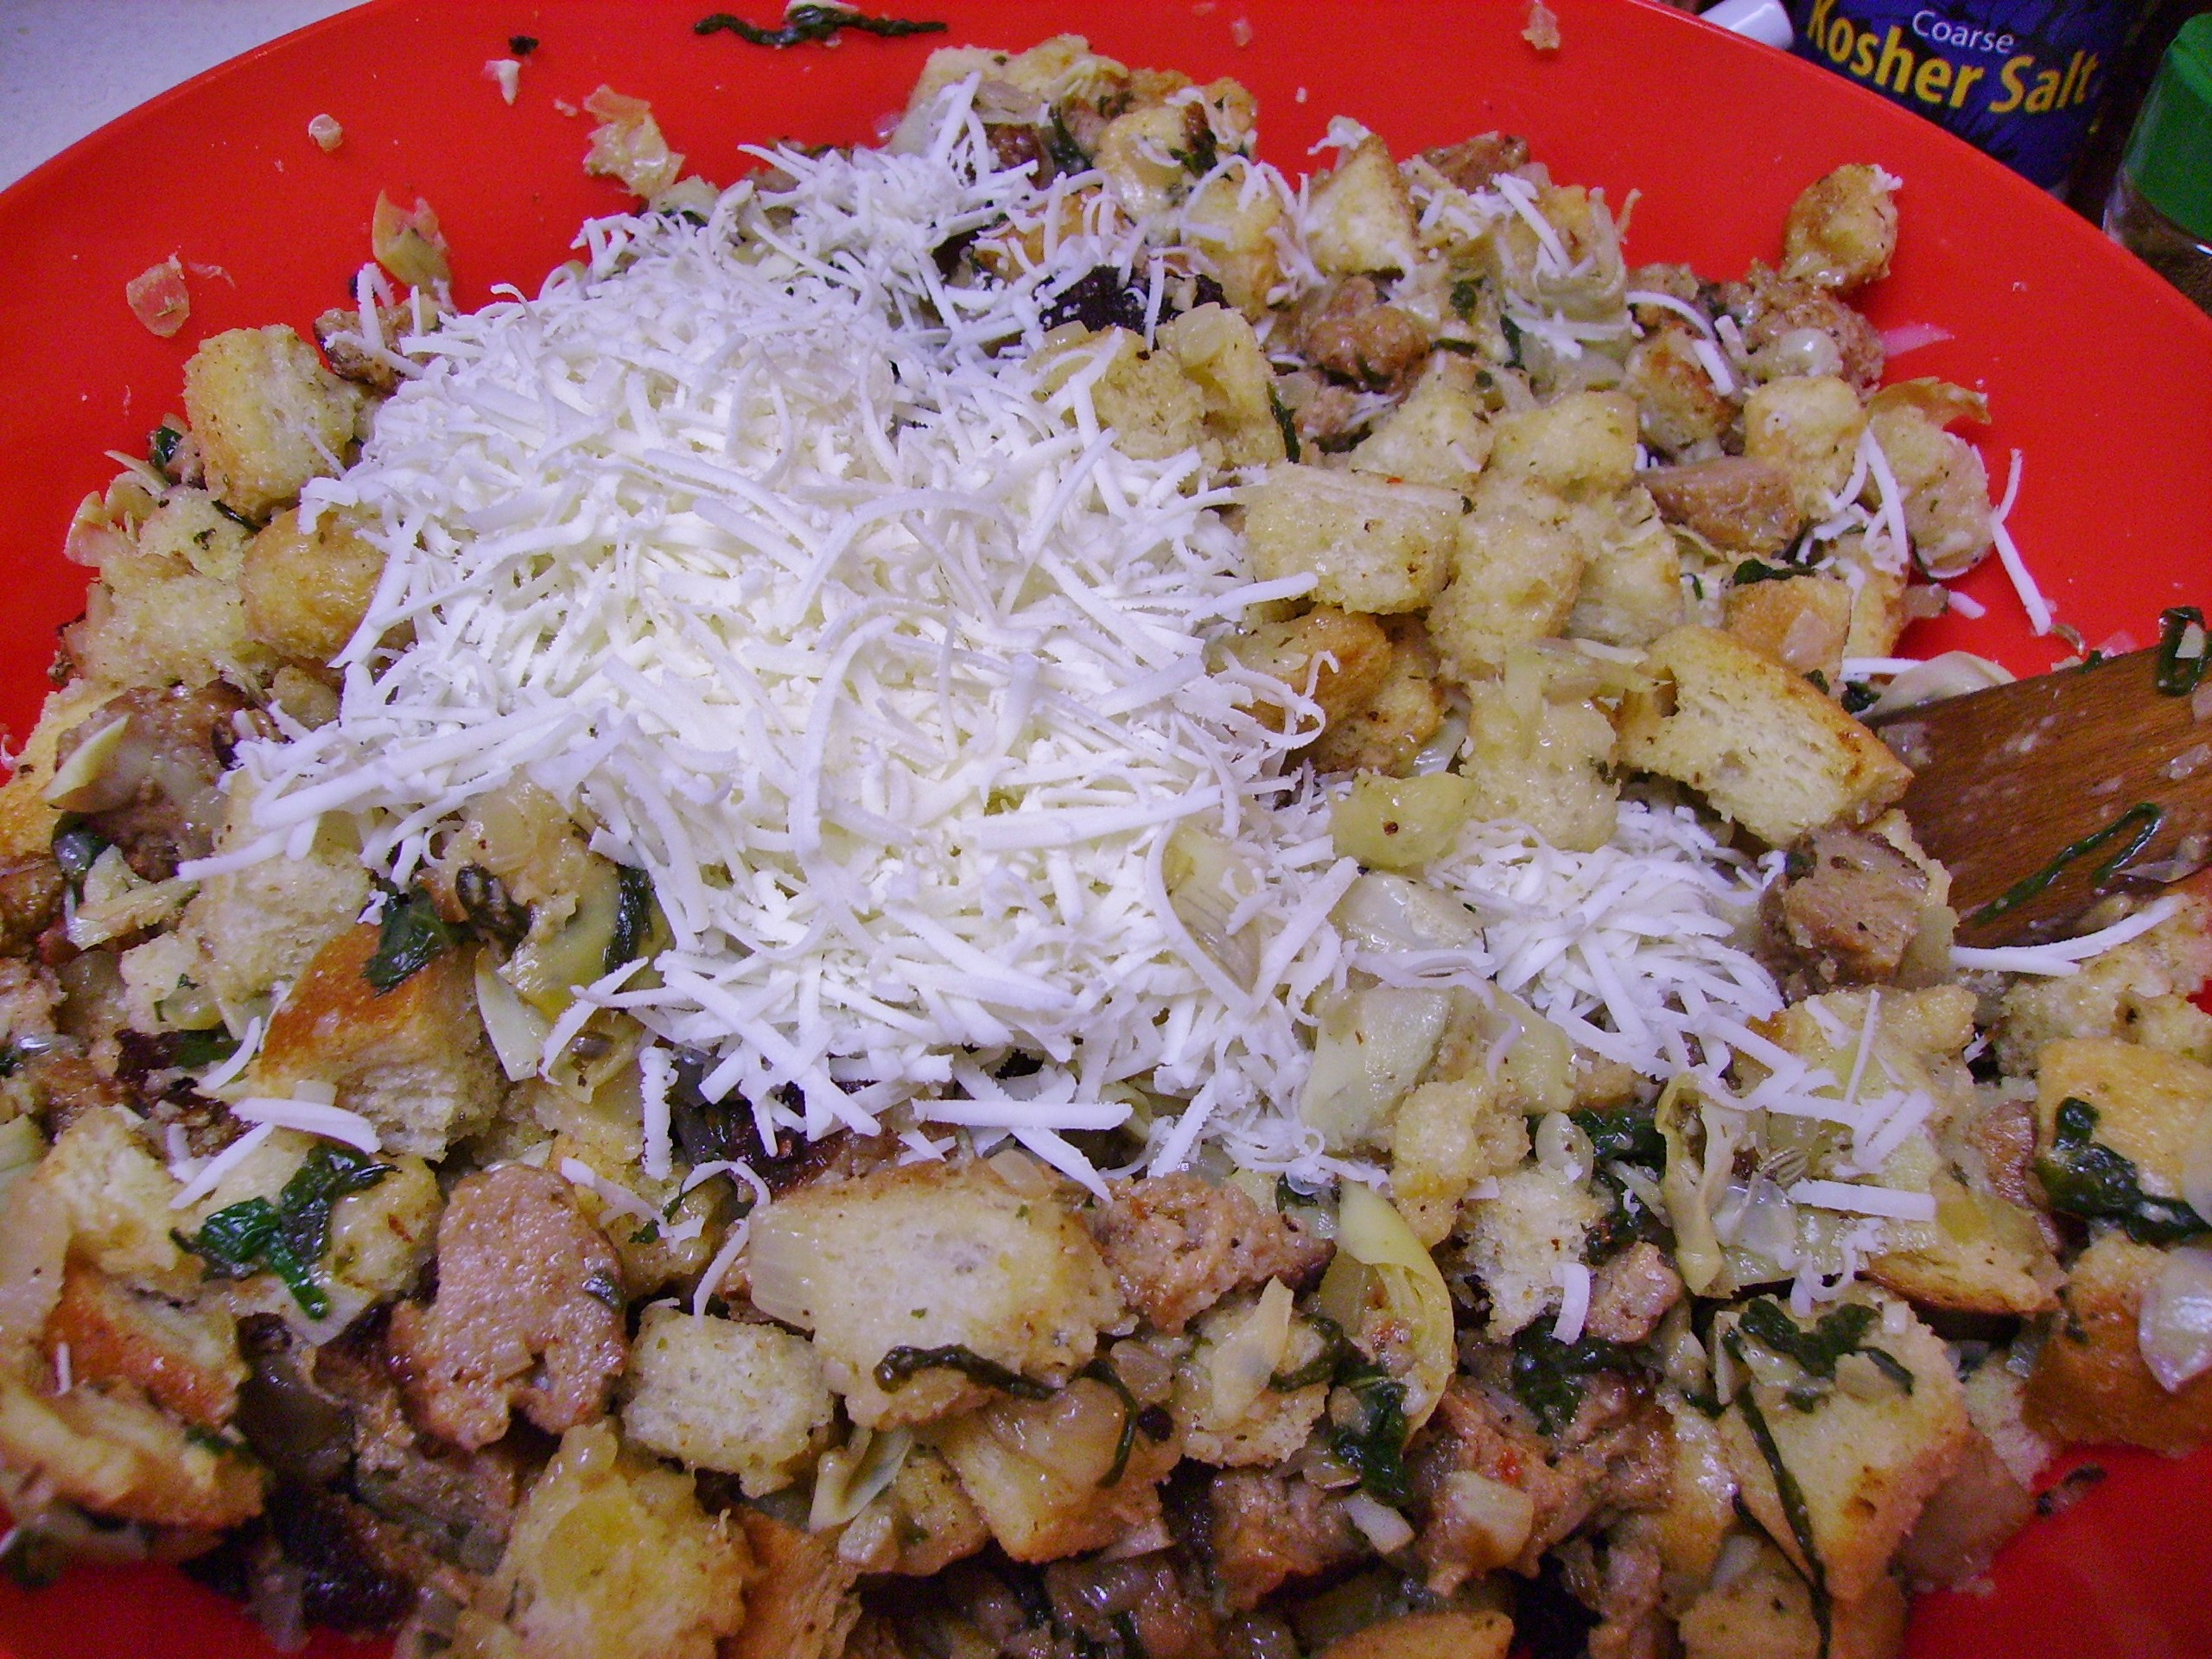
before being bathed in olive oil and butter.DIGITAL CAMERA
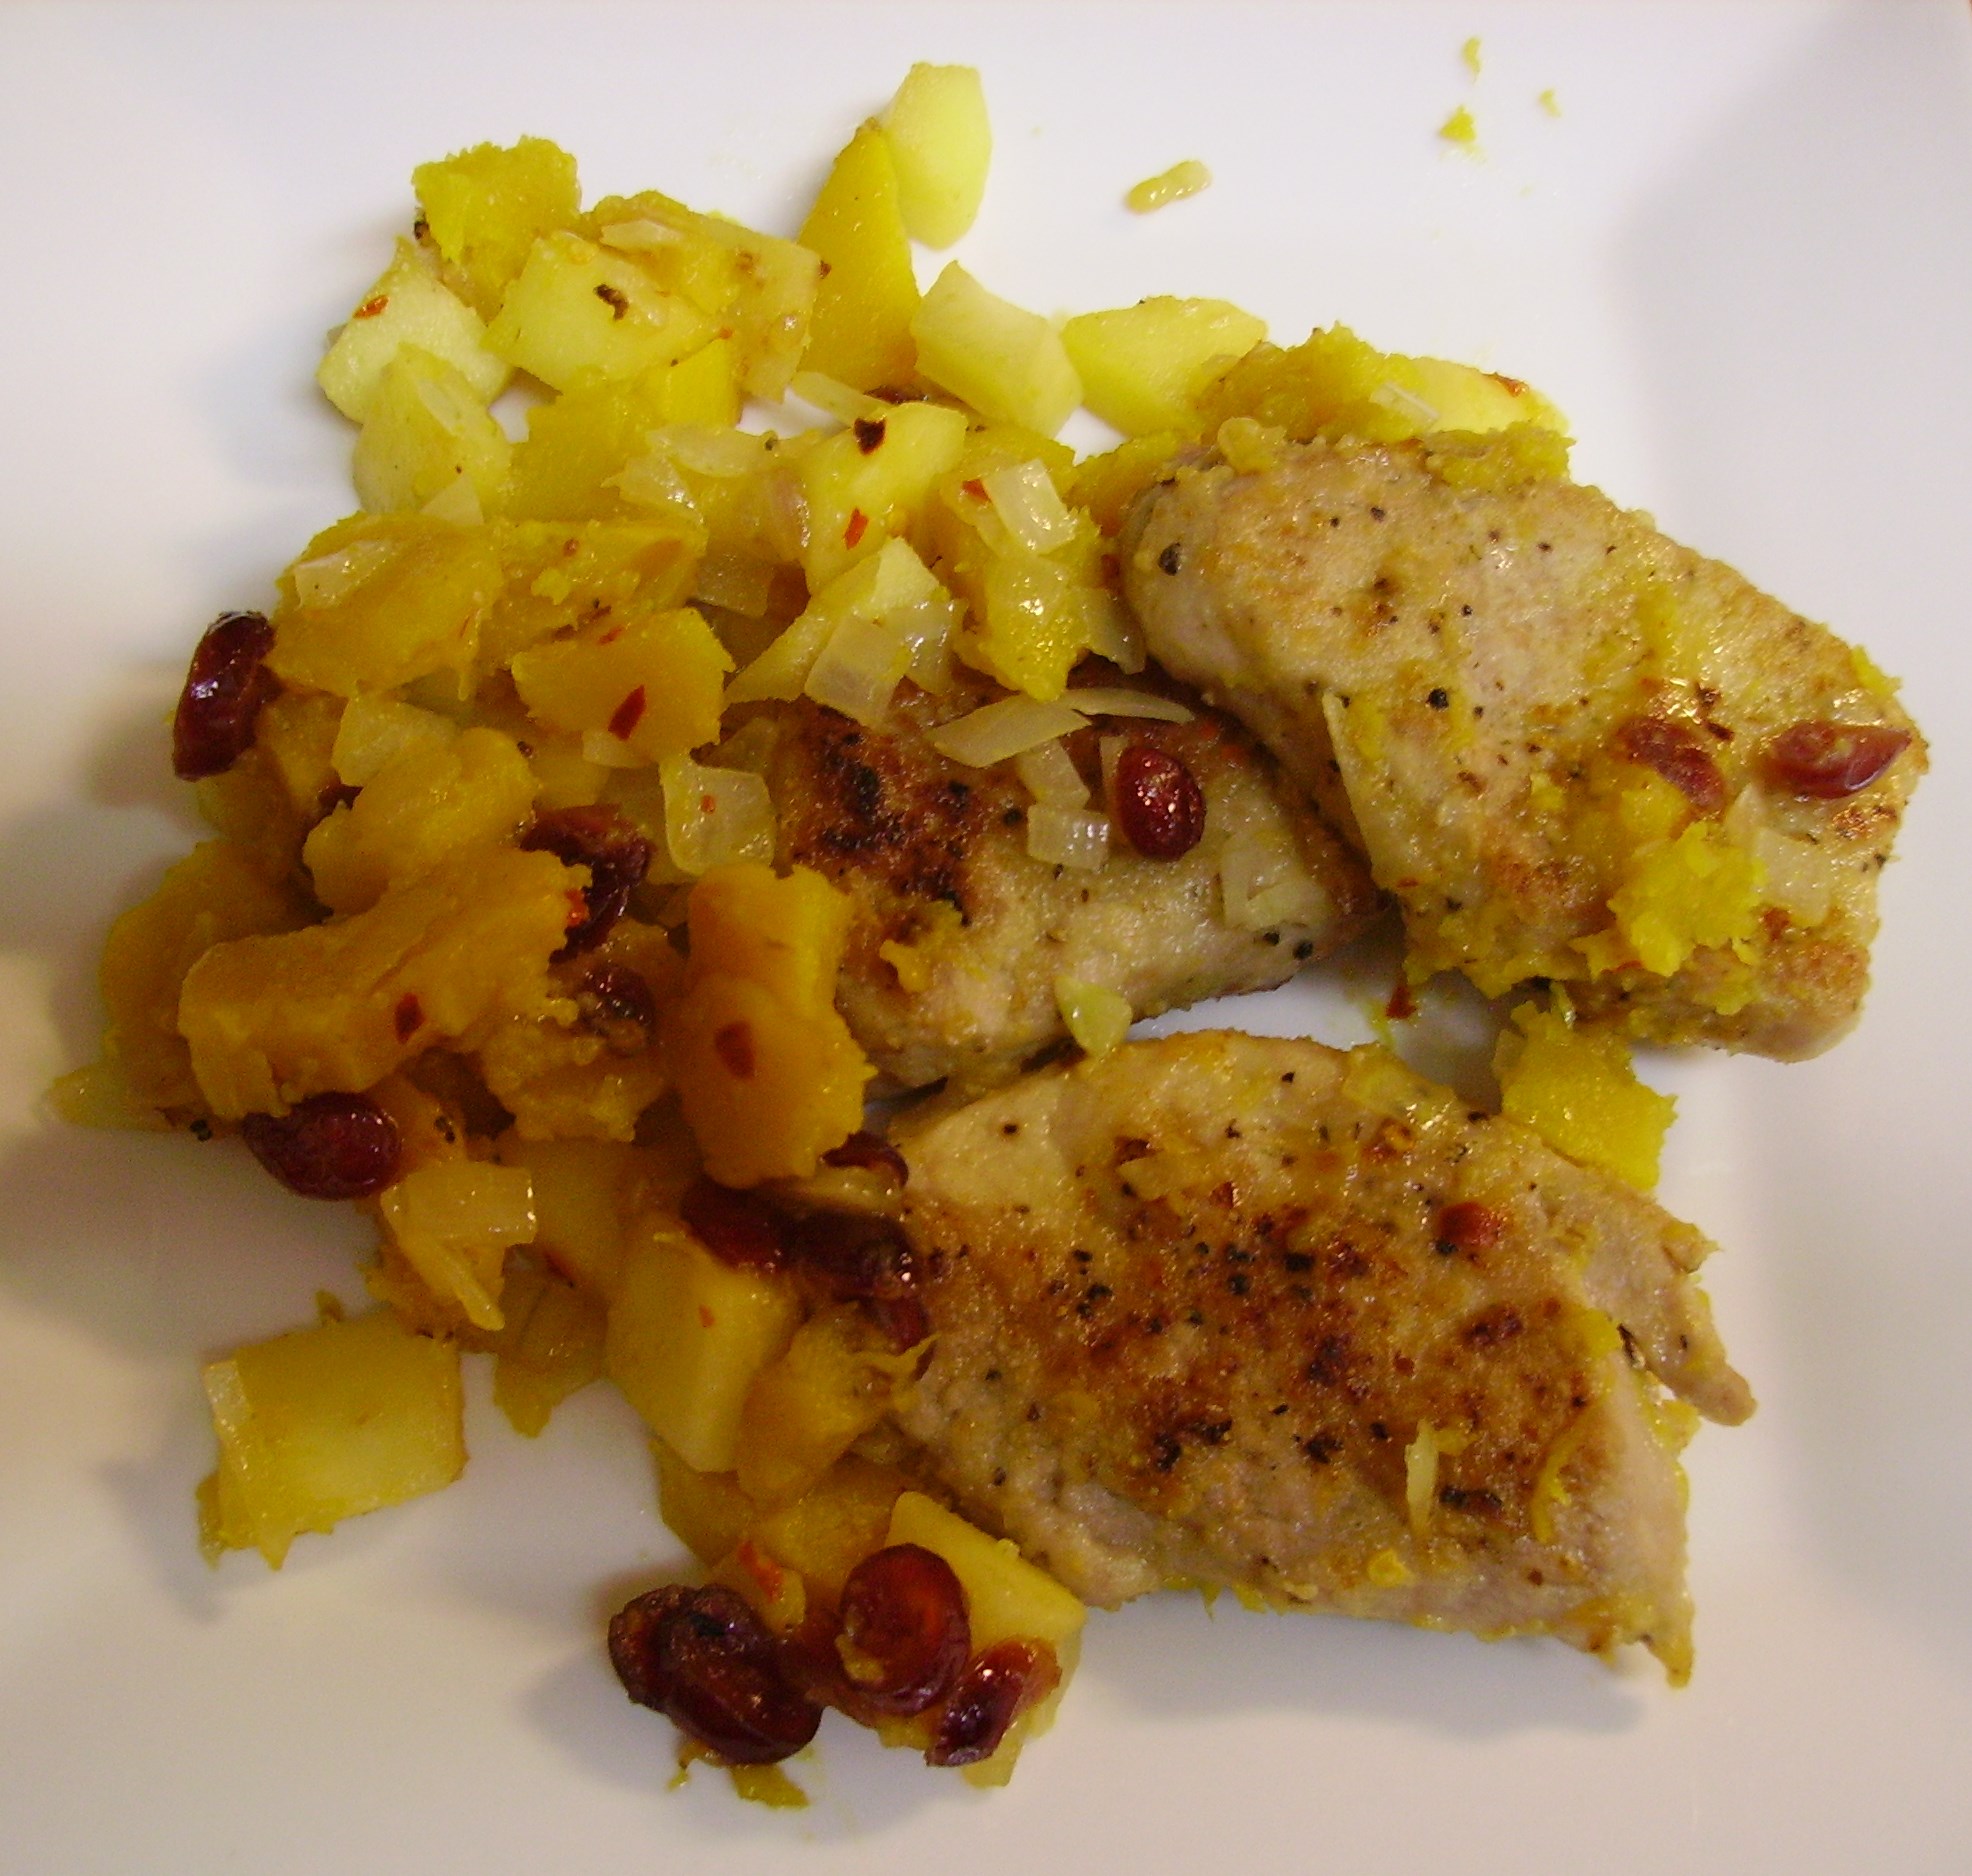
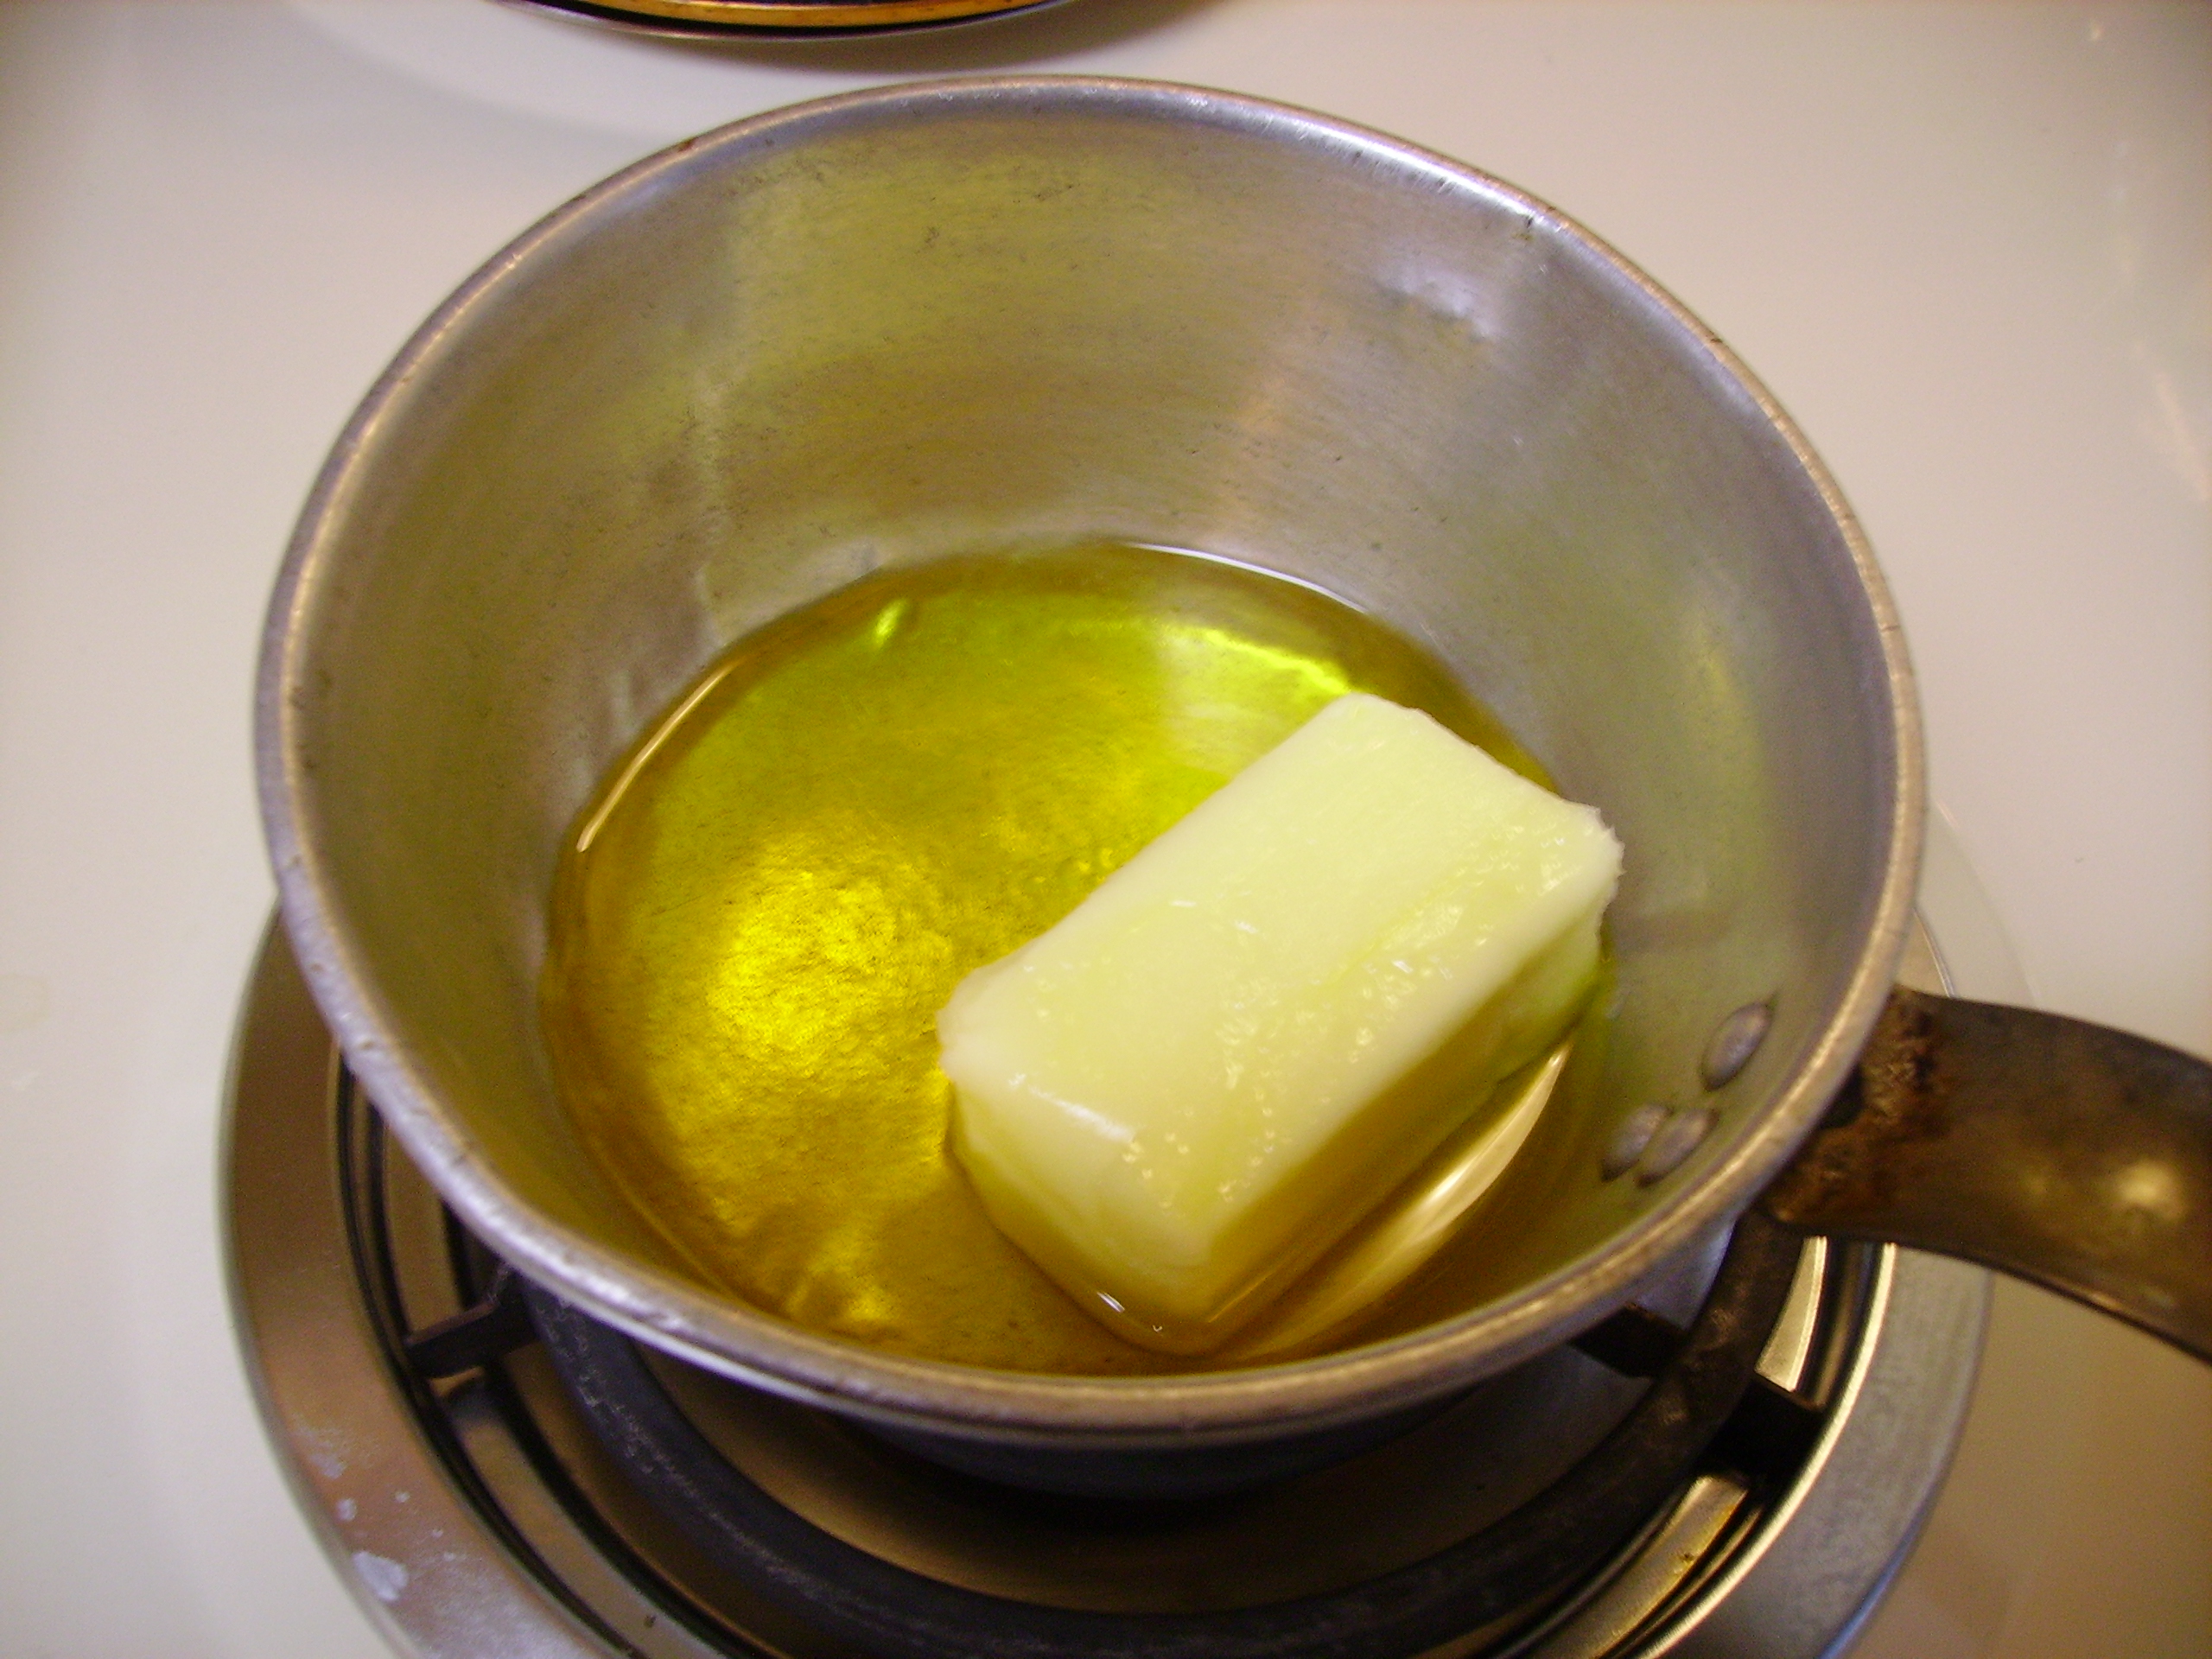
The stuffing (I should call it dressing as it never saw the inside of the bird) was a huge success; gone before a photo of the finished dish could be taken. Trust me, it looked beautiful and tasted amazing.

Mama D's Cali-Itali Stuffing
Print Recipe
Use this for your holiday dinner. Make it your own by adjusting the flavors to your family's taste.
Servings
12
Servings
12
Mama D's Cali-Itali Stuffing
Print Recipe
Use this for your holiday dinner. Make it your own by adjusting the flavors to your family's taste.
Servings
12
Servings
12
Ingredients
Servings:
Instructions
  1. Heat a large skillet over medium high heat. Crumble the sausage into the pan and cook until it is well browned. Turn and break apart as needed.
  2. Remove the sausage from the pan and drain on a paper towel. Pour off most of the drippings. Add 3 tablespoons of olive oil to the pan and add the onions and garlic. Saute stirring frequently until the onion is golden and the garlic is fragrant, 5-7 minutes.
  3. Add the artichokes and spinach to the pan and continue to cook for another 3 - 5 minutes. The artichokes should have a little color and the spinach should be wilted.
  4. In a large bowl, combine the toasted bread cubes, sausage, and the vegetables from the pan (include all the drippings, too). Toss to combine.
  5. Add the seasonings that you are using along with the cheese and toss again to combine.
  6. Pour in the eggs and blend well. Add the chicken stock. Use enough so that the stuffing is very moist, but not mushy. Taste and make any necessary adjustments to the seasonings. Add a little salt if you think it needs it.
  7. Grease a large rectangular baking dish. Add the stuffing and smooth out evenly. Do not pack it down. Cover with foil and bake in a pre-heated 350 degree oven for 35 - 40 minutes.
  8. Combine the remaining olive oil and the melted butter. Remove the stuffing from the oven. Take off the foil and drizzle the butter/olive oil mixture over the top. Return to the oven for another 15 - 20 minutes until the top of the stuffing is golden brown.
  9. Remove from the oven and allow to rest for 10 minutes before serving.
Share this Recipe
Powered byWP Ultimate Recipe

For the first time I was in a position to begin Christmas shopping early (this IS very early for me). I was also in the pleasant position of being on the paying side of the cash register and that did change my perspective. Visits to the nearby mini mall and lovely downtown Geneva gave me what feels like an early jump on the whole shopping experience. Not a single long line at the mall, and the knowledge that I was supporting small businesses in Geneva while finding some unique little gifts began to fill me with Holiday spirit.

That holiday spirit reached its peak when I got to spend some quality time with my grandsons.We just bought a futon for the second bedroom and I invited Dylan over to take it for its maiden voyage. All that was just an excuse to have lots of time with him. We ( I should say Dylan), baked Peanut Butter Blossoms with a little good- natured hassling from Grampa. In spite of it all, they were perfect.DIGITAL CAMERA
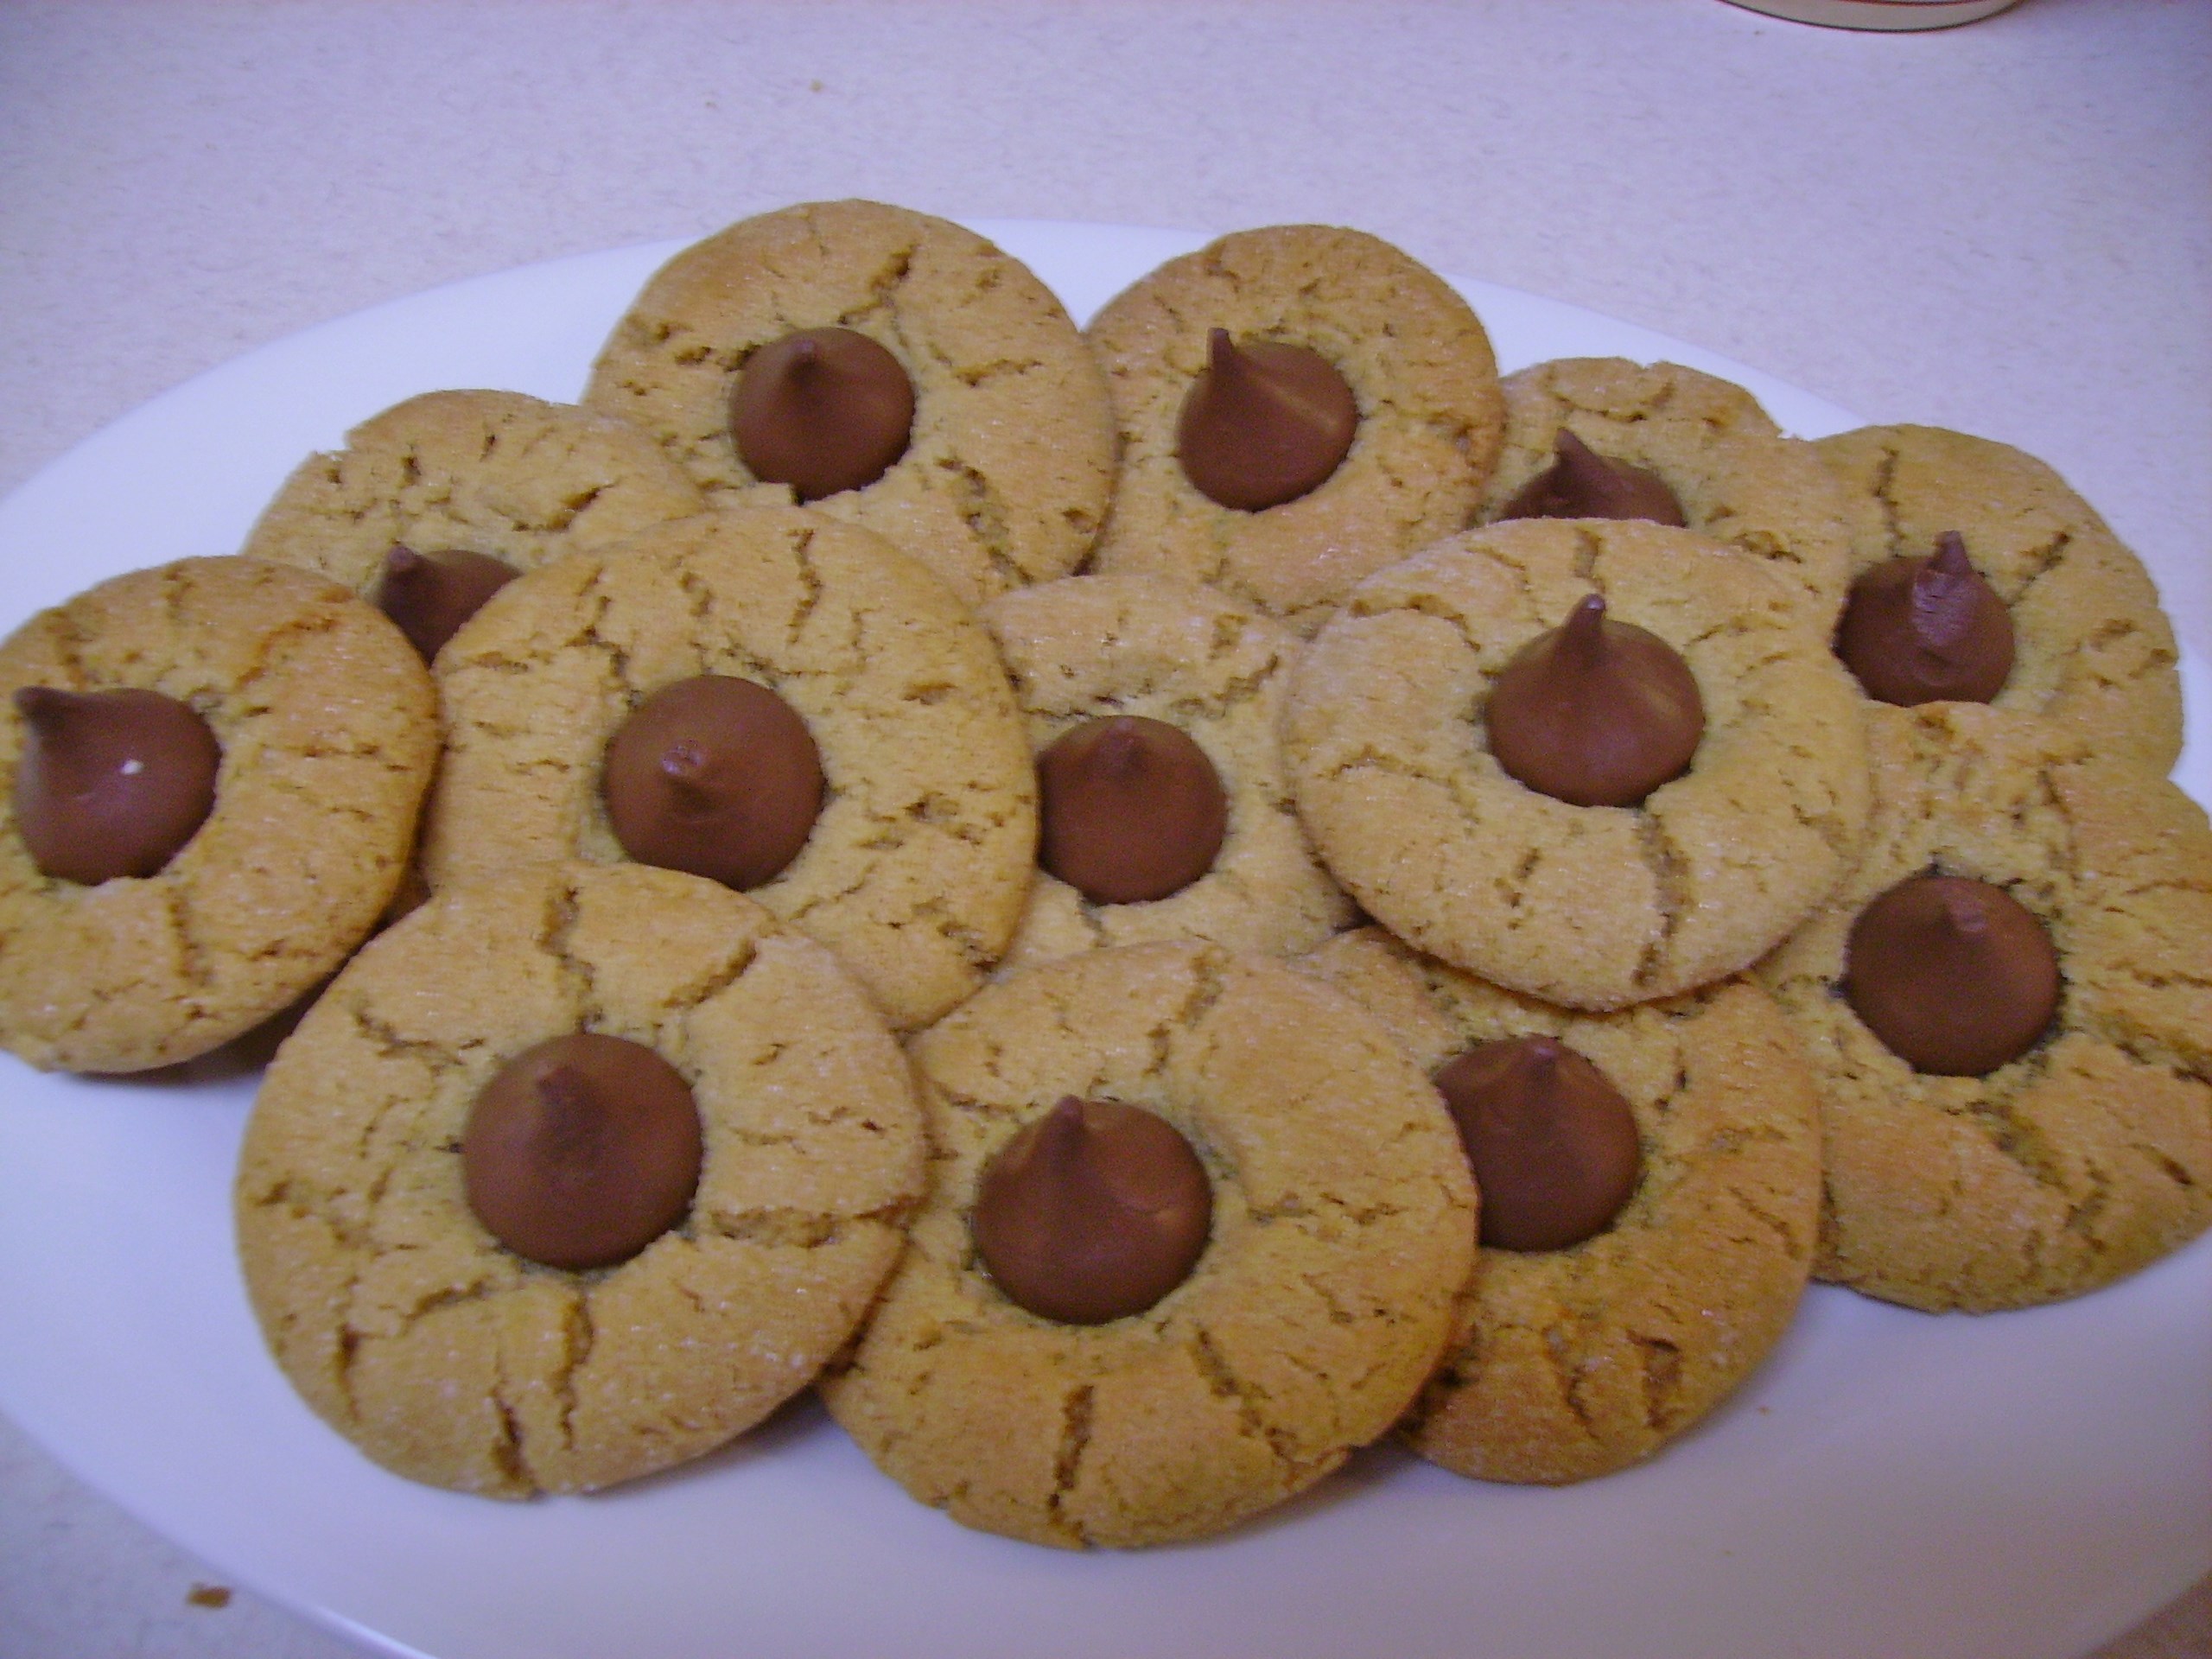
A walk around the grounds of our apartment complex became an adventure of sorts. I got us on the wrong path in the woods, but thanks to Dylan’s kindness and keen eye we made it out in one piece and eventually got back home. He’s become such a fine young man and I’m so proud of him.

Jakob brought his parents over for dinner on Saturday. Again, this was just my way of getting more time with my new Grand Boy. While the Lychee Bellini and Three Treasure Fried Rice were delicious, they couldn’t hold a candle to the delicious sweetness of holding Jakob and marveling at his wide-eyed wonder at our new home. I know the lights and the glow of the flickering candles had something to do with that wonderment, but it didn’t diminish the joy I felt.

December is here and the path to Christmas is always shorter than I imagine. Thanksgiving has given me a glimpse into the real gifts to come. The decorations will start appearing today and the baking will start soon. All of that is just the trappings of a time filled with love. I plan to relish the journey to Christmas and treasure the time spent with my family. I hope your holiday journey is filled with the same kind of joy.


Stock in a Box on Steroids

Let me start by saying that homemade stock is the best. It is easy to make and freezes beautifully. I will also say that nothing compares with the flavor of homemade stock. You are in complete control of salt and all the other flavors that you choose to add.

That being said, I admit that I use “Stock in a Box” from time to time. It is convenient and once you find a brand that you like and that doesn’t offend your healthy sensibilities too much, it is great for quick soups and sauces. I’ve even been known to saute in it.

I was getting ready to make some soup the other day and was out of my homemade stock. The soup, which was going to be dinner couldn’t wait for me to make scratch stock, so I went to the pantry and found a box of chicken stock. Feeling somewhat adventurous, I decided to play with it a bit.

I decided it needed to be bulked up some so I added a leek, some garlic, and fresh herbs.DIGITAL CAMERAI used my fool-proof method for cleaning leeks. Leeks are notoriously sandy and the sand loves to settle in the layers of the leek where it can create an unpleasant taste and texture experience.

DIGITAL CAMERA You can diligently rinse them under running water while prying the layers apart, but it’s been my experience that a few errant grains will remain.

This technique eliminates that. Once you have cut off the root end and the tougher dark green ends you can slice the leeks to suit the recipe you are creating.DIGITAL CAMERADrop the slices into a bowl of cold water and let them float there for 5 minutes or so.DIGITAL CAMERACarefully scoop out the leeks with a slotted spoon and drain them on paper towels. Dump out the water and marvel at the grit and sand in the bottom of the bowl that now will not ruin your creation.

Once the leeks were clean, I added them to a soup pot along with some garlic and herb sprigs. I let them all “sweat it out” for a bit in some olive oil before I added the stock.DIGITAL CAMERAI let everything simmer for 45 minutes or so until the stock smelled incredible. The sprigs of rosemary and thyme that I used came out clean as the proverbial whistle. I diligently fished them out until I had the same number of stems that I started out with.DIGITAL CAMERA This isn’t me being anal, it is saving my immersion blender from “choking” on the woody stems. Experience is a wonderful teacher…DIGITAL CAMERAThe stock that resulted was a bulked up and richer version of what came out of the box. It was a perfect addition to my soup. In fact, this may become a new Mama D standard when using stock in a box. I used chicken stock, but it would work equally as well with vegetable stock. You could even use this technique with homemade stock to give it a little more muscle. With Thanksgiving only days away, this could be a wonderful base for your gravy.

Stock in a Box on Steroids
Print Recipe
Stock in a Box on Steroids
Print Recipe
Ingredients
Servings:
Instructions
  1. Chop off the root and and the dark green top of the leek. Cut it in half lengthwise then slice thinly into half moons. Place the pieces in a bowl of cold water and let them sit for 5 - 10 minutes without disturbing them. Carefully scoop the pieces out with a slotted spoon and drain on paper towels.
  2. Heat the olive oil in a large soup pot over medium low heat. Add the leeks, garlic and herb sprigs (count them). Sweat until the leeks are very soft and the garlic is fragrant.
  3. Pour in the box of stock and stir to combine everything. Bring to a boil. reduce the heat to low, cover and simmer for 45 minutes or so. The stock should smell wonderful and the herb stems should be bare of their leaves.
  4. Remove the pot from the heat and fish out the herb stems. Make sure you have the same number of stems you put in (your immersion blender will thank you).
  5. Using an immersion blender process the stock until it is smooth (how smooth is up to you and there will be some herb flecks)
  6. Your "bulked up" stock is ready to use in your recipe.
Share this Recipe
Powered byWP Ultimate Recipe

DIGITAL CAMERA

Whatever techniques and ingredients you use in your cooking, the most important thing to add is love. There’s a place for short cuts and convenience, even in Mama D’s Kitchen. 


Life After a Microwave and a Skillet Pork Dish

I have never considered myself microwave dependent. In fact I only used it (or so I thought) to reheat leftovers and melt butter. So, as I left my old kitchen behind, I hardly gave the microwave a second glance. Cooking with love does not require energy waves. The stove top can do anything the microwave can and is so much more organic…or so I thought. One week in the new kitchen and I’ve reached for the microwave almost daily only to have to rethink  how to do some small cooking task. I guess I took the microwave for granted. Does it amount to enough need to take up precious counter space? Time will tell. but at this point, I think not.

The microwave was convenient and it was a time saver in the fact that I could set it and go on to other things. Not having a microwave has made me turn back to the way things were done in the “old days.”

We wanted pop corn for an alternative dinner the other night (don’t judge me, sometimes it’s the perfect end to a day). I always make my popcorn in a pan on the stove. I even have a designated popcorn pan that creates fluffy and tender kernels of goodness with hardly an “old maid” in the batch. While the magic is happening in the pan, I would melt a cube of butter in the microwave timing it so that the butter and the pop corn would be ready together. What to do without a microwave? I have a small sauce pan that was my mother’s that easily accommodated the butter and resulted in melted perfection.

DIGITAL CAMERA

As the week went on I reached for the microwave to reheat some leftovers which turned out better reheated on the stove where they could gain a little color and crust. I had to plan ahead more to thaw out things from the freezer, but they turned out better thawing naturally, as well. My new mantra became, no microwave, no problem…after all I was really only using it for shortcuts.

As I’ve shared before, I take inspiration for my recipes from many sources. Tonight’s dinner was no exception. I found a wonderful recipe for pork with a sauce made of squash, dried cranberries, and apples in the latest Cooking Light Magazine.DIGITAL CAMERA

I had a reasonable equivalent of the ingredients on hand so I set out to put Mama D’s spin on it.

Step 1 brought me to a screeching halt.  It called for microwaving the squash and cranberries to prep them for the sauce. Hm? Now what?  Out came my trusty steamer pan and in went the berries and squash.

DIGITAL CAMERA10 minutes later (only 3 minutes more than the microwave would have cooked them) they were ready to become part of the dish.DIGITAL CAMERAPork tenderloin, my new favorite pork product, was sliced into medallions that were lightly seasoned with a salt free onion and herb mixture.DIGITAL CAMERAOnce they were lightly browned, they waited patiently in a warm oven while the rest of the dish came together. Apples and onions were joined by a sprinkling of red pepper flakes and a pinch of sugar.DIGITAL CAMERASautéed in butter (just a little) they were joined by the squash and cranberries to create a lovely fruit and vegetable medley. DIGITAL CAMERAI chose to add the pork to the pan at this point. I had reduced some chicken broth in the pan I cooked the pork in and so I added that to the pan as well.DIGITAL CAMERAThe dish was wonderful. It took less than a half hour to prepare, even without the microwave. It tasted like Fall and was healthy, too. The leftovers, by the way, were great reheated in a small fry pan on the stove.DIGITAL CAMERA

Pork with Squash, Apples and Cranberries
Print Recipe
This is a skillet dinner that is all about Fall. Inspired by and adapted from Cooking Light Magazine.
Servings
4
Servings
4
Pork with Squash, Apples and Cranberries
Print Recipe
This is a skillet dinner that is all about Fall. Inspired by and adapted from Cooking Light Magazine.
Servings
4
Servings
4
Ingredients
Servings:
Instructions
  1. Place the squash and cranberries in the basket of a steamer pan. Add water to the pan, cover and steam for 7 - 10 minutes. The squash should be tender and the cranberries slightly plumped. Set aside.
  2. In a large skillet, heat the olive oil. Season the pork slices with onion herb mixture and dredge lightly in the flour. Add the slices to the skillet and cook, turning once until browned on both sides. This should take about 5 minutes. Place pork in a low oven to stay warm.
  3. Add the broth to the pan. Scrape up any brown bits and cook over medium heat until reduced by half. Set aside.
  4. In a medium fry pan, melt the butter. Add the apple and onion pieces, pepper flakes, and sugar. Toss to coat everything and let it cook for 4-5 minutes. The apples and onions should begin to soften.
  5. Add the squash and cranberries to the pan. Toss to coat and cook for a minute or two. Add the reduced chicken broth and any yummy bits stirring to combine. Let this cook for another minute.
  6. Add the pork slices and any accumulated juices and let everything get happy together for several more minutes.
  7. Divide among four plates and serve.
Share this Recipe
Powered byWP Ultimate Recipe

So, as I start the new version of Mama D’s Kitchen, I’m getting used to my new surroundings. While the kitchen is small, I’ve created two good-sized work spaces. I like the fact that everything is close at hand. It feels cozy and friendly. The electric stove is feeling less foreign. It will take a bit of time to get really comfortable with each other, but we’re going to make it.

Mama D’s smaller kitchen and the rest of her downsized apartment are starting to feel like home.

Signs of Fall and Cauliflower Mac and Cheese

As I take my daily ride into the country, the signs of Fall are everywhere. The corn stalks stand drying in the fields their single ears of seed corn still attached. they’ll stay there for a few more weeks until the process is complete.DIGITAL CAMERAOther stalks face another fate. Gathered and bound to adorn farm stands in every incarnation imaginable, decking their yards for Fall. DIGITAL CAMERAHay bales not being used for feed find their way into the autumn landscape. They can become a climbing structure waiting for children to cast allergies to the wind and scale them with reckless abandon.DIGITAL CAMERA Others are transformed with a few props into (slightly tacky) symbols of the season.DIGITAL CAMERA

DIGITAL CAMERAThe air has that Fall scent. It’s an almost imperceptible hint ofDIGITAL CAMERA dried leaves and crisp air that has just a touch of chill to it. There are a those rogue overachiever trees that are displaying their autumn glory more than a few weeks early, The touches of red and orange a gift of their perfect proximity to the sun.

DIGITAL CAMERA

This is casserole weather. The temperature is cool enough to turn off the air conditioning and open the windows and using the oven is once again a pleasant proposition. Mama D, always a fan of the one dish meal, has popped more than a few things in the oven of late. Pork loins and chicken breasts have roasted to perfection within the oven walls, but the real treat is when an eclectic group of ingredients come together in one pan of love.

The most recent creation was a healthier twist on Macaroni and Cheese. Pasta was there in the form of Multi-Grain Penne. Extra sharp Cheddar Cheese created a creamy sauce. There was even a little bacon goodness going on. This casserole also featured a healthy dose of cauliflower, red onion, and a handful of golden grape tomatoes.

DIGITAL CAMERACombining these ingredients was easy, if a little time consuming, but completely worth it. I chopped up 3 cups worth of cauliflower (a little more than 1/2 a large head). I cooked the pasta in the usual manner and added the cauliflower to the pot a couple of minutes before the pasta was cooked. They resided together in a rectangular casserole dish. I broiled the tomatoes and cooked the bacon and added them to the dish. DIGITAL CAMERAWhile I drained most of the bacon drippings from the pan, I kept just a little to saute the onions which became the base for my cheese sauce. Cheese sauce needs cheese and I chose an extra sharp cheddar. The grab your taste buds kick allowed me to use less saving some fat and calories.DIGITAL CAMERAI upped the flavor of the sauce with Worcestershire sauce, Tabasco, and mustard. Some garden thyme added a little sumpin’ as well.

Every good casserole needs a crunchy crumb topping and so did mine. Panko crumbs with a little garlic powder and paprika was the crowning touch.DIGITAL CAMERAIt baked in the oven mostly covered with foil, but (foil) topless for a bit to create a crunchy golden crust. The result was a tasty yet somewhat healthy dish. DIGITAL CAMERAThe bacon could be eliminated to make it a Meatless Monday delight. Any cut pasta would work from elbows to shells to rotini. Just cut the cauliflower to a size that is similar to the pasta. This will generously serve four and the leftovers are pretty tasty as well.

Cauliflower Mac and Cheese
Print Recipe
Cauliflower Mac and Cheese
Print Recipe
Ingredients
Servings:
Instructions
  1. Cook pasta "al dente" in a large pot of lightly salted boiling water. When the pasta is almost done, add the cauliflower and cook for 2 minutes or so. Drain and place in a rectangular baking dish that has been lightly coated with non-stick spray.
  2. Slice the tomatoes in half and place on a broiler pan that is lightly coated with cooking spray. Spray the tomatoes lightly with more cooking spray. Broil until the tomatoes begin to break down and are lightly browned. Add to the pasta and cauliflower.
  3. Heat a large saucepan over medium heat. Add the bacon and cook stirring occasionally until the bacon is browned. Remove the bacon from the pan and drain on paper towels before adding to the casserole dish.
  4. Remove all but a scant tablespoon of the bacon drippings from the pan. Add the first tablespoon of butter. When it melts, add the red onion. Cook for several minutes until the onion begins to soften.
  5. Add the flour and stir to coat the onions. Continue to cook and stir for 2-3 minutes. Do not let the mixture brown.
  6. Add 1/2 cup of the milk and stir to create a smooth paste. Slowly add the rest of the milk, stirring constantly to keep things smooth. Conttinue to cook and stir until the mixture is thickened, 5 minutes or so.
  7. Add the mustard, pepper sauce and Worcestershire sauce to the pan and stir to mix. Remove from heat and add the cheese. Stir until the cheese is melted. Pour over the mixture in the baking dish.
  8. Melt the second tablespoon of butter in a small pan. Add the Panko, garlic powder, and paprika to the pan and toss until the crumbs are evenly coated. Sprinkle on top of the casserole.
  9. Cover with foil and bake in a pre-heated 375 degree oven for 25 minutes or so (it should be bubbly around the edges). Remove the foil and return to the oven for 10 minutes more. The crumbs should be golden brown.
  10. Remove from the oven and allow to rest for 5 minutes or so before serving.
Share this Recipe
Powered byWP Ultimate Recipe

Autumn brings changes in the weather and often the foods we eat. This year fall also holds many personal changes for us. Like a change of season…a change of lifestyle can be a welcome challenge.  Embrace it.  Love, Mama D


Birthday Memories and Grilled Shrimp Scampi

We just celebrated my son’s birthday. As I’ve been doing since my sons were celebrating their first trips around the sun, I prepared the dinner that he requested. Birthdays have always been kind of a big deal in our family. When the boys were growing up, there was the “friends party” and the family dinner. We lived in a family dense complex in California and friends were as close as walking out the front door. Scan_Pic0053The common courtyard was always alive with kids having fun. Scan_Pic0054Even adults got into the act. (No apologies,..it was the 80’s)

I was (in)famous for my themed parties that always featured the appropriately themed cake. Scan_Pic0057From dinosaurs to super heroes Scan_Pic0056I did it all…and Ninja Turtles twice. Scan_Pic0055Scan_Pic0058Whatever the boys were into, I was right there with a sheet cake. It’s amazing what you can do with a cake mix, food coloring, and decorating icing tubes.

Once the “friend party” was over, there was the family dinner. As soon as they were old enough to make the request, I prepared whatever meal they wanted. Yes, there were times that we had pizza or macaroni and cheese. Then there was the time we had Big Macs. I’m sure grandma was glad she flew over 2000 miles for that taste treat. The boys grew up and their palates expanded. Artichokes, crab, and Fettuccine Alfredo took over the menu. Now that they are grown up, their choices have grown up with them, more or less… Fried chicken three years running may be an exception to that, but I aim to please.

Now, back to the Shrimp Scampi, (another three-year running request) I usually make scampi in the traditional manner; on the stove with butter, olive oil, garlic ,and lemon. I lovingly place it on a bed of al dente linguine and dust it with Romano cheese. This year something got into me. Most likely it was the fact that this dinner also needed to include barbecued ribs and there seemed to be no natural bridge. Being Mama D, I was of course able to come up with a solution. The shrimp would become the appetizer.

All the flavors that went into scampi would become a marinade.  So, lemon juice (and zest) joined lots of garlic, a little red pepper and vermouth.DIGITAL CAMERAAfter several hours the shrimp were extremely happy. They glistened with olive oil and their sweet scent of the sea mingled with the garlic.DIGITAL CAMERAI tossed them in our trusty grill basket where they cooked quickly aided by lots of tossing and moving about on the grill. DIGITAL CAMERA

When they were cooked to perfection; plump and pink and slightly translucent with a good bit of spring in their step, They were plated to the happiness of all present.

DIGITAL CAMERAWe repeated this three times, cleaning the plate every time. The shrimp were tender and juicy and the flavor was amazing. There is something about the combination of sweet seafood and the smokey grill that are just magical. I think this may be the new standard for shrimp scampi, and no one seemed to miss the linguine.

Scampi
Print Recipe
Servings
4
Servings
4
Scampi
Print Recipe
Servings
4
Servings
4
Ingredients
Servings:
Instructions
  1. Once the shrimp are shelled and deveined, dry them thoroughly between paper towels. Place the shrimp in a zip top plastic bag.
  2. Mix the remaining ingredients together in a small bowl. Pour the marinade into the bag with the shrimp. Seal the bag and refrigerate for at least 2 - 3 hours or as long as 4 -5.
  3. Heat a grill basket over a medium high fire. Spray lightly with olive oil non-stick spray. Remove the shrimp from the marinade and add to the grill basket. Discard the marinade.
  4. Cook, stirring frequently and gently. Move the basket around the grill as needed to keep the heat uniform. Cook until the shrimp turn pink and curl up slightly. This should take 7 - 10 minutes or so. Do not over cook.
  5. If you are using a broiler, give them 3 minutes or so than flip them and give them 3 -4 minutes more they should be pretty in pink and slightly curled up.
  6. Bake these little beauties at 375 degrees for 5 - 8 minutes or so turning half way through.
  7. Remove the shrimp from their heat source and arrange on a platter. Serve with picks as an appetizer. These can also be served as a main dish with side dishes of your choice.
Share this Recipe
Powered byWP Ultimate Recipe

DIGITAL CAMERAI did make these again, because you really can’t have too much of a good thing. I paired it with an artichoke and tomato panzanella salad for a dinner that was quite wonderful. So this is the appetizer that can easily become  a meal. However you want to enjoy it, you’ll find that it is easy to prepare. As long as you have a few hours to spare for the marinating, it’s quick, too.

Birthdays are a once a year event, but meals cooked with love should happen every day.

                                                           Love, Mama D